
HOW TO: Install An Auto-Dim Rearview Mirror

HOW TO: Install An Auto-Dim Rearview Mirror
I just finished putting an auto-dim rearview in my FD and figured I would do a quick how to...
What you'll need:
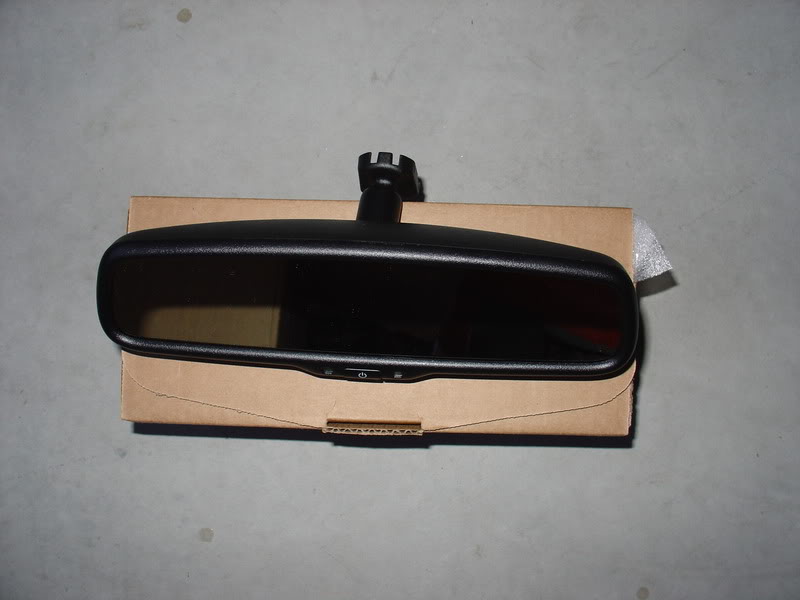
Auto-Dim Mirror (Gentrex model 50-GENK2A)
New Mirror Button
Tools:
Heat Gun
Digital pyrometer (optional)
Solvent (nail polish remover or rubbing alcohol)
Razor blade or scraper
Philips screw driver
Micro Philips screw driver
10 mm nut driver
T15 Torx driver (for new mirror)
Braided wire loom (optional)
You will be doing electrical work, so as always, disconnect the battery.
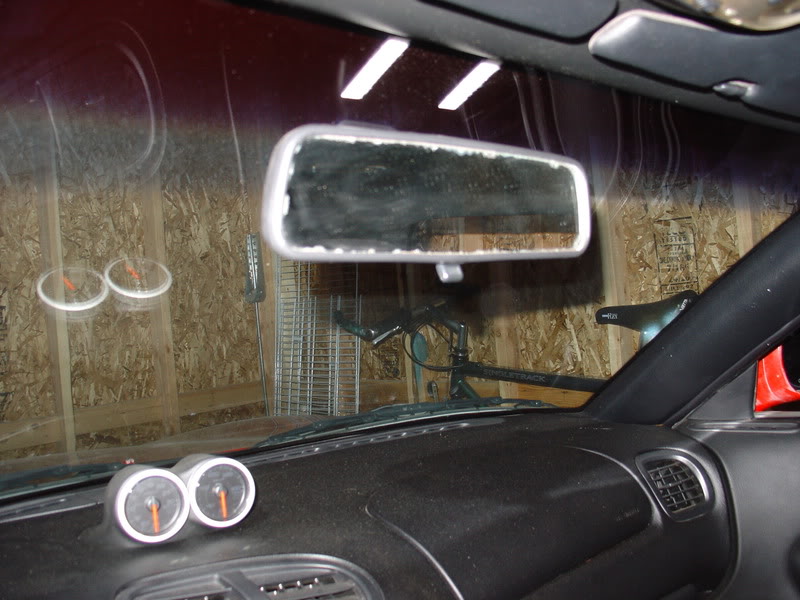
Remove the old oxidized mirror from your car. Do this by first loosening the screw located in the base of the mirror stem. Once this screw is loose the mirror can be lifted off of its base. It�s not necessary to completely remove the screw, doing so will cause the clip to fall off of the mirror stem.
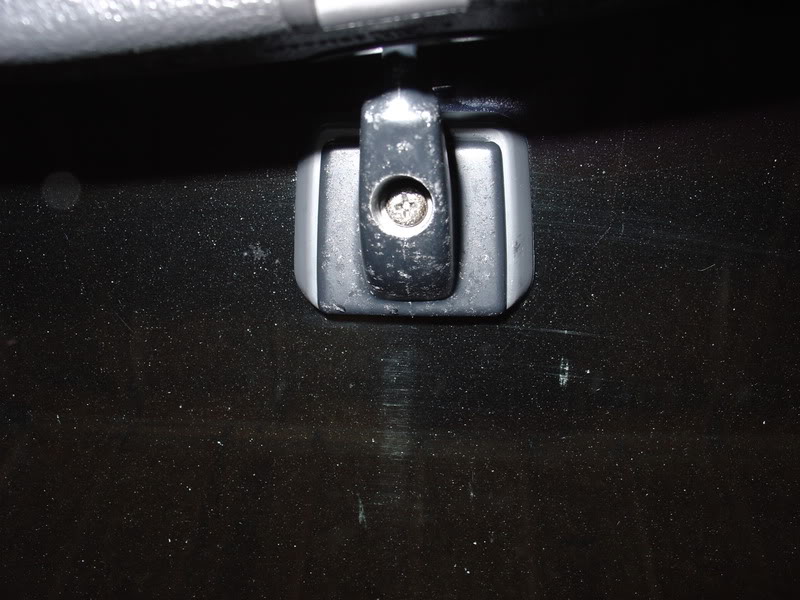
Next remove the 2 tiny screws located in the base mounting plate. These screws are tiny and will strip easily if too large a screw driver is used. My car was missing one of these when I first got it, which causes the mirror to flop around. Once these screws are out, the mounting button is reveled.
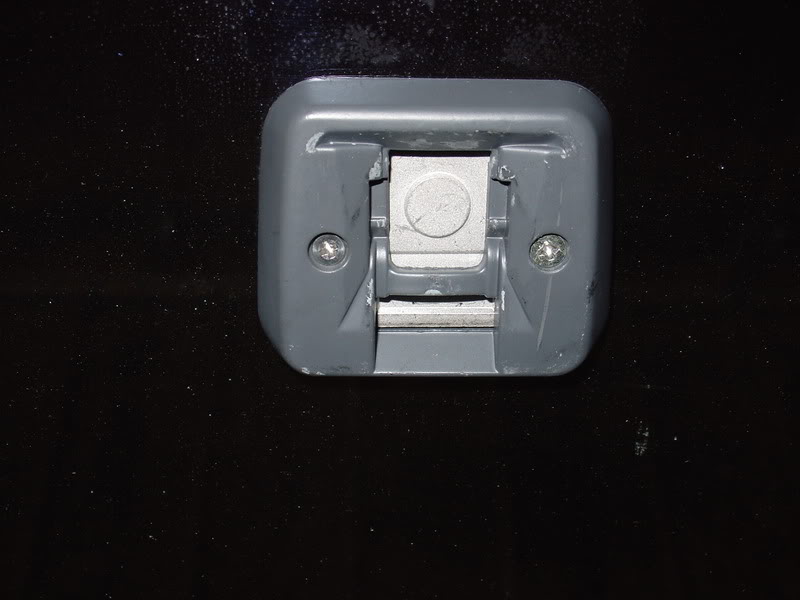
Next we remove the button. This is where things get tricky, and some that attempt this break the windshield.
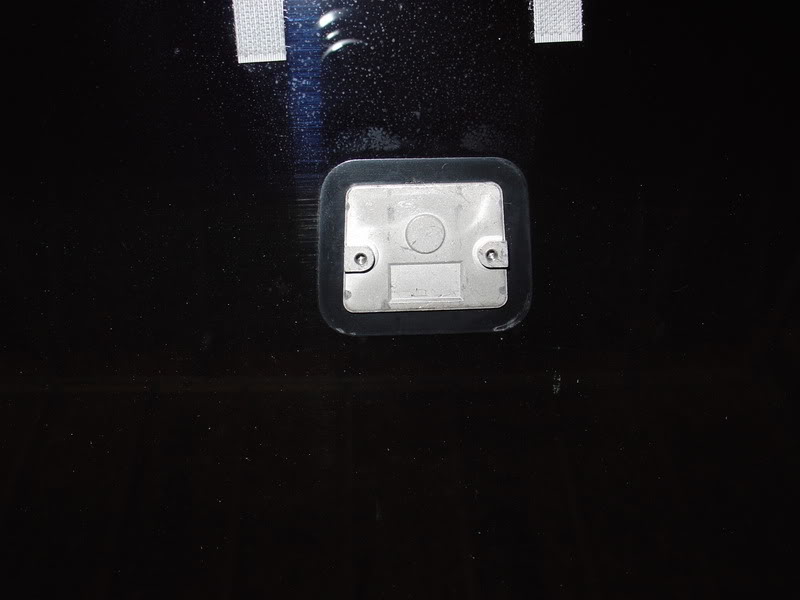
To remove the button, the best method I have found is to apply a small amount of solvent to the top surface of the button. You can use a cotton ball, or small dropper to apply as little as you can so you don�t get a stream running everywhere.
Before you attempt this its best to cover up anything you don't want to ruin.
Let the solvent soak in, if you are lucky this will cause the button to just fall off, if not, you need to move on to heat.
Using the heat gun, GENTLY apply heat to the button only. Be careful when applying heat to the windshield as you can overheat and remove the factory tint, or in the worst case melt the laminate. While applying heat I checked the temp of the button with my pyrometer. At about 210 degrees I could smell the glue getting hot, and using the razor blade popped the button off the glass. Do not use force here. If the glue is dissolved, or hot enough, the button will just fall off with minimal force. If you have to force it you will break something.
With the button off, move on to the wiring while the glass cools down.
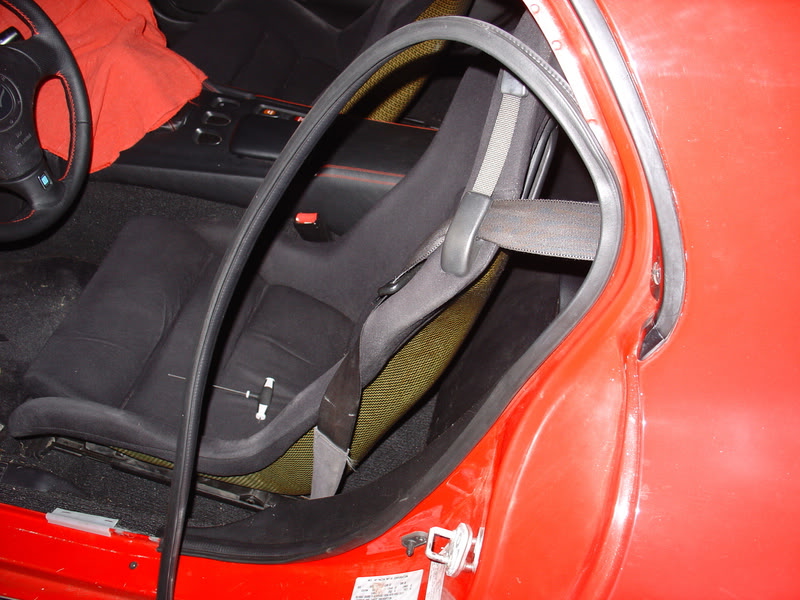
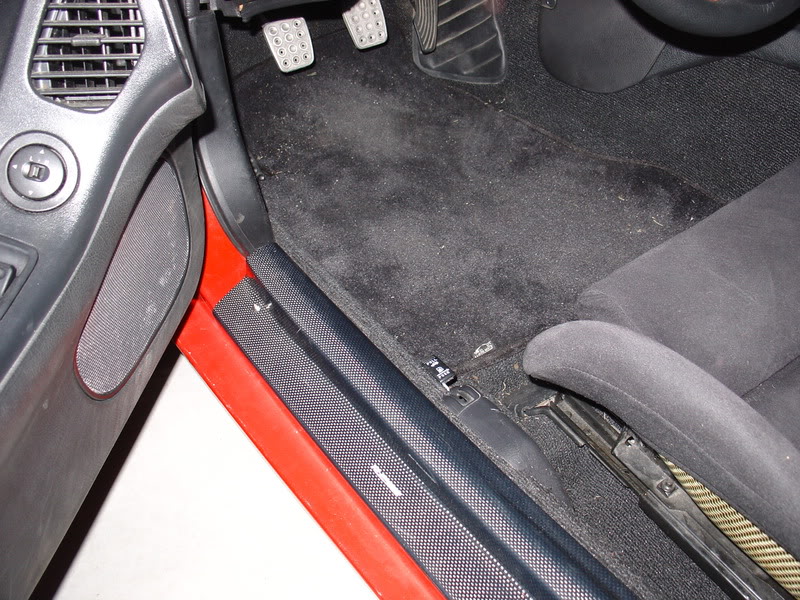
Remove the door sill plate, footwell molding, and A-pillar cover.

What you'll need:
Auto-Dim Mirror (Gentrex model 50-GENK2A)

New Mirror Button

Tools:
Heat Gun
Digital pyrometer (optional)
Solvent (nail polish remover or rubbing alcohol)
Razor blade or scraper
Philips screw driver
Micro Philips screw driver
10 mm nut driver
T15 Torx driver (for new mirror)
Braided wire loom (optional)
You will be doing electrical work, so as always, disconnect the battery.
Remove the old oxidized mirror from your car. Do this by first loosening the screw located in the base of the mirror stem. Once this screw is loose the mirror can be lifted off of its base. It�s not necessary to completely remove the screw, doing so will cause the clip to fall off of the mirror stem.
Next remove the 2 tiny screws located in the base mounting plate. These screws are tiny and will strip easily if too large a screw driver is used. My car was missing one of these when I first got it, which causes the mirror to flop around. Once these screws are out, the mounting button is reveled.
Next we remove the button. This is where things get tricky, and some that attempt this break the windshield.
To remove the button, the best method I have found is to apply a small amount of solvent to the top surface of the button. You can use a cotton ball, or small dropper to apply as little as you can so you don�t get a stream running everywhere.
Before you attempt this its best to cover up anything you don't want to ruin.
Let the solvent soak in, if you are lucky this will cause the button to just fall off, if not, you need to move on to heat.
Using the heat gun, GENTLY apply heat to the button only. Be careful when applying heat to the windshield as you can overheat and remove the factory tint, or in the worst case melt the laminate. While applying heat I checked the temp of the button with my pyrometer. At about 210 degrees I could smell the glue getting hot, and using the razor blade popped the button off the glass. Do not use force here. If the glue is dissolved, or hot enough, the button will just fall off with minimal force. If you have to force it you will break something.
With the button off, move on to the wiring while the glass cools down.
Remove the door sill plate, footwell molding, and A-pillar cover.
Peel back the door gasket.
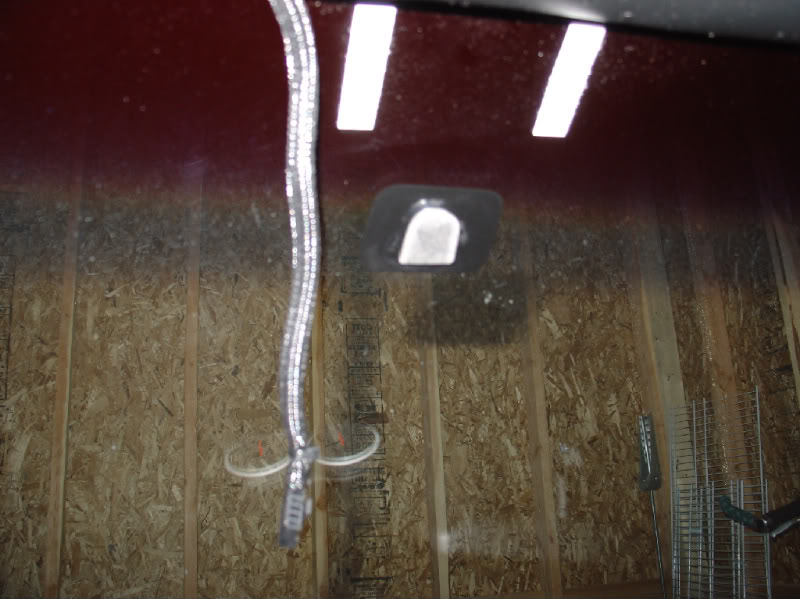
Remove the plastic clip in the corner of the headliner. This should give you enough room to pull the headliner out to slide the wire in.
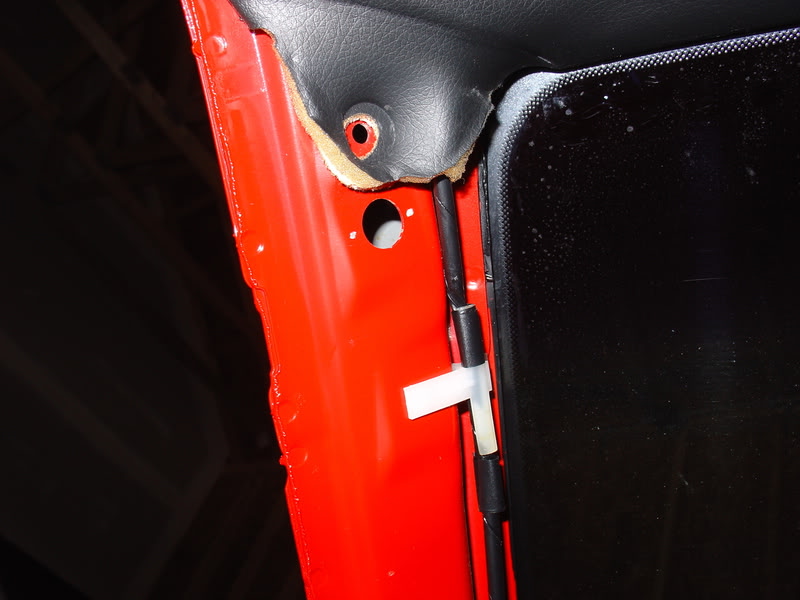
Slide the wire behind the headliner from the connector end near where the mirror will mount, to the A-pillar. You should be able to gently pull the headliner away from the roof and push the wire into the gap.
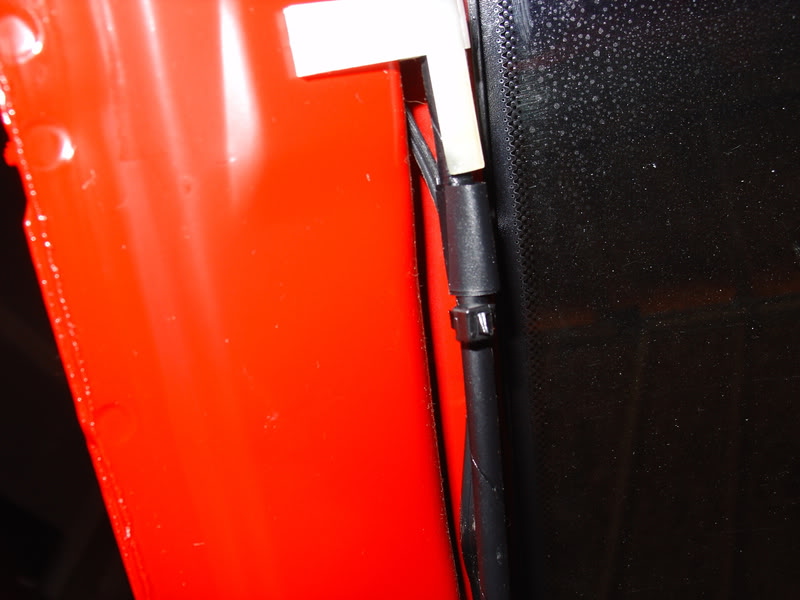
At this point I test fit the mirror to the windshield to get an idea of how much wire I needed exposed. Do this by connecting the plug on the back of the mirror and holding the mirror in pace by hand. Pull tight all the slack and secure the mirror harness to the wire already running up the A-pillar with a zip tie.
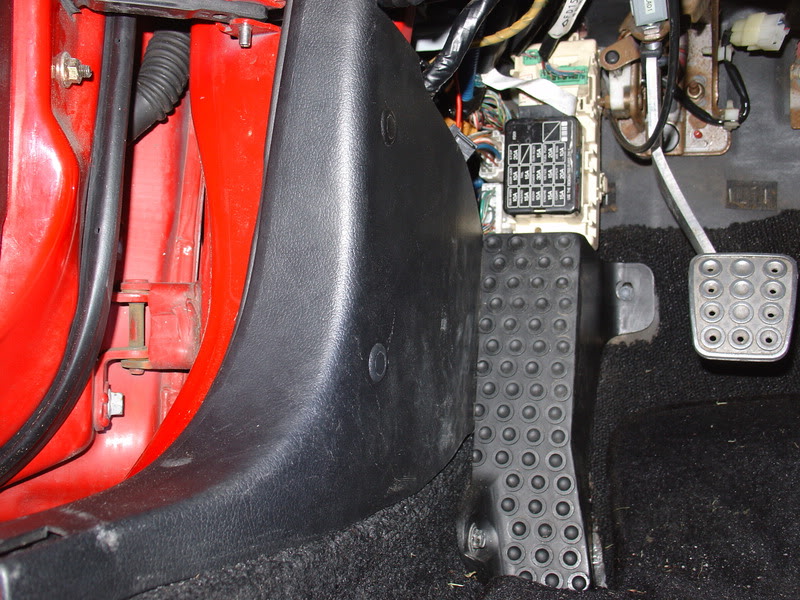
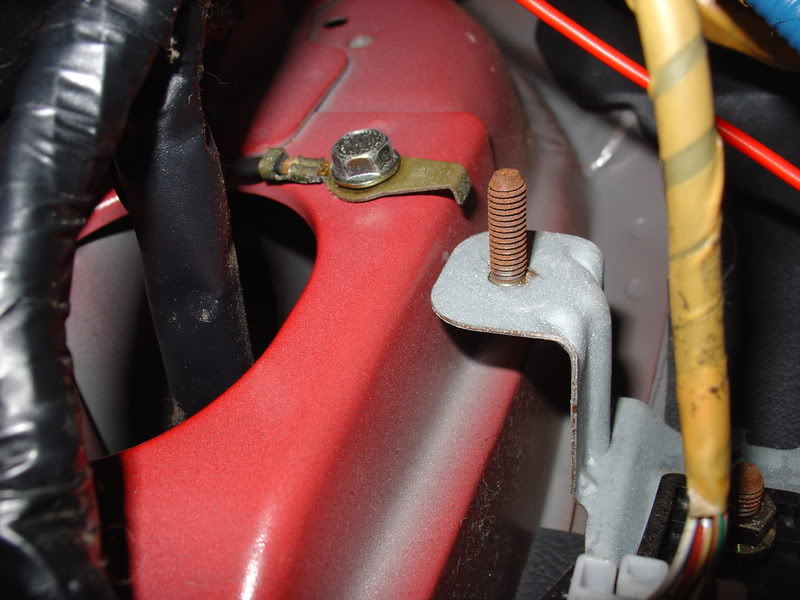
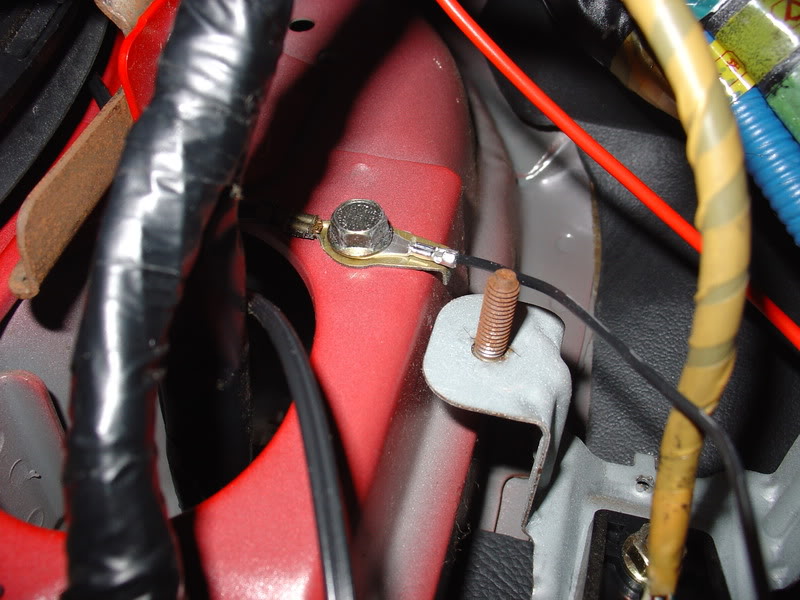
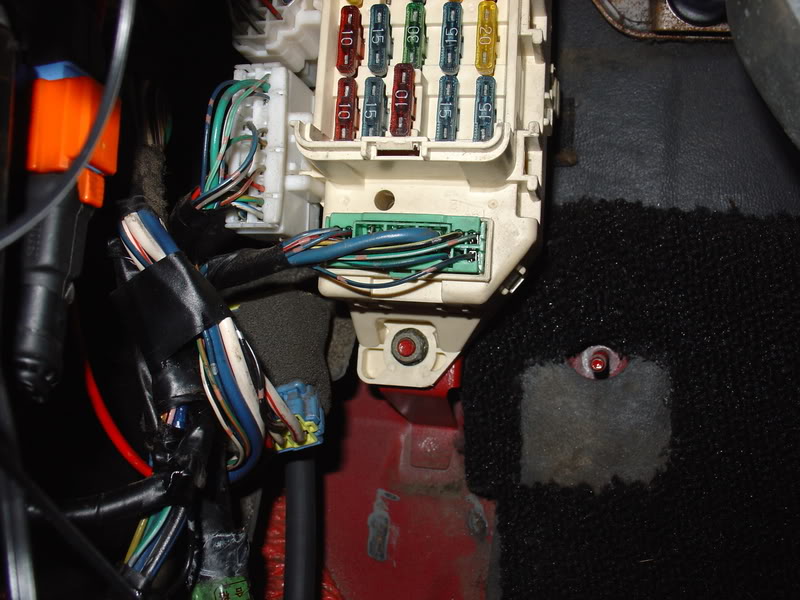
Now for the wiring. You will need to find ground and ignition power. There should be a ground point just inside the driver side footwell as shown in the picture below. Remove the 10mm bolt and slide the ground ring over it. Re-install.
Reconnect your battery temporarily.
Remove the dead pedal, and locate a hot wire when the ignition is on (when the windows and fan motor work but the car isn�t running).
I found this wire to be an easy target.
Disconnect the battery again.
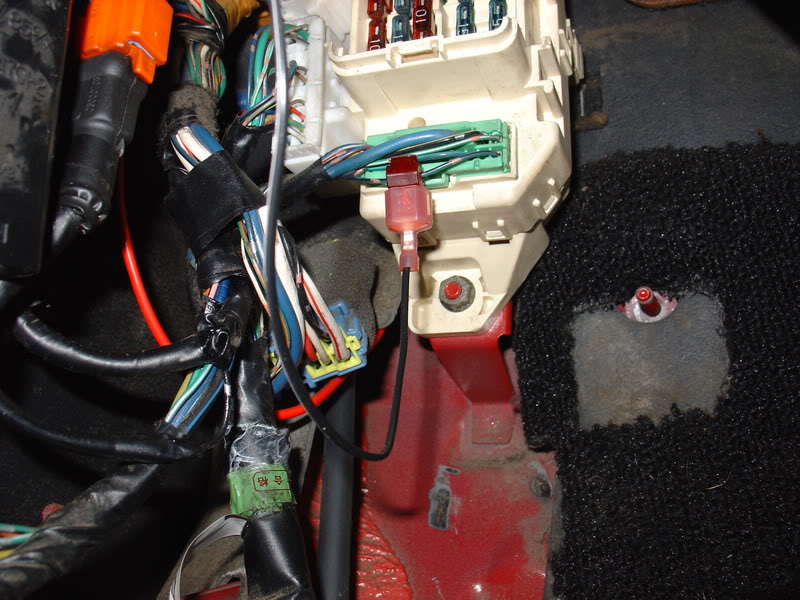
Using the supplied connector, splice into the wire and plug the harness in as shown.
To save yourself extra work, reconnect the battery and make sure you have battery voltage between the two pins on the mirror side of the harness.
Secure the harness with zip ties and re-assemble the dead pedal, moldings and sill plate.
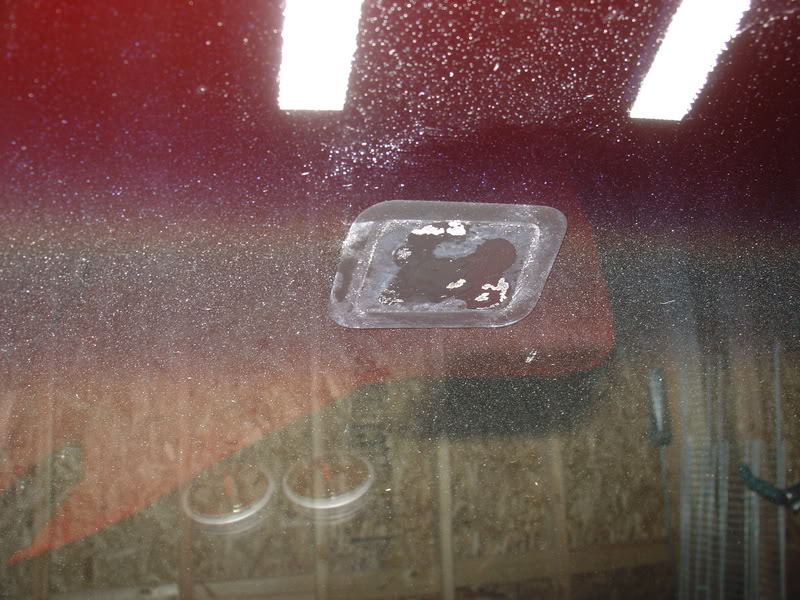
Next, prep the windshield for the new button. Using the razor blade or scraper, remove all of the old glue from the mounting surface. Some solvent will help for the stubborn bits.
Follow the instructions on the new button kit. My kit supplied primer and adhesive. Prime the windshield and the button and apply the adhesive as directed.
Mount the new button and hold in place for about 1 minute with moderate pressure.
Allow the button to dry for several hours. My kit said 15 minutes, which cause the button to promptly fall off once the mirror was attached. I waited much longer the second time and everything is rock solid.
(Optional) Pull the harness down a few inches and apply some braided wire loom. I used some self wrapping stuff I got on McMaster-Carr. Secure the ends with zip ties. You could also use the optional harness cover, which I thought was a waste at 10 bucks.
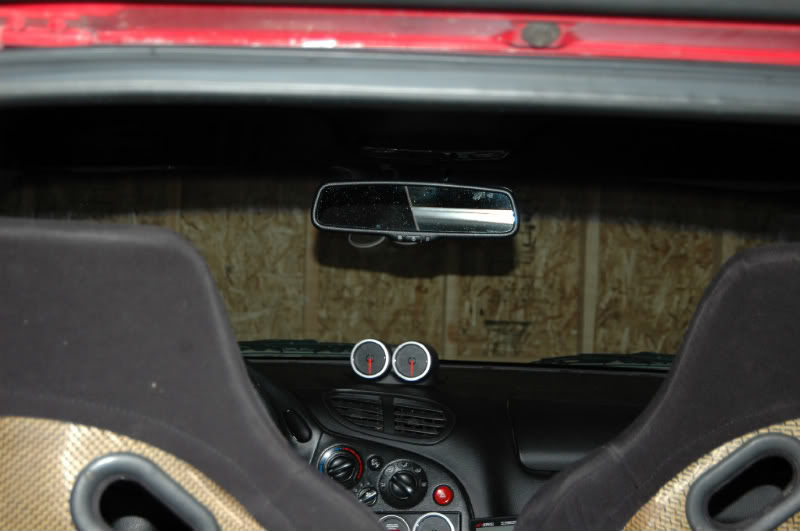
Slide the new mirror over the button and secure using the T15 Torx driver.
Plug in the harness, tucking any extra wire under the headliner.
Adjust the mirror to your desired location and enjoy.
For a final check you can turn your key on, turn on the mirror and shine a flashlight into it. The mirror should automatically dim.
These mirrors are also available with options like temperature, compass, and homelink for your garage door. I decided not to go with these options, but if you do, most of the install steps will be the same.
Thanks for reading!
-Ken
Remove the plastic clip in the corner of the headliner. This should give you enough room to pull the headliner out to slide the wire in.
Slide the wire behind the headliner from the connector end near where the mirror will mount, to the A-pillar. You should be able to gently pull the headliner away from the roof and push the wire into the gap.
At this point I test fit the mirror to the windshield to get an idea of how much wire I needed exposed. Do this by connecting the plug on the back of the mirror and holding the mirror in pace by hand. Pull tight all the slack and secure the mirror harness to the wire already running up the A-pillar with a zip tie.
Now for the wiring. You will need to find ground and ignition power. There should be a ground point just inside the driver side footwell as shown in the picture below. Remove the 10mm bolt and slide the ground ring over it. Re-install.
Reconnect your battery temporarily.
Remove the dead pedal, and locate a hot wire when the ignition is on (when the windows and fan motor work but the car isn�t running).
I found this wire to be an easy target.
Disconnect the battery again.
Using the supplied connector, splice into the wire and plug the harness in as shown.
To save yourself extra work, reconnect the battery and make sure you have battery voltage between the two pins on the mirror side of the harness.
Secure the harness with zip ties and re-assemble the dead pedal, moldings and sill plate.
Next, prep the windshield for the new button. Using the razor blade or scraper, remove all of the old glue from the mounting surface. Some solvent will help for the stubborn bits.
Follow the instructions on the new button kit. My kit supplied primer and adhesive. Prime the windshield and the button and apply the adhesive as directed.
Mount the new button and hold in place for about 1 minute with moderate pressure.
Allow the button to dry for several hours. My kit said 15 minutes, which cause the button to promptly fall off once the mirror was attached. I waited much longer the second time and everything is rock solid.
(Optional) Pull the harness down a few inches and apply some braided wire loom. I used some self wrapping stuff I got on McMaster-Carr. Secure the ends with zip ties. You could also use the optional harness cover, which I thought was a waste at 10 bucks.
Slide the new mirror over the button and secure using the T15 Torx driver.
Plug in the harness, tucking any extra wire under the headliner.
Adjust the mirror to your desired location and enjoy.
For a final check you can turn your key on, turn on the mirror and shine a flashlight into it. The mirror should automatically dim.
These mirrors are also available with options like temperature, compass, and homelink for your garage door. I decided not to go with these options, but if you do, most of the install steps will be the same.
Thanks for reading!
-Ken


Great write up! One small suggestion. Instead of tapping the power source where you did. Use a spade connector to go into the empty slot at the top right of the fuse box which is an unused ignition on power source. Personally (and many others) use this slot to power multiple items.
Thank you for taking the time to contribute!
Thank you for taking the time to contribute!


Very nice.
Although most people are also very interested to know how much it all cost.
For whatever reason some people don't like posting that kind of information but it really helps.
Also the source for the parts (if we are allowed to post that kind of info). You posted the PN but where did you buy from.
And thanks for adding yet another item to my to-do list!
Regards,
Crispy
Trending Topics
Great write up! One small suggestion. Instead of tapping the power source where you did. Use a spade connector to go into the empty slot at the top right of the fuse box which is an unused ignition on power source. Personally (and many others) use this slot to power multiple items.
Thank you for taking the time to contribute!
Thank you for taking the time to contribute!
Very nice.
Although most people are also very interested to know how much it all cost.
For whatever reason some people don't like posting that kind of information but it really helps.
Also the source for the parts (if we are allowed to post that kind of info). You posted the PN but where did you buy from.
And thanks for adding yet another item to my to-do list!
Regards,
Crispy
Although most people are also very interested to know how much it all cost.
For whatever reason some people don't like posting that kind of information but it really helps.
Also the source for the parts (if we are allowed to post that kind of info). You posted the PN but where did you buy from.
And thanks for adding yet another item to my to-do list!
Regards,
Crispy
Gentex is an OEM supplier for a few manufacturers and lots of places sell them, mine came from Autoanything. The one I installed was about 80 bucks.
Like Scrub said, basic ones are fairly inexpenive, fancy ones with compass, outside temp and homelink can be upwards of 250.
Also good info on the power source. Thanks to all for that tip, and Evot23 for the pic.

This may come off as a stupid question, but whats with the power button in the center? If you are tapping from a switched 12v source, the mirror comes on automatically, correct? Is the button there to turn it off?
For some reason the wiring diagram pinout for connector JB-03 is upside down and backwards...
Its there to turn off the dim feature. Some lights can make these mirrors go crazy, constantly dimming and going back to normal, or you may not want to have it dim at all. Who knows really, its basically the replacement of the analog lever.
Great write up! One small suggestion. Instead of tapping the power source where you did. Use a spade connector to go into the empty slot at the top right of the fuse box which is an unused ignition on power source. Personally (and many others) use this slot to power multiple items.
Thank you for taking the time to contribute!
Thank you for taking the time to contribute!
I think he is better off using the one he did because his circuit is now protected by a fuse. Not that an Auto dimming mirror is a high amperage client but always a good idea to protect your investment with a fuse.


I did this to my Black FD back when (2002) and installed the auto dim/compass/outside temp mirror.
To take the button off, I used a thin clay cutting wires and used the razor blade to clean up the old glue. The wire when moved side to side, cut in to the glue and it barely touch the glass. I did try some solvent but with 0 luck. It just did penetrate that well for me.
To take the button off, I used a thin clay cutting wires and used the razor blade to clean up the old glue. The wire when moved side to side, cut in to the glue and it barely touch the glass. I did try some solvent but with 0 luck. It just did penetrate that well for me.
Last edited by Herblenny; Mar 30, 2011 at 10:00 PM.
 As usual, Herblenny has been there and done that lol
You are so funny Eddie... Anything useless that I could update my car, I might of done it. By the way, I have one of these Gentex mirror at home (just dim function). You would have to get the wiring somewhere else though. I was going to do this to my MB, but since I got a brand new glass, I decided not to risk it. Also, I rarely drive it night and with the jungle gym in the back, I bare can see out of it anyhow.
By the way, to OP, great write up and great looking interior!!
By the way, to OP, great write up and great looking interior!!
Last edited by Herblenny; Mar 31, 2011 at 08:58 AM.
I tried for 1.5hrs to get the button off my factory windshield without success using the methods listed in this thread. Nothing wrong with the instructions but the problem is our cars come with very thick BLACK goop to hold up the mirror button. Then I remembered I had spare guitar string from years ago when I was a novice guitarist (I can't play **** now).
NO worries about a broken windshield using my method.
Tools needed:
E Guitar string - (the thinest string)
gloves
razor blade
nail polish remover
hair dryer
1. Put on gloves.
2. wrap the string around your fingers. DO NOT HEAT THE WINDSHIELD since you will be sawing through the goop.
3. Floss it back and forth behind the button and it will fall off. 1 Minute is all it takes
4. Heat the goop with the hair dryer.
5. Clean up the black goop with the razor blade and nail polish remover.
Thanks for the input. That sounds like the method Herblenny went with using the clay cutting wire. I only posted what worked for me.
It sounds like your windshield may have been replaced at one point, as the thick black goo you are describing appears to be glass adhesive / caulking used by installers. As you can see in my pics the glue behind my button was very minimal.
Glad you found a method that worked for you. Removing the old button is the only part of this project that can be a pain.