
FD Interior Plastics - Refinishing


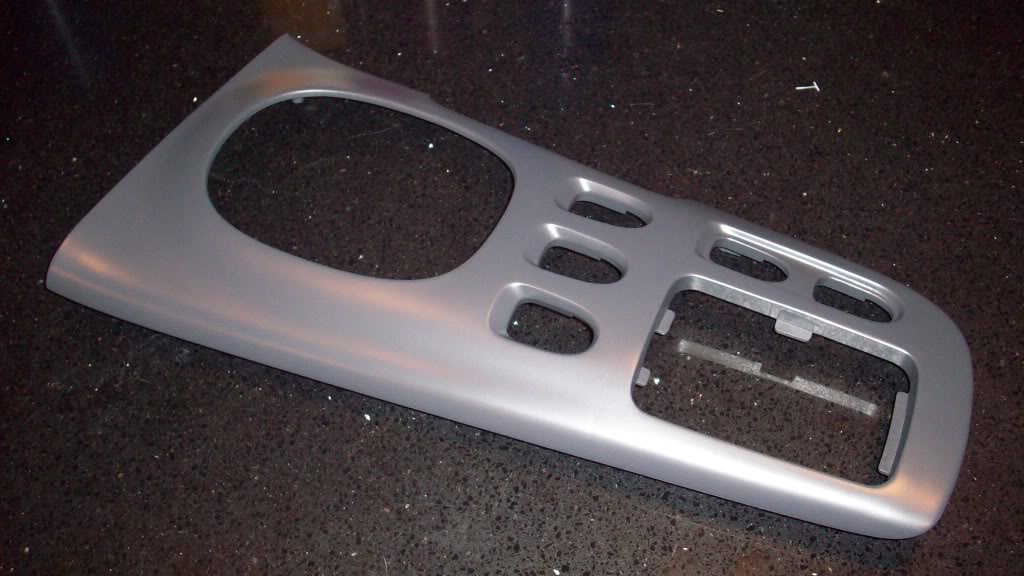
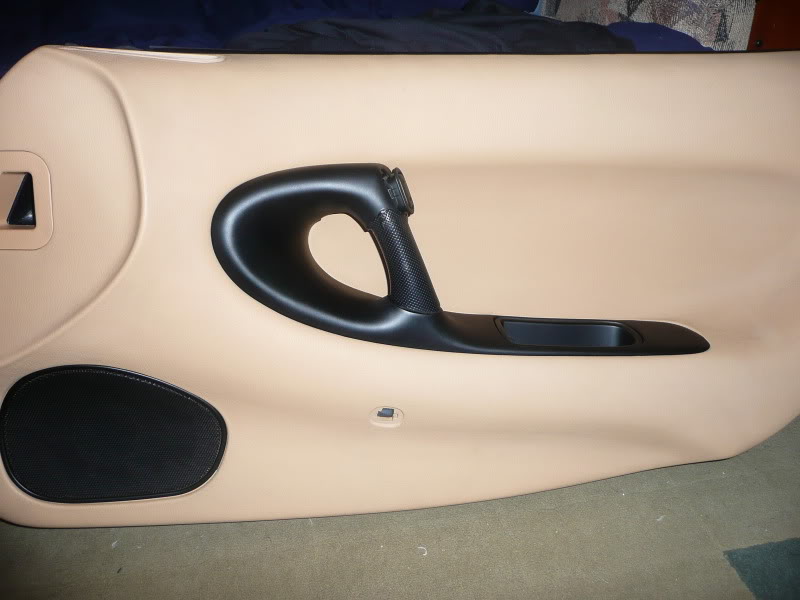
Just a quick tip, I used 400grit wet paper and it clogged the least removing the 93 coating. Still took time though, but the paper lasted MUCH longer. I highly recommend the Duplicolor Bumper coating for these interior pieces. I deleted the line on my shifter panel and sprayed it a charcoal gray to sort of mimic the Spirit R plastics.
Looks very OEM, soooo tasty.
Looks very OEM, soooo tasty.
Sandpaper works well if you have deep scratches that you have to get rid of, but if its just light scratches, just some polish remover goof off, works very well.
You CANNOT leave it sit on the plastics for too long however, it WILL eat the plastic.
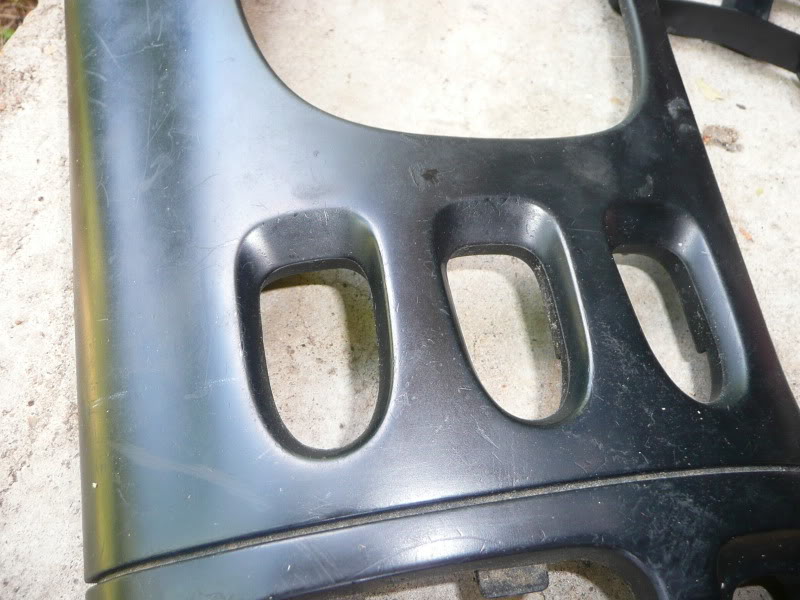
Before:
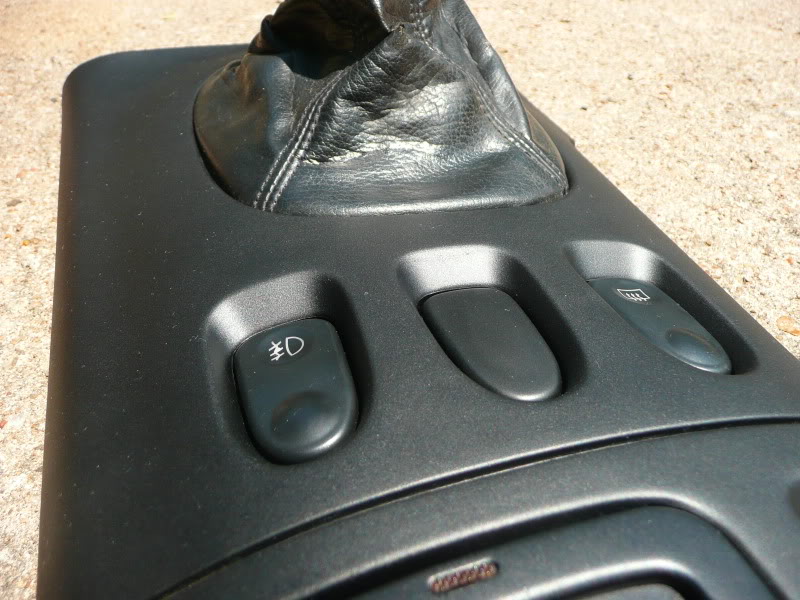
After:
Before:
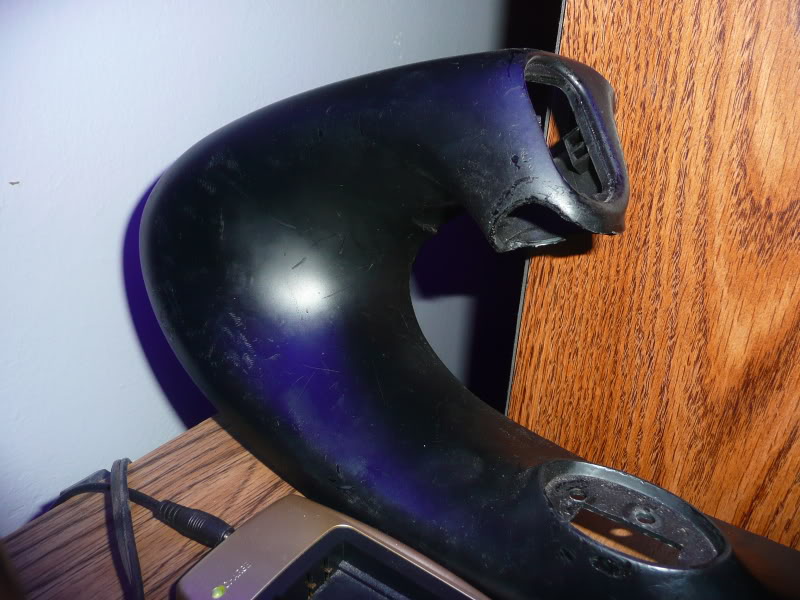
Before Paint:
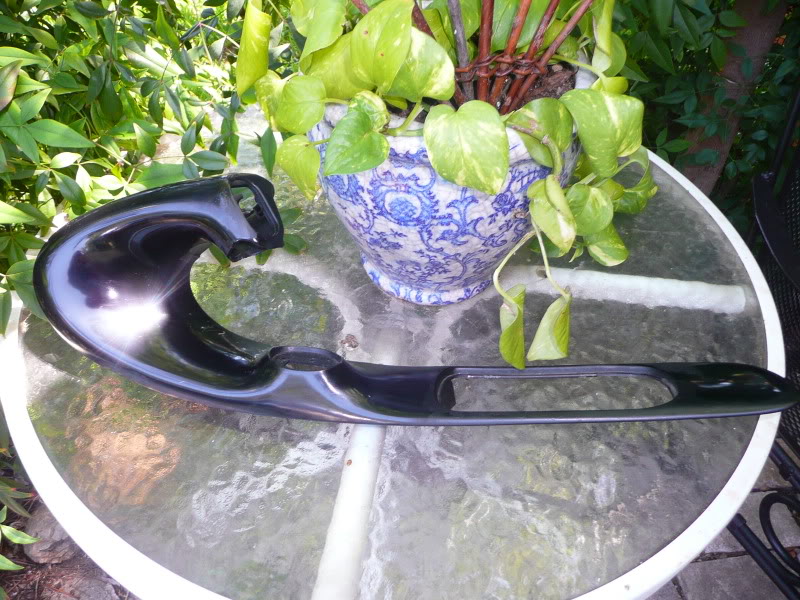
After:
I'm quite happy with how mine came out
Duplicolor Bumper paint FTW!
You CANNOT leave it sit on the plastics for too long however, it WILL eat the plastic.
Before:
After:
Before:
Before Paint:
After:
I'm quite happy with how mine came out
Duplicolor Bumper paint FTW!

maybe a stupid question, but does all the 93 interior pieces have the crap clear on it? from the pieces I've bought the center console obviously does, but the door handle pieces look like they dont. Cant wait to sand all this stuff...

They all have that coating on them. I have found that you can actually use a magic eraser to pull off the clear quite easily and make the pannels look real good unless they have deep scratches. I was going to repaint my whole interior then just ended up using the magic easer and the stuff looks great....

http://www.mrclean.com/en_US/magic-e...FU1M5Qodq19jaA
Not only does it work on interior plastics but also on the door pannels to remove marks and does a great job on clear coat to work out scratches lol....
Not only does it work on interior plastics but also on the door pannels to remove marks and does a great job on clear coat to work out scratches lol....
https://www.rx7club.com/interior-exterior-audio-26/definitive-tan-black-fd-interior-thread-823903/
Keep in mind when doing it that you are technically wet sanding the plastics so color will come off and its ok. If you do use it on the door pannels it can lighten the color if you are too rough also.... The pads are esentially super fine sand paper so in excess (you would probably have to sand with them for hours though) they can cause damage or discoloration.
this will be the last time I update here as i will make a full write up once I'm done with my plastics, but the mr clean magic erasers dont work...not even close. Possibly to "clean" the interior plastics, but not to remove the stock rubber coating. They shred and dont come close to loosening the stuff.
On my way home I stopped at the Napa auto paint store and got some AWESOME stuff that is safe on most plastics also, like the ELO suggested in this thread. I could not find the ELO otherwise would have tried it first. It came in a spray bottle also which made it easy. It only took me an hour start to finish to strip the center console piece. Took me longer to wet sand a couple deep scratches honestly. Just wanted to add this before everyone jumped on the magic eraser band wagon. When I have time and finish I plan on doing a detailed write up with pics. If anyone wants the name of the Napa stuff just PM me in the mean time. This is going to be a lengthy process but I'm doing it right so I hopefully never will have to again.
On my way home I stopped at the Napa auto paint store and got some AWESOME stuff that is safe on most plastics also, like the ELO suggested in this thread. I could not find the ELO otherwise would have tried it first. It came in a spray bottle also which made it easy. It only took me an hour start to finish to strip the center console piece. Took me longer to wet sand a couple deep scratches honestly. Just wanted to add this before everyone jumped on the magic eraser band wagon. When I have time and finish I plan on doing a detailed write up with pics. If anyone wants the name of the Napa stuff just PM me in the mean time. This is going to be a lengthy process but I'm doing it right so I hopefully never will have to again.
Only thing that works is wet sanding the coating off. It's the safest most even way to remove the coating, hands down. Don't try and cheat this, you'll only make more work for yourself.
thats funny, I just told a way thats ten times faster and you say wet sanding is the only way to do it. if you mean cheating yourself as in saving time then your right for sure. I guess for us cheaters I can highly recommend this product I got from Napa paint like I said: DoradoFix 1400 Paint Overspray, Gunk, and Goof Remover
Stripped the rubber right off and left the plastic looking splotchy gray, but a quick wet sand to smooth it all out and I was golden. Used some 800 then 1000 wet paper. Only took about 5 minutes for the cleaner to react and strip the crap off. I saw no signs of it eating or damaging the plastics in this time frame. Just be sure to soap and water thoroughly after use. Hope this helps someone.
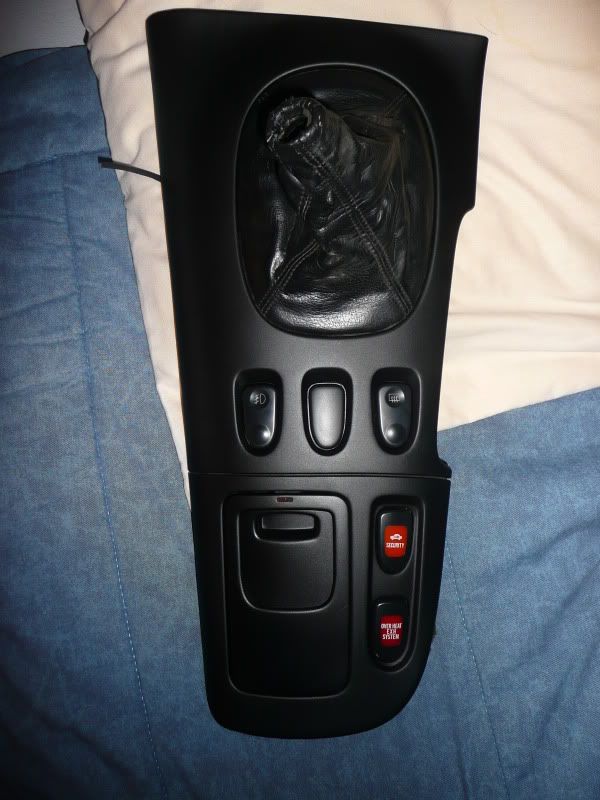
+1 on Duplicolor's Bumper Coating. The few pieces I painted turned out amazing. I tried using Plasti-Dip before this and although it came out nice, after a few drives in the car I realized how easily the pieces scratched. I can't say exactly how durable the bumper paint is yet, but after pressing on it hard with my fingernail I haven't put a mark in it.
Attached are the pieces I painted so far. Sorry the camera quality isn't the best and definitely does not do the pieces justice.
Attached are the pieces I painted so far. Sorry the camera quality isn't the best and definitely does not do the pieces justice.
Just a quick tip, I used 400grit wet paper and it clogged the least removing the 93 coating. Still took time though, but the paper lasted MUCH longer. I highly recommend the Duplicolor Bumper coating for these interior pieces. I deleted the line on my shifter panel and sprayed it a charcoal gray to sort of mimic the Spirit R plastics.

Looks very OEM, soooo tasty.
Looks very OEM, soooo tasty.

I just refinished mine last week. Lots of work, but definetely worth it. Here are some ideas that worked and what didn't:
first of all, I used 220 grit sandpaper and an orbital sander to remove all of the rubberized coating and rough up the surface. It's much faster than doing it all by hand, though you will have to sand some of the surface areas by hand. I then washed the pieces off in the sink to clear dust and debris and allowed them to dry. Then I sprayed two - three coats of primer and allowed to dry completely. Then took some fine sandpaper to smooth out the surface for final coats.
I bought the Plasti-coat rubberized spray from Home Depot. It's not fancy and shiny, but it retains the stock look and worked for what I was trying to accomplish.
I sprayed a few coats. Shake the can very well, because you want the mist to be as fine as possible. I spray a very fine coat to begin with and then follow up with heavier coats.
OK, so what no to do: I was getting lazy and impatient, so I decided to find an alternative way of sanding the stock finish off of the gauge cluster surround. I bought some rough abrasive sanding pads that were about two inches in diameter and attached to may air powered grinder tool. This worked amazingly well at stripping the finsh off down to bare plastic. What I didn't realize was that the wheel was gouging the plastic finish in areas. It was a combination of high speed, high heat and a pad that was to abrasive. Everthing seemed fine until I sprayed it with primer and all of the imperfections were visible. I had to resand and really work over the imperfections with an orbital sander, followed by lots of primer and fine grit hand sanding to smooth it out. In the end it didn't come out as well as the center console and a/c panel did.
Good luck

http://www.mrclean.com/en_US/magic-e...FU1M5Qodq19jaA
Not only does it work on interior plastics but also on the door pannels to remove marks and does a great job on clear coat to work out scratches lol....
Not only does it work on interior plastics but also on the door pannels to remove marks and does a great job on clear coat to work out scratches lol....
Door panels too? Interesting.... time for a Target run tonight
I wouldn't use the rubberized undercoating on your interior parts. If you decide to, test a piece of plastic first, allow it to dry and see how it stands up to wear and tear. It also doensn't leave as smooth of a finish as the plasti-coat
yeah, I used the plasticoat, but it has a different consistency than the rubberized undercoating. I would go with the plasticoat. It leaves a finish much like the stock finish. Either way, it's vulnerable to scratches. I am very careful not to scratch it when I am in the car. I don't think anything aside from true truck bed coating will be scratch resistant. Unfortunately so much of the center console is plastic and vulnerable to wear and tear.