
FD Interior Plastics - Refinishing

Mono,
Here are a few pics from my "Plasti_dip" project.
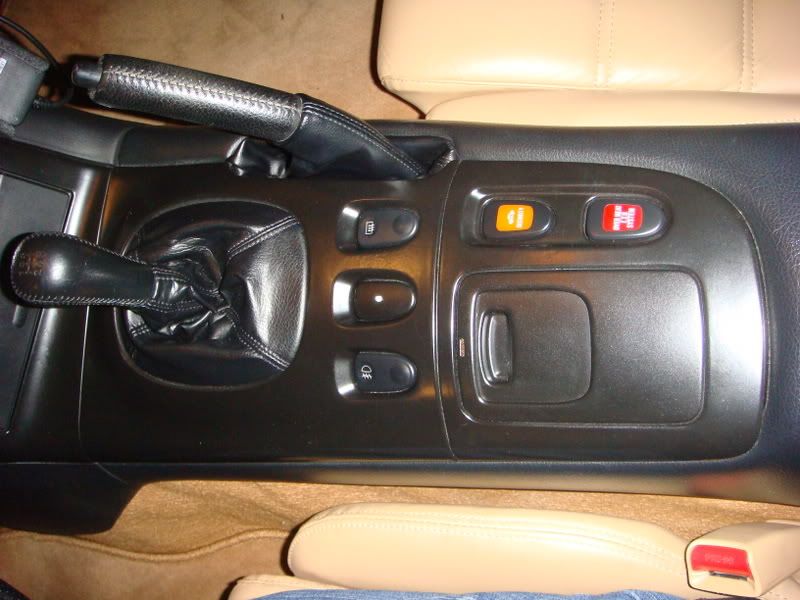

I really like the way it all turned out, and it seems durable as hell. Hope this helps. Feel free to ask any questions.
Mike
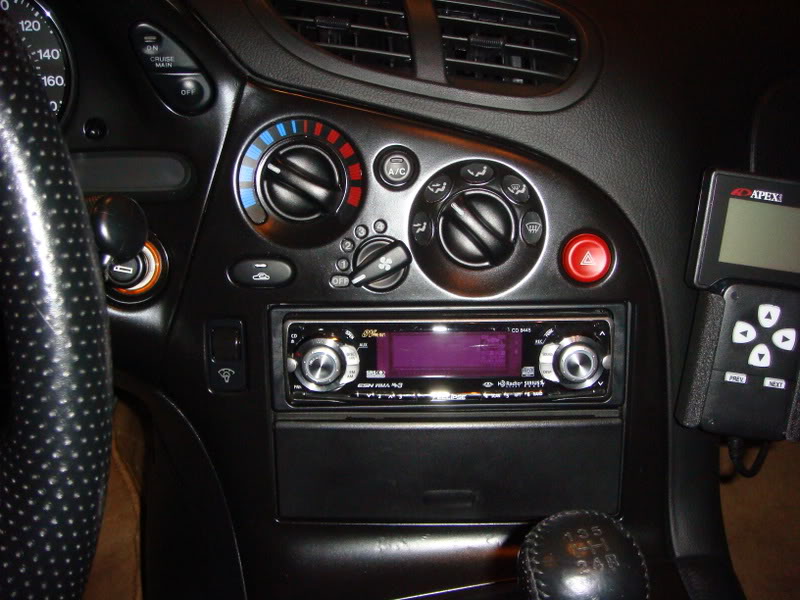
Here are a few pics from my "Plasti_dip" project.
I really like the way it all turned out, and it seems durable as hell. Hope this helps. Feel free to ask any questions.
Mike
Constant threat
Joined: Jul 2001
Posts: 4,968
Likes: 39
From: near Wichita, Kansas
Duplicolor DA1605 Flat Black is perfect. Just for grins, when I did my interior repaint the other day of the console and the driver's door, I noticed I had a little scuffing below the little cubby under the radio so...get this...I just shot it with the Duplicolor. Meaning I just held the can about a foot away and gave it a couple of coats. Even the overspray just blended in perfect...I couldn't have been happier.
I'm gonna say no go on the aircraft stripper. I made the mistake of using it on my center console piece and it basically started melting the panel  . Luckily, I caught it in time and am now in the process of restoring it. I sanded it, primed it, and I'm currently waiting for the panel to dry, so I can start sanding it again before hitting it with some paint.
I also wanted to add that I used duplicolor's bumper coating spray on my door pocket lid and it came out great! I'm planning to spray the rest of the panels with the same stuff. I'll be sure to post some pics when I finish.
. Luckily, I caught it in time and am now in the process of restoring it. I sanded it, primed it, and I'm currently waiting for the panel to dry, so I can start sanding it again before hitting it with some paint.I also wanted to add that I used duplicolor's bumper coating spray on my door pocket lid and it came out great! I'm planning to spray the rest of the panels with the same stuff. I'll be sure to post some pics when I finish.

"Jew" Kyle
Joined: Jul 2007
Posts: 406
Likes: 0
From: TN
Don't use paint thinner on plastics, it will probably ruin them. I sanded my door plastic and a/c panel using a coarse grit working up to very fine grit then just used krylon plastics paint and they turned out pretty good. I still need to do the gauge hood and surround yet. Considering how much the parts can cost even used, I'll spend the time. For the kick panels, rear panels and everything else behind the seats I just used a couple coats of the krylon paint and those turned out really good too. If you want to go really extreme you could talk to Gordon (gmonsen) about what he did with his, but it was very expensive.
hey guys,
I had one of those ebay "brushed aluminum" dash kits on my FD and it was nothing more than a thick gel with a laminate aluminum look on the bottom side. I really didn't like the look of it and decided to take it off and it was unreal how strong of a bond the dash kit had on my interior. i tried everything to try and pry it away and was getting nowhere. I decided to heat it up and that worked perfectly and even better the factory gel layer was coming off too. it was actually really easy to pull more of the factor layer off by itself just using heat. Don't know if it was just my car or not. you might give that a try.
Dom
Ok so I started on all my interior pieces today with different teqniques and I've decided that my car sux! I used Brillo pads on the A/C panel and they worked awsome but did nothing on other panels. The heat started to work good on the shift panel but got goopy with too much heat. I'm goin' in with the chemicals today...
I am in the process of re-doing my panels now. I did the passenger side door plastics and just finished my center console and the blank inserts that go next to the rear defroster switch (no foglights for me). I used the acetone + 3m green scrubby approach (with water baths after each round of scrubbing) to remove the existing finish and it seems to work just fine. I then did 400 grit and 800 grit wet sanding since I had some decent scratches to repair. That was followed by an alcohol wipedown with lint free cloths, then plastic adhesion promotor (2-3 light coats as reco'ed on the can), and then Duplicolor DA1605 Flat Black. Definitely a very good improvement, not sure if it's a perfect match (will be able to tell better after mounting next to my stock AC panel I am not re-doing).
Full Member
Joined: Dec 2004
Posts: 215
Likes: 0
From: wyoming
Thanks guys. Ya it takes a bit but once it's finished it looks a thousand times better. You have to take the dash panels out in order. There should be a couple how to's on where the srews and clips are. I believe you have to take out the the main gauge cluster panel and the shifter panel to get at the heater panel. I remember the gauge one to be a bitch. Just remember to pull it straight towards you (not up) with a bit of force to get it out. You also need a heat gun to remove the heater panel back lit dials (the off-1-2-3-4 etc...). Here's some more pics when I installed a start button and removed the chrome rings off the gauge cluster.


I will probably commit some cardinal sin asking this before searching but its immediately relevant to this thread...
How do I match the 94+ model textured finish? Anyone figure that out yet?
Majority of posts thus far have been for the flat 93 interior. Anyone redone their 94 and up? I know they changed it from factory to deal with the peeling plastics, but I have to do something about the cracks in my 94 interior peices.
^ I'm wondering the same thing . My cluster hood is cracked at the very bottom and I know I can easily fix it instead of buying a new hood, but getting it to match the rest of my interior when I'm done is going to be a pain.
I will probably commit some cardinal sin asking this before searching but its immediately relevant to this thread...
How do I match the 94+ model textured finish? Anyone figure that out yet?
Majority of posts thus far have been for the flat 93 interior. Anyone redone their 94 and up? I know they changed it from factory to deal with the peeling plastics, but I have to do something about the cracks in my 94 interior peices.
How do I match the 94+ model textured finish? Anyone figure that out yet?
Majority of posts thus far have been for the flat 93 interior. Anyone redone their 94 and up? I know they changed it from factory to deal with the peeling plastics, but I have to do something about the cracks in my 94 interior peices.
Try it out on a sample piece of plastic, I've only heard it works. I'm very torn on what to refinish my plastics with, Duplicolor Bumper Coating, or microfiber/suede type covering.
side note, for those who have already done this... whats the best way for for the AC controls? tape? or heat gun?

if u guys want a custom look check this just did it this weekend and dont even think about using auto or any type of paint stripper on plastic unless you are trying to destroy it on purpose it states on the can do not use on plastic it eats it. i do body work for a living so this was a a walk in the park currentley doing the exterior though.
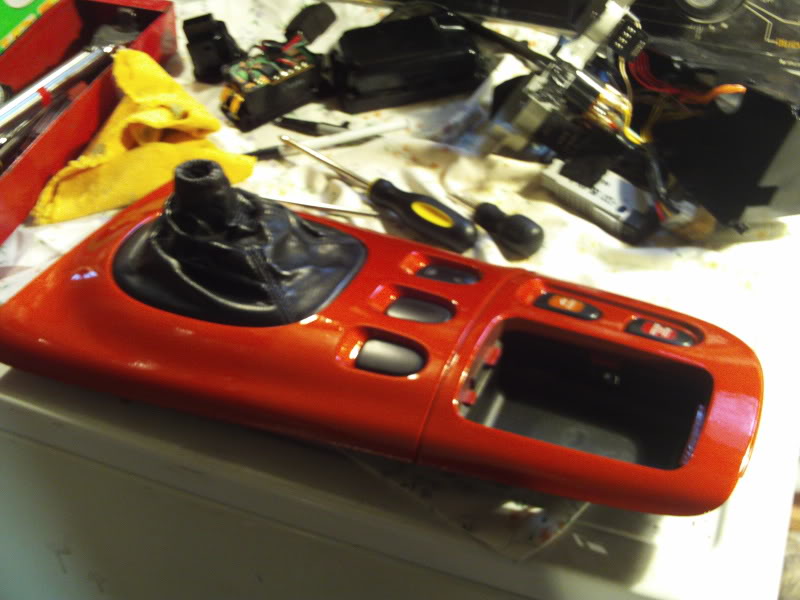
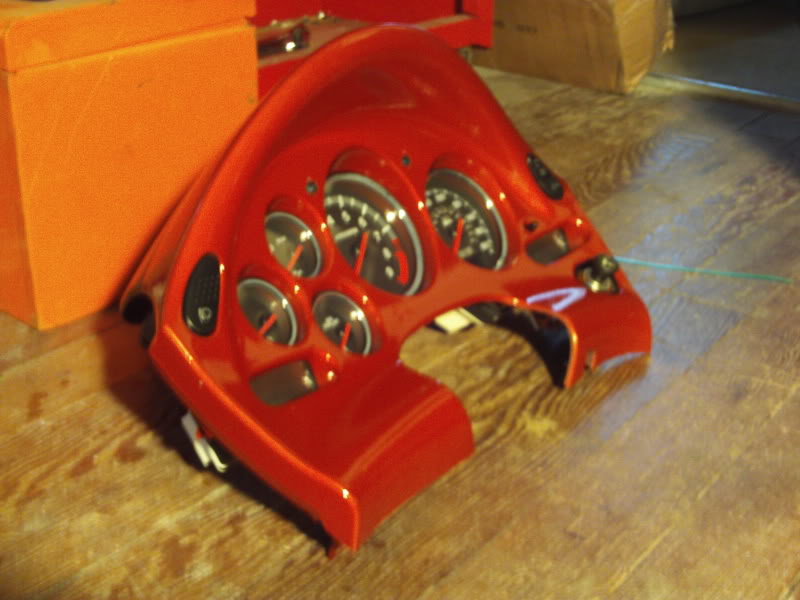
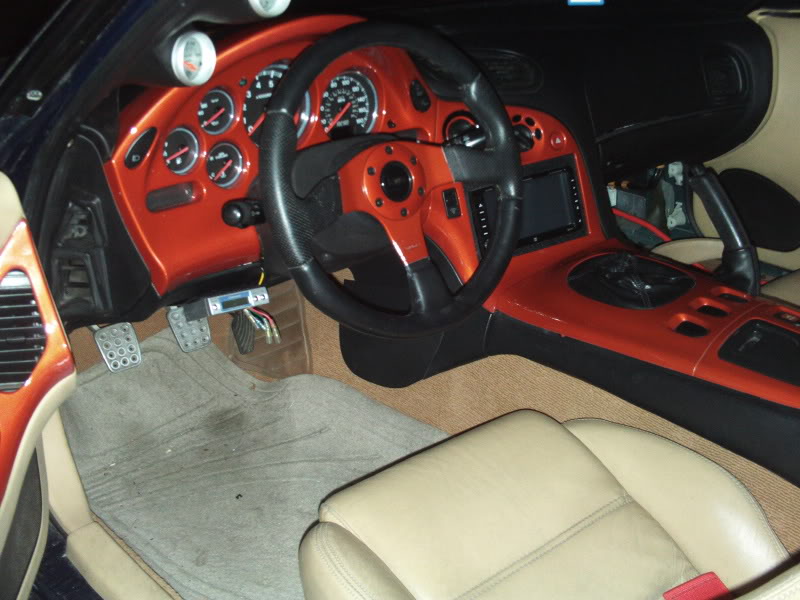
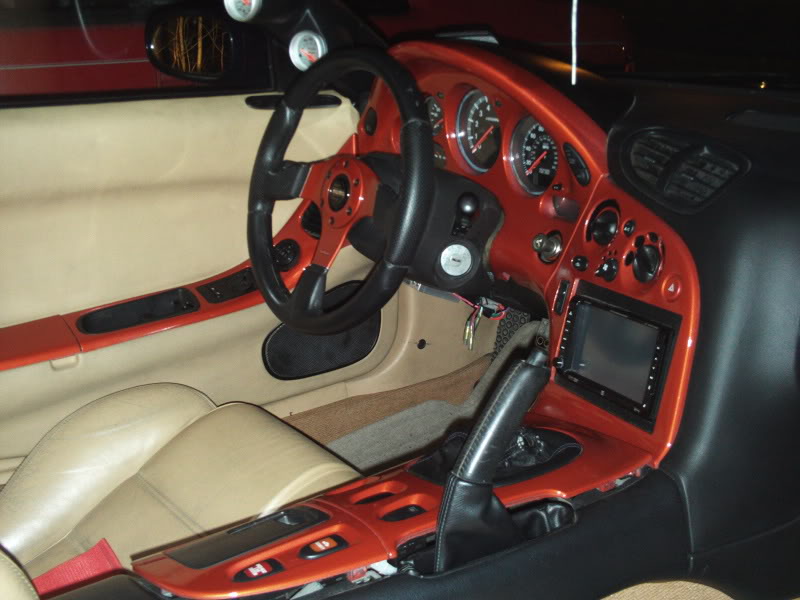
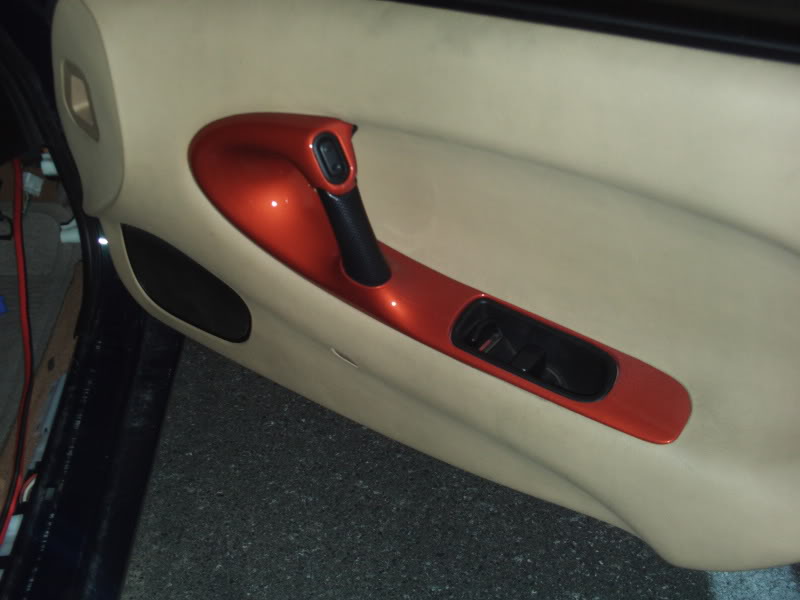
yea basecoat clearcoat and yes spray gun. thank u. its hot lava orange a scion color i painted my old acura this color i sold it though such a shame but cant beat the fd. here is an old pic of it

im sure it would look better but i dont wanna go through the hassel of locating a set and the bins and all the door pads themselves are actually mint, had to tweak a couple things and reienforce them too. otherwise perfect.


RHD Track Whore
Joined: Mar 2008
Posts: 225
Likes: 1
From: Moncton, N.B. Canada
A question to everyone who has refinished the door plastics.
I can't seem to find any info on how to remove the plastic door pieces from the door panel. I'd like to have an idea of how it's done before I start.
Any help?
Any help?
It's not hard to do at all. Once you get the door panel removed you can see what needs to be unscrewed. I'll try to find you a link in a bit with better instructions.