
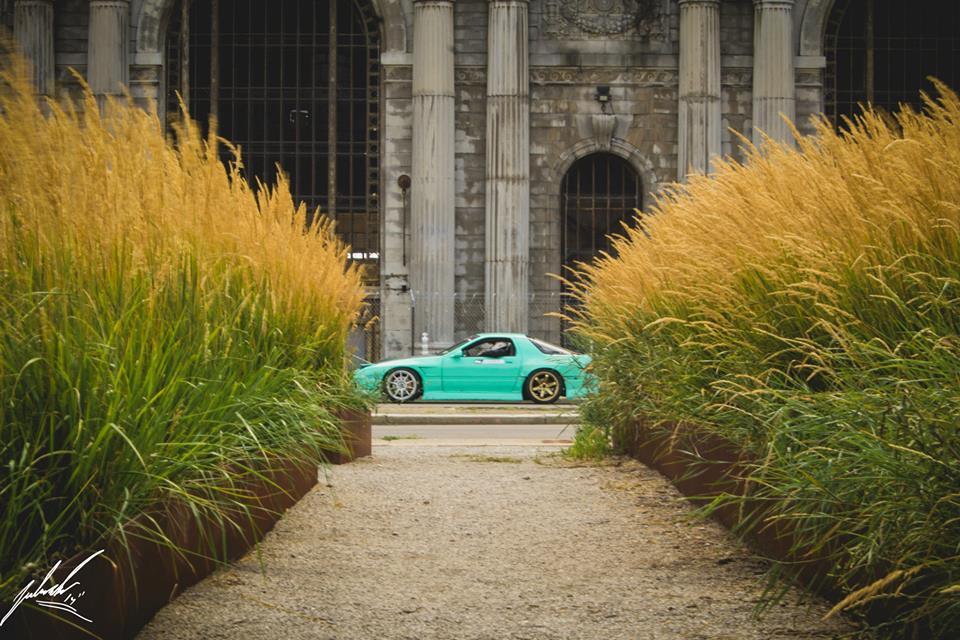
Schmitty's "Like it or Don't" Drift Build

Lol Zenki but yeah have to move that **** with any decent angle Me and my friend just redid my brake lines and I moved the bracket right behind the coilover. Looks like it's coming togather
Thread Starter
Joined: Nov 2004
Posts: 936
Likes: 1
From: Lincoln Park, NJ
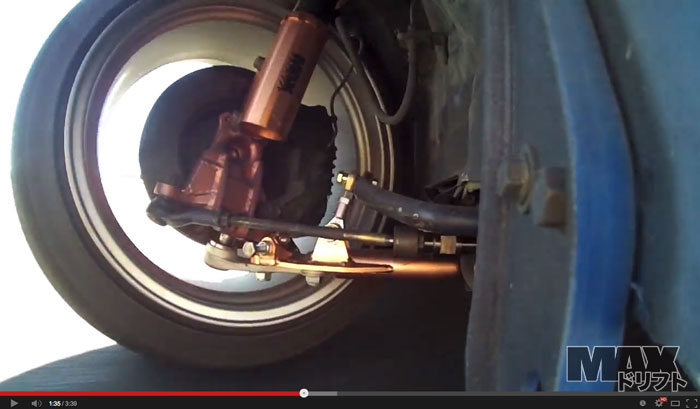
^^the bump stop bolt on the control arm is almost all the way extended. When I threw on my wheels mine was still almost completely retracted. If it fit the wheel+ tire and still hit the bump stop (fully extended) before shredding the tire on the frame I'll consider that a win.
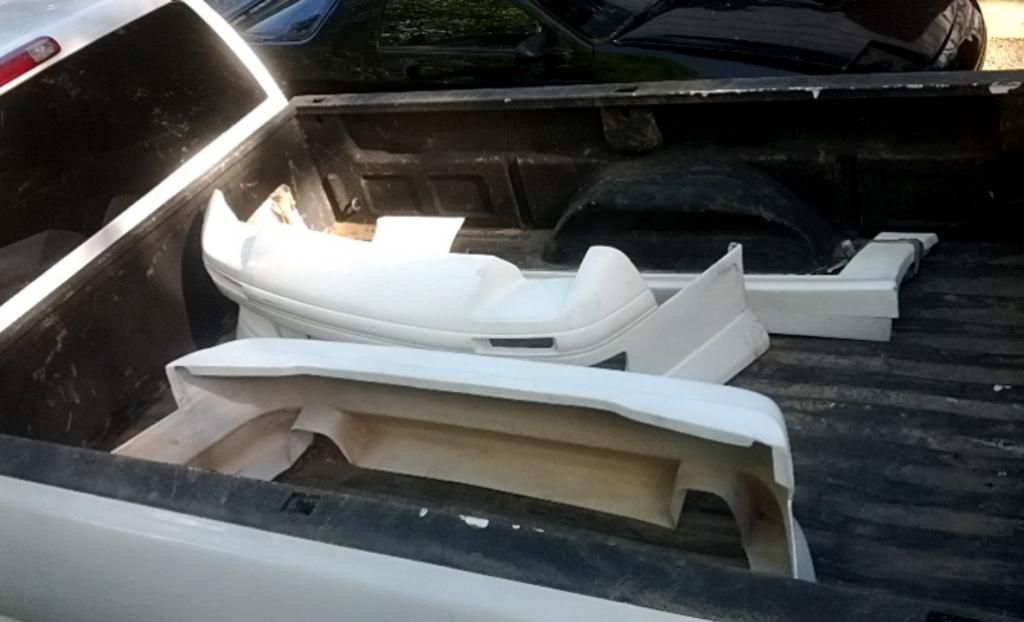
Scored another set of aero on CL... Maybe I can keep this one intact for more than 1 event.
Thread Starter
Joined: Nov 2004
Posts: 936
Likes: 1
From: Lincoln Park, NJ
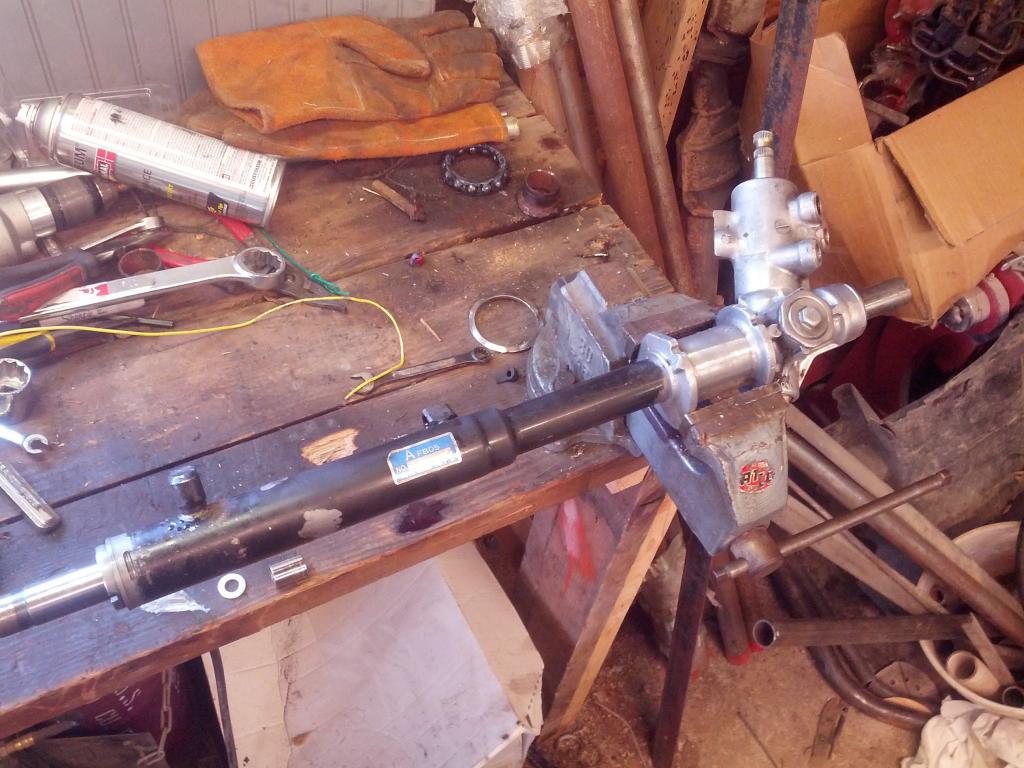
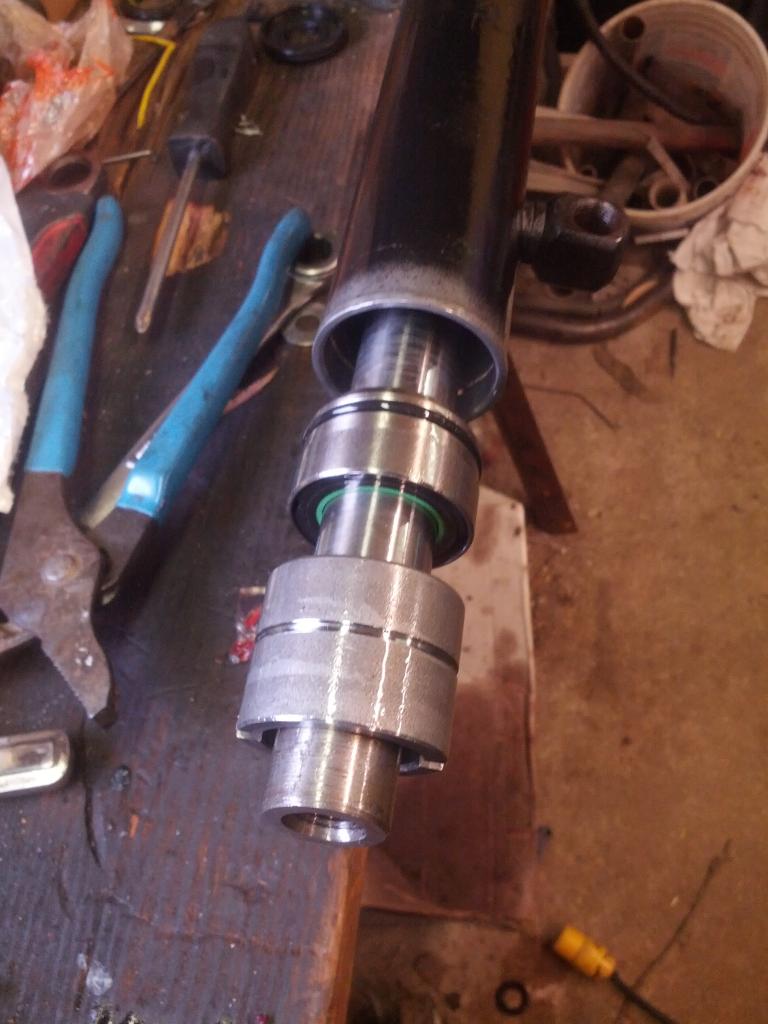
Finally got a chance to rebuild the power steering rack that I picked up for this thing. This is something I've never done before so it was pretty cool to tear into it and have it go back together pretty much as planned.
I followed this writeup on "Rotary Car Club":
http://goo.gl/oXMHwv
I didn't take a ton of pictures here since the entire process was a greasy-oily mess.
Everybody out -
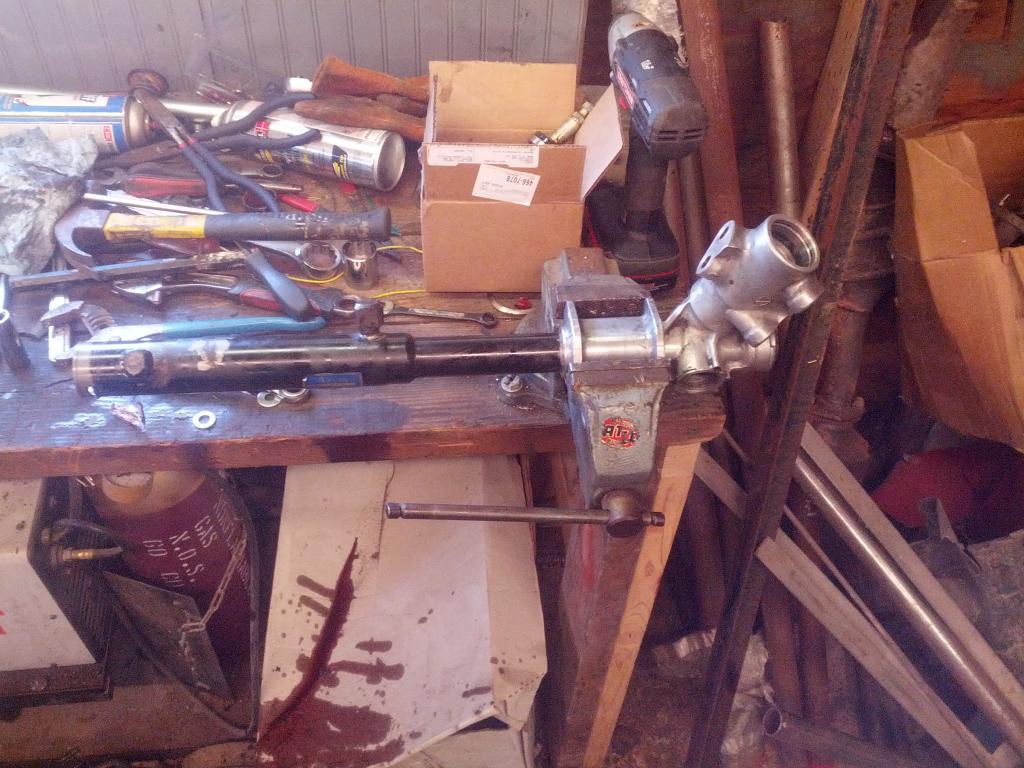
Clean parts
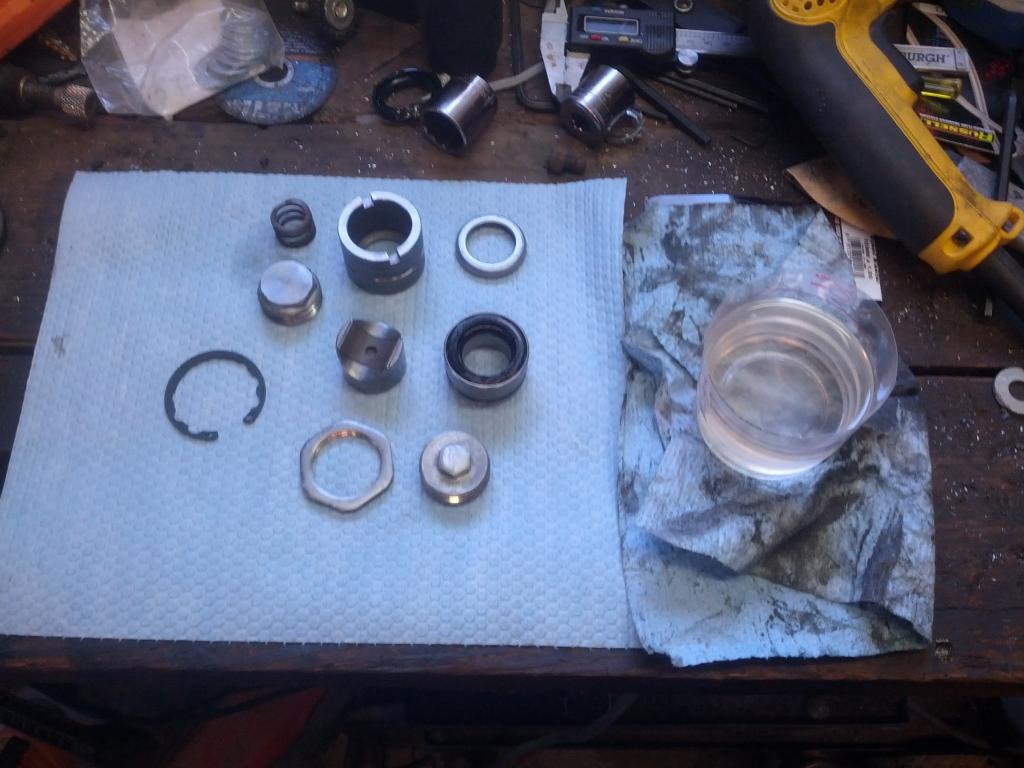
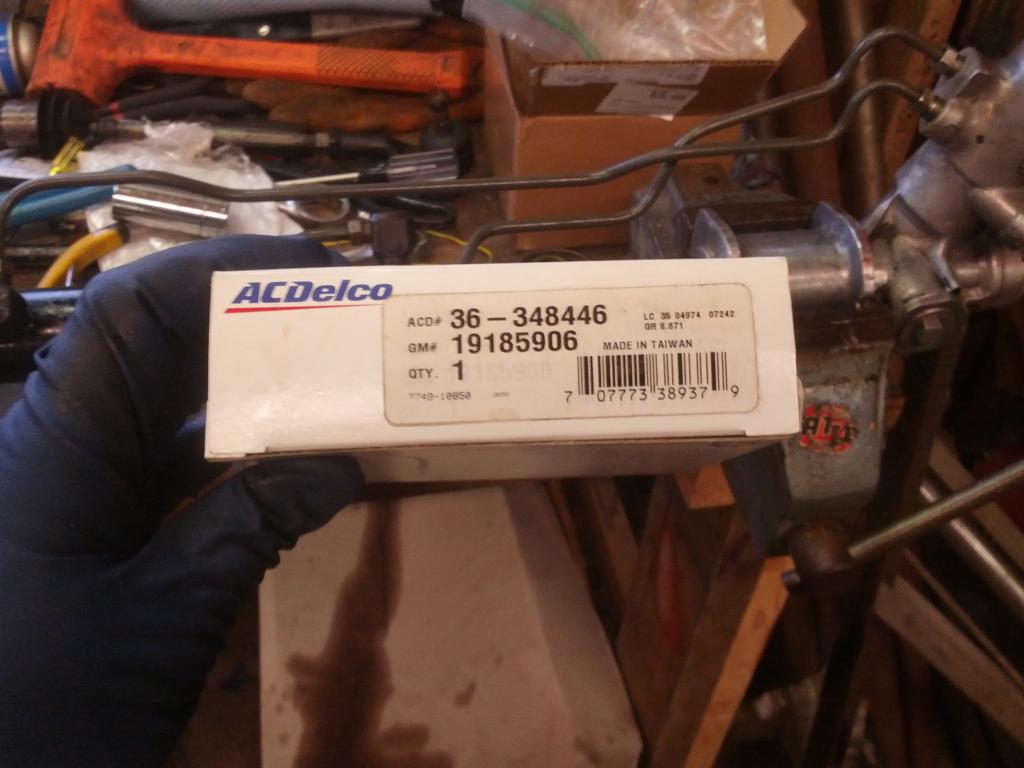
I ended up using this seal kit (It was like $25 on Amazon)

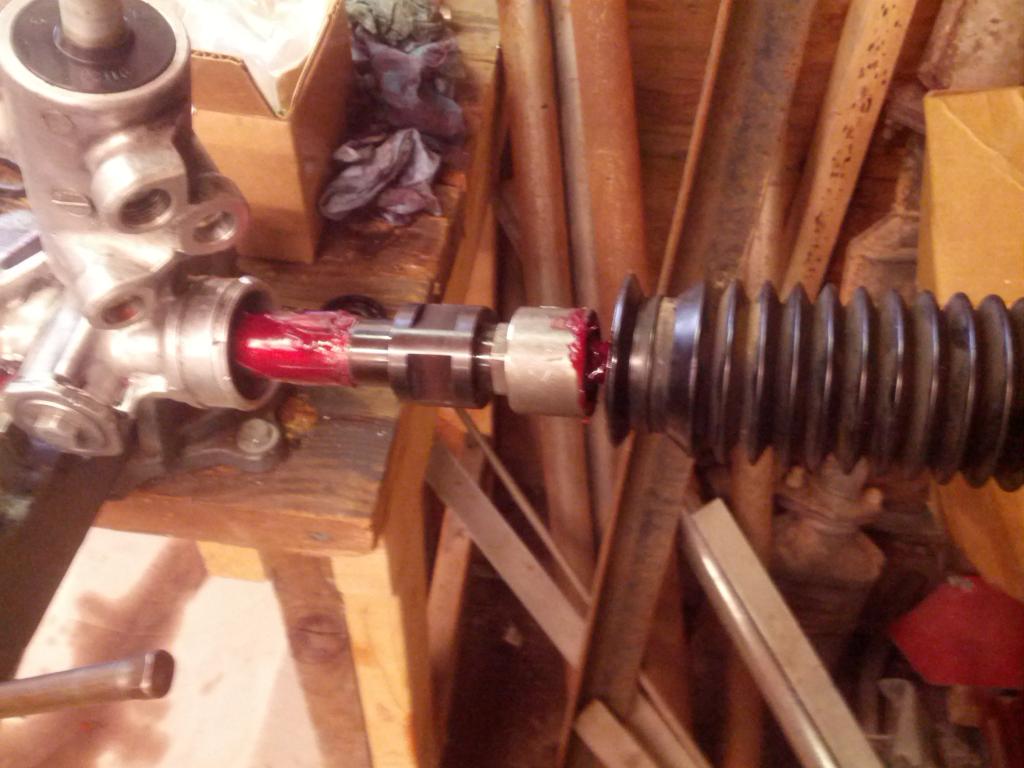
Everything went down pretty much exactly like the thread on Rotary Car Club EXCEPT for when I got to this step:
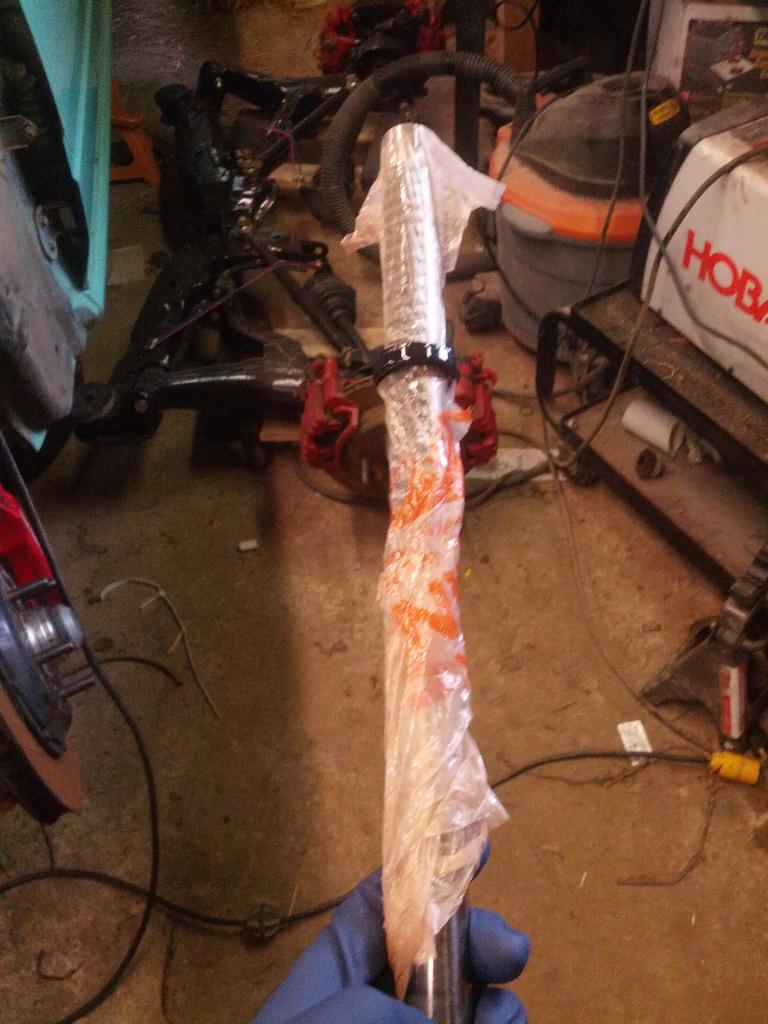
I had an issue getting that oil seal over the teeth in the rack. I ended up cracking the green o-ring (It's hard plastic, like a teflon or something) on the teeth and had to overnight a new kit from Japan (Amazon). I noticed that the FSM shows a plastic sleeve/bag in the "official" Mazda kit to keep the o-rings from getting torn up when you put the rack back in. (The official procedure is to use the Special Service tool to seat the seal and support washer in the rack tube before inserting the rack... I used the rack like a slide hammer to seat the seal/washer during assembly, per the Rotary Car Club thread). So, I ended up improvising and used a plastic shopping bag to help guide the seal into place over the rack teeth.
Now with that out of the way, the rest of the reassembly was a cake walk (plus now I had 2 sets of seals for everything else so the pressure was off).
Followed the rest of the DIY thread from here on out (and took no pictures since I was 2 to 3 fingers deep in a tub of wheel bearing grease for the entire time)
PBM rack spacers for the angle kit
I followed this writeup on "Rotary Car Club":
http://goo.gl/oXMHwv
I didn't take a ton of pictures here since the entire process was a greasy-oily mess.
Everybody out -
Clean parts
I ended up using this seal kit (It was like $25 on Amazon)
Everything went down pretty much exactly like the thread on Rotary Car Club EXCEPT for when I got to this step:
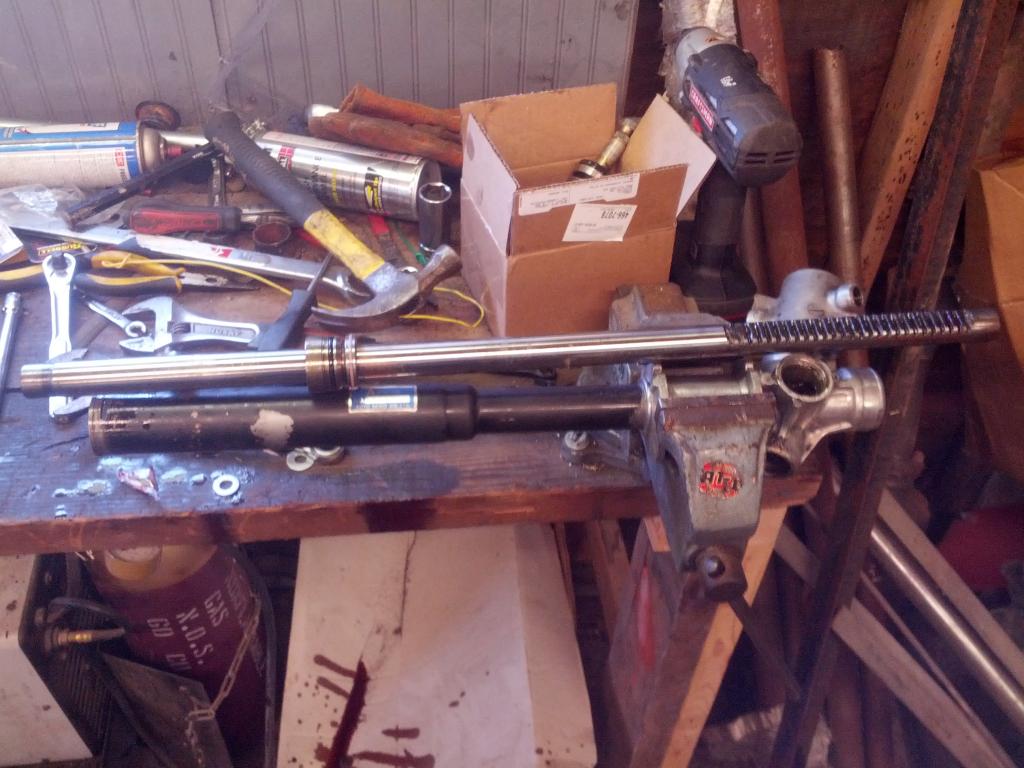
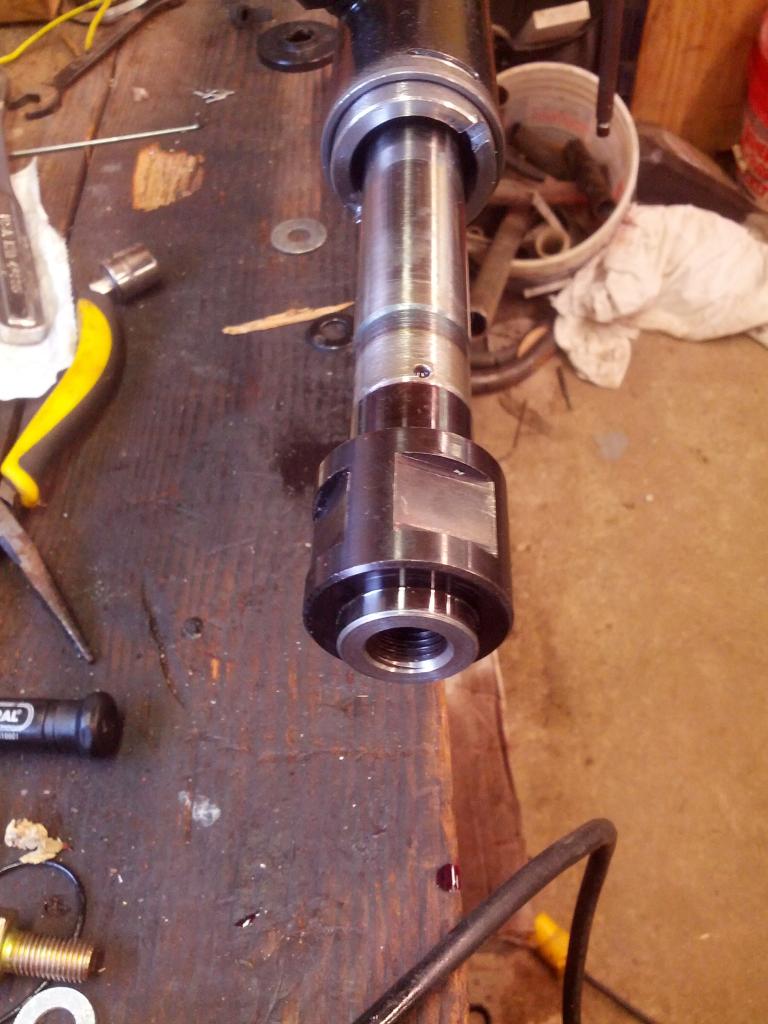
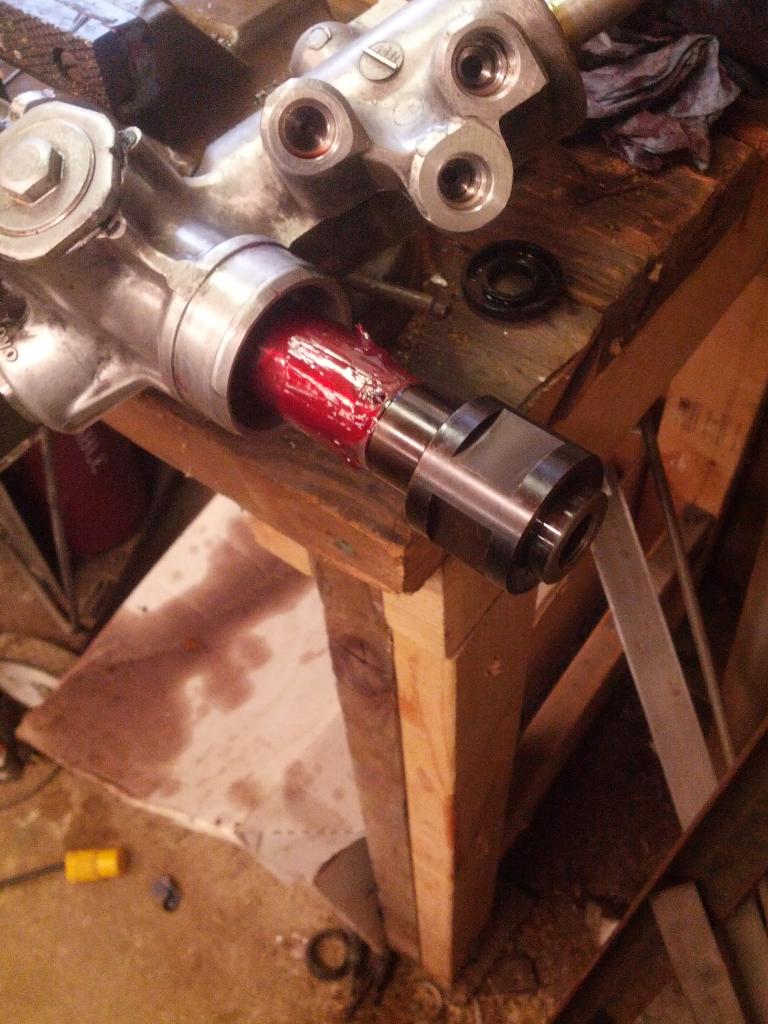
The Factory Service Manual (FSM) says to use some tool to drive the washer and seal back into the bore of the tube. I don't have it and you don't need it anyways. Place theseal and washer on the rack like so. Lube it all up with power steering fluid so it's slippery. Not pictured at this time, but you should put the new piston seal on before you do this. It's the light blue seal in te picture of the kit.
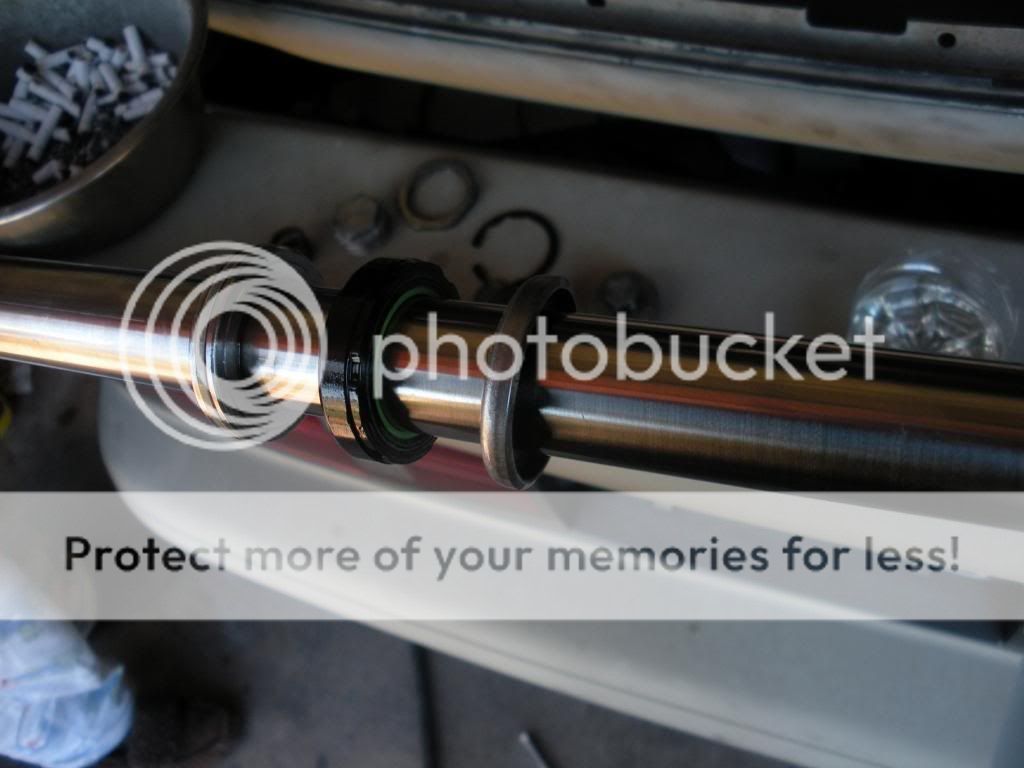
Once you get that in there, again use the rack as a slide hammer and drive the washer and seal into the end of the tube. It will make a different noise when it's seated. Also a quick not is to be sure you don't damage the new piston seal when your first aligning the rack in the tube. Even if it makes a mess use as mush power steering fluid as you need to to be sure that seal gets in there correctly. That and the tube seals (The black ones with the green plastic inside pieces) are the ones that do all the fluid sealing in the rack. If they are damaged you will simply have no power steering.
Once you get that in there, again use the rack as a slide hammer and drive the washer and seal into the end of the tube. It will make a different noise when it's seated. Also a quick not is to be sure you don't damage the new piston seal when your first aligning the rack in the tube. Even if it makes a mess use as mush power steering fluid as you need to to be sure that seal gets in there correctly. That and the tube seals (The black ones with the green plastic inside pieces) are the ones that do all the fluid sealing in the rack. If they are damaged you will simply have no power steering.
Now with that out of the way, the rest of the reassembly was a cake walk (plus now I had 2 sets of seals for everything else so the pressure was off).
Followed the rest of the DIY thread from here on out (and took no pictures since I was 2 to 3 fingers deep in a tub of wheel bearing grease for the entire time)
PBM rack spacers for the angle kit
Thread Starter
Joined: Nov 2004
Posts: 936
Likes: 1
From: Lincoln Park, NJ
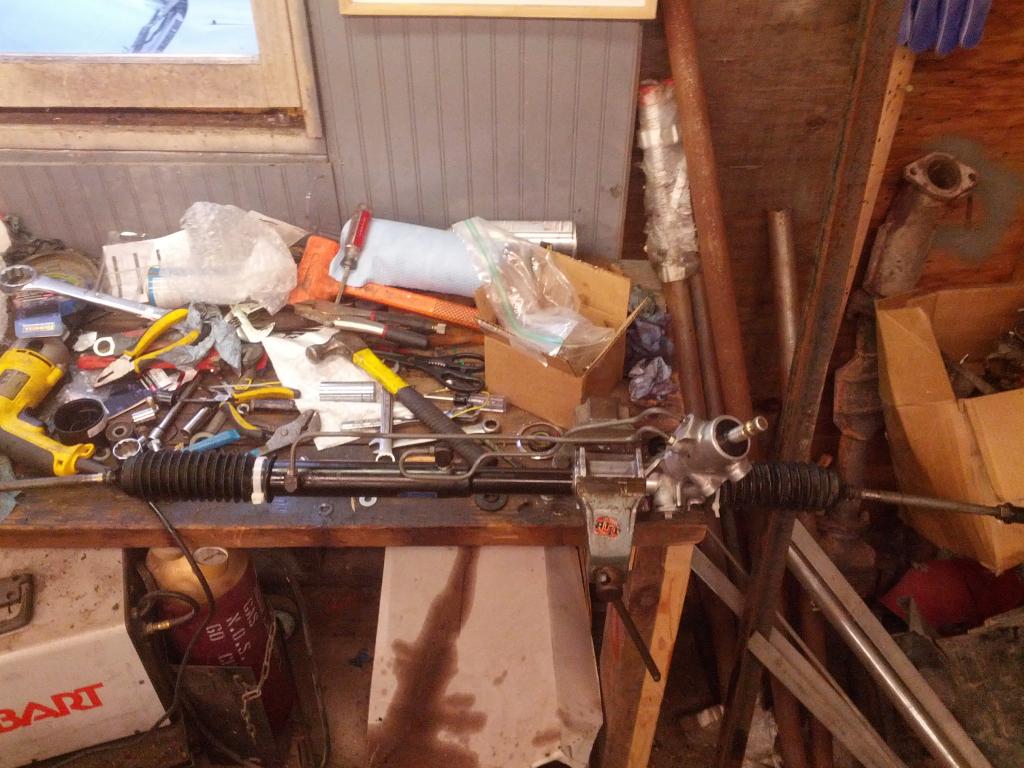
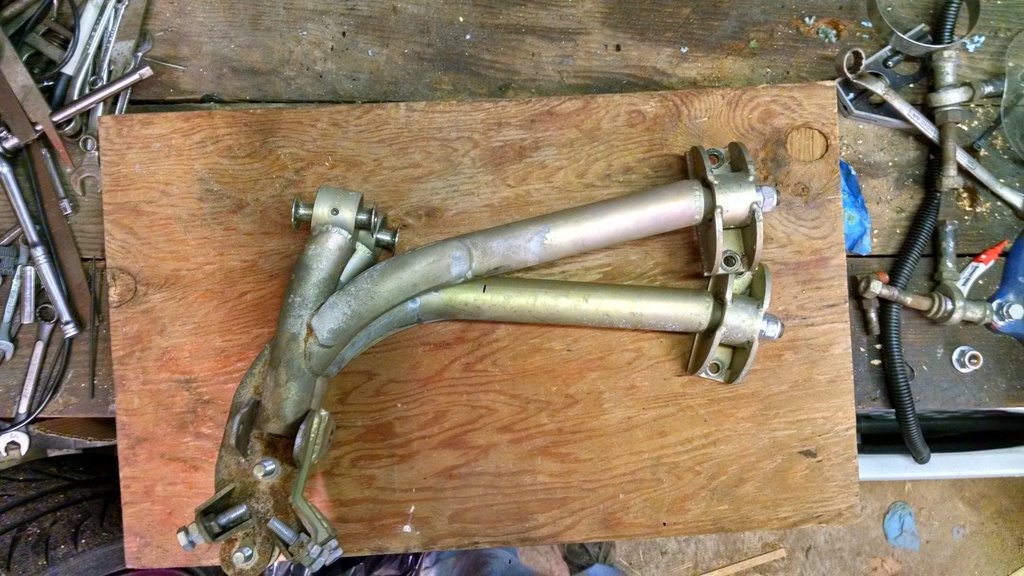
Inner Tie Rod ends-
The whole shebang-
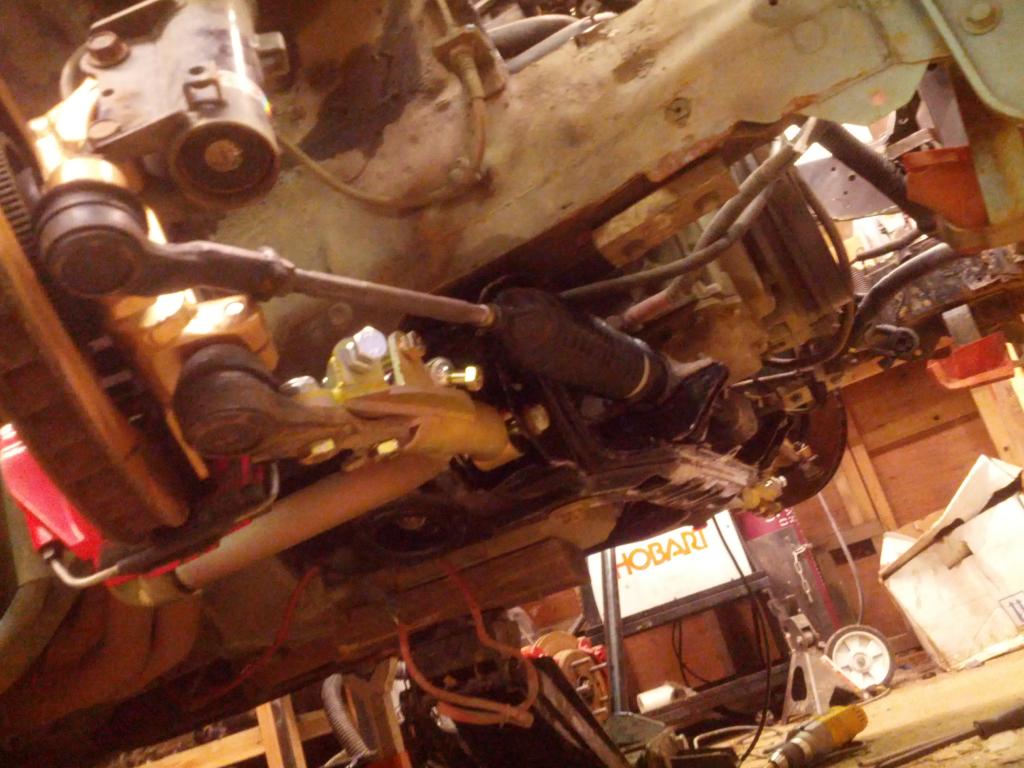
In the car -
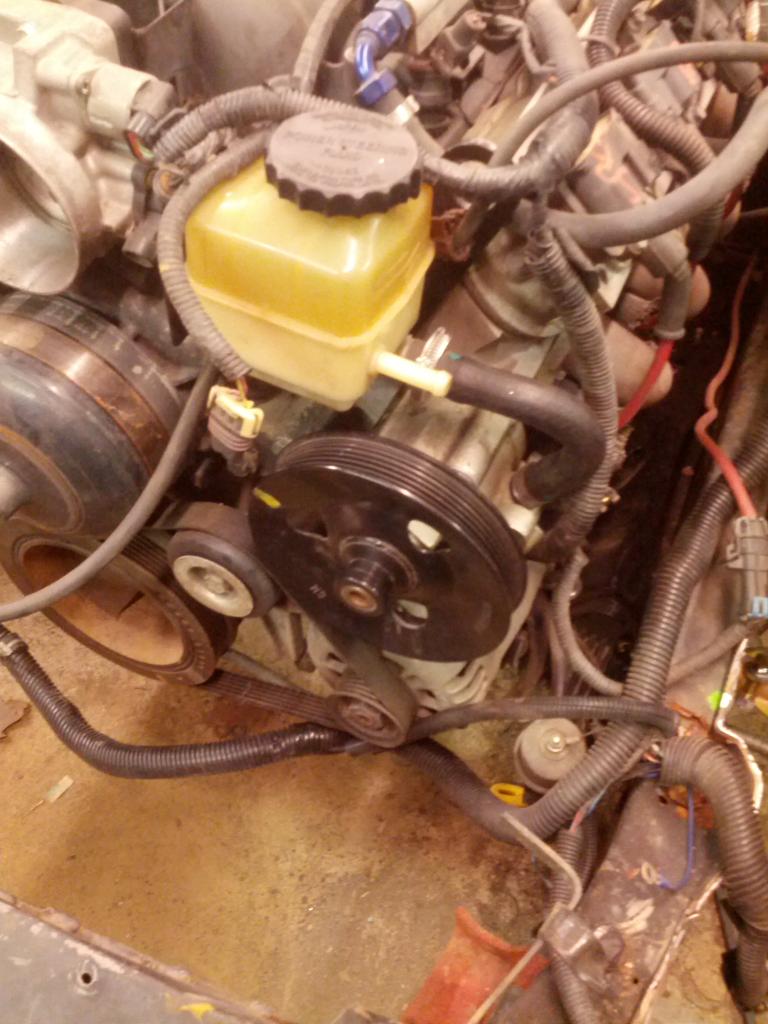
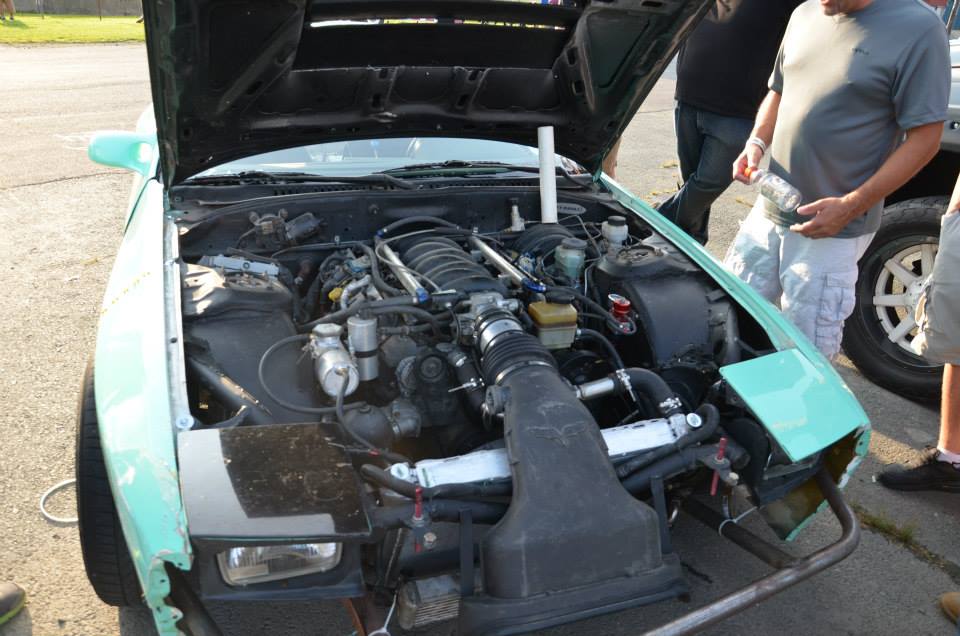
I also put on the GTO steering pump-
Next project is fixing this:
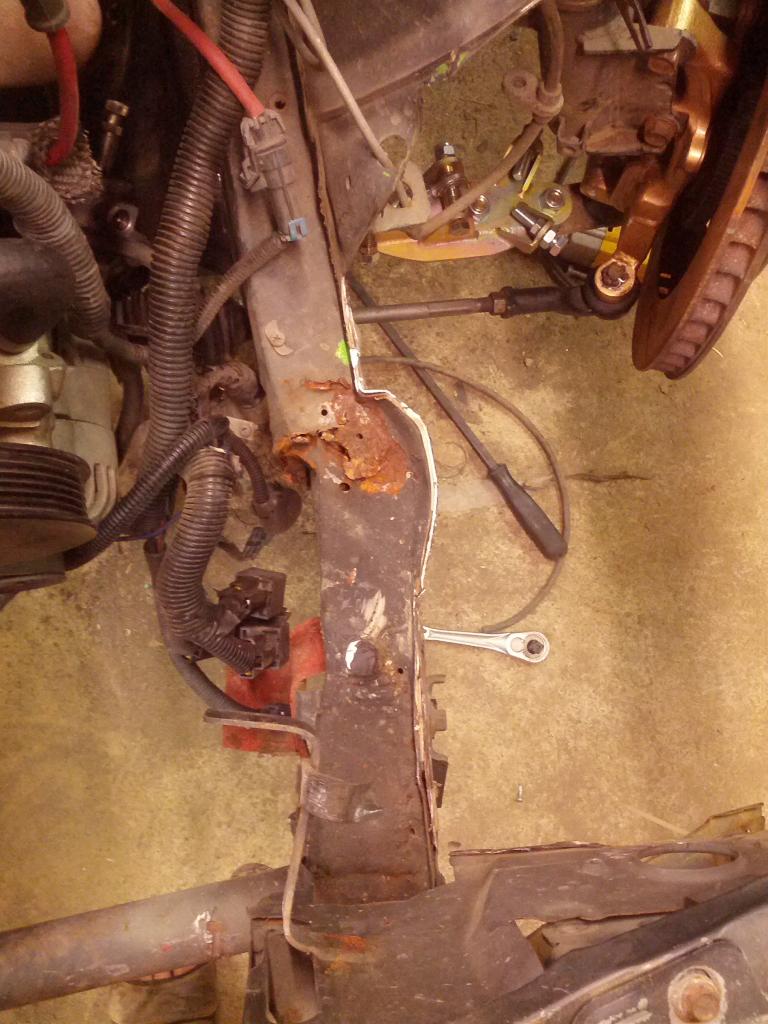
^^^ should be straight or something.
The whole shebang-
In the car -
I also put on the GTO steering pump-
Next project is fixing this:
^^^ should be straight or something.


Thread Starter
Joined: Nov 2004
Posts: 936
Likes: 1
From: Lincoln Park, NJ
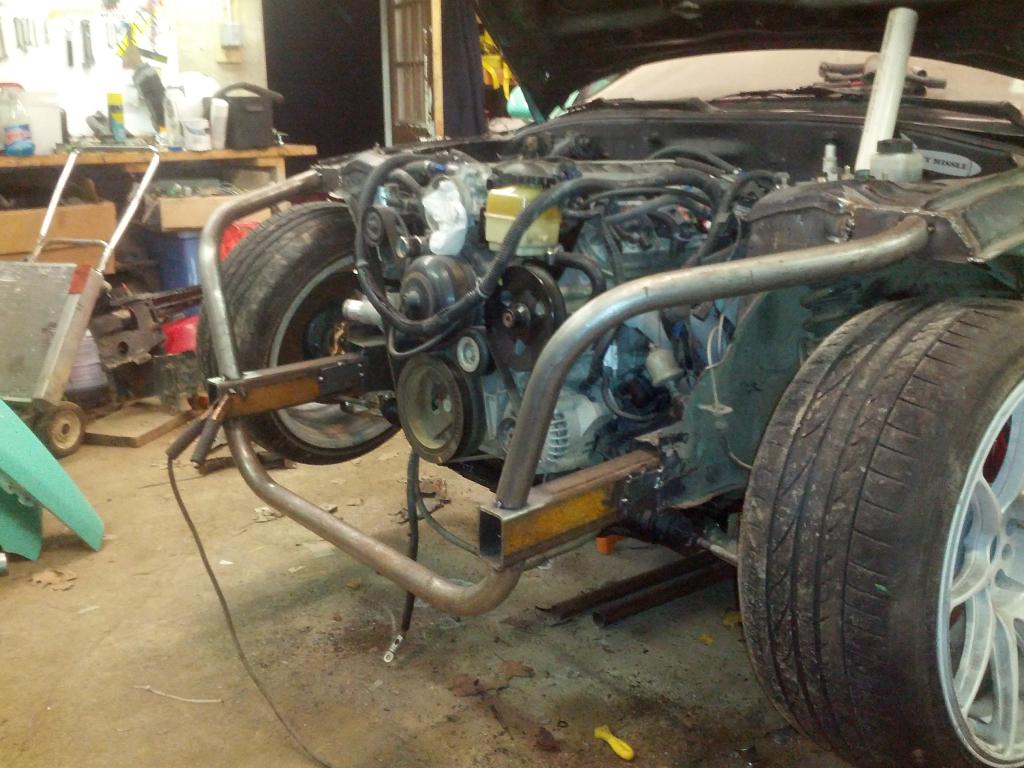
Gave into the peer pressure-
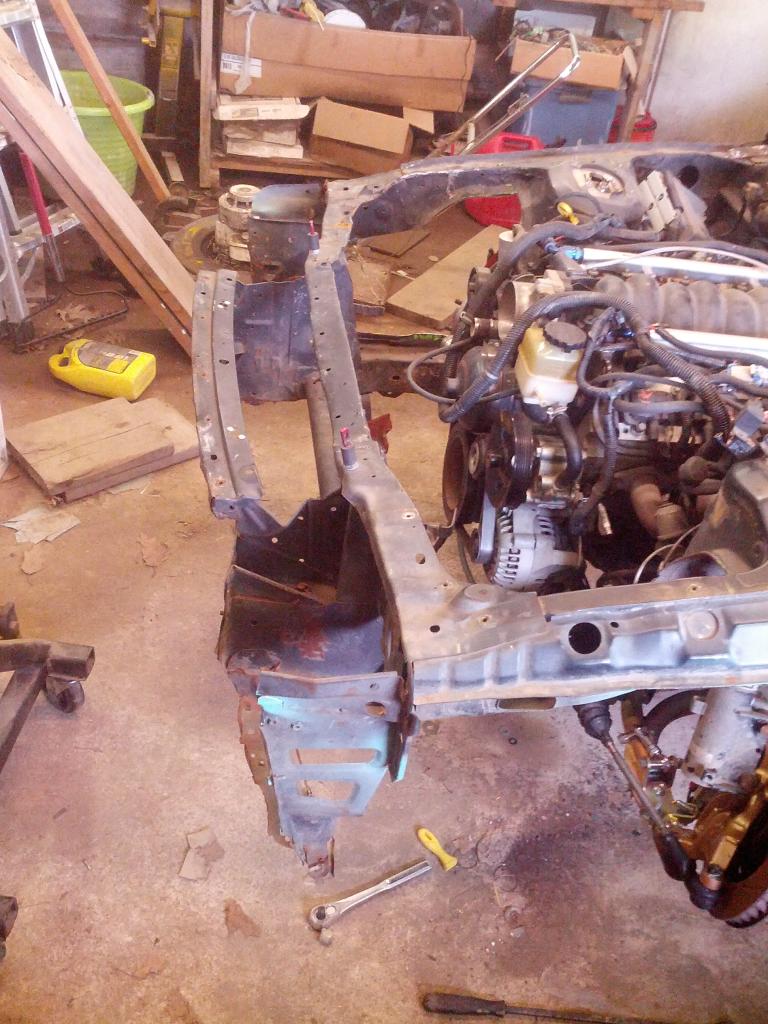
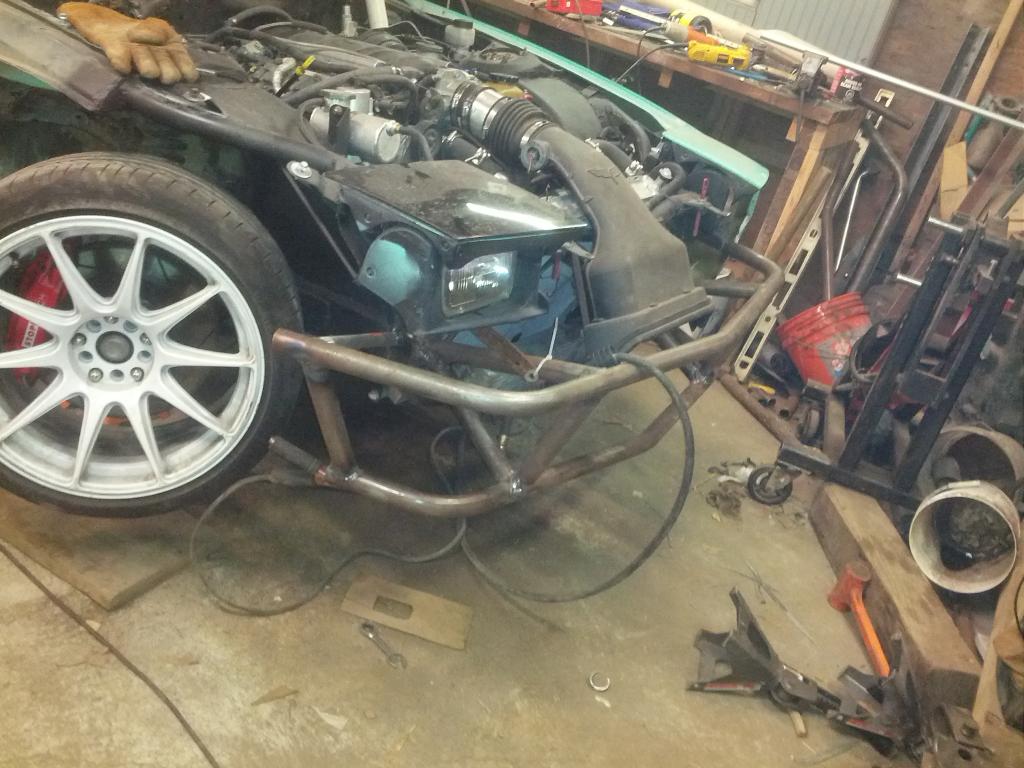
A couple of sawzall cuts later and the front end is history.
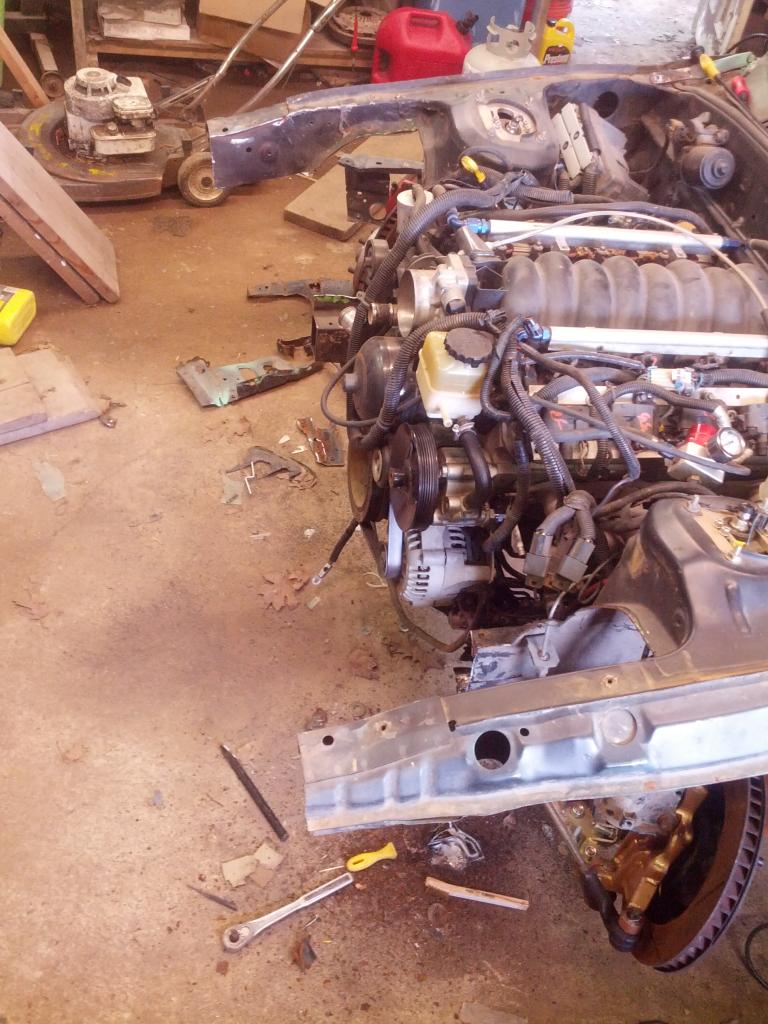
Thought I was going to be able to reuse the fender mounts, but ended up cutting them off at the shock tower since the passenger side was no where near where it needed to be.

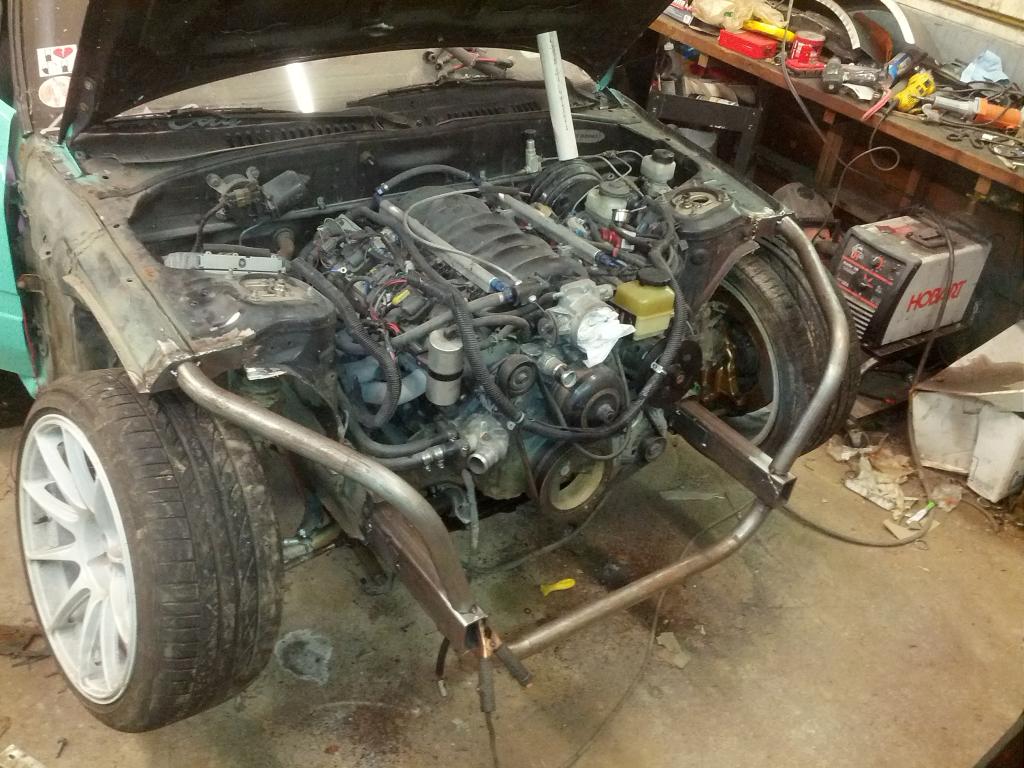
I decided to slip some rectangular tube into the stock frame and butt up against the internal frame rail sheet metal for the subframe mounts. I went this route versus plating the stock rail at the cut and coming out with round tube because I had to cut the stock rails so far back (down the middle of the swaybar mount) on the drivers side to get back behind the majority of the rust on the inside of the frame rail. The ends of the new rectangular tube will get plated and I'll build my bash bar/new crumple zone from there.
Bending Rig and the world's messiest home shop:
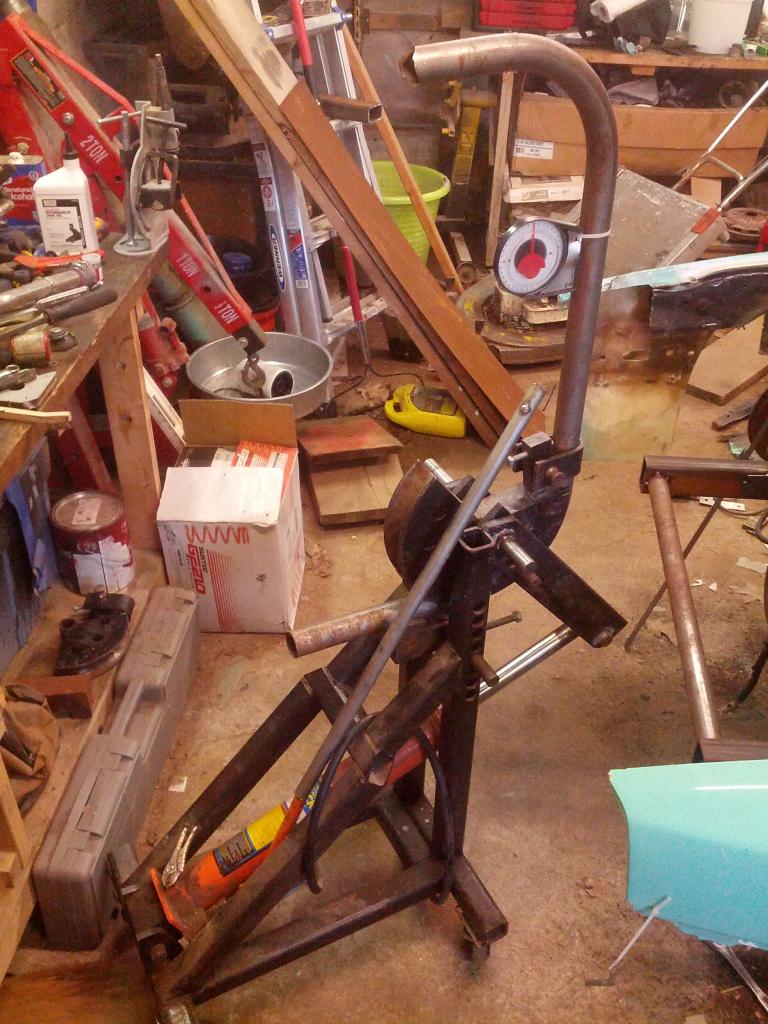
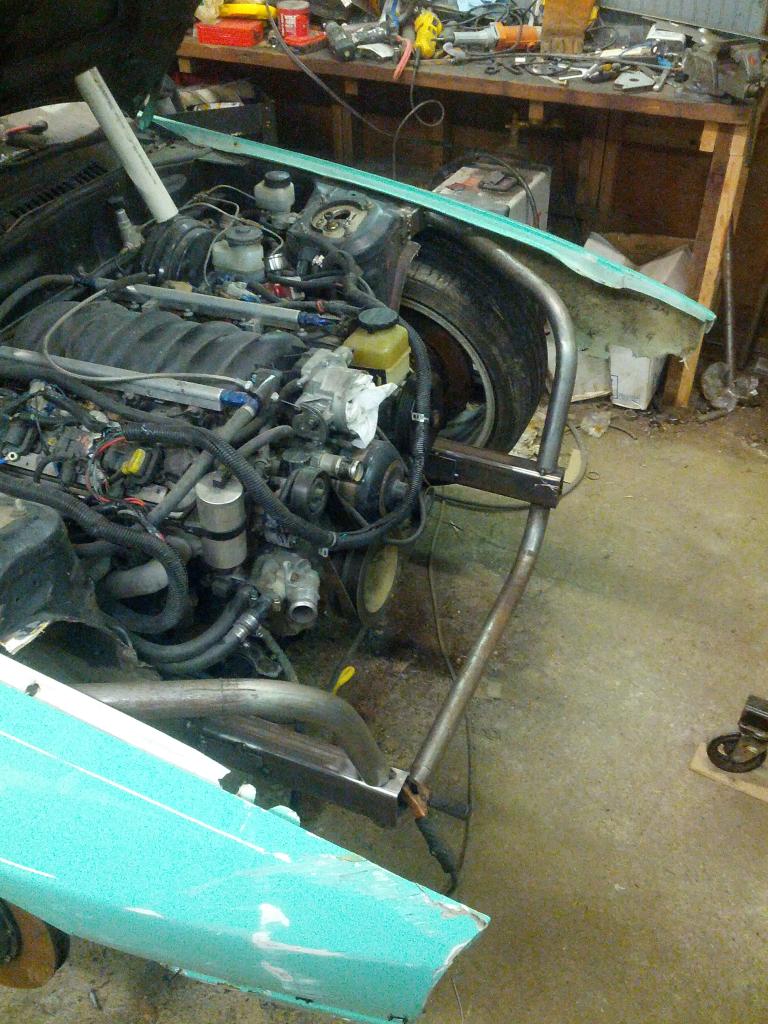
Rough Draft of the down tube from the shock tower
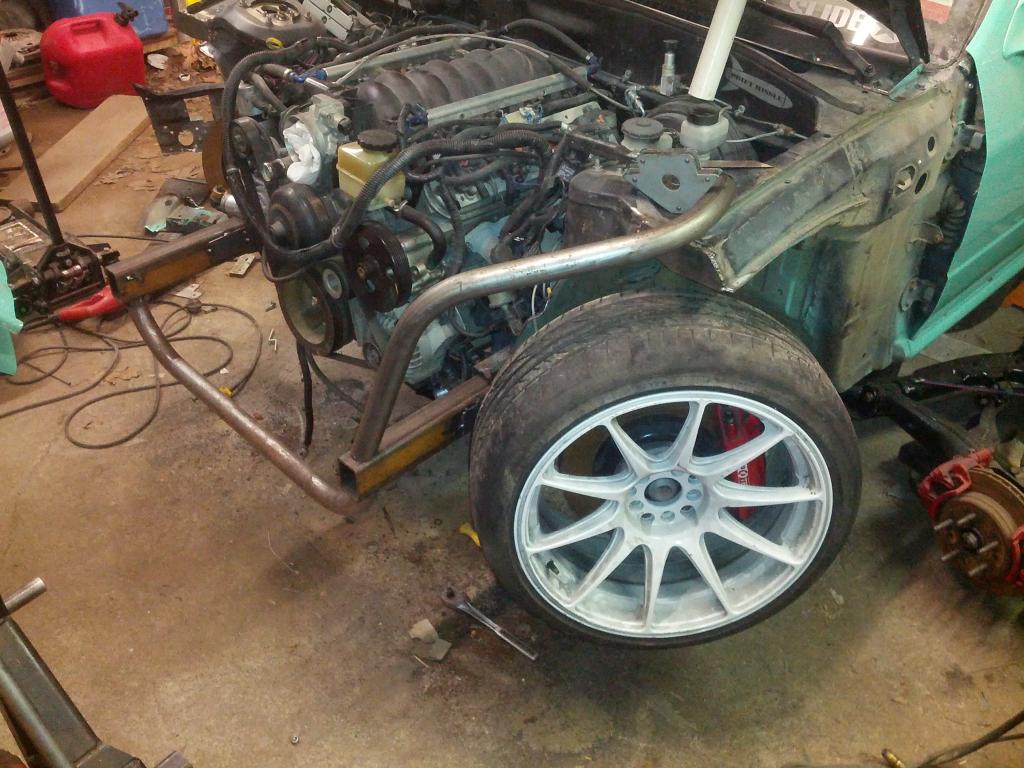
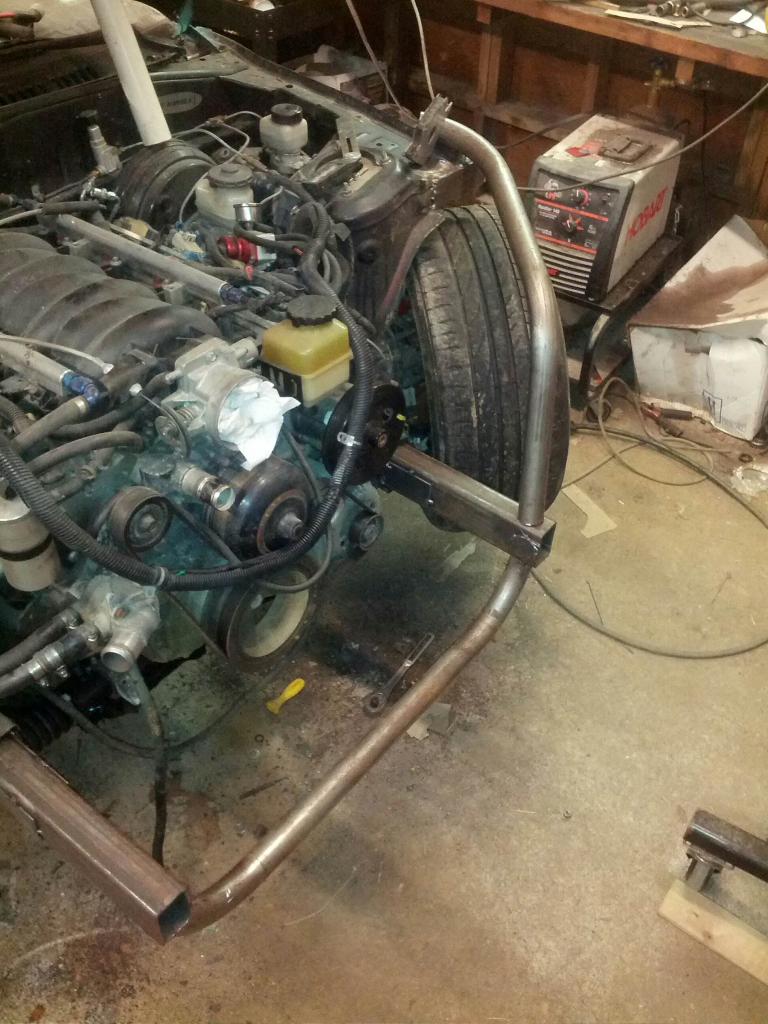
The plan from here is to trim that to fit and tack it in, mirror it on the other side and then run one more across the top as a radiator support. That will complete the tubes done in 1-5/8" DOM and I'll switch to some smaller, thinner-walled welded tube for the bash bars and fender/bumper mounts to give me some crumple zone up front for when I rub against stuff at speed.
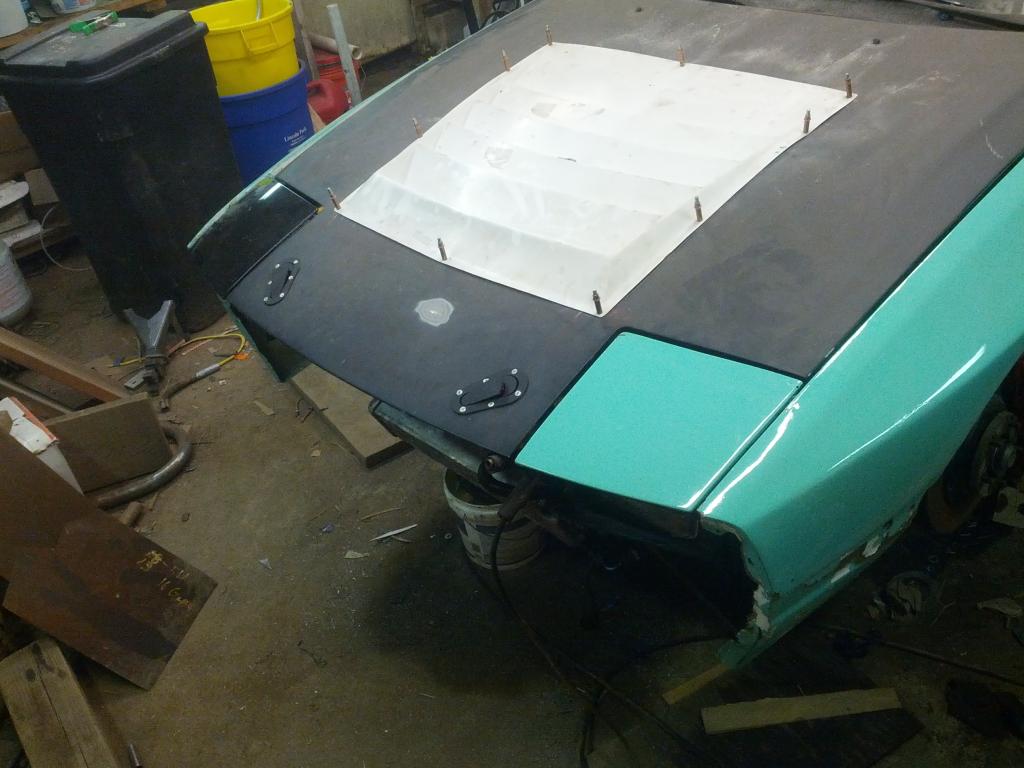
While I had the cutting wheel out I blew a hole in my hood too -
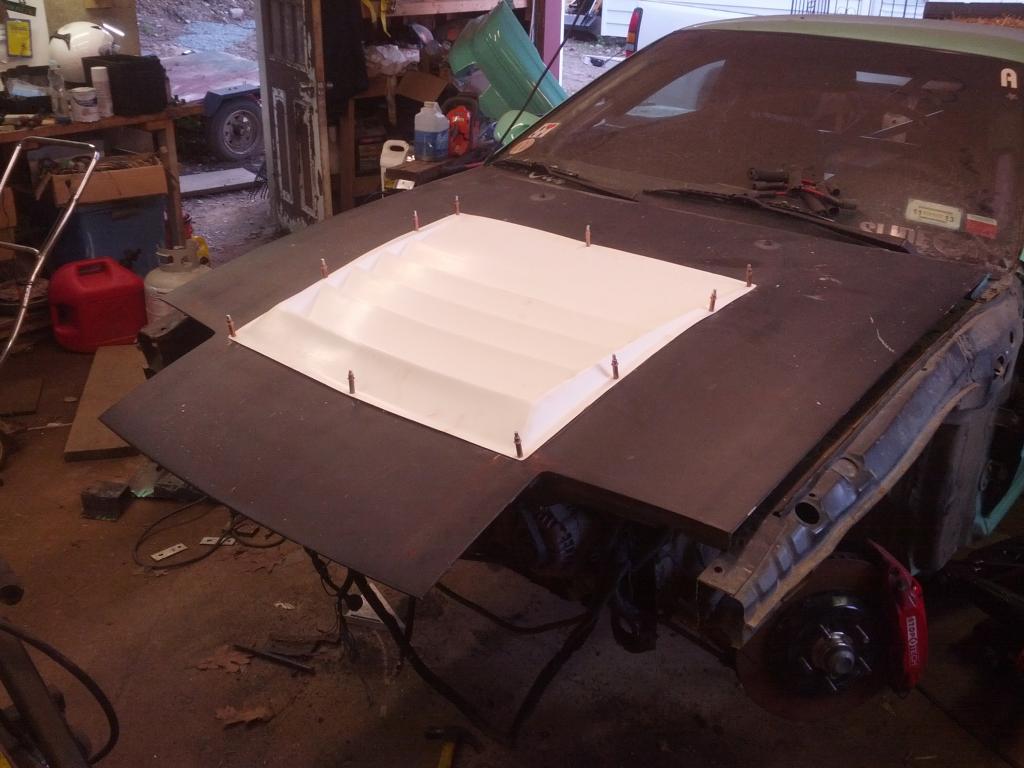
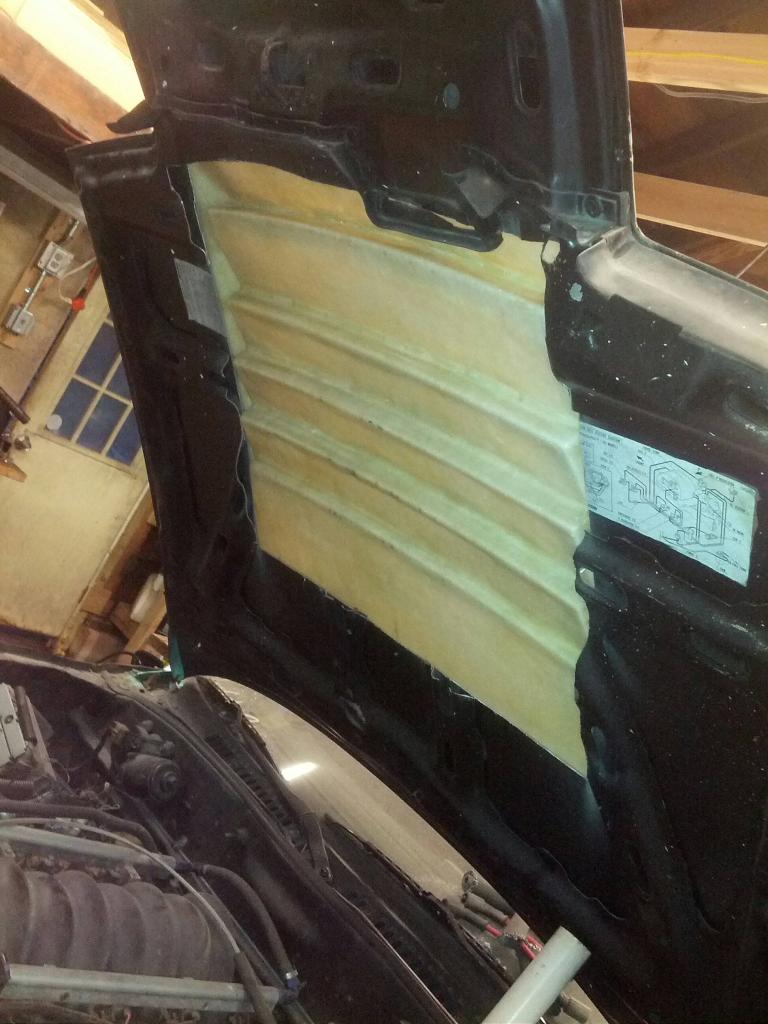
^^^ took out pretty much all the structure under the hood
A couple of sawzall cuts later and the front end is history.
Thought I was going to be able to reuse the fender mounts, but ended up cutting them off at the shock tower since the passenger side was no where near where it needed to be.
I decided to slip some rectangular tube into the stock frame and butt up against the internal frame rail sheet metal for the subframe mounts. I went this route versus plating the stock rail at the cut and coming out with round tube because I had to cut the stock rails so far back (down the middle of the swaybar mount) on the drivers side to get back behind the majority of the rust on the inside of the frame rail. The ends of the new rectangular tube will get plated and I'll build my bash bar/new crumple zone from there.
Bending Rig and the world's messiest home shop:
Rough Draft of the down tube from the shock tower
The plan from here is to trim that to fit and tack it in, mirror it on the other side and then run one more across the top as a radiator support. That will complete the tubes done in 1-5/8" DOM and I'll switch to some smaller, thinner-walled welded tube for the bash bars and fender/bumper mounts to give me some crumple zone up front for when I rub against stuff at speed.
While I had the cutting wheel out I blew a hole in my hood too -
^^^ took out pretty much all the structure under the hood
Thread Starter
Joined: Nov 2004
Posts: 936
Likes: 1
From: Lincoln Park, NJ
I've been putting in some work on the skid chariot the past week, Progress is slow since I've only got one set of hands and I'm pretty much just making it up as I go. I'm pushing to be far enough along so I can drive at MDU Round 4 -Street of Detroit this year.
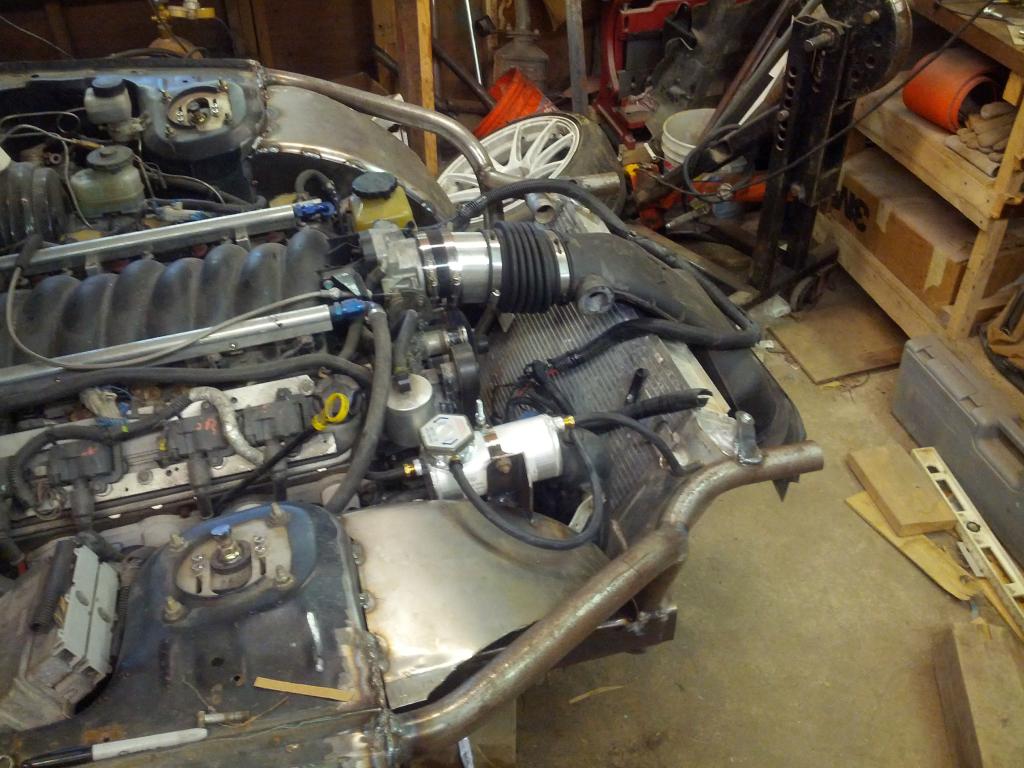
Got the tubes burned in, added some tubs and got the radiator and corvette intake positioned so the hood will close.
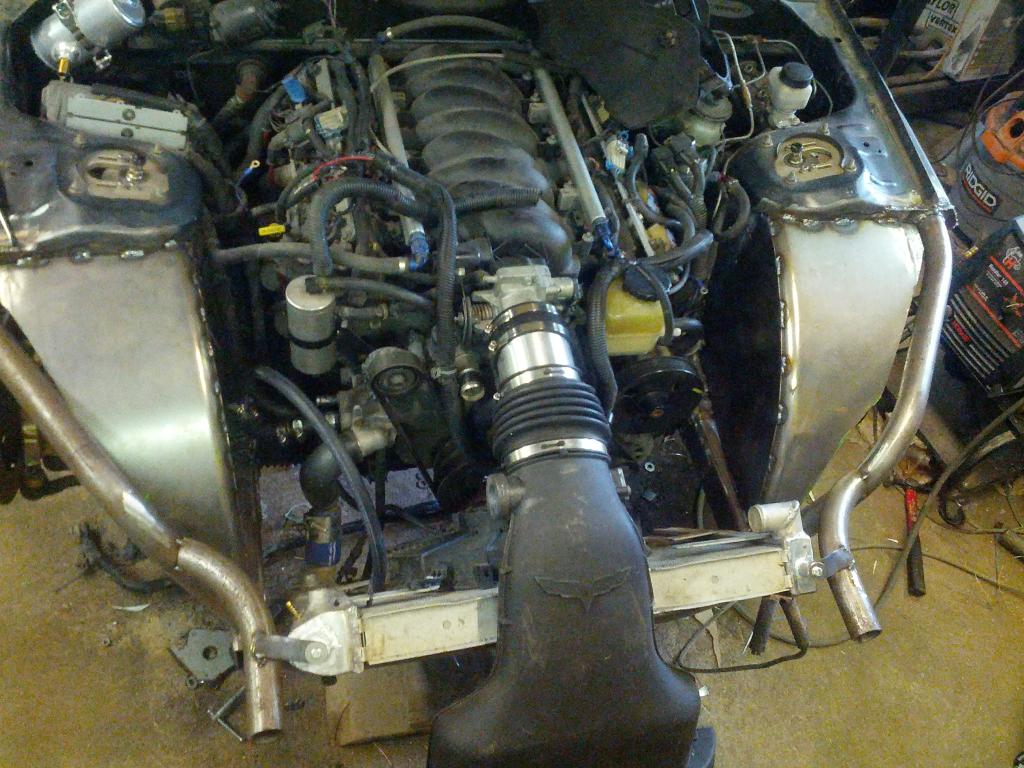
^^^ it looks like the radiator isn't square to the motor/chassis in this pic... but I think it's just the angle of the pic - I spent a lot of time making sure it was square and level in the chassis.
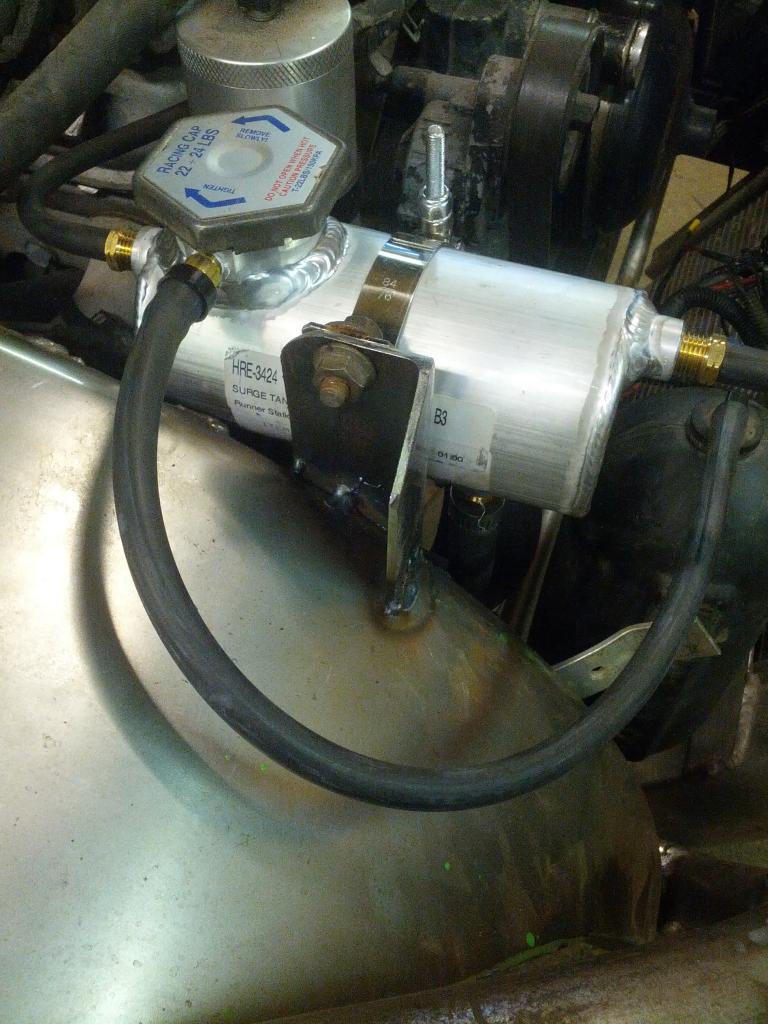
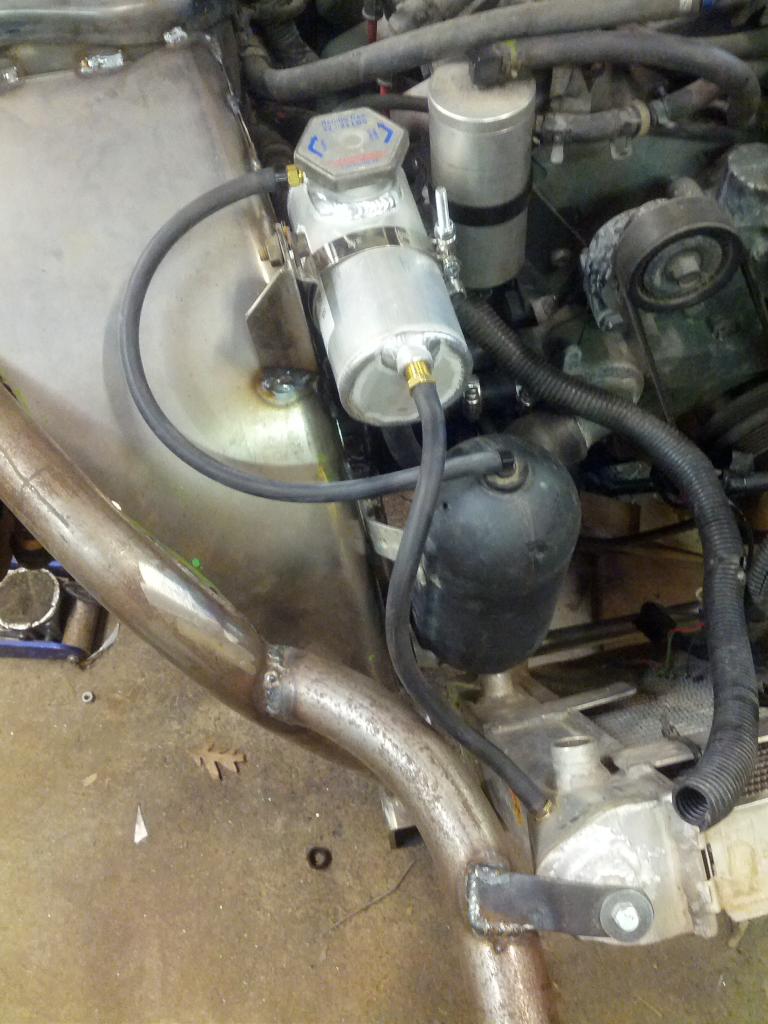
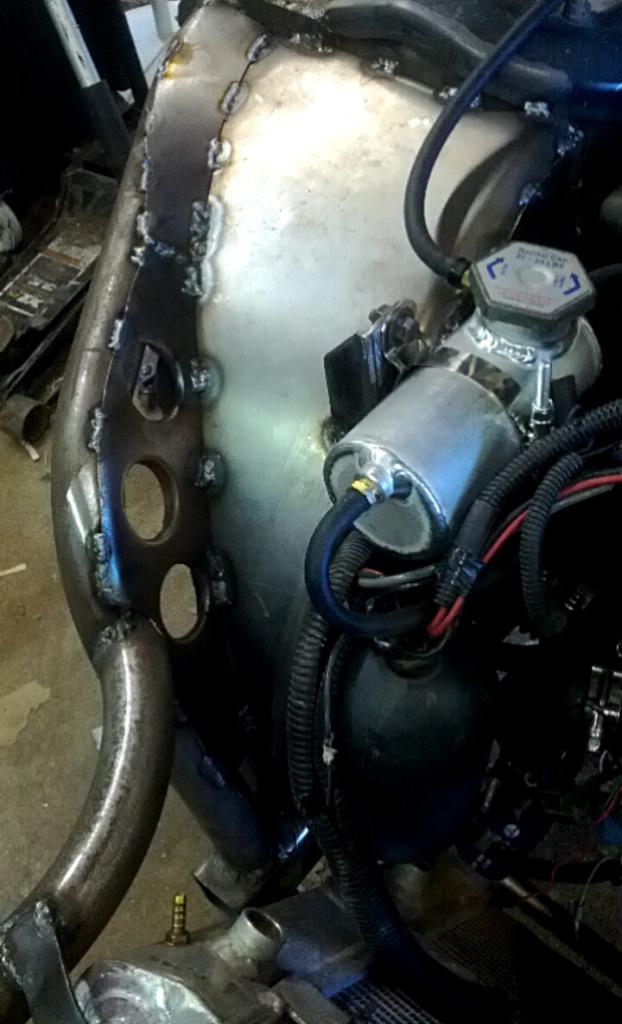
I also added a coolant expansion tank to make absolutely sure that the radiator cap is the highest point in the system. The previous setup with the cap on the radiator was a nightmare to bleed all the air out of the system, hopefully this system will be a big improvement.
Got the tubes burned in, added some tubs and got the radiator and corvette intake positioned so the hood will close.
^^^ it looks like the radiator isn't square to the motor/chassis in this pic... but I think it's just the angle of the pic - I spent a lot of time making sure it was square and level in the chassis.
I also added a coolant expansion tank to make absolutely sure that the radiator cap is the highest point in the system. The previous setup with the cap on the radiator was a nightmare to bleed all the air out of the system, hopefully this system will be a big improvement.
Thread Starter
Joined: Nov 2004
Posts: 936
Likes: 1
From: Lincoln Park, NJ
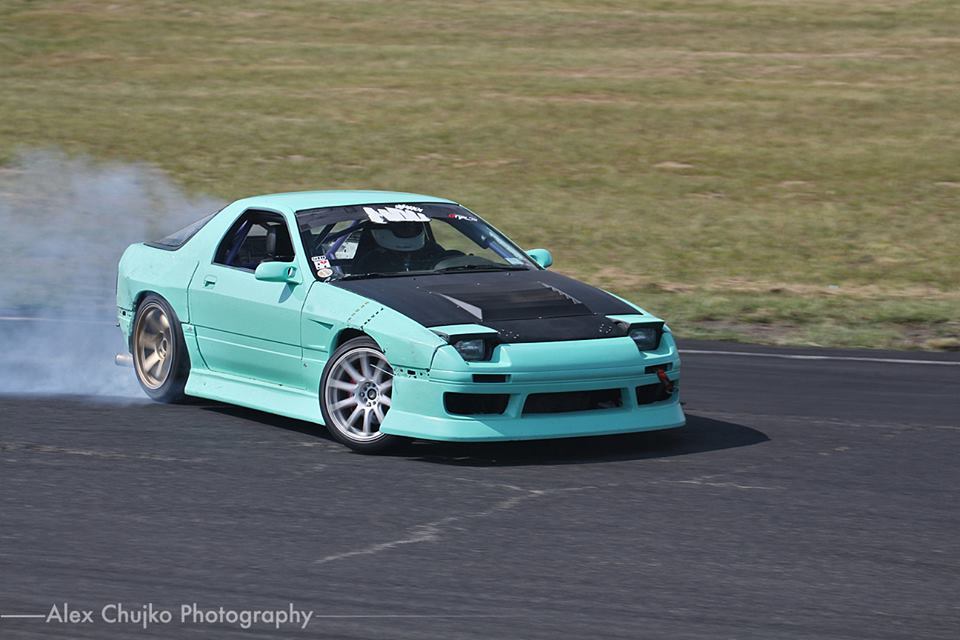
^^^ yessir she's coming together!
Took it out to LVD on Friday as a shakedown for the first time in 2014... still works I guess
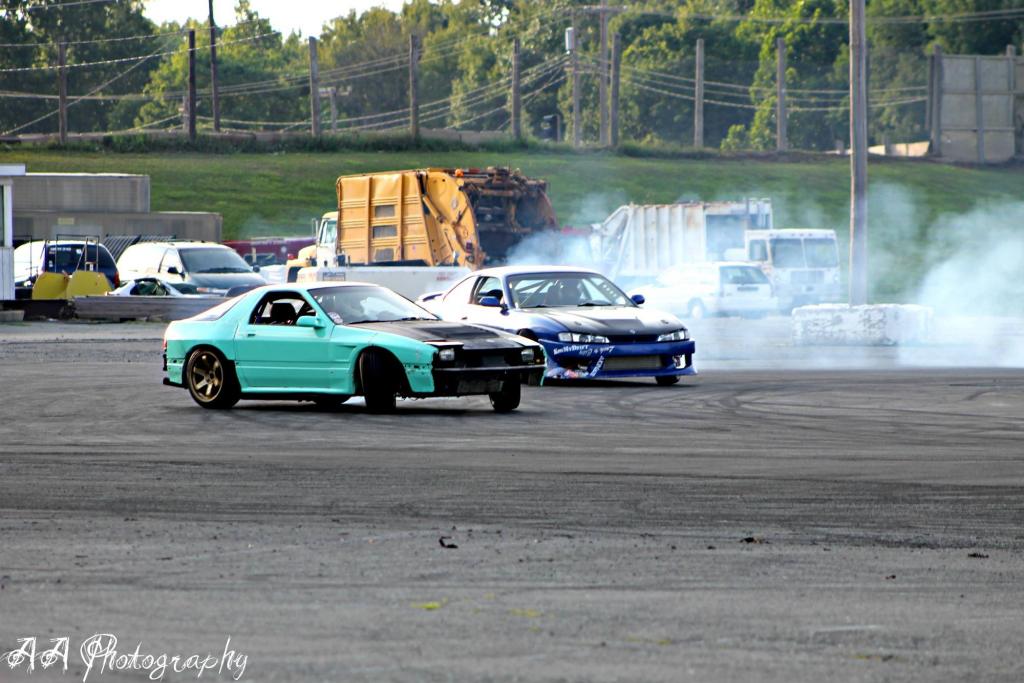
Had some issues with the stale fuel in the tank and the hydro not working (bled the brakes twice at the event but could not build enough pressure) but it went pretty well.
Finished up the lower bash bar this week:
and now I'm running around this week trying to get my front bumper painted without spending a ton of money so that it doesn't look like complete dick for the MDU Streets of Detroit event.
Took it out to LVD on Friday as a shakedown for the first time in 2014... still works I guess
Had some issues with the stale fuel in the tank and the hydro not working (bled the brakes twice at the event but could not build enough pressure) but it went pretty well.
Finished up the lower bash bar this week:
and now I'm running around this week trying to get my front bumper painted without spending a ton of money so that it doesn't look like complete dick for the MDU Streets of Detroit event.

Junior Member
Joined: Dec 2009
Posts: 3
Likes: 0
From: Evansville, IN
Cool to see this car still around. I nearly pulled the trigger on buying it when you did. Didn't know if it ever sold and came across this thread. Although I'm not into the drift thing and was going to track use it, glad to see it's getting used on a track. Looks like it's in good fabrication hands as well. Keep it up!
Thread Starter
Joined: Nov 2004
Posts: 936
Likes: 1
From: Lincoln Park, NJ
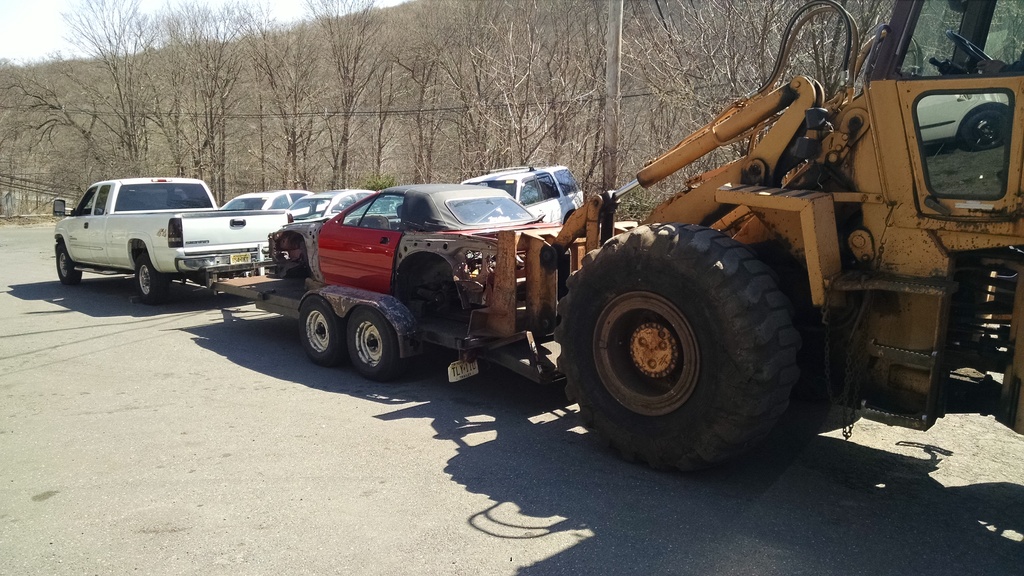
Bump WAAAAAAAYYYY back from the dead!!! I didn't really get to shred as much as I wanted to in 2014/2015 due to shift in priorities and life/work getting in the way.
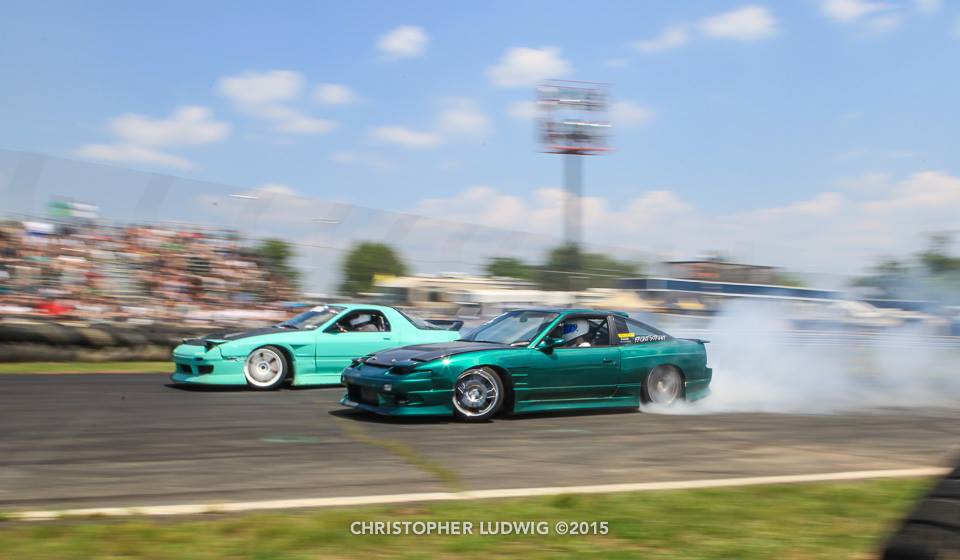
Yup... we had a blast at Streets of Detroit 2014. Borrowed a 2-car trailer from a friend and went out with my buddy Adam.
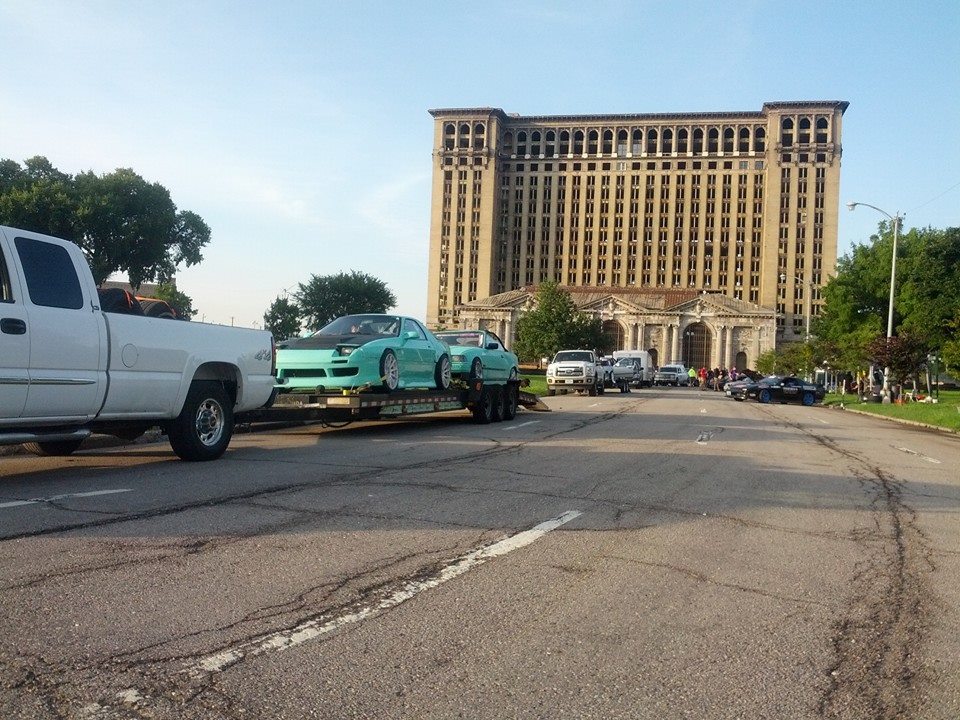
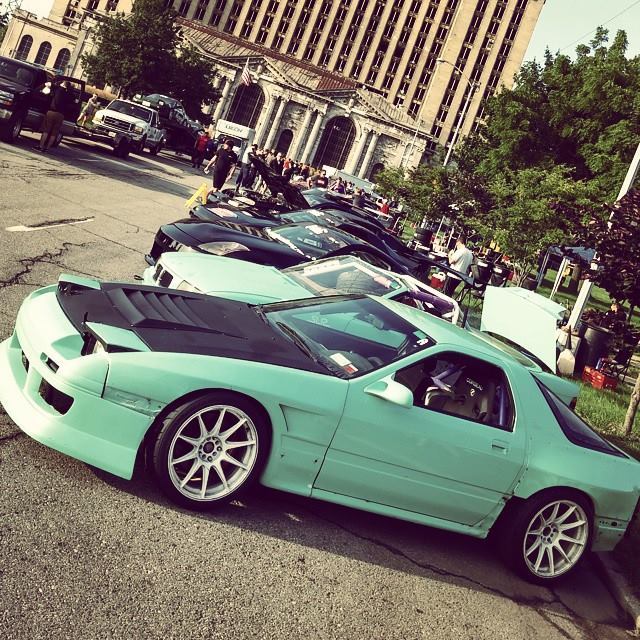
I had some issues with my car and didn't qualify, but Adam killed it and ended up 4th overall getting eliminated when his serpentine belt snapped on initiation causing him to straighten. We weren't able to make it out this year, but are planning on coming out for 2016.
Thanks man! I'm certainly having a blast with it.
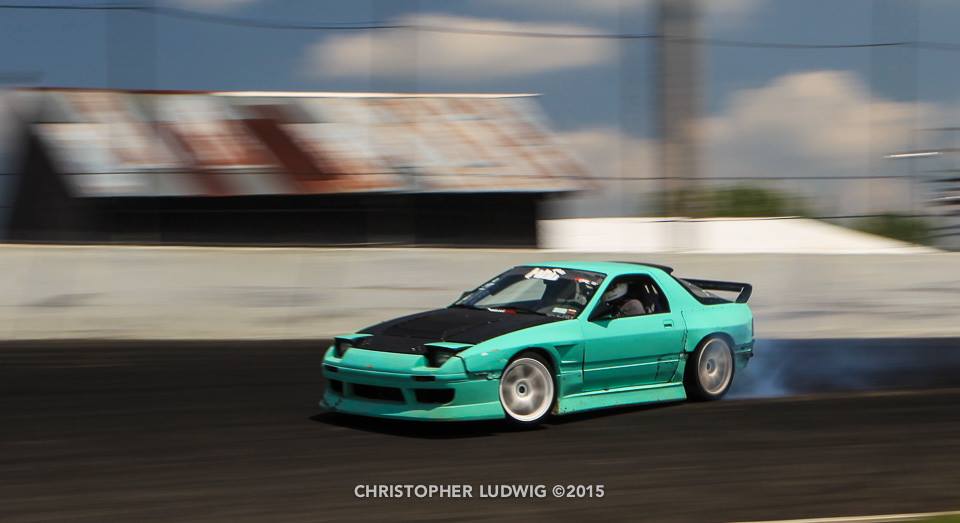
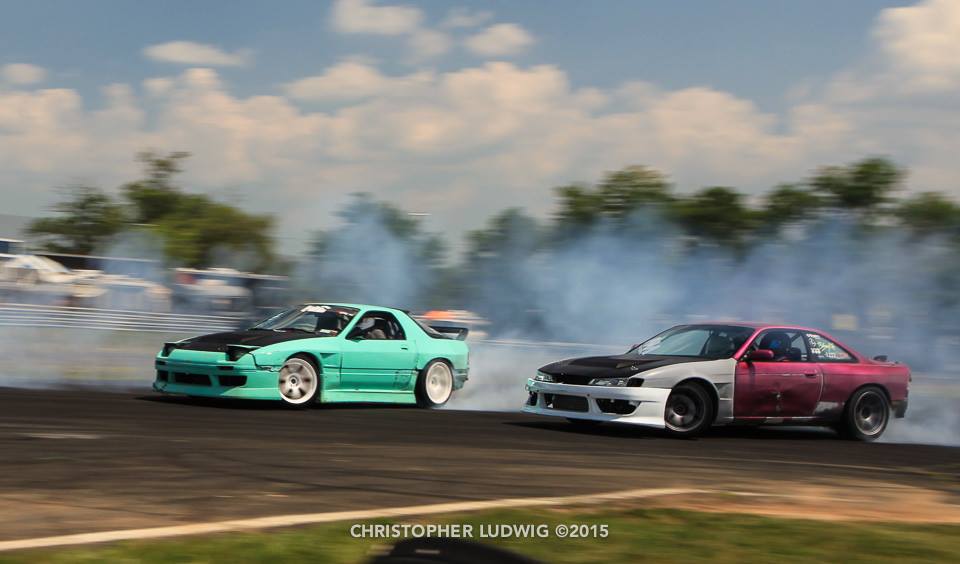
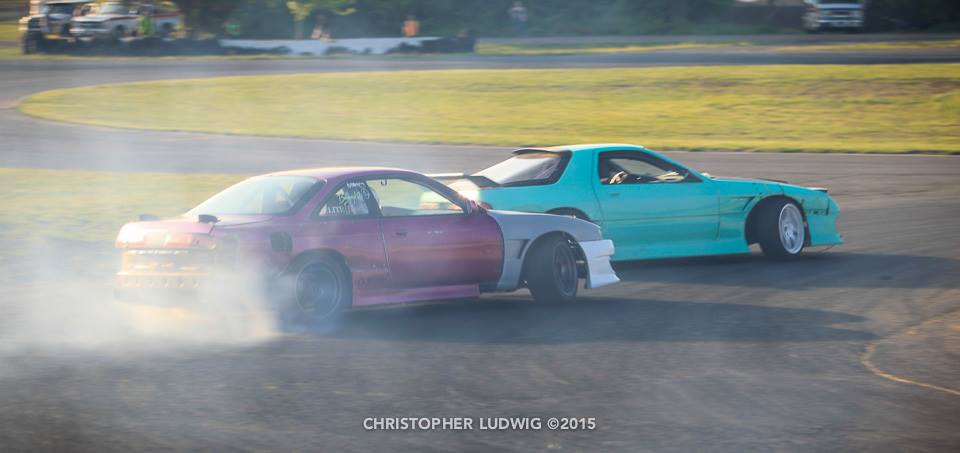
I ended up finishing out 2014 with a Clubloose event and ReadySetDrift's season finale at Limerock. Broke an axle at Limerock and parked it for the winter.
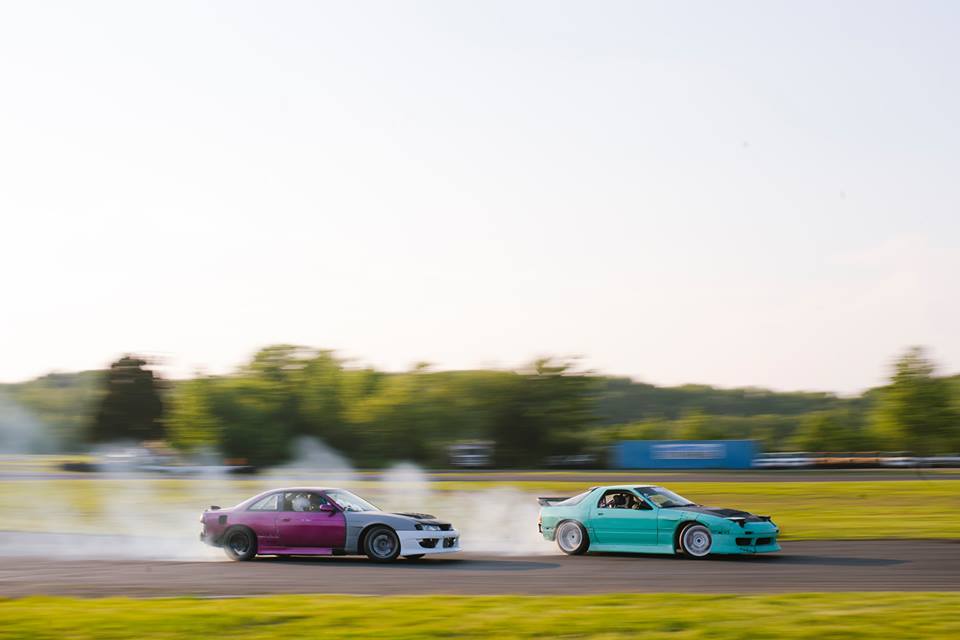
Clubloose:
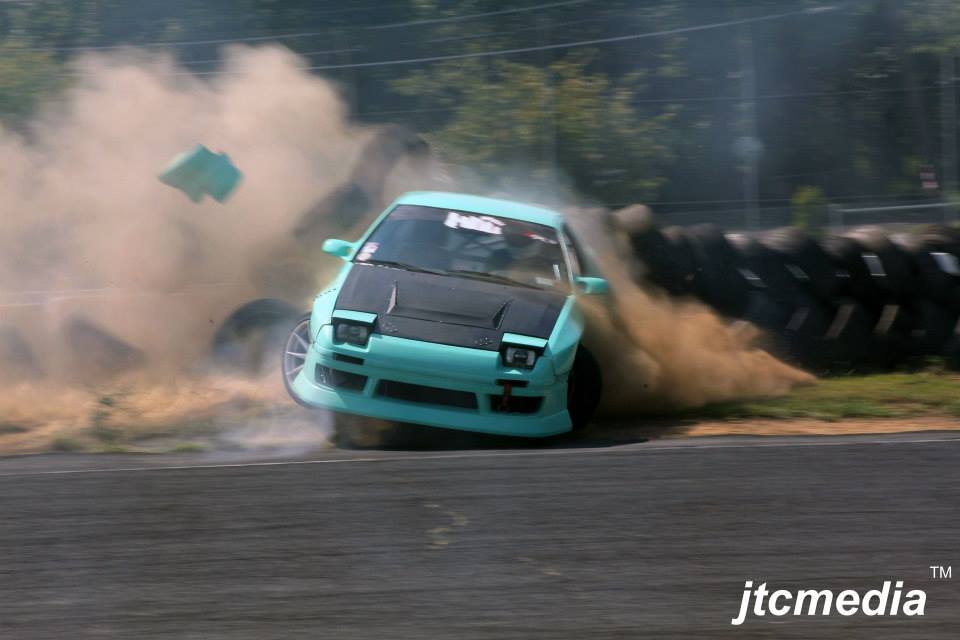
^^^ Went a little deep on a dirt drop here and Nuked the rear bumper and mufflers on the tire wall - the bashbar took the hit and saved the rear bodywork from any damage. Was back in action after I bent the exhaust back off the rear tire.
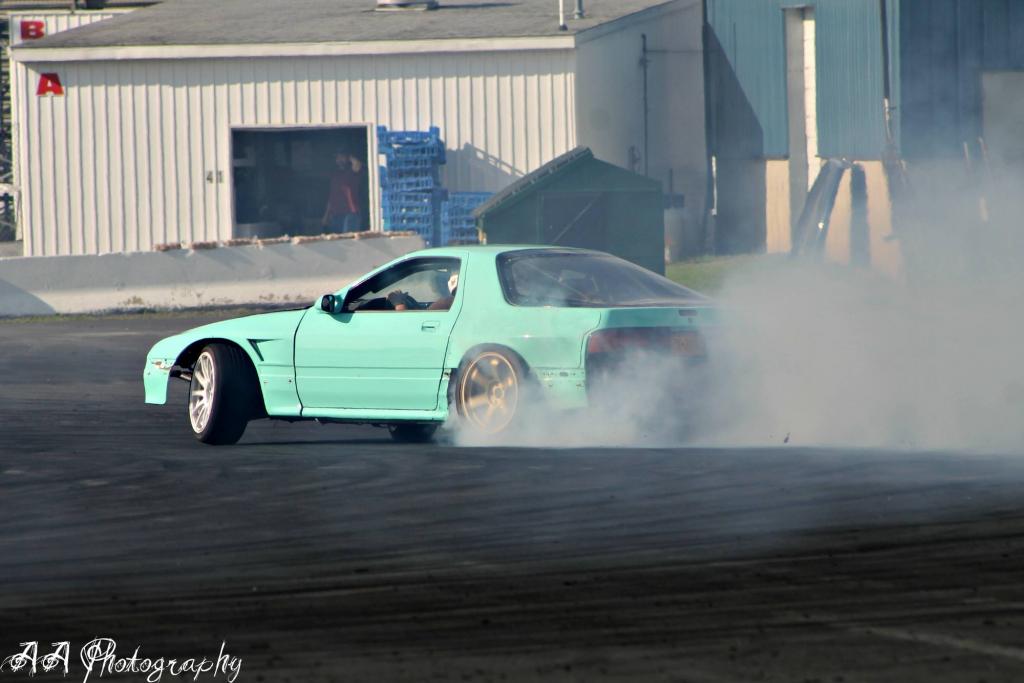
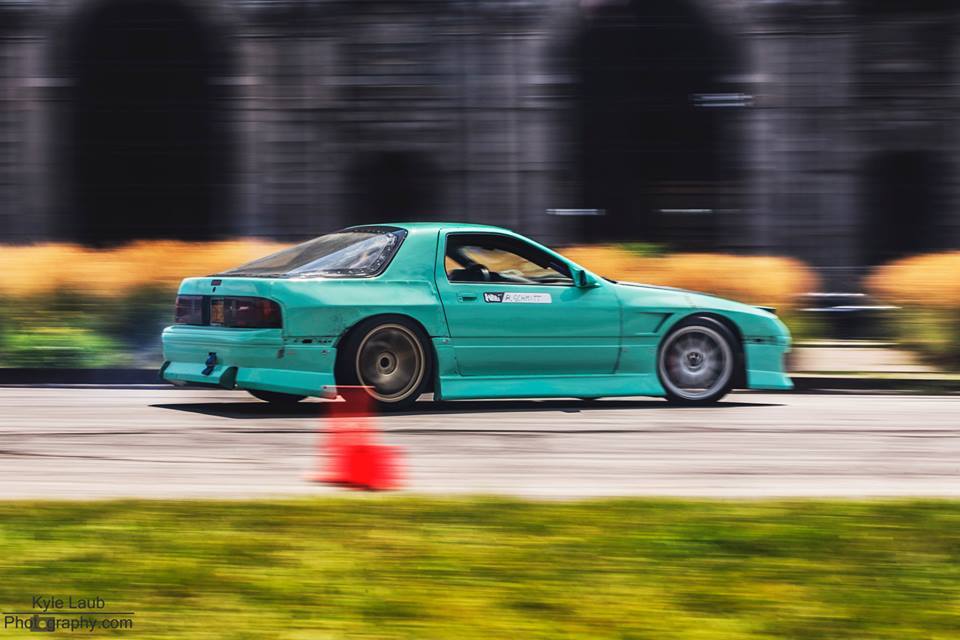
RSD @ Limerock:
Didn't even bother to bring out the bodykit for this event. Car looks like **** but still shreds!
Total events for 2014 - 4
Yup... we had a blast at Streets of Detroit 2014. Borrowed a 2-car trailer from a friend and went out with my buddy Adam.
I had some issues with my car and didn't qualify, but Adam killed it and ended up 4th overall getting eliminated when his serpentine belt snapped on initiation causing him to straighten. We weren't able to make it out this year, but are planning on coming out for 2016.
Cool to see this car still around. I nearly pulled the trigger on buying it when you did. Didn't know if it ever sold and came across this thread. Although I'm not into the drift thing and was going to track use it, glad to see it's getting used on a track. Looks like it's in good fabrication hands as well. Keep it up!
I ended up finishing out 2014 with a Clubloose event and ReadySetDrift's season finale at Limerock. Broke an axle at Limerock and parked it for the winter.
Clubloose:
^^^ Went a little deep on a dirt drop here and Nuked the rear bumper and mufflers on the tire wall - the bashbar took the hit and saved the rear bodywork from any damage. Was back in action after I bent the exhaust back off the rear tire.
RSD @ Limerock:
Didn't even bother to bring out the bodykit for this event. Car looks like **** but still shreds!
Total events for 2014 - 4
Thread Starter
Joined: Nov 2004
Posts: 936
Likes: 1
From: Lincoln Park, NJ
2015 Progress update - Slacked off and did not fix anything over the winter, didn't get the broken axled swapped out until early August. 2015 was the year of distractions:
Picked up this for $1000 to goon around in:
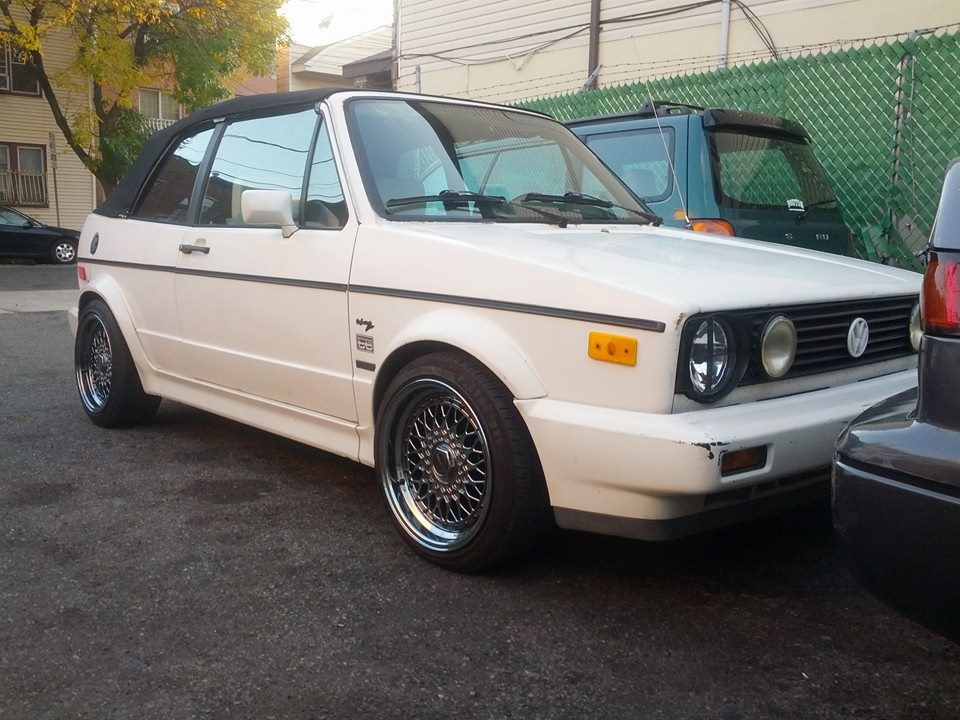
but this pretty much sums up my ownership experience with this thing - stranded just west of Cleveland, Ohio
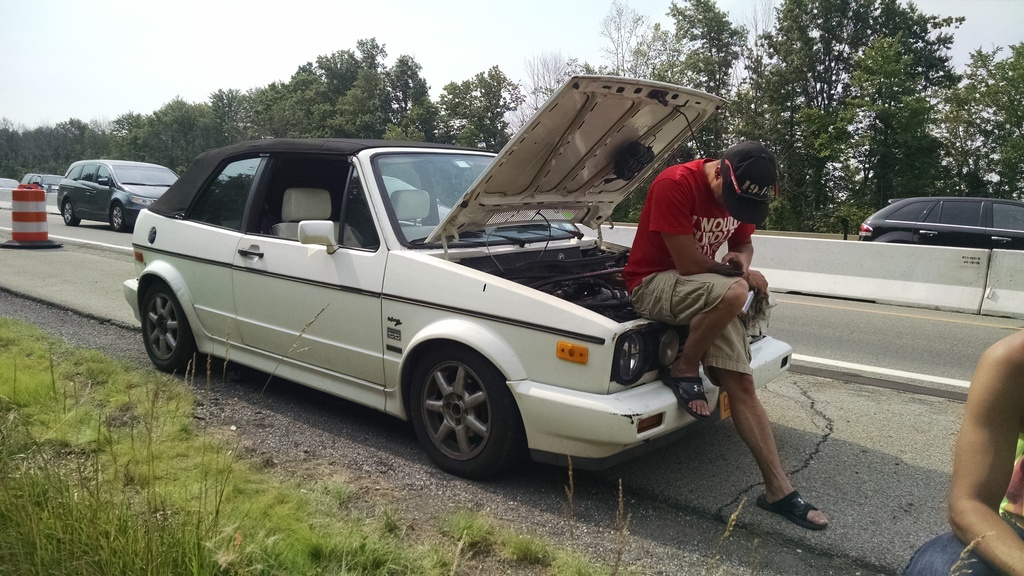
My buddy Adam perched on the core support wondering why we were dumb enough to drive this thing 500 miles from home.
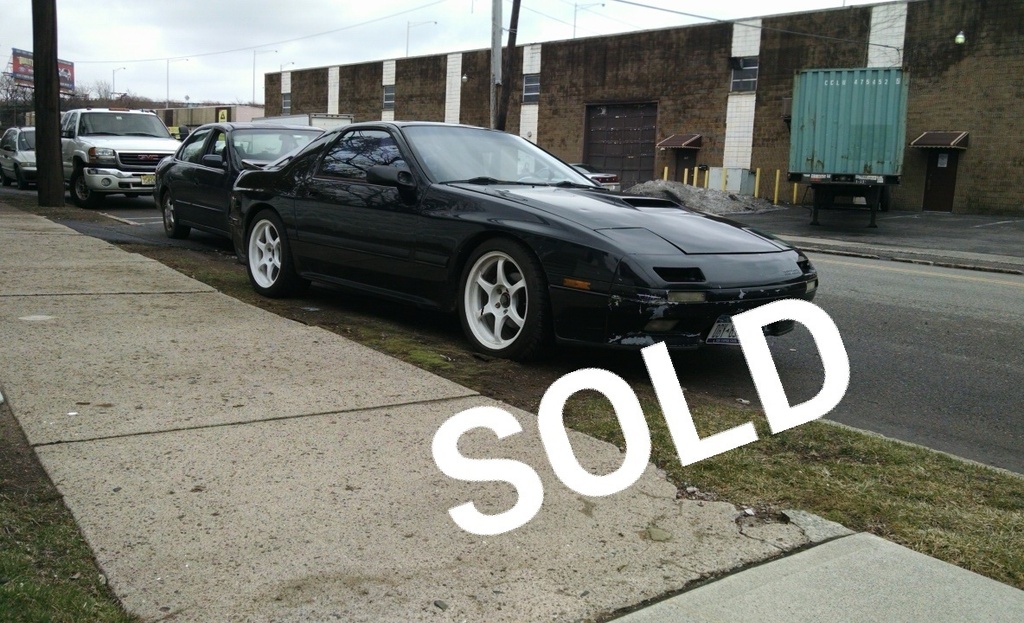
Sold my Rotary street car - This was my first Rx7 and I had this thing for 10 years so it was tough to see it go... but it was certainly time to let it go since I wasn't really driving it or maintaining it like it really needed.
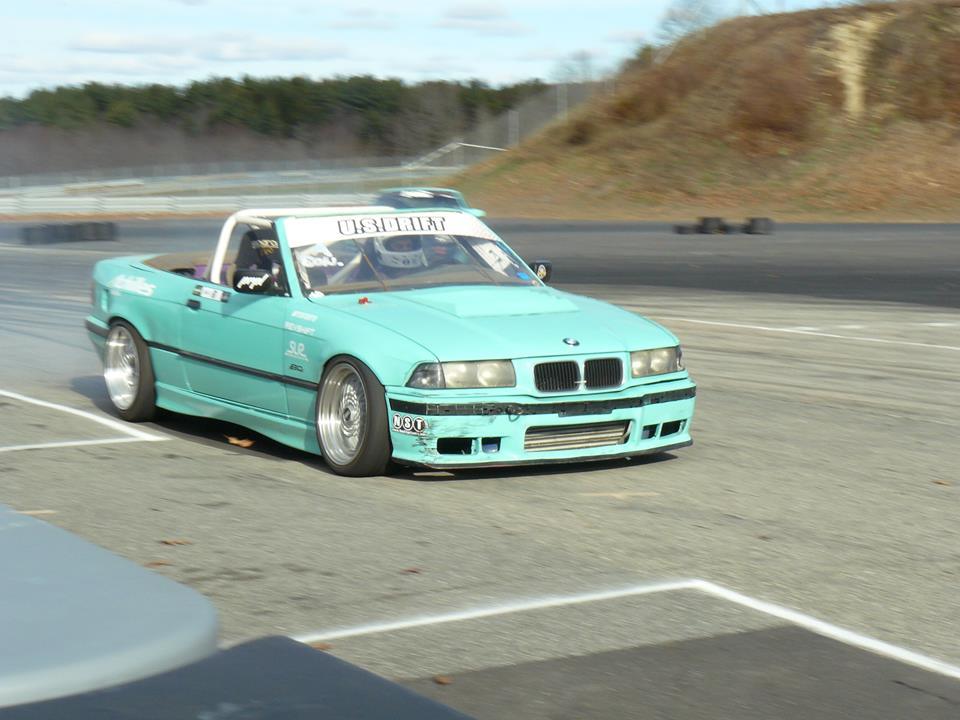
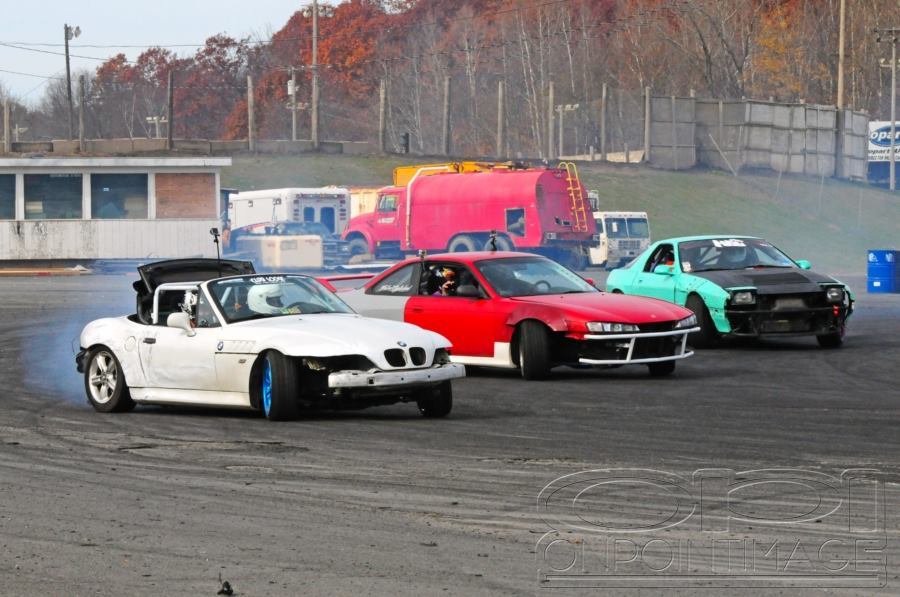
A I spent a few prime drifting weekends helping Adam's run his USDrift Proam season in the mint E36 vert:
Ended up selling my Weds and picking up a pile of Gramlites in good sizes
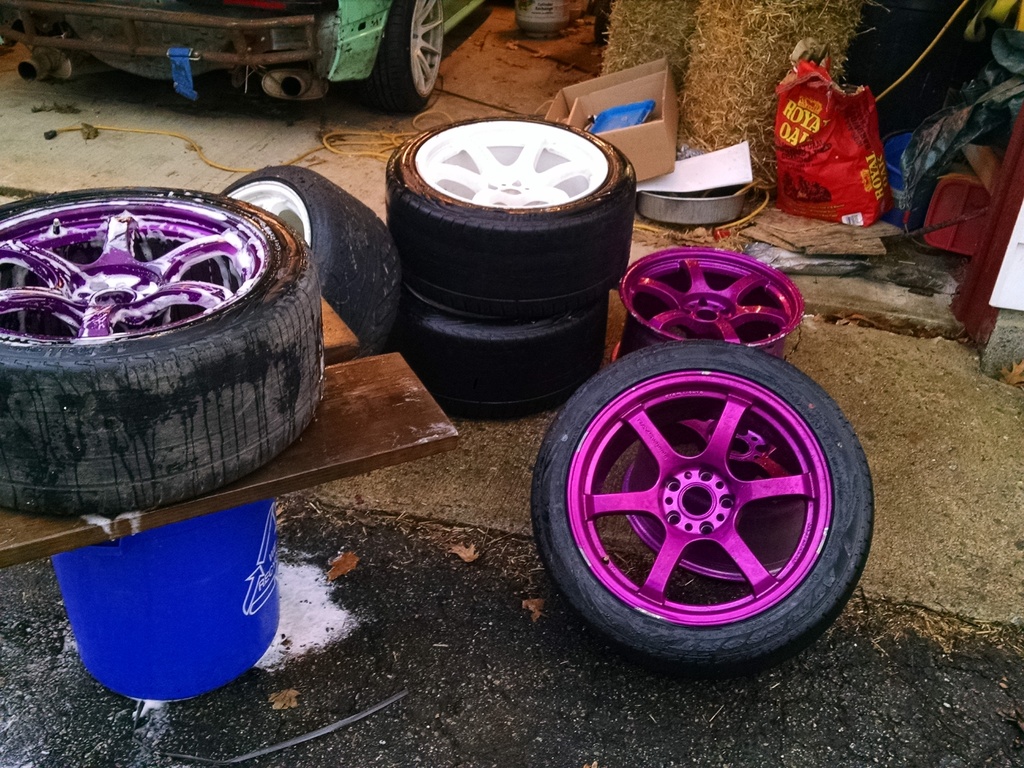
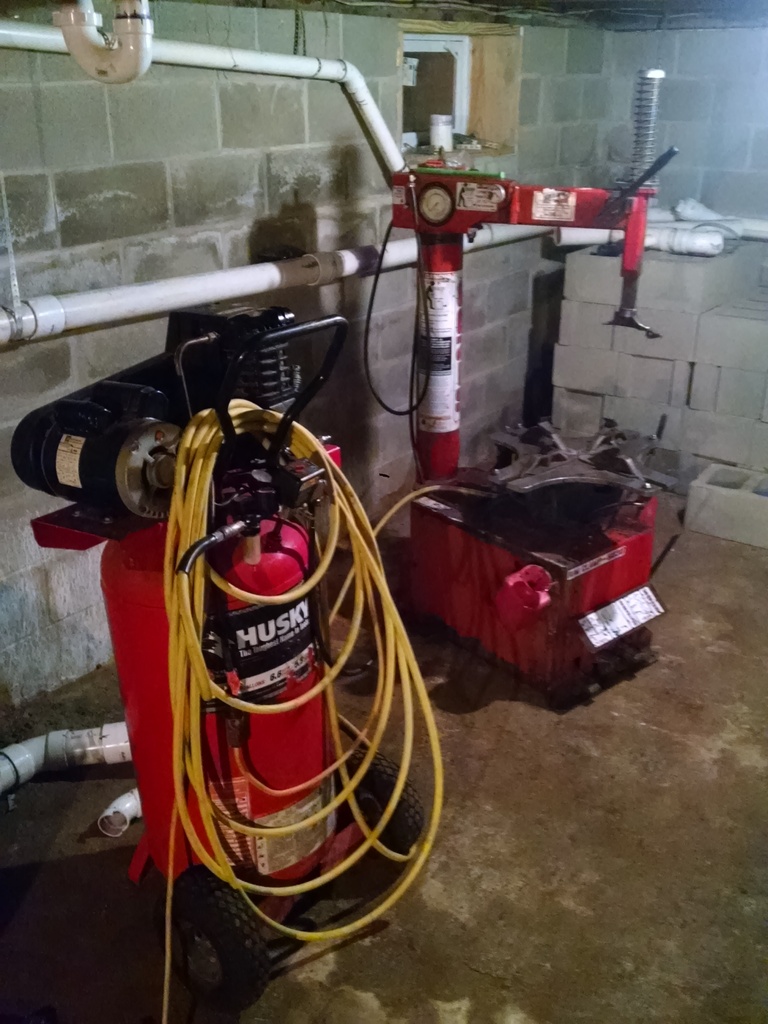
I also found a good deal on a rim clamp tire machine and a compressor to run it
All that stuff kept me pretty busy and out of the garage not working on the LS FC. With more than 2/3rds of the drift season over I finally got around to replacing the axle and driving my car
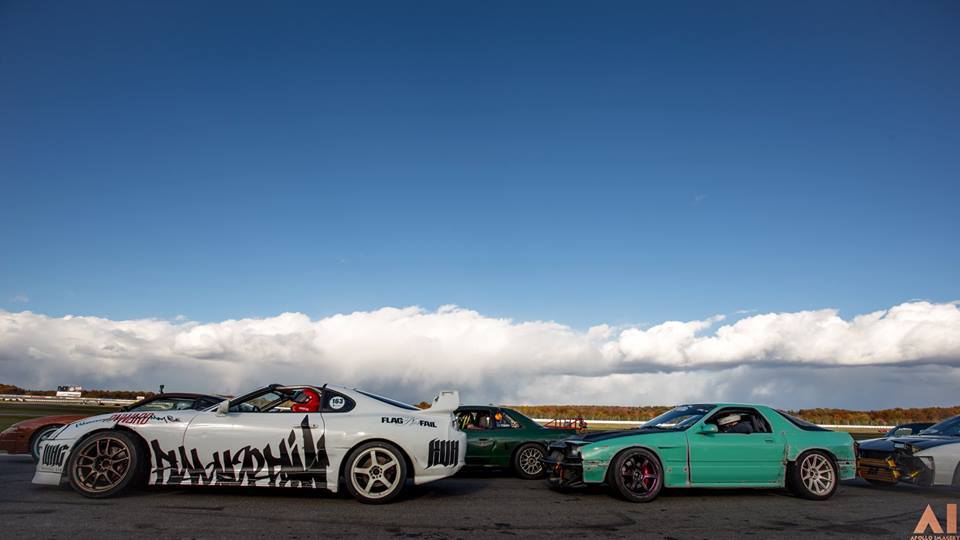
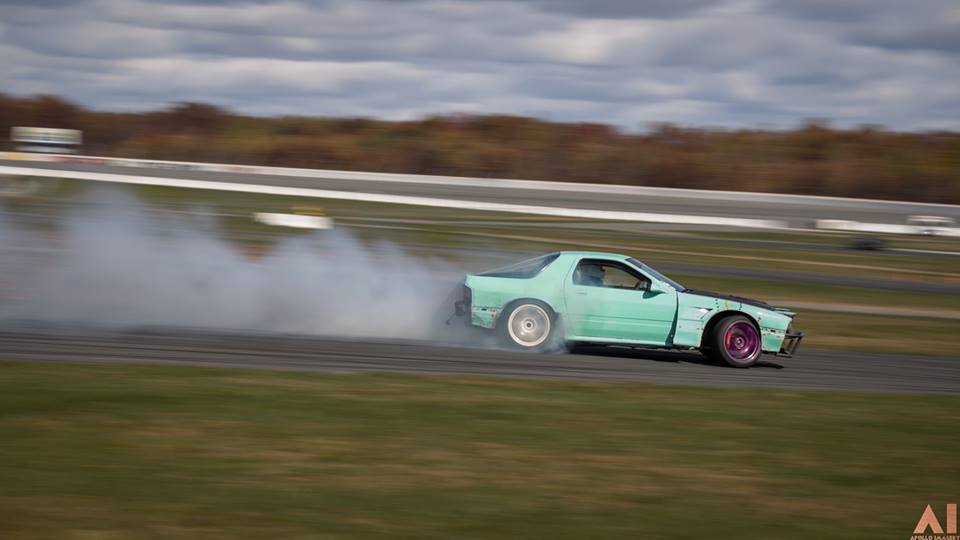
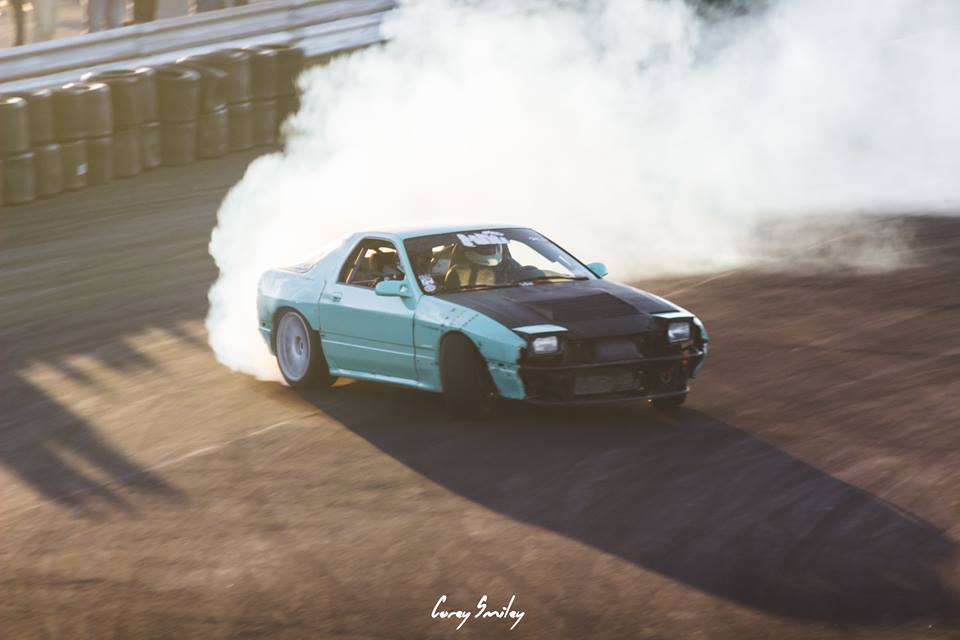
First event for me this year was ReadySetDrift's season finale at Poconos Speedway:
Not too much to see from this event. Didn't end up doing anything to clean up the exterior of the car for 2015 since it was so late in the season at this point. I Was a little rusty since it had been about 9 or 10 months since the time I had spun the tires. I did end up bending one of my PBM lower control arms when the 3rd guy in the tandem did not get the memo that the dude in front had spun and we were stopped dead on the track, dude plowed into me at a pretty good clip.
Arm on the top is bent, the one on the bottom is how it should be.
Put the stock lower control arms back on and went out to Lebanon Valley's season finale - It's a small parking lot event, but it's where we got our start so we go as often as we can.
Picked up this for $1000 to goon around in:
but this pretty much sums up my ownership experience with this thing - stranded just west of Cleveland, Ohio
My buddy Adam perched on the core support wondering why we were dumb enough to drive this thing 500 miles from home.
Sold my Rotary street car - This was my first Rx7 and I had this thing for 10 years so it was tough to see it go... but it was certainly time to let it go since I wasn't really driving it or maintaining it like it really needed.
A I spent a few prime drifting weekends helping Adam's run his USDrift Proam season in the mint E36 vert:
Ended up selling my Weds and picking up a pile of Gramlites in good sizes
I also found a good deal on a rim clamp tire machine and a compressor to run it
All that stuff kept me pretty busy and out of the garage not working on the LS FC. With more than 2/3rds of the drift season over I finally got around to replacing the axle and driving my car
First event for me this year was ReadySetDrift's season finale at Poconos Speedway:
Not too much to see from this event. Didn't end up doing anything to clean up the exterior of the car for 2015 since it was so late in the season at this point. I Was a little rusty since it had been about 9 or 10 months since the time I had spun the tires. I did end up bending one of my PBM lower control arms when the 3rd guy in the tandem did not get the memo that the dude in front had spun and we were stopped dead on the track, dude plowed into me at a pretty good clip.
Arm on the top is bent, the one on the bottom is how it should be.
Put the stock lower control arms back on and went out to Lebanon Valley's season finale - It's a small parking lot event, but it's where we got our start so we go as often as we can.
Thread Starter
Joined: Nov 2004
Posts: 936
Likes: 1
From: Lincoln Park, NJ
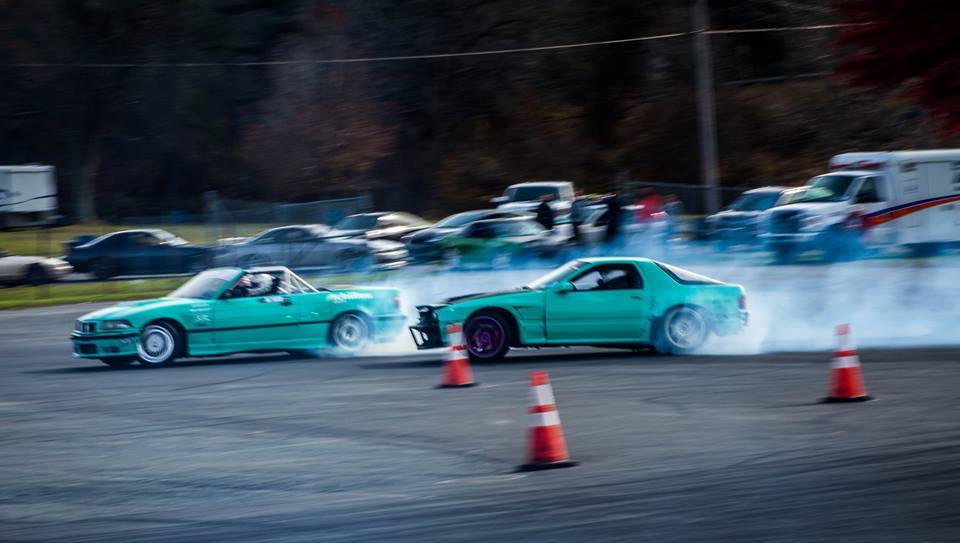
Last week I Got the replacement PBM lower control arm back in for the event last weekend with Lock City Drift at Thompson Motor Speedway up in CT. This was another skidpad event, but it's also a new venue for drifting in the north east so we had to go check it out. Course was a little small but the pavement was great!
Plan is to run at Clubloose Slayride to round out another year with 4 drift events and then actually work on the car this winter to set it up right and get it looking nice again.
Plan is to run at Clubloose Slayride to round out another year with 4 drift events and then actually work on the car this winter to set it up right and get it looking nice again.
Thread Starter
Joined: Nov 2004
Posts: 936
Likes: 1
From: Lincoln Park, NJ
2016 Update for those following along -
My plan for winter 2015/2016 was to get the car cleaned up and repainted in the same mint color before the start of the season in April... didn't quite get that far, but here's where I ended up.....
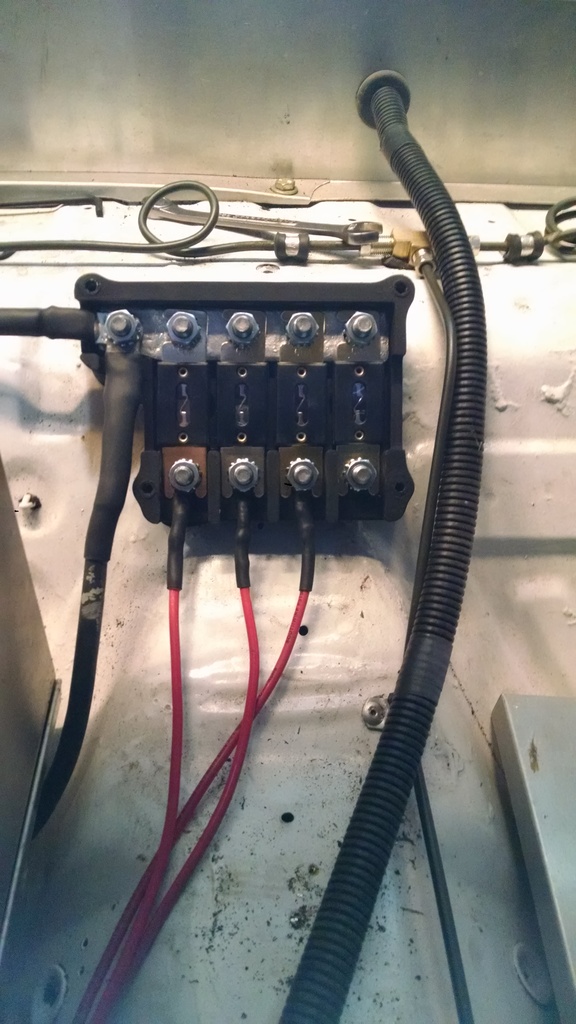
Had some issues at Slayride with my car shutting down randomly in the middle of a run. Turned out to be some intermittent contact issues at the main fuse block... which was a car-audio style glass fuse holder. Once I tracked that down, I decided to replace it with a fuse block of my own design since I wasn't in love with the off the shelf options:
Mocked up in CAD - designed to use 4 ANL style fuses:
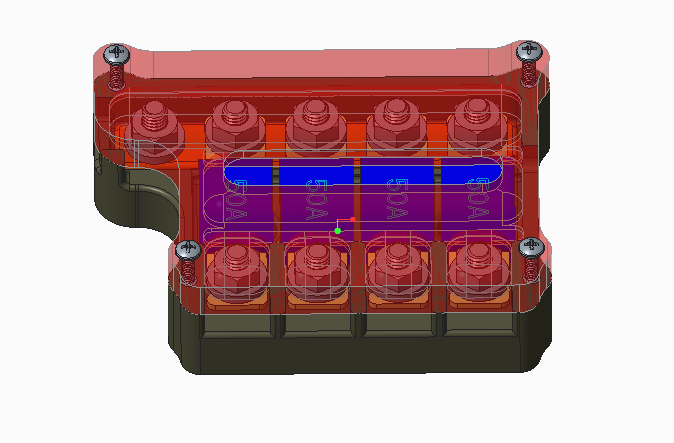
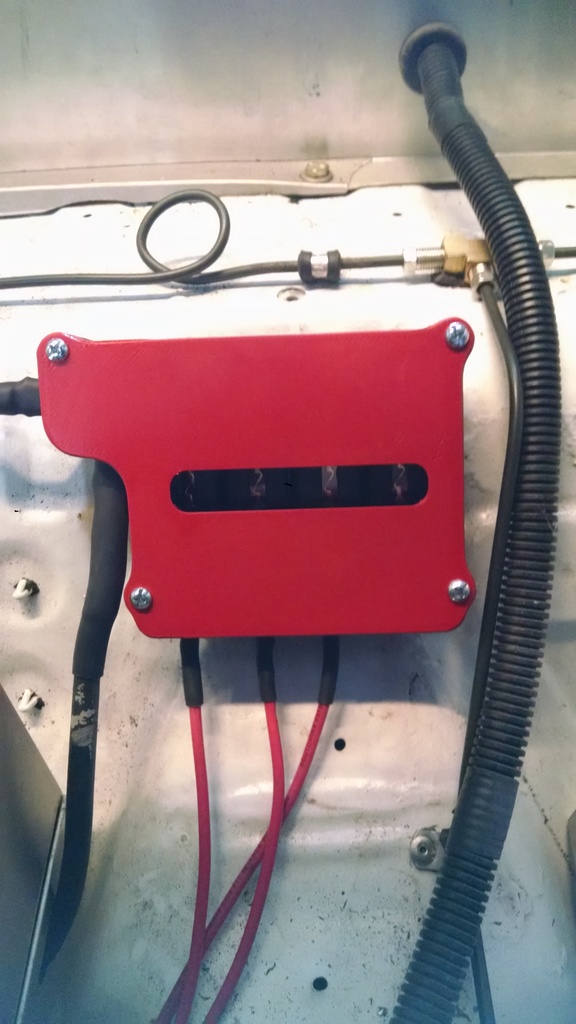
Then I had a buddy 3D print the two halves of the case and I populated it with hardware and a buss bar:
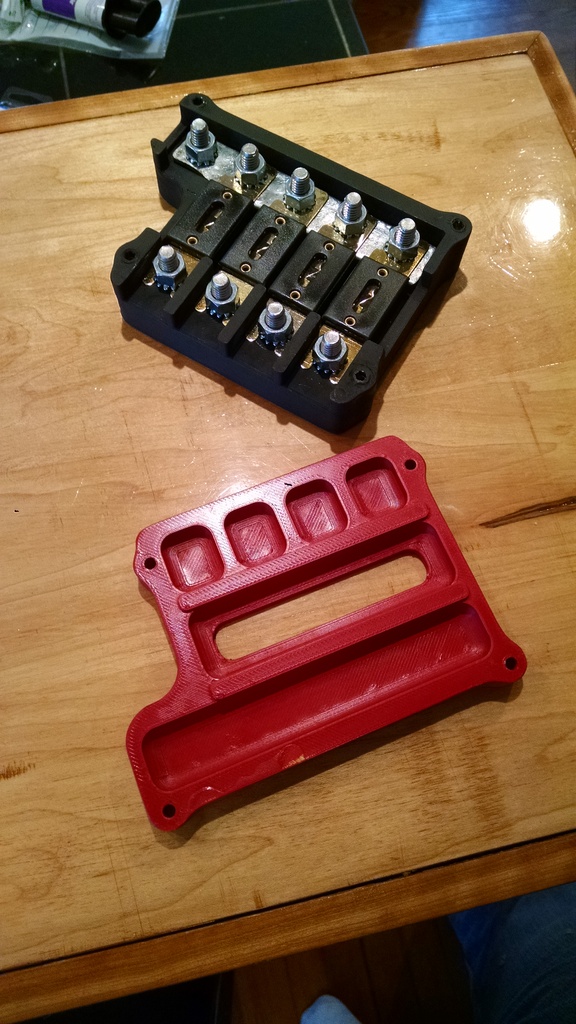
Installed in the car:
Swapped out my rear coil over springs from 6k to 8k:
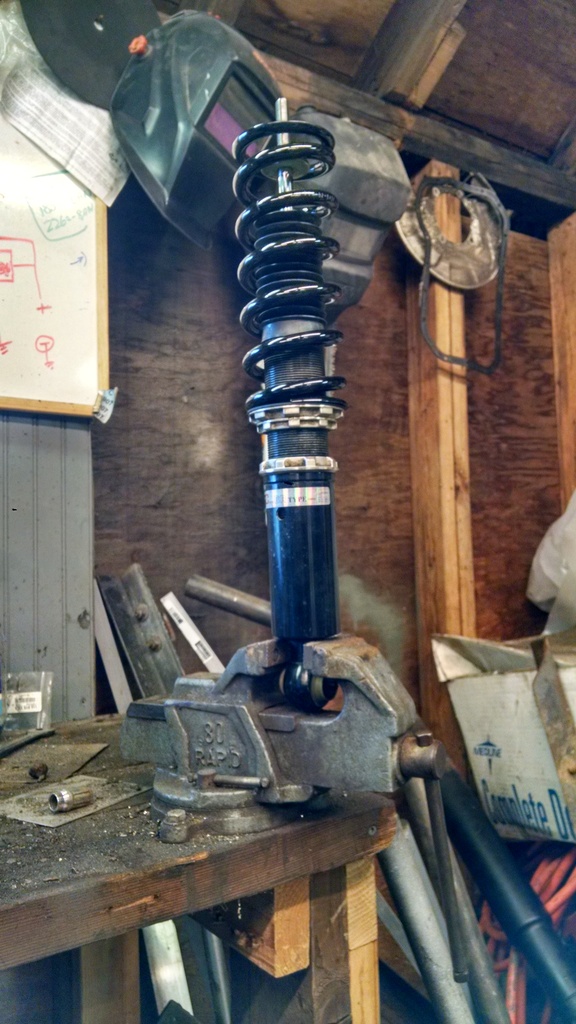
Left the stock BC 8k springs in the front so I'm running 8k front and rear and loving it so far.
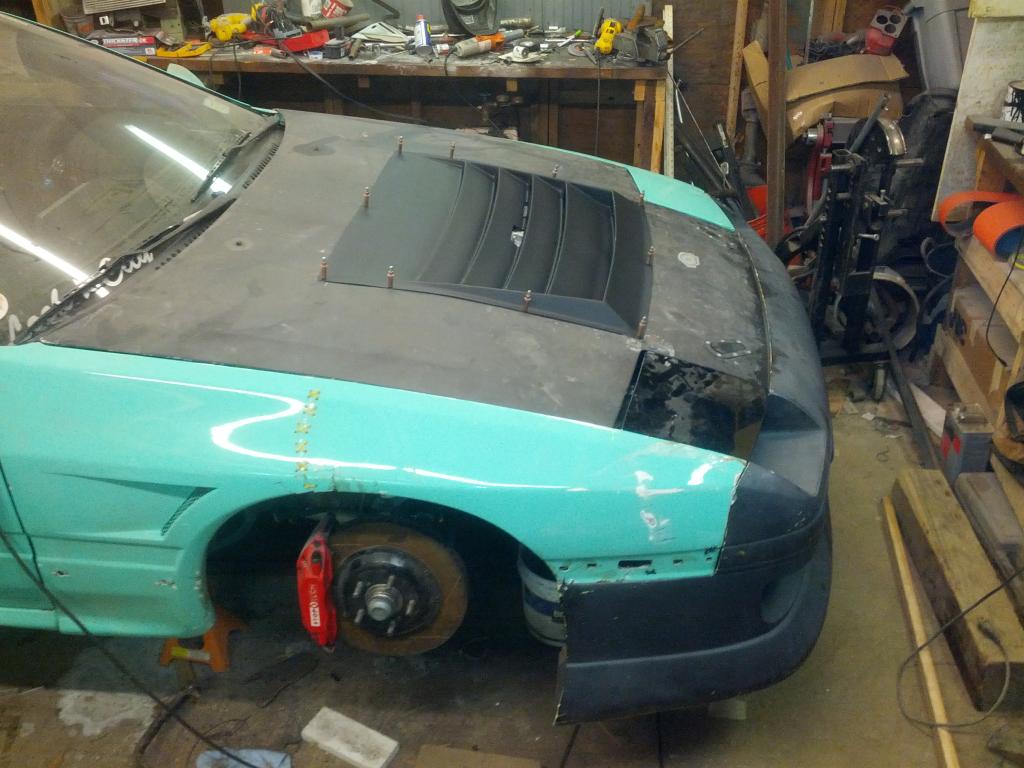
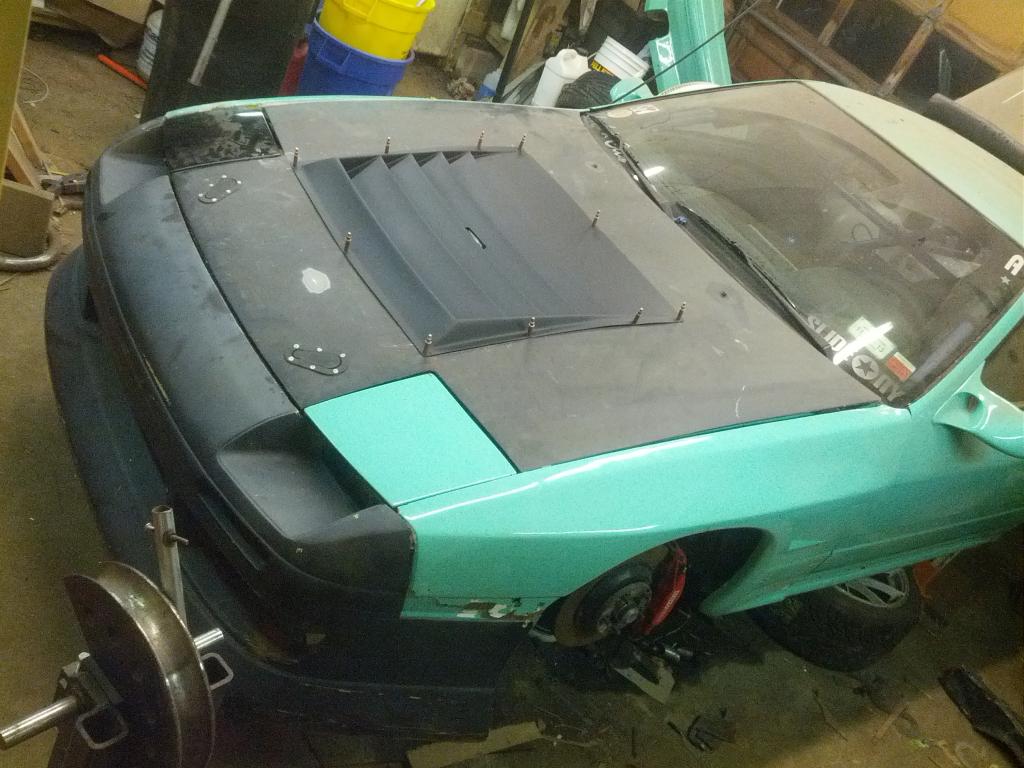
I also picked up a pair of RE Amemiya Type I aero mirrors, a Shineauto hatch wing, and a Re Amemiya Type IV spoiler.... test fitting this junk:
I got a fresh coat of white on all the Gram Lights:
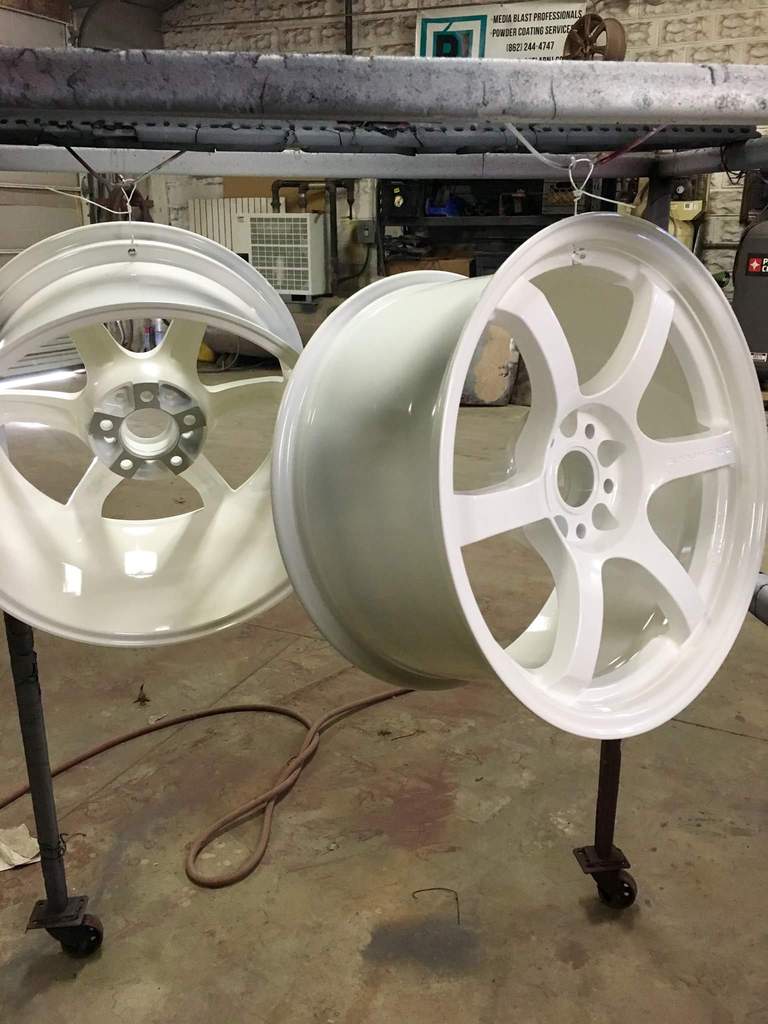
And that's as far as I got before the weather got nice and I got distracted - gotta keep the house looking fresh to offset the junk in the driveway:

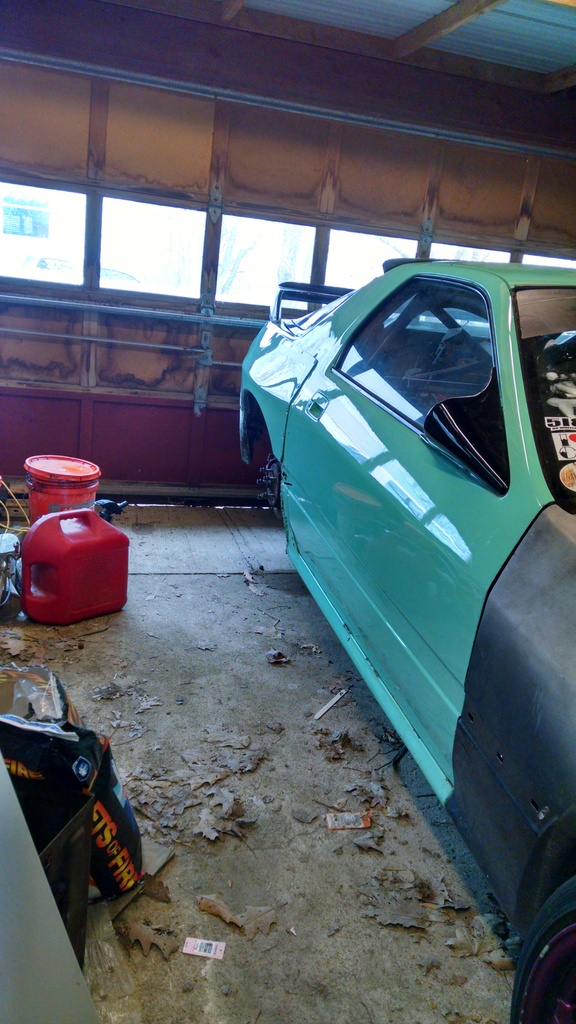
Got a free E46 from a coworker that thought it had a bad head gasket:
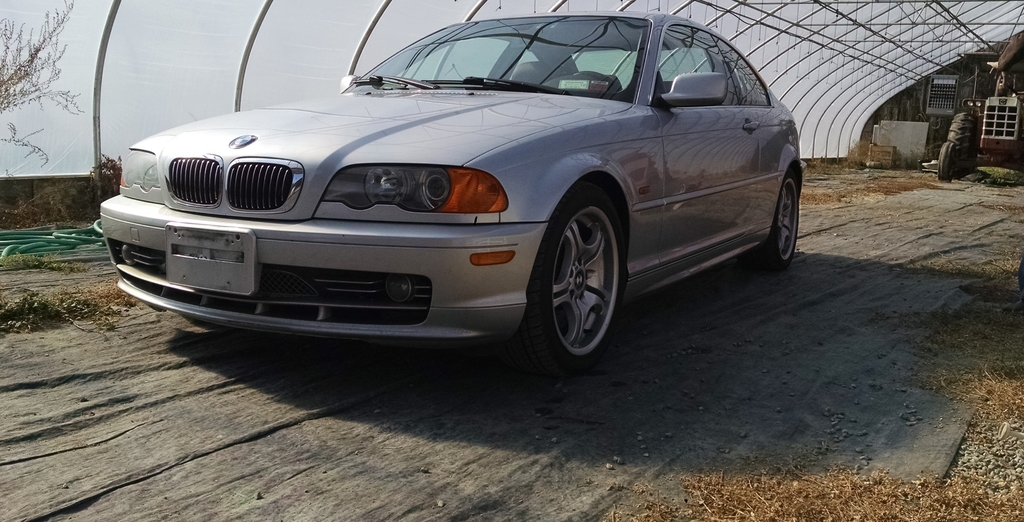
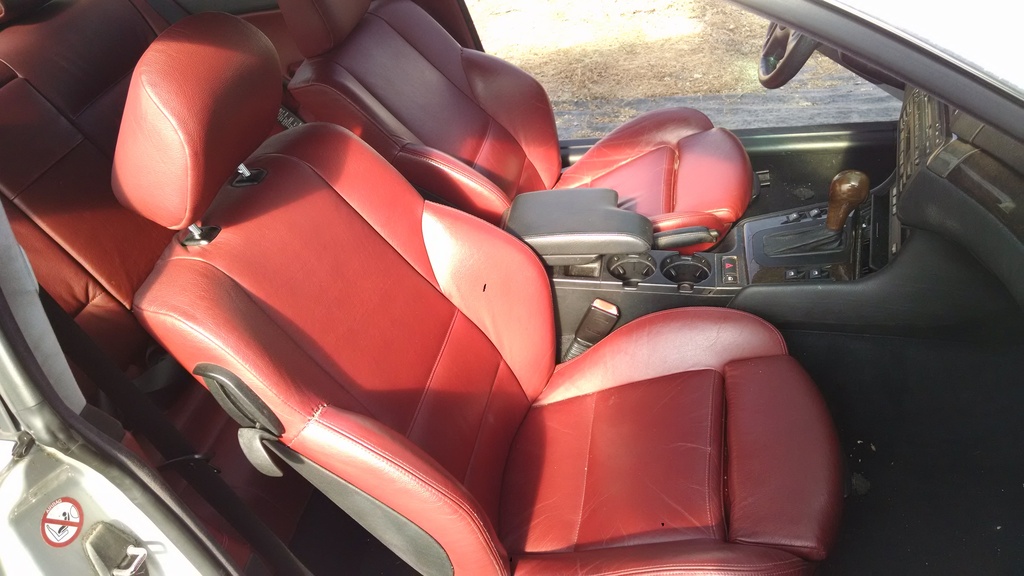
That red interior tho...
head gasket turned out to be fine so I threw in a 5 speed from buddy's parts car and have been rocking it as a daily. Needs a welded diff bad.
I also got distracted parting out a vert to get it's Shine Auto 30mm front fenders and clean rear quarter panel metal to fill in the missing/ bent sections on the drift car-
SEE YA!

My plan for winter 2015/2016 was to get the car cleaned up and repainted in the same mint color before the start of the season in April... didn't quite get that far, but here's where I ended up.....
Had some issues at Slayride with my car shutting down randomly in the middle of a run. Turned out to be some intermittent contact issues at the main fuse block... which was a car-audio style glass fuse holder. Once I tracked that down, I decided to replace it with a fuse block of my own design since I wasn't in love with the off the shelf options:
Mocked up in CAD - designed to use 4 ANL style fuses:
Then I had a buddy 3D print the two halves of the case and I populated it with hardware and a buss bar:
Installed in the car:
Swapped out my rear coil over springs from 6k to 8k:
Left the stock BC 8k springs in the front so I'm running 8k front and rear and loving it so far.
I also picked up a pair of RE Amemiya Type I aero mirrors, a Shineauto hatch wing, and a Re Amemiya Type IV spoiler.... test fitting this junk:
I got a fresh coat of white on all the Gram Lights:
And that's as far as I got before the weather got nice and I got distracted - gotta keep the house looking fresh to offset the junk in the driveway:
Got a free E46 from a coworker that thought it had a bad head gasket:
That red interior tho...
head gasket turned out to be fine so I threw in a 5 speed from buddy's parts car and have been rocking it as a daily. Needs a welded diff bad.
I also got distracted parting out a vert to get it's Shine Auto 30mm front fenders and clean rear quarter panel metal to fill in the missing/ bent sections on the drift car-
SEE YA!
Thread Starter
Joined: Nov 2004
Posts: 936
Likes: 1
From: Lincoln Park, NJ
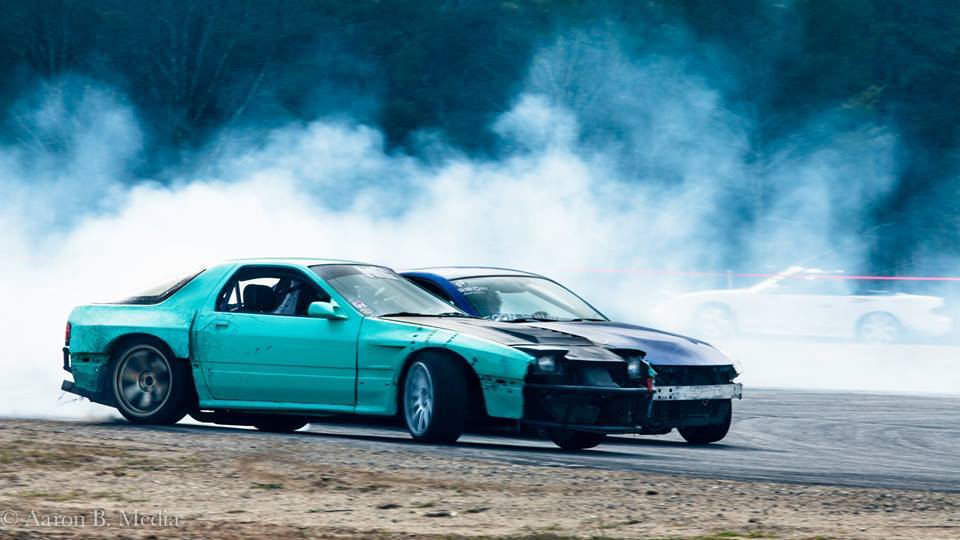
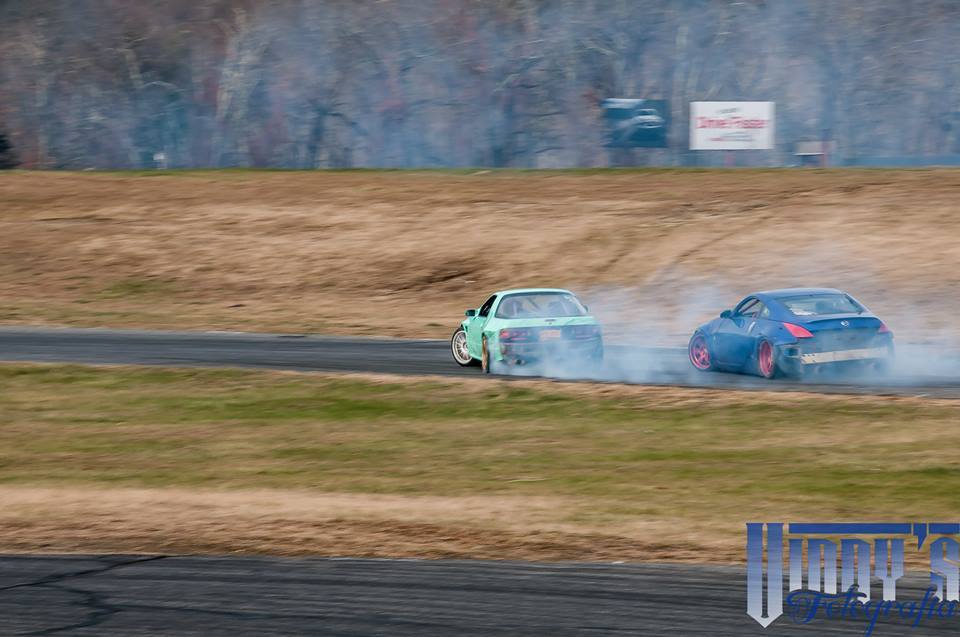
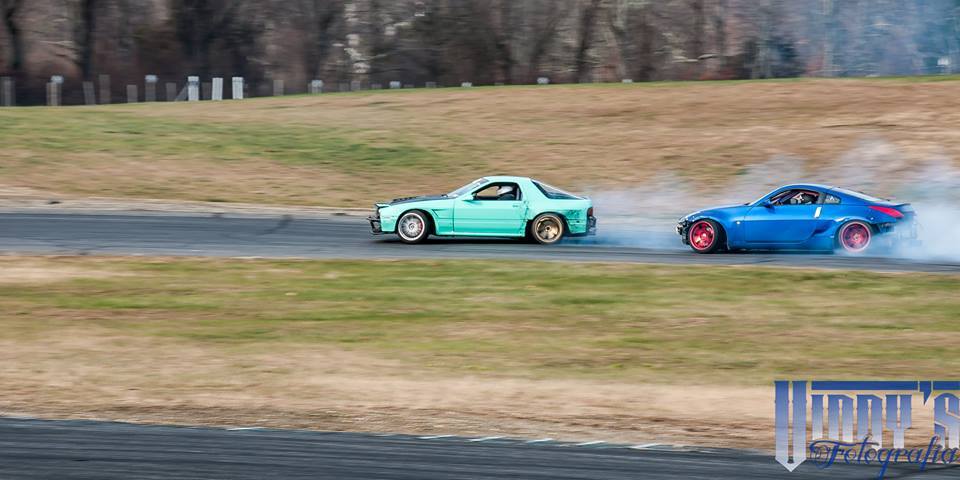
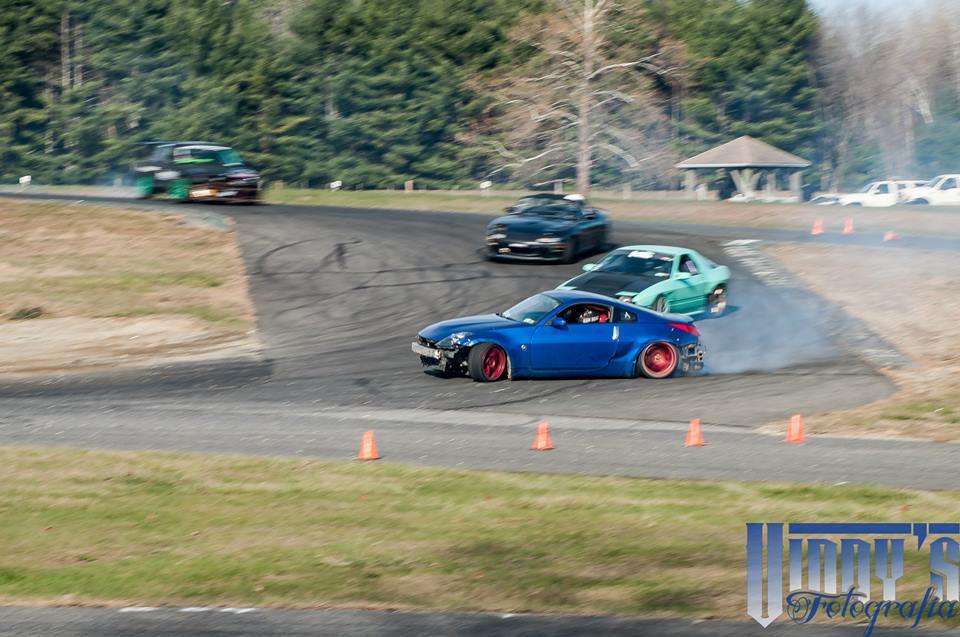
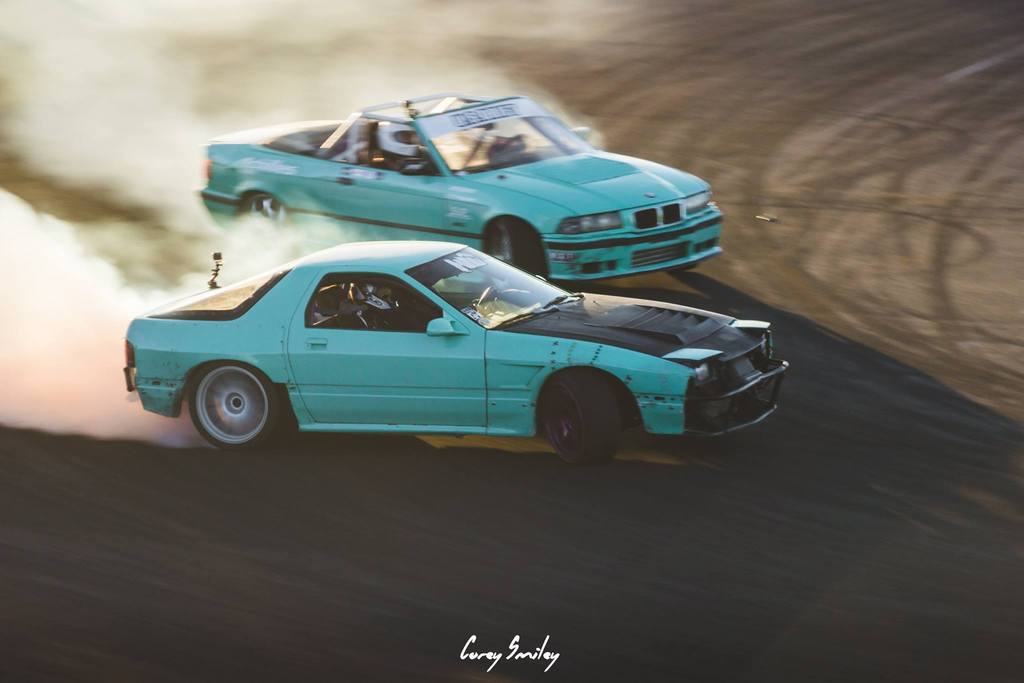
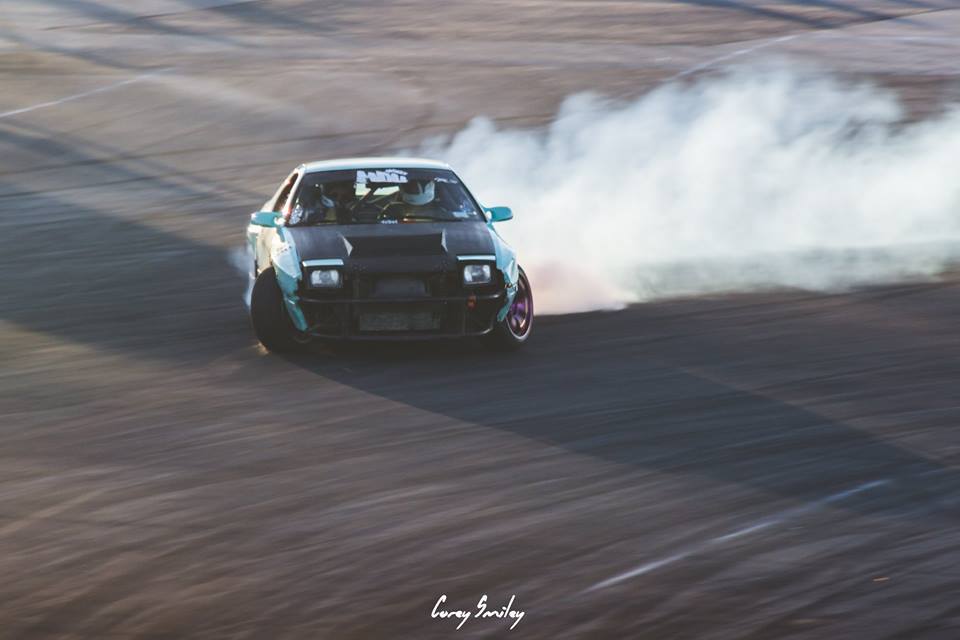
So that pretty much brings us up to the middle of last week... right before East Coast Bash with little to no actual progress on the drift car since test fitting the Re Amemiya stuff... Decide to run it anyway even though it still looks dumpy... changed the oil and hung the old fenders and aero back on and let it rip. Here's some of the media that's been released so far:


Thread Starter
Joined: Nov 2004
Posts: 936
Likes: 1
From: Lincoln Park, NJ

