
Bens build: going pro-am


Full Member
Joined: Jul 2008
Posts: 209
Likes: 0
From: FL
Sorry, guess that didn't really make sense. I was talking about the cut/weld job on the rear quarters. It's so easy to do a nice job.

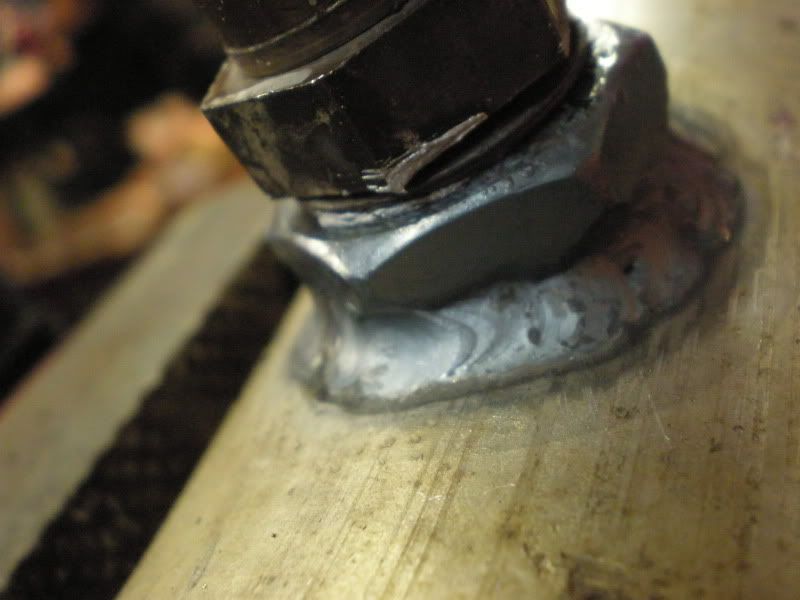
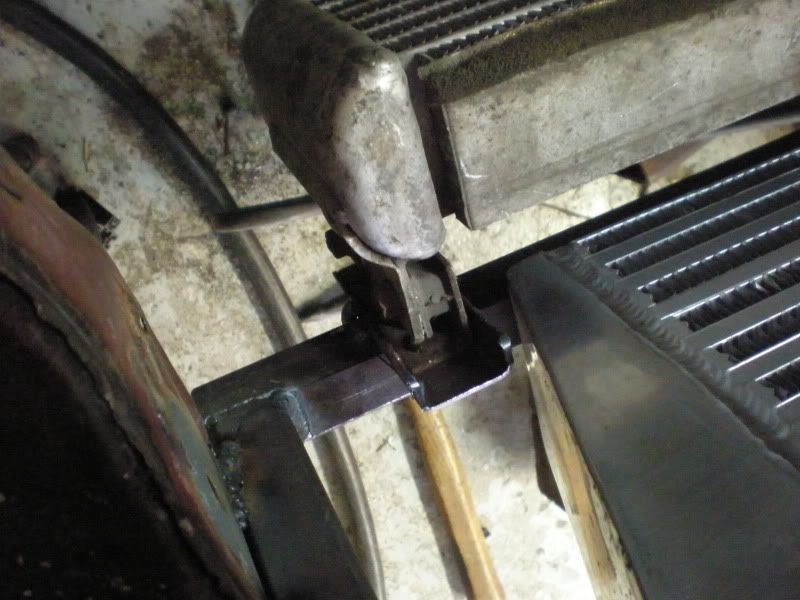
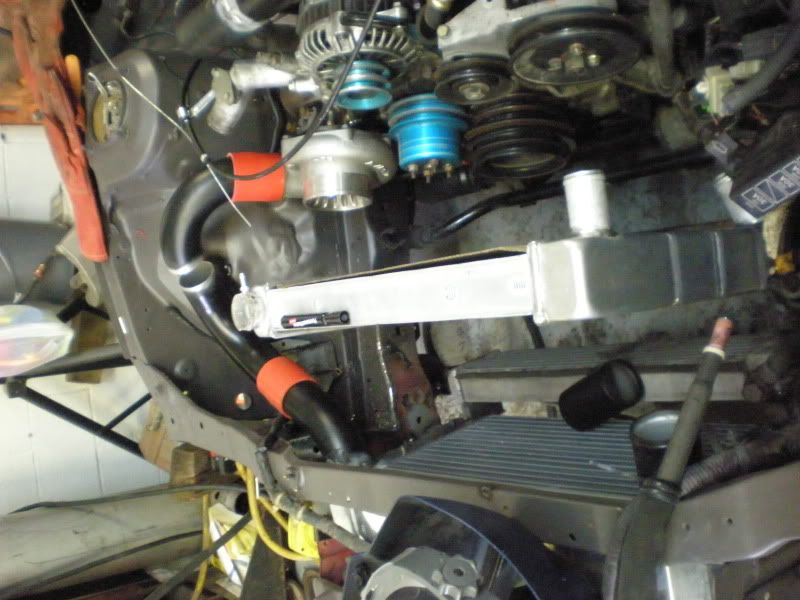
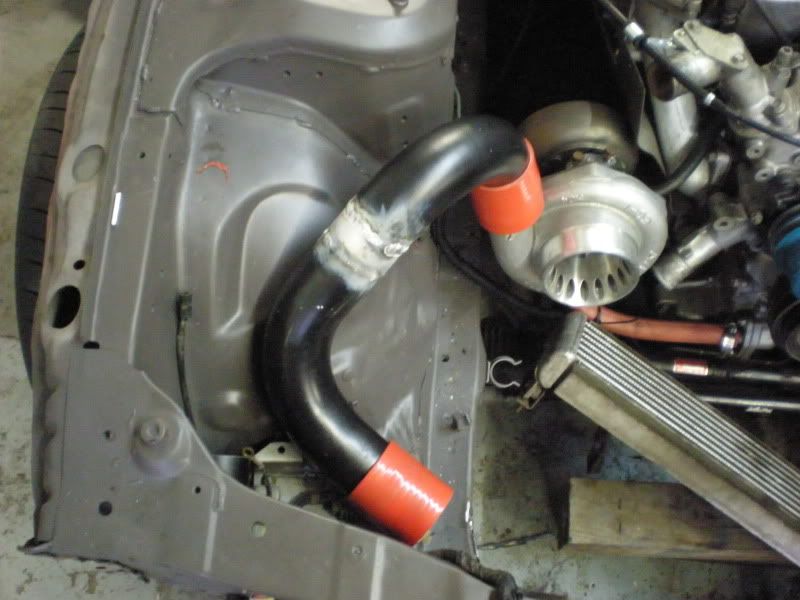
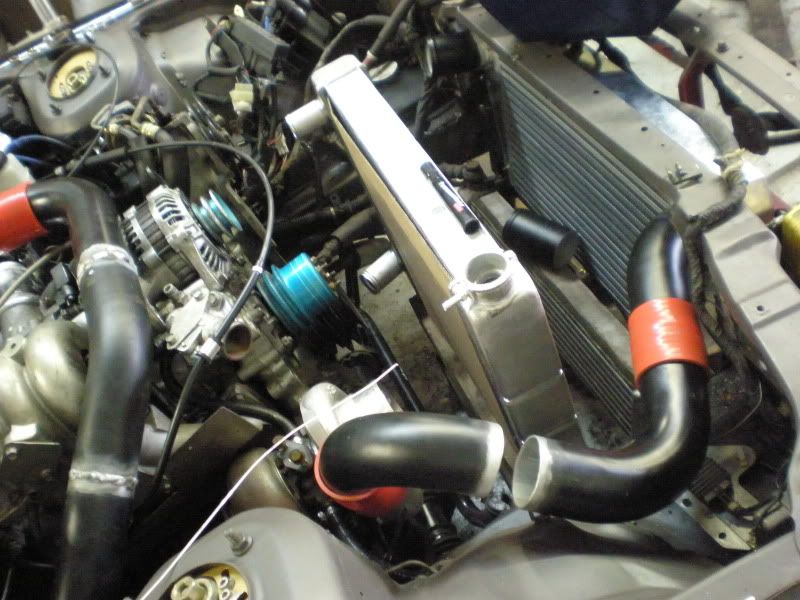
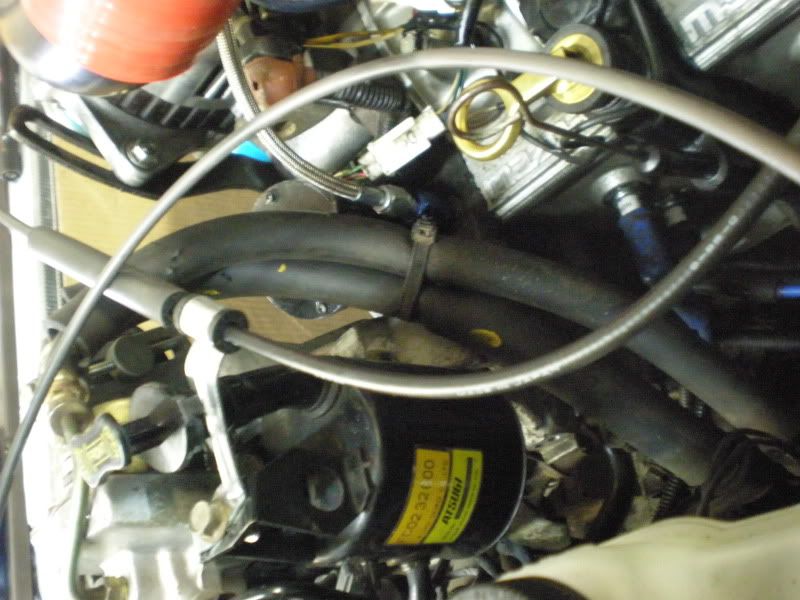
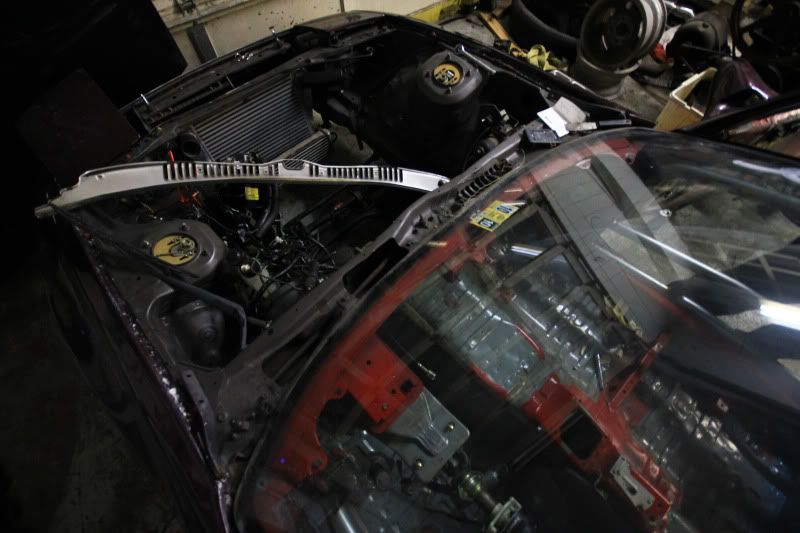
still not quite there yet but made alot of progress, i forsee some cranking this friday as i have a surprise holiday. anyways got the piping routed and welded, intercooler brackets fab'd and welded in place, oil cooler bracket/front end brace welded in place (removed the original tube), Welded a bung in the downpipe for wideband o2 sensor and heat wrapped it, rerouted power steering lines around pump for intercooler piping, rerouted several brake lines to delete abs and move proportioning valve down a bit for the piping as well, put gaskets on the turbo mounted coolant fittings and ran lines from the existing water pump outlets, and mounted the throttle cable.
On the list of things left to do Fab some brackets up for my 1 one year anniversary present

fab brackets for radiator and work out the piping situation, make a flange for the oil inlet for the turbo, pick fan and install, add shrouding for all coolers, check spacing for battery and decide wether to go with a miata battery or relocate in vechile and where at in the vechile, reassemble and add fluids i believe, then to the exhaust shop to have the rest of my piping bent and some tuning.
On the list of things left to do Fab some brackets up for my 1 one year anniversary present
fab brackets for radiator and work out the piping situation, make a flange for the oil inlet for the turbo, pick fan and install, add shrouding for all coolers, check spacing for battery and decide wether to go with a miata battery or relocate in vechile and where at in the vechile, reassemble and add fluids i believe, then to the exhaust shop to have the rest of my piping bent and some tuning.


Agreed with the car being mint before i got my hands on it but thats just how life is. knowing what i know now i would have kept it mint and picked up a na coupe shell to build, but ***** gone now might as well finish it off.
Long over due for a update, i have just been slammed working on this thing a few hours a night or sometimes only a handful of minutes just to find out i left the part at my house thats a half hour away or the tool i need is locked up at my shop. so hold on for updates this weekend.
Long over due for a update, i have just been slammed working on this thing a few hours a night or sometimes only a handful of minutes just to find out i left the part at my house thats a half hour away or the tool i need is locked up at my shop. so hold on for updates this weekend.
alright so i have been busy as hell for a bit now, but if you watched the video you would see it has gotten running. since then i have relocated the battery offically to the passenger storage bin, installed E-fan (which needed a good bit of trimming, thank you band saw), installed msd to leading ignition coil (bad idea) re assembled body work, installed datalogit and went for a drive.
**** was running pretty rough, popping and bucking, so i assumed a poor tune on the pfc. took it up to dyno in pa at Speedone (formerly kd Rotary) and dynoed it and had it tuned only to find that my narrow range tps was shorting and causing the other malfunction. So everytime your gave it boost it would think you where going into decel mode and cut the injectors. band aided that piece and got off somewhat solid dyno pulls, but when looking at the graph you see a ton of ignition breakup. Dave says to take off the msd. I did and the breakup got better but not done. Apparently my coil is cooked from the msd malfunctioning. only put down 281whp 250wtq but without the ignition breakup its 320-350 at 14psi. So hks twin power, tps, coil all on order, and a dyno is booked for saturday so if the ignition breakup is gone then i am drifting on sunday at summit point.
pictures are on their way
or if your super interested this is my thread i post more often in
http://www.slidewaysonline.com/Forum...t=206&start=40
http://www.slidewaysonline.com/Forum...t=206&start=40
So its been i while i know however ***** moving along progressively now and i feel the need to update. I think i left off with this build thread with the motor in and running. Well i went to KDR rotary in pa and had it tuned. Made alittle over 300whp at 14psi which is rather dissapointing. However it had a nasty amount of breakup as soon as boost comes on. The tuner said it was Ignition and that my coil got fried by my MSD. And on top of that i had something wrong with my tps. The car would go into decel mode when you would give it more than 1/3 throttle.After pulling the intake to double check wires and wiring from them to the ecm we found out they worked so the tps is fried SOOOO i ordered a used TPS , grabbed the coil out of my turbo vert, and ordered an HKS twin power at my tuners recommendation.
Well friday comes and i have been tied up after work and just got the duct work figured out and made for the new rad/intercooler combo, and my HKS twin power wired up. So simple i just through on and adjusted the new tps, then go into my work on saturday and throw on new tires and drive up carefully about an hour to a dyno to check for this Ignition breakup. WHich sounds pretty easy... WRONG! Friday gets screwed up by some random cause and i can't pick up the car till late. Well its not really possible to drive a halfbridge port with a 3 inch exhaust dumping 2 feet behinde the turbo, through a neighborhood and not get your fabricator get a nasty call.
so its saturday morning and TPS didnt fix anything i start adjusting and looking at the throttle body differences between this engine (which if you remember is used) finally after double checking resistance values for the wires to the tps i say F it and i am gonna replace them. Get some shity overlays done and start the car, take it for a test drive and the thing is tearing ***.
So i run to work and get tires on, end up being 3 hours late for my dyno appointment and take the first run. Turns up 20 more whp but still breaking up. Try adding grounds and triple checking my plug wires no change. I get mad and go home dissapointed. Later on i get pissed, but decide my track day tomorrow is still on.
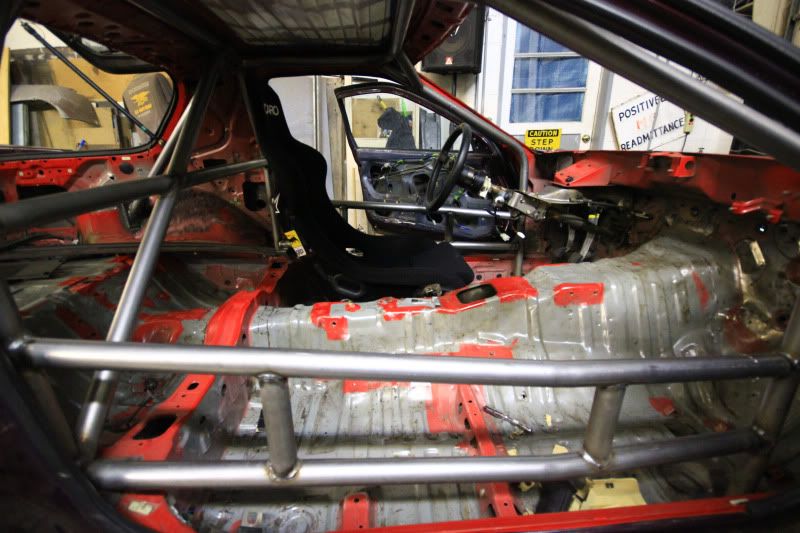
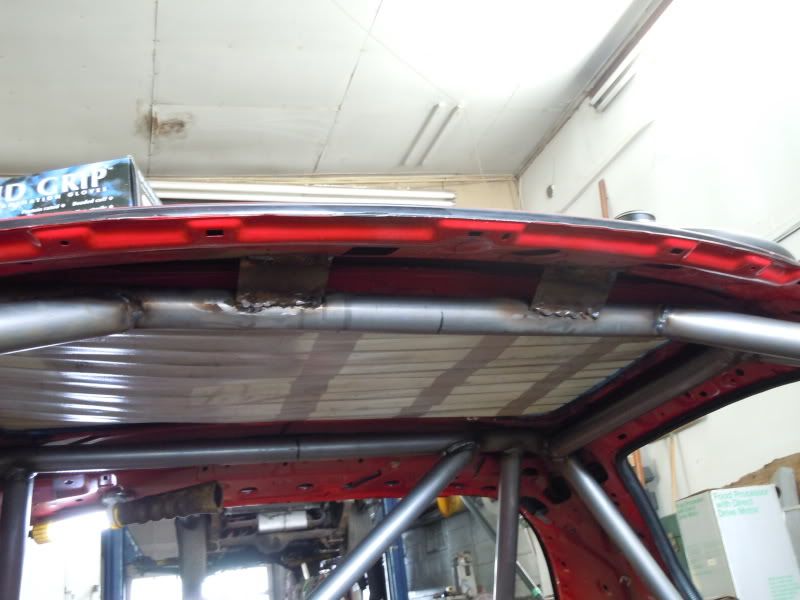
Well i blow a dowel pin land from detonation and lose almost all of my oil on one run, and along with it my motivation for a month. So just got the car back from Being caged by Alexander fabrication
Well friday comes and i have been tied up after work and just got the duct work figured out and made for the new rad/intercooler combo, and my HKS twin power wired up. So simple i just through on and adjusted the new tps, then go into my work on saturday and throw on new tires and drive up carefully about an hour to a dyno to check for this Ignition breakup. WHich sounds pretty easy... WRONG! Friday gets screwed up by some random cause and i can't pick up the car till late. Well its not really possible to drive a halfbridge port with a 3 inch exhaust dumping 2 feet behinde the turbo, through a neighborhood and not get your fabricator get a nasty call.
so its saturday morning and TPS didnt fix anything i start adjusting and looking at the throttle body differences between this engine (which if you remember is used) finally after double checking resistance values for the wires to the tps i say F it and i am gonna replace them. Get some shity overlays done and start the car, take it for a test drive and the thing is tearing ***.
So i run to work and get tires on, end up being 3 hours late for my dyno appointment and take the first run. Turns up 20 more whp but still breaking up. Try adding grounds and triple checking my plug wires no change. I get mad and go home dissapointed. Later on i get pissed, but decide my track day tomorrow is still on.
Well i blow a dowel pin land from detonation and lose almost all of my oil on one run, and along with it my motivation for a month. So just got the car back from Being caged by Alexander fabrication
So in those pictures it is in its current location which is back at Ben Fumkashimas shop where i did the rest of the fab. Then jon came by and helped remove the windshield.


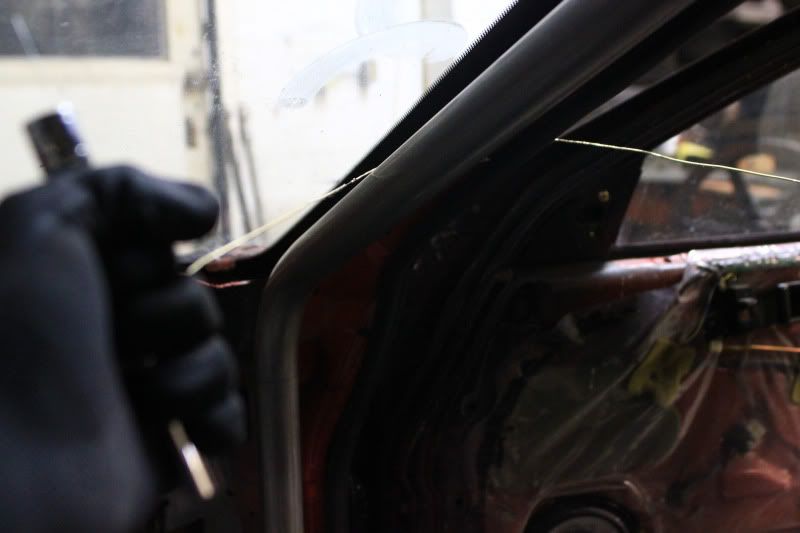
Man it took 8 guitar strings since i forgot to bring my heat gun. It was a mess that is for sure. More pictures and updates shortly
Man it took 8 guitar strings since i forgot to bring my heat gun. It was a mess that is for sure. More pictures and updates shortly

Full Member
Joined: Sep 2007
Posts: 130
Likes: 0
From: NEW York
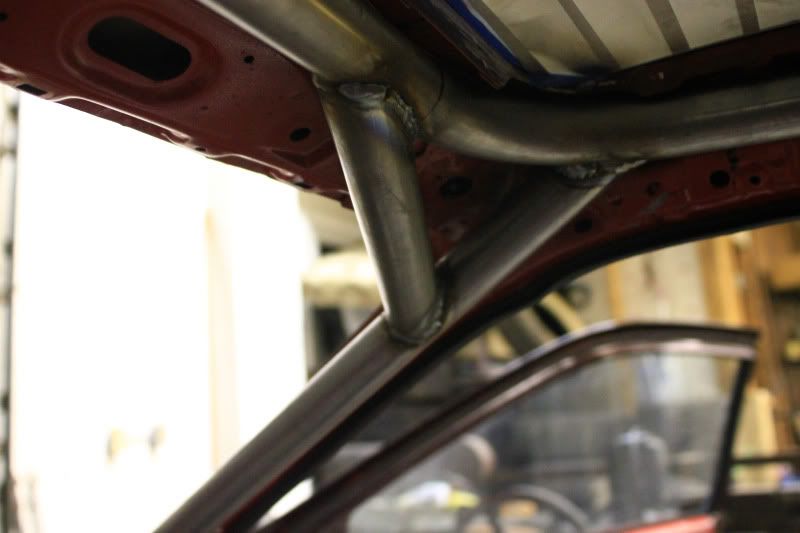
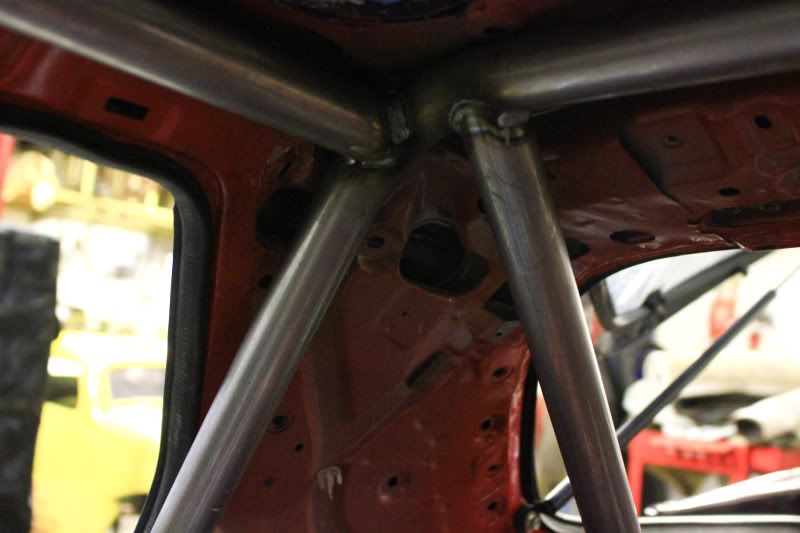
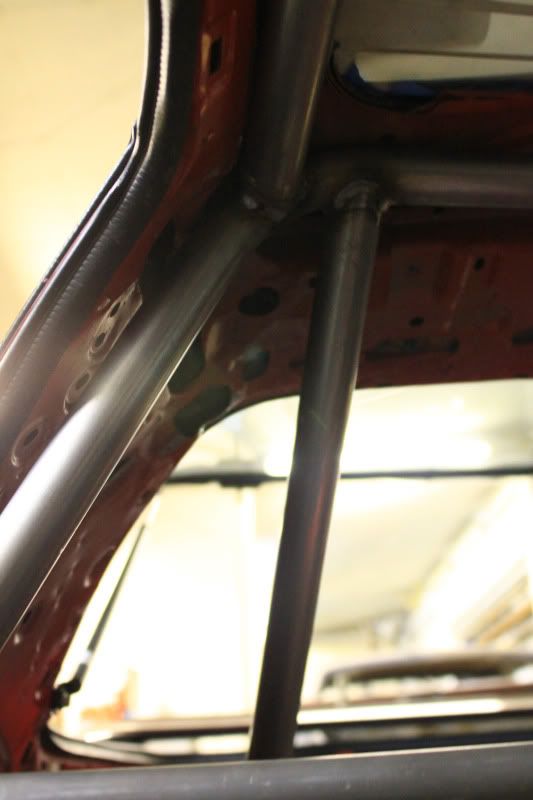
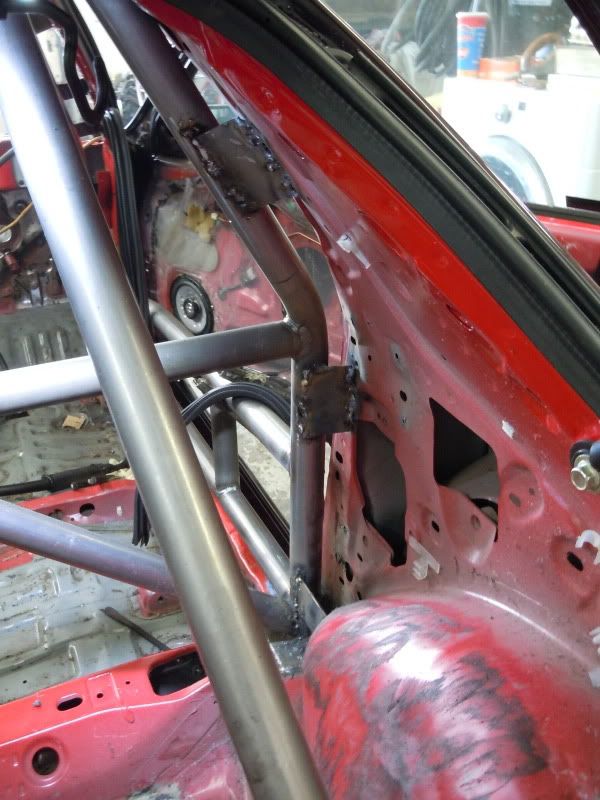
nice looking cage, My only question is why did you decide to mount the cage front legs in front of the dash instead of going through it? I have been trying to decide which I want to do on my build.
Thanks
Mande
Thanks
Mande
Mother****ing Wow
Joined: Jul 2008
Posts: 1,290
Likes: 0
From: NJ
Just a tip -to get my dash in I had to remove the skin from the metal support that has the 2 bolts by each door... there are a few screws under the glovebox and behind the gauge cluster then it comes off.
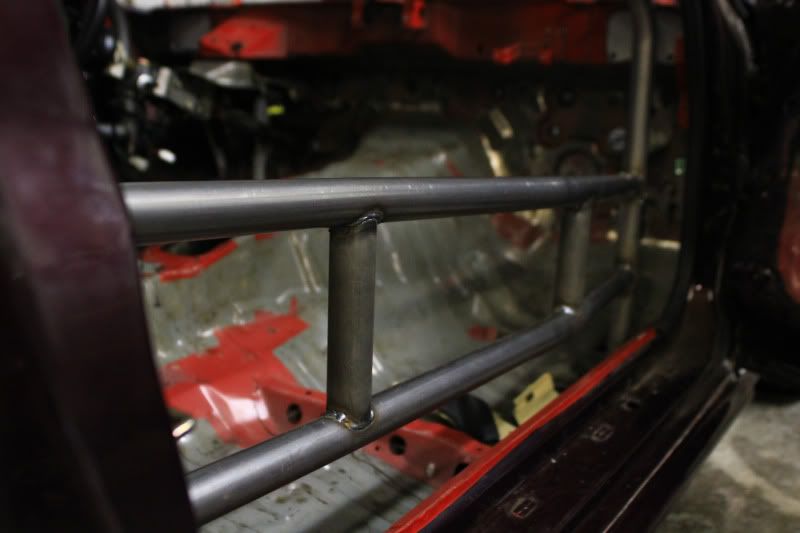
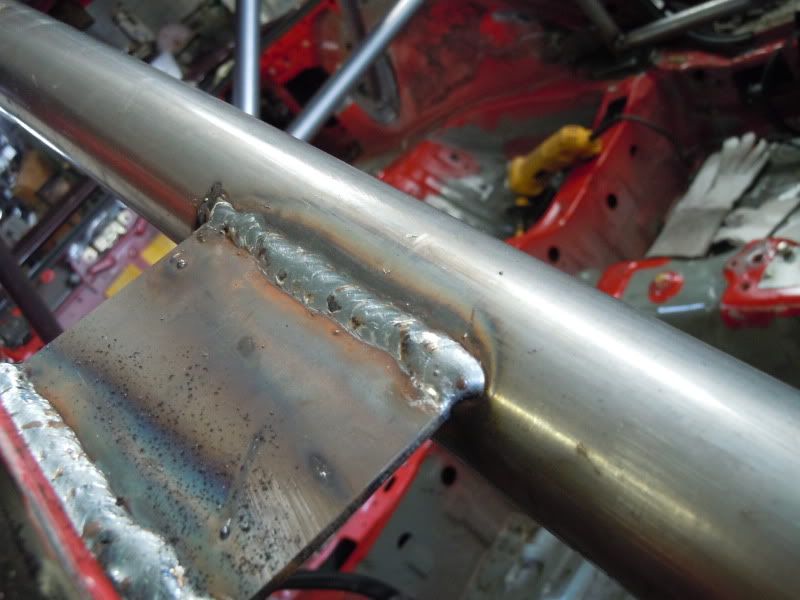
down bars:

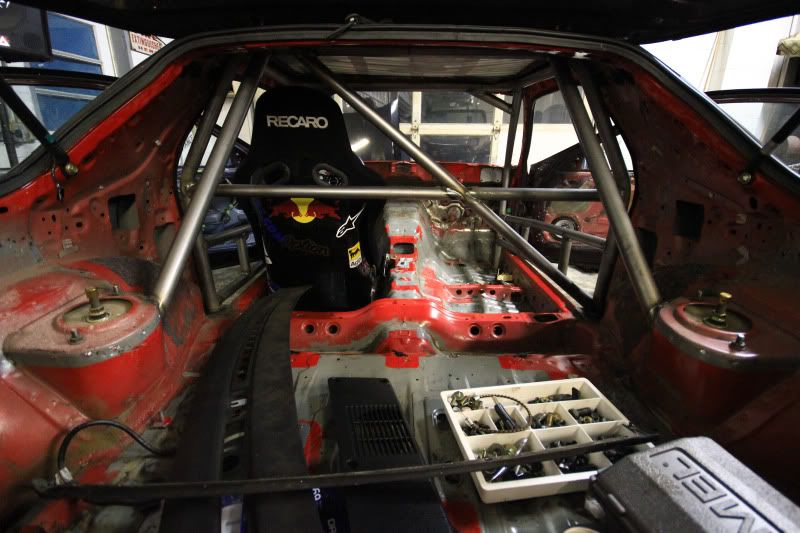
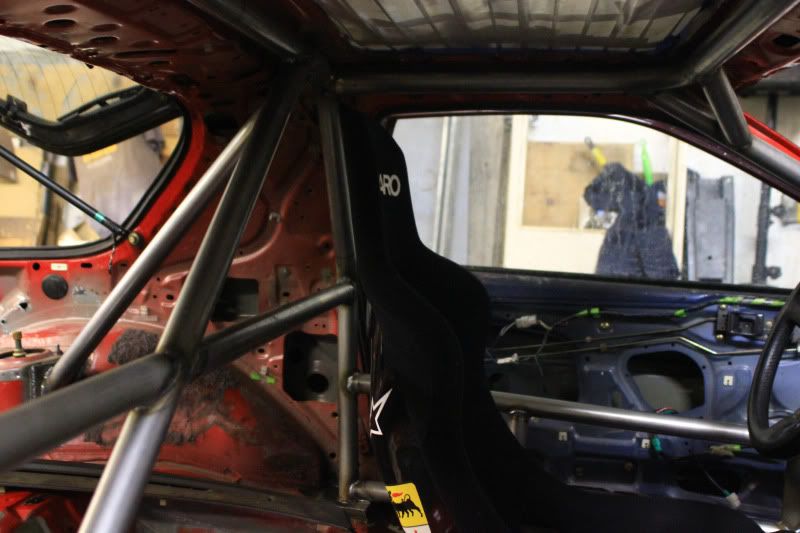
Some more stuff thats going on. Added some Gussets to the cage at A pillar, B pillar, and to the roof
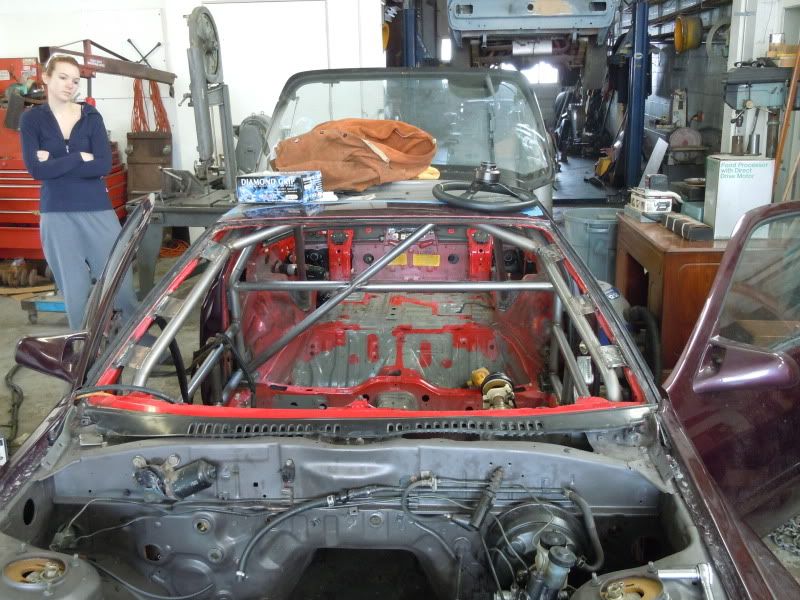
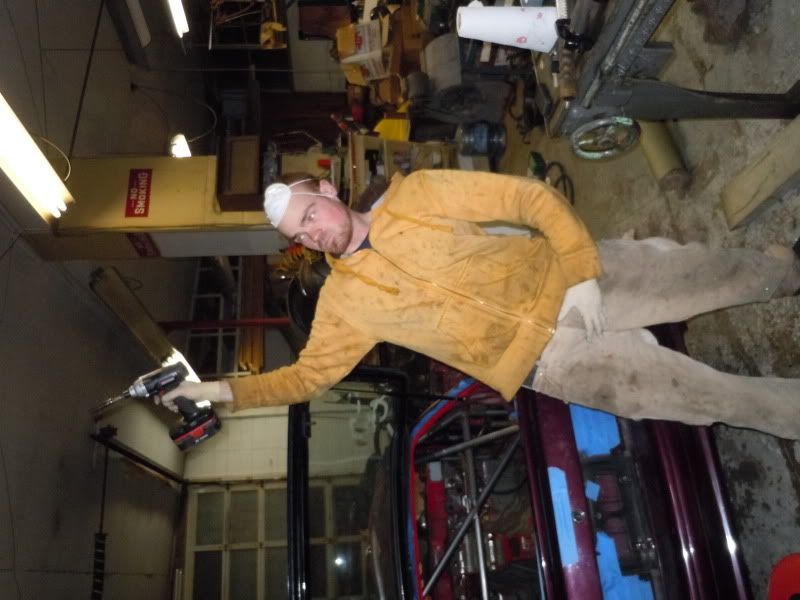
Mallory (my wife) really isnt angry, just caught her staring into space. thats her story and shes sticking to it
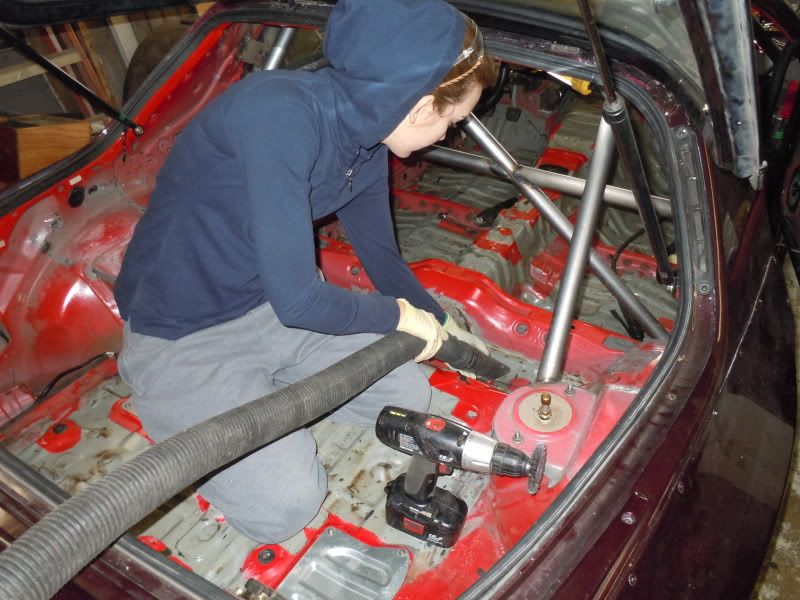
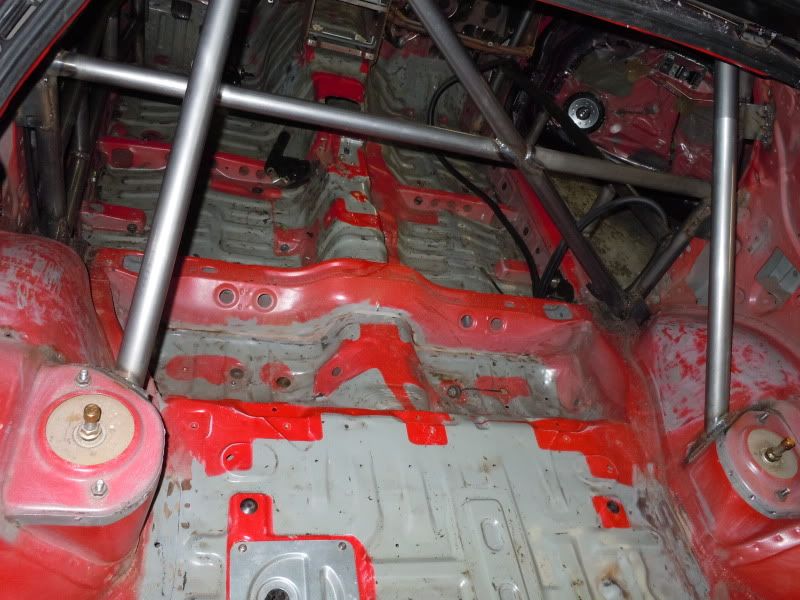
then Mallory is taking care of Prepping the interior for primer and paint. So she finished getting most of the tar off with a wire wheel on my drill, Scrubbed down all the surfaces with steel wool, then we air nozzled them and wiped them down. Still waiting on the front till the dash bar and front bars to the strut towers are done to finish prepping it for paint. But i imagine this weekend we will be seeing a new color and the dash back in.
Anyways i have lost my camera containing pictures of the tear down process but it looks like most other rotary tear downs. Theres some tools, some oil, a paint can and a floor jack to lift the Eshaft up just enough to get the center iron off. So once i find those and get some pics of the damage i will post up. Sunday hopefully a good day to Port, and perhaps rebuild
Mallory (my wife) really isnt angry, just caught her staring into space. thats her story and shes sticking to it
then Mallory is taking care of Prepping the interior for primer and paint. So she finished getting most of the tar off with a wire wheel on my drill, Scrubbed down all the surfaces with steel wool, then we air nozzled them and wiped them down. Still waiting on the front till the dash bar and front bars to the strut towers are done to finish prepping it for paint. But i imagine this weekend we will be seeing a new color and the dash back in.
Anyways i have lost my camera containing pictures of the tear down process but it looks like most other rotary tear downs. Theres some tools, some oil, a paint can and a floor jack to lift the Eshaft up just enough to get the center iron off. So once i find those and get some pics of the damage i will post up. Sunday hopefully a good day to Port, and perhaps rebuild
yeah my builder is kinda old school, since he is doing this all free of charge i decided to roll with it. I personally wanted the full plate with dimple holes. whatever thou its functional