From Zero to Hero: Heavy JDM Influenced Restoration
 03-13-16, 06:03 PM
#151
Update 3/13/2016:
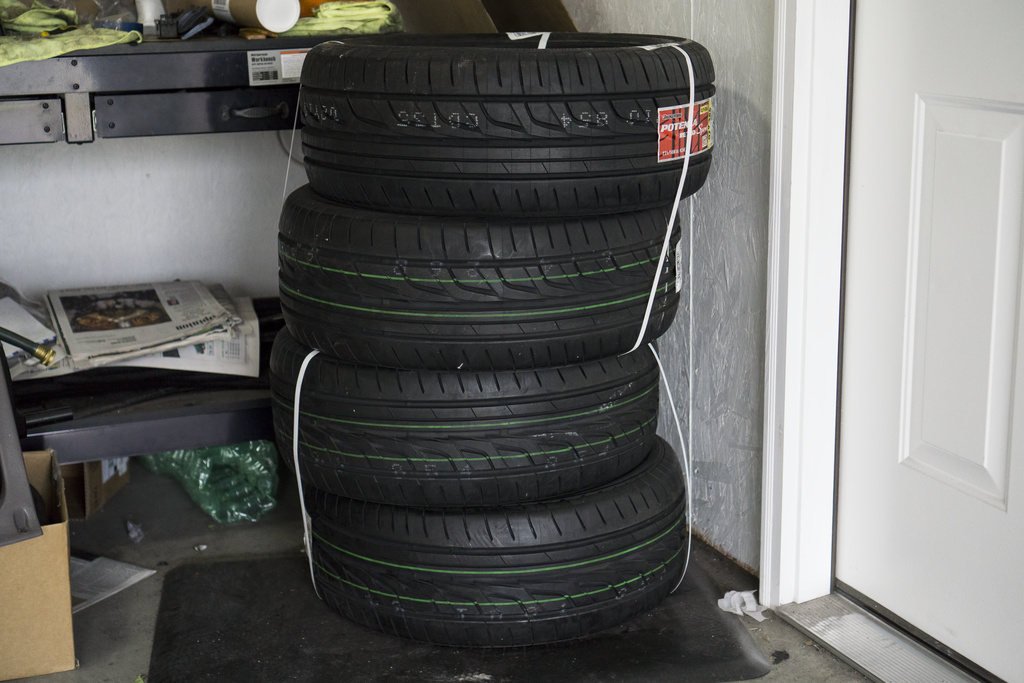
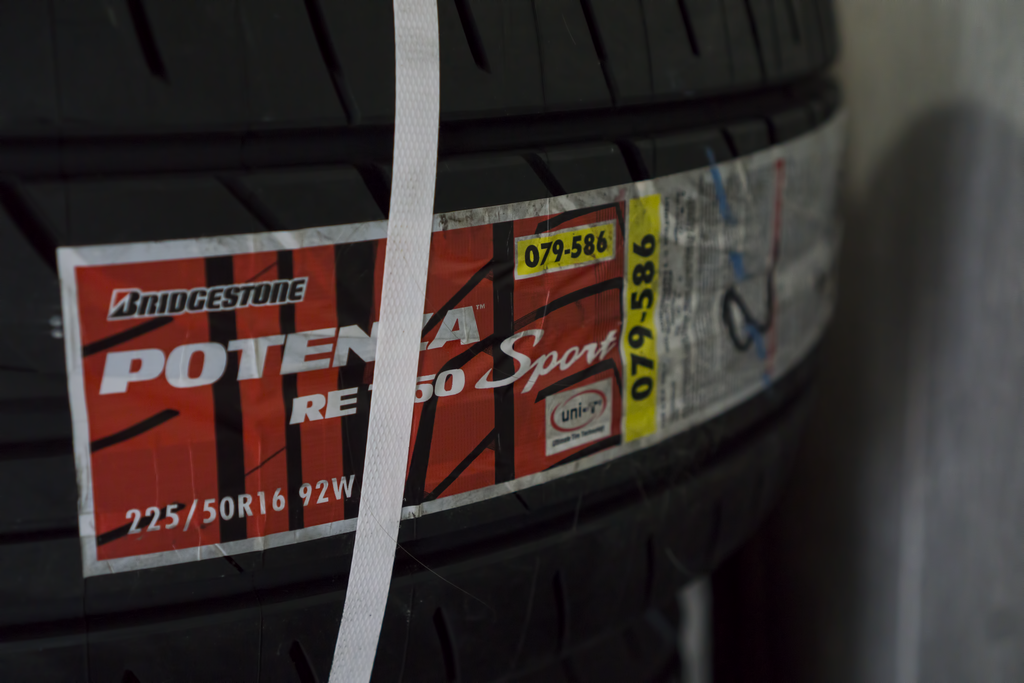
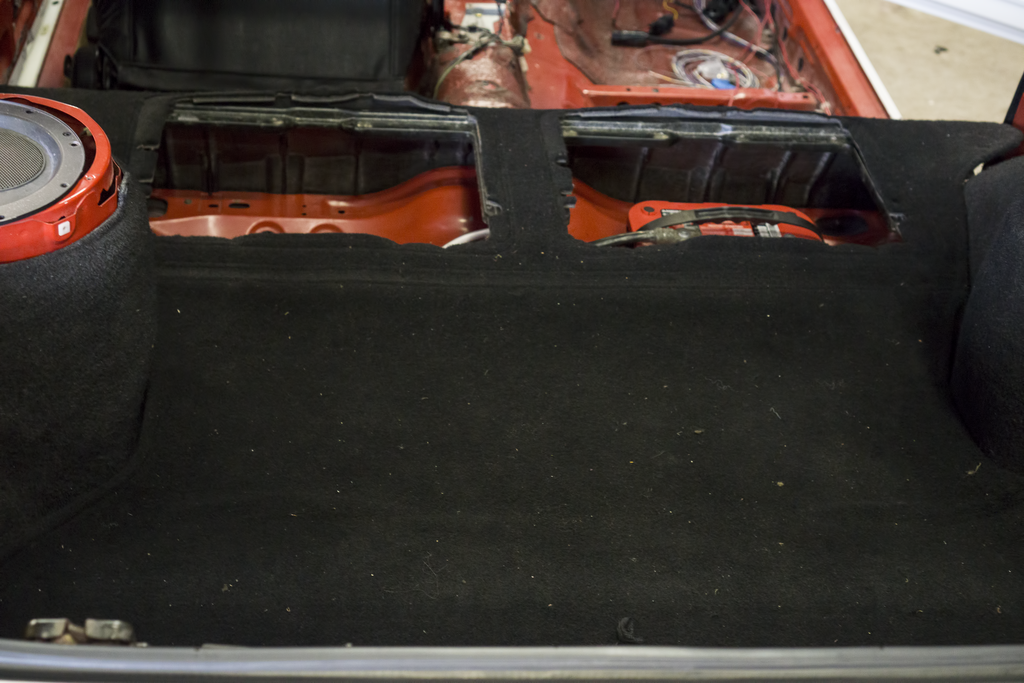
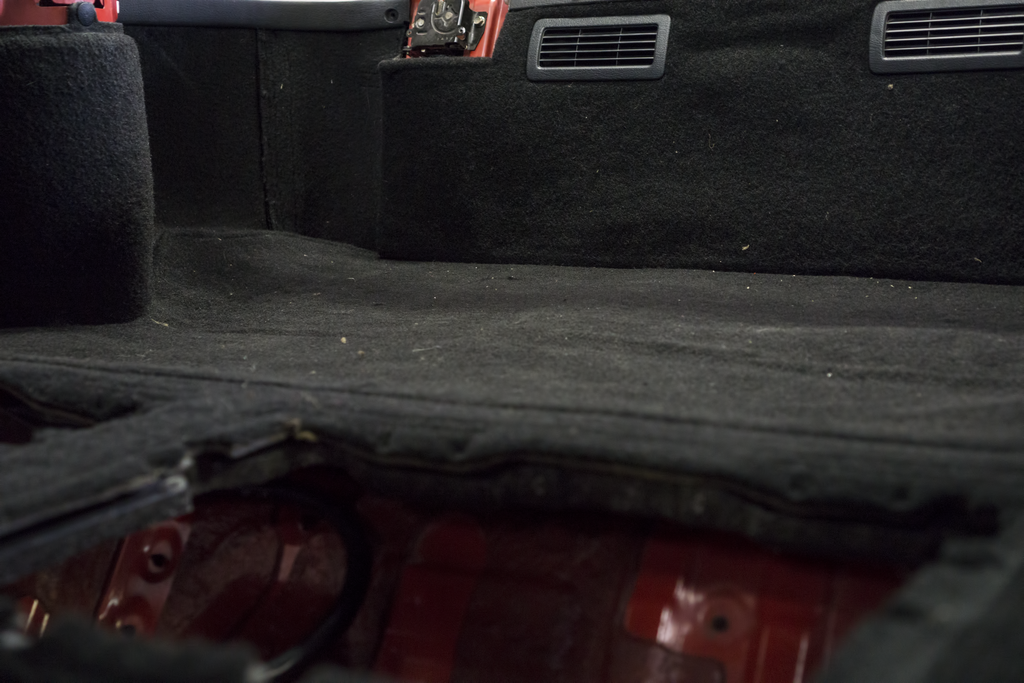
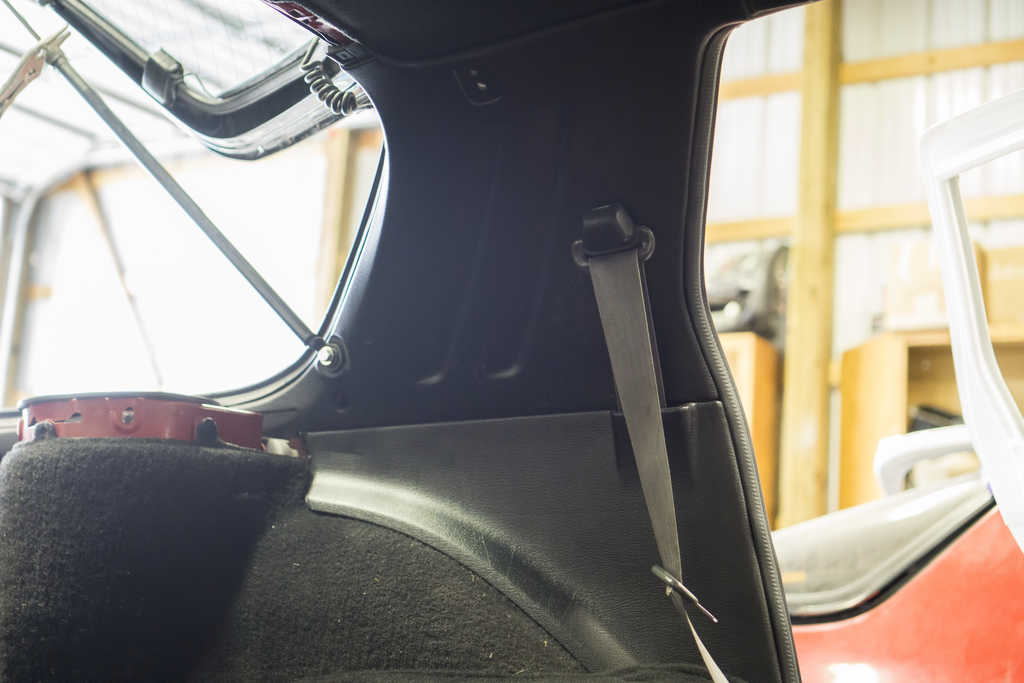
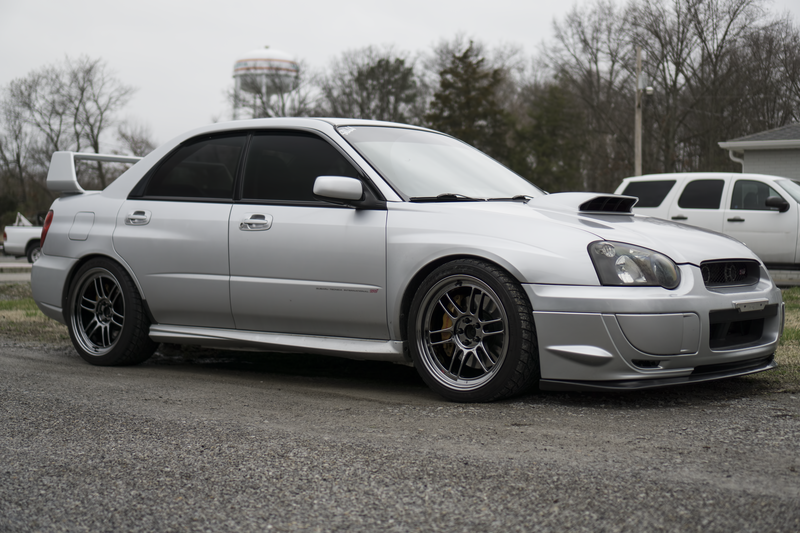
It’s been a fairly slow week. My tires ended up coming in for the RX-7. I’m currently looking around for someone to mount/balance and not scratch them while doing so. The majority of my day yesterday was spent doing house chores and getting the STi ready for not-winter weather (swapping winter to summer wheels and putting on a new passenger side aero and front lip). It’s a good thing too, the tires I had been running were almost shot. I went over today and got almost the entire rear interior section in. I will be looking for AE interior in it’s entirety once the car is completely drive-able. Those grey seatbelts stick out like a sore thumb. There are a few things that still need to go in, but not much. I also started pulling some misc things from the previous shell to sell. I’m hoping next weekend allows the finishing of the wire tuck, and the front interior going in.
Here is a pic of the tires:
Here is a few shots of the interior (the panels are all the same color, light is affecting color):
The STi is ready for summer!:
It’s been a fairly slow week. My tires ended up coming in for the RX-7. I’m currently looking around for someone to mount/balance and not scratch them while doing so. The majority of my day yesterday was spent doing house chores and getting the STi ready for not-winter weather (swapping winter to summer wheels and putting on a new passenger side aero and front lip). It’s a good thing too, the tires I had been running were almost shot. I went over today and got almost the entire rear interior section in. I will be looking for AE interior in it’s entirety once the car is completely drive-able. Those grey seatbelts stick out like a sore thumb. There are a few things that still need to go in, but not much. I also started pulling some misc things from the previous shell to sell. I’m hoping next weekend allows the finishing of the wire tuck, and the front interior going in.
Here is a pic of the tires:


Here is a few shots of the interior (the panels are all the same color, light is affecting color):


The STi is ready for summer!:

 03-20-16, 02:40 PM
#152
Update 3/20/16:
It�s been a super slow week. I thought I�d have a lot more time to work on the FC due to spring break; that didn�t end up being the case. My license plate came in (.01 cents if you can guess it!) - pics of that next week. I ordered about 40 ft of different split sleeve cable shrouding and it came in as well. I did finally finish my rain gutter project as well as the front side windshield pieces. I ended up having a ton of extra screen mesh material. I�ve become so fond of it I�ve found countless other things I can potentially use it for. I think I�m going to start going throughout the week to work on the FC. Usually, I only work on it on Sundays, but I fear that it will not be done by the time I leave for the summer (I have an internship that requires moving). If I can�t have it finished before May 13th it will have to sit until I get back, 3 months, which would suck. I refuse to cut corners though.
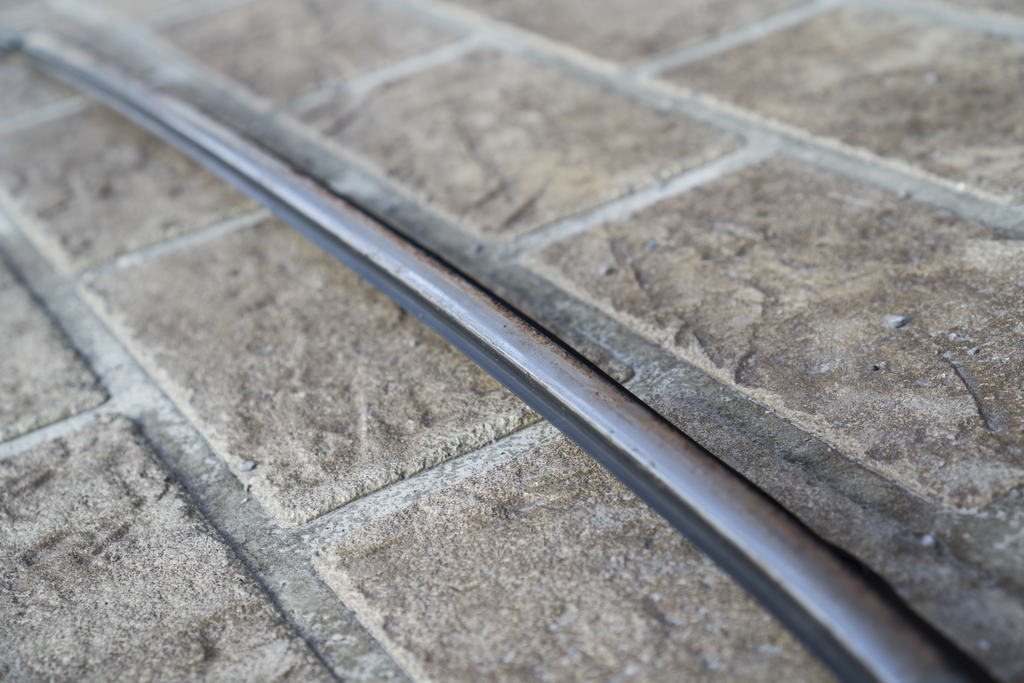
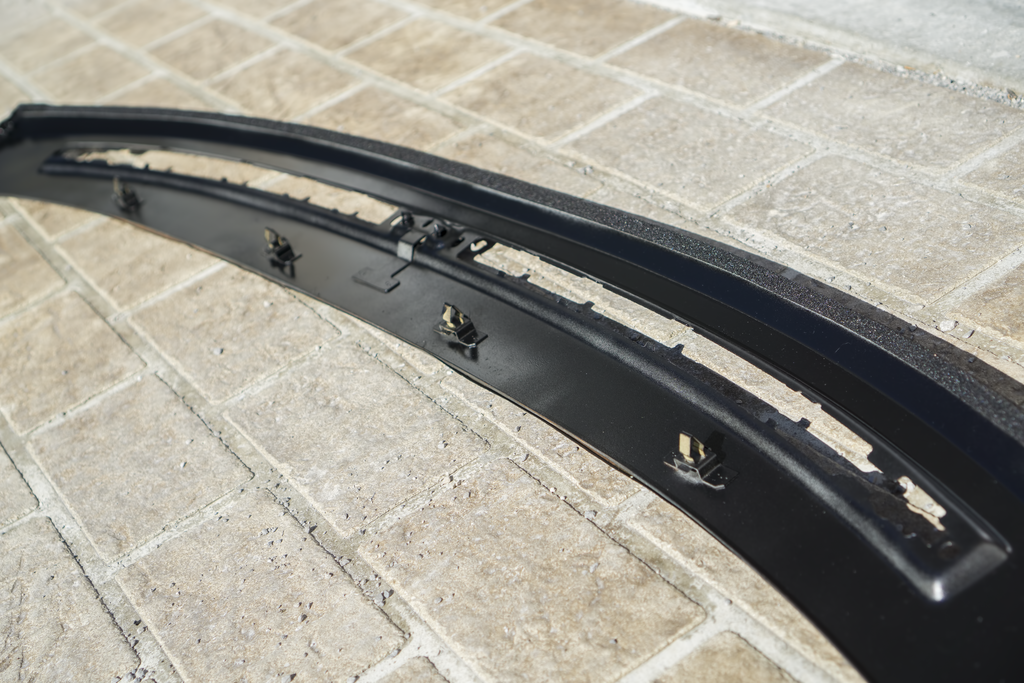
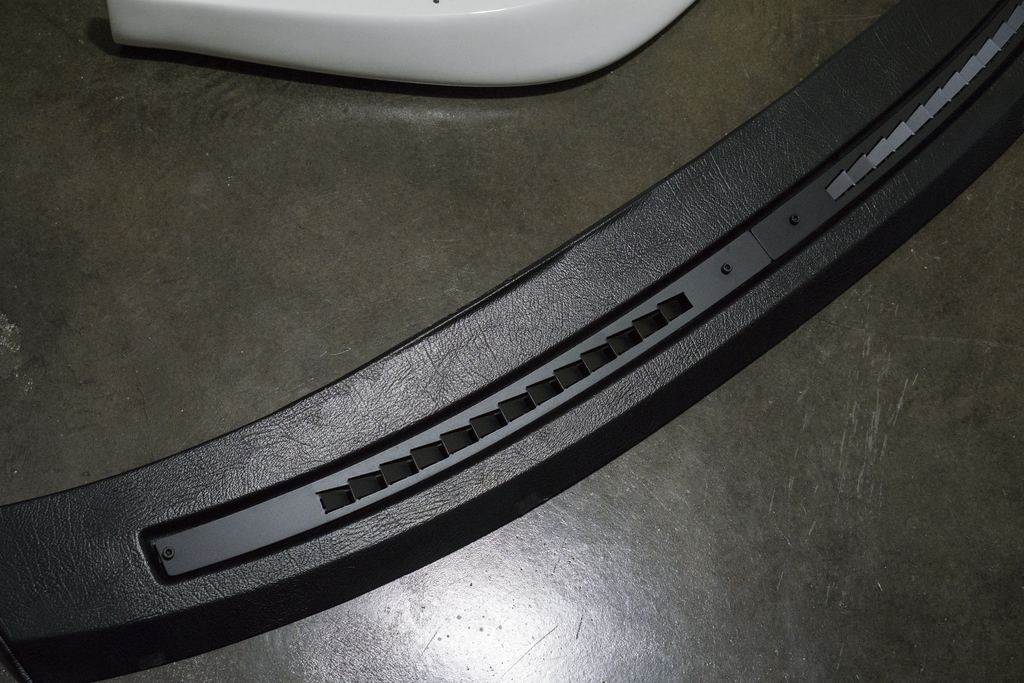
Here are the pictures of the finished gutter:
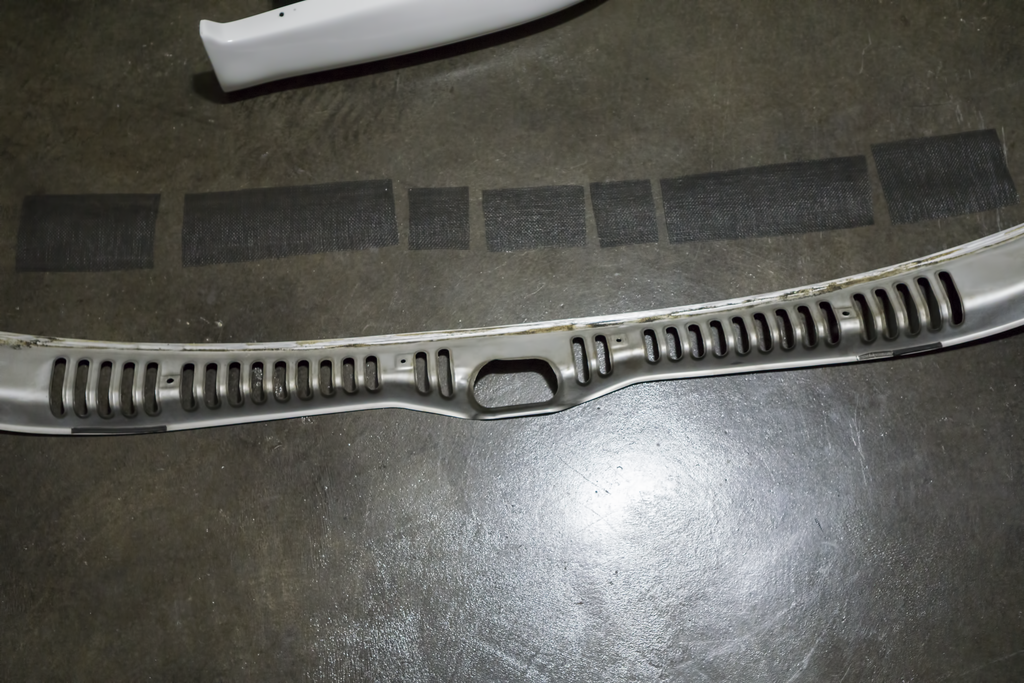

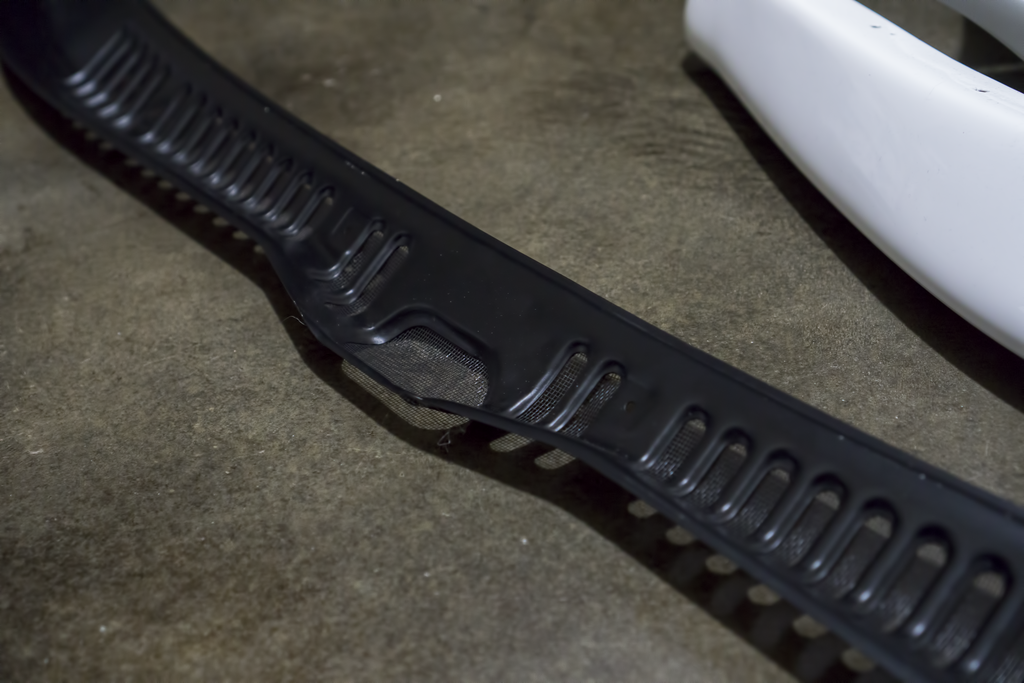
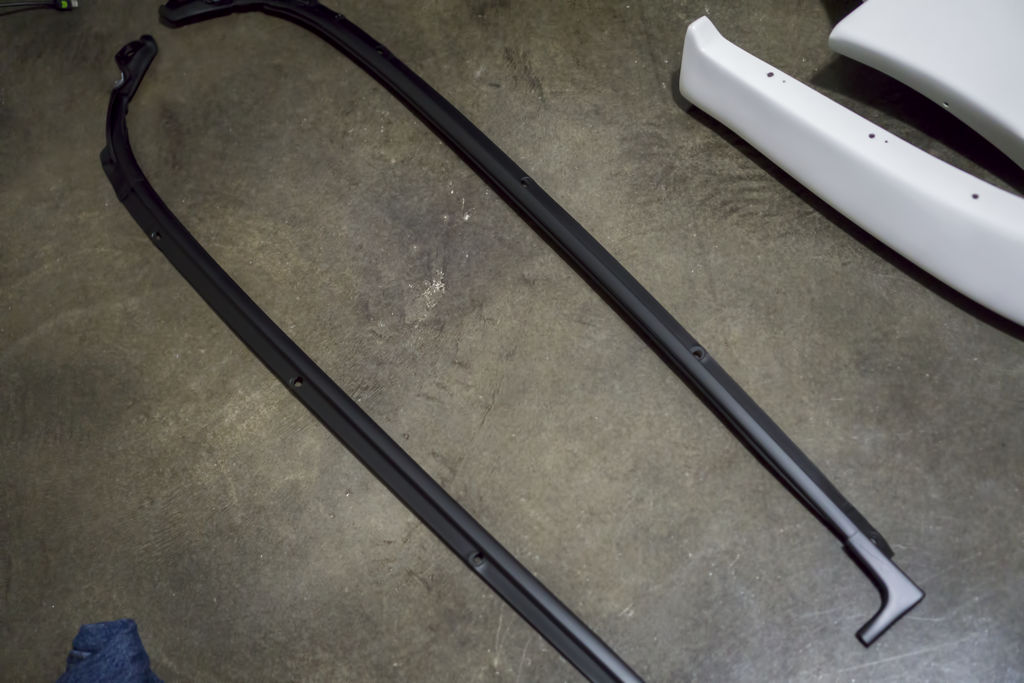
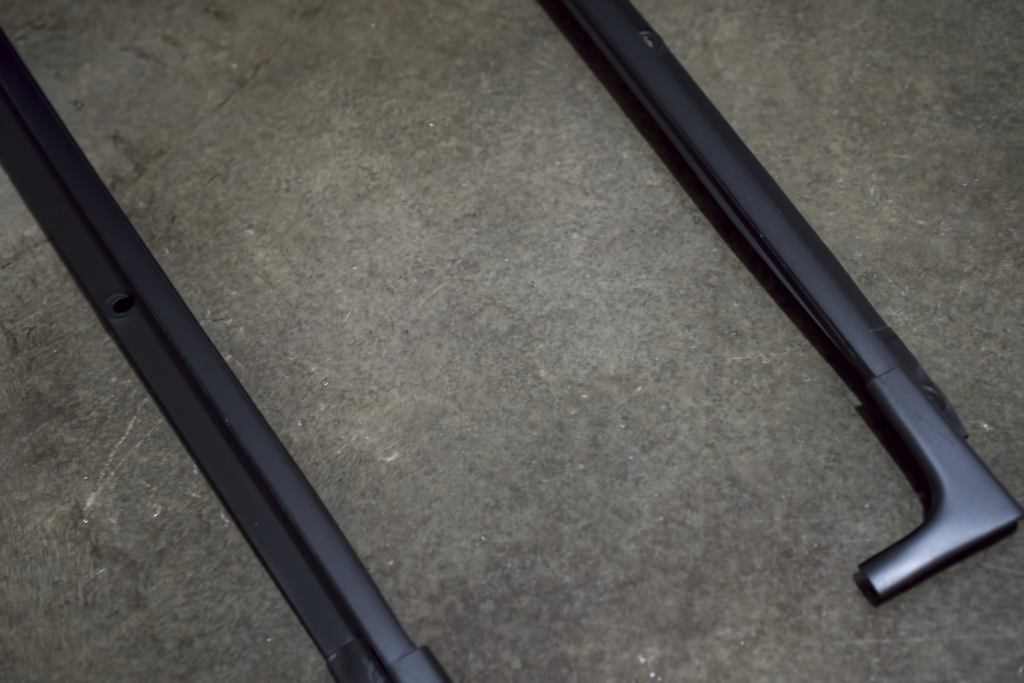
Here is a few before and after of the side pieces:

It�s been a super slow week. I thought I�d have a lot more time to work on the FC due to spring break; that didn�t end up being the case. My license plate came in (.01 cents if you can guess it!) - pics of that next week. I ordered about 40 ft of different split sleeve cable shrouding and it came in as well. I did finally finish my rain gutter project as well as the front side windshield pieces. I ended up having a ton of extra screen mesh material. I�ve become so fond of it I�ve found countless other things I can potentially use it for. I think I�m going to start going throughout the week to work on the FC. Usually, I only work on it on Sundays, but I fear that it will not be done by the time I leave for the summer (I have an internship that requires moving). If I can�t have it finished before May 13th it will have to sit until I get back, 3 months, which would suck. I refuse to cut corners though.
Here are the pictures of the finished gutter:


Here is a few before and after of the side pieces:


 03-28-16, 09:50 AM
#153
Update 3/27/2016:
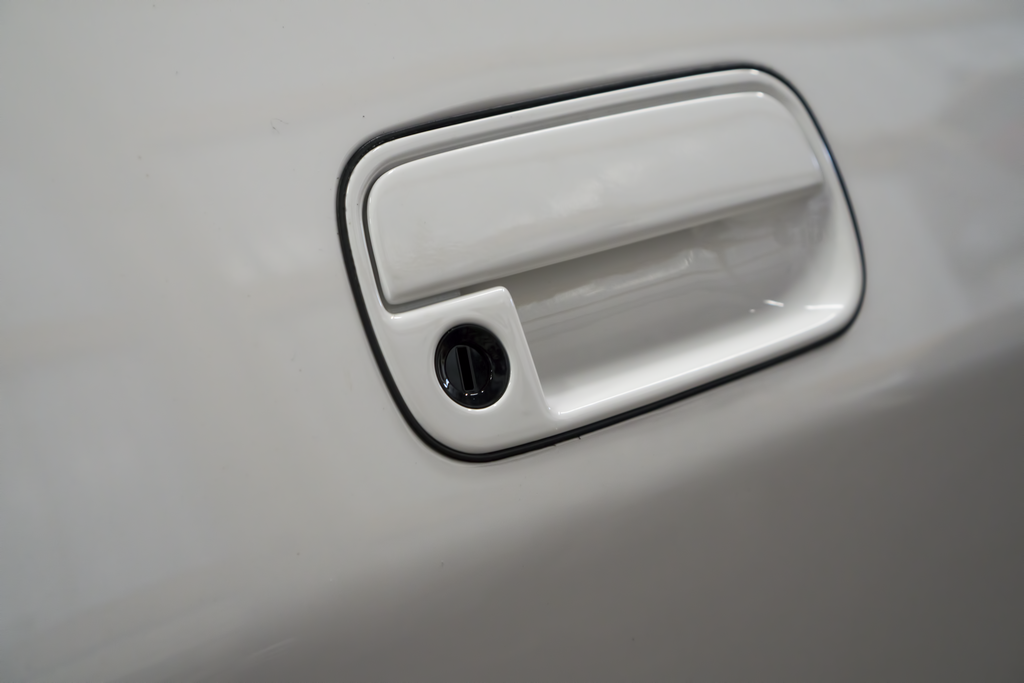
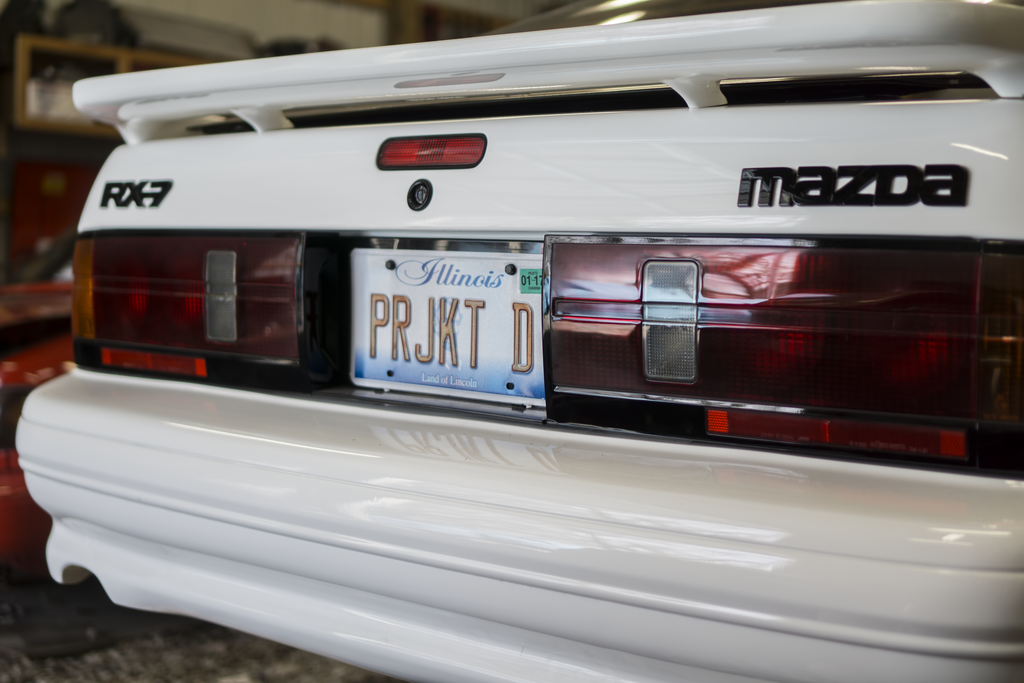
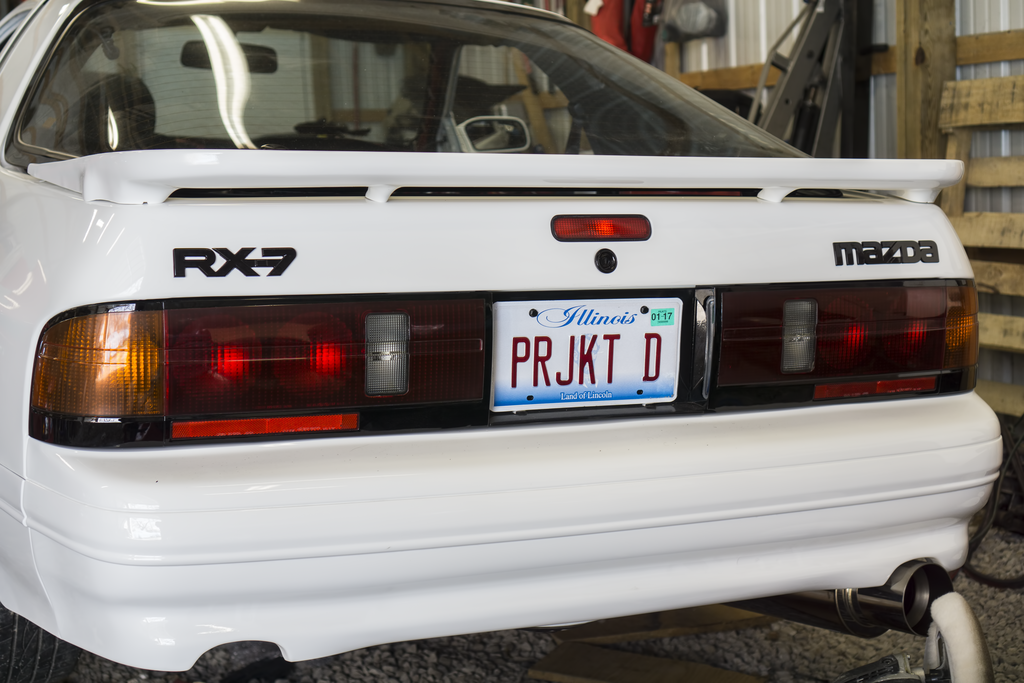
I was not able to get the update out last night due to running a 100.8 degree fever; along with almost every other negative symptom someone can have. I managed to get a lot of smaller projects done throughout the week. I got the windshield drain and stripping on the car. It looks pretty good. I�ll need to go back and fix the top molding as it didn�t want to sit correctly for some reason. I finally got around to finishing one of the door handles. I just used bumper paint on the �gasket� that sits behind it. I also painted the dash, and the vin plate holder. I got a lot of the LRB Speed under bellies undercoated. I just need to flip them all and get the underside (they take forever to dry). I also finally got around to getting some more of the window moldings painted. They turned out �alright�, it�s hard to compare it to one that I�ve seen that�s new. My license plate also came in. So, of course that means a new shot of the rear.
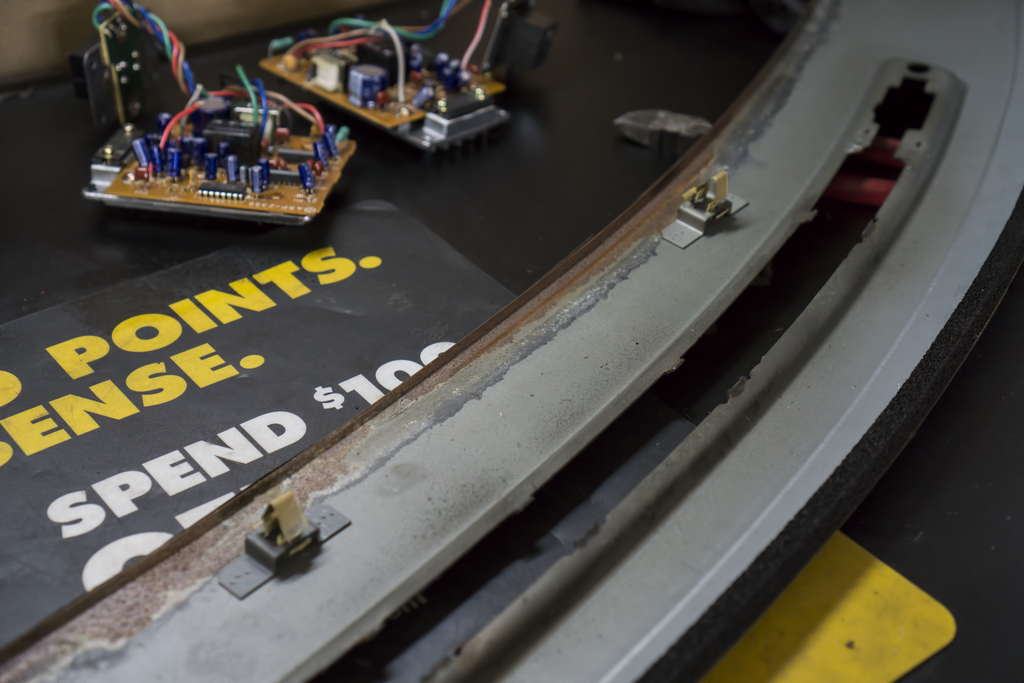
Here are a few in progress pics of the vin holder:
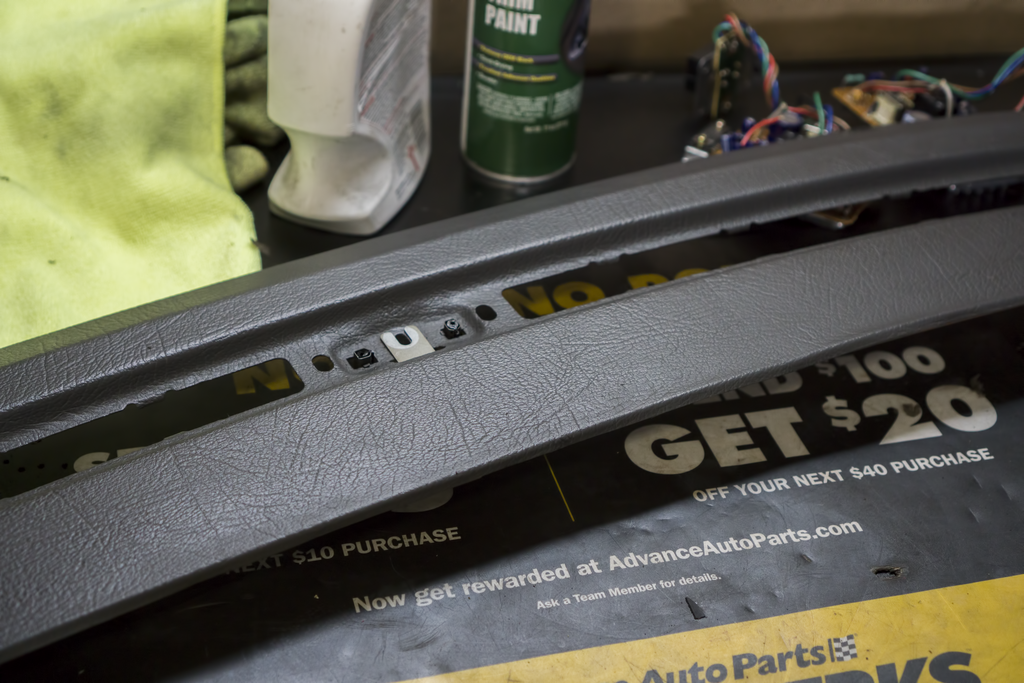
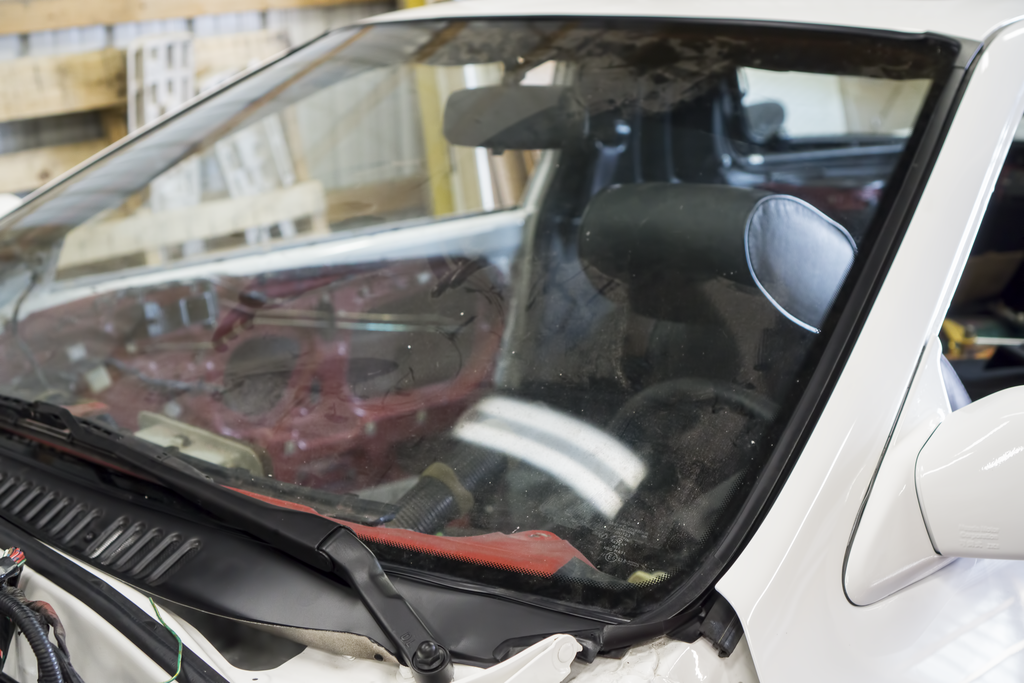
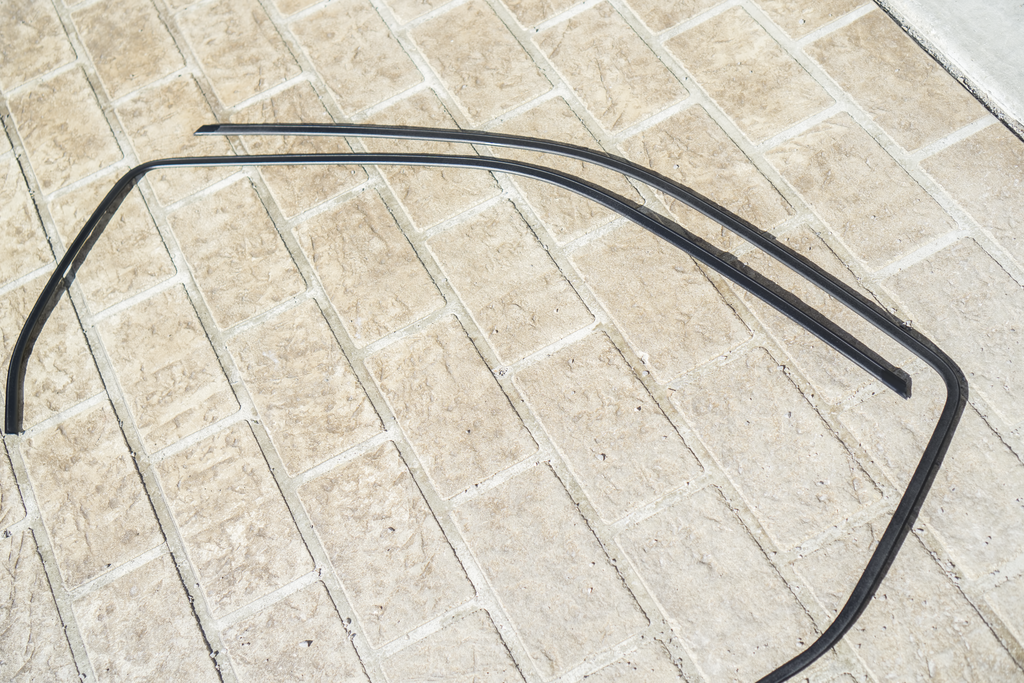
Here are some updated shots with the gutter and wipers on the car:

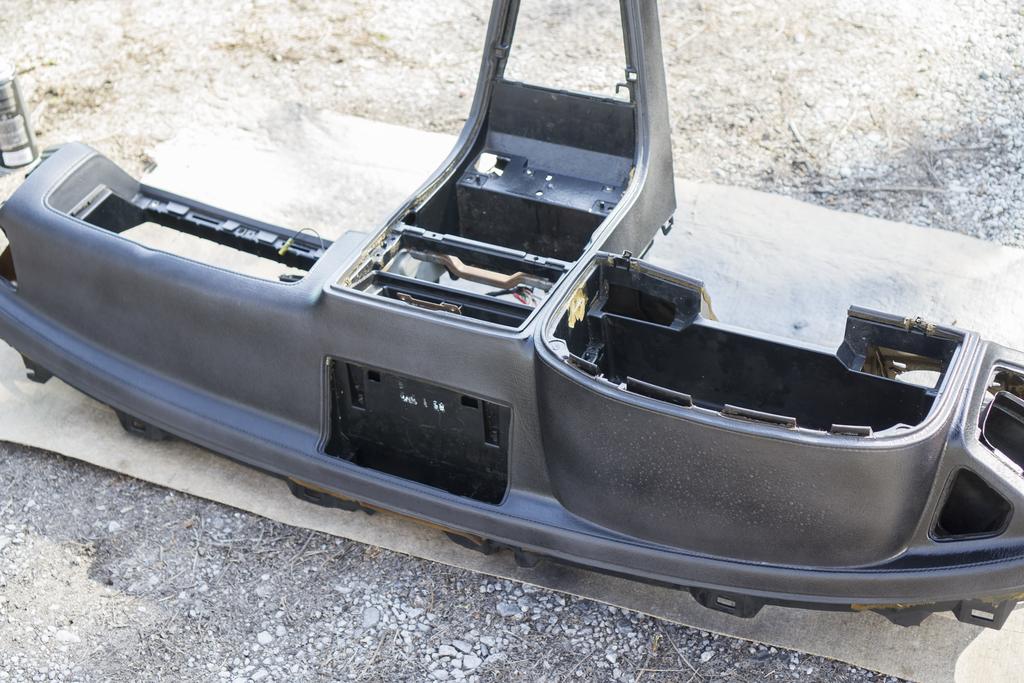
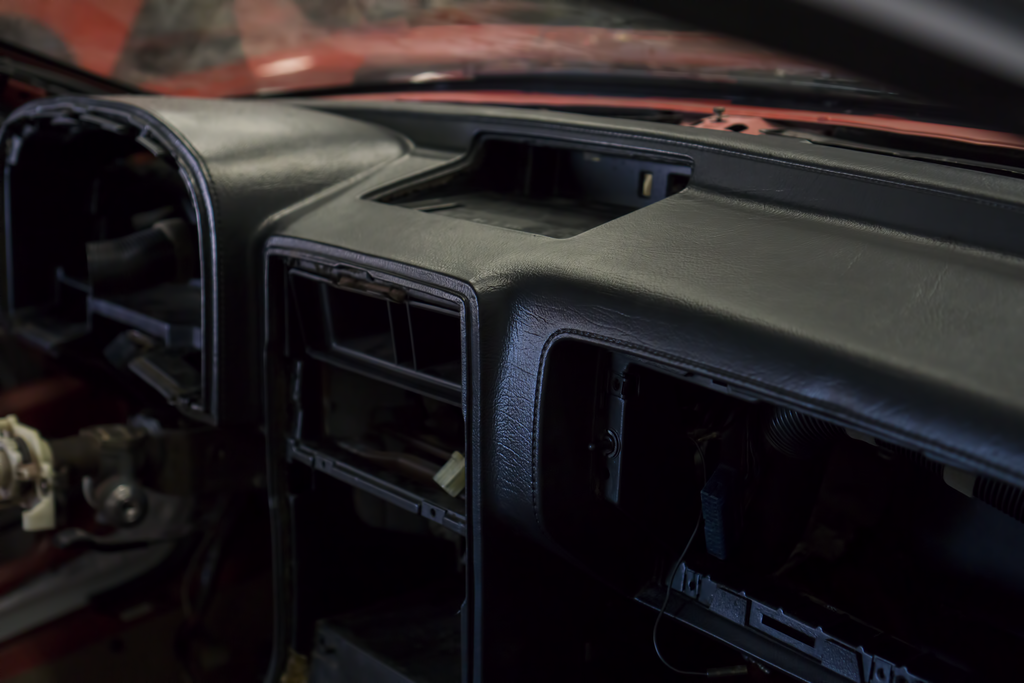
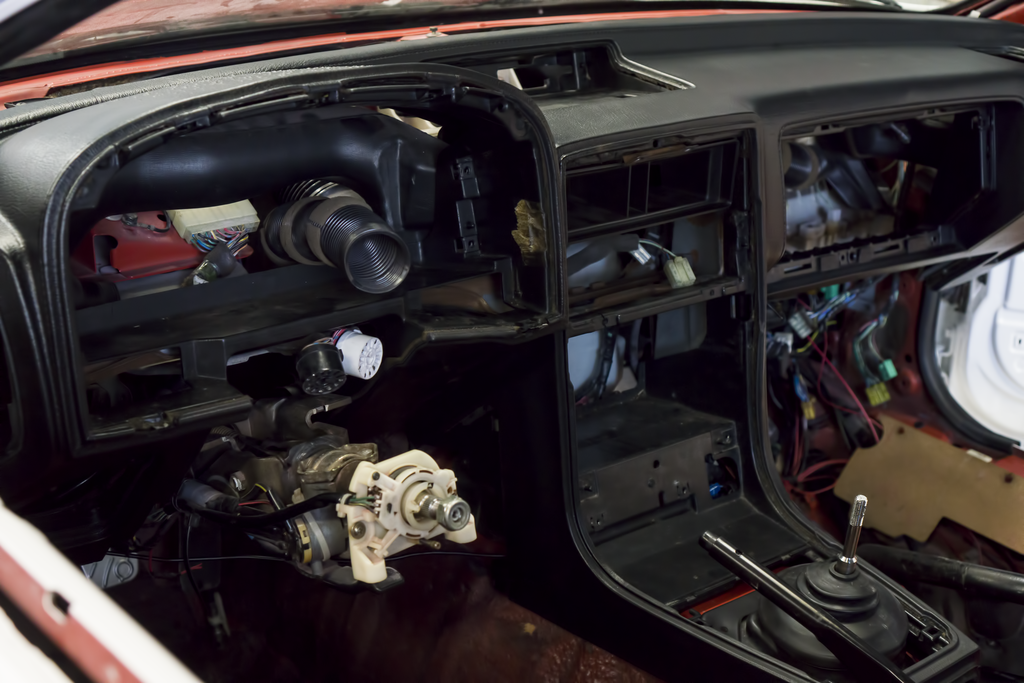
Here are some in progress of the dash (dash is only mocked up in the car):
I was not able to get the update out last night due to running a 100.8 degree fever; along with almost every other negative symptom someone can have. I managed to get a lot of smaller projects done throughout the week. I got the windshield drain and stripping on the car. It looks pretty good. I�ll need to go back and fix the top molding as it didn�t want to sit correctly for some reason. I finally got around to finishing one of the door handles. I just used bumper paint on the �gasket� that sits behind it. I also painted the dash, and the vin plate holder. I got a lot of the LRB Speed under bellies undercoated. I just need to flip them all and get the underside (they take forever to dry). I also finally got around to getting some more of the window moldings painted. They turned out �alright�, it�s hard to compare it to one that I�ve seen that�s new. My license plate also came in. So, of course that means a new shot of the rear.
Here are a few in progress pics of the vin holder:


Here are some updated shots with the gutter and wipers on the car:


Here are some in progress of the dash (dash is only mocked up in the car):


 03-28-16, 09:50 AM
#154
Update 3/6/2016 Continued:
Here are some shots of the other things I finished painting:

Here is a shot of the finished door handle:
Here are two new shots of the rear (although I’m not running RedSuns stickers all the time, I had show where it all began):
Here are some shots of the other things I finished painting:


Here is a shot of the finished door handle:

Here are two new shots of the rear (although I’m not running RedSuns stickers all the time, I had show where it all began):


Last edited by Akomix; 03-28-16 at 10:53 AM.
04-02-16, 12:55 AM
#157
Full Member

Join Date: Feb 2015
Location: Cen Californa
Posts: 70
Likes: 0
Received 0 Likes
on
0 Posts
would love more details on the Headlights you chose, and links maybe? especially wondering about light spread and what not.
what paint did you use for all the little parts? looks like its a Satin black?
how did you get rid of the bubbles on the dashboard?
what paint did you use for all the little parts? looks like its a Satin black?
how did you get rid of the bubbles on the dashboard?
Last edited by Switchblade5984; 04-02-16 at 01:00 AM.
04-02-16, 03:31 PM
#158
http://amzn.com/B0002M9QRE
The paint I've been using is of two different varieties. I use Dupli-Color bumper trim paint for plastics and objects I feel won't chip easily. I use VHT Epoxy gloss paint for metals that are not under the car. For under the car and panels I use Rustoleum rubberized undercoating.
The bubbles on the dashboard have not been taken care of. It would require a lot more work than I, knowledge wise, know how to do. I plan on using a dash cover until I'm able to acquire a 10th AE interior. At that point the entirety of the interior will come out, and the 10th AE will go in.
Hope this helps!
Last edited by Akomix; 04-03-16 at 08:10 AM.
04-03-16, 06:06 PM
#159
Update 4/3/2016:
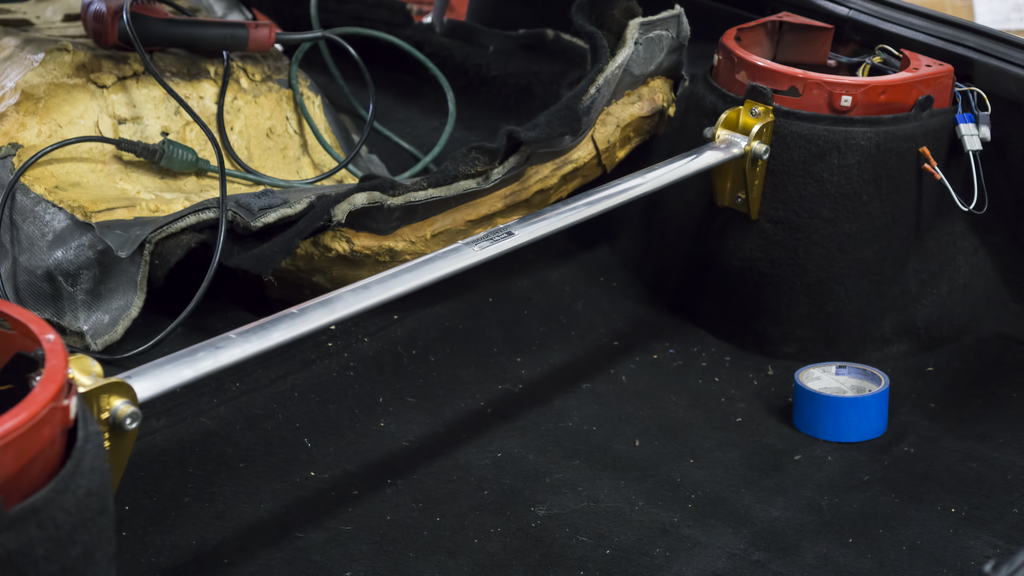
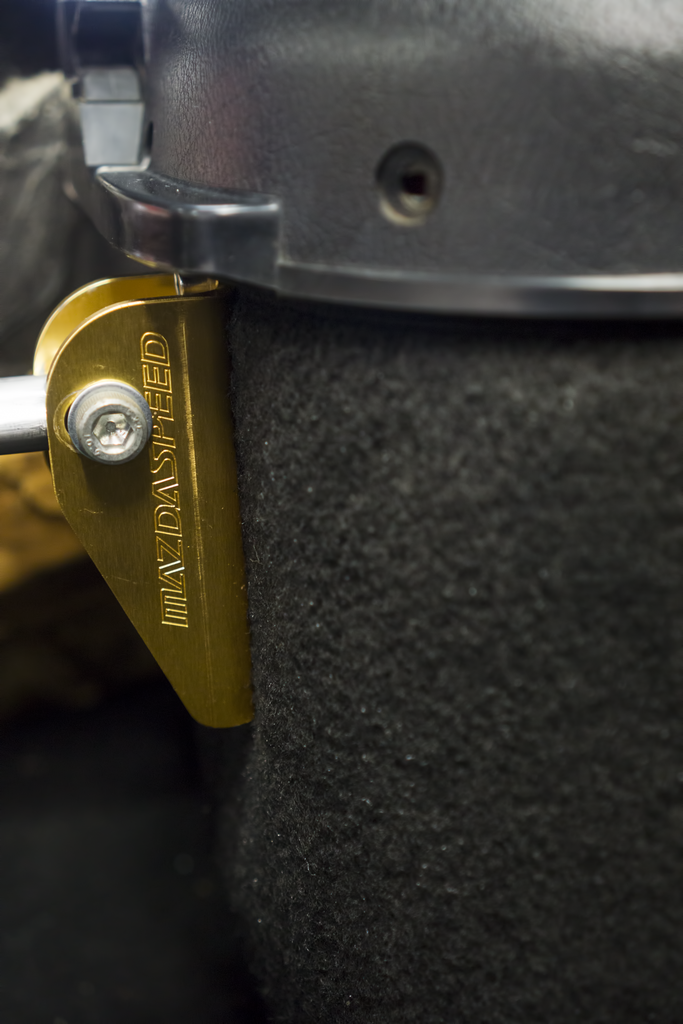
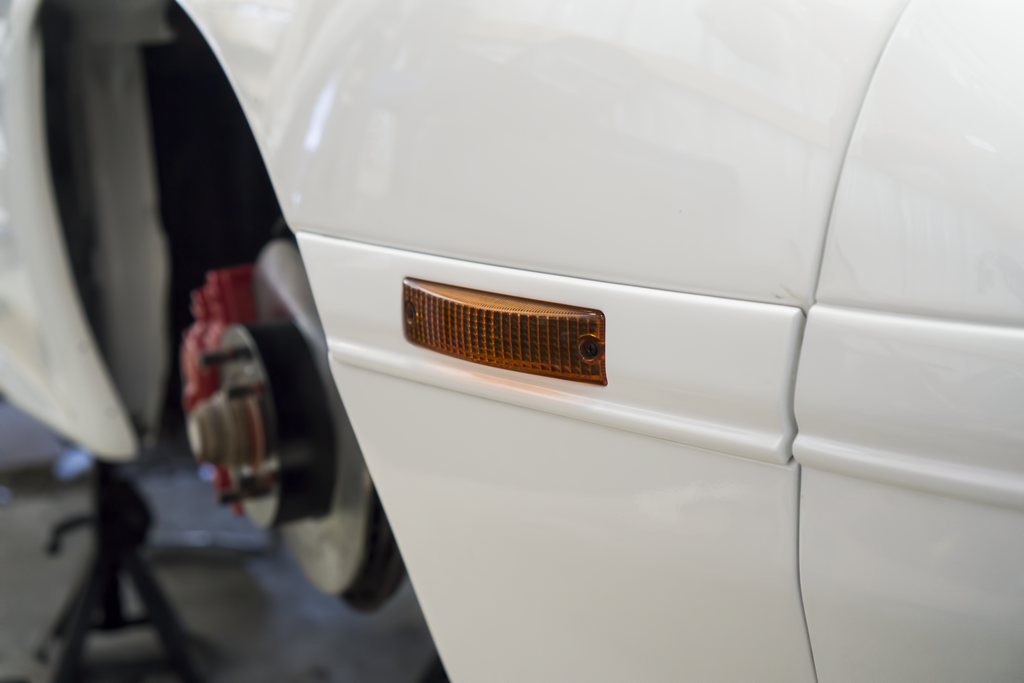
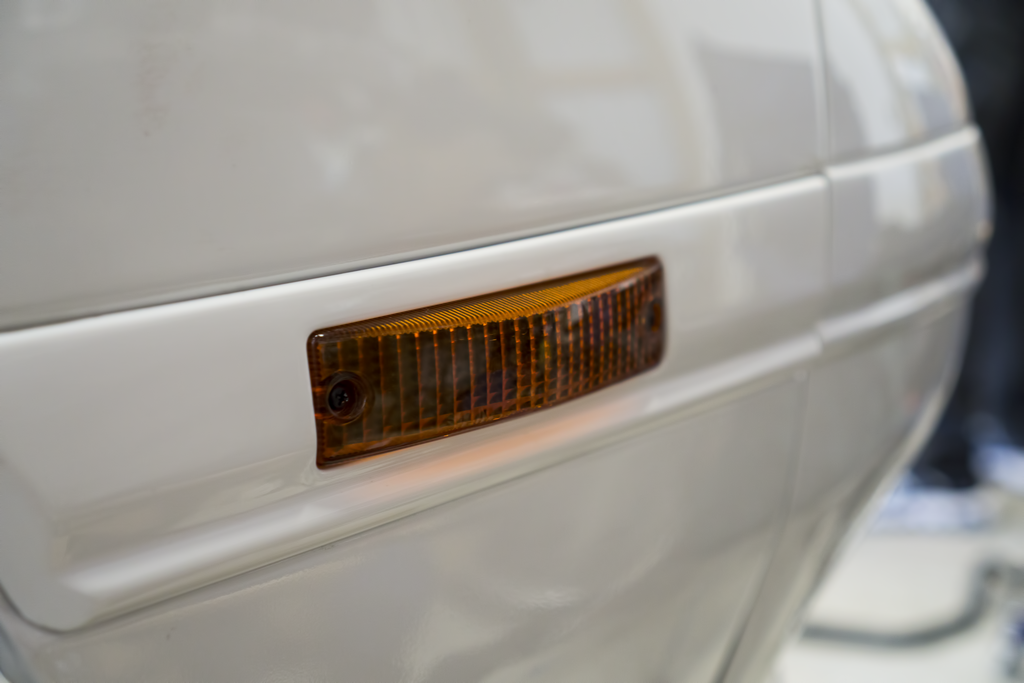
It�s been a fairly slow week. I got the rear strut bar in and got around to getting the front moldings/side markers on. I also got the sway bars painted. I was going to put them on today, but realized half-way through I needed S4 endlinks for them to work (whoops). I�ll get on the sway bars next week when I have a little more time. I went ahead and got on the freshly painted LRB Speed aero panel. I�m happy with how it turned out. Just need to finish up wiring and I can get the front carpet in, hopefully next week will allow that to happen as well.
Here is the rear strut bar:
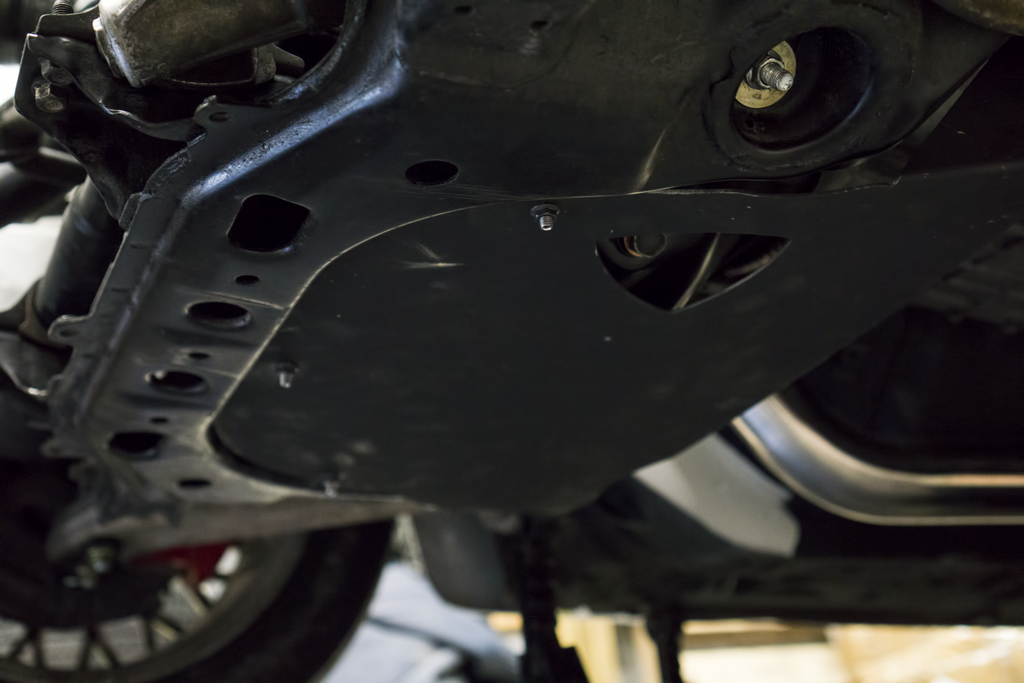
Here is the underbelly pan (I still have the other one that goes on top of it):
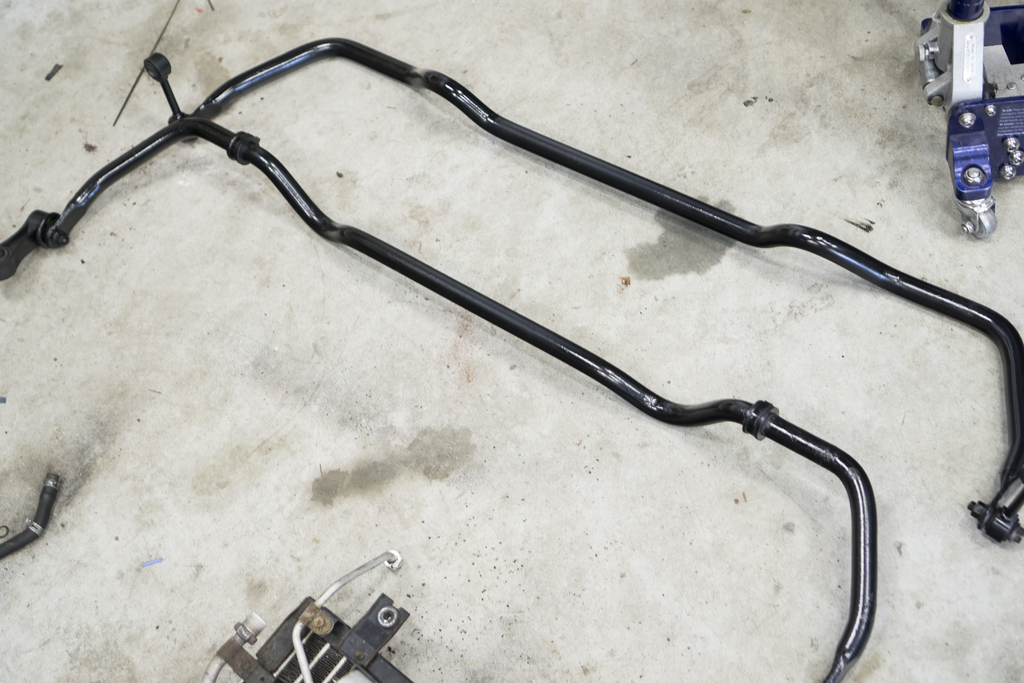
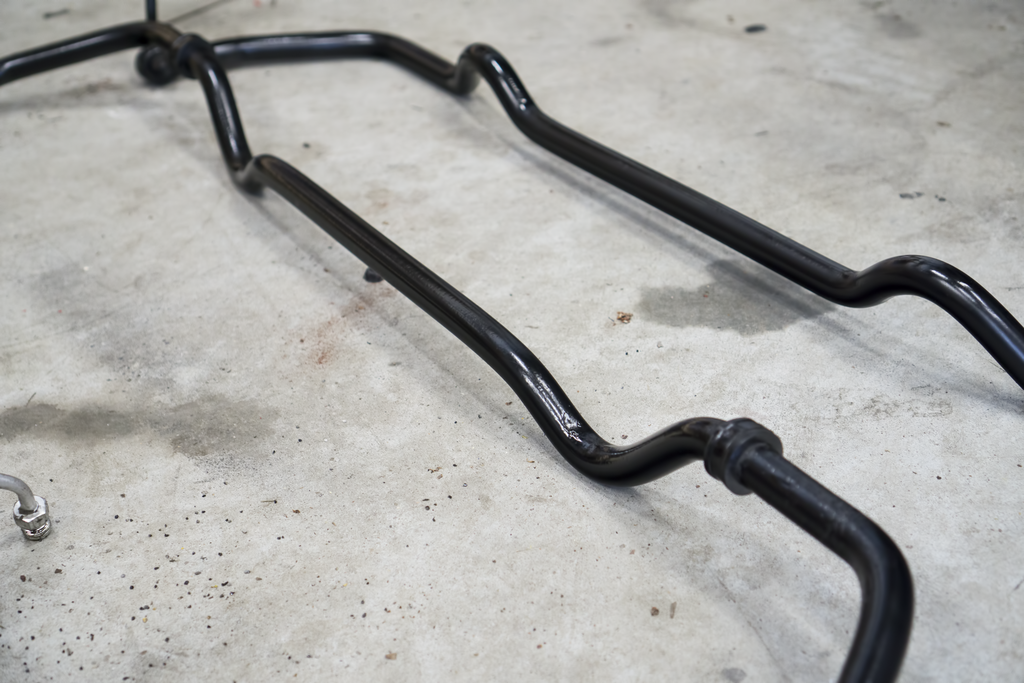
Here are the sways painted:
Here are the side moldings and markers:
It�s been a fairly slow week. I got the rear strut bar in and got around to getting the front moldings/side markers on. I also got the sway bars painted. I was going to put them on today, but realized half-way through I needed S4 endlinks for them to work (whoops). I�ll get on the sway bars next week when I have a little more time. I went ahead and got on the freshly painted LRB Speed aero panel. I�m happy with how it turned out. Just need to finish up wiring and I can get the front carpet in, hopefully next week will allow that to happen as well.
Here is the rear strut bar:


Here is the underbelly pan (I still have the other one that goes on top of it):

Here are the sways painted:


Here are the side moldings and markers:

 04-08-16, 06:41 AM
#167
Senior Member

i have a gxl with a rear sway the size of a tooth pick, right now its not installed and i do have wide tires, although i would like to have a larger rear sway on there. good to know the turboII has a larger one.
04-10-16, 10:16 AM
#168
Update 4/10/16:
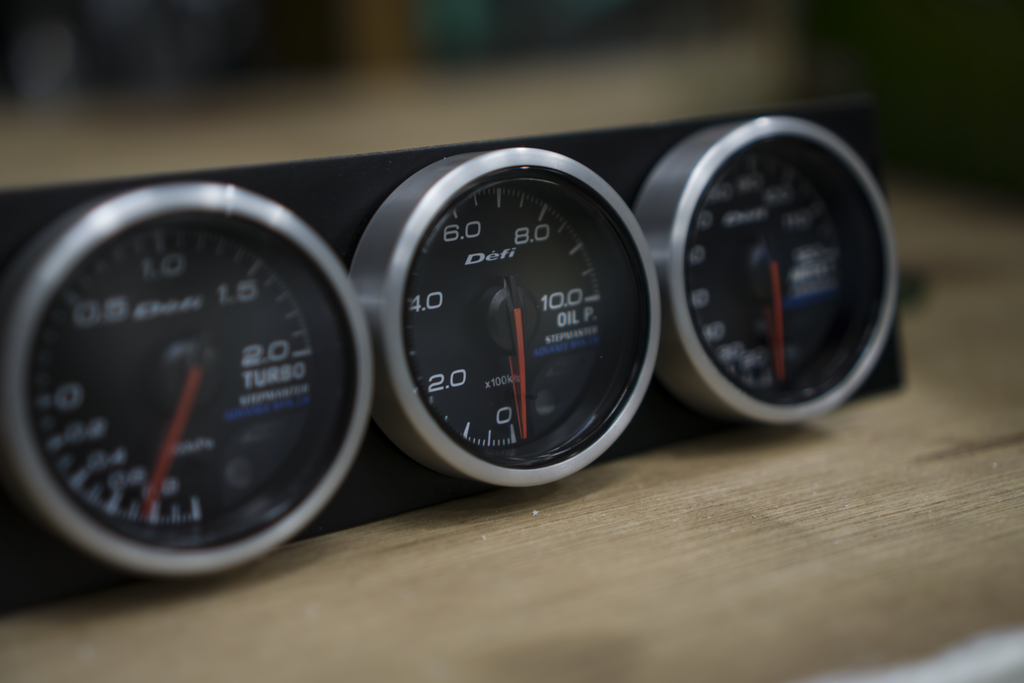
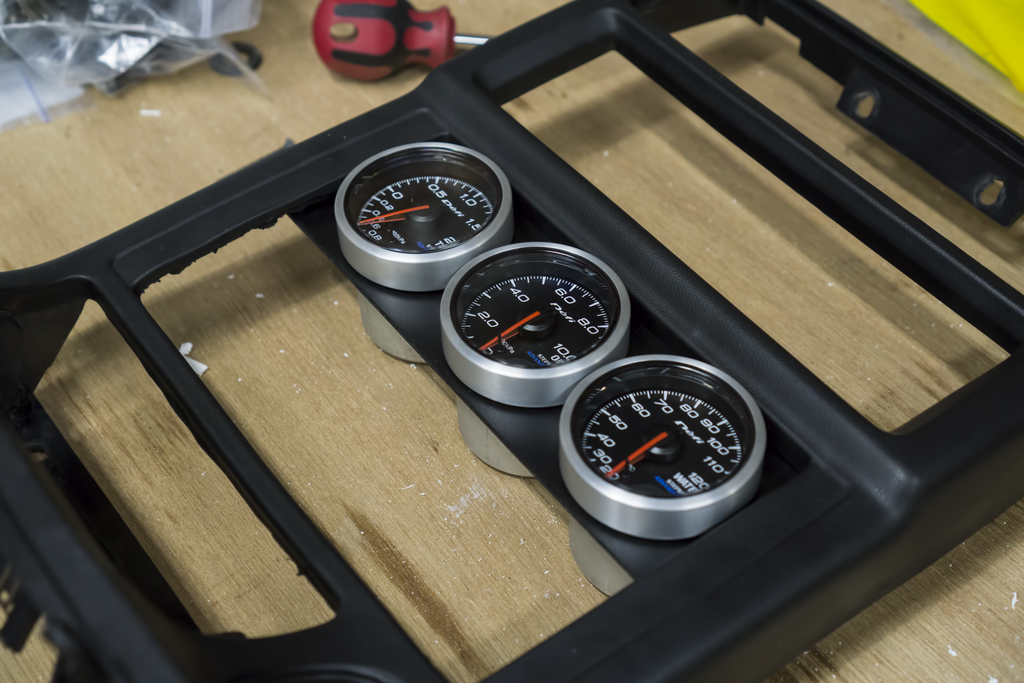
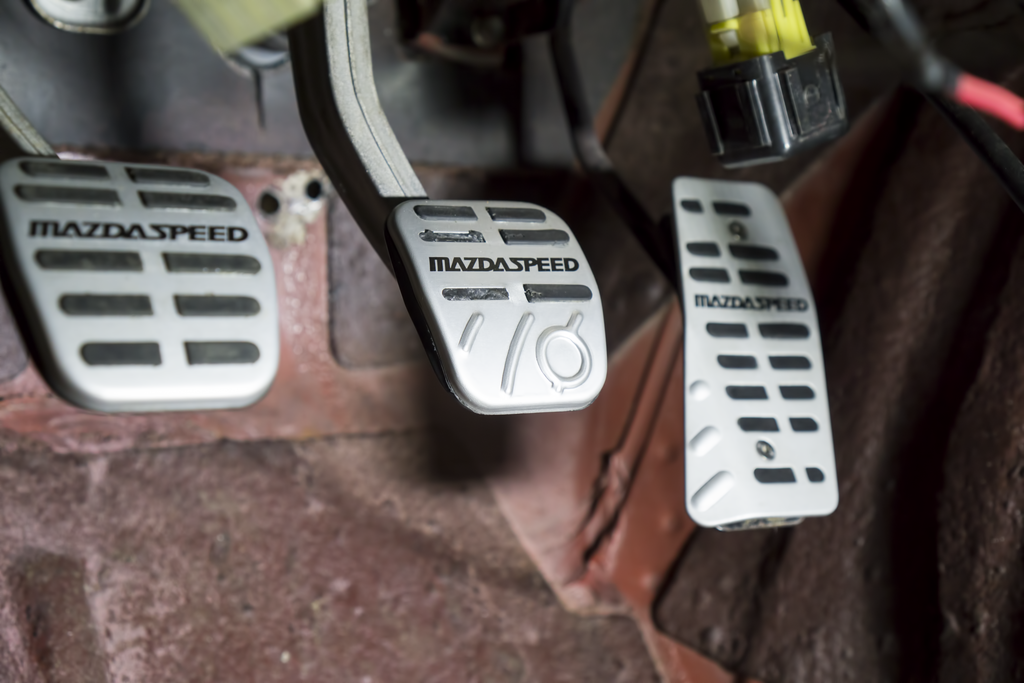
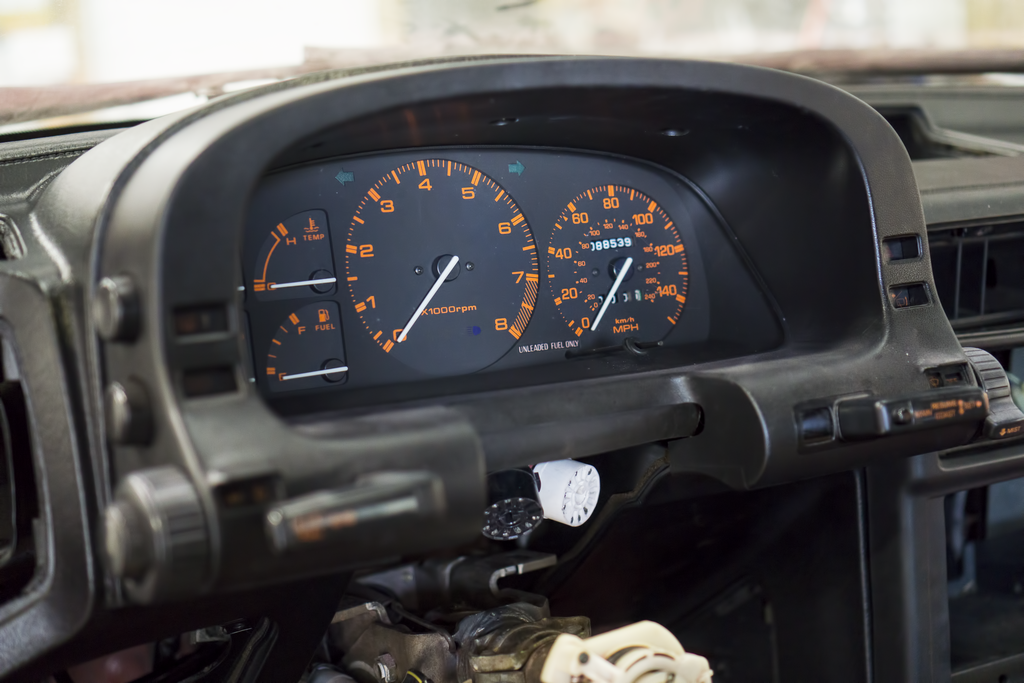
It�s been a good week. A lot of ground has been covered. I finally got around to doing the idiot cluster clock mod. I accidentally broke the first cluster�s plastic (woops). If you do this as well, instead of trying to do things the hard way just use a dremel. I had LRB Speed create a single din gauge pod that mounts above the radio. It turned out really nice and I finally got my Defi gauges in. I also finally got my MazdaSpeed pedals on. I should have moved the accelerator pedal down further, but too late now. I may shave the bottom of the pedal so that it doesn�t stick through. I also decided to finally finish the glove box lid. I painted the it with the same paint that I did the dash and it turned out really nice. I wish I had a before picture to highlight the difference, but I forgot. We essentially have the wire tuck along the driver side fender finished. We just have to shroud everything. In the pictures below, the red electrical is simply a place-holder. In order to test everything I threw in the instrument cluster and its housing. Finished out the weekend by getting all the lights working. Updated pictures of the car will be below. Next week there is a tentative plan to get the car finished wiring wise. I�m then going to drive it home and finish the rest of it here.
Here are all the in-progress shots of the AFR clock mod:

Here are the Defi gauges in their pod finally:
Here is a shot of the pedals installed:
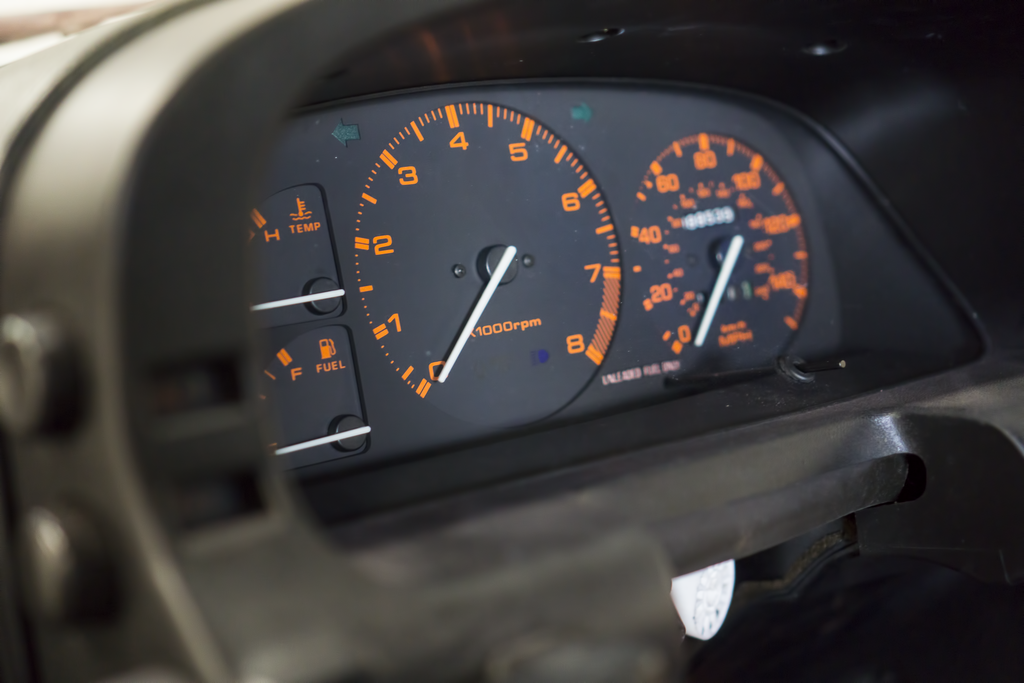
Here is a shot of the instrument cluster in the car:
Here is the completed glove box:

It�s been a good week. A lot of ground has been covered. I finally got around to doing the idiot cluster clock mod. I accidentally broke the first cluster�s plastic (woops). If you do this as well, instead of trying to do things the hard way just use a dremel. I had LRB Speed create a single din gauge pod that mounts above the radio. It turned out really nice and I finally got my Defi gauges in. I also finally got my MazdaSpeed pedals on. I should have moved the accelerator pedal down further, but too late now. I may shave the bottom of the pedal so that it doesn�t stick through. I also decided to finally finish the glove box lid. I painted the it with the same paint that I did the dash and it turned out really nice. I wish I had a before picture to highlight the difference, but I forgot. We essentially have the wire tuck along the driver side fender finished. We just have to shroud everything. In the pictures below, the red electrical is simply a place-holder. In order to test everything I threw in the instrument cluster and its housing. Finished out the weekend by getting all the lights working. Updated pictures of the car will be below. Next week there is a tentative plan to get the car finished wiring wise. I�m then going to drive it home and finish the rest of it here.
Here are all the in-progress shots of the AFR clock mod:


Here are the Defi gauges in their pod finally:


Here is a shot of the pedals installed:

Here is a shot of the instrument cluster in the car:


Here is the completed glove box:


 04-10-16, 01:47 PM
#171
https://www.rx7club.com/interior-ext...useful-803594/
https://www.rx7club.com/2nd-generati...estion-921488/
04-11-16, 07:22 PM
#173
Thanks man for the links! I hope you're able to "finish" this before your internship.
I'm watching this build very closely.
About your interior, you're only looking for the black 10th AE interiors only? What are the differences with them and the other S5 black interiors?
I'm watching this build very closely.
About your interior, you're only looking for the black 10th AE interiors only? What are the differences with them and the other S5 black interiors?
04-11-16, 08:23 PM
#174
Thanks man for the links! I hope you're able to "finish" this before your internship.
I'm watching this build very closely.
About your interior, you're only looking for the black 10th AE interiors only? What are the differences with them and the other S5 black interiors?
I'm watching this build very closely.
About your interior, you're only looking for the black 10th AE interiors only? What are the differences with them and the other S5 black interiors?
Hope this answers everything.