
White 1987 GXL Build {Lots of Pics}


Thanks man
This past week I've been fighting small stuff on the car....... Vaccum leaks, Blown/Old Fues, Air filter brakets, & Bad Idle. so I haven't got to plasti dip the rear wheels. I'll be cutting off the crappy stud and replacing them as I plasti dip the rear wheels tomorrow. I'm trying to get ready for the meet coming up this friday.
This past week I've been fighting small stuff on the car....... Vaccum leaks, Blown/Old Fues, Air filter brakets, & Bad Idle. so I haven't got to plasti dip the rear wheels. I'll be cutting off the crappy stud and replacing them as I plasti dip the rear wheels tomorrow. I'm trying to get ready for the meet coming up this friday.
4/2/2012 Update
I have been acid testing the car after the 5-speed swap and here is what I have learned:
1. So far the GS-LE N304 Flywheel is working with my engine fine and runs smooth.
2. In every "Auto to Manual" thread I've read no one ever seems to mention that the vacuum line from the auto transmission needs to be plugged. But I guess that's kinda given when working with our cars.
Here is the vacuum port that needs to be plugged
http://www.flickr.com/photos/dont_shoot/7038510099/http://www.flickr.com/photos/dont_shoot/7038510099/ by http://www.flickr.com/people/dont_shoot/, on Flickr
Vinyl plugs...... I only use these for air leaks (use the rubber ones for coolant)
http://www.flickr.com/photos/dont_shoot/7038509713/http://www.flickr.com/photos/dont_shoot/7038509713/ by http://www.flickr.com/people/dont_shoot/, on Flickr
Red one fits the best!
http://www.flickr.com/photos/dont_shoot/7038510397/http://www.flickr.com/photos/dont_shoot/7038510397/ by http://www.flickr.com/people/dont_shoot/, on Flickr
After I fixed the leak I adjusted my TBS with my Multi-Meter and this little thing
http://www.flickr.com/photos/dont_shoot/6892415196/http://www.flickr.com/photos/dont_shoot/6892415196/ by http://www.flickr.com/people/dont_shoot/, on Flickr
Set her to 1.0V and shes running like a champ.
Well Until she blew her EGI INJ. 40A fuse when the air filter fell off on the highway and nicked some wires in that area, which then grounded on the body ...LOL
So I finally got off my *** and made a bracket to hold the air filter in place.
http://www.flickr.com/photos/dont_shoot/7038510989/http://www.flickr.com/photos/dont_shoot/7038510989/ by http://www.flickr.com/people/dont_shoot/, on Flickr
http://www.flickr.com/photos/dont_shoot/6892415872/http://www.flickr.com/photos/dont_shoot/6892415872/ by http://www.flickr.com/people/dont_shoot/, on Flickr
http://www.flickr.com/photos/dont_shoot/7038511513/http://www.flickr.com/photos/dont_shoot/7038511513/ by http://www.flickr.com/people/dont_shoot/, on Flickr
Bolts and Locktite!!
http://www.flickr.com/photos/dont_shoot/7038511755/http://www.flickr.com/photos/dont_shoot/7038511755/ by http://www.flickr.com/people/dont_shoot/, on Flickr
Shouldn't be going anywhere now
http://www.flickr.com/photos/dont_shoot/6892416560/http://www.flickr.com/photos/dont_shoot/6892416560/ by http://www.flickr.com/people/dont_shoot/, on Flickr
Also cut into the auto shifter plastic
http://www.flickr.com/photos/dont_shoot/7038513155/http://www.flickr.com/photos/dont_shoot/7038513155/ by http://www.flickr.com/people/dont_shoot/, on Flickr
http://www.flickr.com/photos/dont_shoot/7038512897/http://www.flickr.com/photos/dont_shoot/7038512897/ by http://www.flickr.com/people/dont_shoot/, on Flickr
Should fit the manual shifter now
http://www.flickr.com/photos/dont_shoot/7038512587/http://www.flickr.com/photos/dont_shoot/7038512587/ by http://www.flickr.com/people/dont_shoot/, on Flickr
http://www.flickr.com/photos/dont_shoot/7038513345/http://www.flickr.com/photos/dont_shoot/7038513345/ by http://www.flickr.com/people/dont_shoot/, on Flickr
Haven't got to the back wheels and studs yet but I will. Parts from Mazdatrix are still coming in the mail so I'll be waiting on that stuff.
Small Update - 4/9/2012
Didn't get much done this weekend, but my rubber shifter boots came in so I'm not longer breathing exhaust fumes.
http://www.flickr.com/photos/dont_shoot/7060724713/http://www.flickr.com/photos/dont_shoot/7060724713/ by http://www.flickr.com/people/dont_shoot/, on Flickr
Its amazing how this thing quiets down the inside of the car
http://www.flickr.com/photos/dont_shoot/6914642606/http://www.flickr.com/photos/dont_shoot/6914642606/ by http://www.flickr.com/people/dont_shoot/, on Flickr
http://www.flickr.com/photos/dont_shoot/7060725211/http://www.flickr.com/photos/dont_shoot/7060725211/ by http://www.flickr.com/people/dont_shoot/, on Flickr
Also I broke off the wheel nut/stud that was cross threaded on by the tire shop i went to.
http://www.flickr.com/photos/dont_shoot/7060727157/http://www.flickr.com/photos/dont_shoot/7060727157/ by http://www.flickr.com/people/dont_shoot/, on Flickr
http://www.flickr.com/photos/dont_shoot/6914644026/http://www.flickr.com/photos/dont_shoot/6914644026/ by http://www.flickr.com/people/dont_shoot/, on Flickr
http://www.flickr.com/photos/dont_shoot/6914645854/http://www.flickr.com/photos/dont_shoot/6914645854/ by http://www.flickr.com/people/dont_shoot/, on Flickr
Didn't get a chance to knock out the old studs and replace them.
But I did Plasti-Dip all the wheels
http://www.flickr.com/photos/dont_shoot/6914641922/http://www.flickr.com/photos/dont_shoot/6914641922/ by http://www.flickr.com/people/dont_shoot/, on Flickr
http://www.flickr.com/photos/dont_shoot/6914641688/http://www.flickr.com/photos/dont_shoot/6914641688/ by http://www.flickr.com/people/dont_shoot/, on Flickr

Not hard at all, the rims that I have were banged up before I got the car and the break dust is so bad no matter how much I clean them they just get dirty really quickly. Plus I'm going to buy nicer rims later so I decided to "Plasti Dip" them. Its Basically Black Plastic in a can an can be pealed off if need be. It can be found at any Home Depot in the paint section and cost about $6 a can.
1. Remove rims from car.
2. Clean rims with Purple power or any other cleaner/degreaser.
3. Wipe dry or air dry
4. Spray on Plasti dip in small short bursts so it will not run.
I used about one can for two wheels, Taka use one can for his 4 mustang rims but I wanted a thicker coat just in case I scrape a curb. I will also be using this for window trim and the S4 trim that goes along the side of the car. Also don't worry about over spray on the tires cause its just plastic and can be pulled off.
But if I wanted to actually fix the rims I'd use bondo to full in the gaps, sand them down then use some spray cans with a good clear.
The adapter came from here:
http://www.rotaryresurrection.com/2n...to_5speed.html
No there was a block off plate that I just Unbolted.
http://www.rotaryresurrection.com/2n...to_5speed.html
No there was a block off plate that I just Unbolted.
Major Update - 5/30/2012
Hey guys long time no post!
Sorry guys I'm always working on other peoples car and rarely get to my 7. I did however have the pilot bearing give up the ghost on me about 2 weeks ago. Got it changed out in like a day so no biggie. I have been getting poor gas mileage and my brakes are not up-to-par.... so i ordered some parts and got to work!
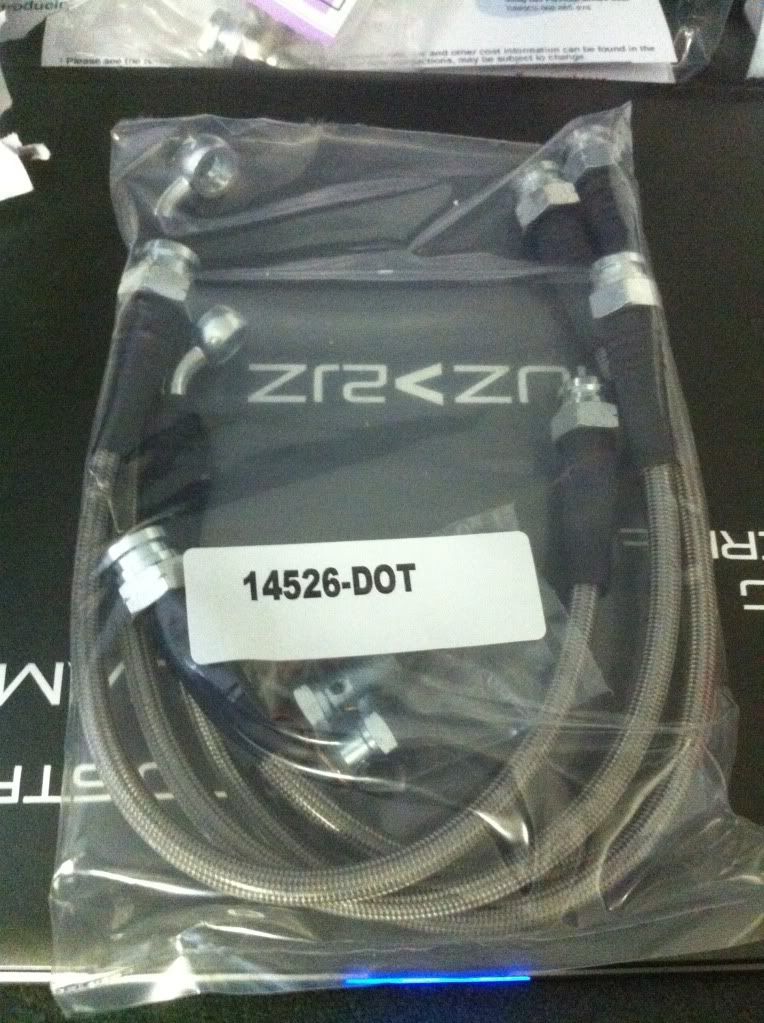
Mazdatrix DOT Stainless Steel brake lines
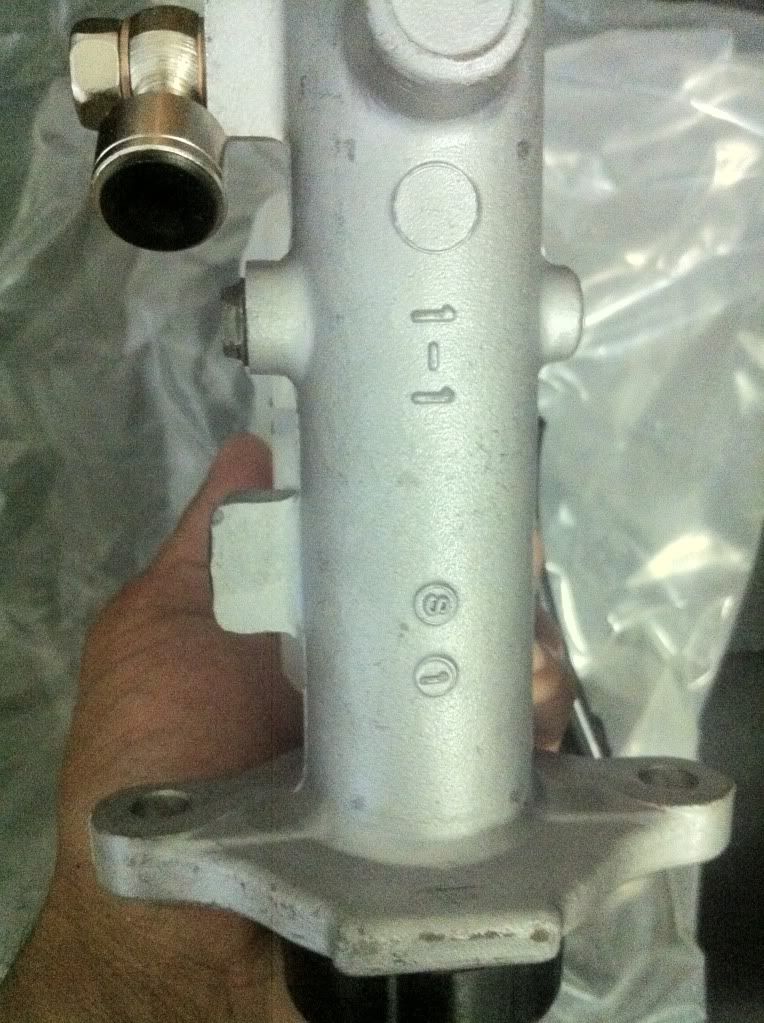
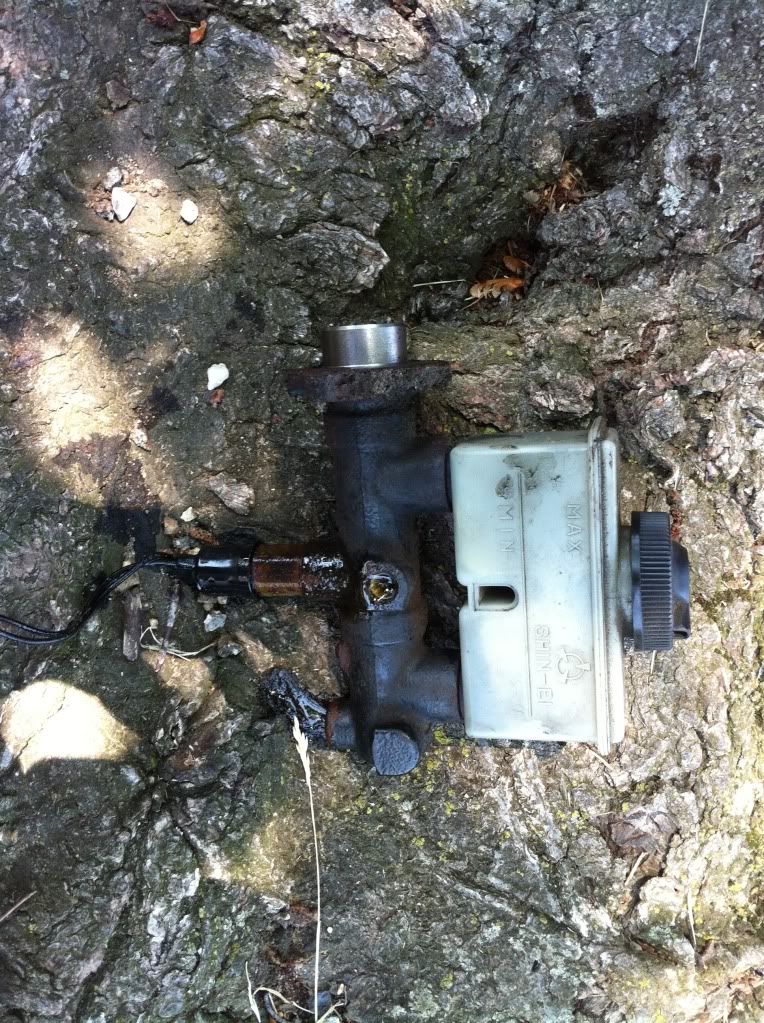
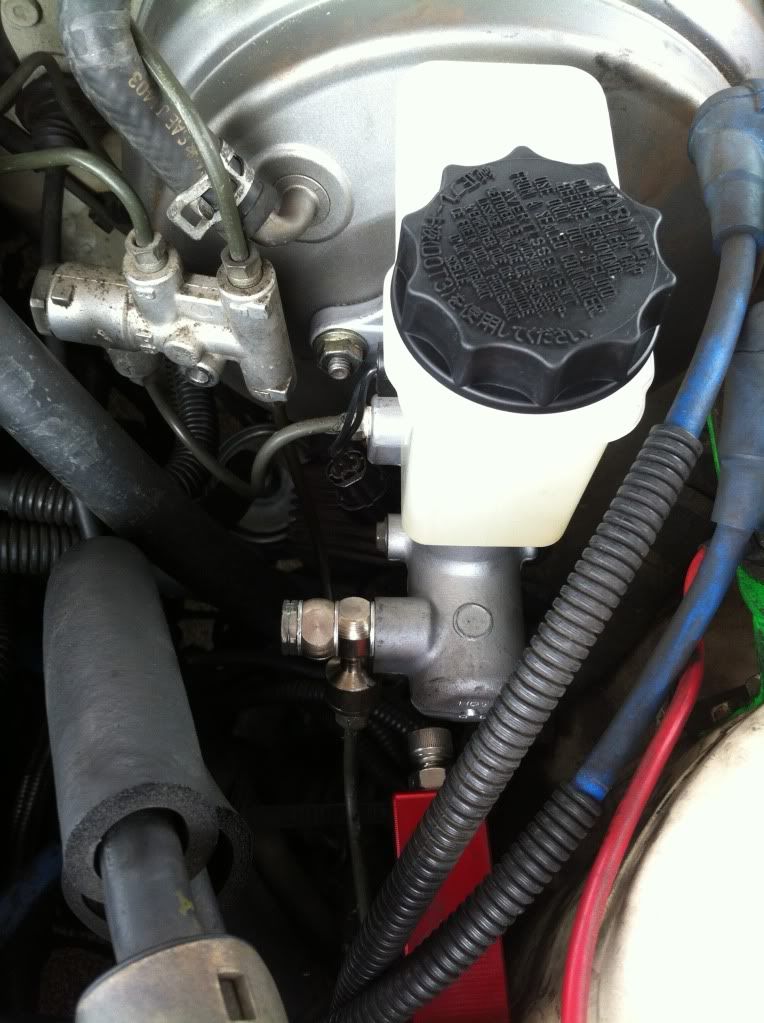
929 Brake Master cylinder bought on ebay from Atkins rotary

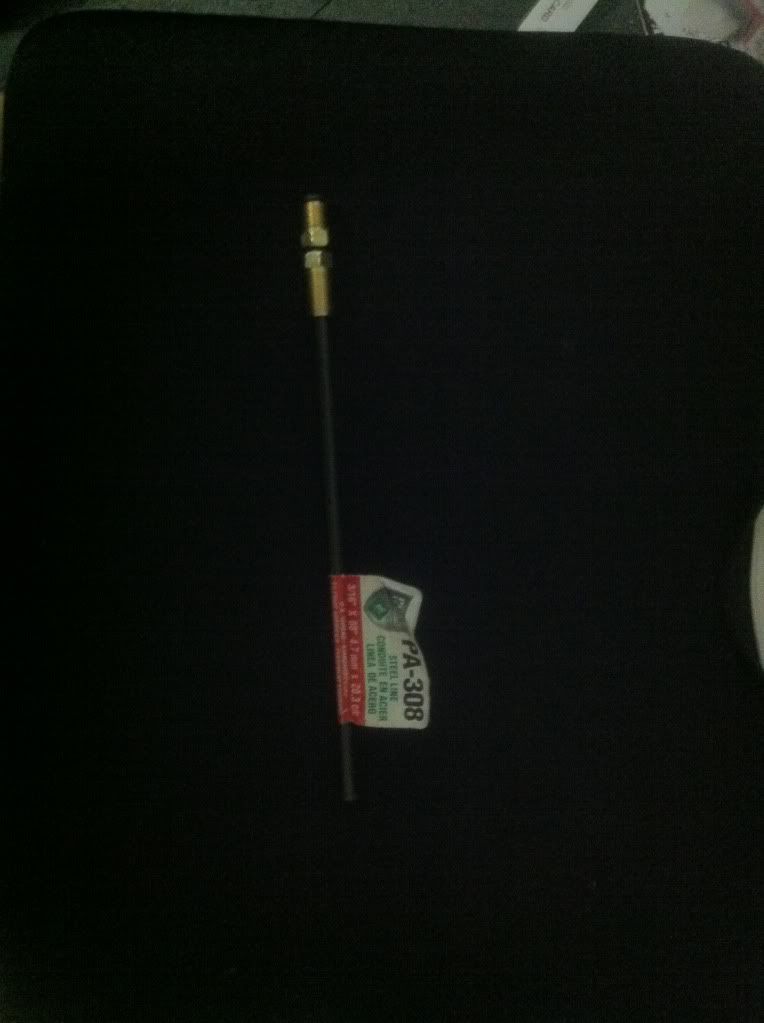
Short M10x1 brake line i bought from AutoZone part Number Paex-308 or Aze-308
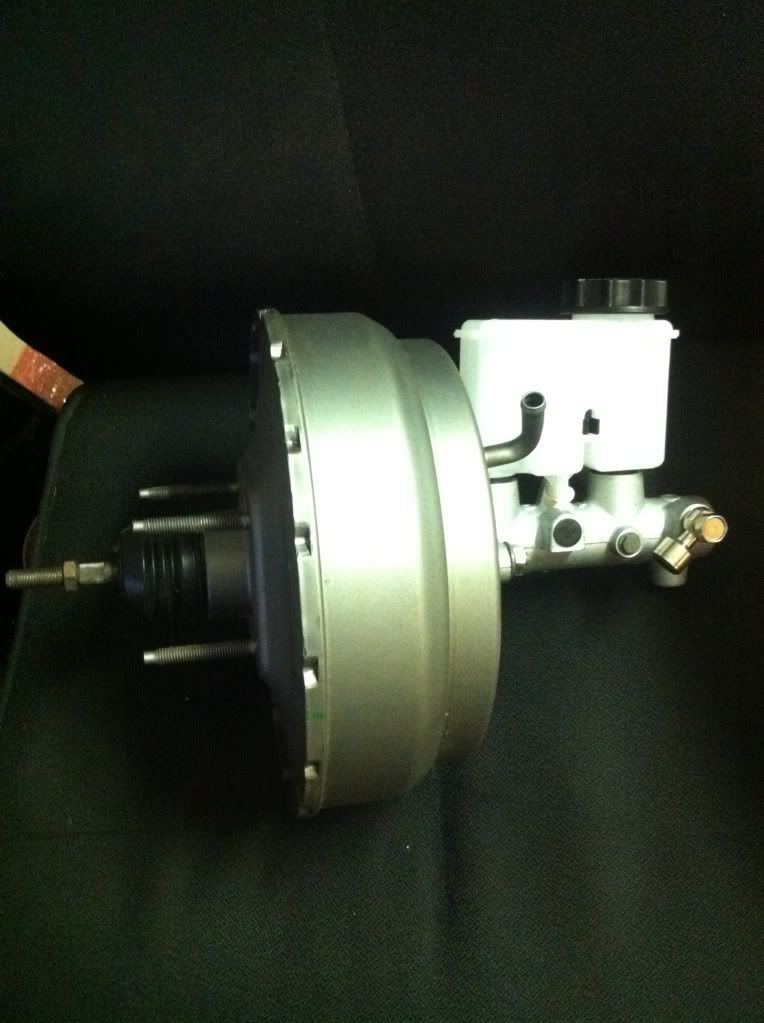
Reman 929 booster & MC together for mock up
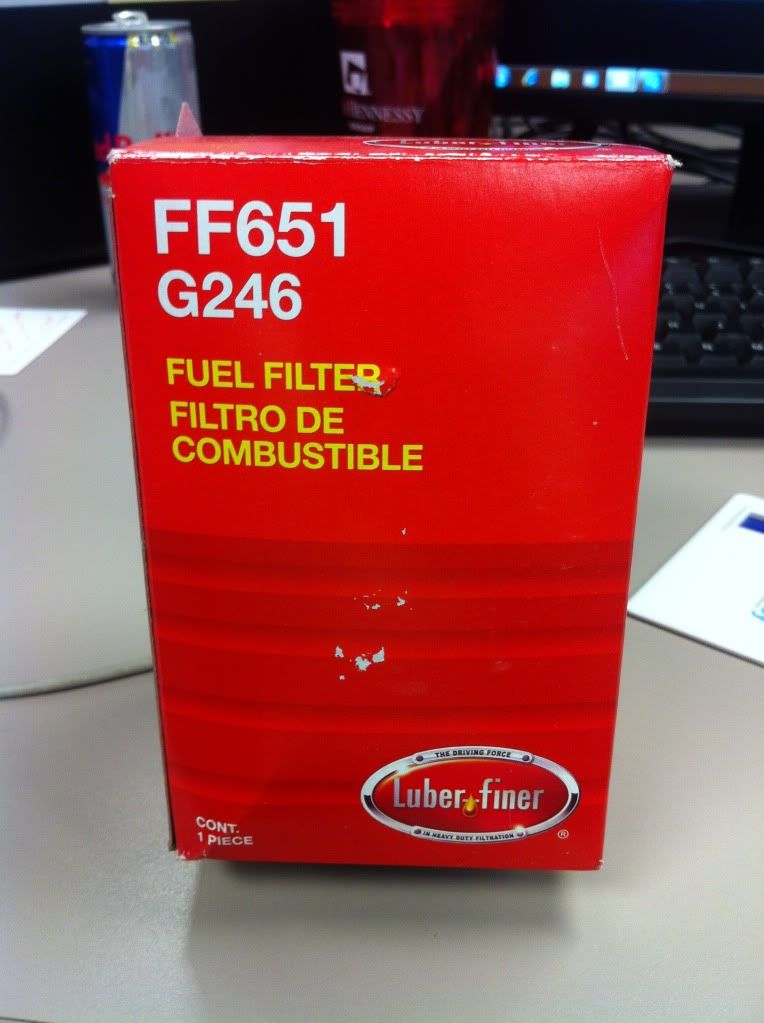
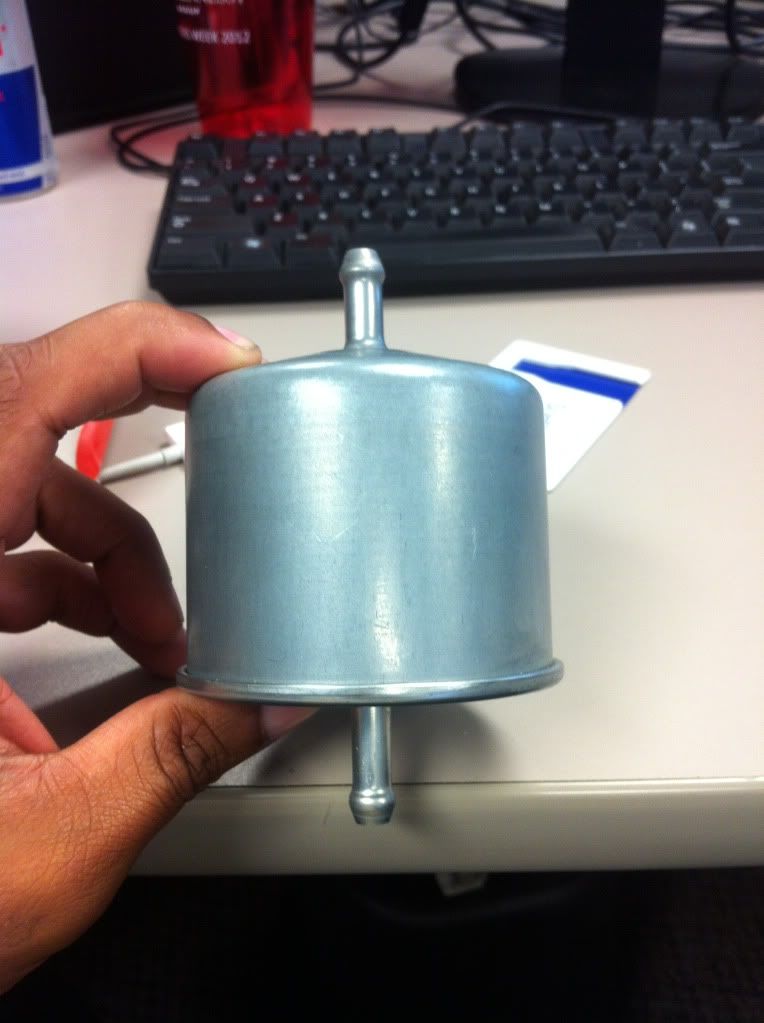
mid 90s 300zx fuel filter.... I heard this thing was made out of Pixie Dust and will improve gas mileage over the stock one, so we'll try it out.
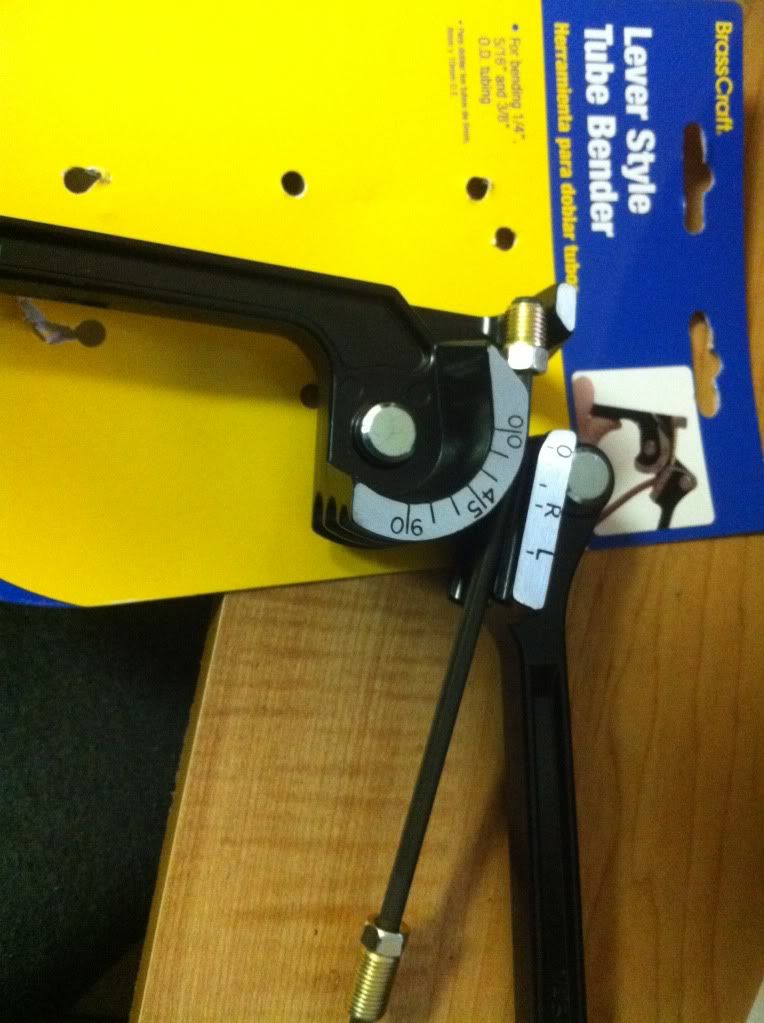
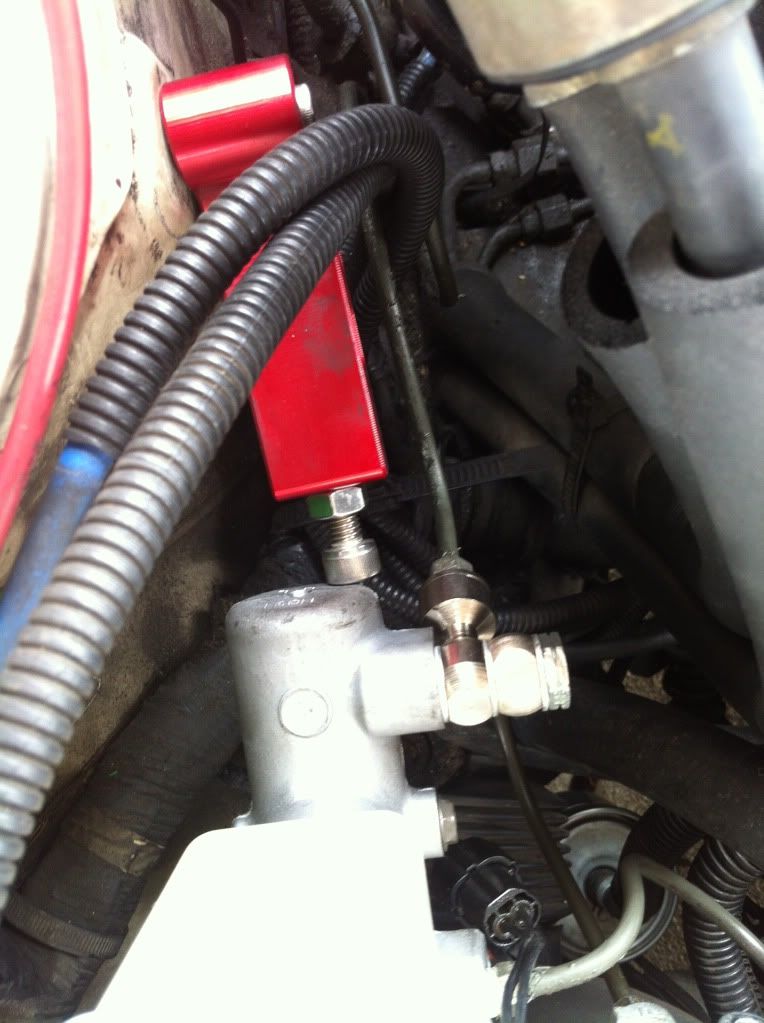
Also got a brake line bender
Sorry guys I'm always working on other peoples car and rarely get to my 7. I did however have the pilot bearing give up the ghost on me about 2 weeks ago. Got it changed out in like a day so no biggie. I have been getting poor gas mileage and my brakes are not up-to-par.... so i ordered some parts and got to work!
Mazdatrix DOT Stainless Steel brake lines
929 Brake Master cylinder bought on ebay from Atkins rotary
Short M10x1 brake line i bought from AutoZone part Number Paex-308 or Aze-308
Reman 929 booster & MC together for mock up
mid 90s 300zx fuel filter.... I heard this thing was made out of Pixie Dust and will improve gas mileage over the stock one, so we'll try it out.
Also got a brake line bender
Removing the old MC
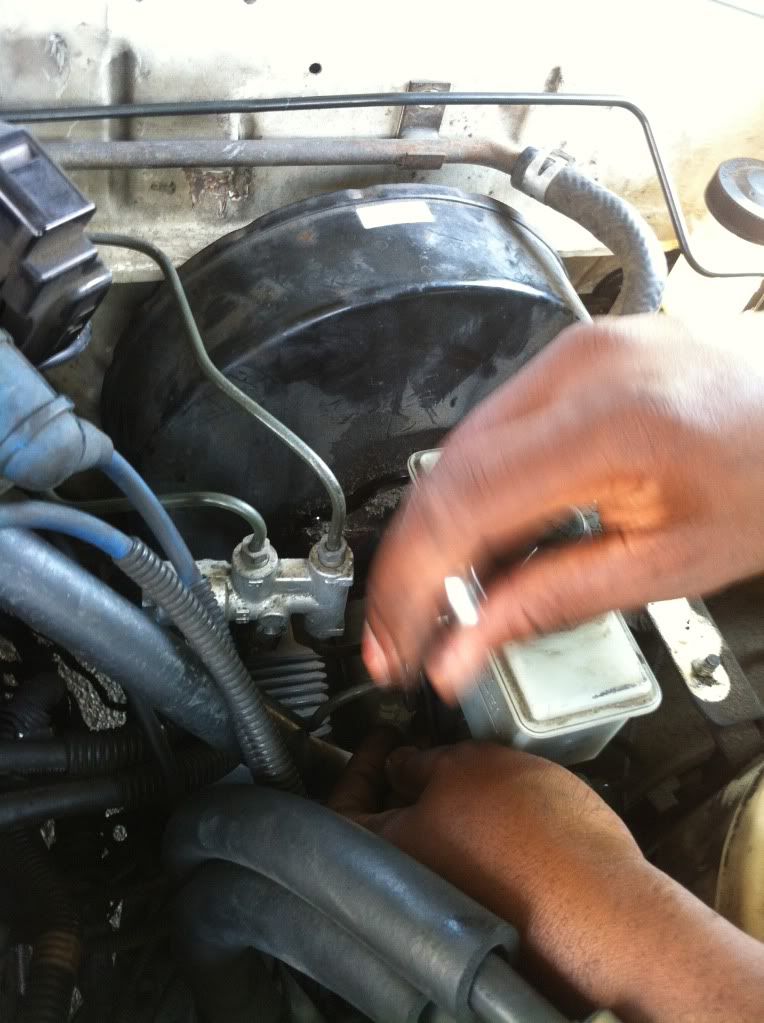
Removed the nastiness!
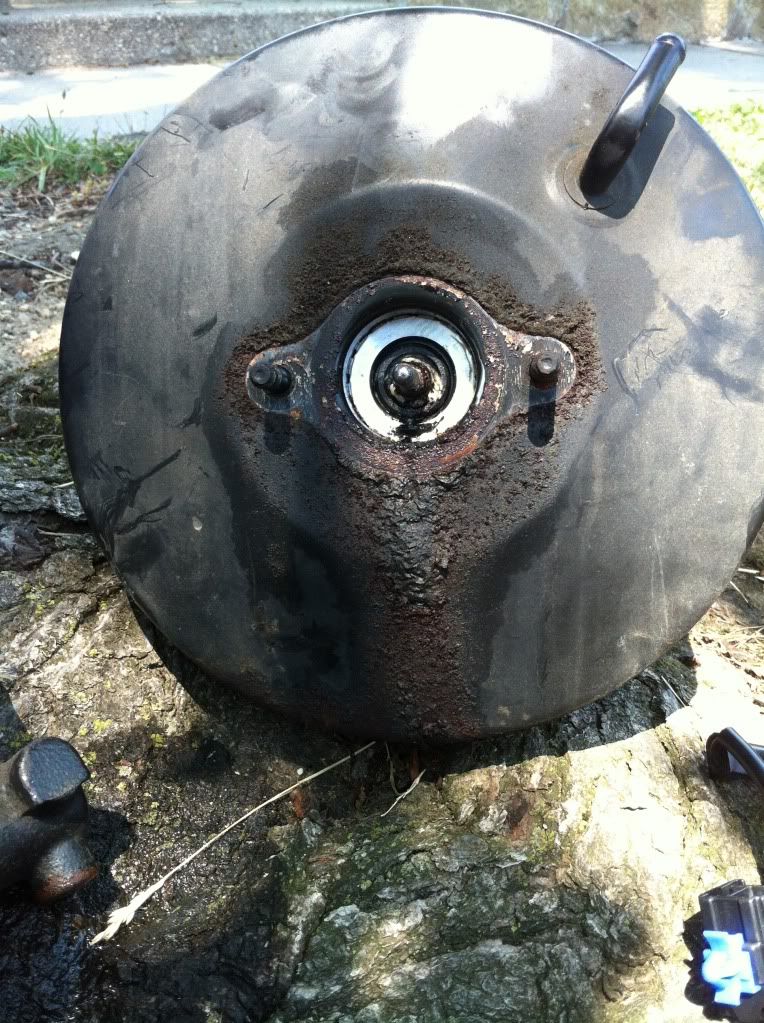
Booster came out next, I also found that is was leaking!
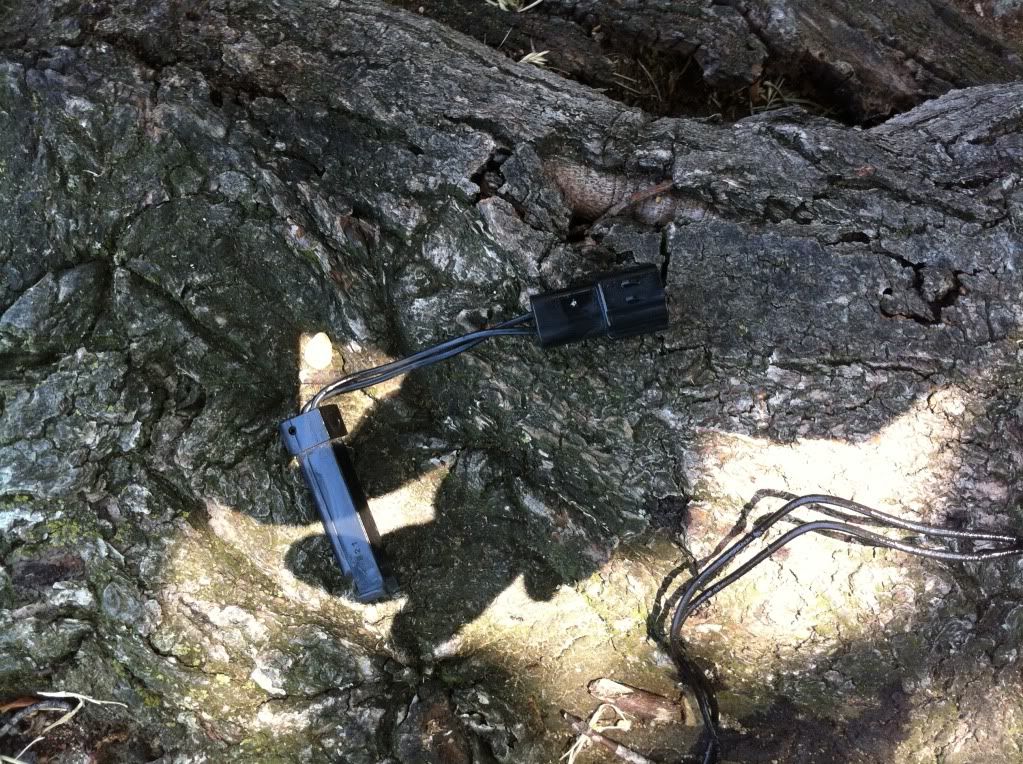
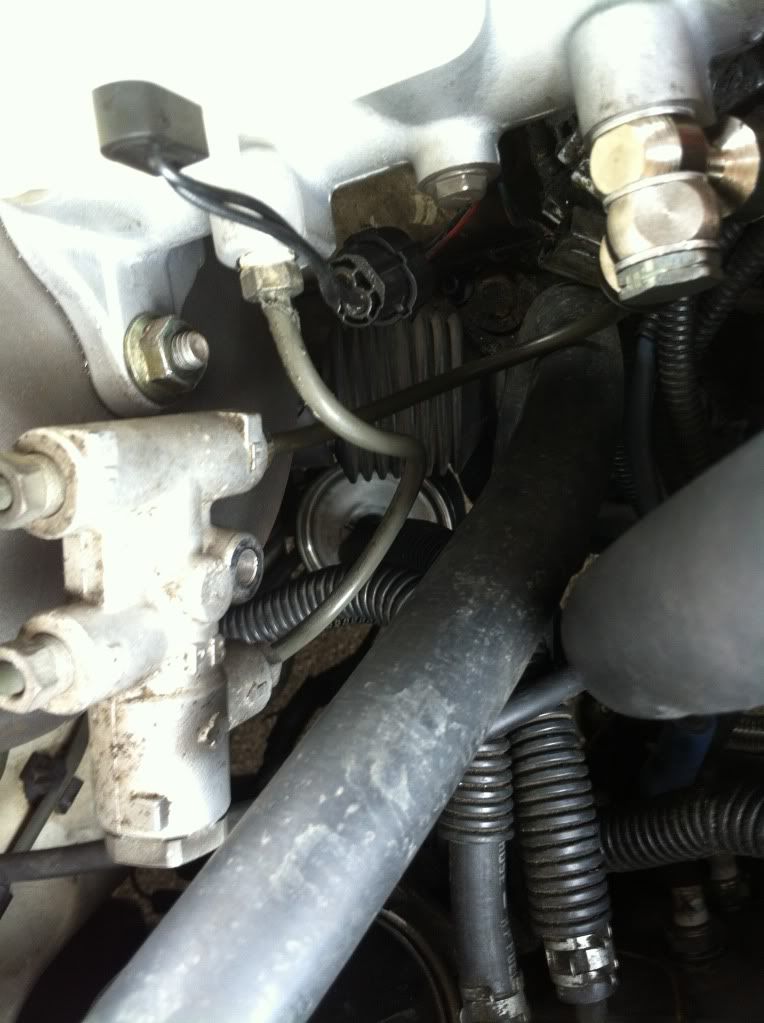
Swapping the Low Level sensor from the rx7 one to the 929 one.
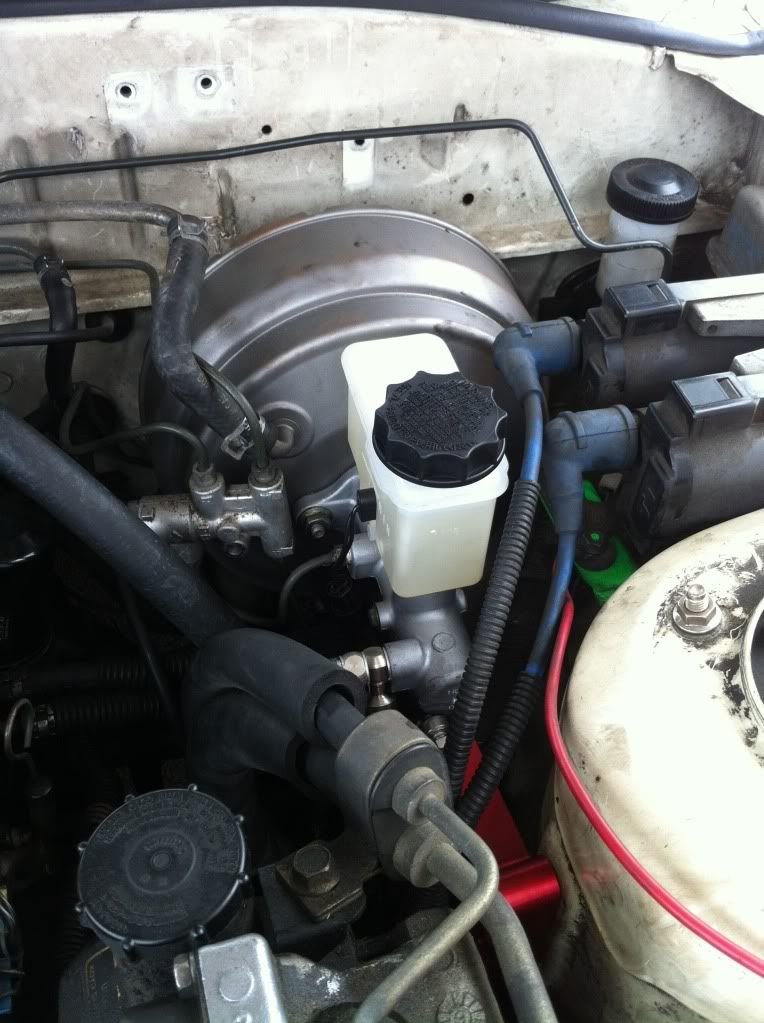
Now the new hotness is ready to go in

The 929 Booster fits with no problems.

While Taka21 bends the lines I put in the 300zx fuel filter
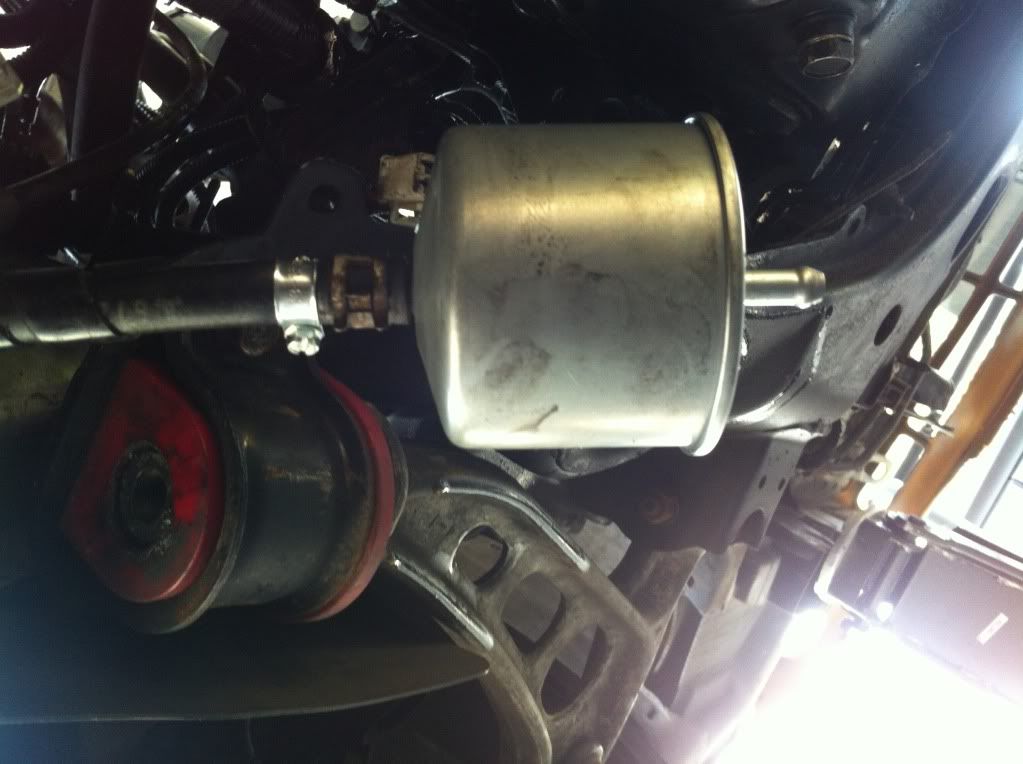
As fuel spills in my eye I replace the old nastiness withe the new filter

Removed the nastiness!
Booster came out next, I also found that is was leaking!
Swapping the Low Level sensor from the rx7 one to the 929 one.
Now the new hotness is ready to go in
The 929 Booster fits with no problems.
While Taka21 bends the lines I put in the 300zx fuel filter
As fuel spills in my eye I replace the old nastiness withe the new filter
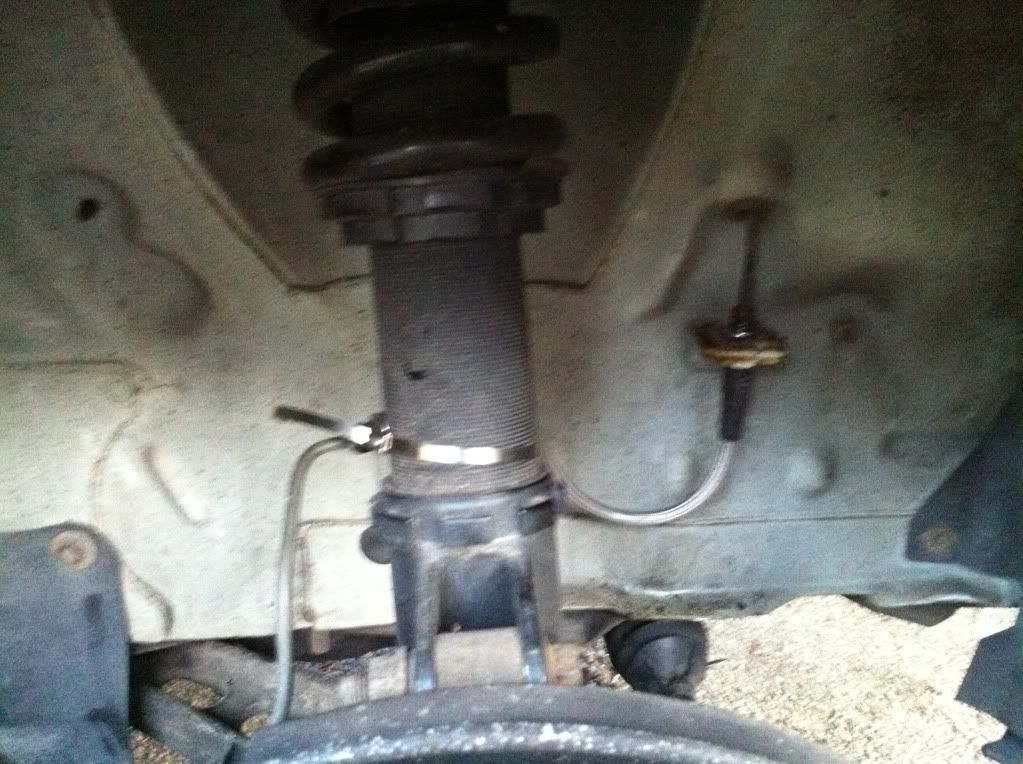
Old rear lines came out ......
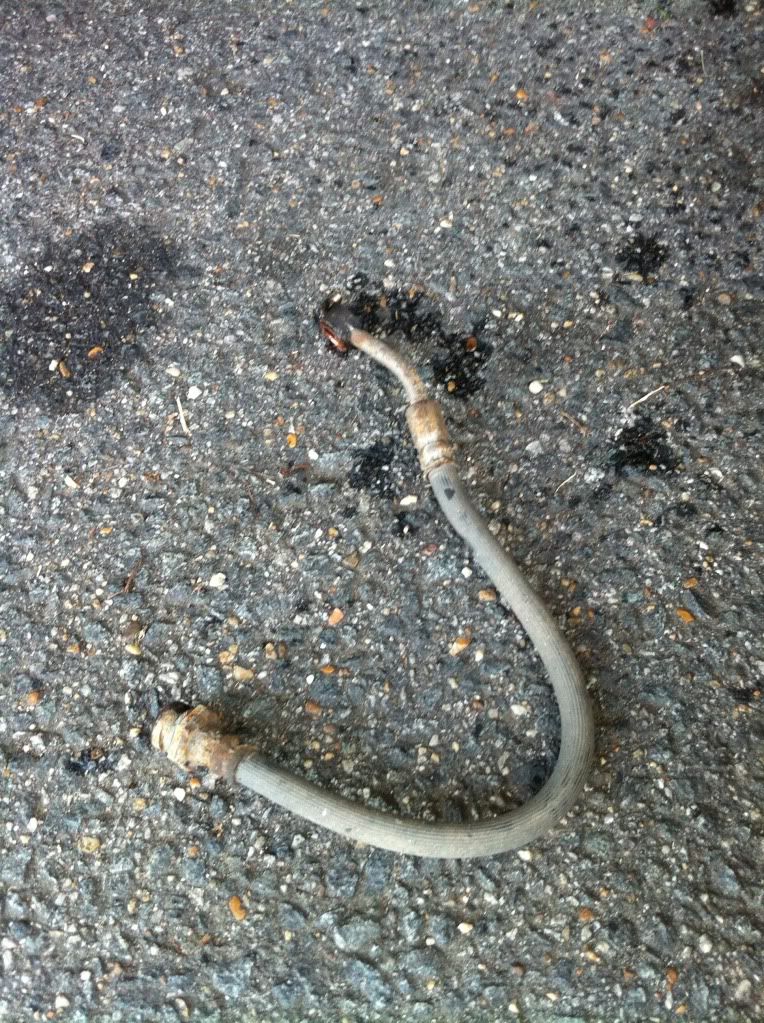
New ones came in...
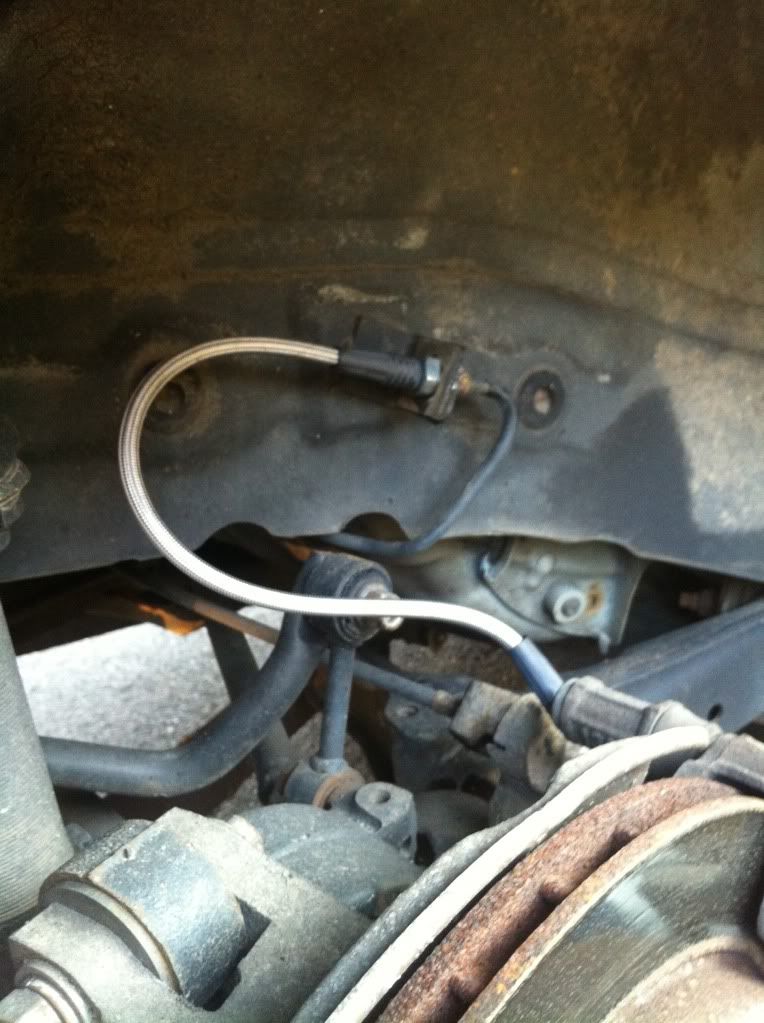
and same for the front

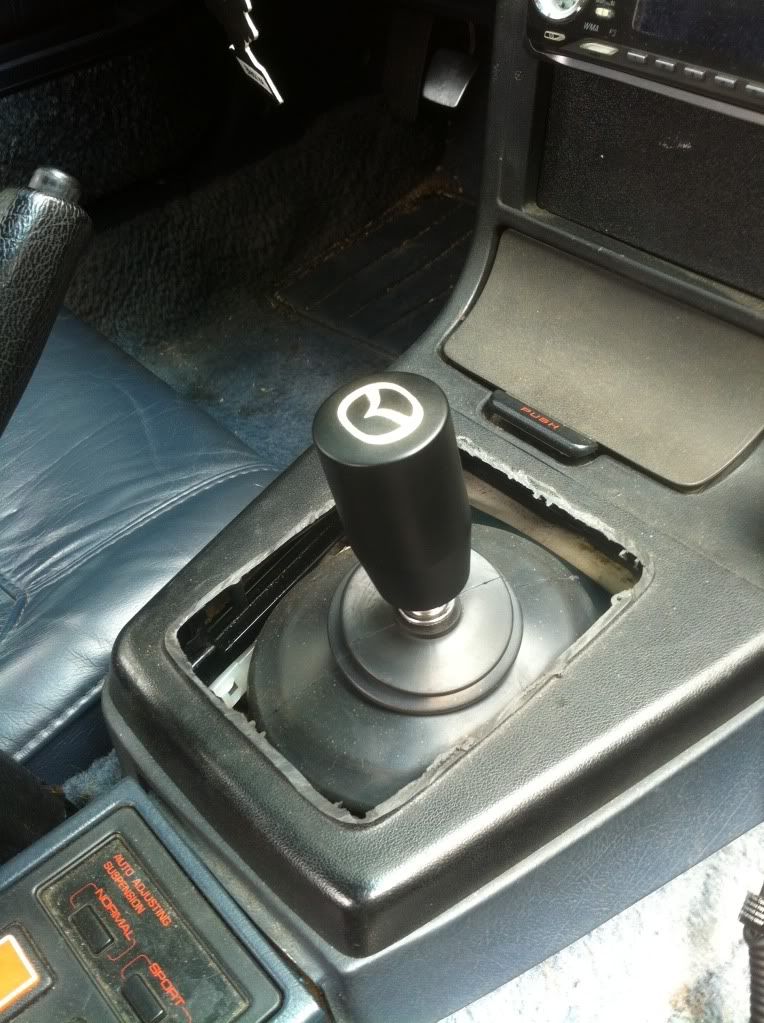
Also removed the upper portion of the miata short shifter and re-tapped my shift **** for a ultra short throw
Final Thoughts......
929 MC & Booster Upgrade:
OMG!!!!!!!!!!!
I must say these Three modifications have got to be the best mods i have done to date on this car. The car stops like a new car, i use to have to mash the peddle to the floor to stop. Now i lightly push on it and the car can stop better than newer cars. i can't wait to add the 350z Brembos to this combination.
300xz Feul filter:
The 300zx Fuel filter is doing the damn thang! I am still running the numbers but I have defiantly improves gas mileage. I don't know if it was because my old one was just old and getting a new one would have done the same thing but I can say it is cheaper and more available at part stores like autoZone than the Rx-7 one. I will also be changing the fuel sock in the tank just to be ****.
Shorter Shifter:
I can find all gears very quickly and accurately.
All in all the car is ready to race.
New ones came in...
and same for the front
Also removed the upper portion of the miata short shifter and re-tapped my shift **** for a ultra short throw
Final Thoughts......
929 MC & Booster Upgrade:
OMG!!!!!!!!!!!
I must say these Three modifications have got to be the best mods i have done to date on this car. The car stops like a new car, i use to have to mash the peddle to the floor to stop. Now i lightly push on it and the car can stop better than newer cars. i can't wait to add the 350z Brembos to this combination.
300xz Feul filter:
The 300zx Fuel filter is doing the damn thang! I am still running the numbers but I have defiantly improves gas mileage. I don't know if it was because my old one was just old and getting a new one would have done the same thing but I can say it is cheaper and more available at part stores like autoZone than the Rx-7 one. I will also be changing the fuel sock in the tank just to be ****.
Shorter Shifter:
I can find all gears very quickly and accurately.
All in all the car is ready to race.


Thread
Thread Starter
Forum
Replies
Last Post