When you click on links to various merchants on this site and make a purchase, this can result in this site earning a commission. Affiliate programs and affiliations include, but are not limited to, the eBay Partner Network.
Well this is my first Rotary Powered car and my first rebuild/port job.
Please comment with anything as I am new to this and would like as much feedback as possible.
I am rebuilding a 1988 RX7 Convertible and doing a Larger Streeport on her.
She is my baby and a work in progress.
I will also be doing a complete emissions removal along with an Adaptronic Standalone.
She sits on Megan Coilovers and has had most of the bushings redone throughout the car.
Rear steering has been eliminated and I have installed some Parts Shop Max trailing arm camber links.
I am building this car for mostly Autocross use along with some daily driving.
If you have any questions or comments please do not hesitate to chime in!
Intake is painted and placed together just to see how it will all look. Some other things will be blocked off but this is what she will look like. Maybe a little touch ups here and there also.
Motor set up and ready to be built, just waiting on a few more parts and we will be putting this thing together!
Thank you! I've been working on this for over 4 months now.
Hopefully within the next couple weeks I will be rebuilding this bad boy and putting it in the car!
I'm on a mission to make it to SevenStock this year!
The question now is should I build this engine up to support a turbo or should I go ITBs?
[/I]
Maybe both at the same time. You could use a manifold that has a holley style flange on it like the Pro-jay/Jay-tec and use a 4 barrel Throttle body. Pro-jay is made to clear a turbo. There are some high horsepower turbo drag cars using this setup. Anyway run it all motor and if you go turbo down the road you wouldn't have to change your entire setup. Here is a thread that discusses them that I got quiet a bit of information out of.
One quick question for anyone who has done the throttle body mod on an S4 NA.
What all do I put back on considering I have removed both the BAC and the Thermowax?
So far all I have done was remove the butterflies along with most other things in the way for this mod and I would love to know what I will actually need to keep on the throttle body when all's said and done.
Your generous helping of lube during the rebuild satisfies me. I believe there is a write up for the throttle body mod on the forum. If not, there is one on fc3spro.com
Your generous helping of lube during the rebuild satisfies me. I believe there is a write up for the throttle body mod on the forum. If not, there is one on fc3spro.com
I followed the RA DVD while doing the rebuild and also listened to a bunch of forum members who said to use a lot of lube haha. As for the TB, I have yet to find a write up on my exact TB. I think I have figured it out though and just need to take a few more parts off and then put it all together.
I will probably be going ITB but for now I am using the original TB because I am saving the money for the right ITB setup. Also I would still need to purchase a standalone. The standalone part is the hard one, as I do not know if I will be doing the tuning myself. If possible I would like to, seeing as finding a tuner in AZ may be a bit difficult. So for now I'm doing the TB mod and saving for the ITB setup and standalone. For someone who may be tuning themselves would you recommend a specific ECU? I do not really want to piggyback if I can avoid it.
So I have been waiting on parts to complete this engine build and everything is coming along. So far I only need a few more things to get her running again and slowly but surely it's happening. I just received another box of parts from Atkins Rotary and a few from some kind members of this forum as well. Tonight I will be putting what I have on and starting to button up the engine bay. My dad hooked me up with an Innovate LM-1 that he was going to use on his 70 Dodge Charger but never got around to it, so when it arrives I will have another fun little project. Anyone have experience with the LM-1? Is it complicated to install? Would it be a wise decision to install this on my S4 n/a? Feedback is appreciated for sure!
Innovate LM-1 from my father.
Dusty but should come in handy.
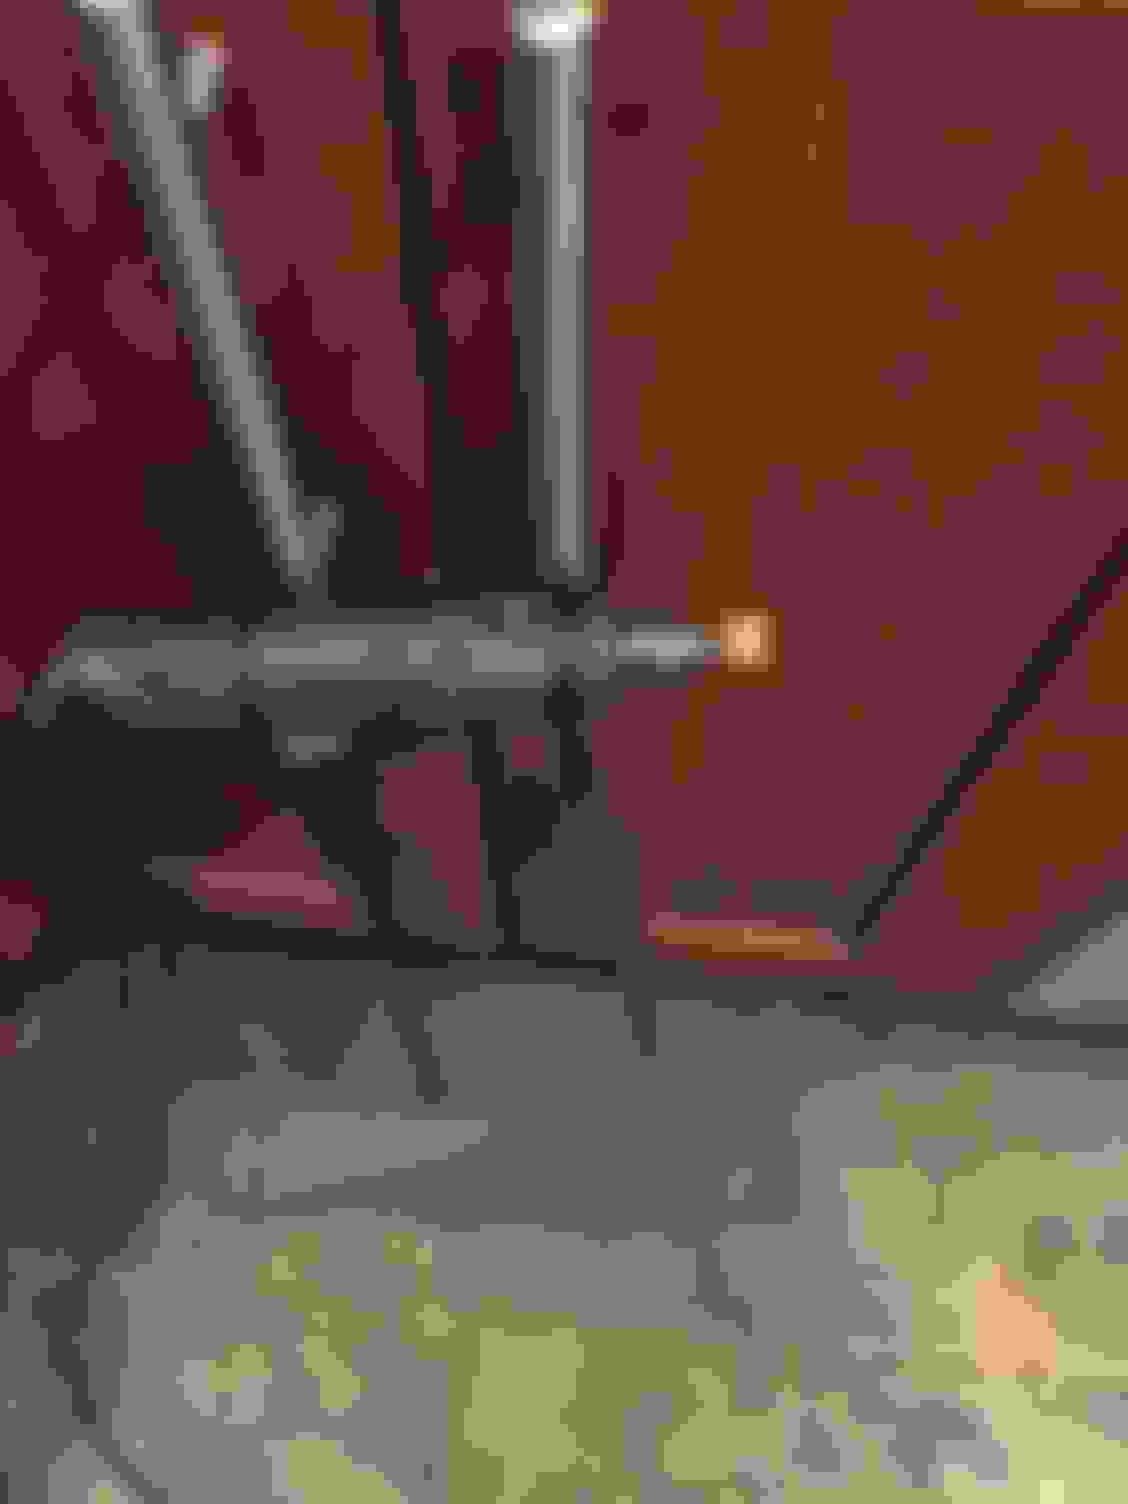
Throttle body mod 90% complete, just need to get this stubborn screw out! Also, how do you remove the cruise control linkage!?
Just some of the parts that will be going on the car this weekend. Forgot to order a damn fuel filter though...
So the motor is almost completely buttoned up and I only have a few more things left to go.
I am still looking for a neutral switch for the n/a transmission and I have a few questions.
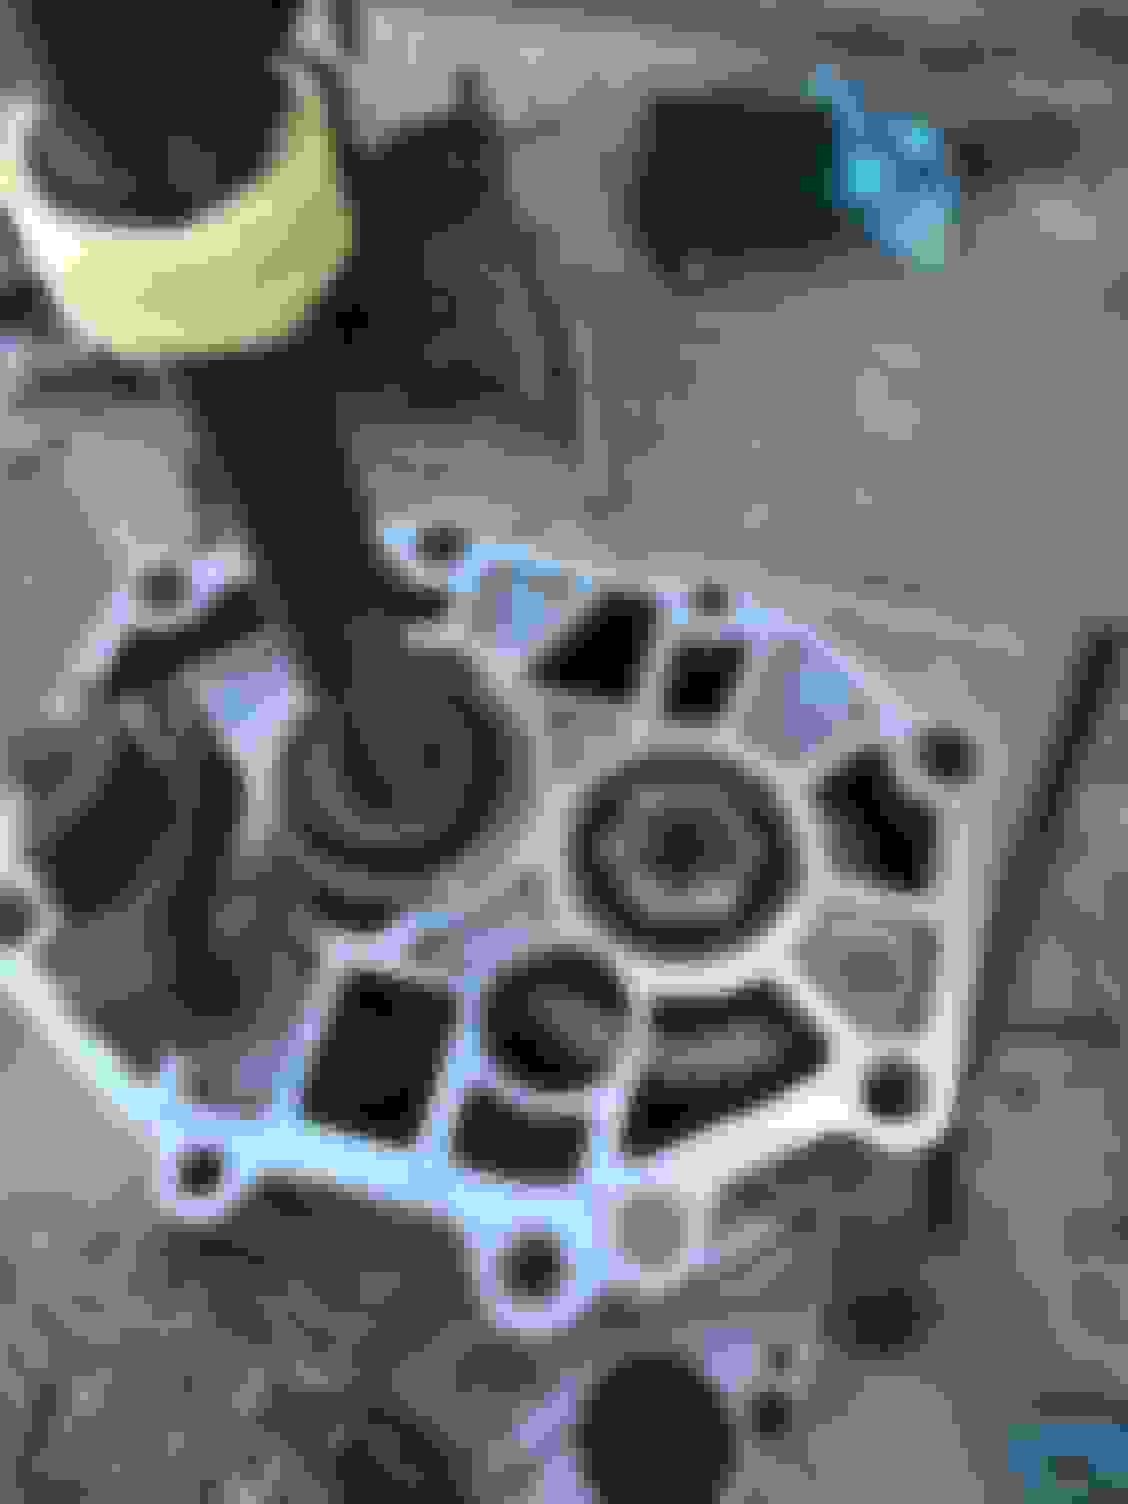
Now I have done a complete emissions delete and need to know where one line goes. This is a vacuum line from the charcoal canister that I do not know where to route. I will post a picture so you guys can see exactly what I am talking about below. This vacuum line from the charcoal canister is what I need to figure out. I've done the complete emissions removal and this line has no home. If you know where it goes please help me out.
Also being that this car is so old, I have a connectors that will need to be redone, seeing as they just fell apart. But she has fluids in her
and just needs a few more details attended to. Hopefully within two weeks she will be running.
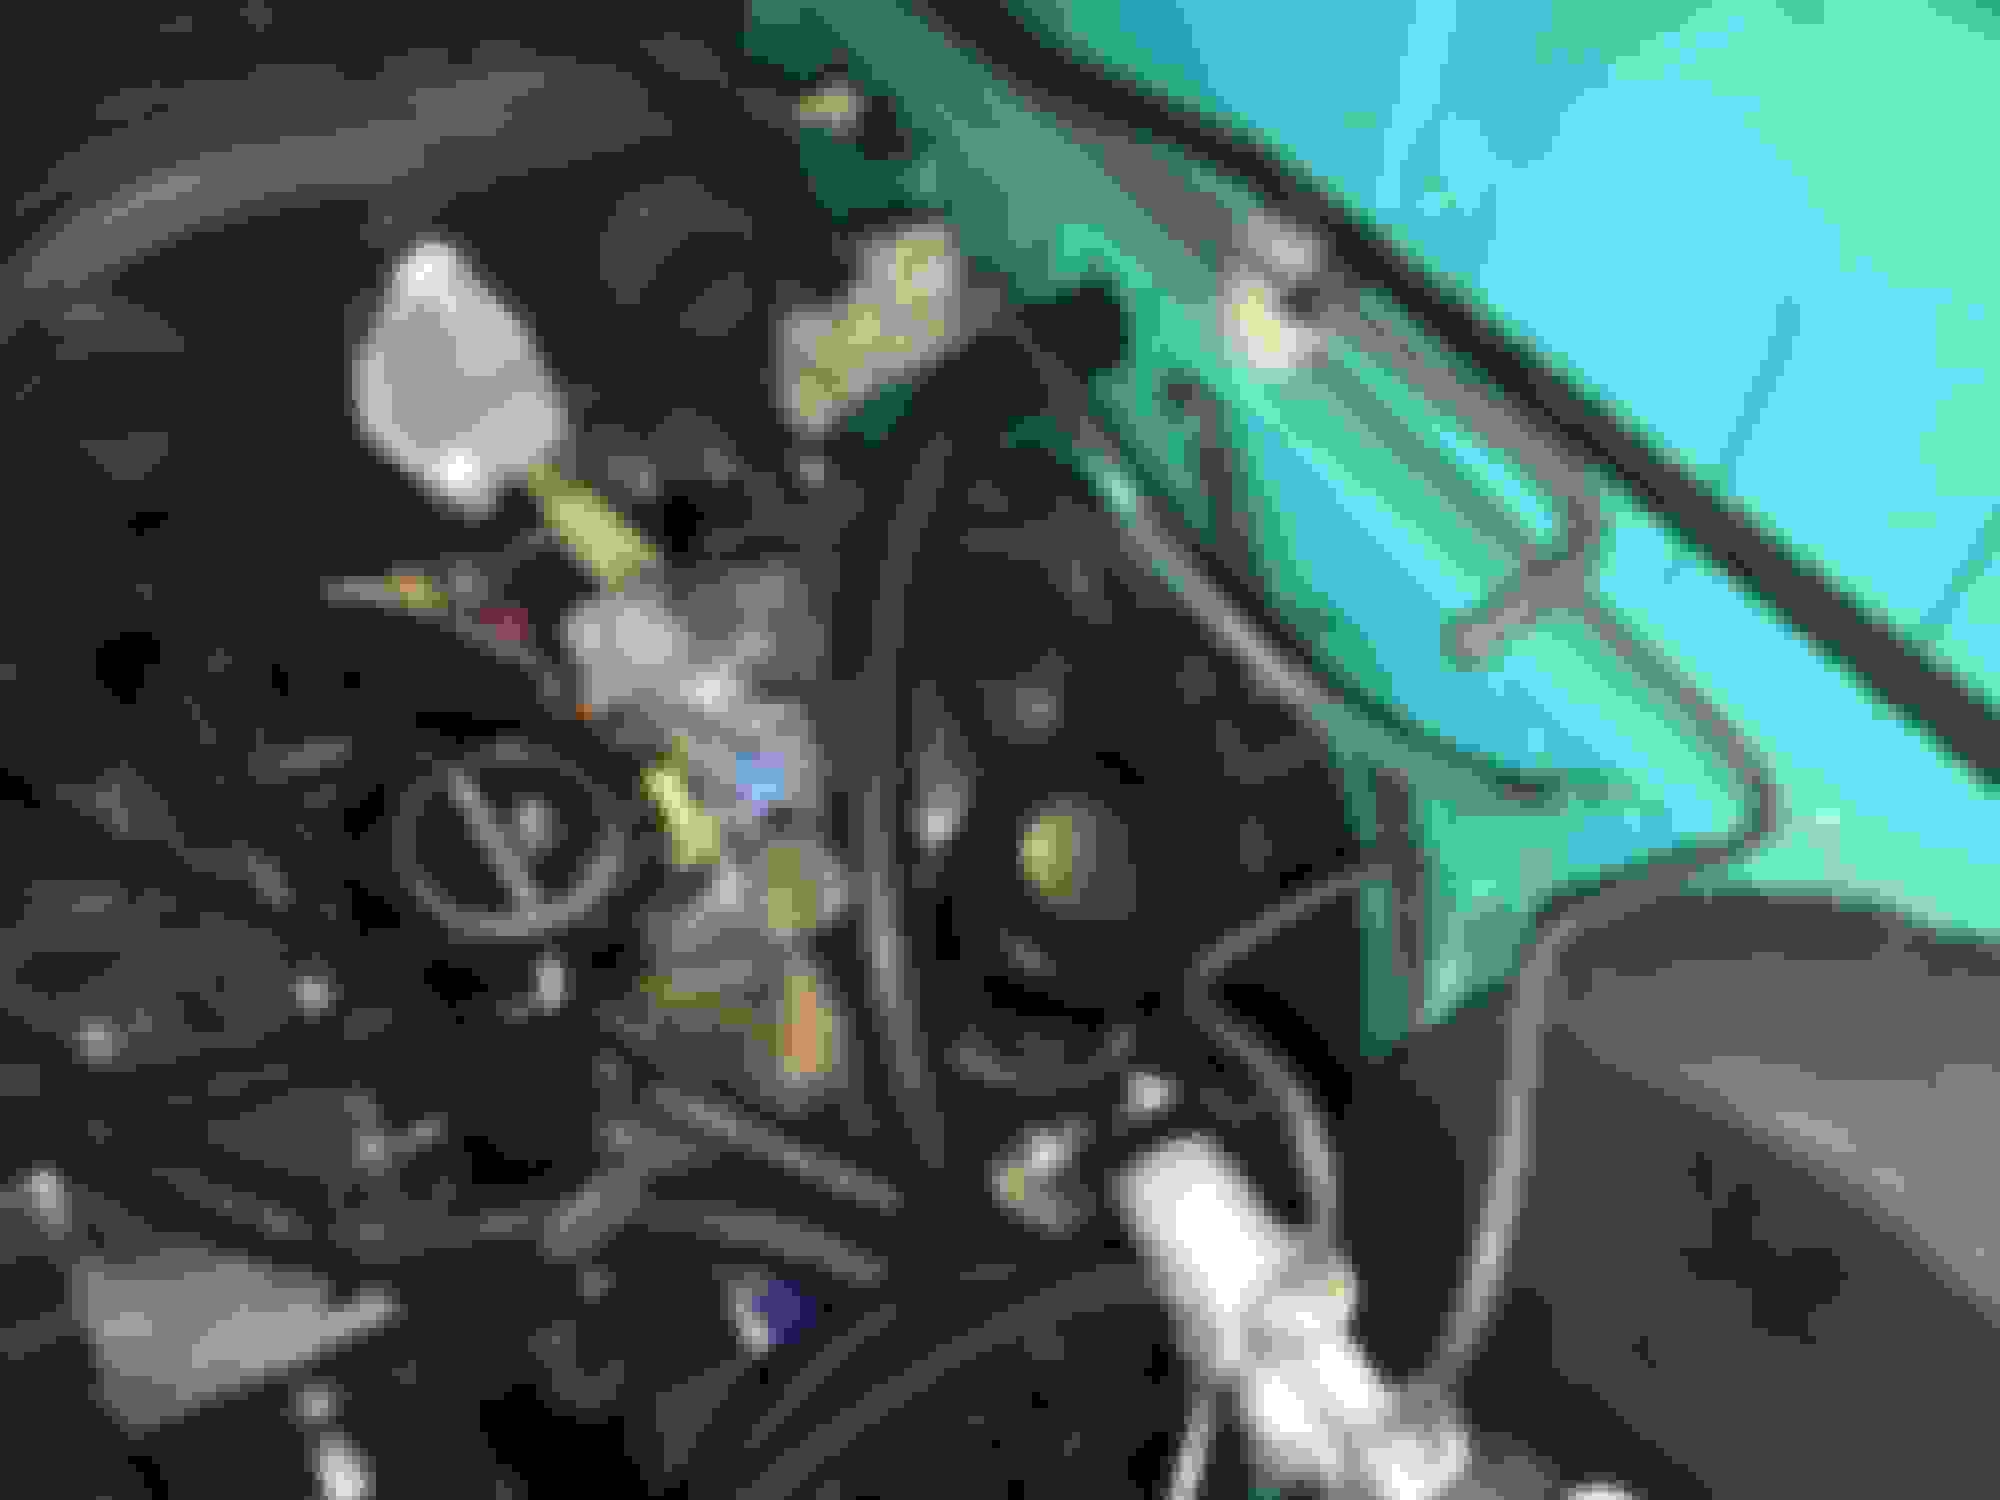
This is the bay almost buttoned up finally! It has been a long time coming and I cannot wait to hear her fire up!
This is my buddies car that we have been building for the past year. Named Frankensubie, this car has gone through a crazy transformation. When he bought the car from some punk kid, you could tell the kid had no clue what he was doing. Now this monster has a fully built motor from the crank up by Cosworth and is on E85. Pushing 530WHP weighing a little under 3000LBS. We have put a lot blood sweat and tears into this build and it turned out amazing!
Well after doing a little digging through the pictures I've taken of this process, I've solved the missing charcoal canister line problem. I was going by one of the emissions removal write-ups and it already had the motor pulled from the car, so it said nothing about that line.
This weekend I will be fixing my "neutral switch" (not neutral safety switch) due to the fact that I cannot find one anywhere and the wires on my plug are toast. Also I will be filling the tank, buying new alternator belts (mine are too big due to the smaller pulley), flushing the transmission, putting the starter in, building a battery tray and mounting the battery, wiring the LM- along with putting all body panels back on. I'm still waiting on a fuel filter,clutch slave, fan switch for the e-fan, along with other small things to be ordered and that is basically what is holding up the process.
So we got everything done in the engine bay, put some good gas in the car, made sure the CAS was stabbed correctly, poured oil into the leading spark plug holes then tried to fire the car up...
The car made one loud boom and then nothing after that. I can tell the car has compression by the amount of air it pushes out the exhaust, and I have checked for spark.
Upon closer inspection we noticed leaky injectors and decided to rebuild them, which was a good idea because I had a few loose ends under the intake that needed to be addressed. But once rebuilt and everything was buttoned up we decided to try to start the car again... and nothing... Now the car could be really flooded at this point, and today I will be deflooding her and checking all grounds.
Now I have heard that a lot of N/A rebuilds are really hard to get started and I figured mine would be no different, but holy crap!
What am I missing here? I have spark, as I have checked the plugs outside of the motor. I have fuel as I can smell it coming out the tailpipe and it was spilling out of my leaky injectors. I have air because I have compression.... Maybe I am missing something? Could I have a stuck seal? The motor does pulse pretty evenly and it seems to have great compression...
If anyone has any advice or has been through this before don't be afraid to chime in.
Did it run prior to the rebuild? Fuel pressure good? Double check timing, did you pull the plugs to check them? Generous assembly lube maybe goop them up?
If you pull the plugs to clean them getting actual compression numbers would be a good idea just to be certain.
Also make sure your plug wires are correct it's not uncommon to mix them up on accident. Generally double and triple checking everything is your best bet it is likely something silly maybe a connector off somewhere.


 It's almost time!!!