
Project: Old School - '88 Convertible (with Turbo!)

Thread Starter
Licensed Zip Tie Mechanic
Joined: May 2004
Posts: 510
Likes: 2
From: Halifax, NS
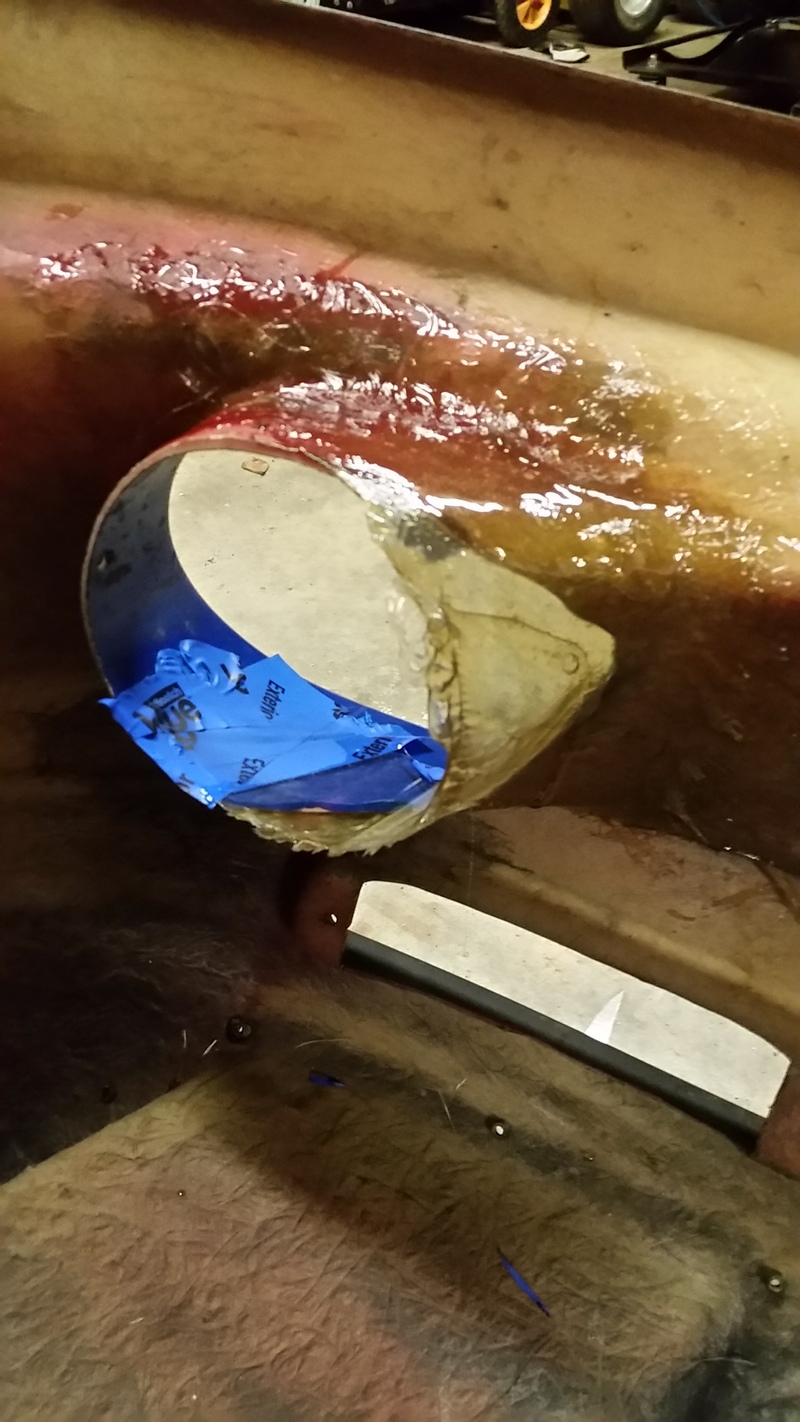
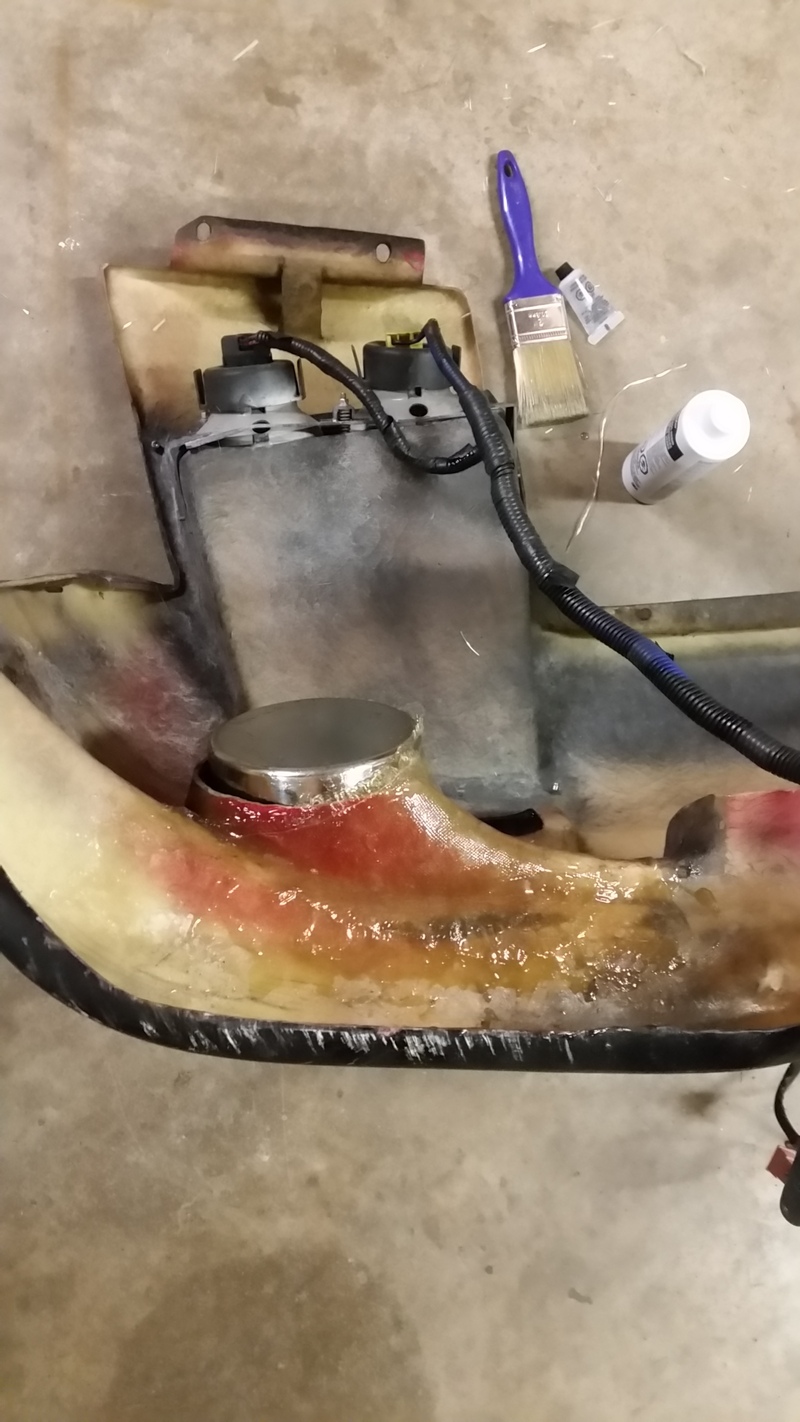
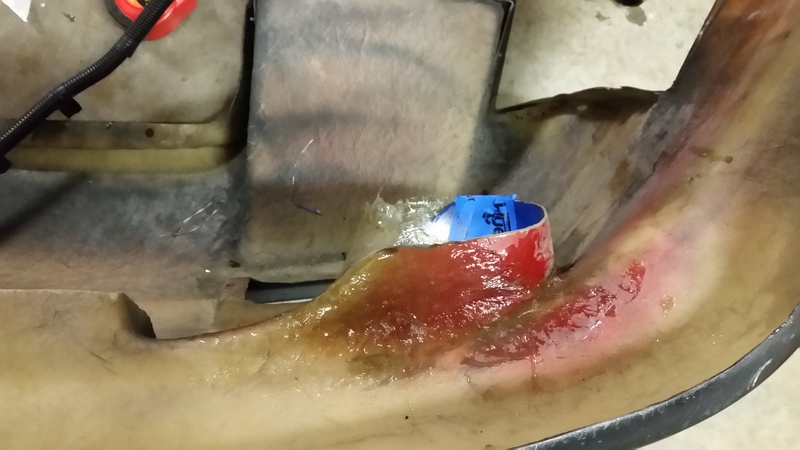
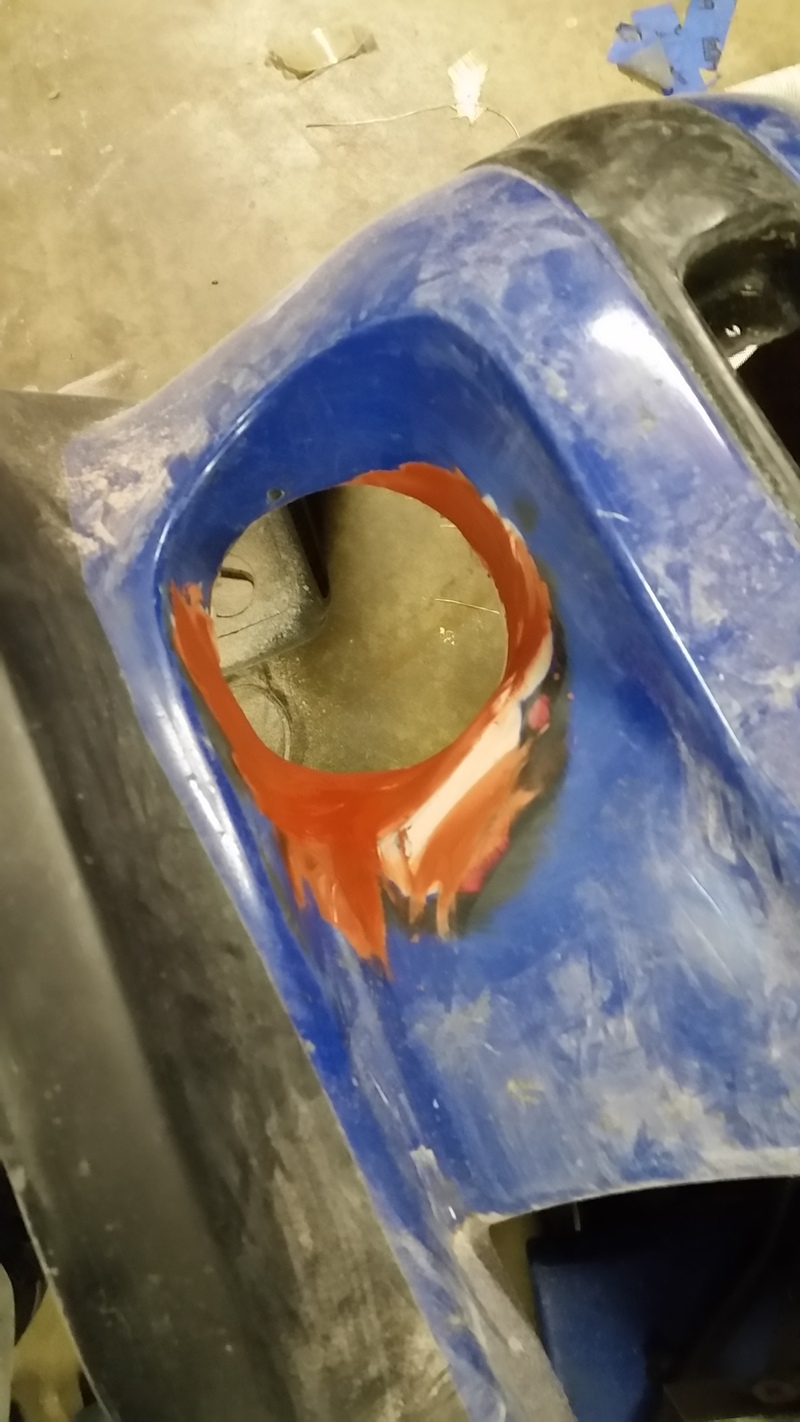
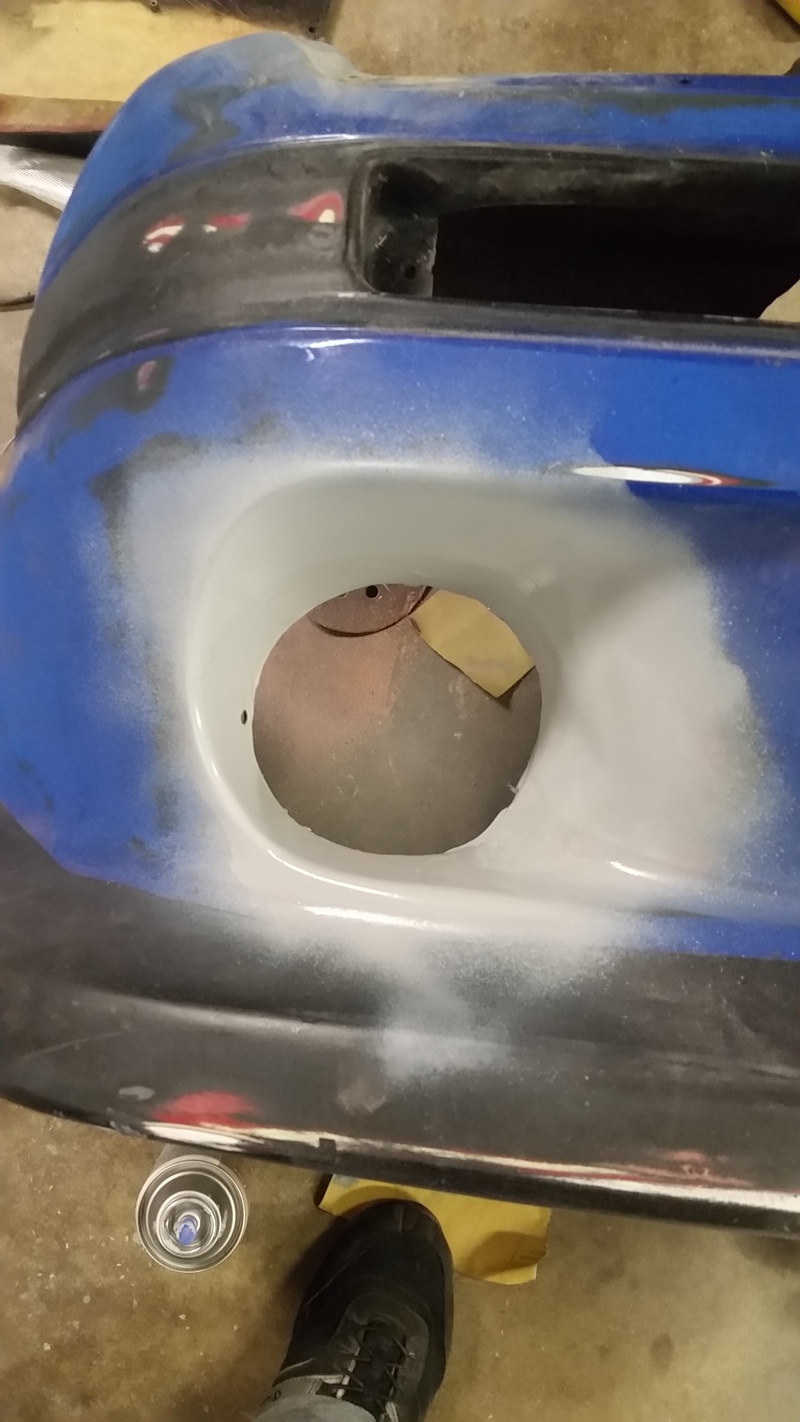
Decided to fix up the RE-Amemiya bumper a bit - the fog light holes had been cut, so I got out the fiberglass, found a tin just the size of a fog light, some stiff plastic to use as a form for the angle, and repaired them. I need to lay a few more layers on here, but the basic shape is hardened now! Then, just to fill the other side and smooth it all out, and prime the whole bumper.
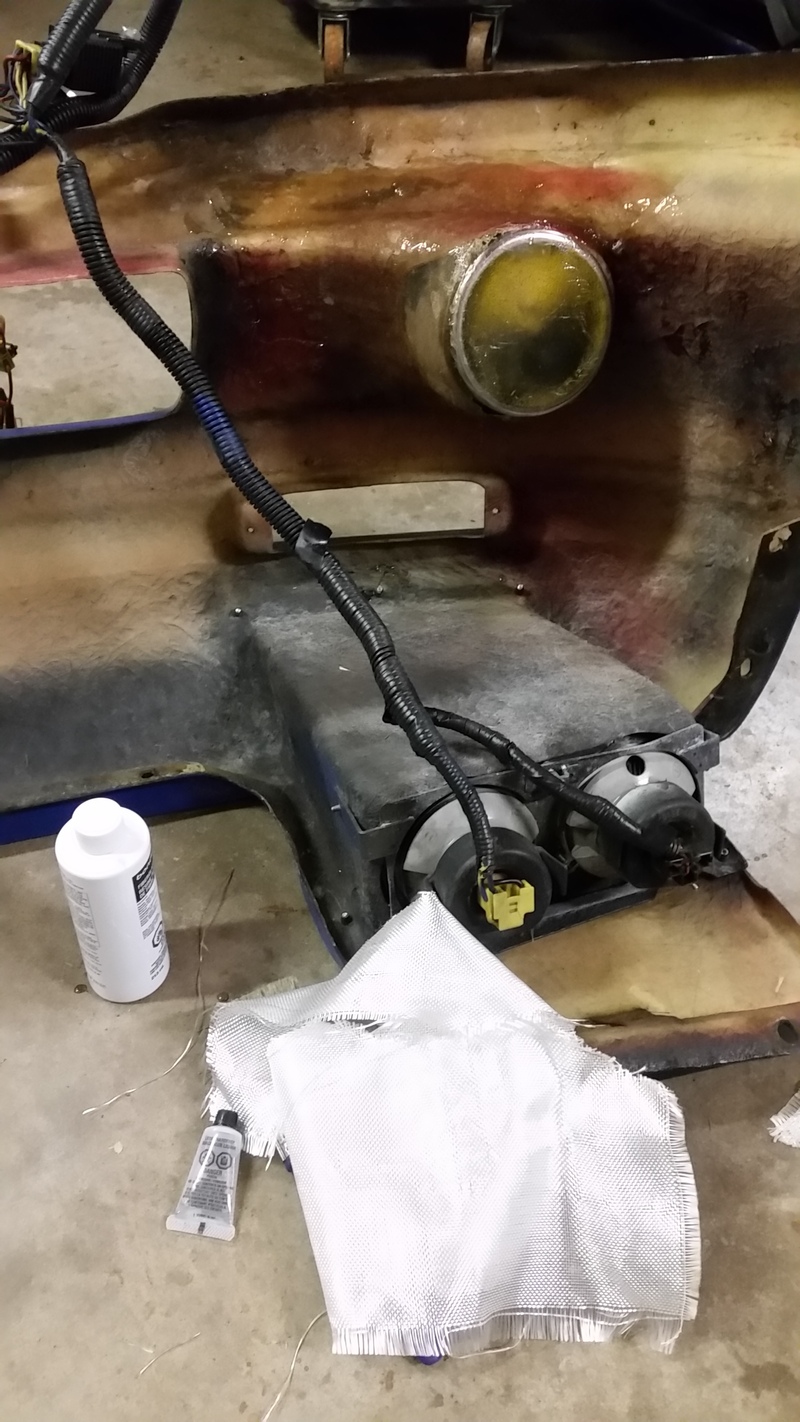
I also did a little detail work on the upper intake manifold last night.
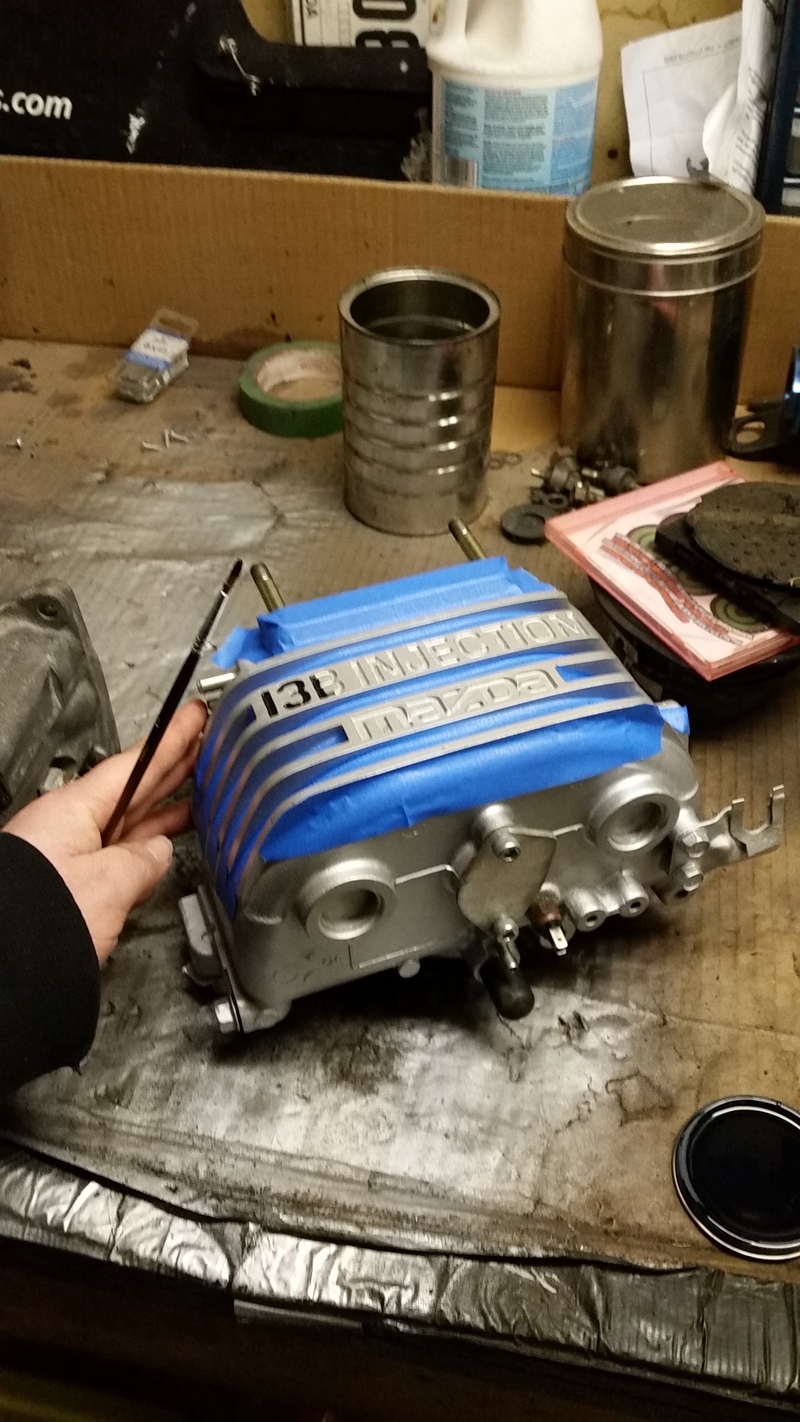
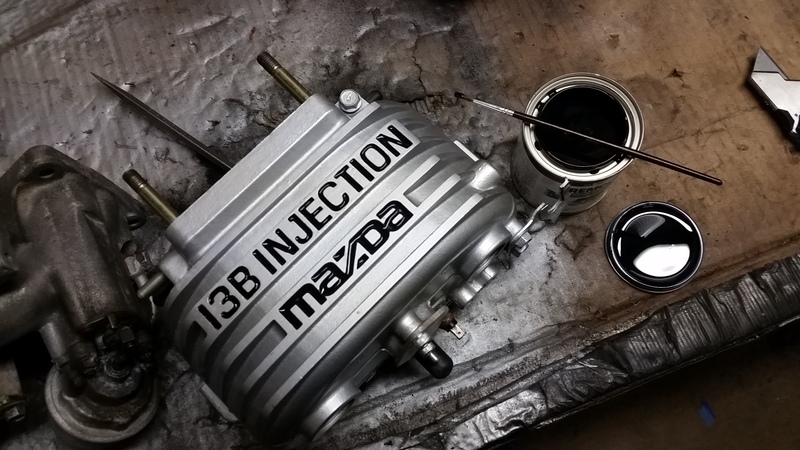
I also did a little detail work on the upper intake manifold last night.
Thread Starter
Licensed Zip Tie Mechanic
Joined: May 2004
Posts: 510
Likes: 2
From: Halifax, NS
More polishing - this time fuel rails...
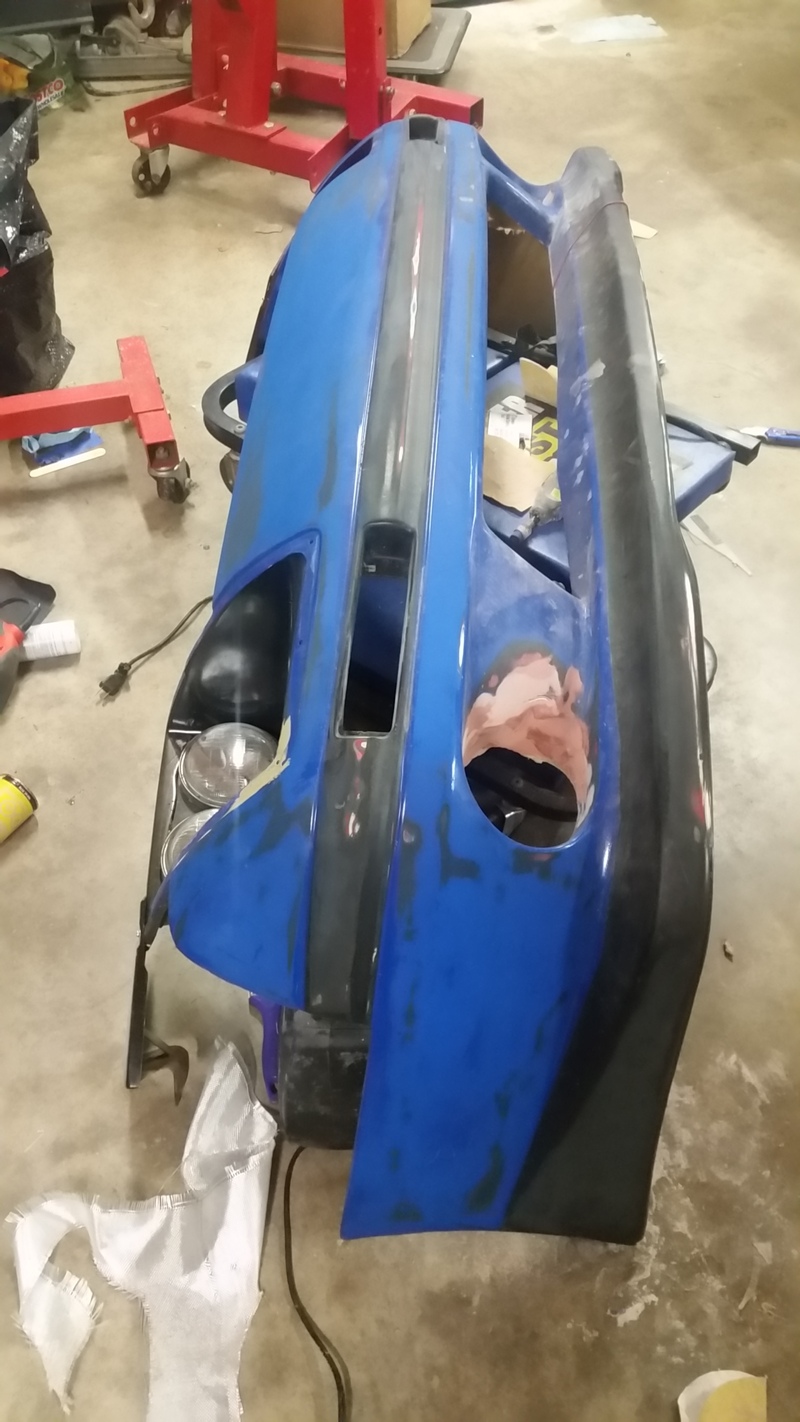
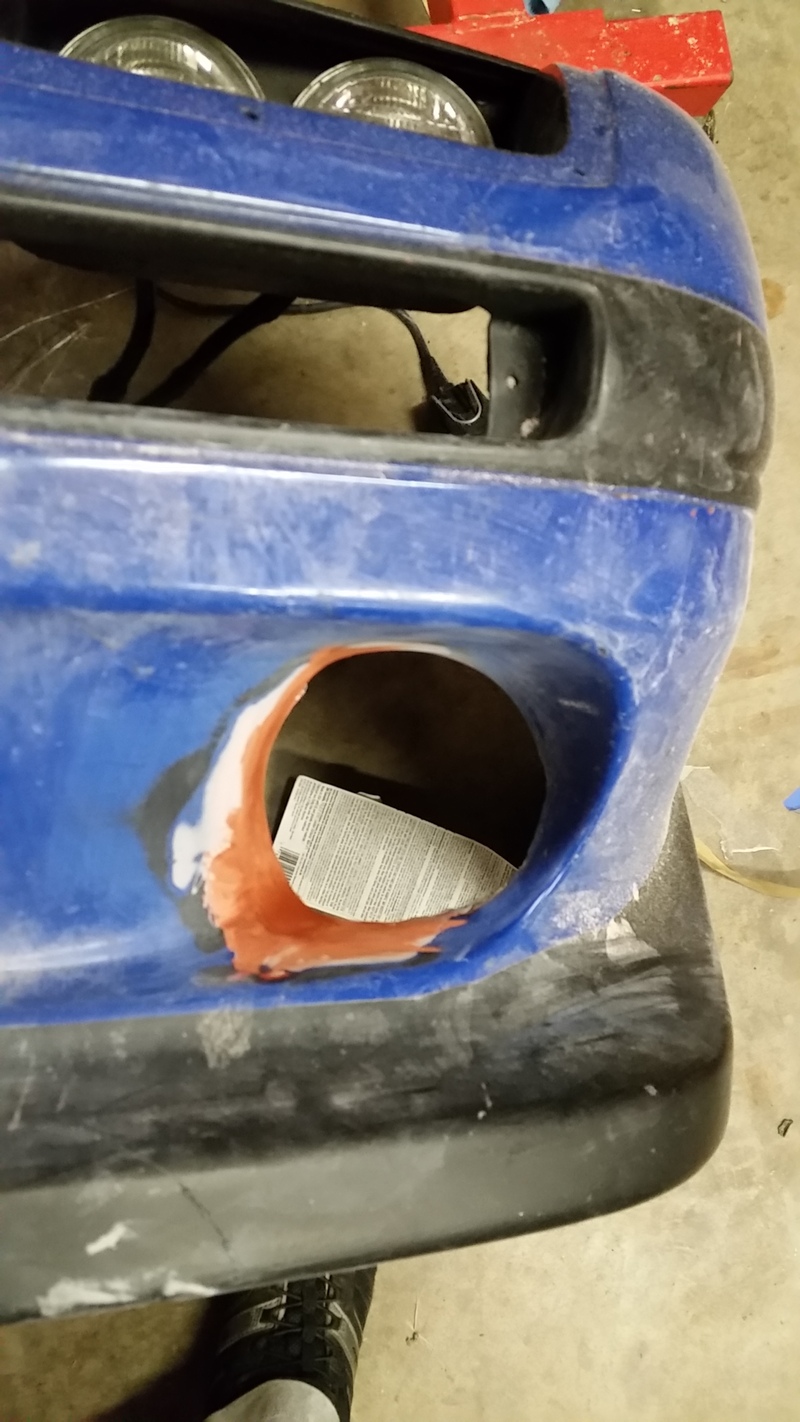
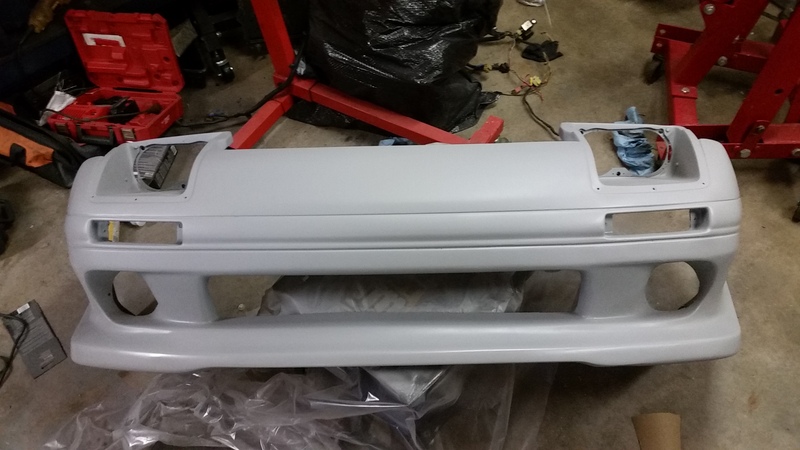
Working on finishing the prep of the bumper - filling the front side of the newly rebuilt fog light holes and sanding the whole bumper.
Working on finishing the prep of the bumper - filling the front side of the newly rebuilt fog light holes and sanding the whole bumper.
Thread Starter
Licensed Zip Tie Mechanic
Joined: May 2004
Posts: 510
Likes: 2
From: Halifax, NS
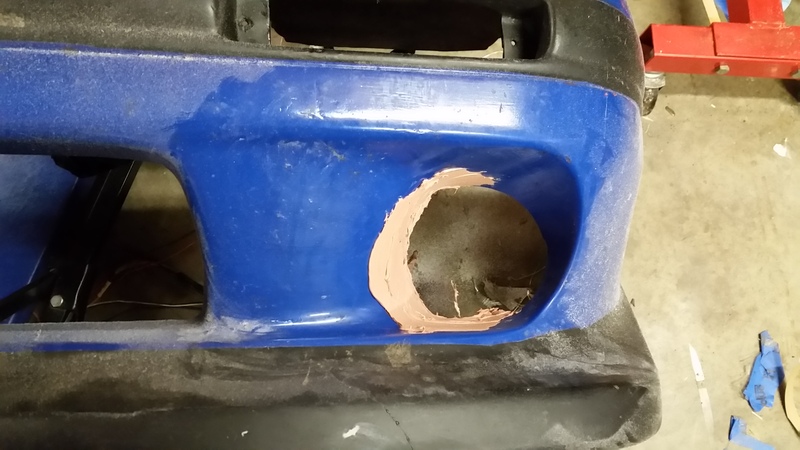
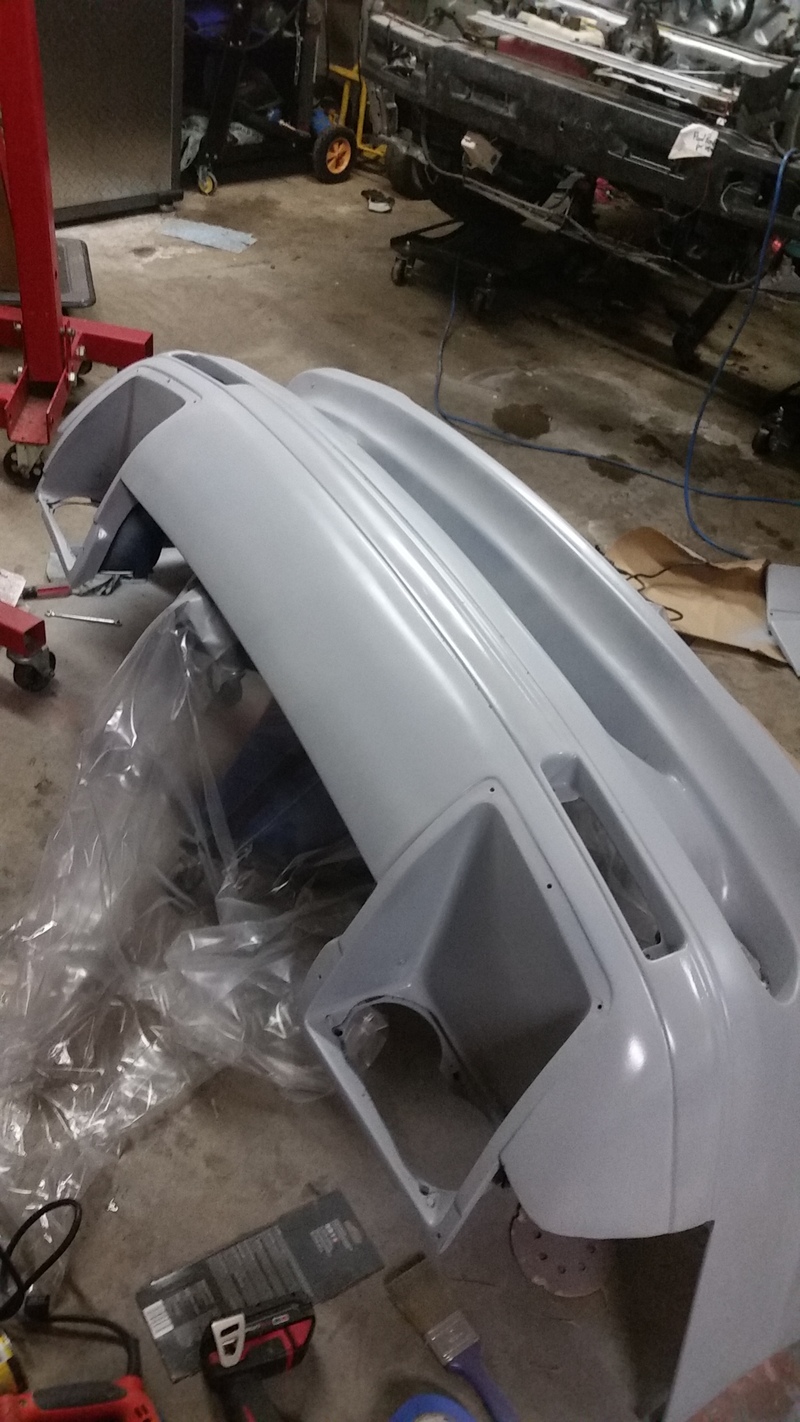
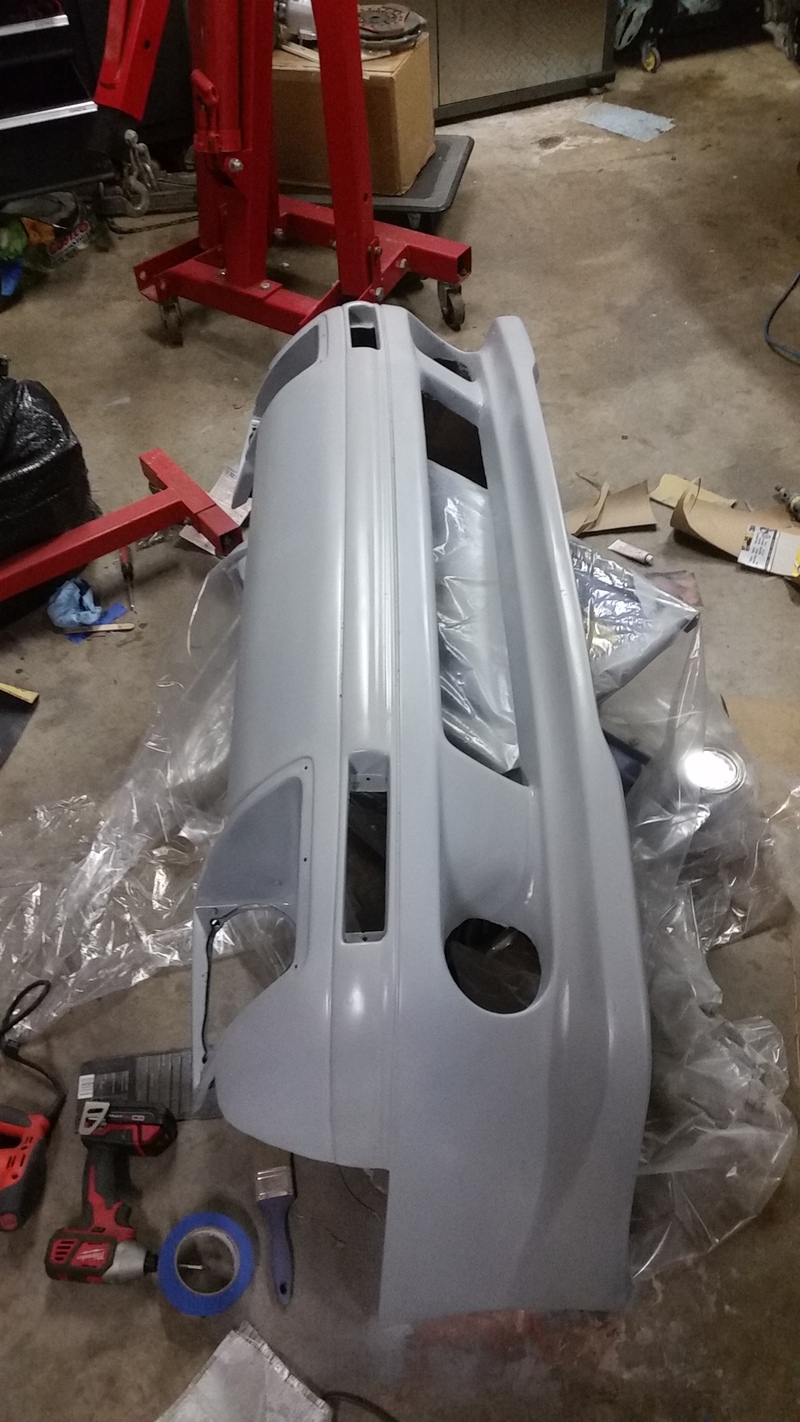
Officially finished the prep of the front bumper - went back and fixed a few odds and ends.
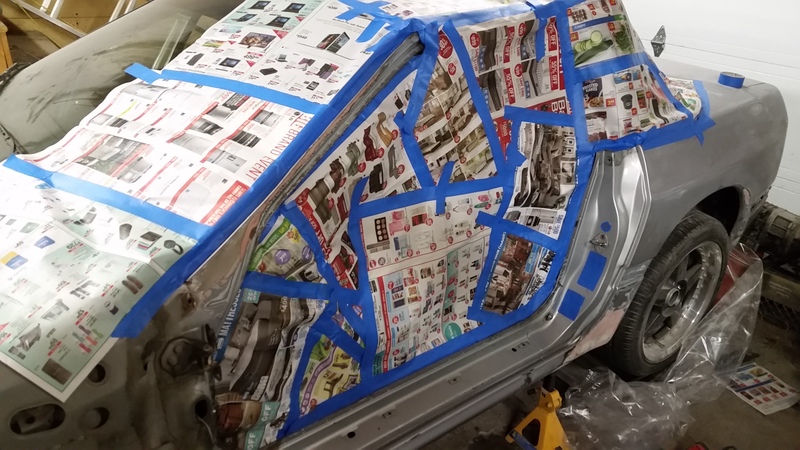
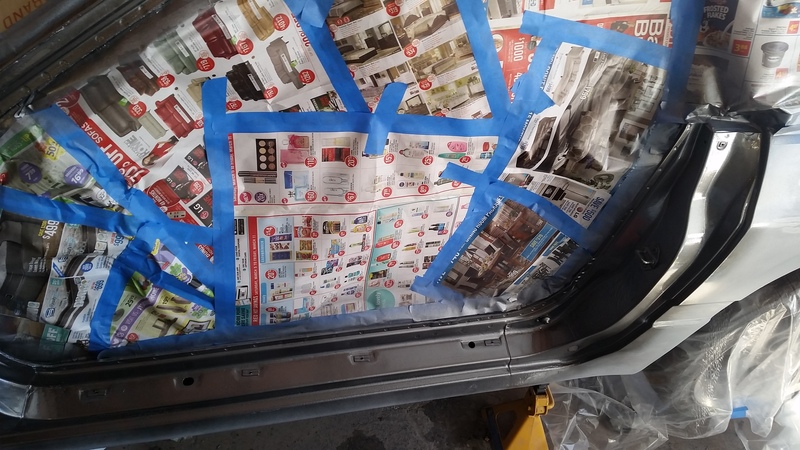
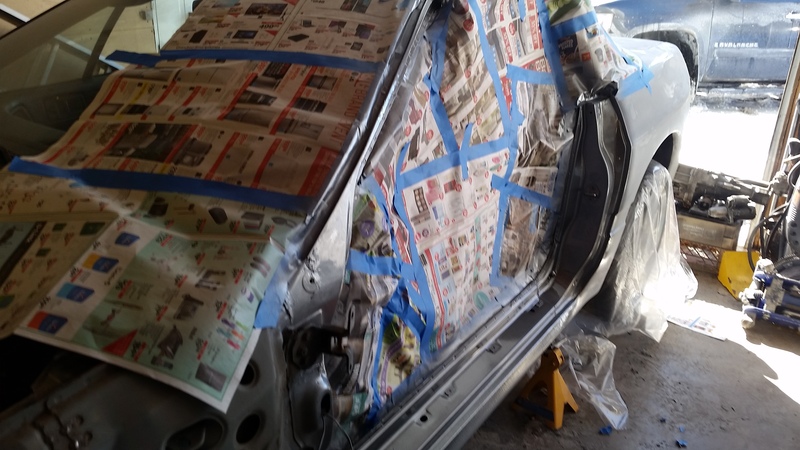
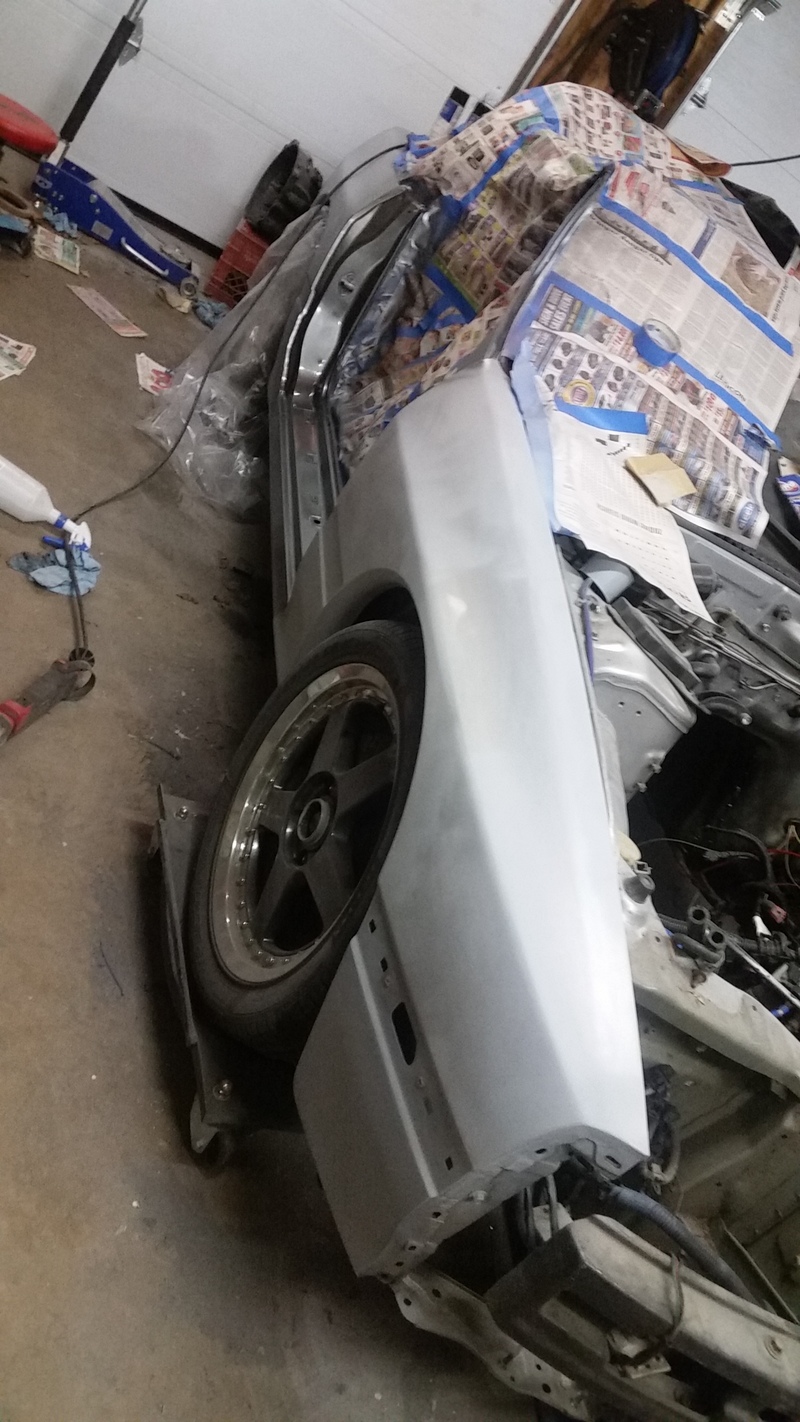
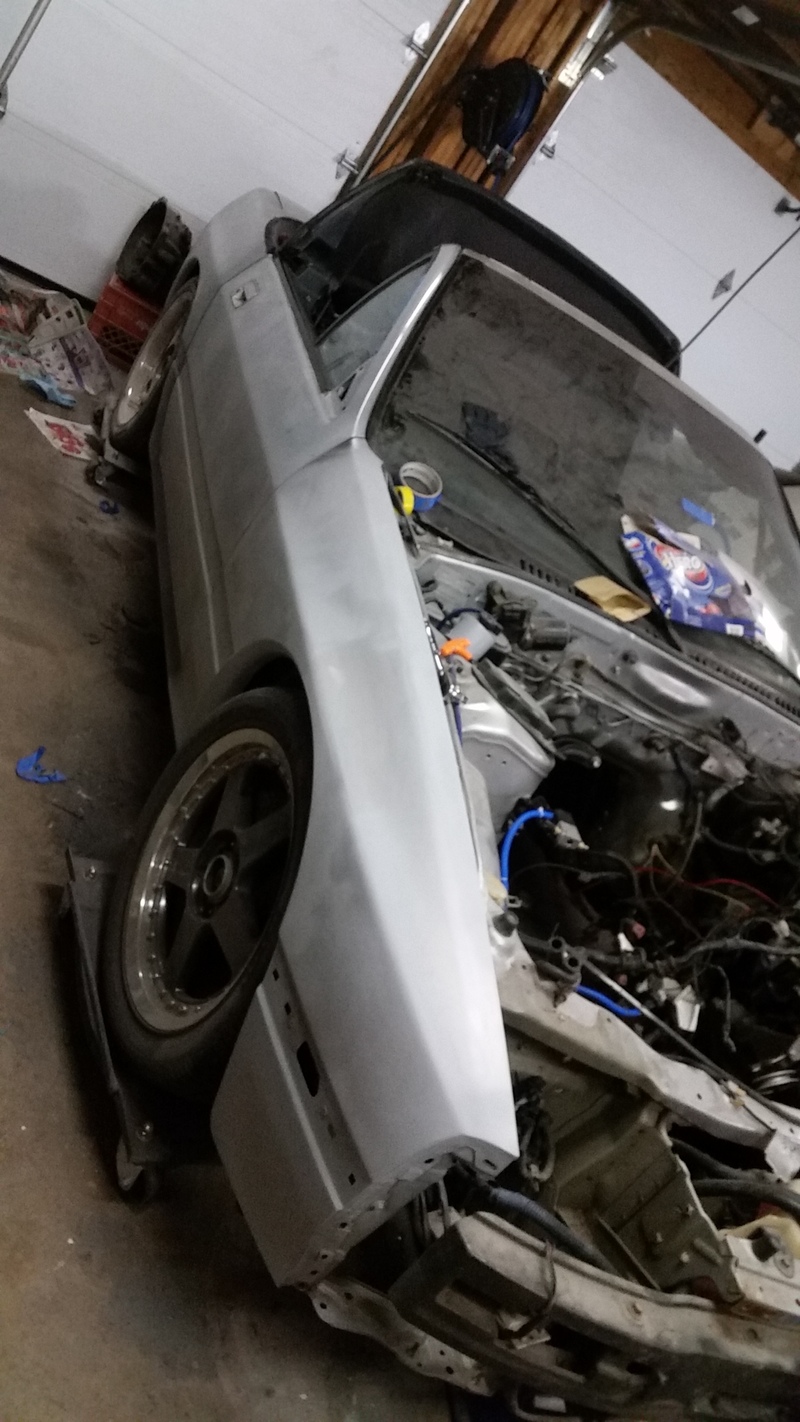
Started prepping the body this weekend - sanded out the orange peel/runs/dirt from the crappy paint job, more sanding to do this week.
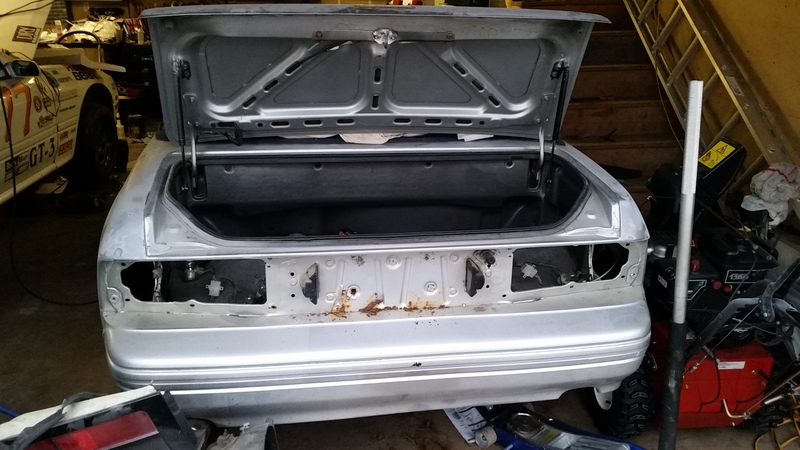
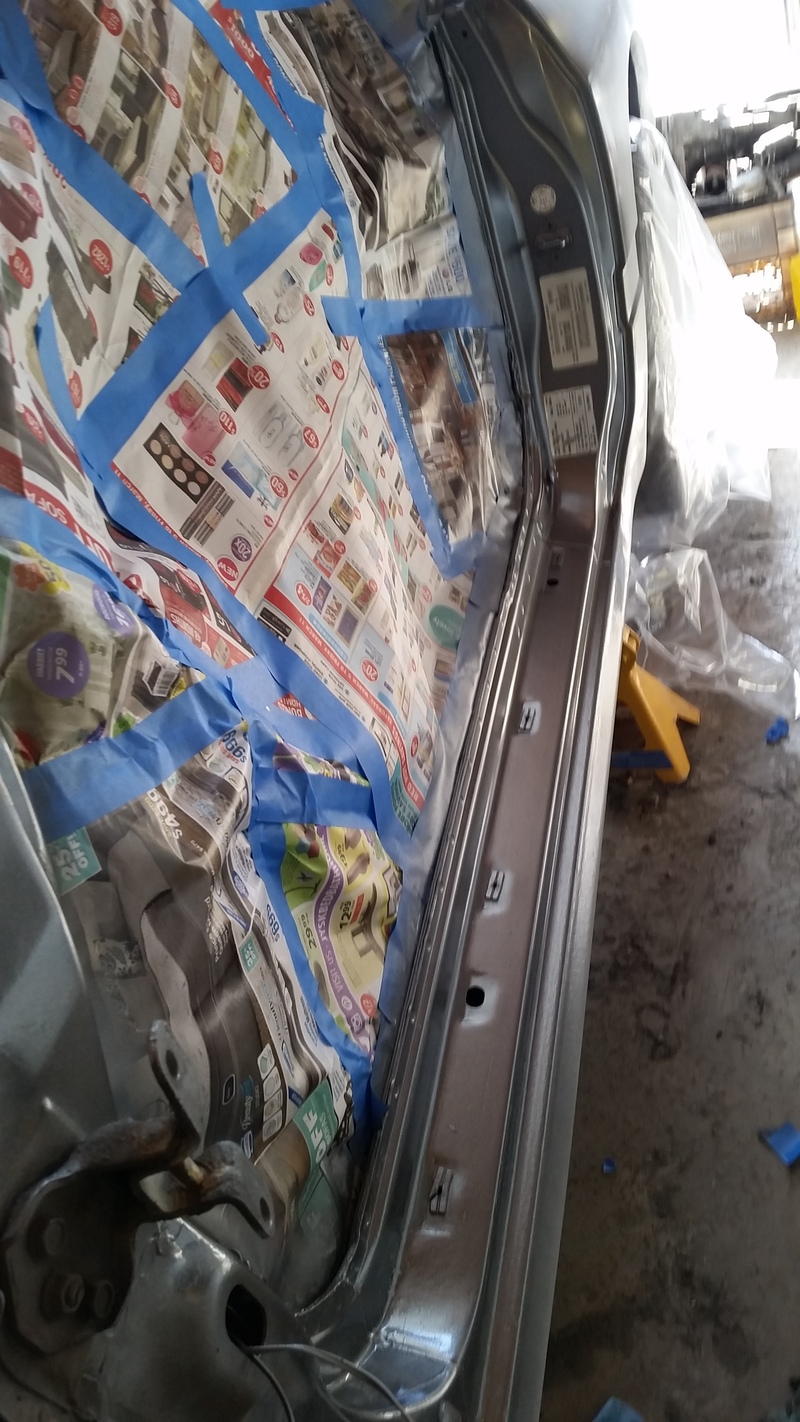
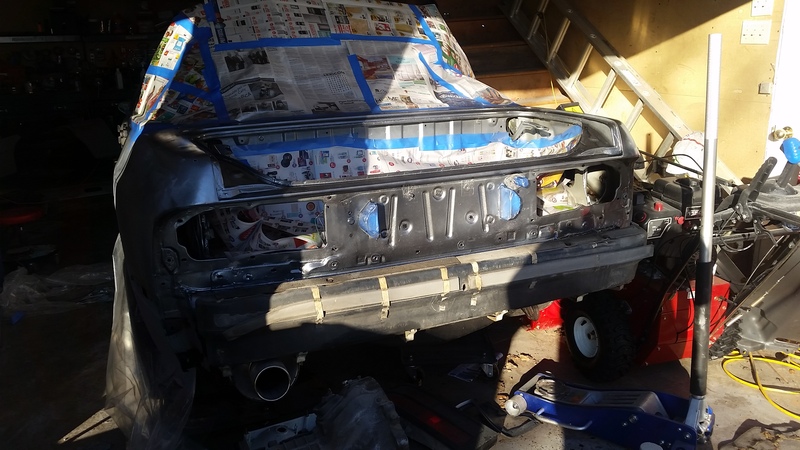
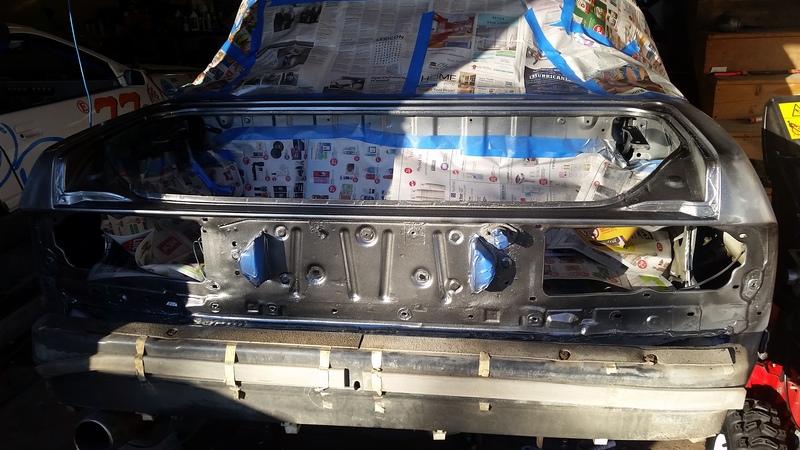
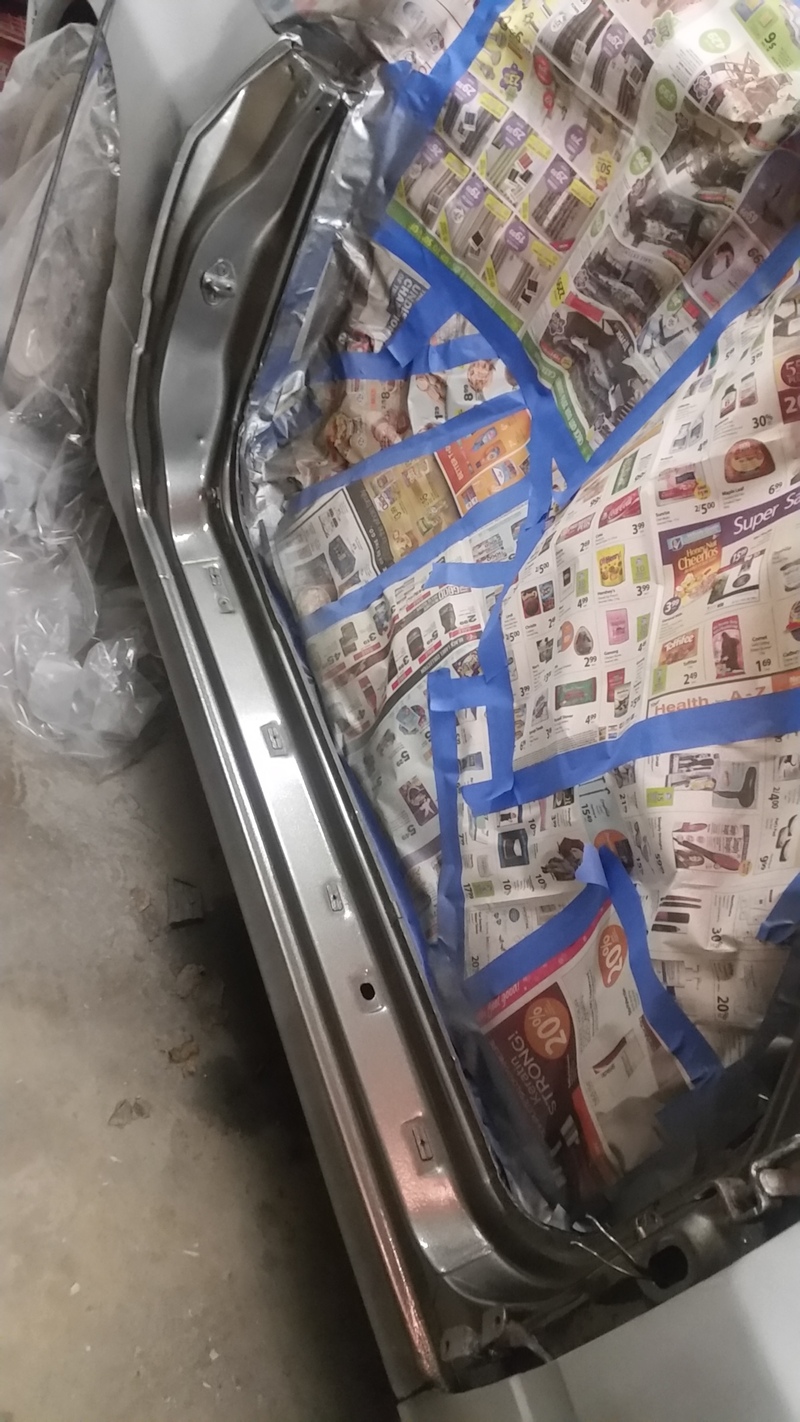
Removed the tail lights,etc so I can prep the trunk area - need to remove the 3rd brake light tonight, and sand down in there. Spraying around the trunk area with color match paint that should be close to the color the car will be vinyl wrapped. I also took off the S5 rear bumper and trim from the parts car and have those in the garage to be prepped.
Discovered some dents in my doors that I can't live with, so I am swapping to my spare doors - need to put the mirrors on them, put the new speakers in them, and fix a couple small rust spots this week, prep them to go on the car. All trim needs to be removed from the car as well to make room for the S5 trim.
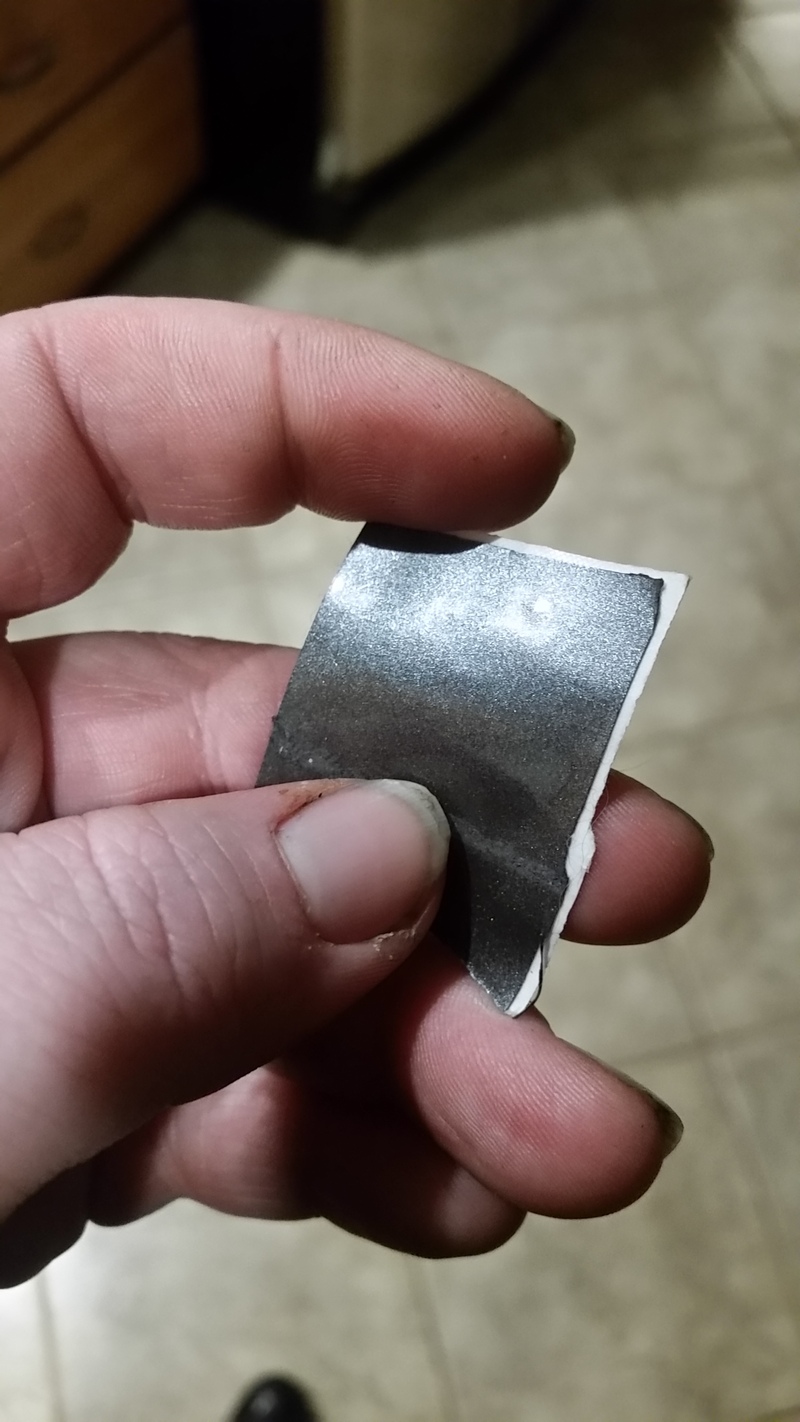
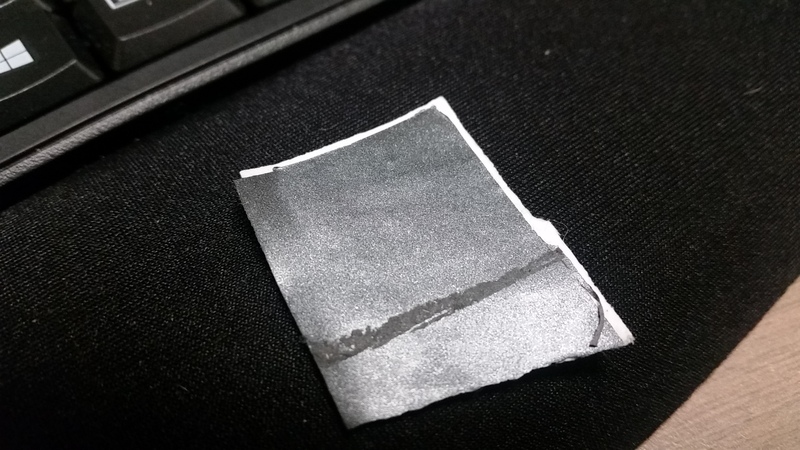
Speaking of the color the car will be wrapped - I have a swatch of it here - it's a fairly dark gunmetal type color with lots of metallic in it.
Sideskirts and rear diffuser are getting ordered this week.
Updated to-do list:
March:
- Rebuild passengers seat (6 hours) (Just half of one seat to go now!! I was able to reuse some foam that was in good shape!)
- Install seats (1 hour)
- Get engine porting done (this is in progress) - going half bridge
- Put exhaust sleeves back on the housings I'm using - need some set screws
- Create custom gasket for turbo-to-downpipe flange - since my turbo doesn't have a standard flange on it (30 min)
- Install e-fan and have it trigger off the ECU (1 hour)
- Install RE-Amemiya front bumper and wire up headlights (a few hours) (IN PROGRESS)
- Make new lexan headlight covers (2 hours) (IN PROGRESS)
- Install S5 tails (30 min)
- Sand the car and fix any spots that need fixing, prep rear bumper, prep moldings, fix spare doors and install (2 days) (IN PROGRESS)
- Color match door jambs, trunk area
- Order the rear diffuser and side skirts (Shine)
- Remove wiring harness and de-pin anything not being used after emissions removal
- Install boost control solenoid (1 hour)
- Install S5 rear bumper and moldings (a couple hours)
- Assemble engine with Atkins seal kit (a few hours)
- Install rebuilt engine with turbo transmission, Centerforce clutch, turbo clutch slave, turbo starter, Mazdatrix adapter driveshaft(a few hours)
- Install new fuel injectors (10 minutes)
- Fabricate AN oil lines and fuel lines to replace factory (all the fittings are coming for that) (1 hour)
- Replace turbo coolant line with better quality line (5 minutes)
- Have it vinyl wrapped (3 - 4 days)
- Reinstall rear window in the top - I have decided to get an auto glass guy to do this while it's being vinyl wrapped
April:
- Install rear diffuser and side skirts (4 hours)
Started prepping the body this weekend - sanded out the orange peel/runs/dirt from the crappy paint job, more sanding to do this week.
Removed the tail lights,etc so I can prep the trunk area - need to remove the 3rd brake light tonight, and sand down in there. Spraying around the trunk area with color match paint that should be close to the color the car will be vinyl wrapped. I also took off the S5 rear bumper and trim from the parts car and have those in the garage to be prepped.
Discovered some dents in my doors that I can't live with, so I am swapping to my spare doors - need to put the mirrors on them, put the new speakers in them, and fix a couple small rust spots this week, prep them to go on the car. All trim needs to be removed from the car as well to make room for the S5 trim.
Speaking of the color the car will be wrapped - I have a swatch of it here - it's a fairly dark gunmetal type color with lots of metallic in it.
Sideskirts and rear diffuser are getting ordered this week.
Updated to-do list:
March:
- Rebuild passengers seat (6 hours) (Just half of one seat to go now!! I was able to reuse some foam that was in good shape!)
- Install seats (1 hour)
- Get engine porting done (this is in progress) - going half bridge
- Put exhaust sleeves back on the housings I'm using - need some set screws
- Create custom gasket for turbo-to-downpipe flange - since my turbo doesn't have a standard flange on it (30 min)
- Install e-fan and have it trigger off the ECU (1 hour)
- Install RE-Amemiya front bumper and wire up headlights (a few hours) (IN PROGRESS)
- Make new lexan headlight covers (2 hours) (IN PROGRESS)
- Install S5 tails (30 min)
- Sand the car and fix any spots that need fixing, prep rear bumper, prep moldings, fix spare doors and install (2 days) (IN PROGRESS)
- Color match door jambs, trunk area
- Order the rear diffuser and side skirts (Shine)
- Remove wiring harness and de-pin anything not being used after emissions removal
- Install boost control solenoid (1 hour)
- Install S5 rear bumper and moldings (a couple hours)
- Assemble engine with Atkins seal kit (a few hours)
- Install rebuilt engine with turbo transmission, Centerforce clutch, turbo clutch slave, turbo starter, Mazdatrix adapter driveshaft(a few hours)
- Install new fuel injectors (10 minutes)
- Fabricate AN oil lines and fuel lines to replace factory (all the fittings are coming for that) (1 hour)
- Replace turbo coolant line with better quality line (5 minutes)
- Have it vinyl wrapped (3 - 4 days)
- Reinstall rear window in the top - I have decided to get an auto glass guy to do this while it's being vinyl wrapped
April:
- Install rear diffuser and side skirts (4 hours)
Thread Starter
Licensed Zip Tie Mechanic
Joined: May 2004
Posts: 510
Likes: 2
From: Halifax, NS
A busy last couple of weeks!
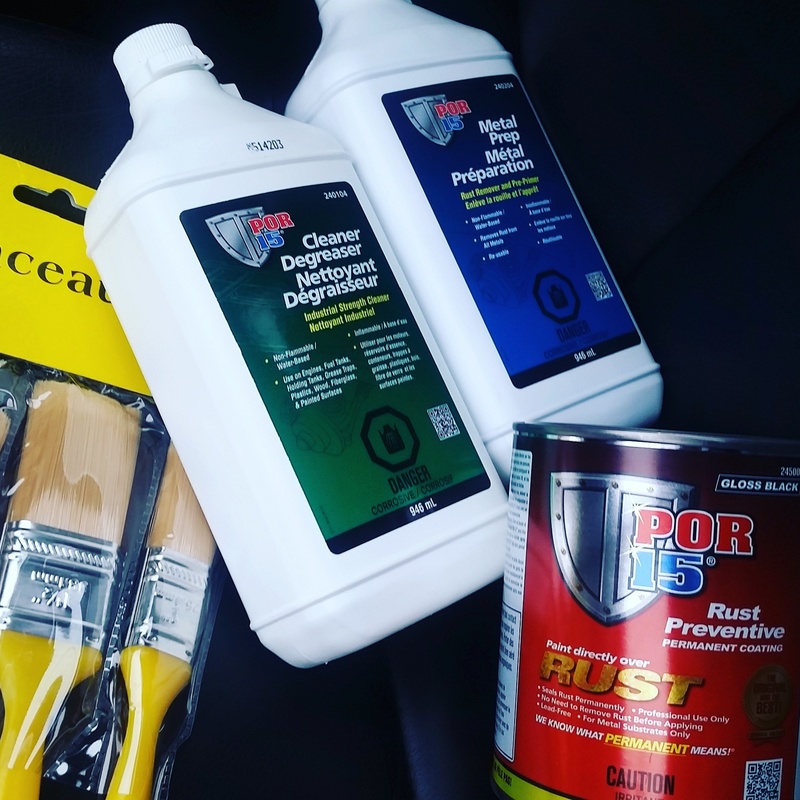
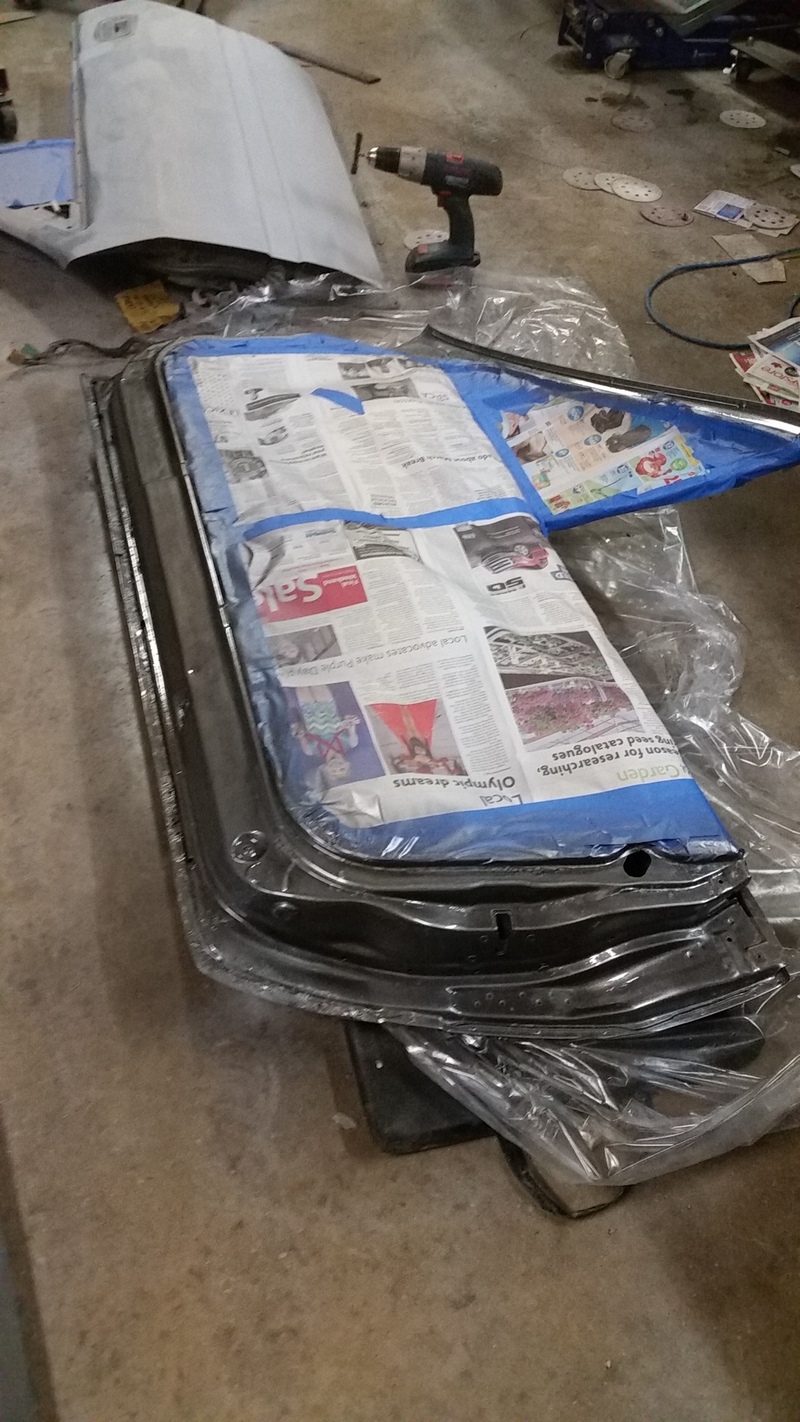
Rustproofing time....
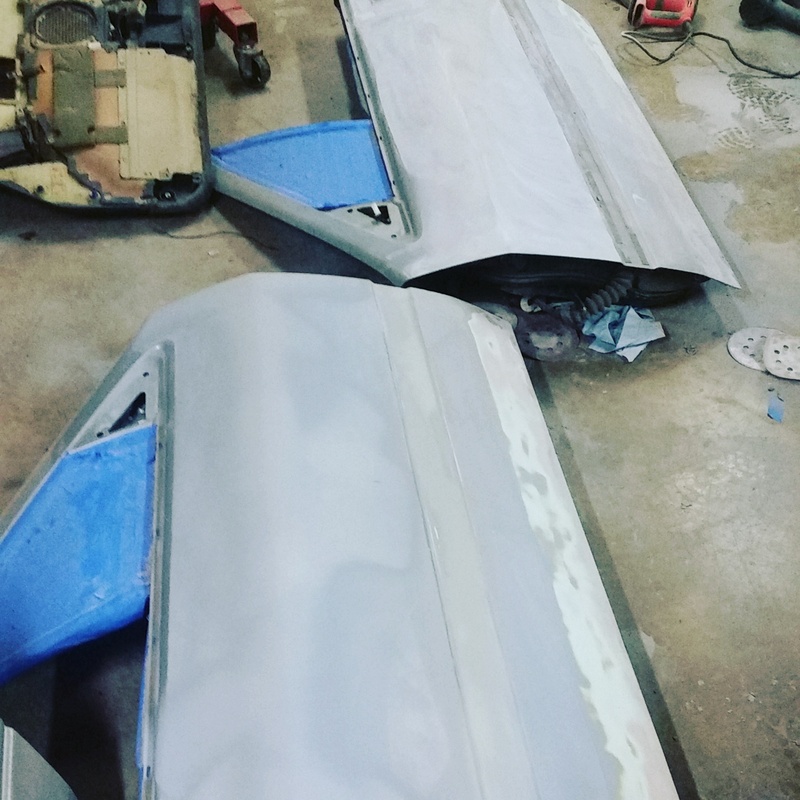
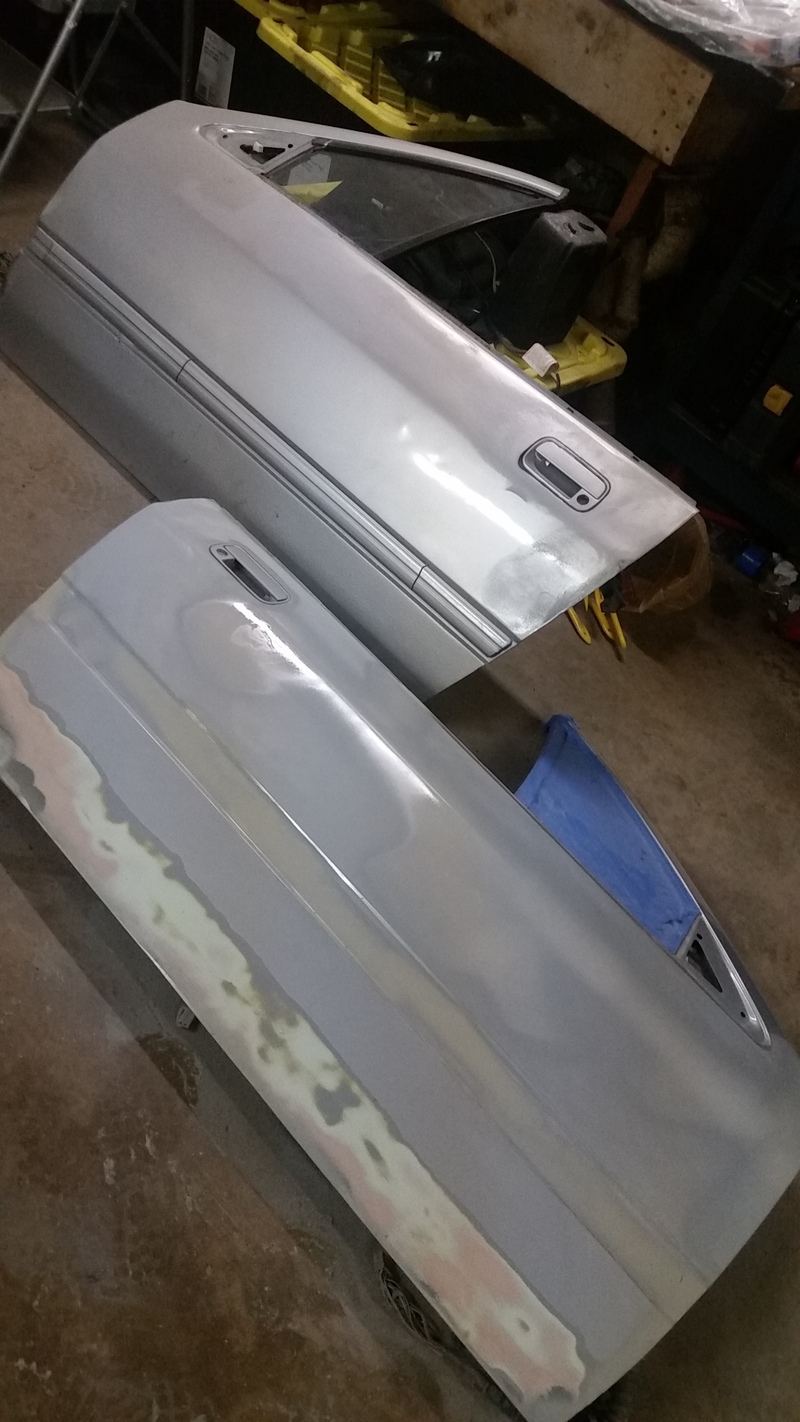
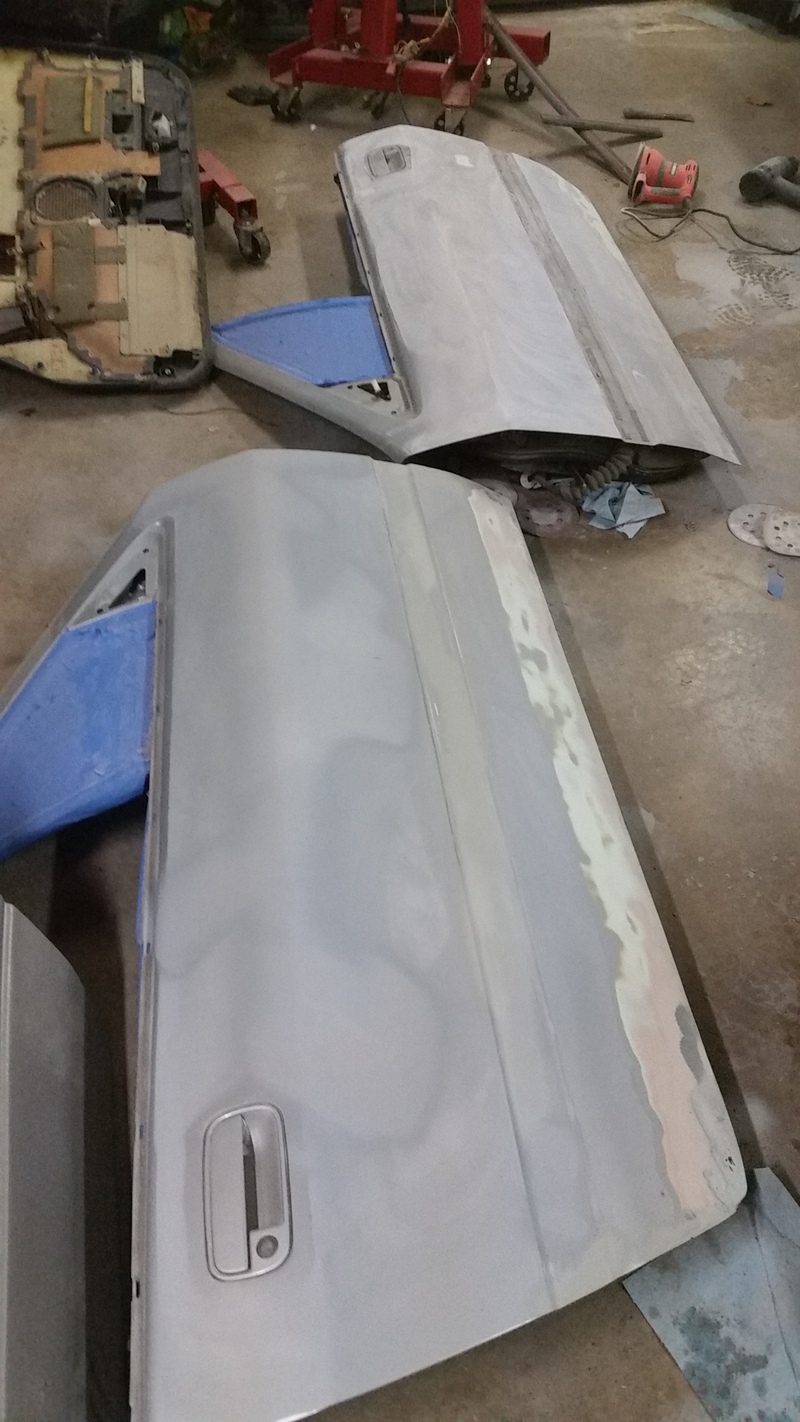
Prepping the spare doors to go on the car - removing rockerguard and trim, fixing any dents and rust.
Almost all the supplies are here to build my new oil and fuel lines...
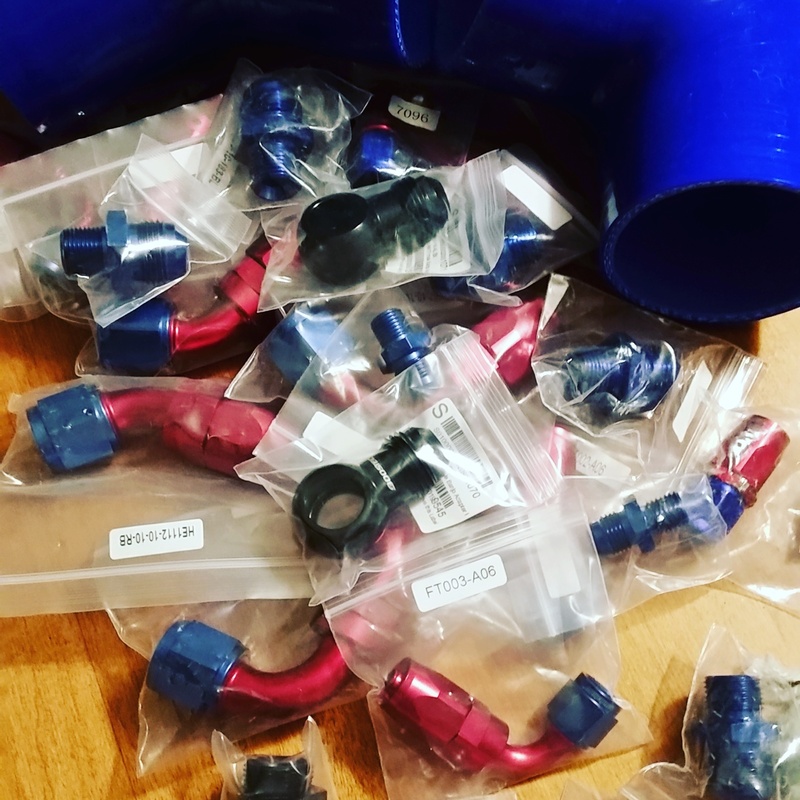
Doesn't look like much right now...
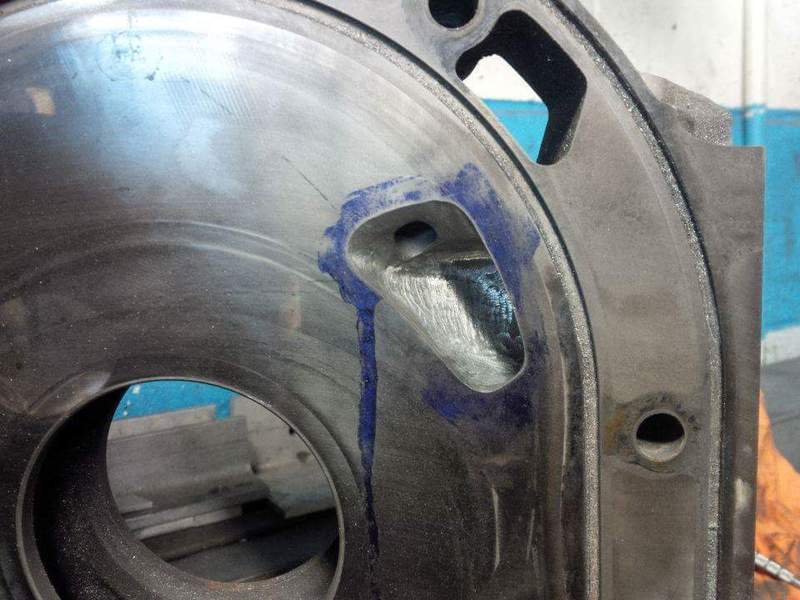
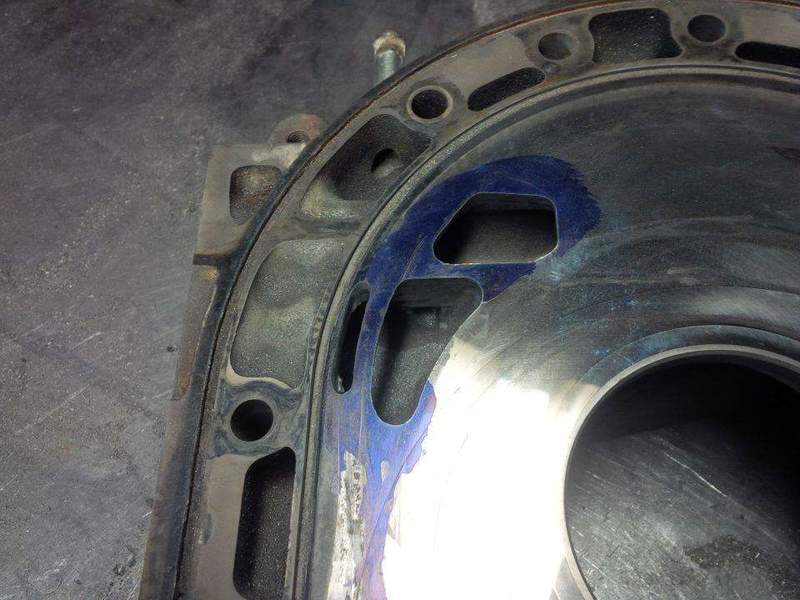
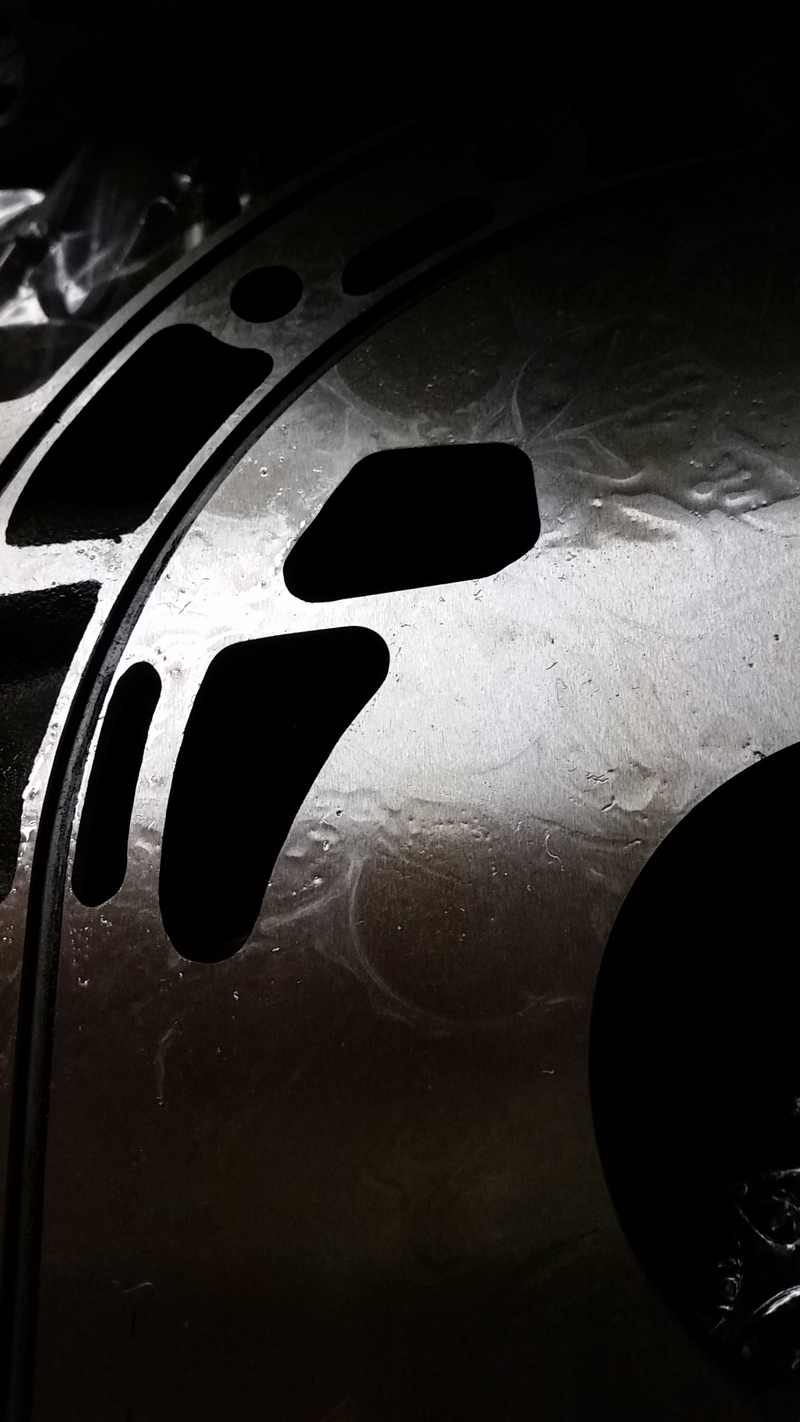
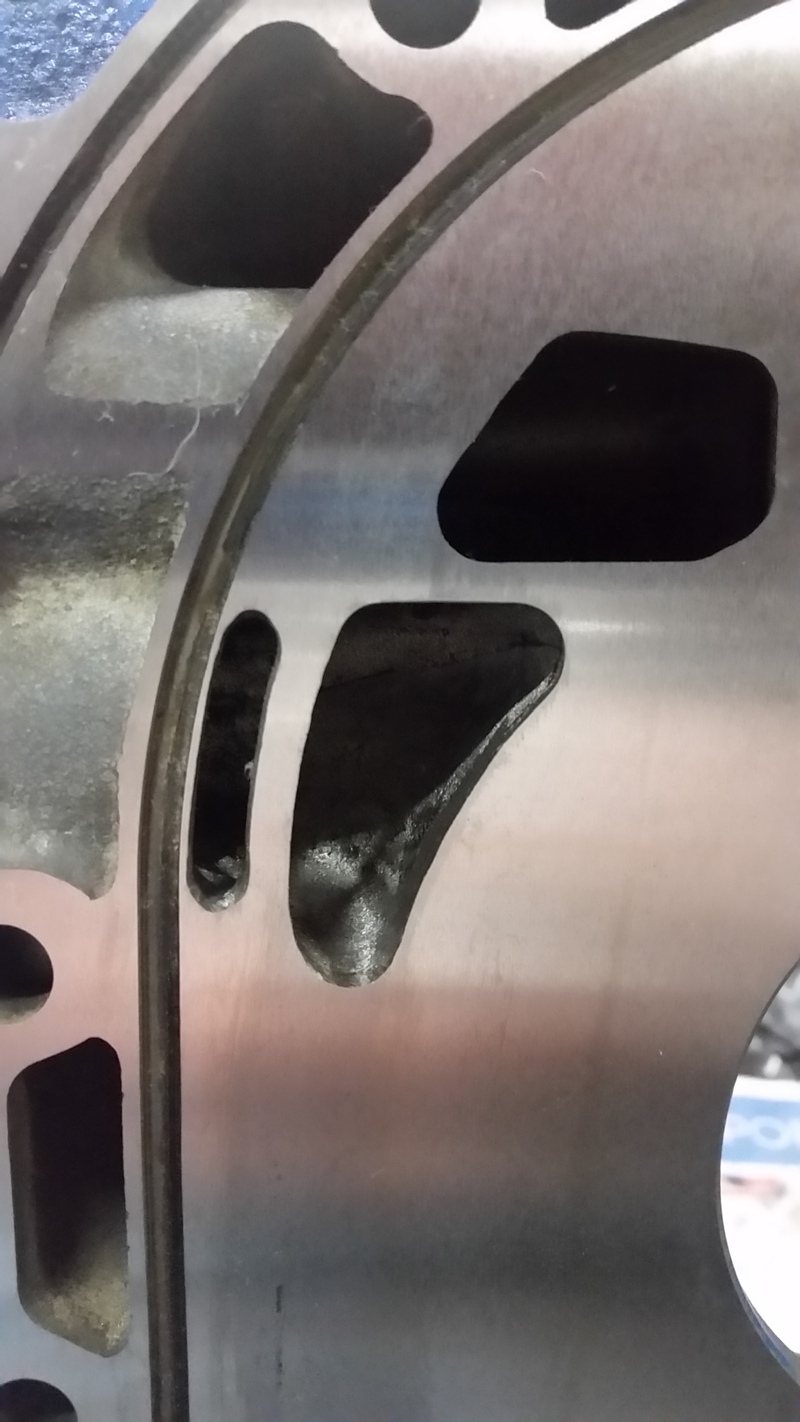
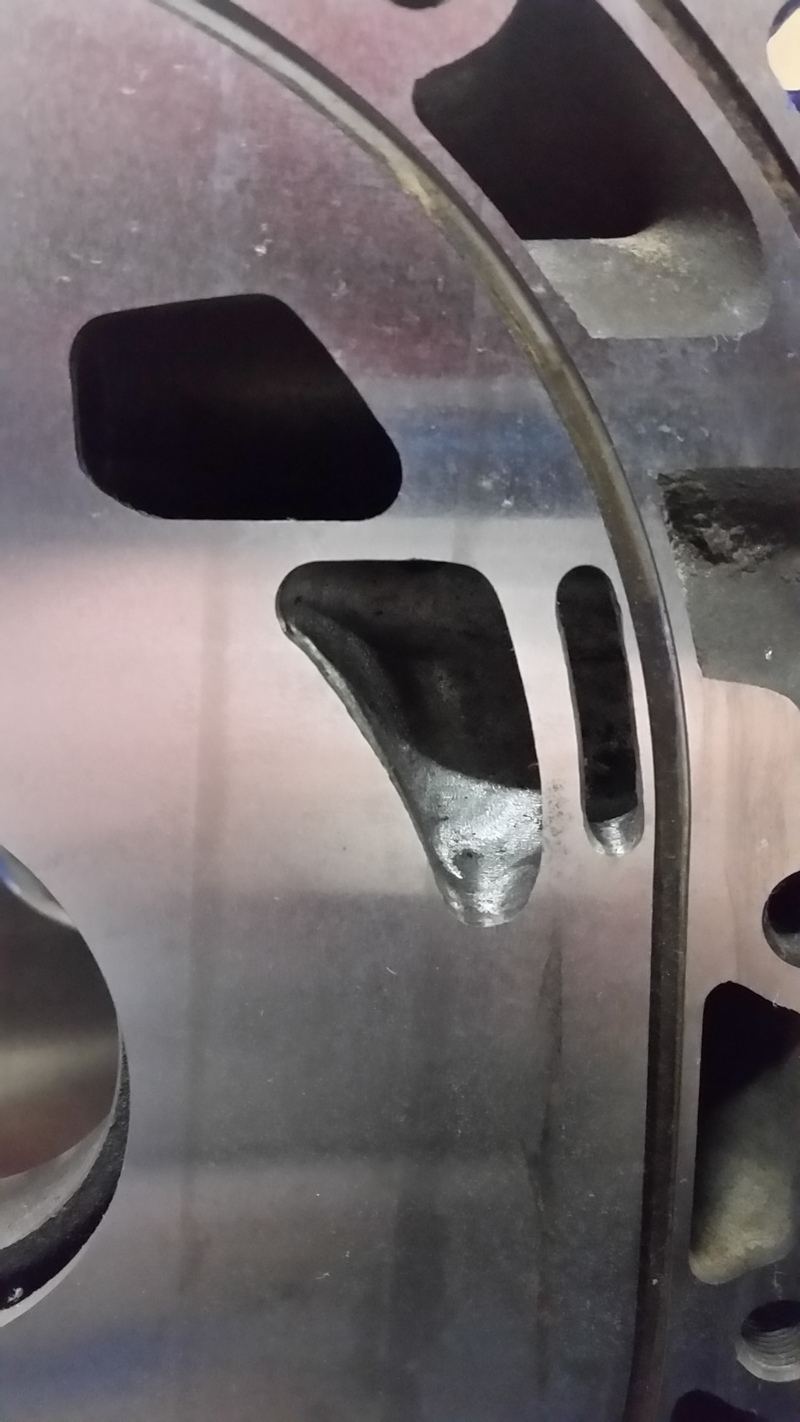
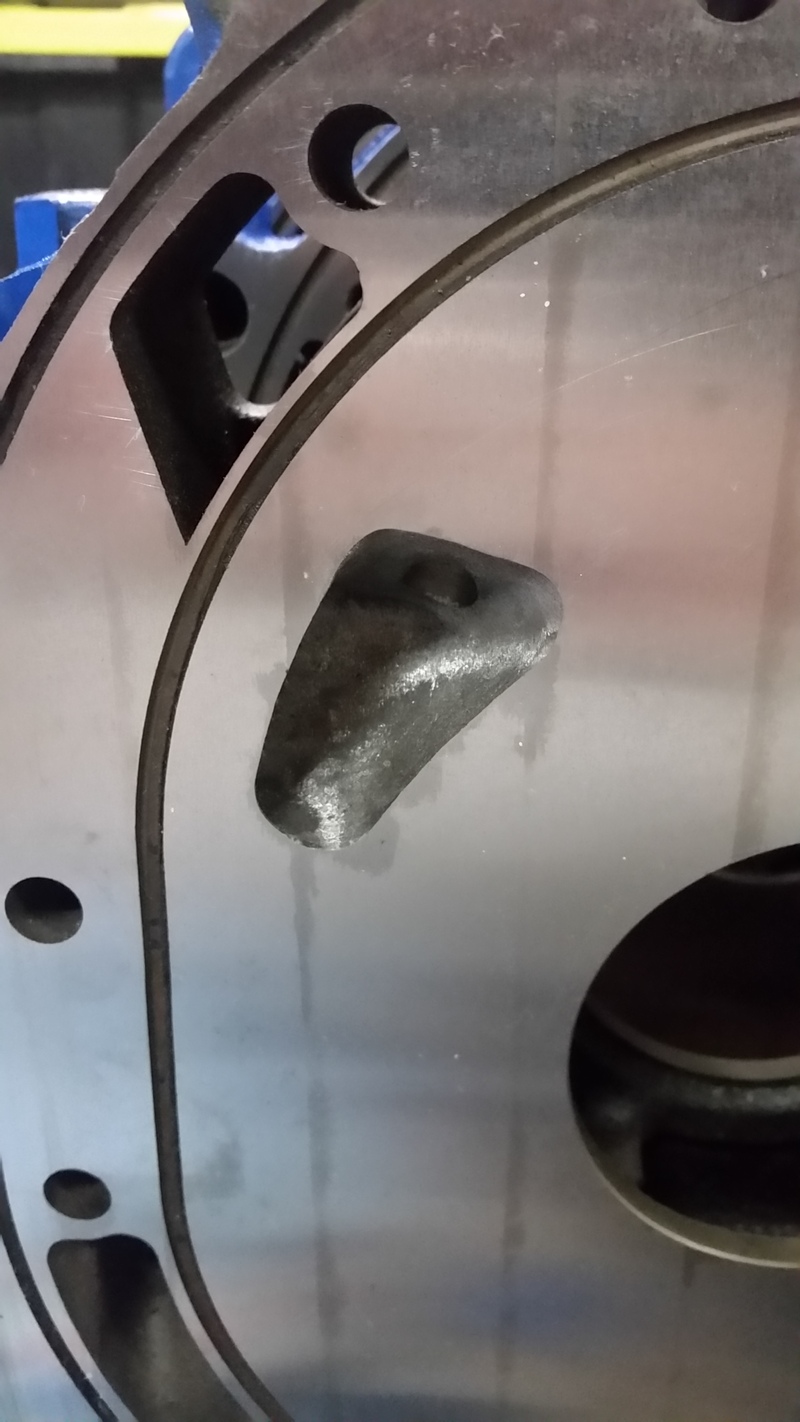
Got a pic of the rough cut on my porting - waiting for the finished product now!
Removing more rockerguard...
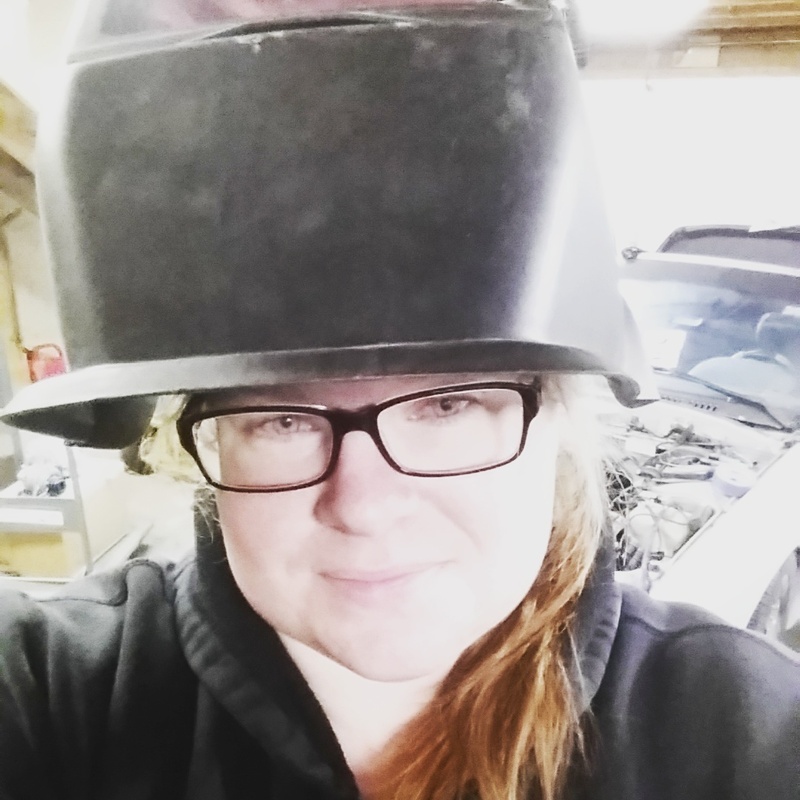
Fancy new dust mask.

Rustproofing time....
Prepping the spare doors to go on the car - removing rockerguard and trim, fixing any dents and rust.
Almost all the supplies are here to build my new oil and fuel lines...
Doesn't look like much right now...
Got a pic of the rough cut on my porting - waiting for the finished product now!
Removing more rockerguard...
Fancy new dust mask.
Thread Starter
Licensed Zip Tie Mechanic
Joined: May 2004
Posts: 510
Likes: 2
From: Halifax, NS
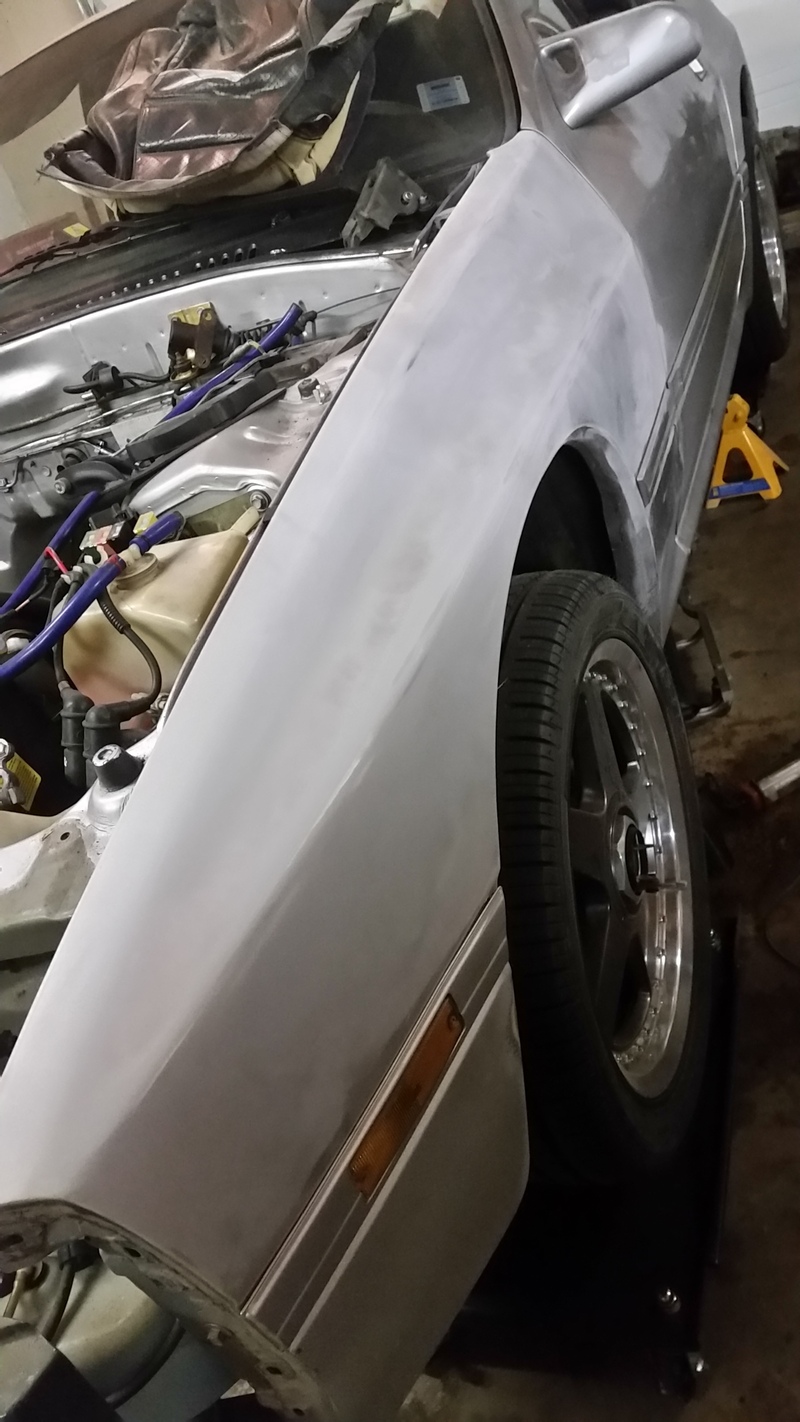
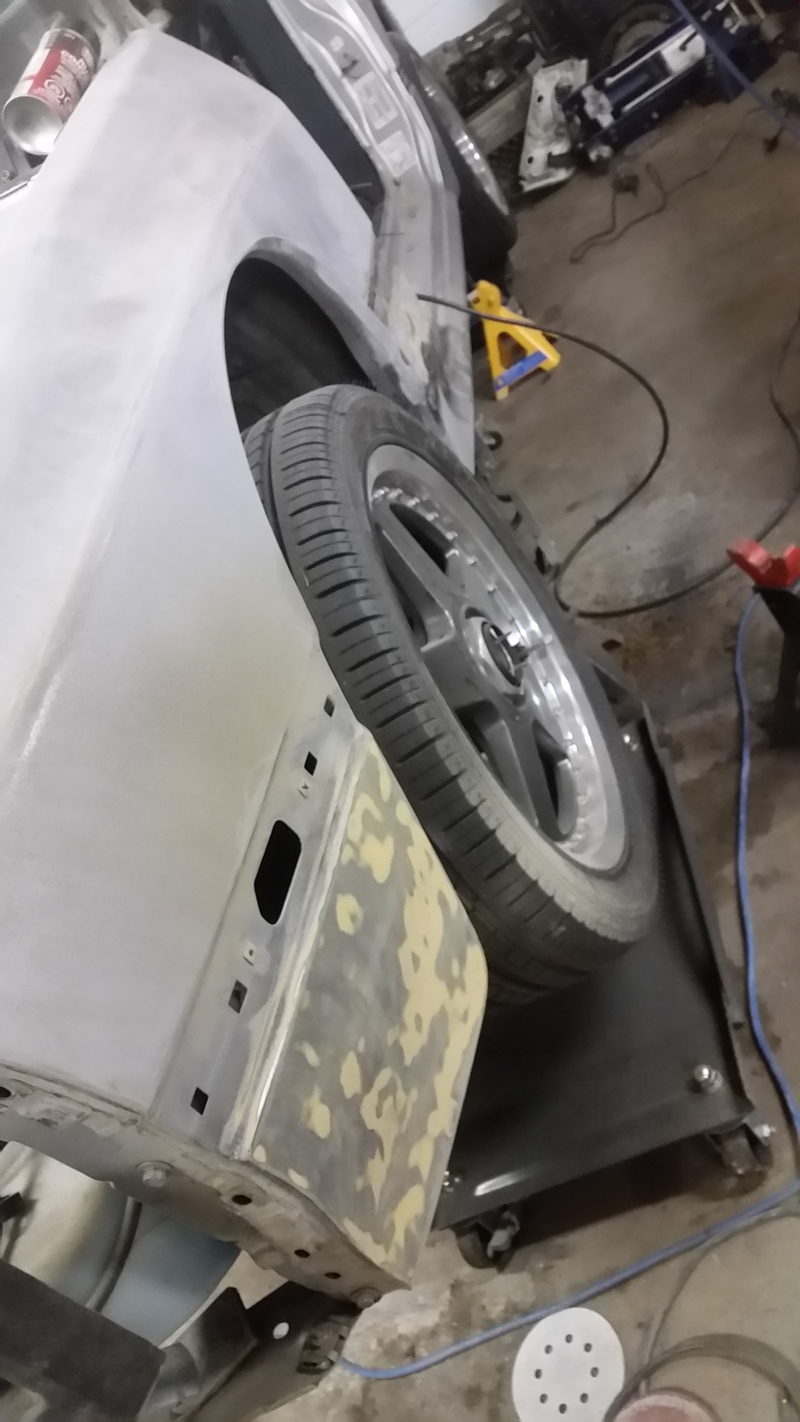
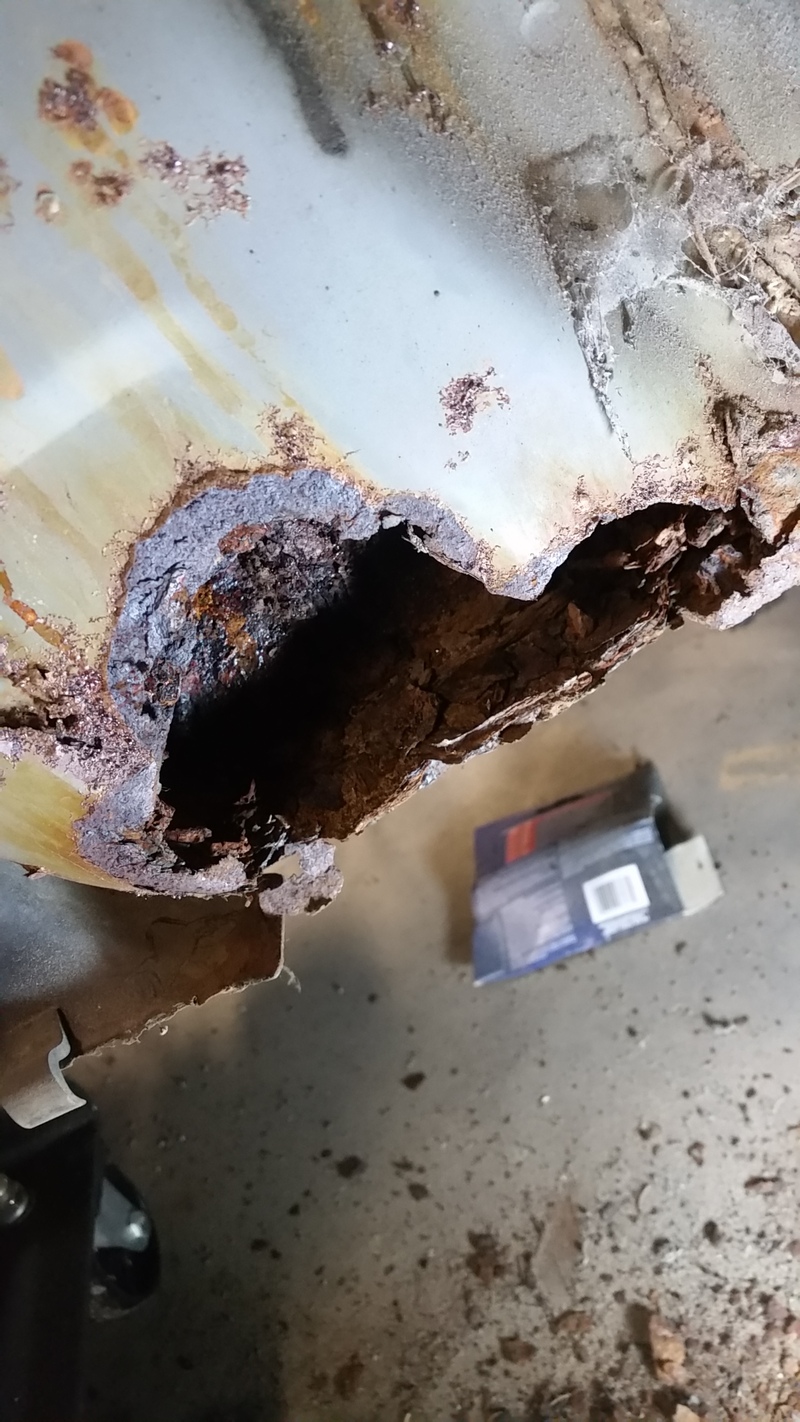
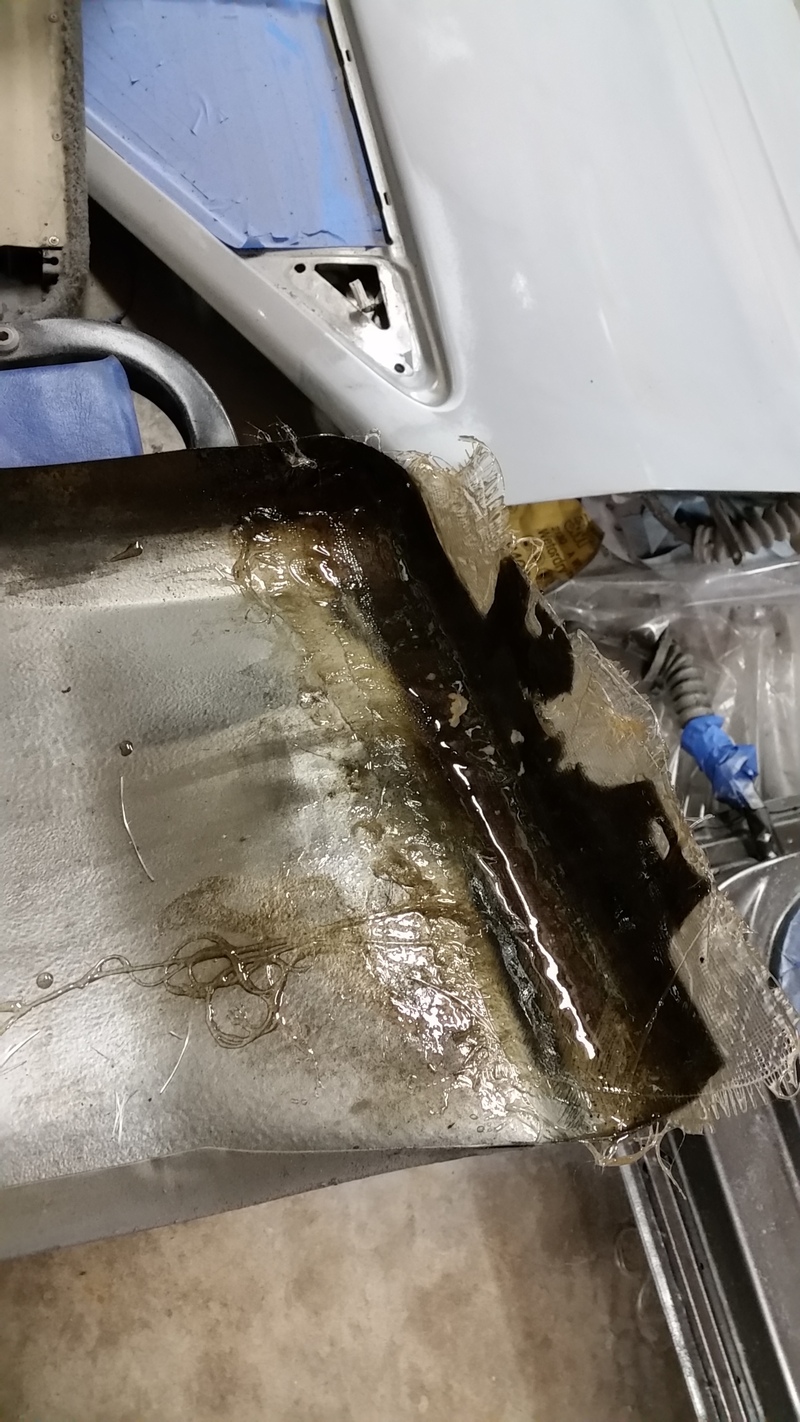
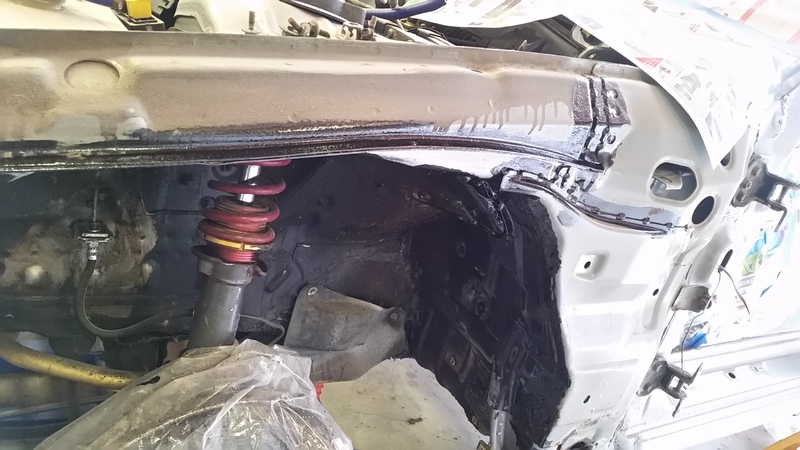
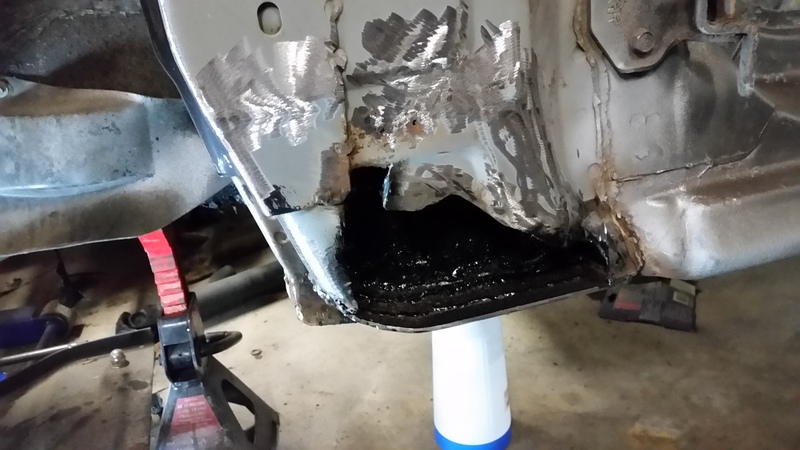
Took off the fender and there was a bit of a problem - fender was rotted, but so was what was under it.
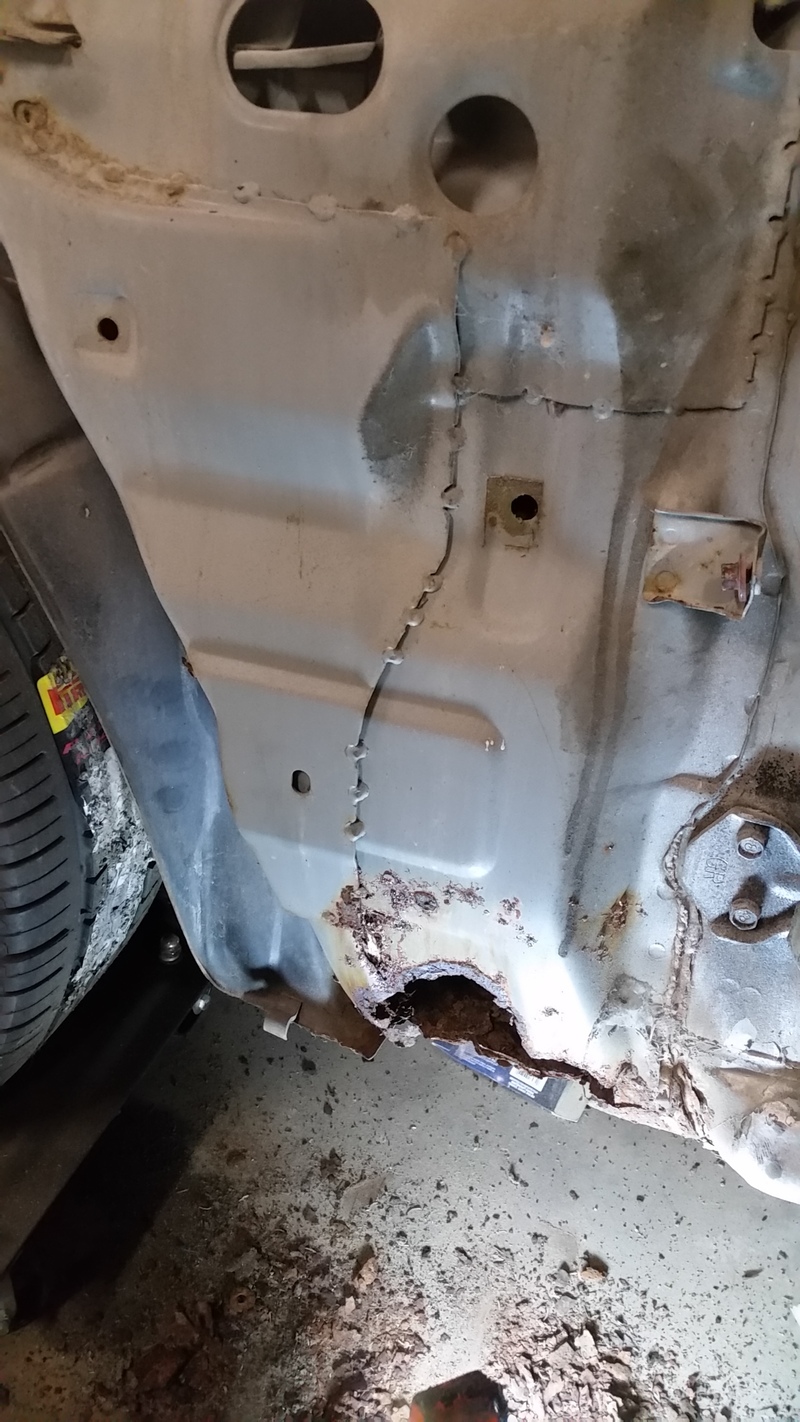
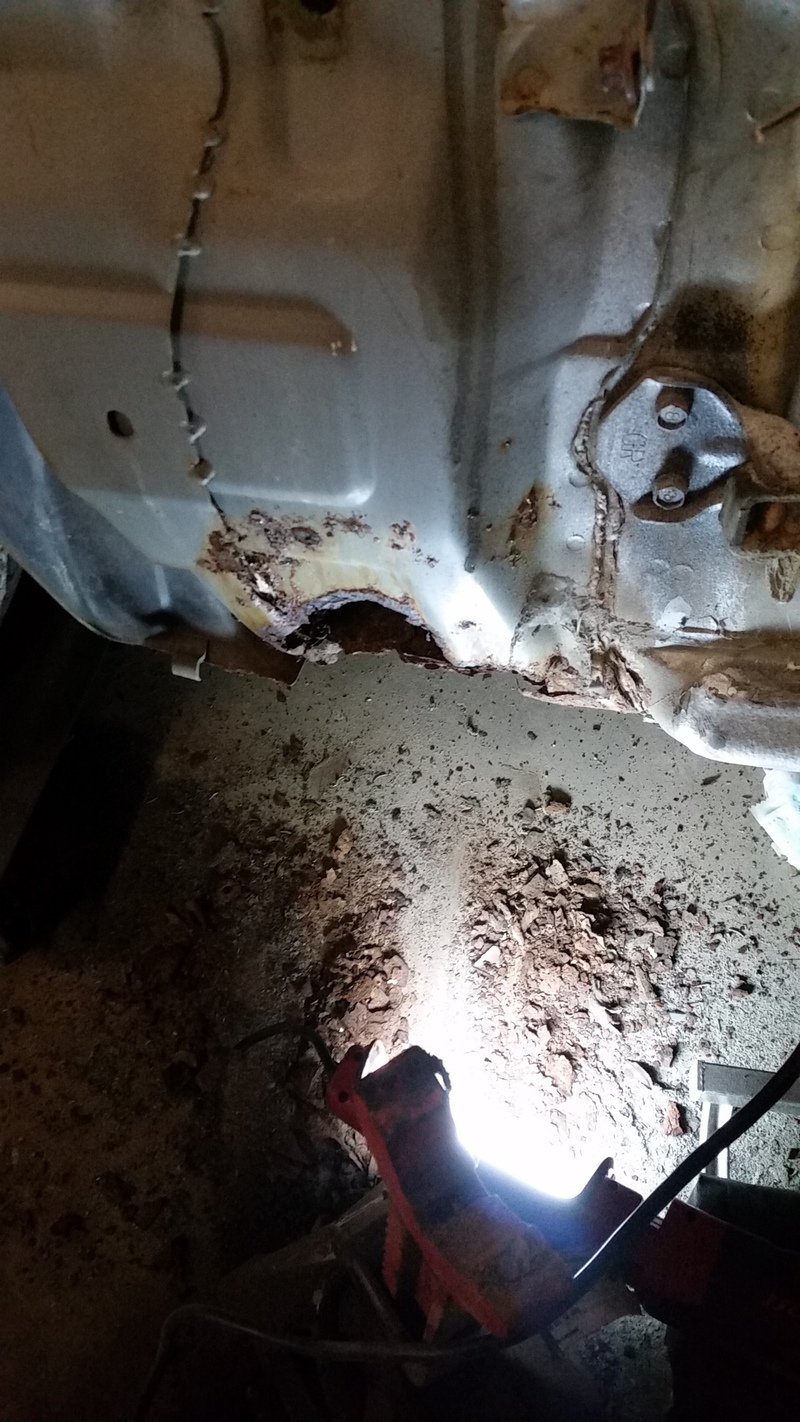
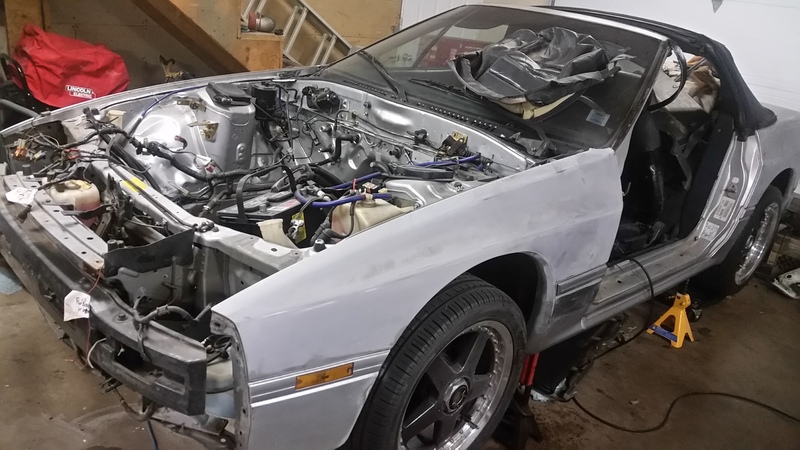
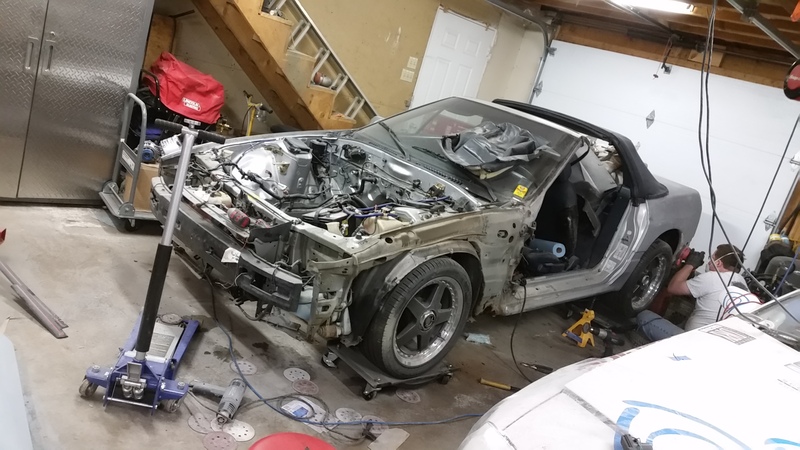
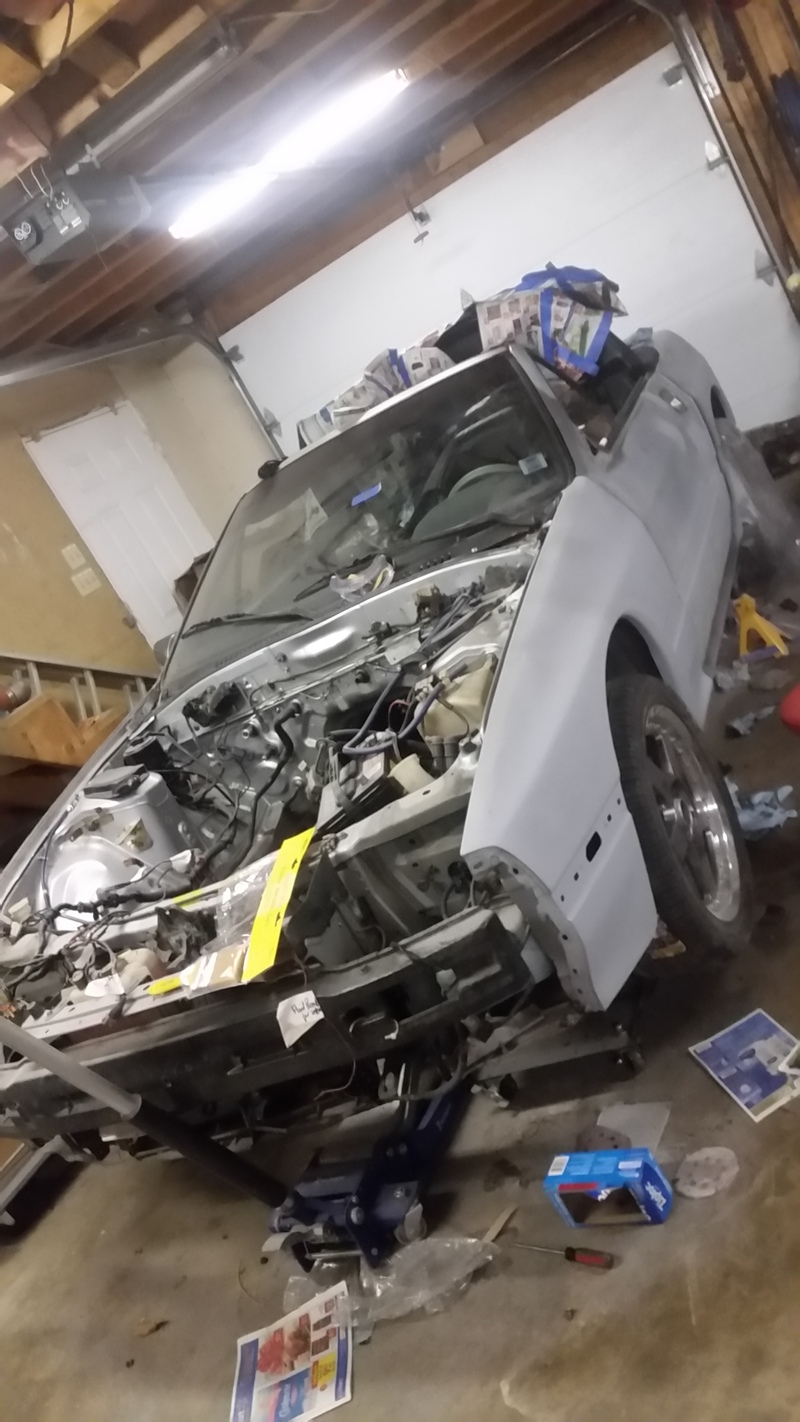
Looking less like a car...
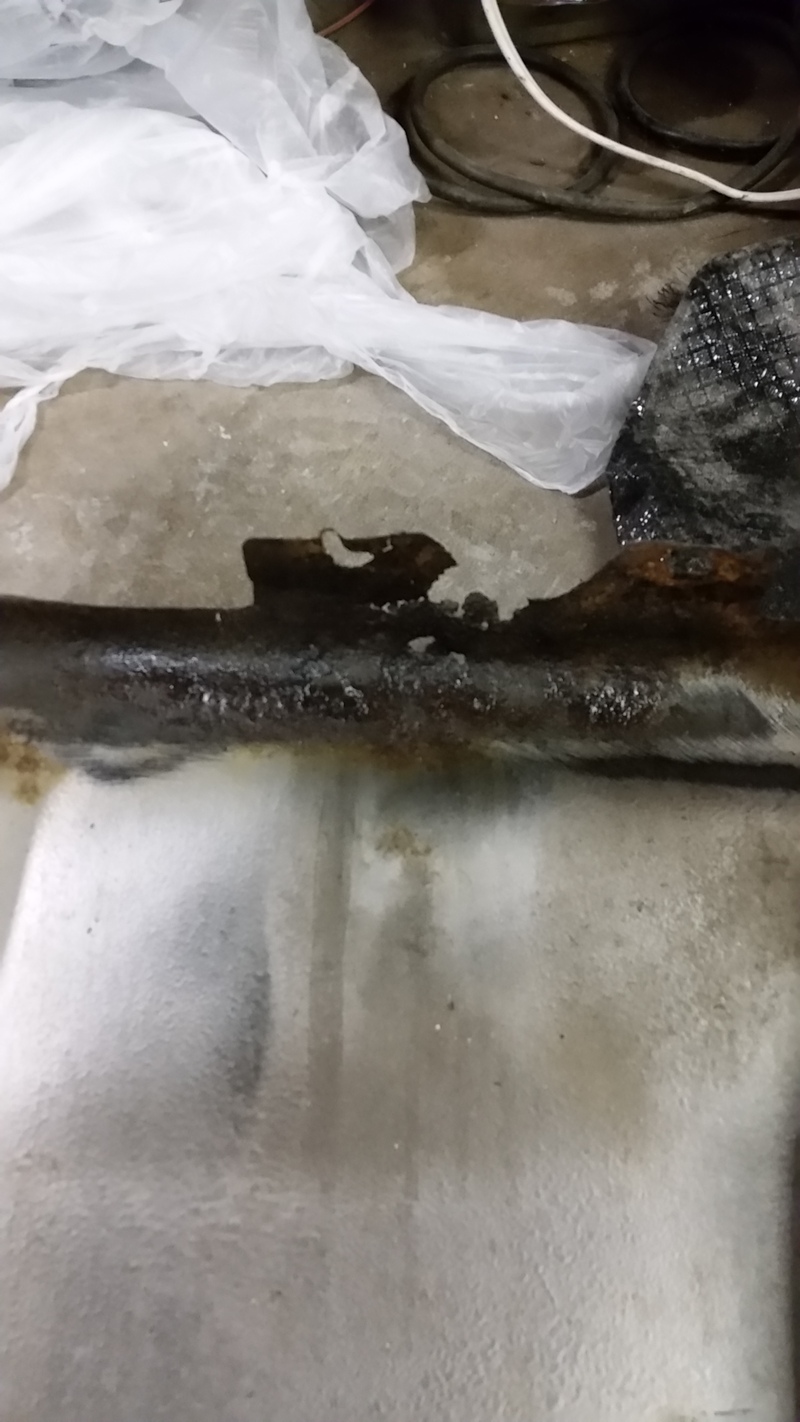
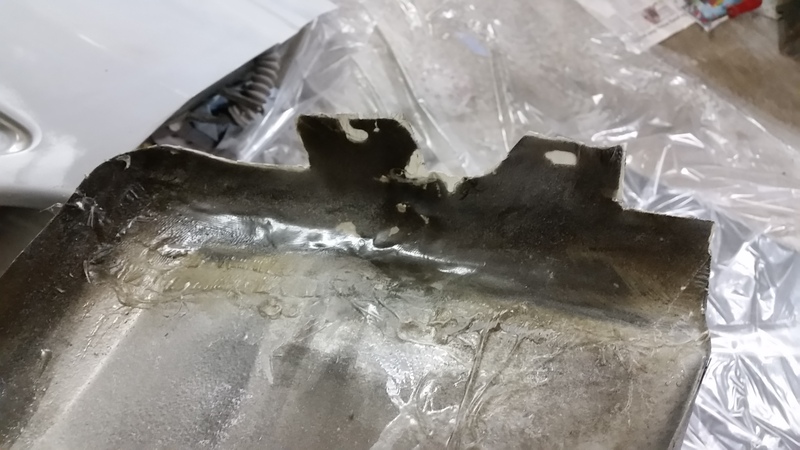
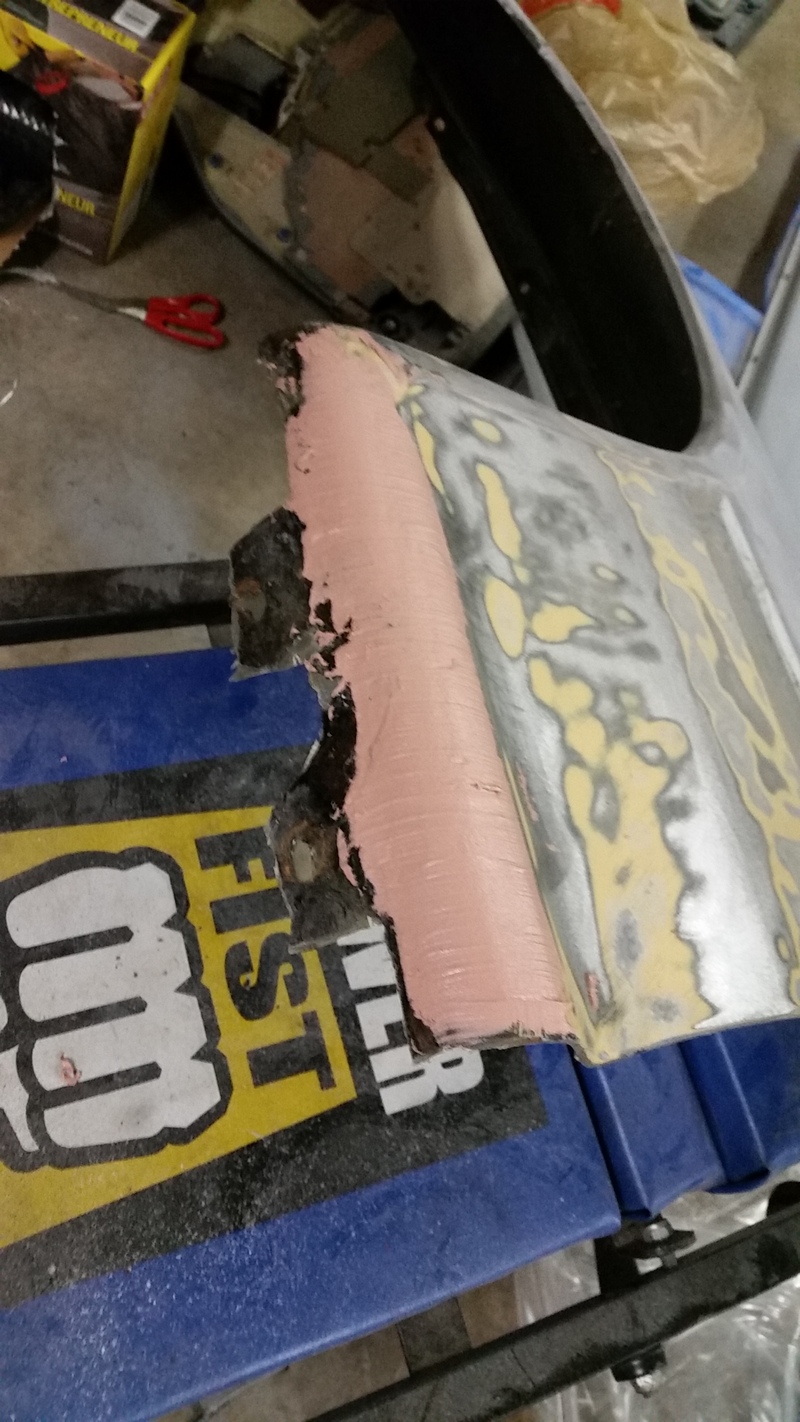
Fixed the fender with fiberglass and fill
Looking less like a car...
Fixed the fender with fiberglass and fill

Thread Starter
Licensed Zip Tie Mechanic
Joined: May 2004
Posts: 510
Likes: 2
From: Halifax, NS
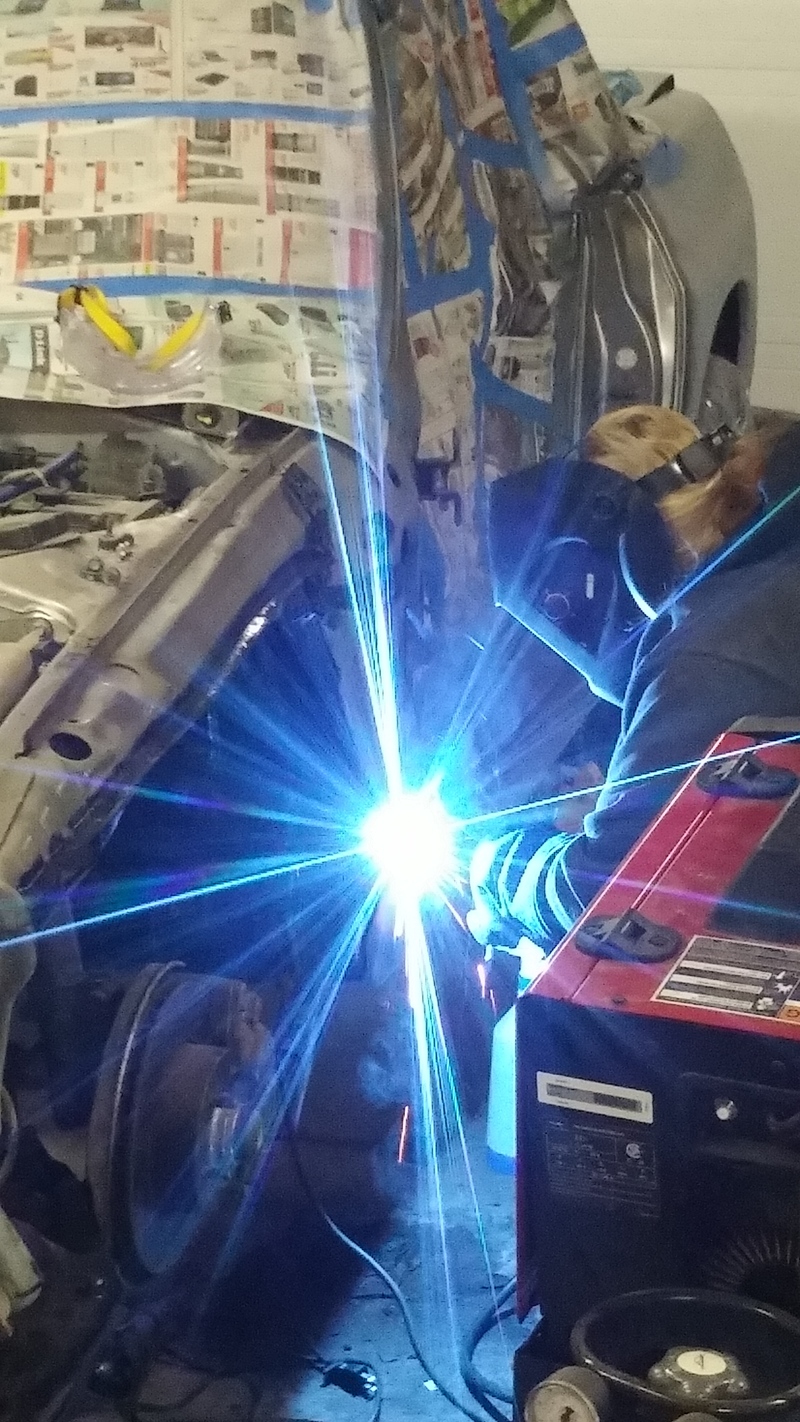
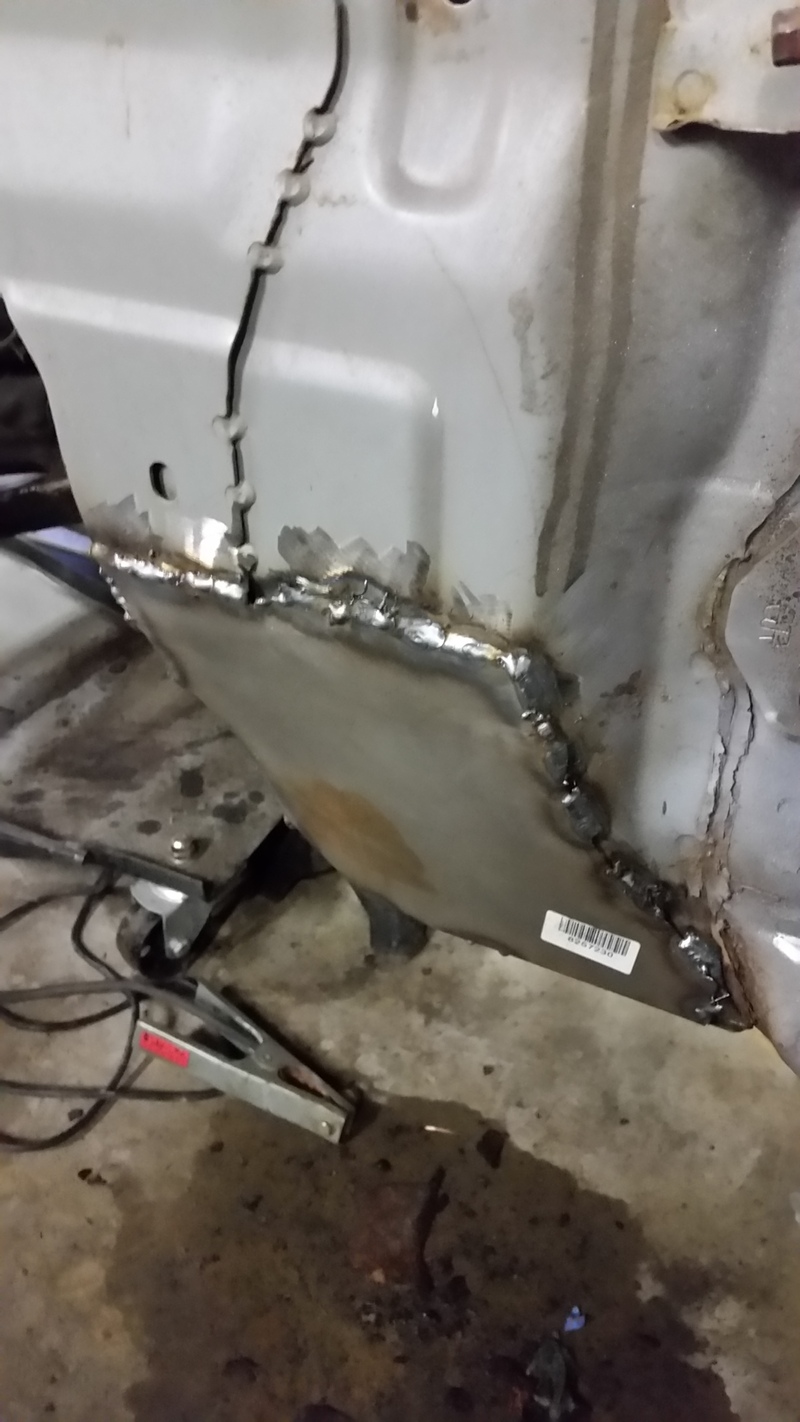
Welding in some metal in the spot where the big hole was. I siliconed the seams, primed, and POR 15 coated the patch as well.
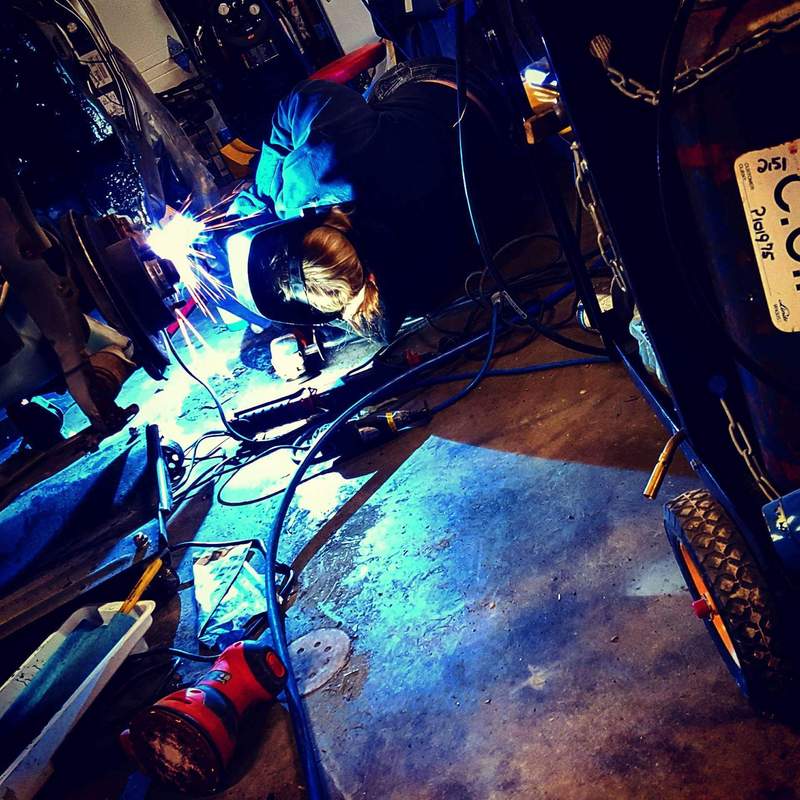
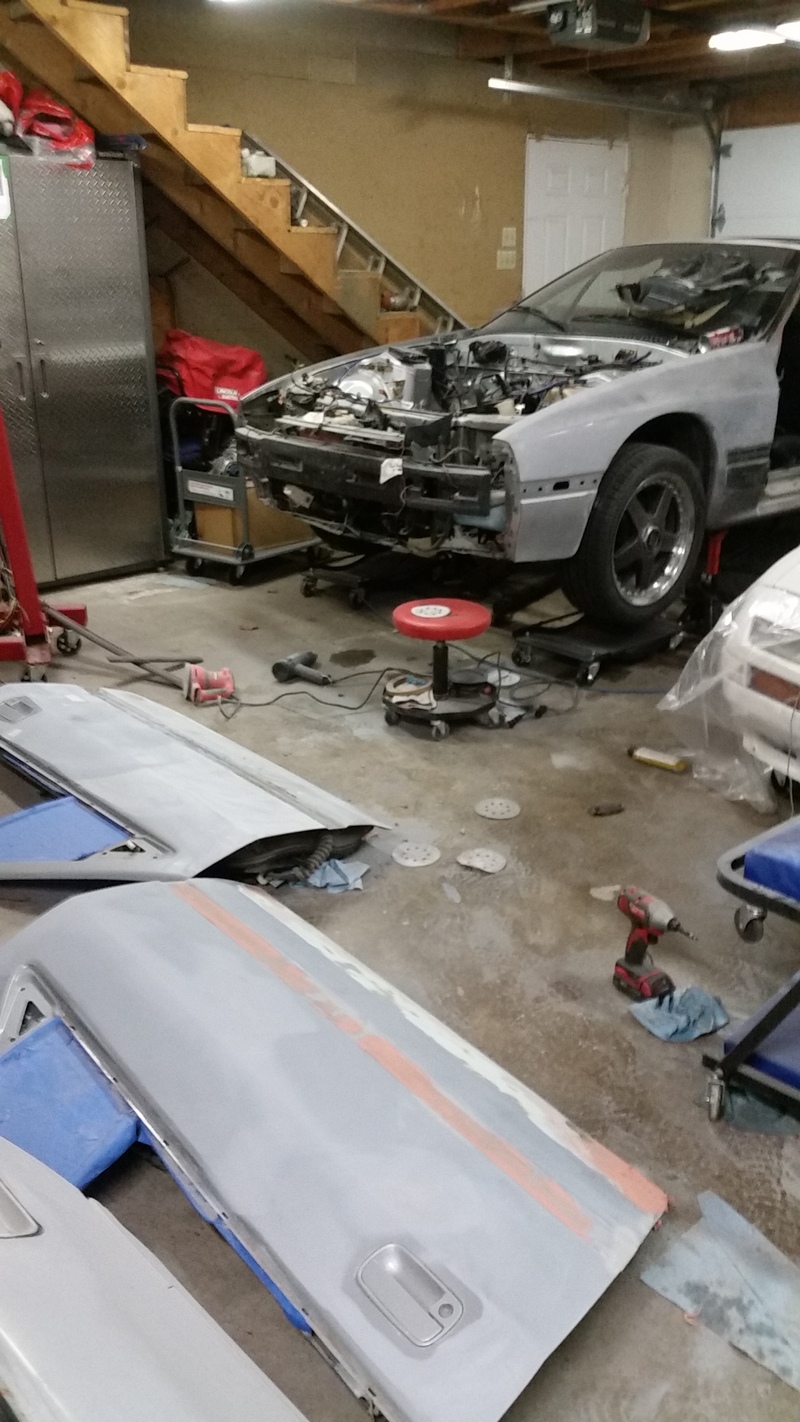
It's starting to come back together, missing a few things though...like the engine.
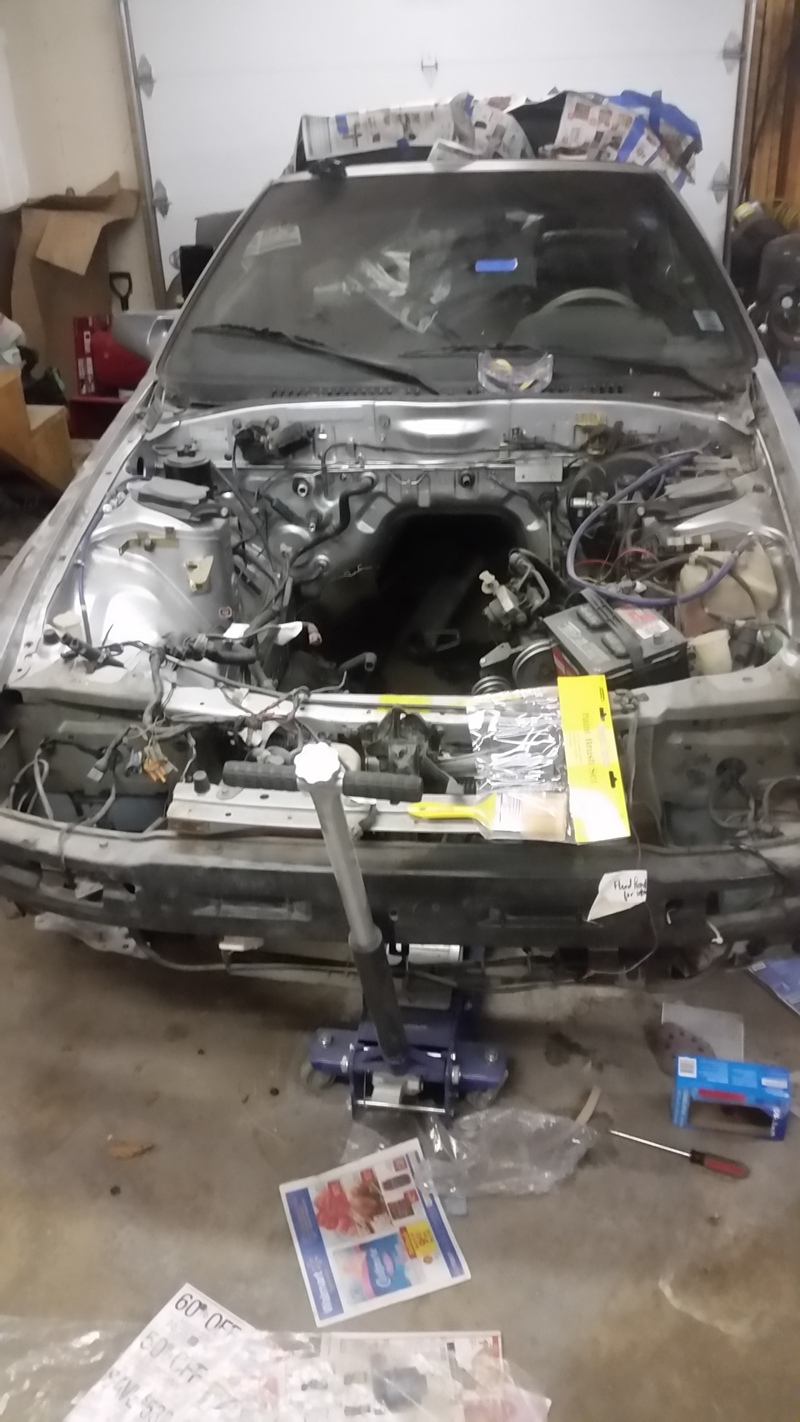
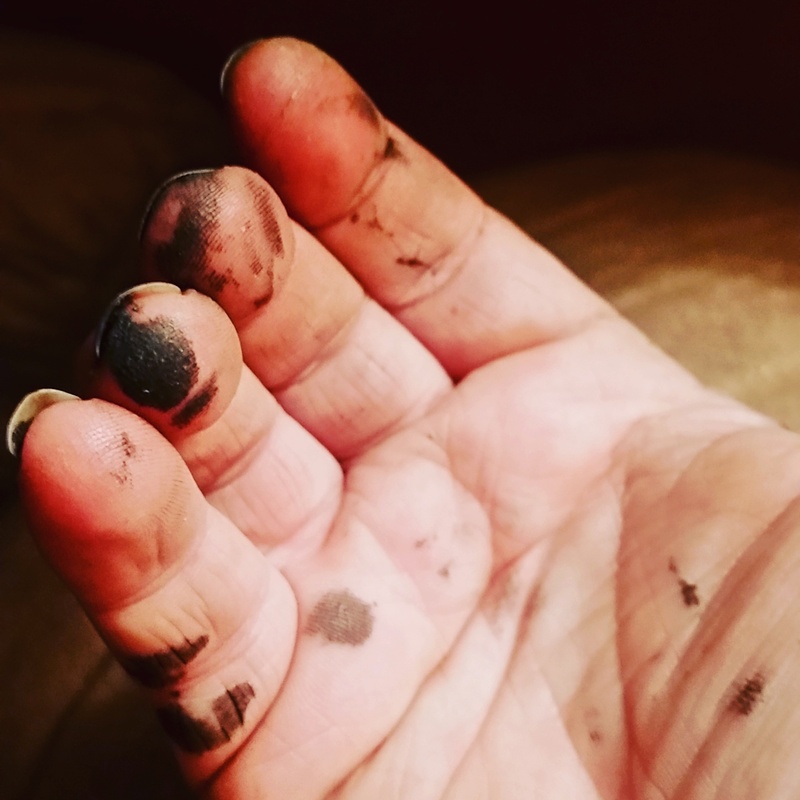
Always wear gloves when working with POR 15. My not so girlish hands.
It's starting to come back together, missing a few things though...like the engine.
Always wear gloves when working with POR 15. My not so girlish hands.
Thread Starter
Licensed Zip Tie Mechanic
Joined: May 2004
Posts: 510
Likes: 2
From: Halifax, NS
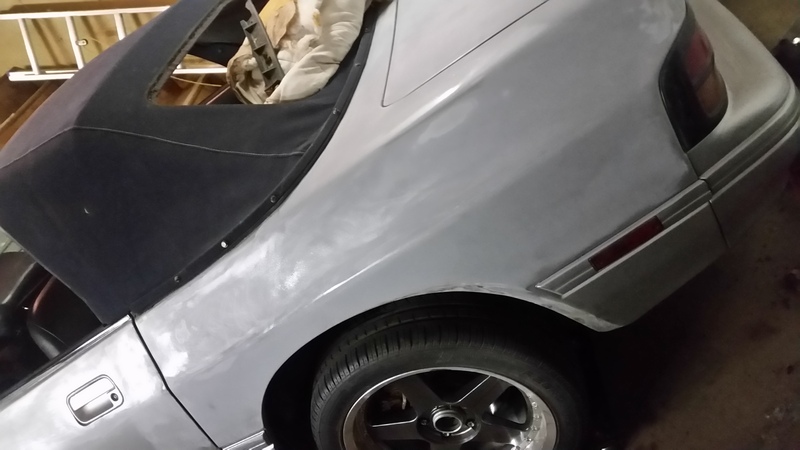
A little more progress - S5 moldings are sanded and a coat of bumper and trim paint added.
Also took a beat up old S5 rear bumper off the parts car and sanded it smooth, coated it in bumper paint to get ready to wrap it. Need a little more paint, but it's getting close.
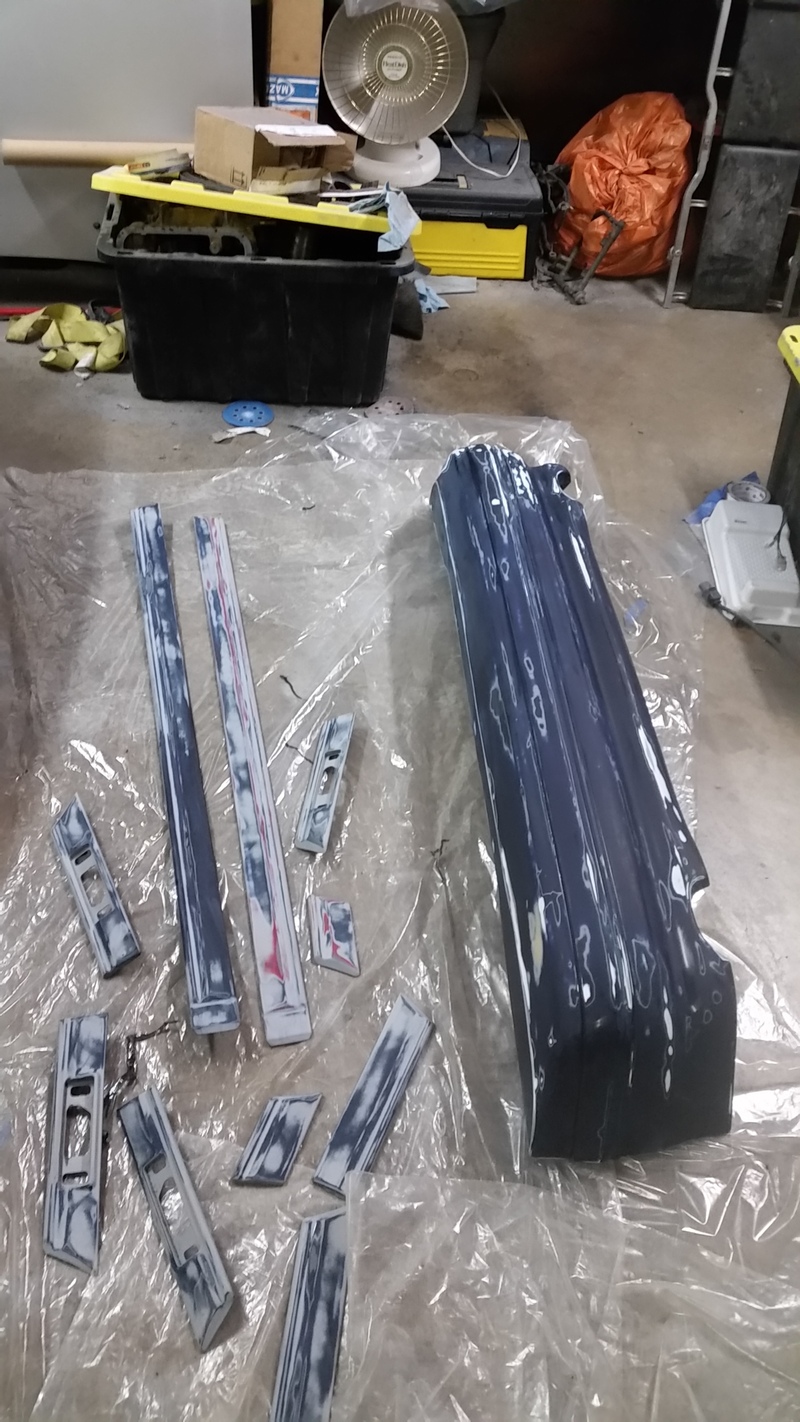

Also took a beat up old S5 rear bumper off the parts car and sanded it smooth, coated it in bumper paint to get ready to wrap it. Need a little more paint, but it's getting close.
Thread Starter
Licensed Zip Tie Mechanic
Joined: May 2004
Posts: 510
Likes: 2
From: Halifax, NS
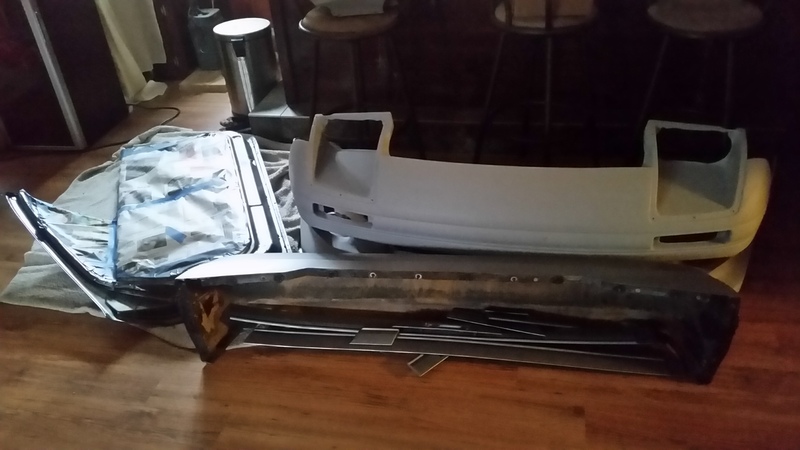
A little more progress...
Building up quite a collection of parts in my basement.
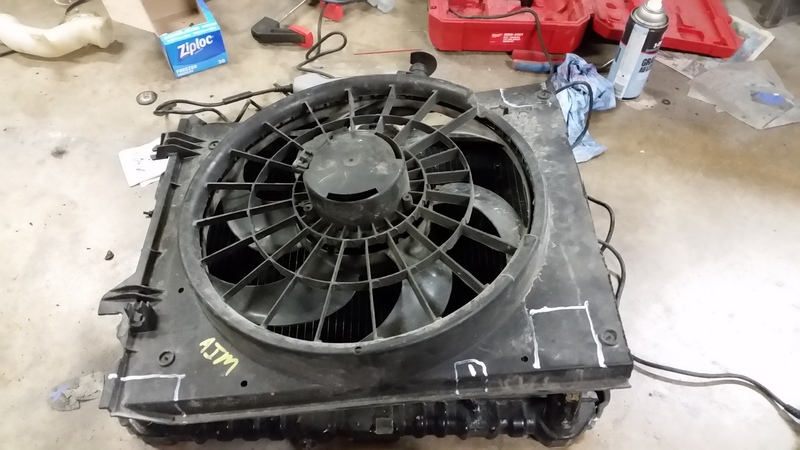
Fitted the e-fan to the rad:

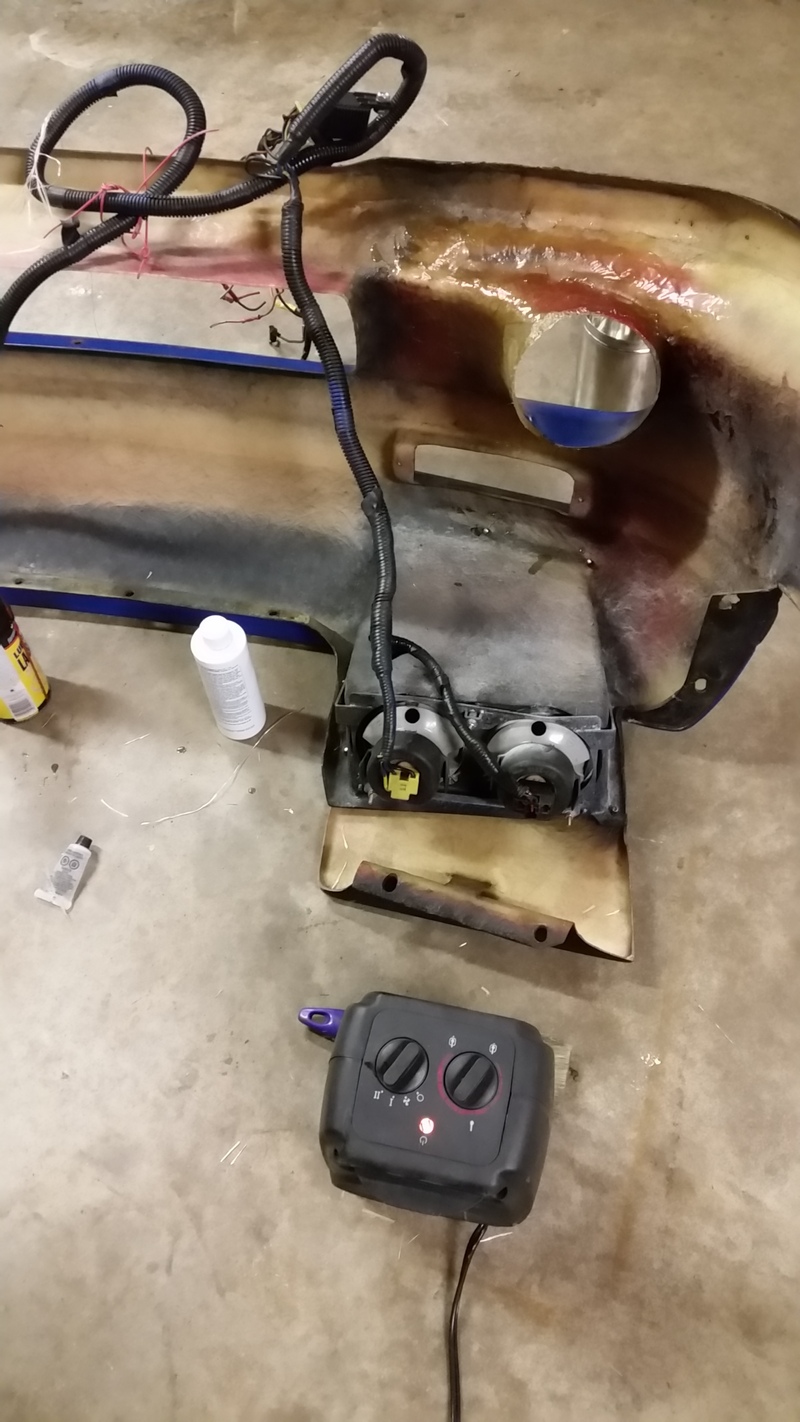
Wired up the relays for the e-fan, as well as a new mini fuse block for some accessories - (Fan, fuel pump, headlight assembly)
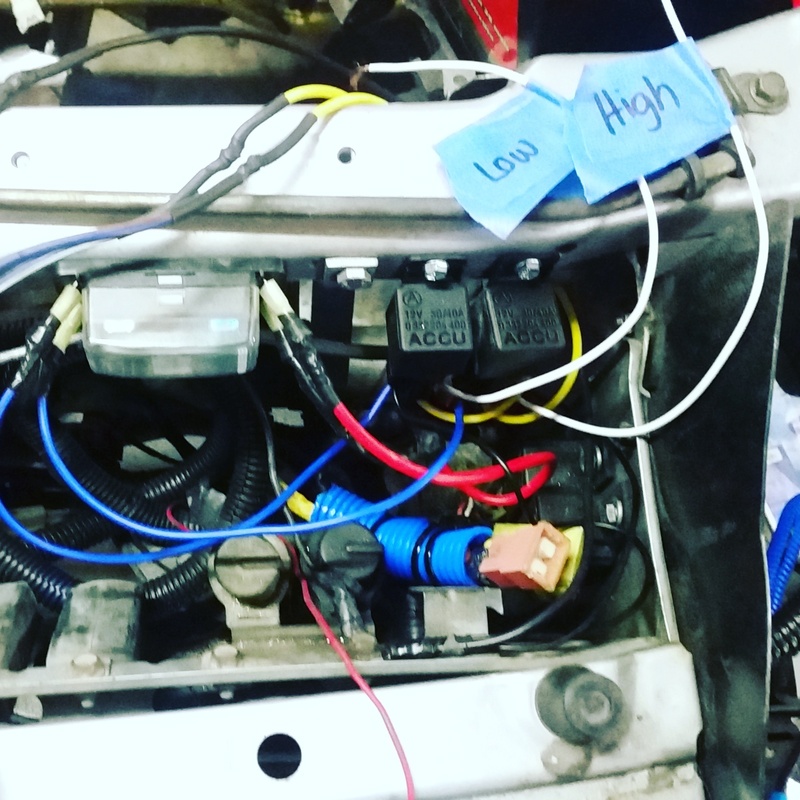
Going to make an aluminum cover to put over this area to cover up the wiring.
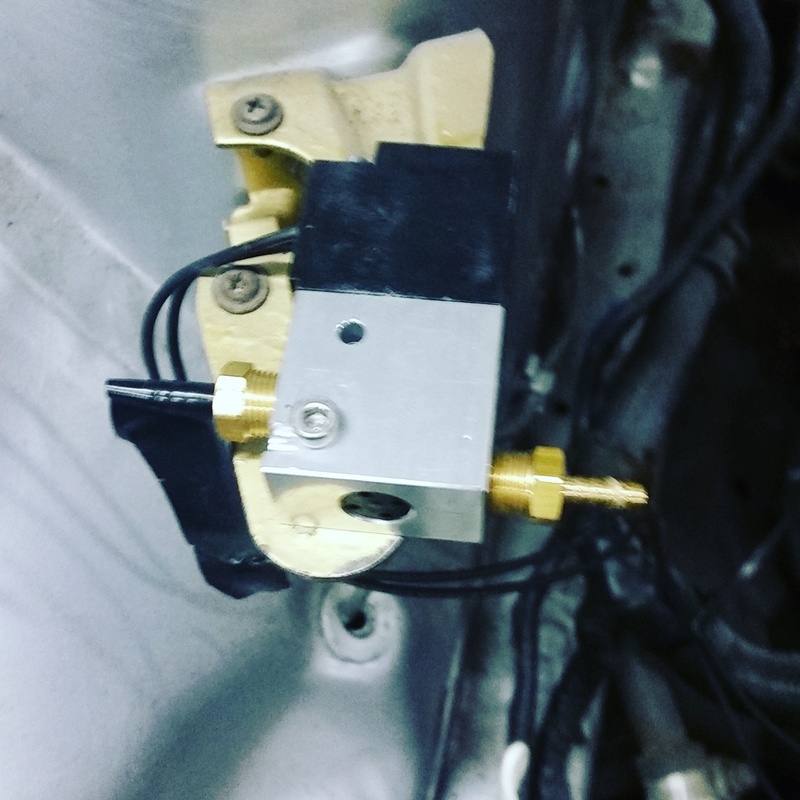
Also wired in the boost control solenoid. Tape is to mark which port is which until I hook it up.
Now, just need to program the ECU to do the outputs that I want to mate up with all the new wiring.
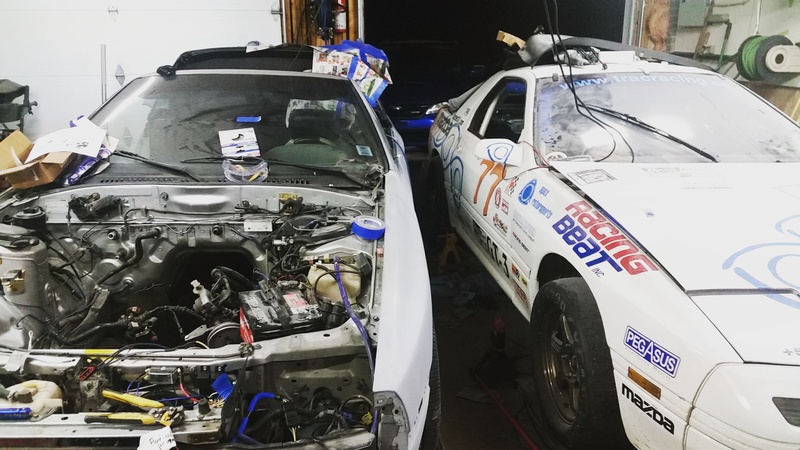
Pushed the convertible over so I can work on the other side, looks like the 2 cars are snuggling now - hers and his.
Building up quite a collection of parts in my basement.
Fitted the e-fan to the rad:
Wired up the relays for the e-fan, as well as a new mini fuse block for some accessories - (Fan, fuel pump, headlight assembly)
Going to make an aluminum cover to put over this area to cover up the wiring.
Also wired in the boost control solenoid. Tape is to mark which port is which until I hook it up.
Now, just need to program the ECU to do the outputs that I want to mate up with all the new wiring.
Pushed the convertible over so I can work on the other side, looks like the 2 cars are snuggling now - hers and his.
Thread Starter
Licensed Zip Tie Mechanic
Joined: May 2004
Posts: 510
Likes: 2
From: Halifax, NS
Updated to do:
Completed:
- Engine Porting
- Install e-fan and have it trigger off the ECU
- Wire up headlights
- Install boost control solenoid
March:
- Rebuild passengers seat (6 hours) (waiting for some springs)
- Install seats (1 hour)
- Put exhaust sleeves back on the housings I'm using - need some set screws
- Create custom gasket for turbo-to-downpipe flange - since my turbo doesn't have a standard flange on it (30 min) (TONIGHT)
- Make new lexan headlight covers (2 hours) (IN PROGRESS)
- Sand the car and fix any spots that need fixing, prep rear bumper, prep moldings, fix spare doors and install (IN PROGRESS - just need to do passenger's side)
- Color match door jambs, trunk area (1 door and the trunk is done, just need to paint one more jamb)
ENGINE ASSEMBLY AND INSTALLATION
- Assemble engine with Atkins seal kit (a few hours)
- Install rebuilt engine with turbo transmission, Centerforce clutch, turbo clutch slave, turbo starter, Mazdatrix adapter driveshaft(a few hours)
- Install new fuel injectors (10 minutes)
- Fabricate AN oil lines and fuel lines to replace factory (all the fittings are coming for that) (1 hour)
- Replace turbo coolant line with better quality line (5 minutes)
- Have it vinyl wrapped (3 - 4 days)
- Install RE-Amemiya front bumper
- Install S5 tails (30 min)
- Install S5 rear bumper and moldings (a couple hours)
- Reinstall rear window in the top - I have decided to get an auto glass guy to do this while it's being vinyl wrapped
April:
- Install rear diffuser and side skirts (4 hours)
They're compressible graphite and hold up to serious temps. I've been using their header-to-block 13B gasket for a couple years with zero leaks. And theyre $35.
They also sell square sheets of gasket for what you're trying to do where you need a custom gasket.
I haven't been able to reuse one since they usually stick and delaminate when i remove the manifold, but they don't leak.
Thread Starter
Licensed Zip Tie Mechanic
Joined: May 2004
Posts: 510
Likes: 2
From: Halifax, NS
Found some sheets of another material through Summit racing that withstand sustained temps of 2000*F, so I'm going to give that a try - it was $12 for a 10" x 10" sheet.
http://www.summitracing.com/int/part...8006/overview/
http://www.summitracing.com/int/part...8006/overview/
Thread Starter
Licensed Zip Tie Mechanic
Joined: May 2004
Posts: 510
Likes: 2
From: Halifax, NS
Had a great weekend fabricating and working on the car!
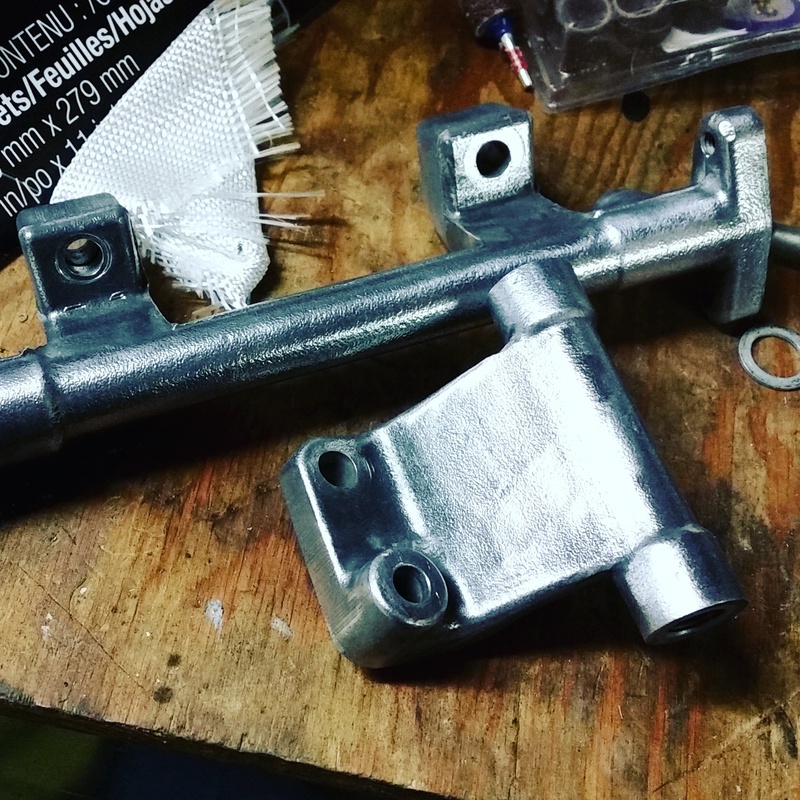
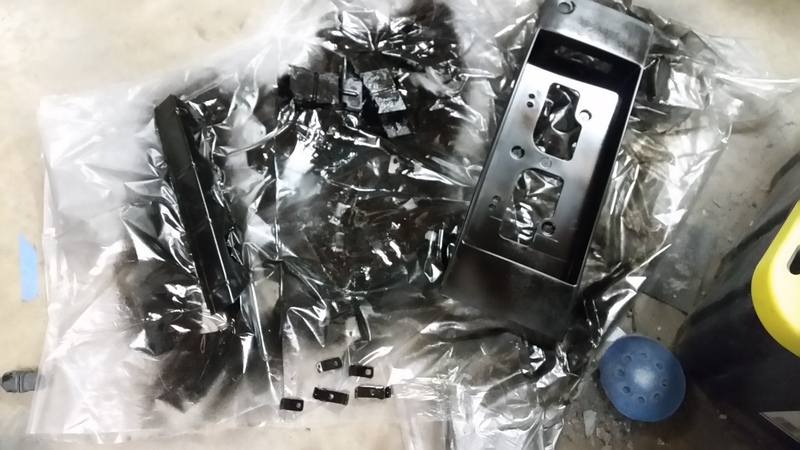
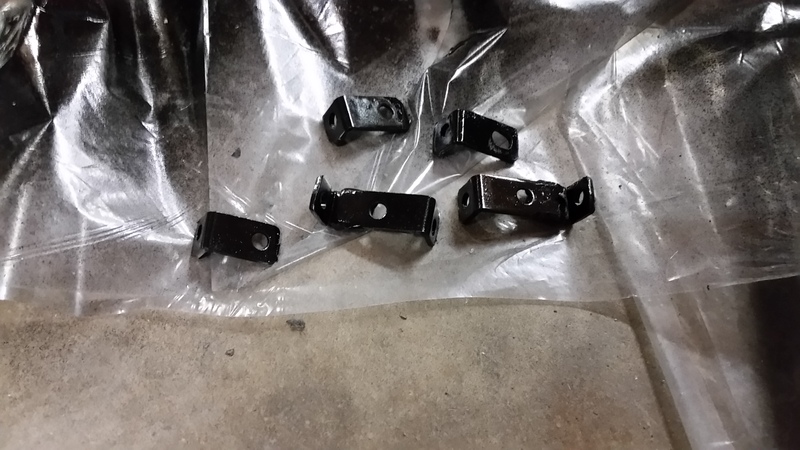
Cleaned up some brackets and things, and made some brackets to mount up the e-fan.
Made my turbo-downpipe gasket with the new gasket material

And I'm ALMOST done body work! Painted the passengers jamb, just need a few other odds and ends to have a final sand.
Cleaned up some brackets and things, and made some brackets to mount up the e-fan.
Made my turbo-downpipe gasket with the new gasket material
And I'm ALMOST done body work! Painted the passengers jamb, just need a few other odds and ends to have a final sand.
Thread Starter
Licensed Zip Tie Mechanic
Joined: May 2004
Posts: 510
Likes: 2
From: Halifax, NS
Updated to do:
Completed:
- Engine Porting
- Install e-fan and have it trigger off the ECU
- Wire up headlights
- Install boost control solenoid
- Sand the car and fix any spots that need fixing, prep rear bumper, prep moldings, fix spare doors and install
- Color match door jambs, trunk area
- Create custom gasket for turbo-to-downpipe flange - since my turbo doesn't have a standard flange on it
March:
- Put exhaust sleeves back on the housings I'm using - need some set screws, which are on order
- Make new lexan headlight covers (2 hours) (IN PROGRESS - should be done tomorrow night)
- Paint housings and irons when they get here
- Clean up transmission
- Clear coat polished fuel rails
ENGINE ASSEMBLY AND INSTALLATION
- Assemble engine with Atkins seal kit (a few hours)
- Install rebuilt engine with turbo transmission, Centerforce clutch, turbo clutch slave, turbo starter, Mazdatrix adapter driveshaft(a few hours)
- Install new fuel injectors (10 minutes)
- Fabricate AN oil lines and fuel lines to replace factory (all the fittings are coming for that) (1 hour)
- Replace turbo coolant line with better quality line (5 minutes)
- Have it vinyl wrapped (3 - 4 days)
- Install RE-Amemiya front bumper
- Install S5 tails (30 min)
- Install S5 rear bumper and moldings (a couple hours)
- Reinstall rear window in the top - I have decided to get an auto glass guy to do this while it's being vinyl wrapped
April:
- Rebuild passengers seat (6 hours) (waiting for some springs)
- Install seats (1 hour)
- Install rear diffuser and side skirts (4 hours)
Thread Starter
Licensed Zip Tie Mechanic
Joined: May 2004
Posts: 510
Likes: 2
From: Halifax, NS
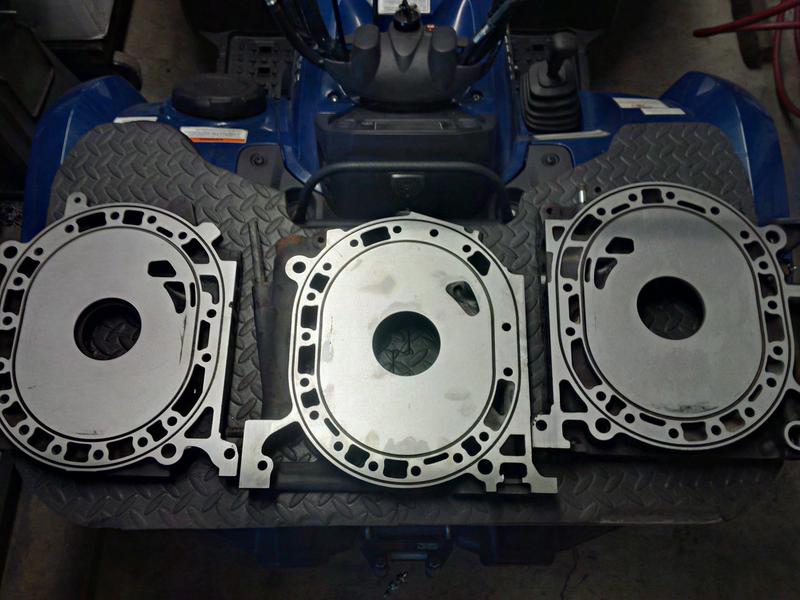
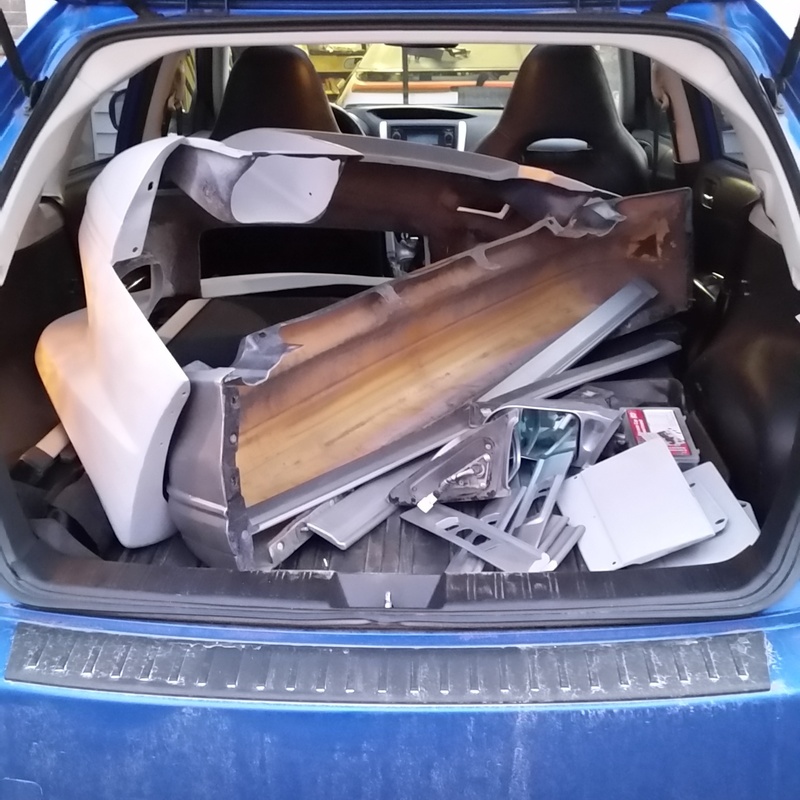
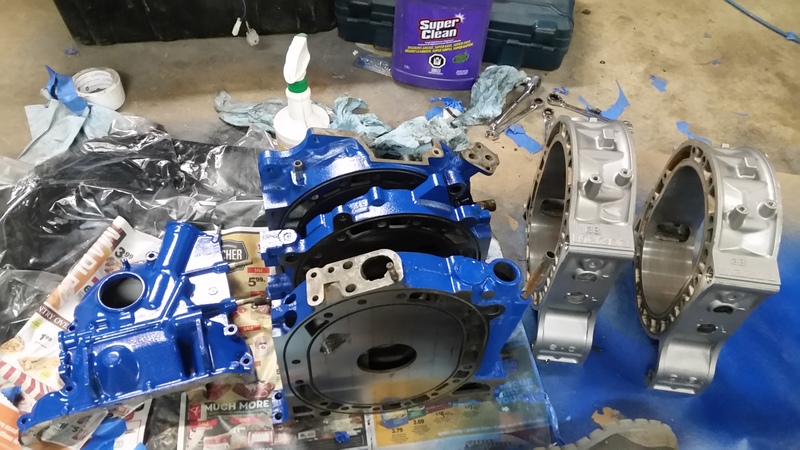
Engine plates arrived!
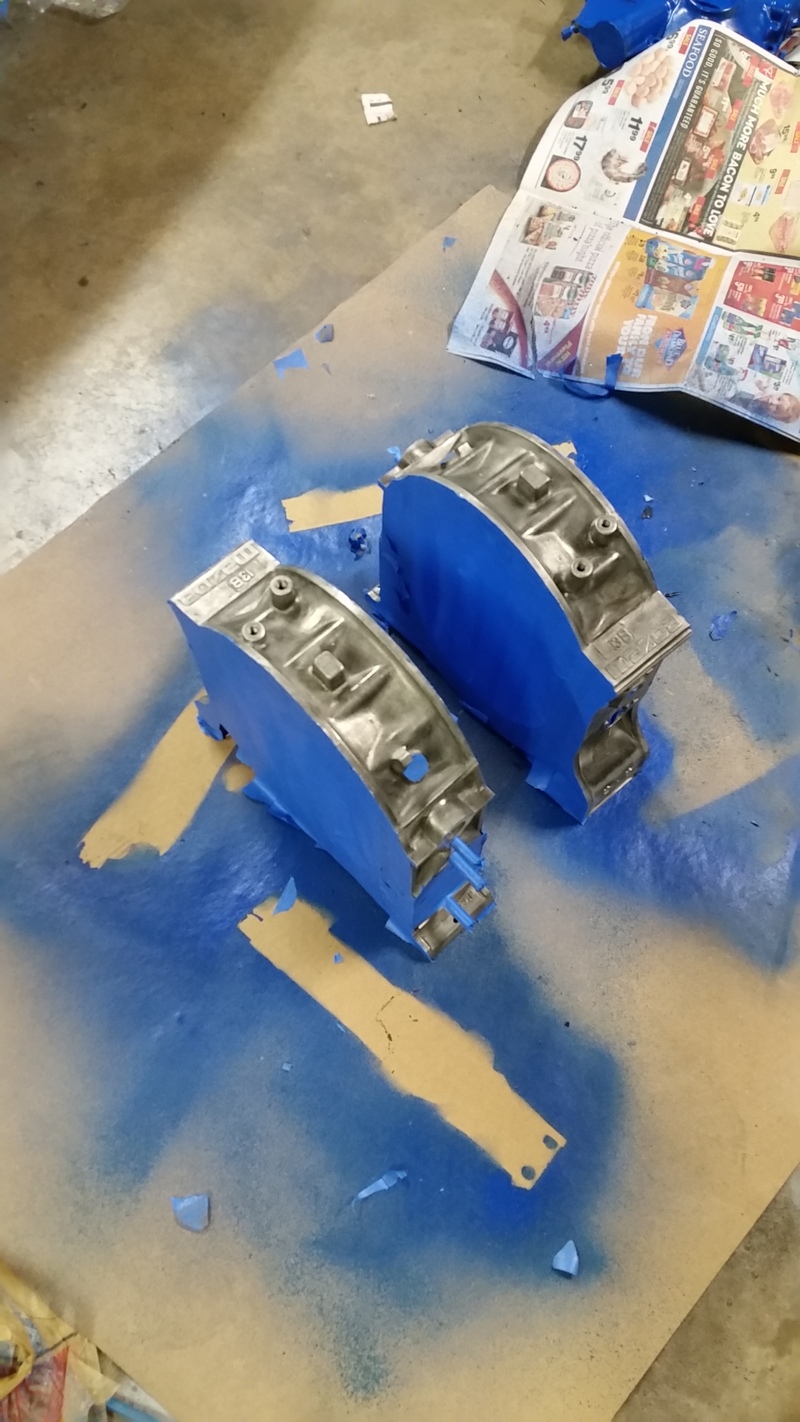
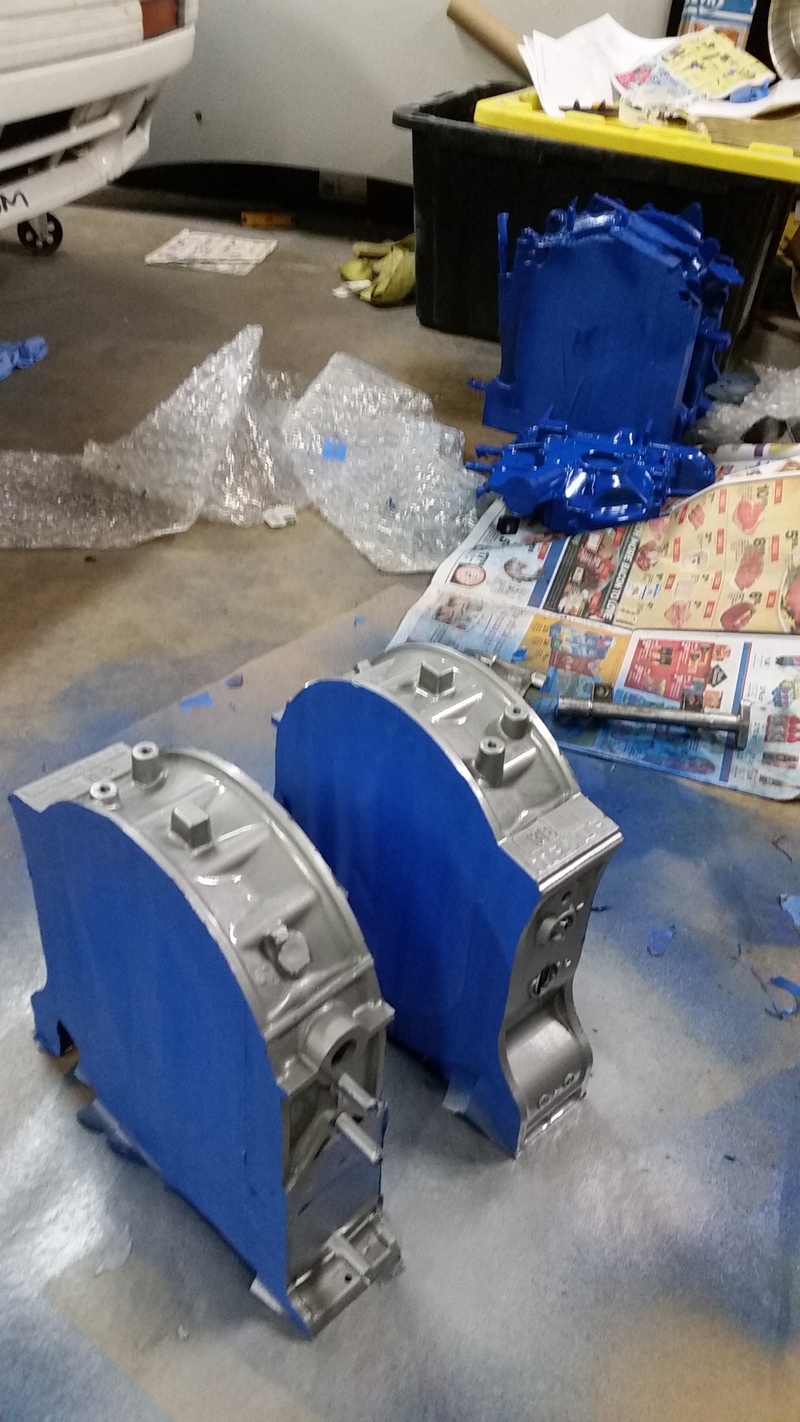
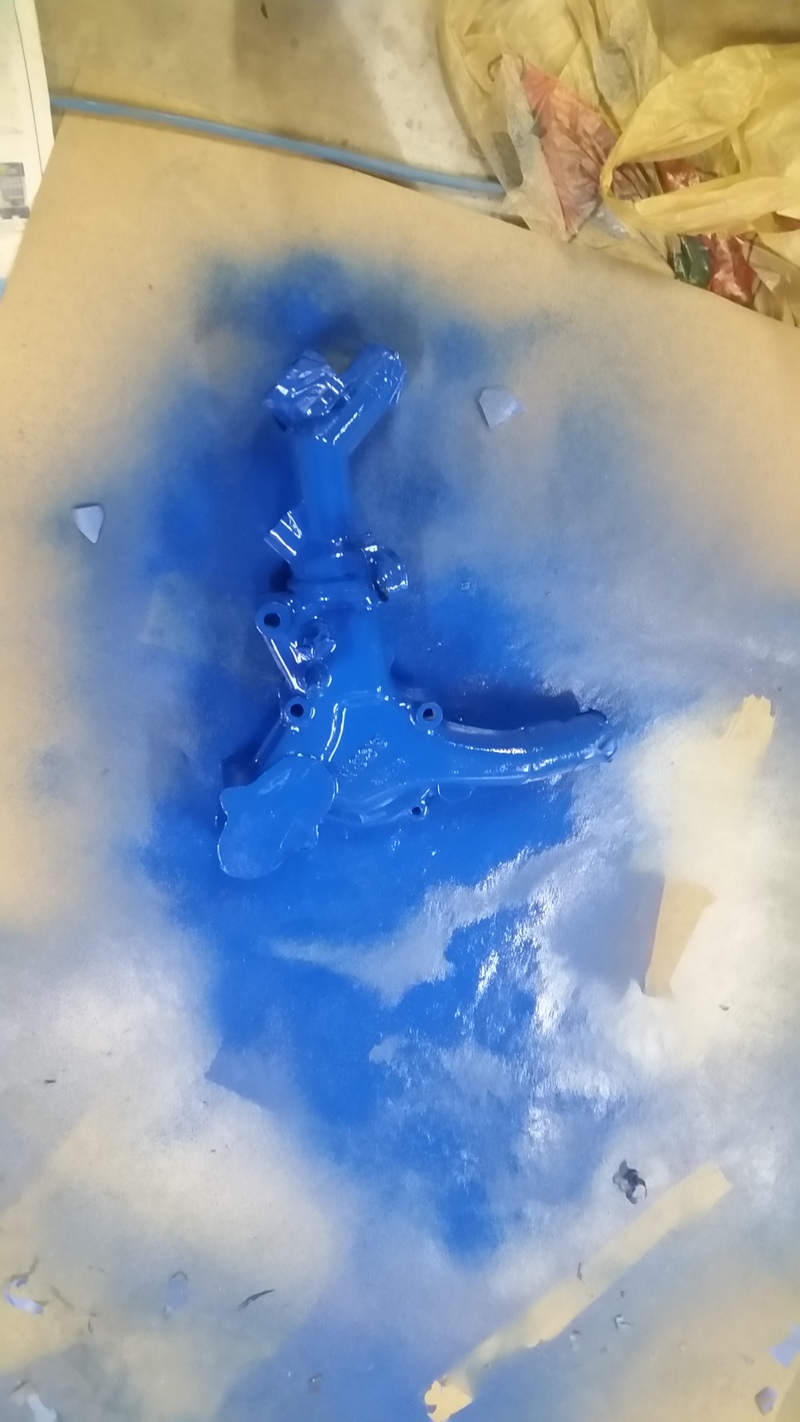
Painted the irons and front cover - painting the housings tonight.

Bumpers and trim are off to the vinyl shop to get a head start on the wrap!
Engine assembly will happen this weekend.
Painted the irons and front cover - painting the housings tonight.
Bumpers and trim are off to the vinyl shop to get a head start on the wrap!
Engine assembly will happen this weekend.
Thread Starter
Licensed Zip Tie Mechanic
Joined: May 2004
Posts: 510
Likes: 2
From: Halifax, NS
It'll be getting wrapped a sort of charcoal metallic - the whole car - moldings and everything color matched. The roof is navy blue and the wheels are gunmetal, so it should work. I think there's a pic earlier in the thread of the color swatch. Can't wait!!
Thread Starter
Licensed Zip Tie Mechanic
Joined: May 2004
Posts: 510
Likes: 2
From: Halifax, NS
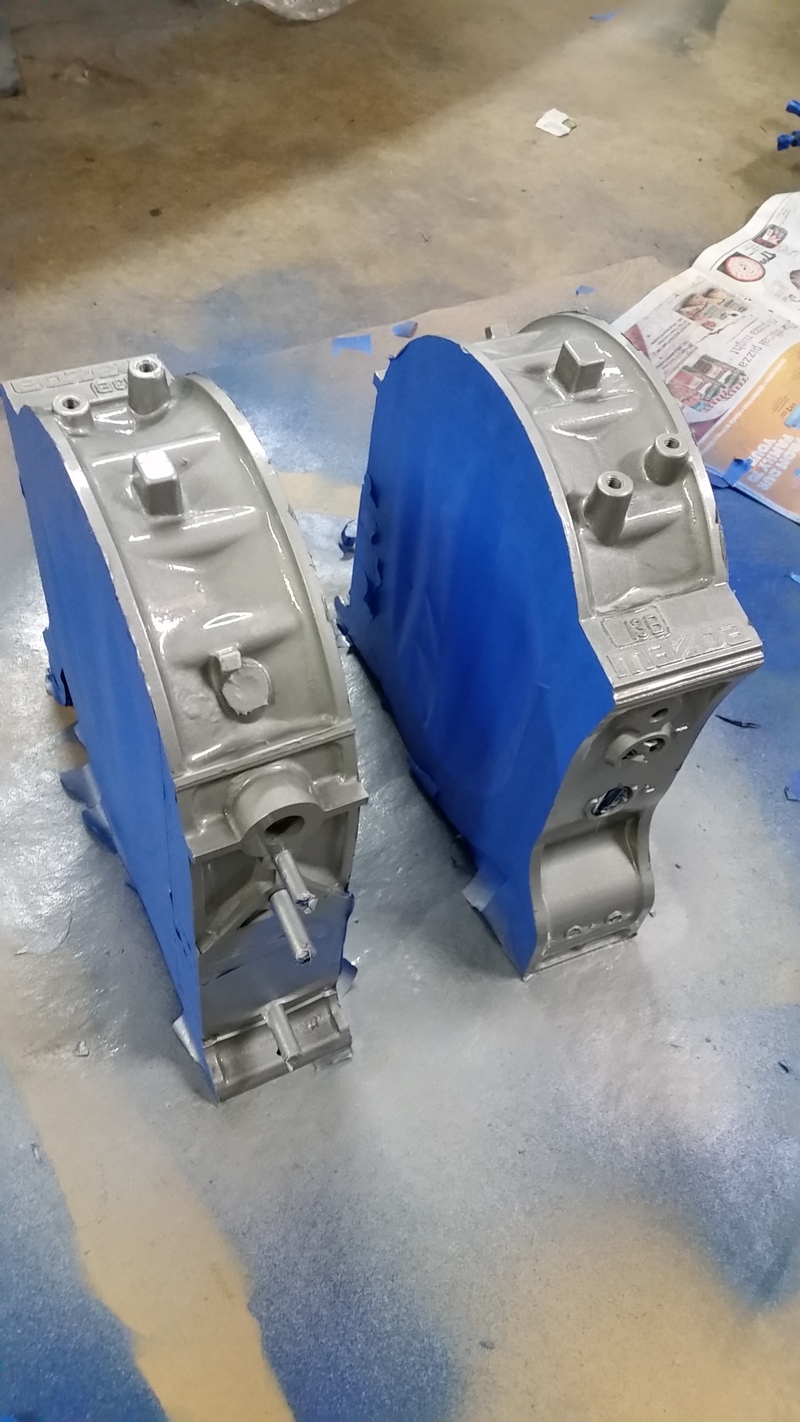
Housings painted
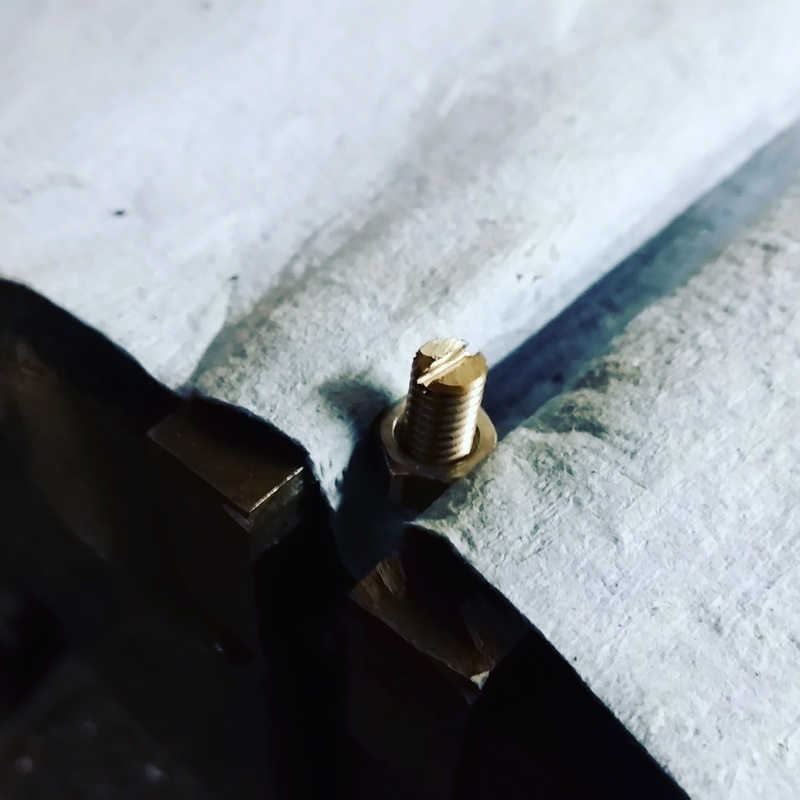
Had to make some stainless set screws to put in the exhaust sleeves
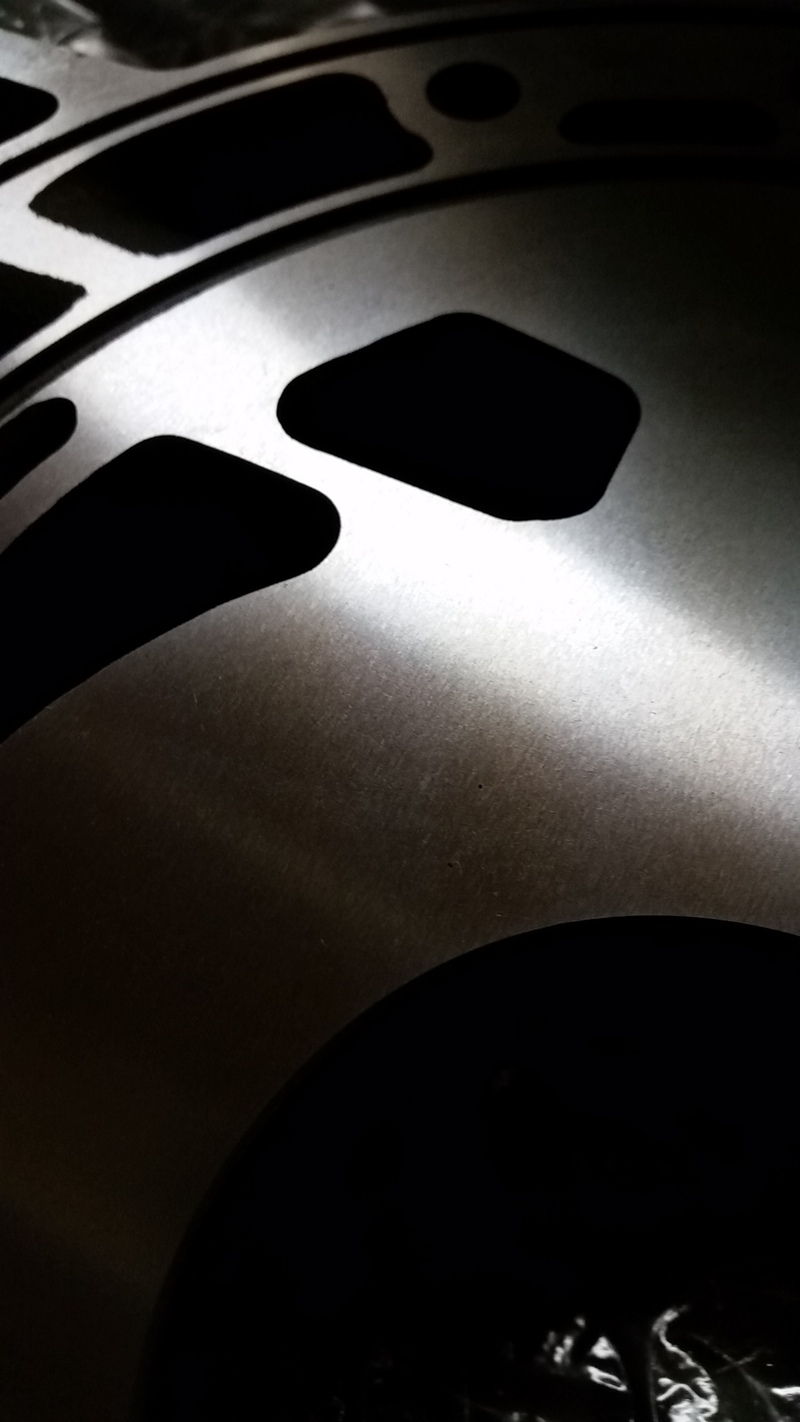
Pics of the porting that was done by Marco.
All the components almost ready to go.
Had to make some stainless set screws to put in the exhaust sleeves
Pics of the porting that was done by Marco.
All the components almost ready to go.