Peripheral Port FC.

Rotary Enthusiast
Joined: Sep 2010
Posts: 827
Likes: 12
From: new zealand


Thread Starter
Senior Member
Joined: Feb 2007
Posts: 368
Likes: 0
From: Surrey, England
Cheers guys for the comments. It's nice that all bits are finally coming together. The plates are off being lapped at the moment. I know I've just painted the engine bay but I'd like to get the arches tubbed before the engine bits come back as I'll be throwing 10j wheels in there. Now with the pedal box I'm looking the brake servo too and I'm going to throw new brake lines in there too. Get all that done and the motor can be built and dropped back in for the final time.
I'm not sure whether to use solid or braided lines in the engine yet will have to decide that next!
I'm not sure whether to use solid or braided lines in the engine yet will have to decide that next!


Thread Starter
Senior Member
Joined: Feb 2007
Posts: 368
Likes: 0
From: Surrey, England
Yeah once she's all together she'll be on the dyno. I have a feeling I'm going to have to jump up too twin 60mm throttle bodies to get the most out of it. I need to recalculate the header length to suit the short intake. At the moment they are 94" too long for the very short inlet.
Thread Starter
Senior Member
Joined: Feb 2007
Posts: 368
Likes: 0
From: Surrey, England
Got a couple of bits done over the weekend. I however didn't appear to take any pics of the fuel cell..... so i'll do that tomorrow!
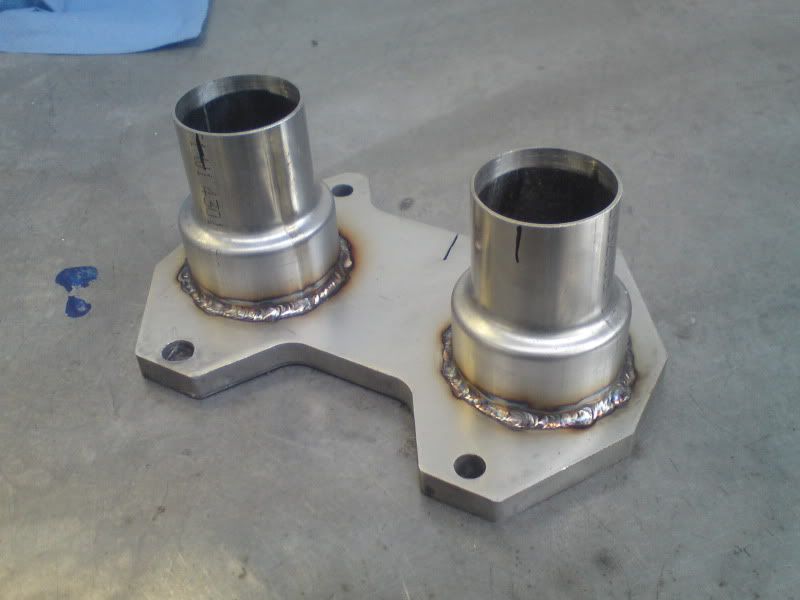
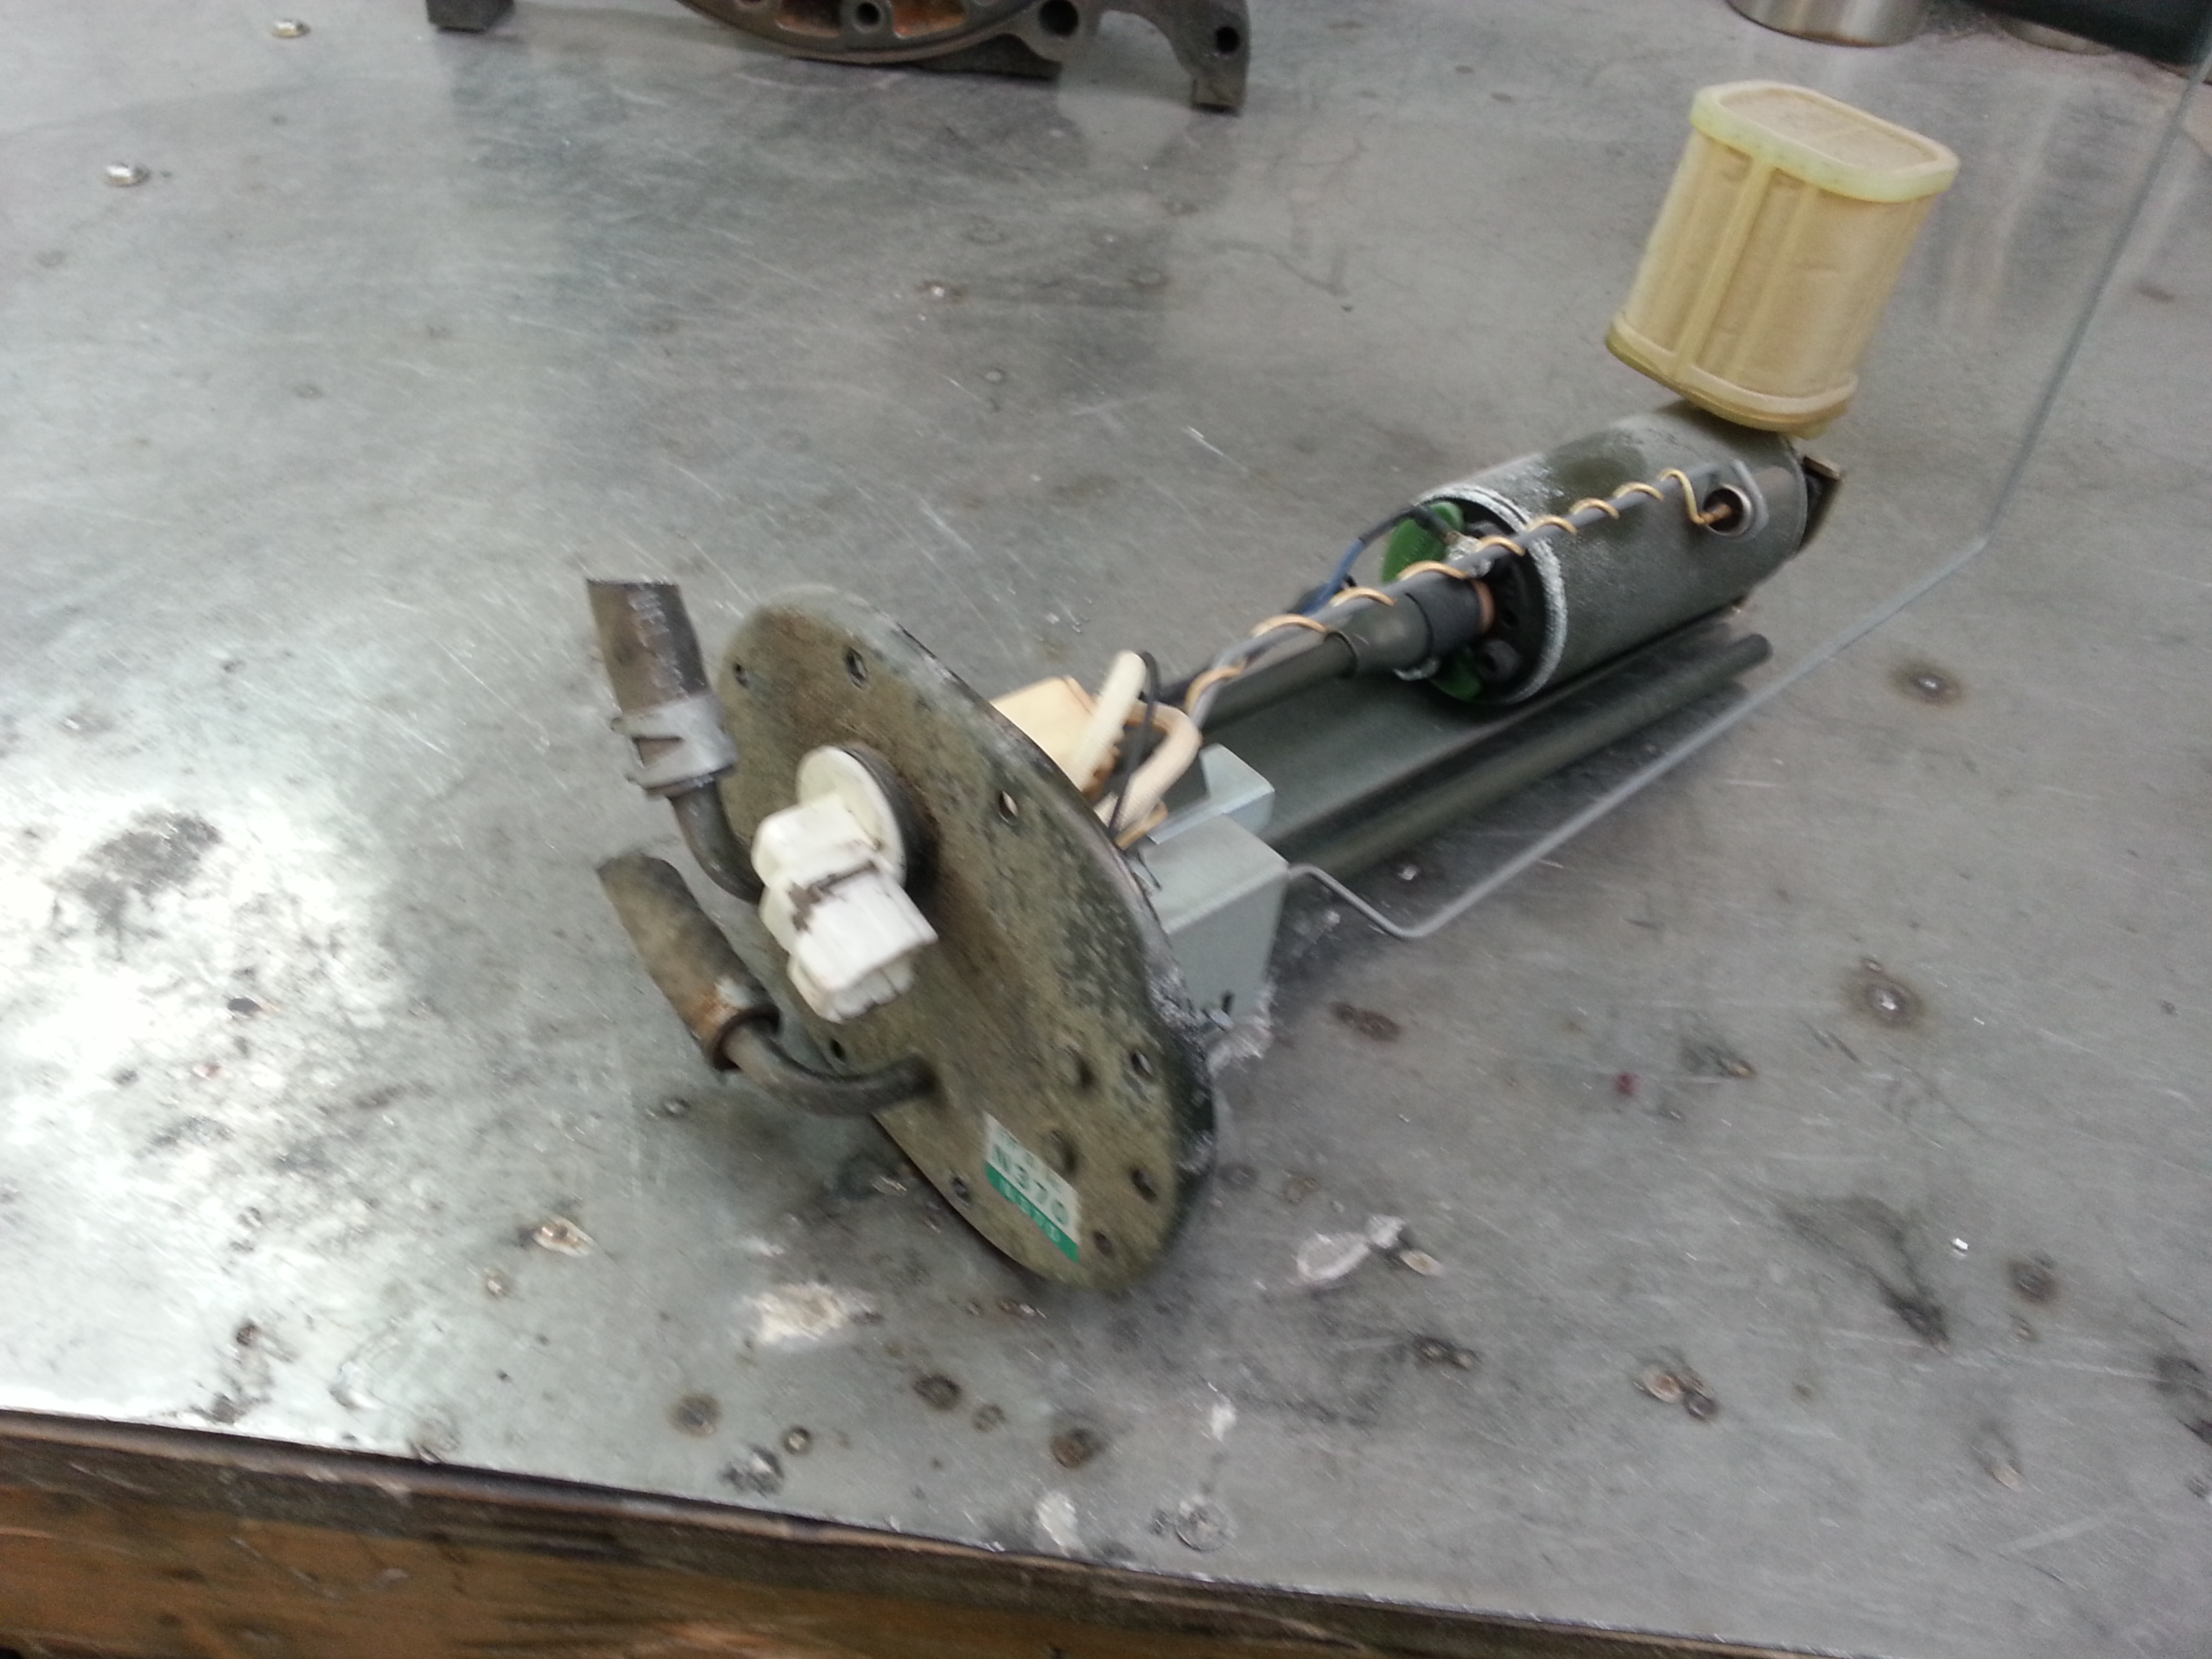
This is basicaly the basic pump holder and sender modified to work with the custom tank i've just built. The actual fitting for the oval plate i'm having a mate of mine machine up in ally. I'll then insert short studs into that and weld that into the top of the fuel cell and bolt this peice in. Simple really. Stock fittings cut off wholes welded up. Then re drilled for -6 fittings, fuel pump holder extended and new pump put in. This will then sit in the small serge tank thats been built into the bottom of the cell... Pics will show more.
Stock set up and pump
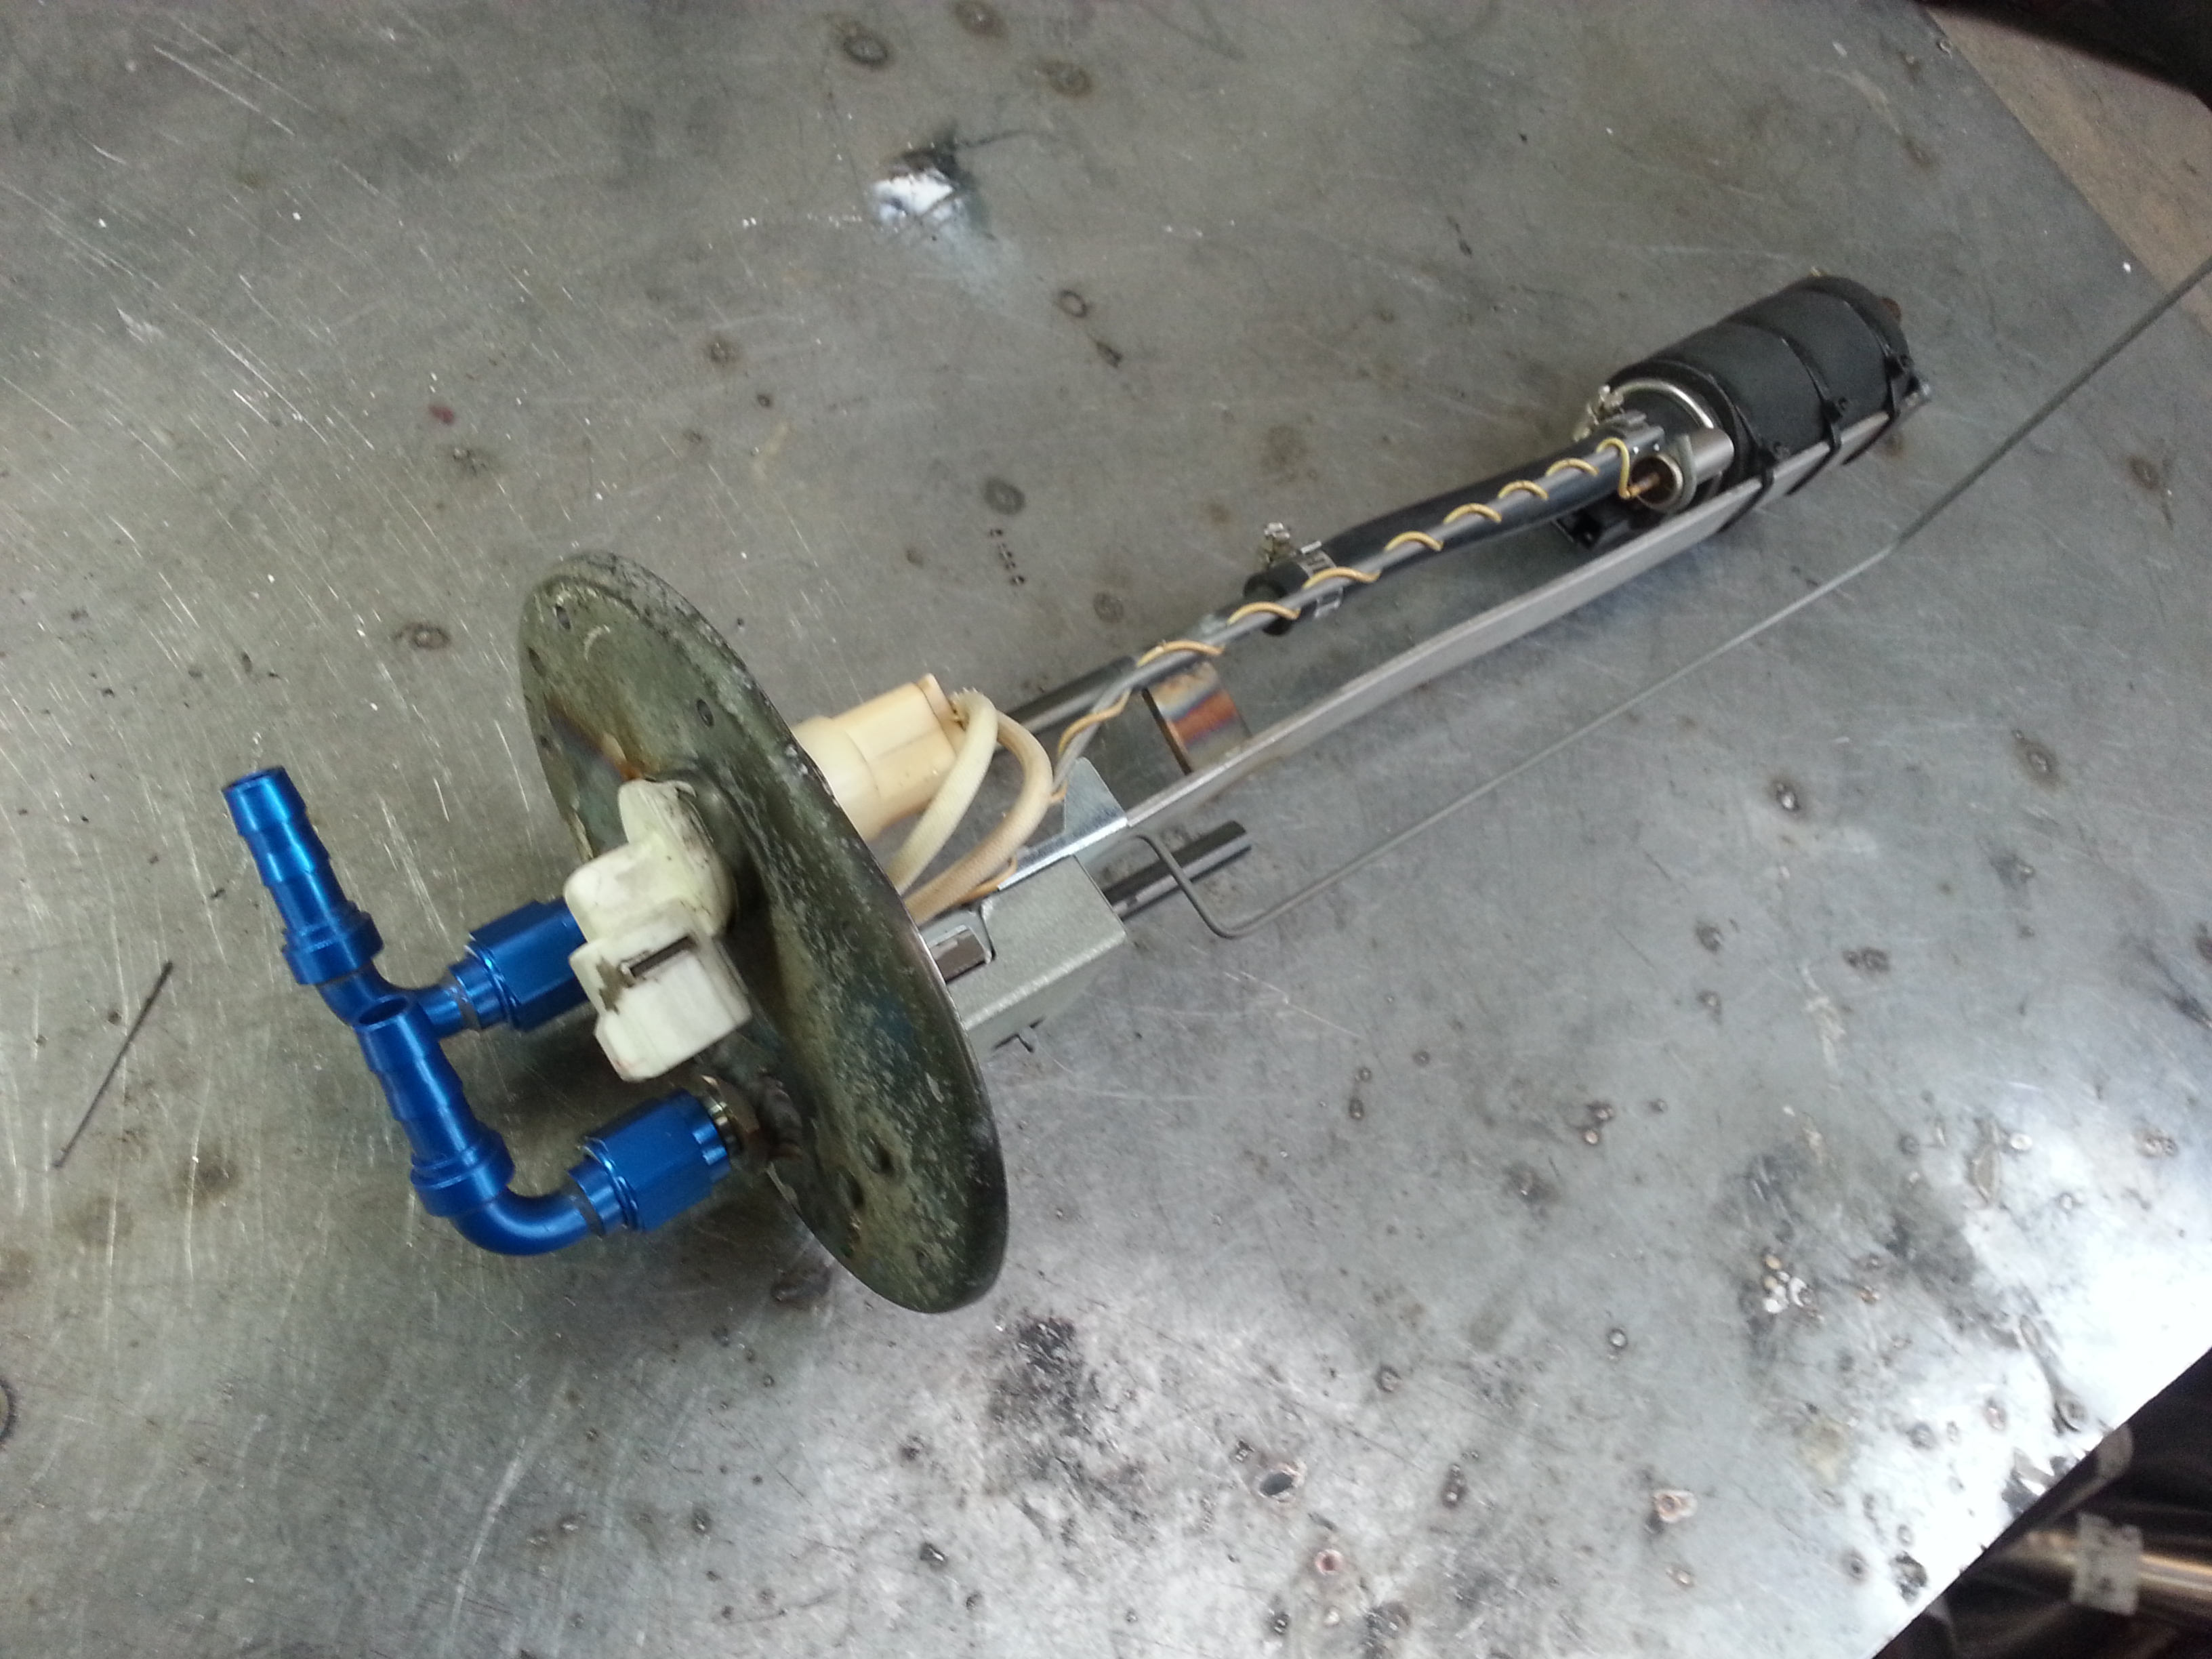
New version - retains the stock sender and low fuel level
I'll get the fuel cell pics up tomorrow!
This is basicaly the basic pump holder and sender modified to work with the custom tank i've just built. The actual fitting for the oval plate i'm having a mate of mine machine up in ally. I'll then insert short studs into that and weld that into the top of the fuel cell and bolt this peice in. Simple really. Stock fittings cut off wholes welded up. Then re drilled for -6 fittings, fuel pump holder extended and new pump put in. This will then sit in the small serge tank thats been built into the bottom of the cell... Pics will show more.
Stock set up and pump
New version - retains the stock sender and low fuel level
I'll get the fuel cell pics up tomorrow!
Thread Starter
Senior Member
Joined: Feb 2007
Posts: 368
Likes: 0
From: Surrey, England
Thanks dude,
The throttle bodies are 55mm made by jenvey dynamics. They do bodies for just about every application you can think of.My ones I have modified to get exactly what I want out of the application. It's a bummer the don't do shorter trumpets with the injectior holes in hence I chopped mine down and honed out the bores inside.
The throttle bodies are 55mm made by jenvey dynamics. They do bodies for just about every application you can think of.My ones I have modified to get exactly what I want out of the application. It's a bummer the don't do shorter trumpets with the injectior holes in hence I chopped mine down and honed out the bores inside.
The variety and execution of the various exhausts has been extremely entertaining, however...
In the undercarriage shots it appears that the whole rear subframe has never been touched, what's up with that?
Just being a nag.
Anyways, while you have the fuel cell bulkhead in hand, you should seriously consider upgrading the electrical connector.
That stock piece will get quite crispy as your upgraded pump sucks current.
Thread Starter
Senior Member
Joined: Feb 2007
Posts: 368
Likes: 0
From: Surrey, England
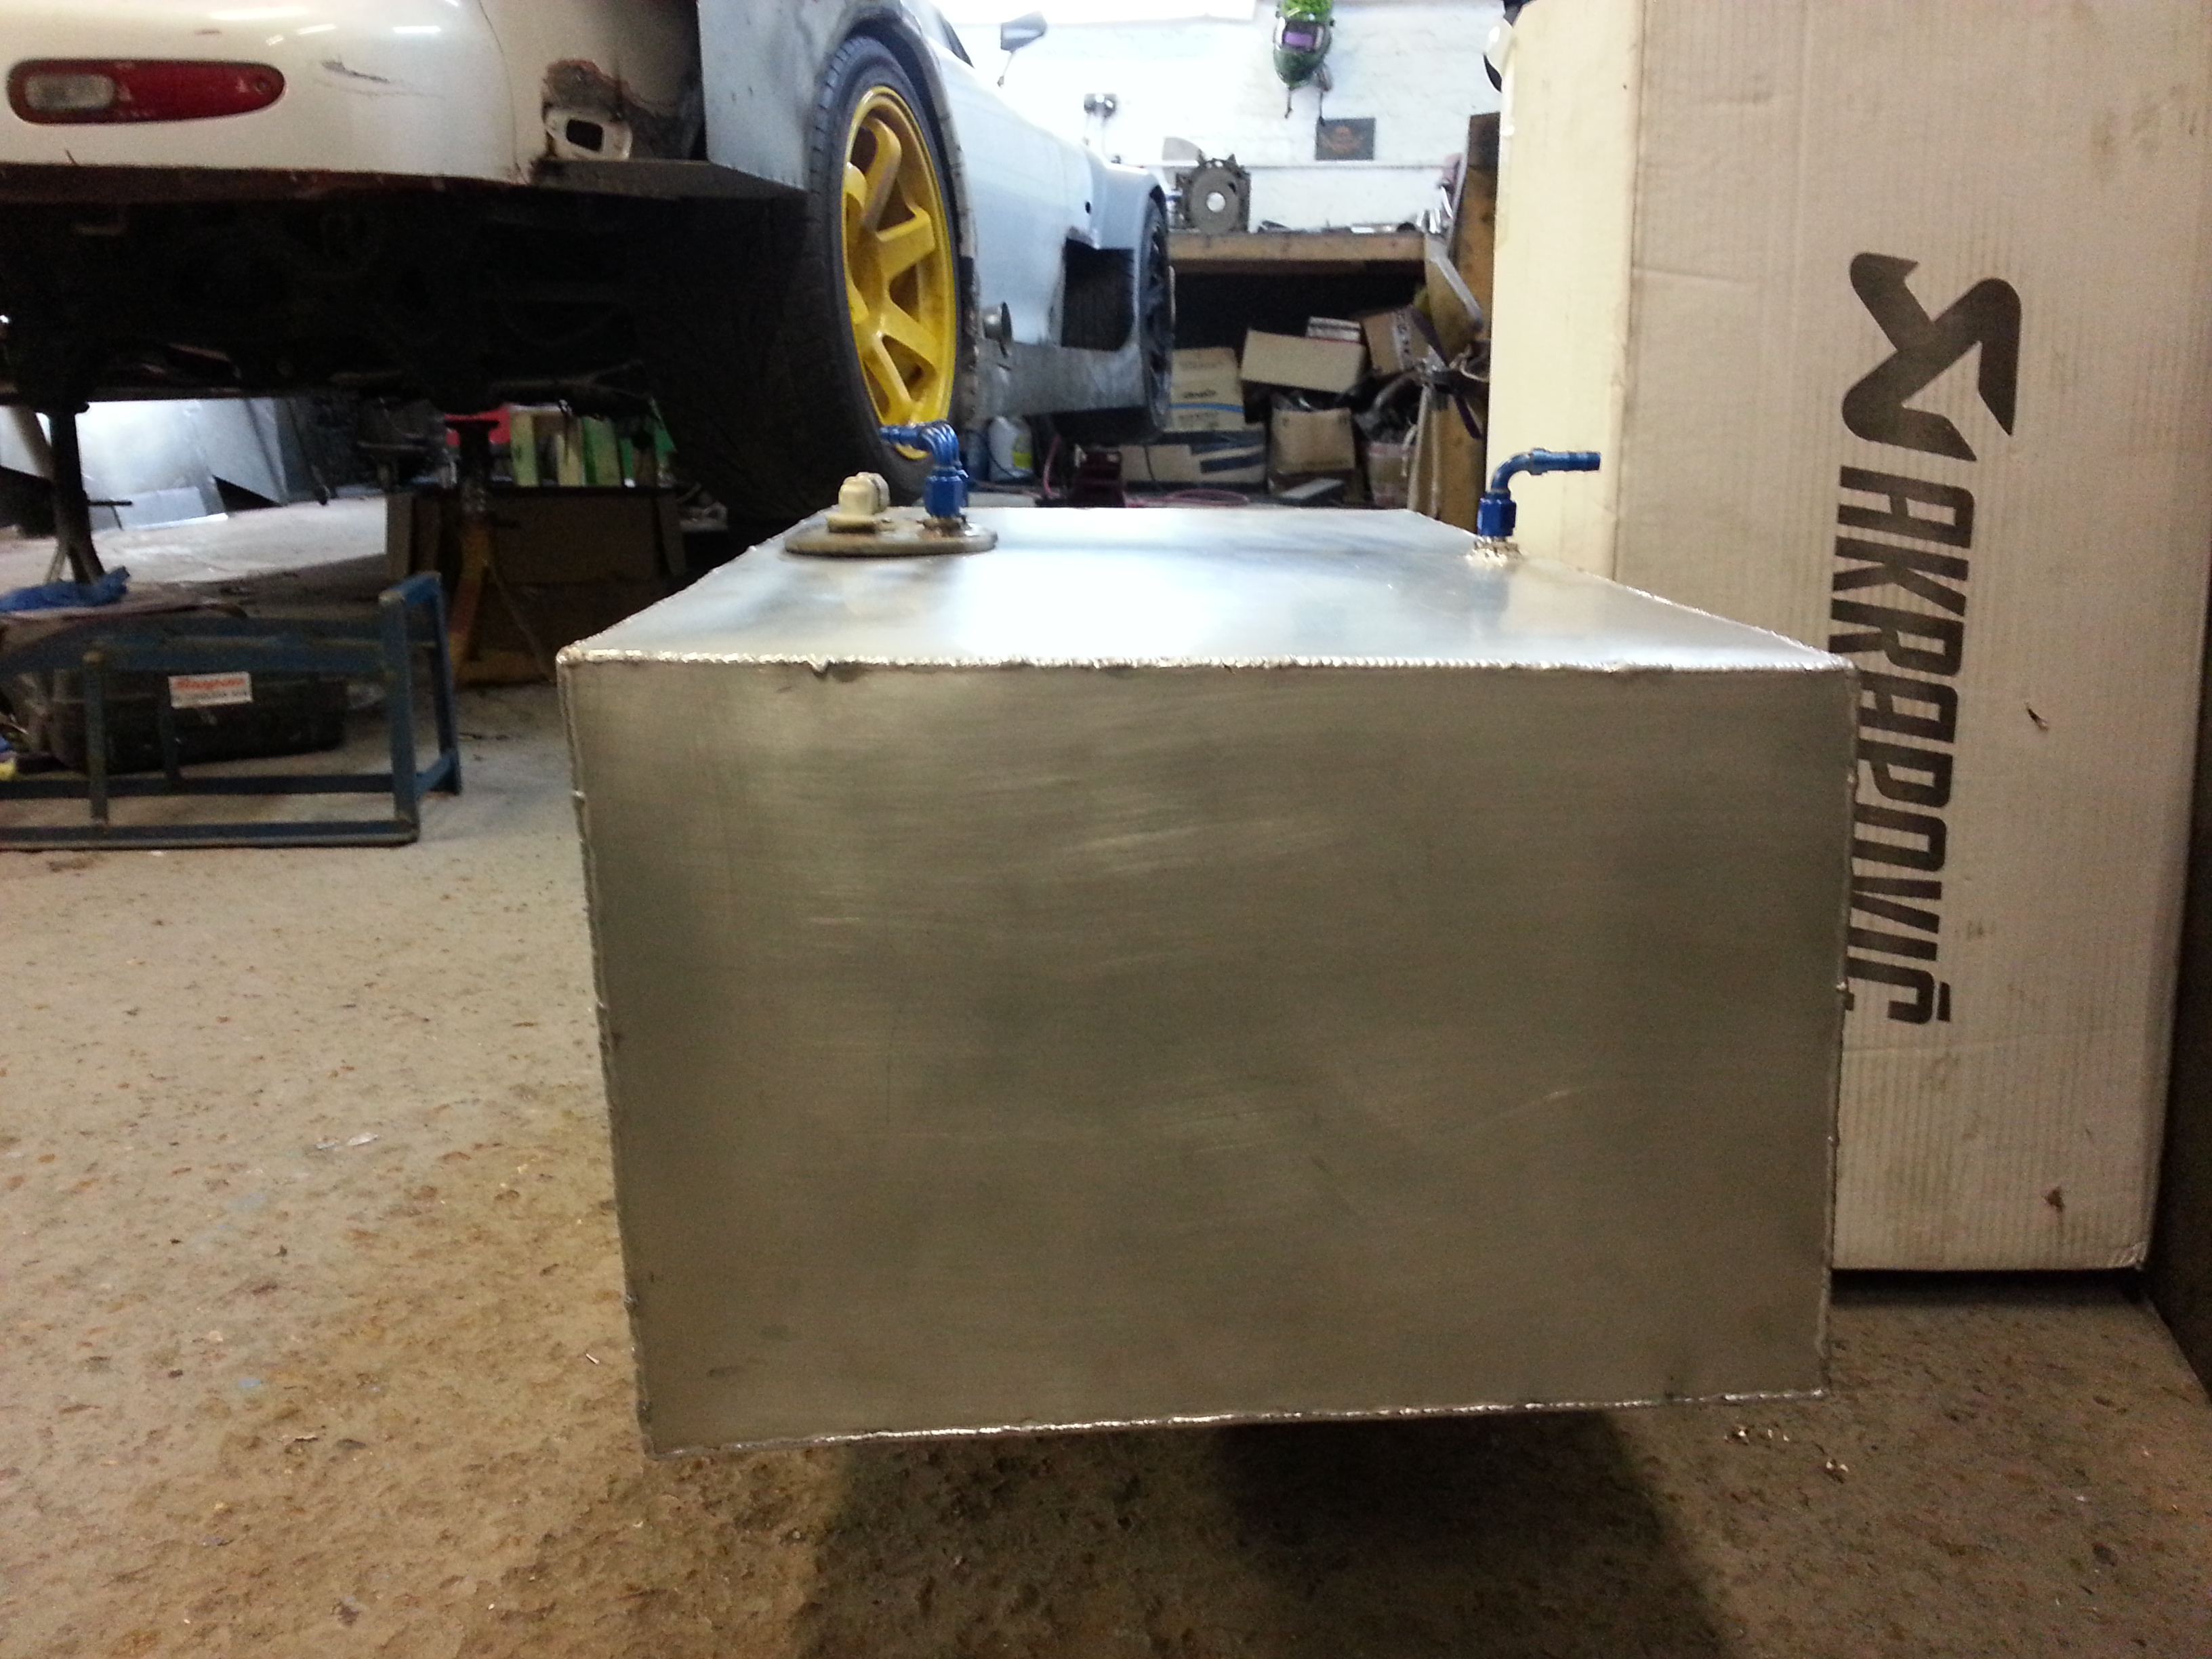
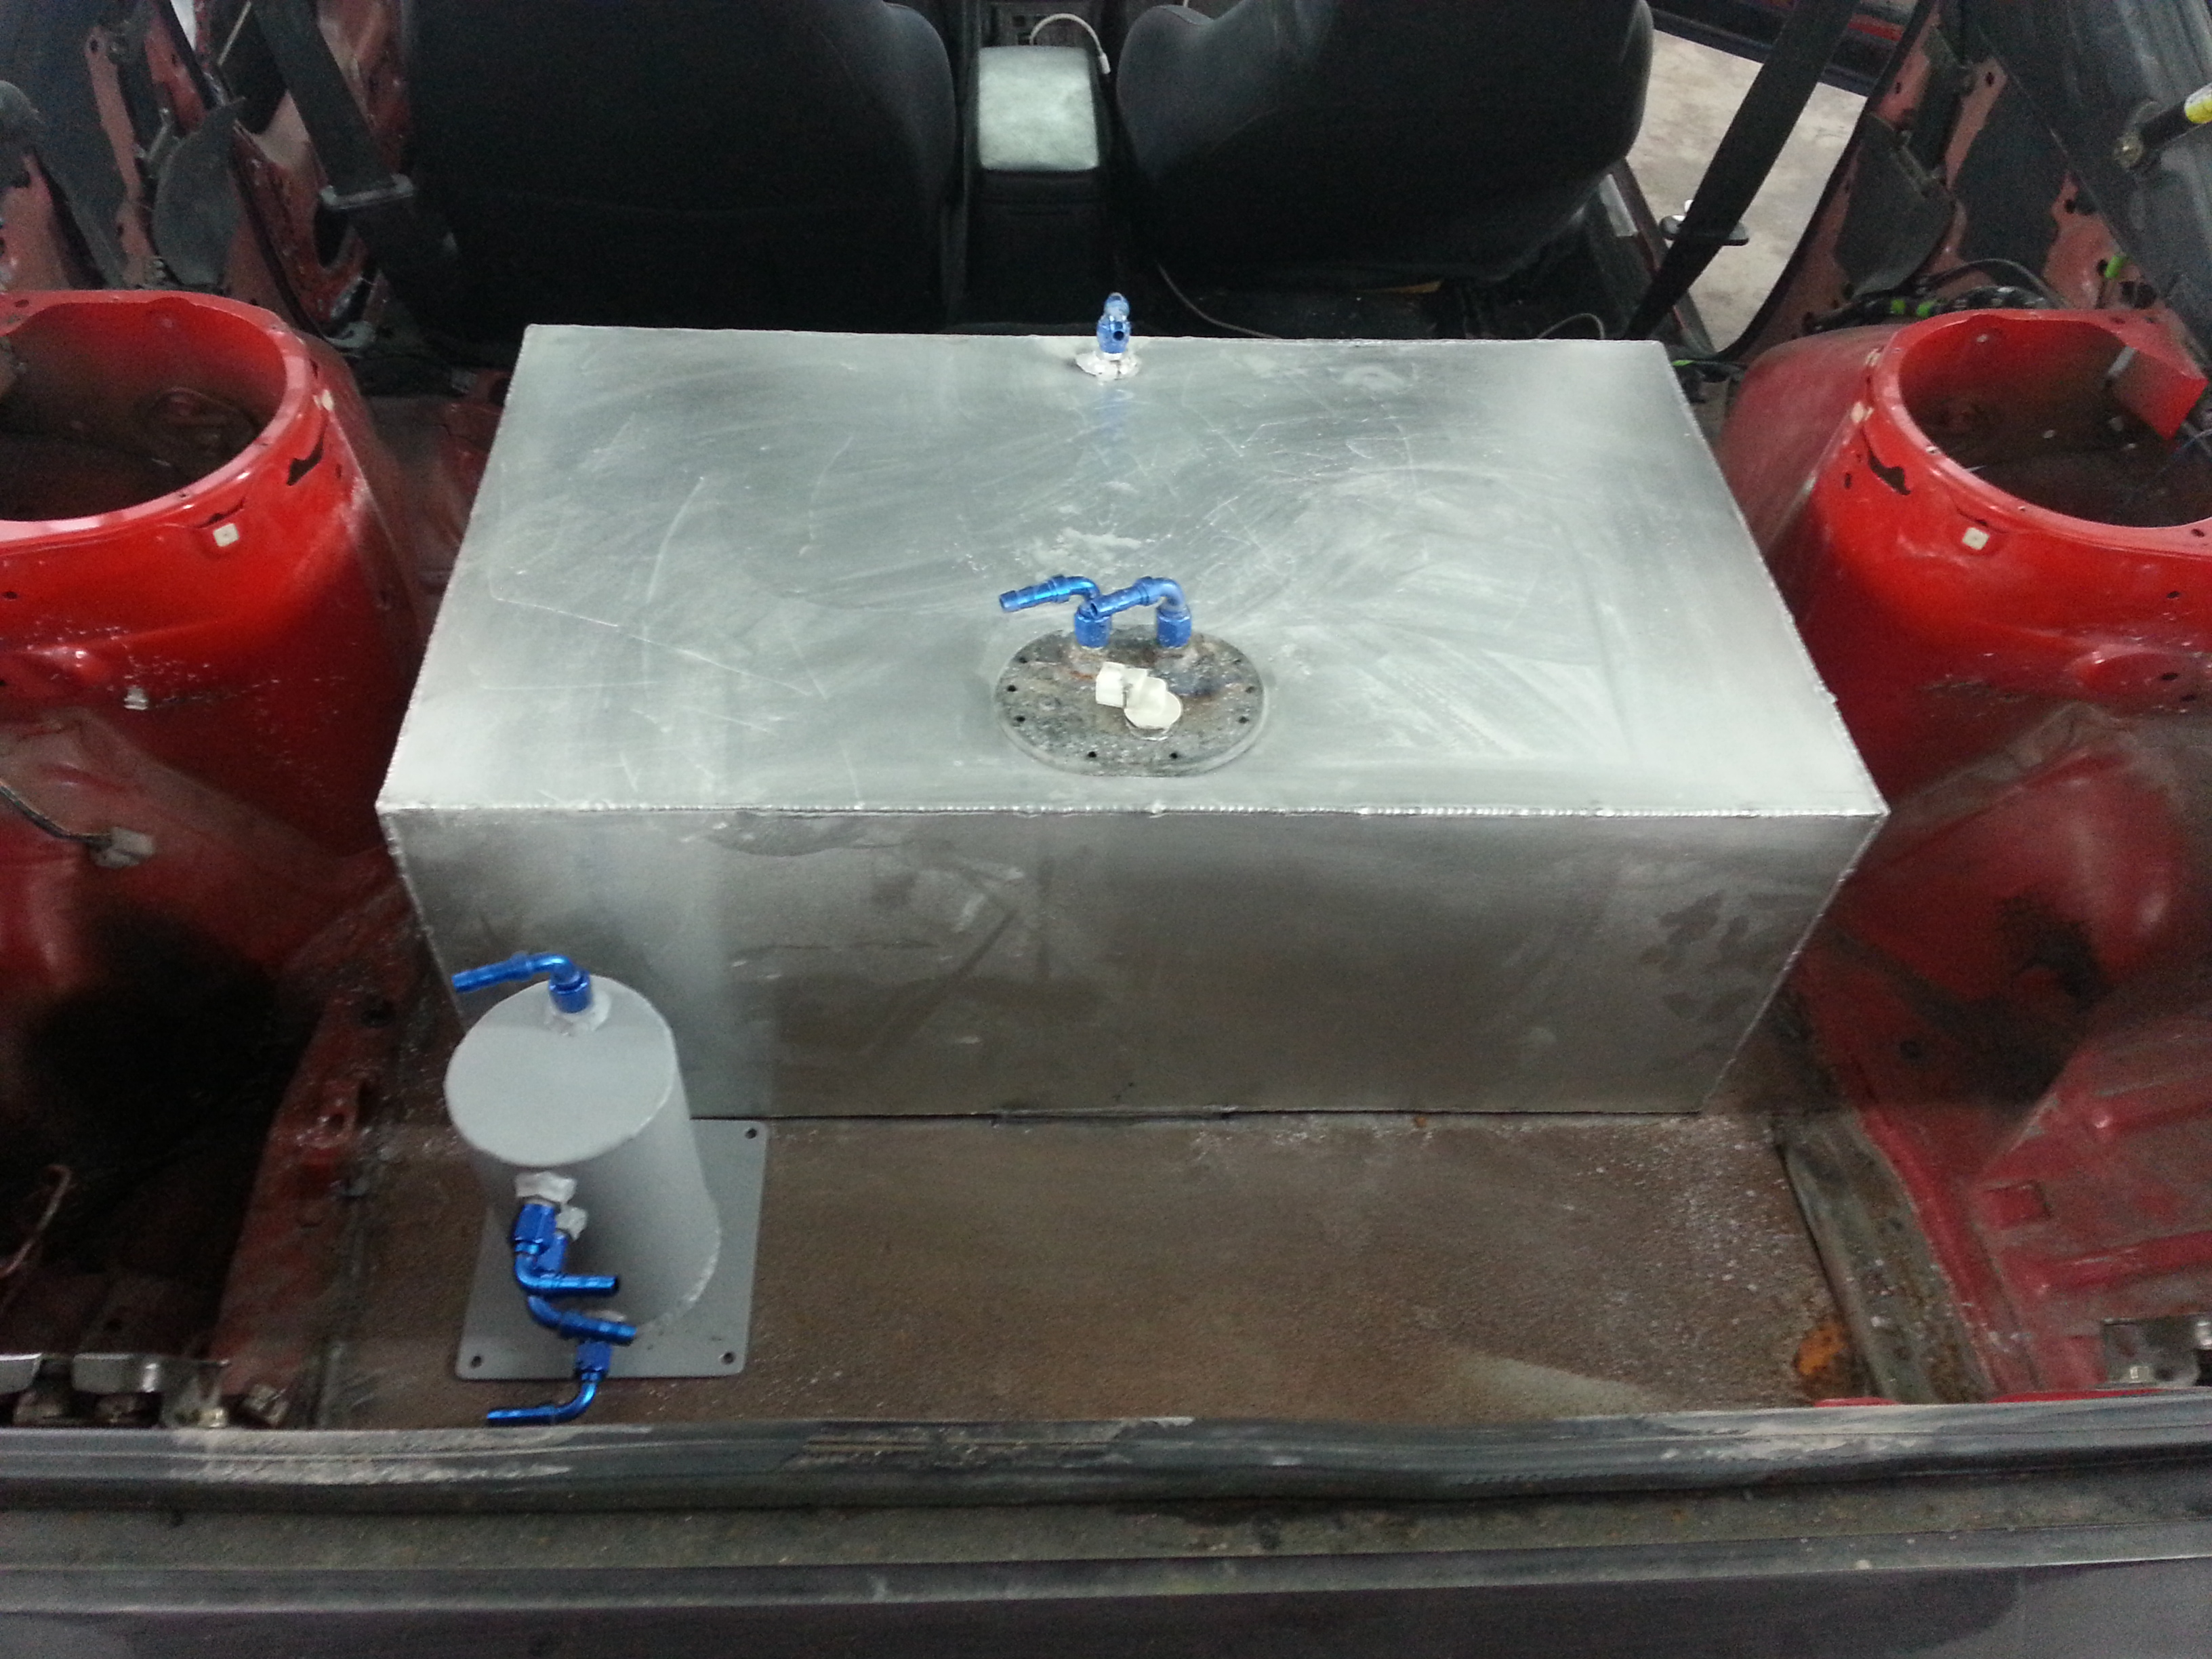
The fuel cell. Its about 65/66 litres with the gradient and surge tank at the bottom. Foam filled inside. Still got to fit the filler neck but i'll decide where to put that once I have it in the car.
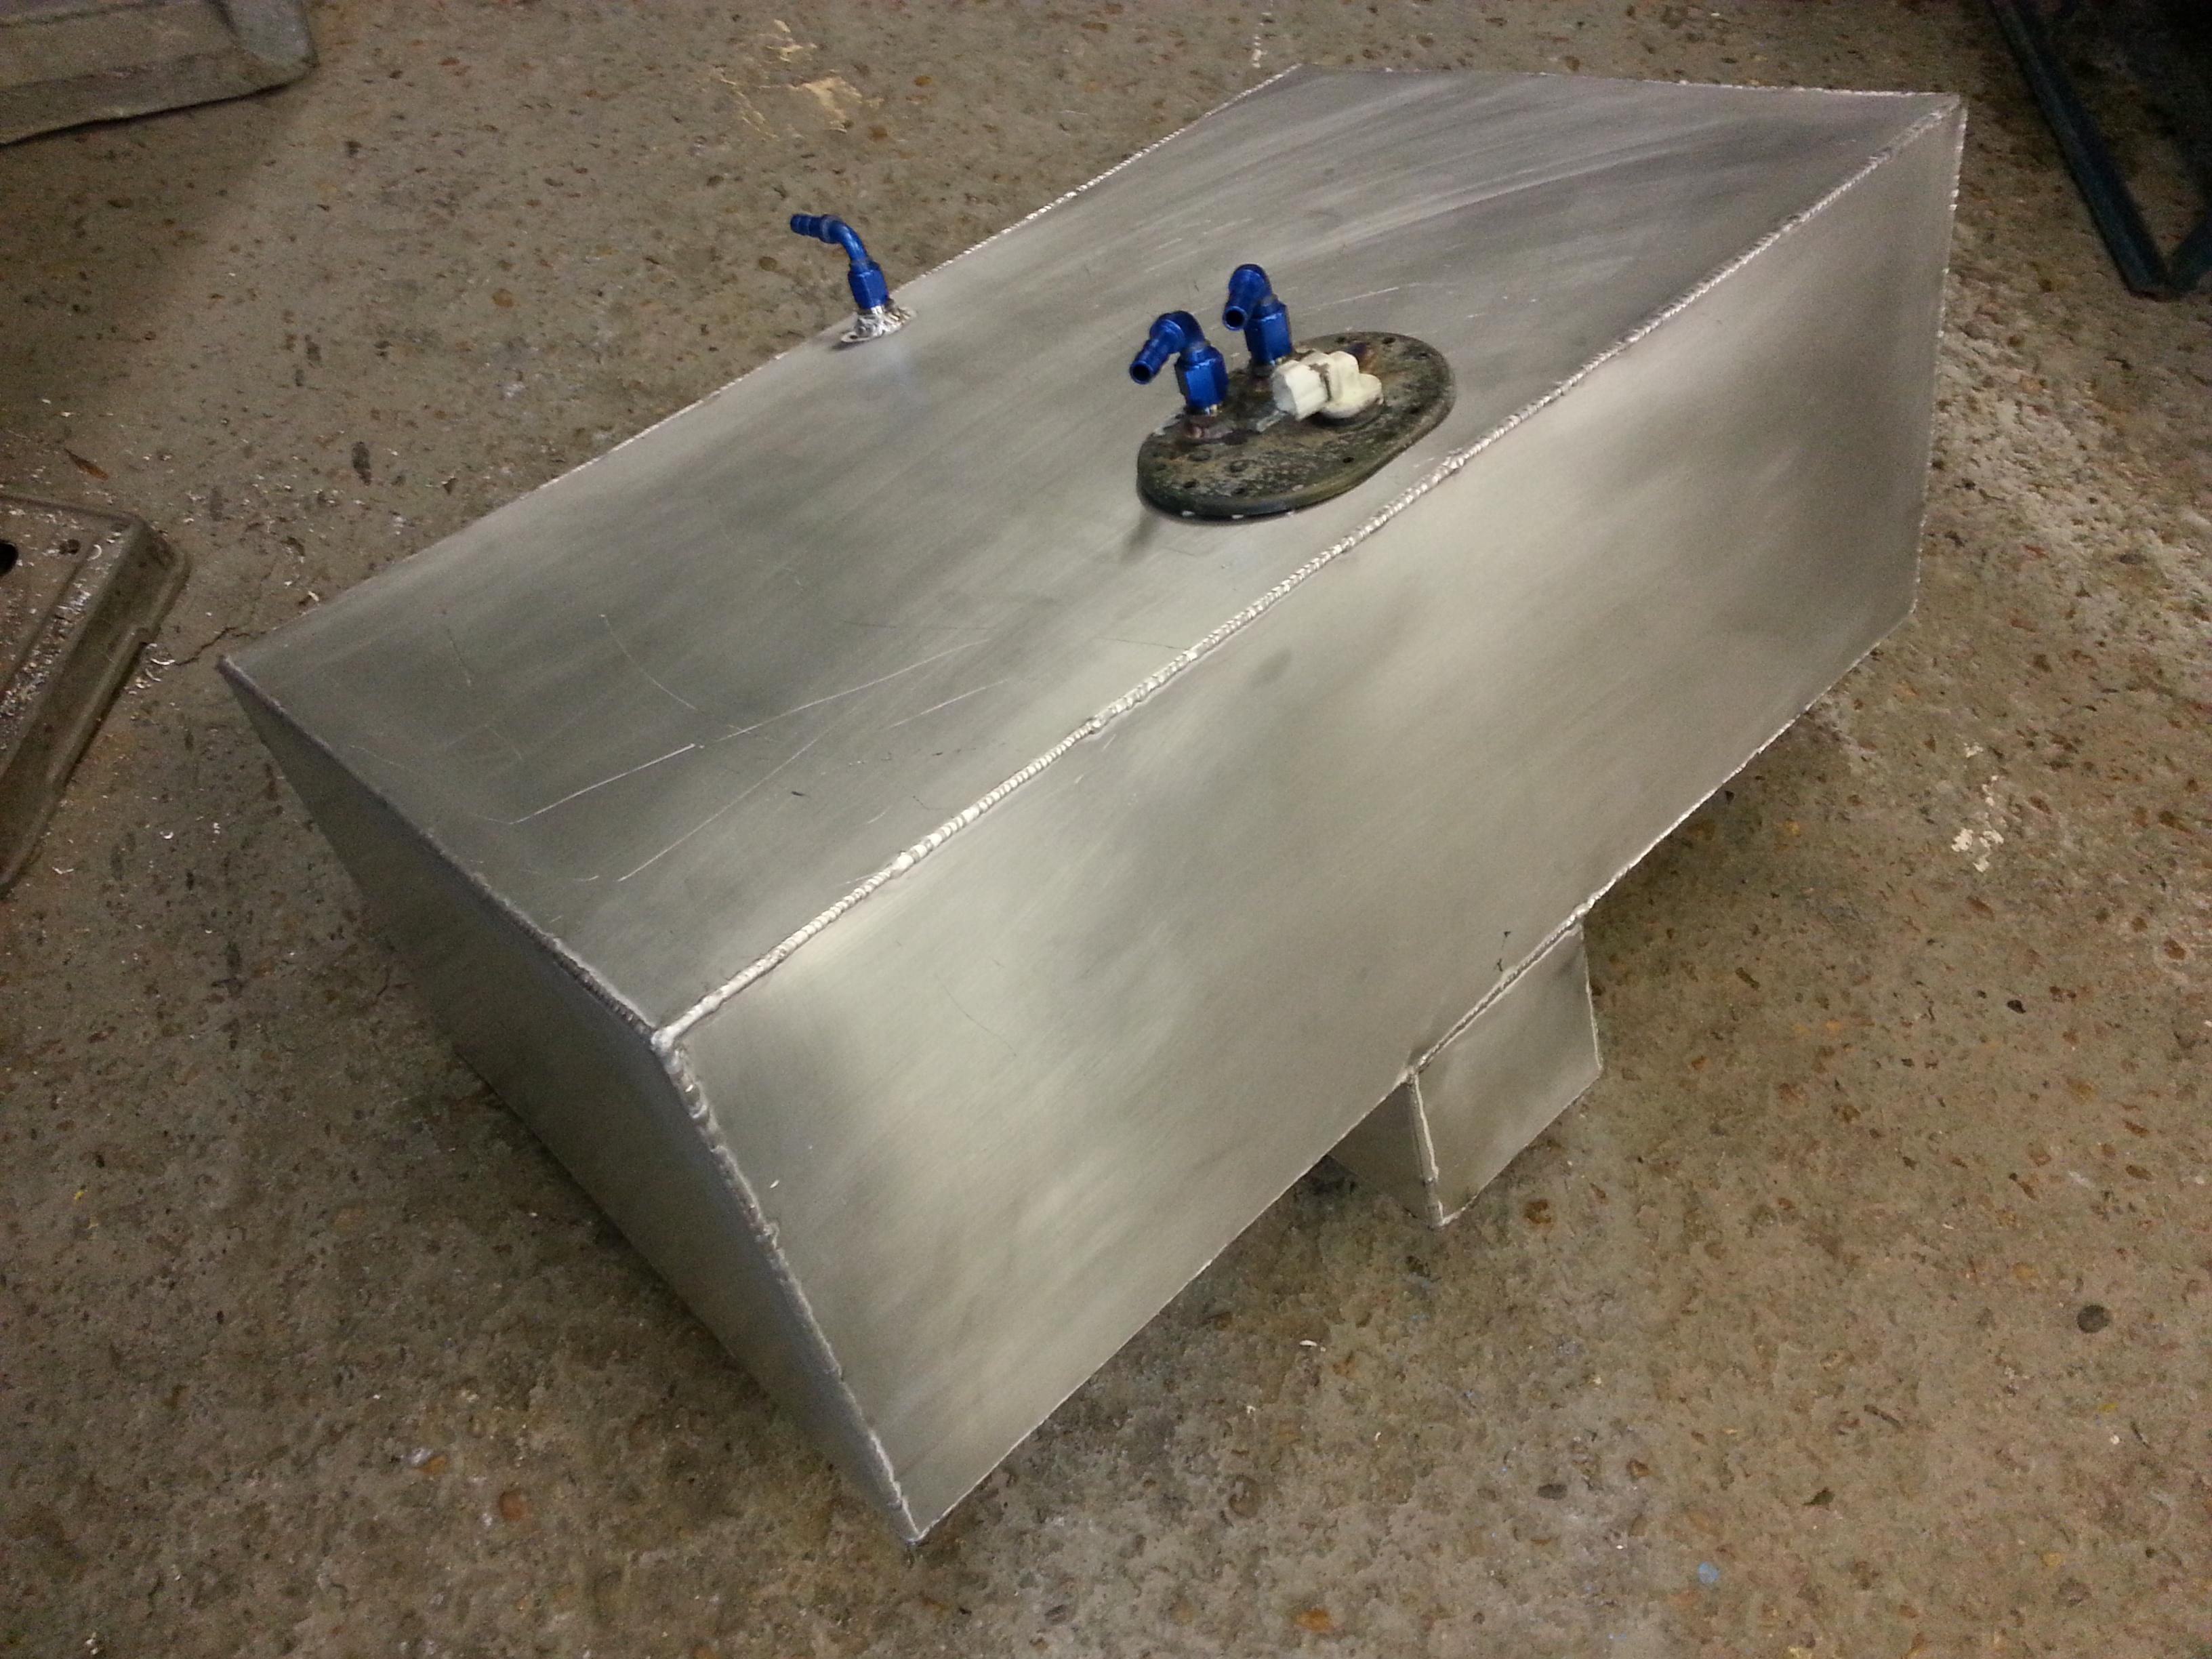
You can see the gradient here sloping towards the rear of the tank to keep the fuel forced down around the pump.

are you still running the michrotech? i hate that ecu. id rather a haltech e6k over that piece of ****. same parts as the 200$ diy megasquirt in a fancy case. at only a 600%+ markup
Thread Starter
Senior Member
Joined: Feb 2007
Posts: 368
Likes: 0
From: Surrey, England
Yes still on the microtech. Does exactly what I need it to do and I paid �200 for it second hand from a UK turner so it works for my needs. If I didn't have a budget for the car then I'd go motec all day long. Awesome support and a world of expandable features.
Thread Starter
Senior Member
Joined: Feb 2007
Posts: 368
Likes: 0
From: Surrey, England
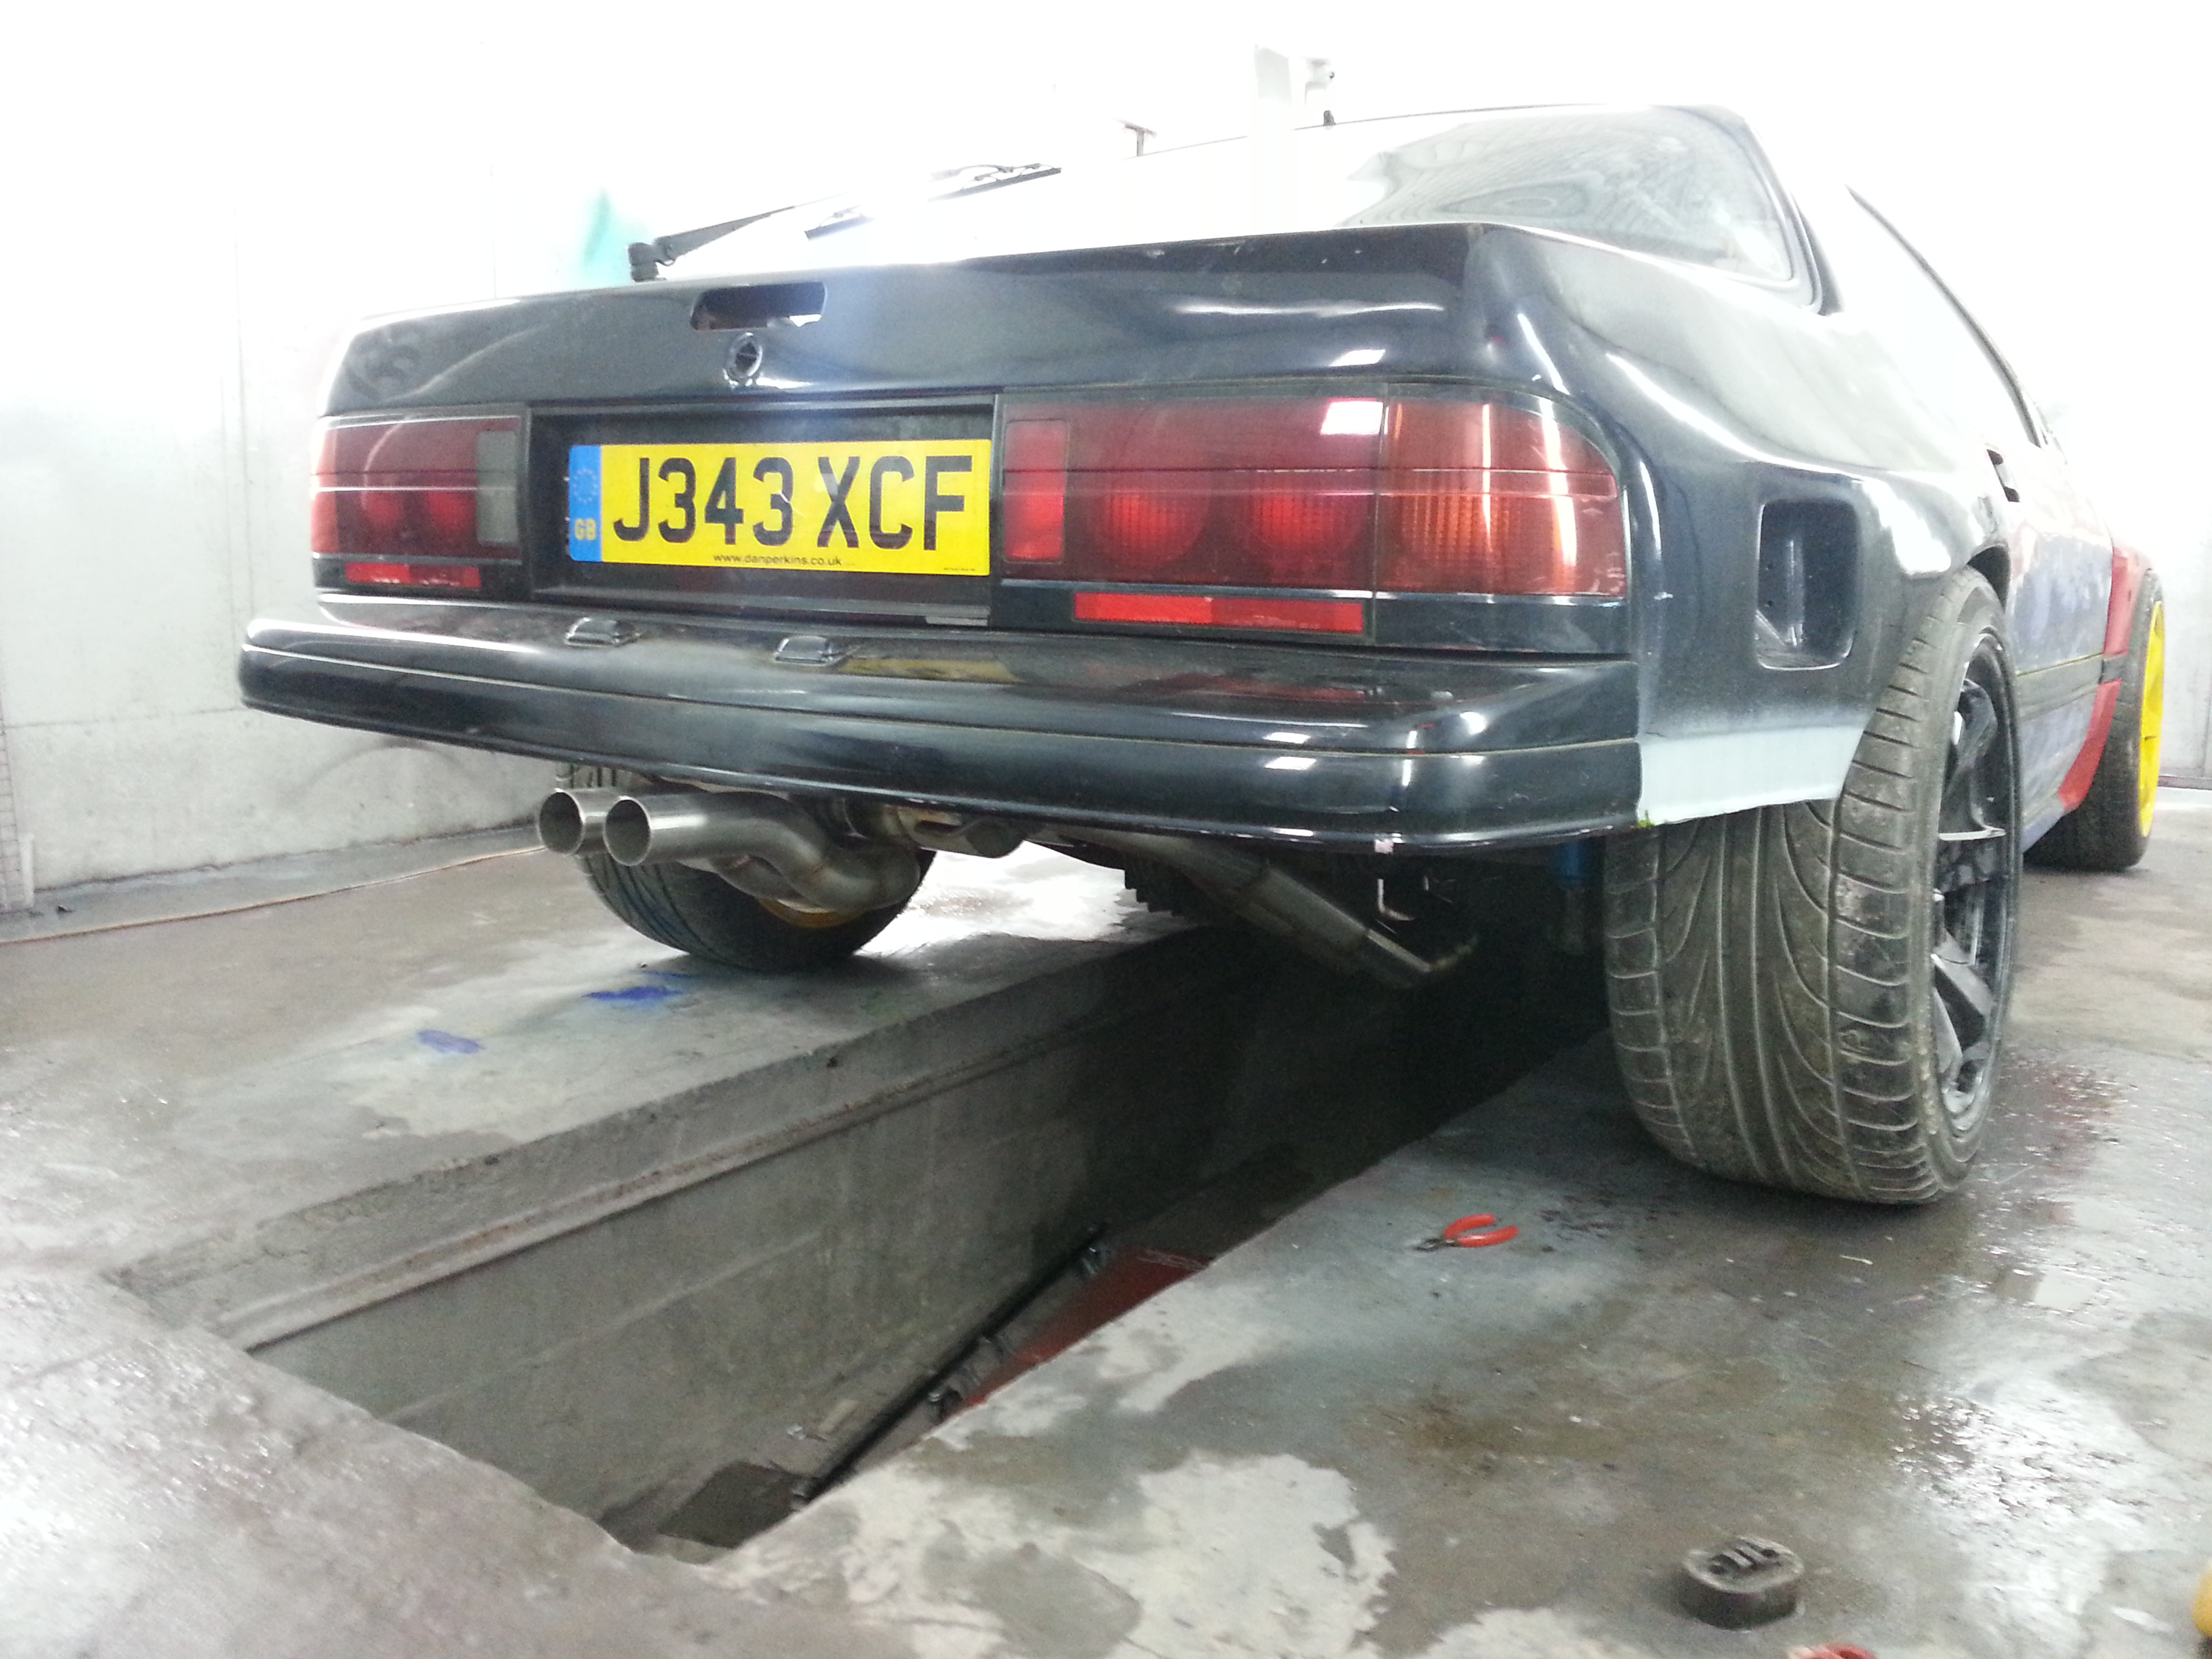
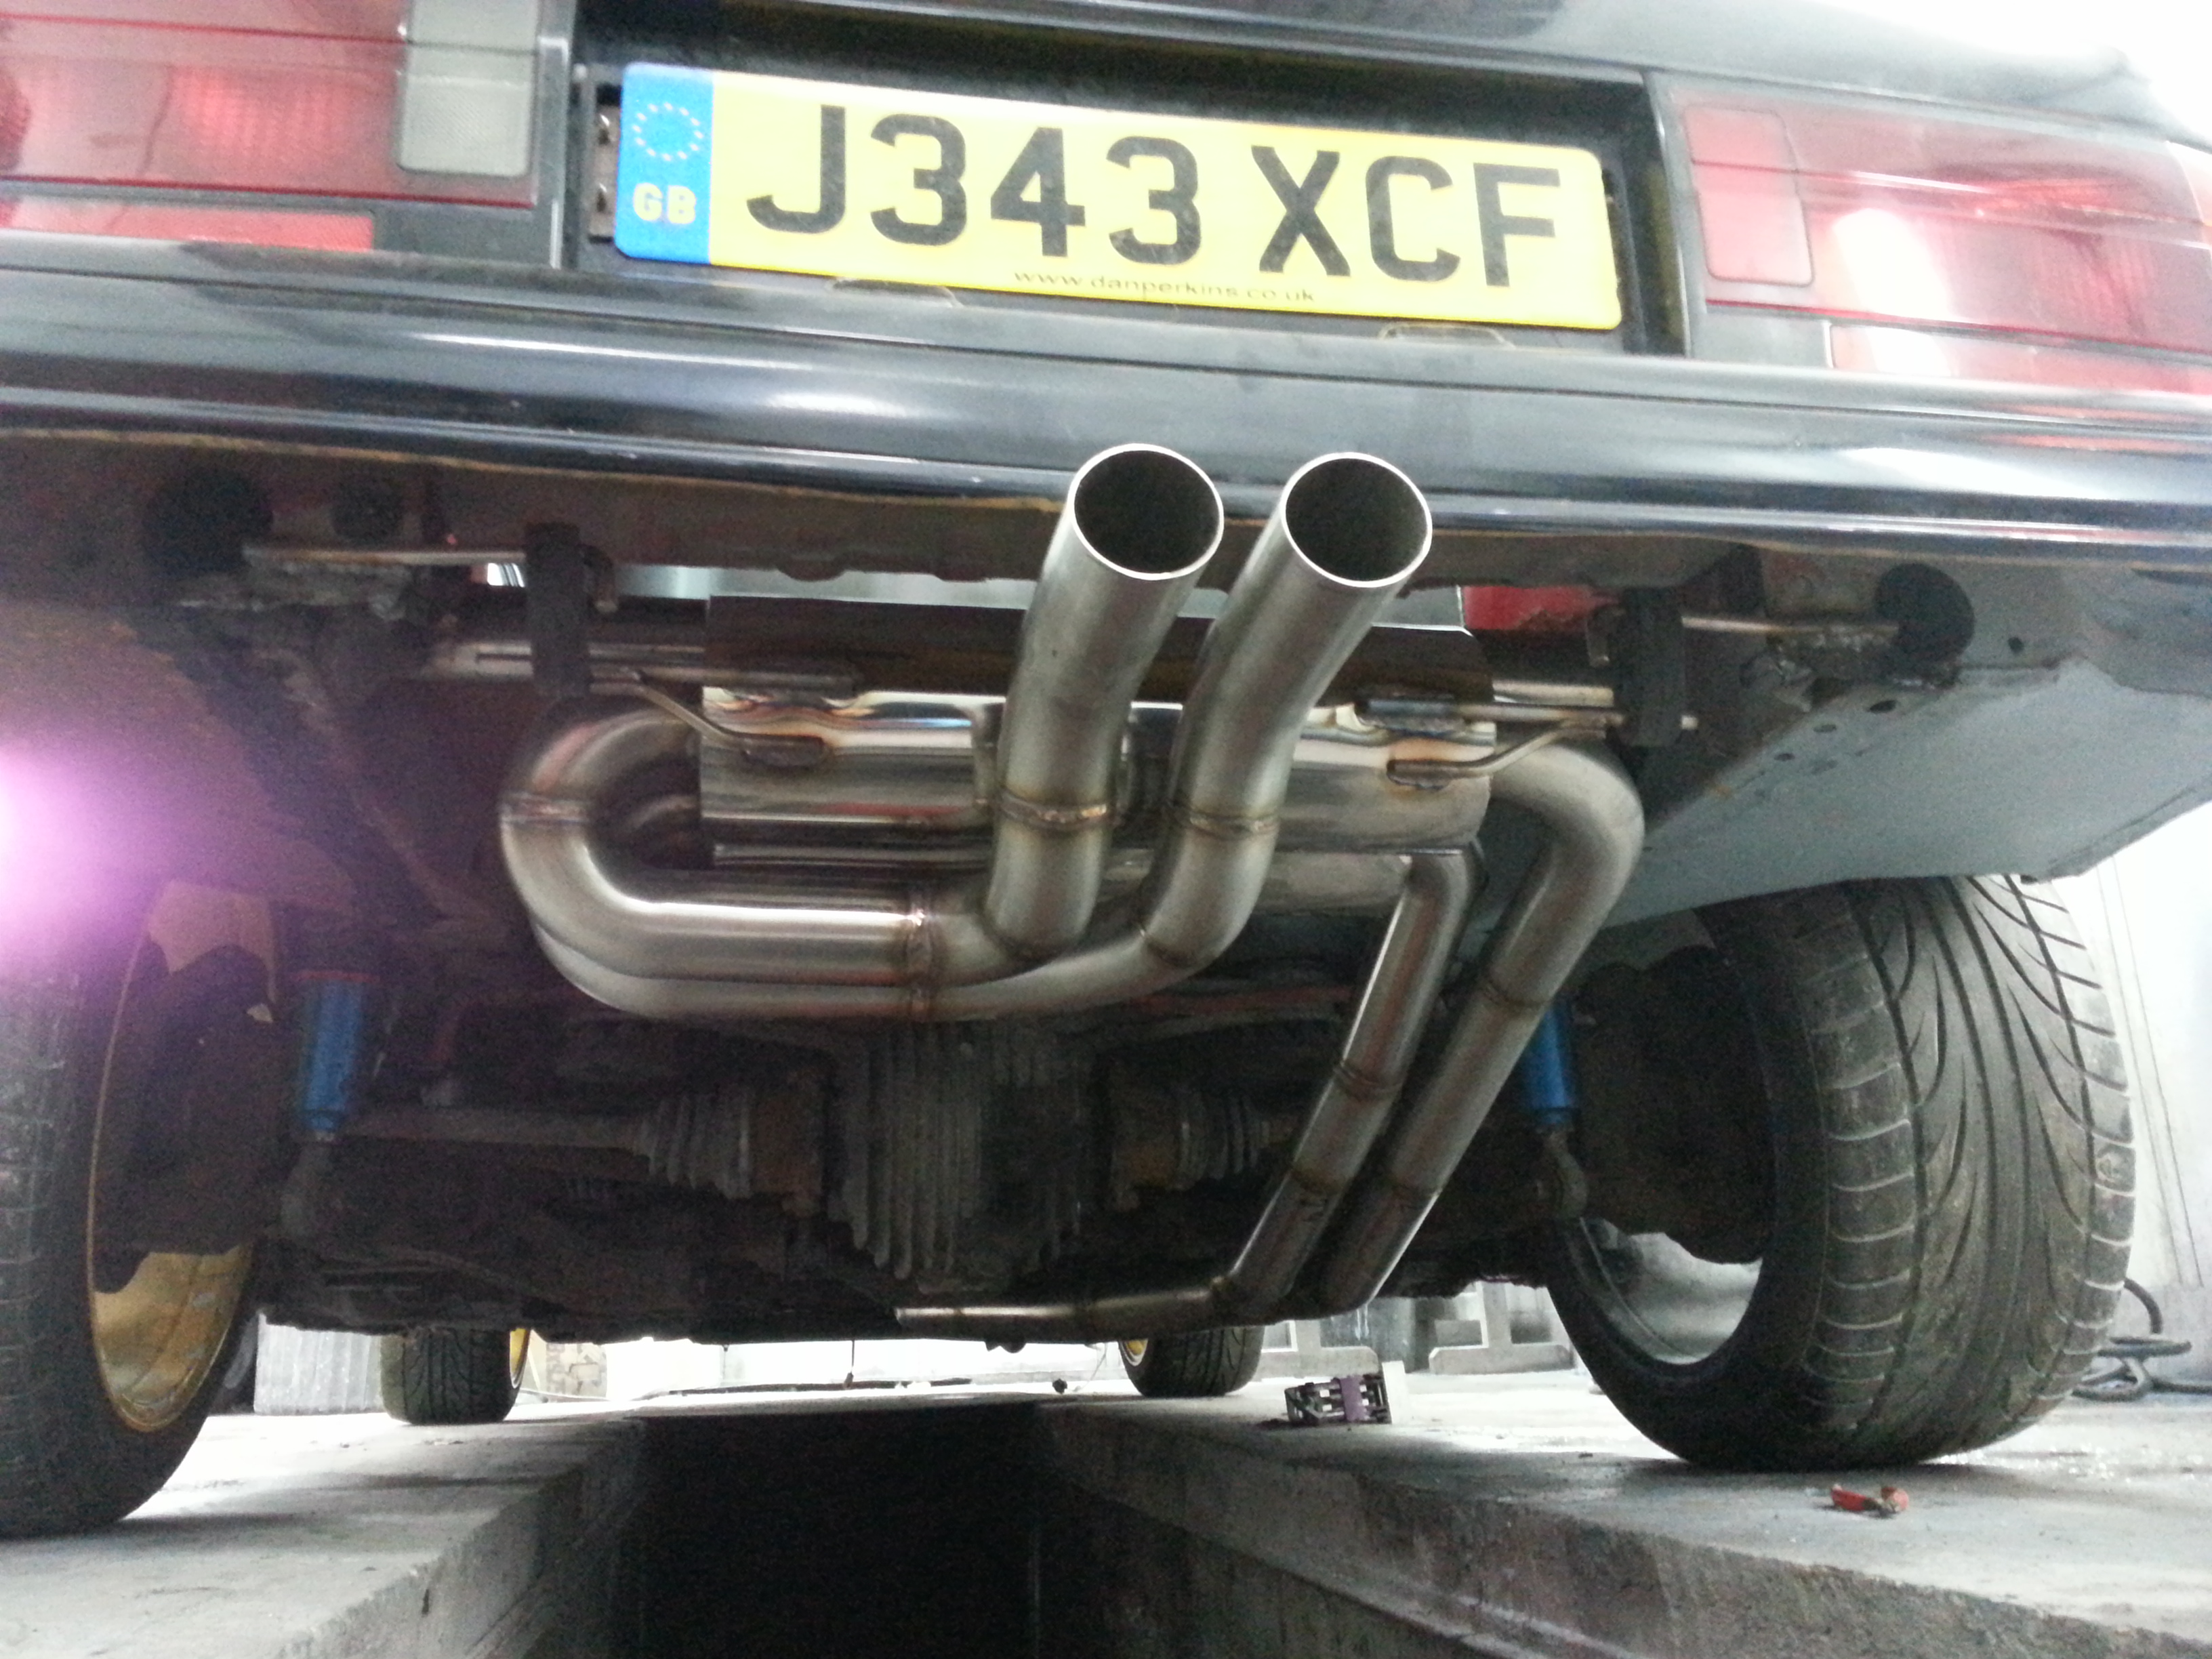
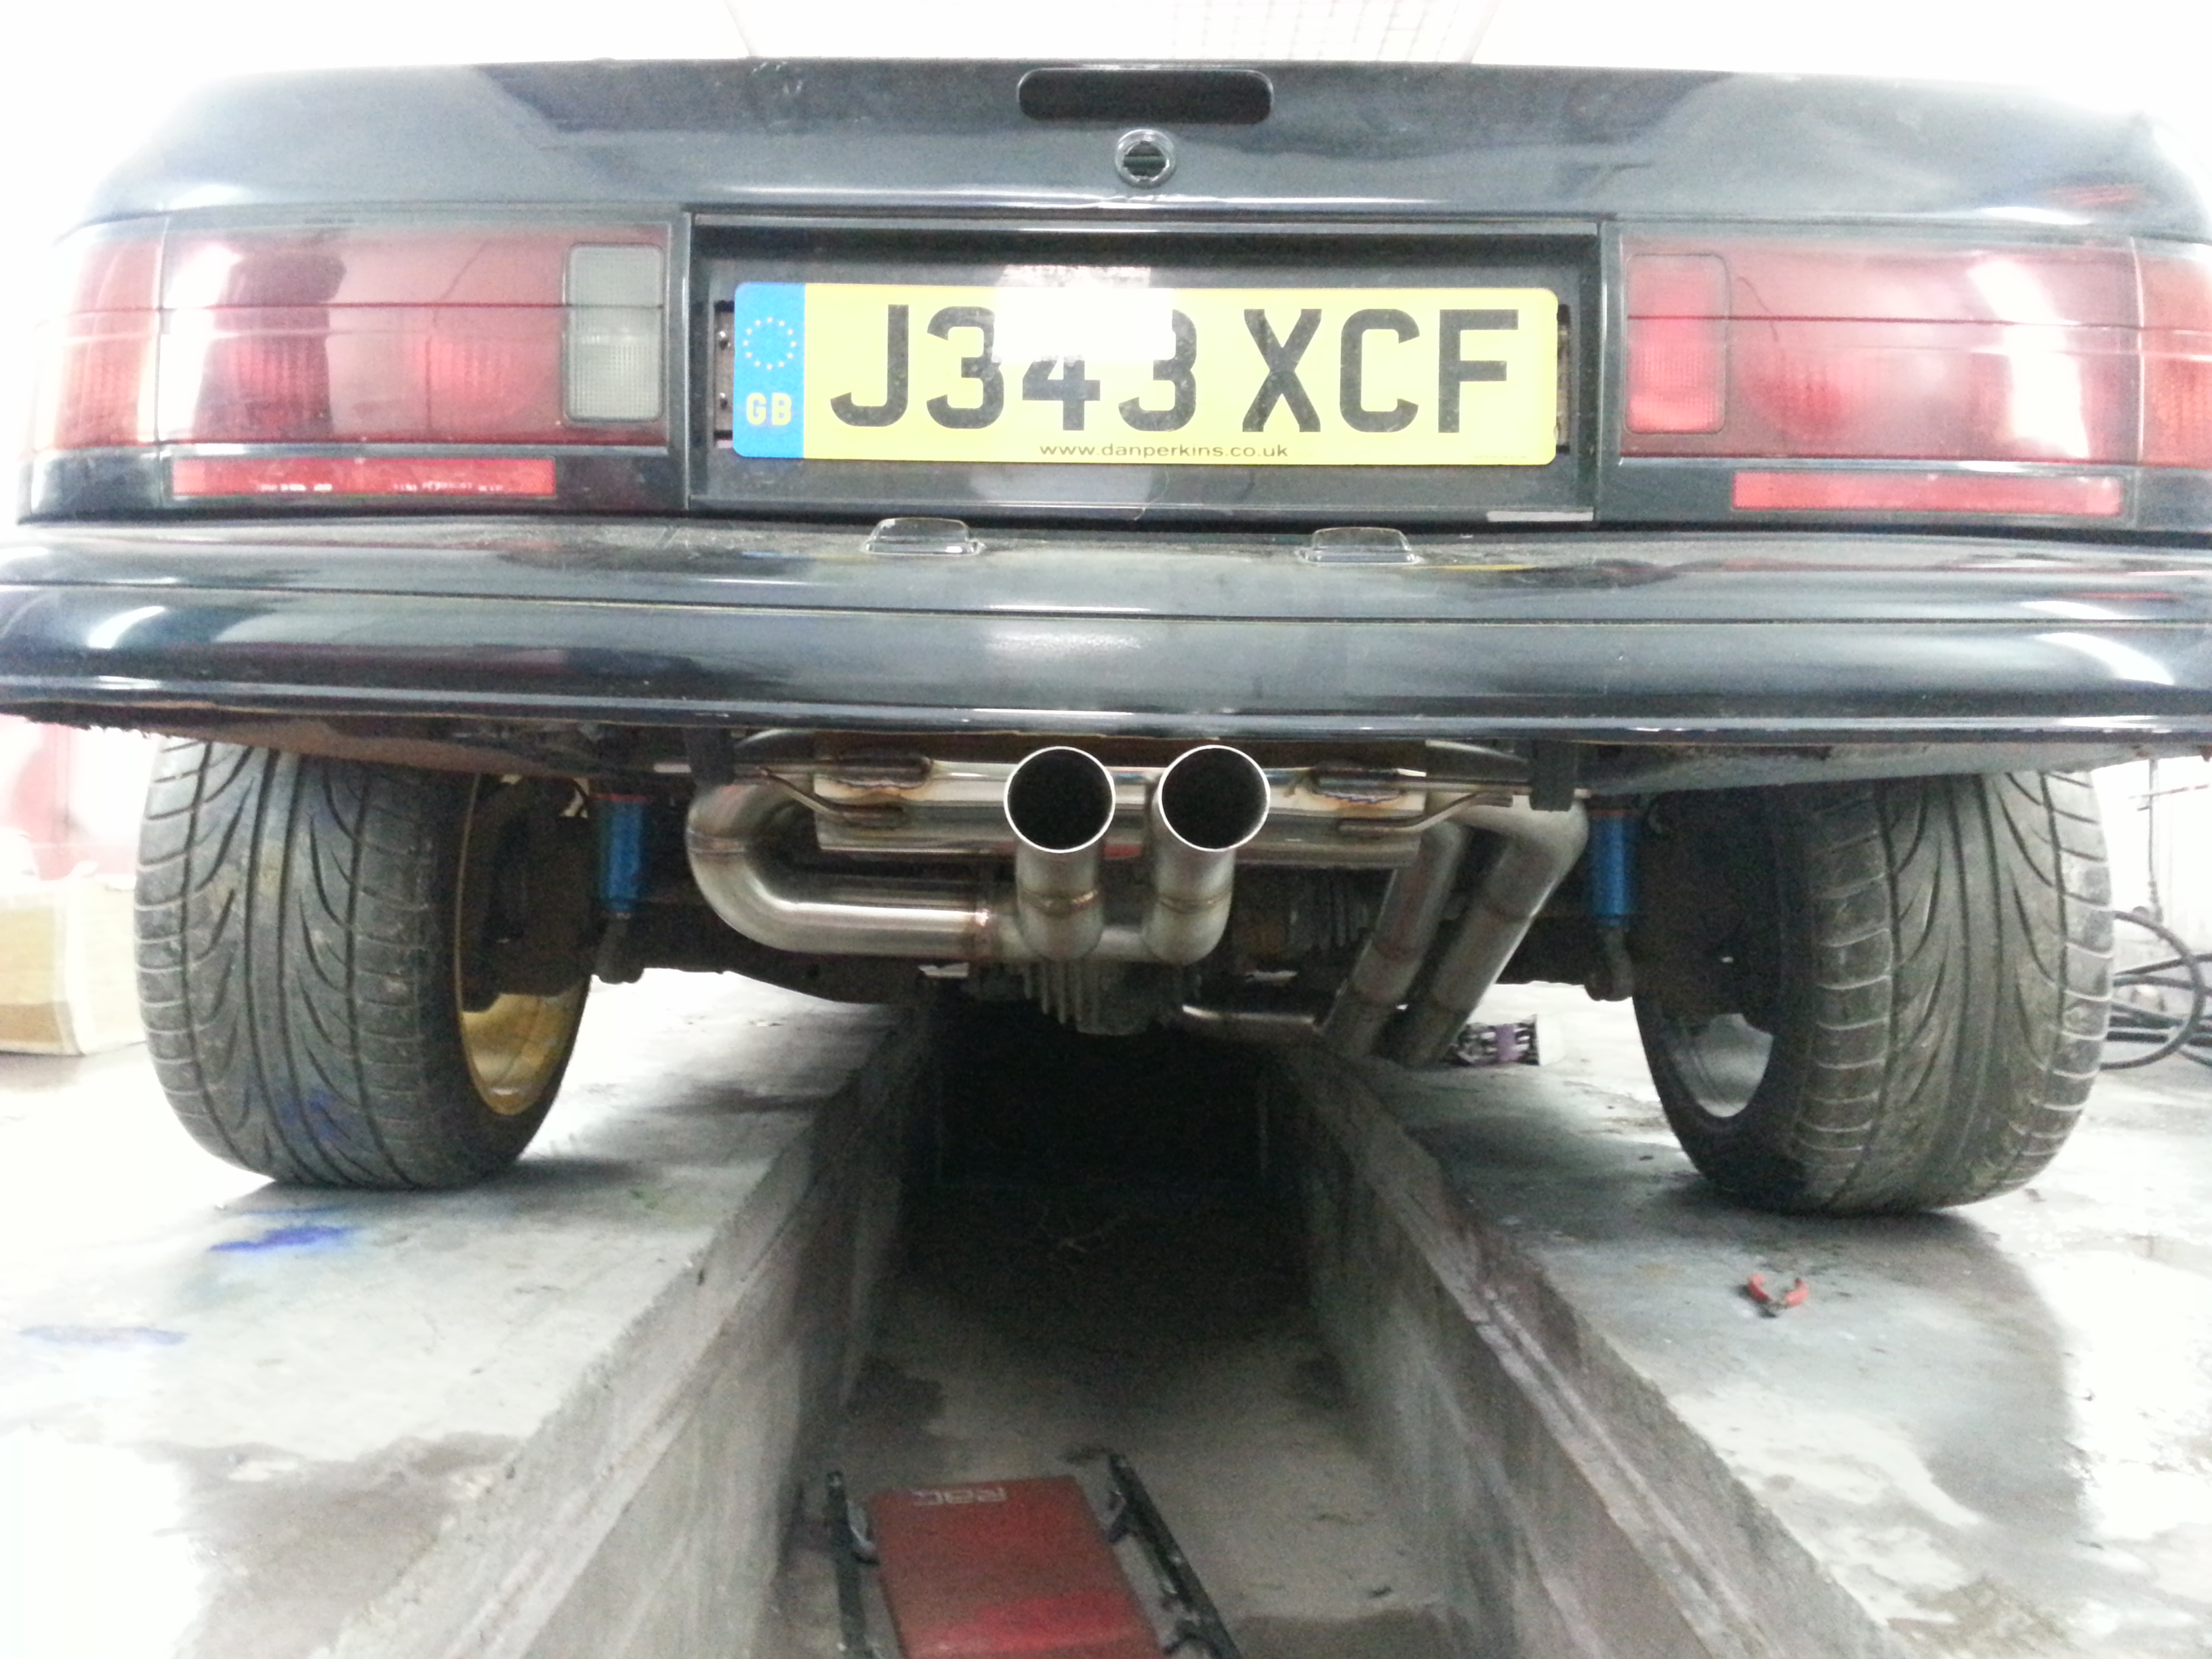
Touch of progress, Got the exhaust on. Well mid pipe and rear section. Can't do the manifold until the motor is back in.
Quick one of the tank and swirl pot in place
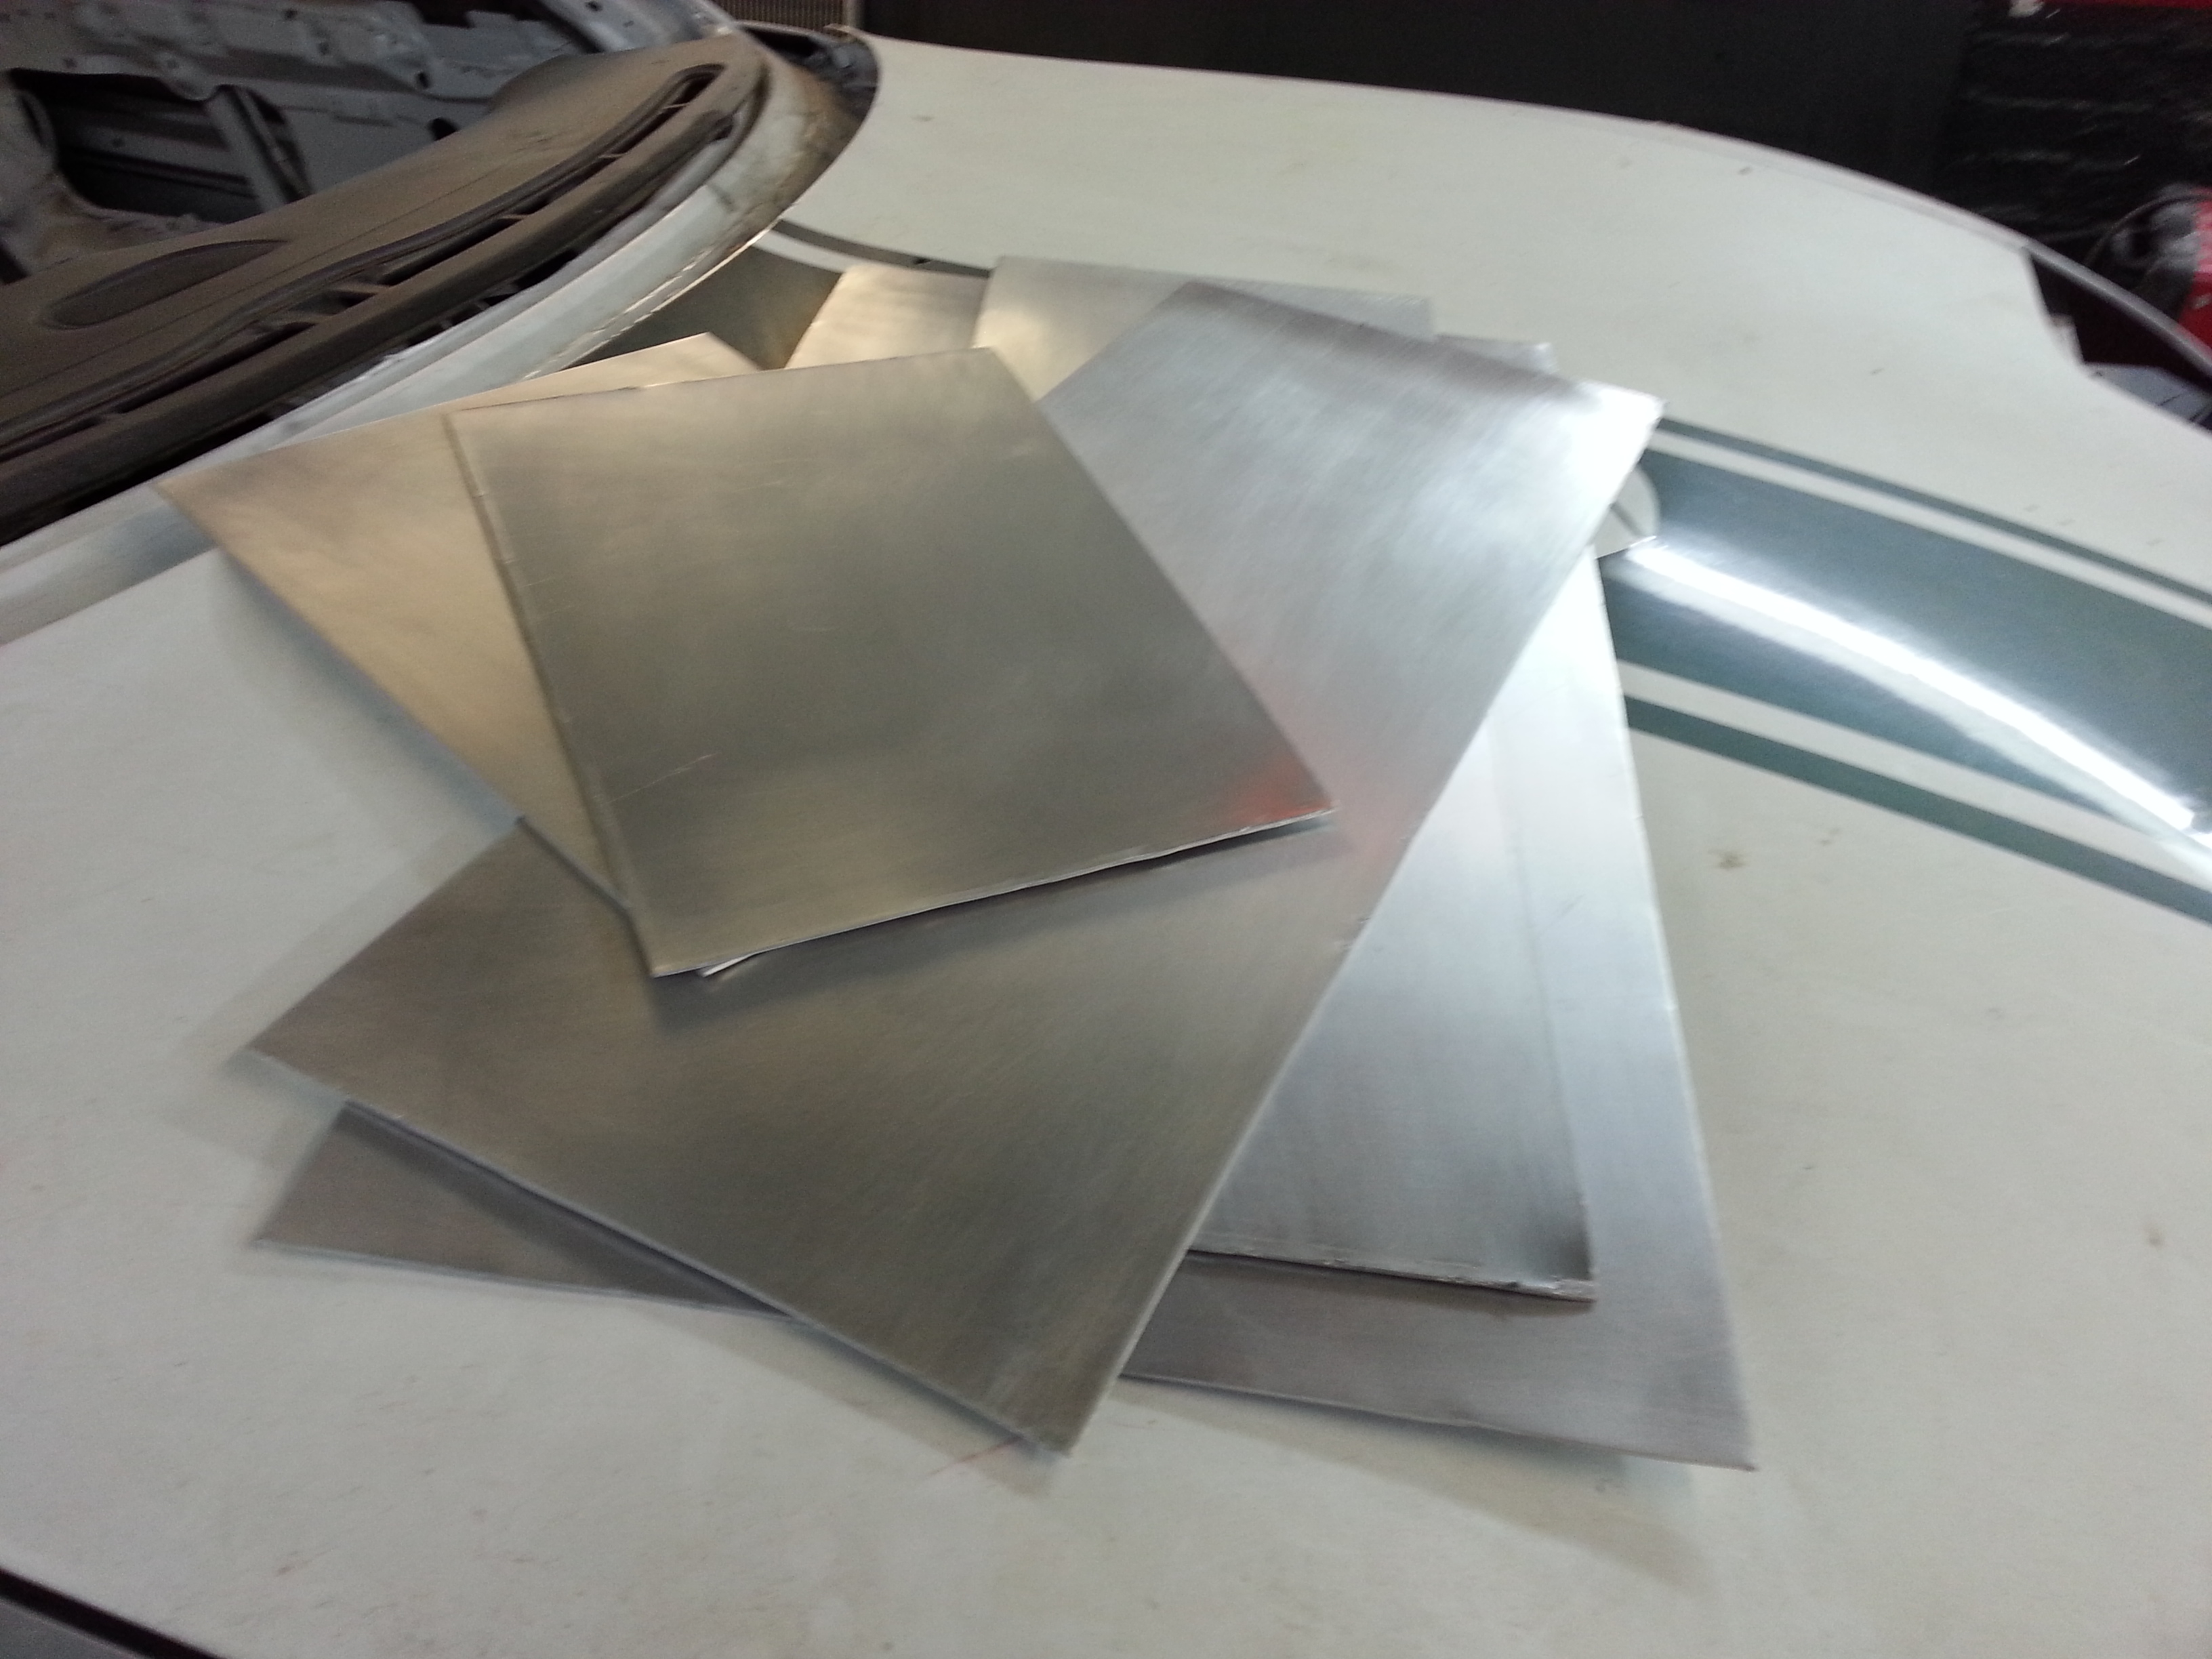
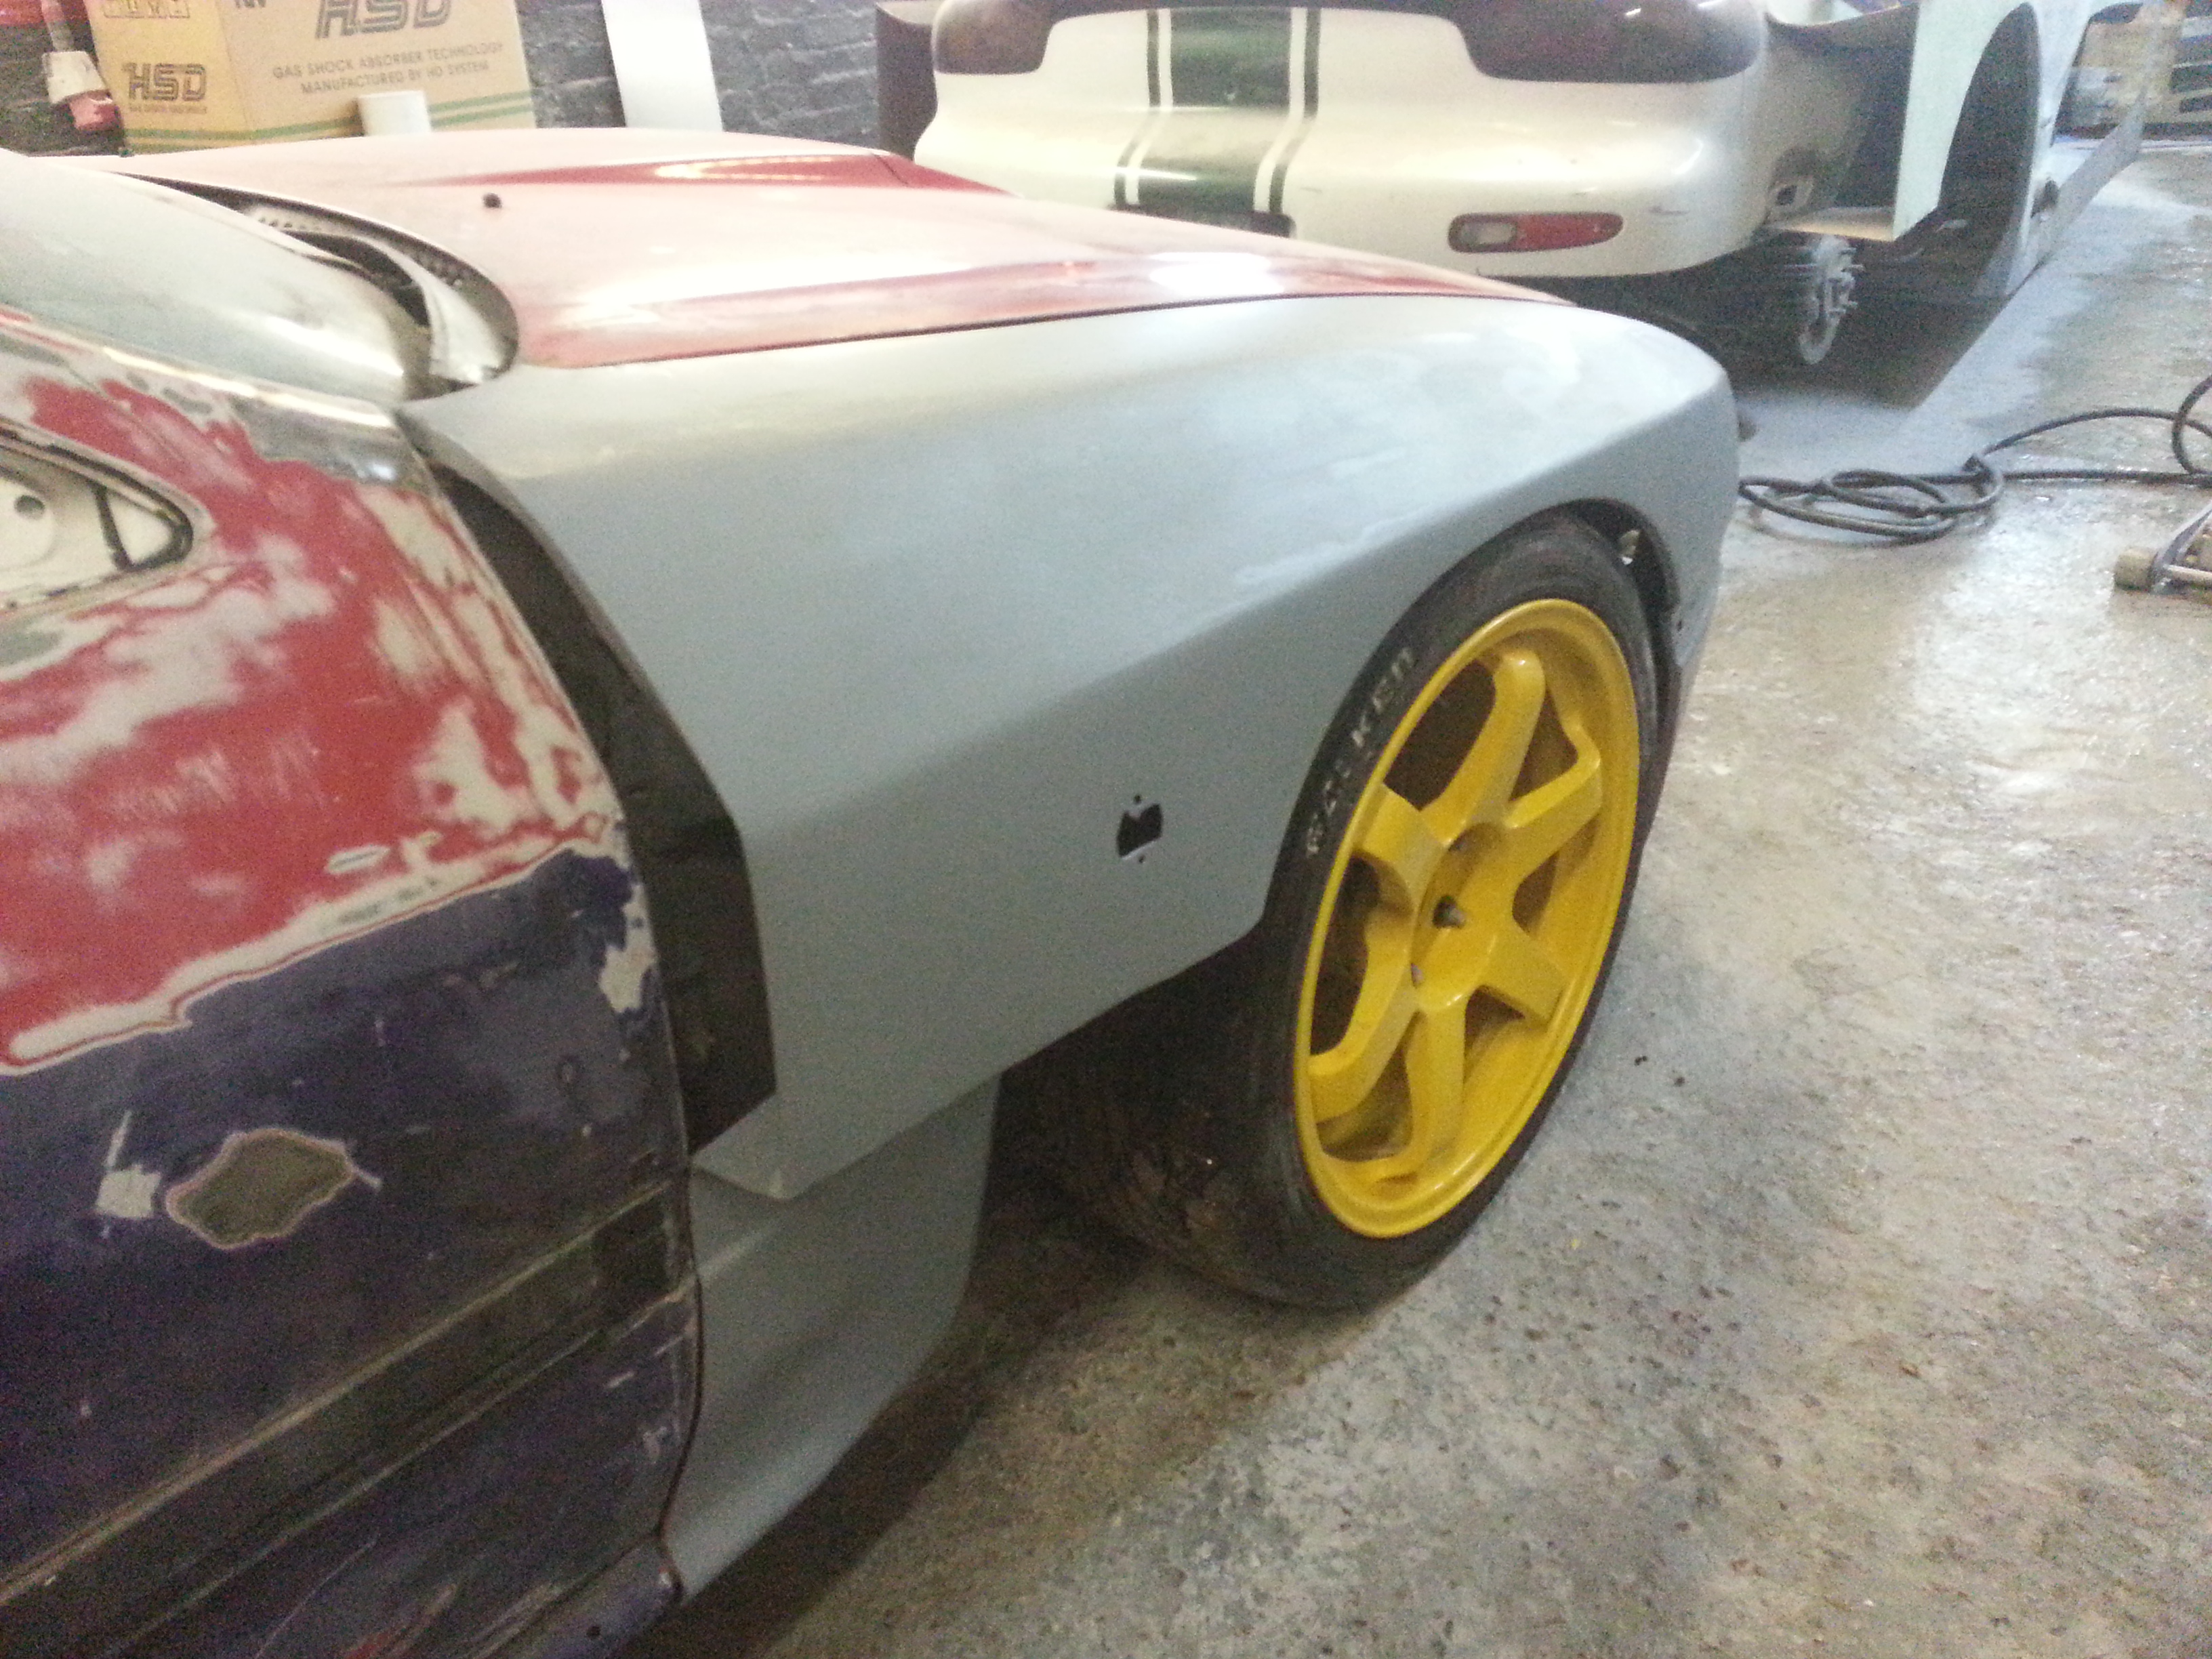
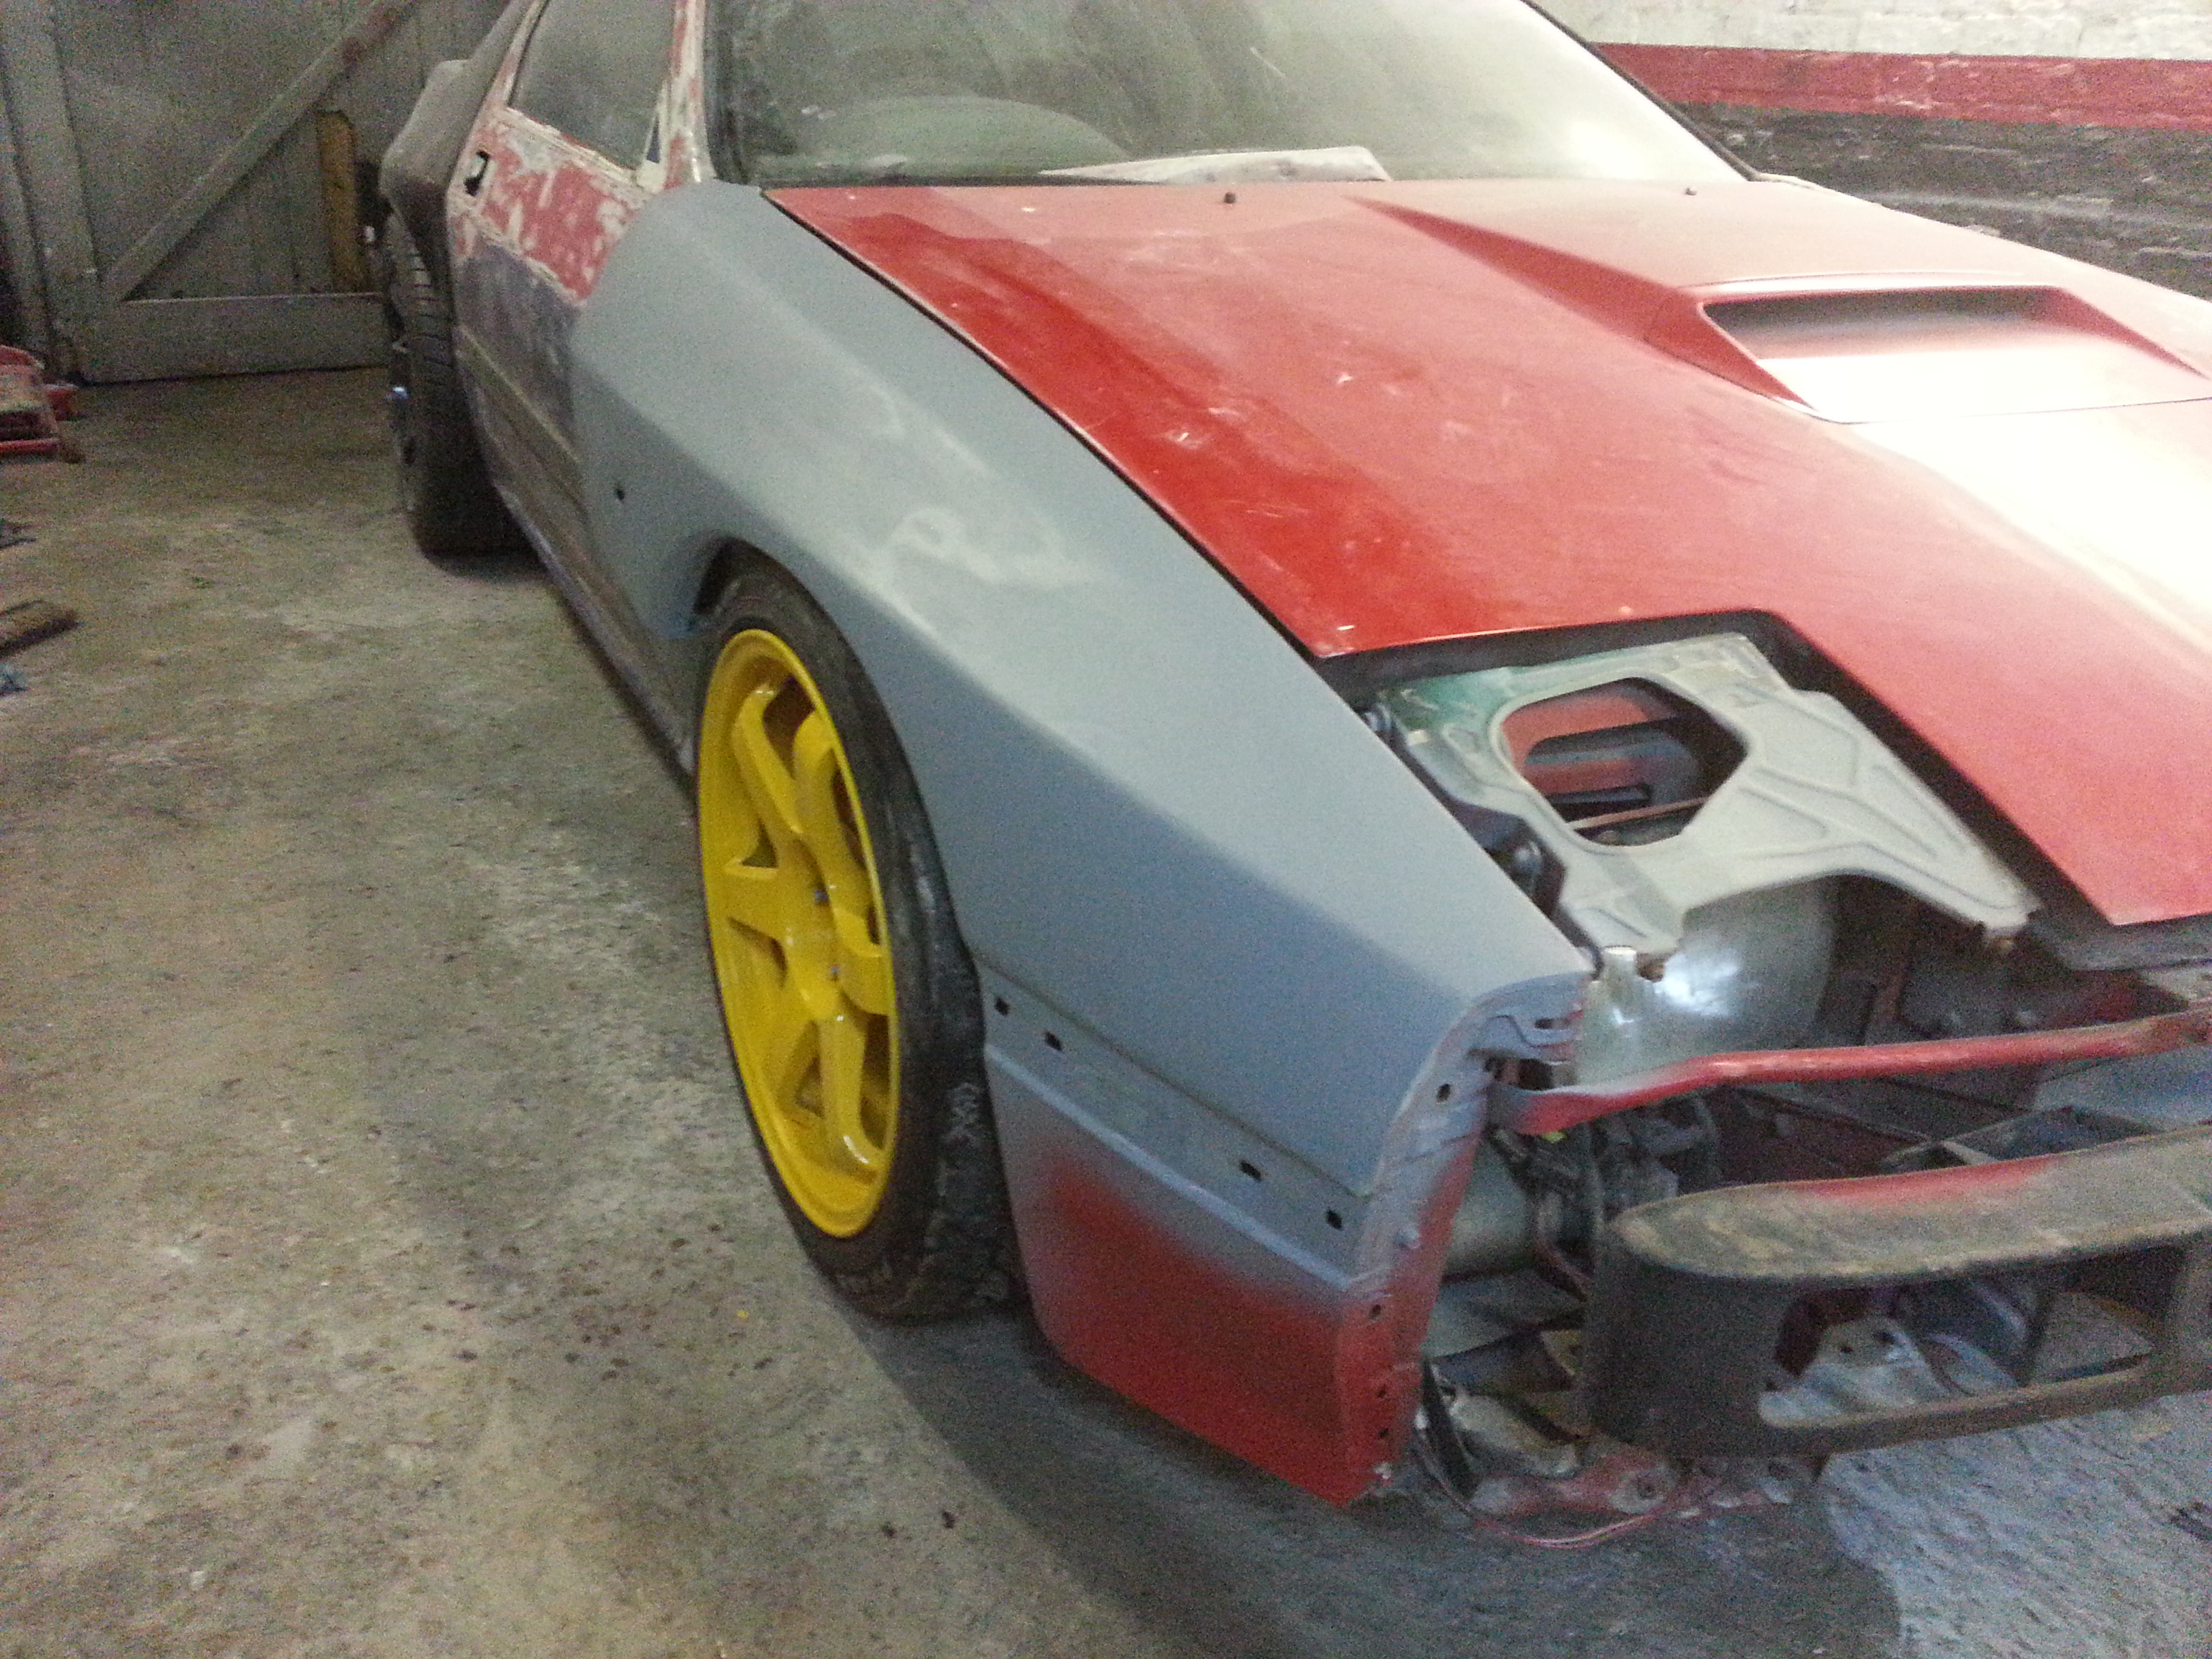
Think as I said in an earlier post i'm making the front wings out stock items and modifying with metal instead of the fibre glass mods I did before.... Got very heavy so this way will be far better.
Stock wing with the rim
After a snip, cut and chop

With the arch mods behind the wheel there where a couple of issues on 3/4 lock... DOH!
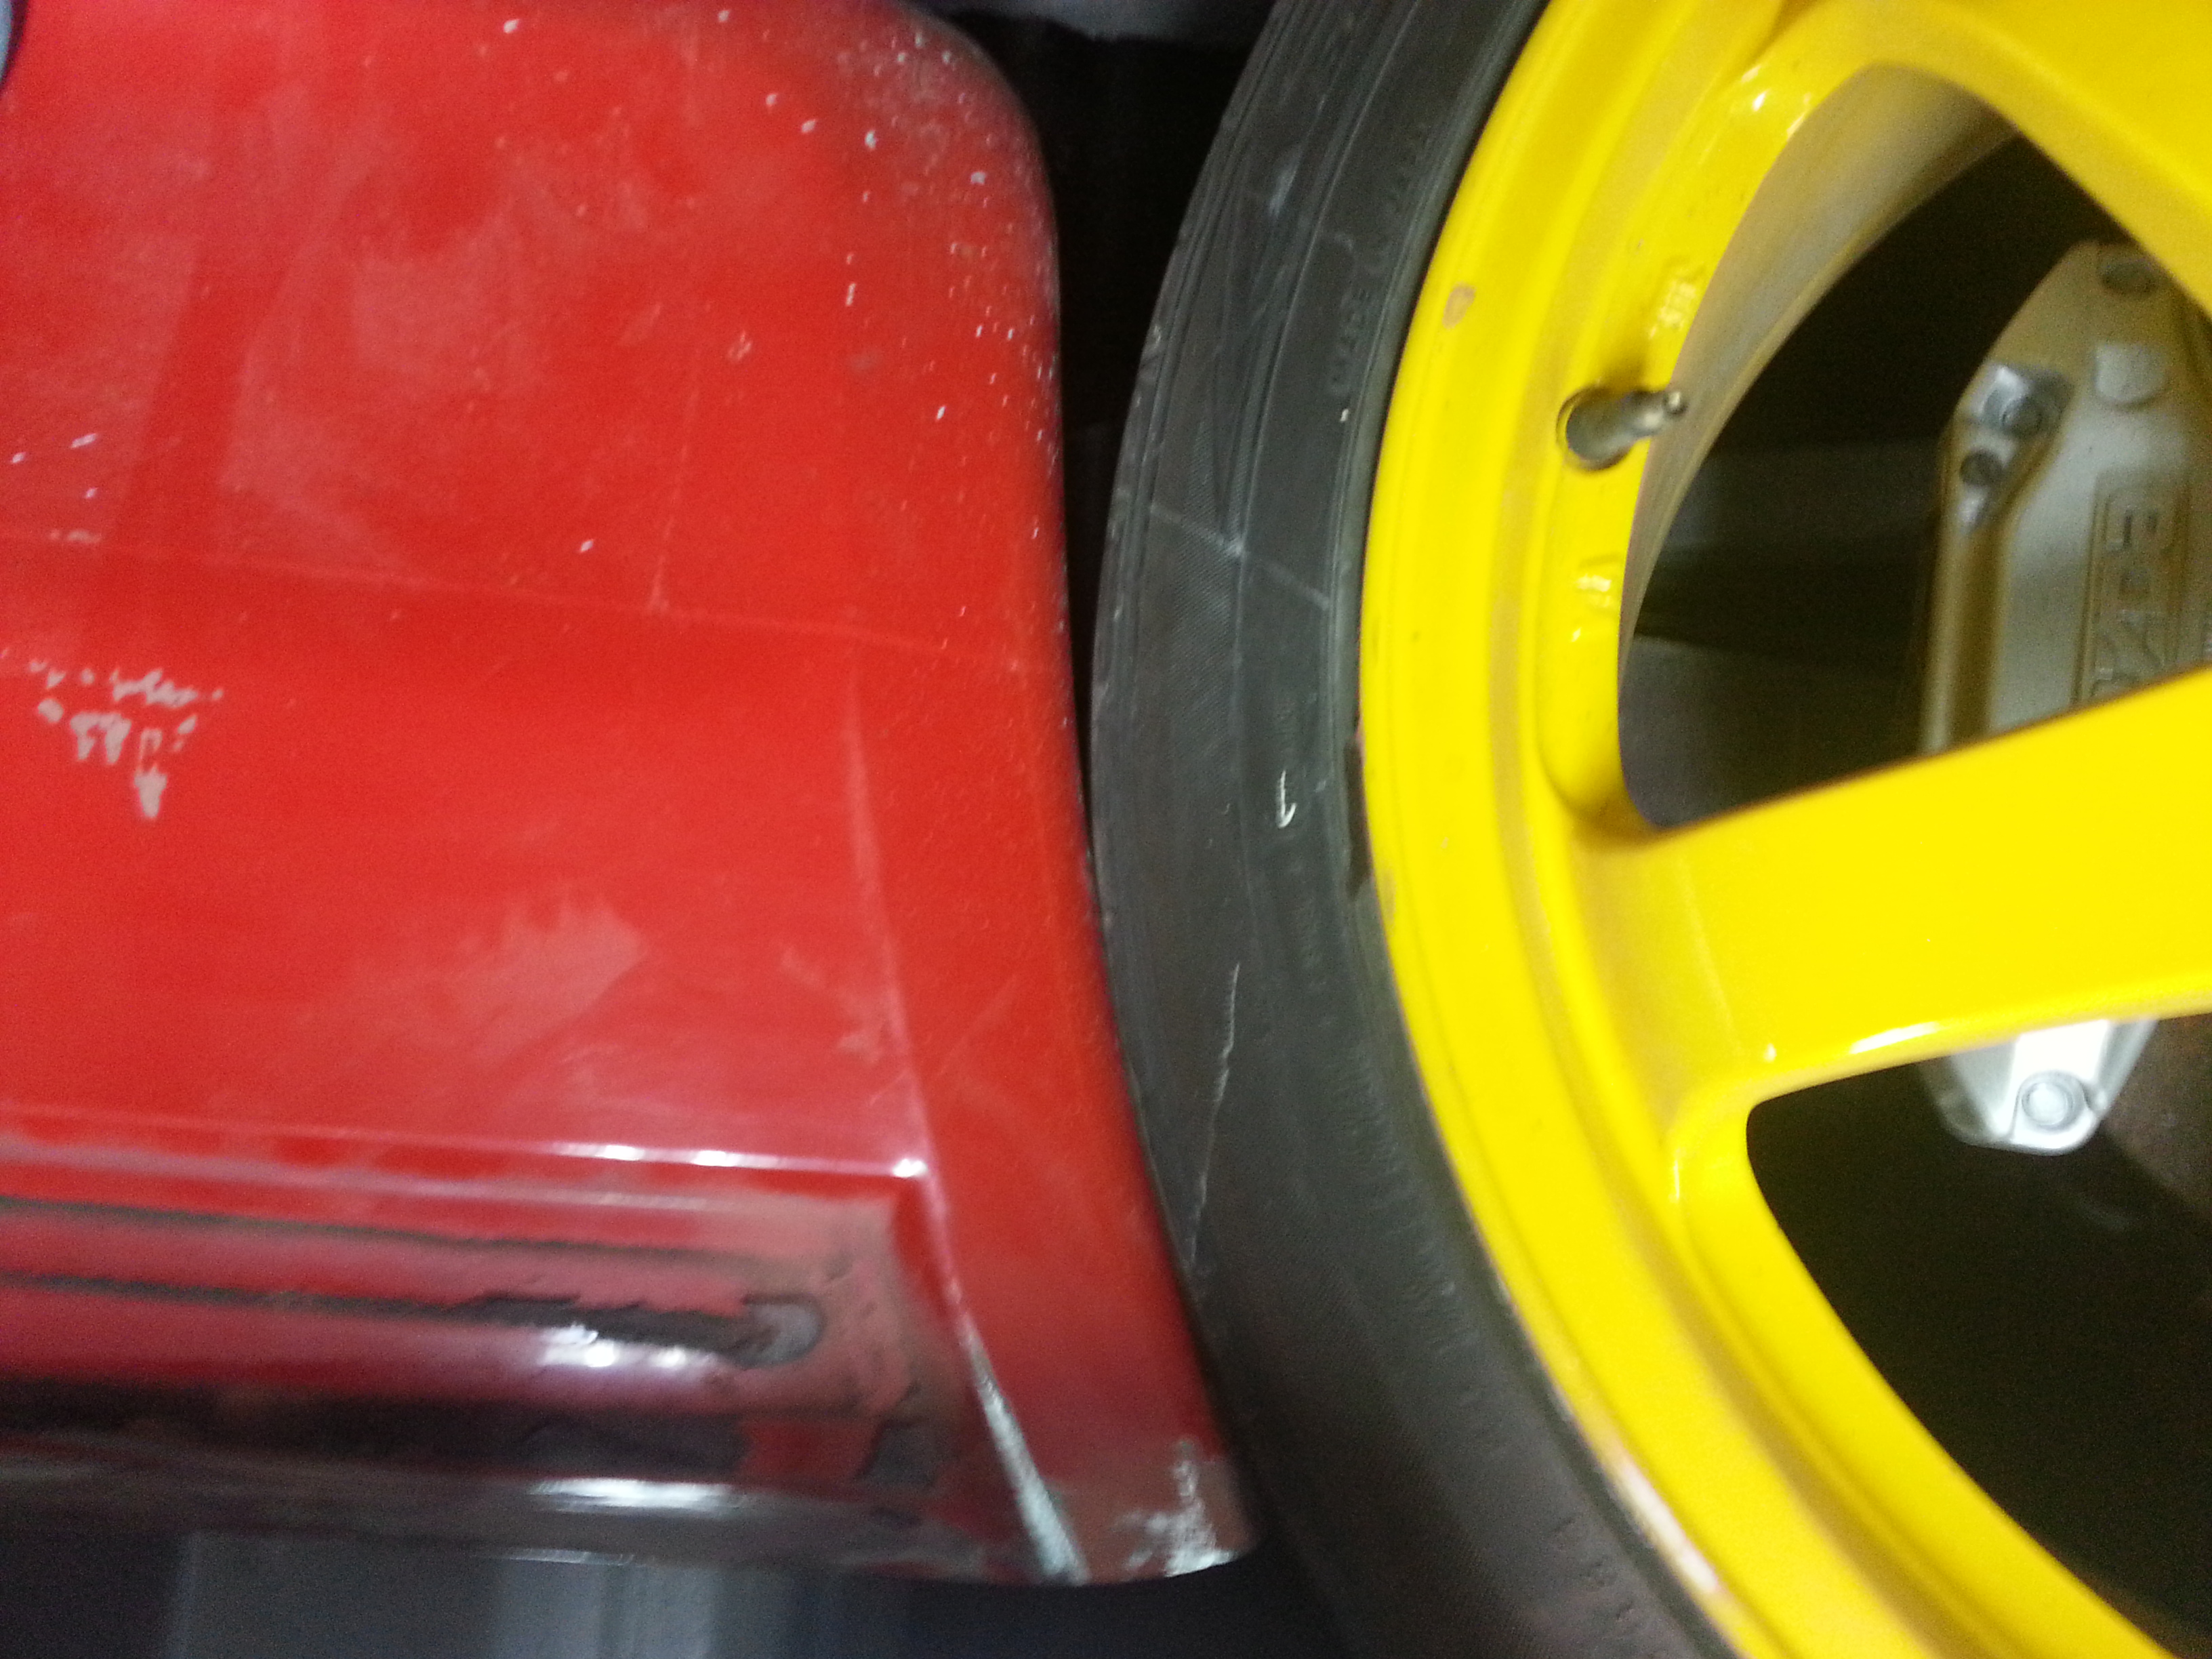
SO I had to take a section out to get clearance
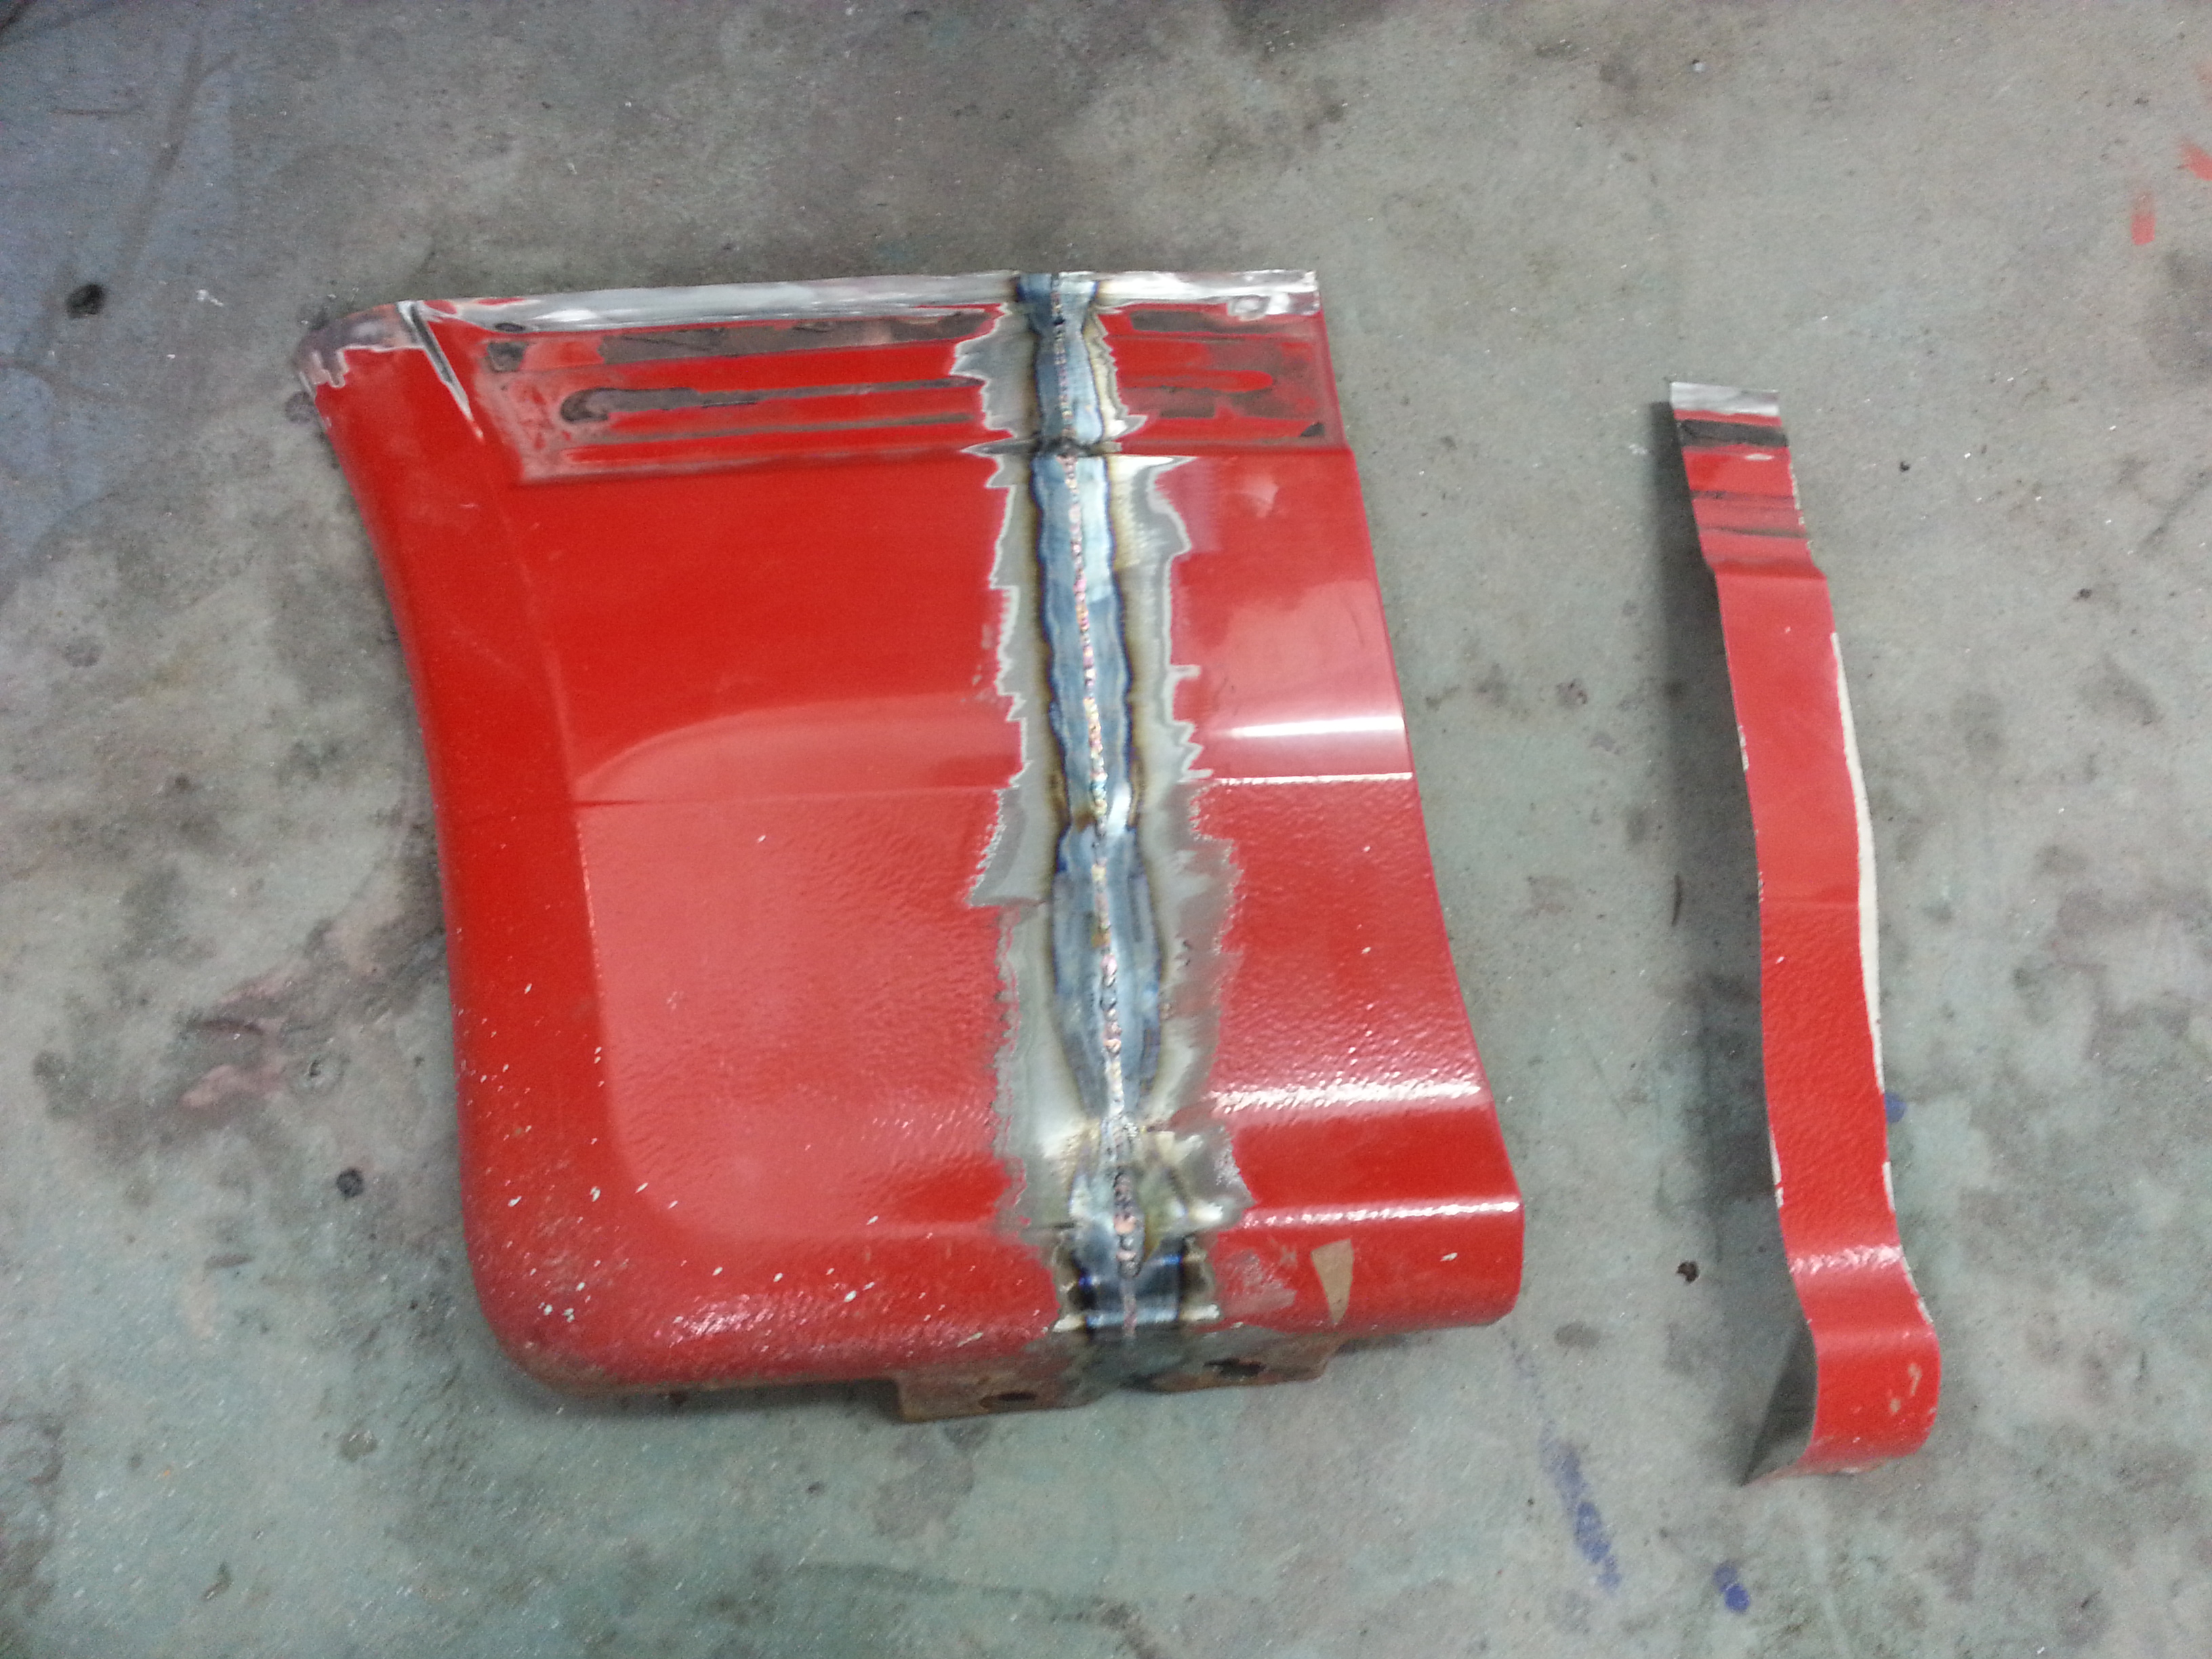
All tacked up ready for welding and finishing
Quick one of the tank and swirl pot in place
Think as I said in an earlier post i'm making the front wings out stock items and modifying with metal instead of the fibre glass mods I did before.... Got very heavy so this way will be far better.
Stock wing with the rim
After a snip, cut and chop
With the arch mods behind the wheel there where a couple of issues on 3/4 lock... DOH!
SO I had to take a section out to get clearance
All tacked up ready for welding and finishing

Thread Starter
Senior Member
Joined: Feb 2007
Posts: 368
Likes: 0
From: Surrey, England
Got the driver side all mocked up too.
HSD s coilovers and
oops new 18x10 fronts have arrived. Just going to pic up a pair of 265/35/8 tyres for now off ebay as the rears are half warn anyway. May then buy a set of V70A's for her. Not sure they will make for the best everyday tyre but they will certainly have awesome grip on those dry days.
Thread Starter
Senior Member
Joined: Feb 2007
Posts: 368
Likes: 0
From: Surrey, England
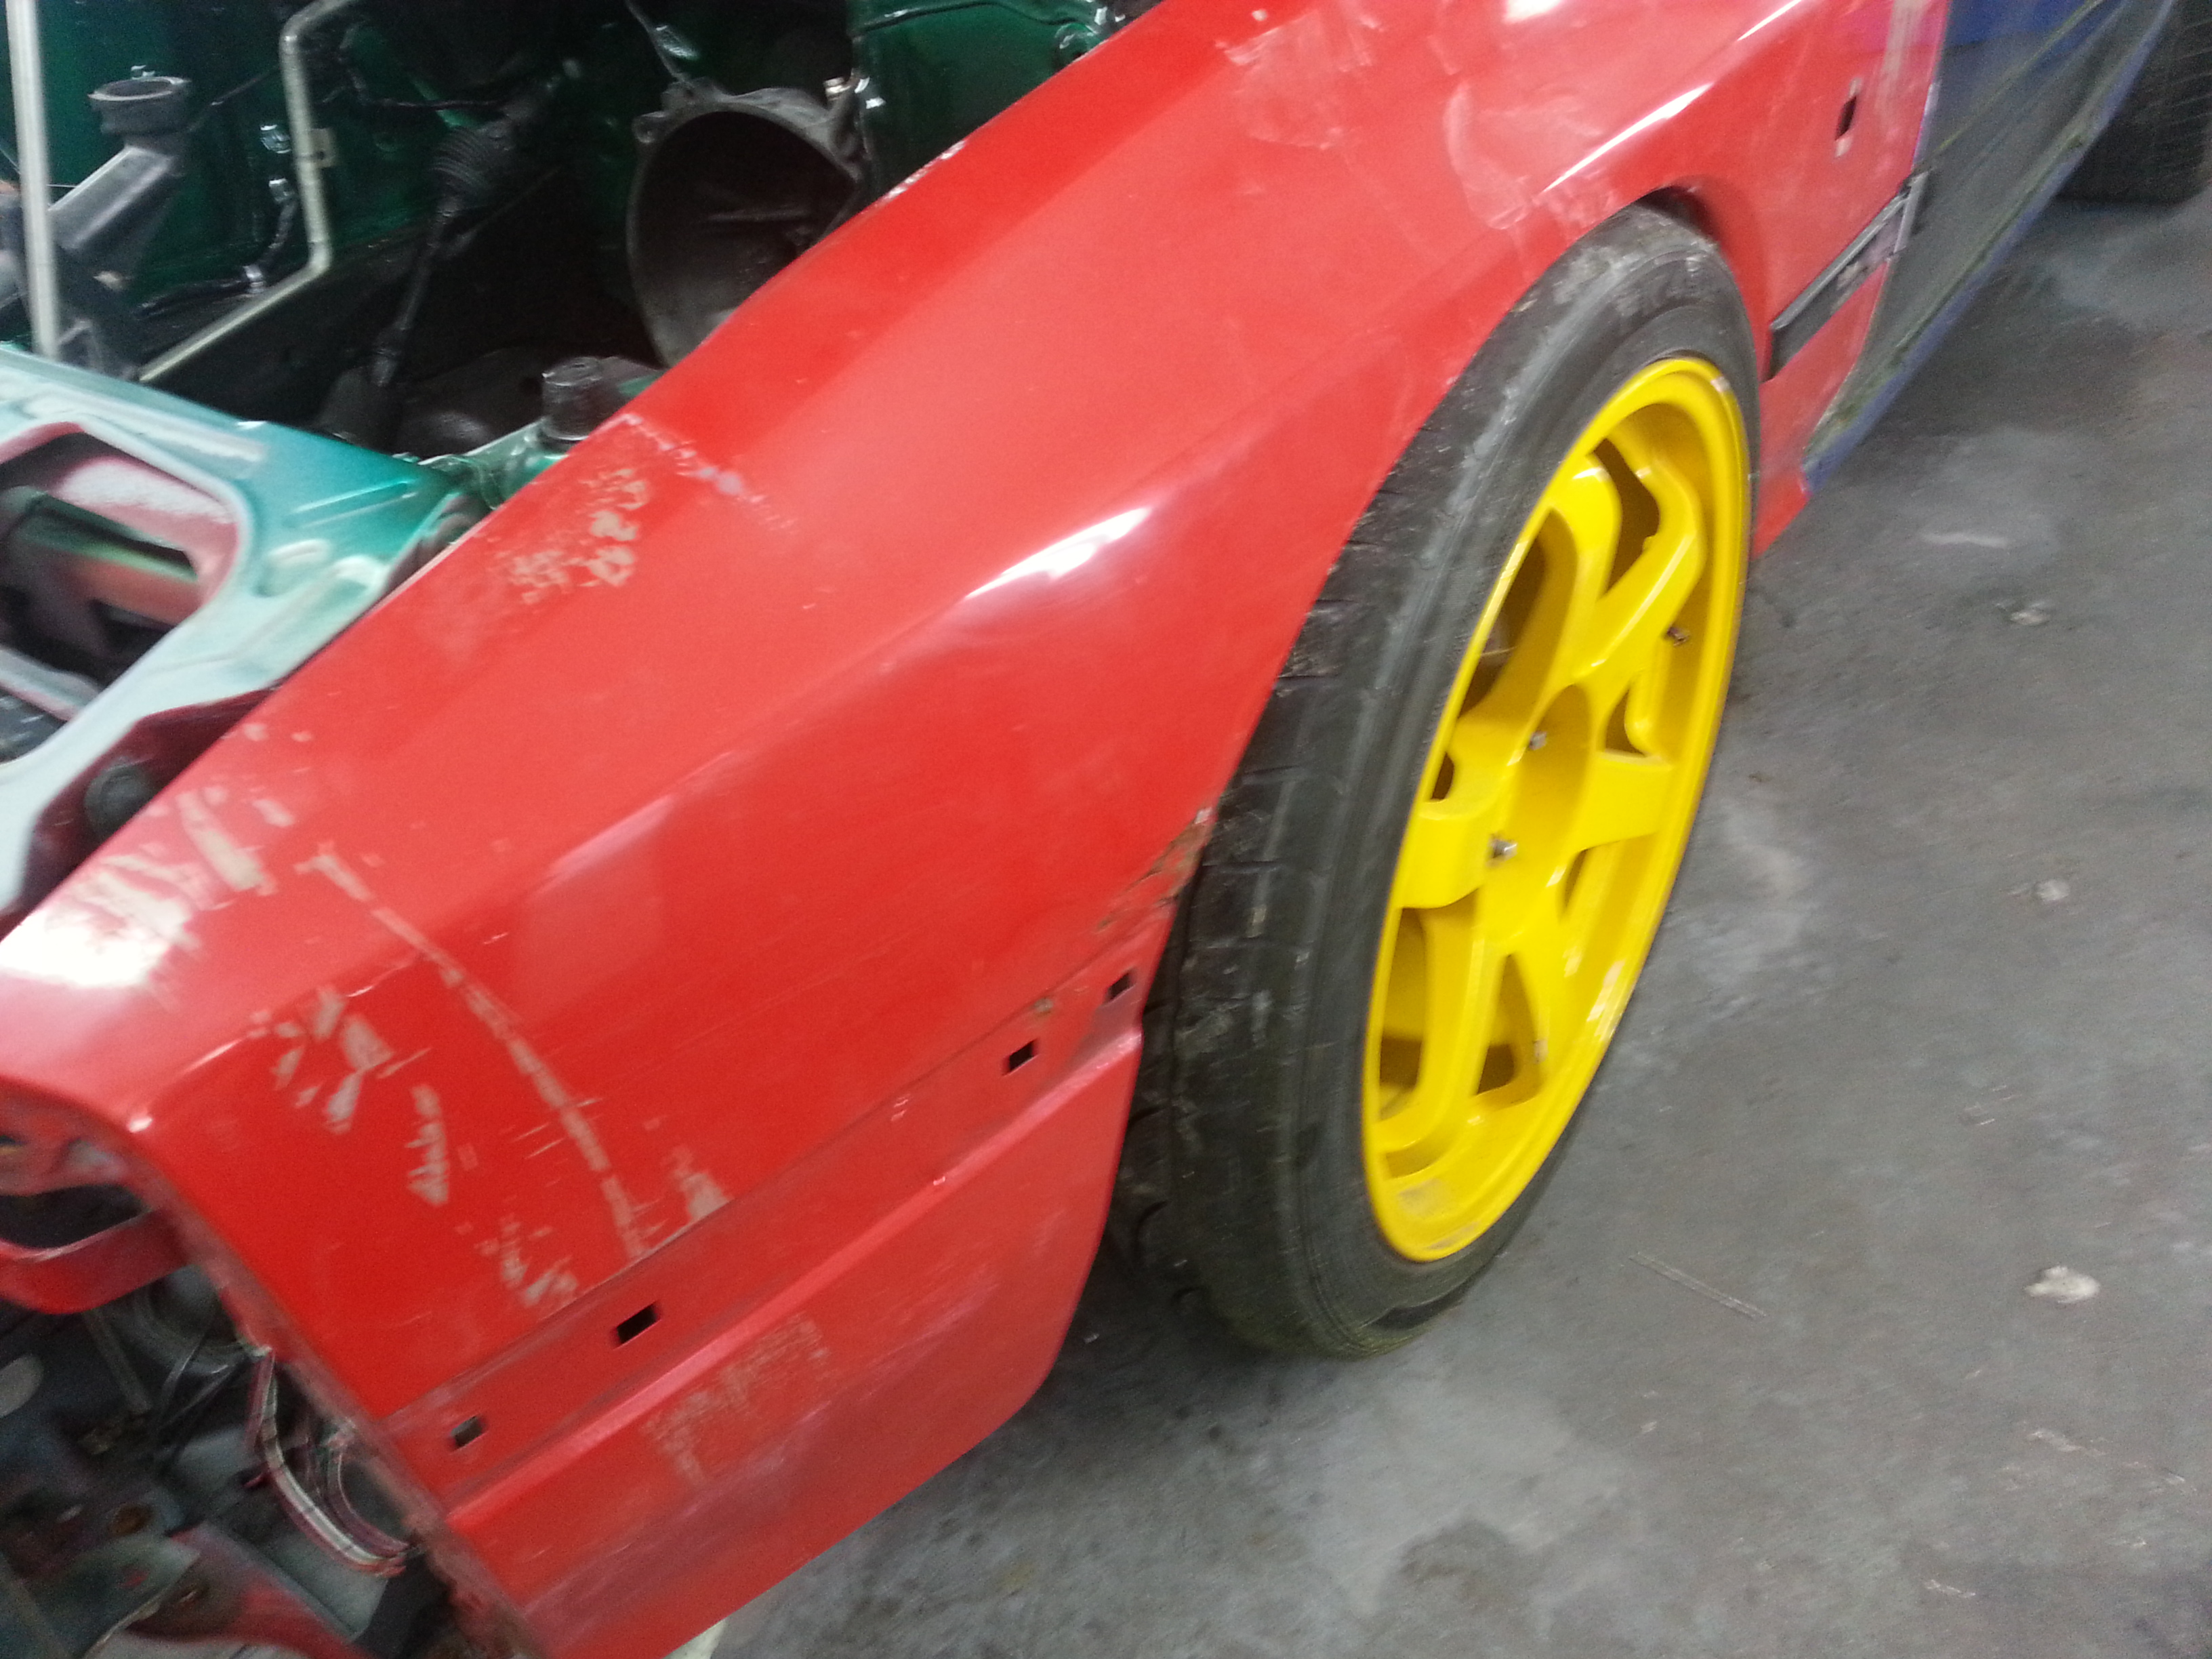
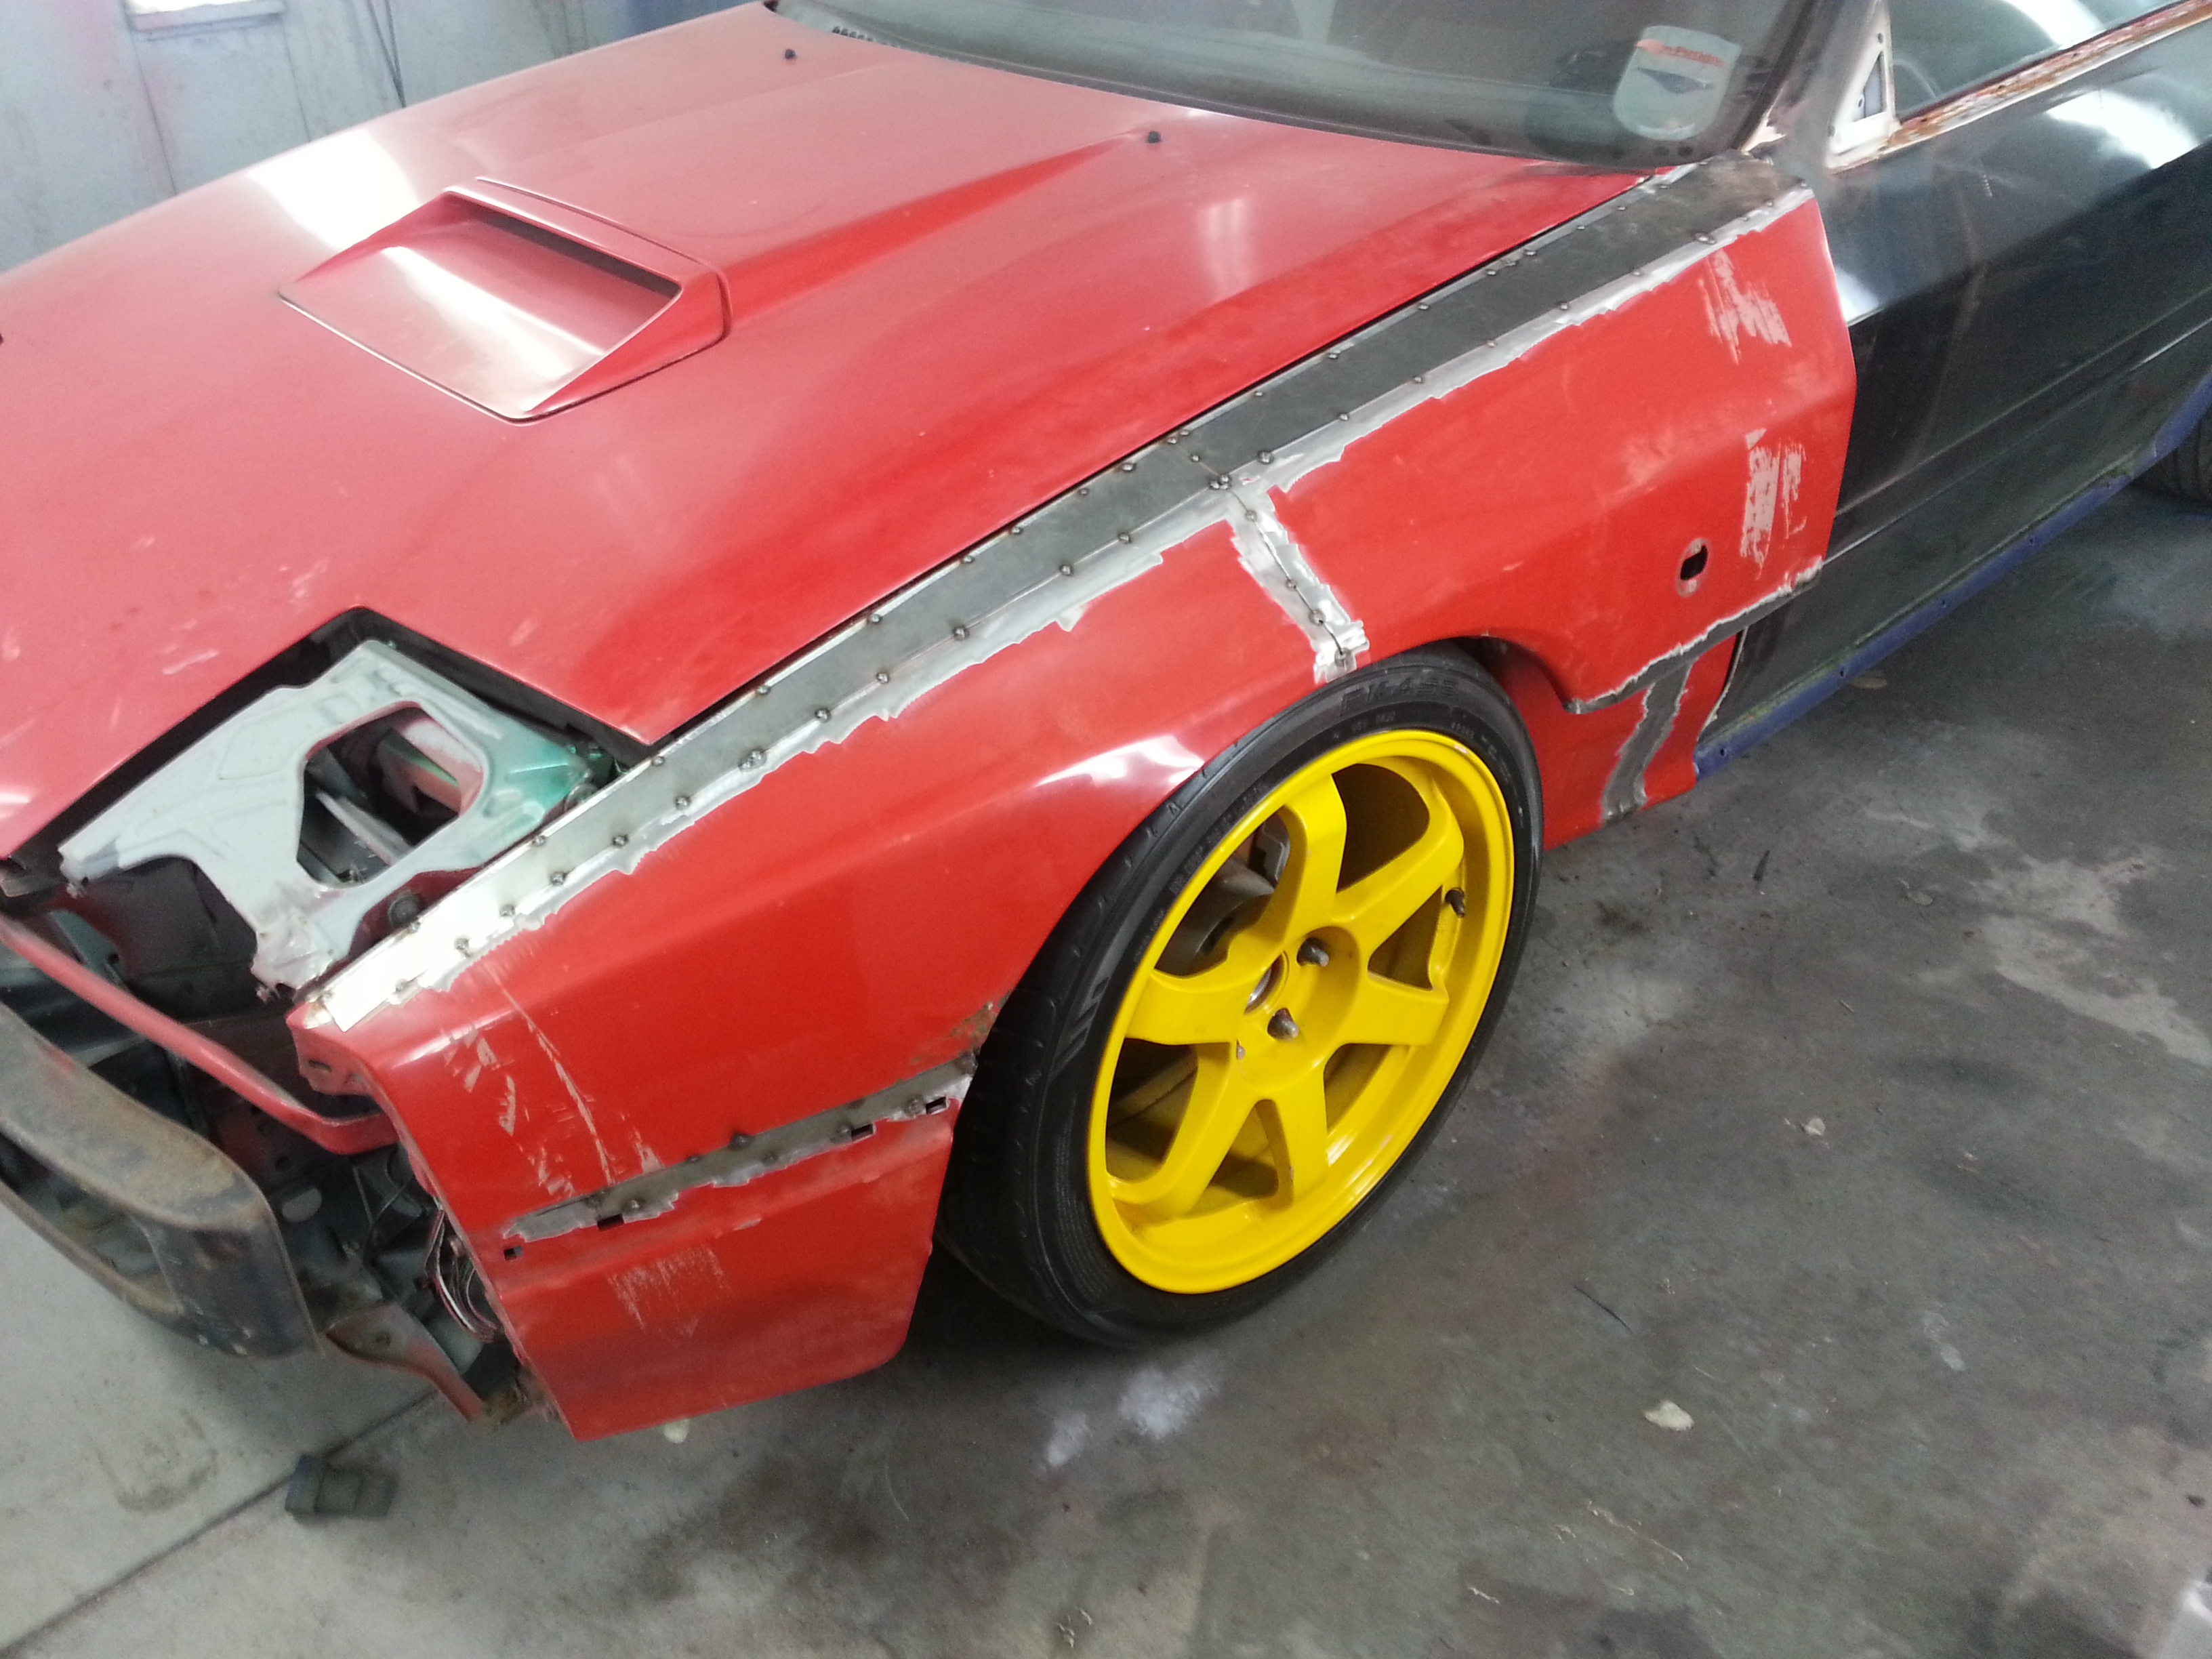
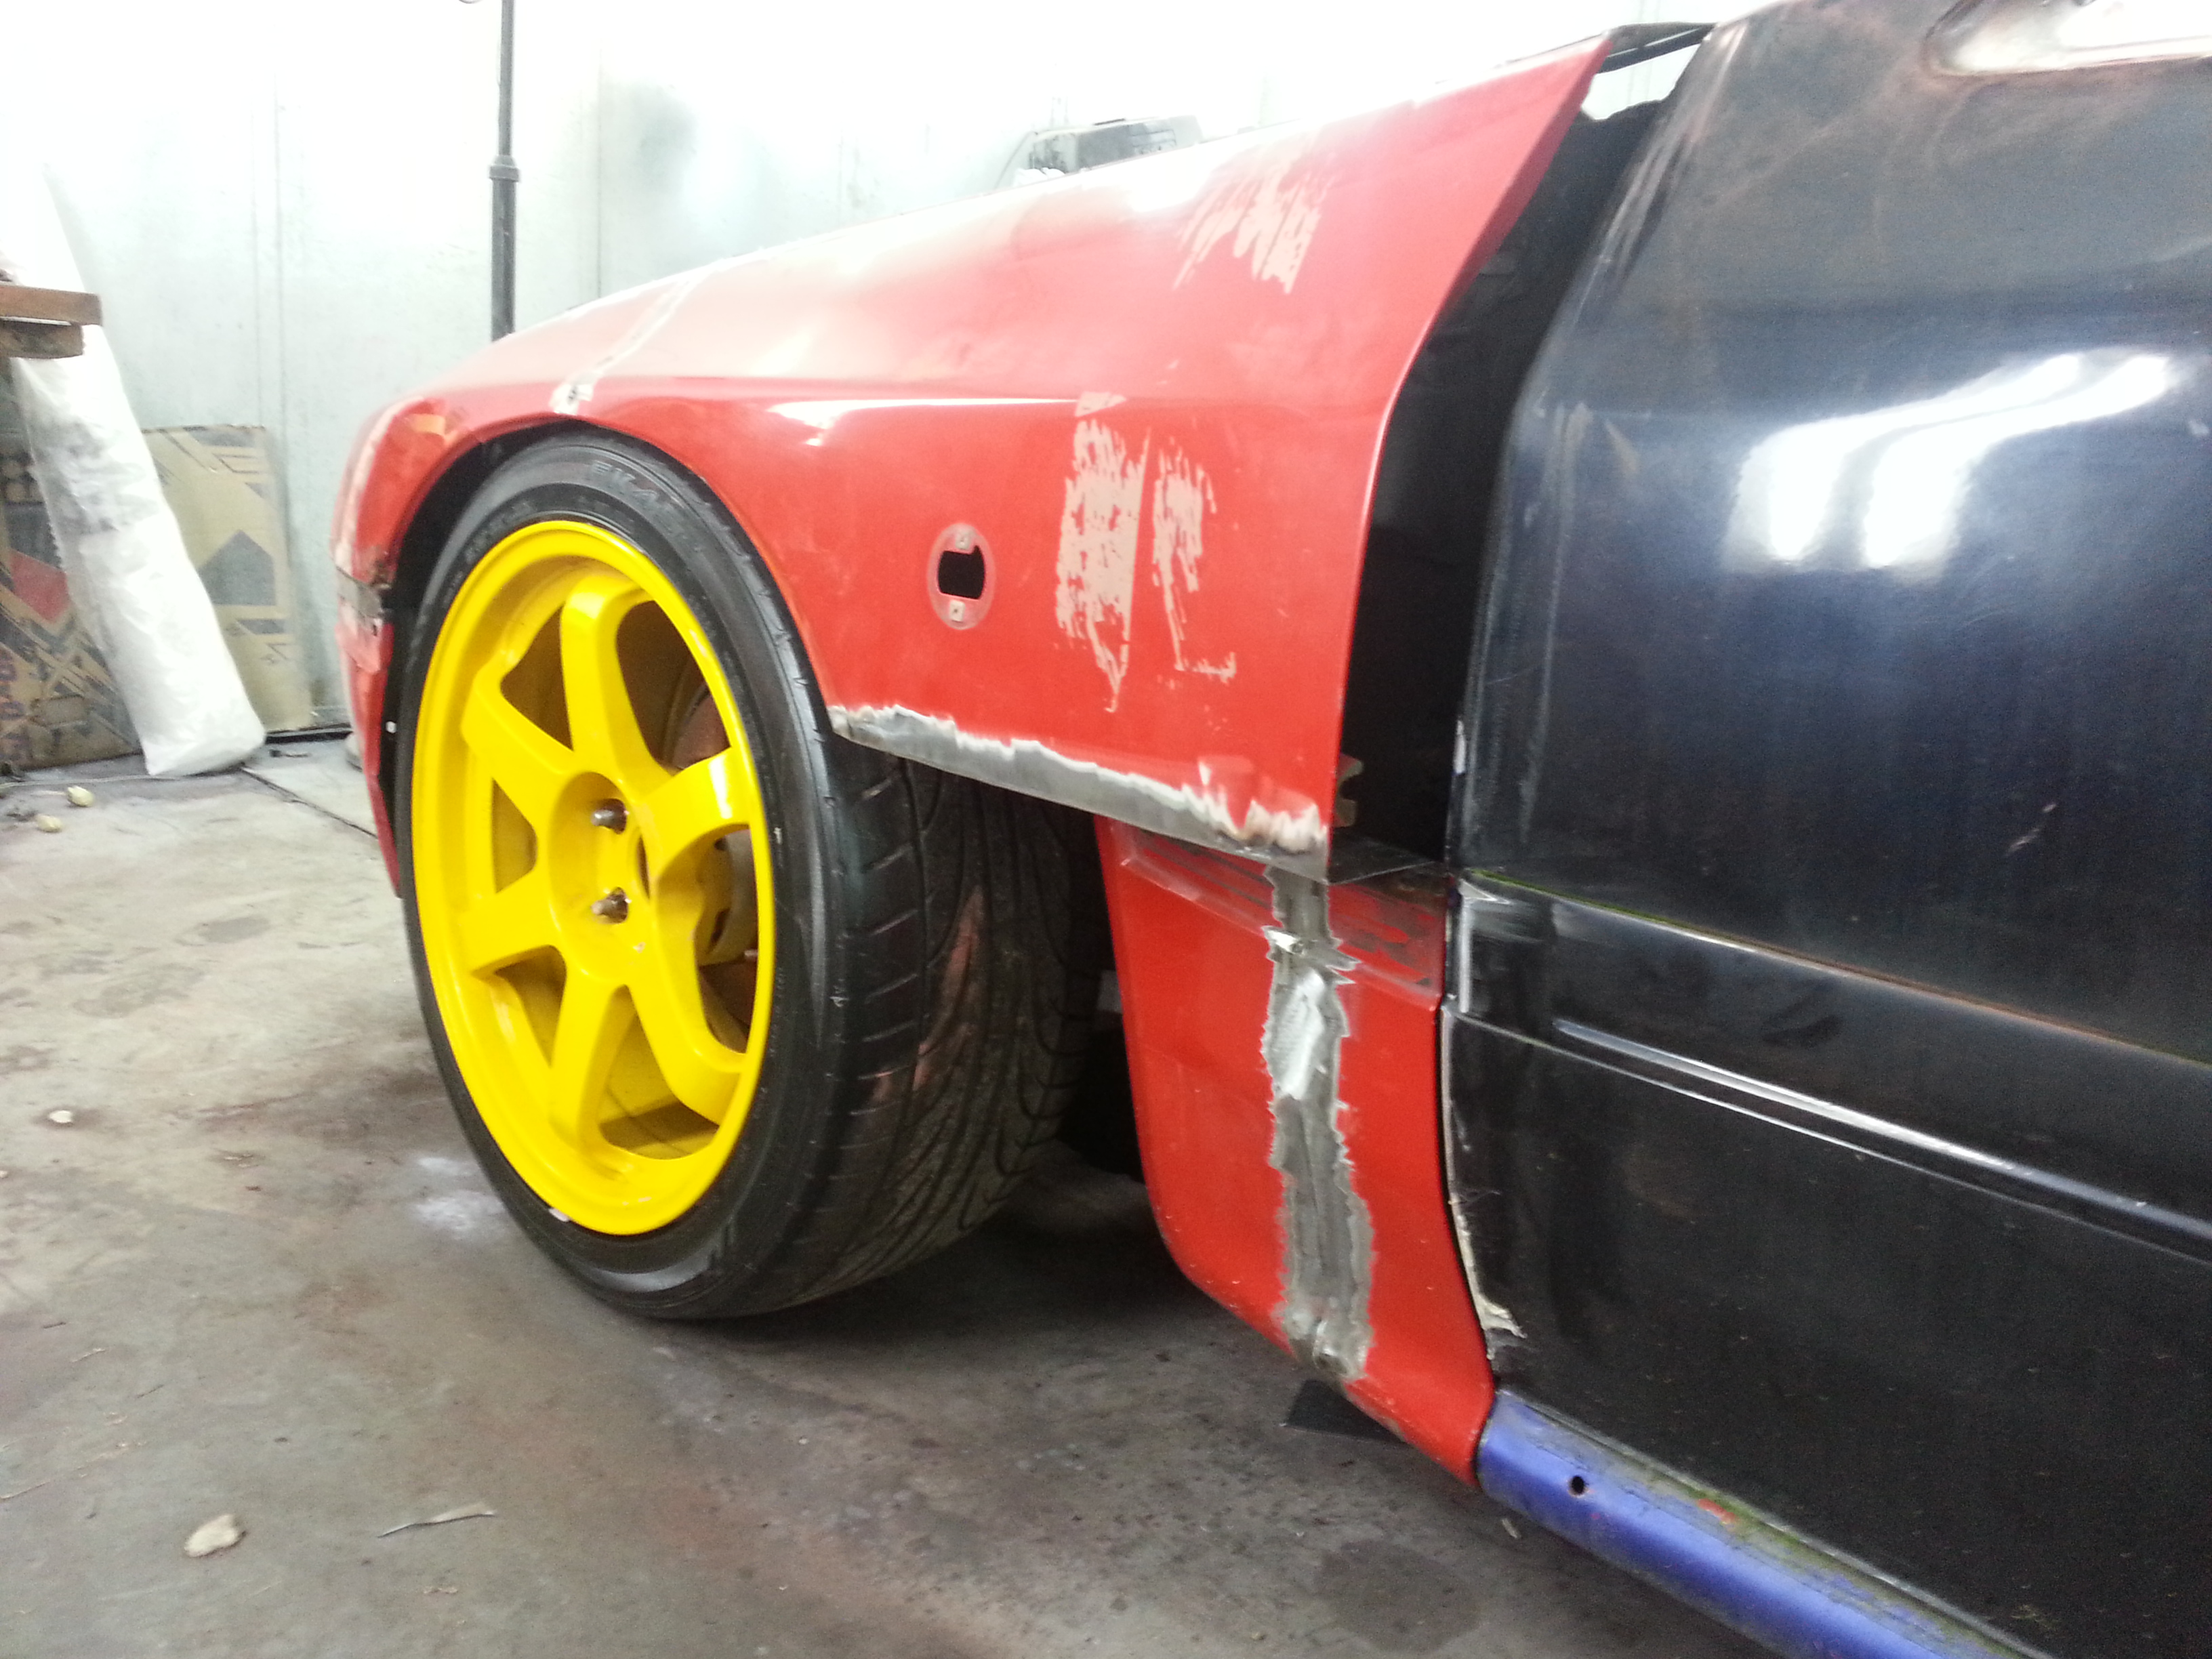
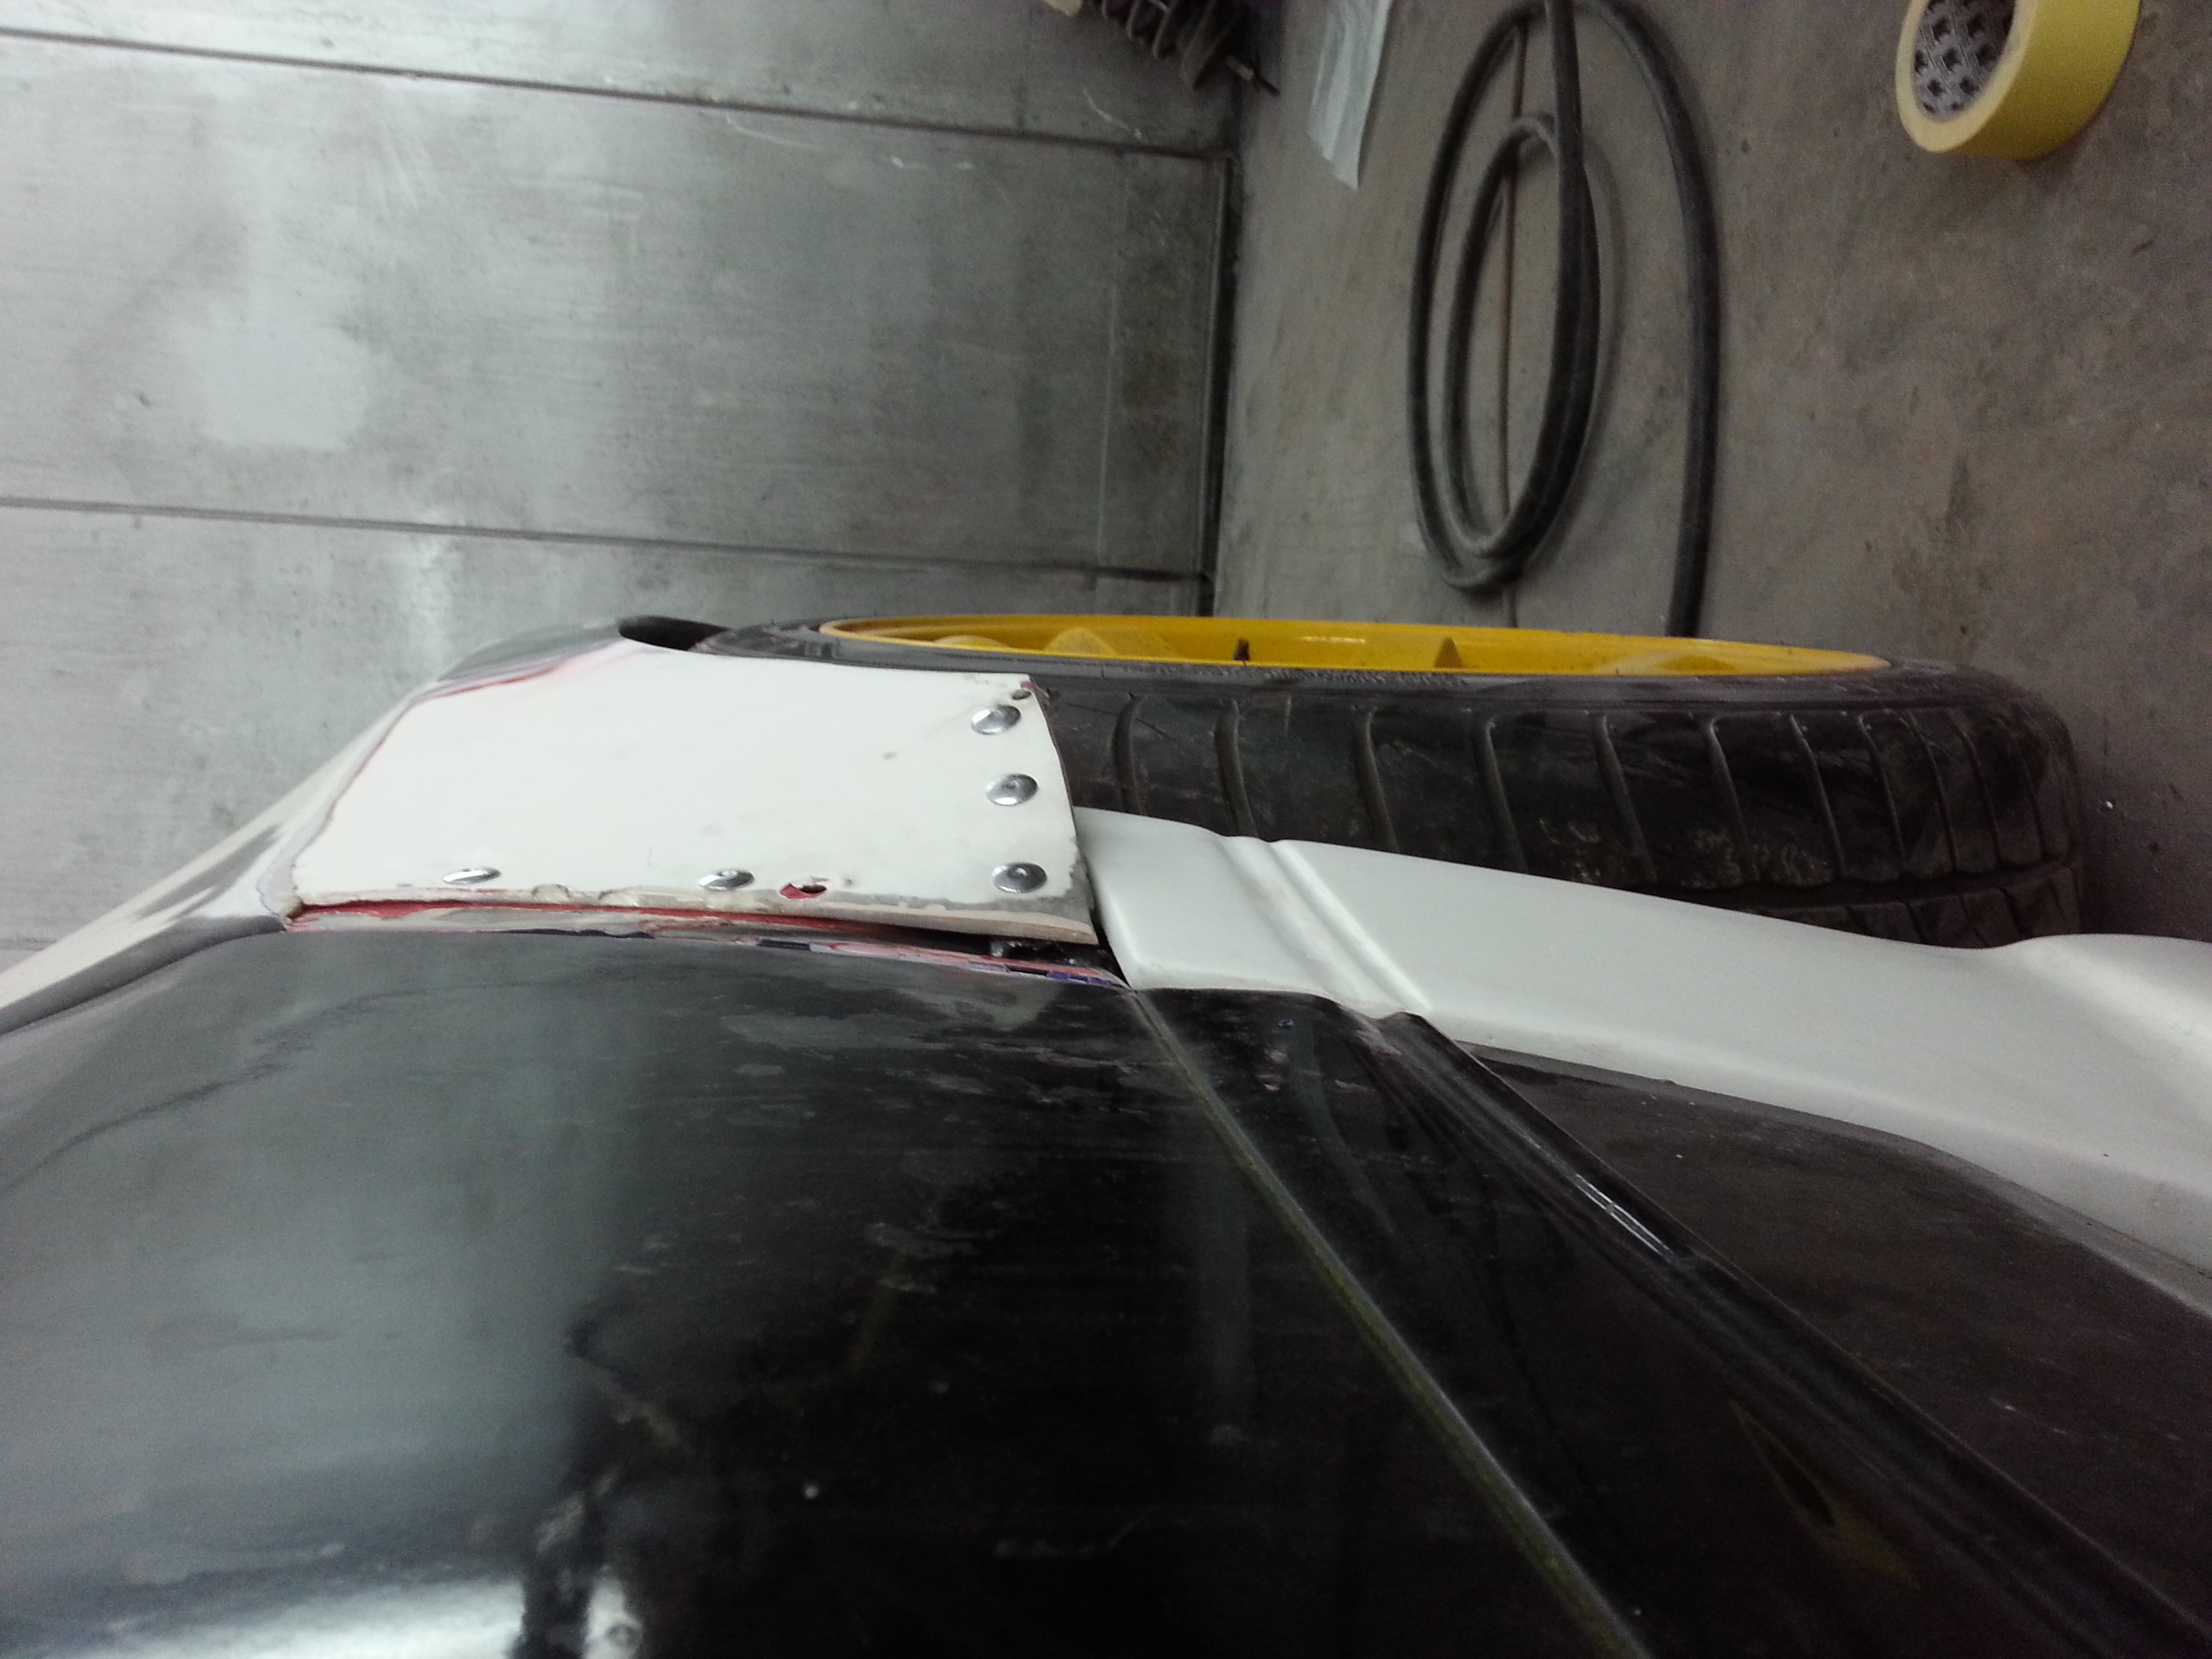
Managed to get one side of the rear quarter mods done today to incorporate the skirts into the 'remodelled' design. Pics show more
This is how it was after the filler was knocked out from around the joins from arch to body. Lots of exposed wheel from the front.

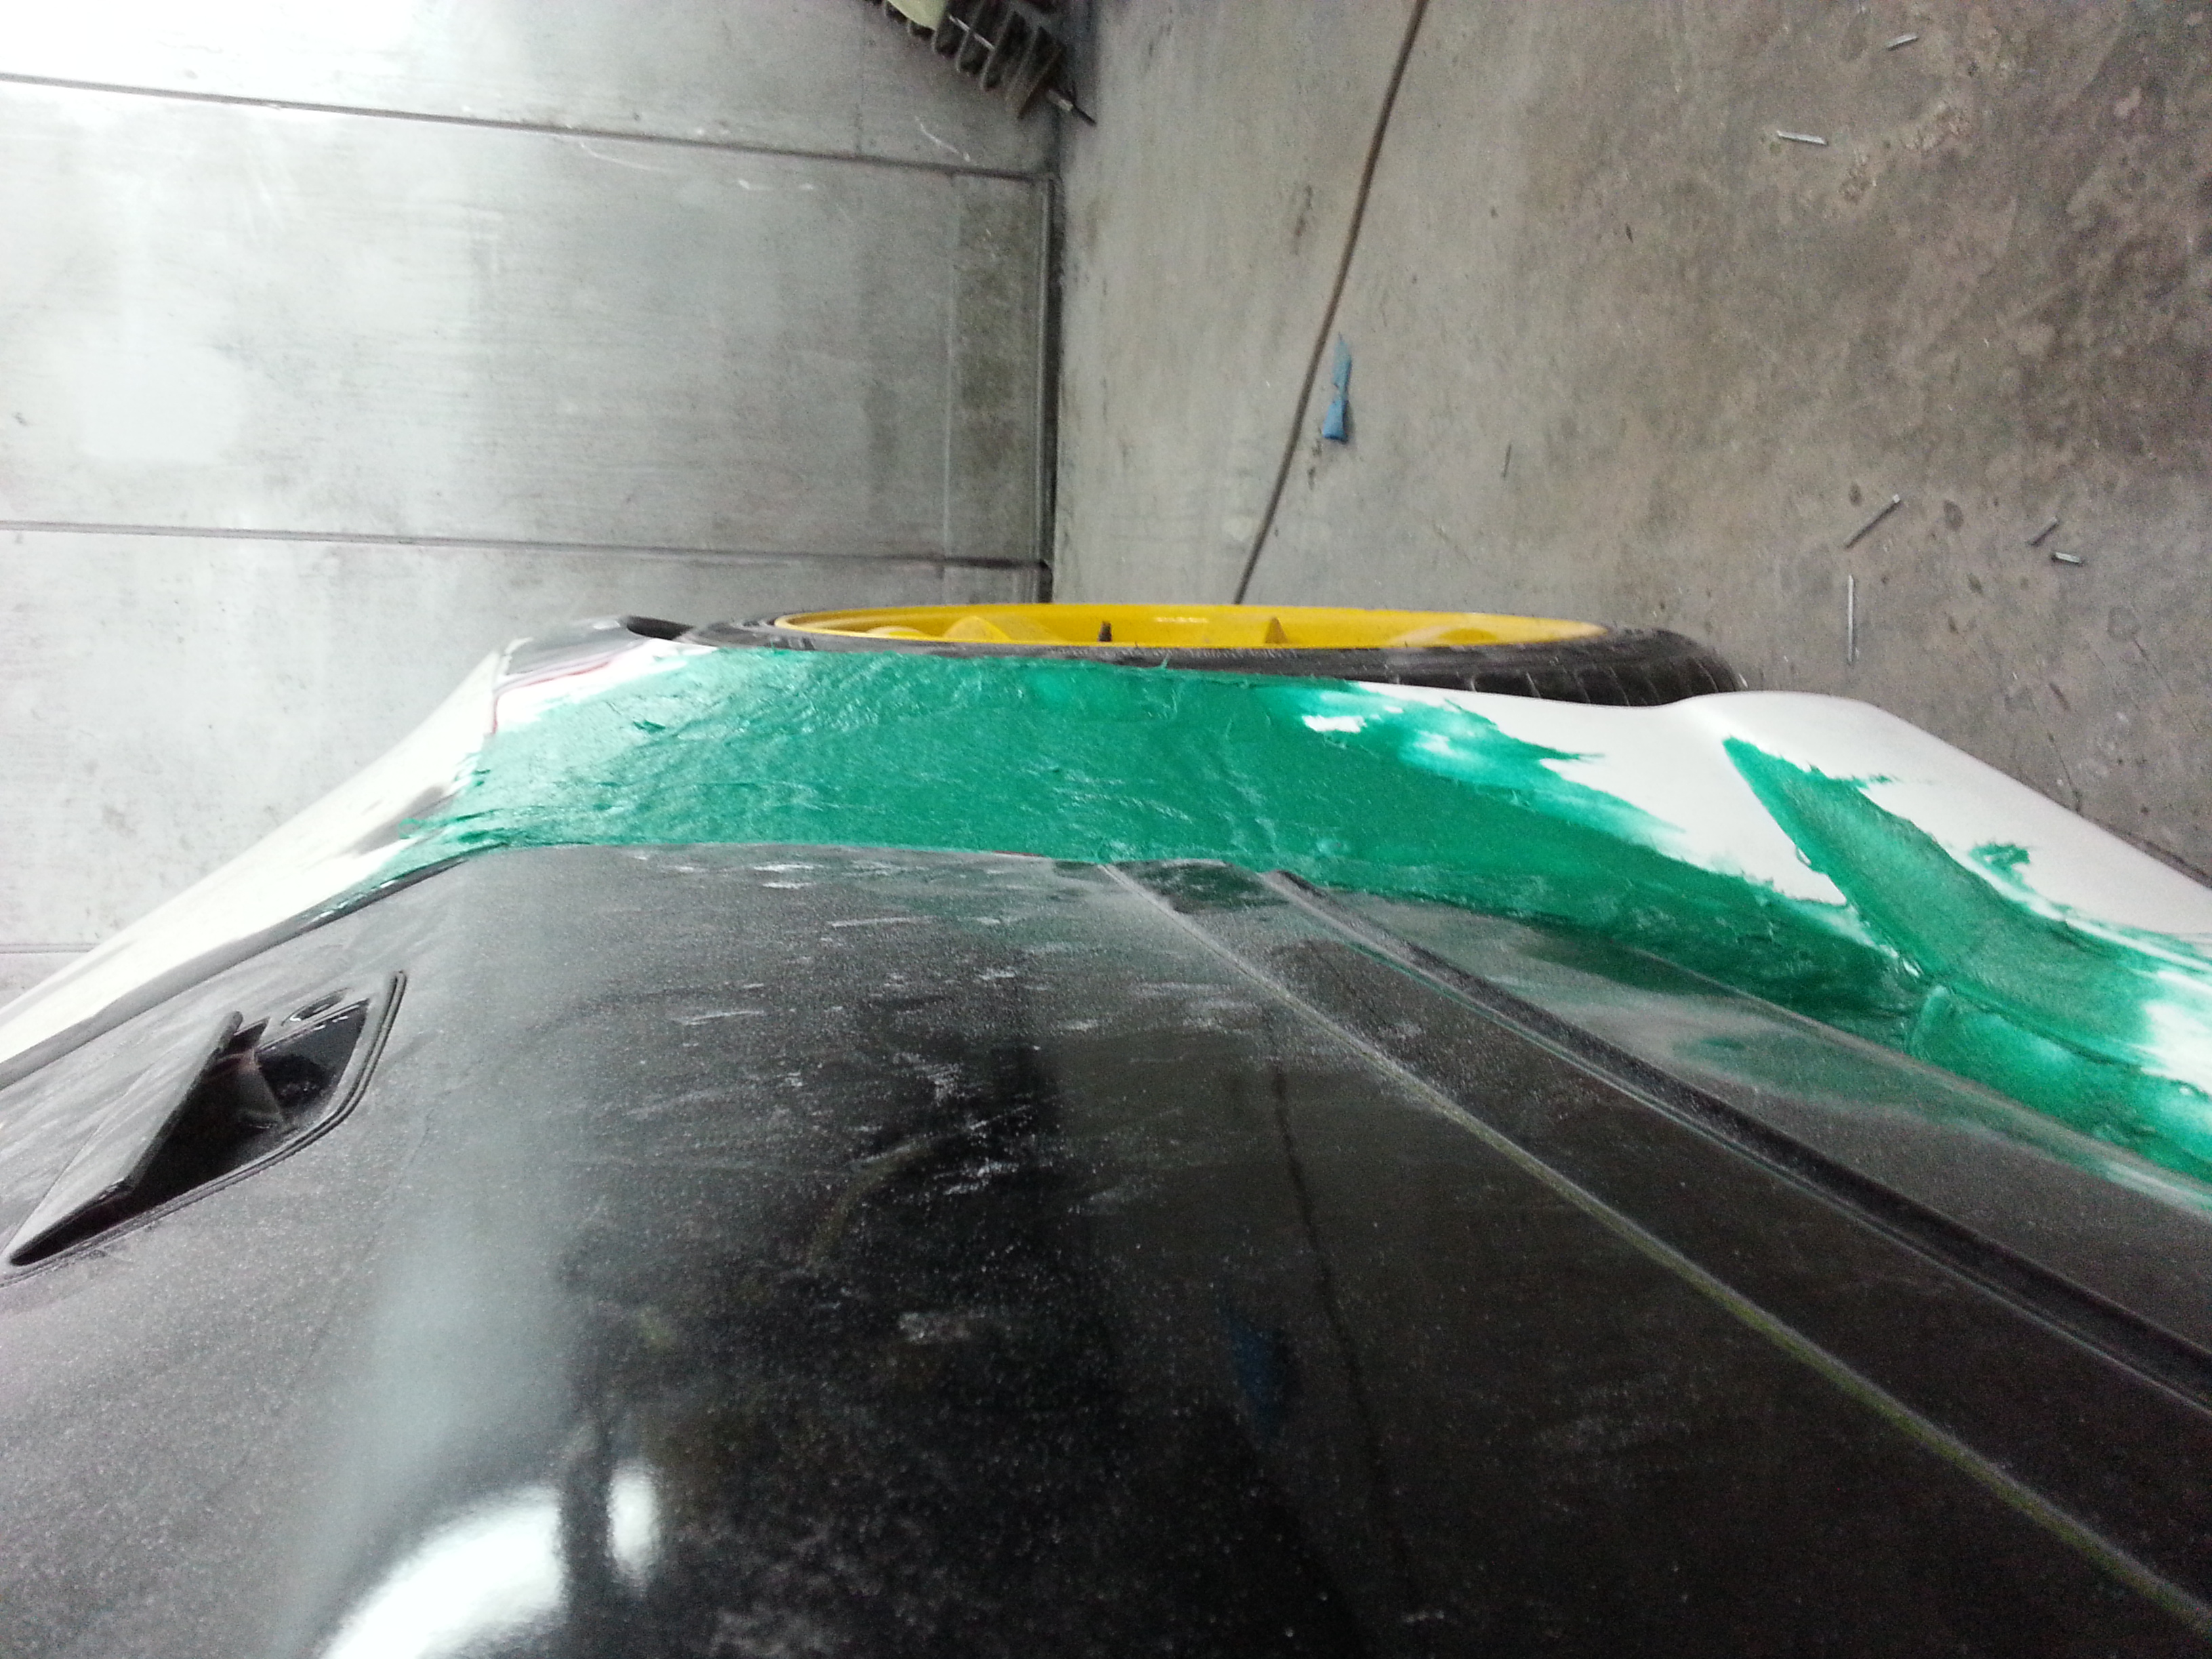
After the front section has been moded. The car body was cut underneath then re welded up to support the fibre arch.
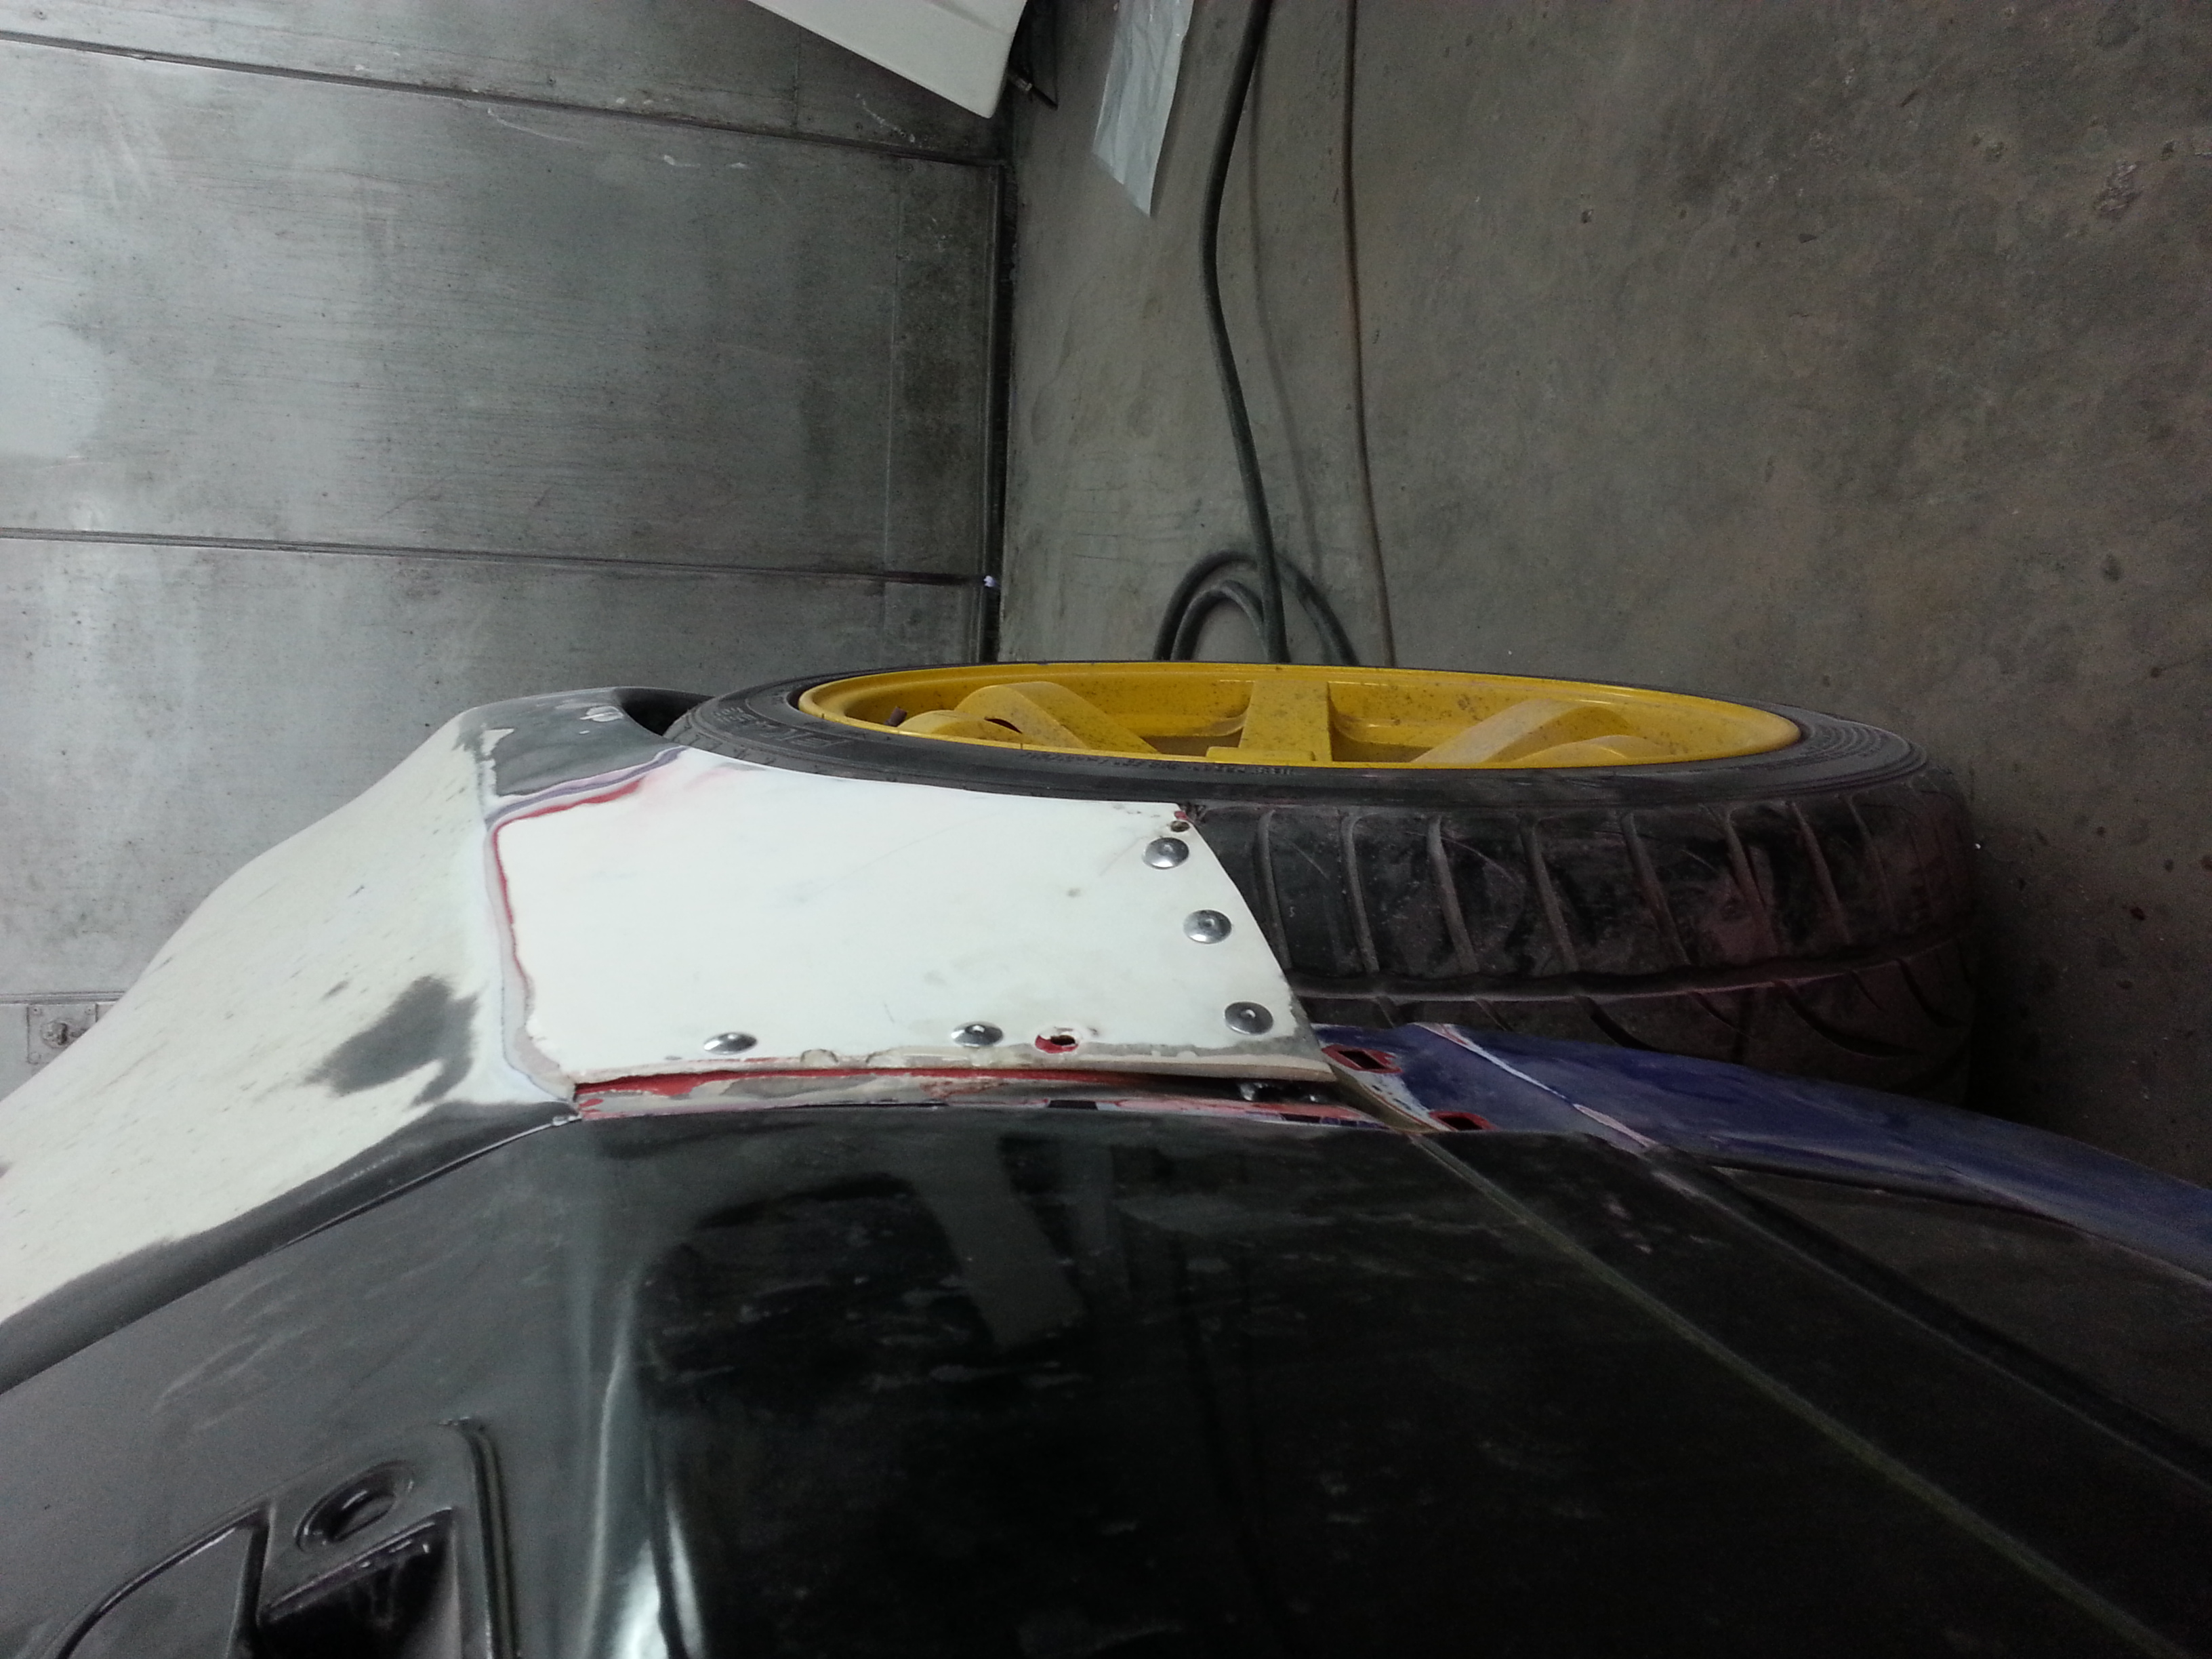
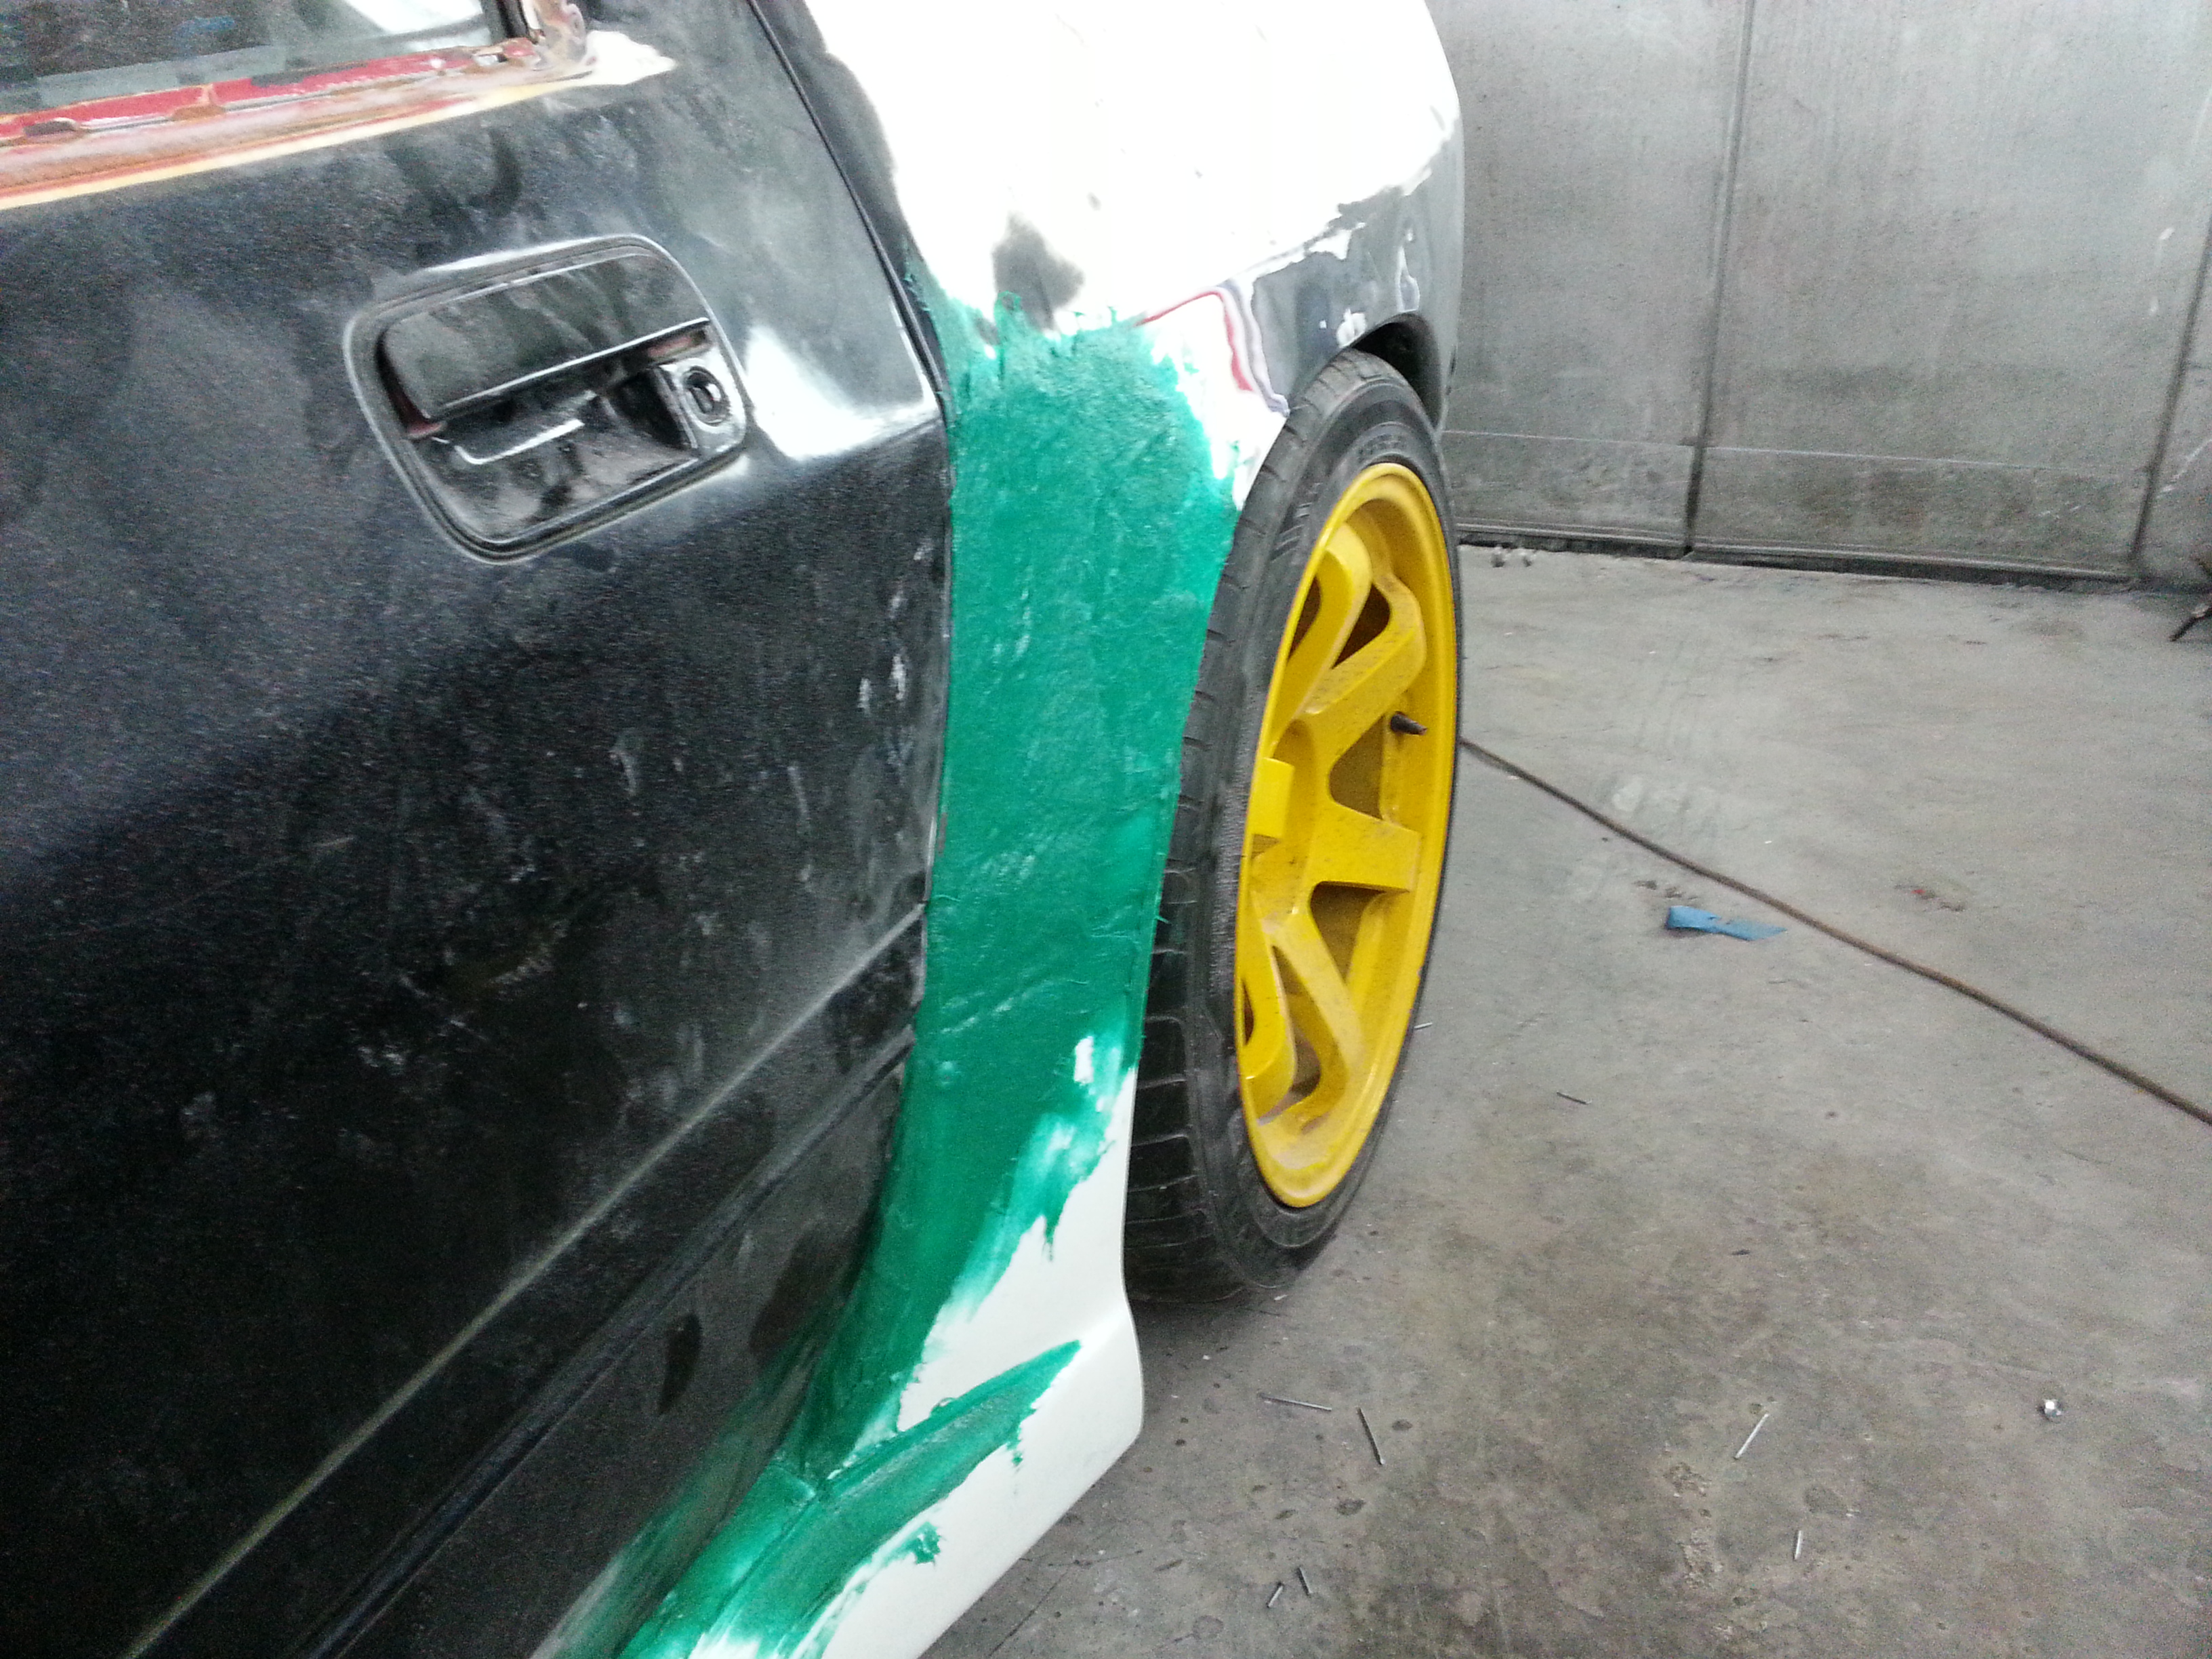
With the skirt in place as it would sit on a stock bodied car.
Trimmed, chopped, pulled and stretched with the skirt into place with the arch and first skim
This is how it was after the filler was knocked out from around the joins from arch to body. Lots of exposed wheel from the front.
After the front section has been moded. The car body was cut underneath then re welded up to support the fibre arch.
With the skirt in place as it would sit on a stock bodied car.
Trimmed, chopped, pulled and stretched with the skirt into place with the arch and first skim
Thread Starter
Senior Member
Joined: Feb 2007
Posts: 368
Likes: 0
From: Surrey, England
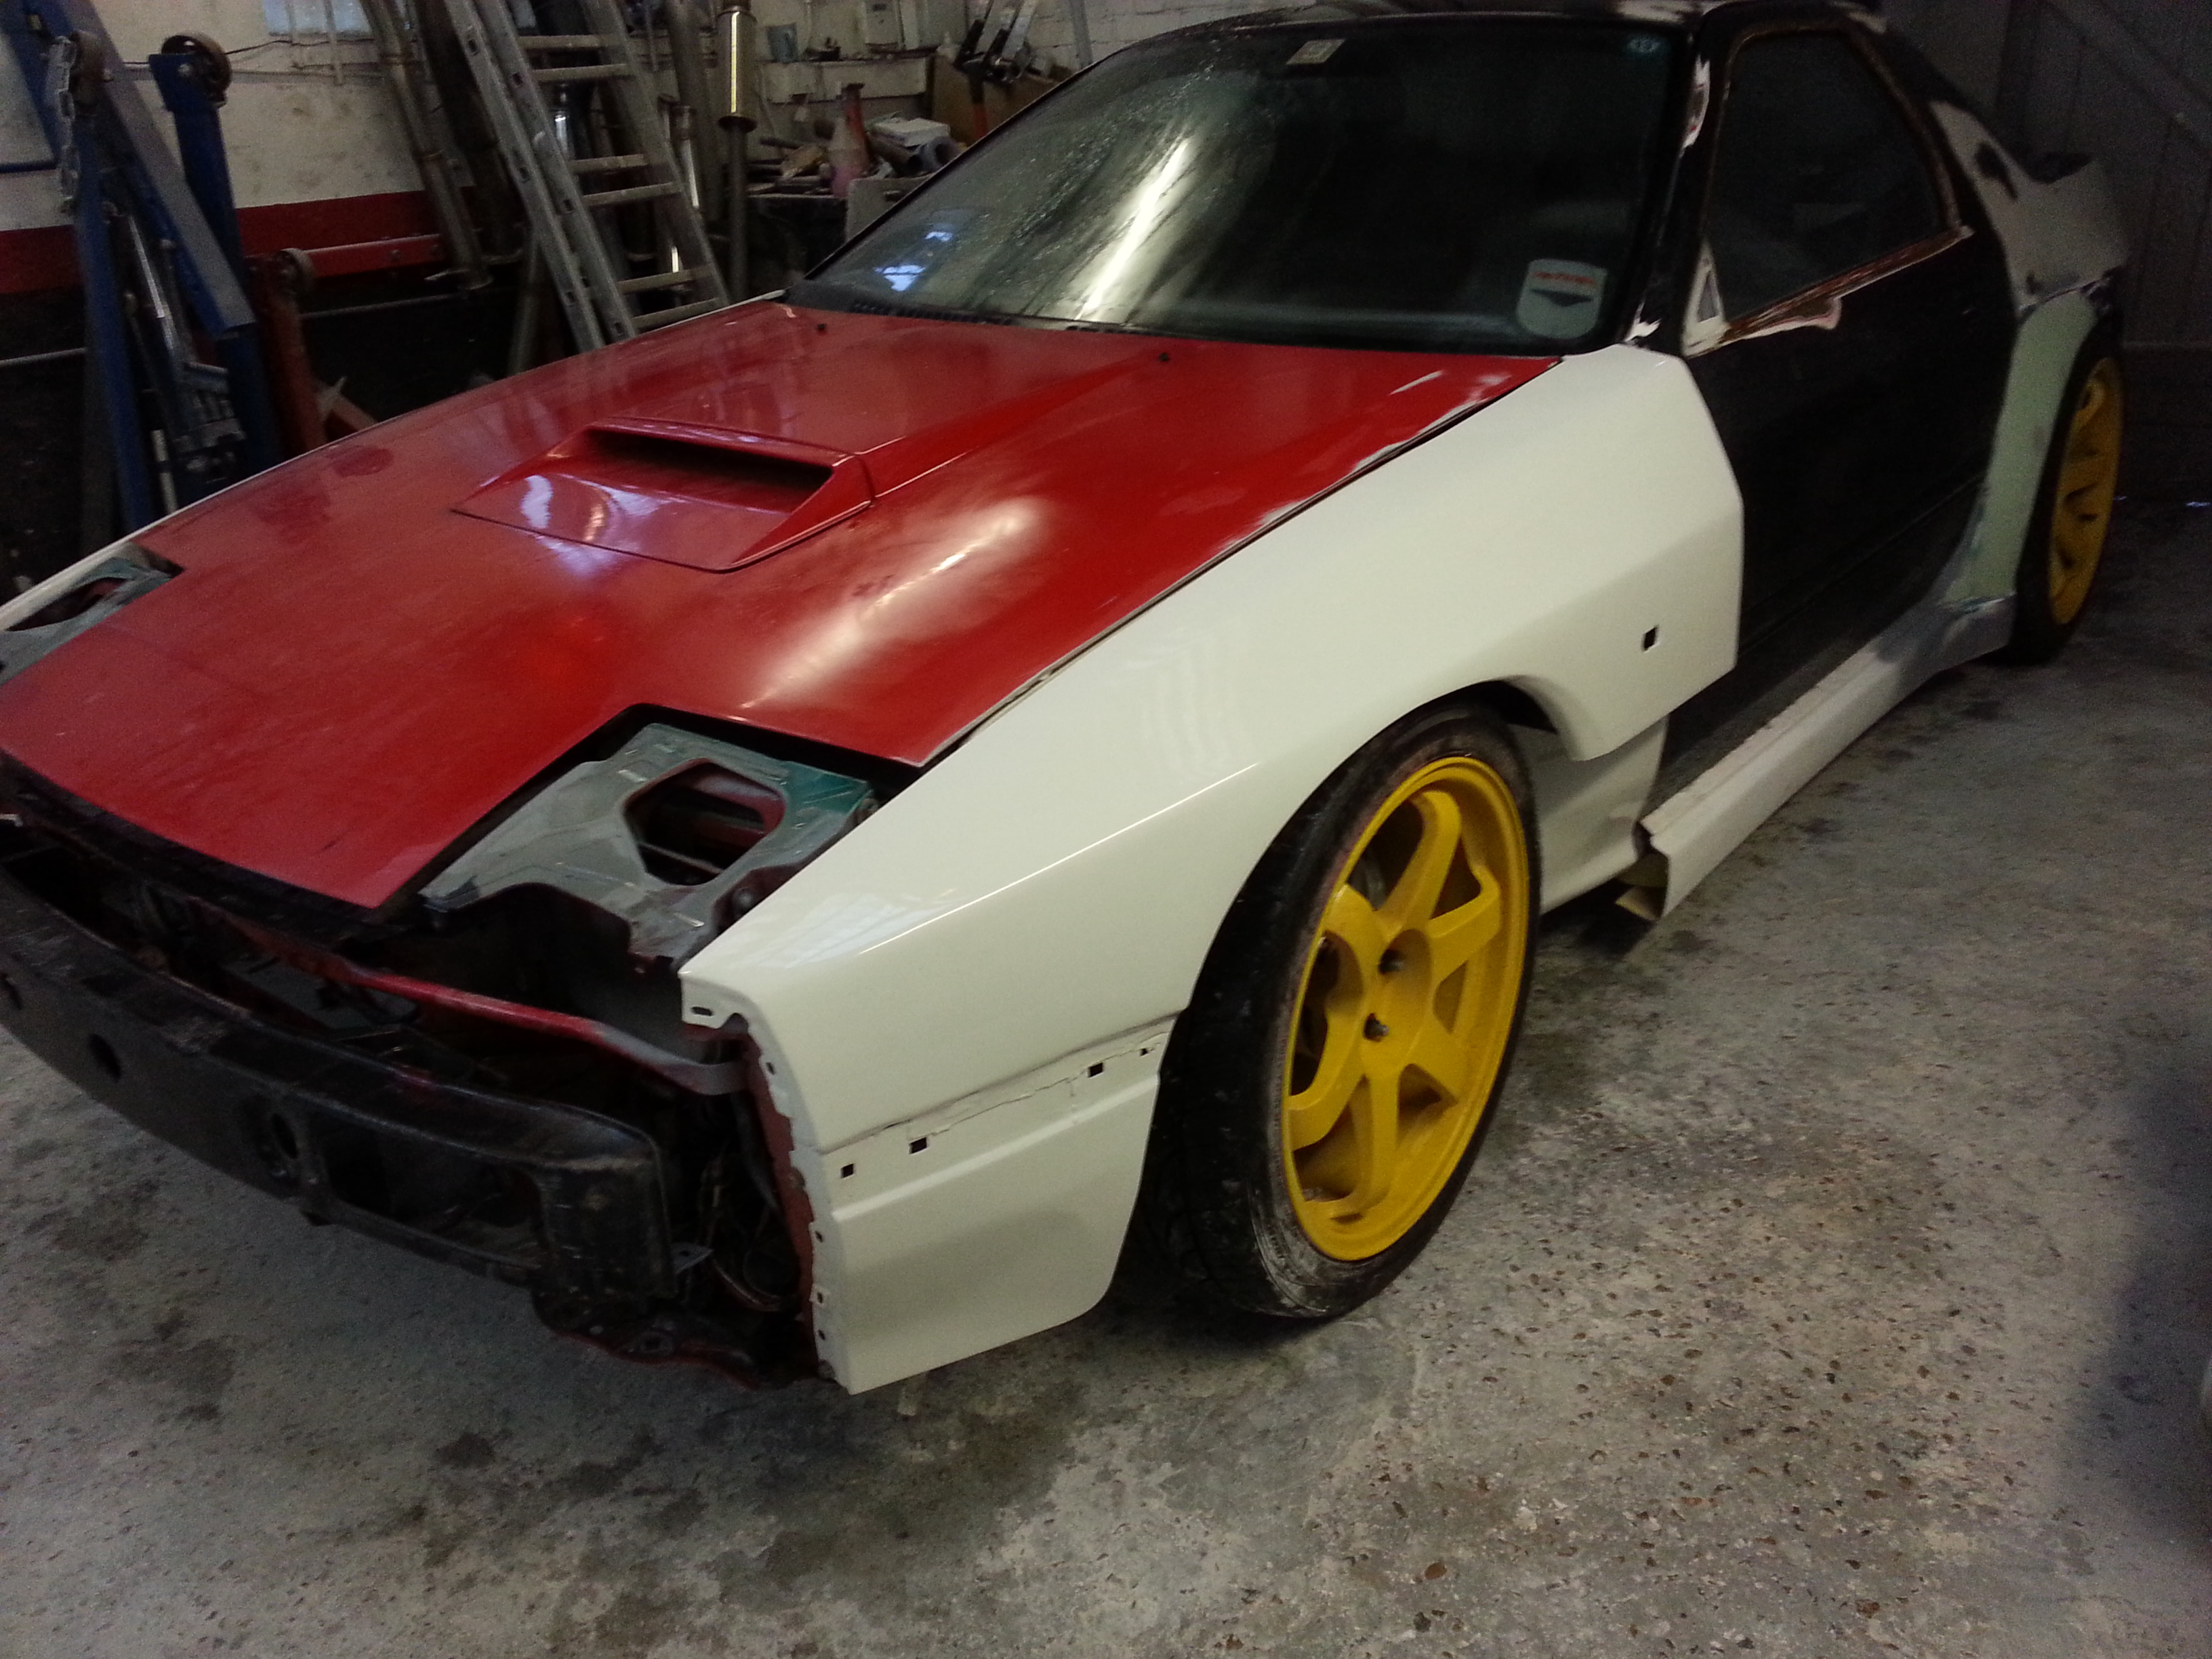
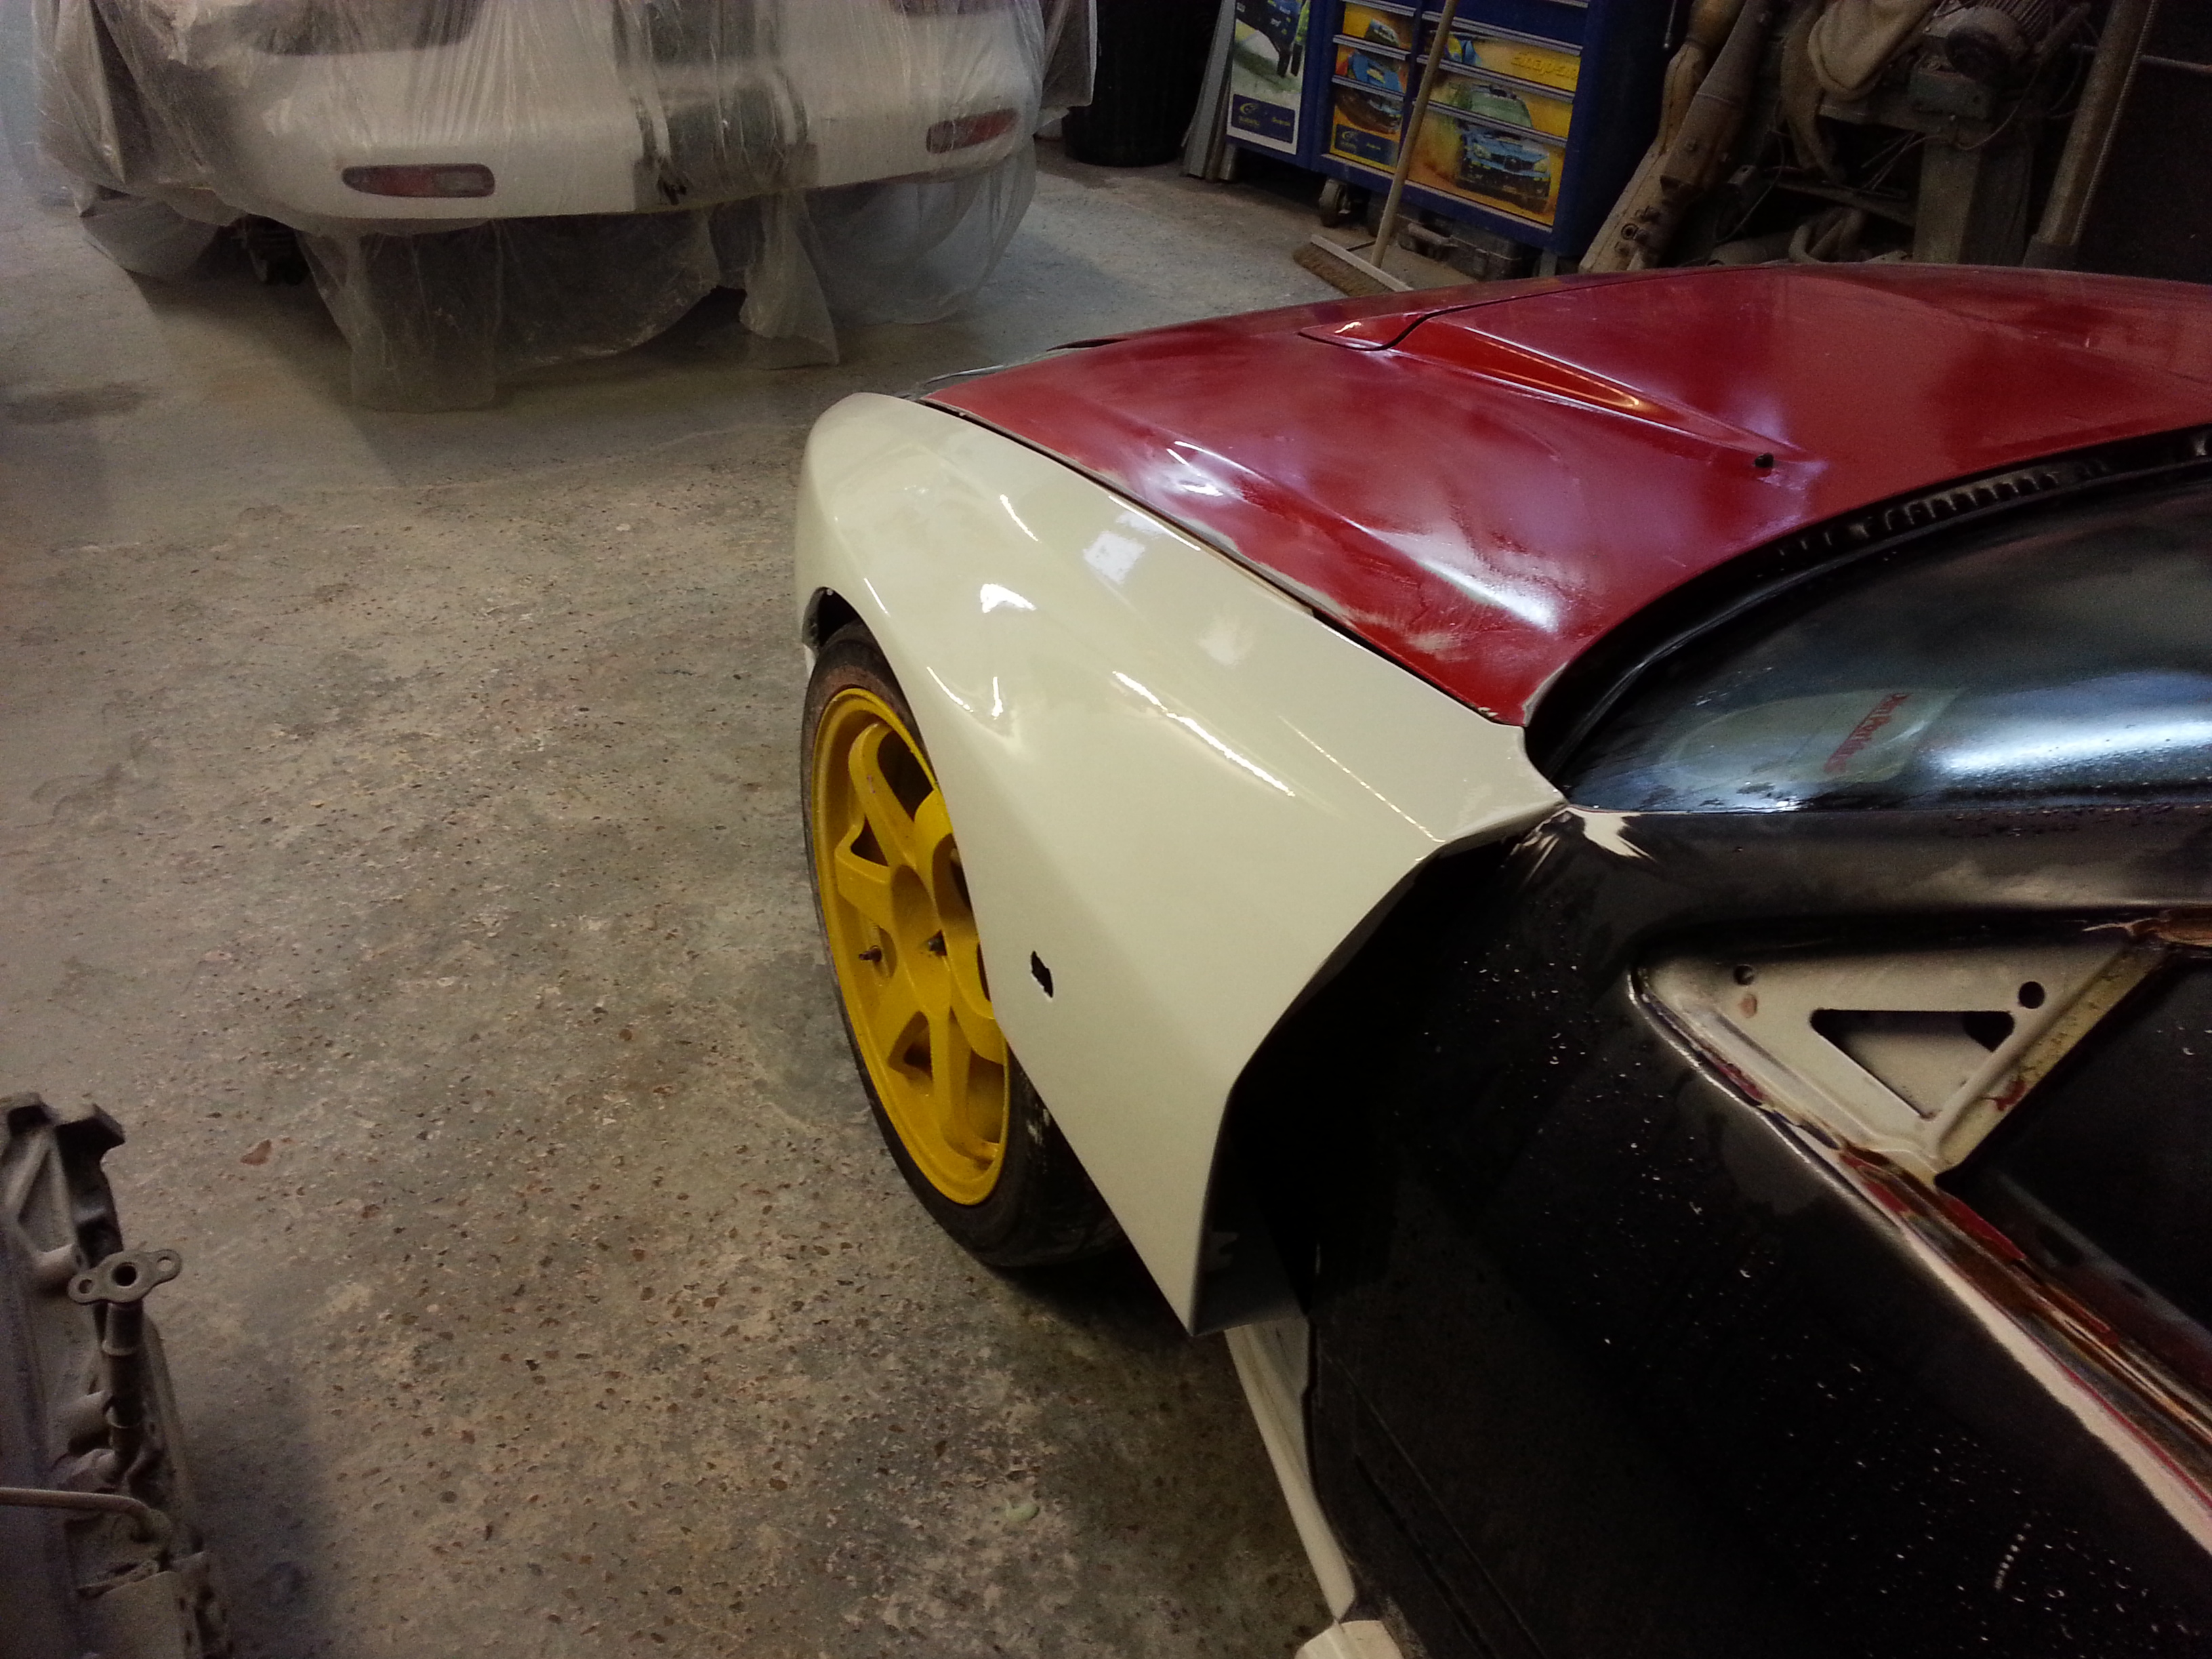
I have actually managed to make a little bit of head way with her now. Few days between jobs as a dude cancelled on me gave me a day and a bit to crack on. The front wings now finished and painted. Sider side skirt finished but need painting with the car. The lower section, where the skirt covers the bottom of the front wing needs making. I'm going to have this follow the line of the wing in towards the wheel well. Then using an item similar to the FEED side skirts for the FD3 to finish the whole deal off nicely. Will get some pics of that up once they are finished off.
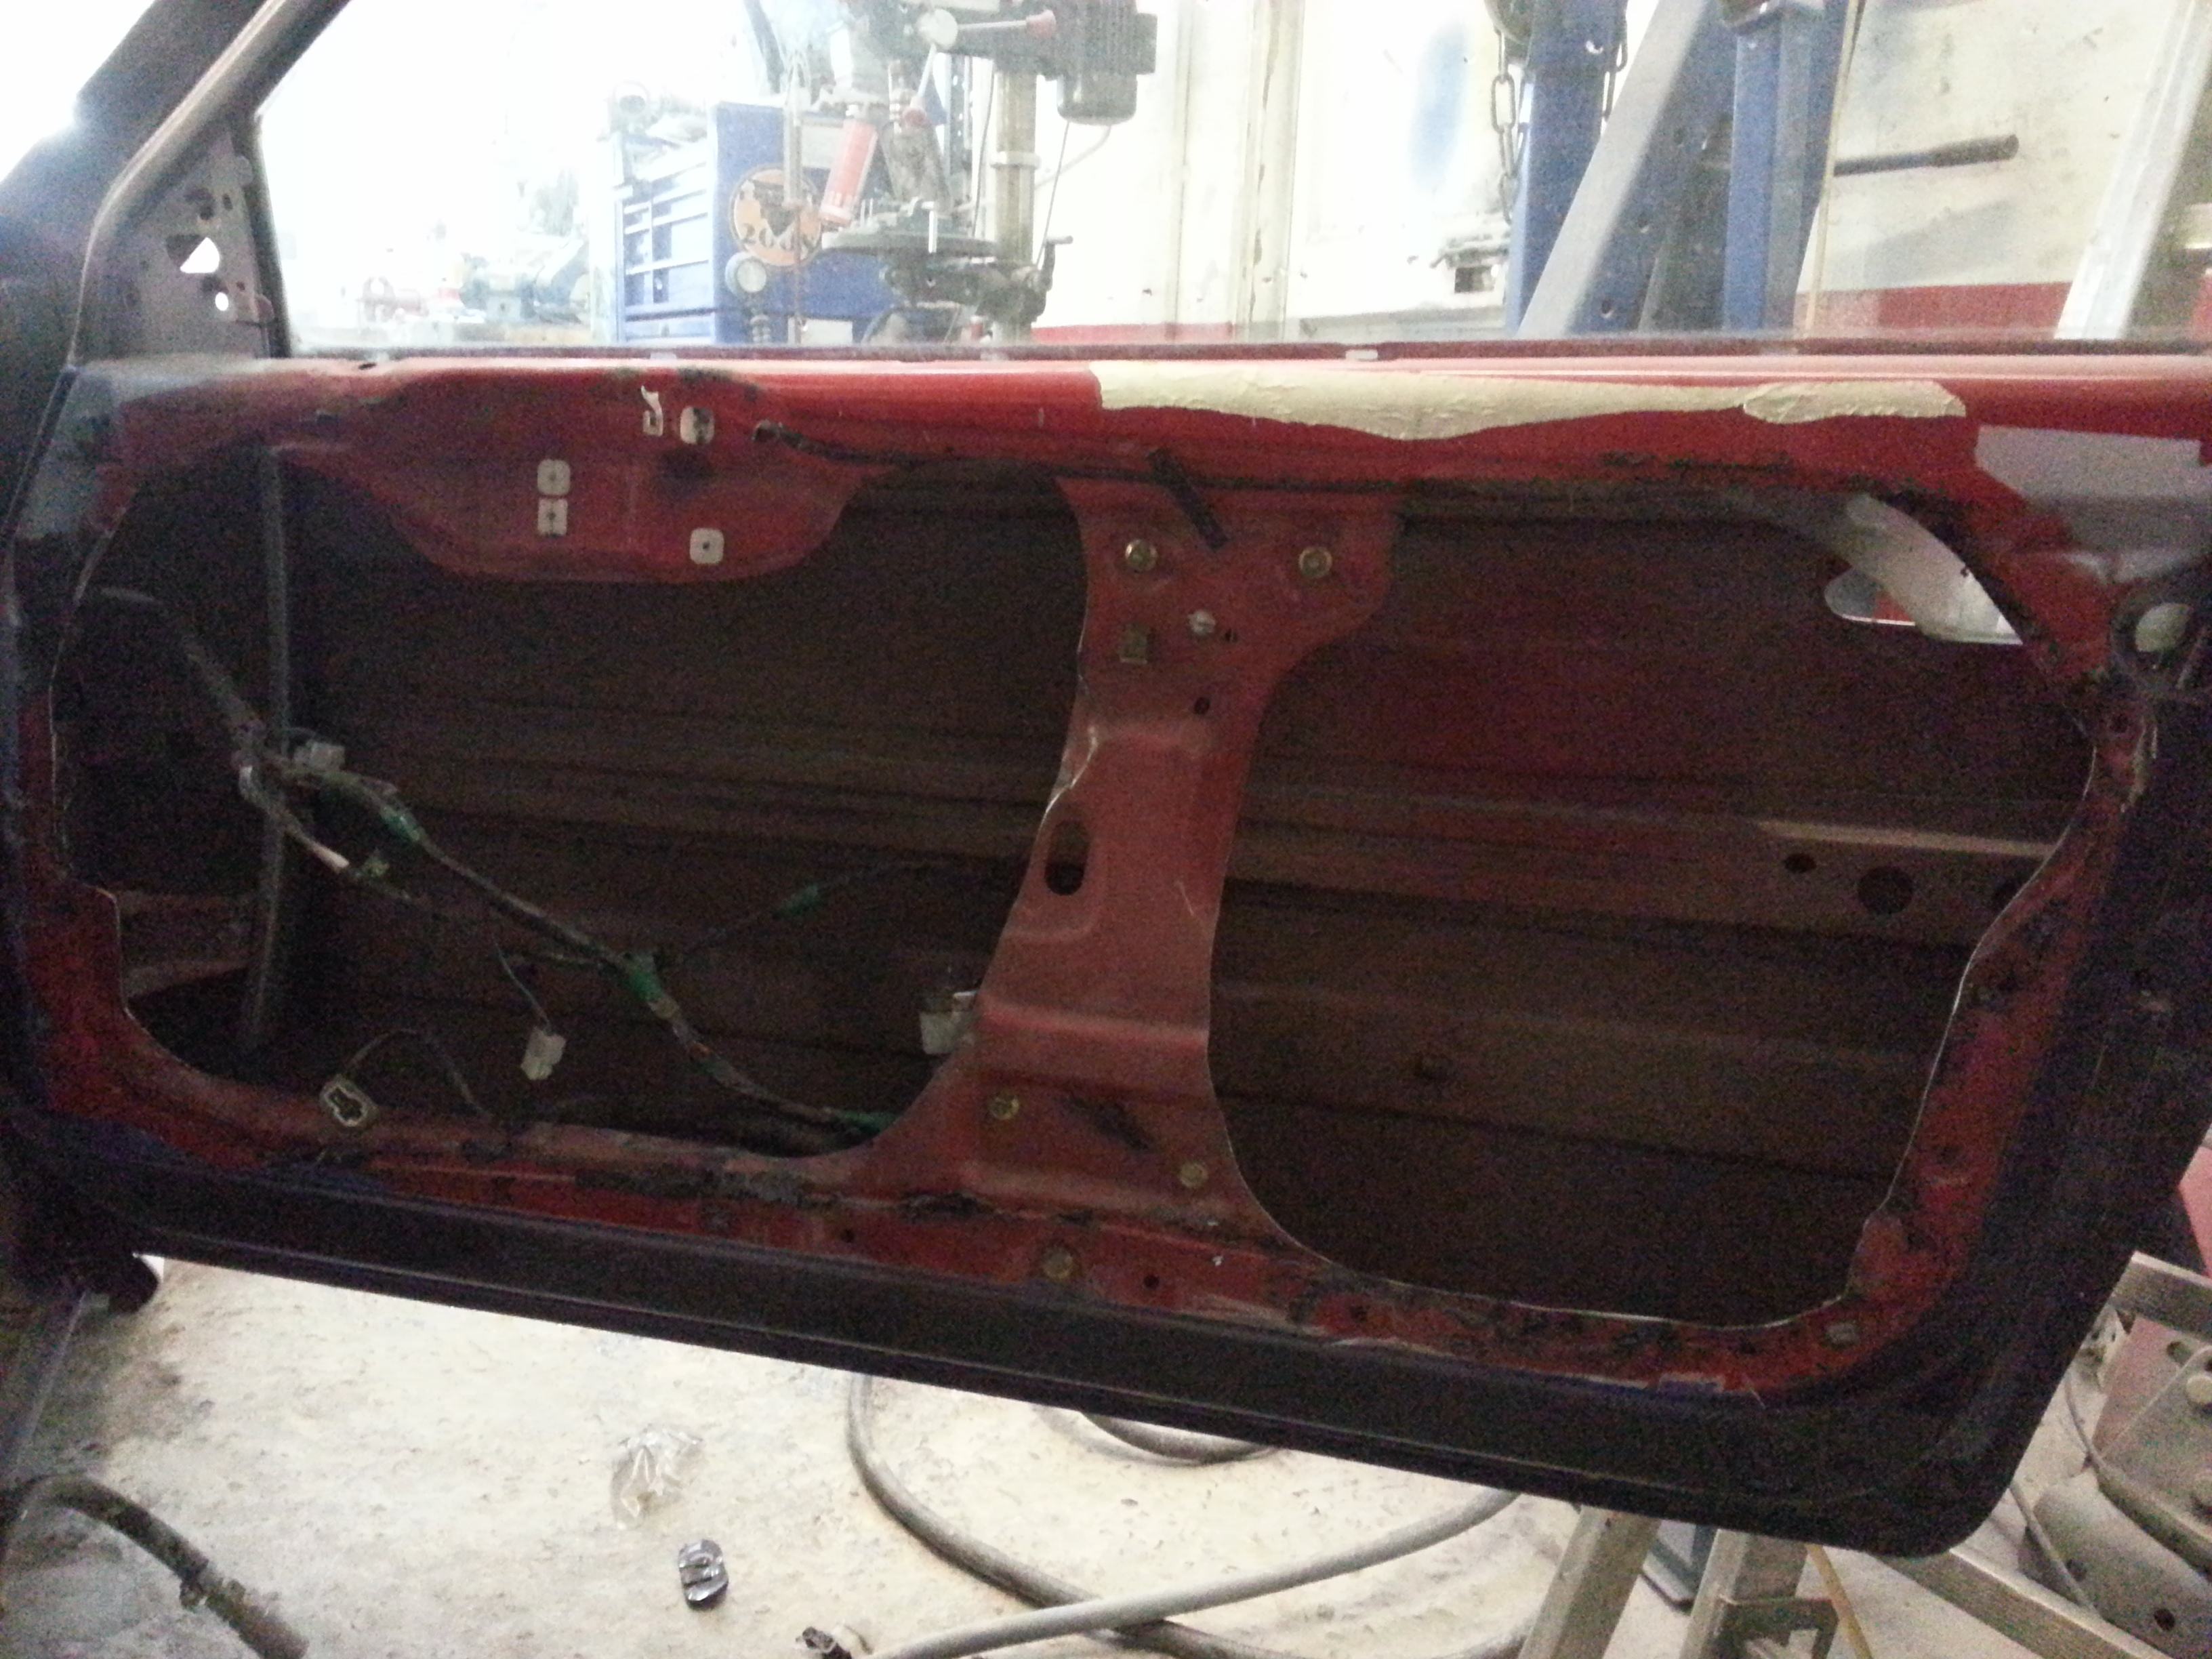
The whole of the interior is now striped. Anyone who has ever stripped a Jap car and specifically the RX7's will know how heavy and thick the stock carpet and padding is. Much be a good 20 odd kg so that's gone and will be replaced with a much thinner token carpet just to keep it neat. The Doors have also had a hack and will be covered in carbon sheet to loose the stock door cards and extra material as I intend to keep the electric windows. But in due corse the side windows and rear screen will be replaced with Lexen Items.
265's have been ordered for the fronts. Just a set of part warms for now so I can replace the whole set once all 4 corners are deaded next time round.
The pedals are in now also but having a look I didn't take any pics so i'll do that!
painted
The doors

after
The whole of the interior is now striped. Anyone who has ever stripped a Jap car and specifically the RX7's will know how heavy and thick the stock carpet and padding is. Much be a good 20 odd kg so that's gone and will be replaced with a much thinner token carpet just to keep it neat. The Doors have also had a hack and will be covered in carbon sheet to loose the stock door cards and extra material as I intend to keep the electric windows. But in due corse the side windows and rear screen will be replaced with Lexen Items.
265's have been ordered for the fronts. Just a set of part warms for now so I can replace the whole set once all 4 corners are deaded next time round.
The pedals are in now also but having a look I didn't take any pics so i'll do that!
painted
The doors
after