
Peripheral Port FC.


Thread Starter
Senior Member
Joined: Feb 2007
Posts: 368
Likes: 0
From: Surrey, England
Cheers Dude.
Those where swaged out from 2"-2.5". They have be changed since. I had the flange re cut with 2" holes to suite the primary size. For and exhaust transition you would be better getting a cone made by a local exhaust builder.
They are made by a company called OBP that I deal with in the UK. Lovely units they do all sorts.
They are made by a company called OBP that I deal with in the UK. Lovely units they do all sorts.


Thread Starter
Senior Member
Joined: Feb 2007
Posts: 368
Likes: 0
From: Surrey, England
Thanks guys.
I'm having a week off soon before I move workshops to have a huge 7 day push to the finish. So much to do. I have a friend who going to help me finish the body work as with two of us on it we can knock the prep work out in a couple of days.
Watch this space!
I'm having a week off soon before I move workshops to have a huge 7 day push to the finish. So much to do. I have a friend who going to help me finish the body work as with two of us on it we can knock the prep work out in a couple of days.
Watch this space!
thanks guys.
I'm having a week off soon before i move workshops to have a huge 7 day push to the finish. So much to do. I have a friend who going to help me finish the body work as with two of us on it we can knock the prep work out in a couple of days.
Watch this space!
I'm having a week off soon before i move workshops to have a huge 7 day push to the finish. So much to do. I have a friend who going to help me finish the body work as with two of us on it we can knock the prep work out in a couple of days.
Watch this space!
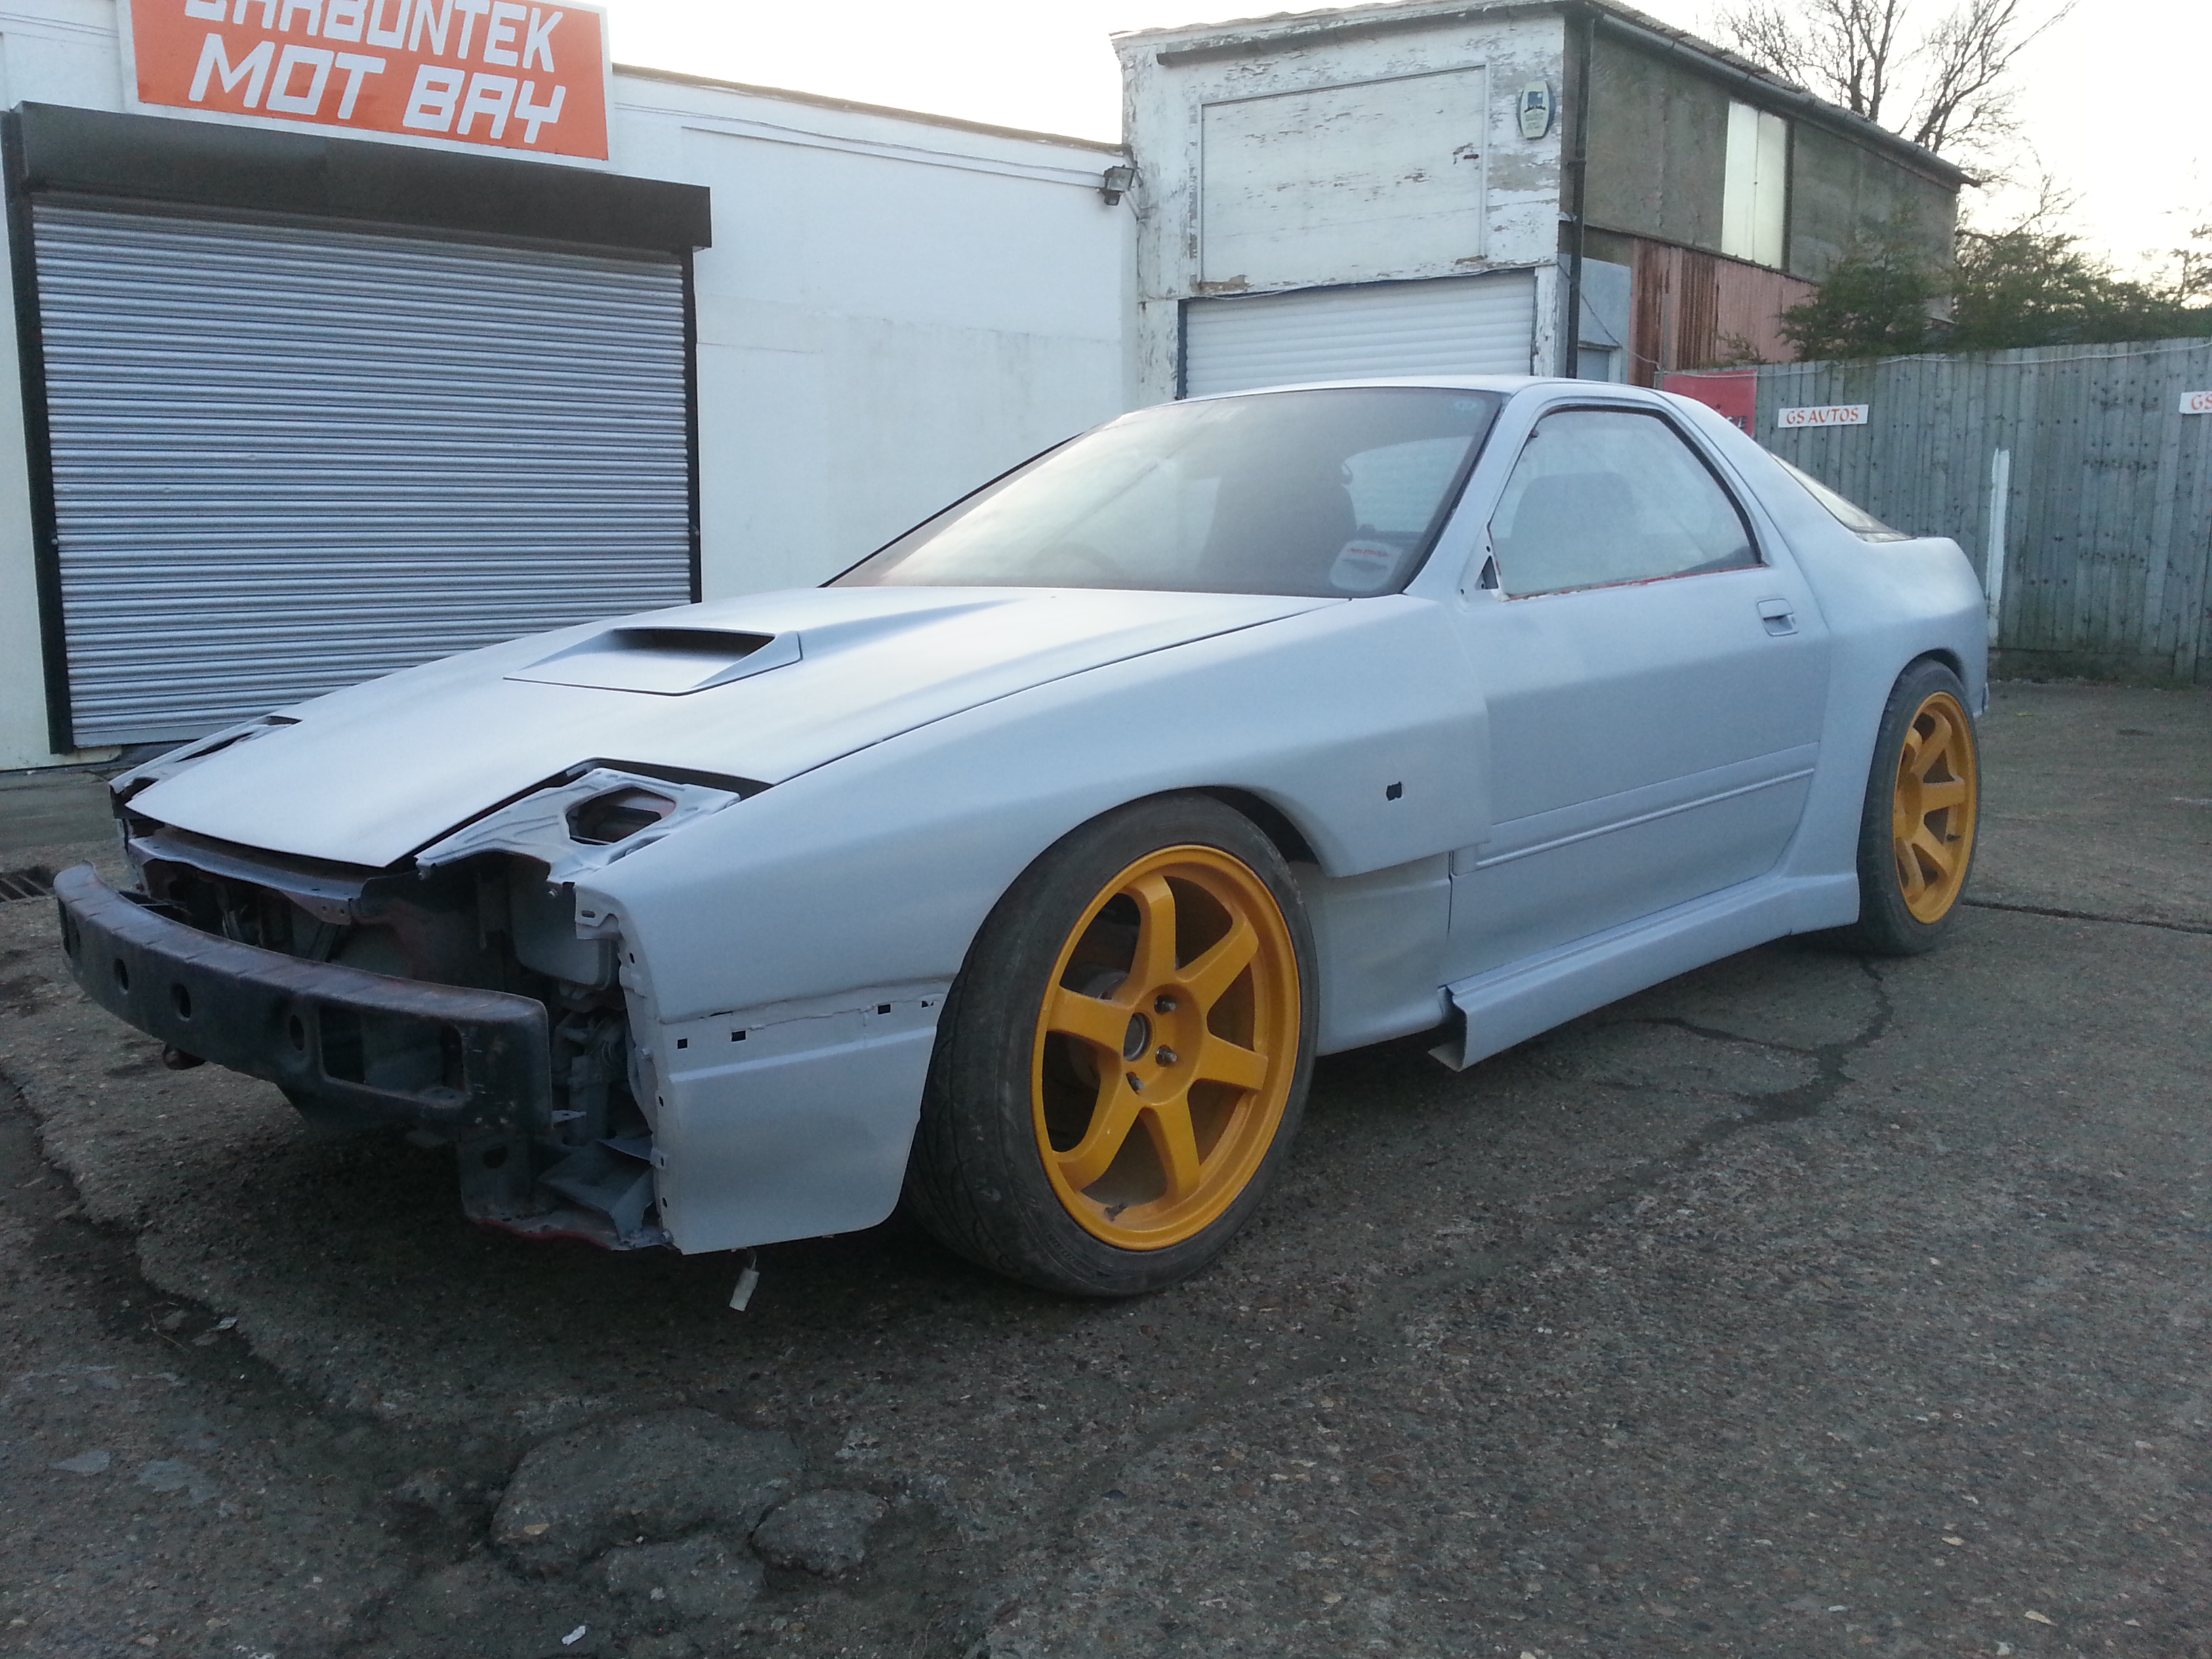
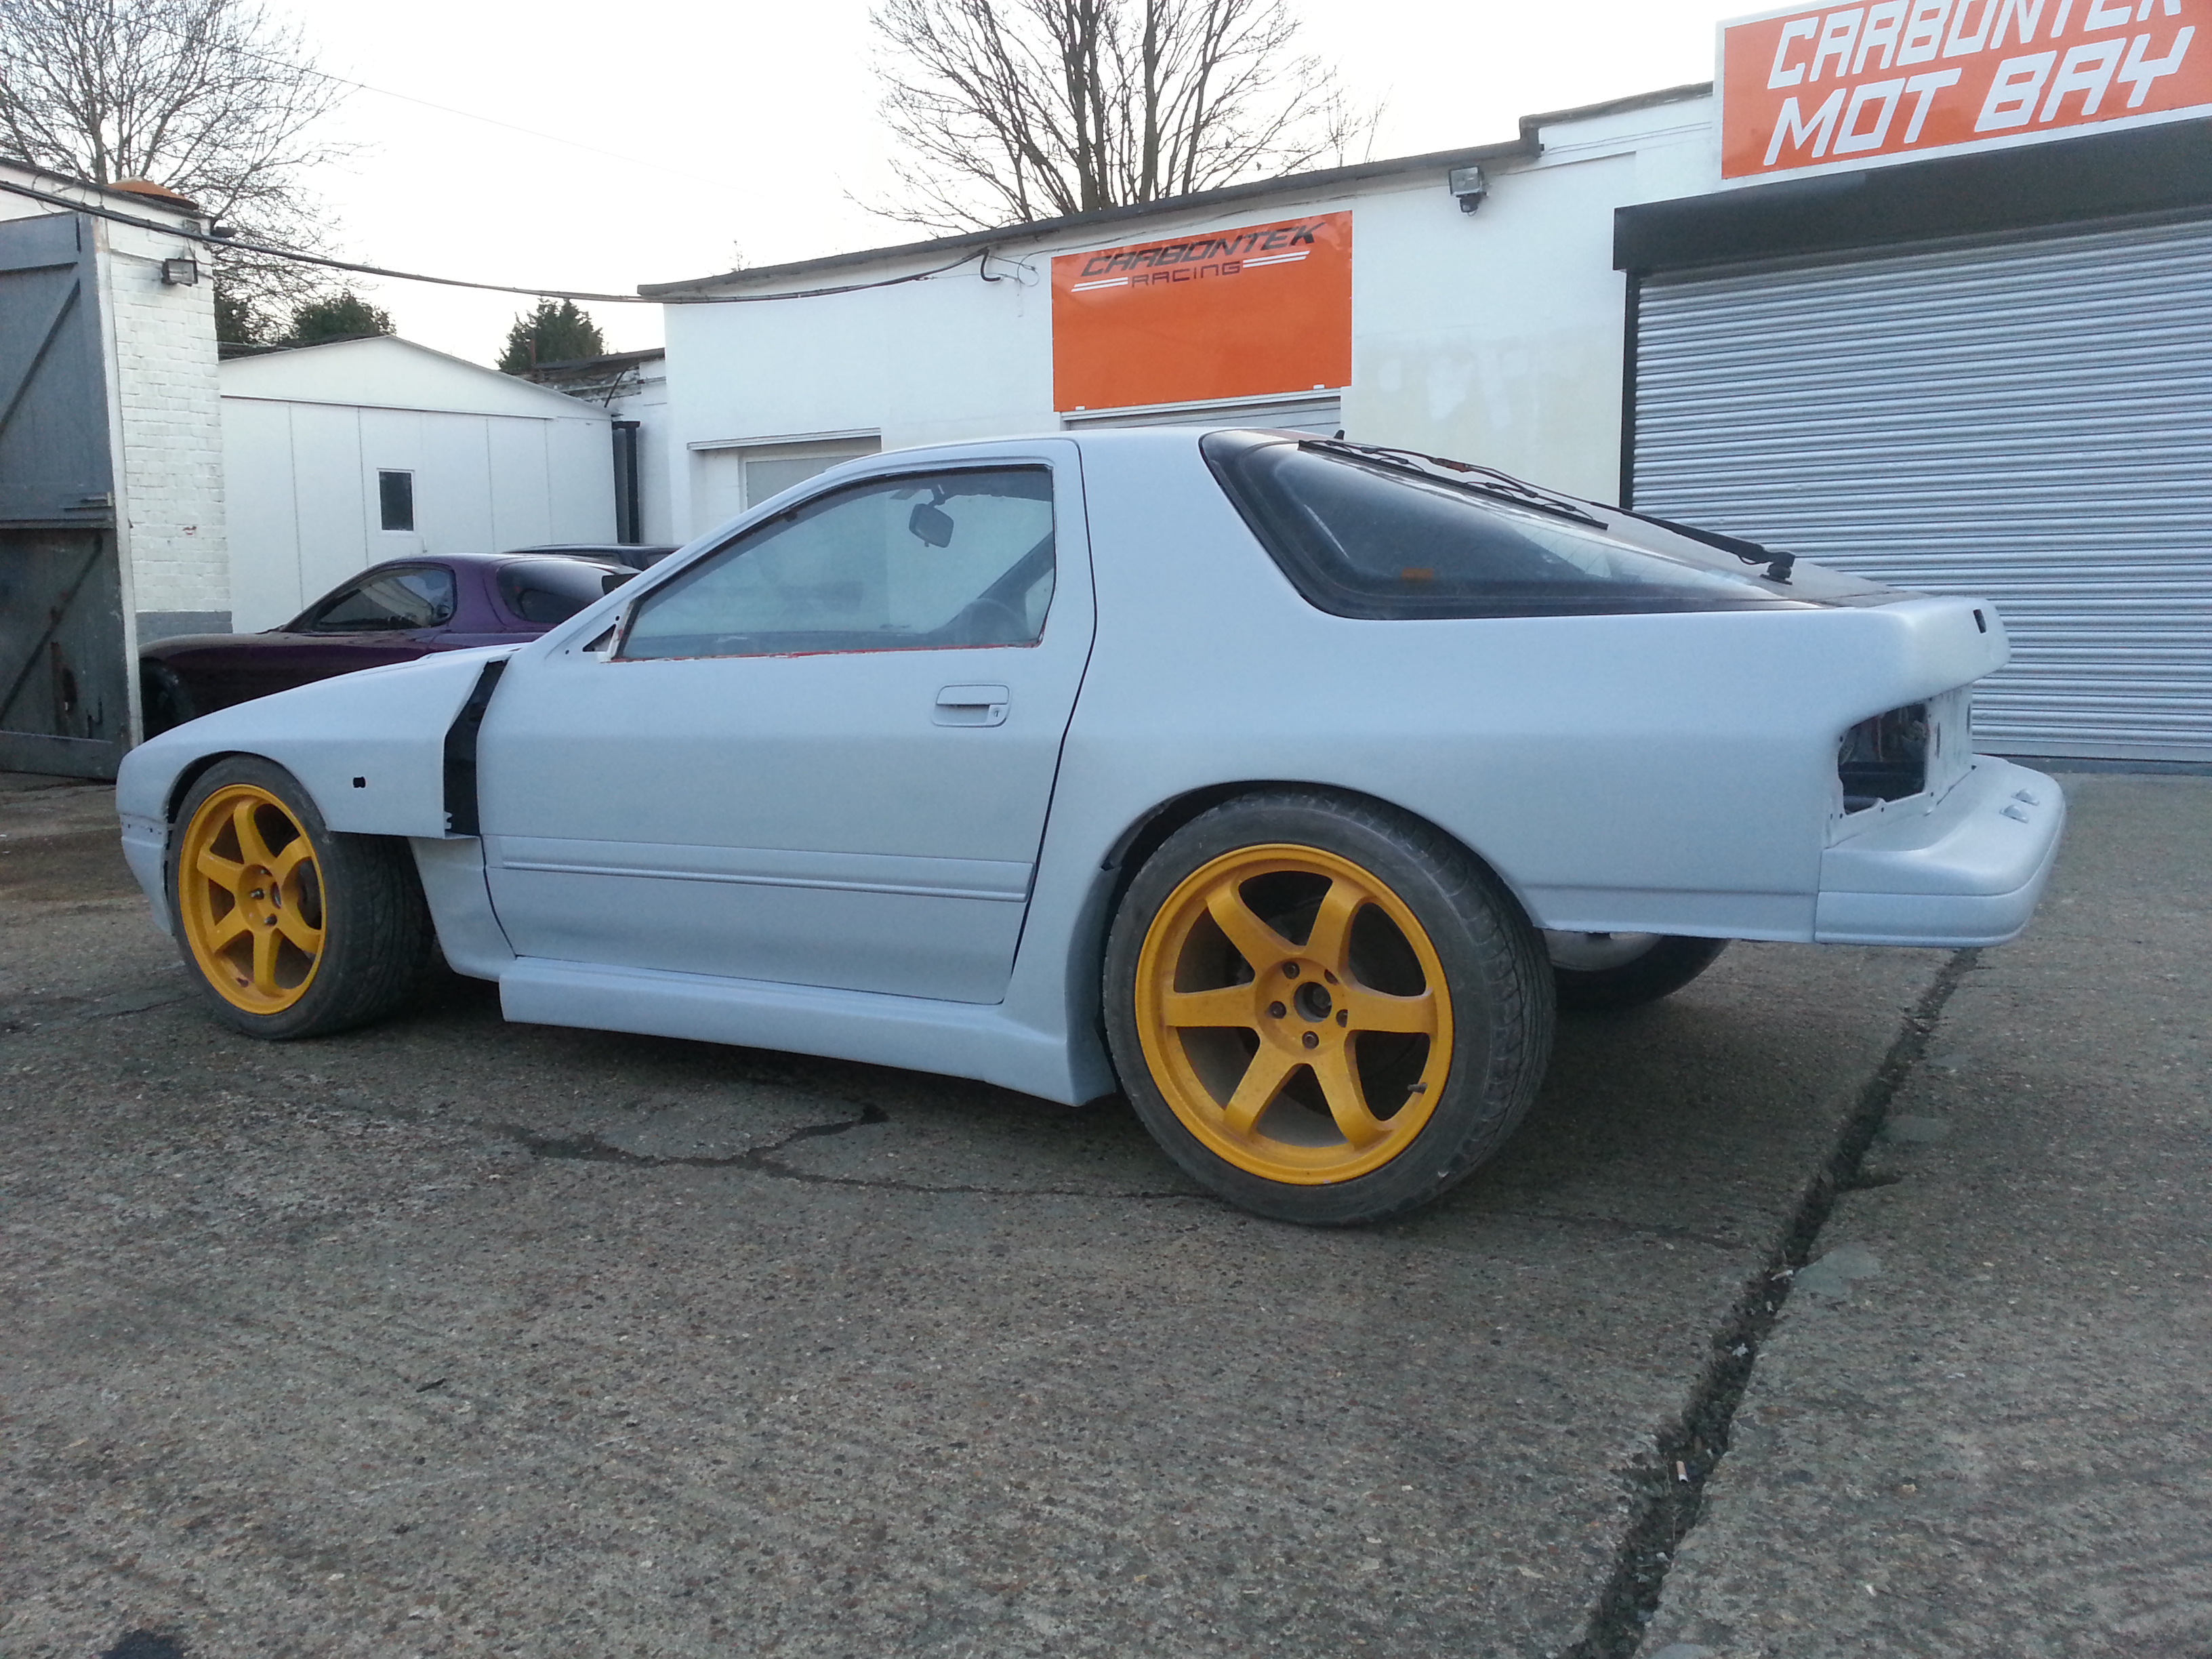


I really like how you made the overfenders mold all the way to the side skirts. I dislike the look of the bulge overfenders make on RX7's in the rear. But by basically using them for the base of a custom widebody, it looks awesome.
Thread Starter
Senior Member
Joined: Feb 2007
Posts: 368
Likes: 0
From: Surrey, England
Cheers,
I know what you mean about the bulged look. I kept looking at it when it was in and out the shop all the time. Never looked quite right to me. When I bought the skirts I had a play with them and decided to chop them here and there to mould them into the rear arches. Worked well in the end I think.
I know what you mean about the bulged look. I kept looking at it when it was in and out the shop all the time. Never looked quite right to me. When I bought the skirts I had a play with them and decided to chop them here and there to mould them into the rear arches. Worked well in the end I think.


troubleshooting sucks
Joined: Sep 2011
Posts: 575
Likes: 0
From: sweden
this is really great! bet youve gone through quite a few cups of tea in the process =)
i especially love what youve done with the body. youll have to put up some vids when your done id love to hear that pp screaming! good work so far im subscribing to this one!
i especially love what youve done with the body. youll have to put up some vids when your done id love to hear that pp screaming! good work so far im subscribing to this one!
Thread Starter
Senior Member
Joined: Feb 2007
Posts: 368
Likes: 0
From: Surrey, England
Cheers guys appreciate the positive comments.
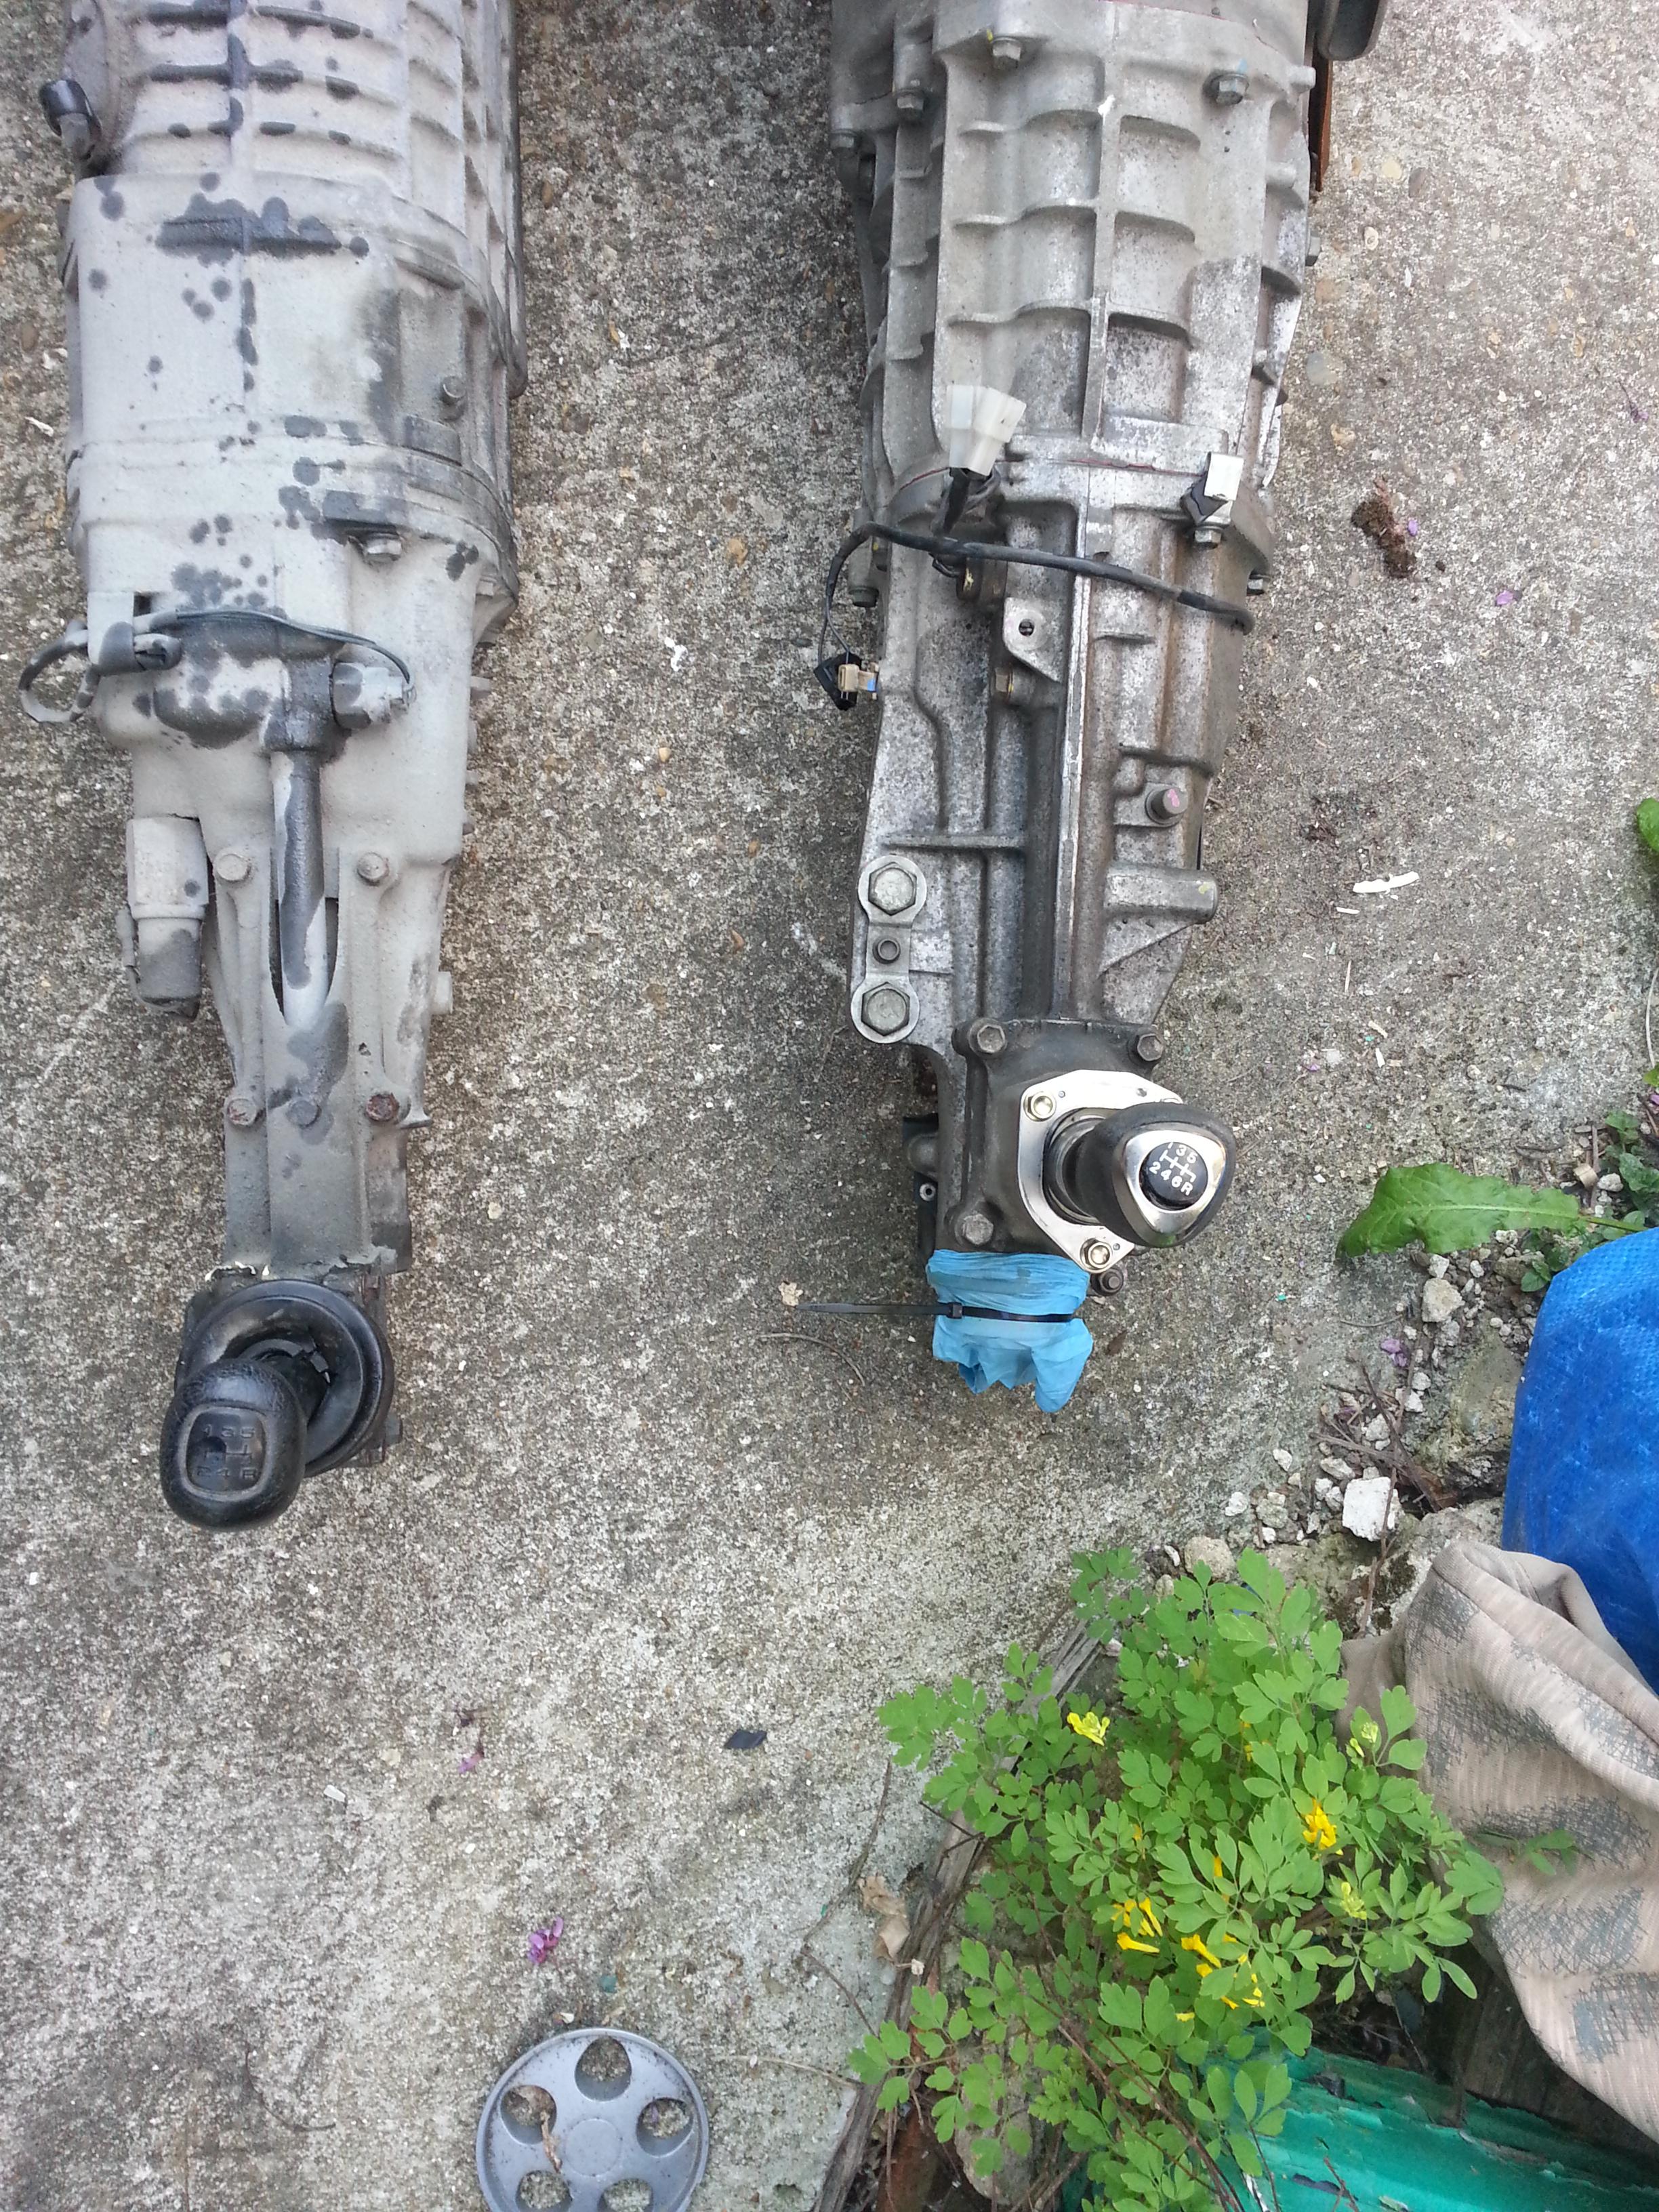
Well the car is back home and the workshop is nearly empty. Decided to only do half a day up at the current shop and come back to examine the gear boxes. Dropped the T2 box out slid the RX8 6 speed in the gap. Few mods to do to get in there.
-Need to loose about 6 or so inches out the prop to get the shifter in the correct location for the FC body.
-Then need to build the new gearbox mount. Will use the existing FC mounting points and then extend them to meet the gearbox.
-As the Gearbox will be sitting further back new engine mounts will be in order. May have to do a touch of firewall massaging but won't find out until the motor is in.
Also working on a new billet short shifter design. Tall stick close to the steering wheel super short throw. Will get some pics up once I have finished the design.
Here's a couple of pics of the boxes next to each other. T2 at the top 8 at the bottom.

You can see the stick difference here. Doesn't look much but the prop saline entry is very different.

Zoom-ing Goon.
Joined: Oct 2003
Posts: 262
Likes: 0
From: Cape Cod, MA
Looks great! Are you going to do anything else to the doors? Reinforce? Sheet metal over them?
Love the exhaust. Has that Ferrari-ness to them.
Question about the pedal box. I see that there are 2 break master cyclinders. I'm assuming one for rear and one for front. How does the brake bias work on those? Thanks!
Jose
Love the exhaust. Has that Ferrari-ness to them.
Question about the pedal box. I see that there are 2 break master cyclinders. I'm assuming one for rear and one for front. How does the brake bias work on those? Thanks!
Jose
Thread Starter
Senior Member
Joined: Feb 2007
Posts: 368
Likes: 0
From: Surrey, England
The pedal box has a bar that e runs though it. You adjust the screws either side of the bar to increase or decrease the bias.
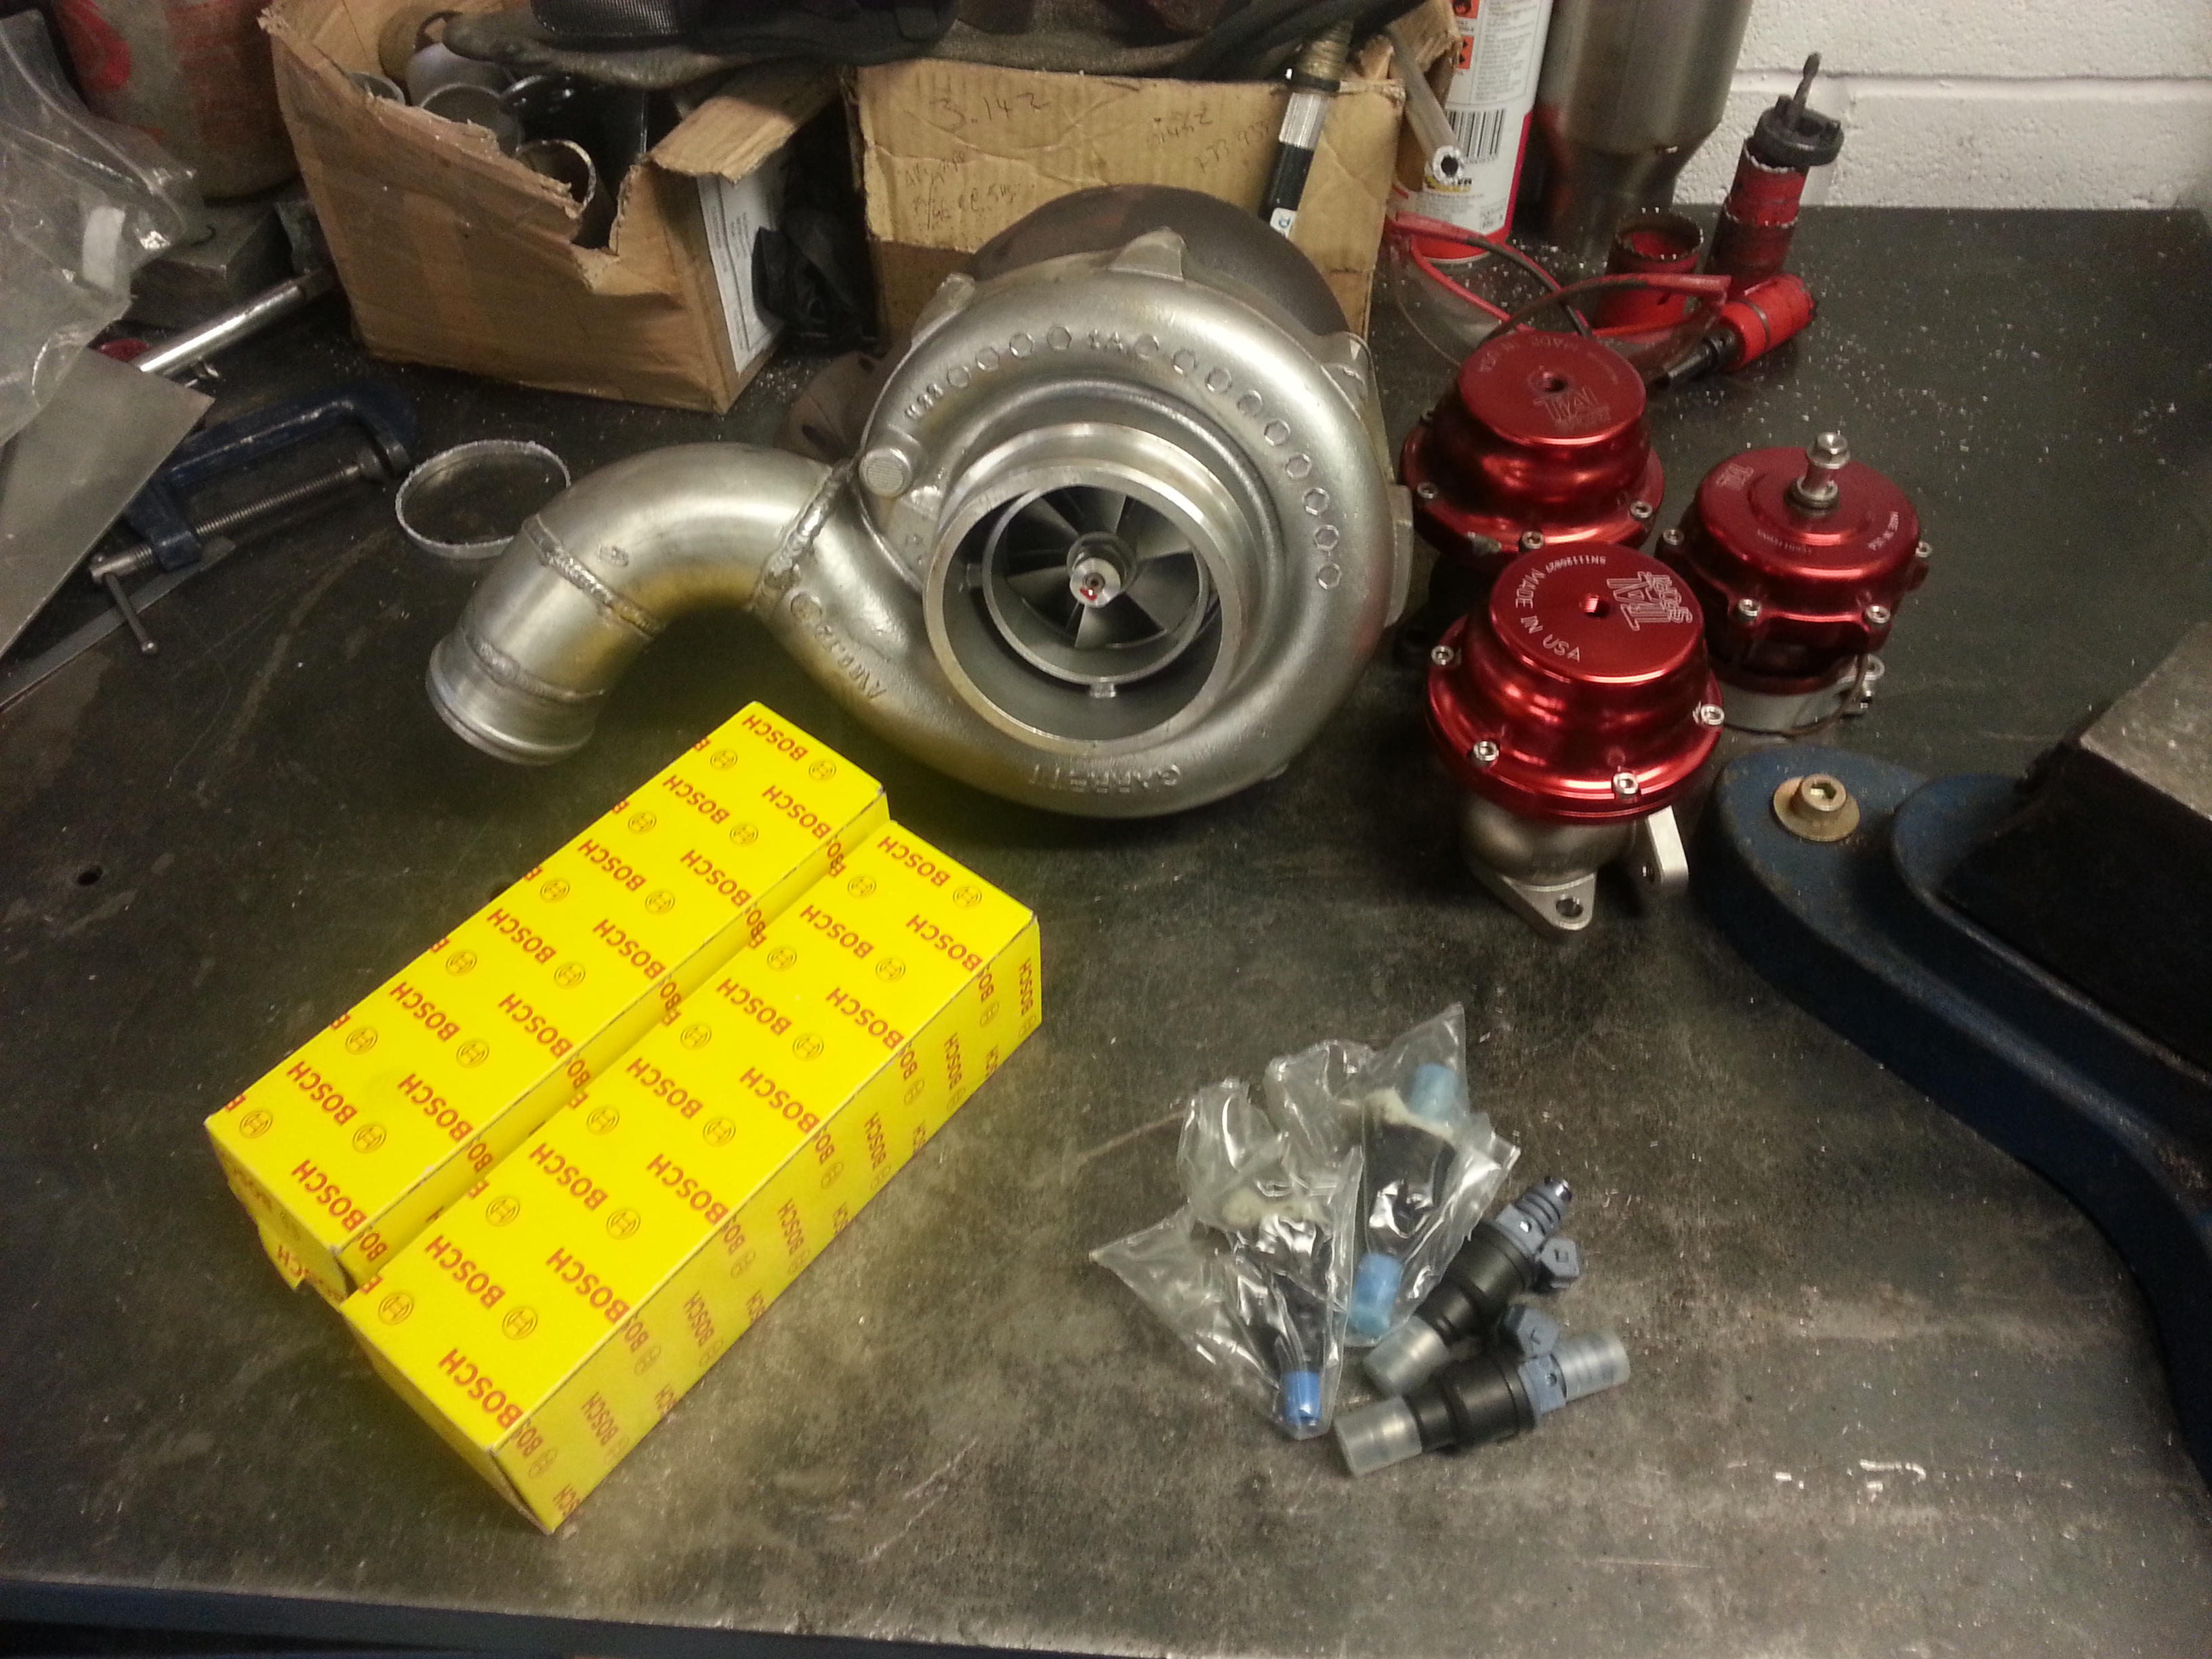
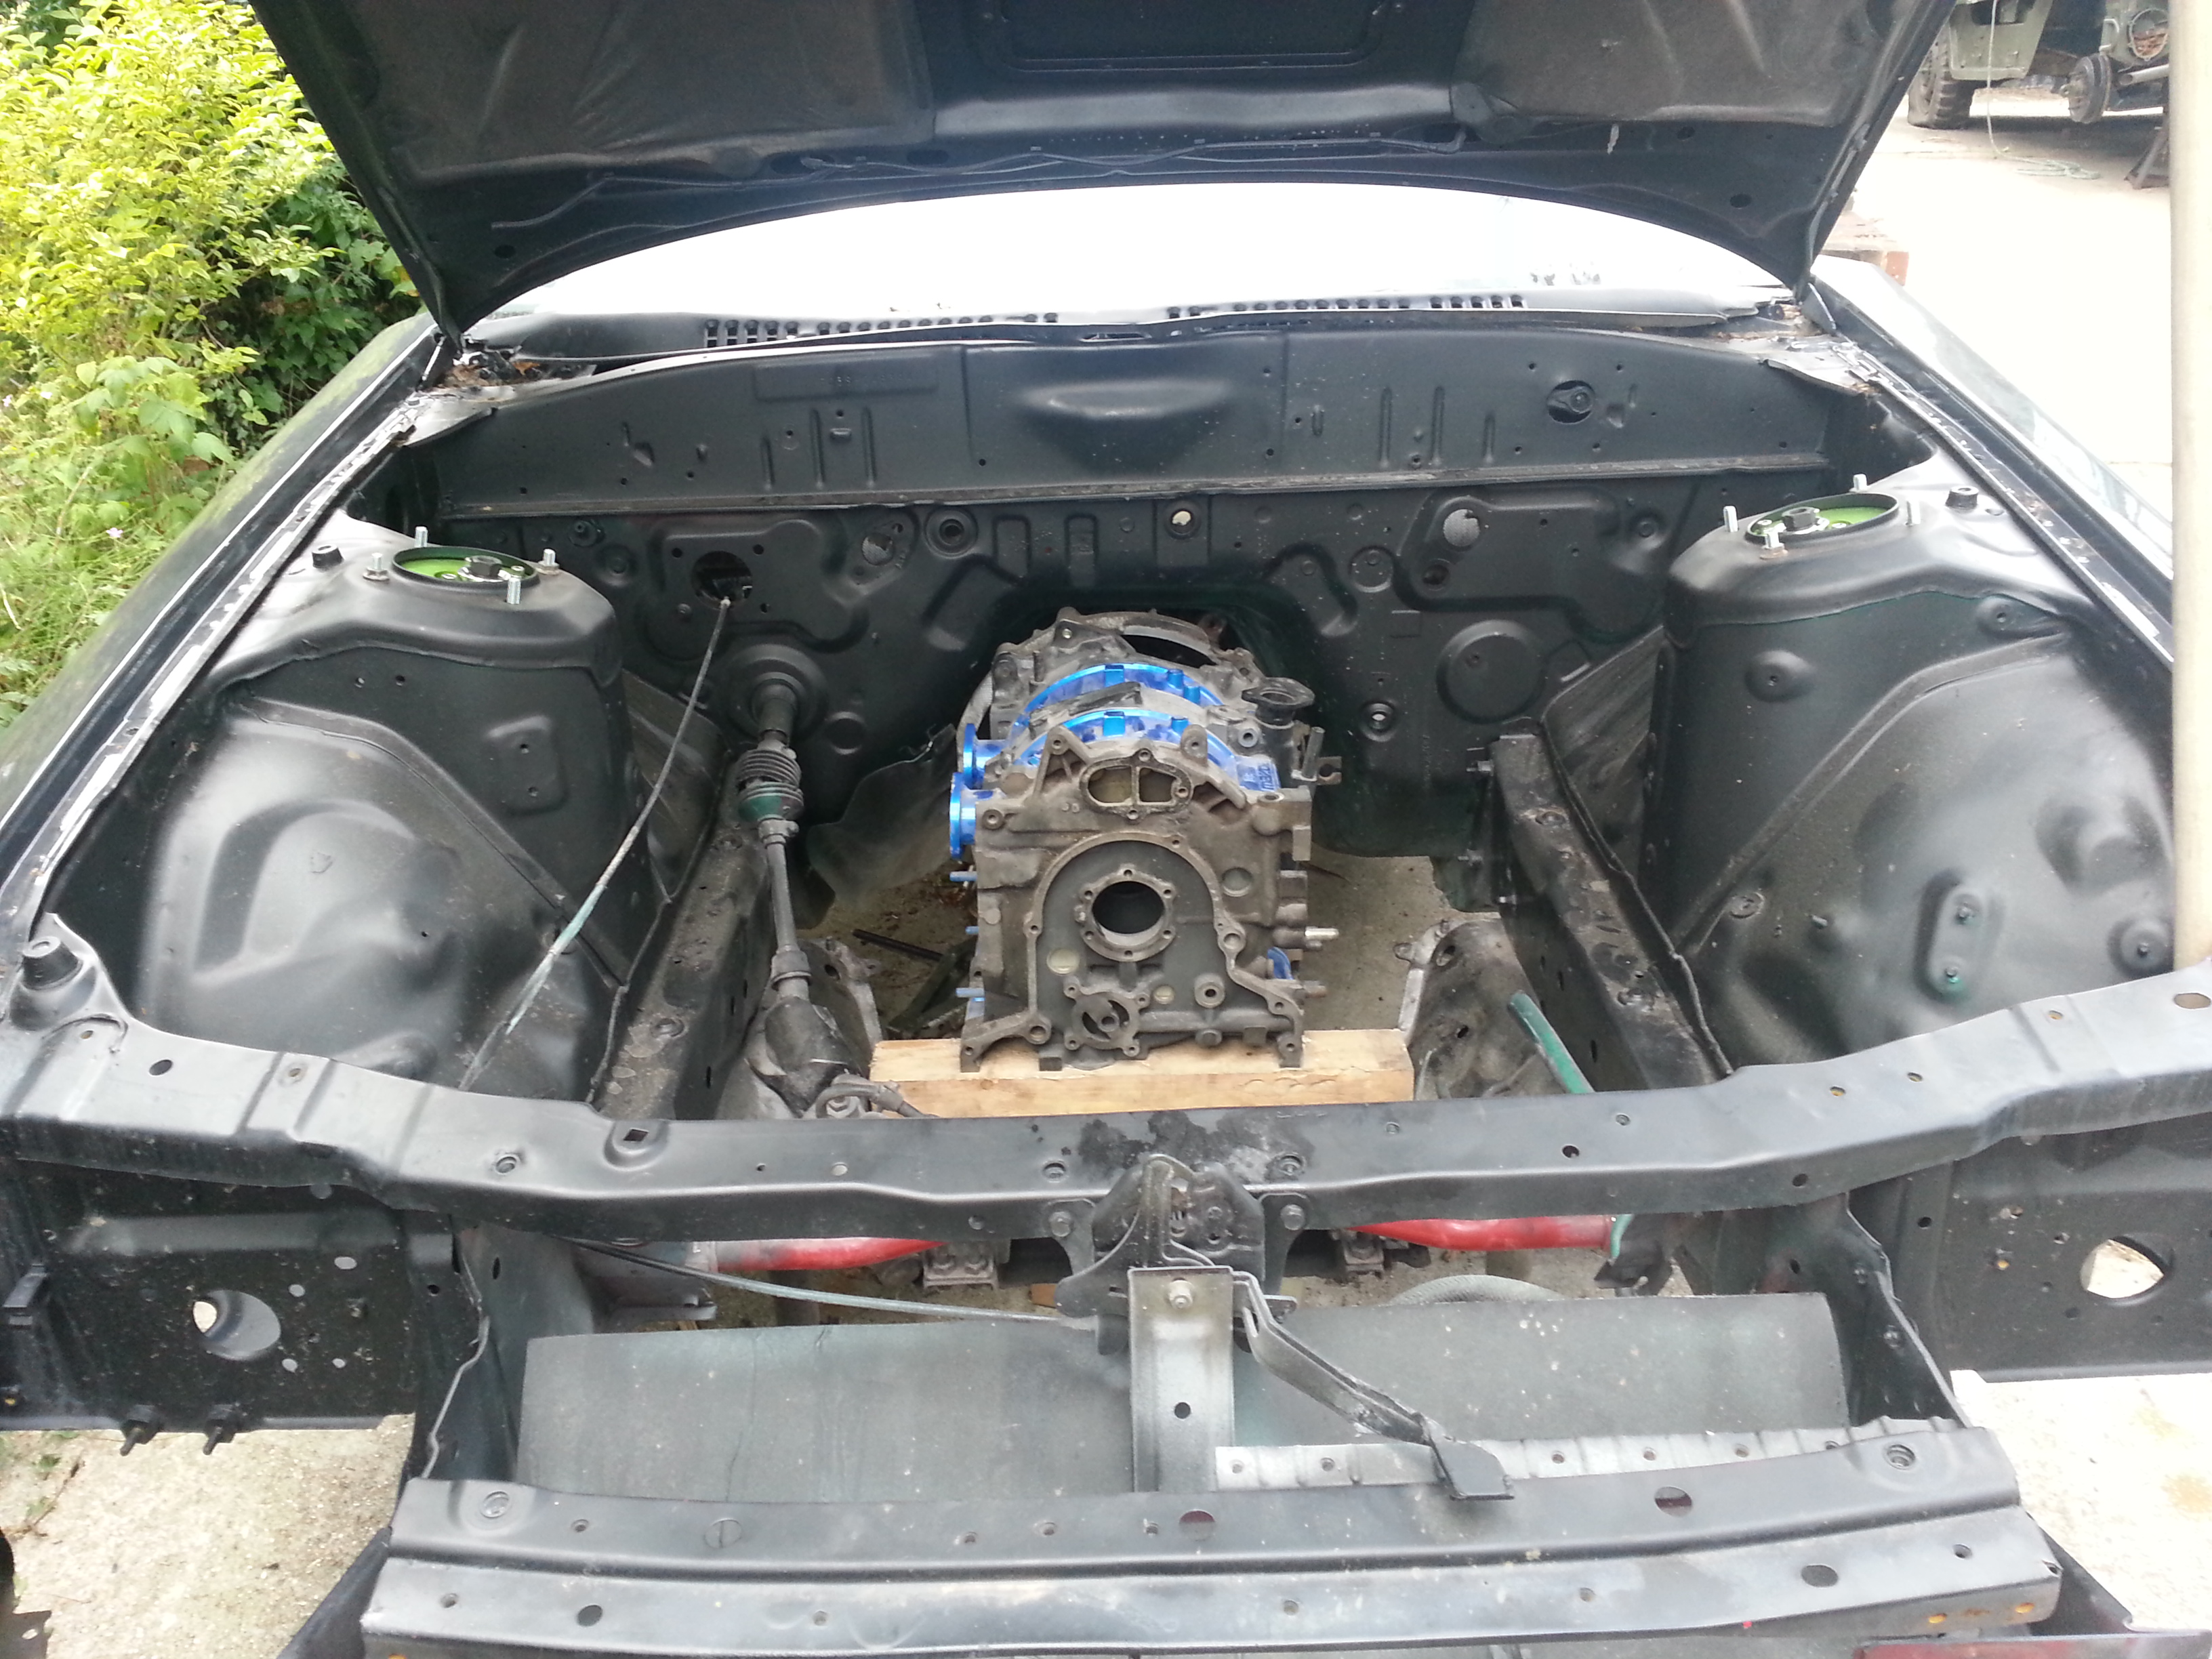
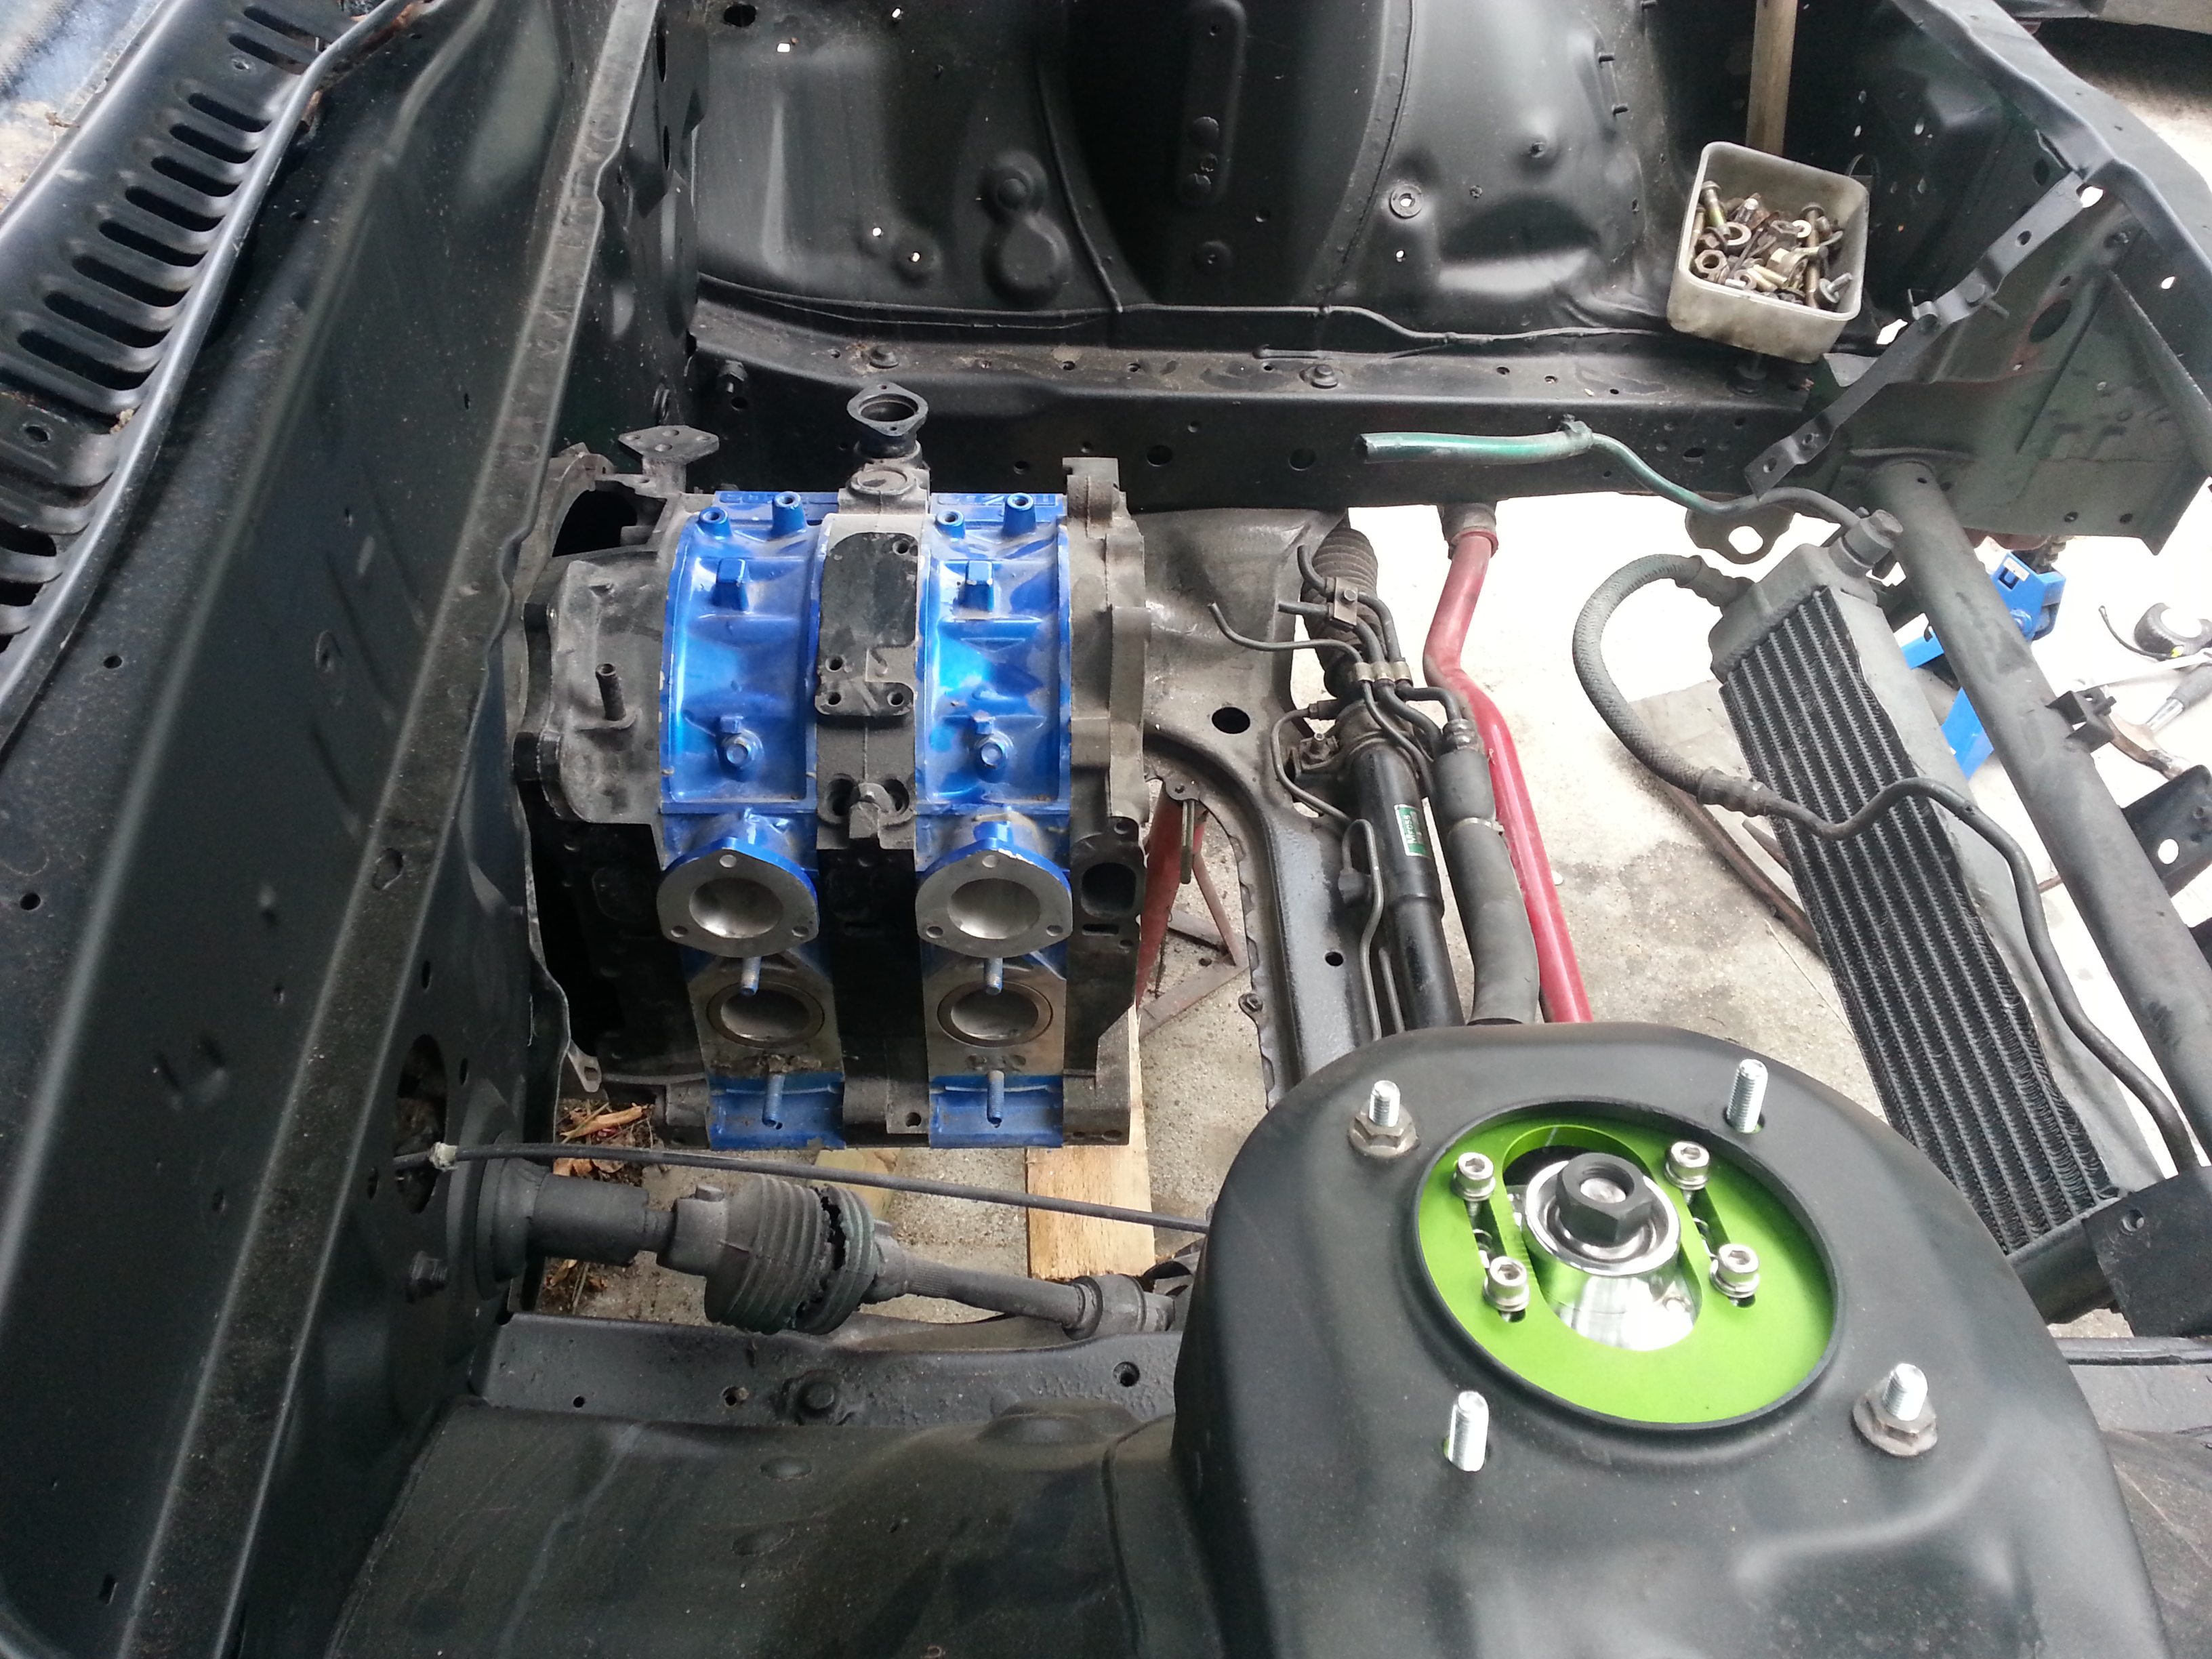
Some toys. I've been I'll and then subsequently trying to catch up at work hence the lack of progress or updates!
This is where the motor sits with the rx8 box in the stock shifted hole
Some toys. I've been I'll and then subsequently trying to catch up at work hence the lack of progress or updates!

This is where the motor sits with the rx8 box in the stock shifted hole

