When you click on links to various merchants on this site and make a purchase, this can result in this site earning a commission. Affiliate programs and affiliations include, but are not limited to, the eBay Partner Network.
First, a little introduction/background: I'm Jon and I've been tinkering with RX-7's since I picked up my first, a '89 GXL, in 2009. I won't go into too much detail on that car but I primarily focused on the suspension, brakes, and drivetrain:
Stance GR+ Coilovers
Full Energy Suspension Bushing Kit
Racing Beat DTSS Elimination Kit
MMR Delrin Rear Subframe Mounts
MMR Rear Control Arm Spherical Bearing Bushings
AWR Individual Camber Links
16x8 +32 mm Enkei RPF-1's with 225/50R16 Toyo T1R tires
Centric Powerslot Rotors
Hawk HP+ Brake Pads
Mazdatrix Brake Lines
Mazdaspeed engine, transmission, and differential mounts
GTUs 4.30:1 Ring and Pinion
Miata Torsen LSD
Here's how it looked in its prime:
That car saw regular HPDE use until 2011 when I overheated on track at Mid-Ohio. The subsequent engine teardown revealed a blown water seal and junked front iron.
The resulting teardown and rebuild has spiraled out of control into an all-out naturally aspirated build, which lives on in a '86 chassis.
I got pretty deep into the build on the '89 chassis when I stumbled upon a '86 Base chassis. To me, this was desirable because:
1) No sunroof for more helmet clearance
2) No power door locks, windows, or mirrors for less wiring and weight
3) No rear wiper for less weight
I made the decision to swap everything I had done to the '89 to the '86 so that's why the car changes color in some of the pictures as I document this 5+ year journey.
Here's how the '86 looked when I first picked it up:
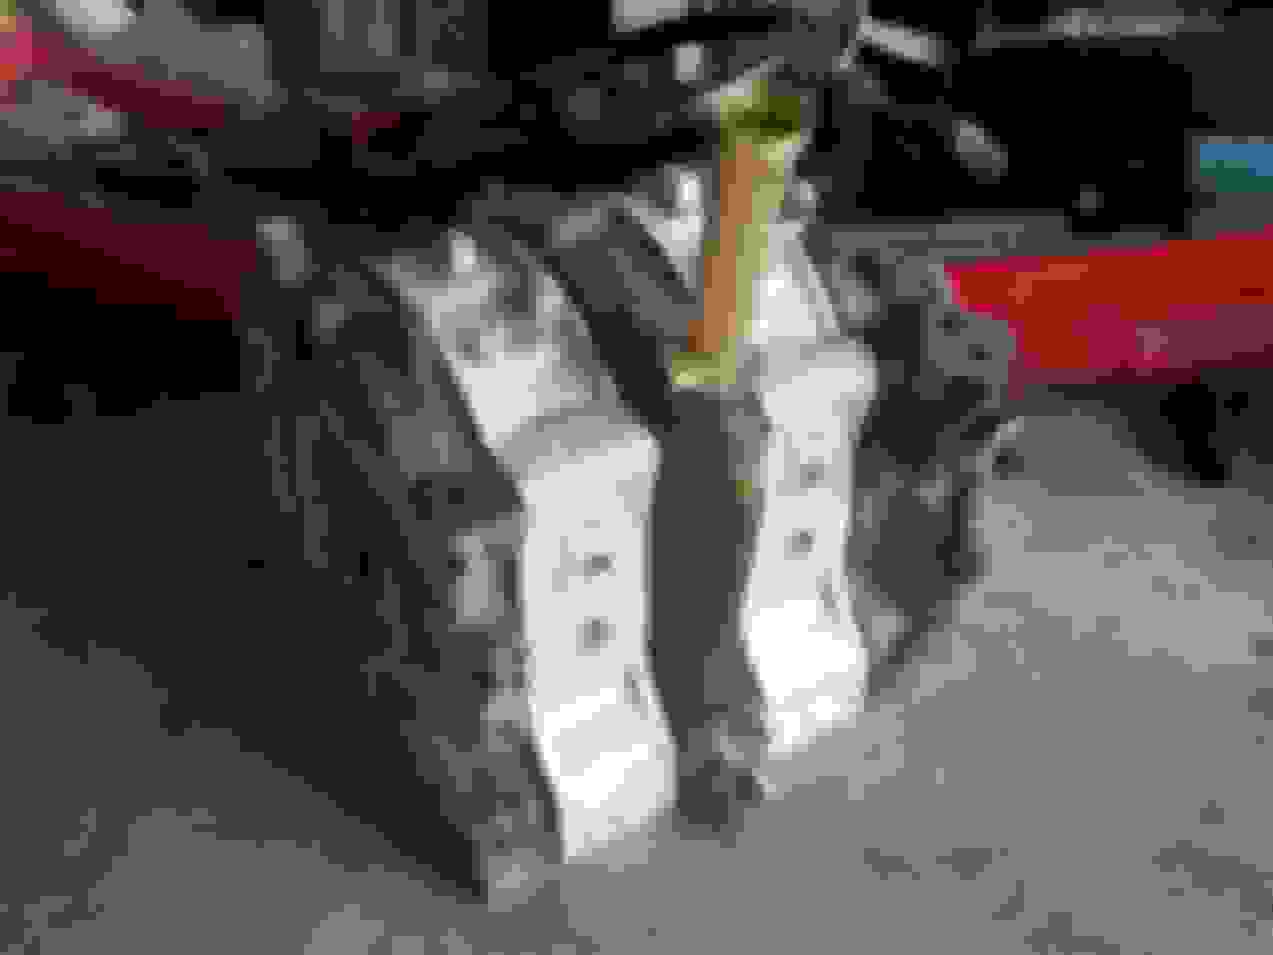
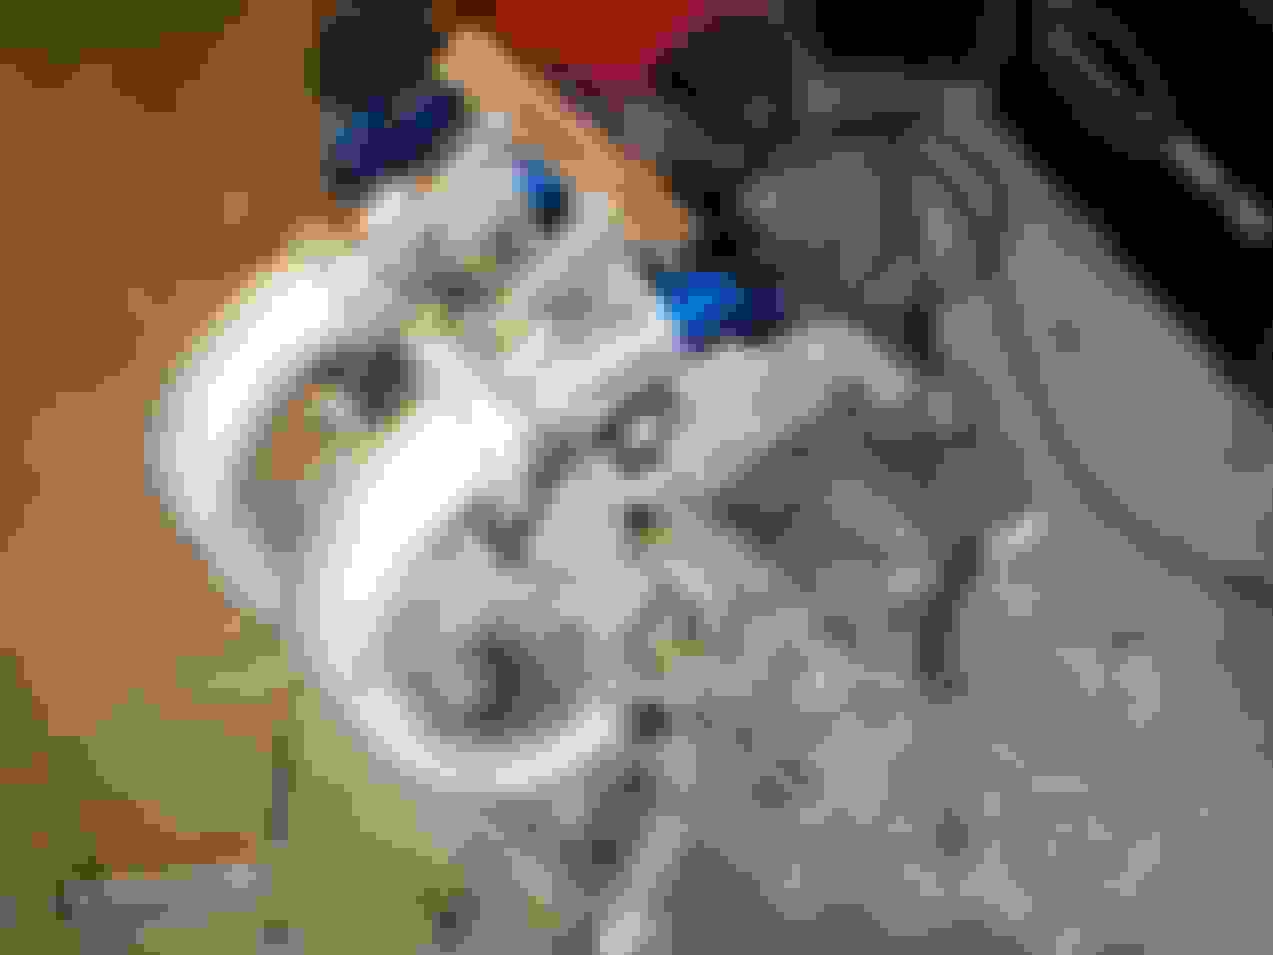
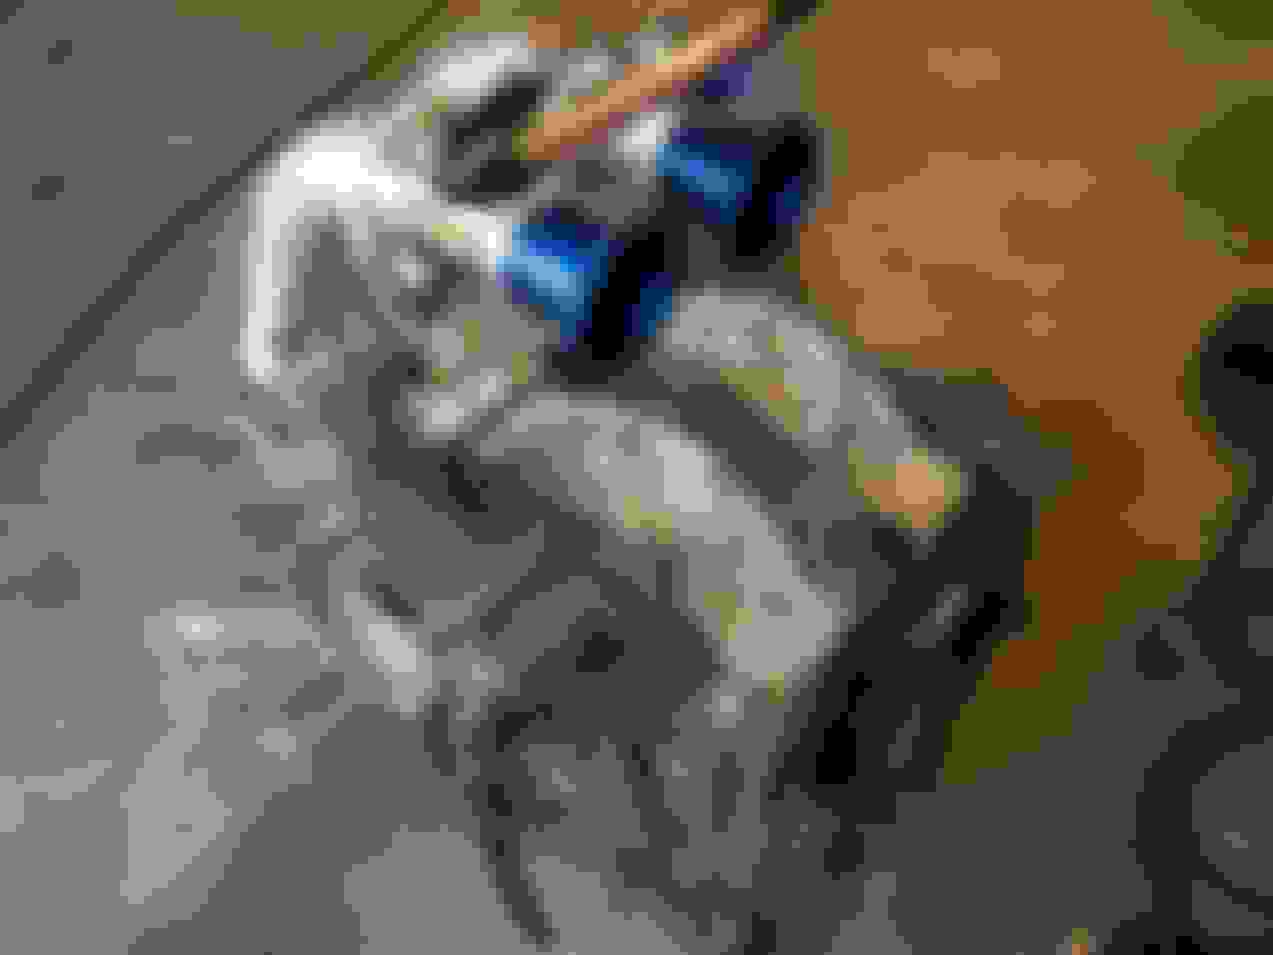
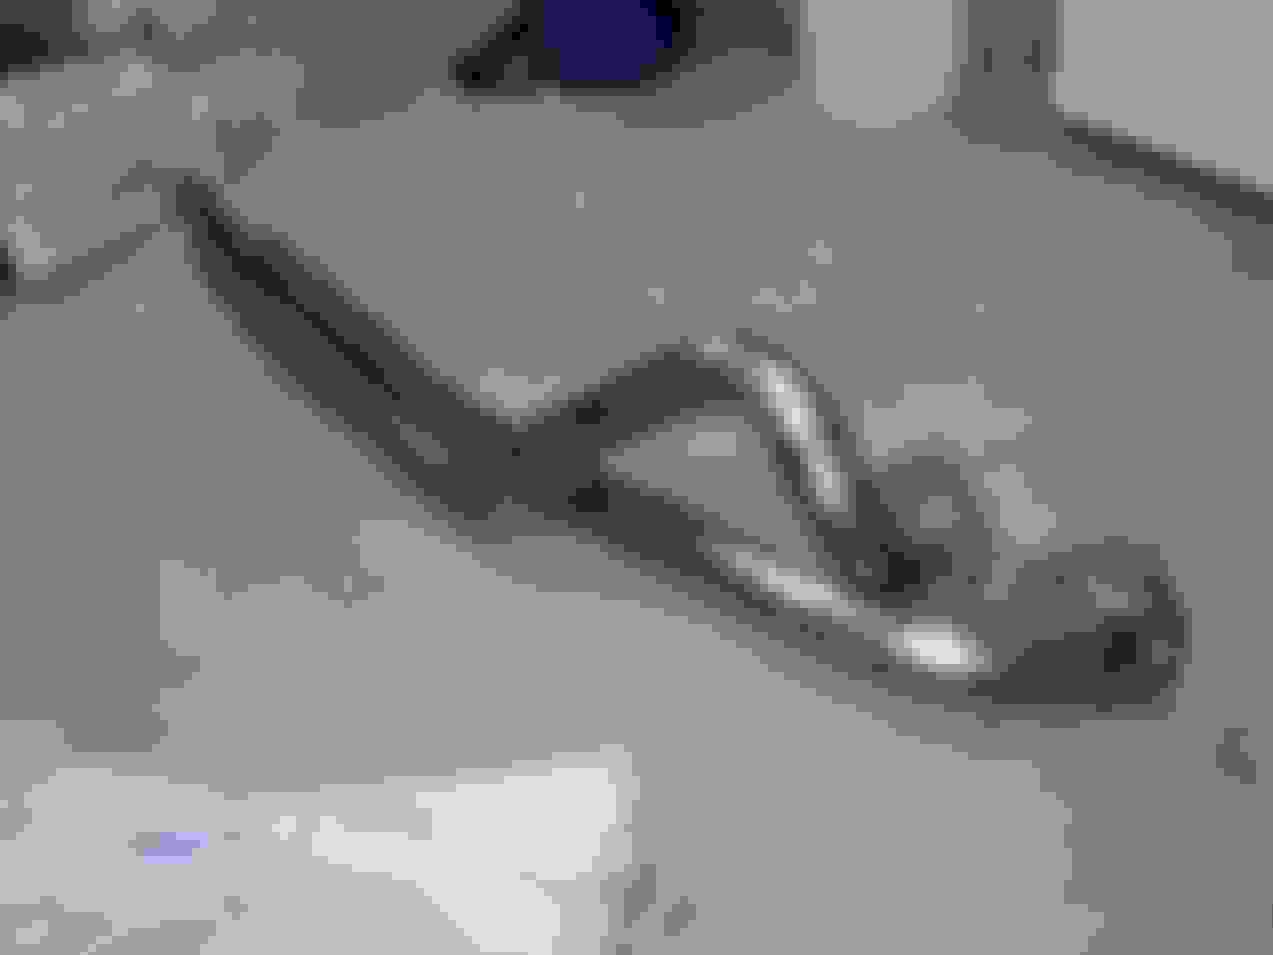
The first task was to swap over the drivetrain and brakes from the '89 to the '86. First the front subframe with de-powered steering rack:
The the rear subframe with all the aforementioned goodies:
While I was at it I decided to keep all the S5 trim from the '89. Personal preference.
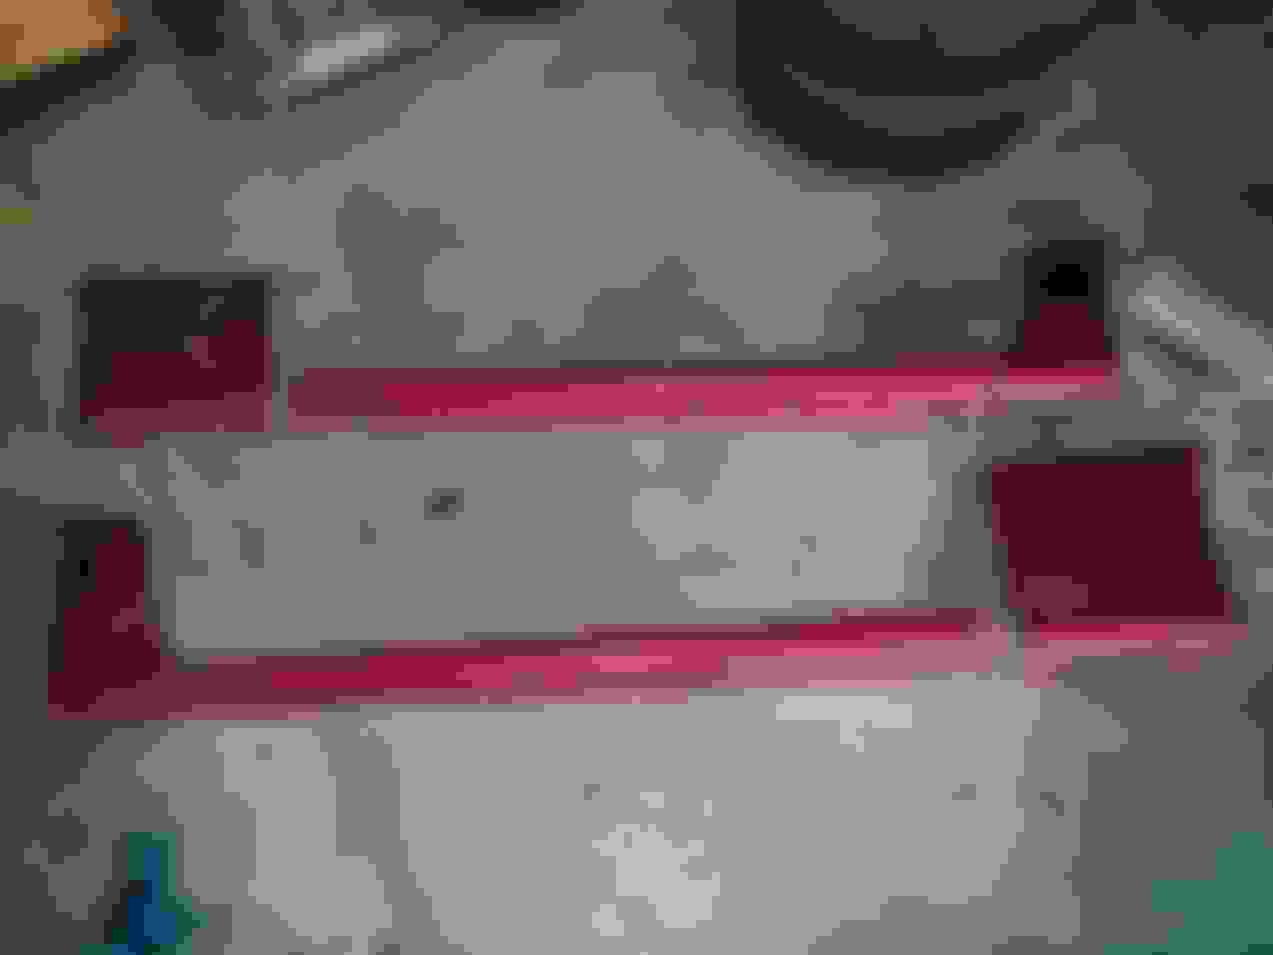
It's also getting the full black interior treatment. Since I had the interior out I decided to remove all chassis insulation and metal I no longer needed.
In case anyone wants to know all the sound insulation in the car only weighs about 10 lbs. Oddly enough, the carpet insulation weighs about the same:
I'll leave the bodywork there for now and go back in time to some of the work that was done on the '89 that's been swapped over.
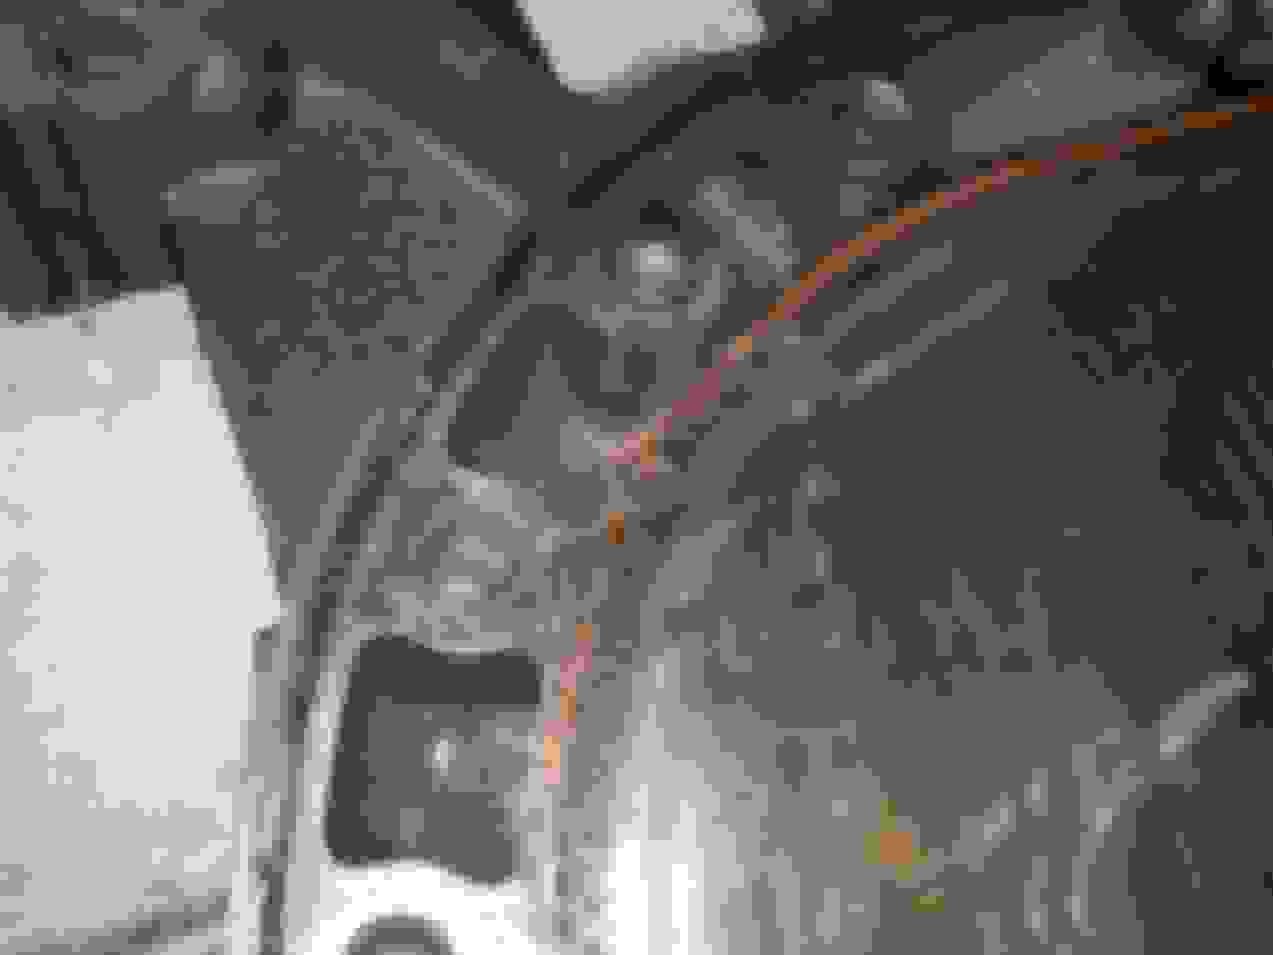
From the very beginning I decided this was going to be a trackday car and little else. That means no radio, and no A/C, no power steering. In the end, I stripped the factory wiring harness down to only what was needed for the lights and a few other misc. items. This is all that remains:
The engine will be controlled by a Haltech PS1000 and I hired the services at Ludwig Motorsports to make an appropriate engine harness:
Information will be relayed to me via a RacePak IQ3 display pre-setup to work with the Haltech:
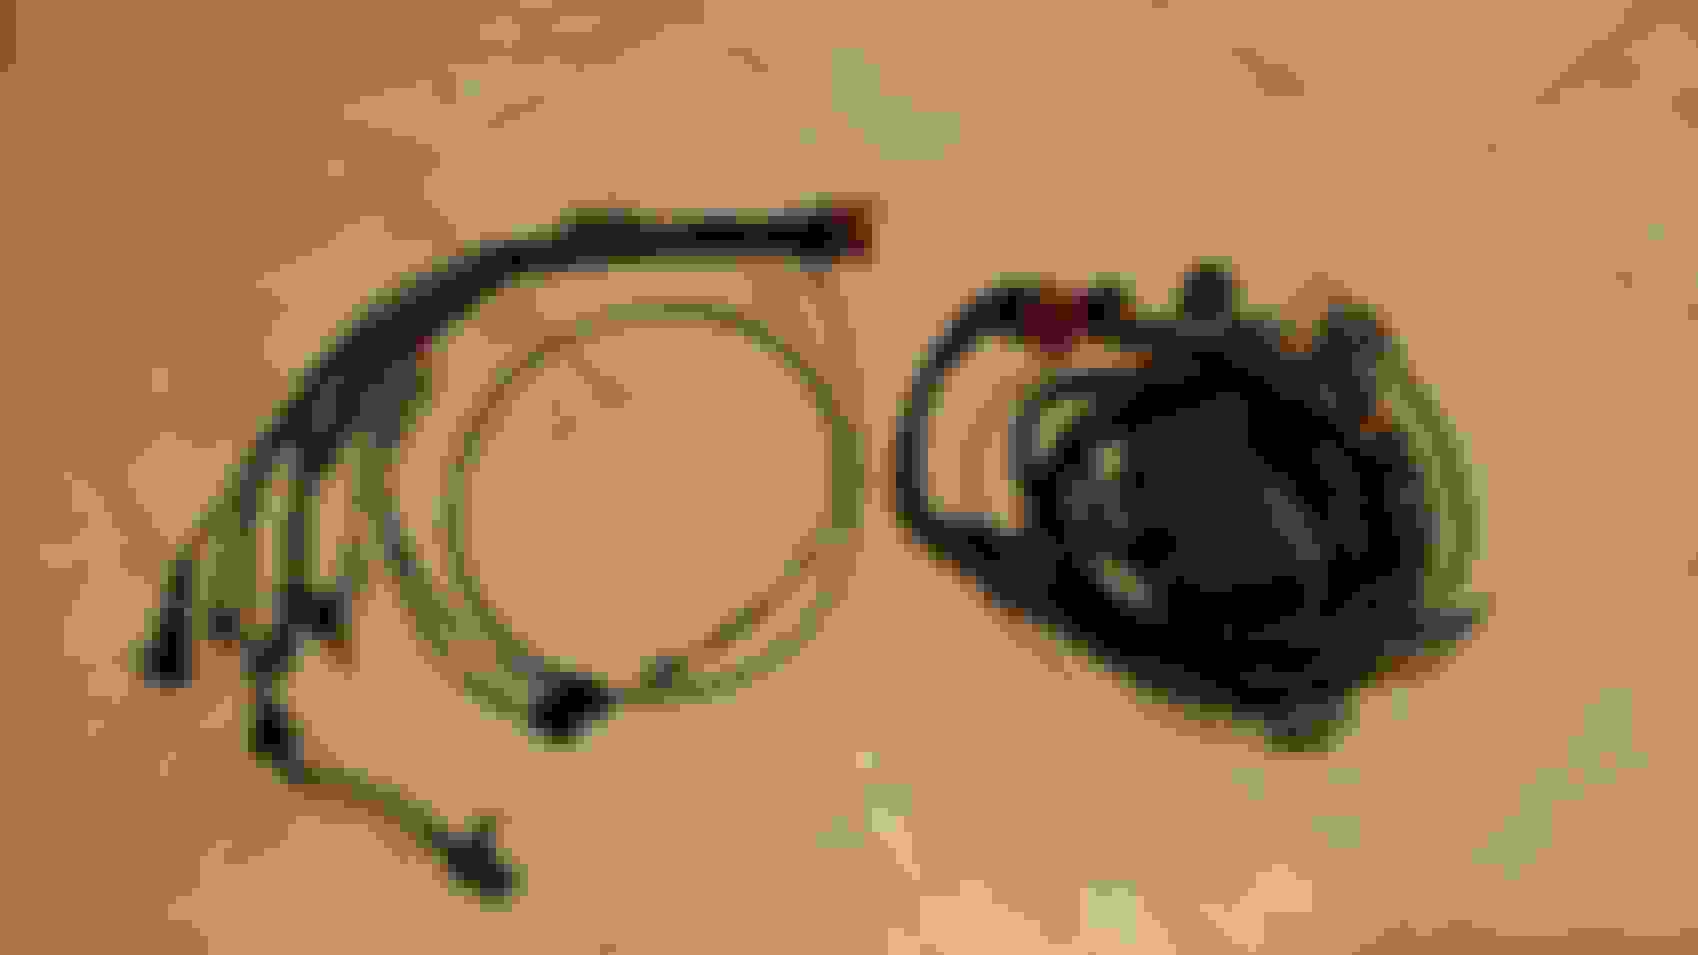
Since I'm covering the build completely out of order, I recently completed the front harness myself:
Let's segue to the engine. I spent a lot of time looking up the best combination for a naturally aspirated build a decided on the following combination:
S4 Turbo II irons
S5 N/A rotor housings with Turbo II exhaust sleeves
S5 N/A rotors
S5 Front Cover and Water Pump Assembly.
RX-8 Eccentric Shaft
RX-8 Stationary Gears
I had the rotor housings cleaned up at Goopy Motorsports and the irons lapped and re-nitrided at Chips Motorsports.
At the time I was following Defined Autoworks naturally aspirated 13B-RE-powered FB so I decided to go with their porting templates.
This is where things get fun. Since this was to be an all-out build I naturally went with ITB's. On the recommendation from Defined Autoworks I went with 55 mm IDA-style units from EFI Hardware and had a custom aluminum intake manifold made.
On the other side of the engine I stuck with the theme and had Defined craft me one of their famous exhaust manifolds.
To be safe I had the entire rotating assembly, with Racing Beat aluminum flywheel balanced at Mazdatrix. That'll cover the engine for now. I'll come back to it later for the rebuild but this is the point in the build where everything got out of hand.
Last edited by infernosg; Aug 19, 2016 at 10:23 AM.
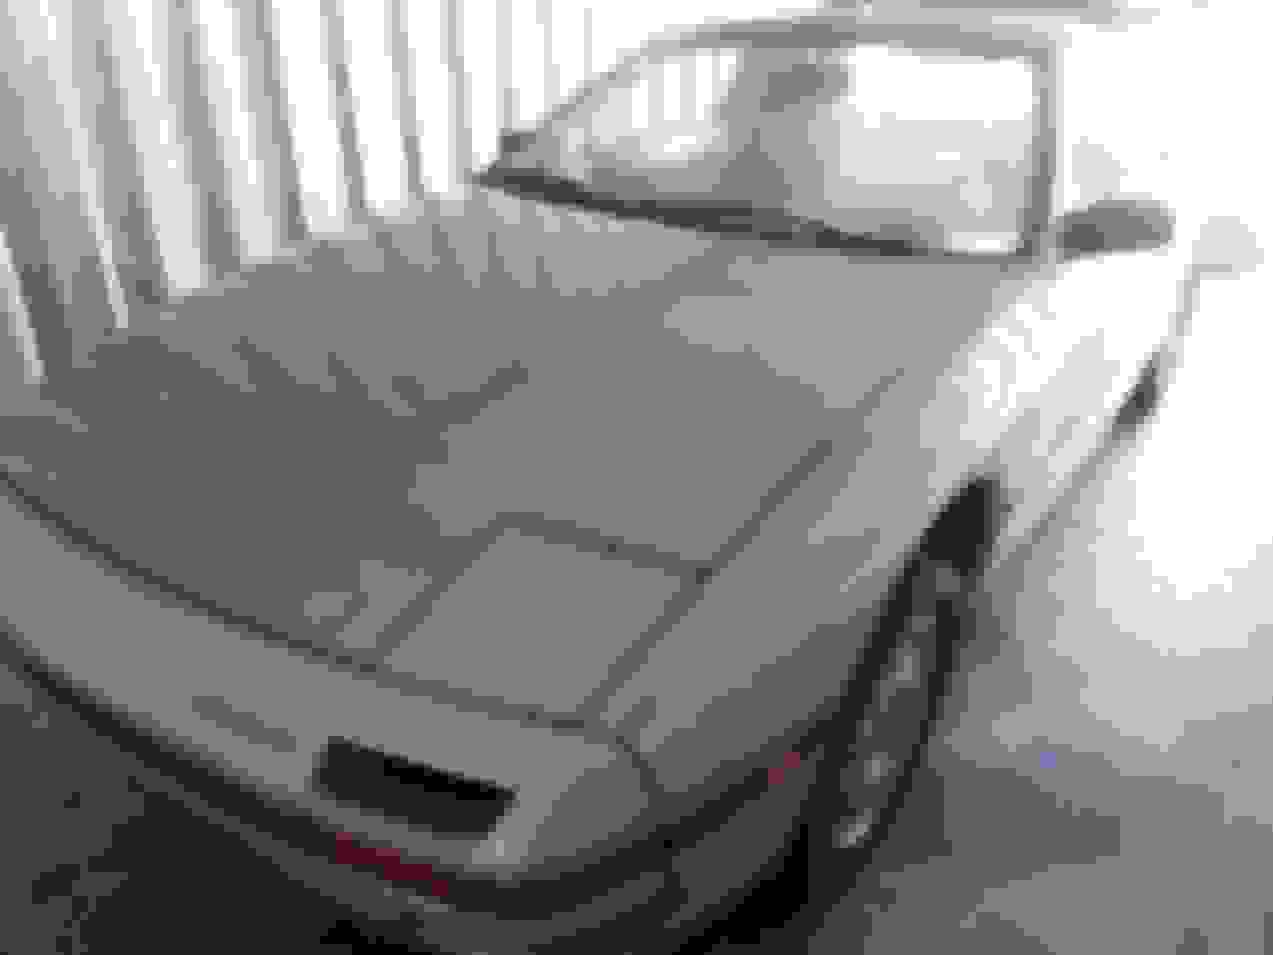
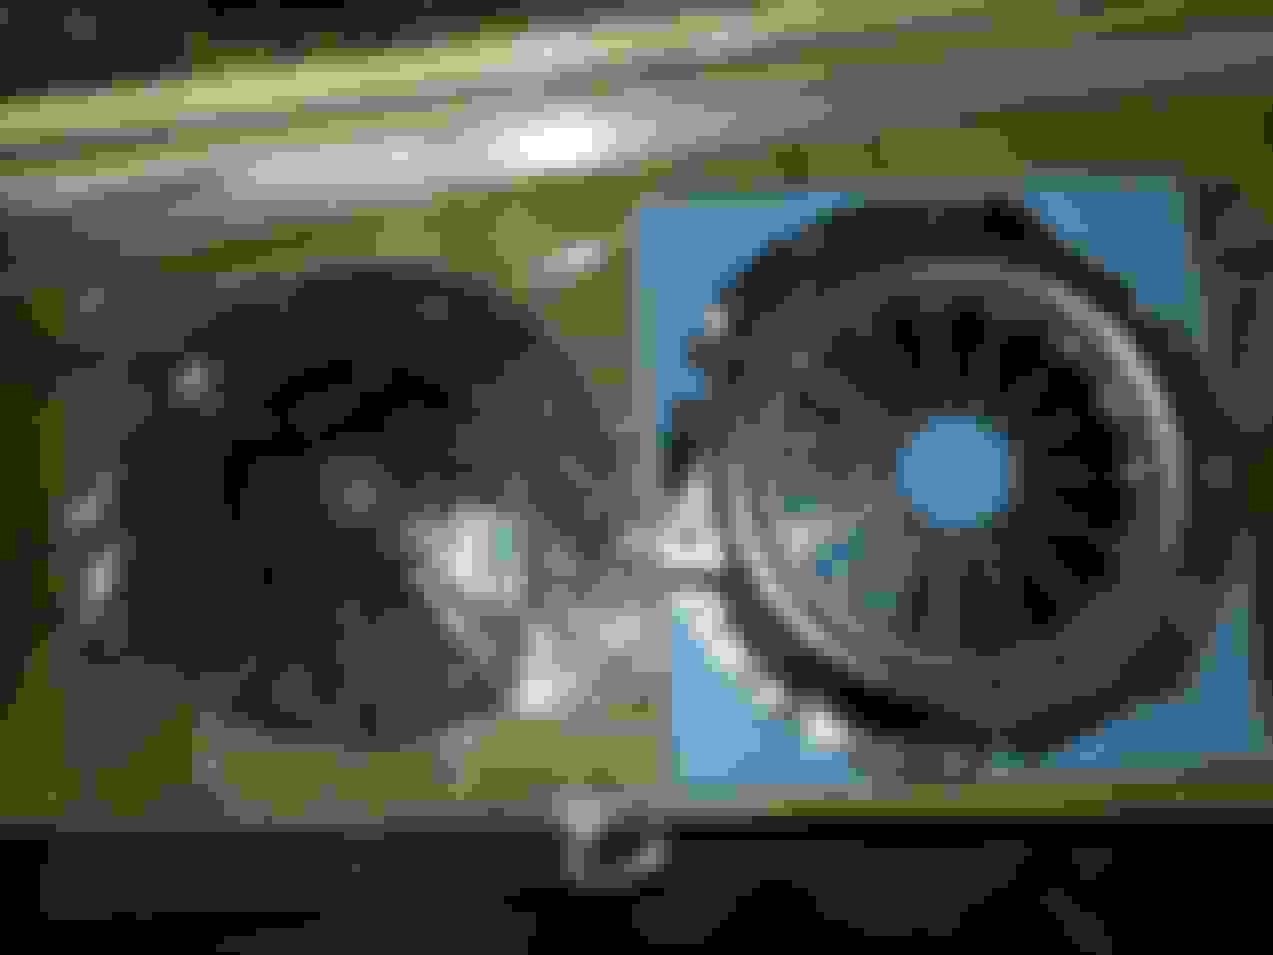
Around this time the build started to extend to other parts of the car. I decided I wanted wider wheels and tires for more grip. I've always liked RPF-1's so I upsized to 17x9 +22 mm but went with black this time.
Naturally, the car evolved to accept them. Fiberglass +20 mm front fenders from Shine Autosports (excuse the red car).
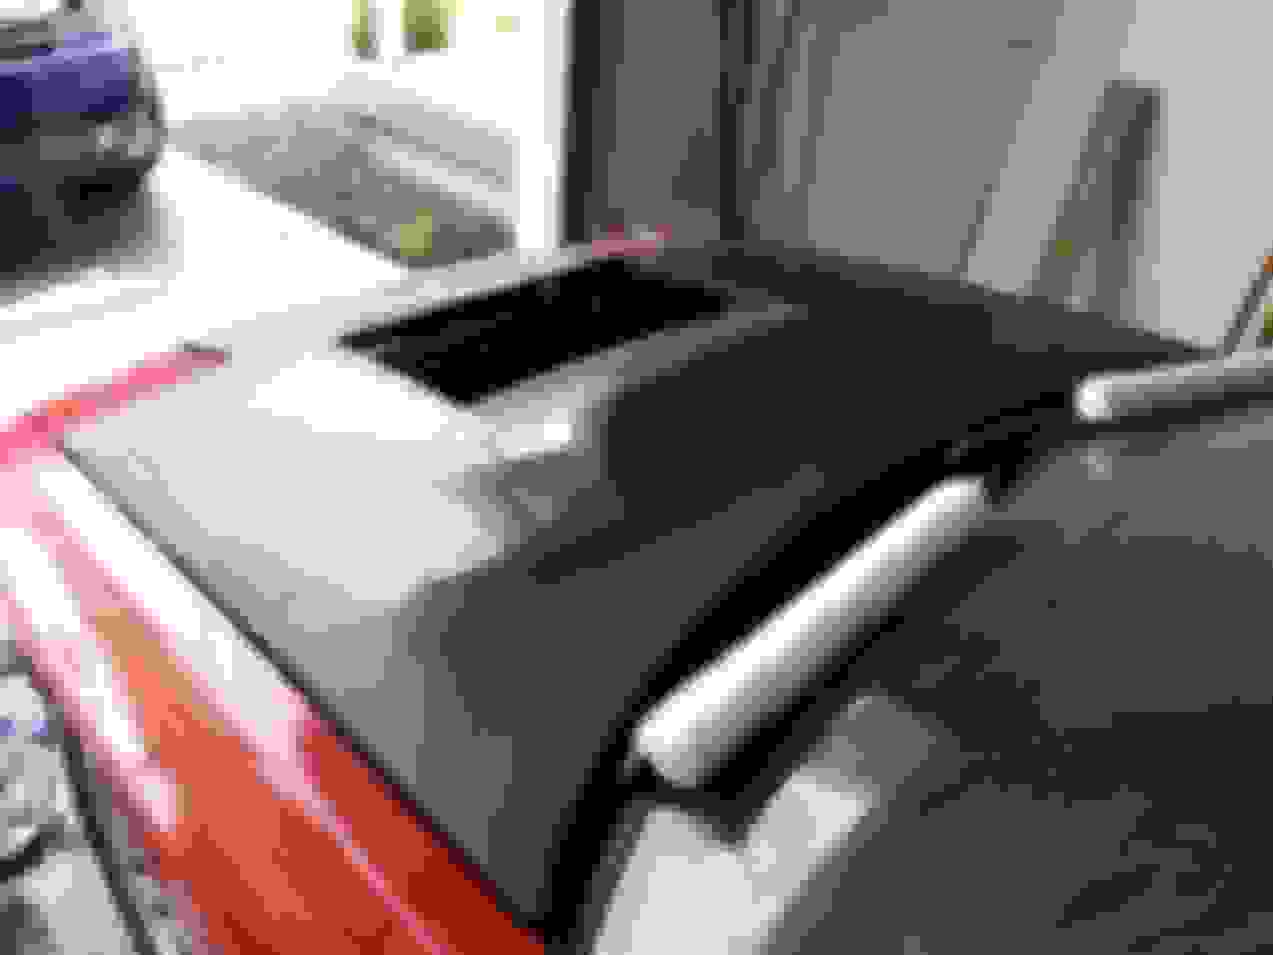
To round out the exterior I found a set of used Turbo II side skirts and got one of Shine's vented hoods to help with engine bay temperatures at the track.
Getting things out of order again. Fast forward to the '86 and all was not well under the bodywork. At some point it was involved in a collision to the front right and was poorly (read: not) repaired.
I had the entire body chemically stripped, rust and collision areas fixed, unneeded holes filled in, etc.
Since the body was down to bare metal I had some extra support welded in where the rollbar bolts down.
The underside is coated in truck bedliner.
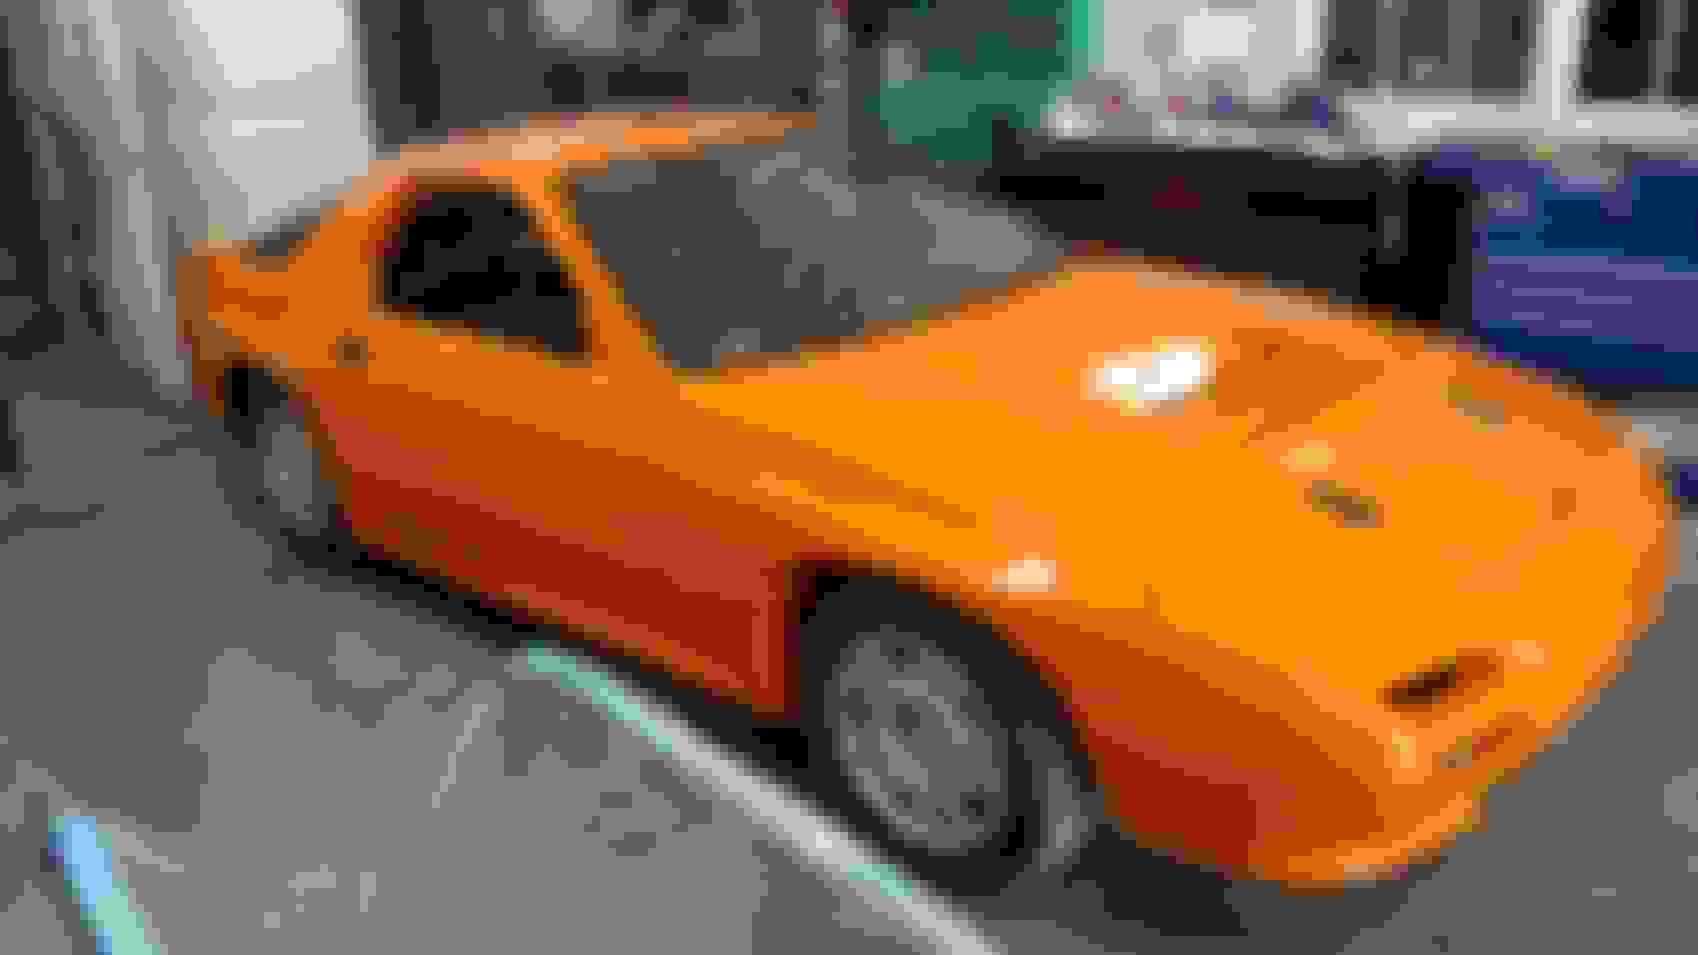
Color-wise I wanted something different, but not too expensive, which meant my favorite color, red, was out. I always liked the look of the old Fahrenheit GTi's so I went with the VW orange.
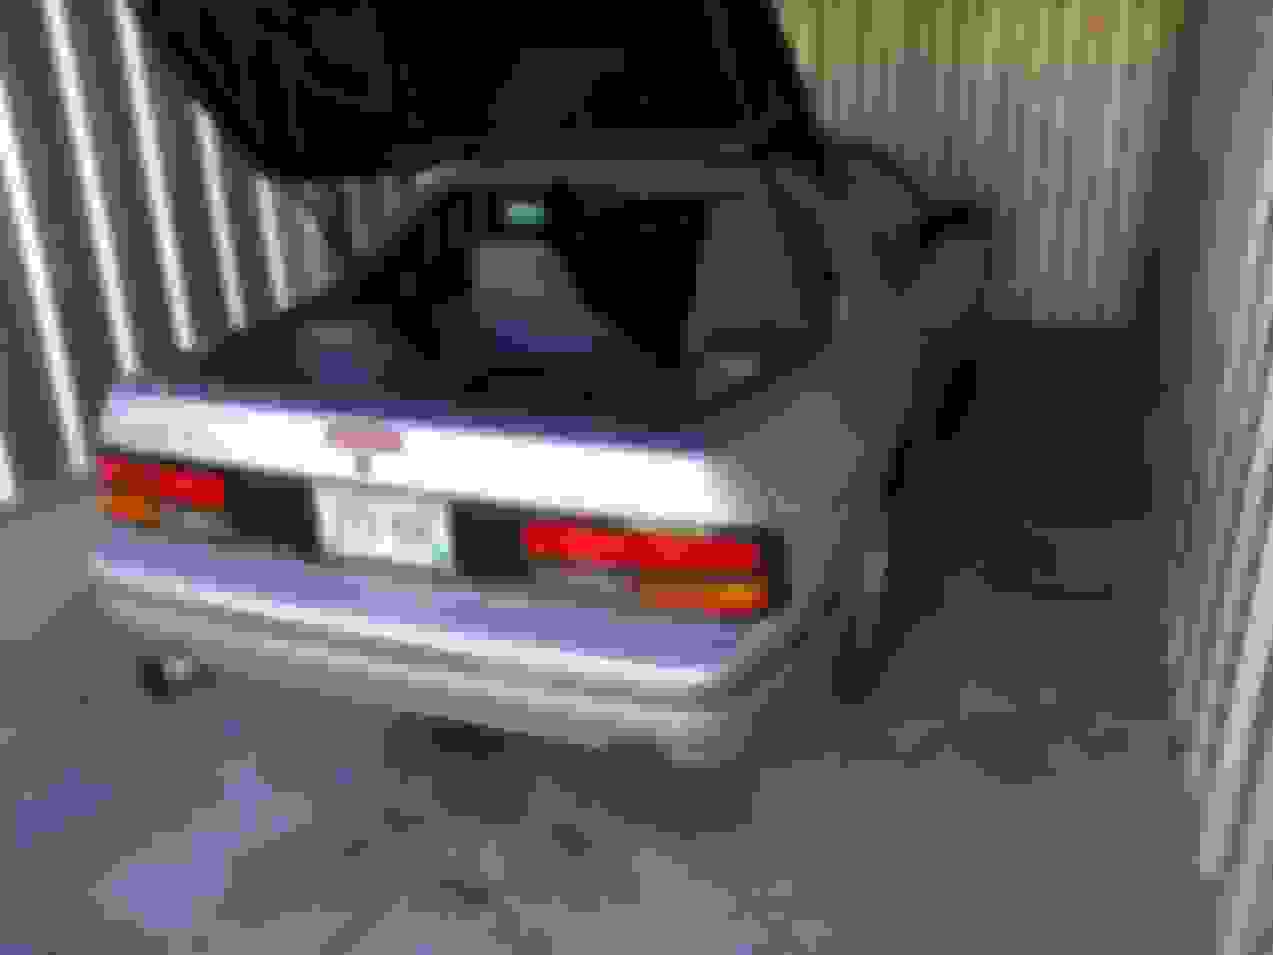
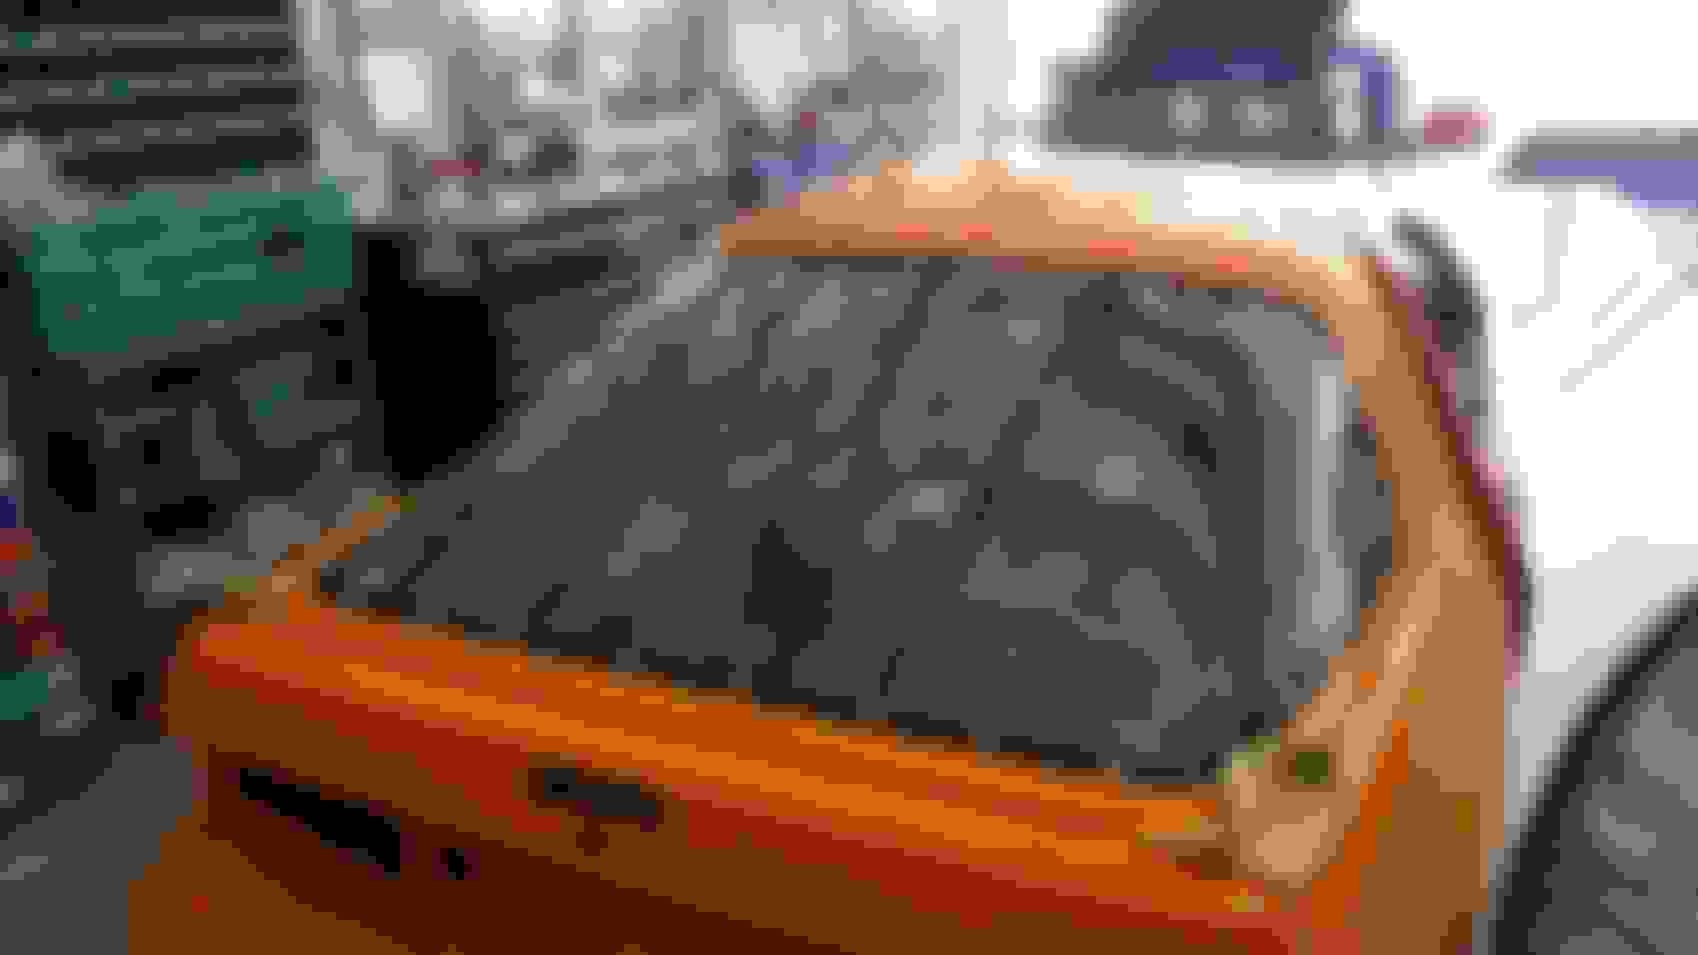
Figured what the hell, and replaced the rear glass with polycarbonate.
And added the OEM option Turbo II front lip.
What's that in the front? Aluminum duct work for the radiator and oil cooler.
DROOL!!!!!! Awesome build. I'm doing somewhat the same type of thing but with a 6port. Are you only running the 2 injectors? Those EFI hardware ITBs look so good.
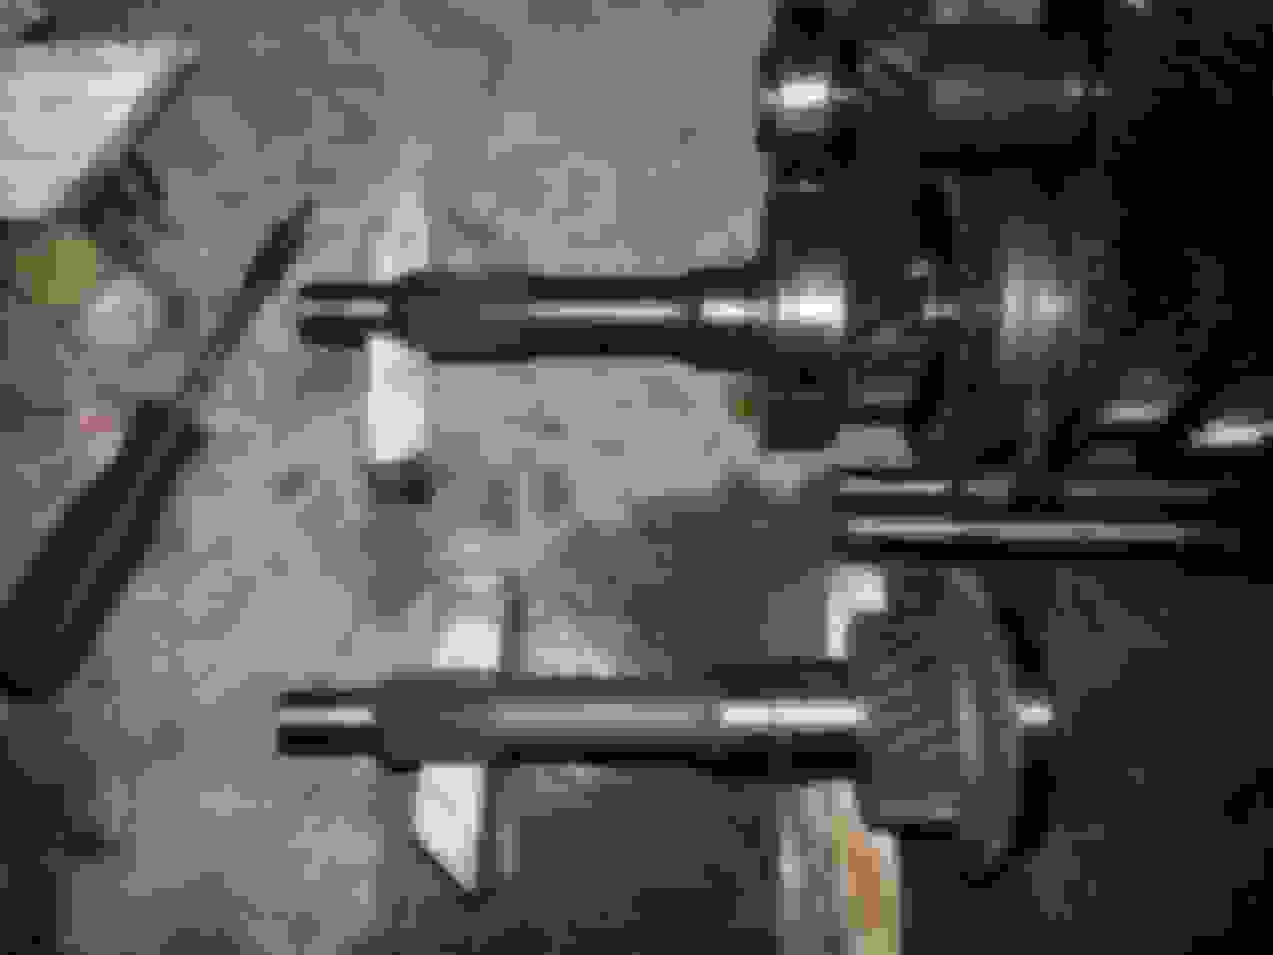
Around the same time I originally started messing with the body on the '89 I decided I was going to attack the transmission and brakes as well. I had read about the Miata gear swap and it seemed like a great idea. One trip to the junk yard and I had this:
Label EVERYTHING!
I actually have a full transmission rebuild how-to on another site so I'm not going to go into all the details. Modified Miata input shaft:
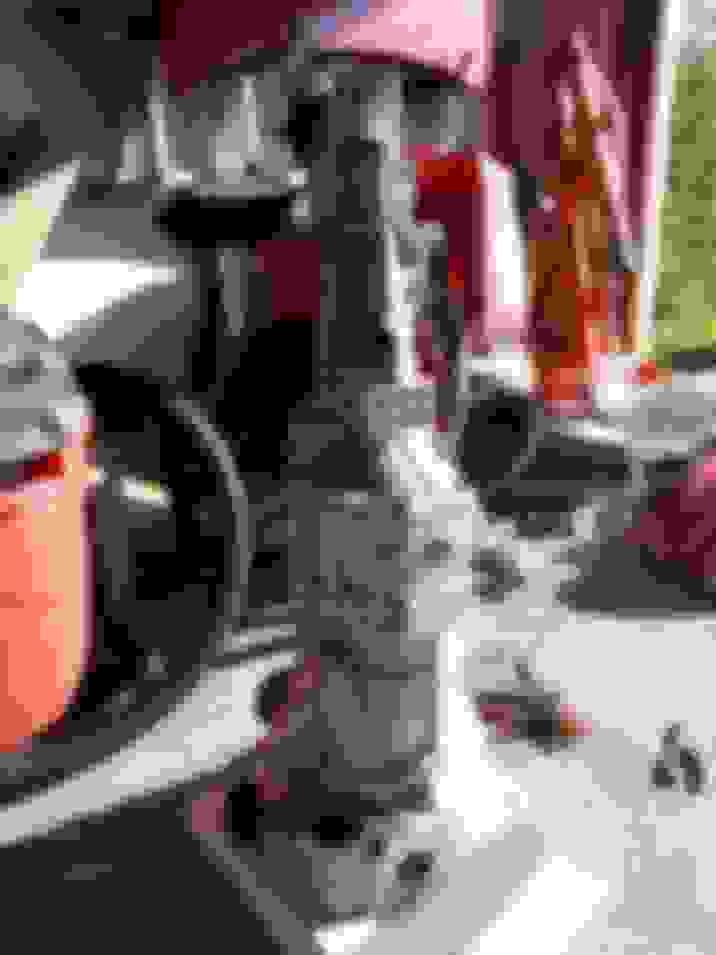
Cleaned, painted, mostly-rebuilt transmission:
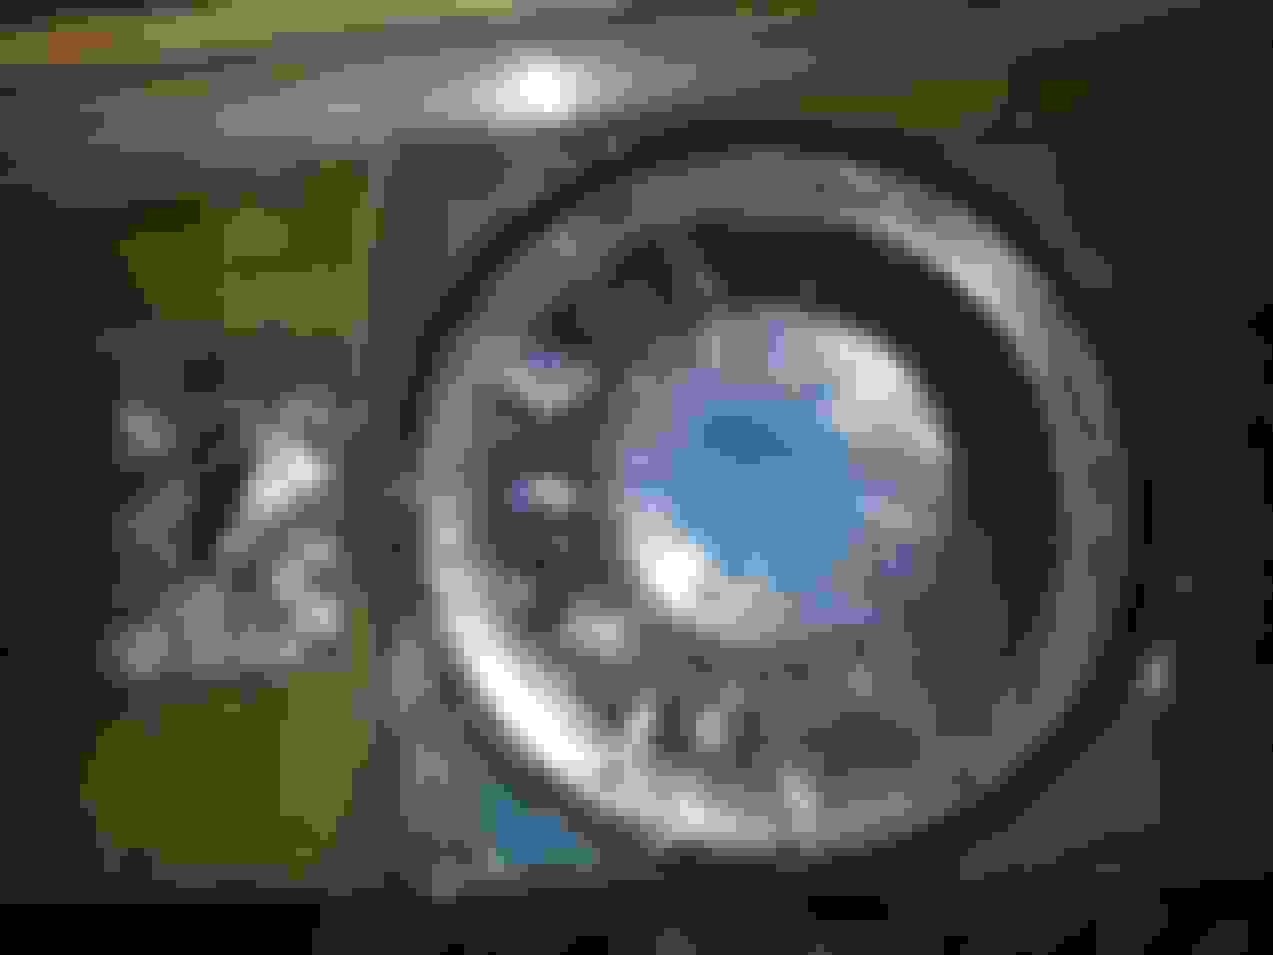
Done:
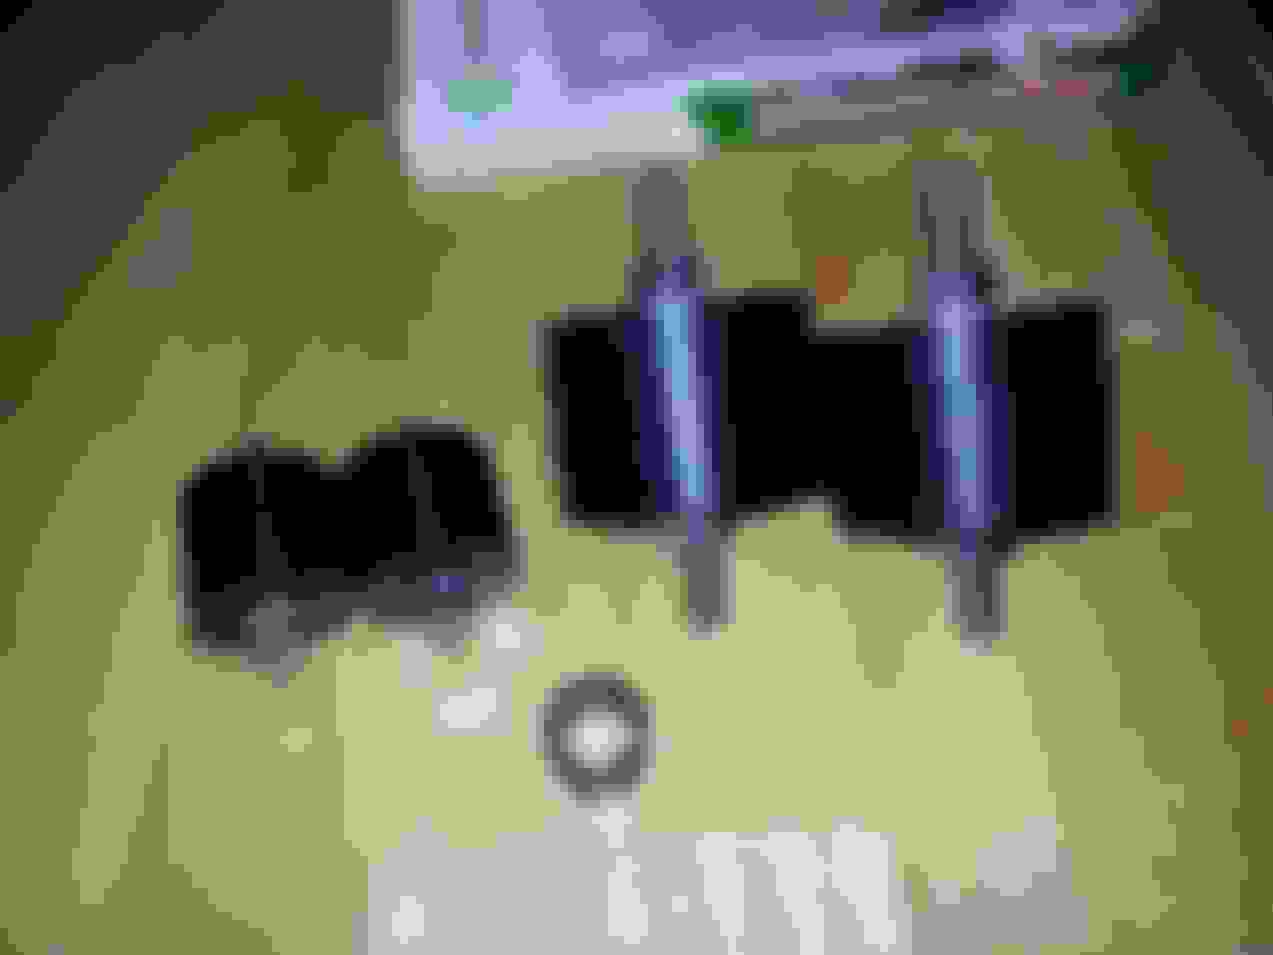
Around the same time I also read about the 929 brake master cylinder upgrade so I picked up one of those on the same junk yard trip.
To round off the transmission and drivetrain I picked up an aluminum driveshaft, aluminum flywheel, upgraded clutch, and Delrin engine and transmission mounts.
Not much going on in the interior. I made some door panels out of ABS and covered them with knock-off "Recaro" fabric and added some red nylon pull straps for that racecar look.
Figured, what the hell, and covered the headlinder in the stuff as well.
An OMP WRC seat keeps my butt in place.
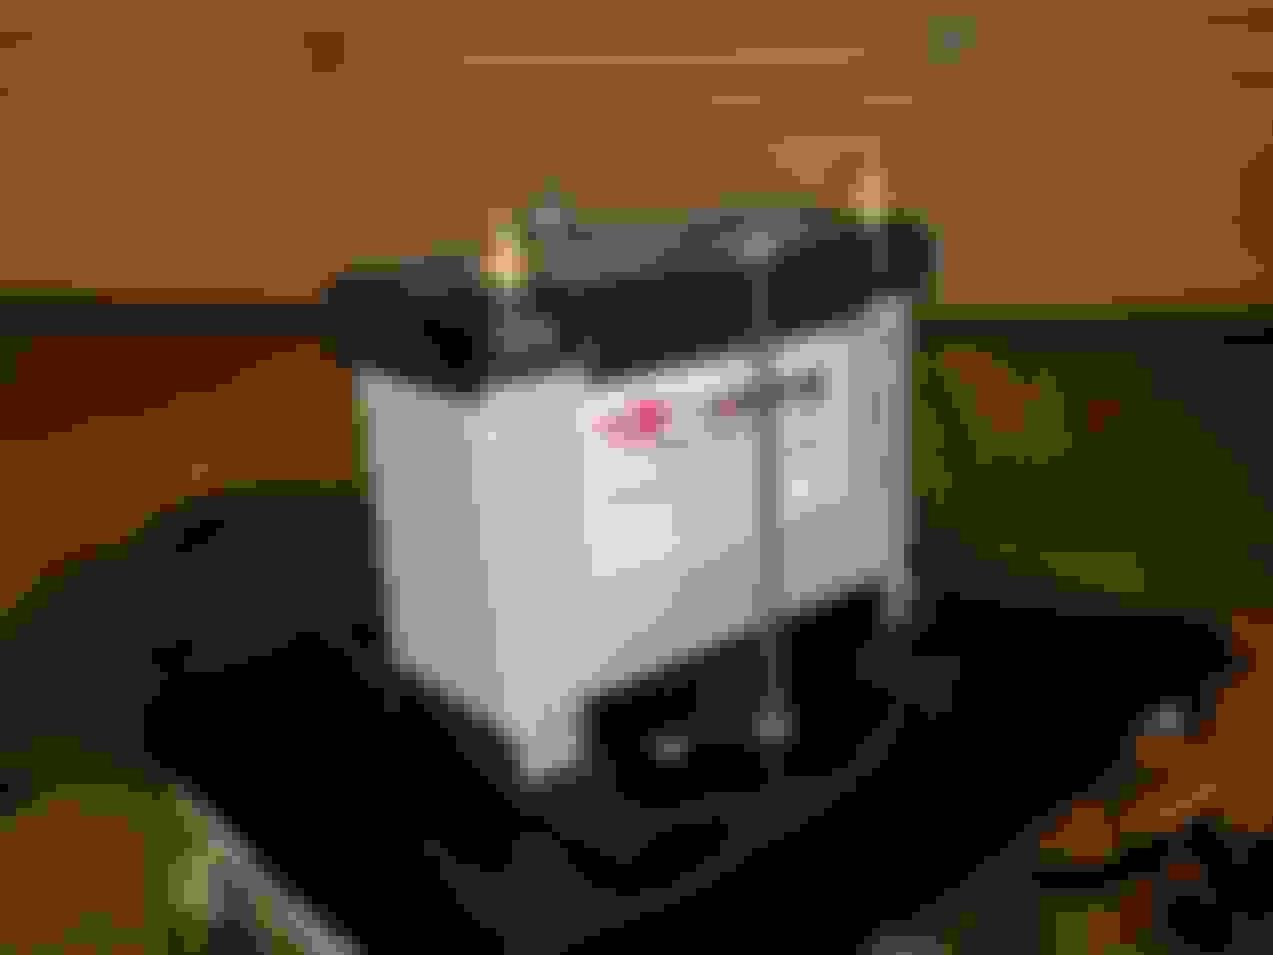
Made a battery box-thing to hold the battery in the passenger's storage bin area.
Not really the interior but I modified the fuel pump assembly to accept AN fittings and upped the wire size for fuel pump power. The fuel pump is an Aeromotive Stealth unit.
On the subject of fuel, all the lines have been replaced with 6 AN stainless steel lines and I went with an Aeromotive FPR and filter as well.
I find it easier to install the engine and transmission as one unit.
More or less how it sits today:
Side-mount alternator because the throttle body interferes with the stock location. You can see I removed the blue anodizing from the throttle body stuff. It didn't fit with my boring color scheme. The only updates since that last photo was taken is the radiator and clutch master and slave cylinders are now installed.
So that's it for now. I really haven't had much of a chance to work on the car this year because I moved from Ohio to Virginia and spent the first four months in an apartment. At this point the car is 90% complete and it's really just the wiring that needs to be finished. There are some other odds n ends (e.g. throttle cable). I'm getting very nervous as I get closer to finishing this since there are so many points of failure at this point.
DROOL!!!!!! Awesome build. I'm doing somewhat the same type of thing but with a 6port. Are you only running the 2 injectors? Those EFI hardware ITBs look so good.
Thanks! I ditched the 6-port because I couldn't find a simple enough way to actuate the aux ports so they'd always be open or closed; it was always a compromise. I've seen some decent torque numbers out of N/A 4-port builds, but I'm not shooting for crazy power anyway. I'll be happy with anything north of 200 HP to the wheels. Considering how much weight has been removed from the car that should be plenty quick.
Yeah, I'm running to ID1000 injectors. I didn't want to mess with staging but I can easily add two more injectors in the future if needed. I think the two ID1000's and upped fuel pressure has me covered though.
The EFI setup is nice. I have one of their simpler setups without idle control screws or tapered bores. According to Defined Autoworks I needed somewhere north of two 52-53 mm inlets and EFI doesn't offer something that big with those options. The tricky part was getting the setup to work in a side-draft configuration and I still haven't quite figured out the throttle cable.
I didn't want to worry about the 5-6 port so I just got the RB IDA intake. I wish I would have pieced together a 4 port motor before I bought the manifold but I guess I can worry about that when I blow this up LOL. Also what coil setup is that? I've heard good things about the AEM smartcoils but I'm learning as I go.
Also what coil setup is that? I've heard good things about the AEM smartcoils but I'm learning as I go.
They are AEM smart coils, the IGN-1A. I really don't like their current mounting position but with the side-mounted alternator and the intake manifold I'm pretty limited. I have another option that essentially turns them into a coil-on-plug setup but I want to get the car running before I mess with that.
Snapped a quick picture of the engine as it sits today:
Awesome build! Can't wait to see more! I started doing an NA build similar to this (not quite as insane though) and I just ended up going turbo. When do you plan on finishing up the wiring? You were lucky to get your hands on that exhaust!
yep you pretty much nailed the perfect n/a build. that engine will run like a top and be what most people desire when they start going all crazy with a 6 port half bridge bullshit builds. and it will idle and get 20 mph!
Awesome build! Can't wait to see more! I started doing an NA build similar to this (not quite as insane though) and I just ended up going turbo. When do you plan on finishing up the wiring? You were lucky to get your hands on that exhaust!
When I started it was supposed to be a simple rebuild. When I discovered the front iron was trashed it became a long chain of "well, I've taken this apart so I might as well do this..."
Hopefully I'll finish the wiring in the next couple of months or so. Summertime is so busy and HOT so I don't get much done. I really just need to throw the chassis and engine harnesses back in the car and build a power harness.
I haven't spoke with Logan in a while. Is Defined no longer making them? I will say I certainly waited a while to get it.
Originally Posted by clokker
It's all very beautiful.
I'd suggest relocating the catch can (perhaps onto the block itself?) and moving the coils to the strut tower.
Thanks! The strut tower is definitely an option. I initially wanted to keep it open for a master cylinder brace. I think at one point I was concerned about the coils being too close to the alternator as well. Once the car is up and running I'll play with it some more since I already have wires made up for this configuration.
Originally Posted by lastphaseofthis
yep you pretty much nailed the perfect n/a build. that engine will run like a top and be what most people desire when they start going all crazy with a 6 port half bridge bullshit builds. and it will idle and get 20 mph!
Thanks, it's what I was going for. Although I love the bridge/peripheral port sound I don't like the 1000+ RPM "idle" and peaky powerband. I do wish I had separate idle adjustment screws instead of just a throttle stop but that would have required going to smaller throttle bodies. If I hit north of 200 hp to the wheels I'll be happy.
I had to throw everything together for the move earlier this year and right now it's more or less a storage space for all the interior trim, etc. Of course, I'm going to have to pull it all out to install the wiring. I still need to die/paint the gray carpet black to match the rest of the interior. At some point I'll need a passenger's seat as well.
Last I had spoke to Logan was about 2 years ago, and he wasn't building them anymore then. May be a different case now, still a build like yours I'd love to revisit sometime. I'm sure you'll hit north of 200, I'd love to see how that intake performs as well!
The strut tower is definitely an option. I initially wanted to keep it open for a master cylinder brace.
In my experience, MC braces make a lot more difference to a FD than the much stiffer firewalled FC, YMMV though.
In any case, I don't see a brace precluding moving the coils to the tower, if you wanted to.
This is quite an inspiring NA build. That ITB set-up...
Your orange paint job reminds me of the "Fc3s Touge Special" I saw on Speedhunters. That diffuser would be a nice touch.
Thanks! Is that a RE Amemiya or Shine Auto replica rear diffuser? I like that it keeps the rear bumper cover intact. Aero mods are definitely in the future. I'm planning on adding an adjustable front splitter to the OEM lip that extends back to the front tires and subframe, some kind of rear diffuser, and possibly a rear wing or spoiler, if necessary.
Originally Posted by clokker
In my experience, MC braces make a lot more difference to a FD than the much stiffer firewalled FC, YMMV though.
In any case, I don't see a brace precluding moving the coils to the tower, if you wanted to.
Good to know. I took another look at the strut tower and I could definitely get all the coils there.