When you click on links to various merchants on this site and make a purchase, this can result in this site earning a commission. Affiliate programs and affiliations include, but are not limited to, the eBay Partner Network.
Hello, thanks for checking out my project. This thread is going to follow the trials and tribulations of building and thrashing my 1987 S4 rx7 T2.
As an active member of many different motorsports groups, I go to a lot of different types of events (Drift, AutoX, Drag racing, Car shows, etc.). I always found that whatever build I was working on at the time was really geared towards one event. When i was driving my drift missile 240, there is no way I could be competitive at the strip. Nor would I ever bring my Lexus SC, the only show quality car I have ever built, out on an autocross course. I am sure I am not alone in the fact that I simply do not have the resources to have a car for each event I want to compete in! That's when this little red rx7 rolled into my life.
The goal for this build: Build a car reliable enough for the street, but competitive in multiple different types of events with minimal adjustments. Below is my current set up as the car sits now. I will then get into how its gotten to where it is today, and update the thread in the future with updates!
1987 Mazda RX-7 S4 Turbo II Build Sheet
Engine:
-S4 13b-t 1.3L Rotary
-Fresh rebuild with Half Bridgeport
-1200cc primary and 1600cc secondary injectors
-Dual Walboro 255 inline pumps
-Mazdatrix Fuel Pressure Regulator
- Atkins Apex and Manifold Seals
-13b-rew Corner Seals
-S5 Ported Upper and Lower Intake Manifolds
-S5 Throttle Body
-Racing Beat Dual Belt Pulleys
-Rats Nest, Smog, Air Pump, BAC, Power Steering, A/C, Cruise Control etc. Deleted
Forced Induction:
-Garrett A/R60 M240 Turbo
-HKS Exhaust Manifold
-Greddy External Wastegate w/ Screamer pipe
-Greddy Front Mount Intercooler with custom piping
-Tial BOV
-Greddy Compression Tube
-HKS Power Cone Filter
-HKS Downpipe
-Corksport 3� Turbo Back Strait Catless Exhaust
Alright so let�s begin by telling you how I came about this car. This t2 belonged to a friend of mine. It was his beloved first car, so like so many car enthusiasts� first cars, it was an absolute mess. Wiring was cut up from multiple hack jobs (including underglow... yikes).
His engine had seized about 6 months prior to me buying the car, so it was sitting at a friend�s house collecting dust. He purchased a �built� (yikes) engine and tranny from a local guy here in Indiana with intentions of swapping the two. He pulled the old motor, set the new one in, and it continued to sit.
Also the owner of a running WRX, his focus began to change, interest was lost, so it came up for sale. Knowing I was an avid rx7 nut job, he contacted me about it, we talked, and I decided I would once again become an alcoholic. I mean rx7 owner.
First Look:
When I picked the car up in late February, it was my first time seeing it. Honestly I was pleasantly surprised. I knew I would be walking into a bit of a disaster, but for the price I thought it was worth the risk. When I saw how clean the body, interior, frame rails, etc. was, I knew I made a good choice. The Turbo II has always been on a short list (lol) of cars I�d like to build, and seeing it sitting there I knew it had potential.
It�s also worth mentioning that while picking up the car, I was told there would be a car trailer available to use. When I showed up, a dump trailer sat in the driveway. Yes, like the kind you would haul gravel, dirt, anything but an rx7 in. It sat 4 feet off the ground, had ramps clearly designed for another trailer, and measured just 6� wider inside the trailer as the mirror to mirror width of the rex. I was concerned. Not to mention that the car obviously did not run yet, and we had just myself and two other people to push the car up the little ramps. Oh and one last thing to make things funnier, the driveshaft was still bolted in in the back, so when we pushed it out of the grass we couldn�t figure out why it was so hard to push� until we looked under the car. It was an excellent start.
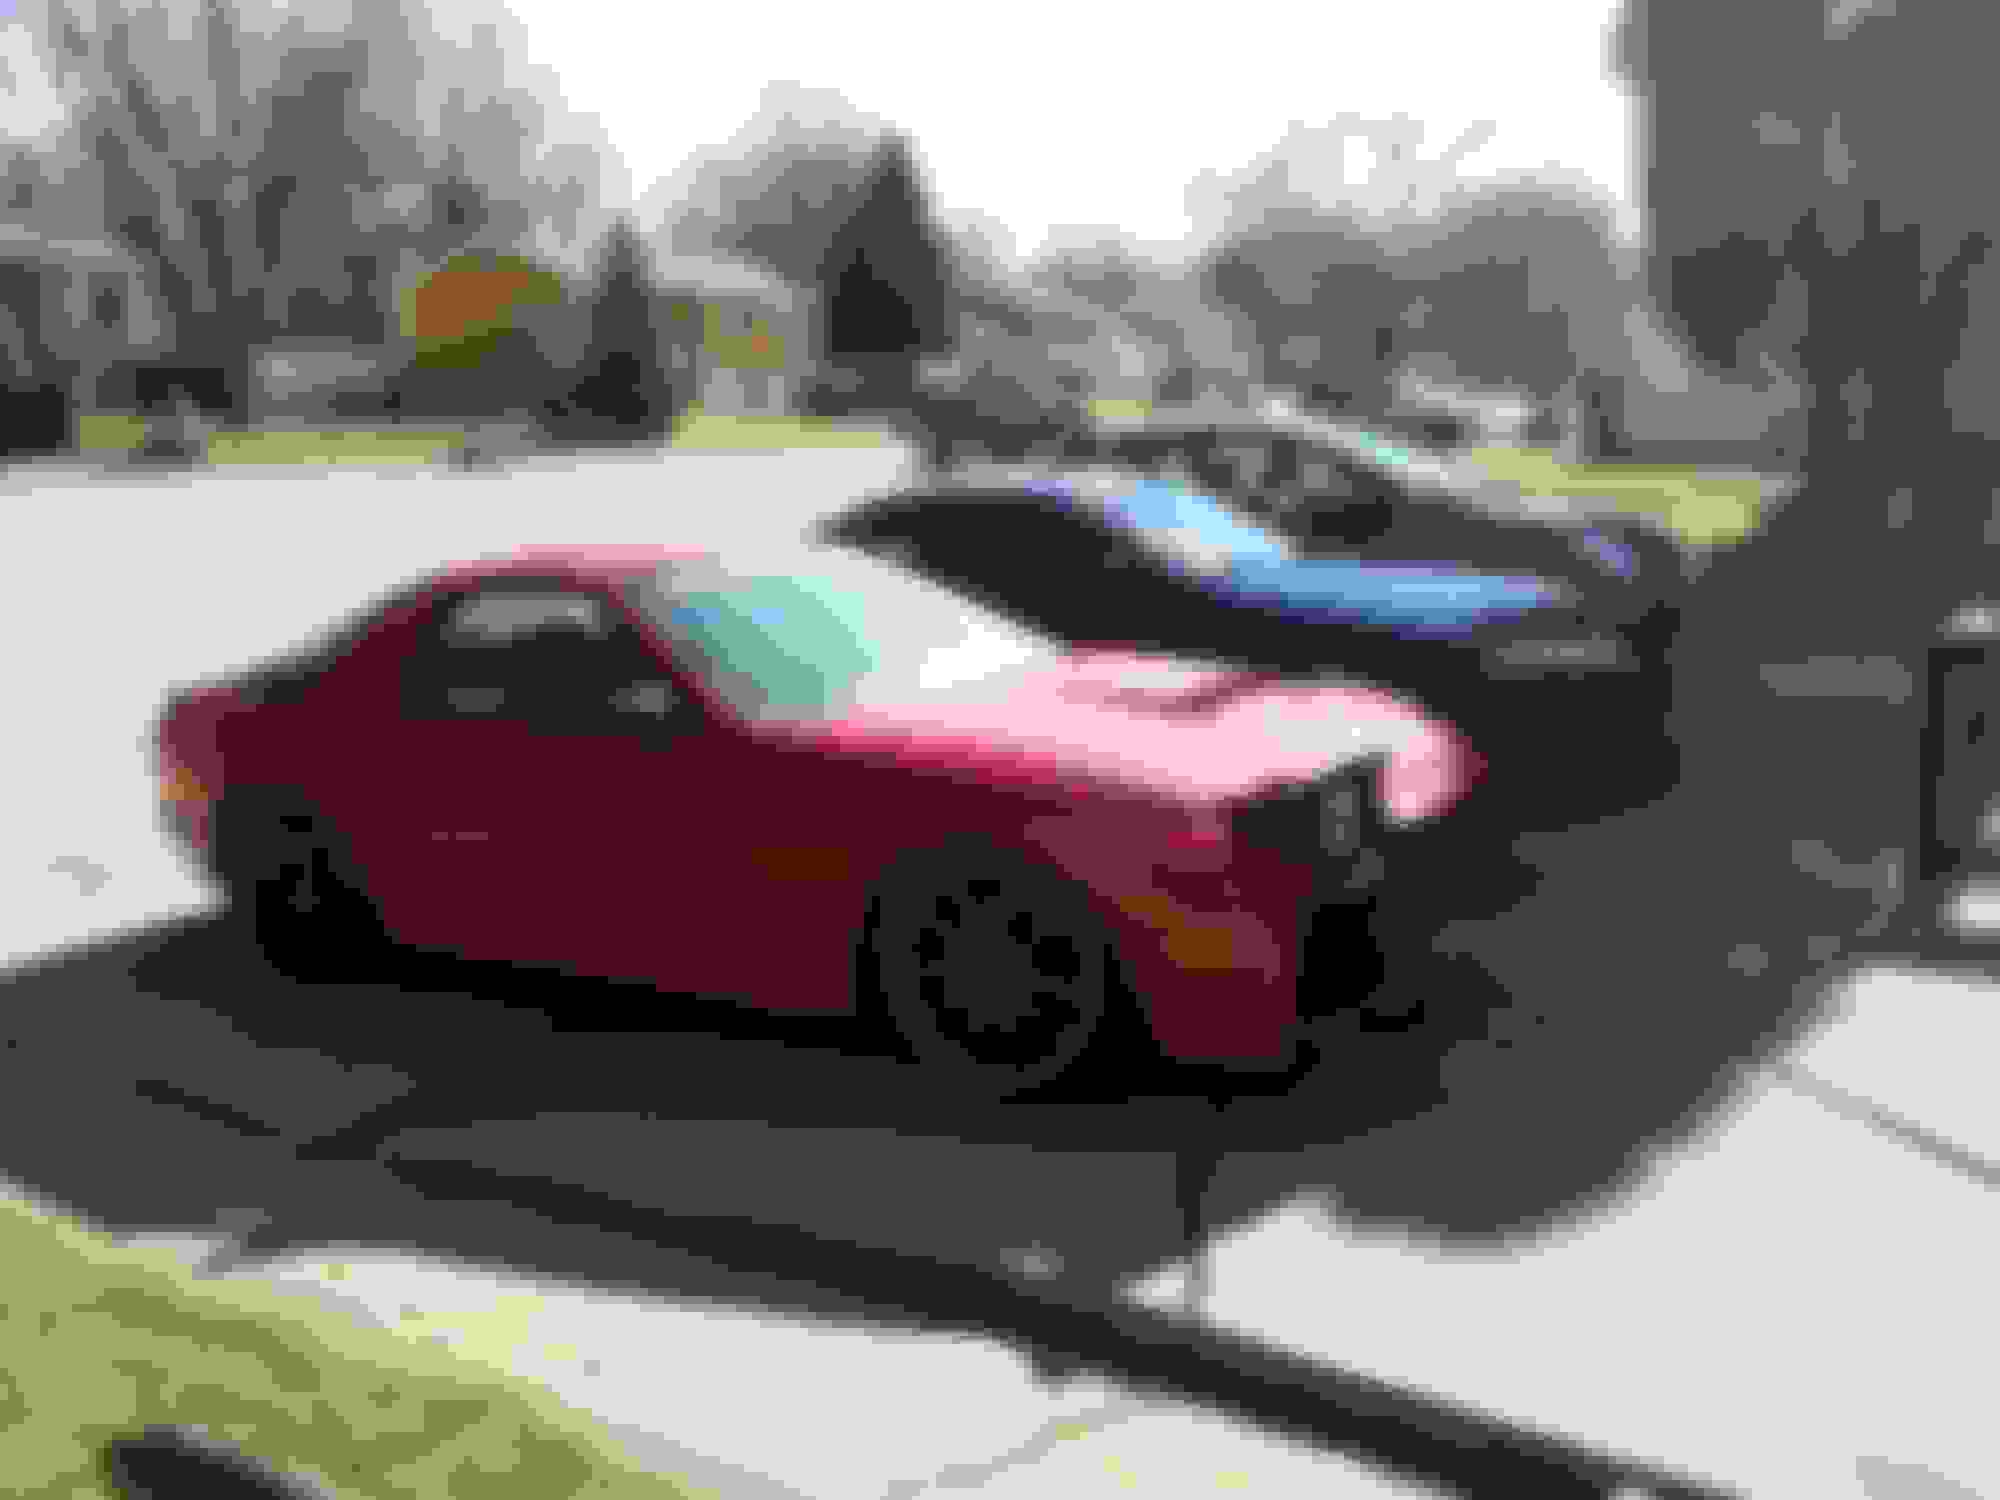
After finally getting the car loaded with the help of a heave-to a sympathetic neighbor lent us, we headed to my house. Here is a picture of the car in the trailer:
We unloaded the car (much easier, gravity ftw) and all the boxes of parts that came with it. Cameron, the seller, told me that the guy he bought the engine from was planning on running a Haltech ecu and it was included in the boxes, as well as the harness and everything I would need (LOL FML) and I was excited, this would save me even more on this build. They had already pulled the engine harness and ecu and it was ready to �plug and play� I believe his words were.
Right before he left he turned to me and goes �That Haltech would be cool, because it was built around the same time the rx7 was, so it�d be like accurate to the time period, using floppy disks to tune and stuff. Pretty cool.� He then got in his truck and drove off before I could say wait what? FML
So basically I spent the rest of the evening going through all the stuff in the boxes, getting an inventory, seeing what was there, what I would need, etc. I decided right then and there I wasn�t trusting anything the engine �builder� or Cameron said about the car unless I knew it for myself, because either by deception (builder) or lack of knowledge (Cameron), I knew that I didn�t have all the facts. So I decided to pull the engine and tranny, and start from the top.
Now this is the point that most people would post some pictures of the internals of the engine, etc. however due to technical difficulties (don�t ask) I do not have any for the two days I had the engine apart.
I began by inspecting the entire engine and understanding what the builder had in mind when putting this thing together. I was in for a BIG surprise when I opened up the engine. When I tried draining the oil, nothing came out, so I started taking it apart I noticed something, well or the lack there off: Anything. The engine was spotless. Literally you could have eaten off of the inside of the housings. I do not believe the engine ever ran after being rebuilt. The seals were a bit brittle, so I ordered a set from Atkins. Everything was really in good shape, so I awaited the seals and began to break down the tranny. Same thing. Everything looked freshly greased, but squeaky clean. It had no fluid in it, looks as if it was flushed and never refilled. I replaced the fluid, and the shifter feels solid as can be. This was a huge sigh of relief.
So now, with that bullet dodged I decided that since I had the time on my hands and I had the engine already broken down, I would do a bit of porting. I decided on a half bridge port for my needs. I chose this because of the quicker spool times, better low end, etc. For what I’m using the car for, a little less power all the time is better than no low end power. So I went at it.
This is not my first port job, but it is my first unsupervised port job. I used to work at a race shop who focused on rotary and boxer engine racing, so I always either watched a veteran doing the work or he was breathing down my neck. Overall it came out really well! I used a stencil I still had from the shop that I knew was solid and I am happy with how it came out.
I spent a lot of time researching different ways to improve the engine ad overall performance of the car to come up with a game plan and parts list for the car. I decided on doing the FD Corner seals, ordered my injectors (1200cc/1600cc), a streamlined and port matched s5 UIM and lIM done by Pettit, and an S5 Throttle body/tps setup. I purchased my turbo, fmic, and my Greddy Throttle body inlet from a local shop as well. The engine already had an HKS Exhaust manifold so I ordered a Greddy 56mm external wastegate to finish it off. The car came with a Corksport 3’’ turbo back exhaust, but was designed for a stock turbo. My turbo, a Garrett A/R 60 M240, sits slightly farther forward and higher than the stock turbo, and also has a v-band clamp style flange on it, so some modification will be in order with the exhaust.
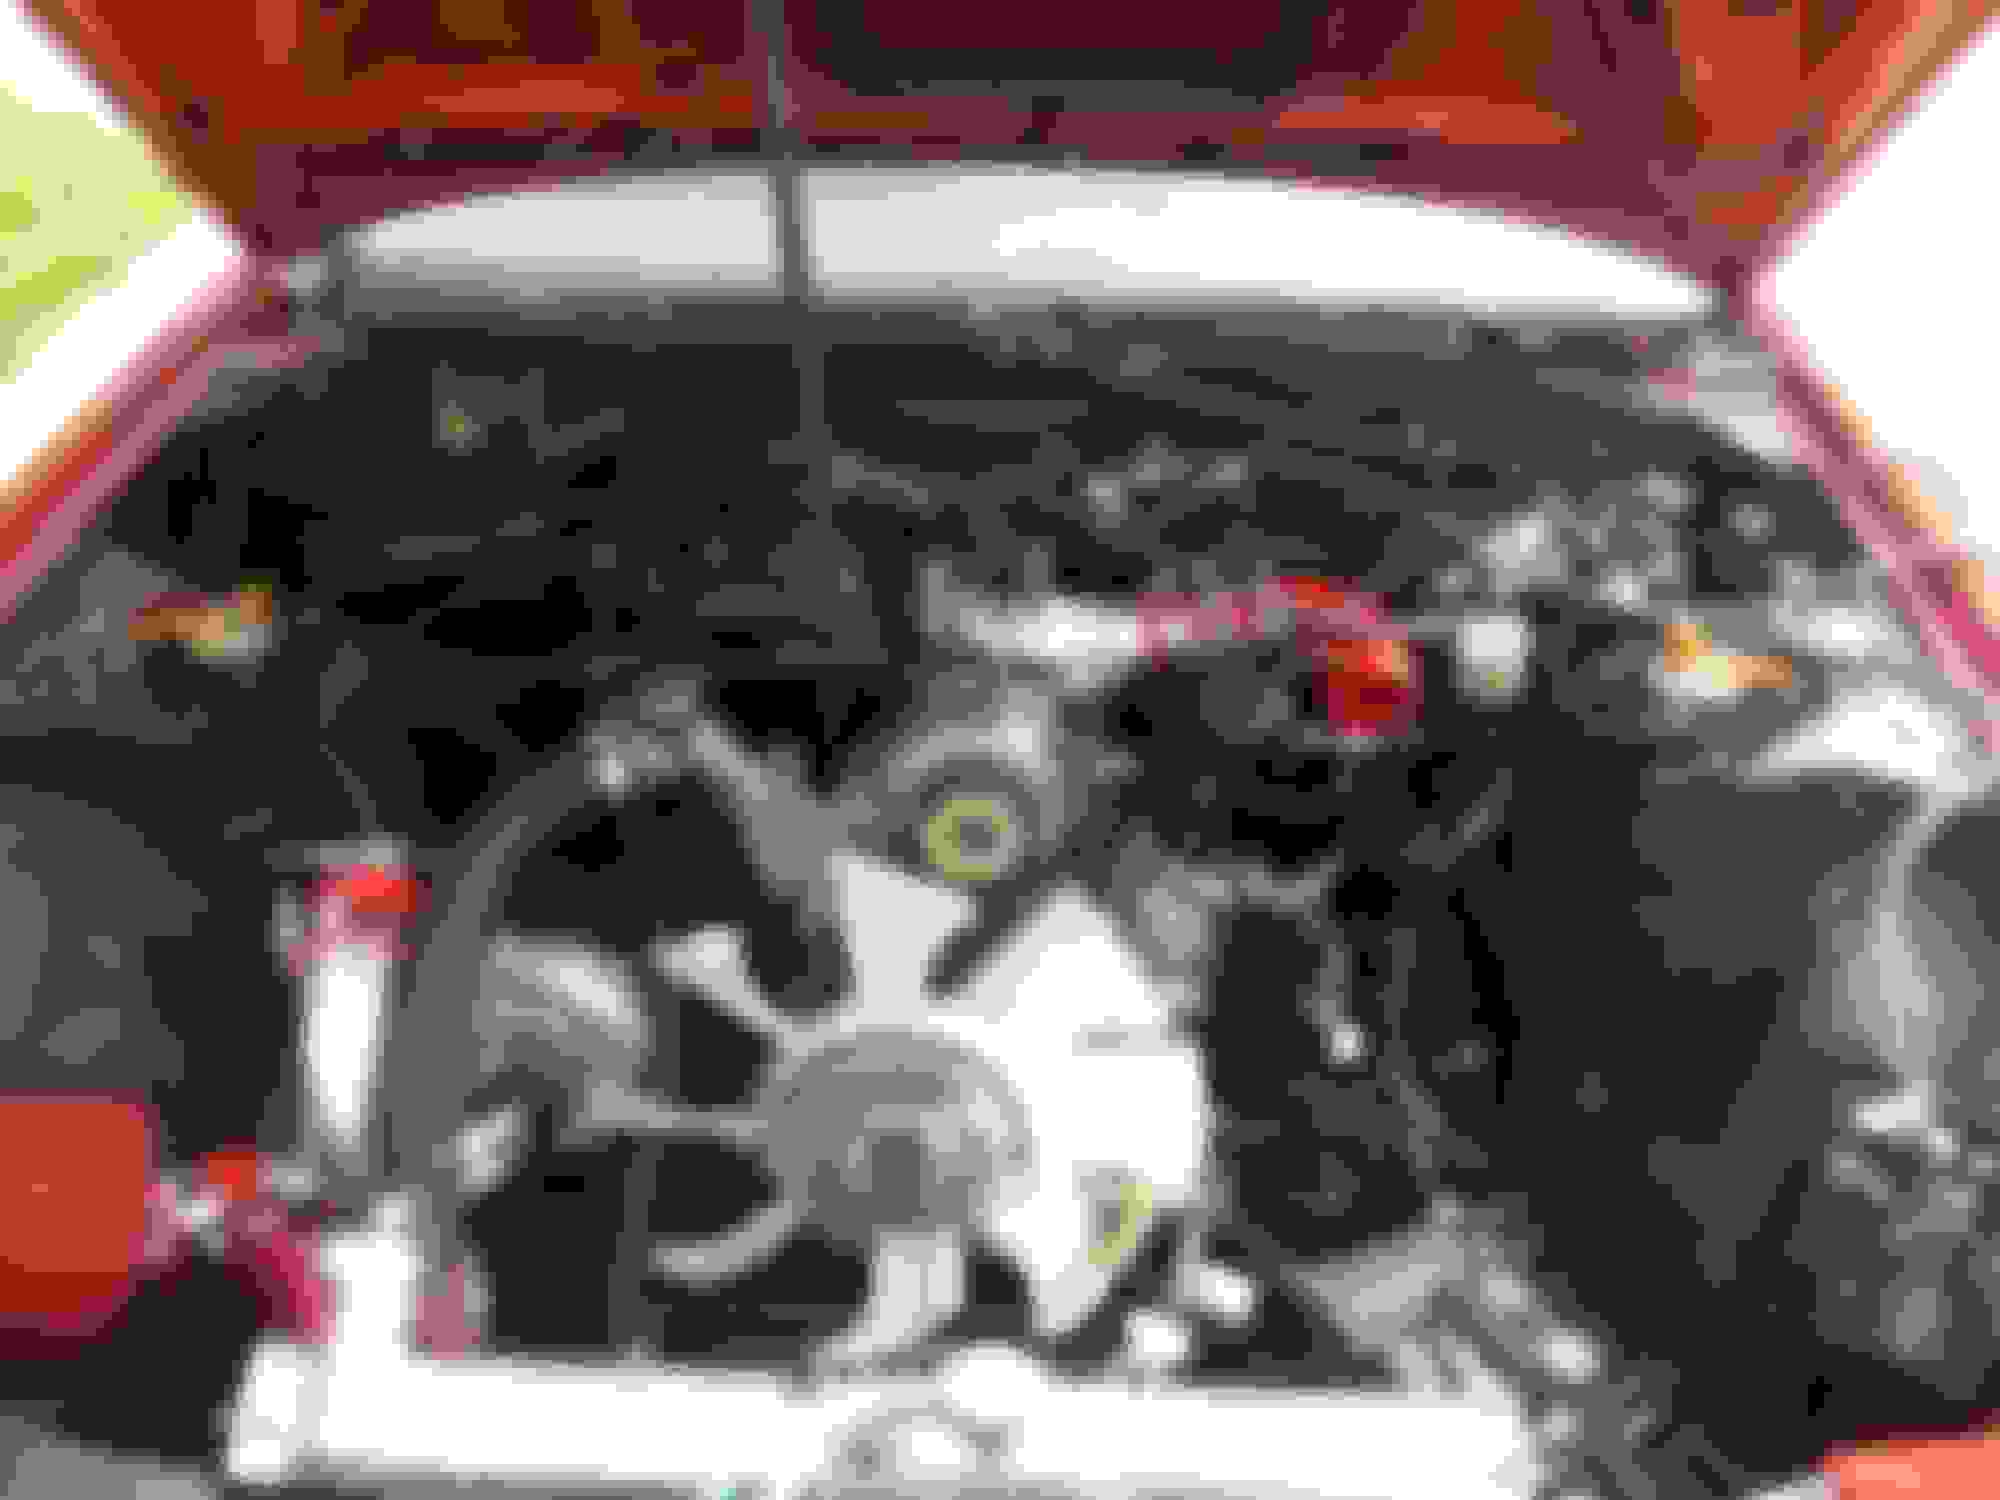
Finally I got everything I needed to reassemble the engine. After getting everything put in its place I began drawing up plans to desmog the engine and delete as much as possible. With the help of a great write up on racing beats website and the FSM, I fabricated up the plates I needed, mocked up the vacuum lines, and decided on how I would do this. I deleted all power steering, a/c, BAC, etc. Basically my engine will be running standalone ecu, an alternator, starter and coils, etc. only the necessities.
While the engine was still out I removed all bolts, clips, etc from the engine bay, sanded, primed and painted it flat black. I want the engine to pop when you look at it and it makes for a clean bay. I installed the HKS manifold and the wastegate, and the turbo. Everything was going very smoothly. I also installed a new brake booster and master cylinder, and started running wires into the engine bay. I pulled the new car side harness through the firewall and laid it over the driver’s side fender, and the new Haltech flying lead over the passenger harness. Now that I had the engine totally assembled except for minor external things, It was time to lower it in and hit the electrical side of this s### show.
After getting the engine and tranny installed on new billet solid mounts, I made sure everything was sitting pretty and started reading up on this Haltech. For those of you who are unfamiliar, I am using a Haltech E6x, which is an older model ecu. Though it is older, and tuning on DOS looks like it was made from the creators of PACMAN, It is an extremely feature rich ecu for the price and is quite simple to work with.
Now let me begin the Haltech install by telling you that I am no electrician, nor do I claim to be. I am not extremely savvy when it comes to wiring past the simple stuff, so I knew this would be a learning curve for me and I was willing to put in the time to do it right. So I spent every night for about a week reading, and reading some more about how it all works. I tinkered here and there but never anything permanent until I knew I was doing it right… then I began.
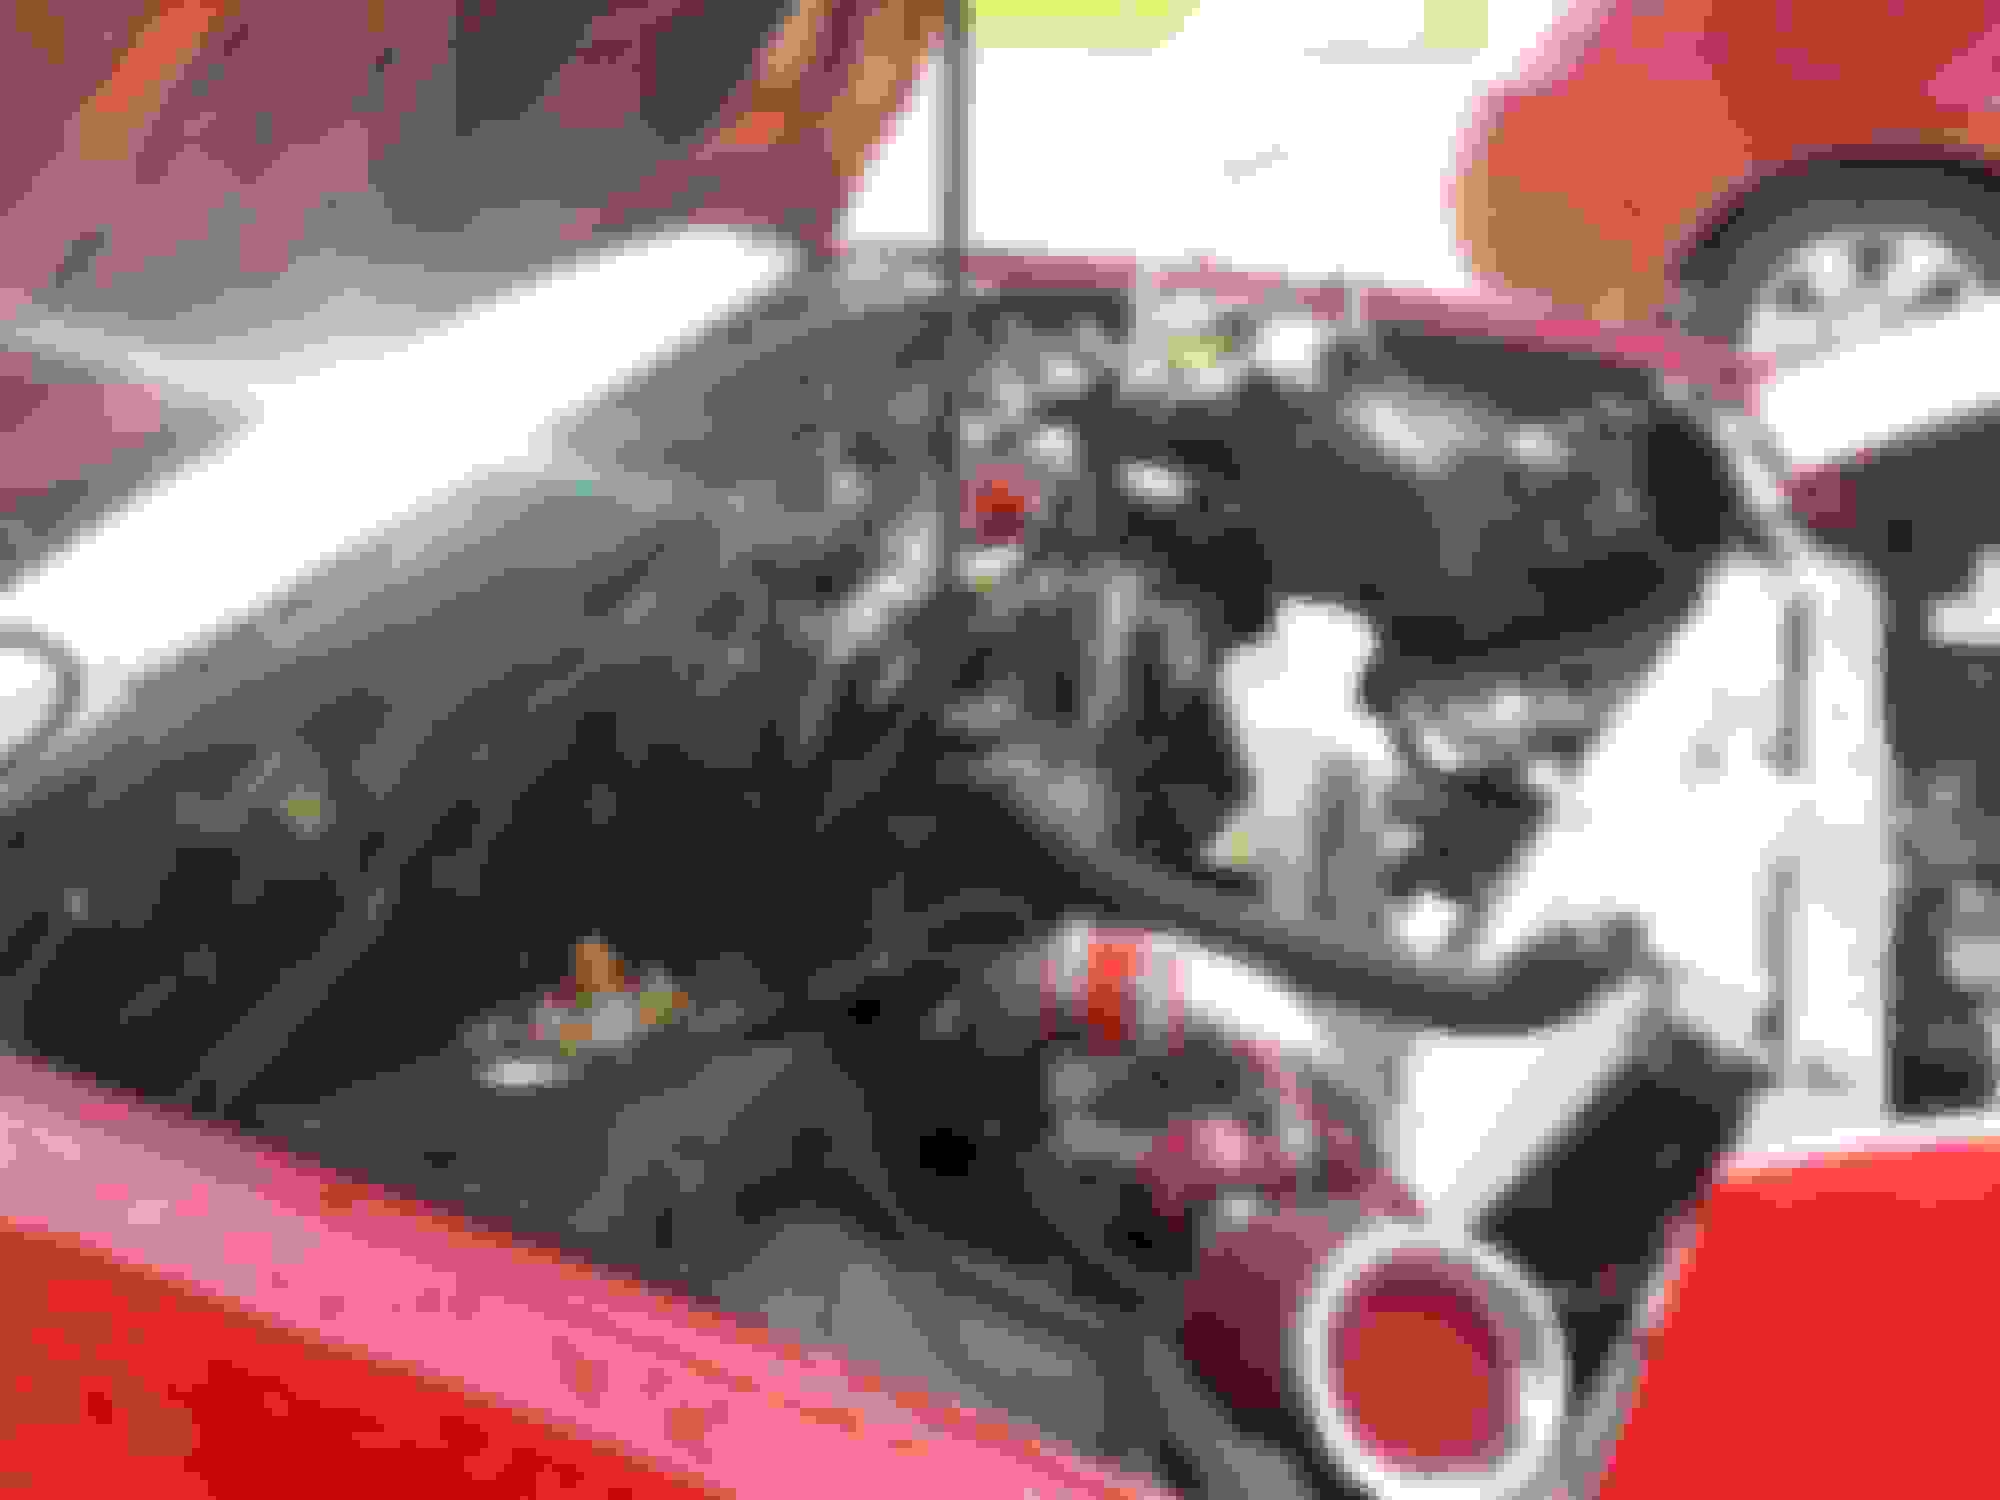
This would be a great time to let you know that I compiled a write up on this install titled “Haltech e6x install guide” on this forumn. So after getting all the wires separated and complied into their appropriate “lead” I tapped the holes for my new sensors and began running wires. It really wasn’t that bad after jumping into it. I spent roughly 5 evenings working on it to get everything wired up and looking pretty. I built a mount for my ECU, relays and fuse box, and mounted it. I finally was done wiring but before any tuning could be done I had some things to finish.
I set up my Haltech Boost Control Solenoid, coils, fuse box, new battery tray and a Mishimoto oil cooler. I filled her up with oil and installed my new Koyo Radiator. I have yet to decide if I want to make the switch to electric fans, or retain the stock clutched fan, so it is installed for now. After popping in the new plugs and wires, she should be ready to fire up. However, I still need to map the ecu so that is now my primary focus.
Clok lol Johnny on the spot with that lol
Nice build going man . I saw your haltech thread the other day . My e6k is the model before yours and love how simplified it is . I was running a dell that I had to use dos box to run the haltech ,but have since got ahold of a Ibm t20 thinkpad from that time period and can now just open the program like normal
If you decide to keep the mechanical fan, I hope you have the radiator shroud for it.
I am definitely switching to electric, but do not have them yet, so im just using this to cool the engine while tuning. Good to point out though, definitely crucial!
Clok lol Johnny on the spot with that lol
Nice build going man . I saw your haltech thread the other day . My e6k is the model before yours and love how simplified it is . I was running a dell that I had to use dos box to run the haltech ,but have since got ahold of a Ibm t20 thinkpad from that time period and can now just open the program like normal
Yeah once you get the program set up to run it is very easy! Following Claudio's instructions on the haltech forum (what was in my write up) I was able to get it running perfectly on a windows 7 laptop. Very easy software to use!
Alright so quick update, I've got everything "finished" to get the car running and tuned! A couple pics:
Intake in place, intercooler mounts fabbed up
Intake lines up and sits perfectly!
I installed the intake under the pass an headlight by cutting the hole below the headlight out a bit, and running an intake pipe I welded up. Fits great and angle is perfect! Doesn't interfere with the headlight at all.