When you click on links to various merchants on this site and make a purchase, this can result in this site earning a commission. Affiliate programs and affiliations include, but are not limited to, the eBay Partner Network.
What an awesome thing to do with your kids. I miss my old fc and now with an 8 & 4yr old won't be having one again any time soon. But being that you are taking this on at the ripe age of mid 40's gives me hopes that in 10 years my boy will be 18 and my self 46 and if be able to get a process like this done. But maybe by then if be able to pick up an fd as a project. All tho i do love my a clean S5. So I'm definitely jumping in for your ride.
I think I have most of the major wiring figured out but I'm having trouble with the CAS. The manual shows the red and green (positives) tied together but the haltech does not want that. Am I missing something simple or do I just find an unused wire in the harness so i can split them? Also wouldn't mind if someone more in the know looked what I have over and point out anything else i may be missing. Obviously, this is just injectors, coils, and CAS. I included a sample from the manual to show what I'm talking about with the CAS wiring.
CAS wiring is sorted. Off to Nebraska for the week to play with locos so the project comes to a temporary halt. Maybe I’ll sort more wiring in the hotel.
Well boys and girls, we now have 3 pedals. This was without a doubt the hardest part of the project to date. I originally thought I had to swap the entire pedal assembly so I contorted my old *** in positions I shouldn’t be in and started dismantling. When I was about to give up, push the car to the street, and put a “free to good home” sign on it I figured out if I sacrificed my fingers, hands, and arms, I could just add the clutch pedal assembly. I didn’t want to half *** it so I also swapped the brake pedal instead of cutting it to make it skinnier. I also got all the stainless braided brake lines on and the brakes bled. Not sure I’ll be able to move tomorrow, but it was a pretty productive night after way too much time off due to work.
Looking awesome! Suddenly, I feel glad that mine already had the pedals swapped when I got it back in 2007 If you want a REAL contortionist act, try getting to Connectors FEM-01 and FEM-02 (links Emission Harness to Front Harness) on the passenger side in the under dash/kick panel area. During the 20B conversion, I had to tap into one of them to get a signal for the Rear iron coolant temperature sender. Sitting upside-down in the seat, feet planted on the B-pillar. It pays to be flexible
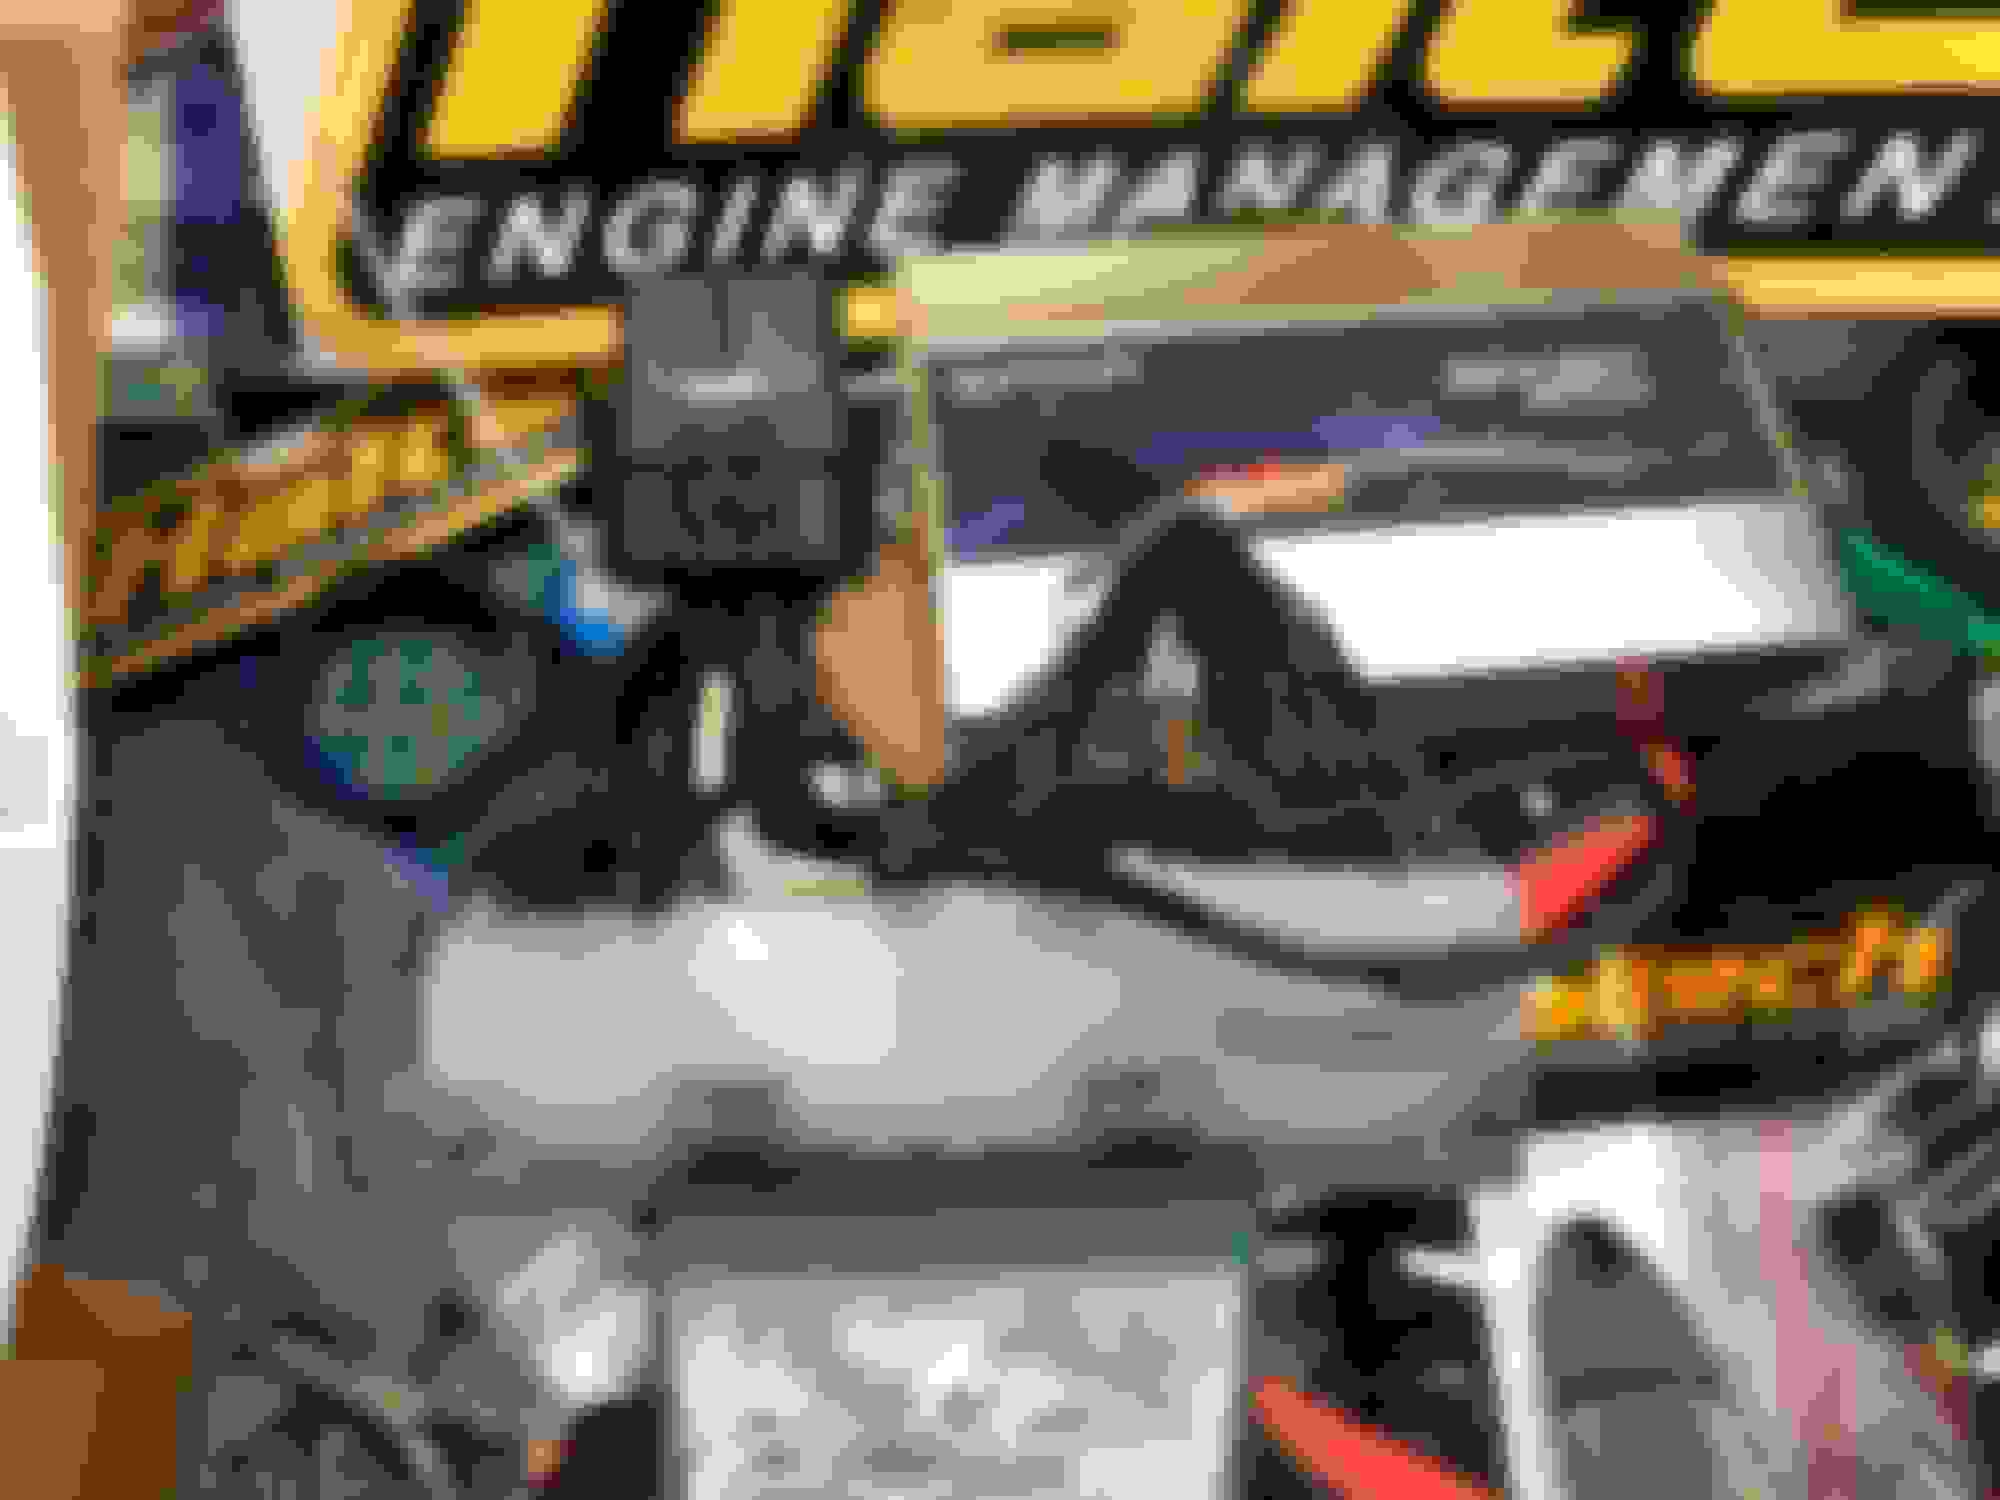
Not a huge update, but an update nonetheless. Got the turbo on, engine in, rear suspension done, car on ground and liking the ride height. Rescued a slightly (perhaps completely) psychotic Lab from a shelter, and completed one of the two plugs on the Haltech side of the patch harness. I shortened the wires for aesthetic purposes but looking back I should have left them longer. Oh well, if I hate it too much I’ll just do it again.
Well the patch harness is complete. Definitely should have made the wires longer although it looks like it may work out well being compact and tidy. Had I known there would be so many leftover unused wires I wouldn’t have soldered them to the header making the entire thing much neater. Maybe I’ll make another this winter but there is no reason this one shouldn’t work just fine.
Took a little break due to rescuing this doggo and the weather changing and a slight fall off in interest. Back on track now although it will probably be much slower progress over the winter. So anyways, I got the clutch slave installed and bled the clutch. All went fine, but the first two inches of pedal travel only push against the spring, and then you feel the normal clutch. After that first two inches you can clearly see the throw out bearing lever move all the way towards the rear of the opening, and when released, it comes back to the front but not all the way. I can grab it and pull it to the front of the car but then I have a gap between the pin in the slave and the cup in the lever. Is there anything else that is supposed to go in there to take up the space or is there some adjustment I’m missing? Pedal feels fine and normal once it’s engaged. Also, the clutch pedal in full release is about 2 inches higher or further out than the brake pedal. If I’m explaining this horrible, or if this is better in another section, please let me know.
Well winter lasted longer than expected I guess, or I�m just getting too old. Had originally planned on spending winter days in the garage with the heat on working on this project, but sitting in front of the fire with the dog won time and time again. Anyways, we�re back on track now. Sorted most of the frontal fuel system tonight. Got the injectors in and the pressure regulator mounted. Going to pull the injectors back out and put new lower seals in as I don�t like how loose they fit, but wanted to install them for fitment purposes. Still need to find a fuel pressure sensor to feed fuel pressure to the haltech. After that I only have about 7342 things to do and it can hopefully be running.
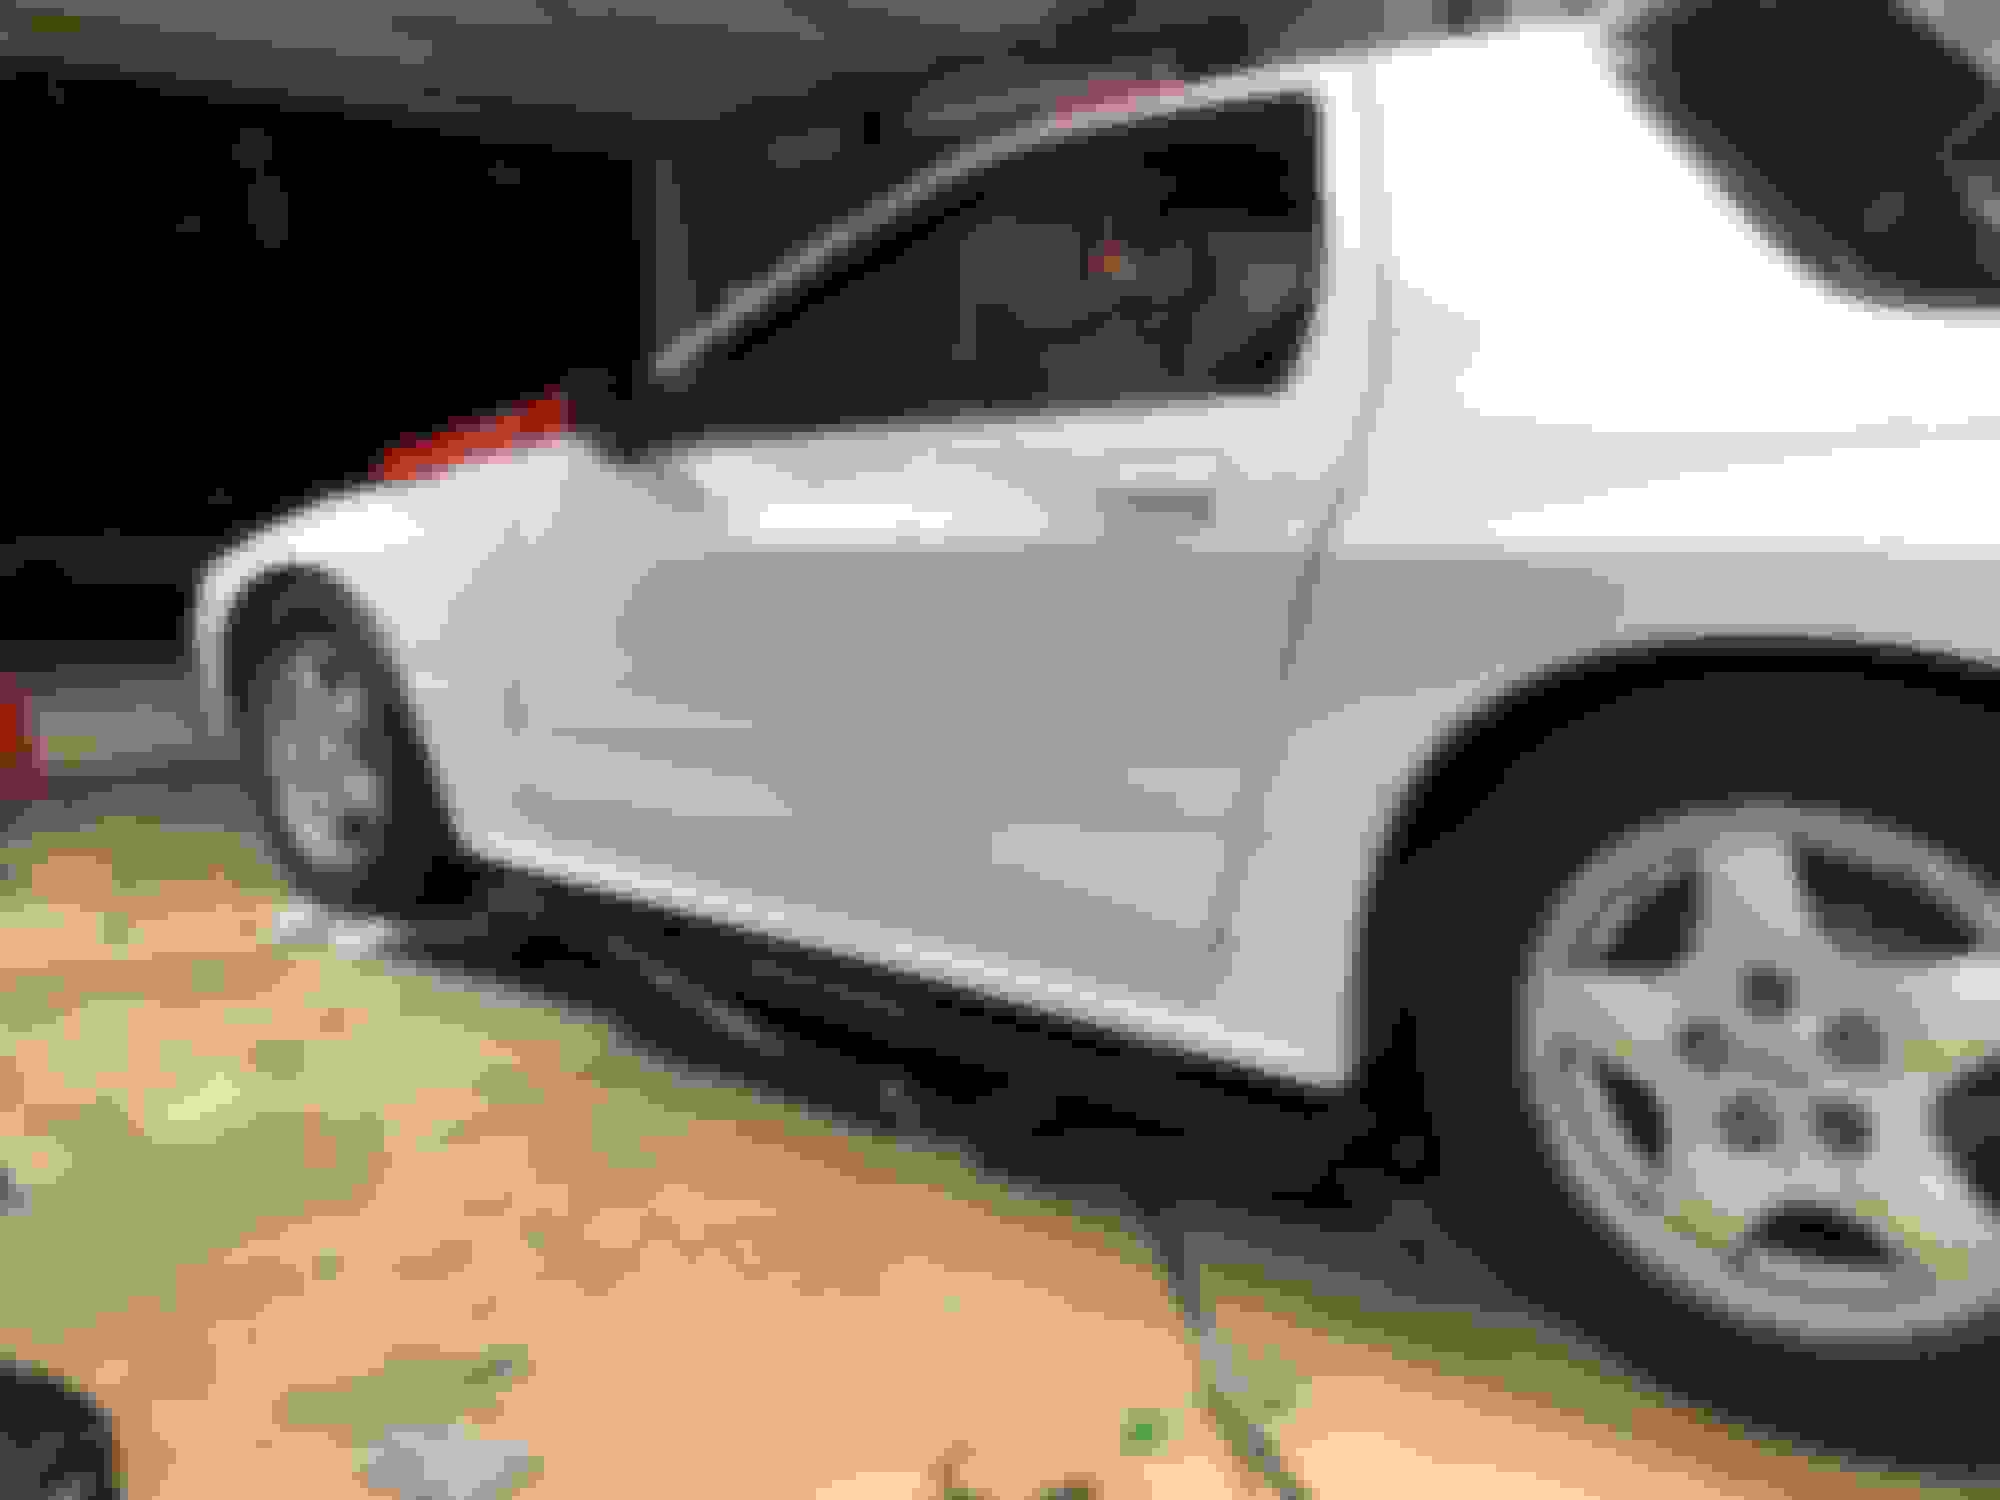
Mocked up the Intercooler tonight. Decided not to chop up the car with a front mount so I went with a air to water setup. More work but oh well. Also painted the strut brace mounts and installed the strut brace. Getting closer.
Got all of the engine bay wiring done except for the wideband. Intercooler piping is just about finished as well, just need to order a few more pieces. Really liking the intercooler piping and the relatively short runs I had to make.
Well it kind of runs, but it�s not very happy about it. This all sounds simple on paper but making it actually work is quite the daunting task. If I can get it to run good enough to break it in, I�ll then trailer it 5 hours to Chris at LMS-EFI for a proper tune.
Awesome work and thread! My son and I are just starting down much the same path, albeit with a few minor differences. We bought an 89 NA GXL and then found a JDM TII and trans out of a 91. We just got the NA motor and trans pulled this past weekend. Now the real fun starts!
Awesome work and thread! My son and I are just starting down much the same path, albeit with a few minor differences. We bought an 89 NA GXL and then found a JDM TII and trans out of a 91. We just got the NA motor and trans pulled this past weekend. Now the real fun starts!
Awesome, and I hope you enjoy it as much as we did. Look forward to your build thread and if there�s anything at all I can help with let me know. I�m by no means an expert but I learned quite a bit on this journey. My car started NA and ended up JDM T2 as well.


 If you want a REAL contortionist act, try getting to Connectors FEM-01 and FEM-02 (links Emission Harness to Front Harness) on the passenger side in the under dash/kick panel area. During the 20B conversion, I had to tap into one of them to get a signal for the Rear iron coolant temperature sender. Sitting upside-down in the seat, feet planted on the B-pillar. It pays to be flexible