When you click on links to various merchants on this site and make a purchase, this can result in this site earning a commission. Affiliate programs and affiliations include, but are not limited to, the eBay Partner Network.
91 Vert. Getting the "Chad" out. Mostly stereo work
"There's a lot of me in this car... There's just so much of me in this car" -Chad, PO.
It was quite unfortunate, too, because much like a stain on the carpet the head shaking on my end could have been avoided.
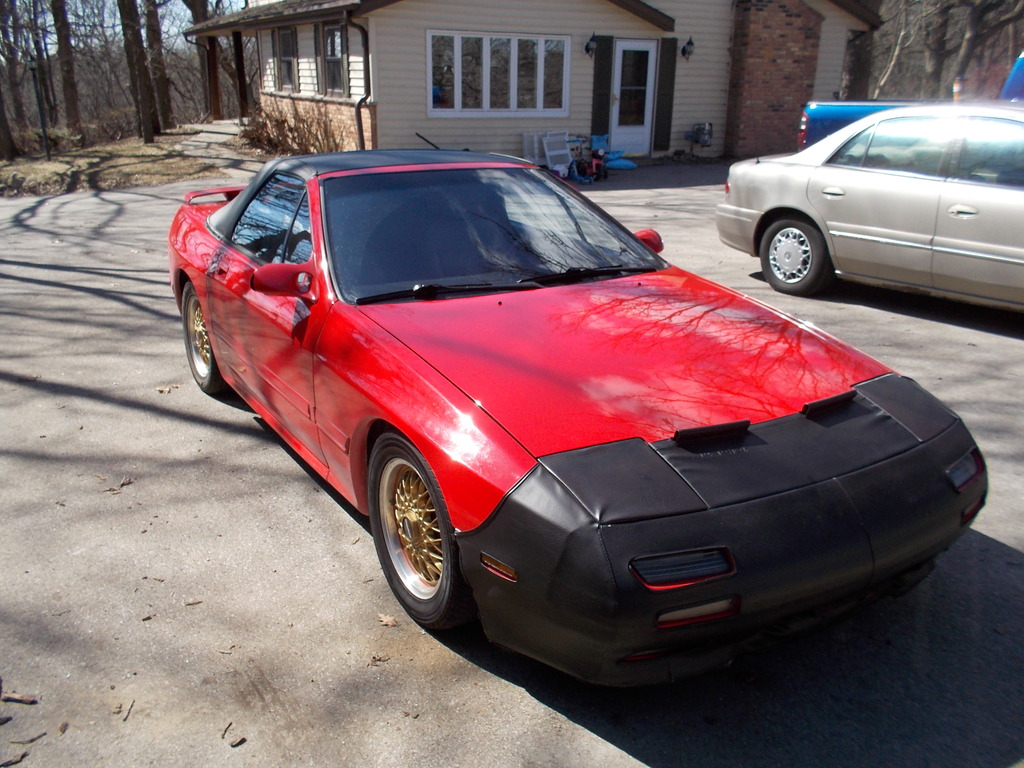
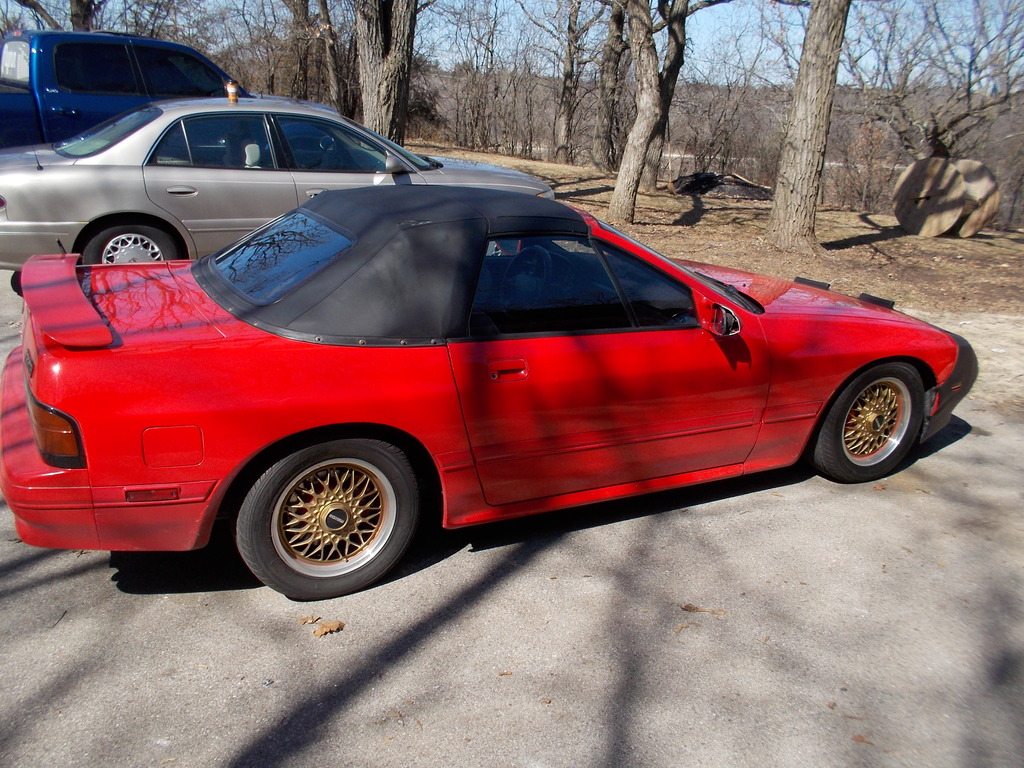
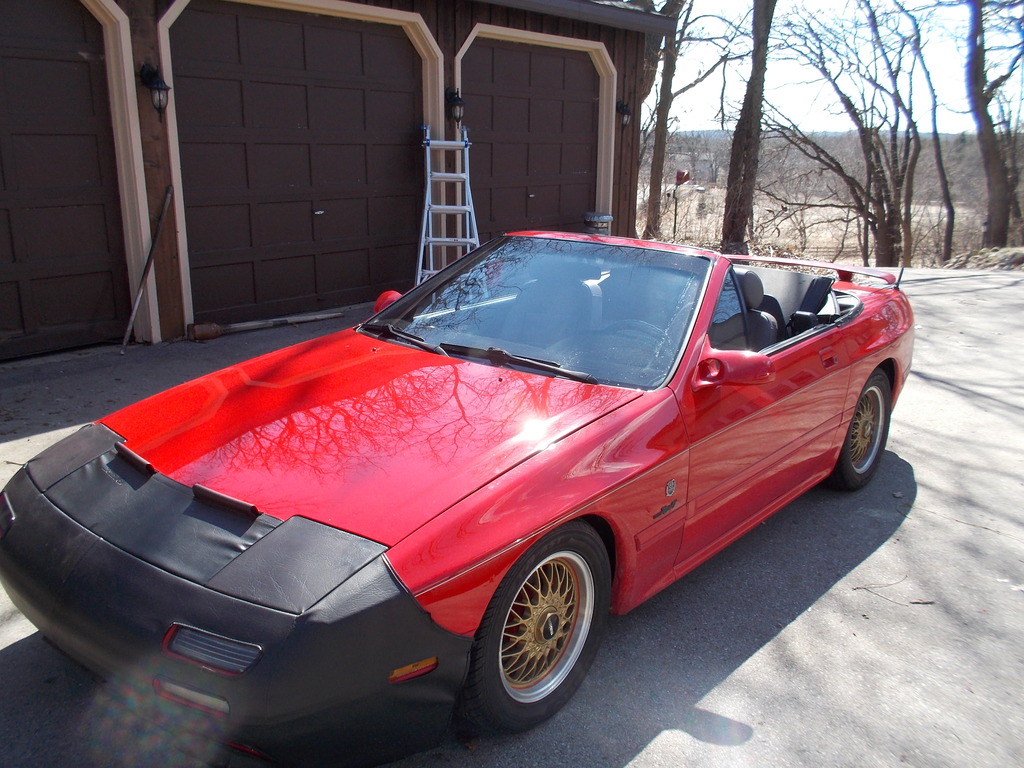
The exterior was really nice when I picked this car up in March. A small tear on the top and a cracked mirror, but no rust, no
dents, decent looking paint. Engine bay was polarizing: engine was spray bombed silver and the bay was black. Interior was a
patchwork quilt. Gray seats from an A4, whiteface gauges with purple backlighting, headliner falling off, about 7 mismatched
speakers, and oh yeah, about 40 wood screws. Once I drove away realized the horn and brights didn't work, the blinkers didn't
cancel, and it had a real funky idle. That's okay, I'm much more handy inside a car than outside.
Anyway, here's what I've gotten to so far.
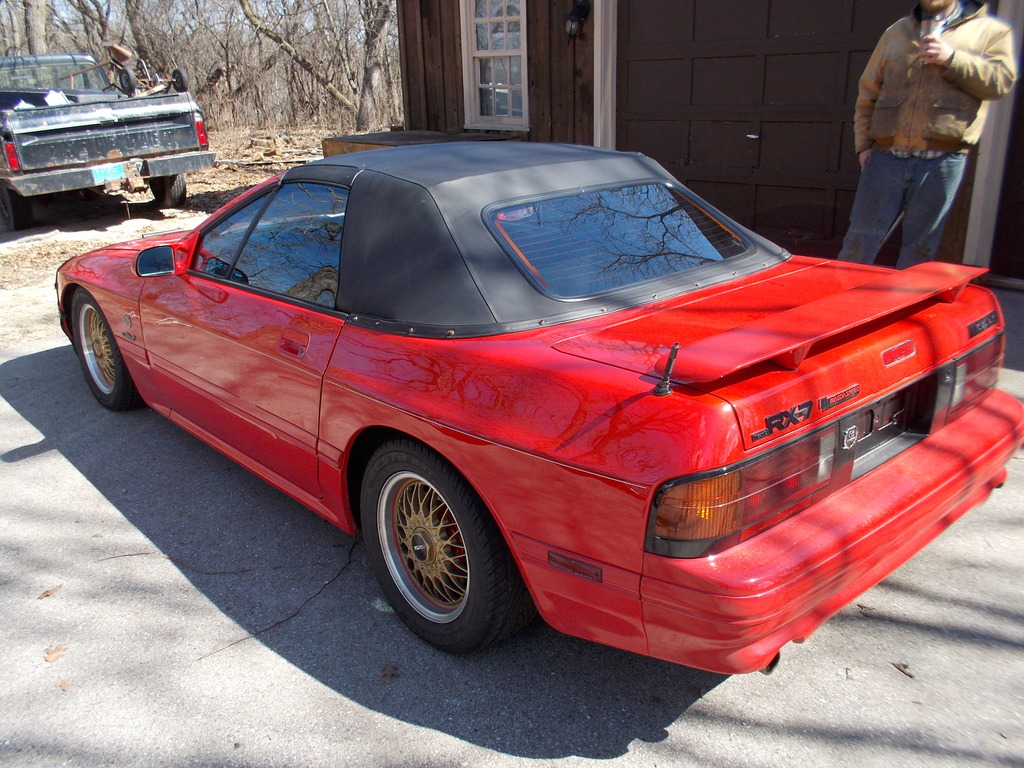
Exterior- nice
Interior- So Chad.
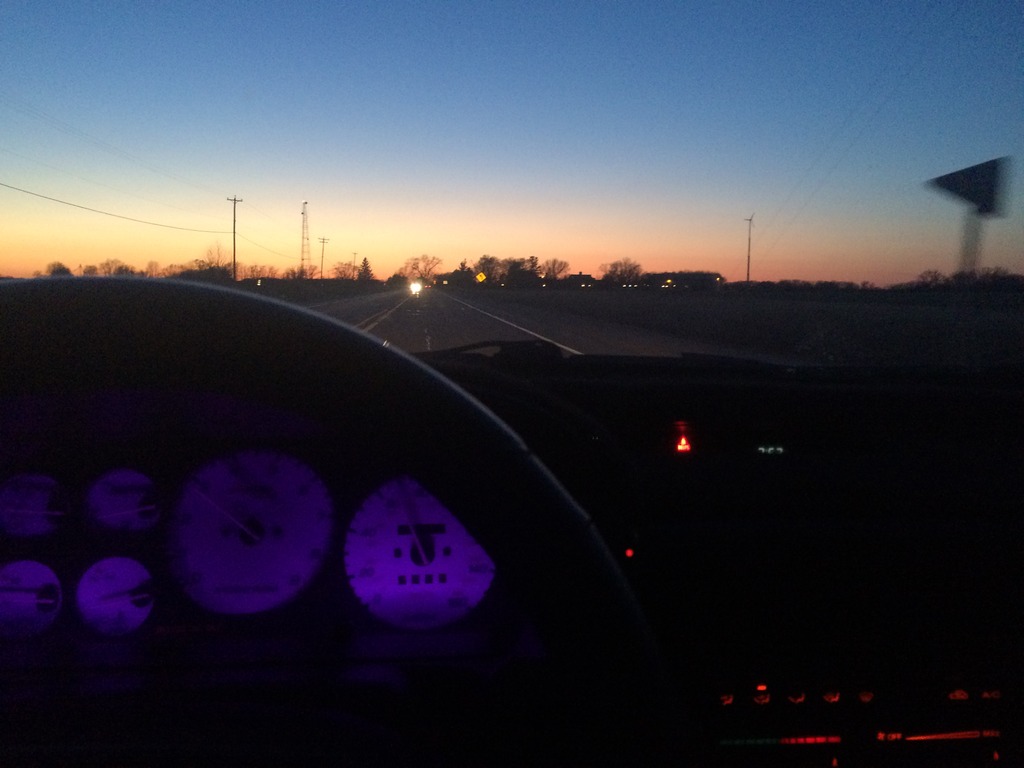
Nasty gauges, dash carpet, cheap stereo.
Could hardly read them at night.
Those are lag bolts.. not the M6 that would have fit right in. Luckily those holes still worked for M6 because he snapped the other two right off.
Autozone ram air and a failed attempt to connect the vacuum lines
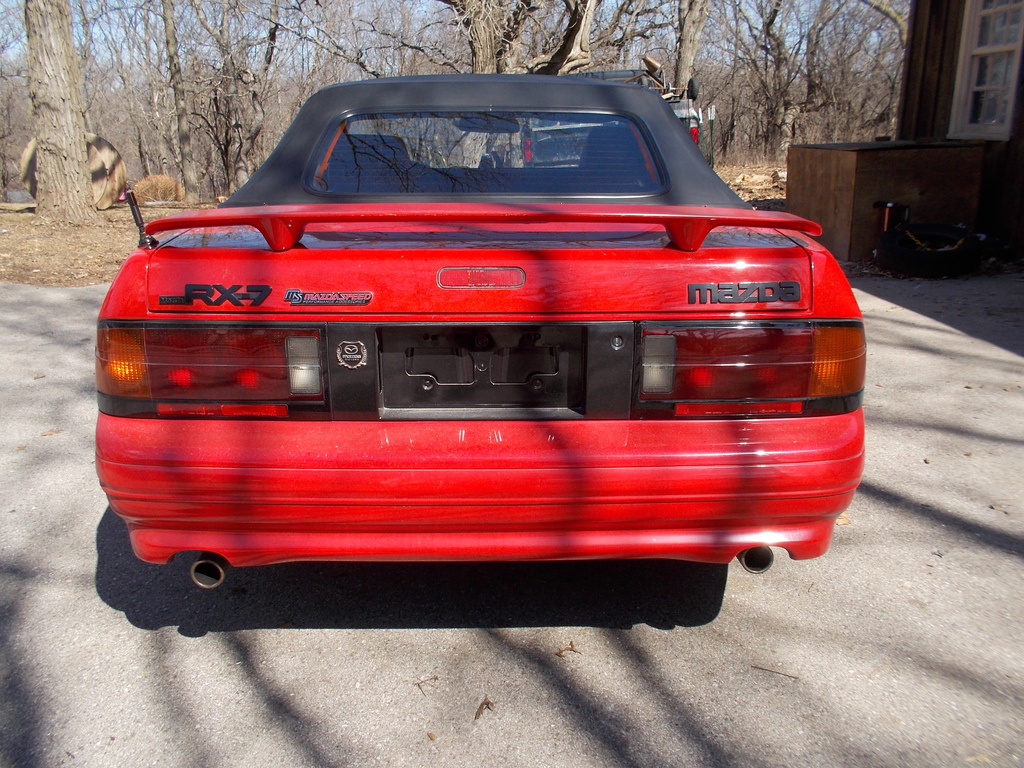
Spray painted tag lights, stealth mode Chad!
12 picture limit? How do you post a whole build thread?
Since I own a car stereo shop I'd like to say "first things first, it's getting a new stereo", but there were definitely other things
on the list that had to be done first. The A4 seats were welded to RX-7 brackets but not without haste. The driver's side put
you through the roof and the passenger side bolster slammed into the door arm rest every time the door was closed. Neither
side could recline at all to give head space without smashing the seat belt and making it stick wherever it was. Went
budget and got some Sparco R100s in black. The driver's side we moved off the factory bracket tunnels, back a couple inches
and right through the body with some massive plates on the underside to keep everything where it should be. This gave me
about 3-4" of legroom and 2-3" of head room. I can actually sit straight up and not break my neck against the headliner!
Passenger side will get a Sparco bracket, not installed at this time. Not sure if I would get these seats again. The driver's
side already has a creak after very little use and unless you are 6' tall your shoulders will not make it to the break between
the body bolster and the head bolster. I'm currently trying to make a 3" foam seat cushion insert so that anyone less than
5'8" can actually sit comfortably.
L Seat removed, along with a lot of plastic panels.
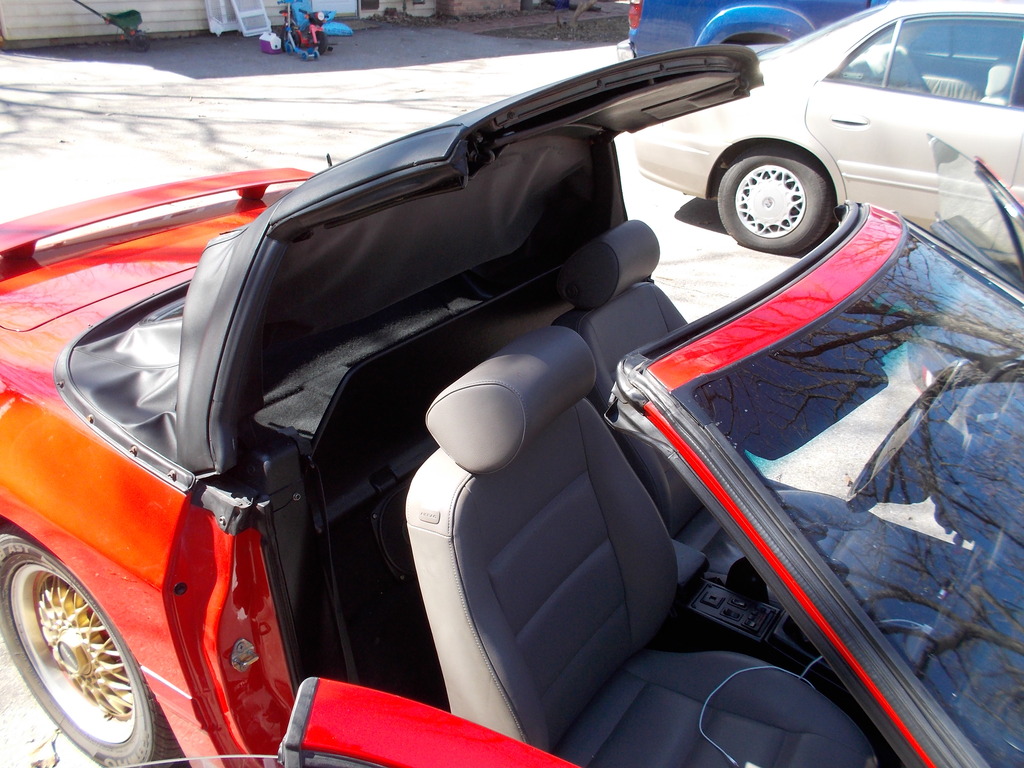
Test Fit- Looks good!
Lost the bra. This uncovered some bad paint, but overall it still looks better.
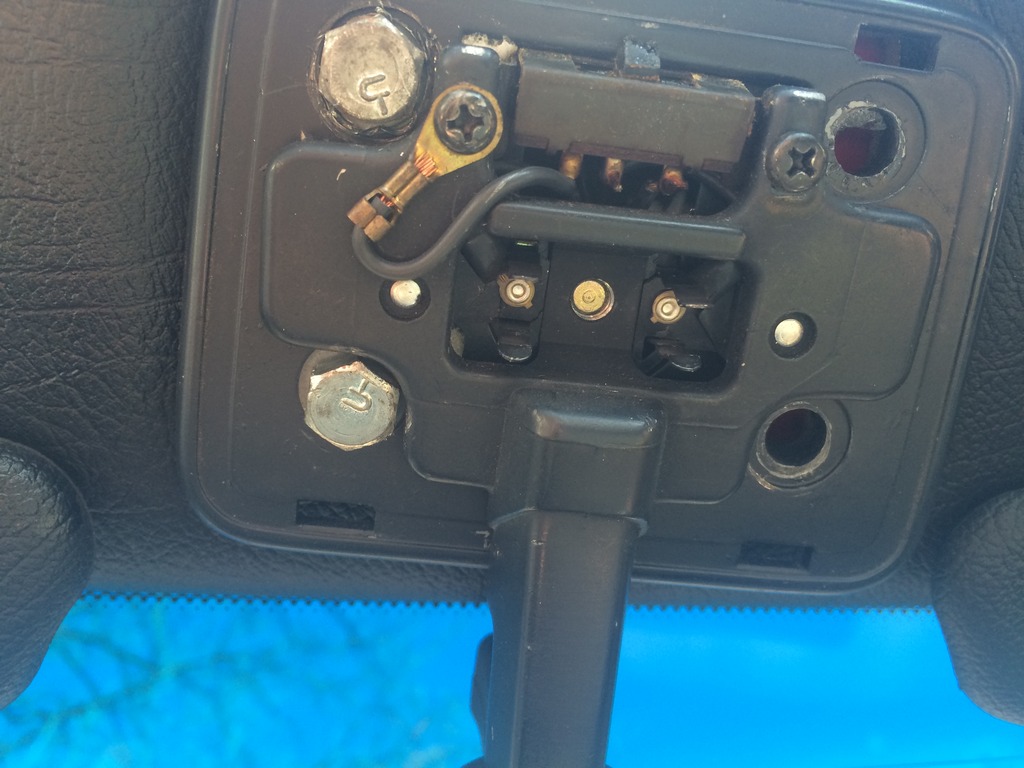
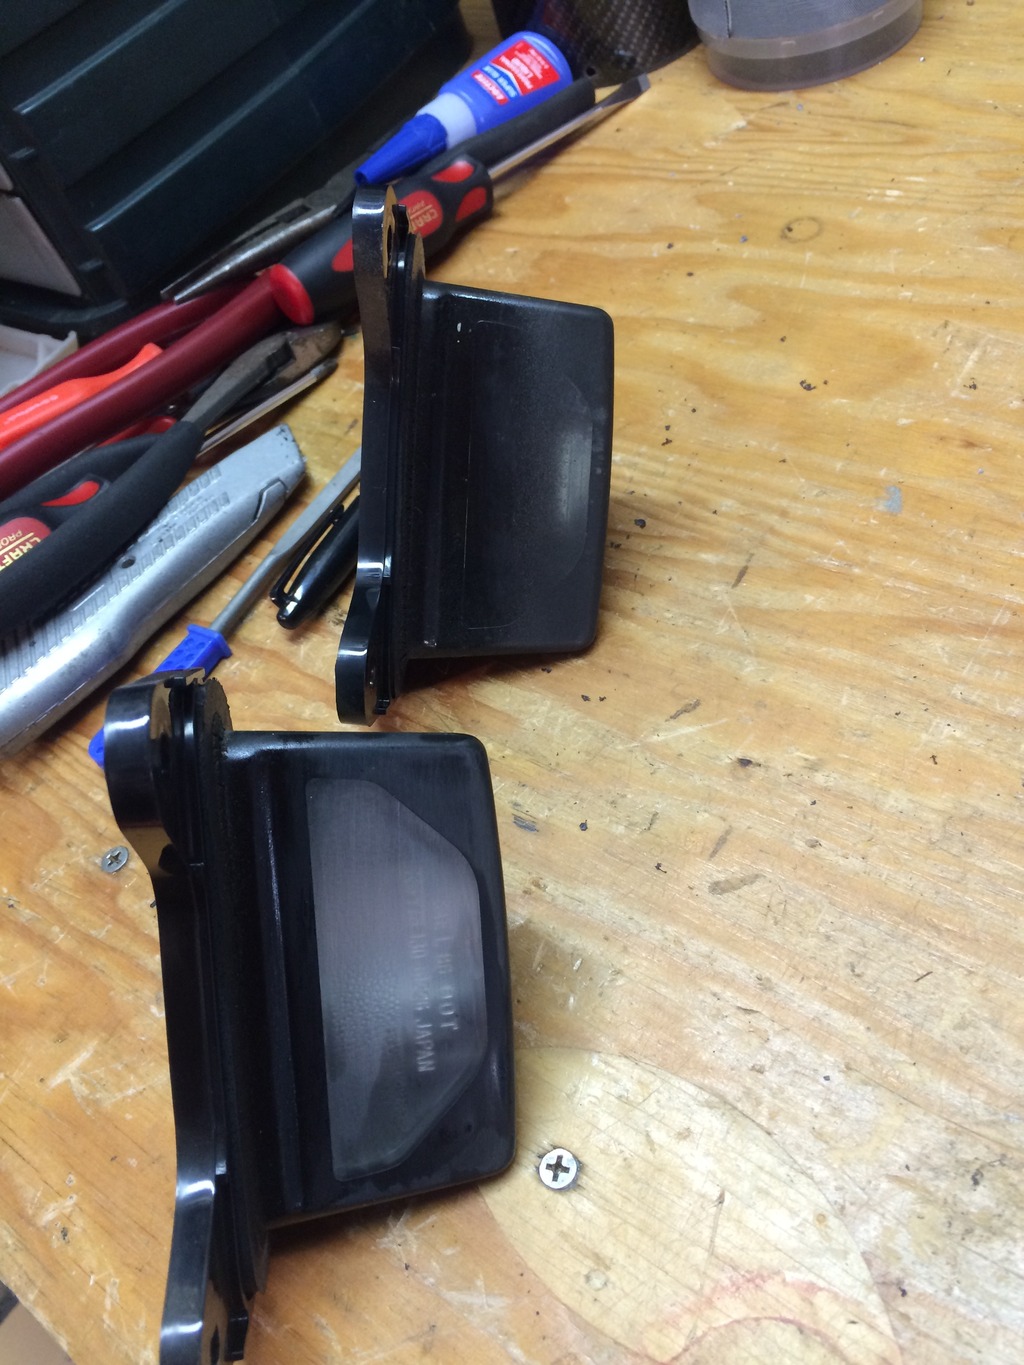
Replaced the Horn CPU. Upon replacement realized half the reason I had horn/light issues was because Chad had left 1 of 2
connectors disconnected. Once I connected it I got some functionality but it was still due for a new one. Can you tell which
one is the newer one? Replaced all the incorrect fuses while I was down there. C'mon Chad, 30A fuses don't belong in 15A
circuits.
Onto the stereo!
Last edited by Hamsammy; May 26, 2015 at 09:31 PM.
Since I sell CDT and Zapco you can guess what's going in the car. Mostly at least. I had a nice older Boston amp that I
decided to use for the subs. KnuKonceptz wiring, RF battery terminals(Paid too much not to mention them), Stinger RCA,
Pioneer head unit and a few trips to get resin, glass mat, etc.
I didn't want to waste much sound deadener, lost cause, so I just used some scraps I had laying around. Don't hate.
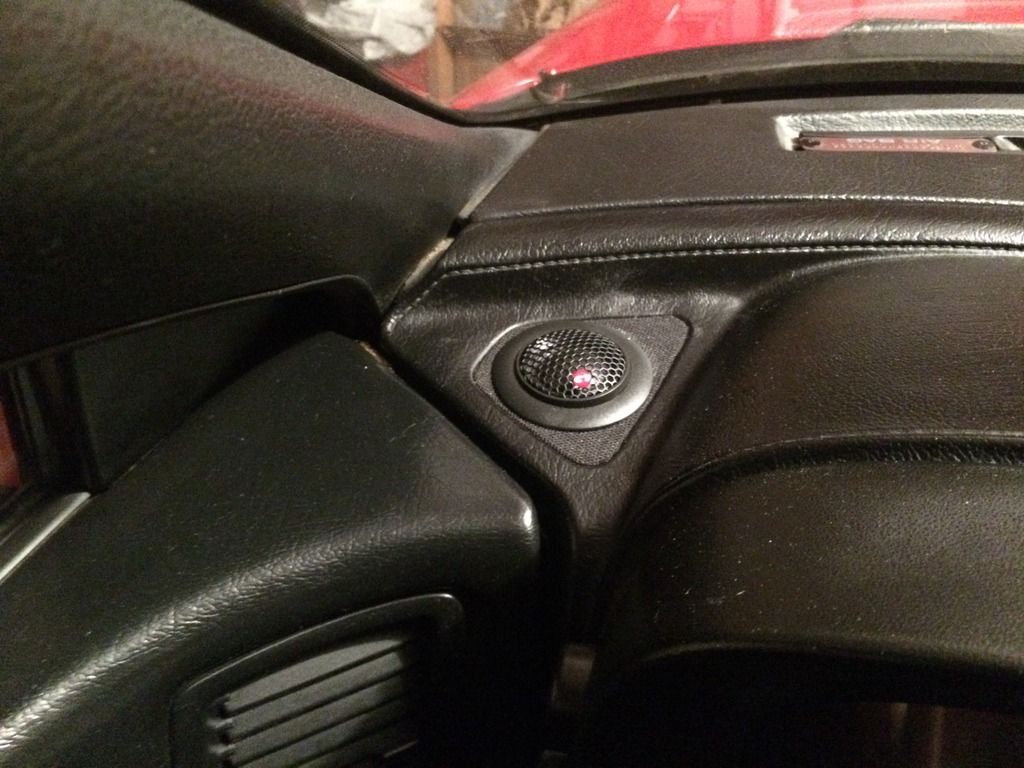
Test fit of the passenger tweeter. Perfect!
Finished Product- Used speaker grill cloth to wrap
The part I'm most proud of isn't much to show, at least via pictures. I took the OE volume controls for the head rest
speakers which are no longer present and reconfigured them to work as volume and track for the new radio. This was
done via a PAC SWI-RC, some re-soldering inside the control box for power to the switches, illumination, and the
addition of some resistors. Left set works the volume, right set works the tracks/seek. Switches in the middle are
dead as they are not momentary switches but their LEDs do light up. There is a video on my photobucket page.
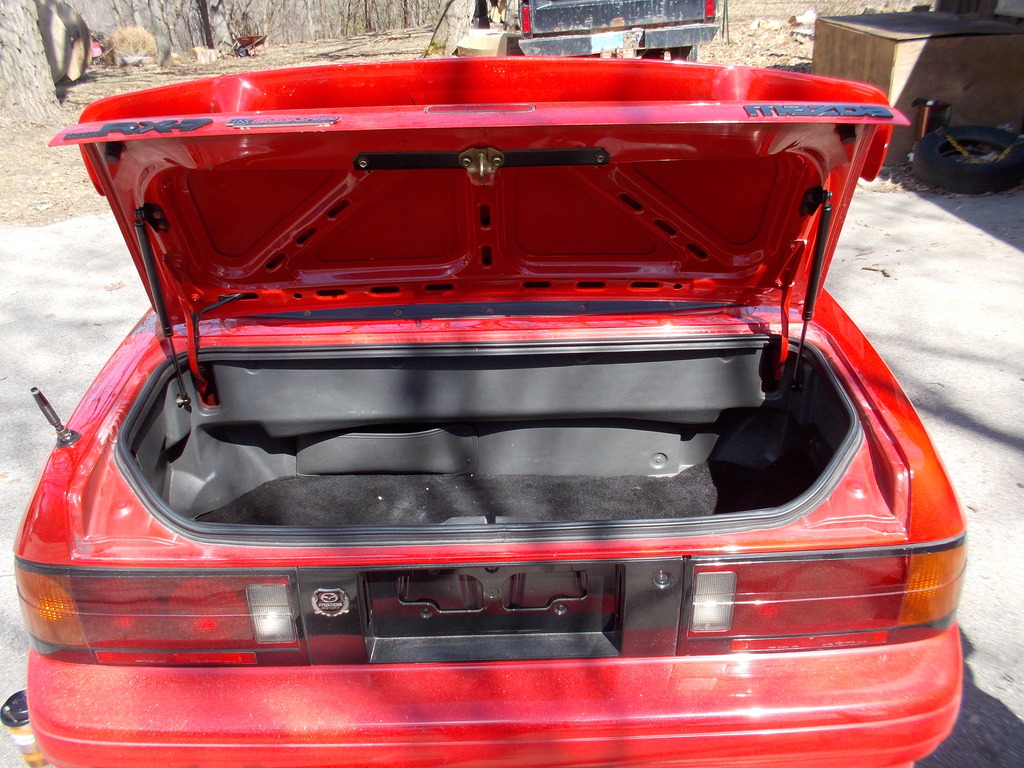
Onto the amps and subs. Chad didn't mention the HUGE storage area under where the trunk folds down. It used to hold
the spare tire and the headrest amp, and not much else... After some research I knew this would be a great place to try
some fiberglass work which I have very little experience with.
First I had to re-route the drain hoses for the top. Don't know why Mazda didn't route them this way to being with but
perhaps I'll find out catastrophically one day.
So this hose in its factory spot got moved over to the grommet on the far side. Did this left and right.
Here you can see the hose moved over, the spare tire bracket cut out, and the temporary spot for the front channel amp.
For the sub enclosure I decided to glass only the complex portion, the bottom, front, and back. For the two sides and the
top I stuck with MDF because it's so easy to work with and the box will never be seen. If I ever go full show car and remove
the soft top entirely I will glass something to take the place of the cover that the top rests on, but that's just a wild dream
at this point.
So first just some basic strips to bring the subs up a little bit and create more volume internally. Could have gone up maybe
another inch without risking the subs hitting the cover. For the sides I used a jig I say on a DIY site long ago: kabob skewers
and cardboard.Set a reference, then push the skewers down until they touch the curve. Then trace it to cardboard, do a test
fit, and make your cuts.This has saved me a LOT of time. I left room at the front of the enclosure for the wiring. That will get
filled with soft foam.
Test fit of the skeleton. Whoops! Turns out the rear is already higher than the front. Trimmed that rear piece down to be flush.
Set the front and sides in place in the car and screwed them together, then removed it, screwed the back on, then took it apart,
added glue, and put it all together again.
Not pictured, taped in cardboard over the wiring to stop the enclosure and give some space. I started laying down painters tape
but didn't trust it. Tried a different method. Laid down a drop barrier and then did two layers of painters tape over that. I
figured then if I had any leakage it would be stopped by the plastic barrier. Why even bother with tape? I figured it would
come off the glass more easily once cured.
Next I sprayed it down with cooking oil, a trick I read online to also help the resin not to stick. Dropped in my skeleton and
away I went on an adventure.
This was my second time working with fiberglass, first time doing it alone. The enclosure is far from perfect, but it works and
doesn't leak, so I don't really care.
Layer 2. Didn't account for the nasty globs of resin/loose fibers on layer one which gave layer 2 a lot of no-no air bubbles.
Top baffle was simple, a couple holes equidistant from the edges. I love my compass.
Removed the enclosure after layer 3.
Two more layers after that and I decided it was good. Took the plastic and tape off, most of it came right off!
Here's the top baffle cut out. Small amp rack to the right to stack my amps with some space between.
Maybe went overboard on the screws, I just like using my countersink bit I guess.
Gave 2 coats of bedliner on the MDF baffle and masonite amp rack just in case I do get some water in the back.
Installed an older 120mm fan to the side of the amps to get some cross flow and hopefully keep them from ever overheating
since they are stacked due to size constraints.
Wired up the enclosure with a terminal cup on the (wrong, whoops) side, tossed a bunch of poly-fill in, and mounted the subs.
Laid some deadener in the back, and started testing some foam. The stuff in the picture was too dense, didn't compress, and was
not used, you get the idea though. A little on the back slope and some in the front got everything to settle into place nicely.
I added some L brackets to the front to keep it from bouncing, Fiberglass is so much lighter than MDF!
Amps mounted
Subs installed!
I know it's far from pretty, but like I mentioned, none of this will be seen, so it was more a utilitarian build but I wanted to share it.
Here are a few general pictures. The cover for the subs leaves nothing to be seen. In fact of the whole system you can only see the tweeters and the deck.
Driver's tweeter to match the right side.
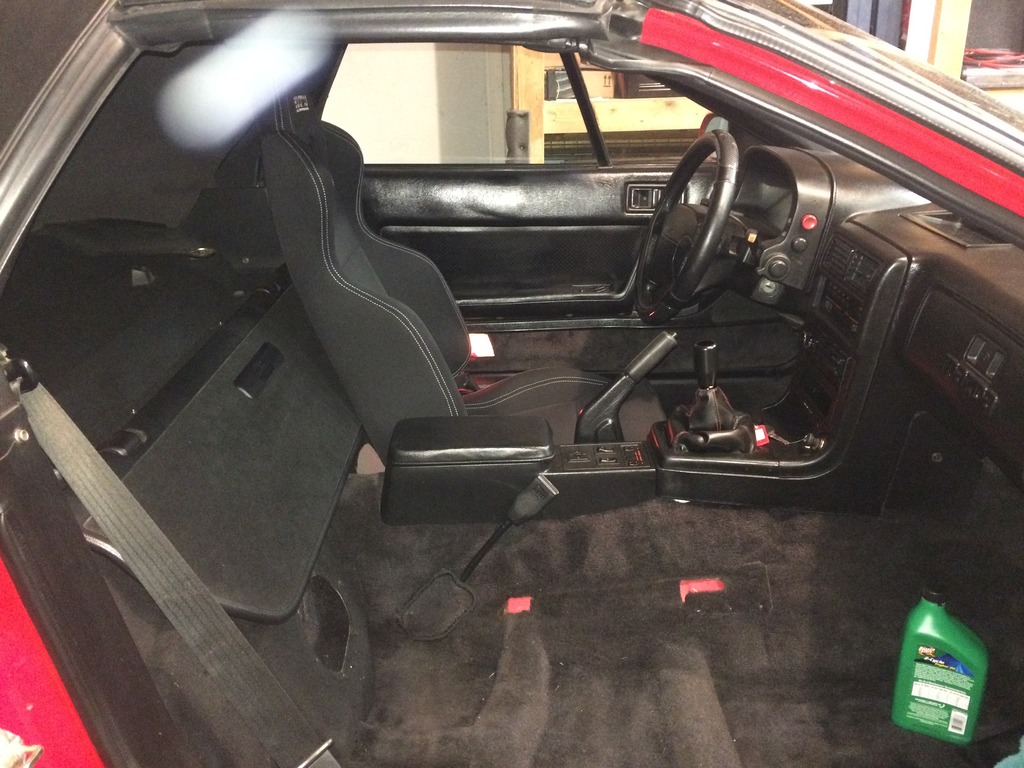
This is probably the last photo of it with just 1 seat. It sure has made working on it easy.
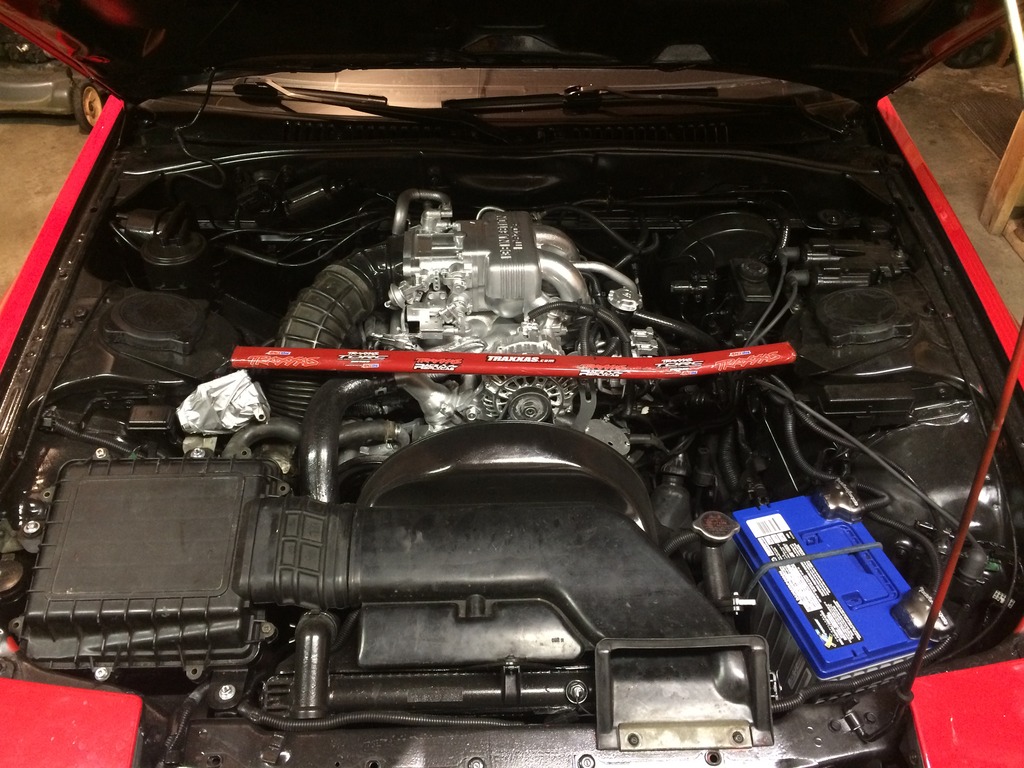
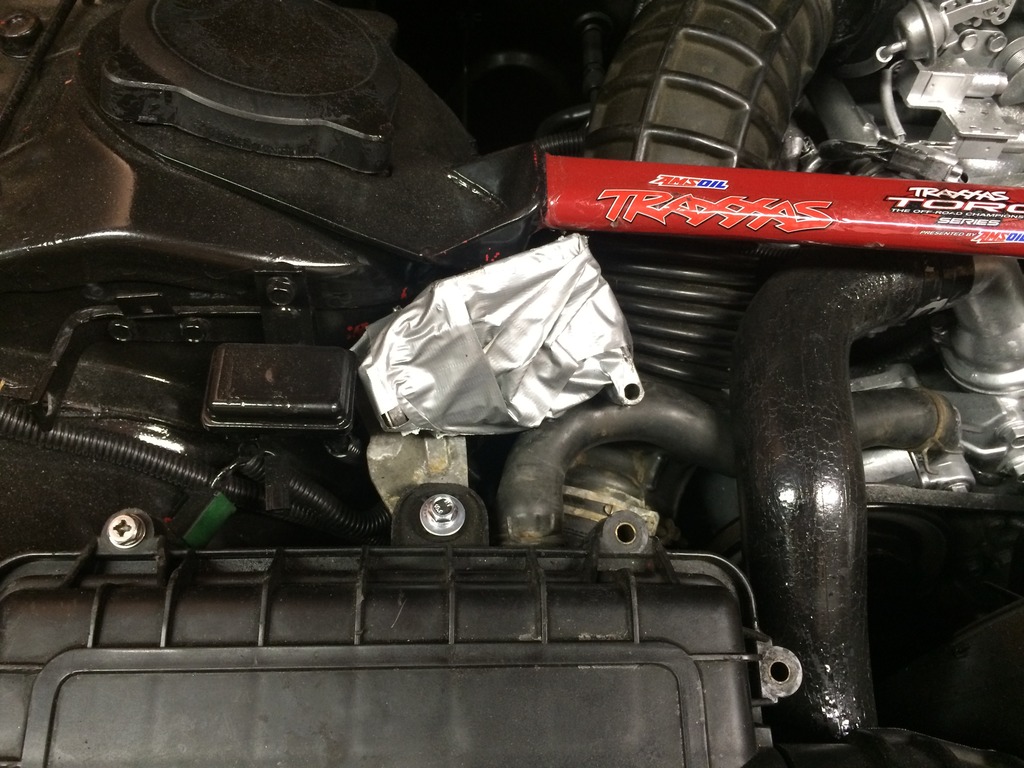
Engine bay like I said is overall clean....
But look closely.... That's the Oil Metering Pump wrapped in duct tape and set aside.. Can't unplug it or it goes into limp mode.
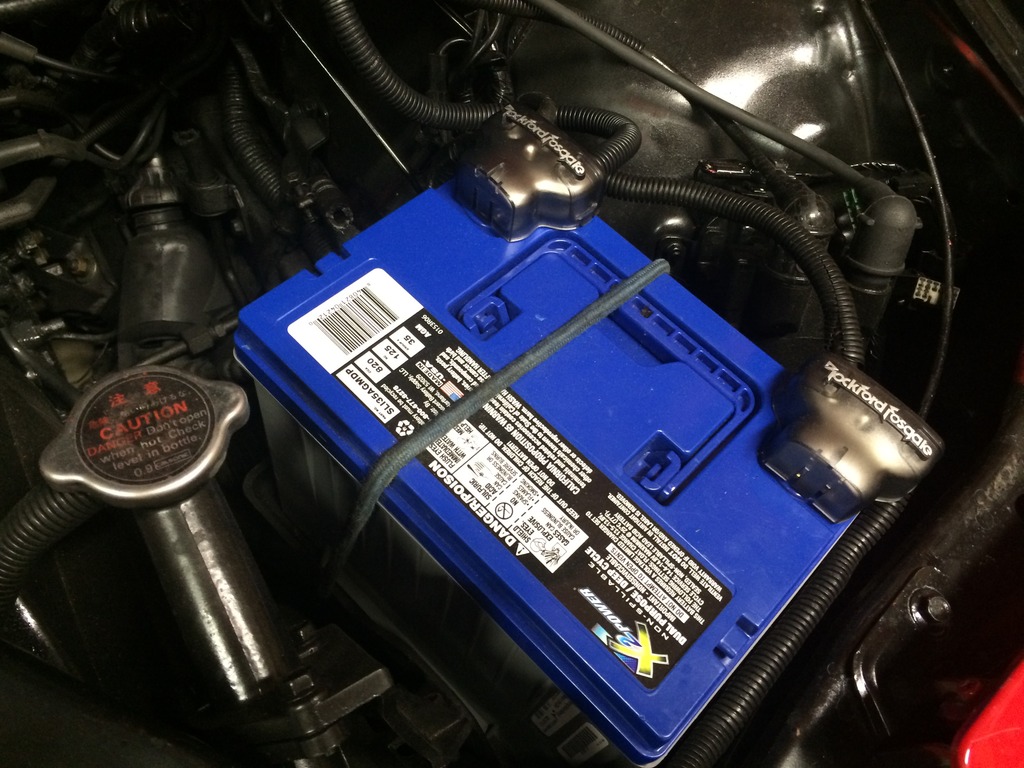
And an old bumgee holding my new battery..
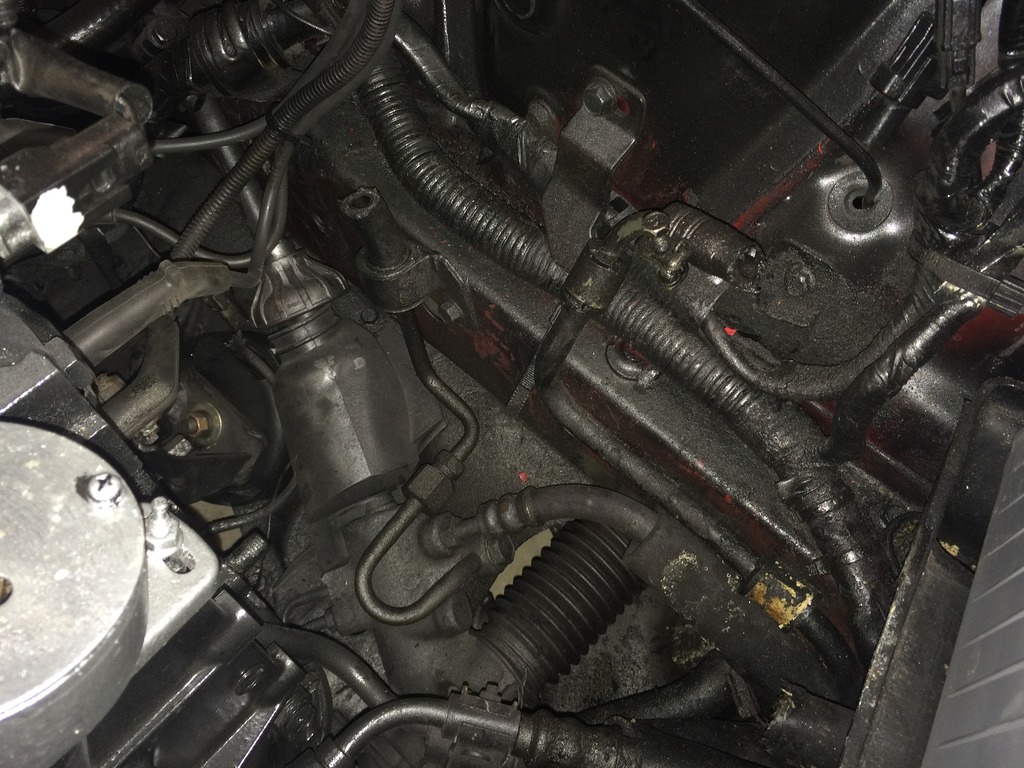
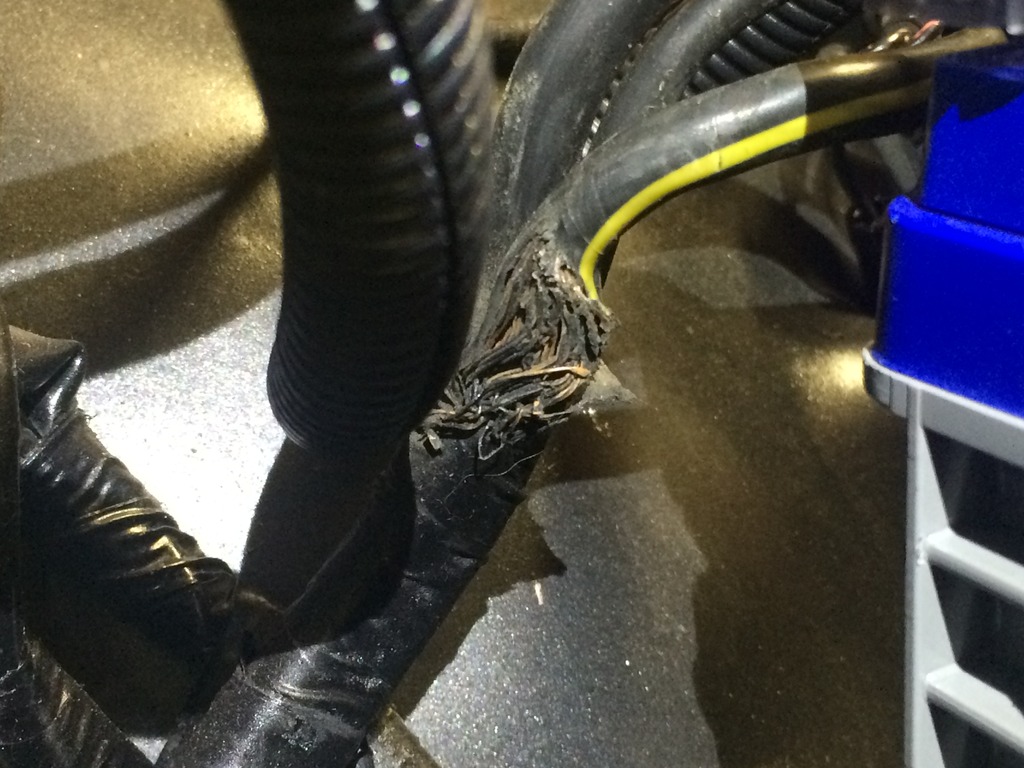
Power steering hoses look like a rodent got to them, but one didn't.... AC hoses are the same.
What an epic way to start the thread haha! Chad references are cracking me up. Seriously though, that interior is clean. Lucky you. I think the purple nastiness might be my fault. I used uv bulbs to illuminate my cluster. It only works if you also use florescent paint on the needles like I did... Chad didn't complete all the steps.
Interesting.... Yeah I took one out when I pulled the cluster and it just looked like a lower power T5 LED. I think this cluster illuminates from the back and "vents" light to the front and they just didn't have the lumens to make it happen. Like the one below.
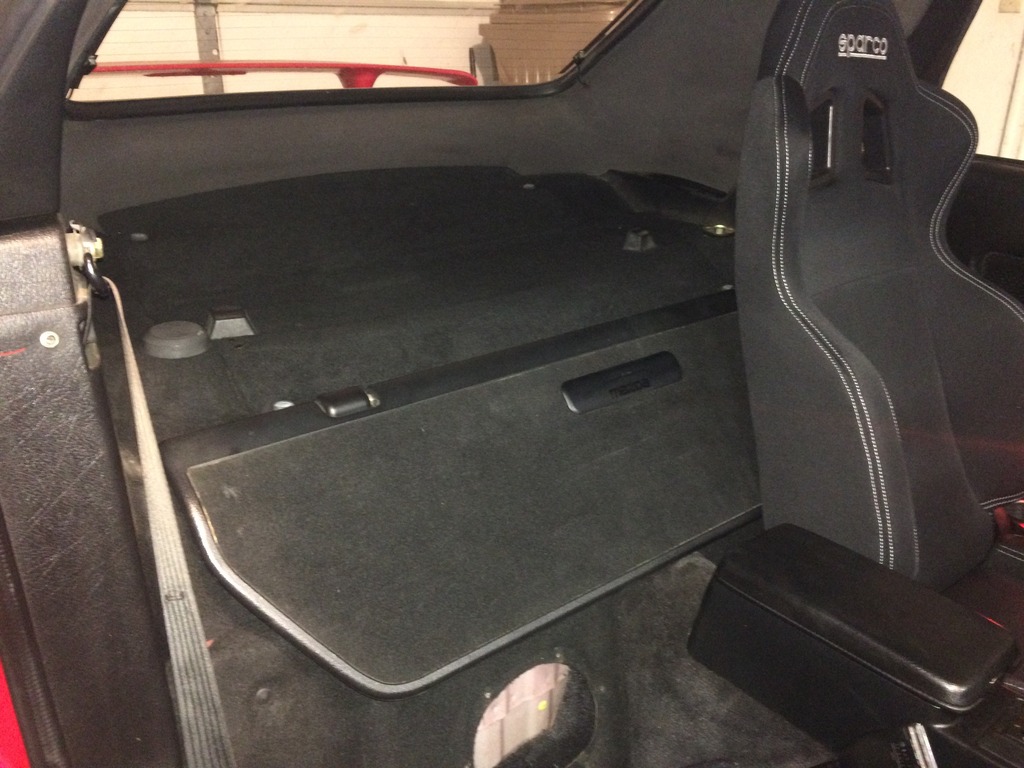
I plan on doing the same thing to my car at some point but what has stopped me so far is worrying about that back cover rattling. Have you tested it yet?
I was initially worried about the same. I had planned on maybe 2 round mesh cutouts above the subs. Luckily, Chad to the rescue! When he decided to add 2 6x9s and a 6.5 he just cut holes in the front face of the back cover. So I've got 3 large holes to allow airflow. I was thinking about making a nice wide grill to cover the holes but then realized I could just leave the Mazda wind baffle down for good and not even worry about them. With how high the Sparco seats are I don't notice any annoying buffeting on the highway with the trim piece down. I did stuff some foam between the baffle and the back cover to allow a larger venting area to reduce rattle. I think I have maybe just a little more rattle to chase on the rear, and a good one around 100Hz in the right door, but otherwise it's pretty vibration free.
You can see the right one here behind the passenger seat... Since you're an installer you'll appreciate this.
L Door- Polk DXi 6.5 off the deck
R Door- Factory 6.5 off the deck
Lower rear Speakers- Pioneer 5x7s with mid/tweeter disconnected I believe off the deck.
then 2 6x9 Polk DXi off an old Sony 30x2 amp and the remaining Polk 6.5 in the middle (well not really, off center considerably) of those two driven off the headrest amp I think. It was such a rat's nest I didn't really pay attention to what was connected where. All the leads were just a bare wire pushed through the hole and doubled over on the wire.... Better pictures at home I can upload later.
Was this my grounding problem? Well maybe one of them, but it didn't solve my lights from dimming when I hit the brake....
Also tore open the driver's knee panel today to look for the power steering computer since I keep getting 5 beeps at start up... Didn't find it or the supposed connection (white). Did find that the beeping stopped if I unplugged one of the blue boxes (that say Ford on them) in that same area... any ideas? Google didn't tell me much, FAQ only told me it's probably having to do with power steering. The Chad deleted the power steering but I'm guessing not entirely since he just left hoses snipped instead of capped or sealed.
I rebuilt my entire sound system, ground up. The only wires I used were the factory 12V, ACC, and ILL coming from the factory radio loom.
By work with the speakers do you mean you can't get the new head unit to play with the amp behind your seat and power the headrest speakers? I'm guessing your door speakers work?
-Are you sure the speakers work, have you heard them before? Like with the factory radio? I've read it can take a little while with your finger on the volume up button to get them to be audible. However if you have an aftermarket deck and didn't connect the amp in any way....
-Are you sure the amp is getting power? Do the LEDs on your control box light up?
There is a lot going on to interface them... If you're going to ditch the controls anyway I would attempt to hook the head rest wiring up to your factory deck and control the volume of them via the fader. Are you competent with wiring, soldering, etc? email me directly and we can facetime or something, it's not something I want to type out entirely.
I can't get the new head unit to play nice with the stock amp. Yes, the headrest speakers worked previously. The door speakers do work. The amp is getting power, the LEDs do light up. I am considering putting an aftermarket amp in, ditching the controls, and wiring the headrest speakers directly to the aftermarket stereo. Only problem with that is I would lose the volume control.
Are you saying to connect the head rest wiring to the factory deck, hide that somewhere, and have my aftermarket stereo in the dash?
I am fairly good at wiring/soldering but I am not that experienced as far as car audio goes.
I will definitely send you a direct email so we can talk soon.