When you click on links to various merchants on this site and make a purchase, this can result in this site earning a commission. Affiliate programs and affiliations include, but are not limited to, the eBay Partner Network.
unek- the dude I got the spoiler from is working on a full RB kit for the FC as we speak. I'm pretty excited I hope he still has a pair when I finally get done with this engine build lol.
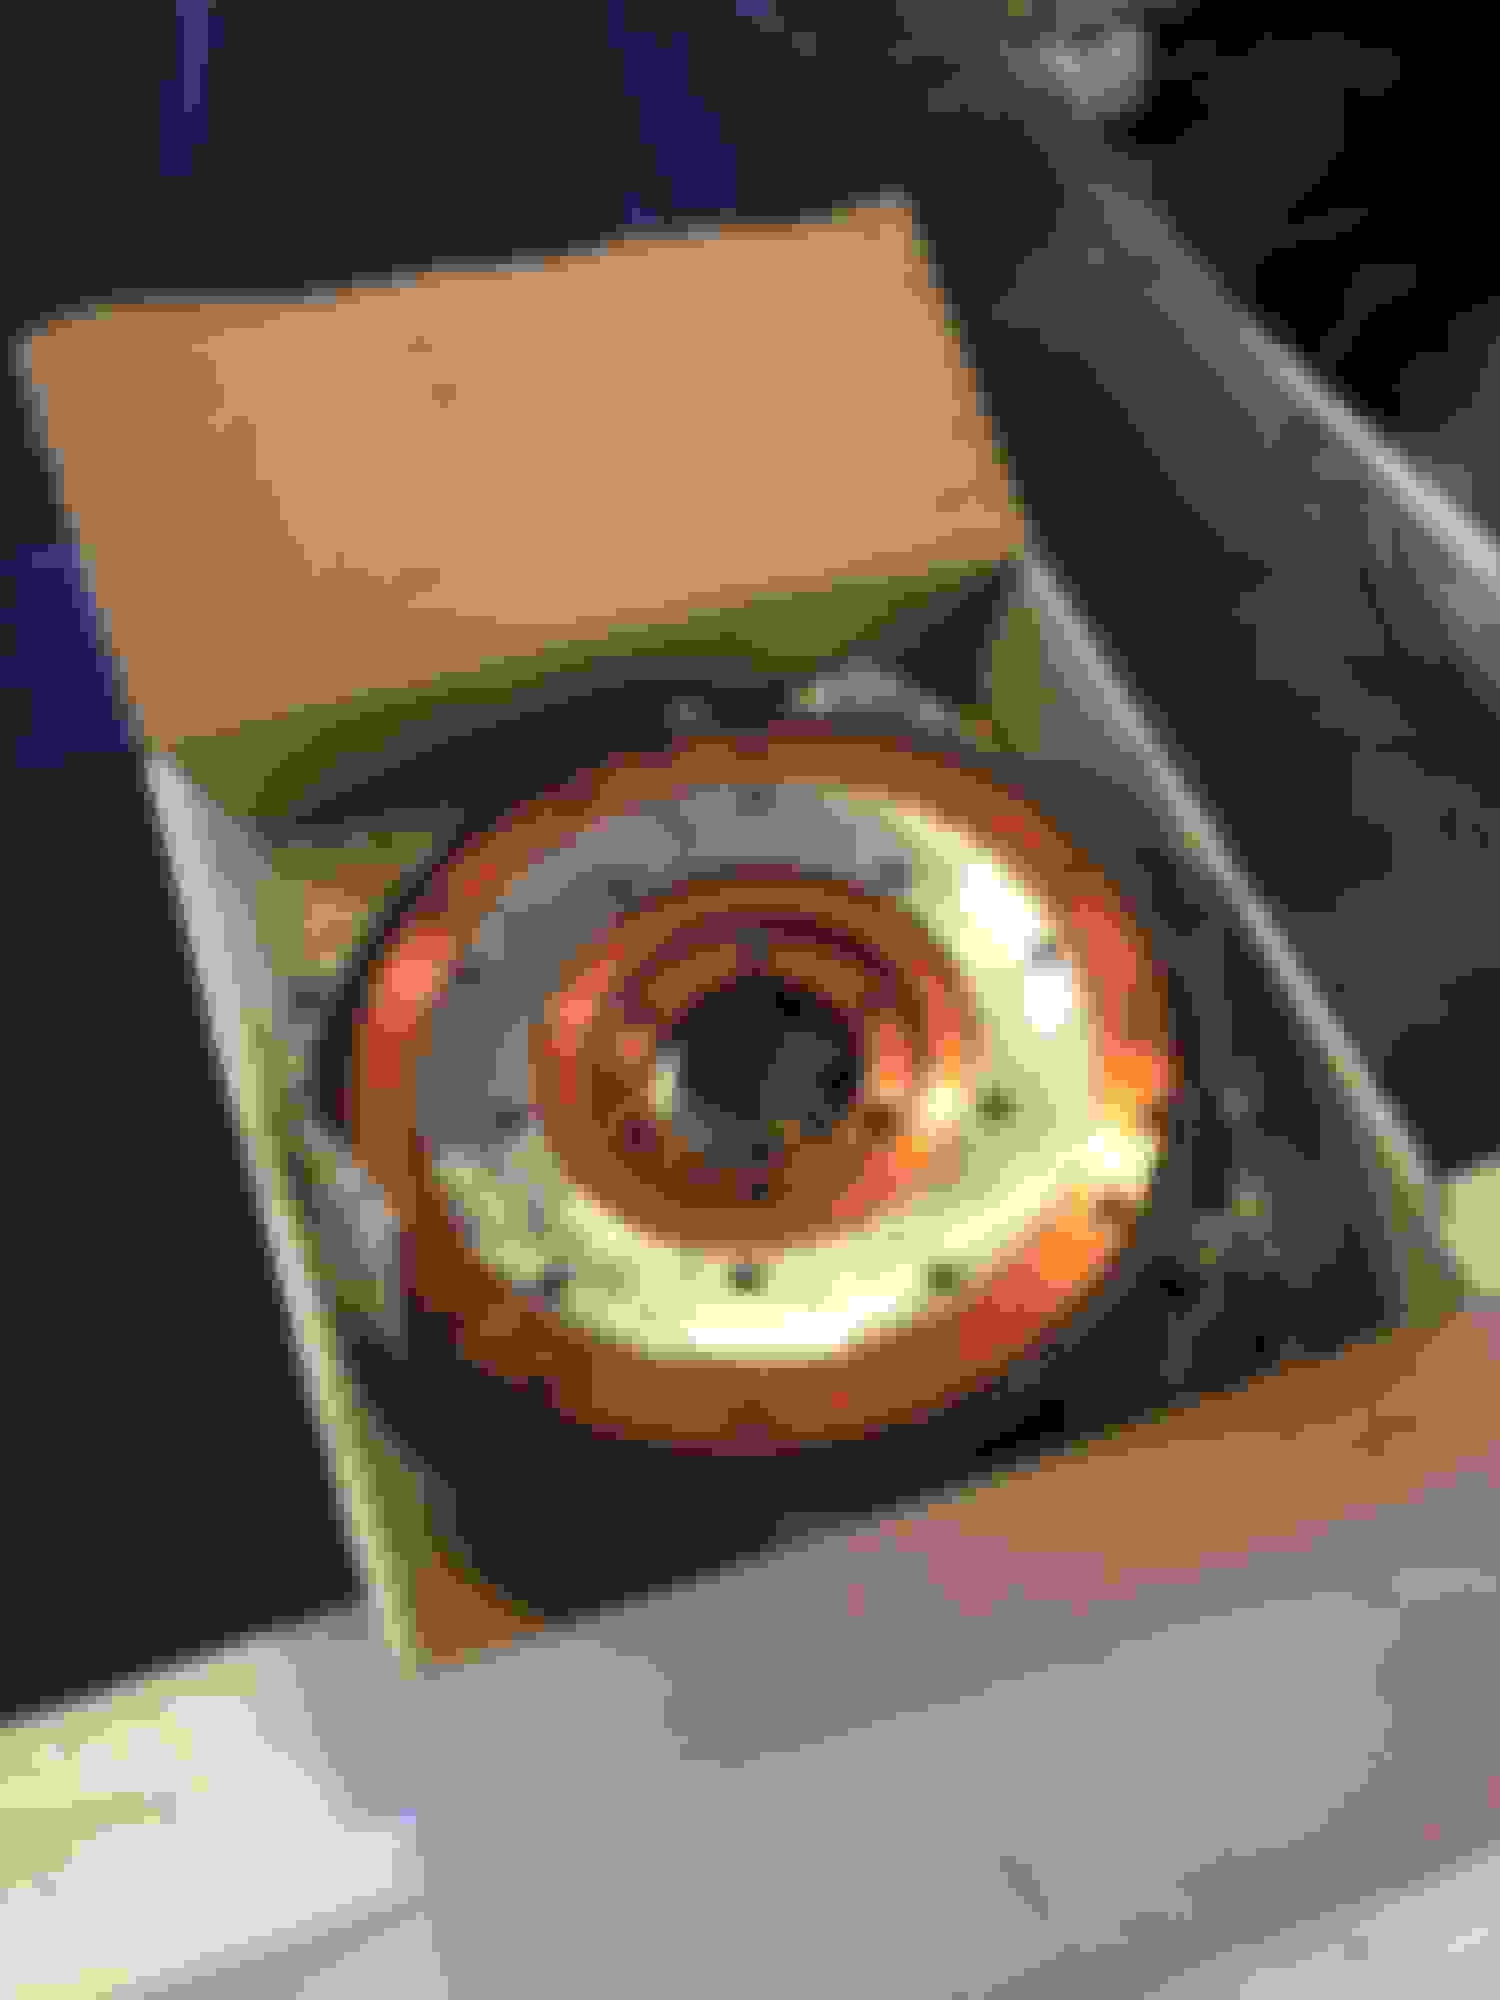
I began the engine teardown and diagnosis as to why she was getting tired. Everything in the Engine looked brand new until I got to the back of the rear rotor I was missing about 1" of a side seal and it was nowhere to be found. I kept all the seals with the rotors in their proper slots so I could get a closer look on my bench.
Upon further analysis I believe when I rebuilt the engine in my youth I didn't gap the side seal properly. Over time after millions of revolutions the side seals banging back and fourth against the corner buttons ended up allowing too much combustion blow-by, and that in turn allowed a lot of carbon to get behind the seal and ended up sticking the one side seal until it broke. All of my side seals are gaped to about .038" and they should be .005". As you can see in the previous pics the side seals actually grooved the corner buttons.
I haven't been able to do much to my car but rotary is life, so I have been able to hook up with a few in town to keep my fix for now. The first is a chump car build from a local car shop. I've really just been around for moral support and a reason to drink a beer with some buddies. The last pic is an RX8 I've been helping a guy with my air tools and press. I was a little nervous about pressing the bearings but they went in and out like a breeze.
The little I have been able to do is somewhat rewarding. I'm really starting to like the way its starting to look, because race car. I need to finish polishing the 2 housings then I guess next step in balancing and rebuild I hope.
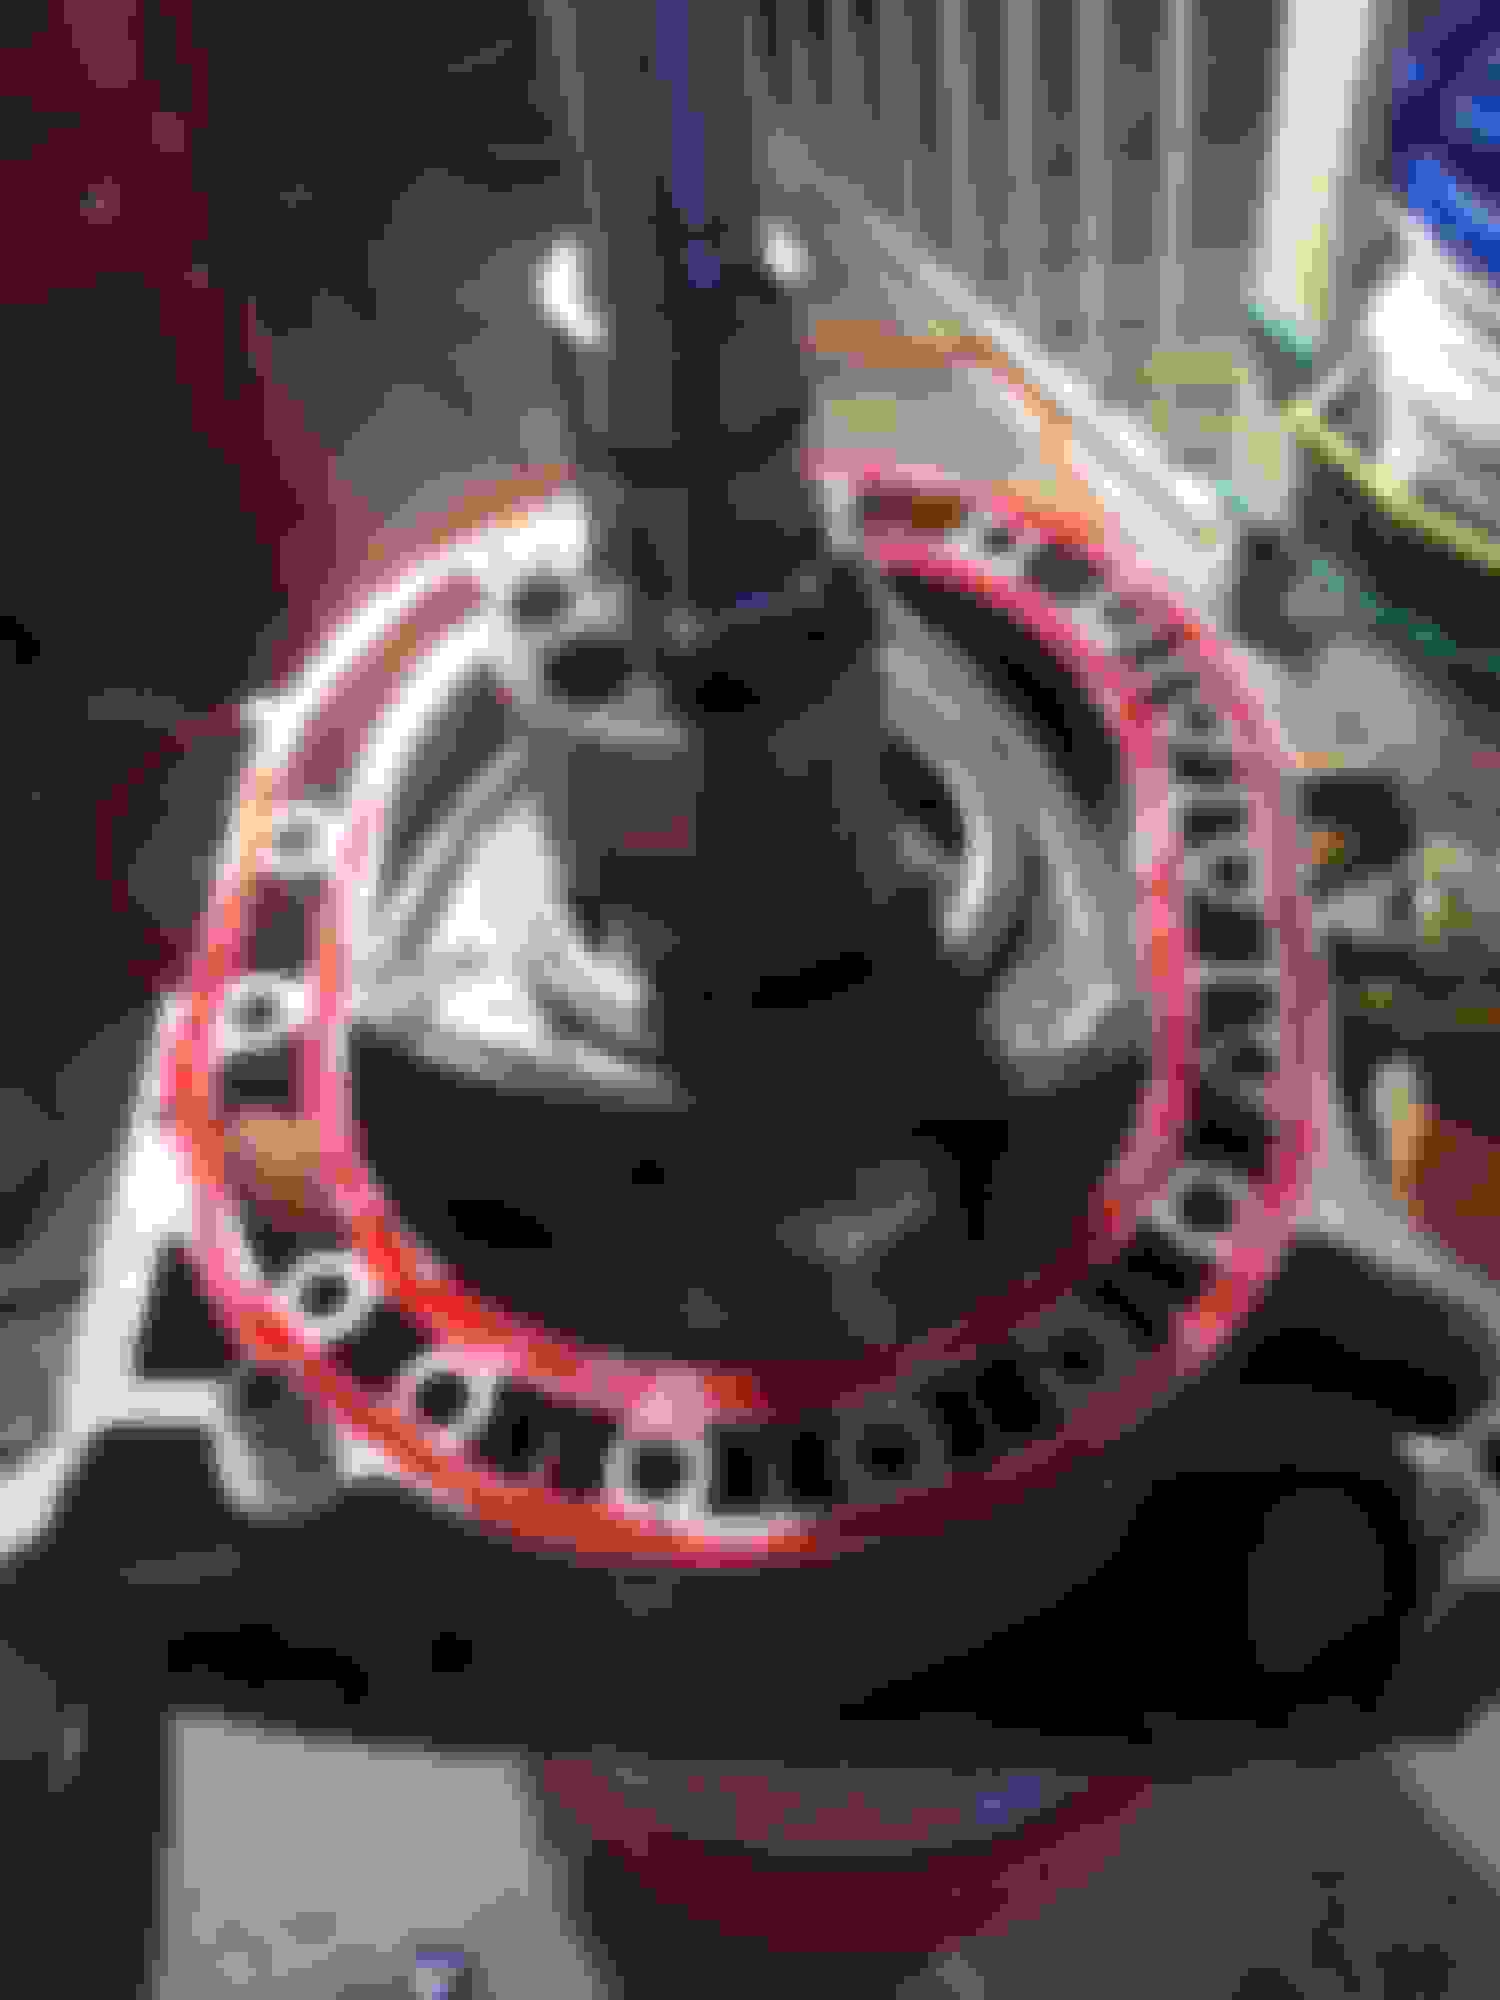
Before and after a overnight soak in parts cleaner. It looks better in person. the rotor looked brand new.
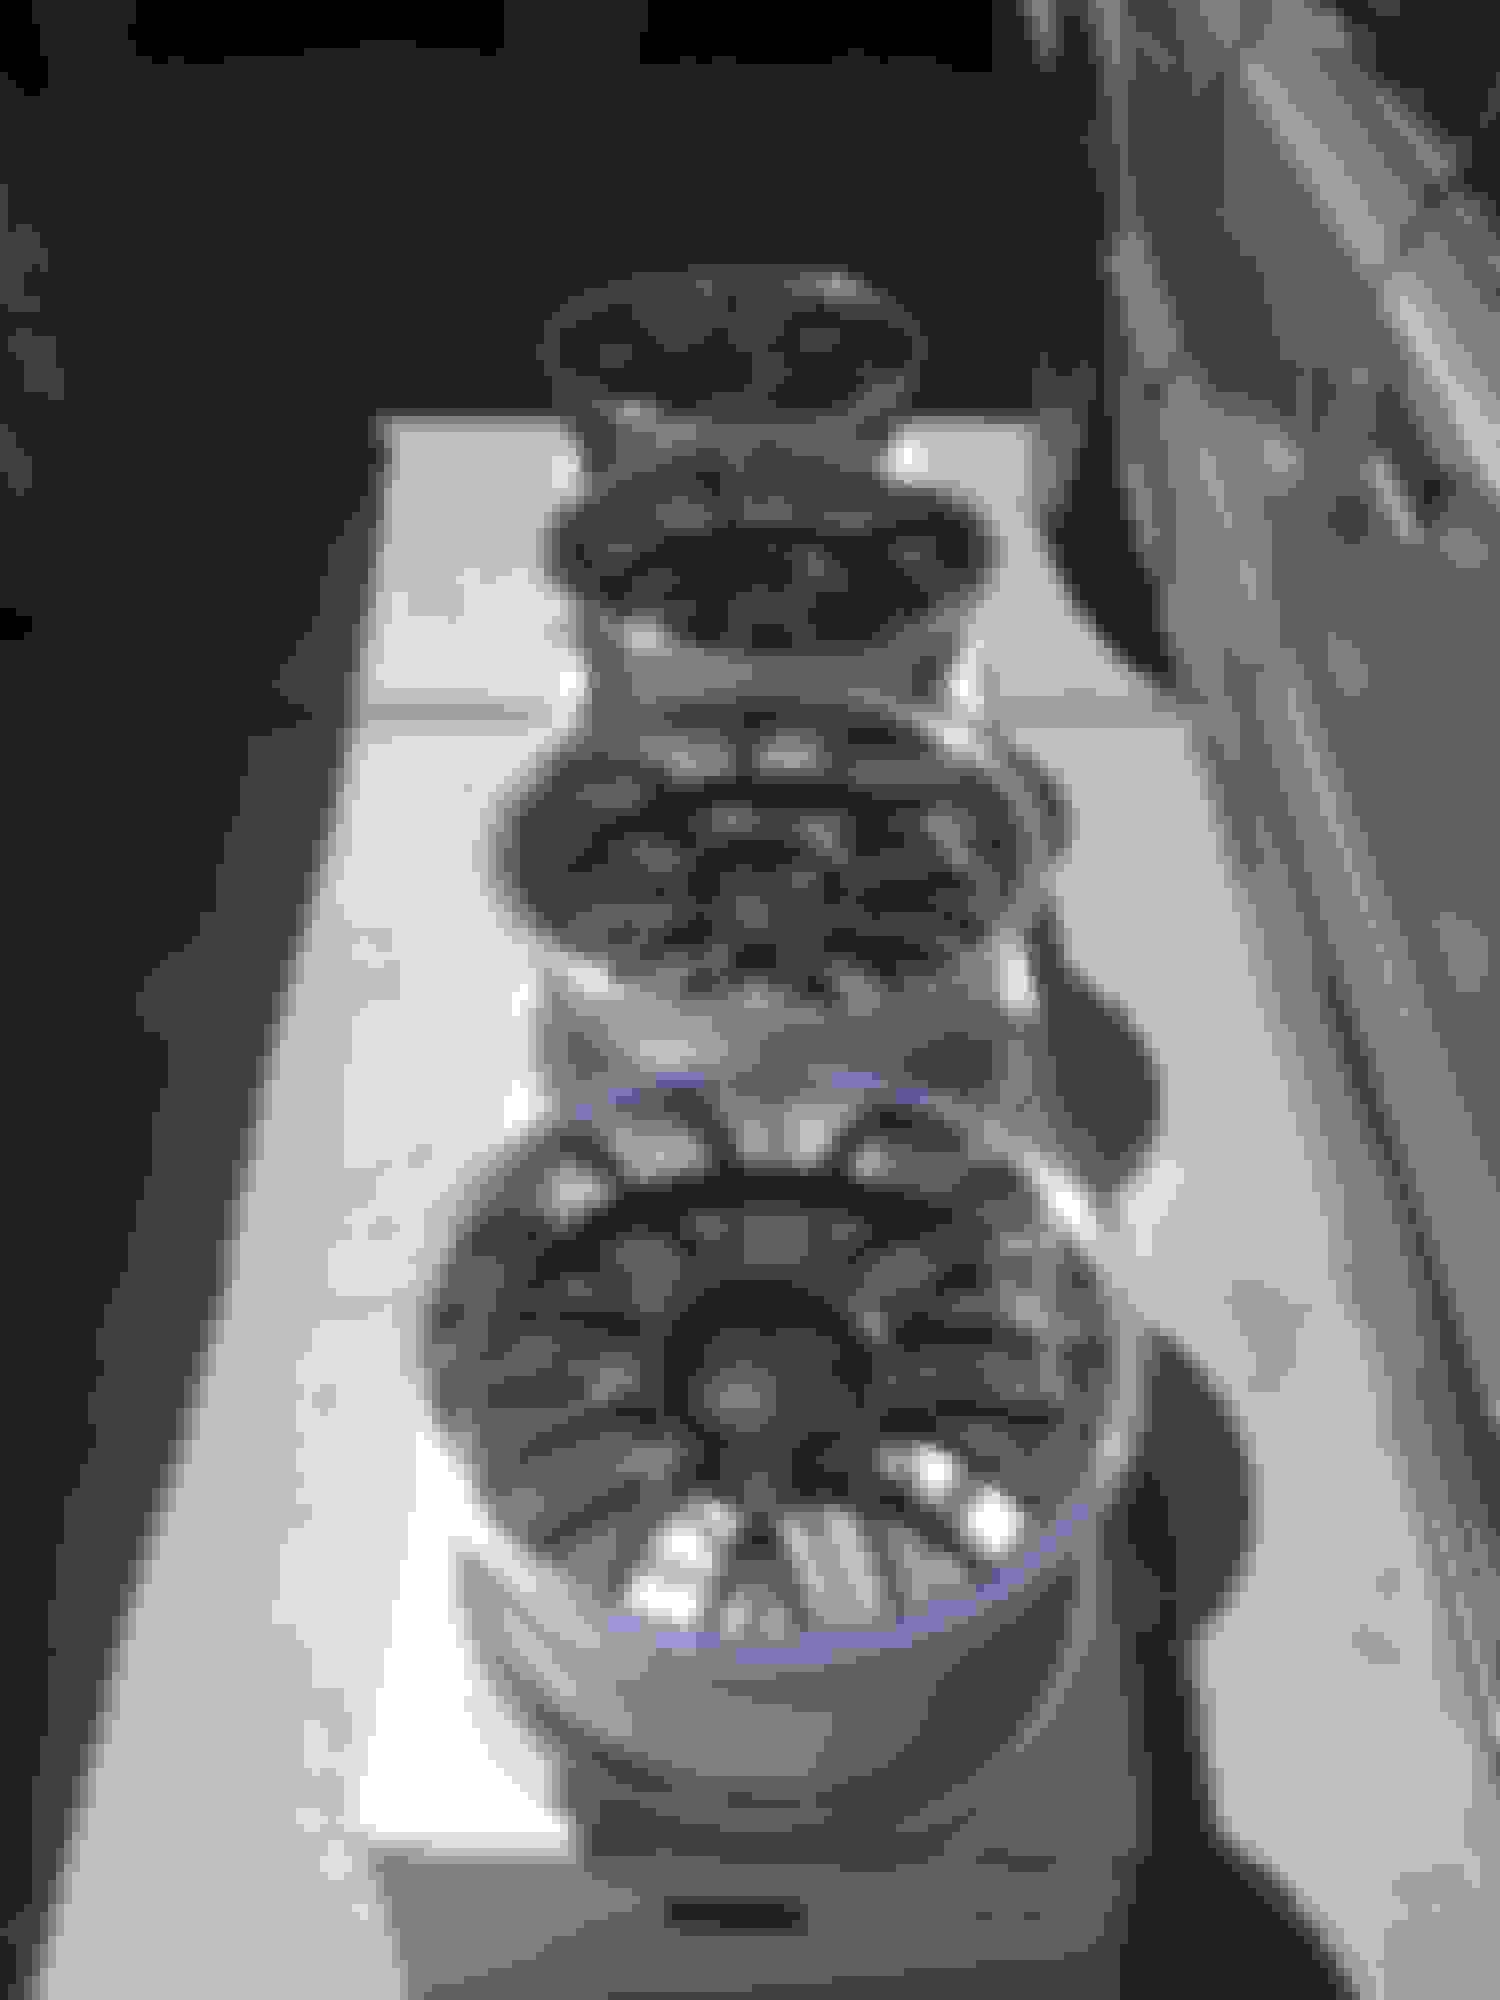
I decided I wanted to set my "paint booth" up again and get my wheels painted(same color as the engine bay). Just something else to check off the list I guess. I couldn't be happier with how they turned out. I'm not a big fan of the fake bolts they have, so painting them doesn't make them so noticeable. Just hopefully the paint can hold up to the heat.
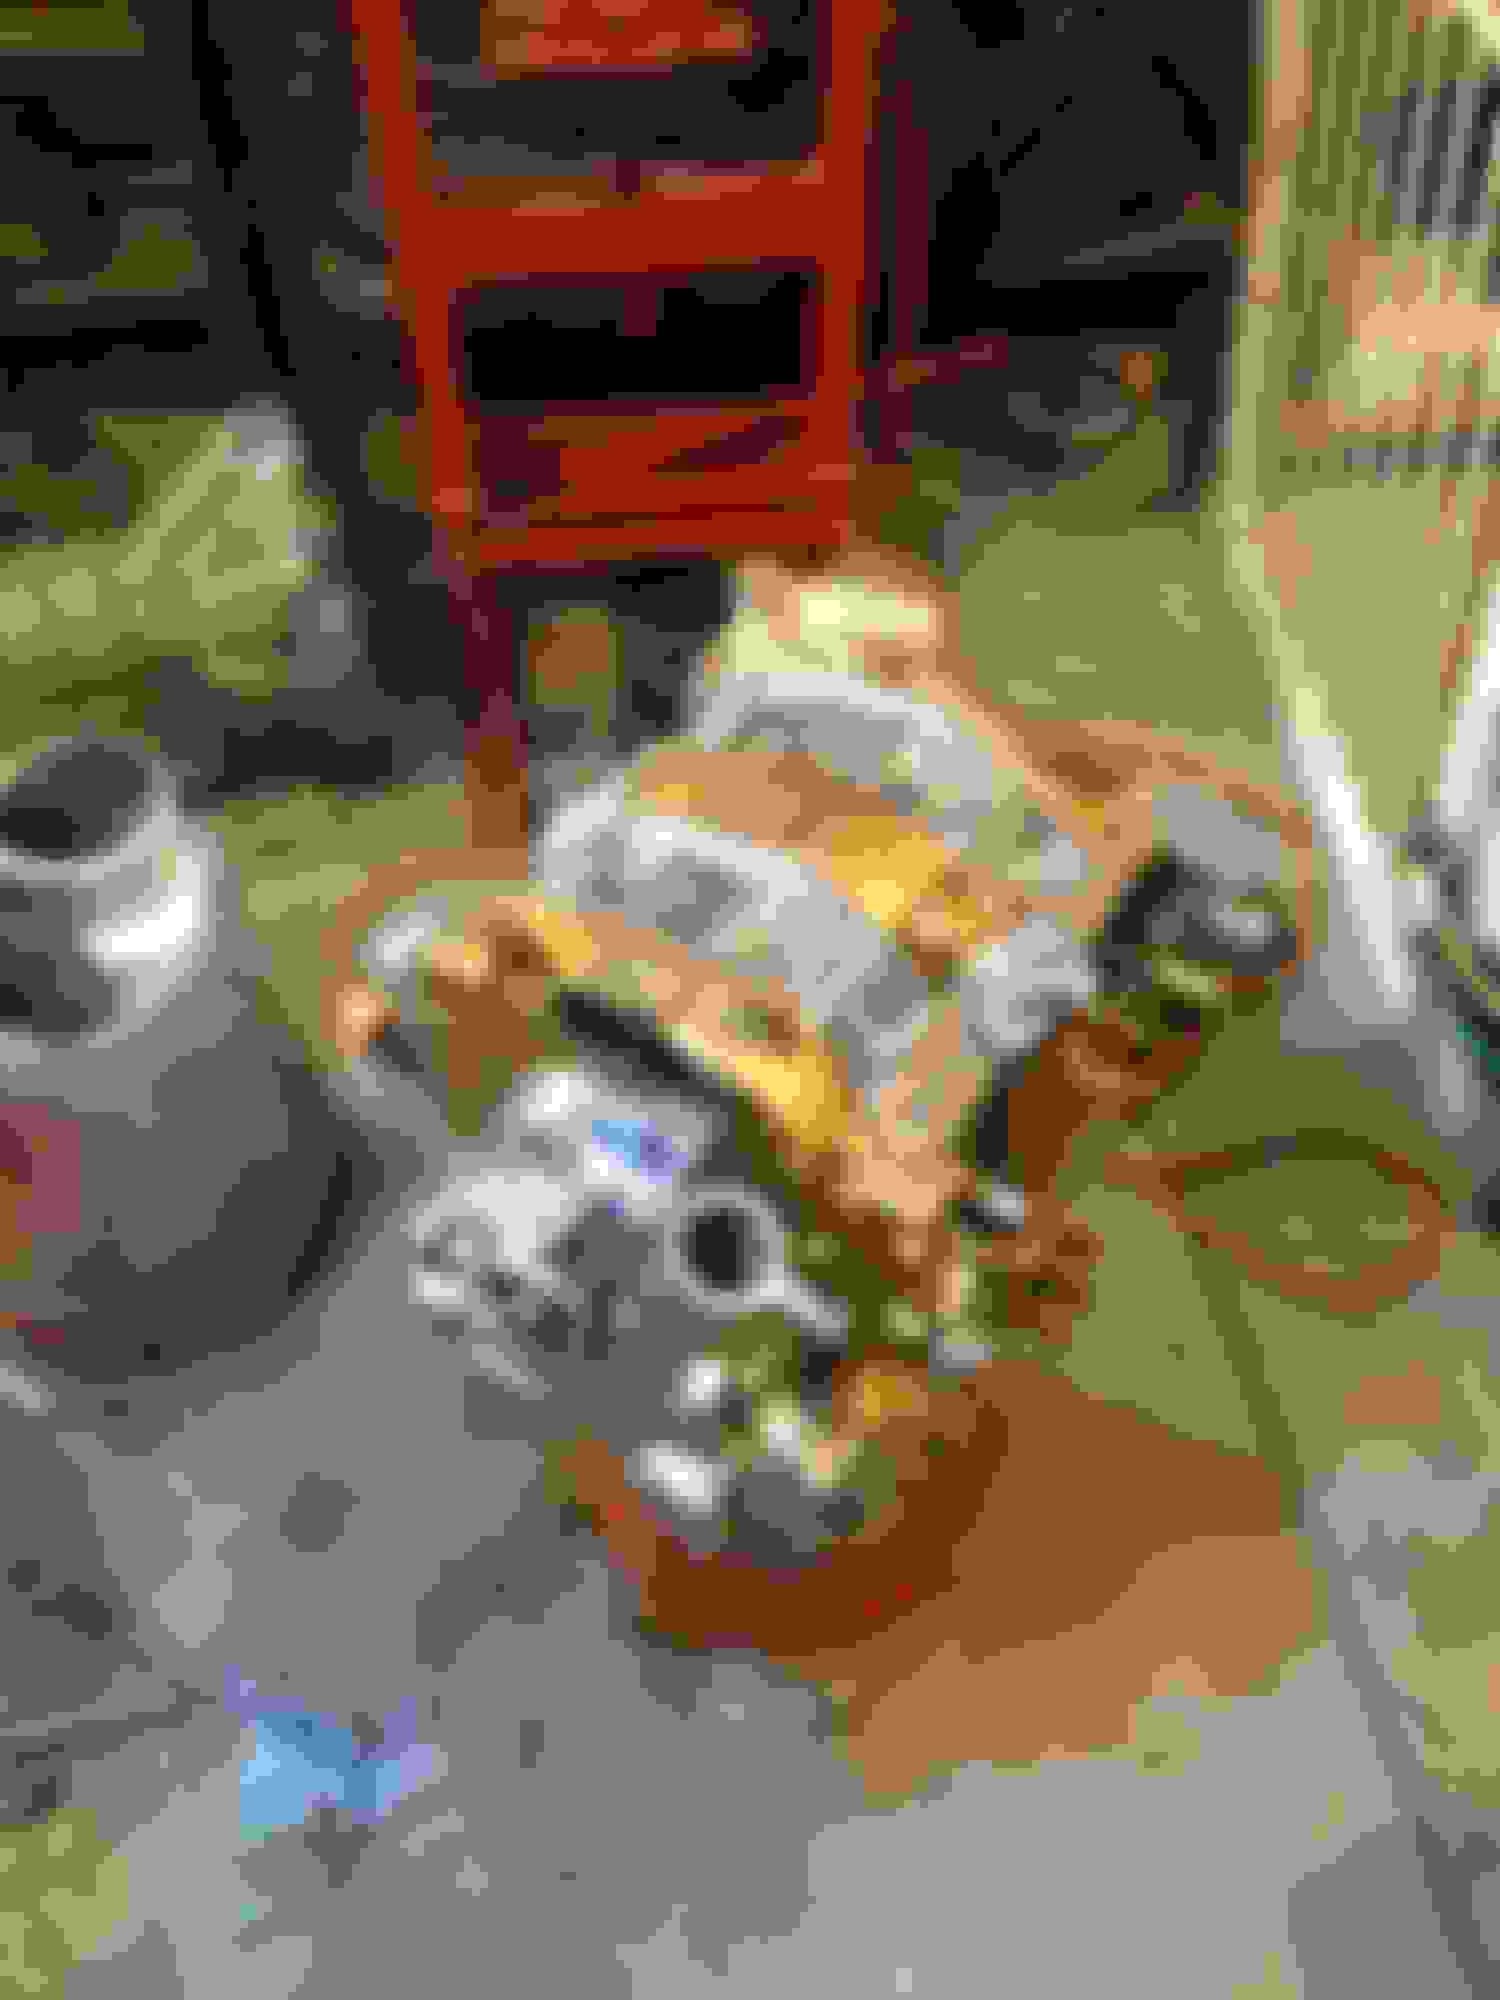
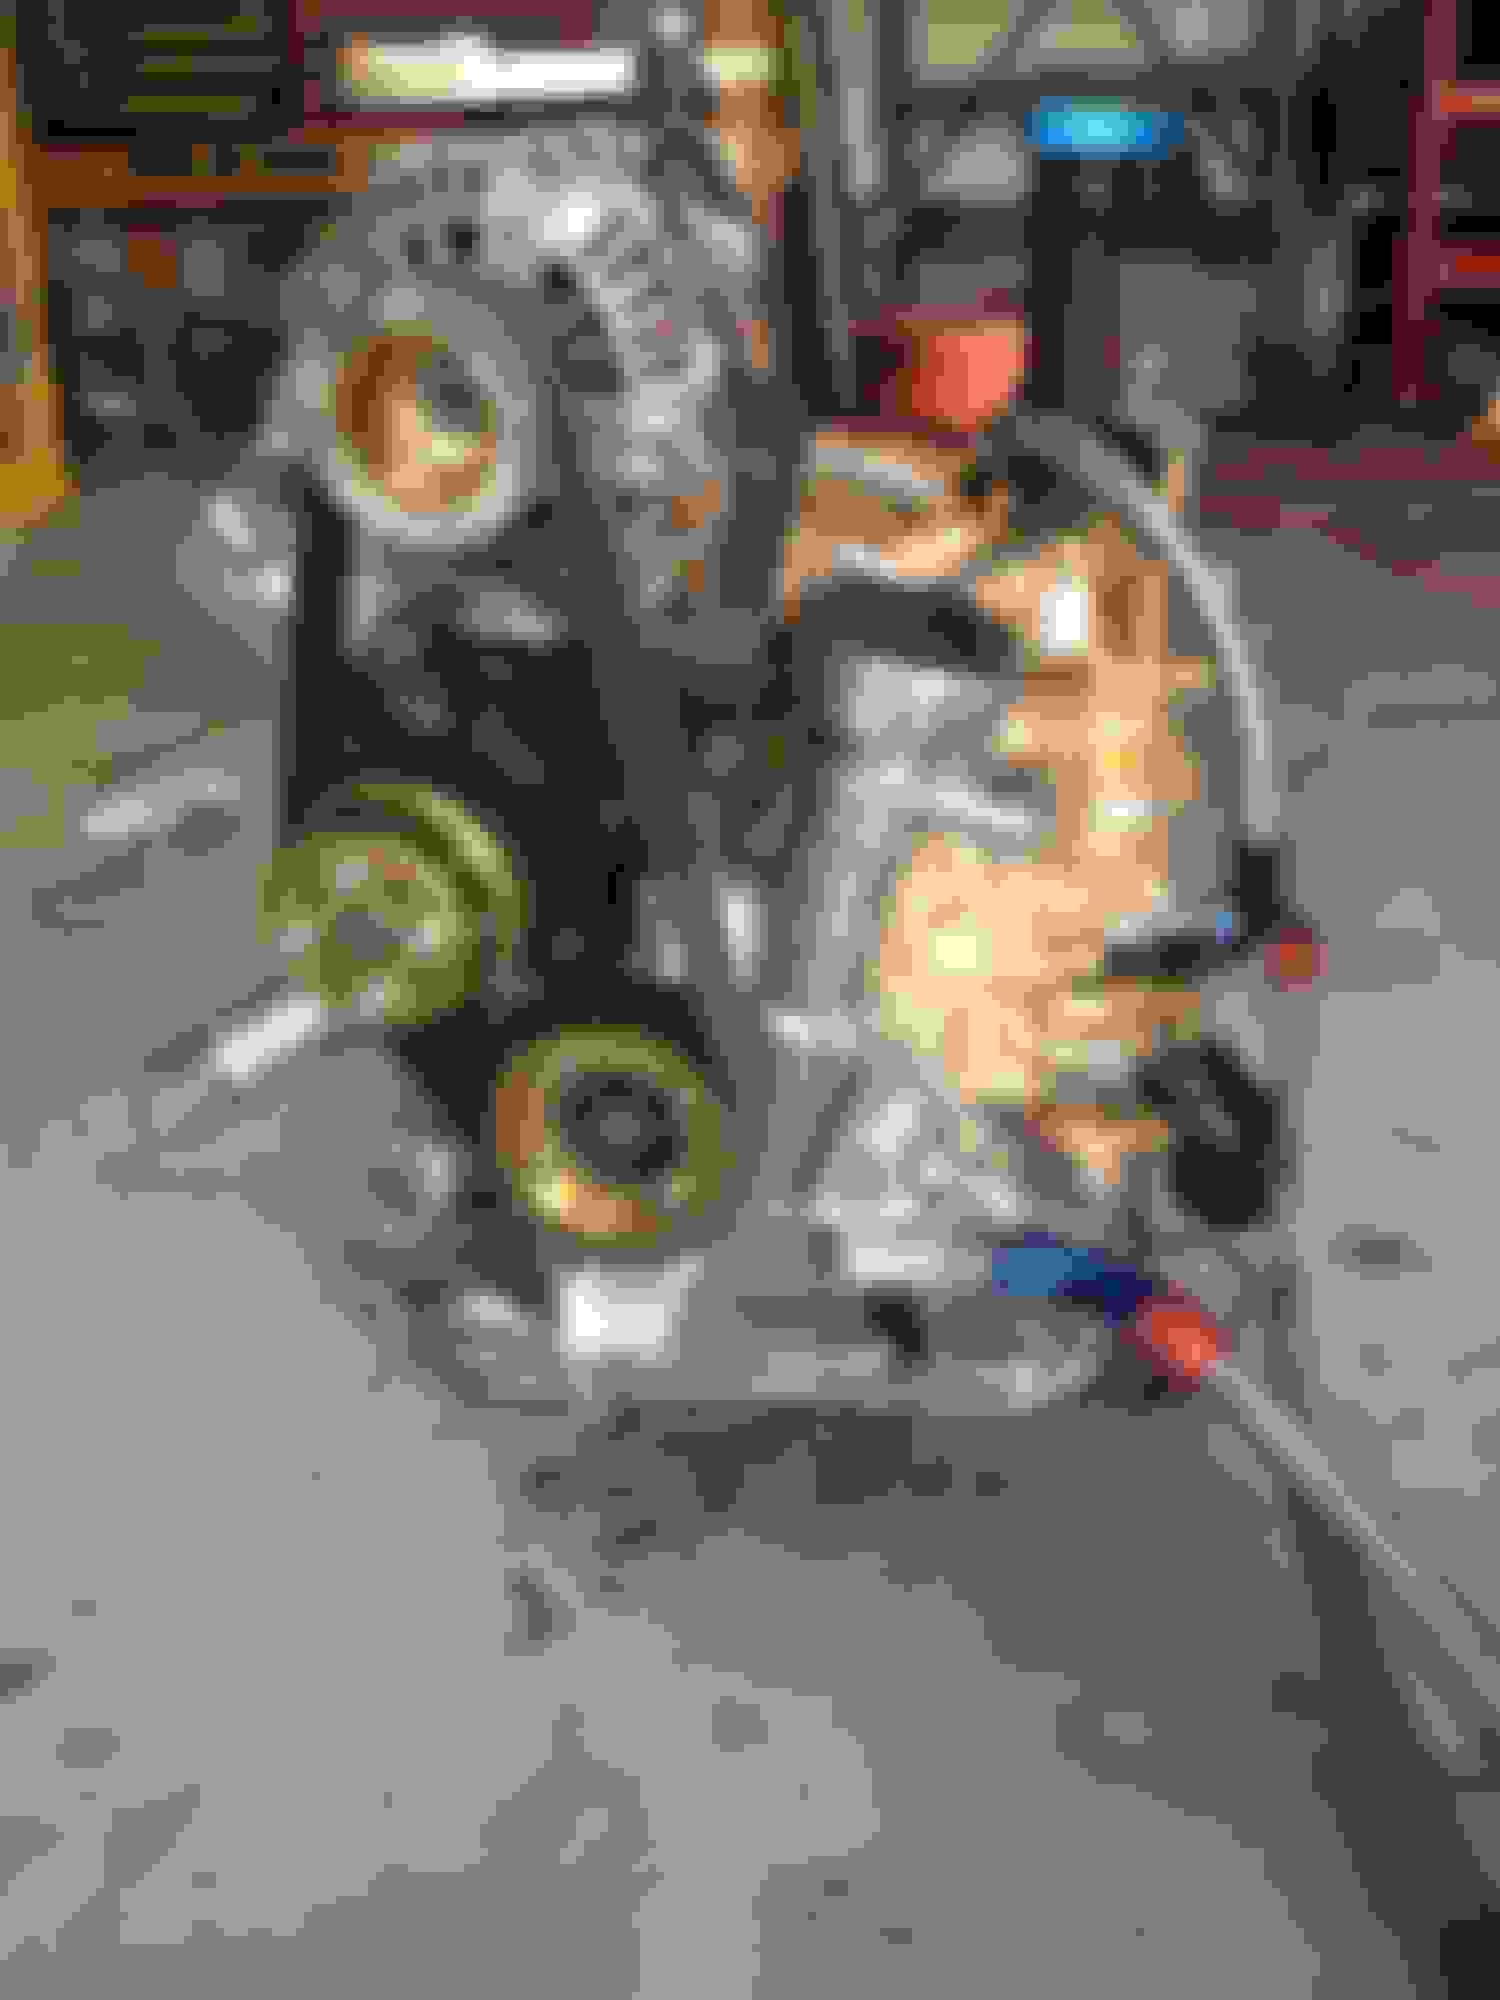
Not Much of an update. Since we started racing in the Lucky Dog Racing League this last summer I couldn't afford much for my project. But I slowly started polishing and sanding some of the aluminum engine bits.
before
before
Through the sand blaster
Polished
Painted the center to match the Irons. I also cleaned up the copper inside but I'm no photographer and my Iphone4 is not that great, but you get the idea.
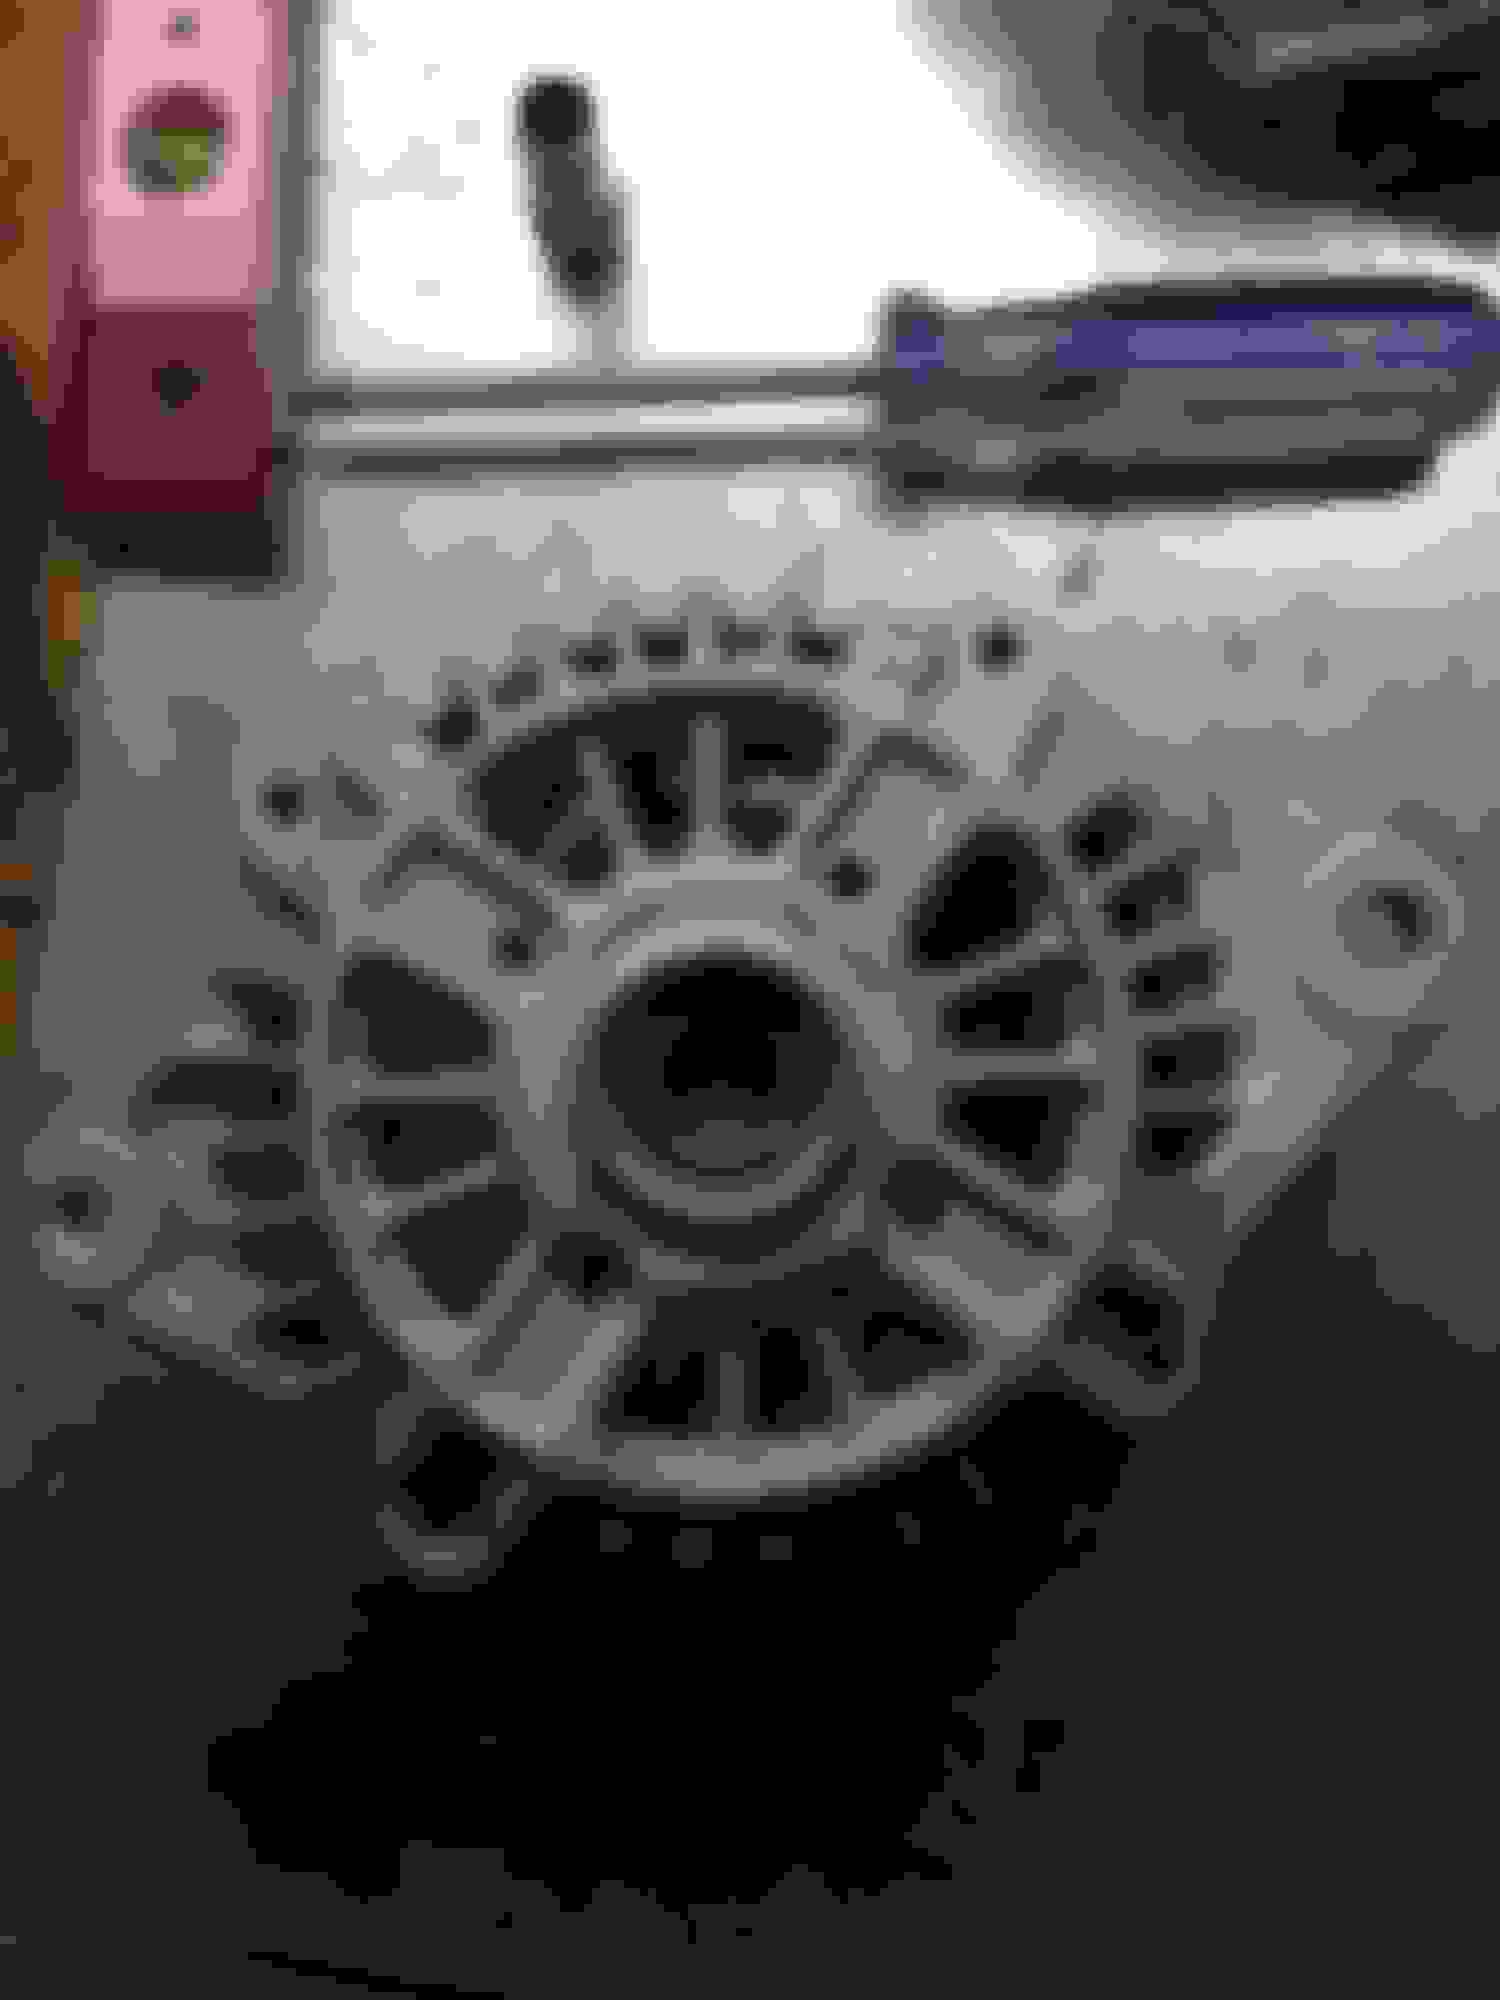
And once you do one thing you have to do all of it. So I came up with this brilliant idea of grinding off all the extra mounting holes and casting marks on the water pump housing and front cover.
Power steering mount delete
Weight reduction bro!!
It all needs to be sanded a little more and run through the polisher another time but its getting there.
On a side note endurance racing is so much fun. If you have the opportunity to start a team or join one, DO IT!!! It was the most fun I've ever had in a car, and I was a kid in high school once ;D
MOAR Grinding!!! Working on taking off the factory rats nest mounting and support casting in the housings. Polishing them isn't as easy as it seems, most of it is going to need to be done by hand. What a waste of time LOL.
Not all has been wasting time doing nothing work. There is a little HP work to be done. I got all 4 new bearings Pineapple 5/6 port inserts and the Pineapple Racing EP2A exhaust port template. Porting the Exhaust was way easier than I thought but the little bit of steel in the insert was a real pain in the dick to grind smooth.
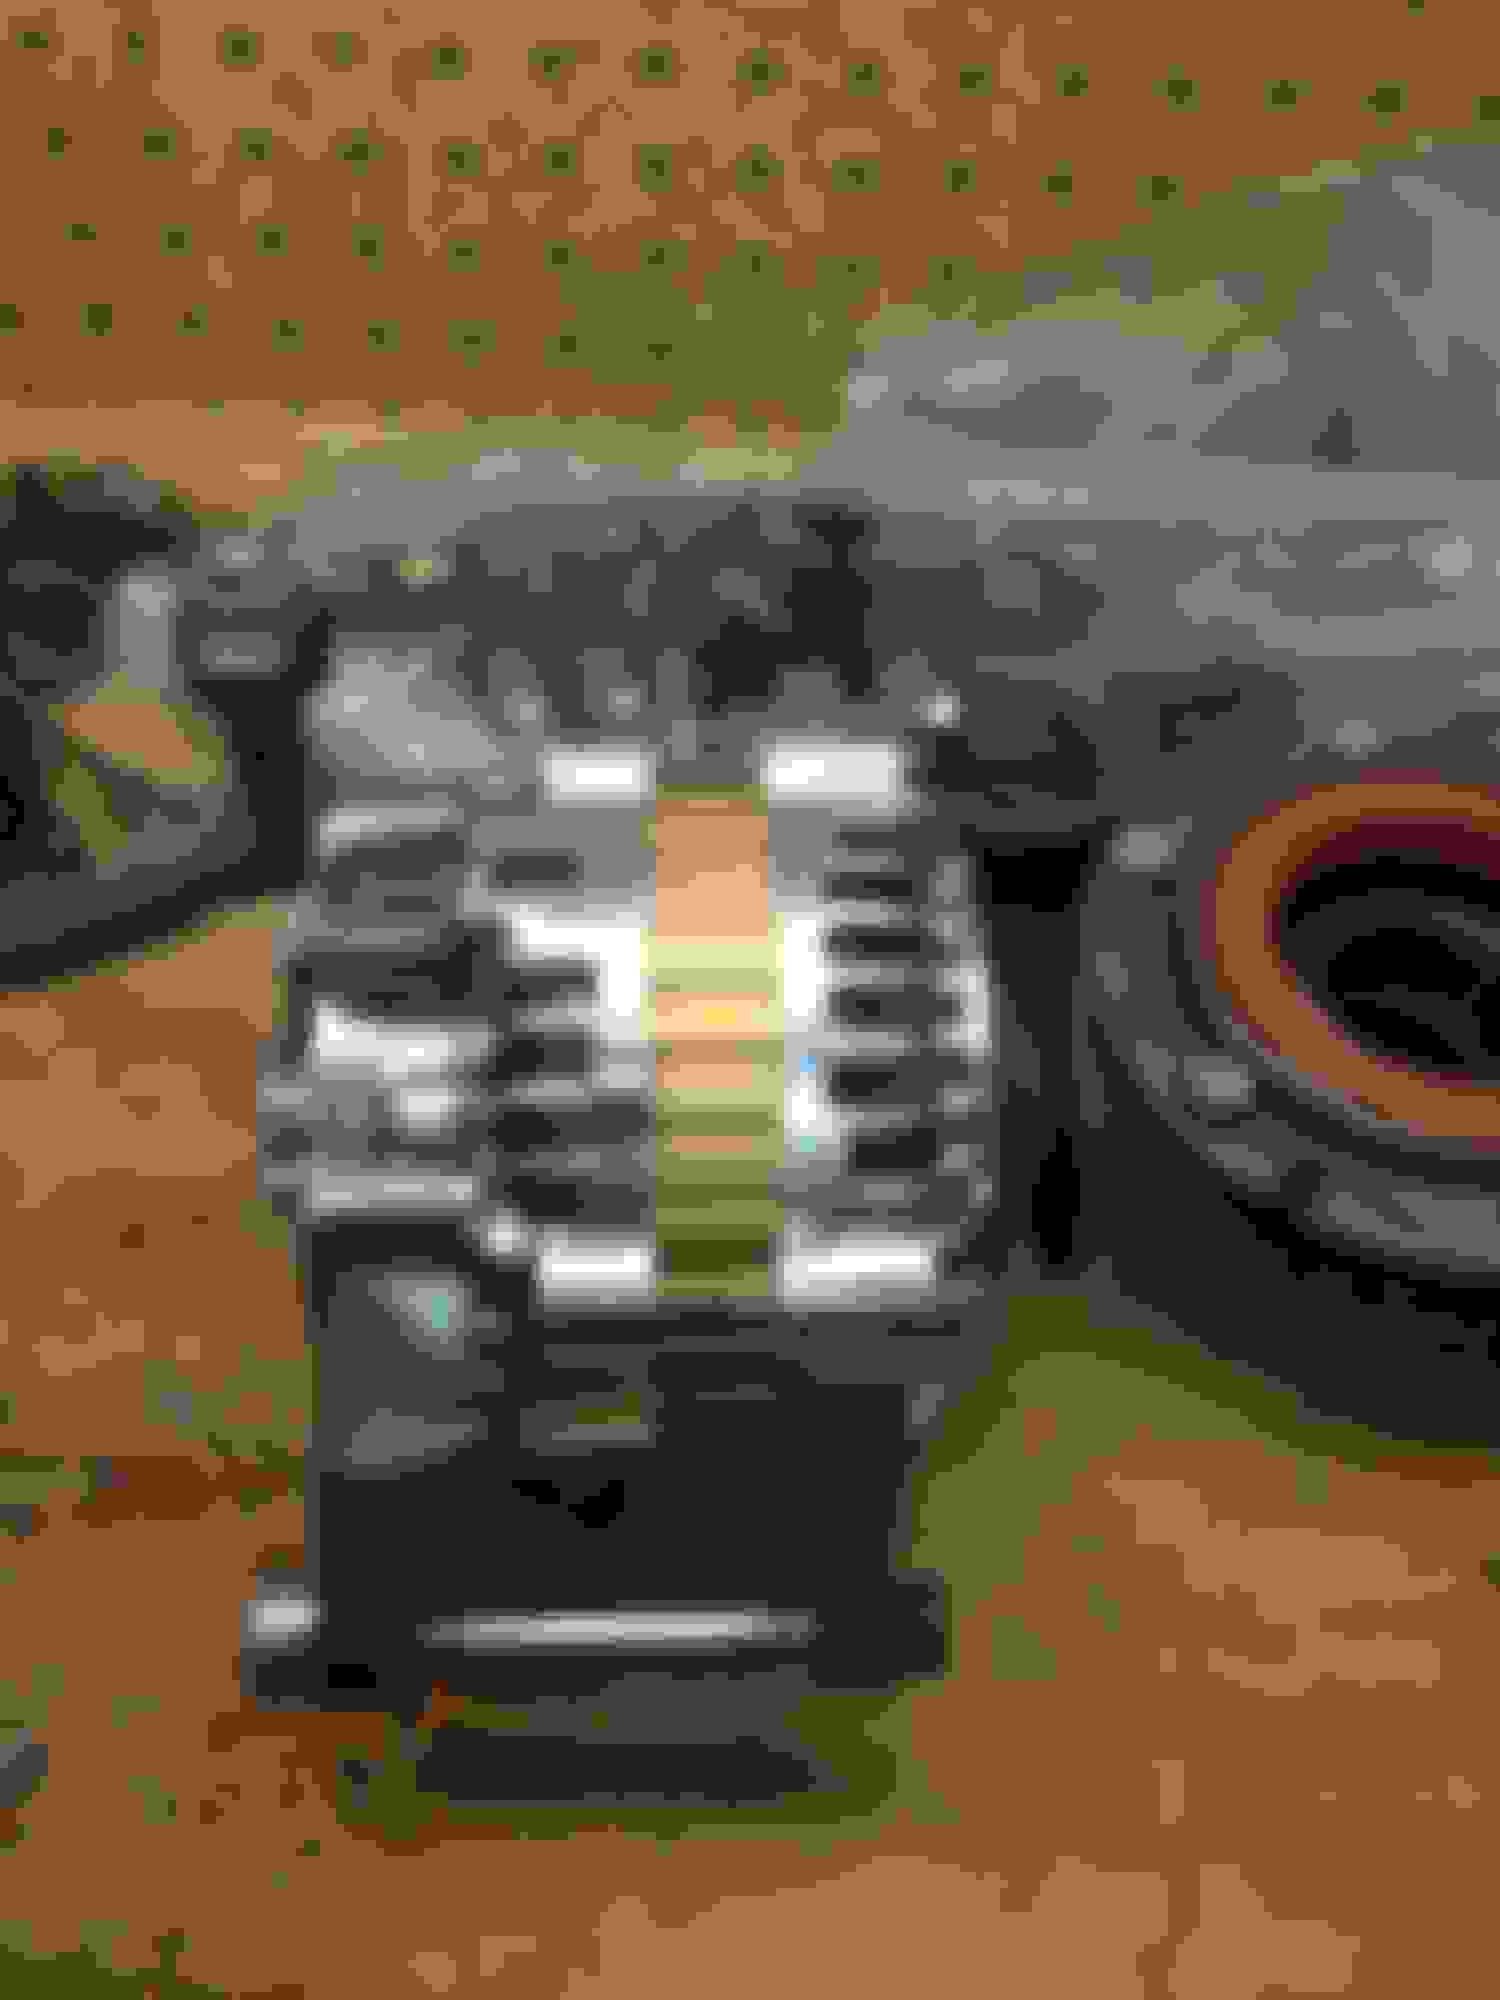
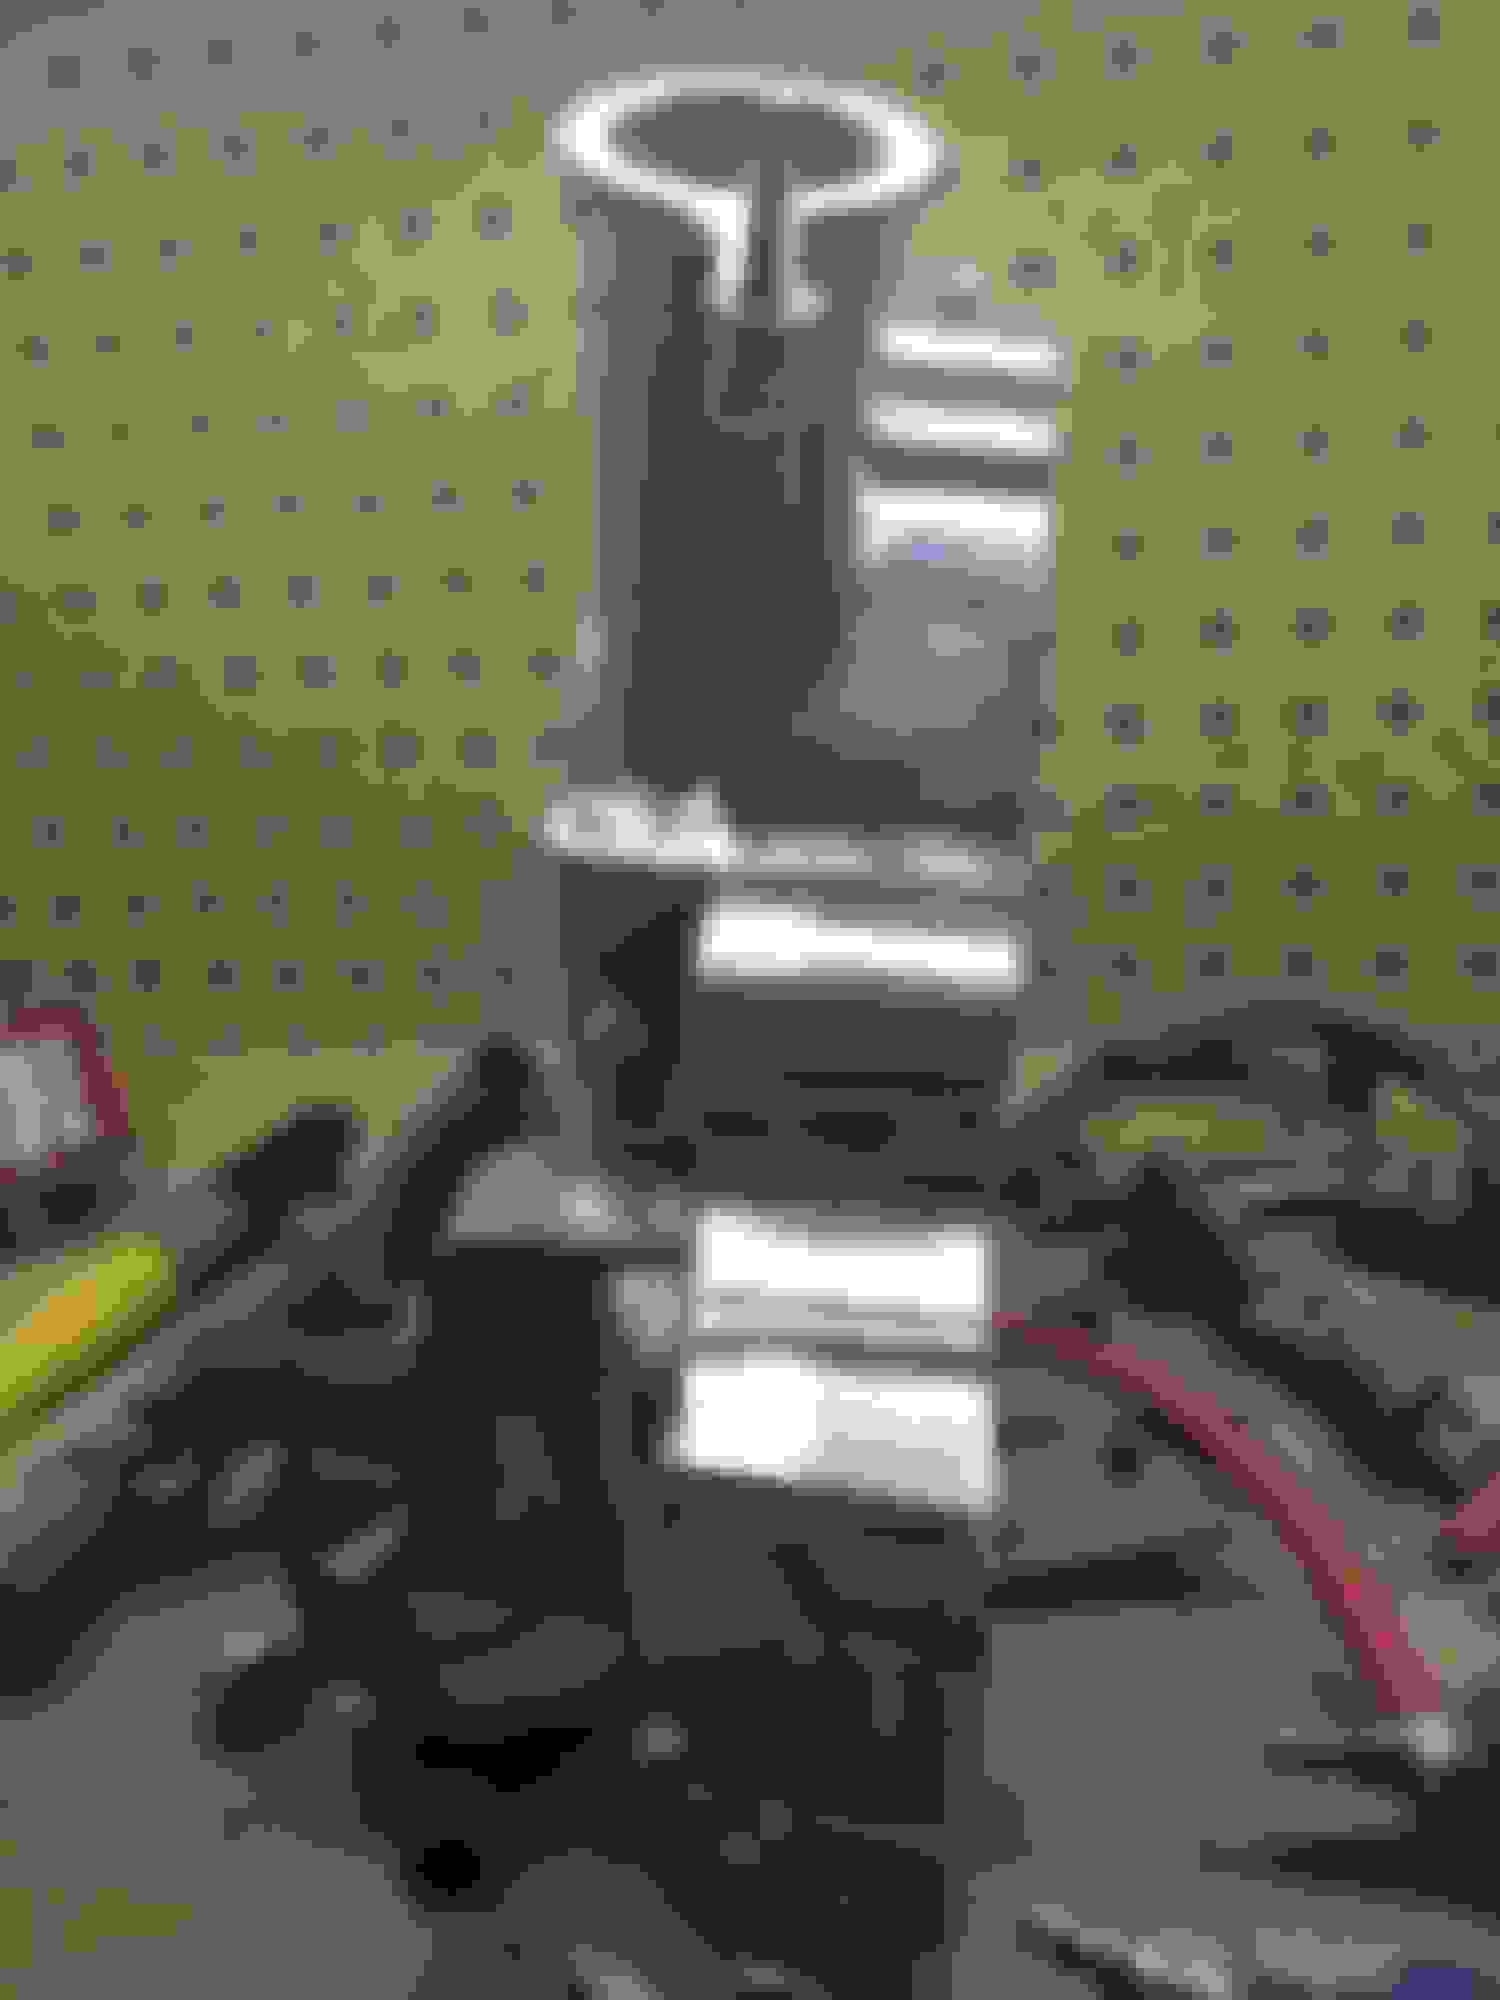
Well, I gots me sum more parts. The Oil Pan Baffle is from B2A and its much more beautiful in person. Also I was able to score a sweet deal on the 9.5LB SR Motorsport flywheel with Clutch. And the item I think we all love to have on hand the Atkins Basic Engine closing Kit.
Before I can rebuild I want to run and exterior oil line and block off the upper dowel pin oil flow and redirect to another oil filter and return it directly to the front main bearing oil passage. From what I understand it would minimize some hard 90* bends, add oil capacity for cooling, and not "preheating" the oil on its path from the factory oil pedestal to the front bearing.
I had to order a couple more things from Pineapple, front cover shims, solid Engine dowels and an oil pedestal. I wanted to do the oil loop modification to the front main bearing. Also I picked up all the necessary lubes and sealants to start the rebuild. Pretty Exciting stuff LOL, I think I'm going to prep, measure, gap all the seals mark them where they are going in the rotors and stack the engine this weekend. Fingers crossed my wife and child don't slow me down!!
I know some people in high places and I don't have a press tool for main bearings so we turned down an old bearing to use as one.
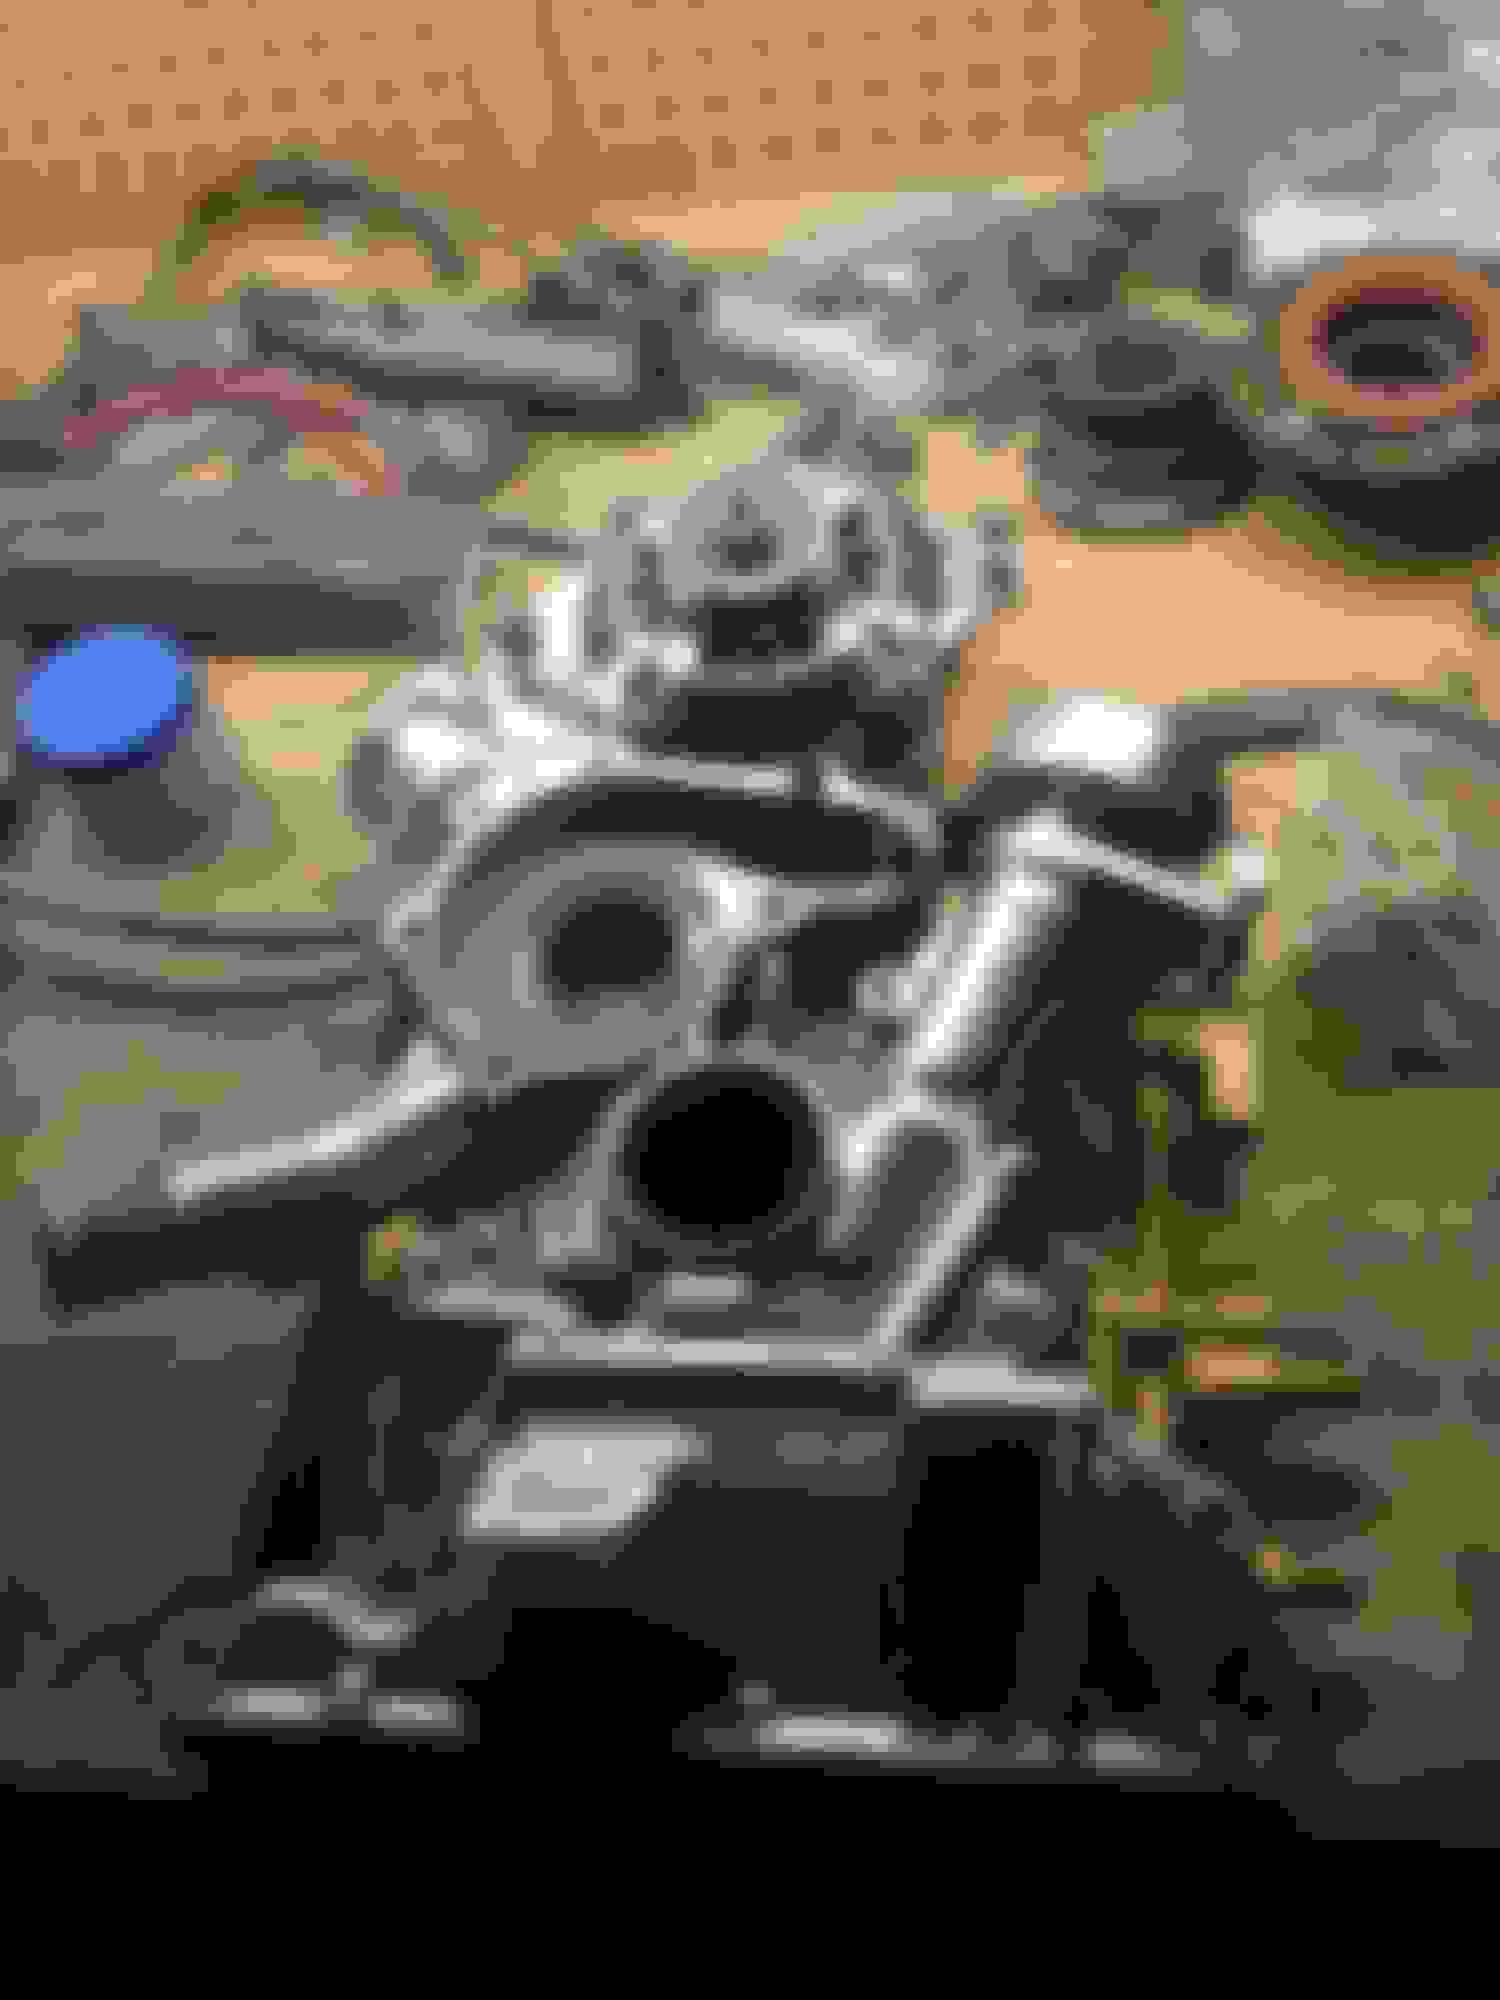
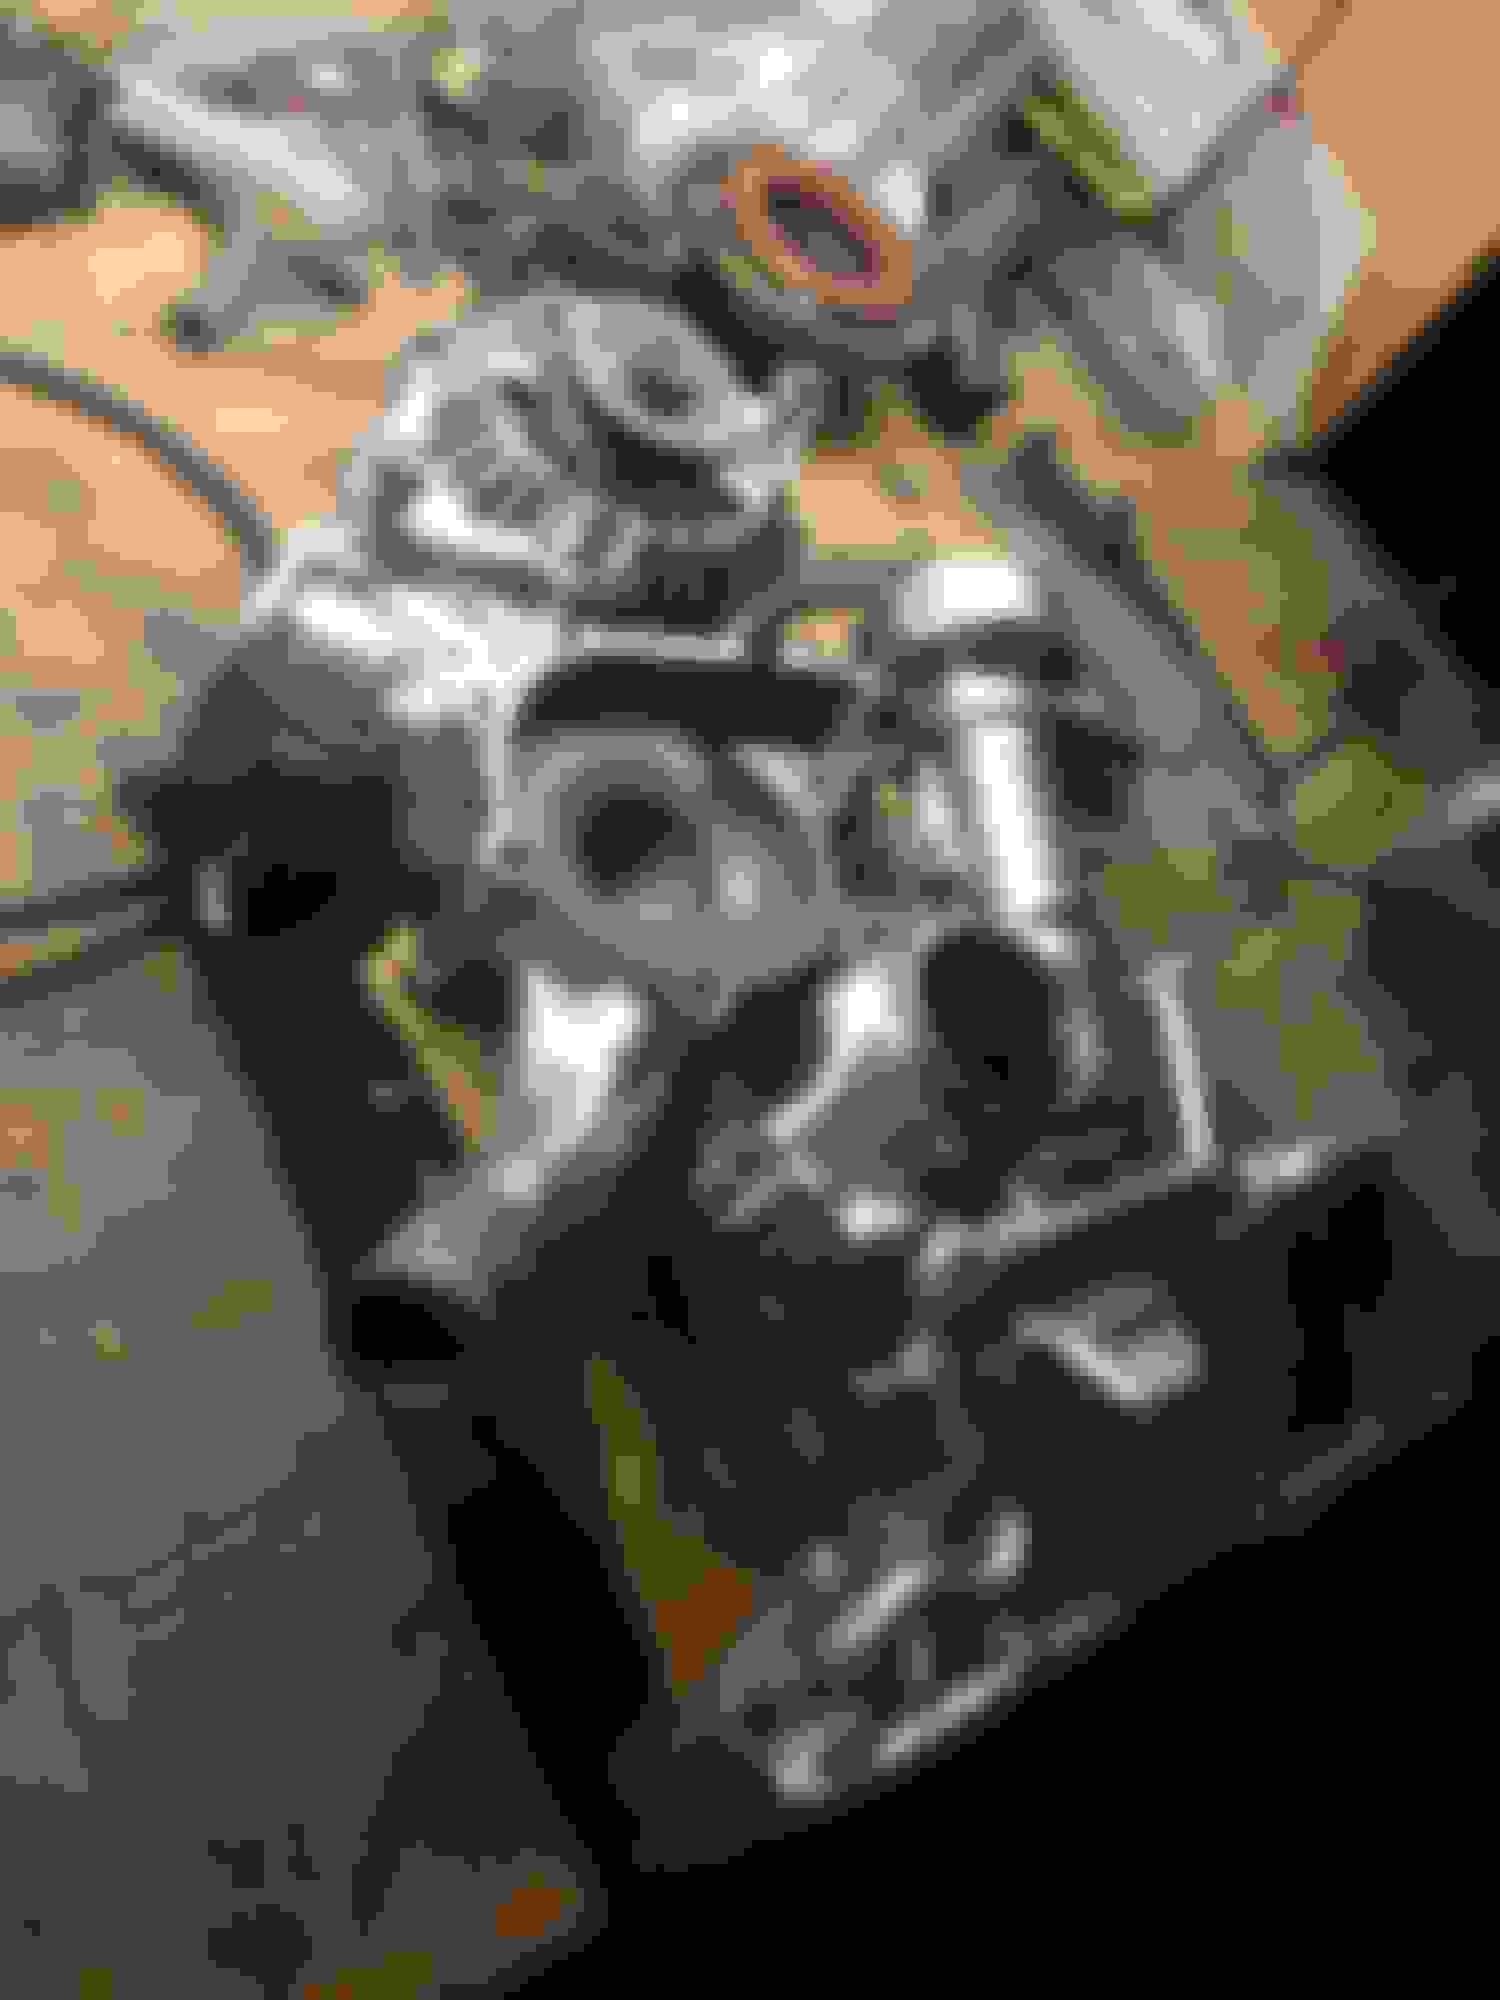
I was able to arrange some alone time with the other woman this weekend so I was able to stack her heart. I re-measured all the irons and housings to make sure everything was within spec. The step wear on the rear iron was the only thing that was close to being junk (.0025ish,.0039MAX), so other than that I'm very confident this is a strong motor. I didn't take any pictures of the oil passage port matching I did but I would highly recommend it. The rear oil bearing passage was about halfway lined up from the factory, I was very surprised to see that. It wasn't difficult and didn't take too long with the dremmel. I'm still not coming off my 220WHP goal, and getting the engine together makes me feel a little better about that number.
Had to put the small dowels in to align, I installed the solid dowels after this pic was taken.
1 hour to pull out 2 years to put it back in, but my FC has a heart again!! The velocity stacks were a real pain in the *** to find and they are still going to take some grinding to fit proper. Overall I'm stoked on how it turned out. Now I can start routing the fuel system, plan the wiring, figure out throttle cable bracket, yadda yadda yadda.... more work to be done but its getting close!!!!
Some fun stuff with the racecar. Good thing our team captain is on point. We made a front splitter that makes roughly 70-100 LBS of down force at 70MPH and roughly 145 at 110MPH. Also with the data collected from the tufts the air sticks to the rear hatch pretty good so our rear wing doesn't have to me mounted super high. All the testing was done on an abandoned road so the results are as such, but still very informative and we have an idea of where to start with the areo. We have also replaced the S4 intake with an S5 intake.
As far as my car goes its still being shelved for the endurance racing, but I'm about to tear into the dash remove some wiring and start the Haltech planning.
I started on the wiring which lead to removing the entire interior. I am relocating the battery rewiring the fuel pump, installing a fuel pump while that's out. Injectors, coils, hoses, fittings, sensors, connectors.... ect ect are on the way. I should get this thing started, or at least really really close by the end of September!!
Wiring is tedious, to say the least. I got the harness mostly striped down and now its in the car for mockup. I removed the starter cut relay, the main relay, ECU and associated wires, and most of the security items so, I want to plug everything in and make sure my lights and switches work before I button it up. Fingers crossed I didn't screw anything up too bad. After that will be the Elite Wiring. I also installed my Walbro 255 and spliced the factory wires to ground it closer and run power directly from the Haltech.
If anyone else has done an engine bay rewire and all you have left is lights, heater, radio, and sunroof let me know your mistakes before I'm doomed to repeat them LOL.
This last weekend was the lucky dog race at Oregon Raceway Park. The race car ran strong the first day (9 Hours) but basically crossing the finish line the clutch starter to come apart. Sunday morning we made it about 45 min into a 6 hour day and the clutch was nonexistent. so that ended our weekend. All in all it was a blast and the car is one of the fastest on the track if only our skills would match up. Were going to get a nicer clutch ordered and new tires and brake pads then go on to Laguna Seca!!
Some of the other guys on the team work for Shelby Super Cars and this is the SSC Ultimate Aero. It once took the title from Bugatti as the fastest production car. I had to snap a pic before we departed for the weekend. They just had it at the shop from a customer needing some work.
The calm before the storm. Although the smoke in the NW sucks to breathe all day, it makes for great sun rises and sets.
As far as my car goes I got all the parts I need I think so now its all just work to get it going!!! If I was really ambitious I would shoot to get it done to drive it to Laguna with the race team at the end of Oct, but we'll see. More updates to come!!
ID 1050X, AEM Smart coil, Innovate LC-2 Dual Wideband
Turbo yolk
IDs installed in in the TB. I kinda wish the top hats were more obnoxious but it looks clean this way too.