When you click on links to various merchants on this site and make a purchase, this can result in this site earning a commission. Affiliate programs and affiliations include, but are not limited to, the eBay Partner Network.
Well this isn't specifically related to my build, but I'm not quite ready to put this in my 3D printing thread so I figured I'll put the progress report here.
As of last week I've been able to begin getting the printers up and running again. I believe it was three months or so ago when I did all the changes on them and since then I hadn't touched them, so the last few days I've been getting each material tuned back in on the new setups. Still a ways to go, but I have my prototyping materials back to where they should be as well as nylon. Some polycarbonate calibration prints are running as I type, and then next will be ASA.
Since I got nylon dialed in, I went ahead and made up those steering arm bump stops someone requested some time back. Happy to say they've turned out great and are nearly indestructible*. I beat them to death with a hammer to the point they got hot from being smacked so many times and all they did was deform slightly; no breakage. Yesterday I installed some on a friends SA to get them road tested and after I confirm that they aren't going to wear or fail prematurely (unlikely given my testing results) they'll be up for sale and I'll post that in the 3D printing thread.
I'm also working on revamping the parts I have sold previously, primarily the dash and door crank bolt covers, but it will eventually include some other parts as well. I'm refraining from putting a timeline on anything since it's a side project and other stuff takes priority. I'm also now able to print nylon much better than I used to thanks to some printer changes, so small bushings and whatnot may also pop up at some point. Open to suggestions.
The next big part will be the SA center console. I opted to fully remodel the part from a completely stock and unmolested example borrowed from a friend. It's also being modeled in such a way that I will be able to more easily offer many variations. To go with that, I caved and ordered yet another high temp support material which hopefully will actually work well with ASA unlike the last two I've tried. That should arrive Tuesday.
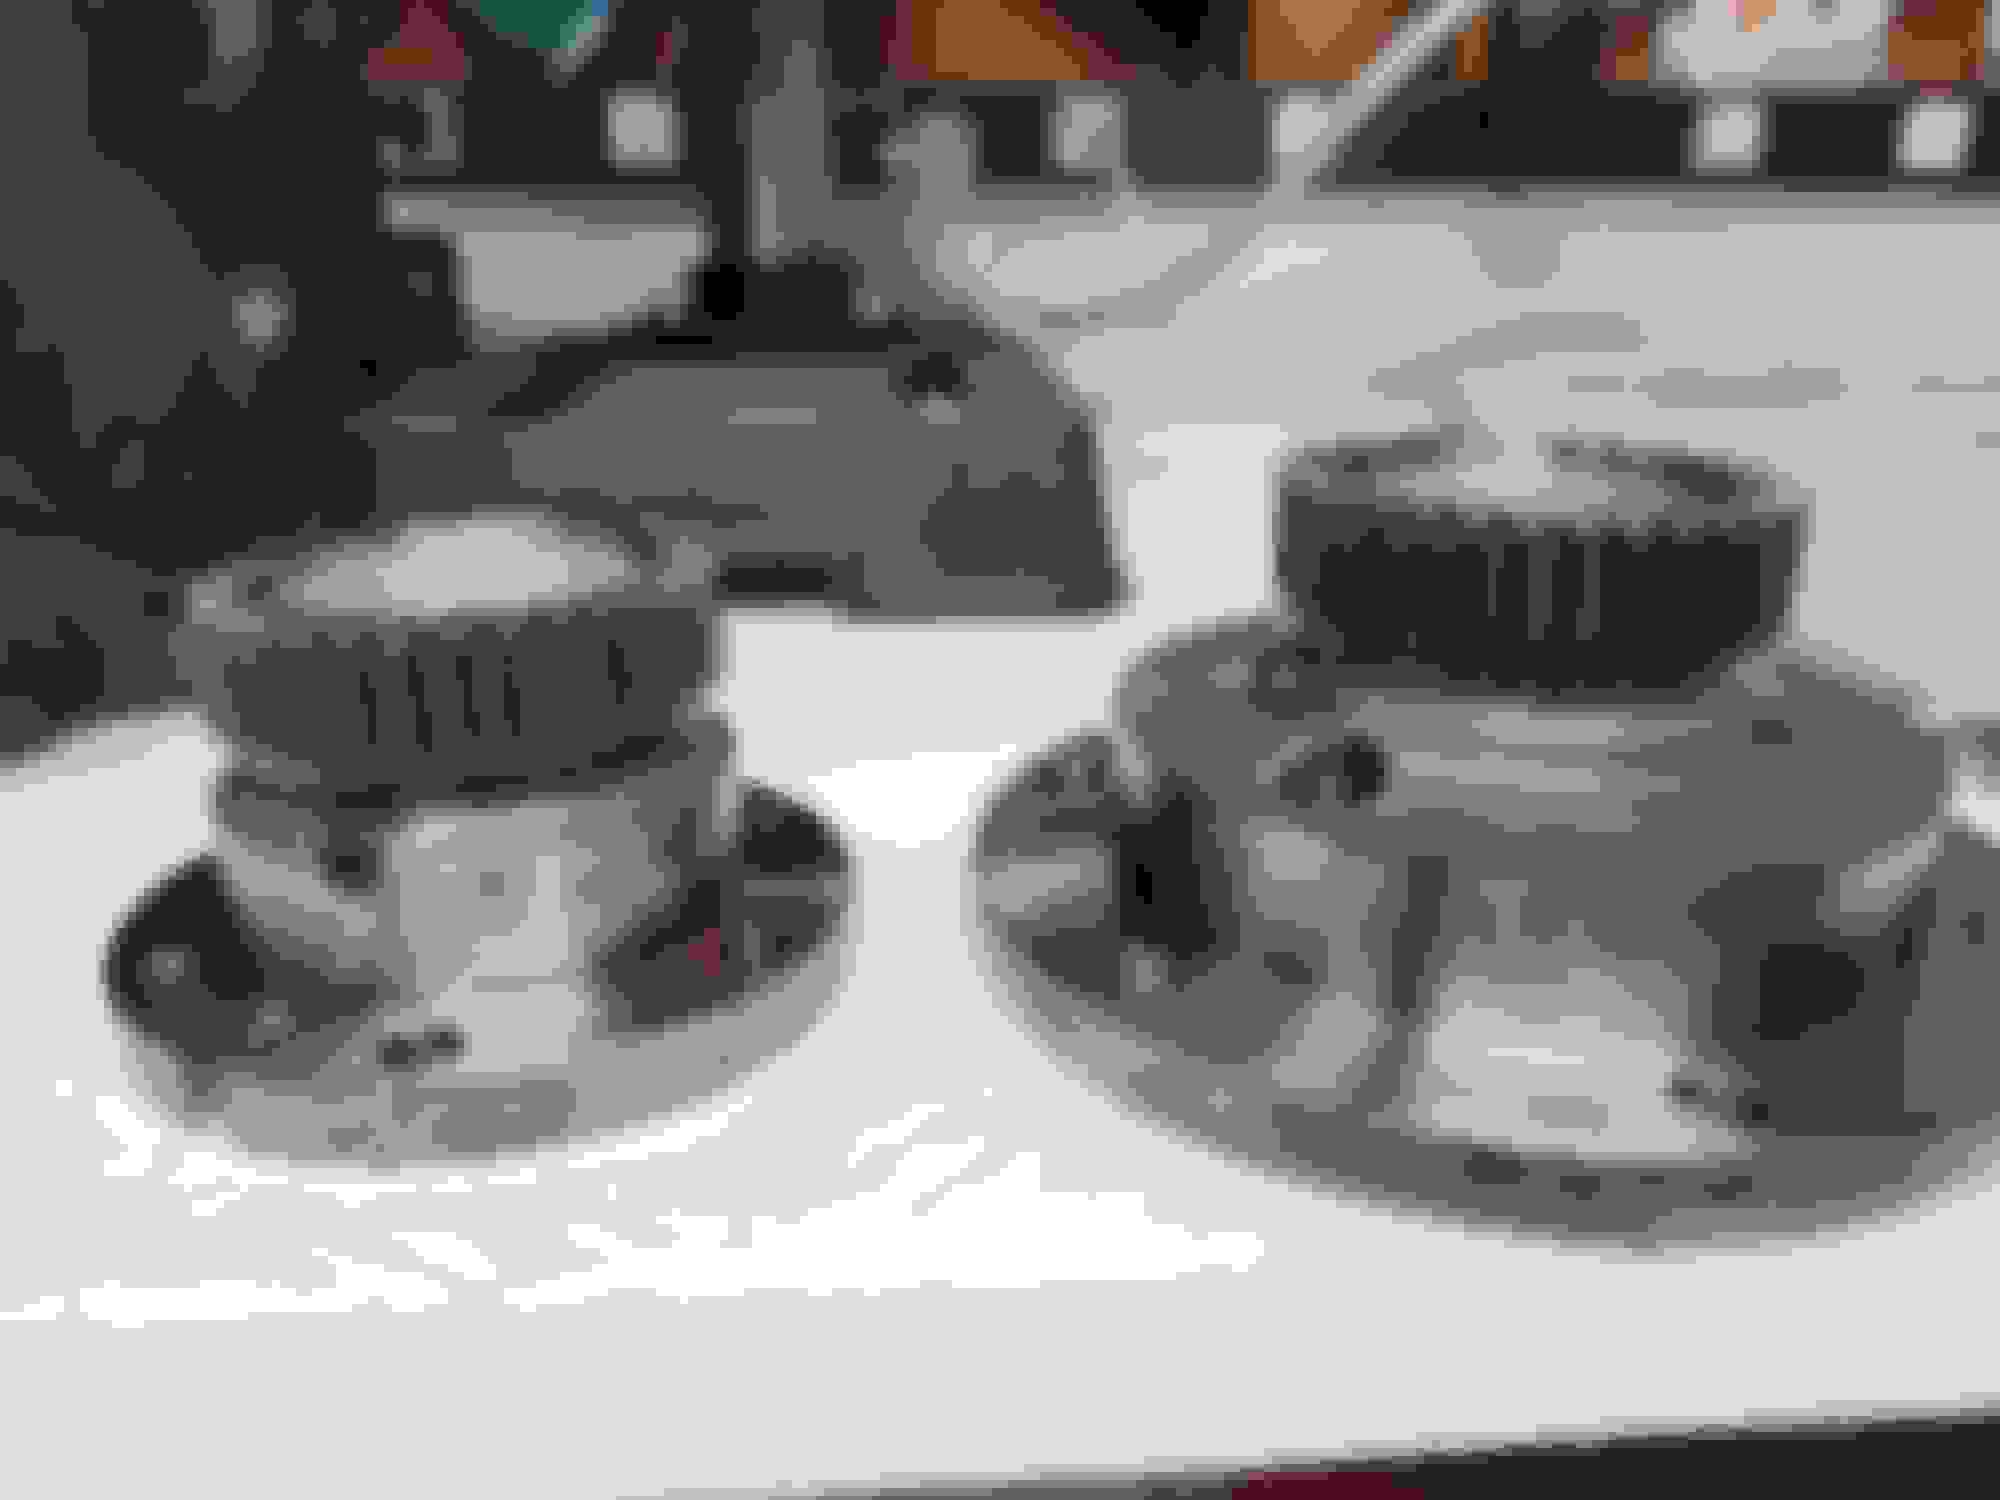
OEM (left) vs 3D printed (right)
After beating it with a hammer for a couple minutes.
The mangled one installed on the bolt was hit with the claw of a hammer 30+ times hard enough to knock stuff off my work bench. The others in the photo had also "been clawed" but fewer times. Obviously these will never see such extreme and focused forces in application, but it's good to know they'll still be holding on even if they had to.
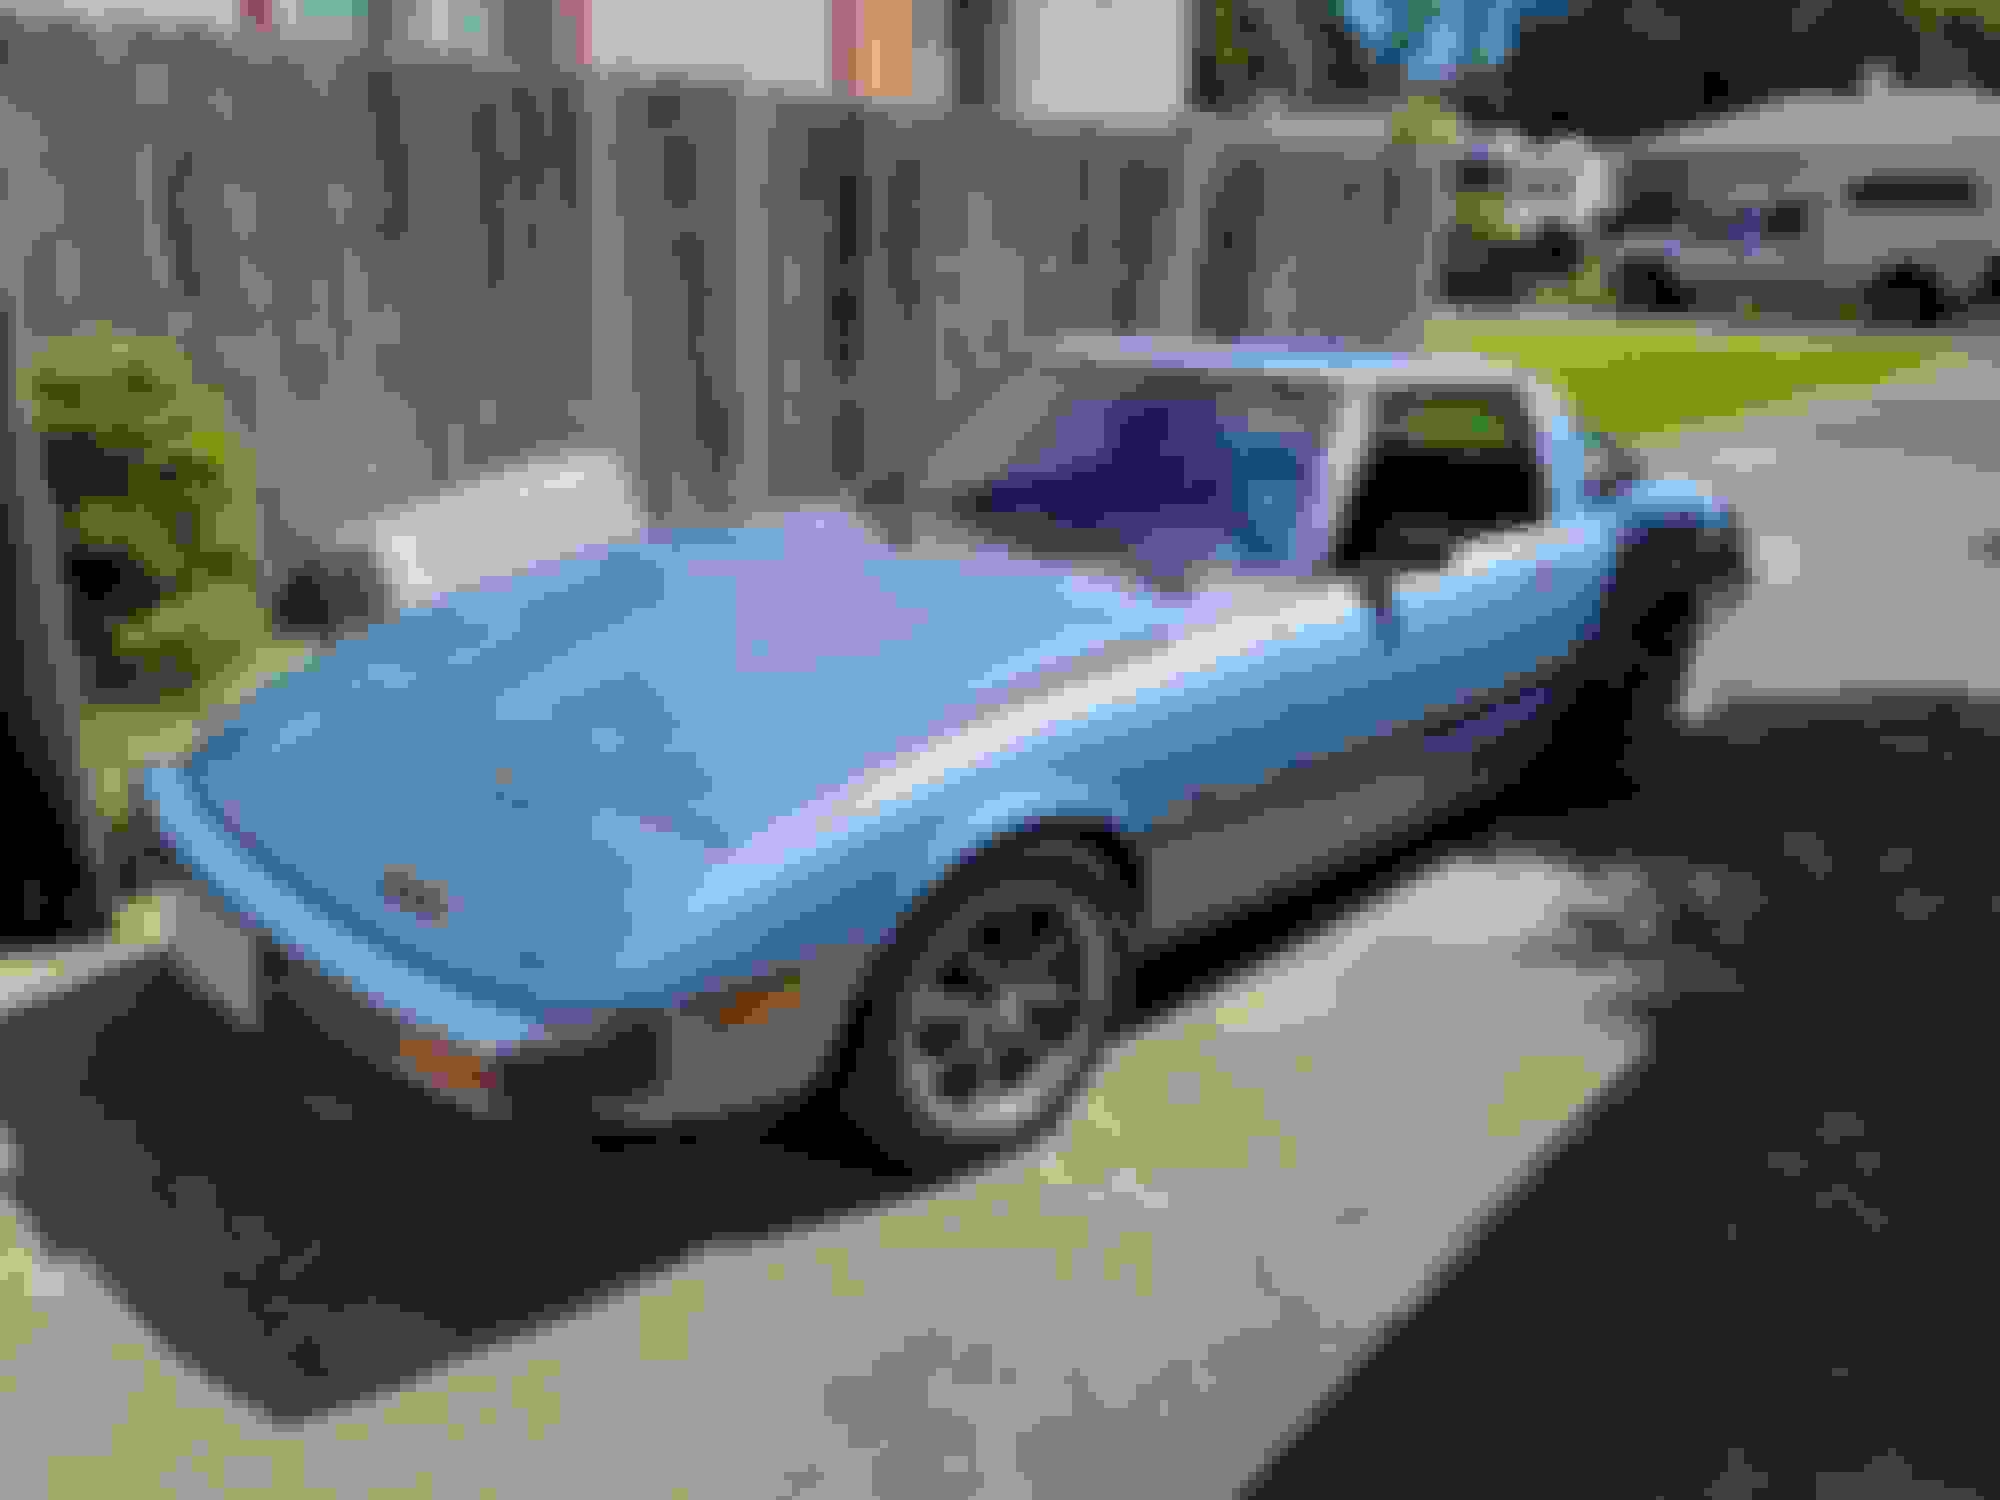
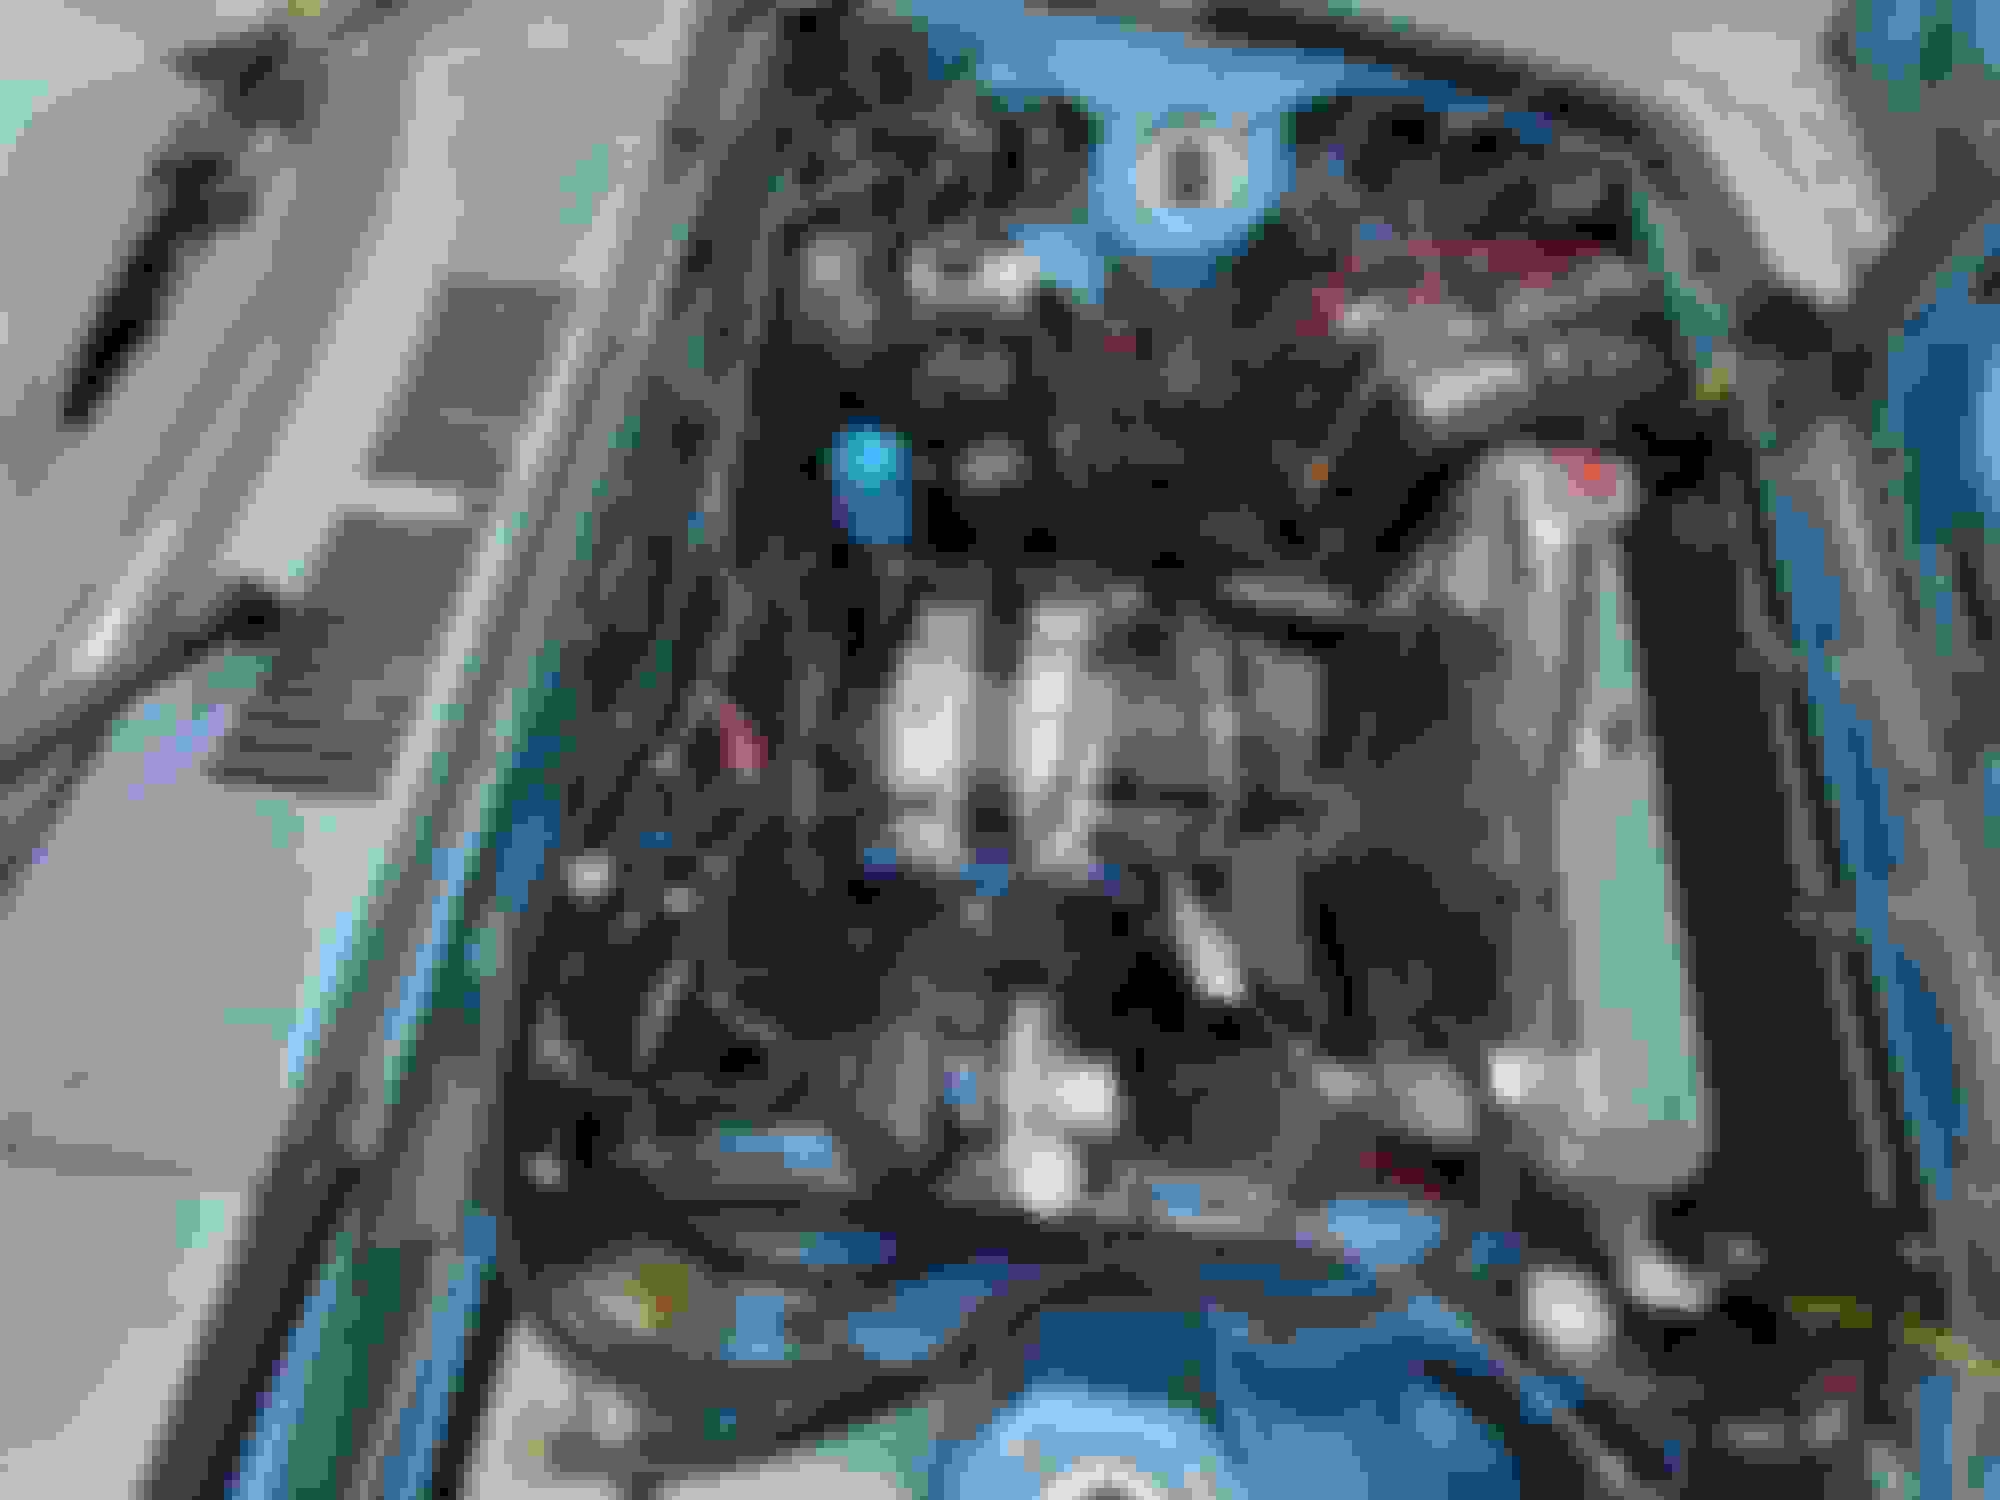
As for my car, not much has changed. Financial hold-ups are keeping any major work at a standstill for the time being, although I hope to resume progress soon. I had to get my IR thermometer out the car the other day and noticed it's developed a bit of an ecosystem in there - mushrooms growing on the passenger floor. Looks like I need to revisit the roof leaks this summer. Just another thing on the list... Today also marks just about exactly nine months since the engine first blew up, which is sorta hard to believe.
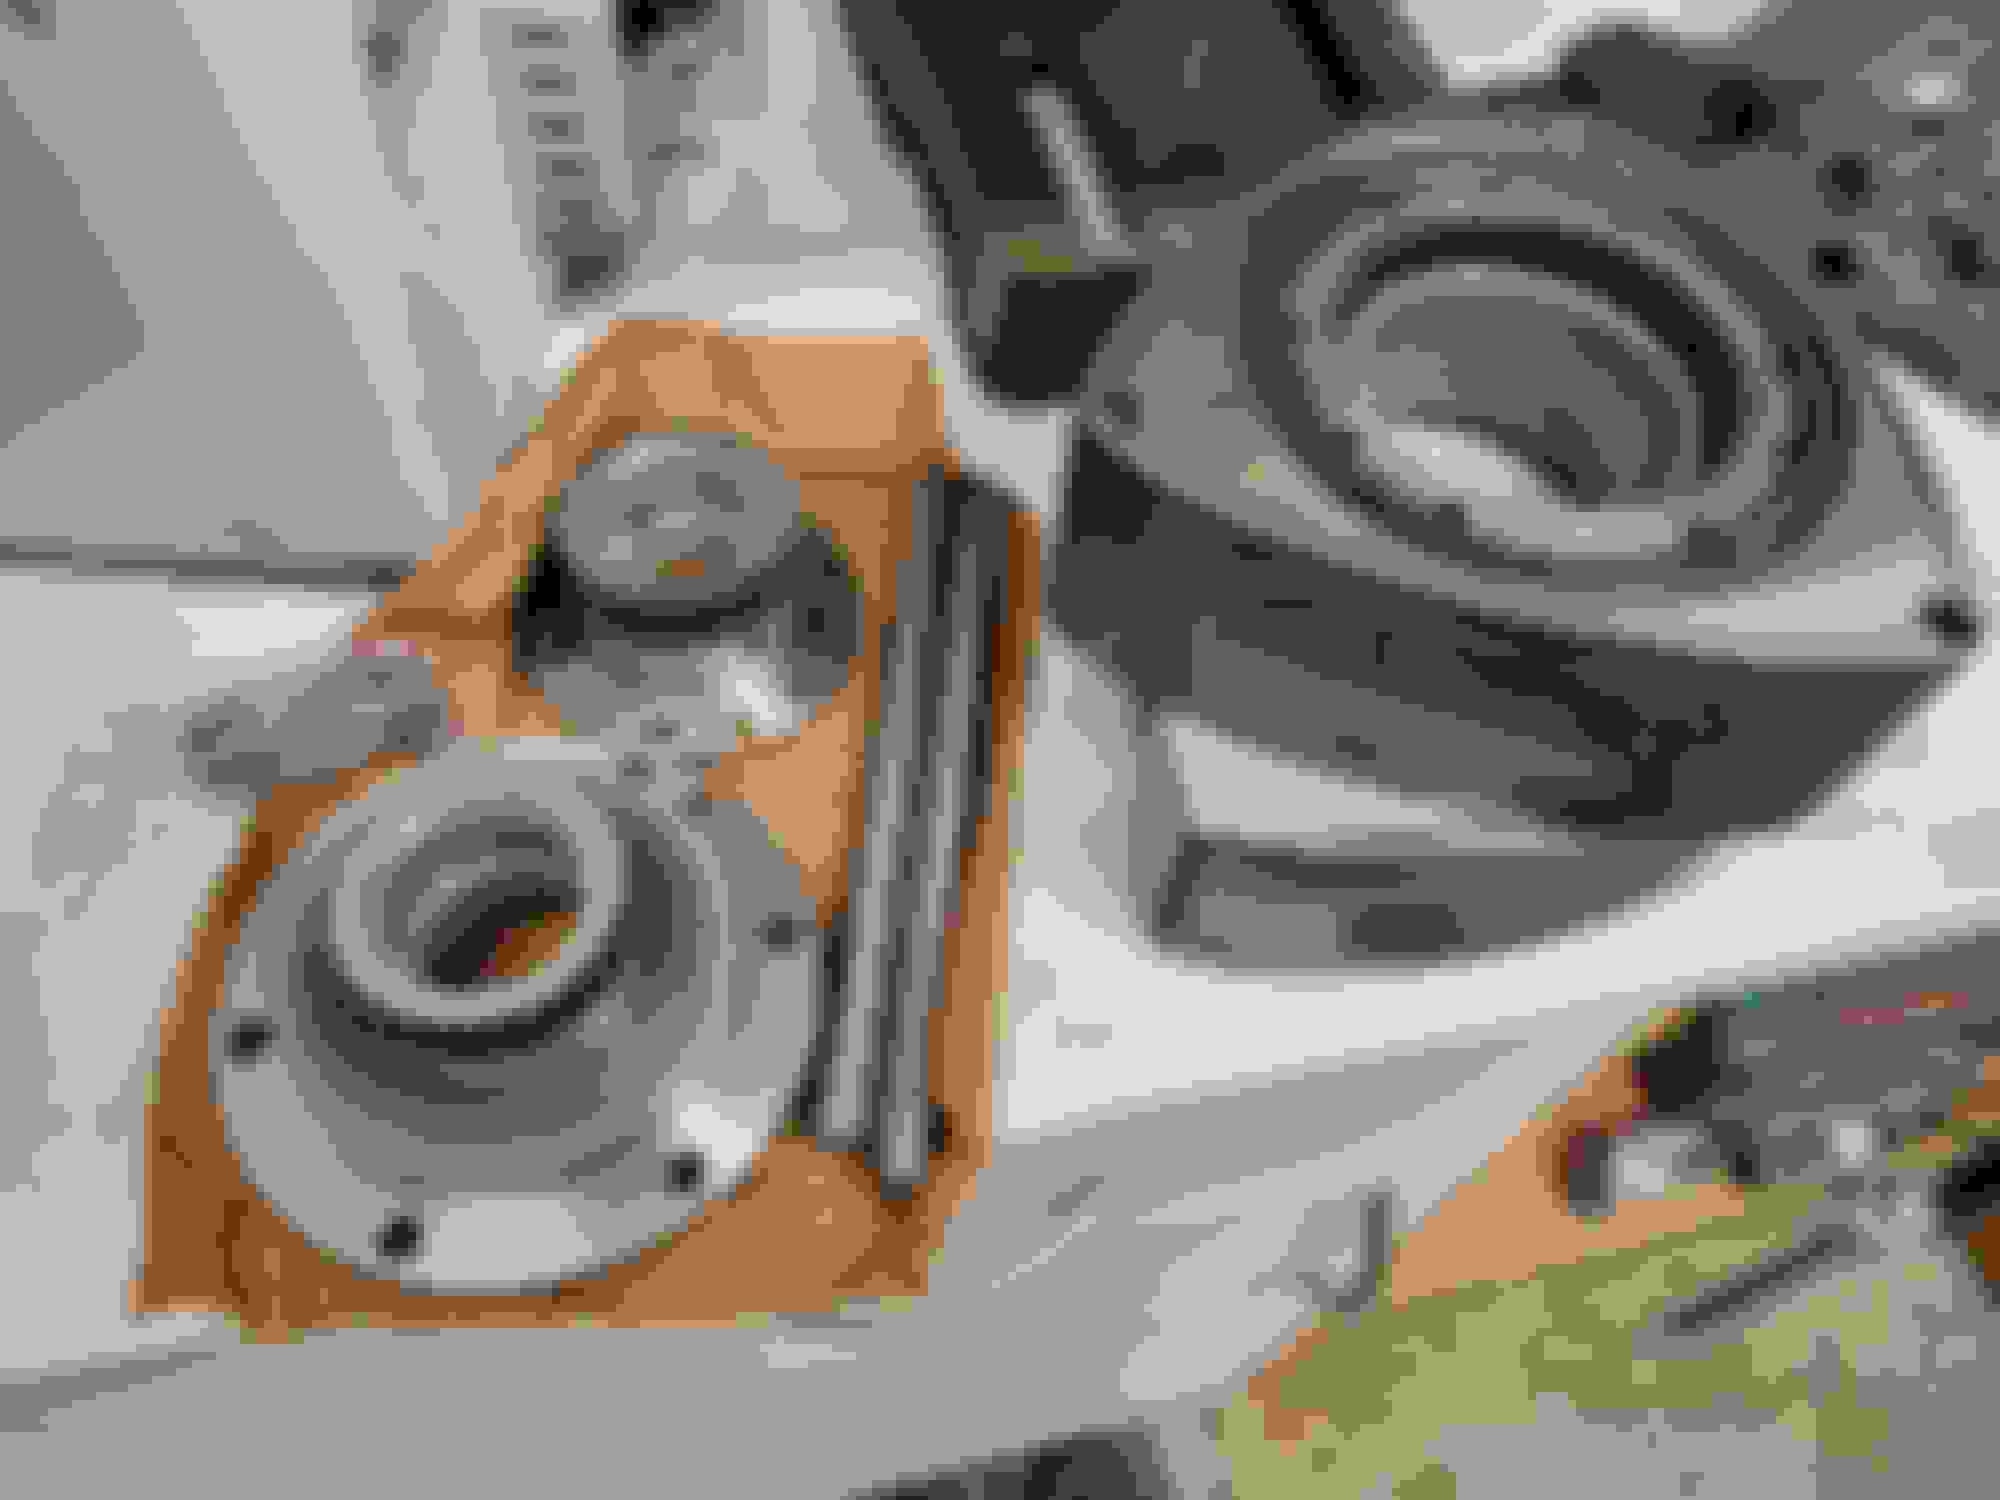
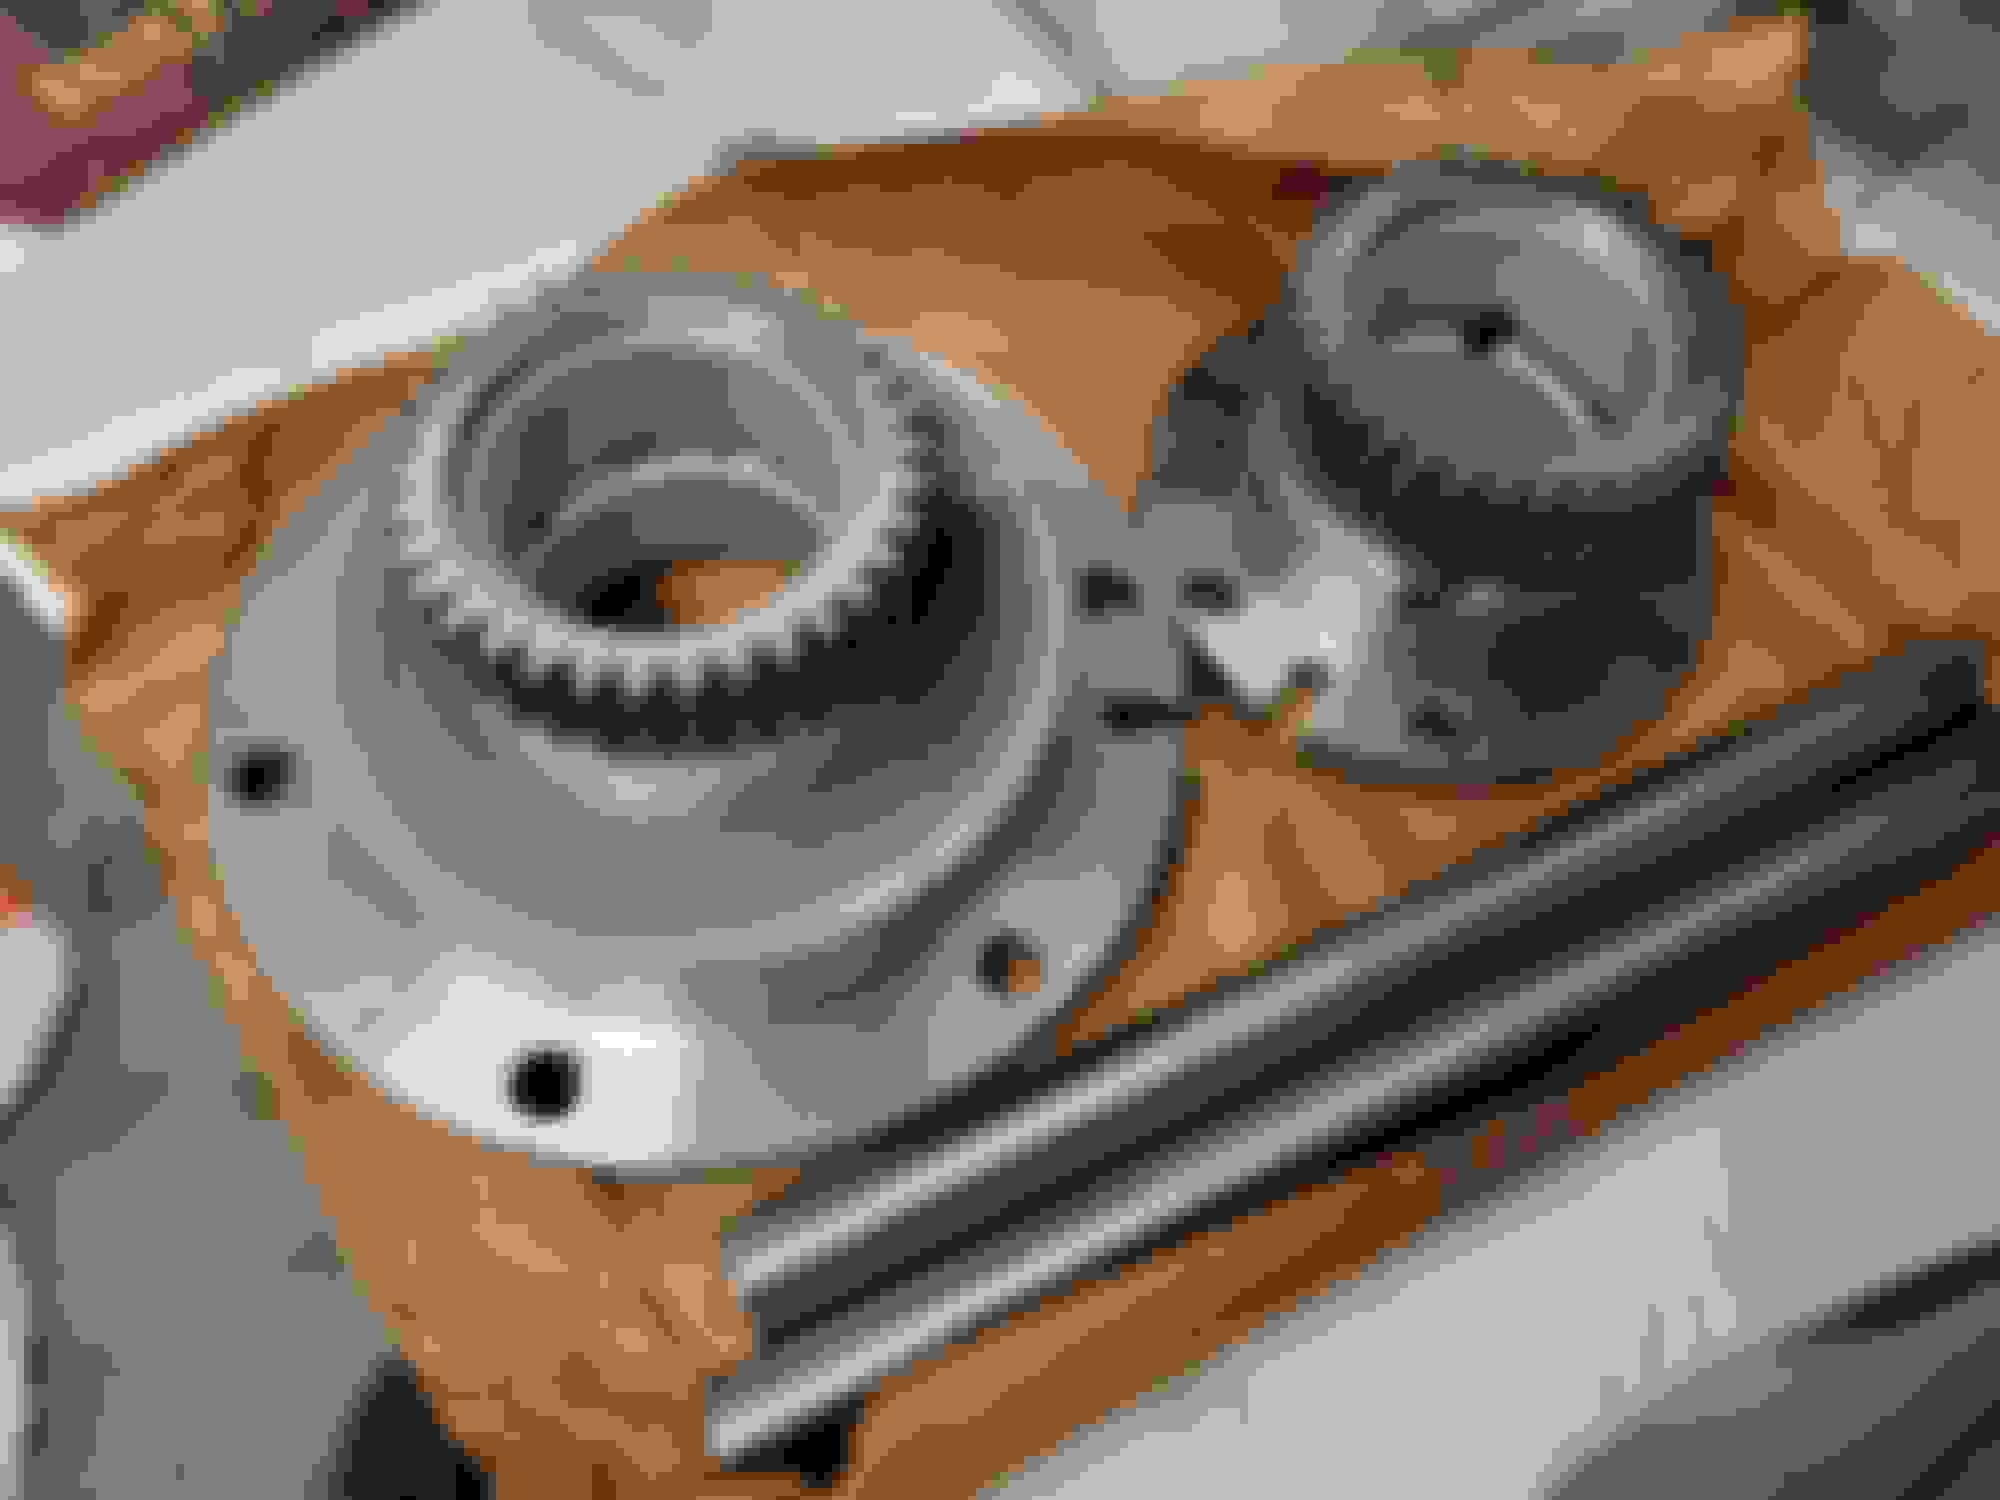
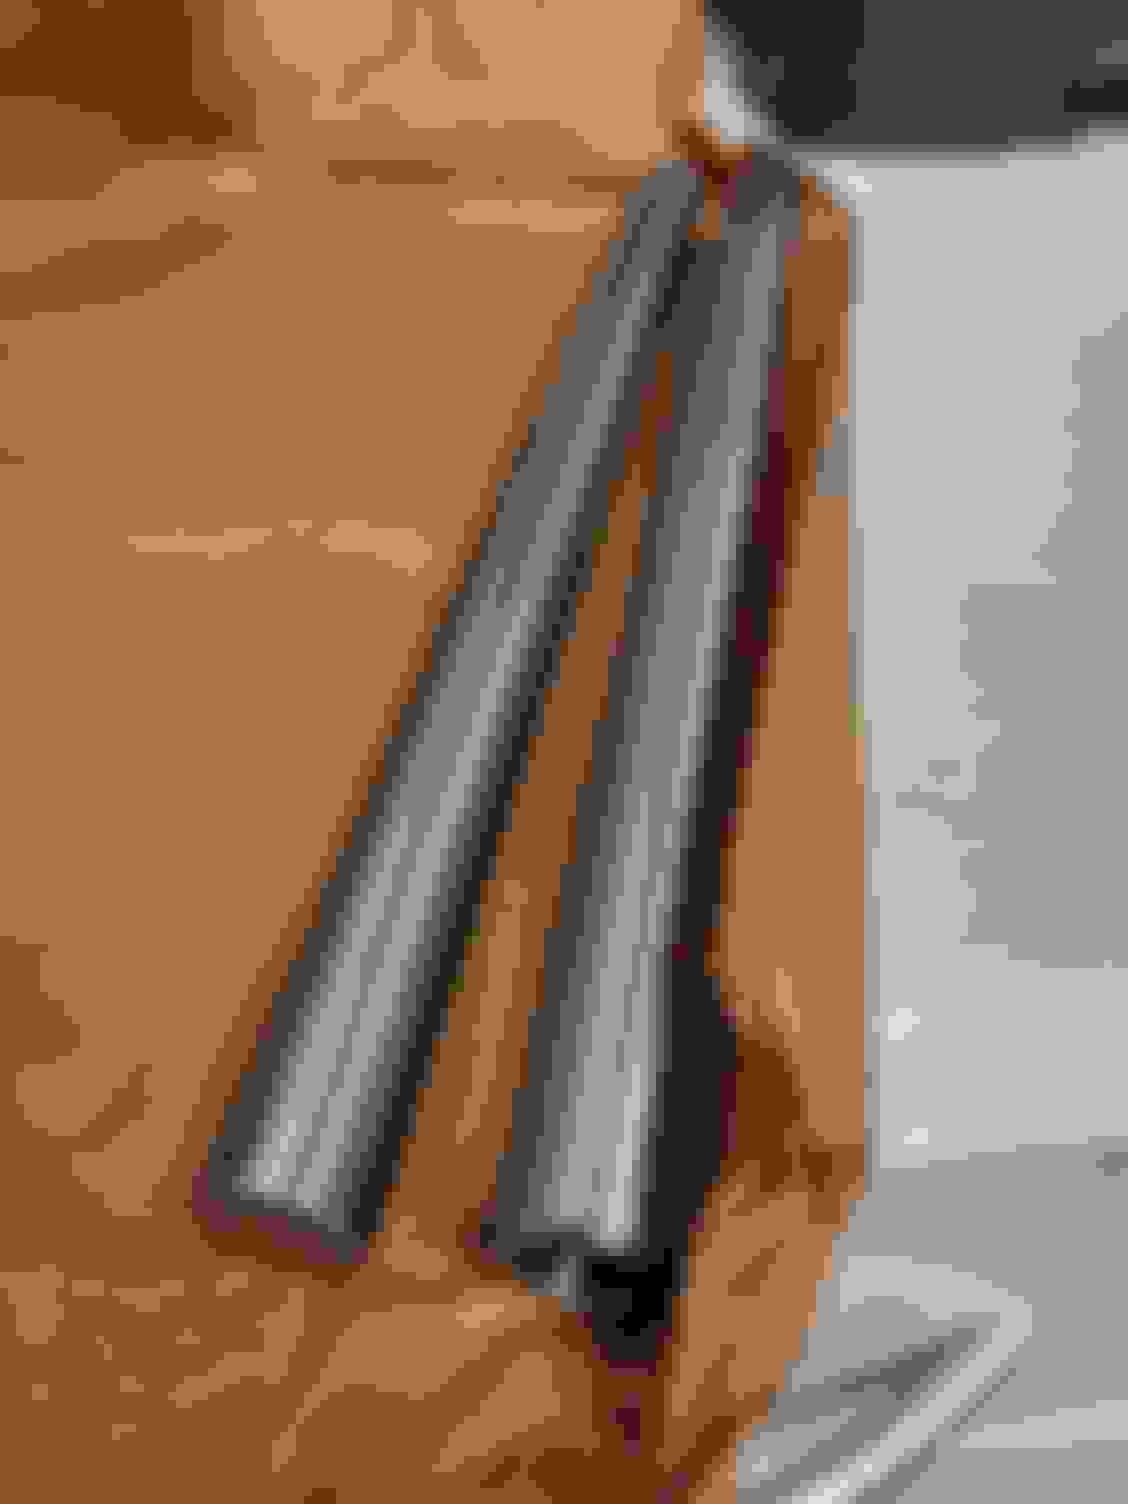
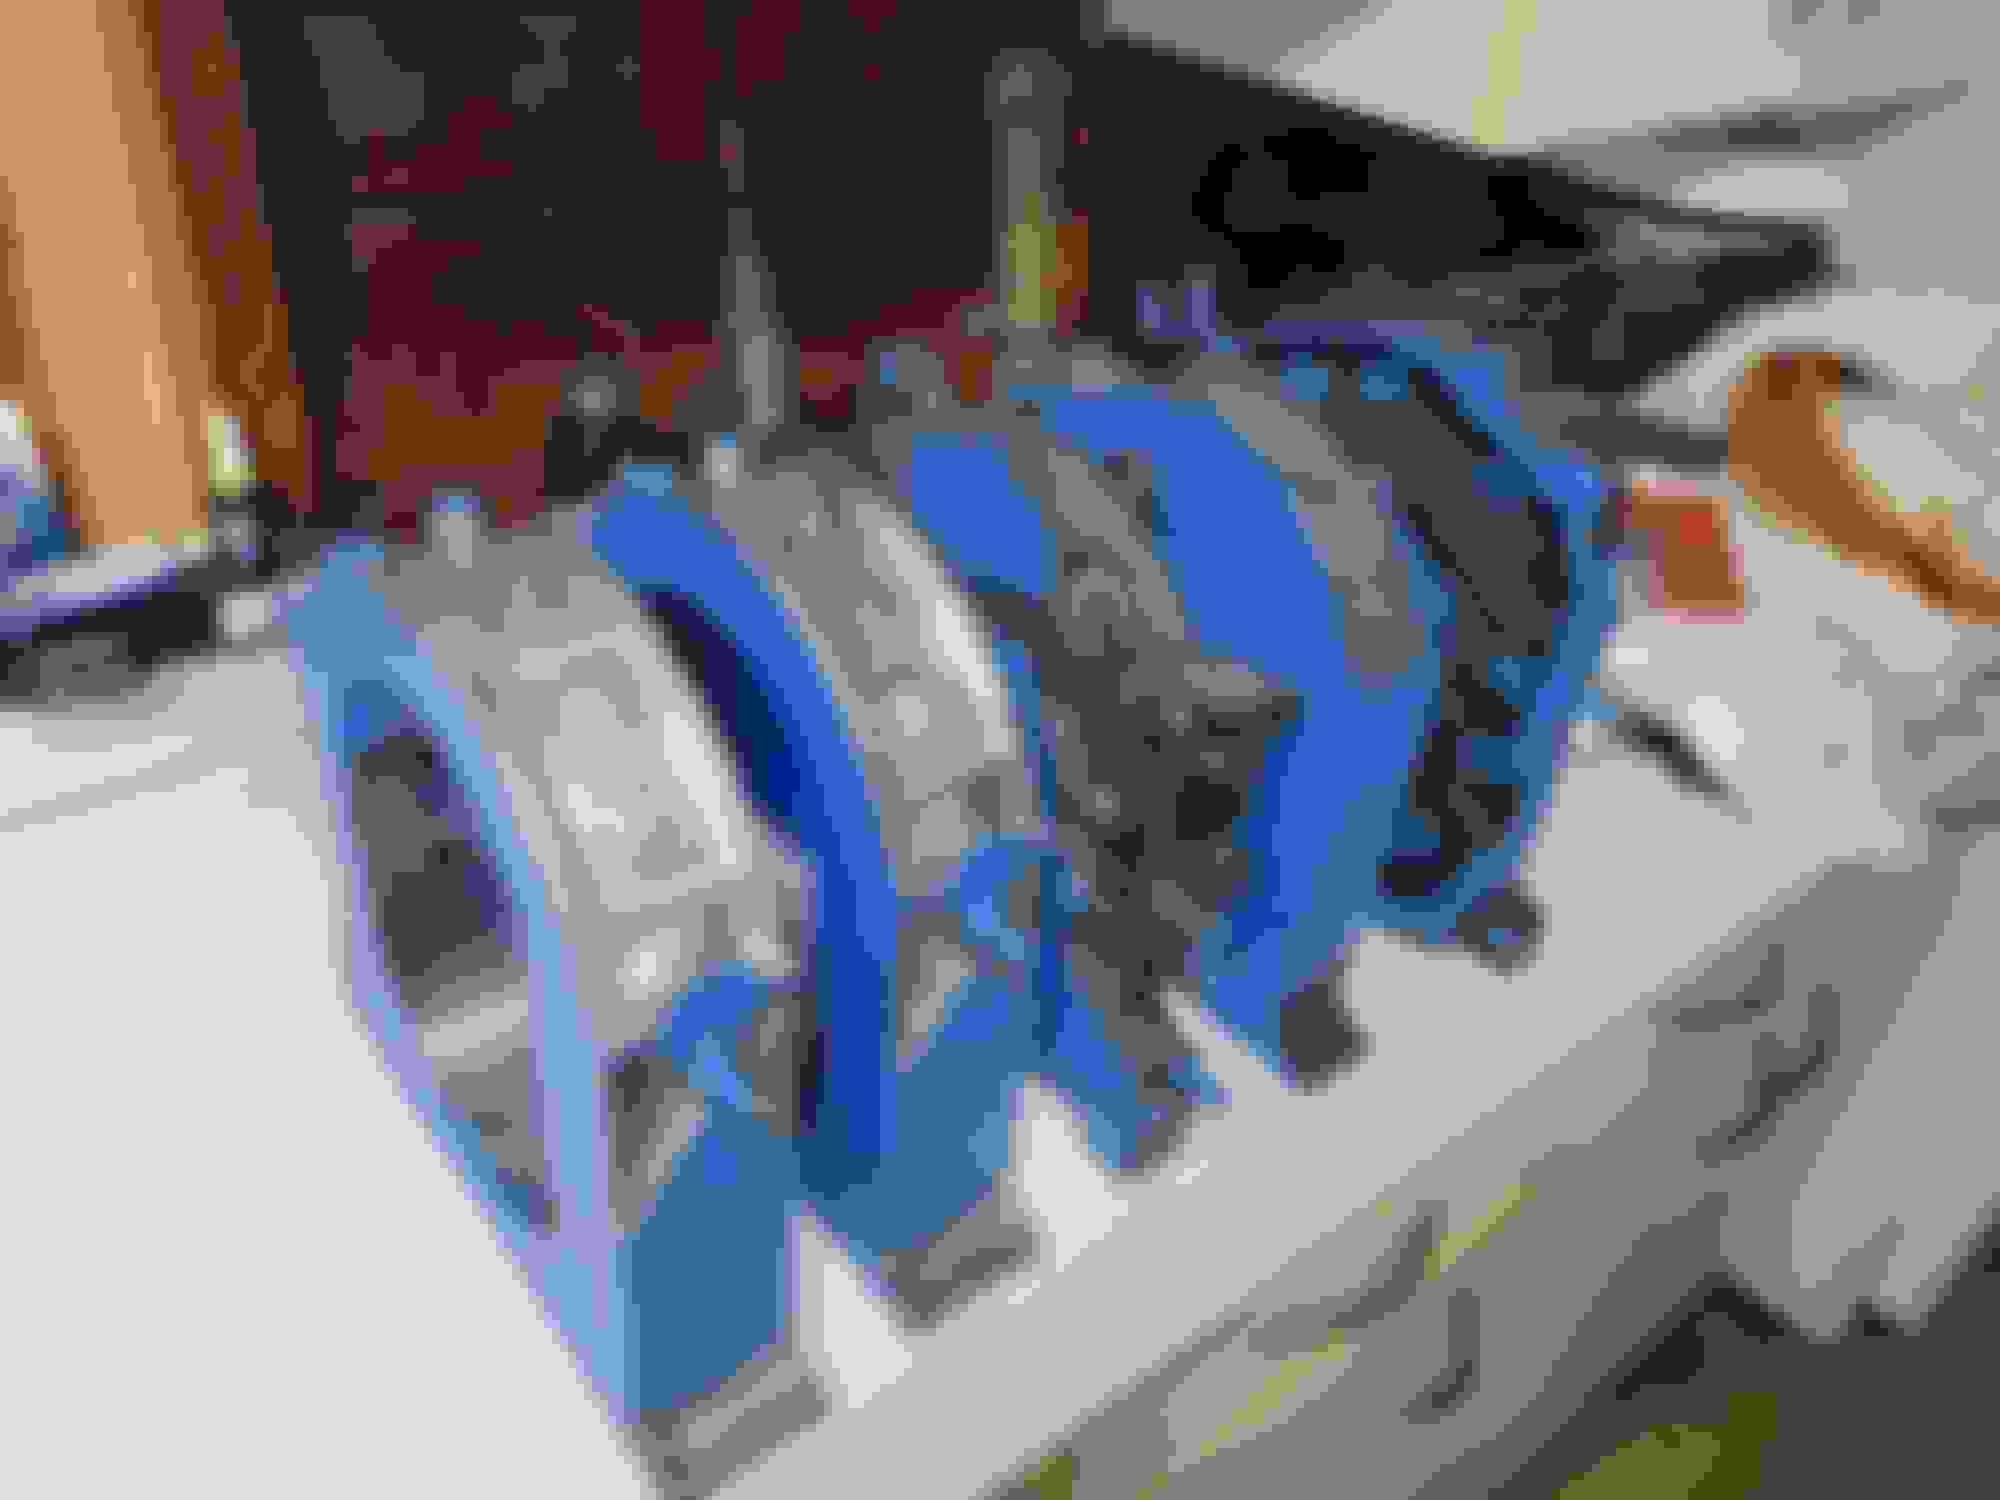
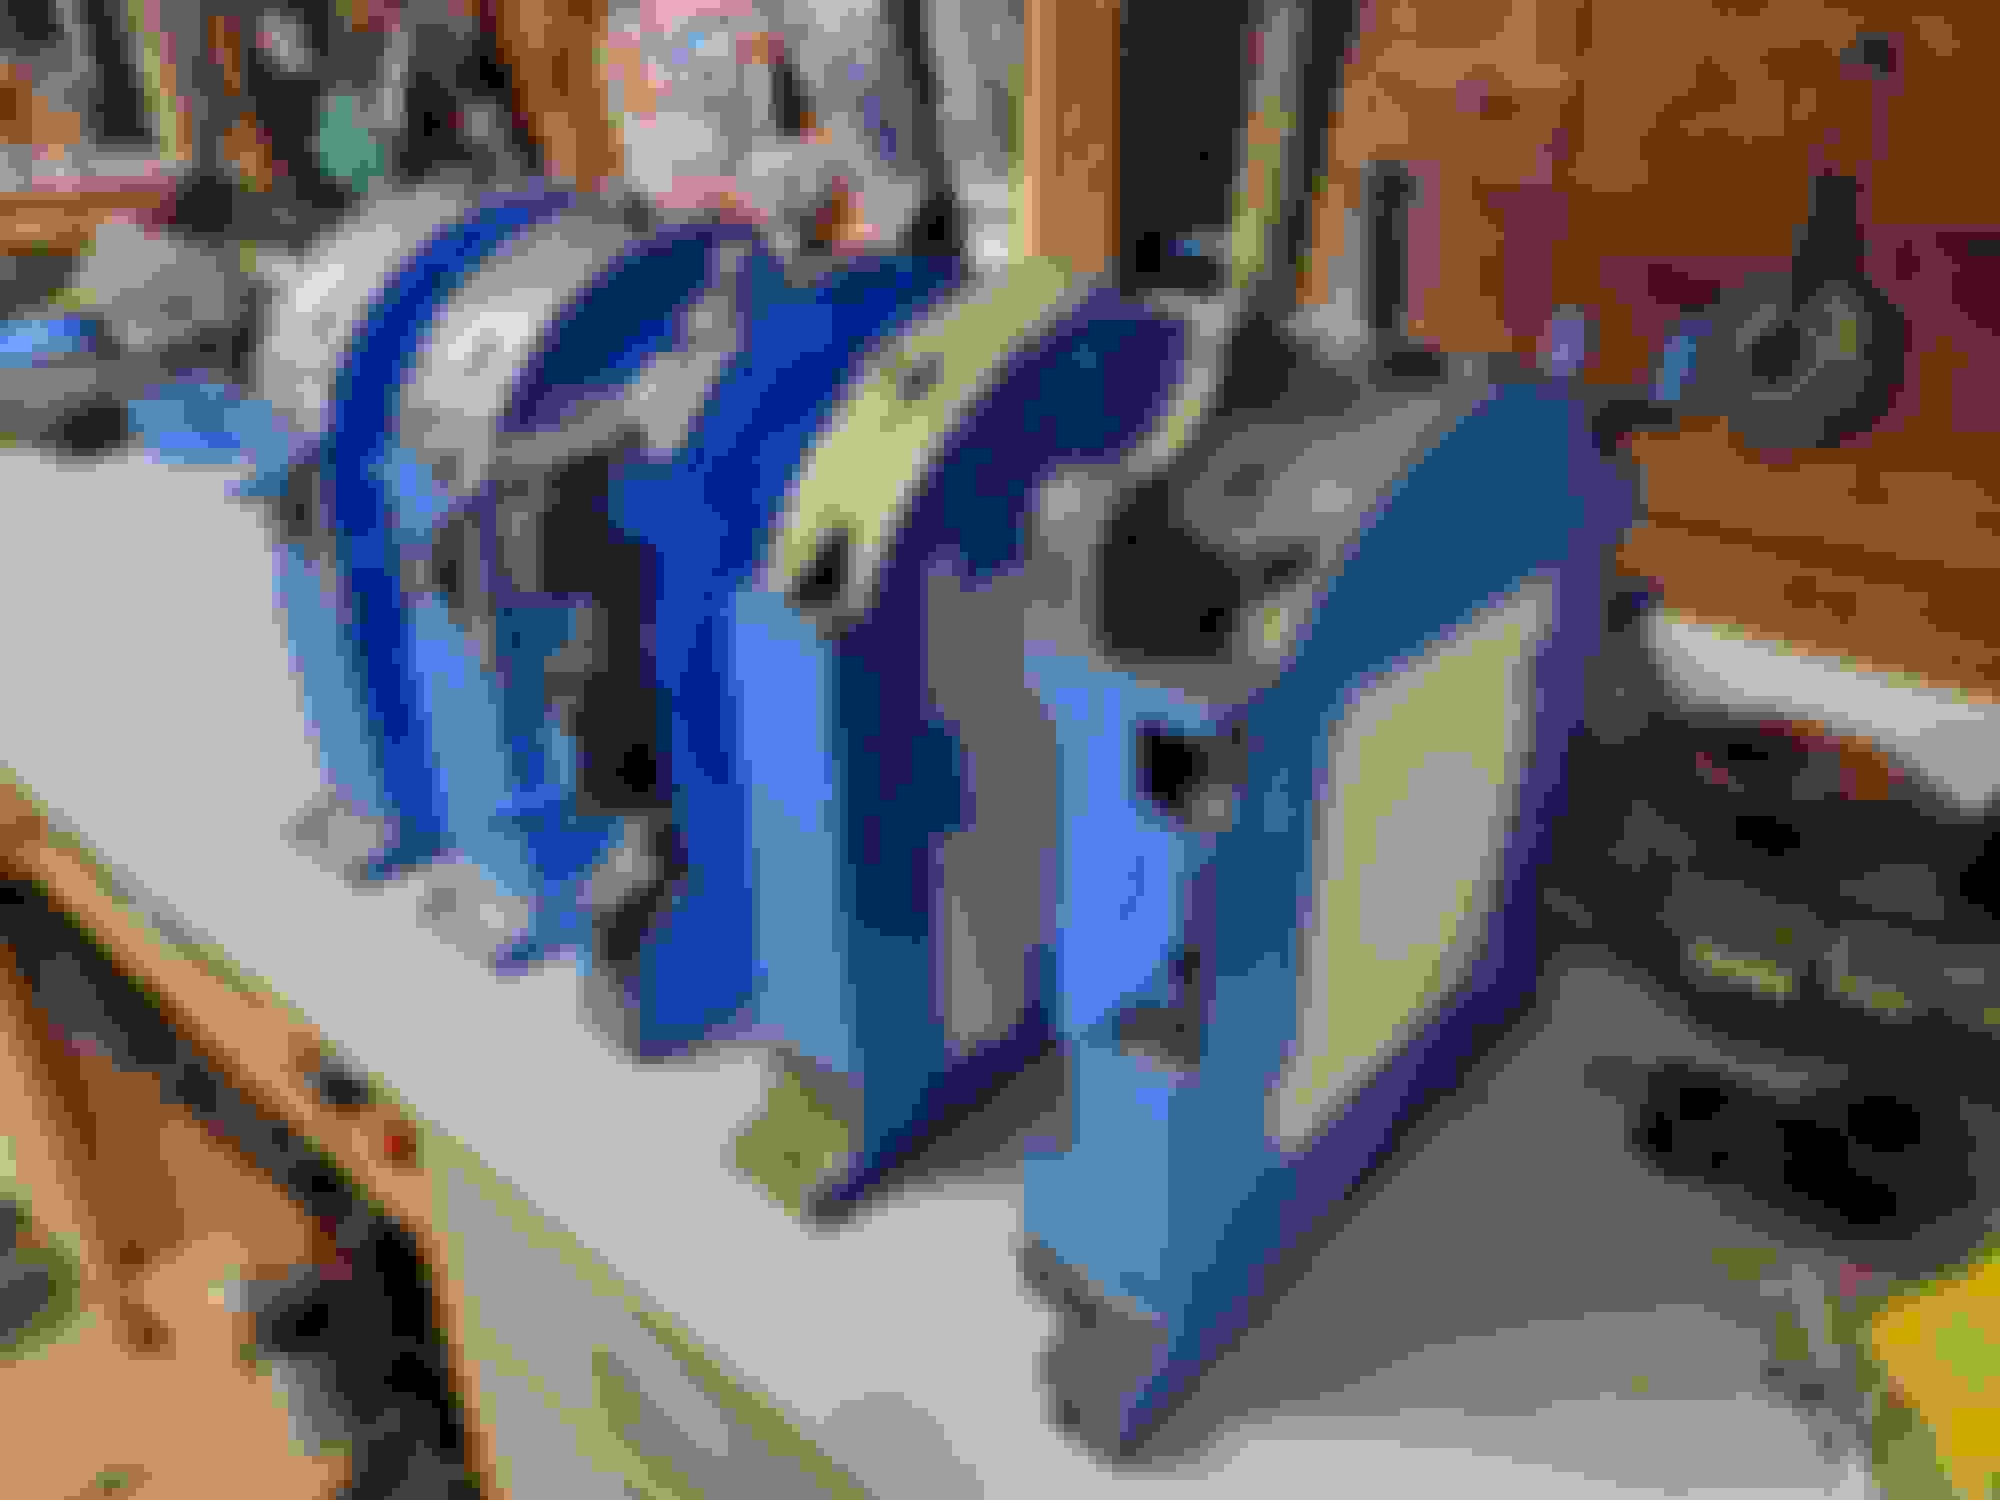
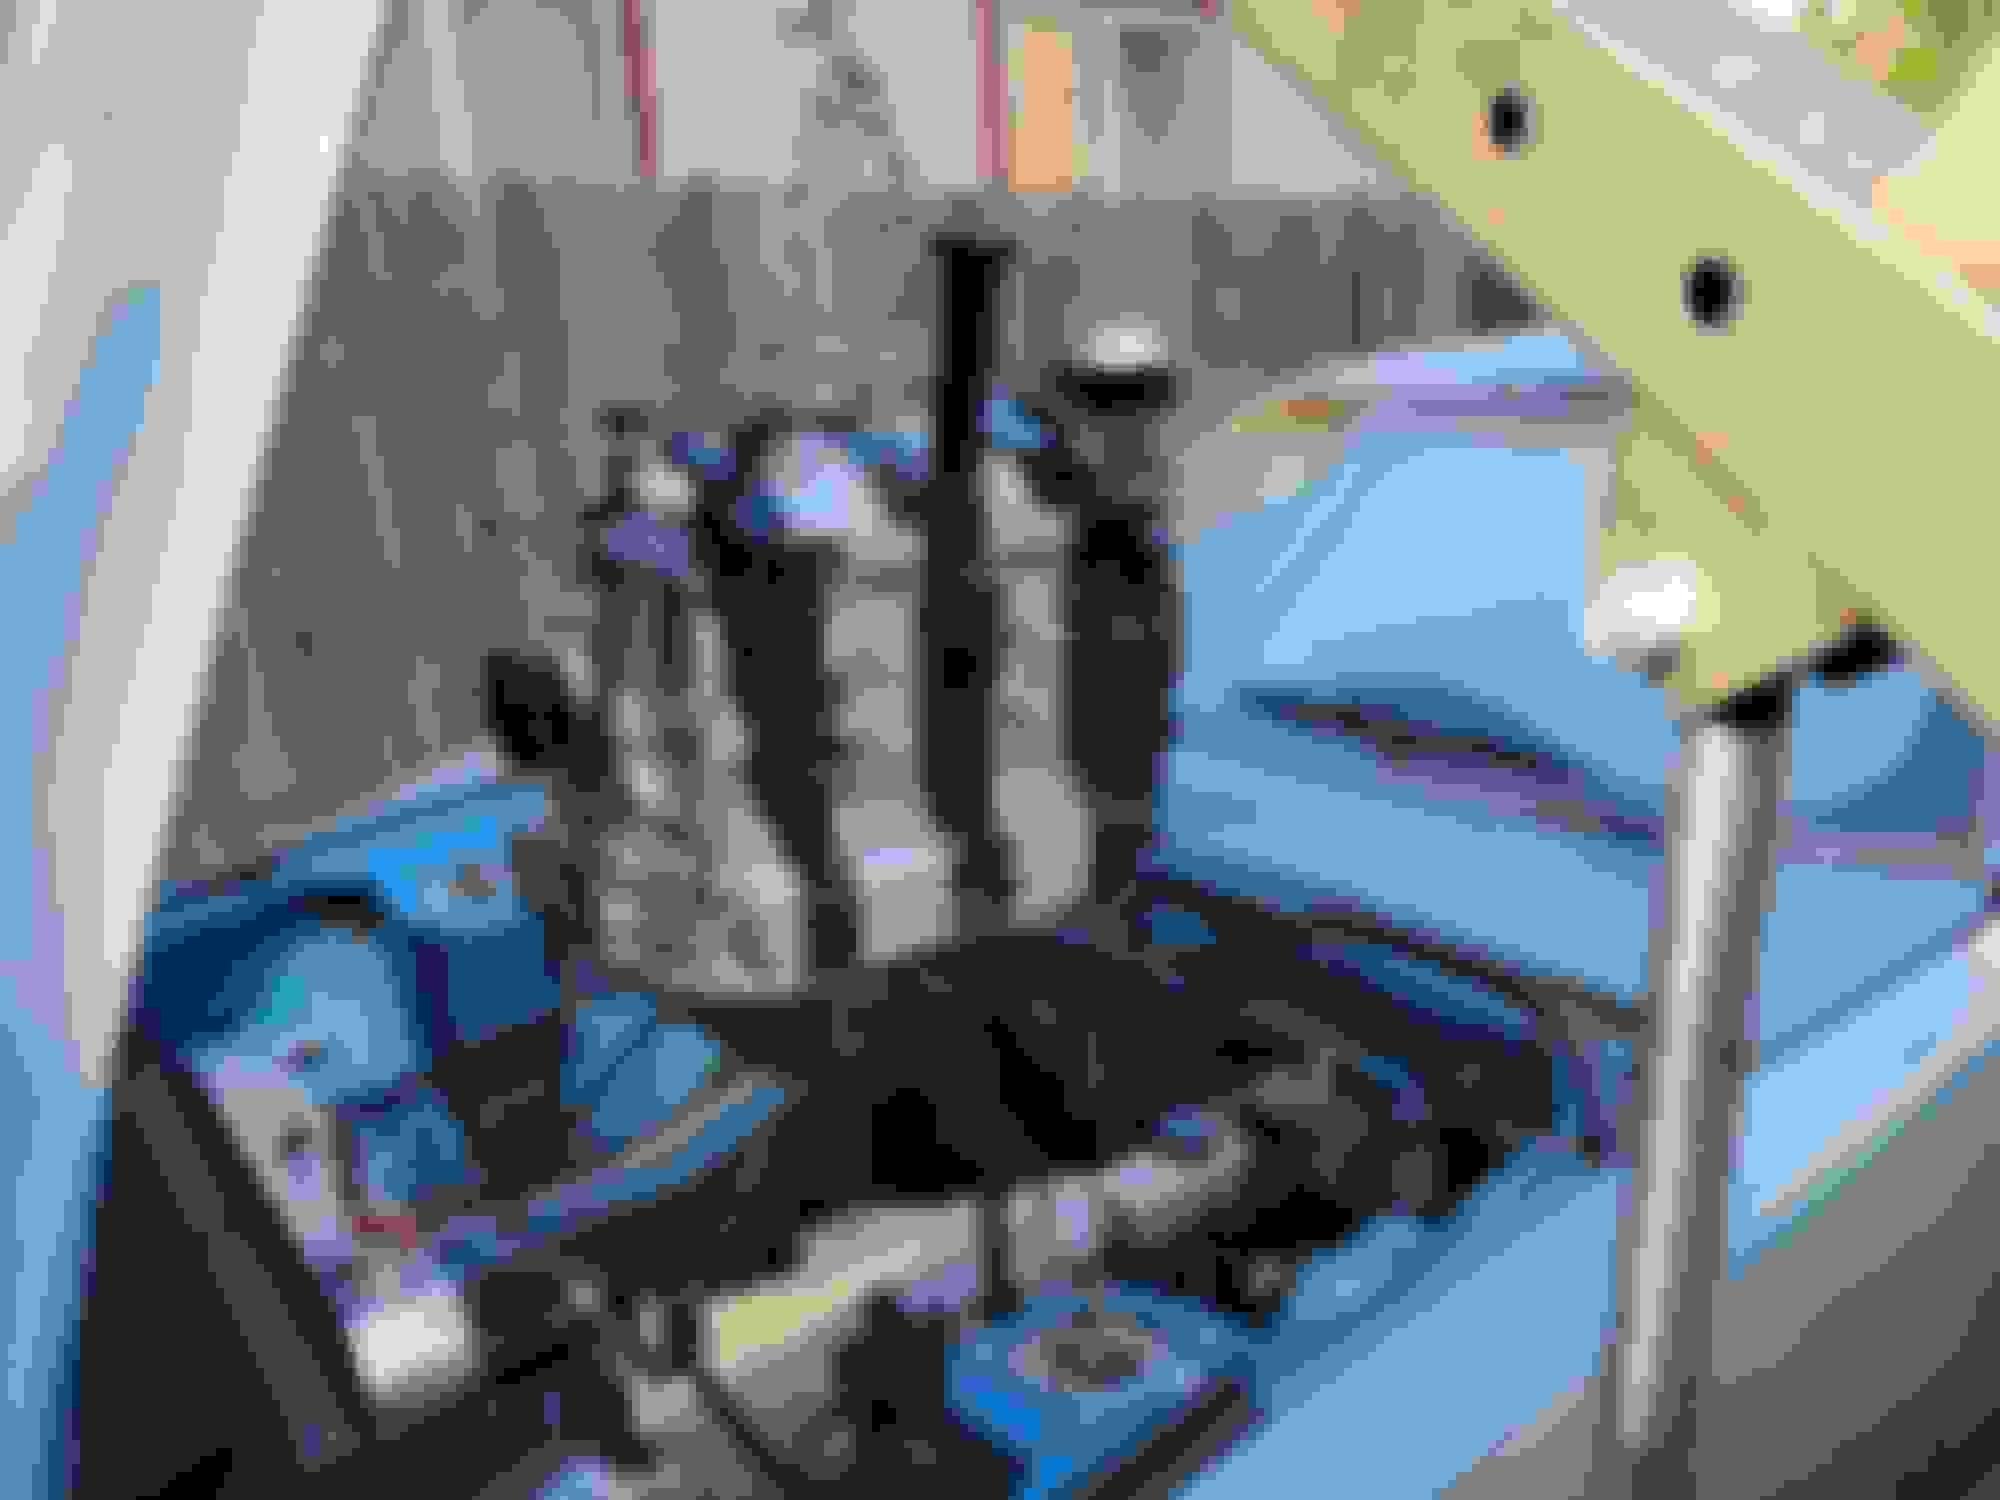
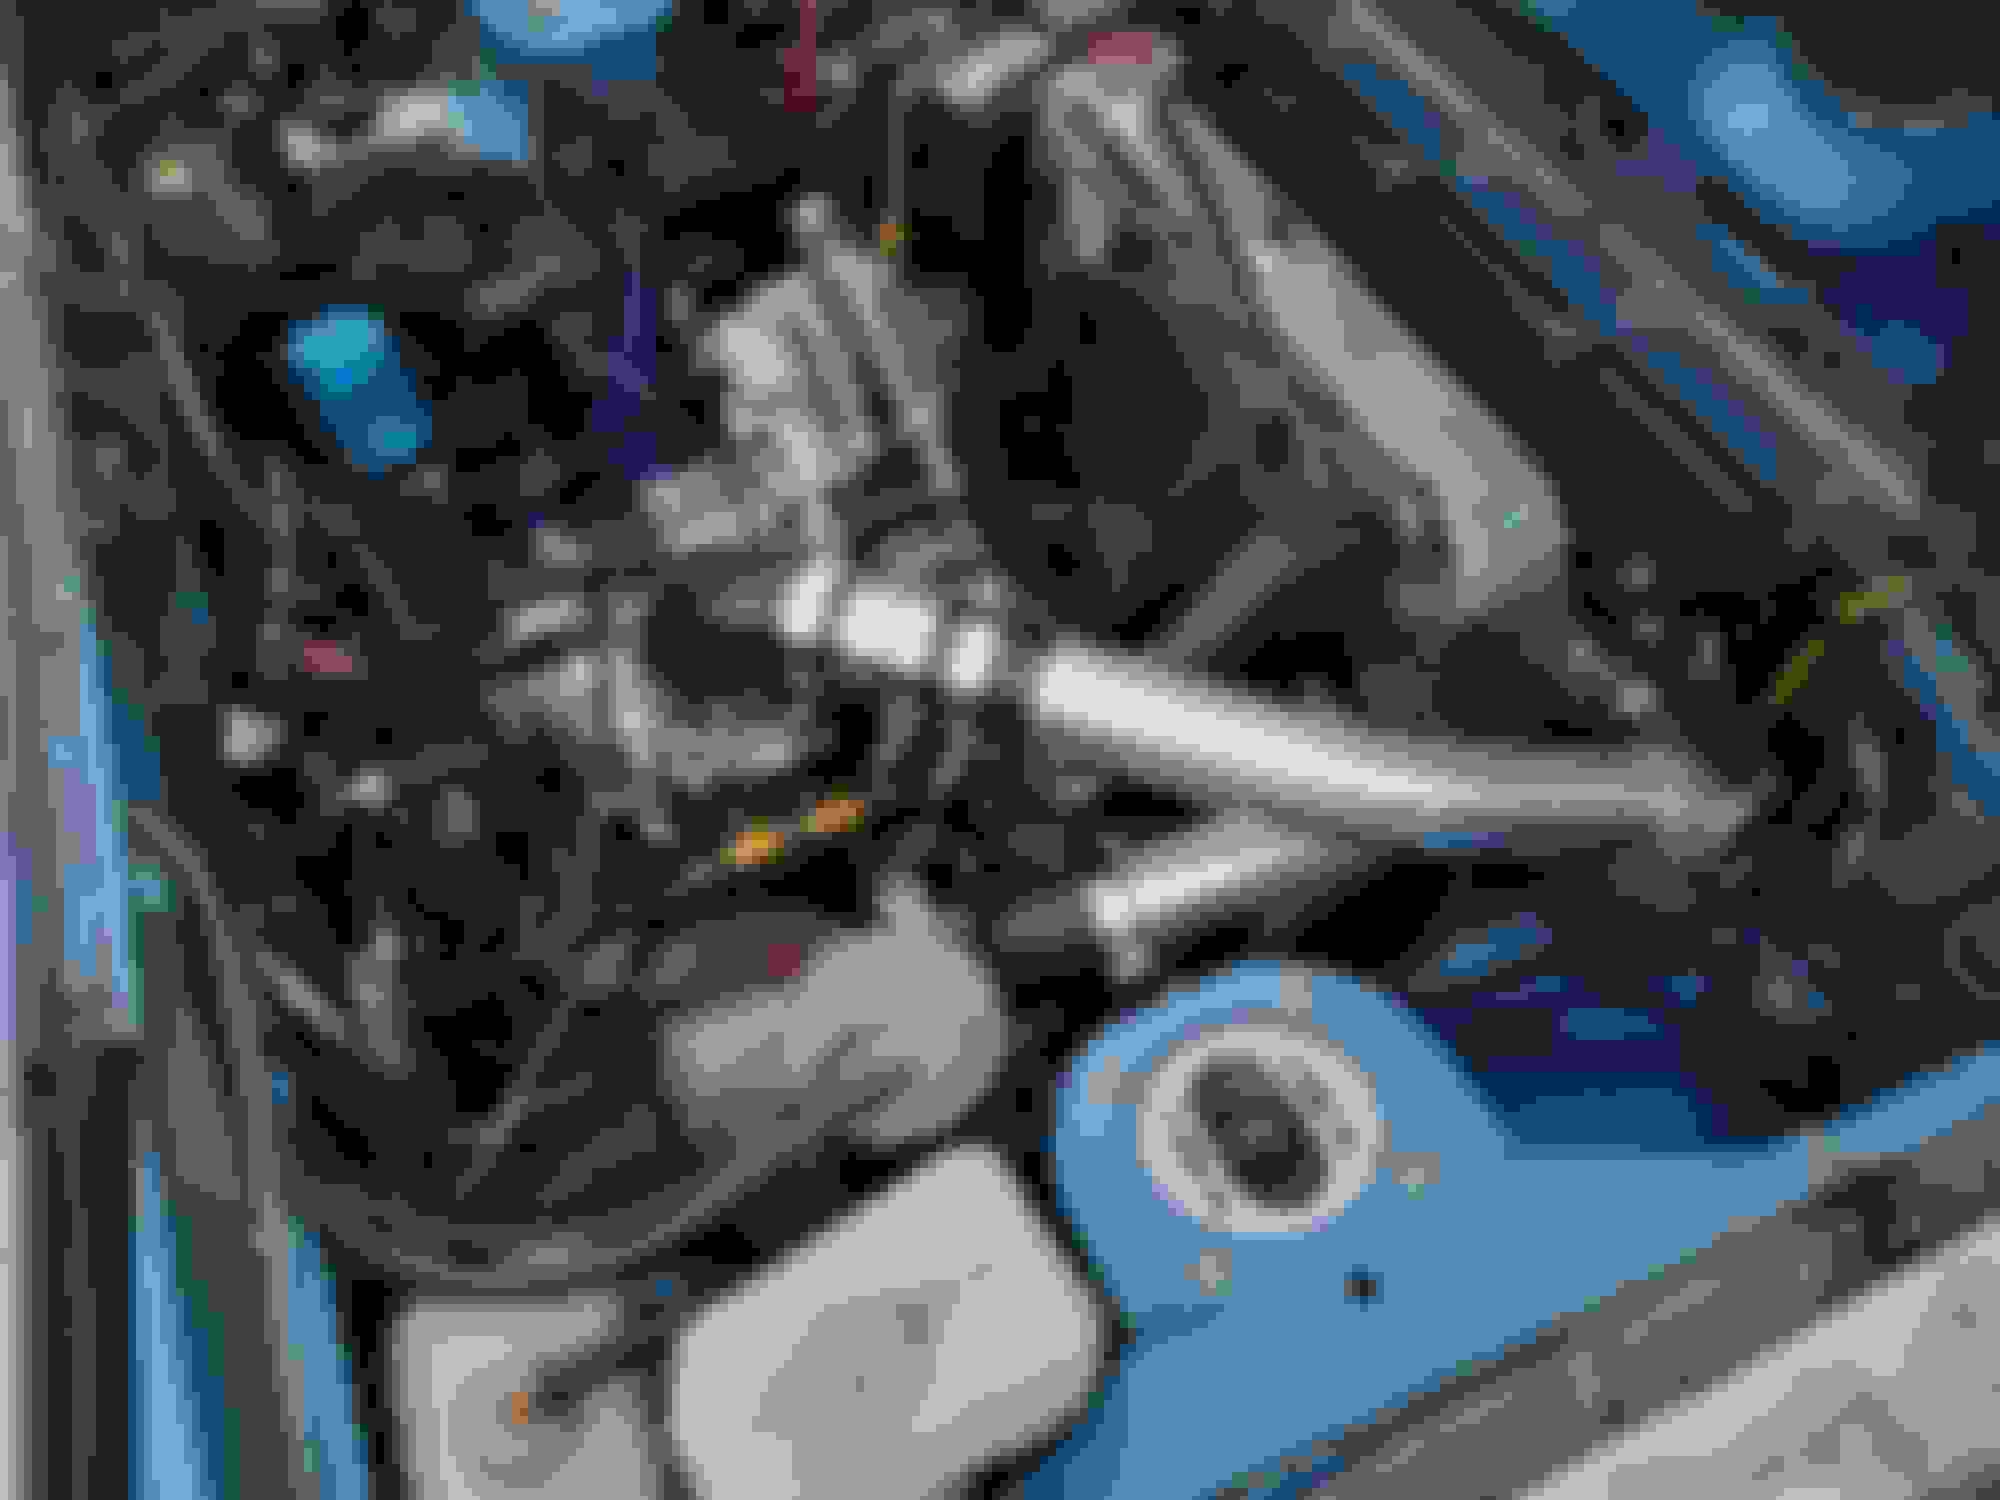
Making a little more progress with the engine finally. Stopped by Pineapple Racing yesterday and got the rotors side-clearanced and the RX8 gears cut down. Also picked up a 90psi regulator and some solid dowels. I still need to take the edge off the gears and port the rear's oil gallery to match the iron, but otherwise they're all ready after a final wash. Here's some photos of the loot.
Progress is slow, but having parts done and on hand now is definitely some much needed motivation. I'm hoping to have the car together by the end of July. A bit later than I wanted, but other stuff has to come first.
Got a tad bit more work done today. My bottoming tap finally arrived and so I went ahead and finished drilling and tapping the end of the oil pump gallery for the M16 fitting. Decided to do it in addition to the oil loop since it removes a few 90s in the front cover and I can't bolt something to the side of the engine now anyway.
In light of my prior attempt with the oil loop filling and how it ended up a bit tilted, I made myself a 3D printed jig to keep everything straight. After a couple test fits I got it sitting exactly where I wanted, and was also able to finally use up some of this obnoxious neon orange petg I have lying around. This was a godsend for keeping the bit centered, especially since there is so little meat around the fitting for the washer to seal against (I have some Dowty washers to help ensure a tight seal). I also drilled the hole a tad undersized (14.0mm) since last time the hole ended up a little larger than intended. With the jig it wasn't an issue however, and instead just made getting the tap started more tedious. Regardless, it's nice and straight, centered, and should do very well by the looks of it. Note that the hole is intentionally off-center because the off-center stakes would have interfered with the sealing surface. Here's some photos:
Hopefully tomorrow I can finish up the last of the Dremel work, and then begin prepping the block for paint. I'm also aiming to get the car back in the driveway in the next couple days (been on the street for months now) and pull the oil cooler out to get it cleaned and serviced. The goal is still to have everything together and assembled by the end of July.
Got the SA pushed into the driveway this morning and gave it a quick pressure wash and vacuum. Nothing too detailed, just wanted to get off the worst of the moss and all off the exterior that have accumulated over the last many months. After that I put it up on stands and got started removing the oil cooler - I had forgotten how annoying the lines were to remove (particularly the front cover fitting). It didn't take too long though, and now the cooler has been dropped off at a local radiator shop for cleaning and pressure testing.
Now that I've gotten a look at it I'm fairly confident that the slow drip I had was from the line and/or fittings as I don't see anything of concern on the cooler itself, so here's hoping. Asked if they would also fully tank it to get the outside cleaned up as I never was able to get all the paint and junk off that had been caked on by the previous owner.
Otherwise noteworthy, the battery was completely flat - go figure, it's been sitting a while... It's still in warranty so I'll get it replaced once the car is ready to go again. After hooking it up to a tender I was pleased to see that the fuel system still primes and fires the injector purge pulse as it's suppose to. Buzzers, clocks, gauges, radio, etc. all seem to be working as well, although I of course didn't turn it over. No signs of critters either.
That's about it for now. Here's a number of photos from today in the order in which they were taken.
Finished up the stationary gears tonight. They had already been cut down to size (RX8 gears) as I posted previously, but needed the top edge taken off, so that's done now. The rear gear's oil port is also now matched up to the iron - RX8 rear gears have the oil gallery located slightly closer to the gear face than the earlier engines. Lastly I did a couple touch-ups on the oil pump gallery inlet and outlet, so that's now finished as well. As you'll see in the pictures, the gears got a little surface rust on them (dark splotches after cleaning). Unfortunately I didn't get oil on them soon enough after machining. Photos below.
Finished masking the engine late last night in preparation for paint this morning. Quite happy with how it came out, albeit this is the exact same color scheme that I used on my prior engine. Not that there's anything wrong with a classic color pairing though, after all, I chose it for a reason. Goal is to be assembling the engine mid July after I get back from a trip. Here are some photos of the engine masked and then painted.
Picked up the oil cooler from the radiator shop today. Evidently there was a slight miscommunication as I was greeted with a now-black oil cooler; I had requested the old paint be removed as part of cleaning, but it seems they decided to replace it too, oh well. Not a huge issue and they didn't charge extra for it. I am a little annoyed that they didn't remove all the old paint, but it doesn't bother me enough to make a fuss. Good news is that it passed the leak and pressure test at 200psi after cleaning it out and replacing a bad crush washer. Total cost ended up at $130, which seems reasonable given shop rates these days.
Overall happy to be confident in my cooler again and have fixed the source of the only leak on my car.
A lot of progress has been made since the last post and I've been doing a bad job at documenting it here. Suffice to say the car is running and driving - about 200 miles on the break-in so far. I'll do a more in-depth post some other day, but for now I just wanted to give a little update.
The new engine is strong, and while I still haven't checked the compression, it is leaps and bounds better than the old one. No leaks and no oddities in general. Today I made a rather large break-through on the tuning front, so in theory I should be seeing some improvements there (I had been running into a number of issues with it). I've been trying to keep the boost down, although I've still managed to hit 5psi once or twice with how quick it spools. Really looking forward to getting it further dialed in and I'm so happy to have my SA back on the road, even if it's not at 100% just yet.
Anywho, just want to let folks know the car is alive once again. I'll try to get some photos up in here at some point.
great news! how is traction under low power driving? I have only driven mine about 100 yards. (Need state registration and plates). What is your Air Intake Temps? mine got to 140F So I'm adding more heat management insulations. There was a lot of idling.. Anyways
Great job on your accomplishment. looking forward to some video
Traction is pretty reasonable, although I've gotten up to at most 40% throttle under load and only once above 5k rpm so far. I have spun the tires twice from a stop though, but I blame my grabbier clutch for that - still nice to know it has the torque. At first it engaged so low I was nearly stalling the car each time, since I was used to my old setup engaging at the very top. Taking out the last of the slop in the pushrod has brought the engagement to a nice middle position.
Driving around I believe the highest IATs I've seen are 120F or thereabouts. Usually it's around 85-110F depending on the weather (it's been darn warm here recently), but that's also just cruising at 45mph or below and light load. If shut it off and let it sit for a bit it will heat soak up to 136-140F. The sensor is located maybe 8" before the throttle body and sort of next to the water pump housing. Just a standard open element GM type. Considering your intake is ducted and mine is sucking air from behind the radiator I would've expected to see the opposite sort of results. I suppose we'll see as time goes on and we get more data.
I'm holding off briefly on the car until my new injectors arrive. I just don't trust these eBay ones and I was offered a great deal on some ID1050xs that I couldn't pass up. They should be here early this coming week hopefully. I'm also taking the time to go over my timing and AFR maps as they were just sort of thrown together before to roughly match a basic dizzy setup. Did a whole bunch of reading up and found a number of examples of "base maps" to get the timing closer to ideal, at least until it can get on a dyno (and who knows when that'll happen...). I spent this evening typing hundreds of data points into Excel so I can compare them all and make my own map based on them and what I've been learning.
Also lol, just noticed your updated "status banner". Congratulations to you as well. I hope we'll both be running well enough to see each others projects before the summer is over.
Toruki, Thank you for the kind words. Its been fun watching Benjamin's build considering we started from the same 1980 Rx7 but deviated from the usual paths.
Benjamin, I'm still working on closing things up. Turned out my oil drain from the turbo was leaking. I also had a oil cooler hose leak. So much oil leaking. Anyhow, I think I have it dialed in now. I have a small fuel leak in the rear... although I can't see where it is originating from. So I have some "systems checks" to do.
I also need to address the suspension. the rear rides lower than expected once I got a full tank of fuel in it, plus i'm not exactly light either. had some tire rub going up my driveway. Right now my efforts are on my out of commission daily driver. A Geo Tracker that is going through a rebuild on the engine, transmission and transfer case. I'm also still working on my seat upholstery.
Thanks Toruki, I always appreciate your enthusiasm and interest in our projects.
Richard I look forward to seeing the next update on your project. Been a little while since either of us have posted in our respective build threads by the looks of it.
Regarding my project, it's up and running quite well now with about 800 miles on the new engine at this point. Got it passed smog a week or so ago which was a stressful moment, but it managed to pass just fine. I used an electric air pump from a Volkswagen I had lying around paired with my "smog only cat exhaust" in order to make it pass. Turns out the smog pump really didn't like running for extended periods of time (it's only really designed to run for less than a minute in it's original application) and so it has a thermal shut-off that kicks in after a couple minutes. Somehow it managed to stay operational just long enough for the techs at the smog station to run their checks and get my paperwork finalized, because by the time I got back to the car the pump had shut down.
Otherwise the car has been quite fun. I decided 500 miles would be my break-in point so once I got to that I did my fluid changes and began tuning load areas and slowly ramping up the boost. So far I'm up to 12psi and should have it at 14psi soon which is where I'll be calling it good. Even at 12psi I can spin first and second and a little bit of third on dry pavement with decent all-seasons. The turbo has a little lag, but it's not bad. Definitely makes for a more exciting experience however. Temps are spot on, even with the relatively small intercooler, and everything else is checking out as well.
Overall the tune is in pretty good shape although I'm still working on cold driving operation and the acceleration enrichment settings - under load and cruising is well sorted by this point. I am having some random sync loss issues that I need to sort out, but they're so infrequent and isolated that I'm not terribly concerned as of yet. Unfortunately the trigger logger on my ECU has a firmware bug right now so I can't actually diagnose the issue properly (I don't have a scope either).
The other issue I'm running into is a boost leak on the intake manifold to injector body flange. I had the same issue with the carb setup so I'm thinking it must be the phenolic spacer and/or its gaskets. I've got some Motoseal on it for the time being and it works well enough, although at some point I'll probably make an aluminum heatshield with some normal gaskets and just ditch the factory spacer. The injector body is nylon anyway so it's not like it needs the insulating properties. I've though about grinding the gaskets off the spacer, but I've done that once before and they're really darn well attached. Would have to also fill the vacuum passages that are under them if I did that and I'm not sure if it'd seal after all that anyway.
Unfortunately on my way home Thursday of last week my clutch slave cylinder went out so the car is down until the new one arrives Monday. I also ordered a new stainless clutch line from RB because the Atkins one I have now turns the fluid black instantly every time - and I know it's not the other components because they've all since been replaced thinking they were the issue. At the same time I have a new water pump to put on the car as the one I have now is beginning to weep every once in a while, as well as a new gauge sensor as it finally bit the dust. While the car is down waiting on parts I'm also going over my sunroof again and patching rust holes to hopefully reduce the amount of water I get in there over the cooler months.
Additionally, I took the opportunity to fix my leaking oil turbo drain. Must have just gotten a bad length of hose because the braiding would get oil logged while the fittings stayed dry. Was a simple swap with the exception of getting a wrench on it. I also still need to get my tachometer working, but that should be a simple afternoon project. Just need to pull the ECU and add a new driver chip, and then pull the cluster and run a new wire for the tach - the factory route in the engine bay picks up too much noise and throws the ECU for a loop anytime it's connected. So essentially, the tach worked but I had to unplug it because my ECU was getting pissed off.
Fixed a couple of other minor things like marker lights and whatnot as well, so that's all in working order now too. Since I've got my headliner down I'm also going to take a look as to why my dome light is non-operational. The last time I fiddled with the light it caught fire briefly so something is definitely screwy.
Anyway, I try to post more frequently in here but it just doesn't seem to happen. I'll get some photos and videos up at some point here of the work. If you got this far, thanks for reading and have a nice day. Happy rotoring
I have a 7psi wastegate spring so as I understand it , I�m about maxed at 14psi before the exhaust overrides the flapper door.
Thing about 9.4:1 CR is the boost opinion seems all over the map . Seems like 10psi is considered �safe�� whatever that means. Is 14 feeling safe to you or is that a bit of a bundle of nerves. Honestly, I plan to keep around 7psi for the street. Dial up when needed on the track.
I have a 7psi wastegate spring so as I understand it , I�m about maxed at 14psi before the exhaust overrides the flapper door.
That's a general rule but certainly not always true. I hit 17.5psi on a 7psi spring when my boost line snapped and boost cut failed to engage (now remedied), and that was at part throttle around 4500rpm. It's just a generalization given exhaust backpressure forcing the gate open like you mentioned.
Originally Posted by Richard Miller
Thing about 9.4:1 CR is the boost opinion seems all over the map . Seems like 10psi is considered �safe�� whatever that means. Is 14 feeling safe to you or is that a bit of a bundle of nerves. Honestly, I plan to keep around 7psi for the street. Dial up when needed on the track.
I encountered similar results when looking into it. 10psi seems like the go-to because who knows why. 14 would feel perfectly safe for me if I wasn't running into random and very rare sync loss. Because of that I turned it down to 12psi for now, which in the grand scheme of things probably makes next to no difference in the safety of the engine. At this point I've been driving around with such a heavy foot tuning this thing that 12psi barely feels fast, even though my speedo argues otherwise; 8 or even 10psi feels pretty slow by comparison.
As far as the sound goes, 14psi screams and sounds rather aggressive, but the engine seems completely happy. Compared to most turbo rotaries it's a much more visceral sound than I expected while still not being raspy. According to a friend the turbo is louder than the exhaust, so that may be part of it, in addition to it being a 12A rather than a 13B.
Originally Posted by Richard Miller
may I ask where your AFR is under higher boost?
Right around 11.6-11.4 AFR at 12psi on 92 octane. Here's my full AFR table if you're curious. Note that cruise could be leaner, but because I still don't have transients perfect being a little richer helps smooth things out. The car will rather happily cruise at 15:1, although I plan to eventually target 14.5:1 in cruise.
It's been over a month since my last post in here and I'm just realizing I never posted any of the media I said I would. Photos (and video) will be below.
Came here to just post a check-in really. I've got probably 1500 miles or so on the new engine now and it's been a blast. Most recent change was turning it up to 14psi (technically 1 bar so ~14.5 psi but who's counting). It's such a fun car to cruise backroads on and I'm really happy the odd setup has worked out so well. There's still issues however, I won't deny that. The injector body still has a little boost leak, cold operation isn't great, and most recently I've started running into intermittent turbo smoke issues. I'm thinking the smoke is partially a drain problem as it seems connected to going up hill under mid to upper rpm/load, but I'm not 100% certain on that yet. Either way the turbo is getting more oil than it bargained for (90psi with a 4AN feed) so I have a restrictor on the way to knock down the possible culprits for the smoking. The drain will get revisited when I have the time to get the car back up in the air, although there isn't much I can do to improve it given the location of the turbo relative to the oil pan. Additionally, the starter isn't liking the cold weather, although it hasn't left me stranded yet. Just another thing on the list... On the other hand, I also fixed the hazards, replaced the brake master cylinder, and installed [unpowered] power mirrors.
A couple days ago I started fiddling with injector timing as I never tuned that, and discovered some interesting improvements as well as glitches. In the end, however, I decided I couldn't make accurate decisions without being on a dyno and measuring the changes, so I've reverted back to how it was for now. Hopefully this car can get on a dyno sometime in the not too distant future as I'd really like to dial in some stuff further than I can on the street. I'm also very curious to see how much power it's making. I met an awesome guy with a factory 12A turbo car at a local event and after going for quick spin the cars feel pretty comparable. His put down 200whp on the dyno which really makes me wonder where mine is sitting. Given I'm running about twice the boost and on a higher compression engine hopefully it's at least a little over 200whp... He also had an LSD and man alive do I need to get my hands on one, the rear end grips up so much better than with my open diff. Saw a full small axle set posted a couple days ago for $350 but I was unfortunately too late.
Anywho, my car will probably not see a whole lot of changes for a while so this thread might go a little quiet, or maybe not, who knows. Perhaps I'll think of something else to tinker with. The only things currently on the short term docket are the turbo oil restrictor and a new oil pressure sensor, and maybe a few tune tweaks here and there. I'm starting to get enticed by the idea of an NA EFI build where I can experiment with some fully 3D printed manifolds, but that's probably a ways off yet. For now here's some photos. Linked is also a recent run up and down some local twisties and a short idle exhaust clip. Cheers!
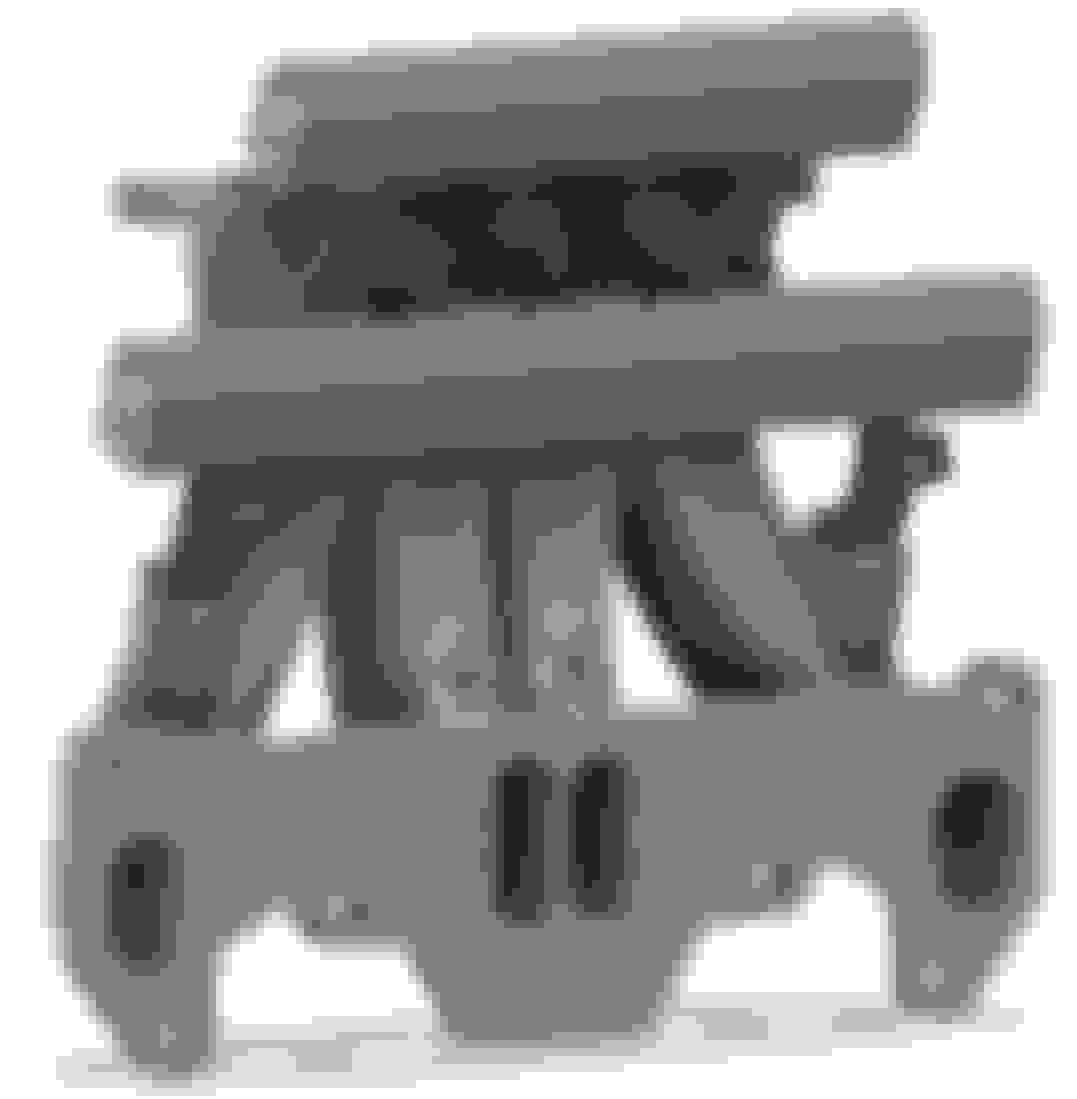
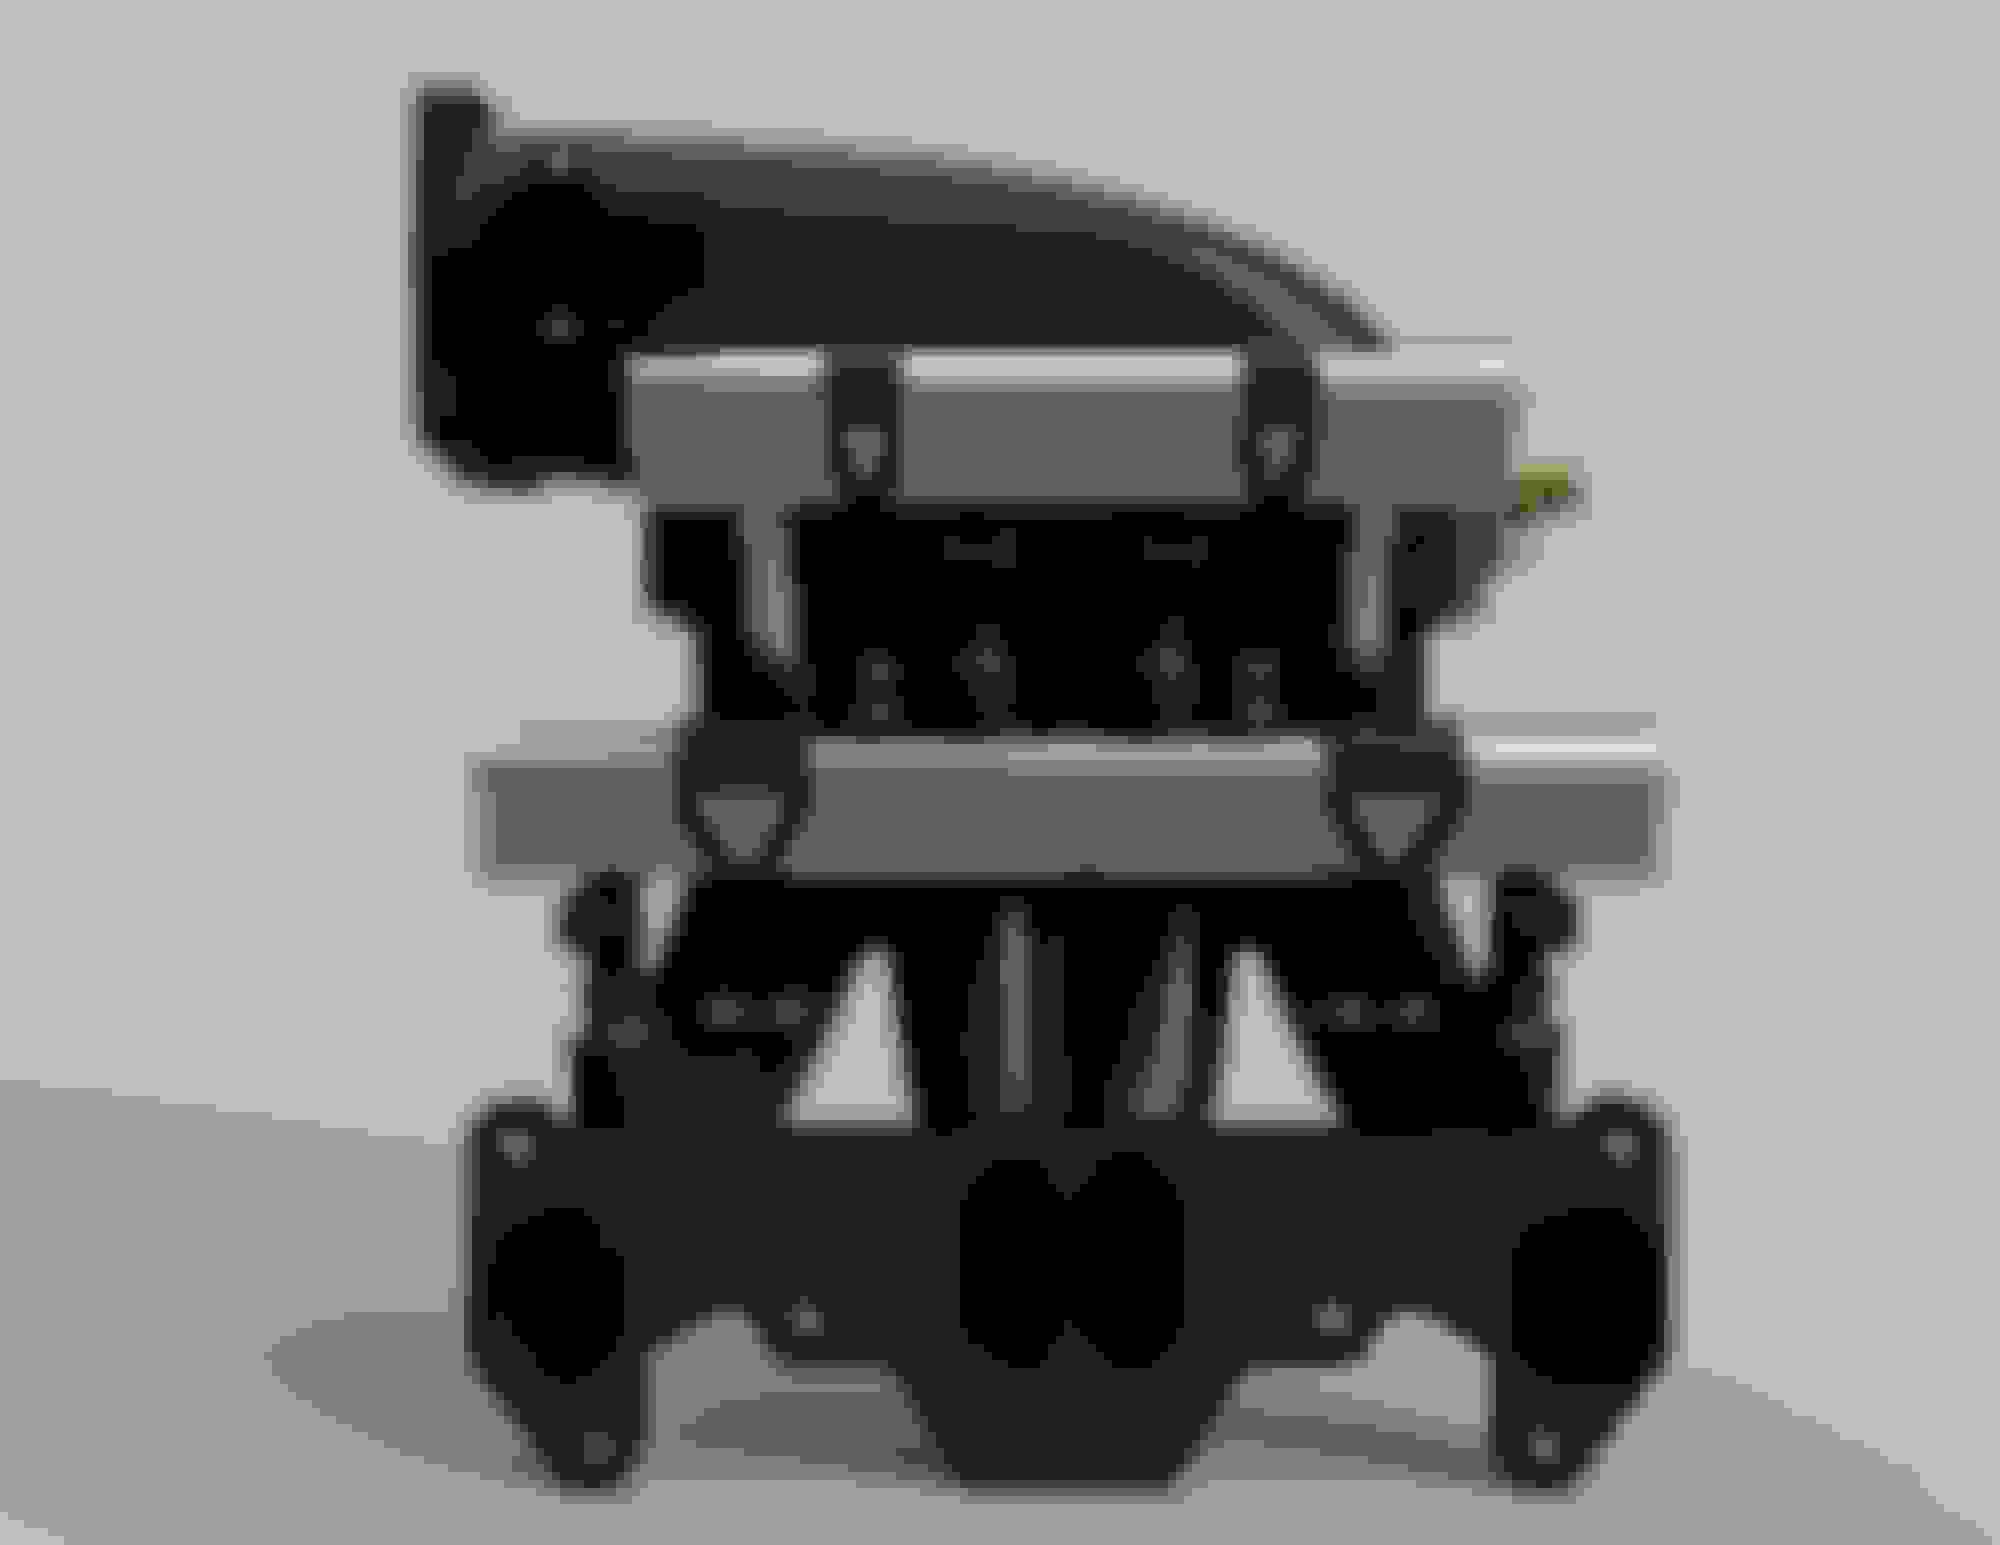
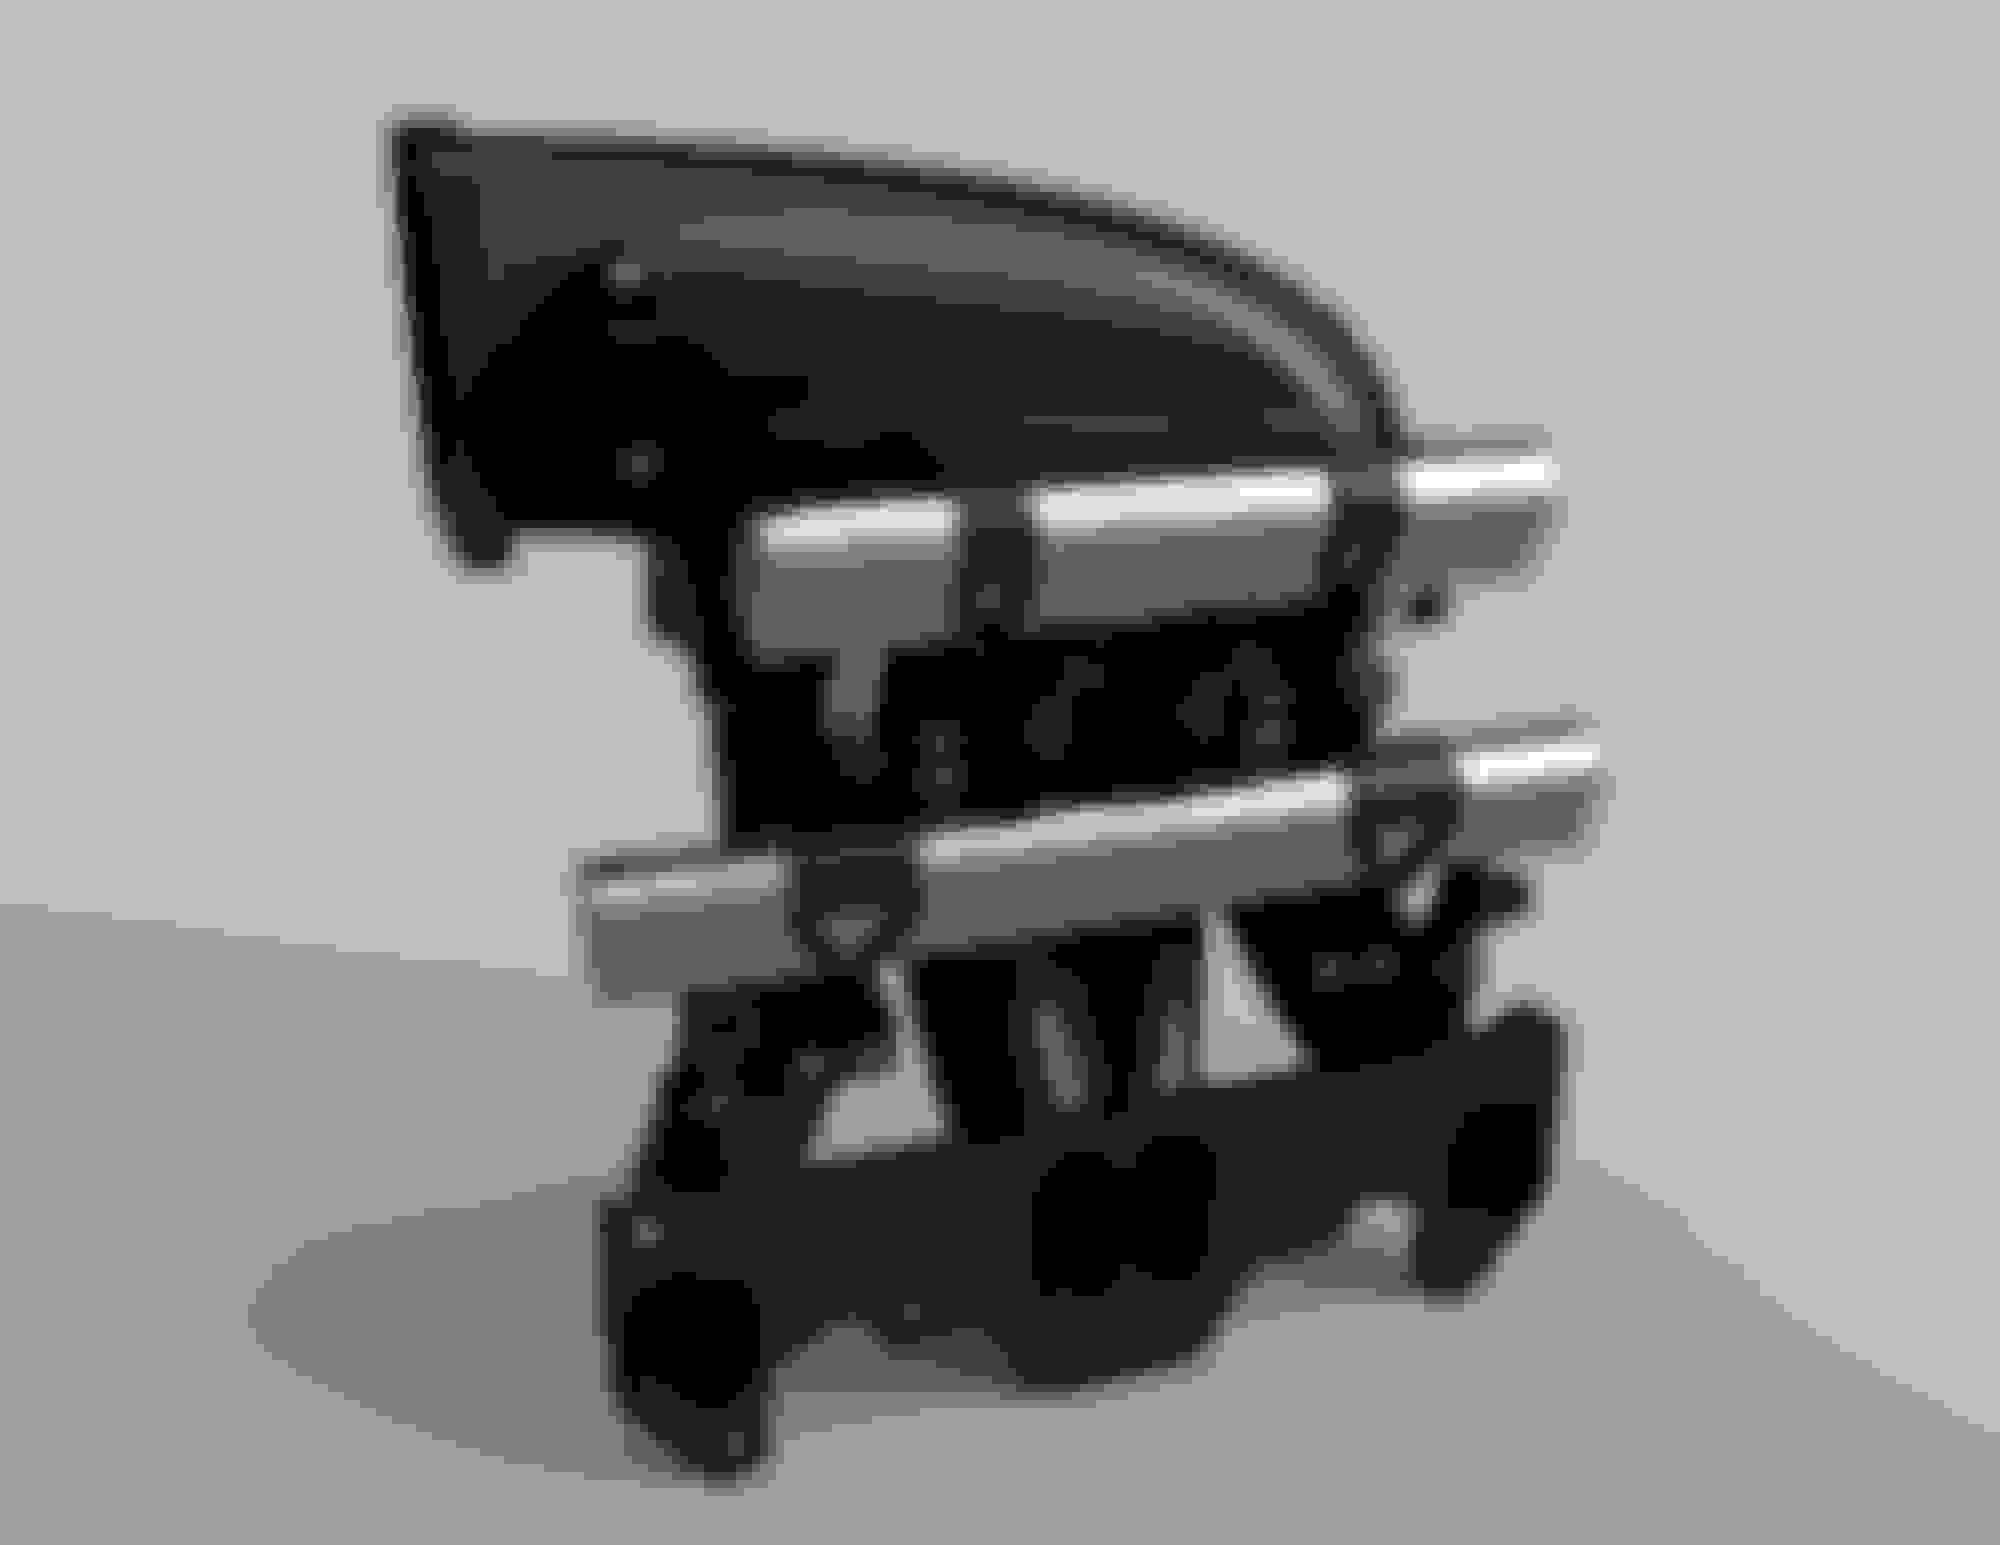
Currently working on the design of a 12A EFI intake manifold. The goal is to investment cast the LIM probably late spring or summer of this year (need to build a furnace and kiln yet), and 3D print the upper for more design flexibility. It's not going to be a wrap around like the OEM style but rather have the plenum directly above the LIM, or at least that's the plan for now. I'll note that this is very much still a work in progress, but here's a couple screenshots of where it's sitting right now.
There's a couple goals of this project in replacing the current 3D printed injector body and carb intake. For one, I want the primary injectors closer to the engine. With this cold weather the car is running into the effects of a lot of intake wall wetting and while throttle response (in general) is alright, having the injectors closer should improve it a little. It should also allow for better mixing since the injectors can be more parallel with the intake path.
The intake also takes advantage of the full size of each port which means each runner is actually equal in size. Because of this, I've opted to swap the primaries over to the traditional secondary position since they have a little bit longer path for better low-end and are the same volume anyway - just one of the differences using a carb engine compared to the factory EFI stuff since all the ports are the same size. I did add provisions for six injectors, which is overkill, but the logic is that it's easy enough to add so why not provide some extra flexibility. I'll also probably add a provision for the "port-air" port since this car needs to pass smog. Not the whole ACV and whatnot, just the single center iron port so that an air pump can be hooked up which is all that's really needed to pass the sniffer test.
Anywho, just thought I'd share the project. Again, this is by no means a finalized design, just sharing the idea and progress so far. If you see something that could be added or perhaps a feature that seems like a poor choice, please feel free to chime in. I'm always open to other opinions and ideas.
Today ended in a rather unfortunate way for the SA. Earlier this afternoon I was out on a drive and the car began to stutter under moderate load. It then quickly began to stutter under even minor load before reading full rich and then stalling. After pulling over I tried restarting it - the car has done stranger things before so I didn't question too much - and then smoke started billowing out from under the hood. Thankfully I was quick enough to grab my extinguisher that the fire caused minimal damage, primarily just to the sheathing of my engine harness and that's really it.
I'm still not certain the cause of the fire, but it seems likely that the culprit was either a stuck injector, a blown oil seal (either in the engine or turbo), or the ecu fritzed out as there are no signs of external fluid leaks. Earlier in the day I had been troubleshooting some random misfires and sync losses that had appeared over the last couple days so I'm leaning towards the ecu/injector option. Either way, something caused an excess of fuel or oil to be dumped down the exhaust before igniting it and then apparently leaking out from the flange between my turbo and downpipe. I had known there was a small exhaust leak there ever since the new system was installed, but the leak was so tiny that it was genuinely inaudible and hence I never worried too much. And I do mean inaudible; so many people have commented on how quiet the engine bay is, with the fuel injectors being by far the loudest noise.
Anyway, the damage could have been far worse and I am extremely grateful that such was not the case. Almost everything escaped unscathed and realistically if I wanted to I could fix the wiring and call it a day, but that's not going to happen. I've lost a bit of faith in the setup at this point, and I don't intend to get it running again until it's running right and proper. I fully intend to ditch the Speeduino engine management, likely in favor of a MaxxECU Sport if I can get my hands on one. The Speeduino project is very cool and has its use cases, but I have had too many issues with the system to warrant any further effort. Additionally, I do not intend to run the car again with the current intake configuration and will be waiting until I have my new design finalized. Lastly, there is even a chance the car will go back to NA, at least for a bit, because this turbo is giving me a little more headache than I want to worry about right now. I fully intend to make this a boosted car in the long run, but the fact the the exhaust flange could leak enough to release flammable liquids, whilst also being nearly undetectable, just makes me uneasy. I personally do not intend to use another Marmon flange turbo if I can help it.
So all in all I do not expect the car to run again until summertime. At present I do not have the time, resources, or brainpower to allot further work on the car in its physical state, although I will continue development of the intake manifold in order to hopefully have it done when the time is ready to resume work on the car. Perhaps I'm overreacting a tad, but I'm just so frickin' glad that the thing didn't burn to the ground. It could have been far worse and I consider myself lucky that it wasn't. This car will be back, and it will be better than ever, it just might be a minute (again). Good odds I'll take the opportunity to improve some other things on the car - the fuel lines for example; I've got 50ft of 3/8" NiCopp waiting to go on and upgrade my current factory 5/16" feed and imperfect 3/8" steel return. Probably some other small things too.
On a vaguely related note, I noticed that I passed one-thousand posts and five years here with you folks some time ago, and just wanted to say thank you for the awesome community you have built here. Compared to many other auto forums it is truly something else.
Anywho, enough chatter. Here's a few photos from today's adventure to round things out.
looks like it's a recoverable situation. but what a blow. What are you thinking for a direction of intake ?
damn though.
Fire extinguisher... I need one.
The plan is still that intake manifold I shared a couple posts up, although the focus has shifted to printing the manifold in its entirety rather than casting the lower. I recently acquired some material that can withstand continuous usage temperatures of 220C while also being flame retardant (UL94V-0) and completely impervious to fuels, coolant, etc. Should work very well for the project in conjunction with heat shields for added safety, although I still have testing to do.
And yes, fire extinguishers. Great cheap insurance.
Originally Posted by Toruki
Even when it's a bummer of a post, you make it interesting. I'm glad there wasn't significant damage!
I also like how you say you don't want to allot any brain power to it right now and then you list the things you're going to fix. Perfect!
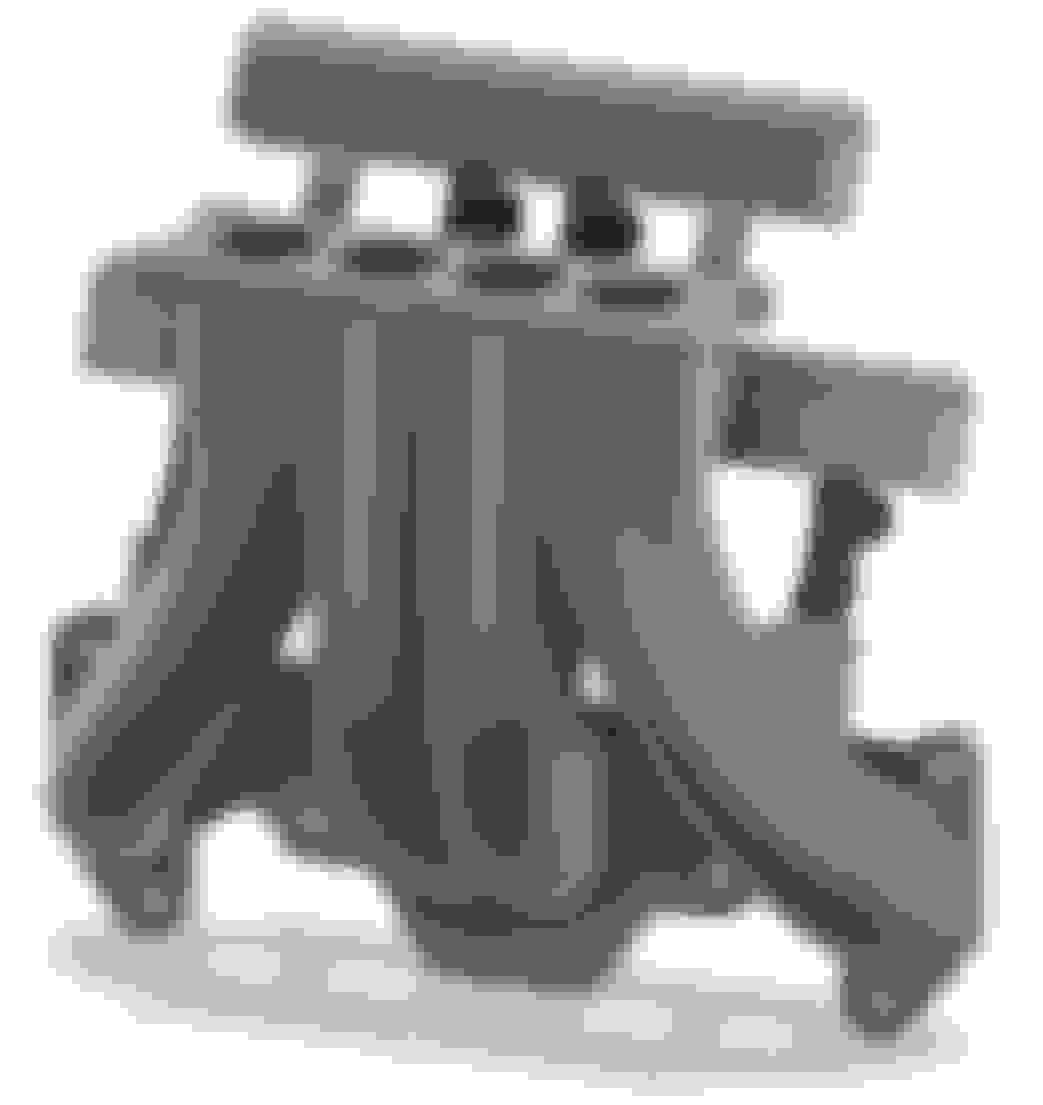
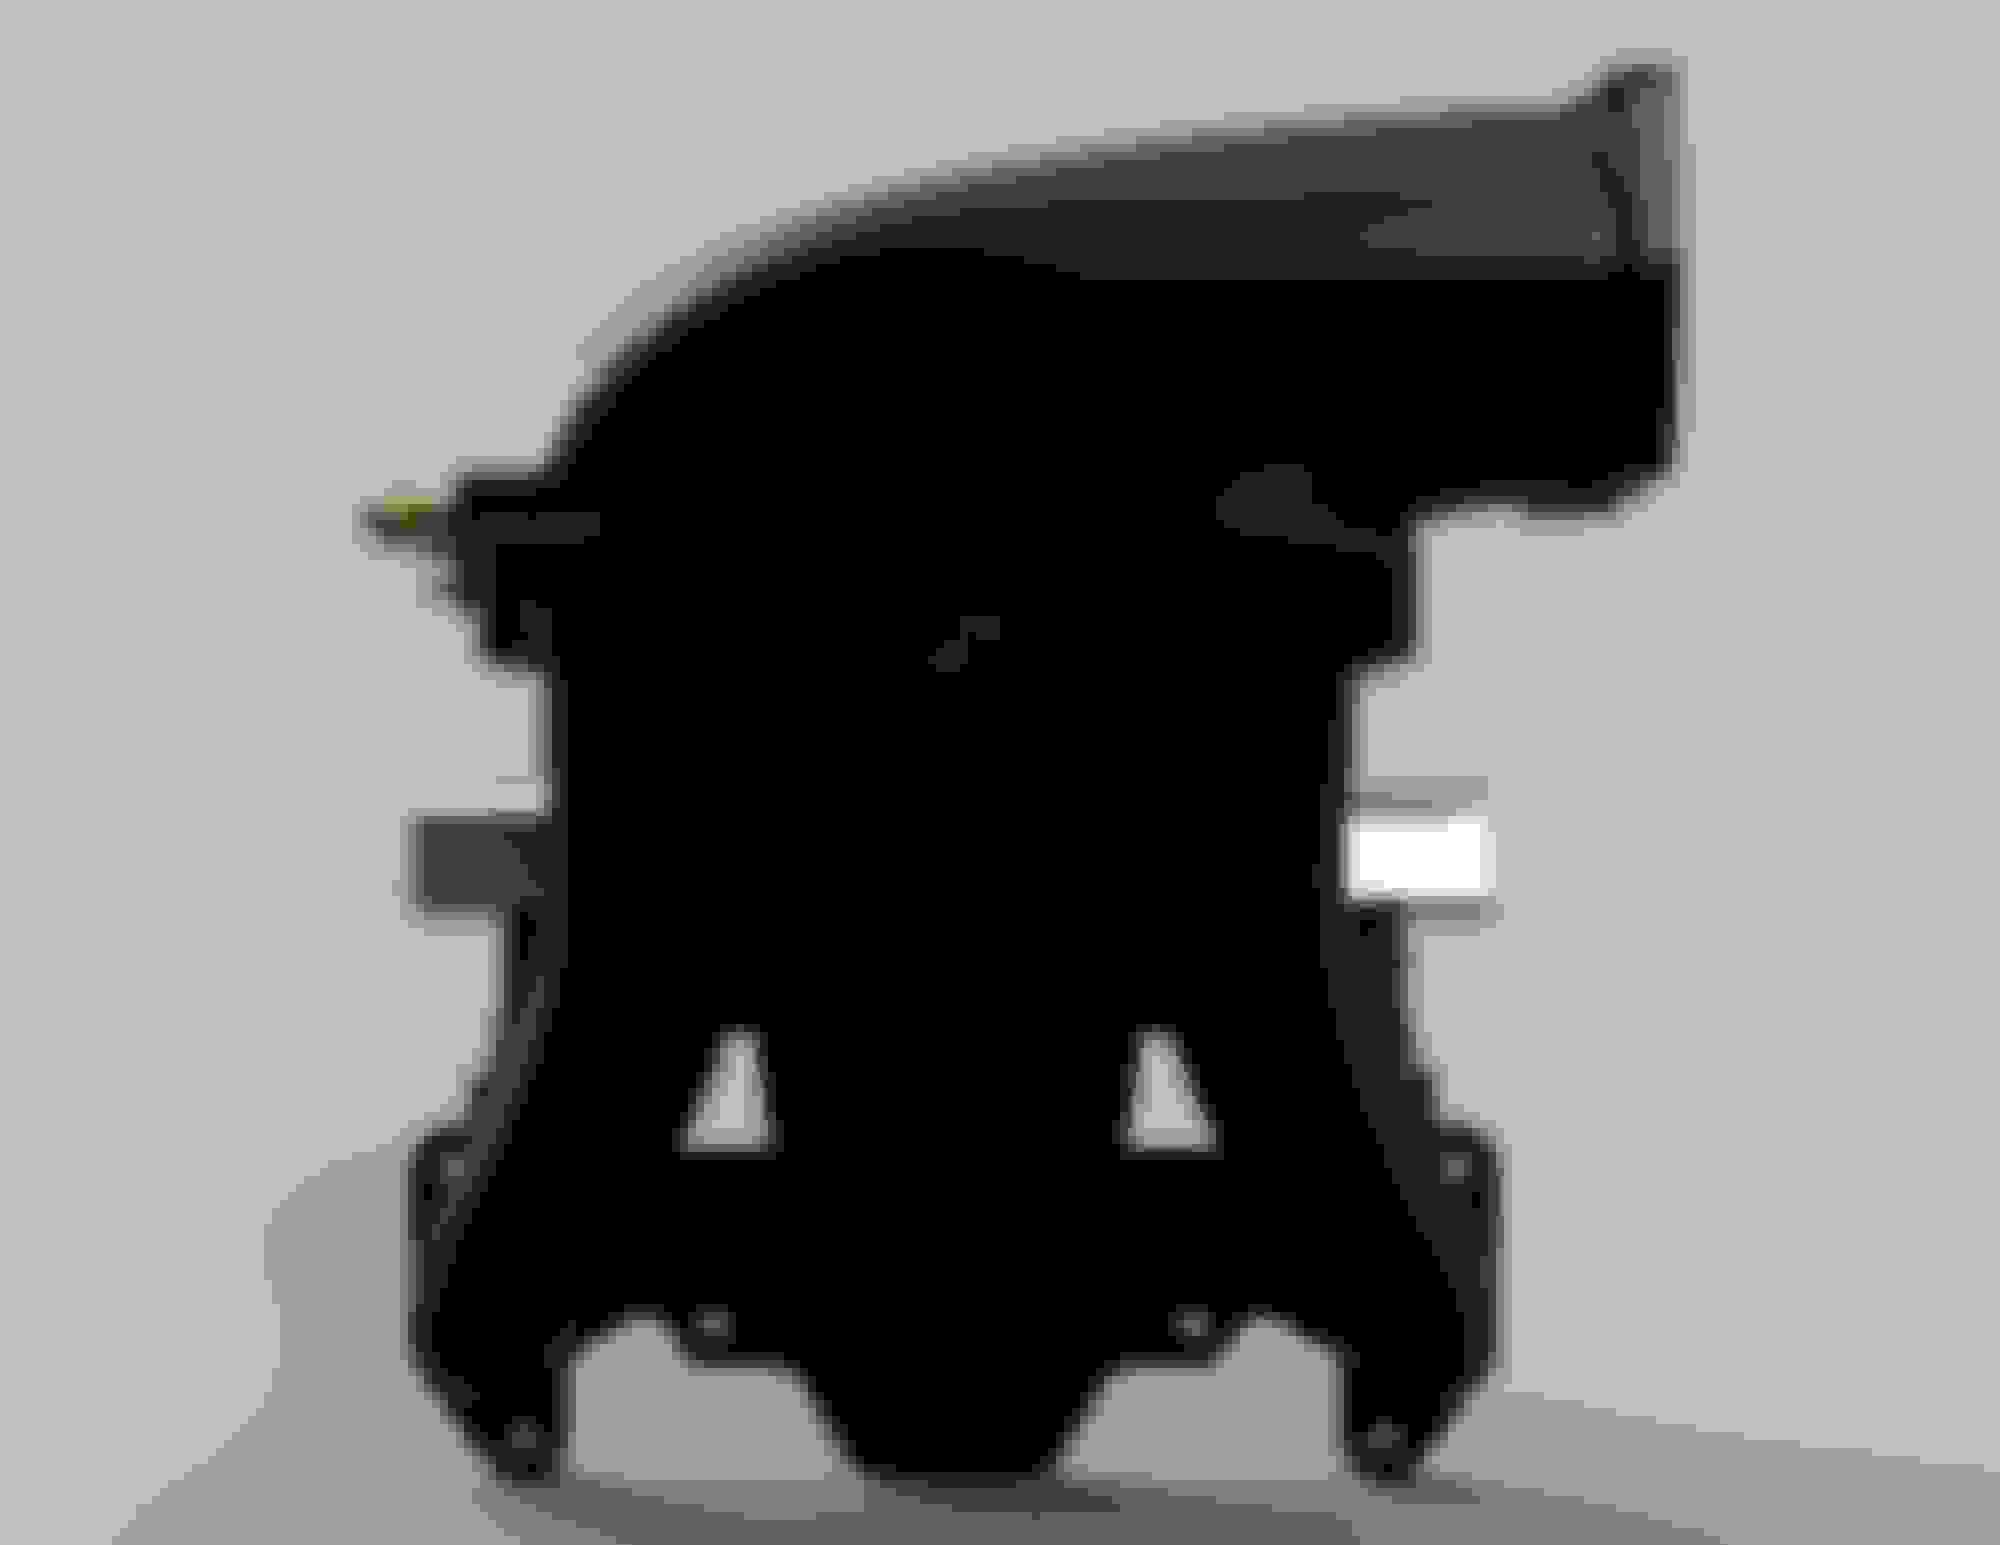
Well I finally got around to finishing the intake manifold design, and I'm quite excited if I do say so myself.
Since the last update on the manifold a lot has been done (obviously ). As mentioned previously, the design is specifically intended to take advantage of the tall port 12A irons so that all runners are the same volume. In the process of finishing it up I was able to move the primary injectors a little closer to the ports and hopefully it should provide close to, if not indiscernible from, stock throttle response. The runners are also now tapered to improve efficiency, and the internal velocity stacks were replaced with simple bell-mouth inlets for the sake of simplicity and reducing turbulence.
Compared to my original "injector body" (which uses the same fuel rail extrusion) I've revised the rail mounts for easier access and a more secure hold on the fuel rails. There is now a set screw that affixes each mount to the rail rather than the previous friction fit, and each mount uses two screws that are no longer impossible to access with normal tools. All sealing surfaces use o-rings, and compression limiters are utilized as appropriate to remove any concern for damaging the plastic when torqueing down the hardware. Three vacuum fittings are present on the rear of the plenum, two 3/8" and one 3/16" nipples, which should be enough to cover the brake booster, PCV system, FPR, boost control, and anything else that might be required. Lastly it's important to mention that the manifold is designed for a drive-by-wire throttle conversion using a 74mm Bosch unit and a typical 90's Honda map sensor. I also need to emphasize that I haven't designed this with the intent of producing it for sale. While I won't rule out the possibility, it's not on the calendar for now. I have actually been thinking of making a bolt-on upgraded Nikki manifold, but that's another project for another time. Anywho, currently the goal is to have a functional unit by early summer.
Jumping back briefly to drive-by-wire, I believe I found a great solution for converting the car over from the stock cable throttle. Honda/Acura used a remotely mounted Acceleration Pedal Position sensor (APP) on a handful of cars in the late 2000s, and conveniently it's easy to mount and takes a throttle cable input just like a normal throttle body. Should be nice and simple to set up (I hope) and uses an easily available 6-pin wiring connector. Originally I thought I would have to install a full throttle pedal from a factory DBW car so I'm glad that no longer seems to be the case.
Would the secondary injectors perform better pointing toward the port from the opposite side of the runner? I was going to mention the fuel may pool under the injectors, but if the secondaries are on, the engine is moving enough for it to probably not matter. Also probably not much room on that side with a turbo.