
UK Series 3 - Turbo II S5 build

Thread Starter
Full Member
Joined: May 2010
Posts: 52
Likes: 1
From: England
UK Series 3 - Turbo II S5 build
Guys, I’ve started this thread to document my T2 S5 swap into my 1985 UK spec series 3 car. Although this is a common swap in the US and AUS & NZ, there are hardly any cars with this conversion in the UK so this is a steep learning curve for me and there isn’t much help or advice available in the UK.
My planned install will include:
• Series 5 TII engine and transmission
• Front mounted intercooler
• TII oil cooler
• S5 TII coils
• Megasquirt standalone ECU
• Custom fuel system with swirl pot and lift pump
• Custom exhaust
• S4 OMP ( if I can find a GSL-SE front cover), if not a 12a OMP and I’ll split the lines.
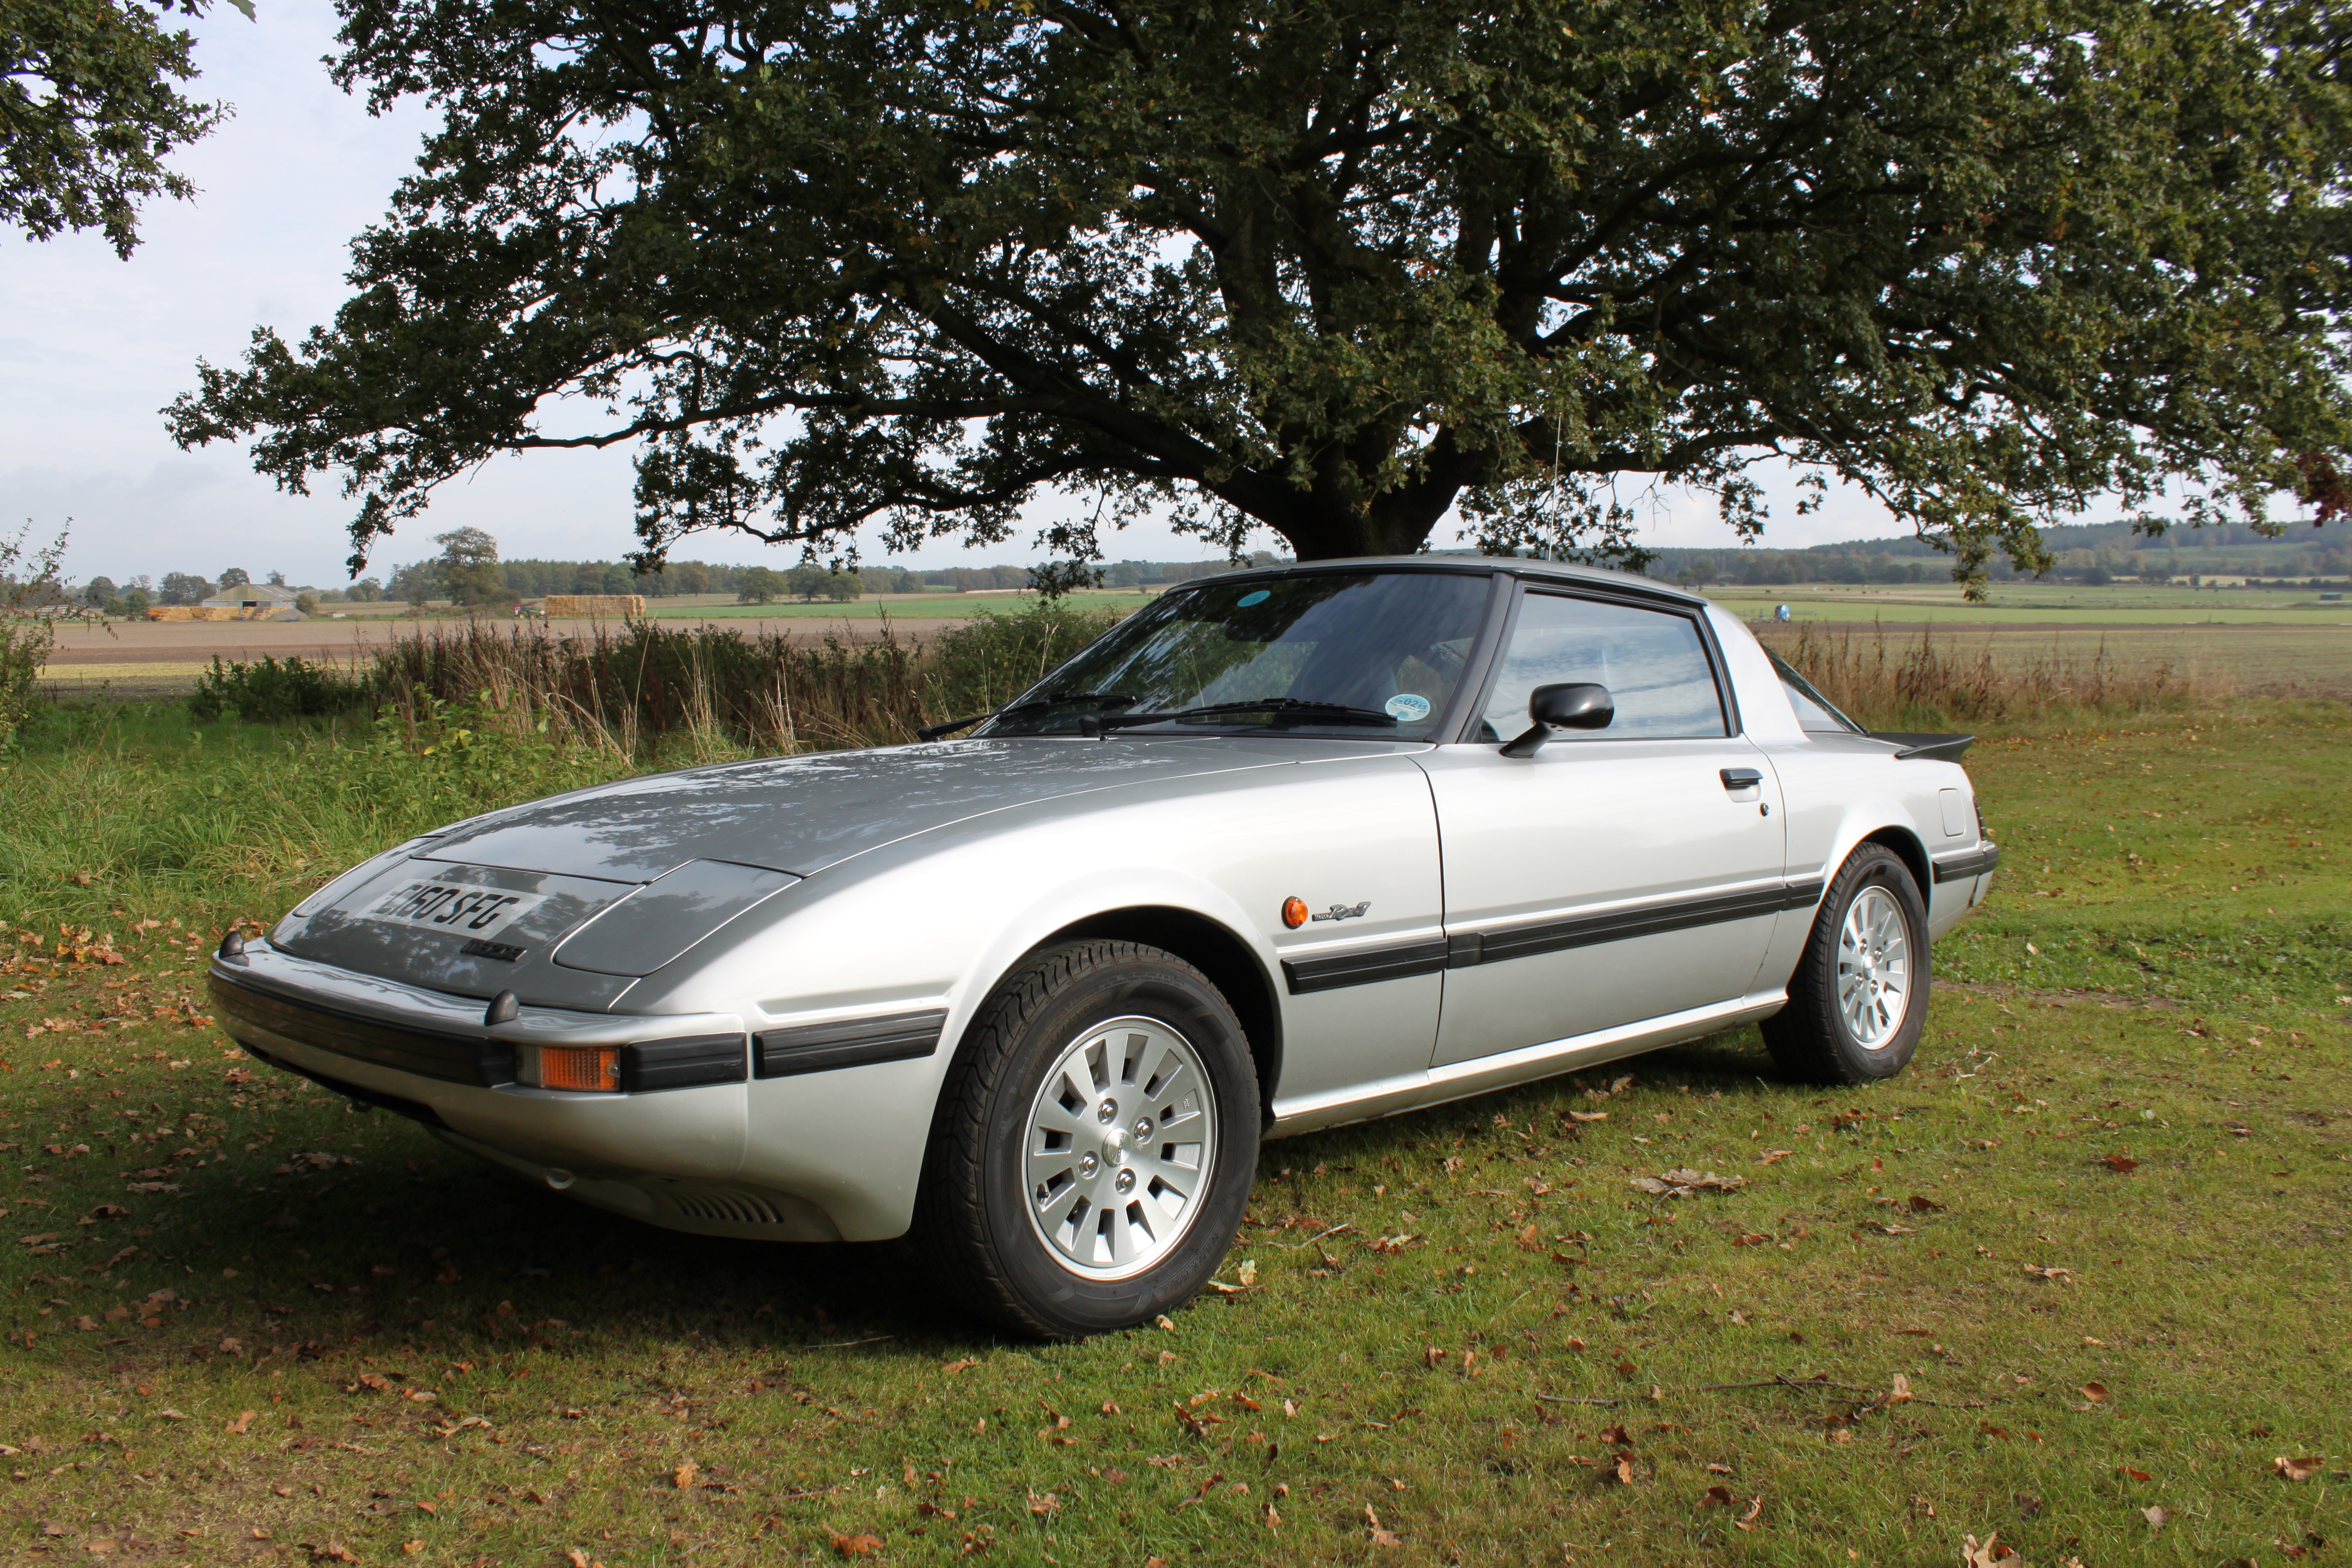
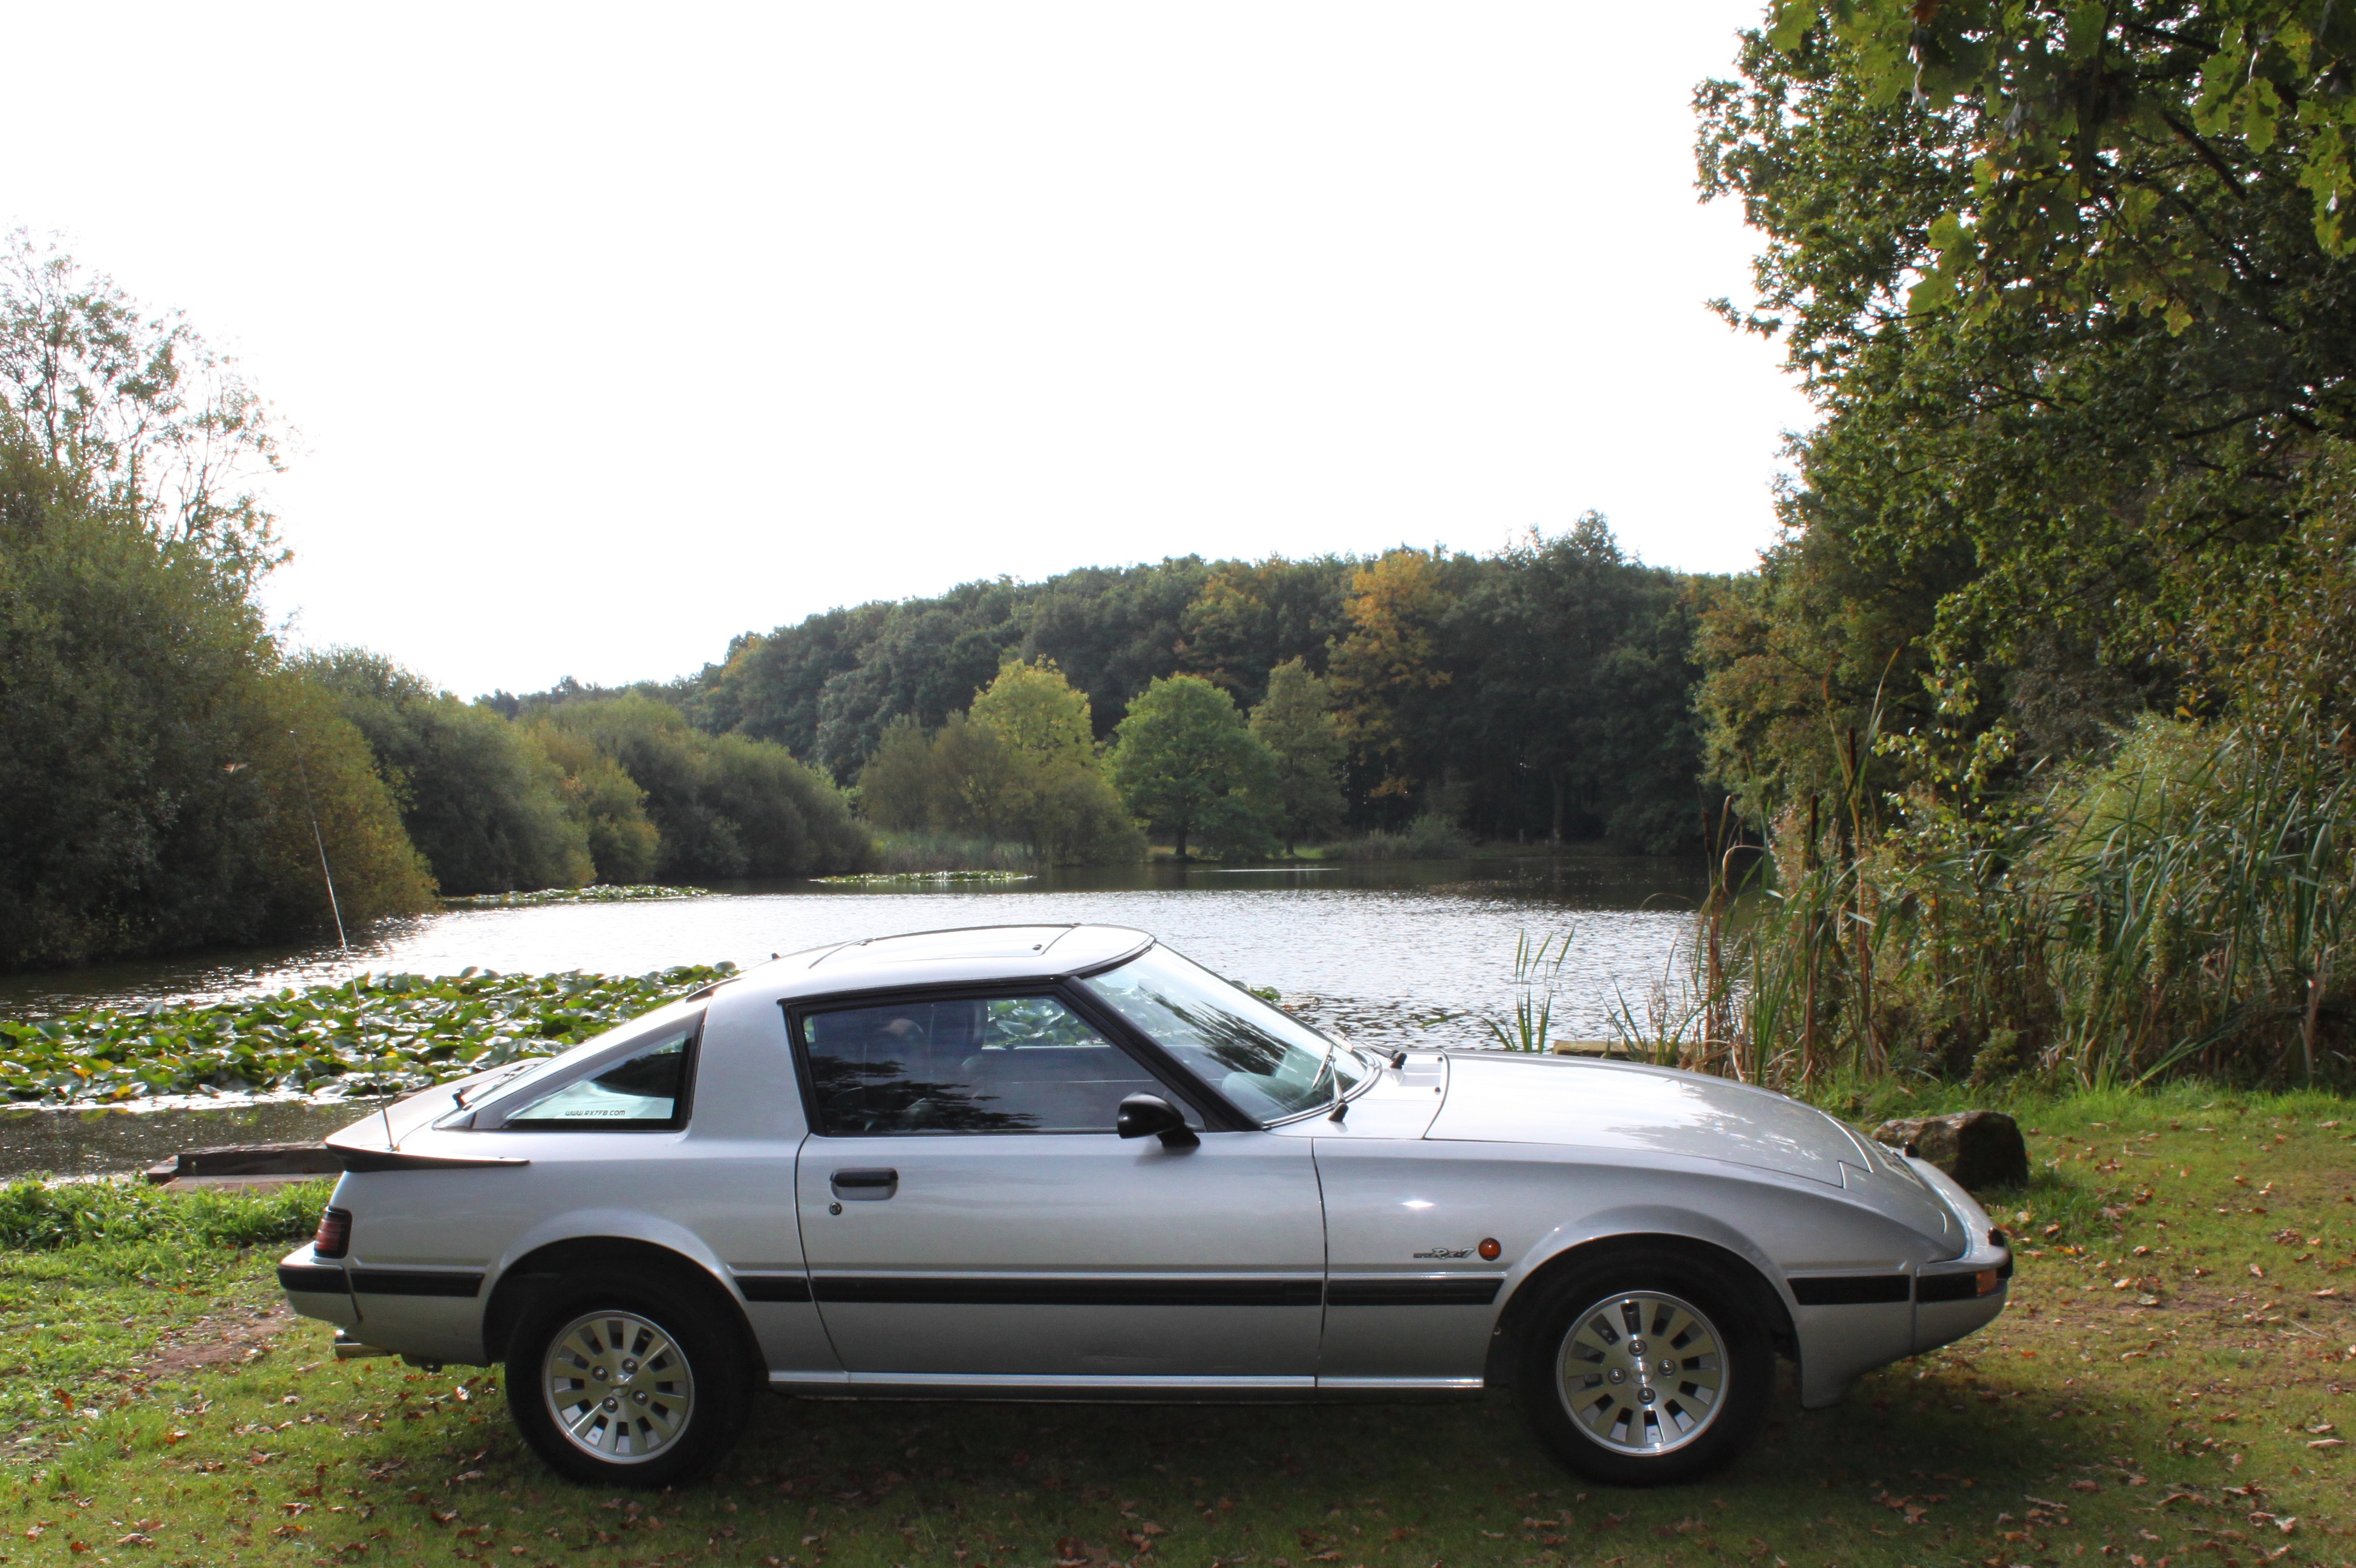
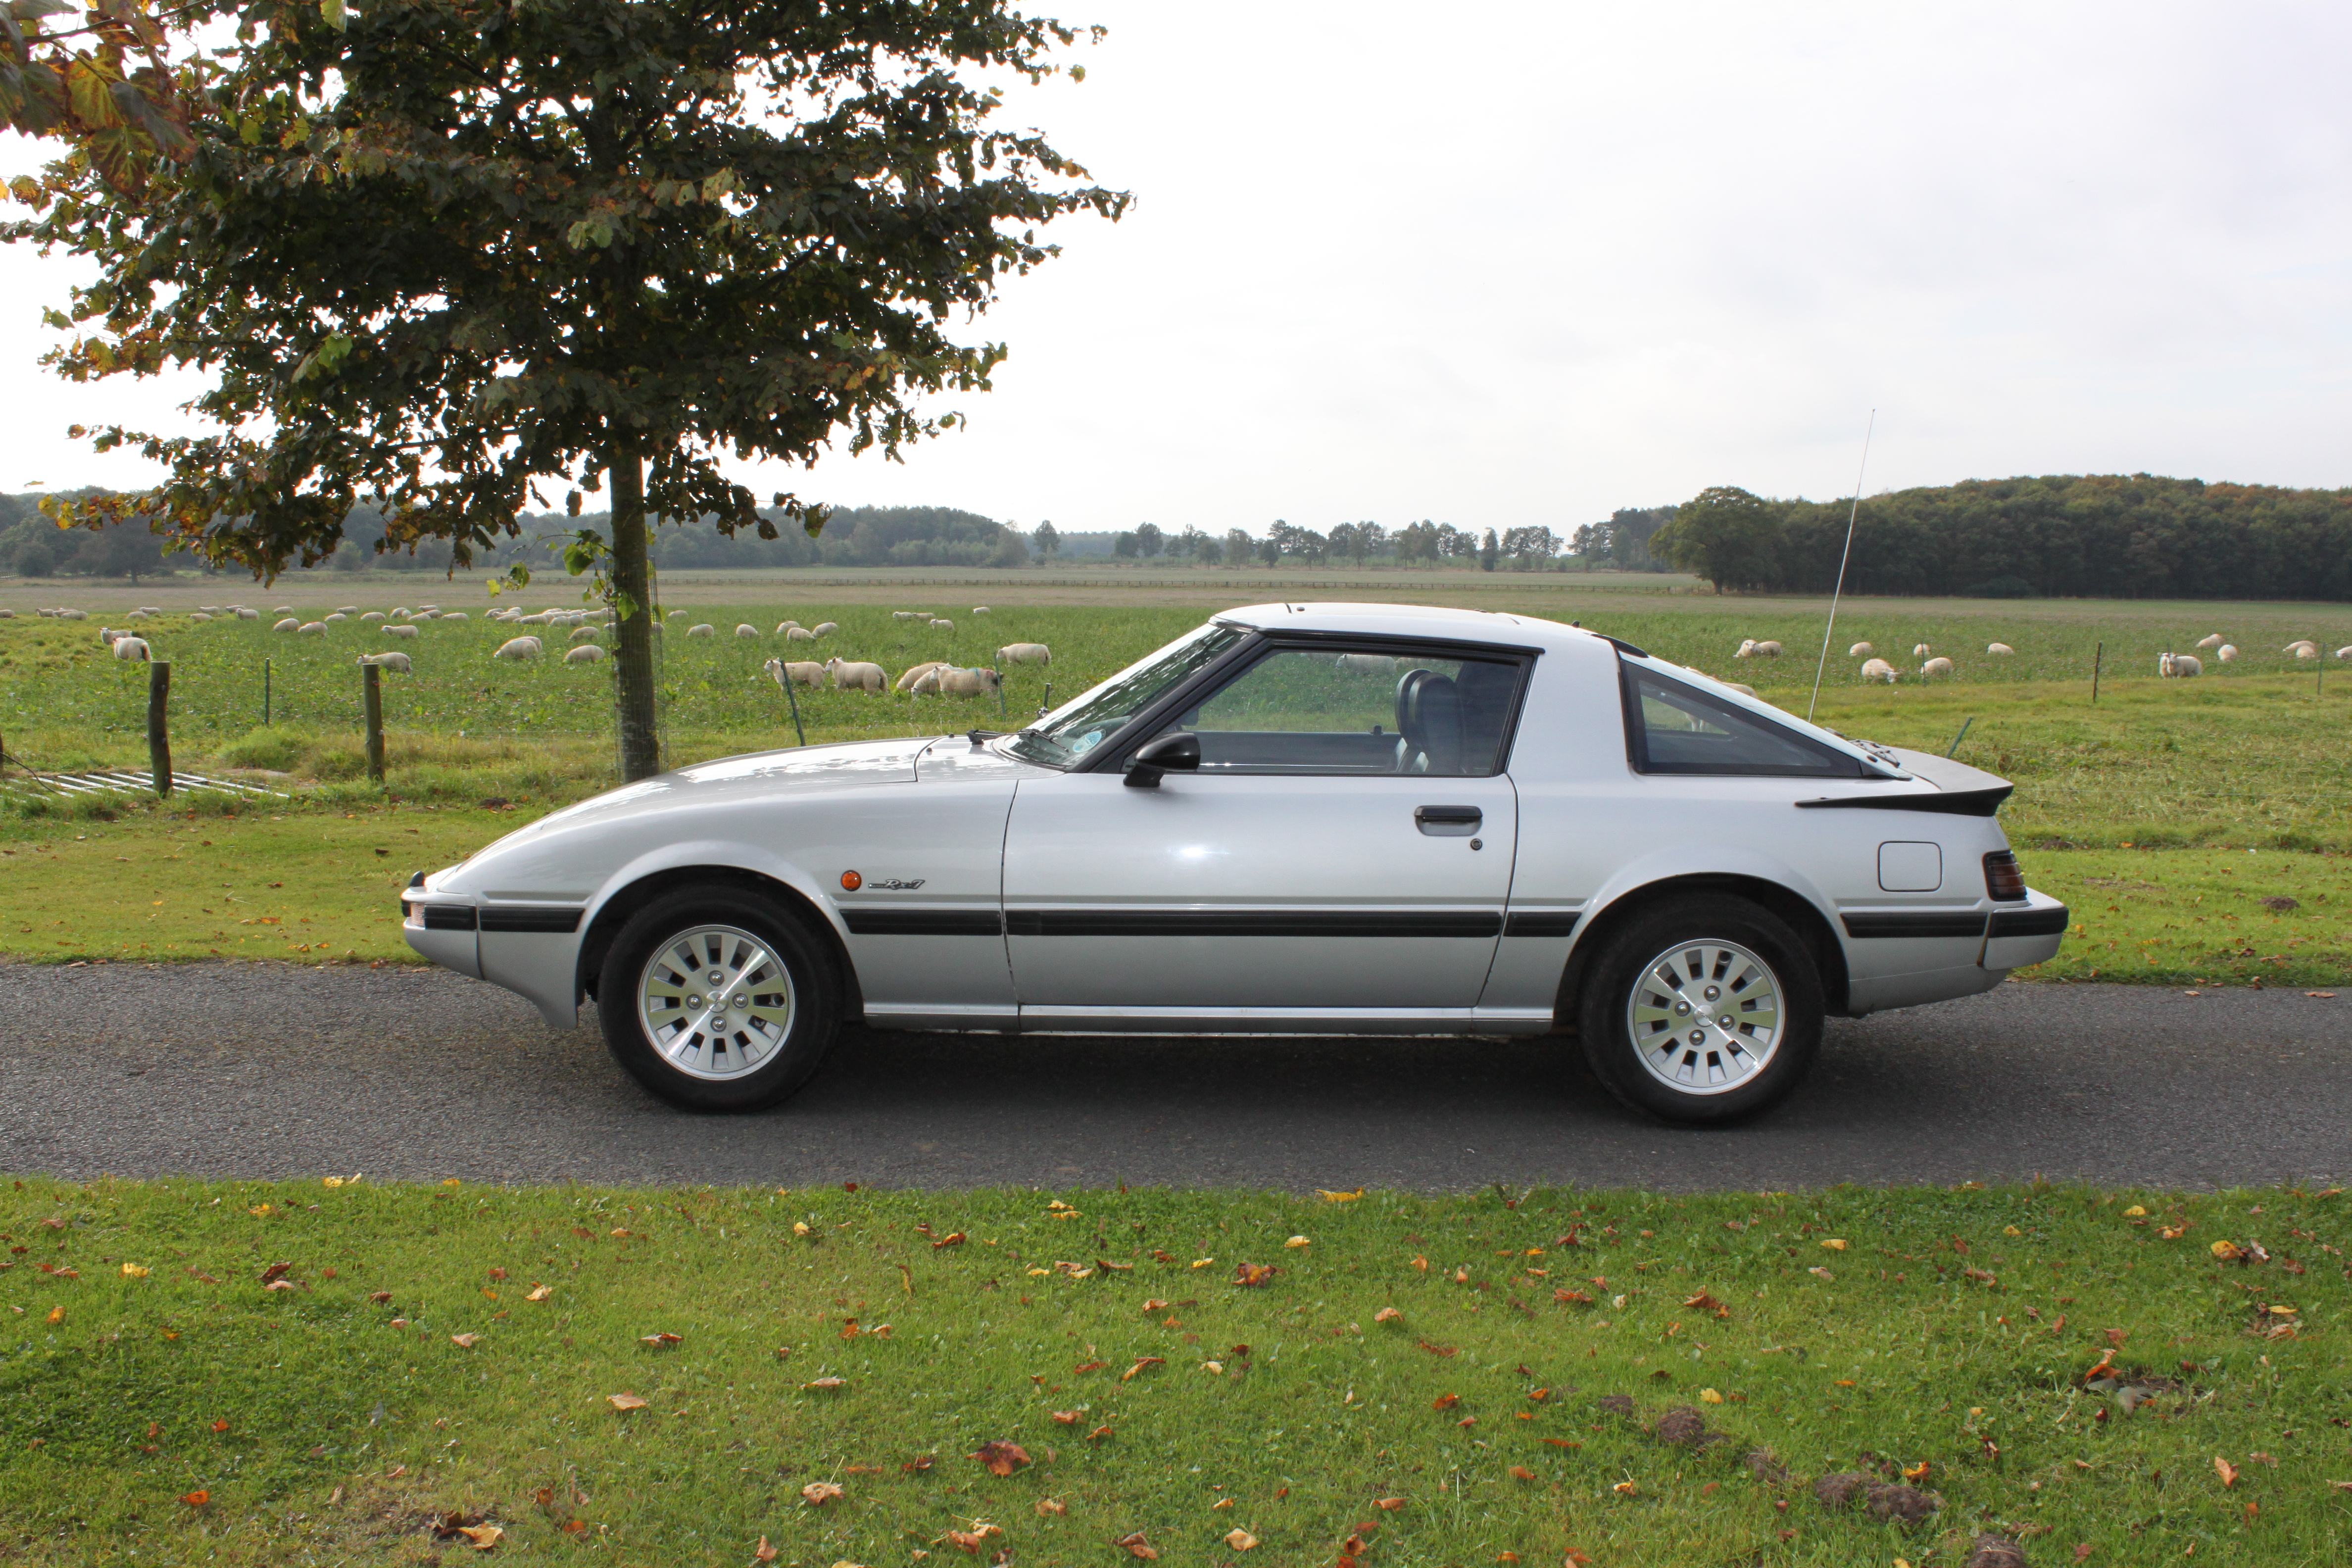
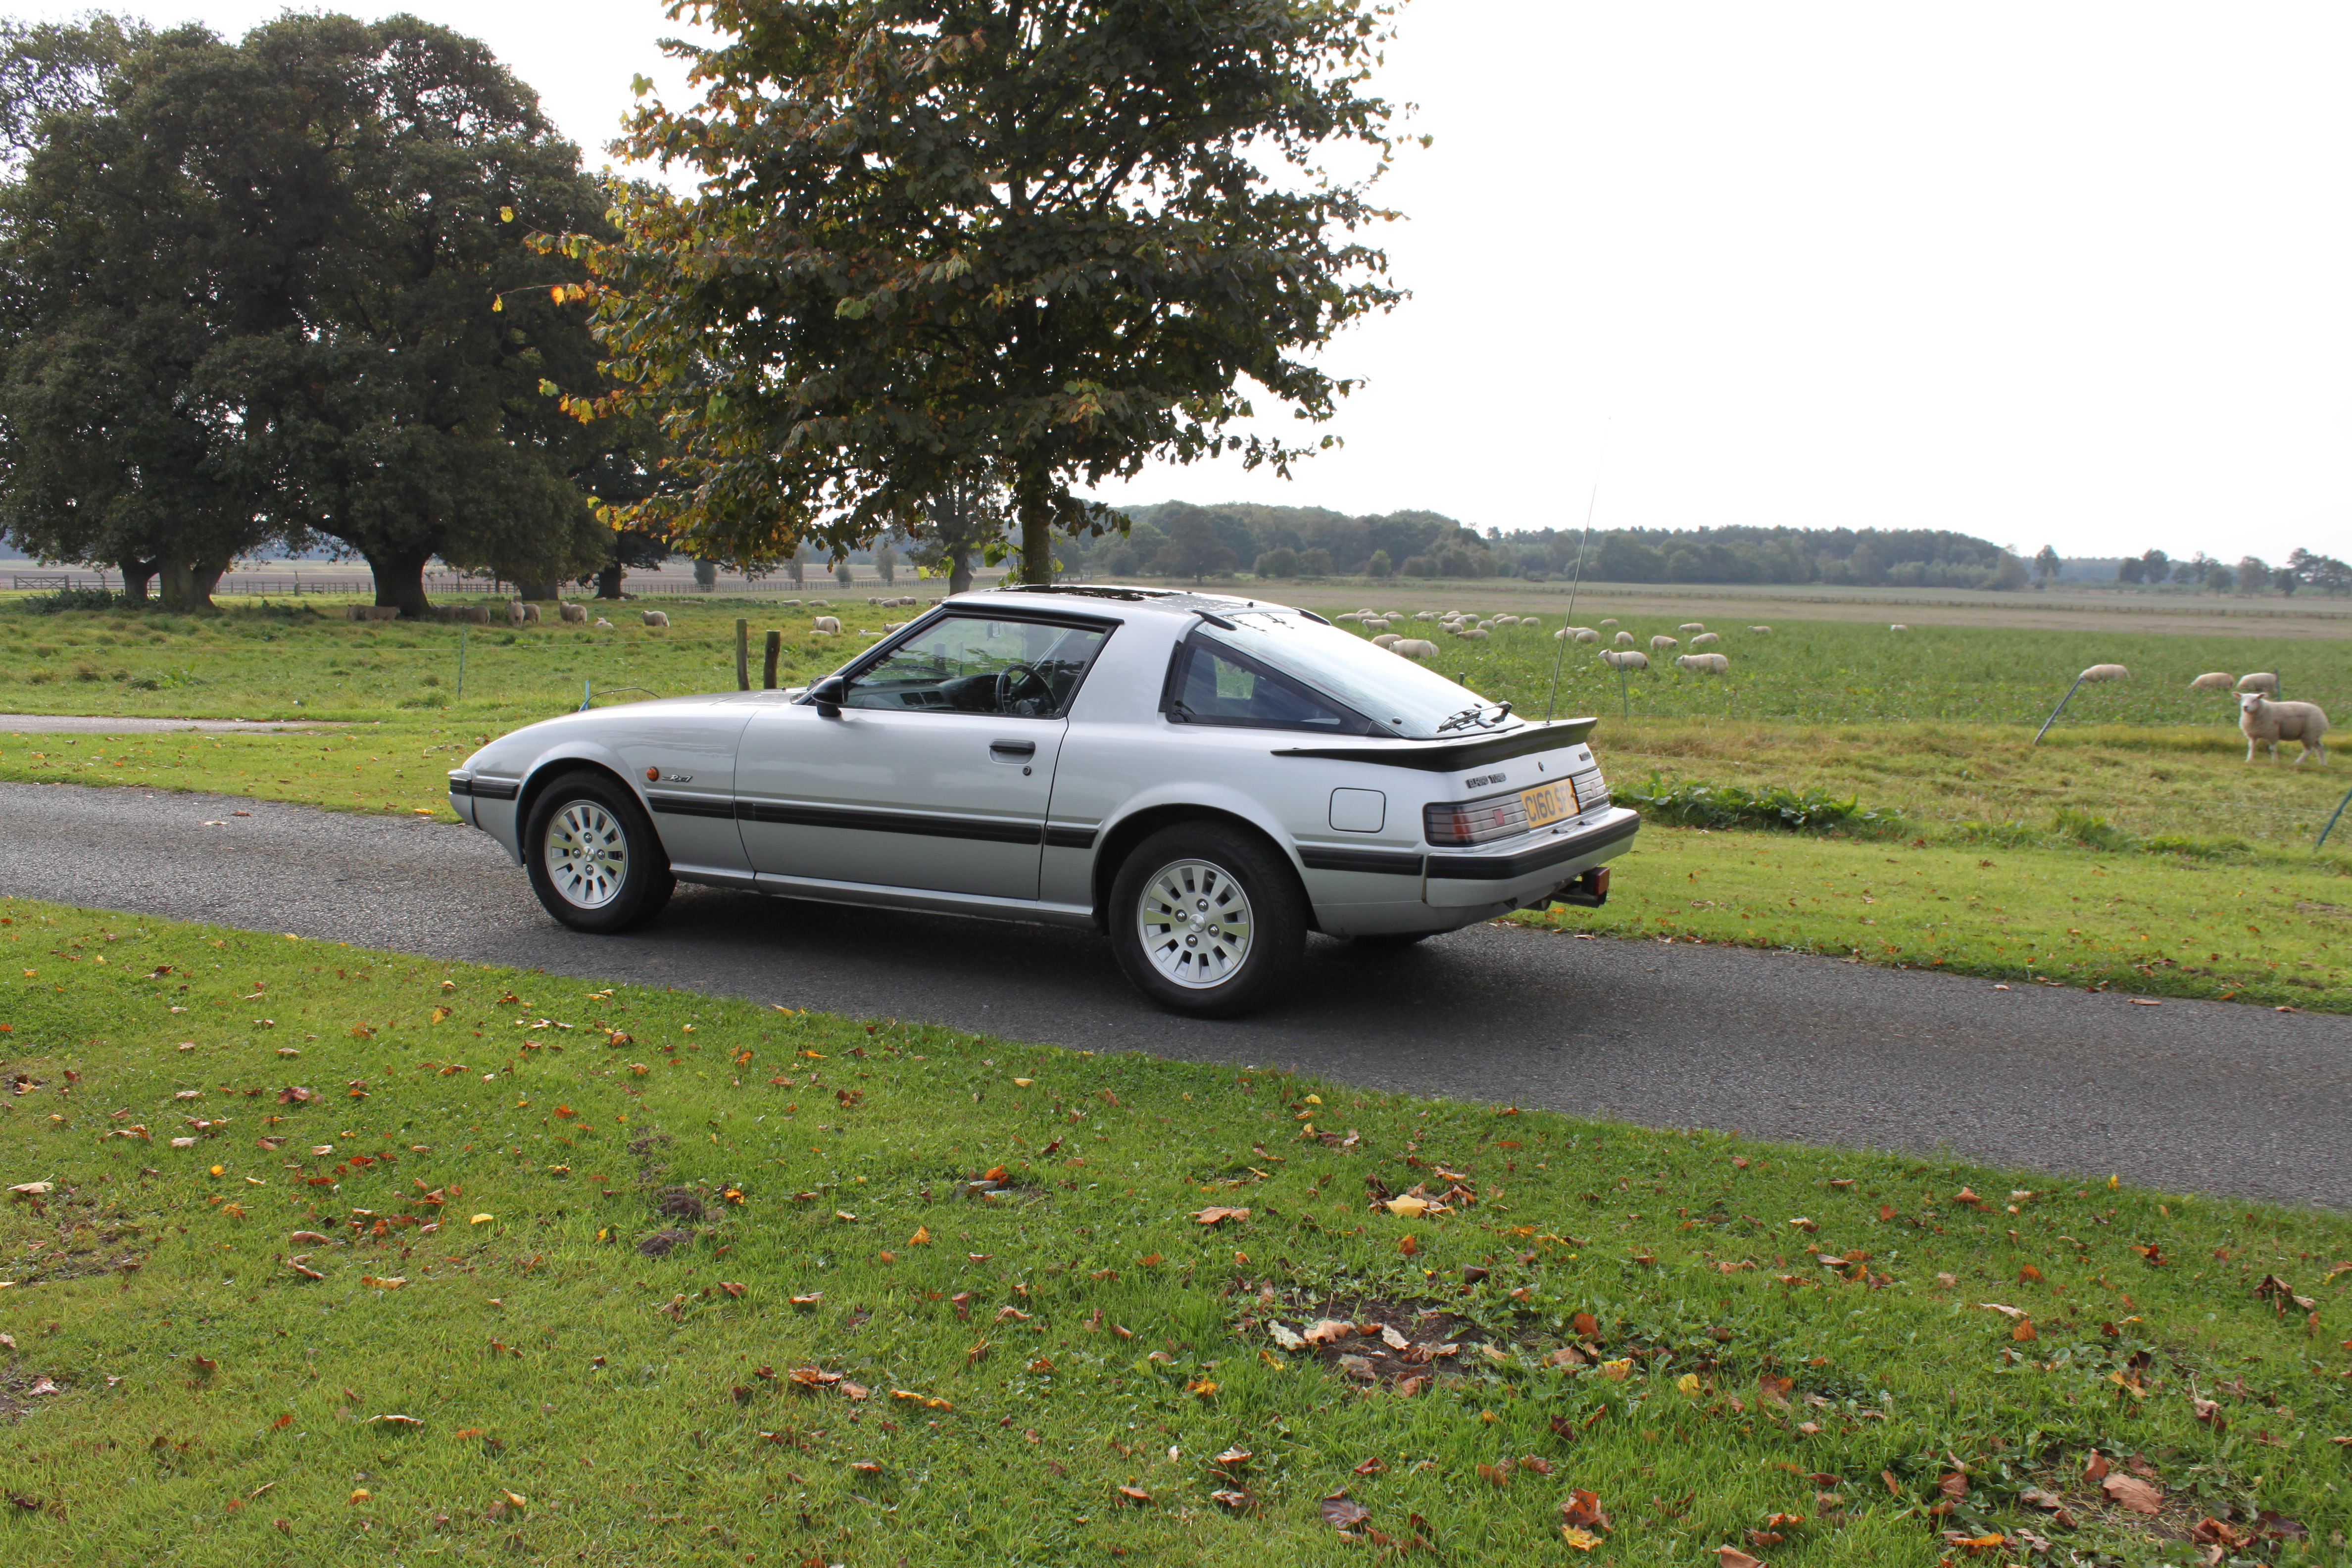
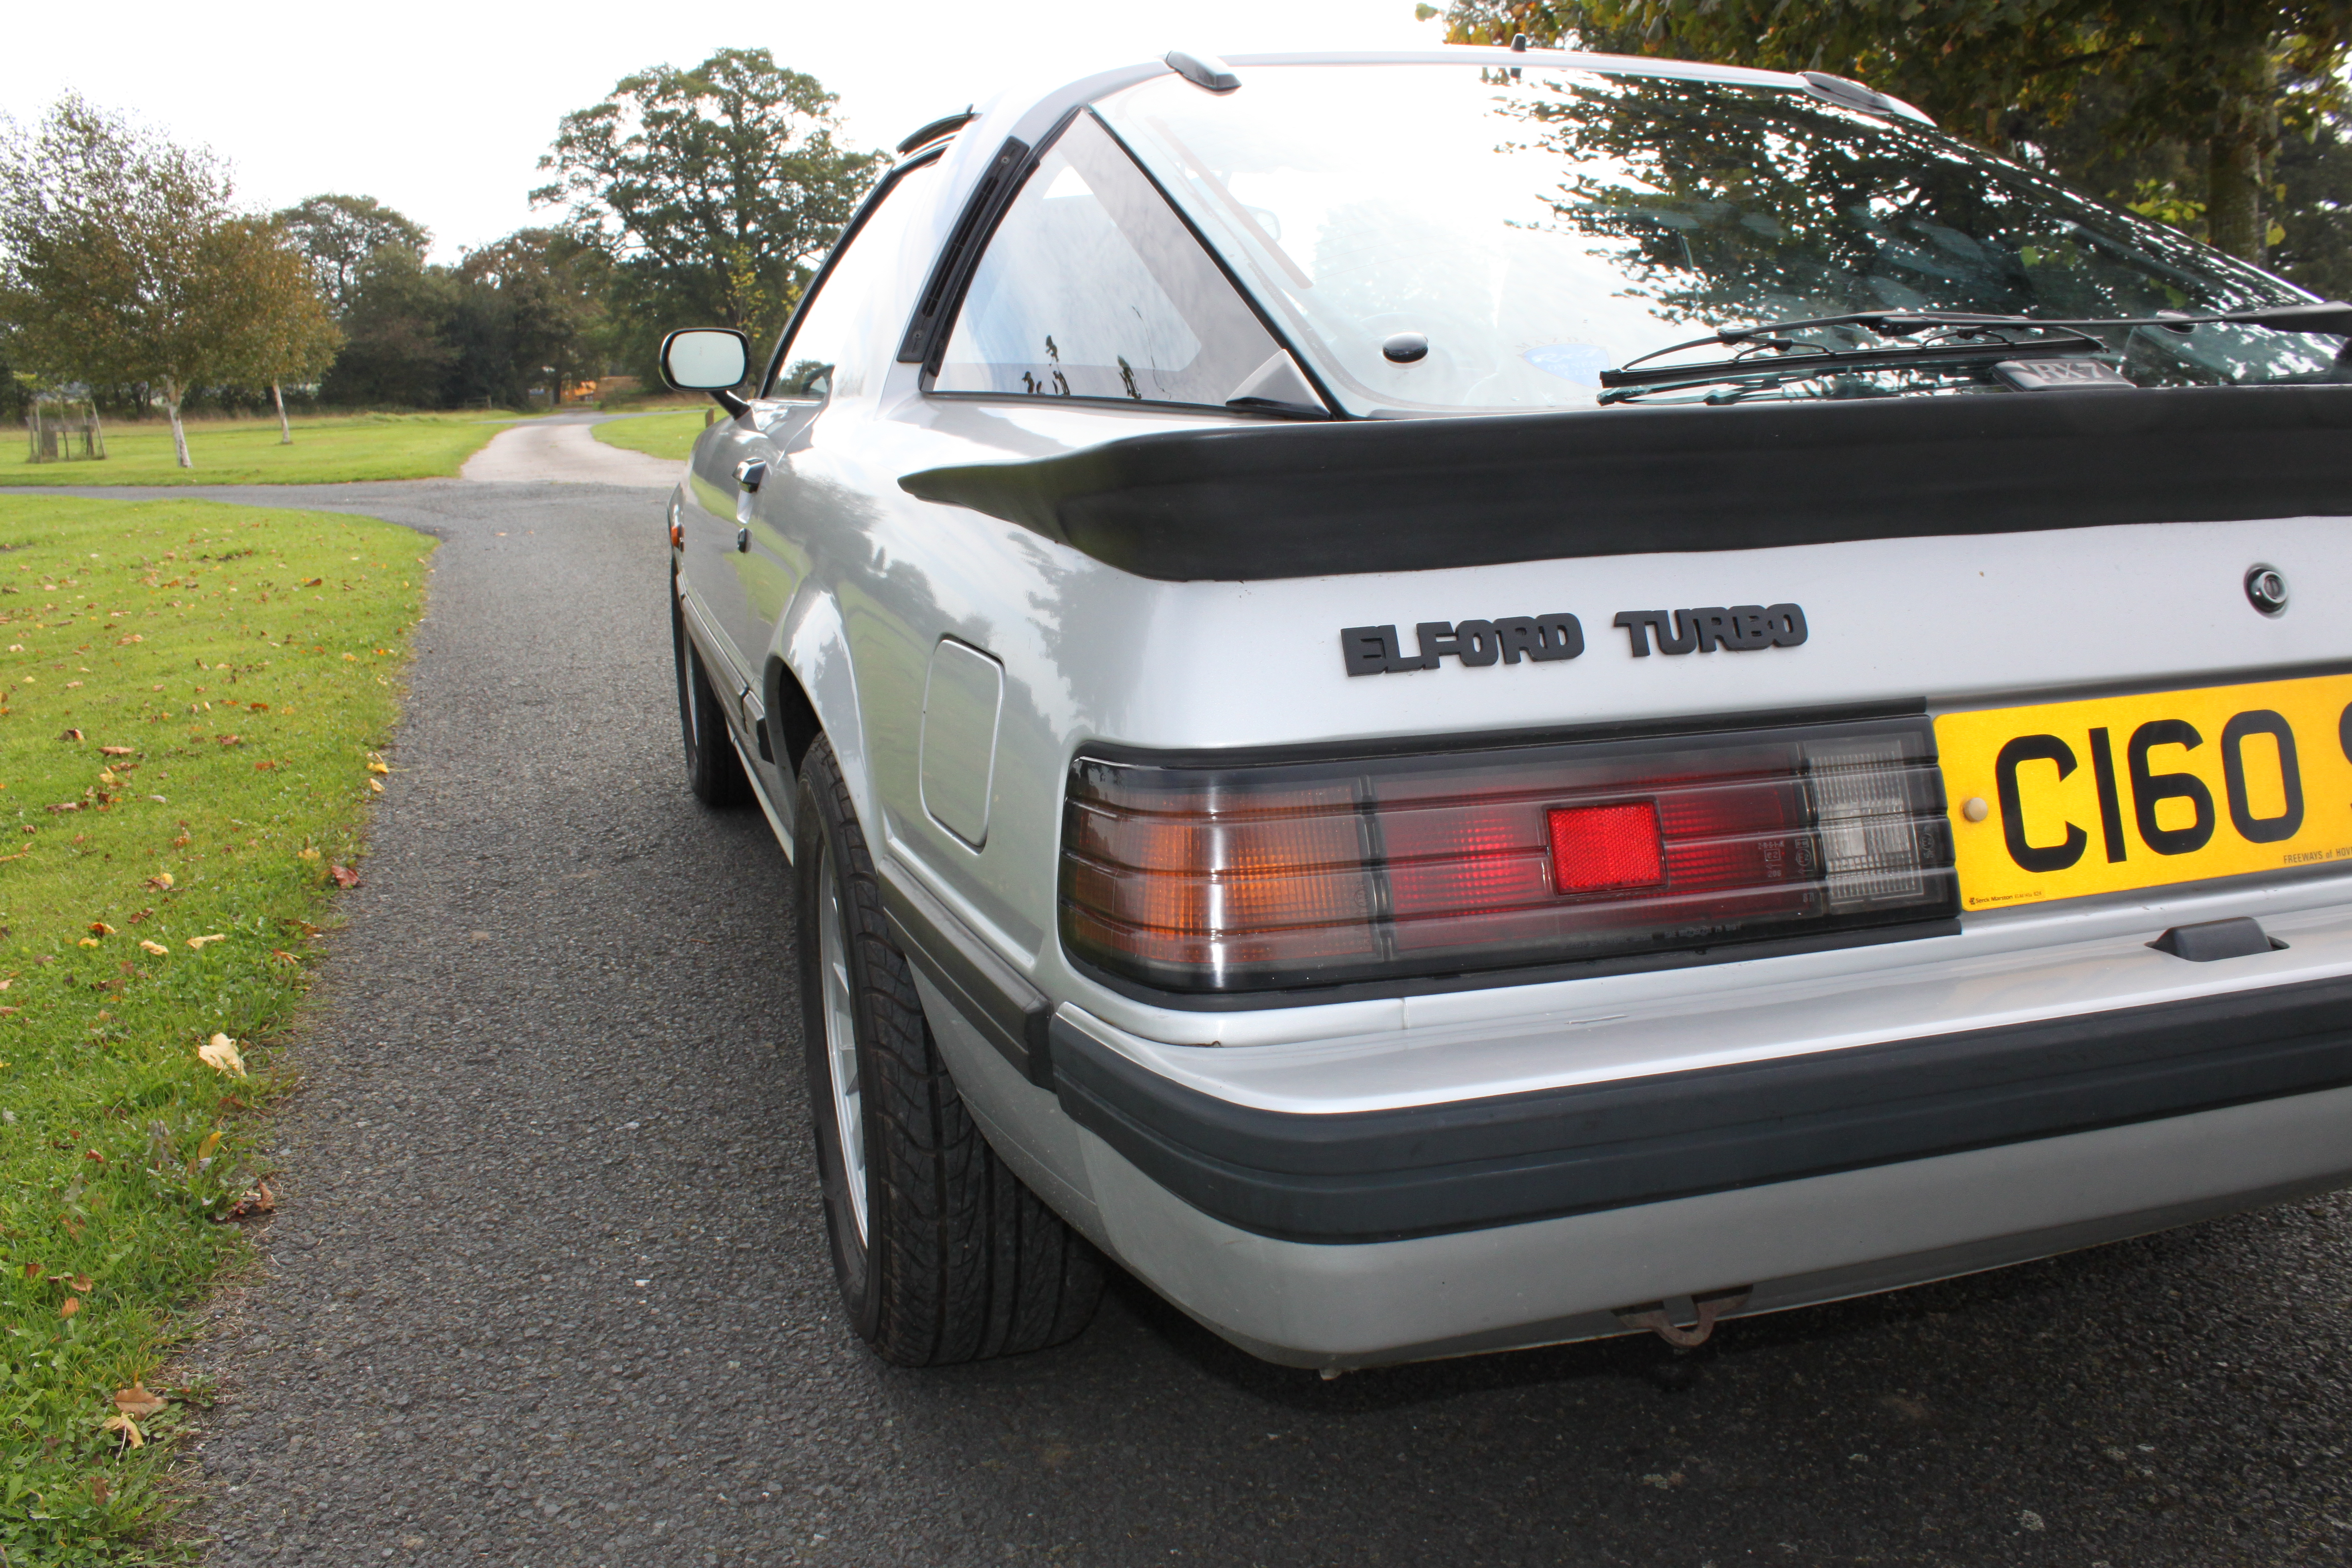
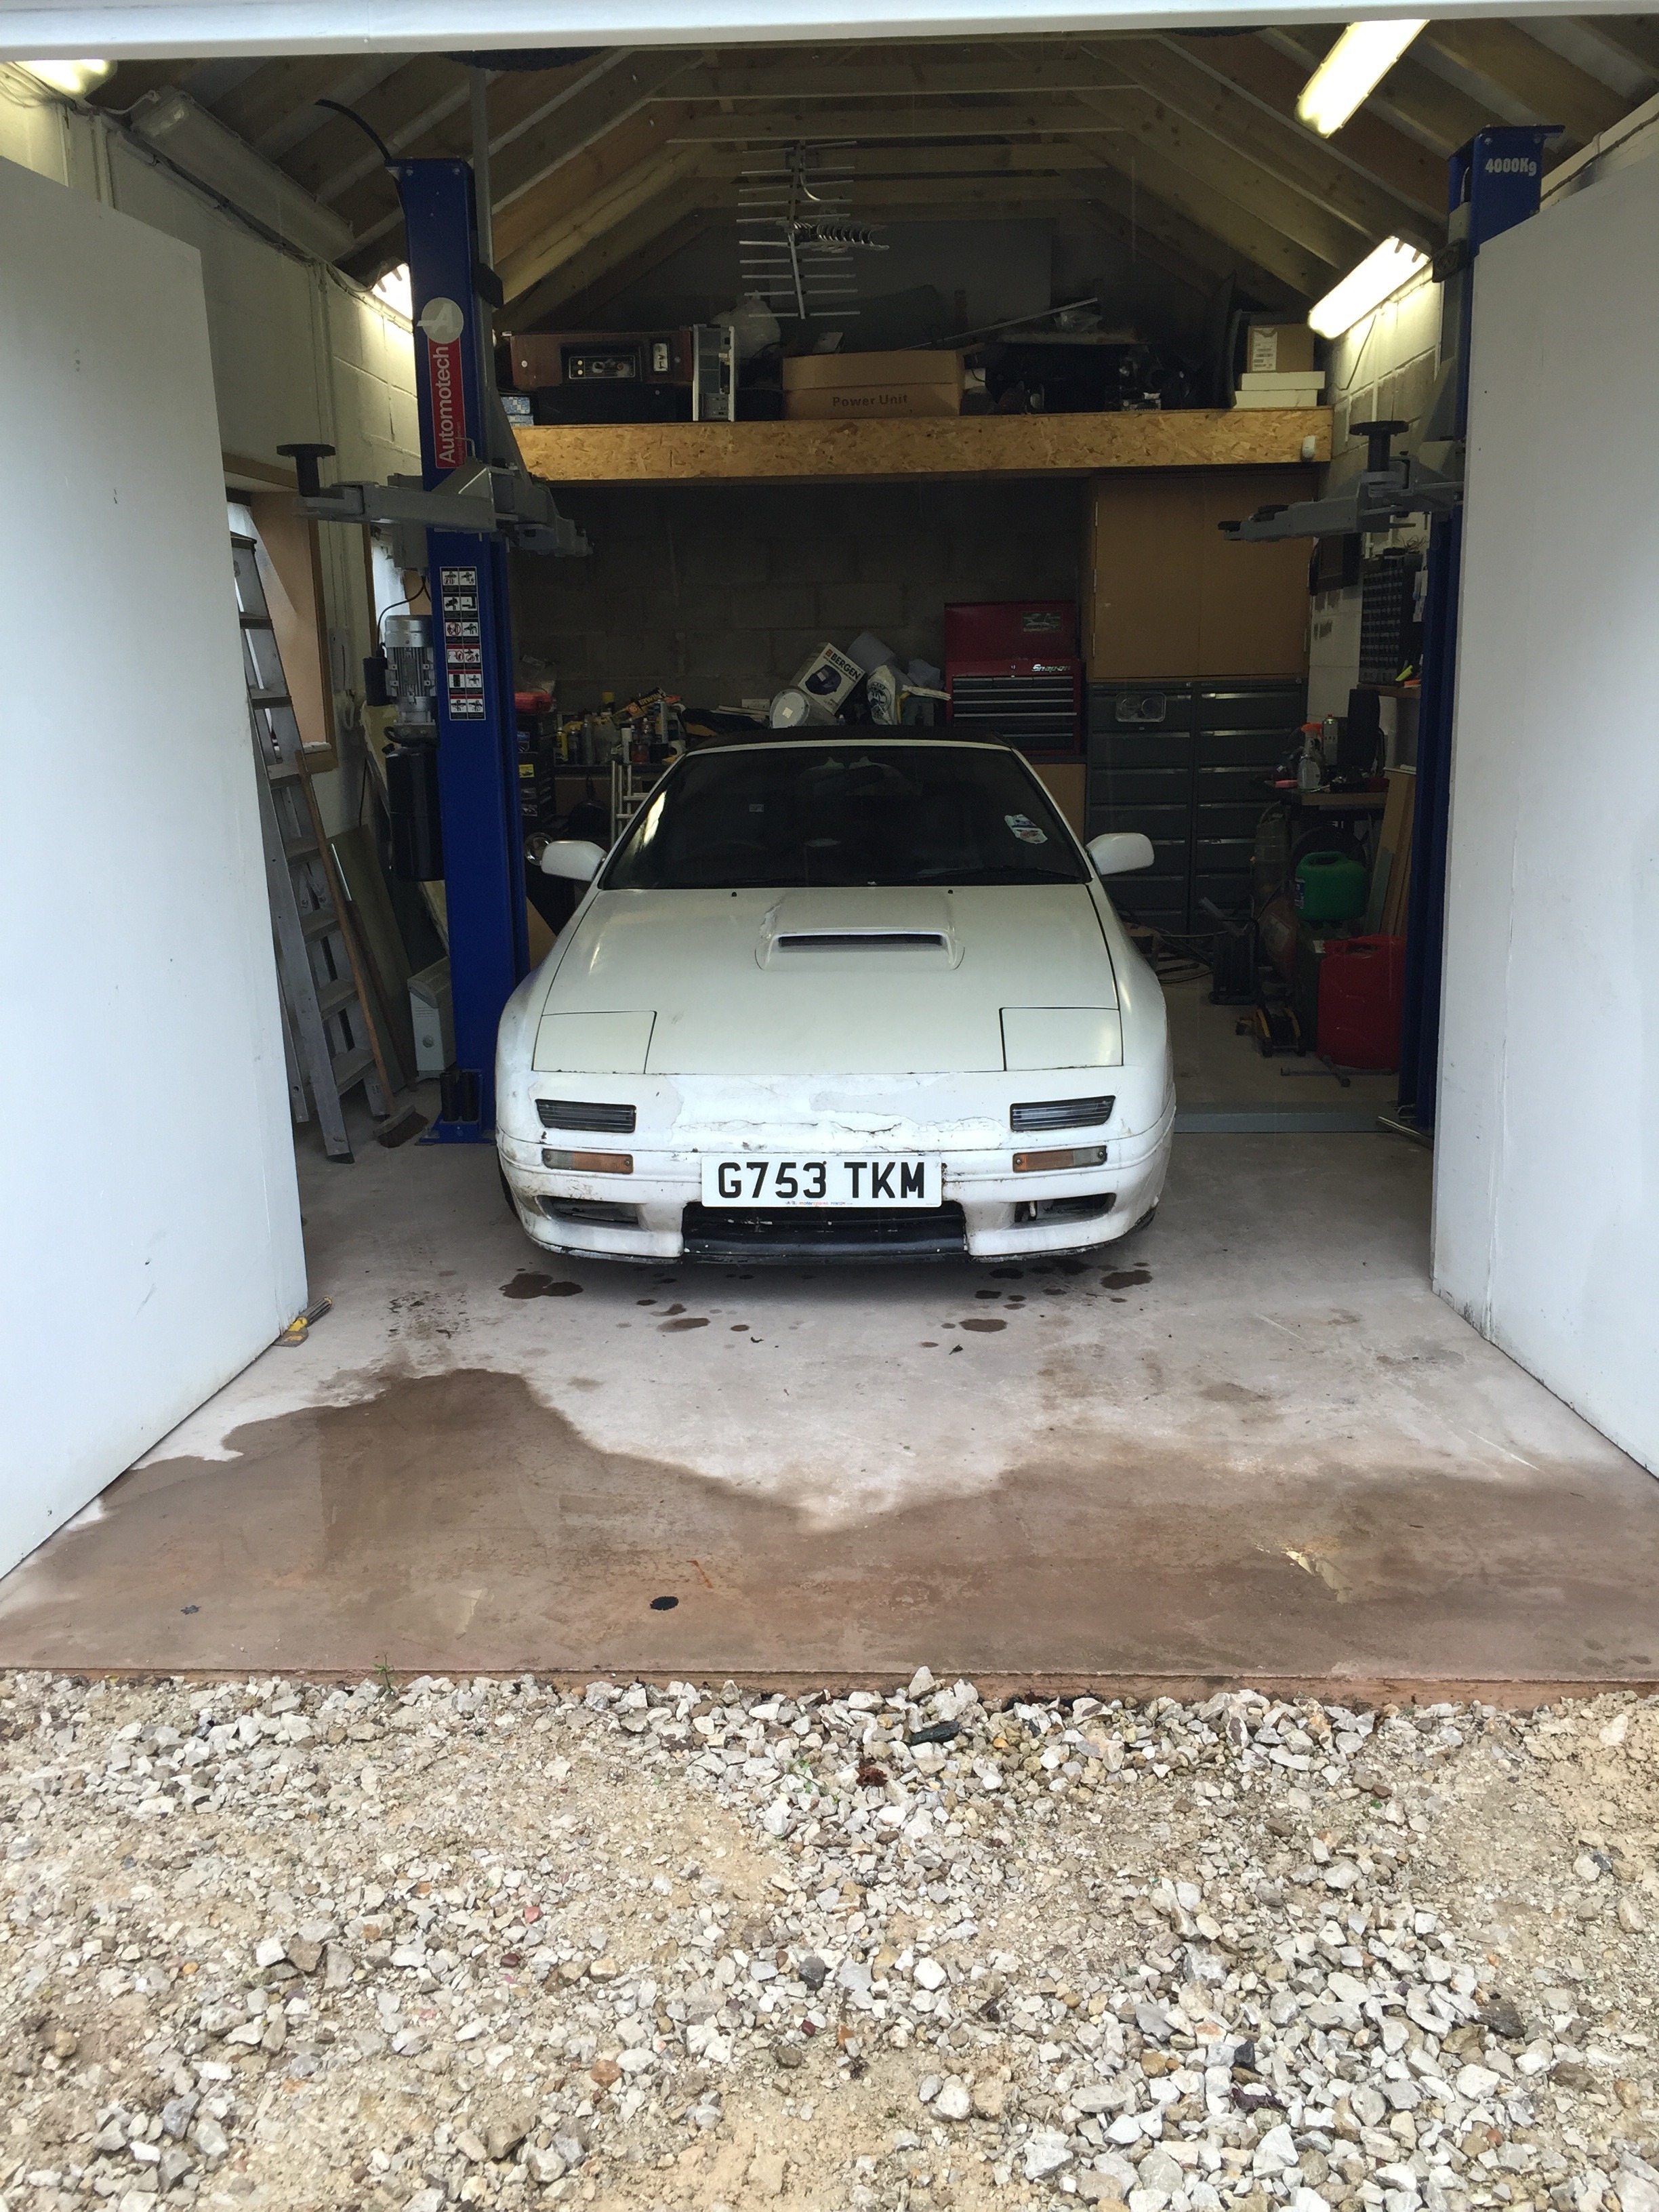
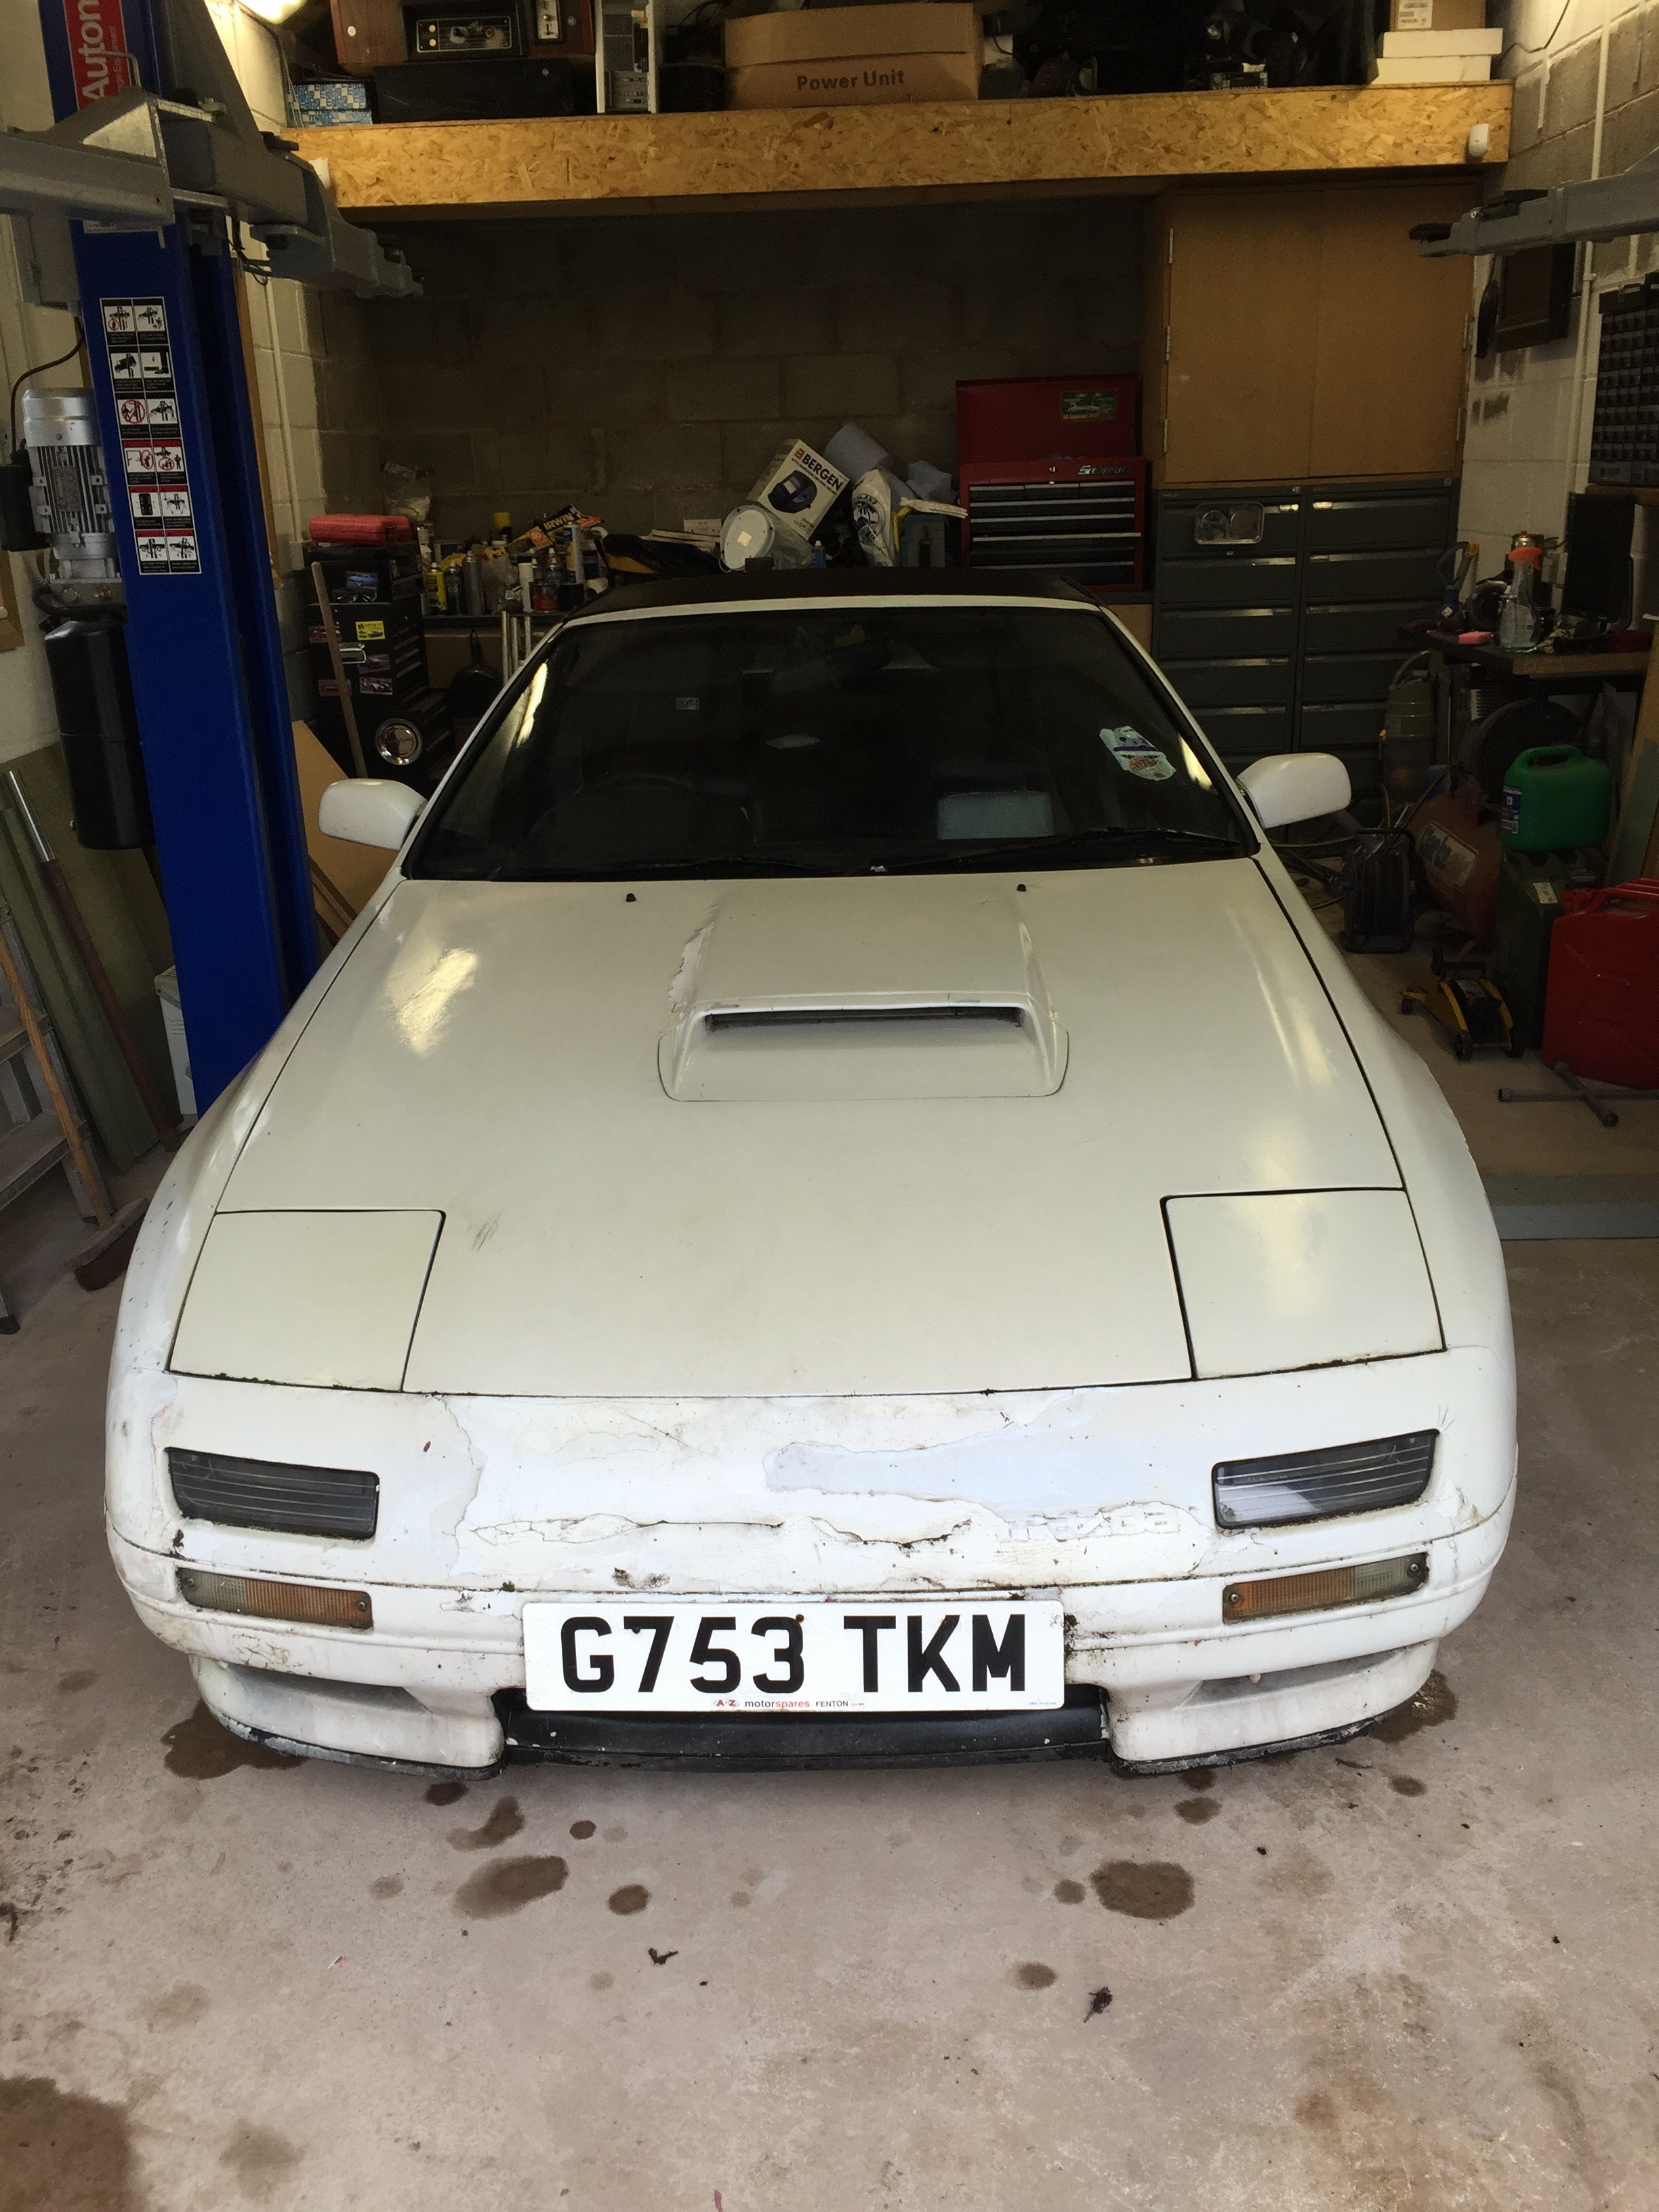
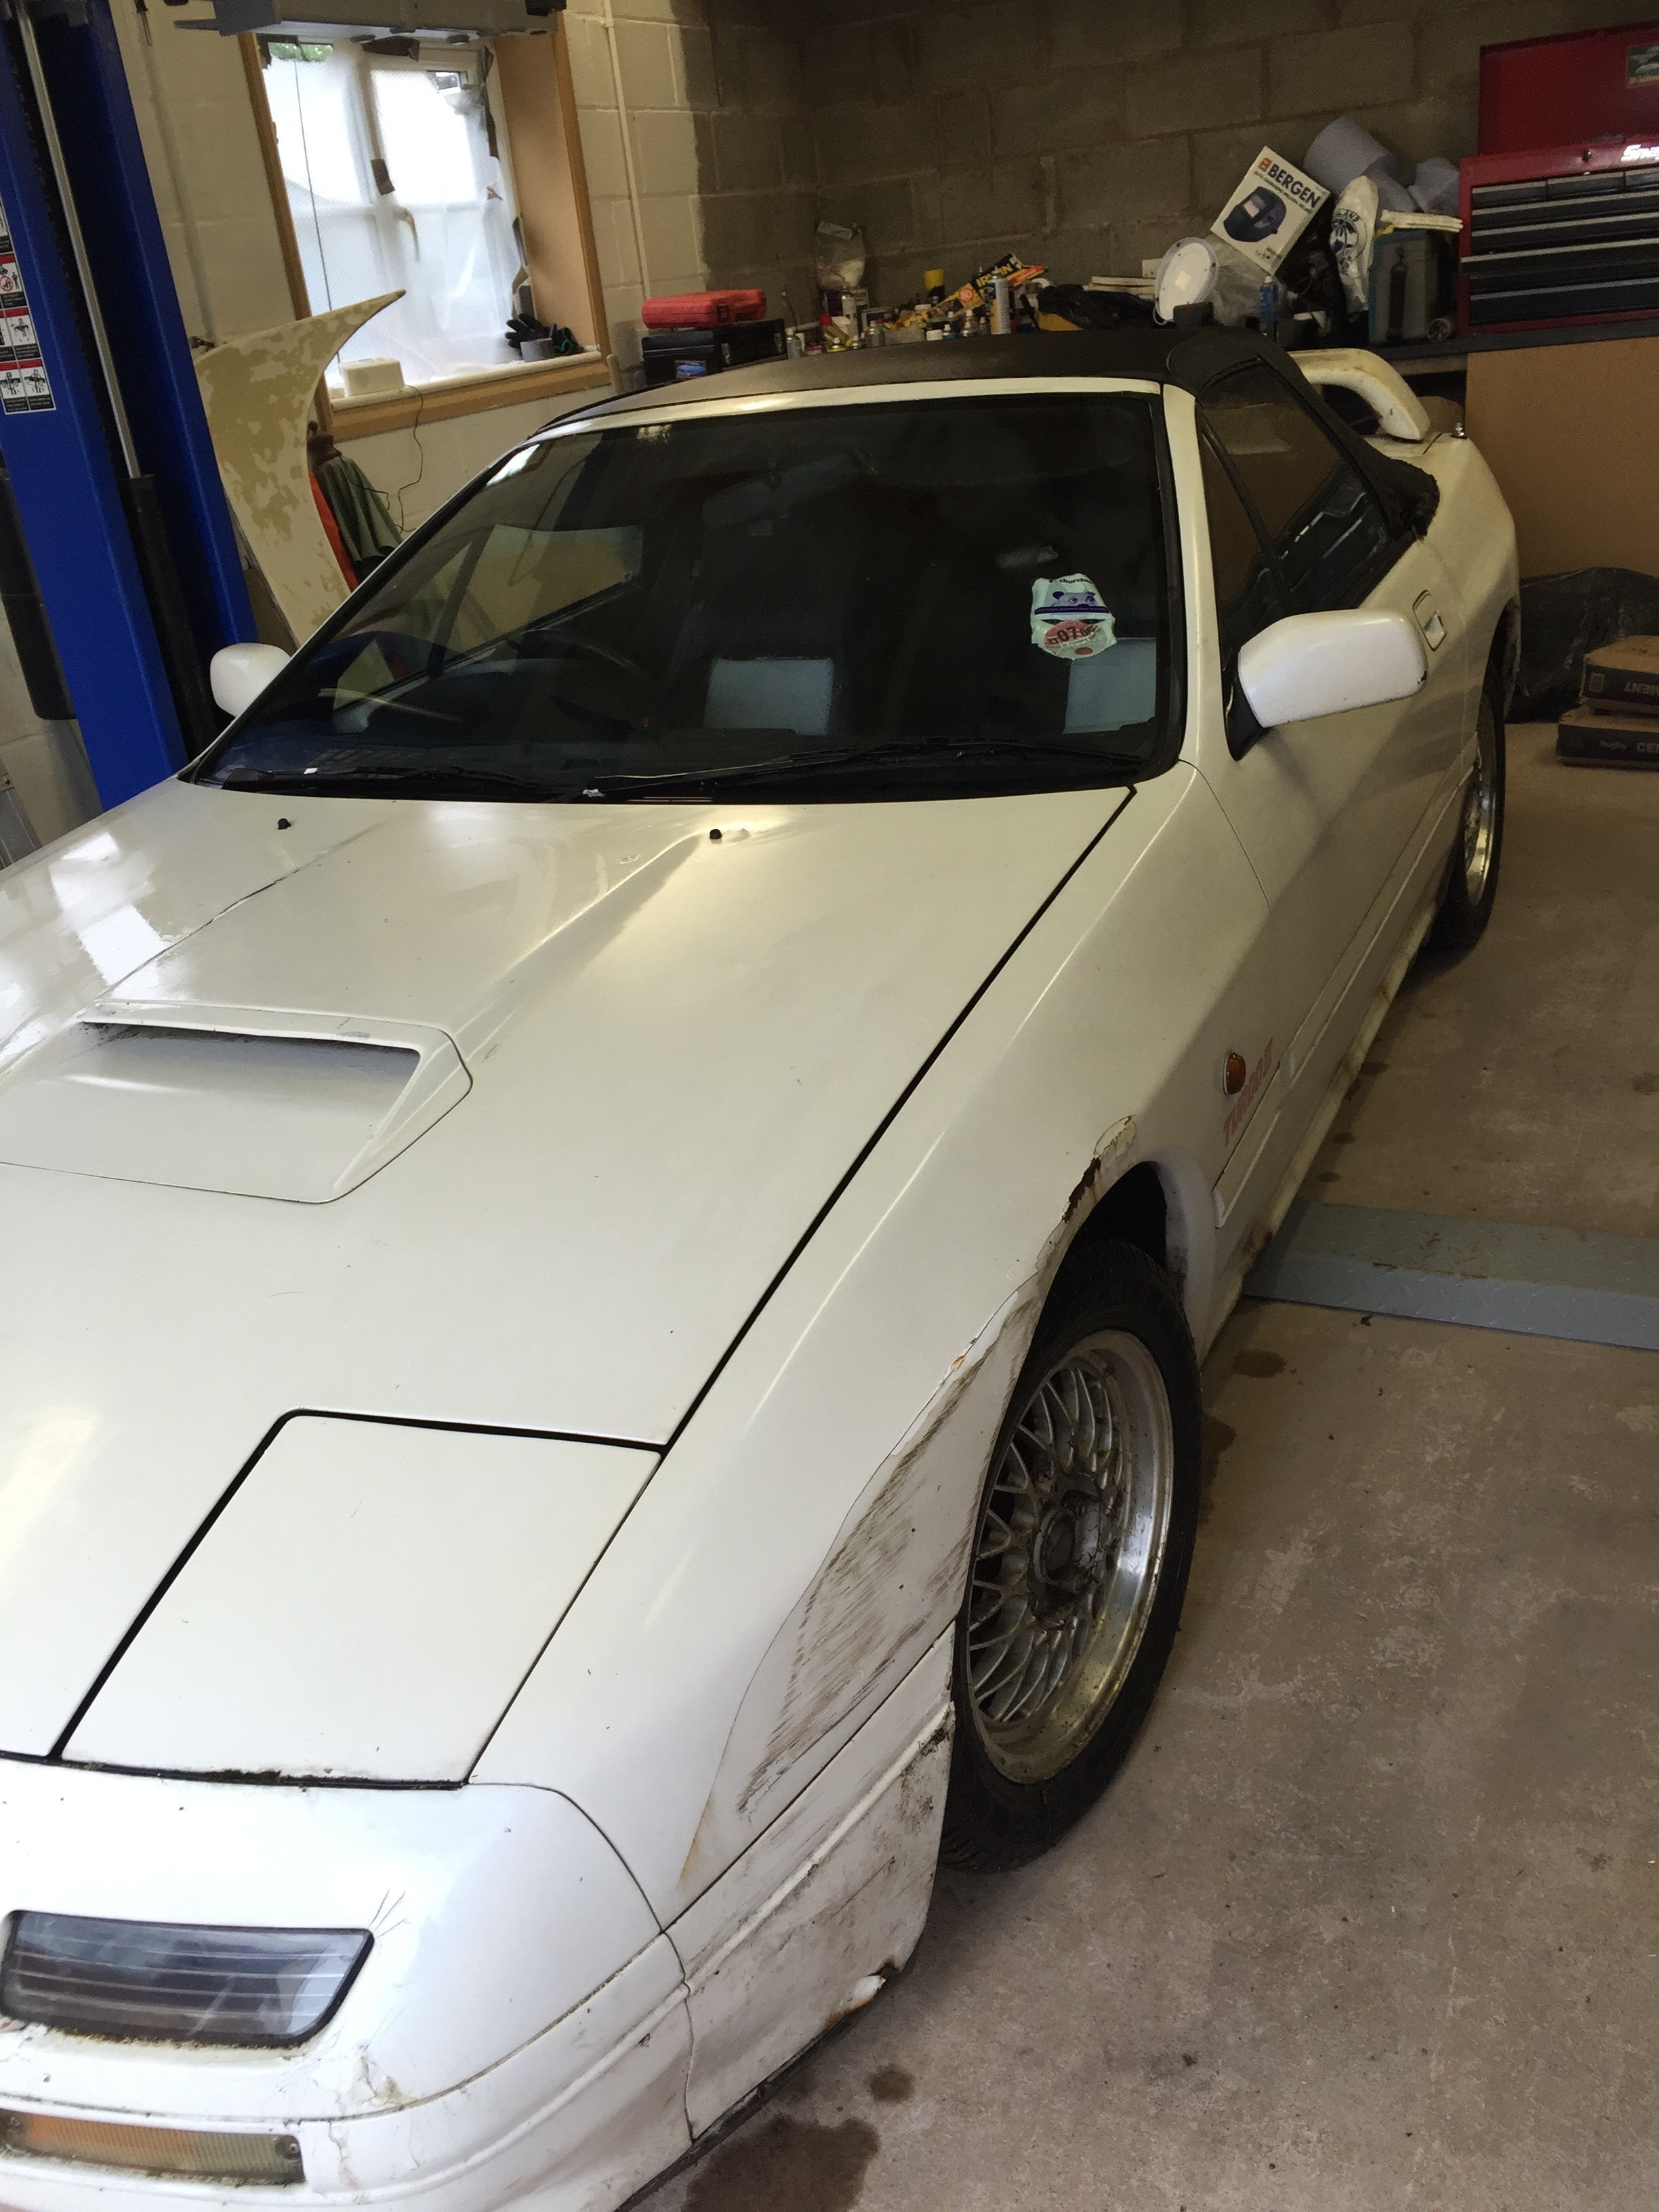
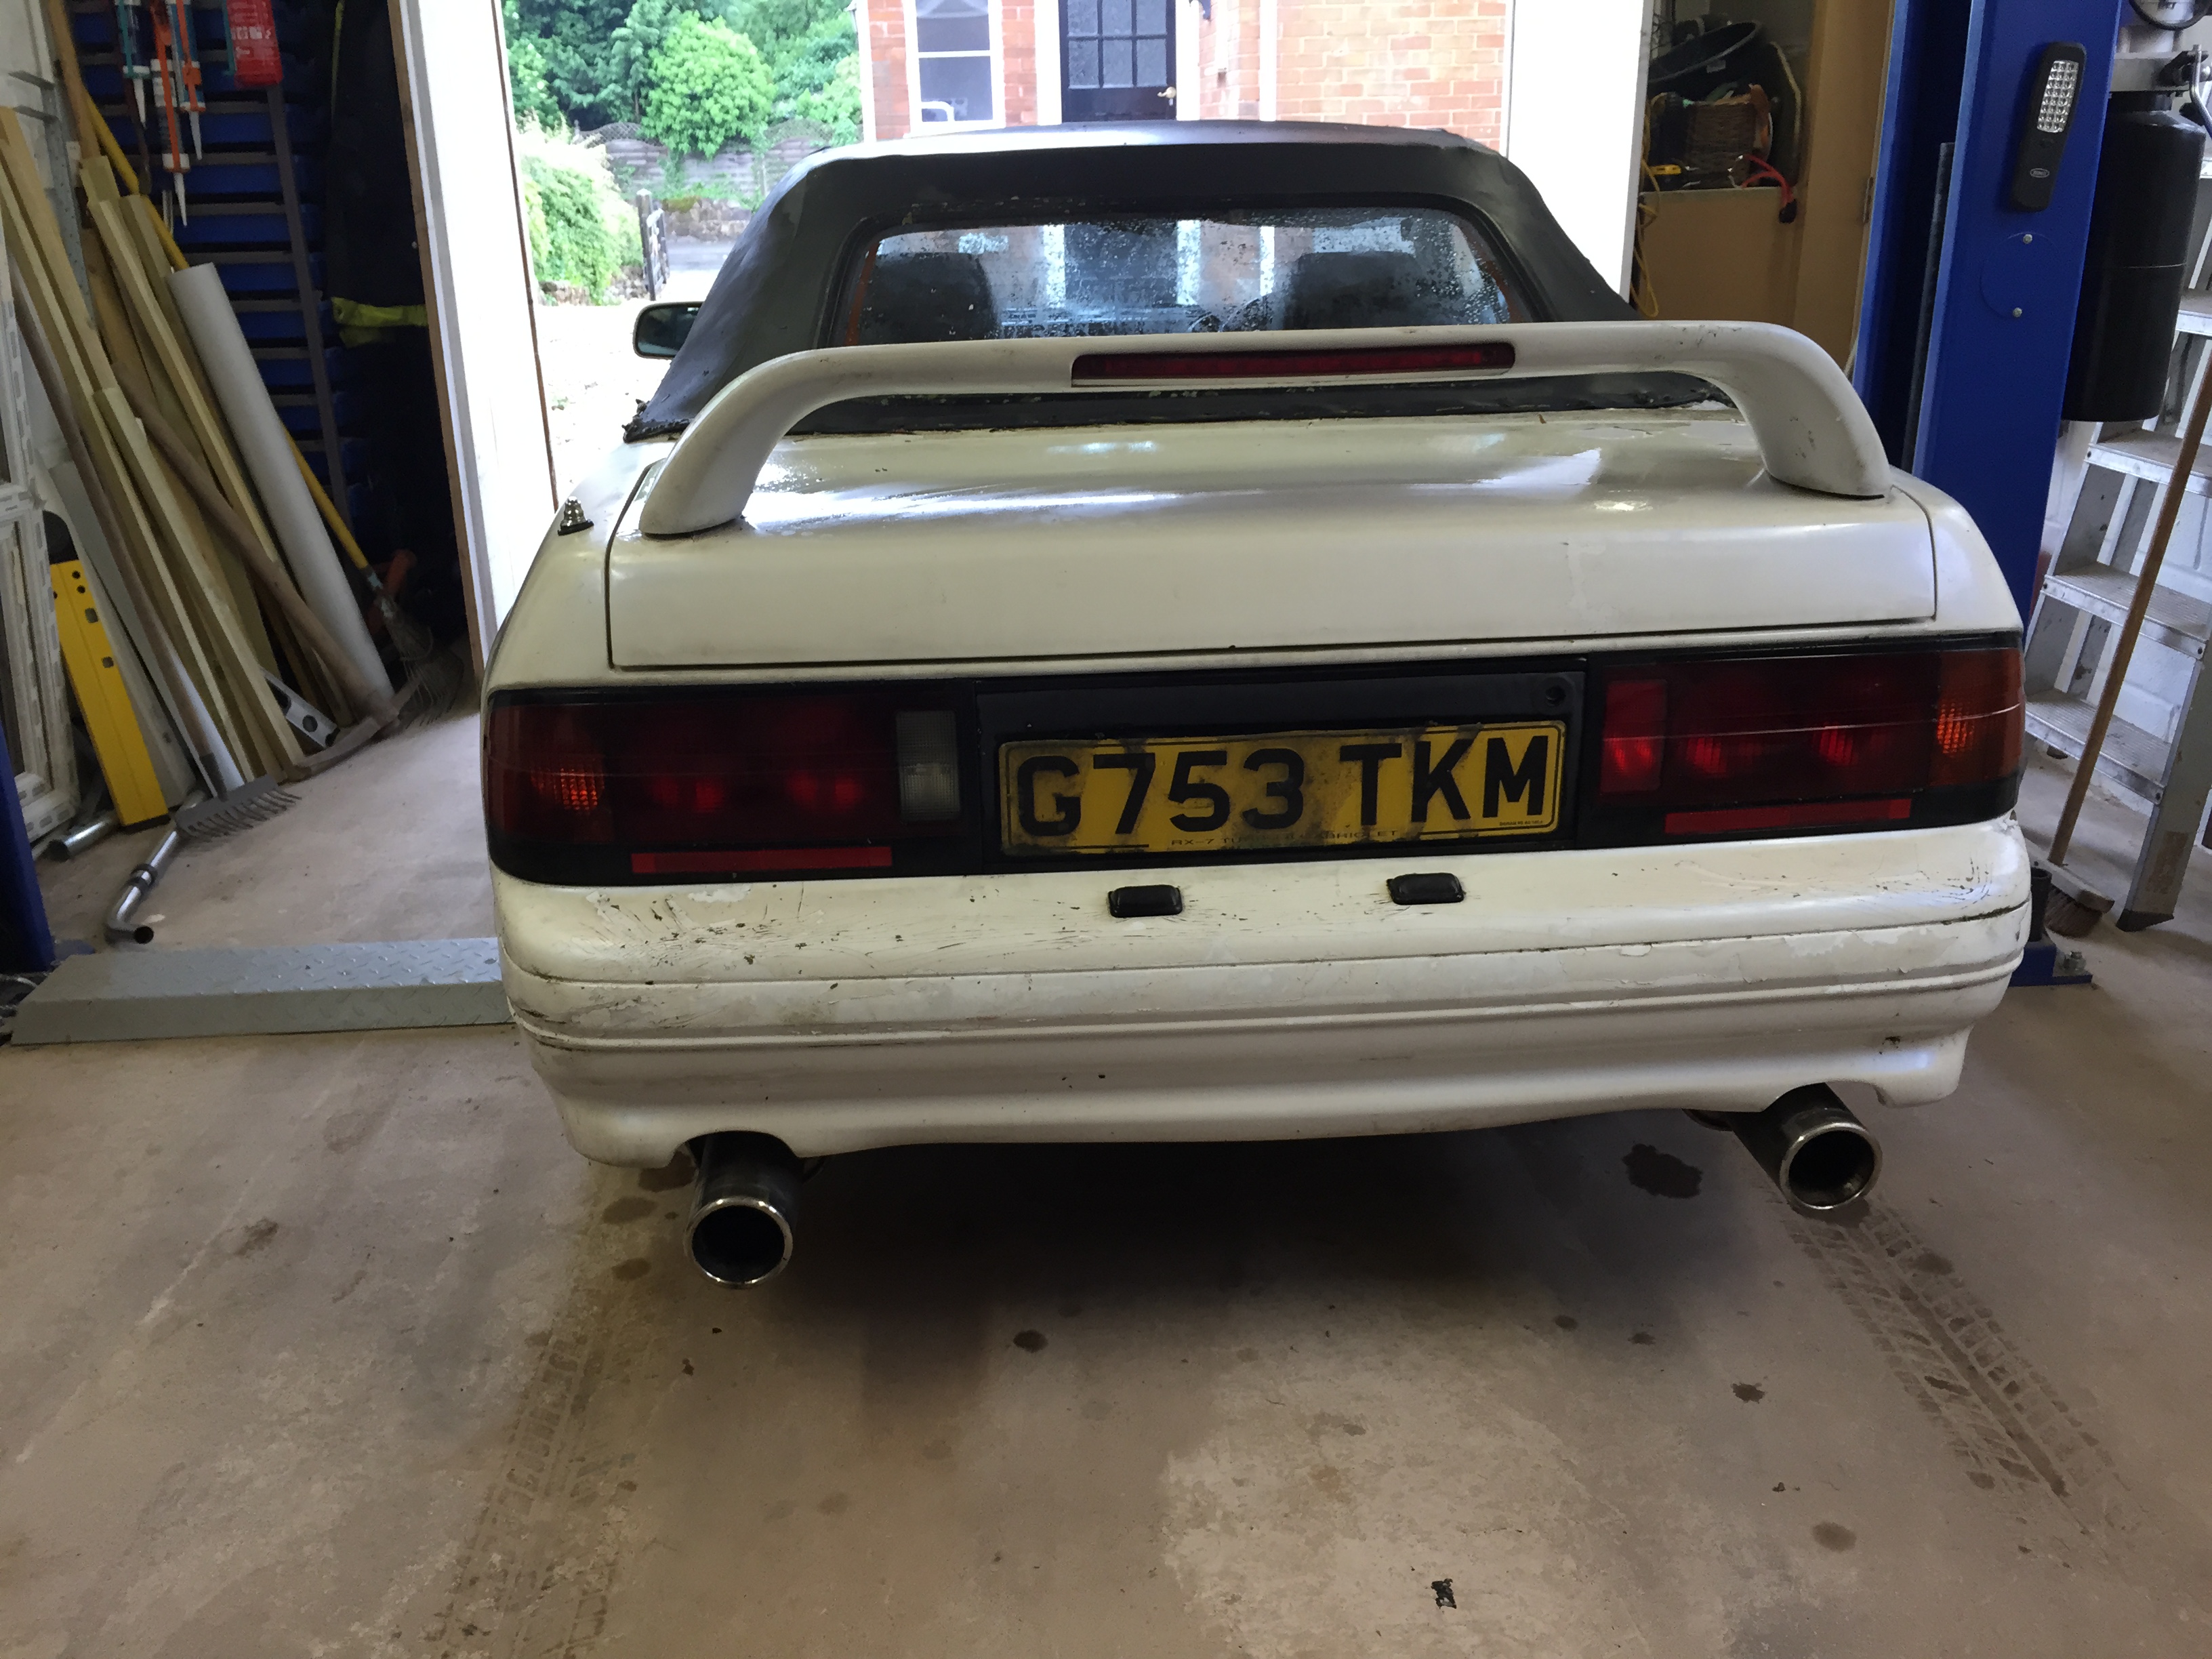
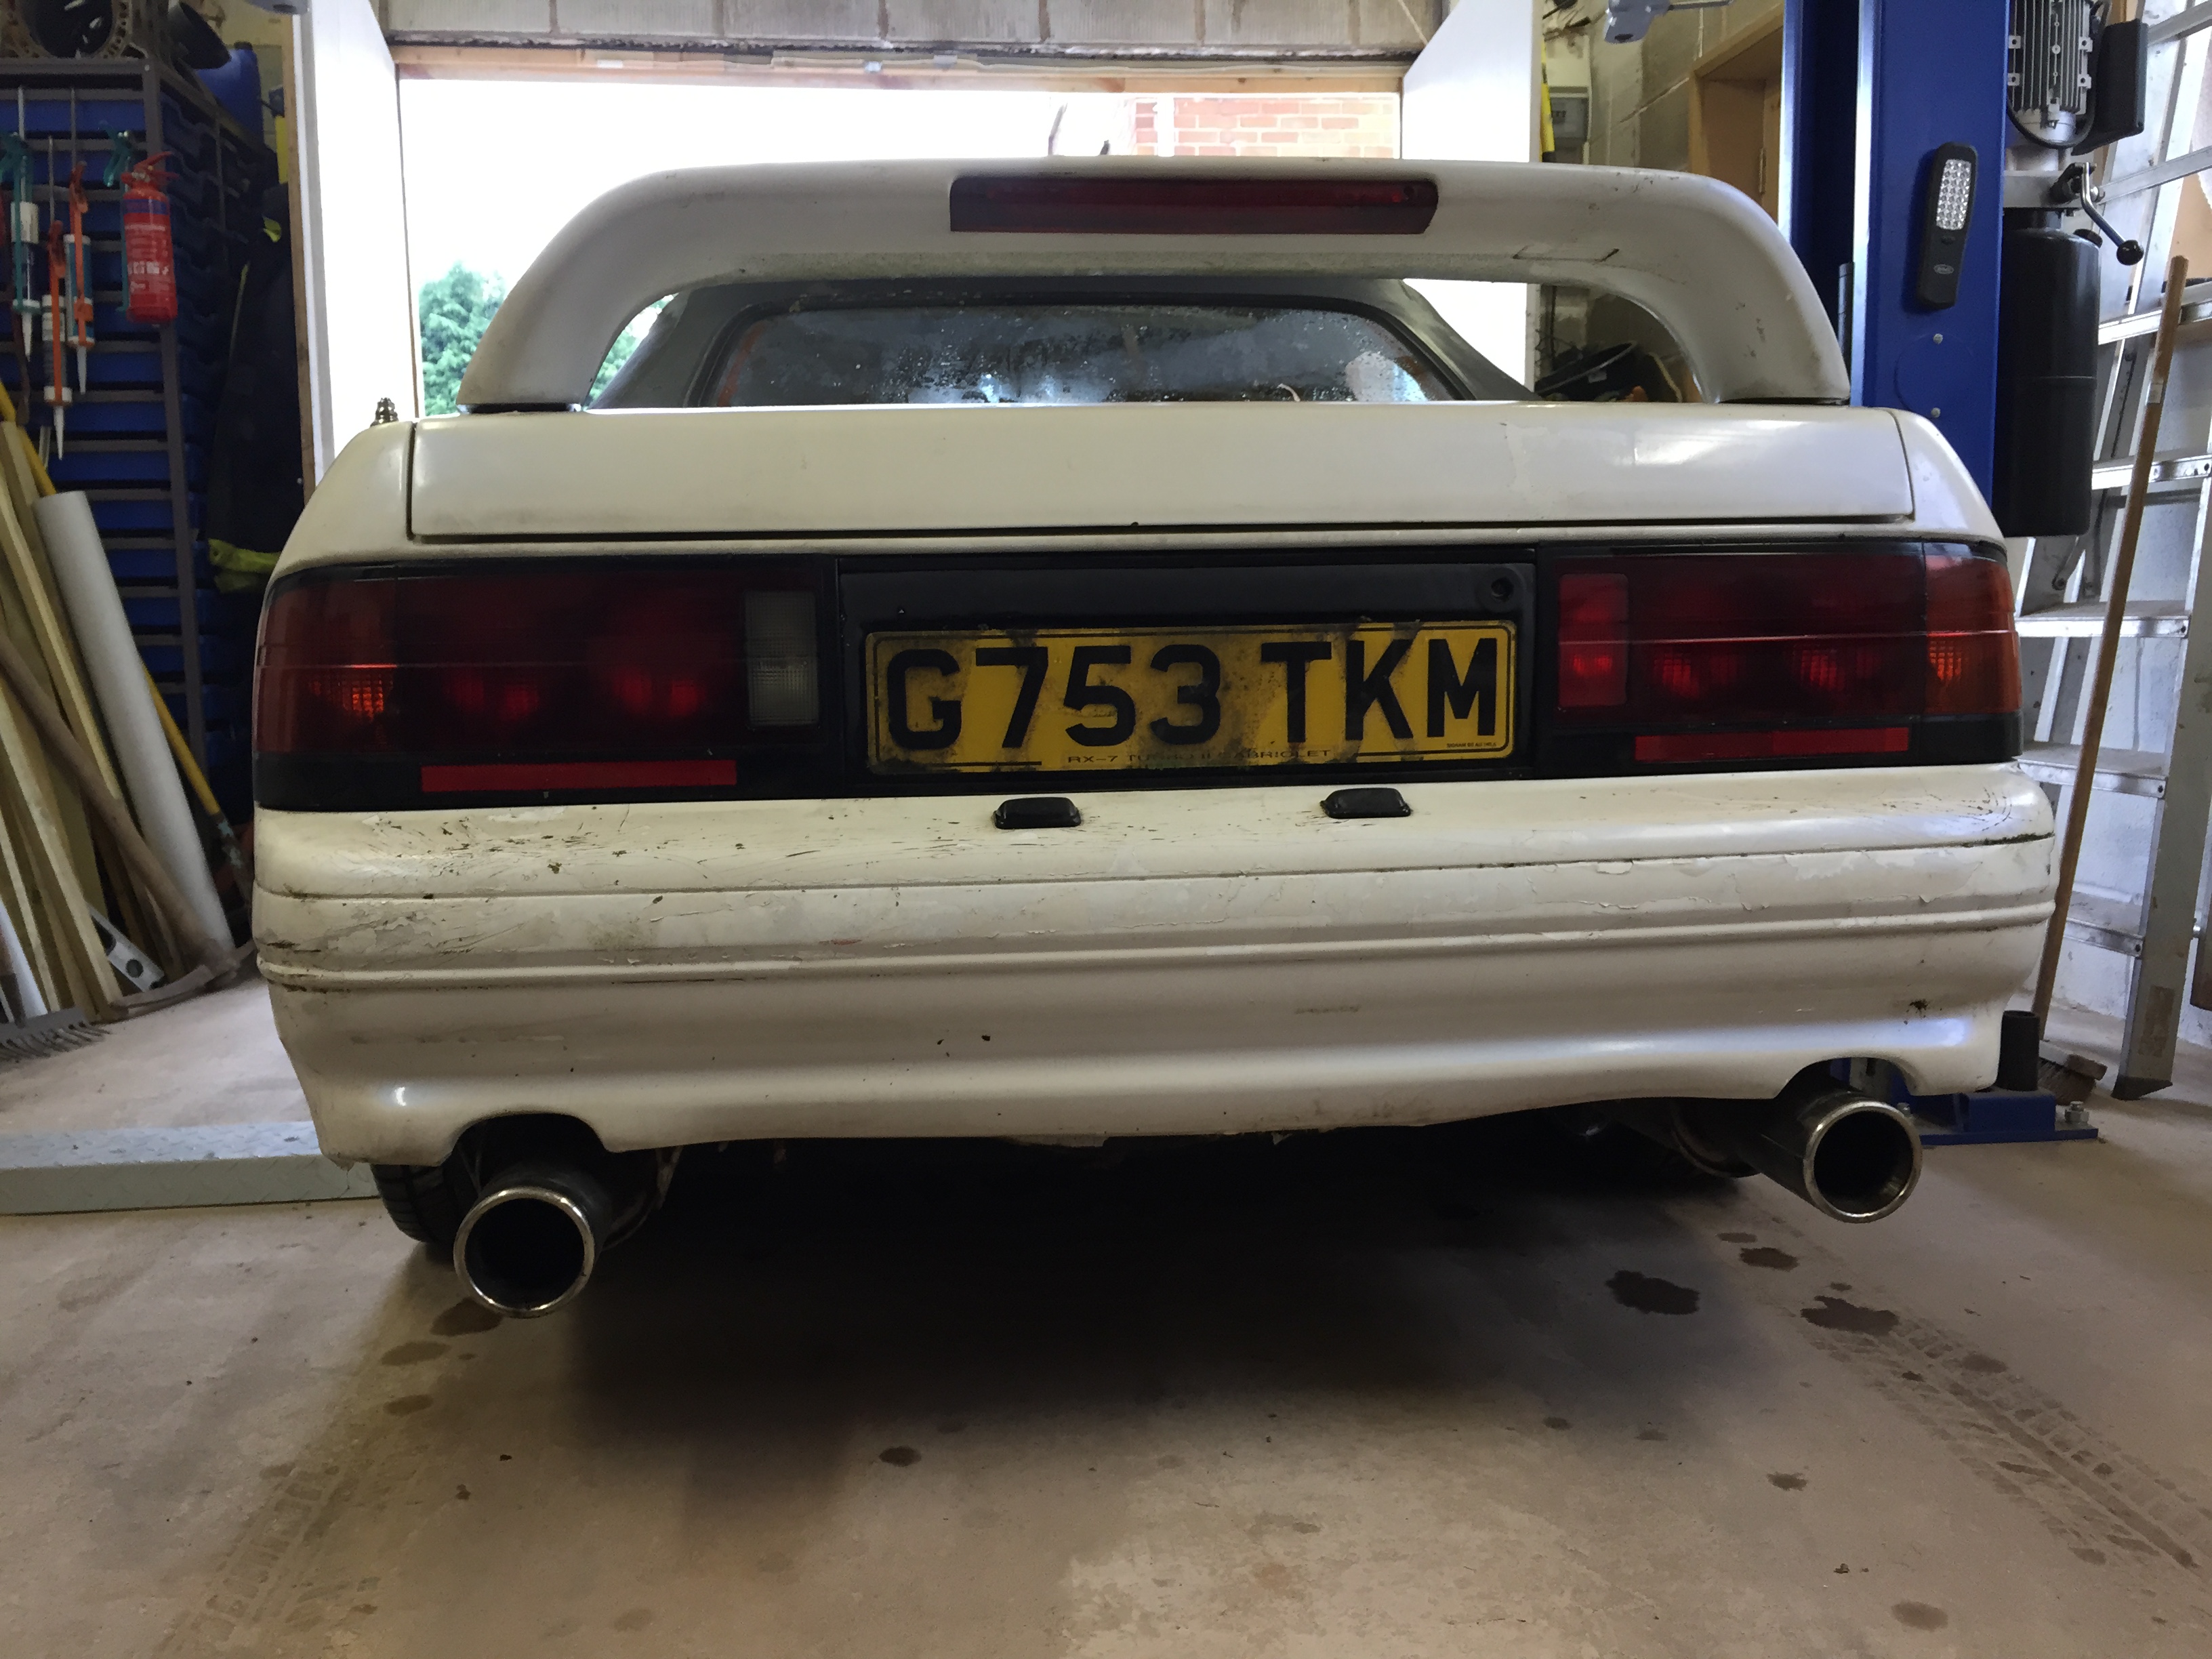
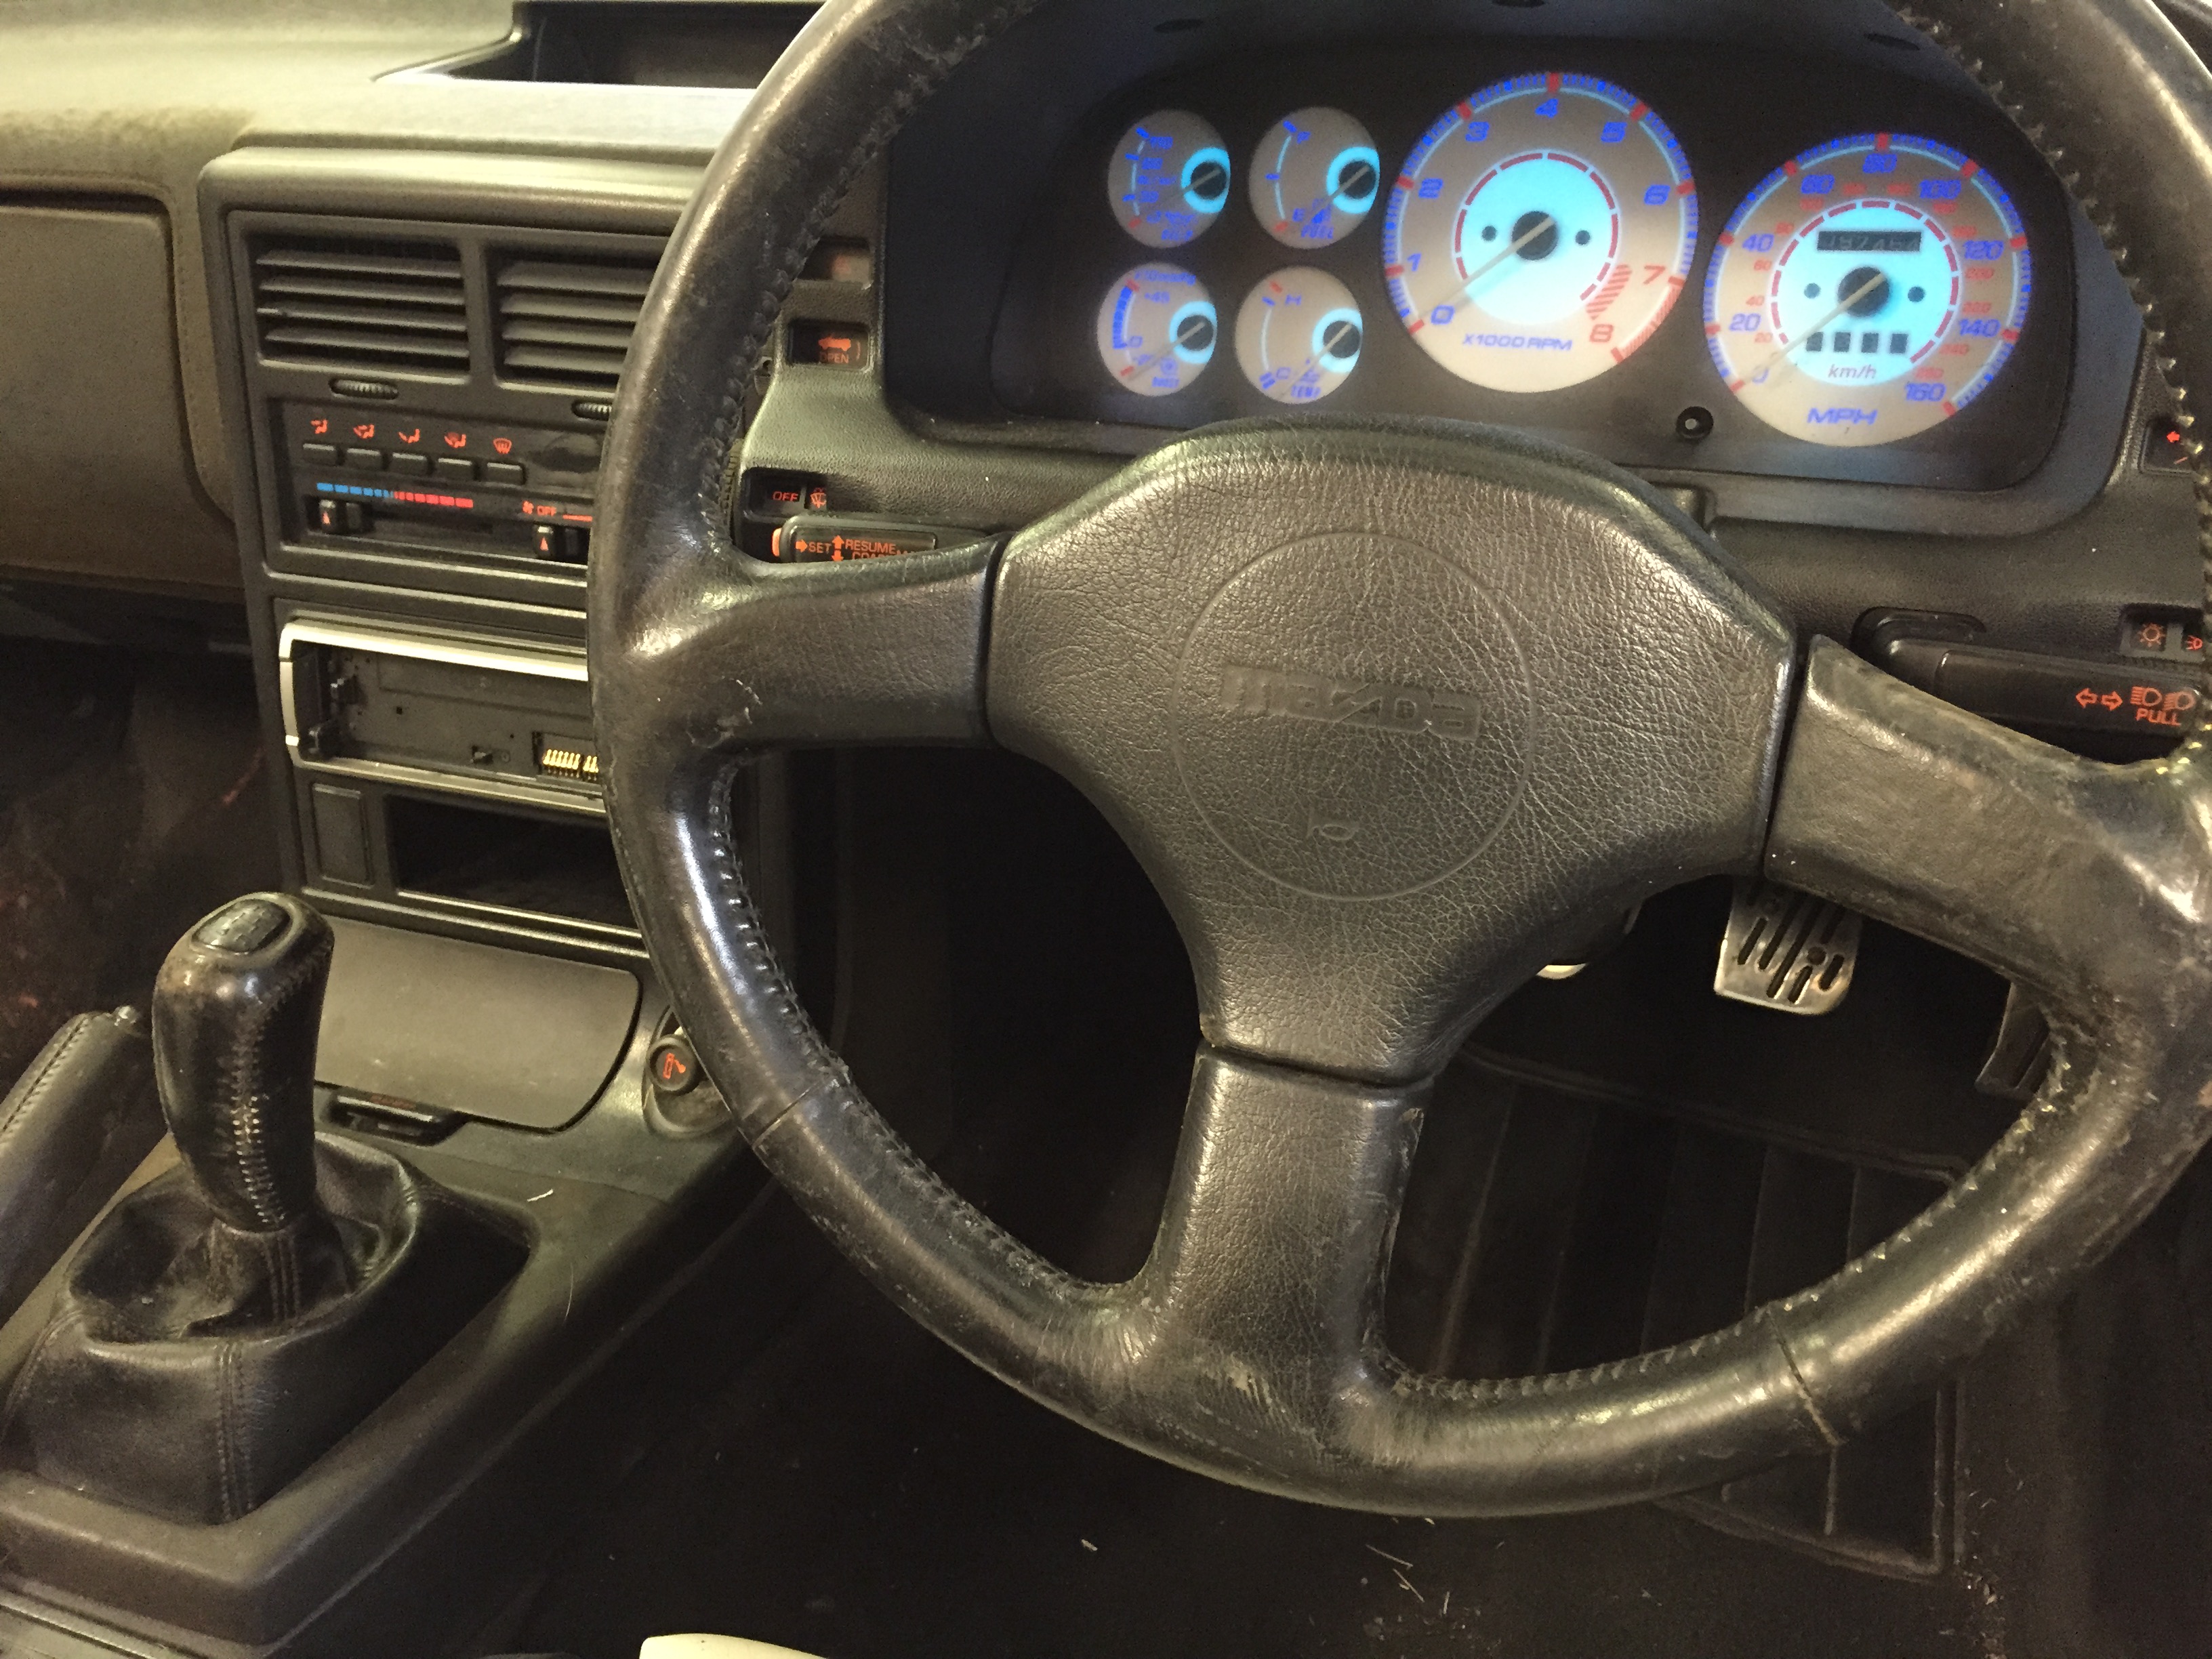
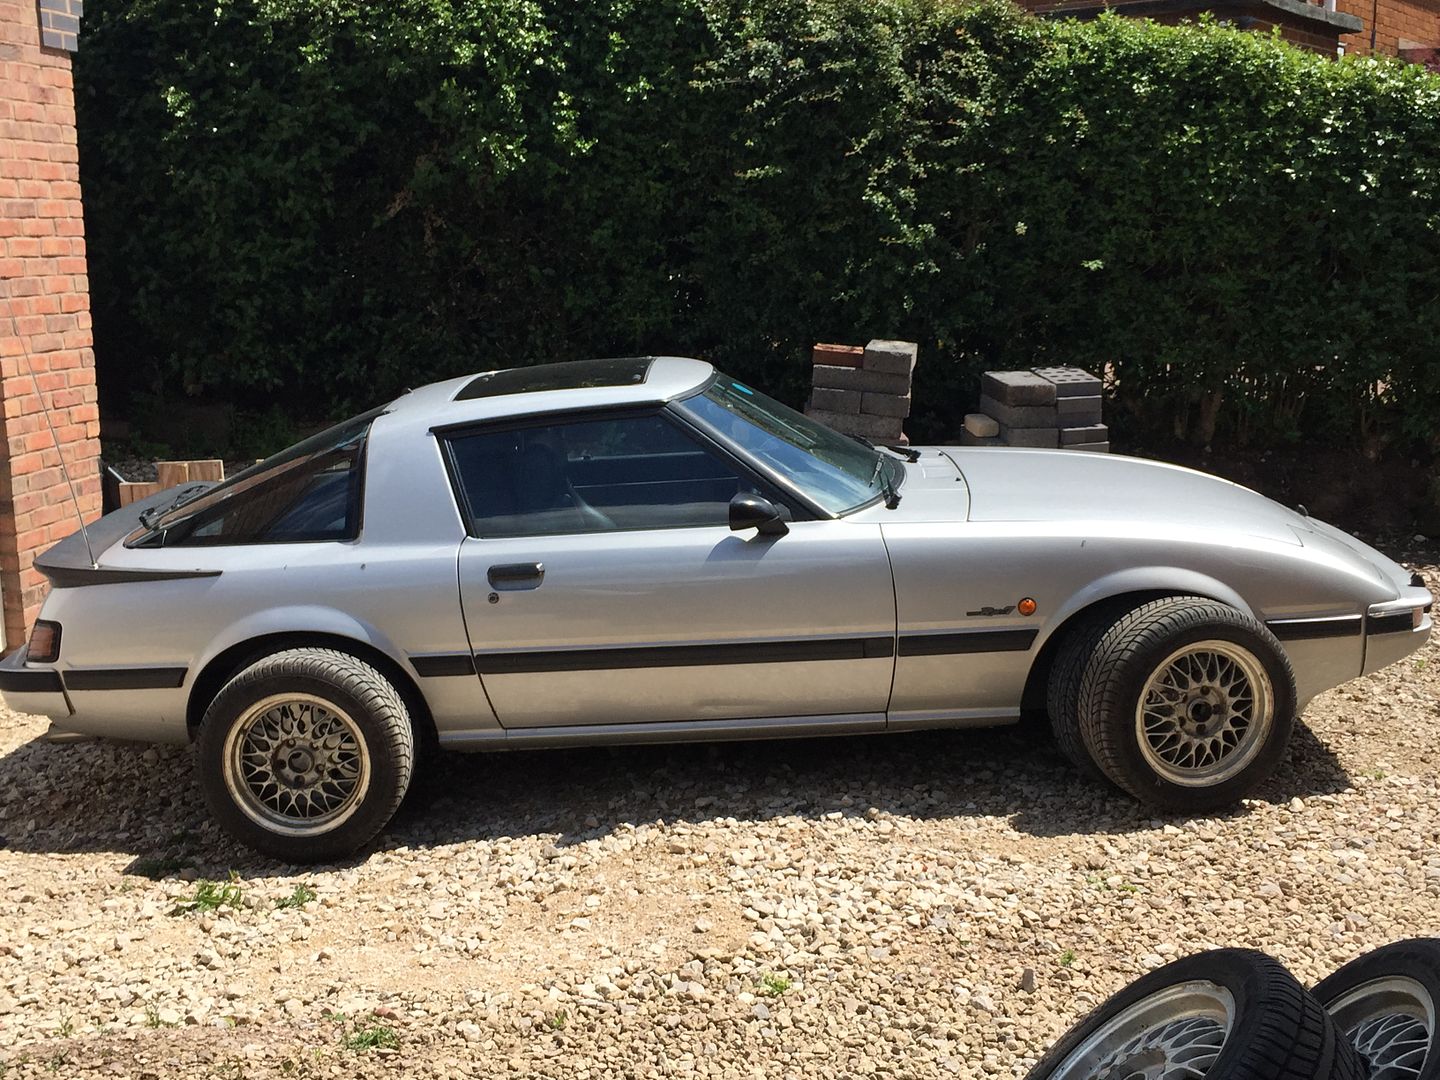
This is the car it’s going into, my series 3 12a turbo. The car was built in ’85, first sold and registered in the UK in 1986 and was used by the owner until ’94 when it threw a tip on the rear rotor that trashed the rotor and housing and he then put it into dry store in his garage for the next 20 years.
A couple of years back he decided to sell the car to a salvage yard but myself and a friend got to hear about it, stepped in and bought the car before he did.
Not long after, my mate relocated back home to New Zealand so I bought him out of the car and ended up with it.
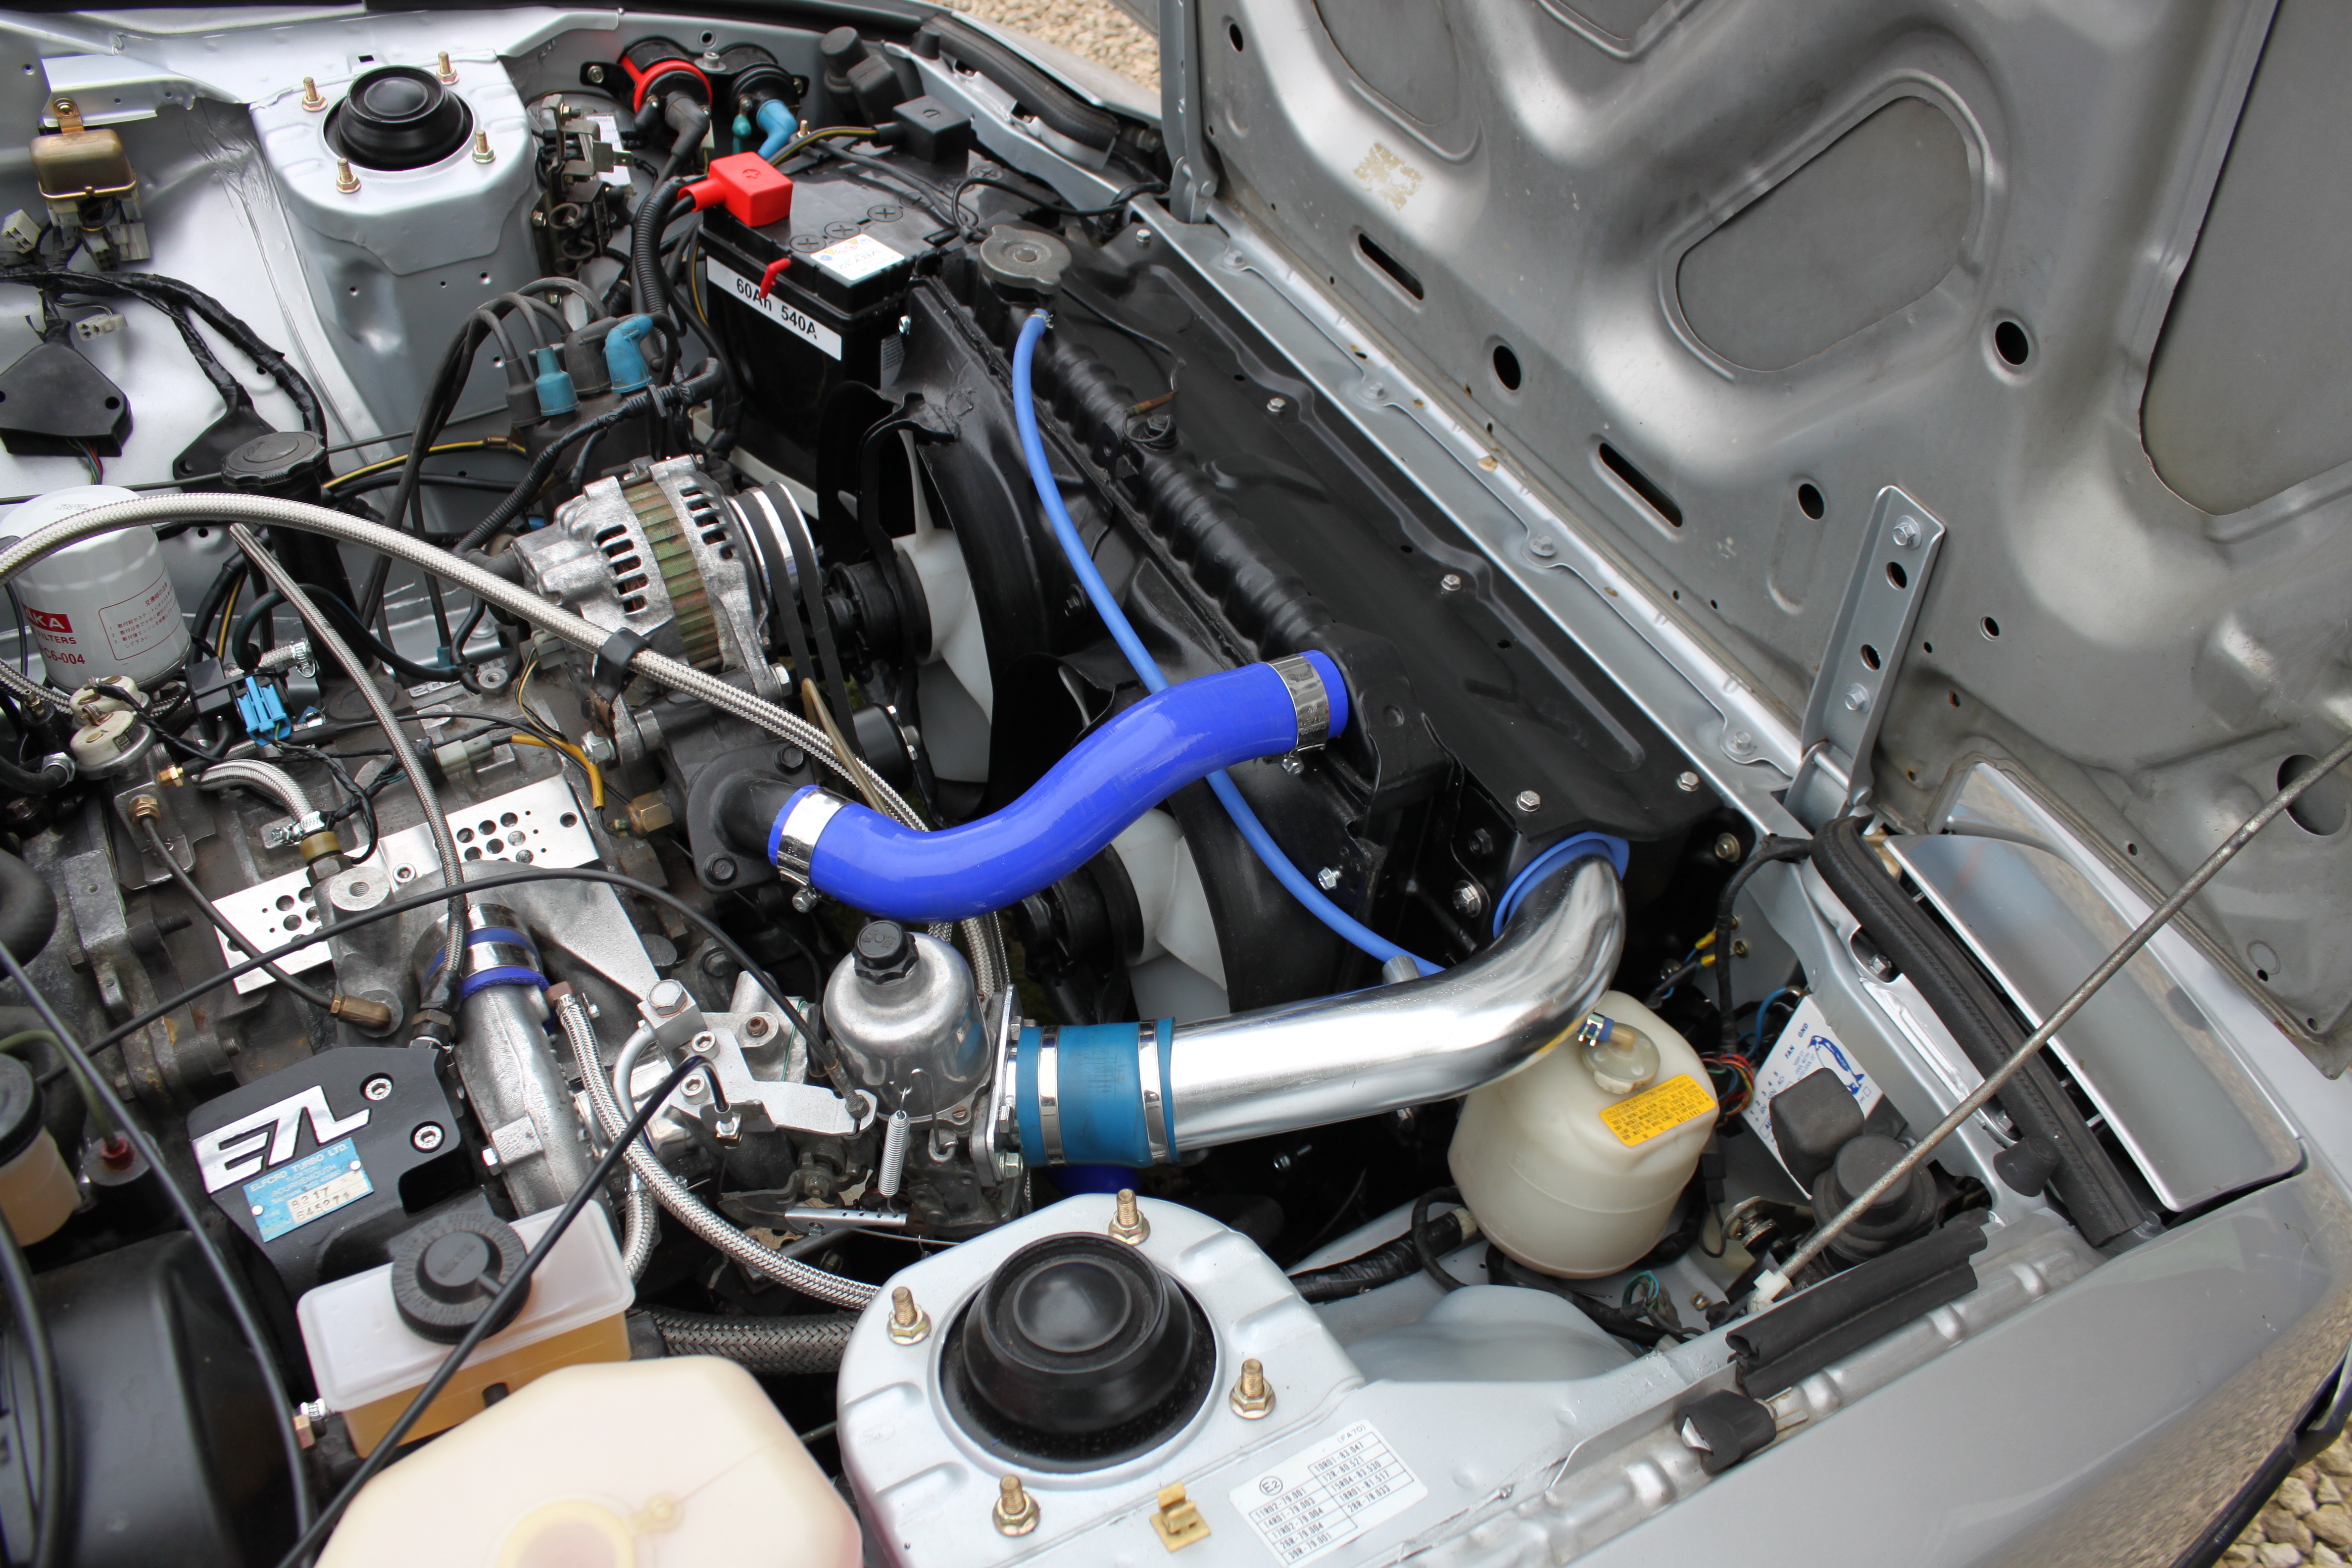
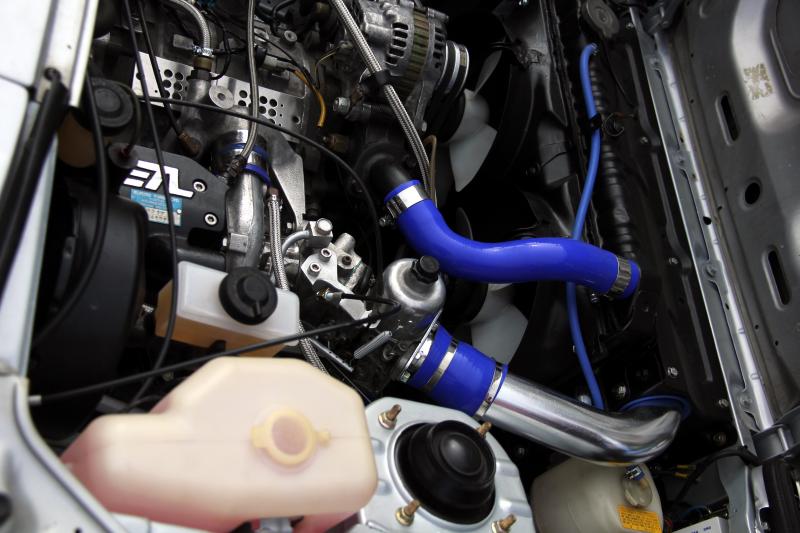
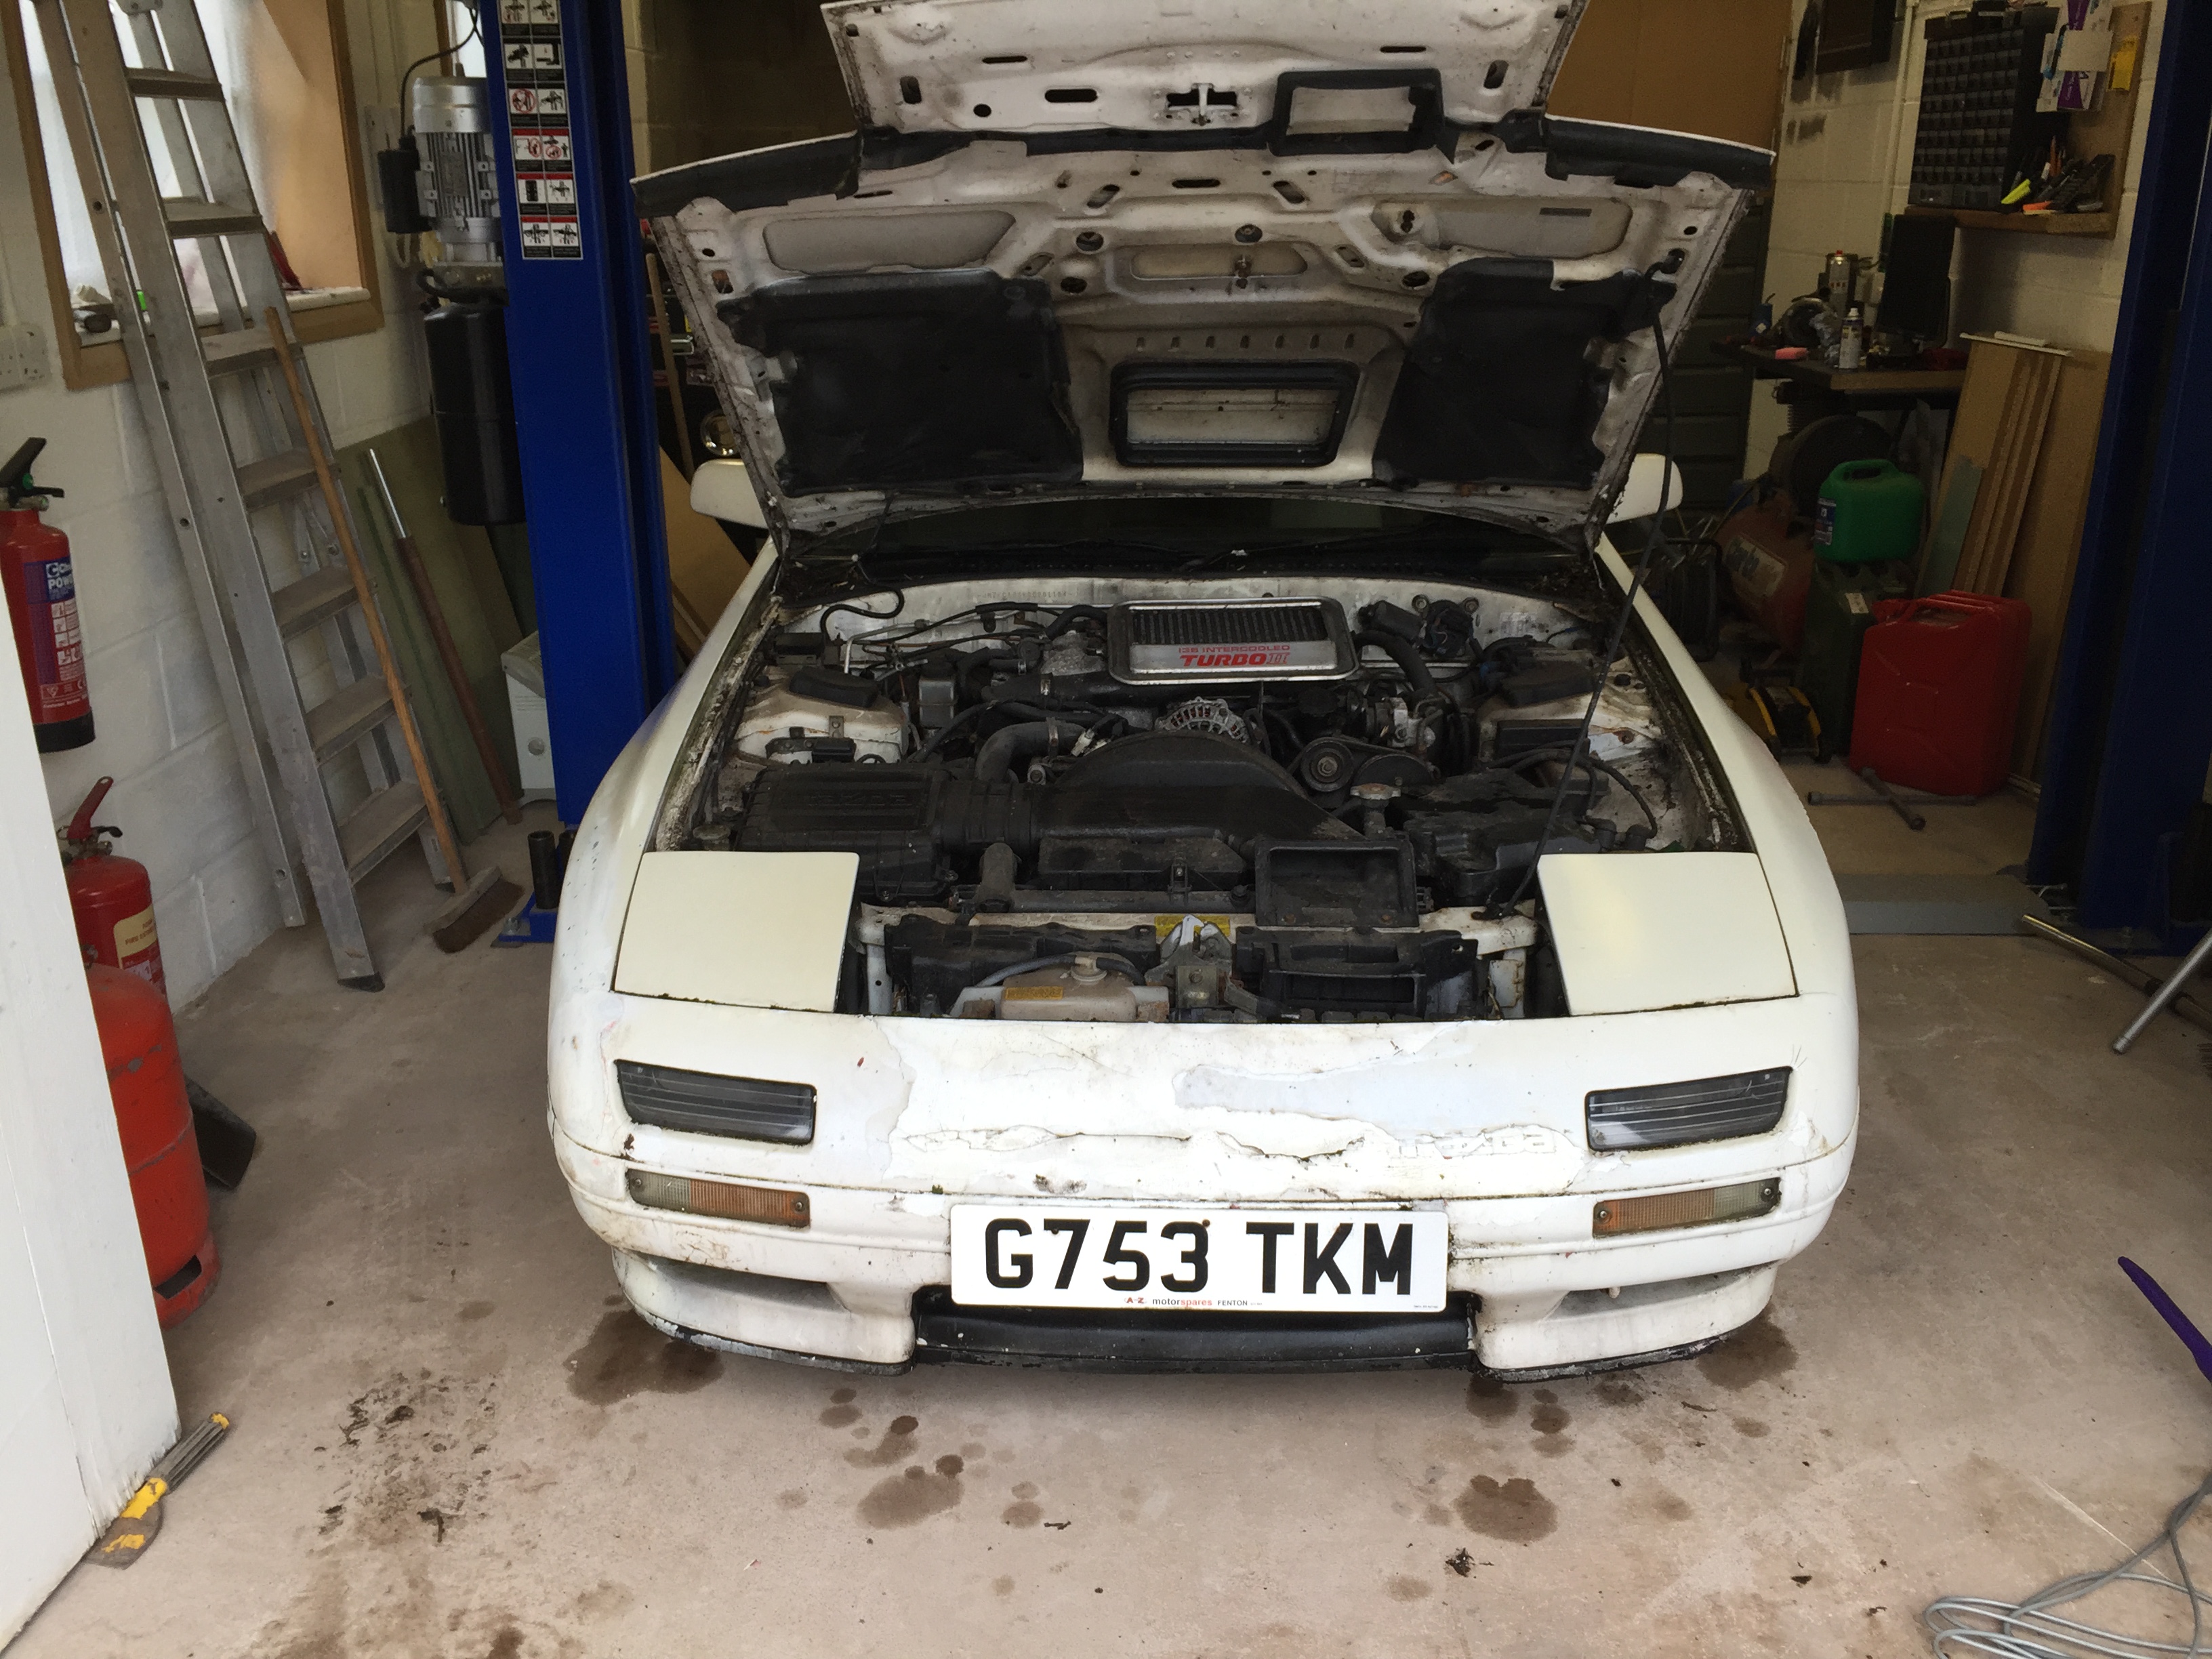
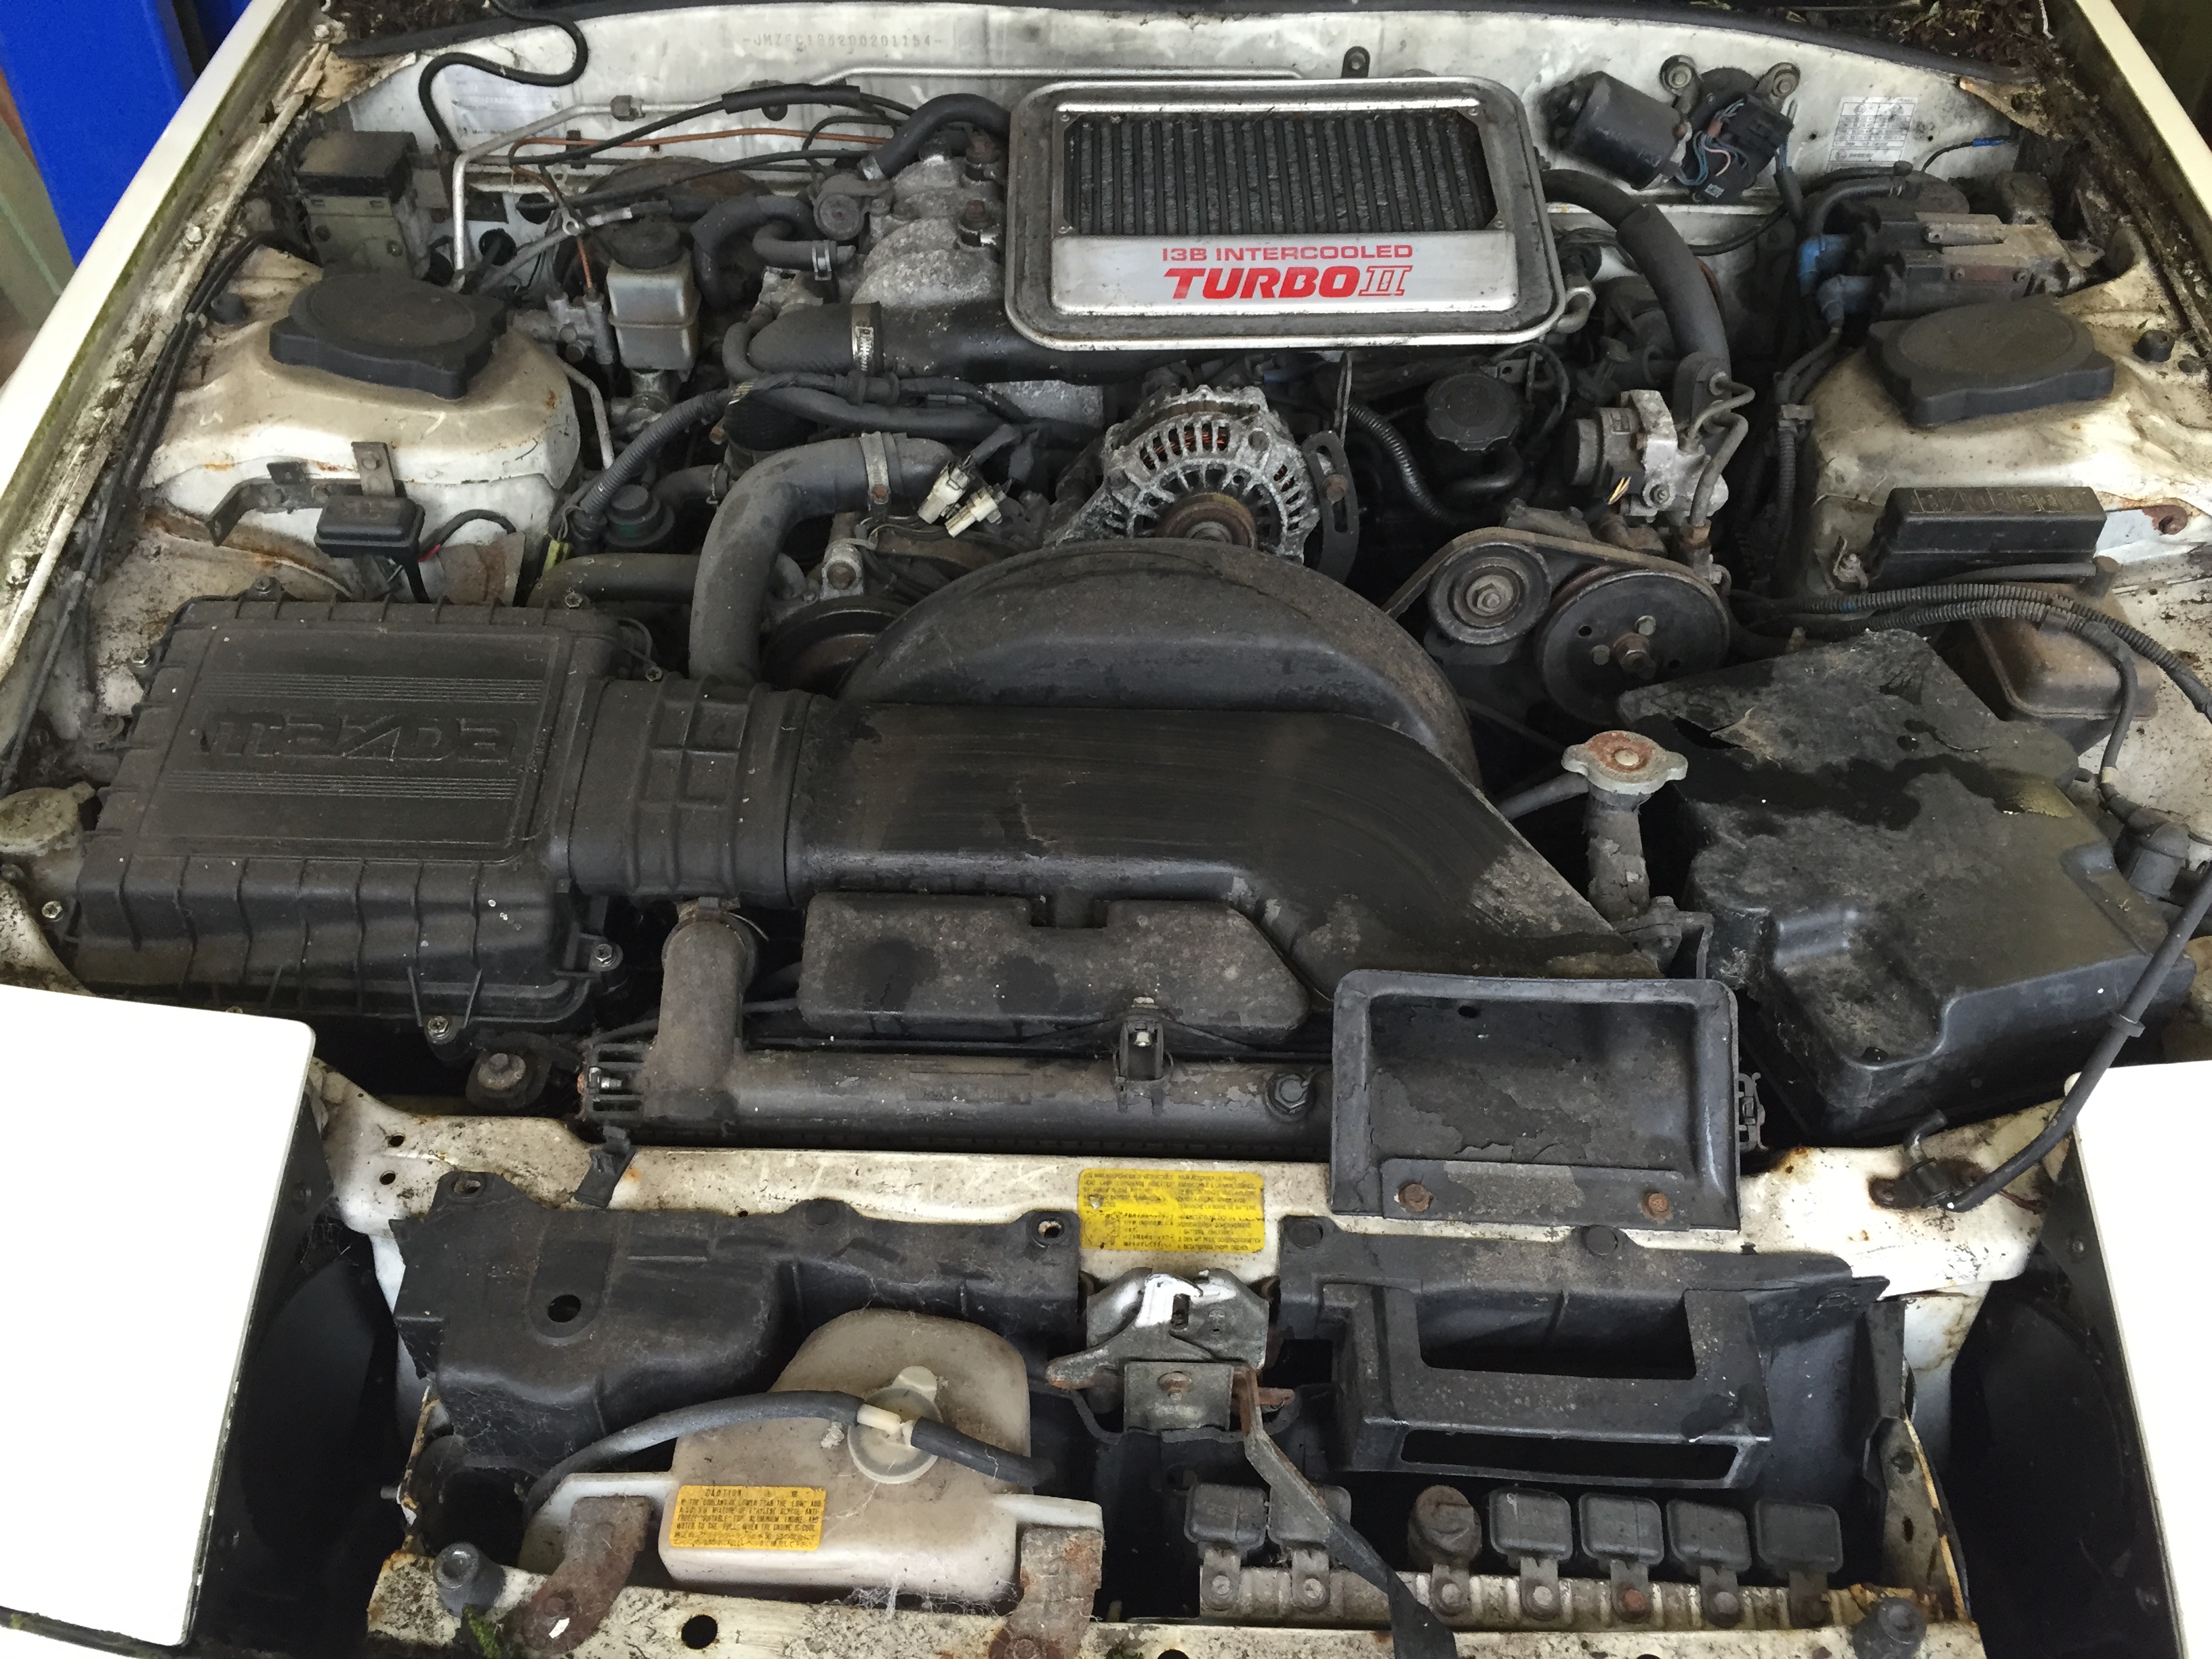
After only 8 years on the road from new it was rust free but 20 years in storage hadn’t done the rest of the mechanicals much good. I set about recommissioning it, all the usual stuff was replaced, brakes, fuel system, tires, all the hydraulics, all the suspension was stripped and polybushed with Energy Suspension polys. The blown engine was pulled, a new clutch dropped in and a spare 12a engine was installed. I then installed a draw through turbo setup onto it to crank the power up a bit and put a clutch LSD in the back axle to help put the power down onto the road
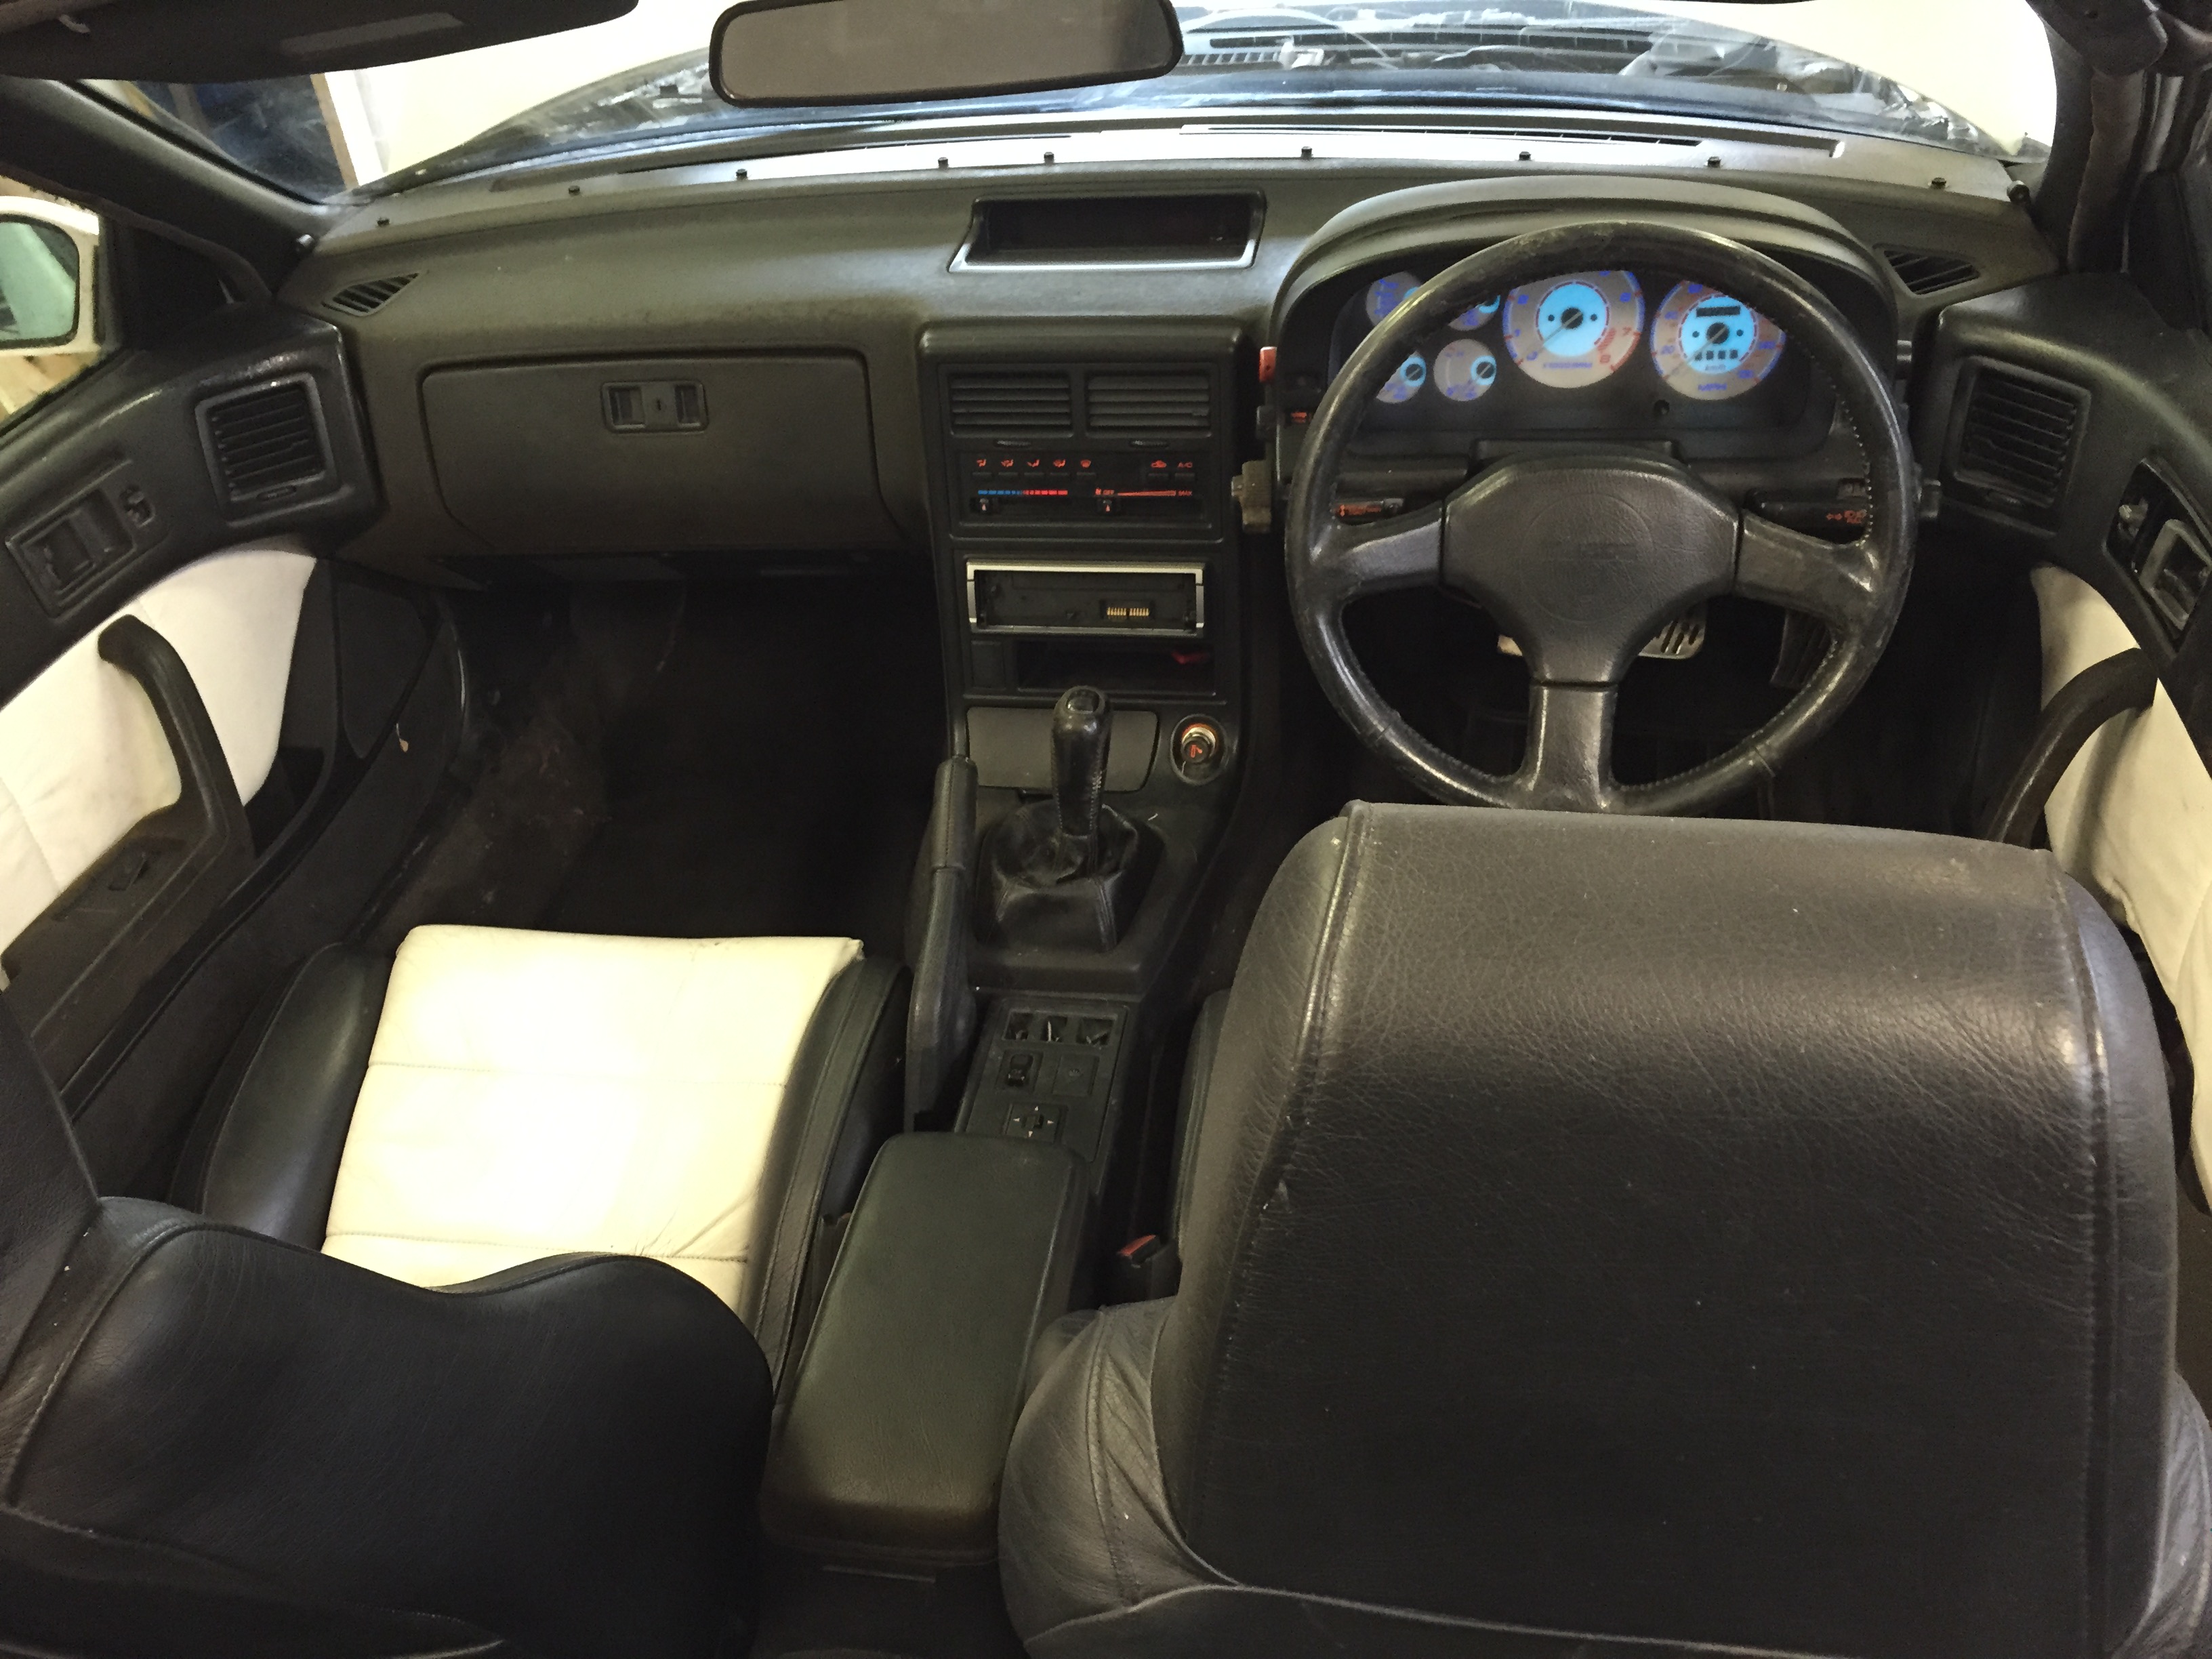
Other mods have included a TII oil cooler, twin E-fans out of a MR2 Mk1 and black leather seats out of a S5 TII cabriolet.
The 12a engine is now getting tired...... it's tested at 5.4, 6.0, 5.1 on the front rotor and 5.7, 5.3, 5.2 on the rear rotor and 12a housings are very scarce over here so I'm going to the 13b instead.
I've been inspired by some of the build threads on here featuring the TII swaps so it's time to do my own.


My planned install will include:
• Series 5 TII engine and transmission
• Front mounted intercooler
• TII oil cooler
• S5 TII coils
• Megasquirt standalone ECU
• Custom fuel system with swirl pot and lift pump
• Custom exhaust
• S4 OMP ( if I can find a GSL-SE front cover), if not a 12a OMP and I’ll split the lines.
This is the car it’s going into, my series 3 12a turbo. The car was built in ’85, first sold and registered in the UK in 1986 and was used by the owner until ’94 when it threw a tip on the rear rotor that trashed the rotor and housing and he then put it into dry store in his garage for the next 20 years.
A couple of years back he decided to sell the car to a salvage yard but myself and a friend got to hear about it, stepped in and bought the car before he did.
Not long after, my mate relocated back home to New Zealand so I bought him out of the car and ended up with it.
After only 8 years on the road from new it was rust free but 20 years in storage hadn’t done the rest of the mechanicals much good. I set about recommissioning it, all the usual stuff was replaced, brakes, fuel system, tires, all the hydraulics, all the suspension was stripped and polybushed with Energy Suspension polys. The blown engine was pulled, a new clutch dropped in and a spare 12a engine was installed. I then installed a draw through turbo setup onto it to crank the power up a bit and put a clutch LSD in the back axle to help put the power down onto the road
Other mods have included a TII oil cooler, twin E-fans out of a MR2 Mk1 and black leather seats out of a S5 TII cabriolet.
The 12a engine is now getting tired...... it's tested at 5.4, 6.0, 5.1 on the front rotor and 5.7, 5.3, 5.2 on the rear rotor and 12a housings are very scarce over here so I'm going to the 13b instead.
I've been inspired by some of the build threads on here featuring the TII swaps so it's time to do my own.
Last edited by ian65; Oct 4, 2015 at 04:10 PM.
Thread Starter
Full Member
Joined: May 2010
Posts: 52
Likes: 1
From: England
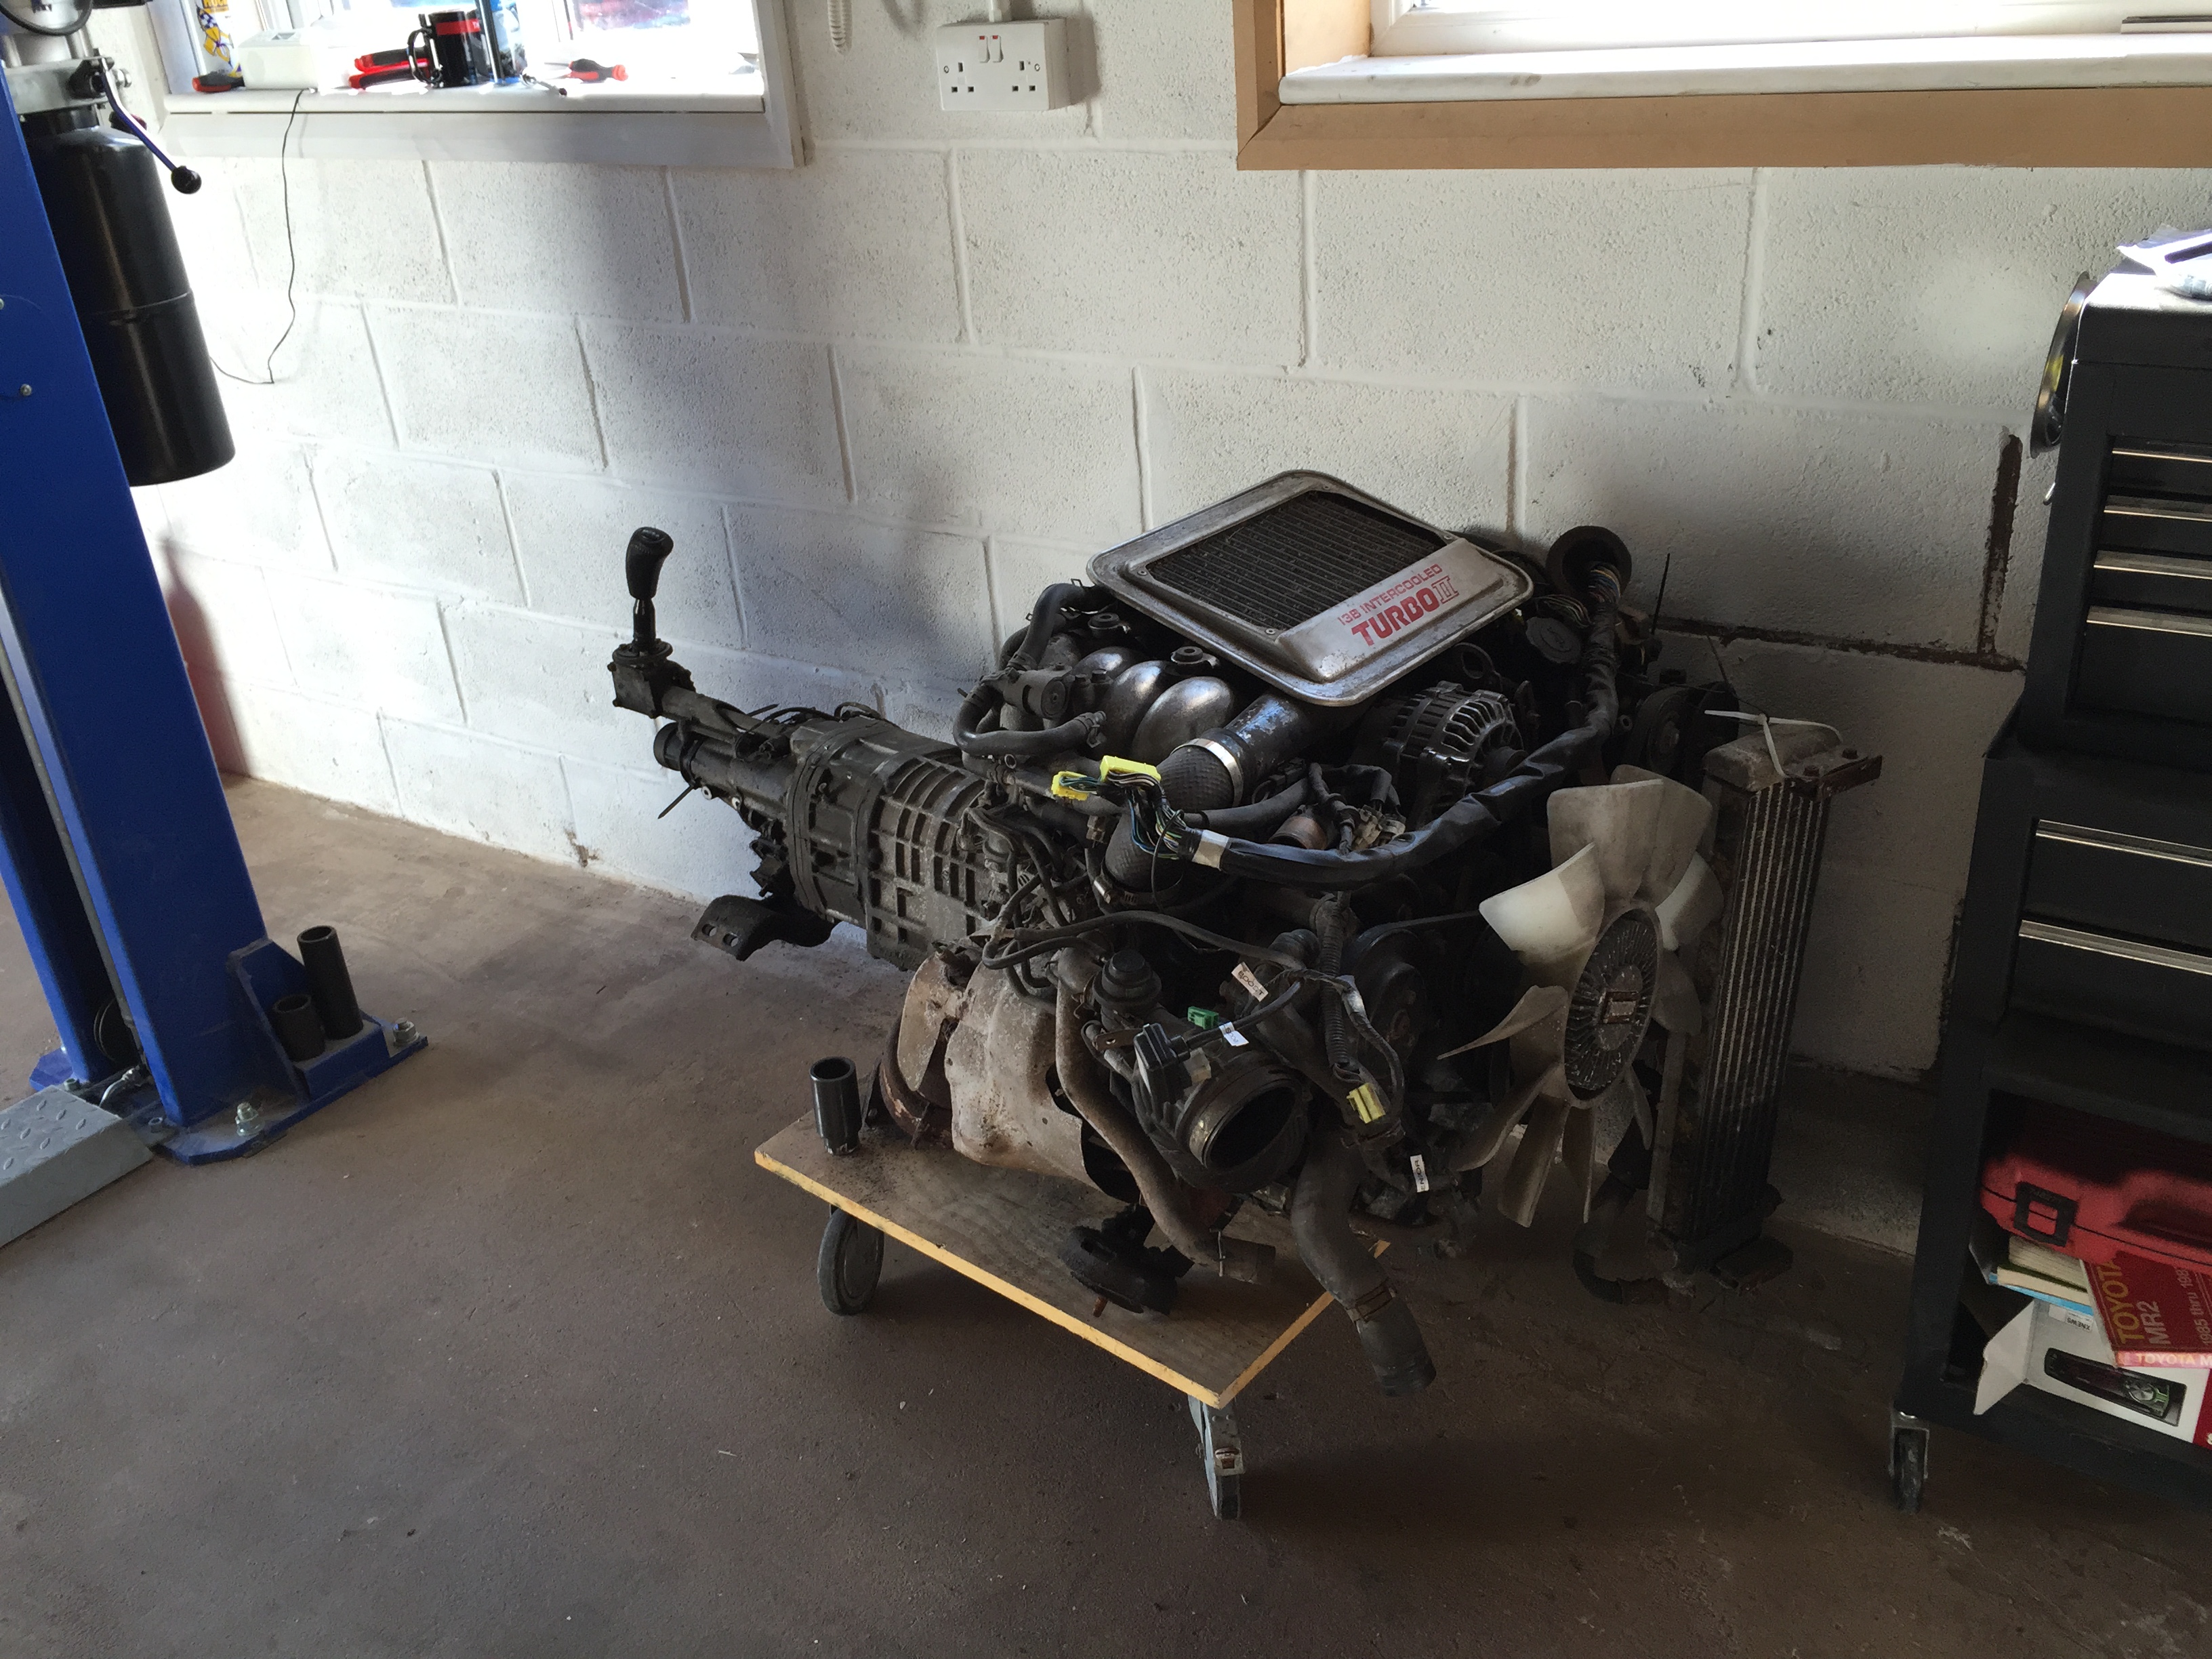
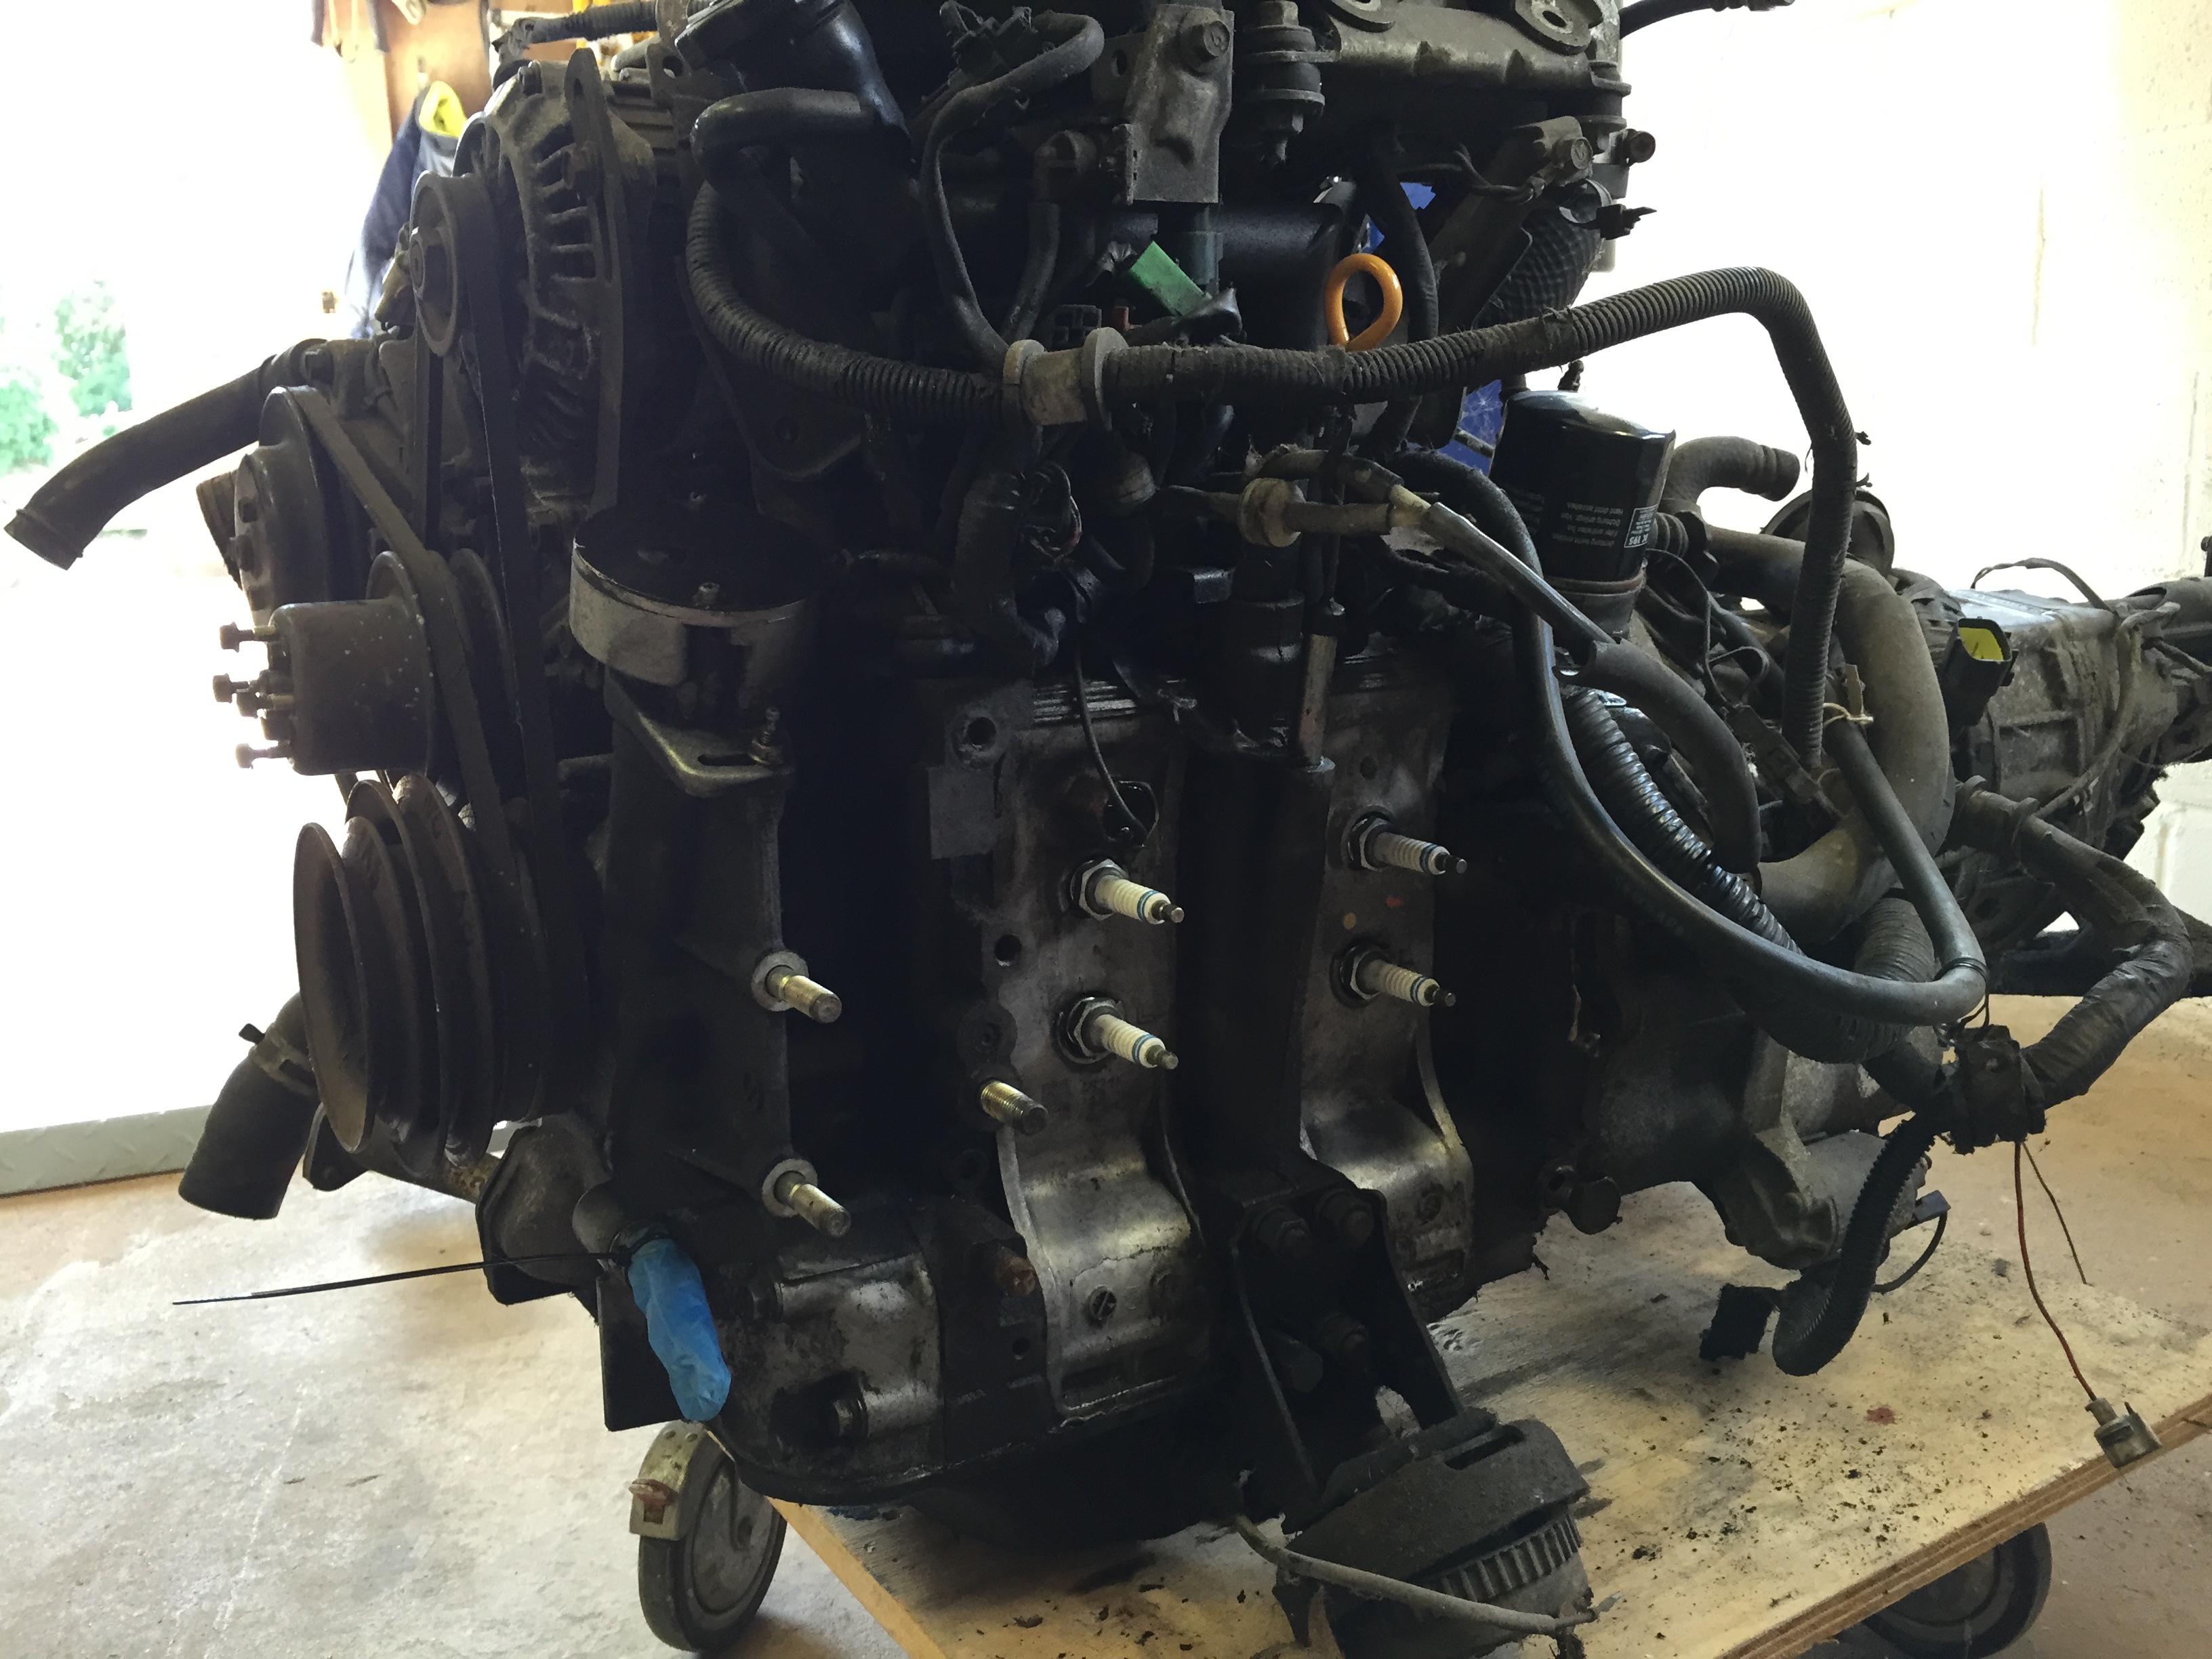
The first thing I needed for a 13BT engine swap is, well, a 13BT engine really so with that in mind I bought this.... a 1990 series 5 turbo 2 cabriolet parts car... bought this for �120 sterling, which is what, about $175 US? Great score!
The seller told me that he had got the engine rebuilt 3000 miles previously as well as adding plenty more new parts... I didn�t have any paperwork for an engine rebuild but all the other new parts were there so things looked hopeful.
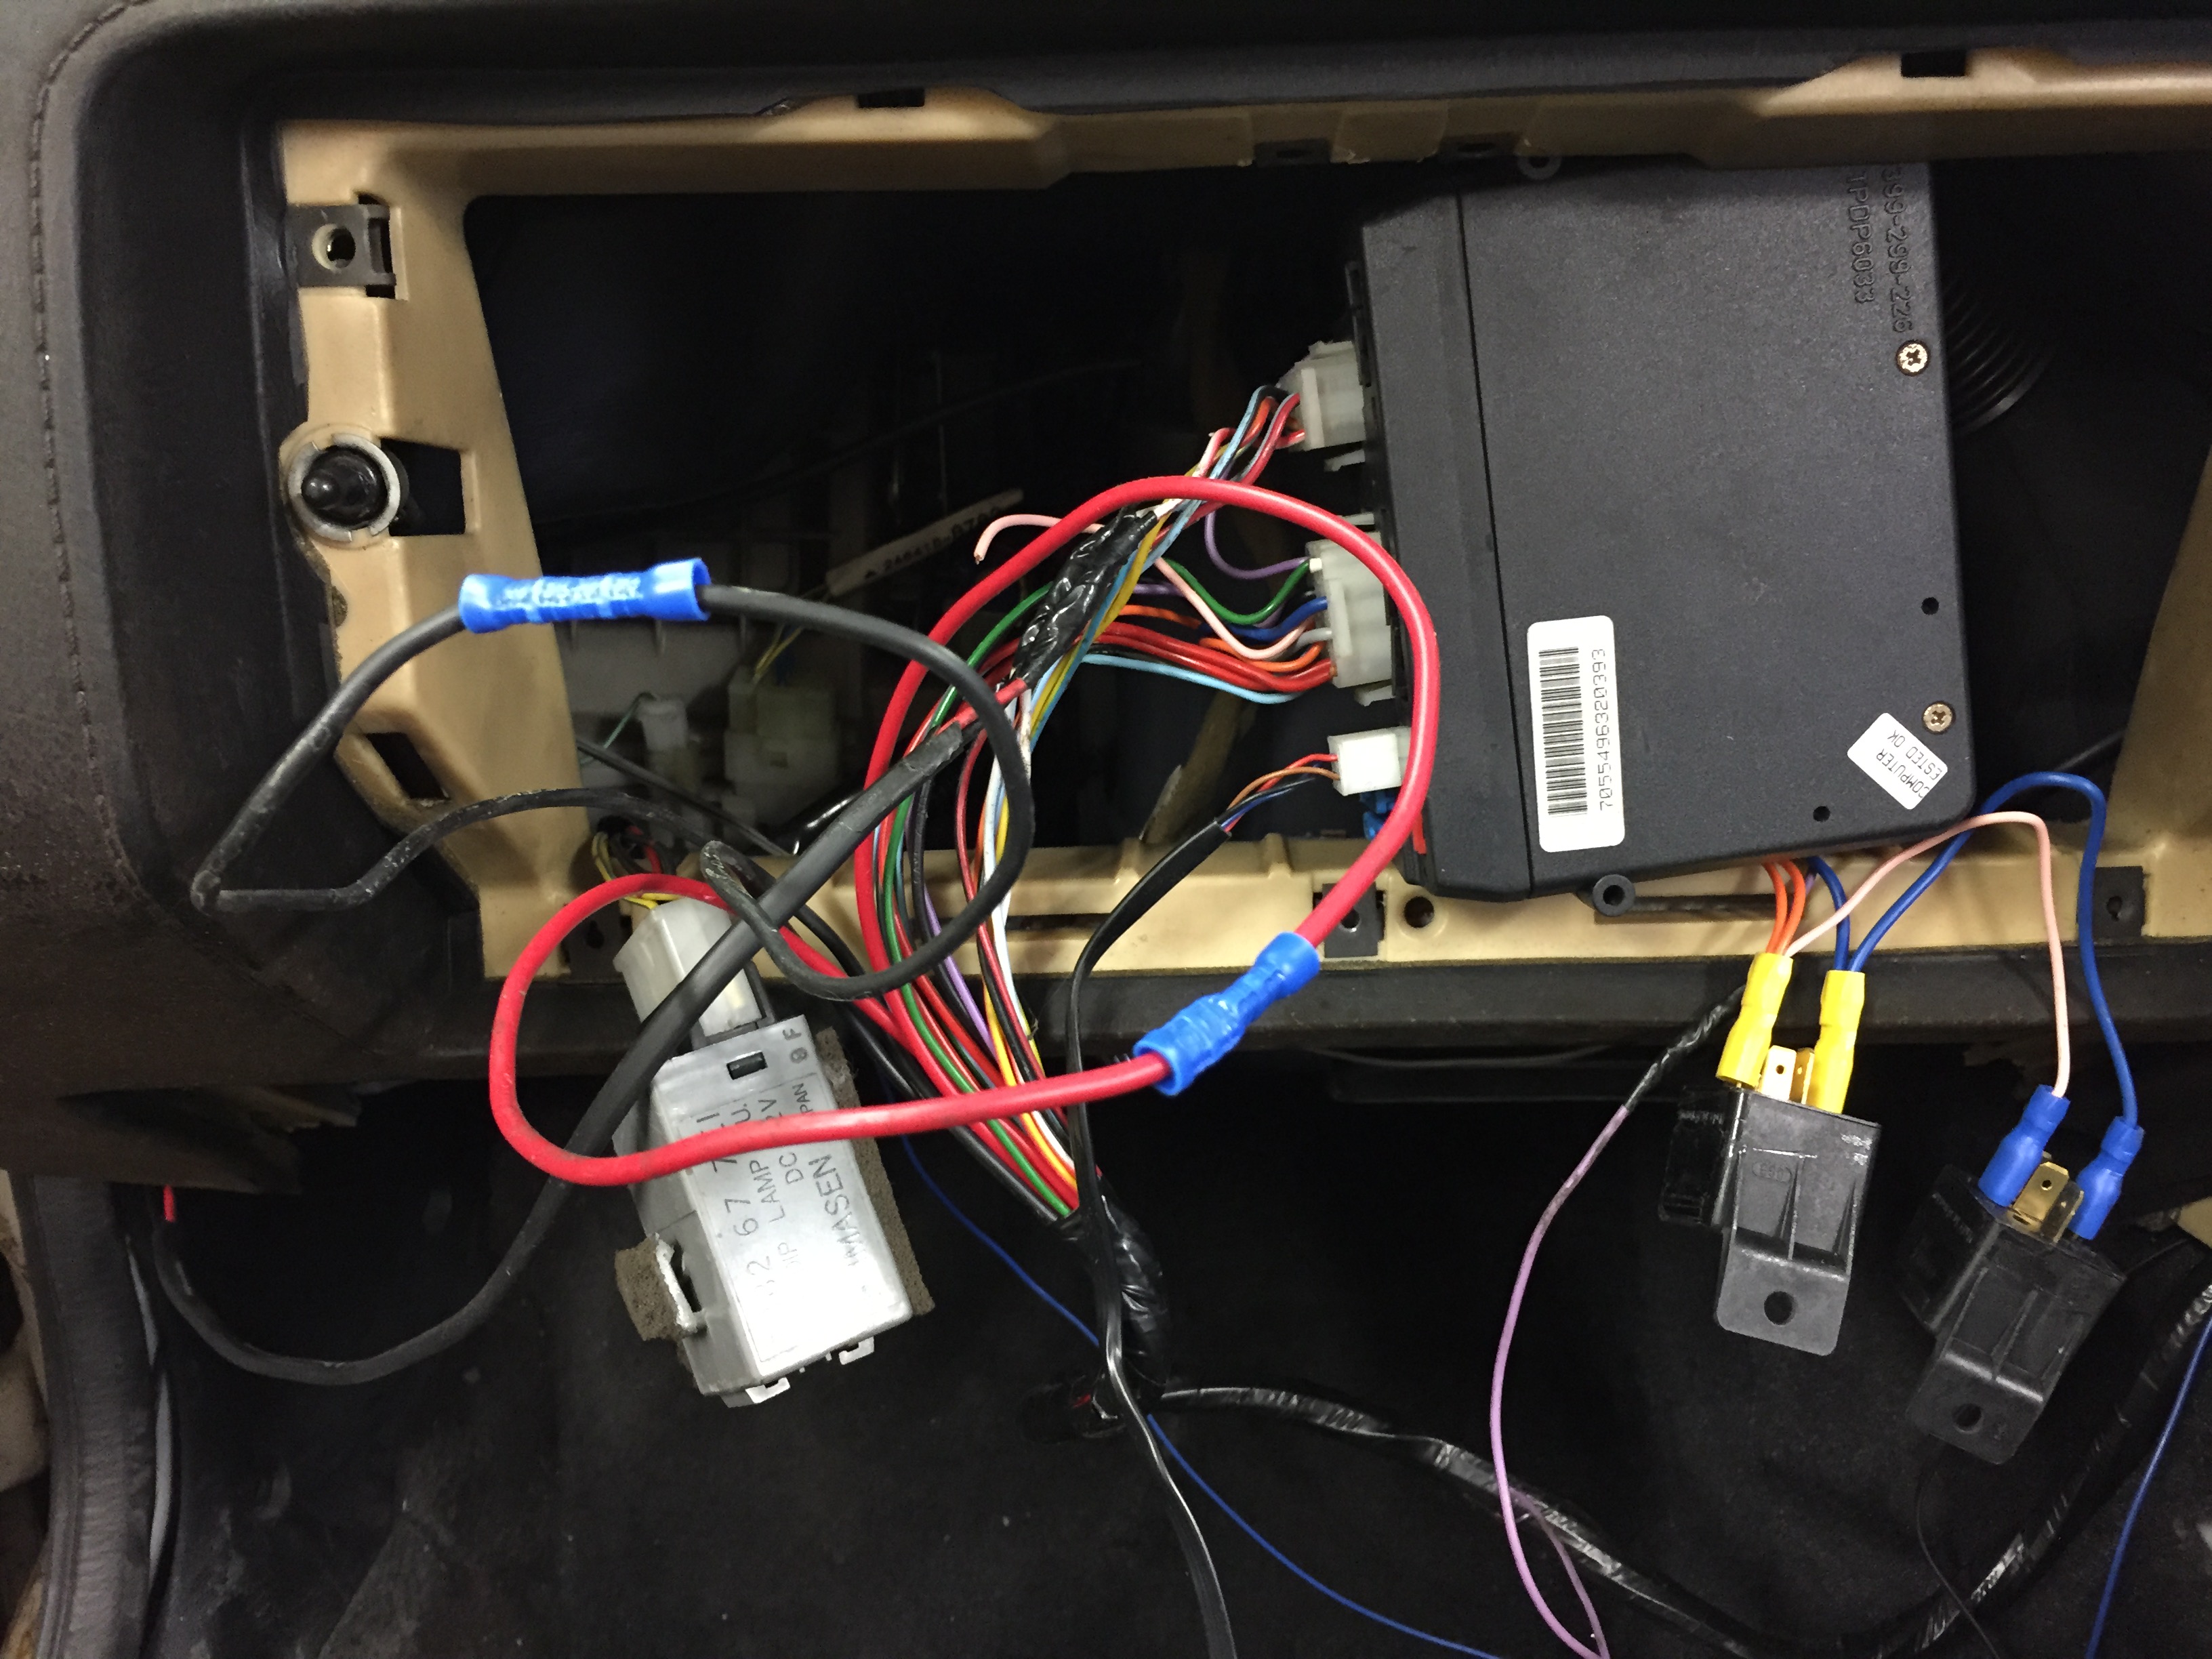
My first task was to get the car started to make sure it ran. This was complicated by the fact that it was fitted with a professionally installed alarm/immobiliser but the remote fob was knackered. Every time I connected the battery it armed itself and then activated once I touched anything on the car. The only option was to find and remove the security but as I'm wasn�t at all familiar with FC's and the last thing I wanted to do was cut a crucial wire to the ECU or something, I had to tread very carefully.
Following the wires, I ended up removing the glovebox and found the module. All the wiring had been wrapped in black tape to disguise it as a factory loom and lots of this had to be cut off and peeled away. Eventually I also found 2 relays also wrapped in tape that had broken into the ignition and fuel pump circuits respectively. Crimped these wires together off each relay and hoped that would disable the immobiliser circuit.
I also took out the door pin switches and the siren and hoped that would take care of the alarm.
Next up, I drained the stale fuel out of the tank, put some fresh unleaded in it then dropped the leading plugs out and squirted a touch of engine oil into each chamber with a syringe.
The moment of truth then arrived and it fired up fine and sounds awesome in my garage..... this video doesn't really capture how good it sounds....

The seller told me that he had got the engine rebuilt 3000 miles previously as well as adding plenty more new parts... I didn�t have any paperwork for an engine rebuild but all the other new parts were there so things looked hopeful.
My first task was to get the car started to make sure it ran. This was complicated by the fact that it was fitted with a professionally installed alarm/immobiliser but the remote fob was knackered. Every time I connected the battery it armed itself and then activated once I touched anything on the car. The only option was to find and remove the security but as I'm wasn�t at all familiar with FC's and the last thing I wanted to do was cut a crucial wire to the ECU or something, I had to tread very carefully.
Following the wires, I ended up removing the glovebox and found the module. All the wiring had been wrapped in black tape to disguise it as a factory loom and lots of this had to be cut off and peeled away. Eventually I also found 2 relays also wrapped in tape that had broken into the ignition and fuel pump circuits respectively. Crimped these wires together off each relay and hoped that would disable the immobiliser circuit.
I also took out the door pin switches and the siren and hoped that would take care of the alarm.
Next up, I drained the stale fuel out of the tank, put some fresh unleaded in it then dropped the leading plugs out and squirted a touch of engine oil into each chamber with a syringe.
The moment of truth then arrived and it fired up fine and sounds awesome in my garage..... this video doesn't really capture how good it sounds....
Thread Starter
Full Member
Joined: May 2010
Posts: 52
Likes: 1
From: England
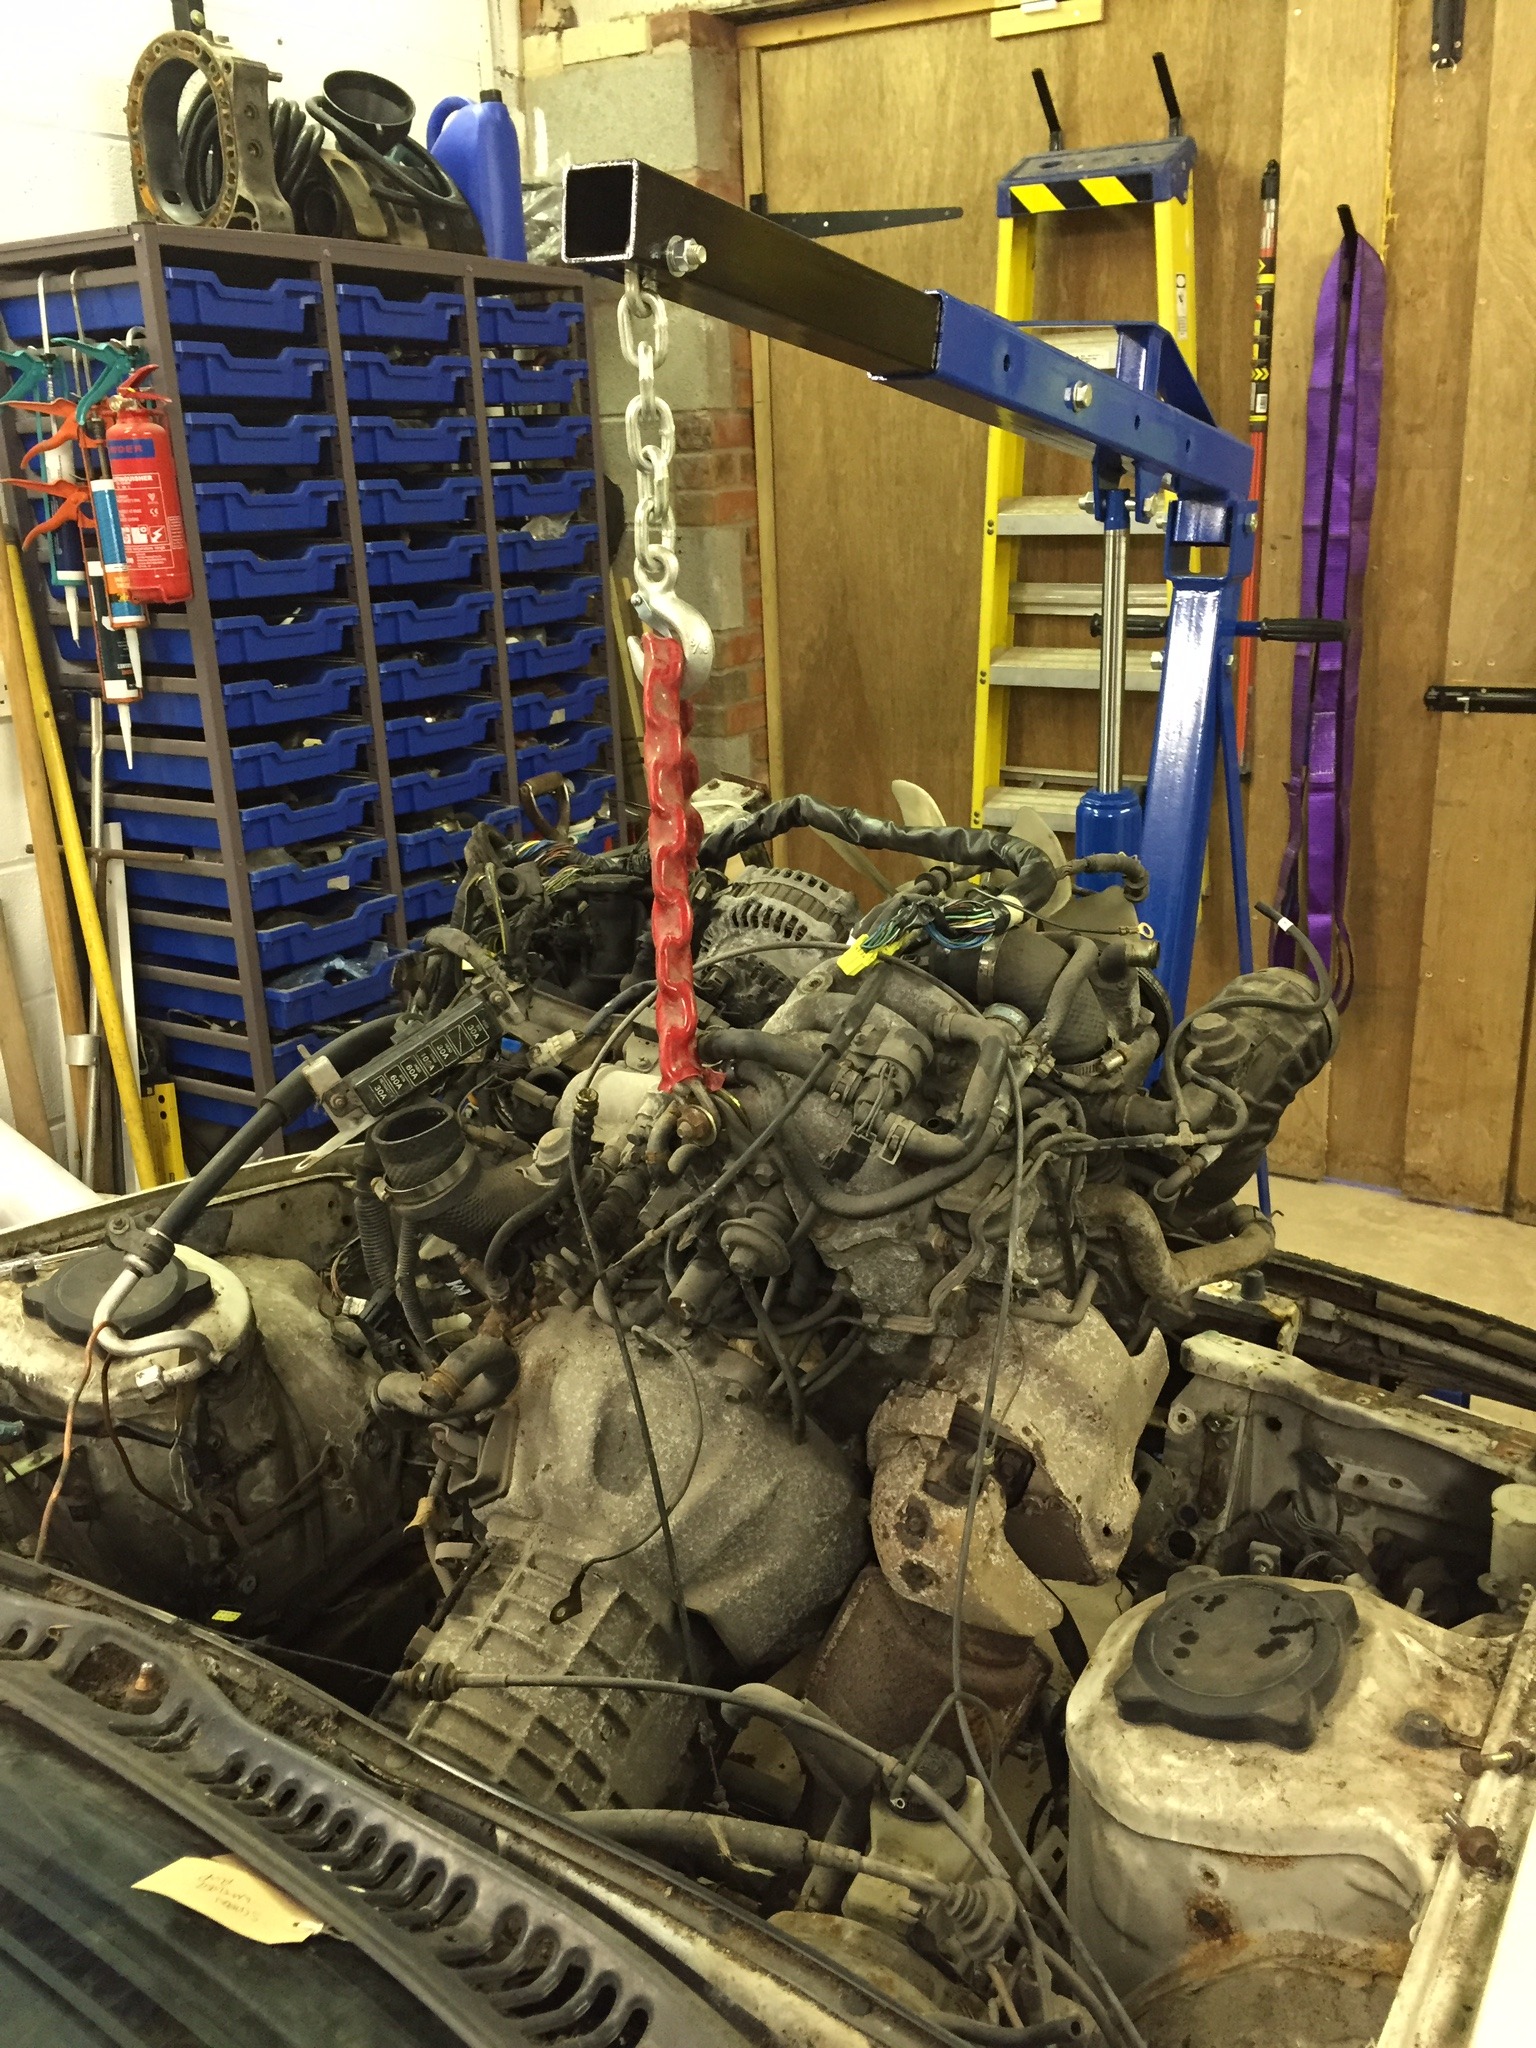
Next job was to slowly disconnect the loom until I end up with only the bits I needed and then strip the car and pull the engine and the gearbox together so I invested in this...
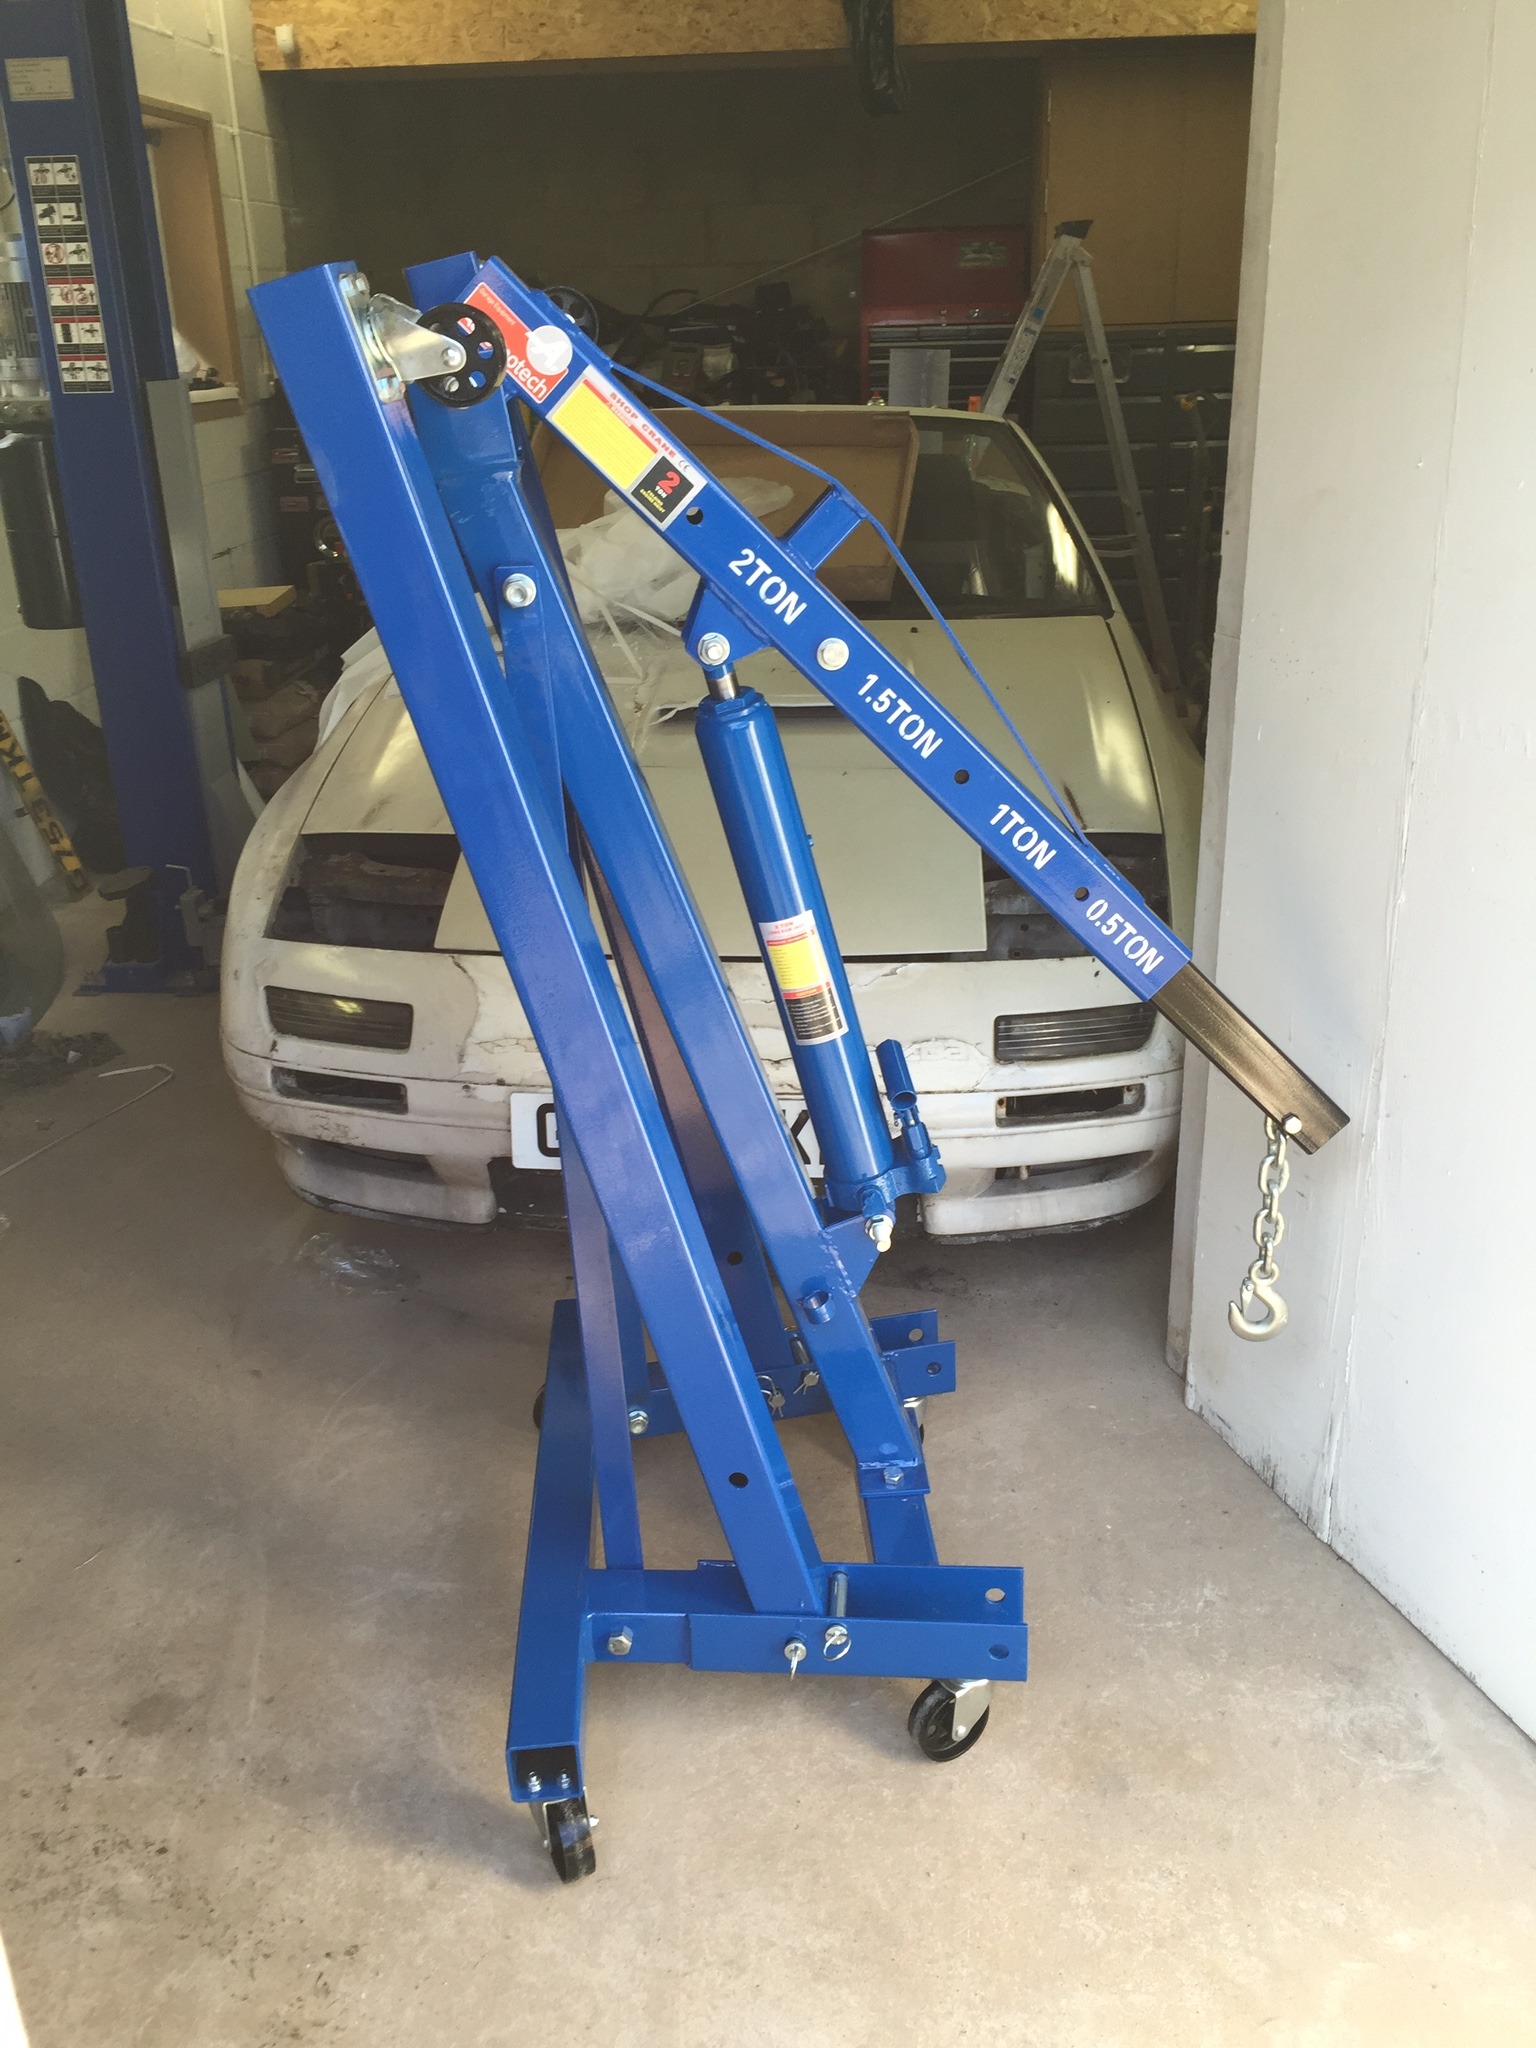
Which pulled the lump out just fine...

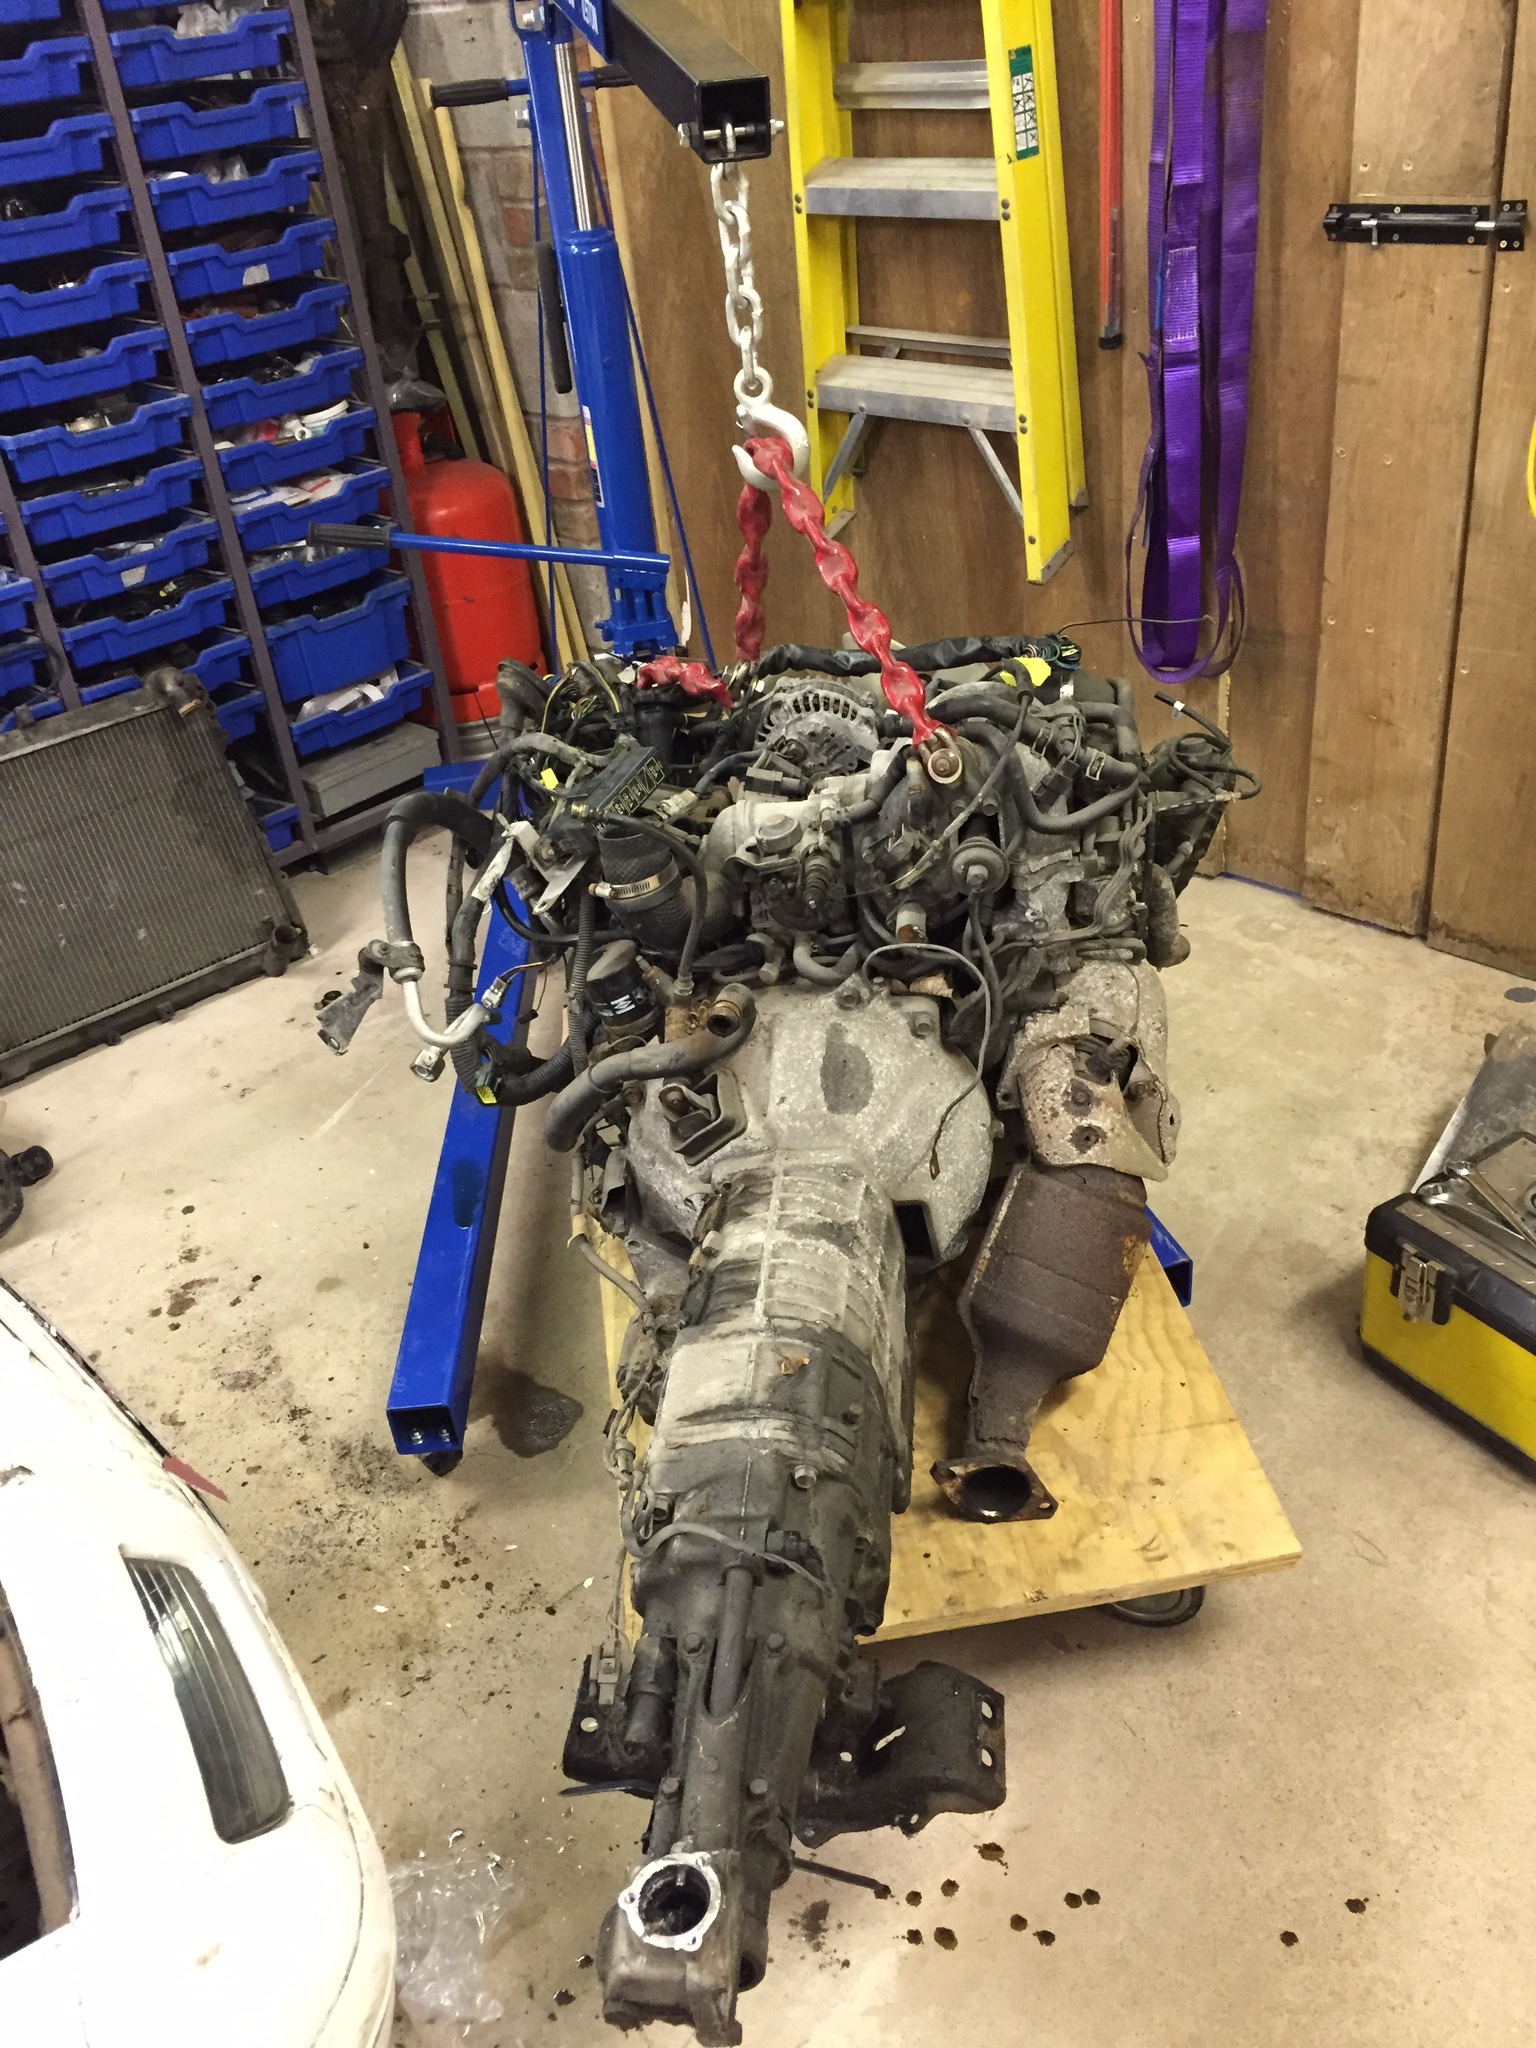
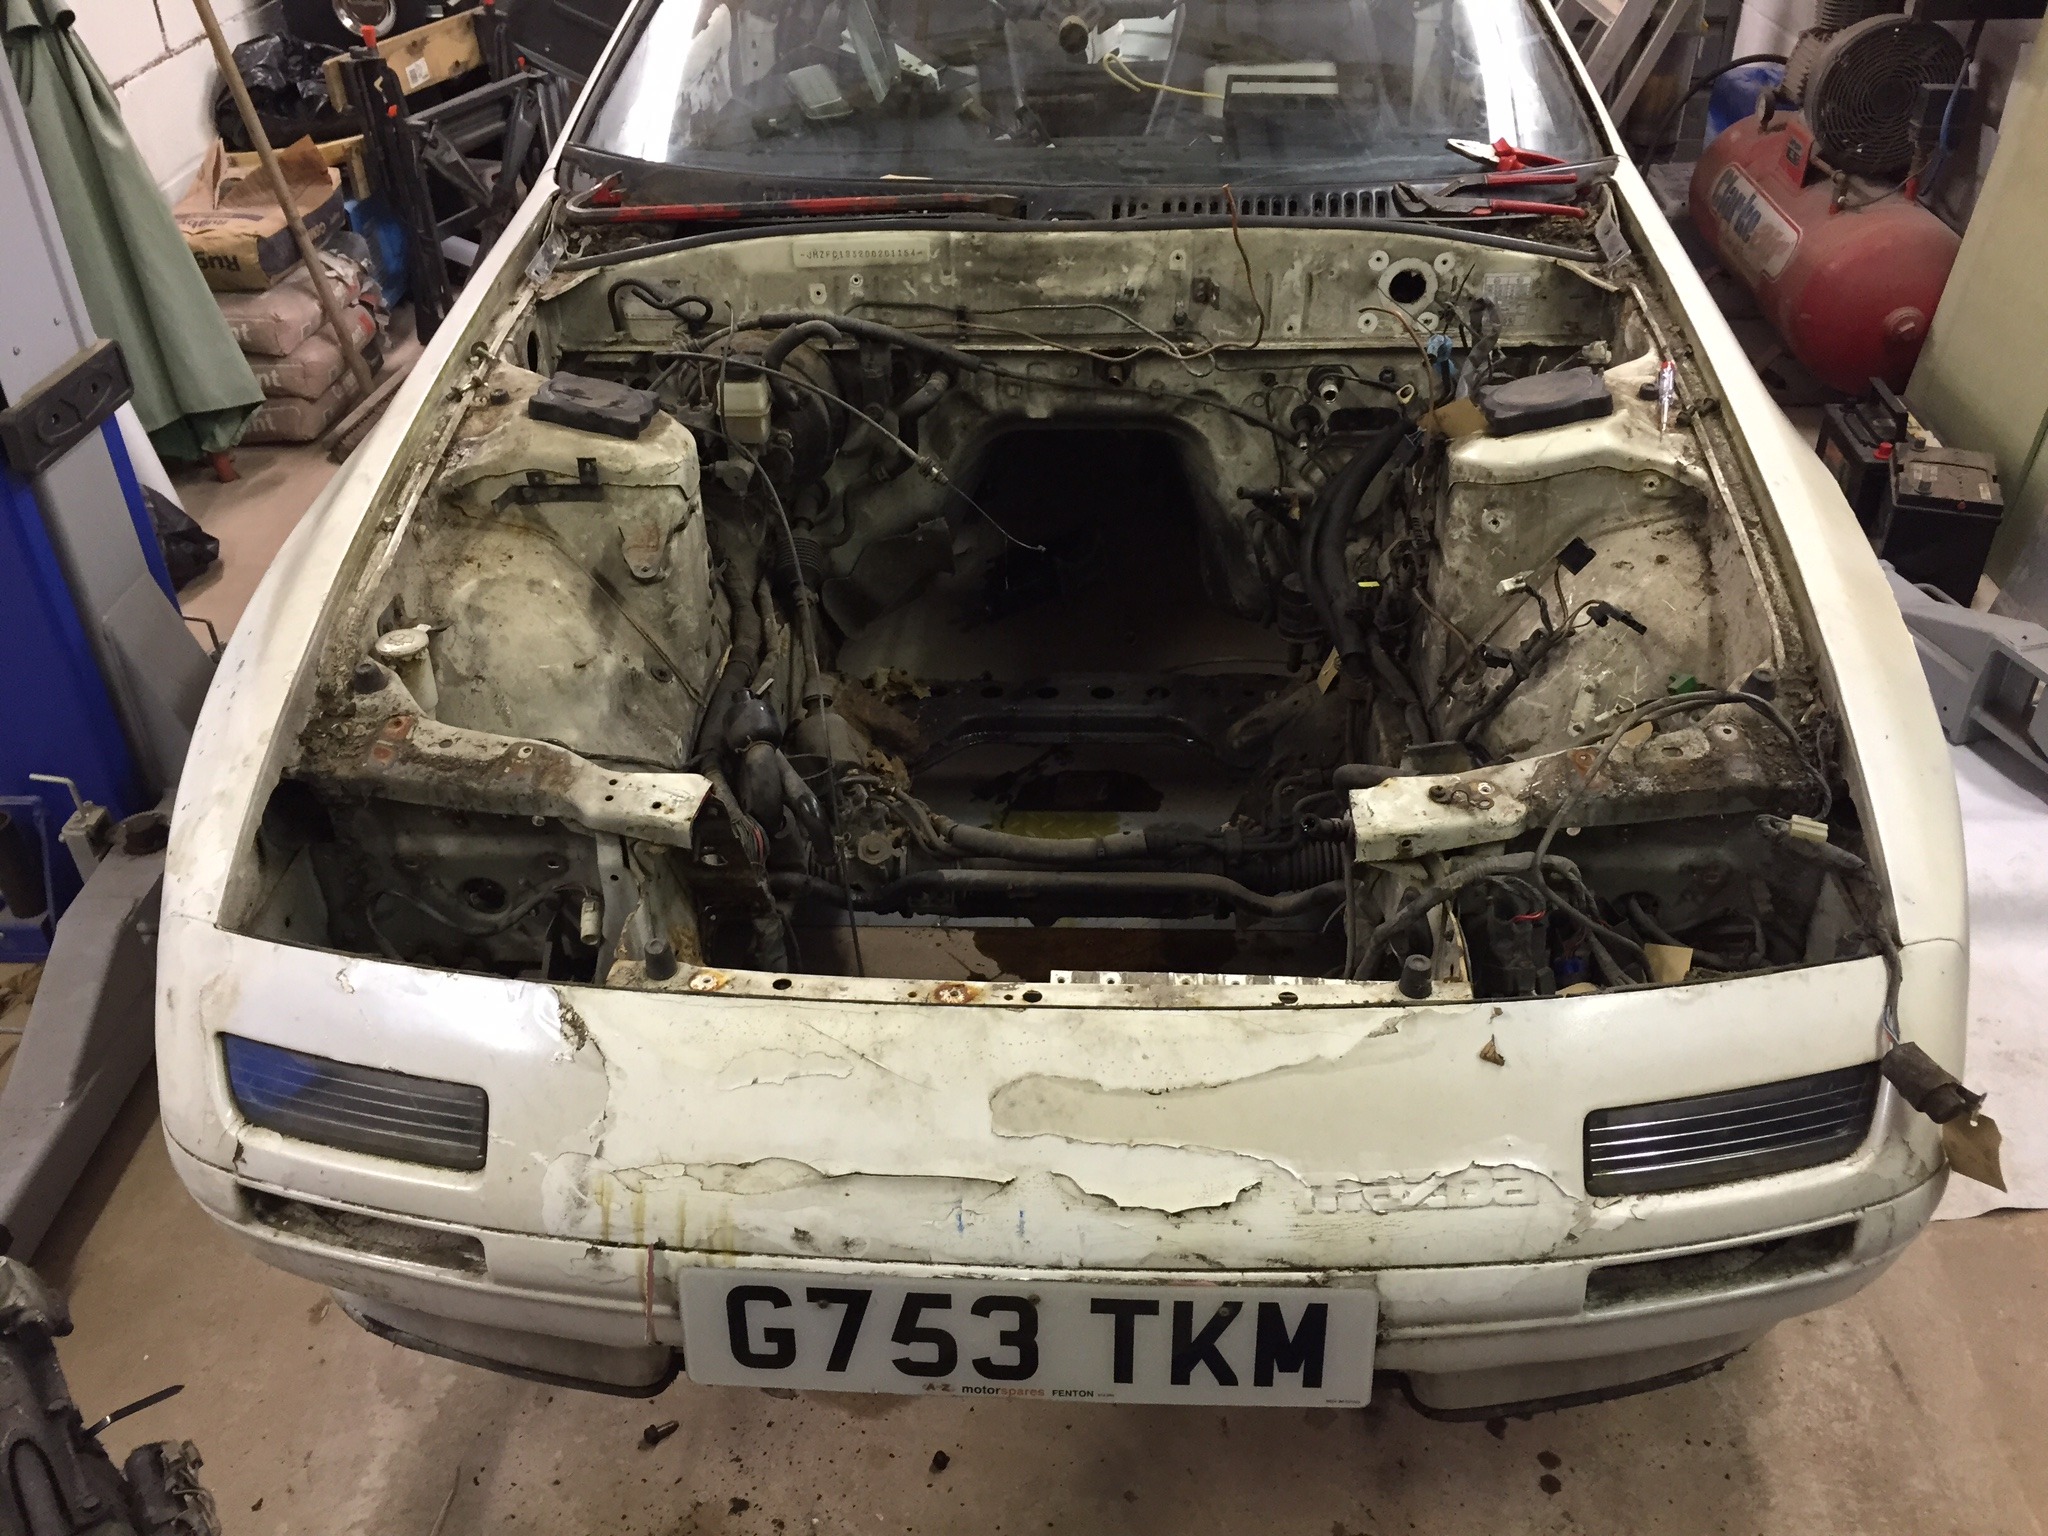
The big empty engine bay it came out of...
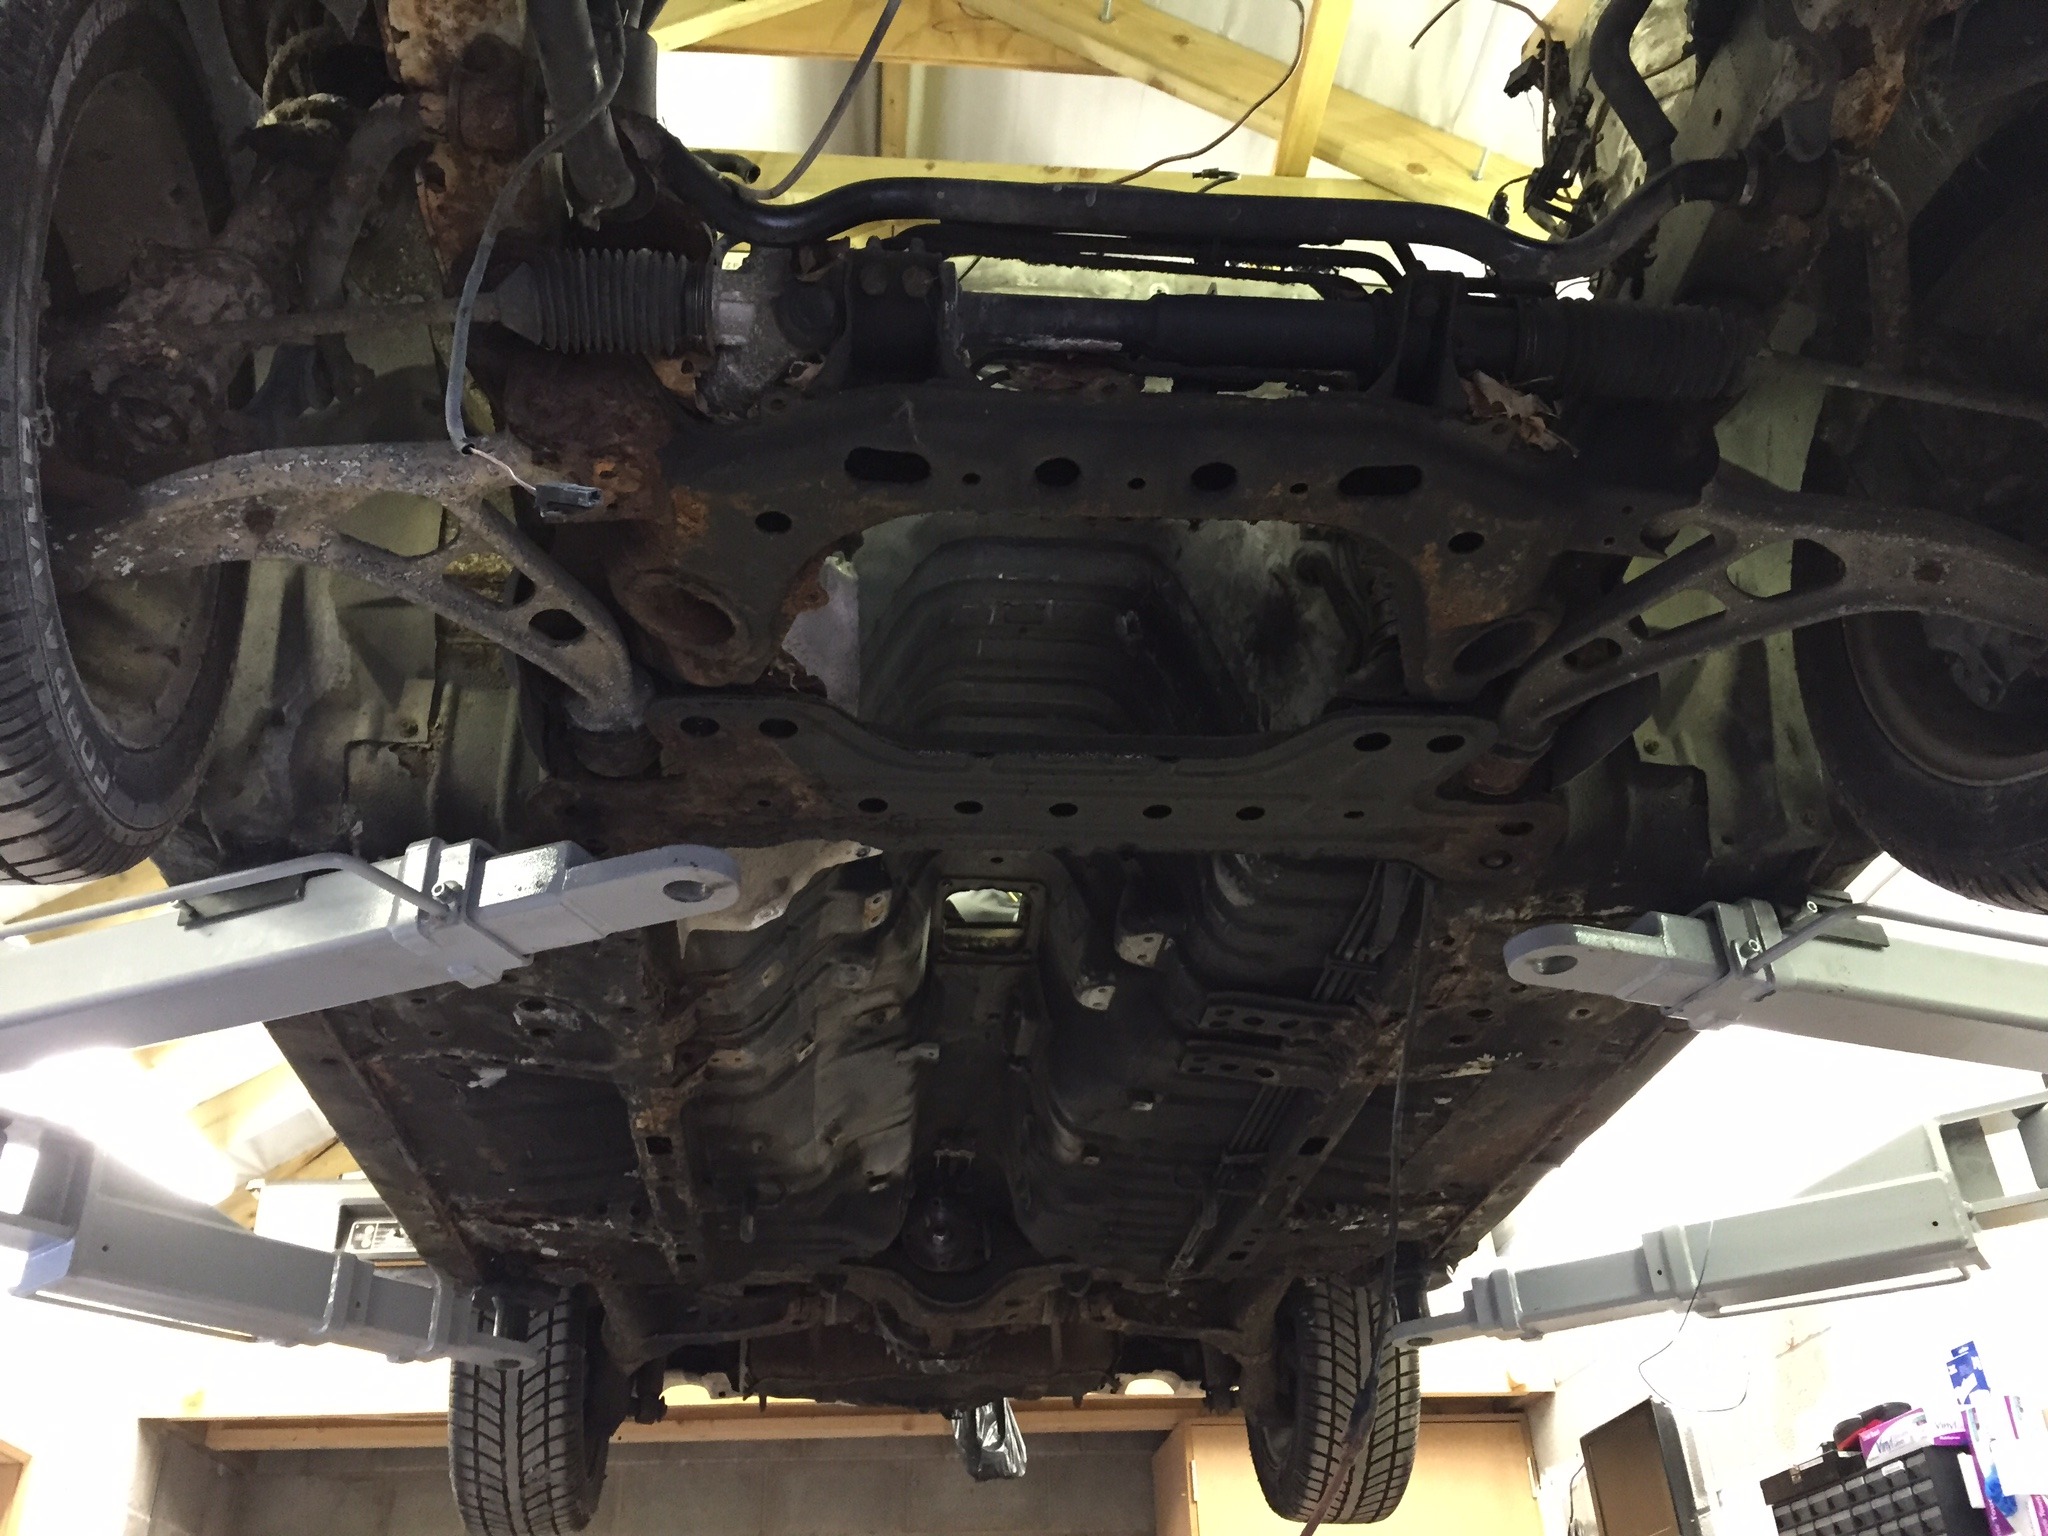
These old cabriolets rust like mad in the UK ......... I suppose not having a proper roof doesn't help
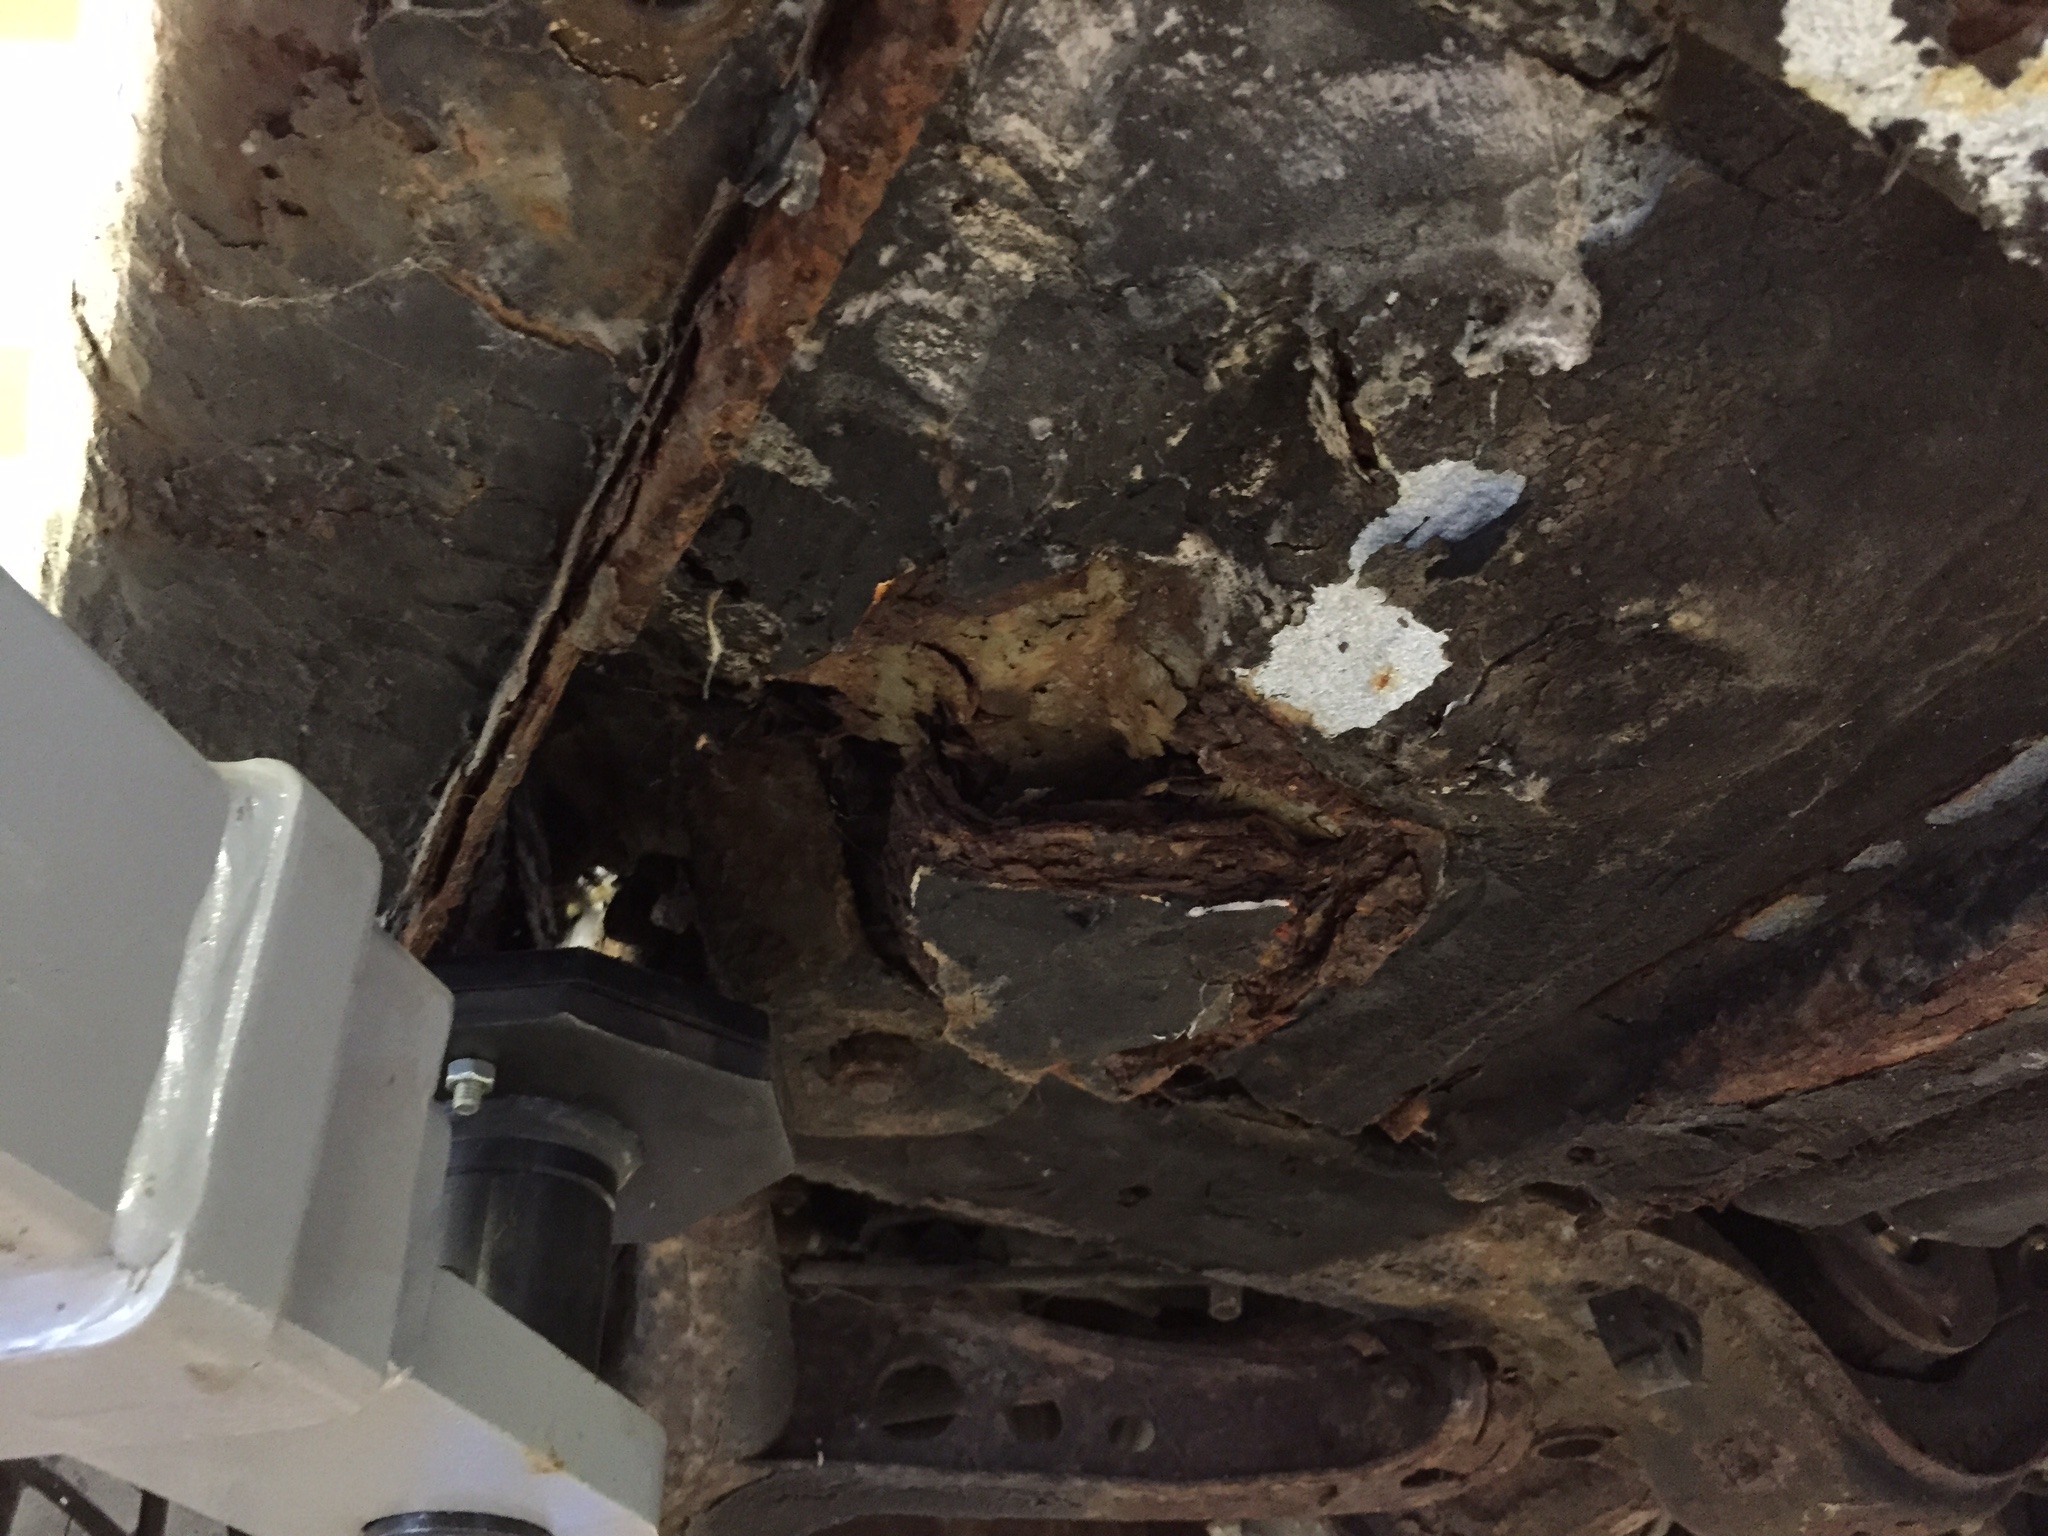
I pulled the seat belt mounting point out with my bare hands...
I stripped the rest of the shell, dropped the suspension off it and weighed it in...

I was then left with a pile of parts which I ebayed....... I might use these wheels one day if I ever get around to doing a FC subframe swap with the front suspension off this car... I quite like them...
But the main thing was that I was left with this...
Which pulled the lump out just fine...
The big empty engine bay it came out of...
These old cabriolets rust like mad in the UK ......... I suppose not having a proper roof doesn't help
I pulled the seat belt mounting point out with my bare hands...
I stripped the rest of the shell, dropped the suspension off it and weighed it in...
I was then left with a pile of parts which I ebayed....... I might use these wheels one day if I ever get around to doing a FC subframe swap with the front suspension off this car... I quite like them...
But the main thing was that I was left with this...
Thread Starter
Full Member
Joined: May 2010
Posts: 52
Likes: 1
From: England
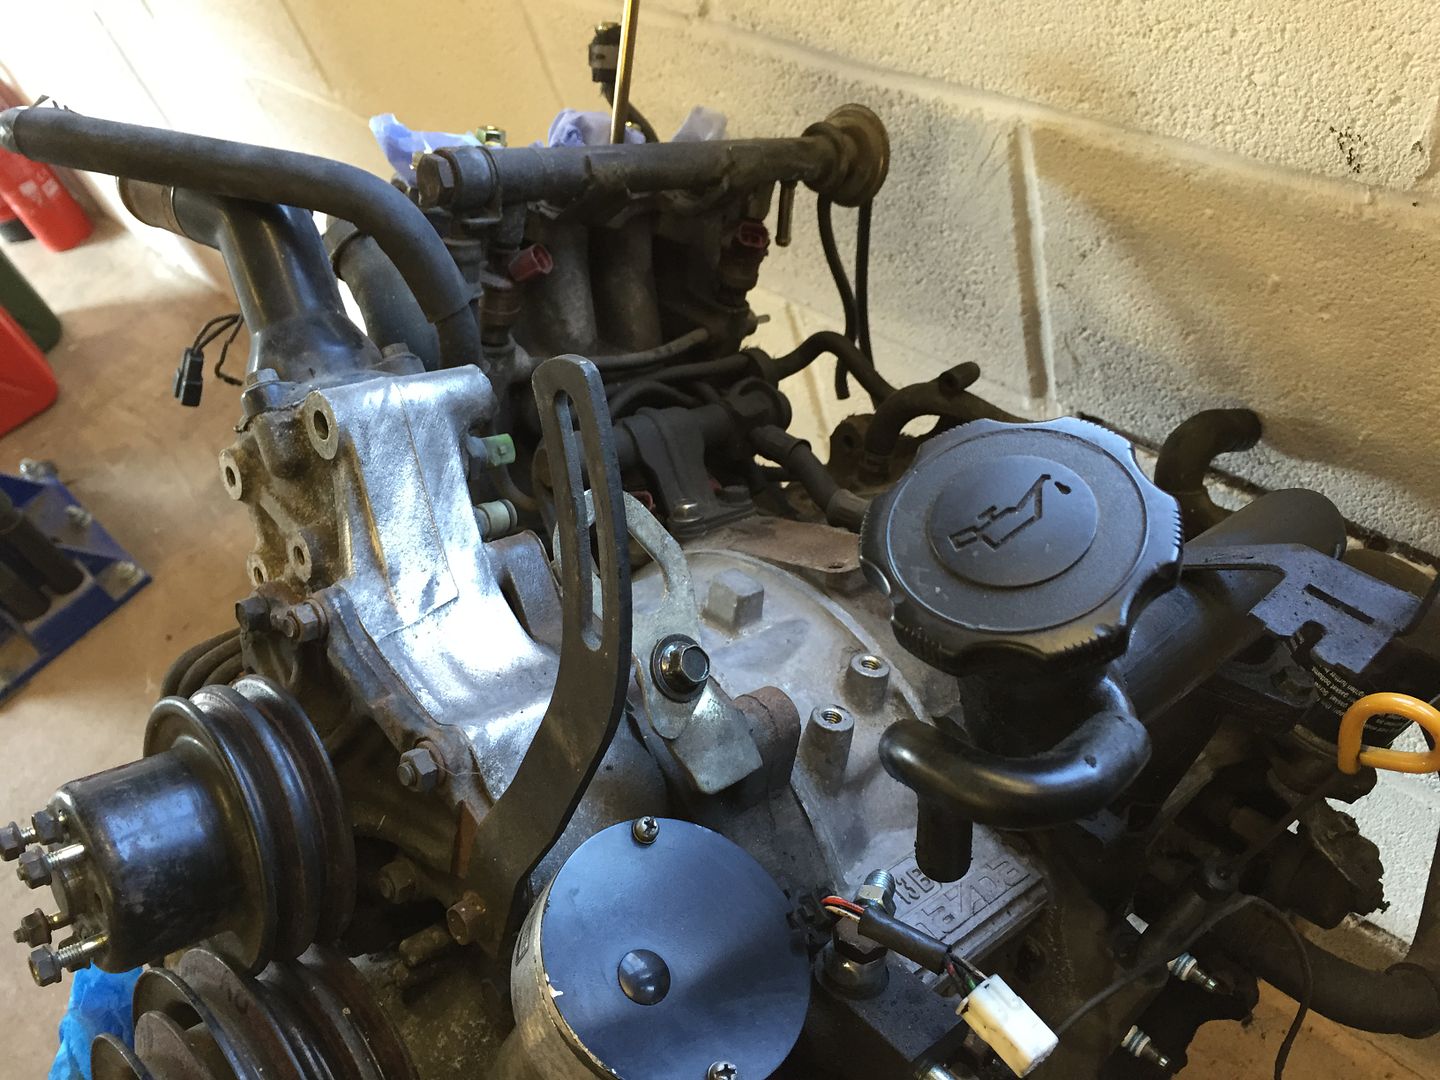
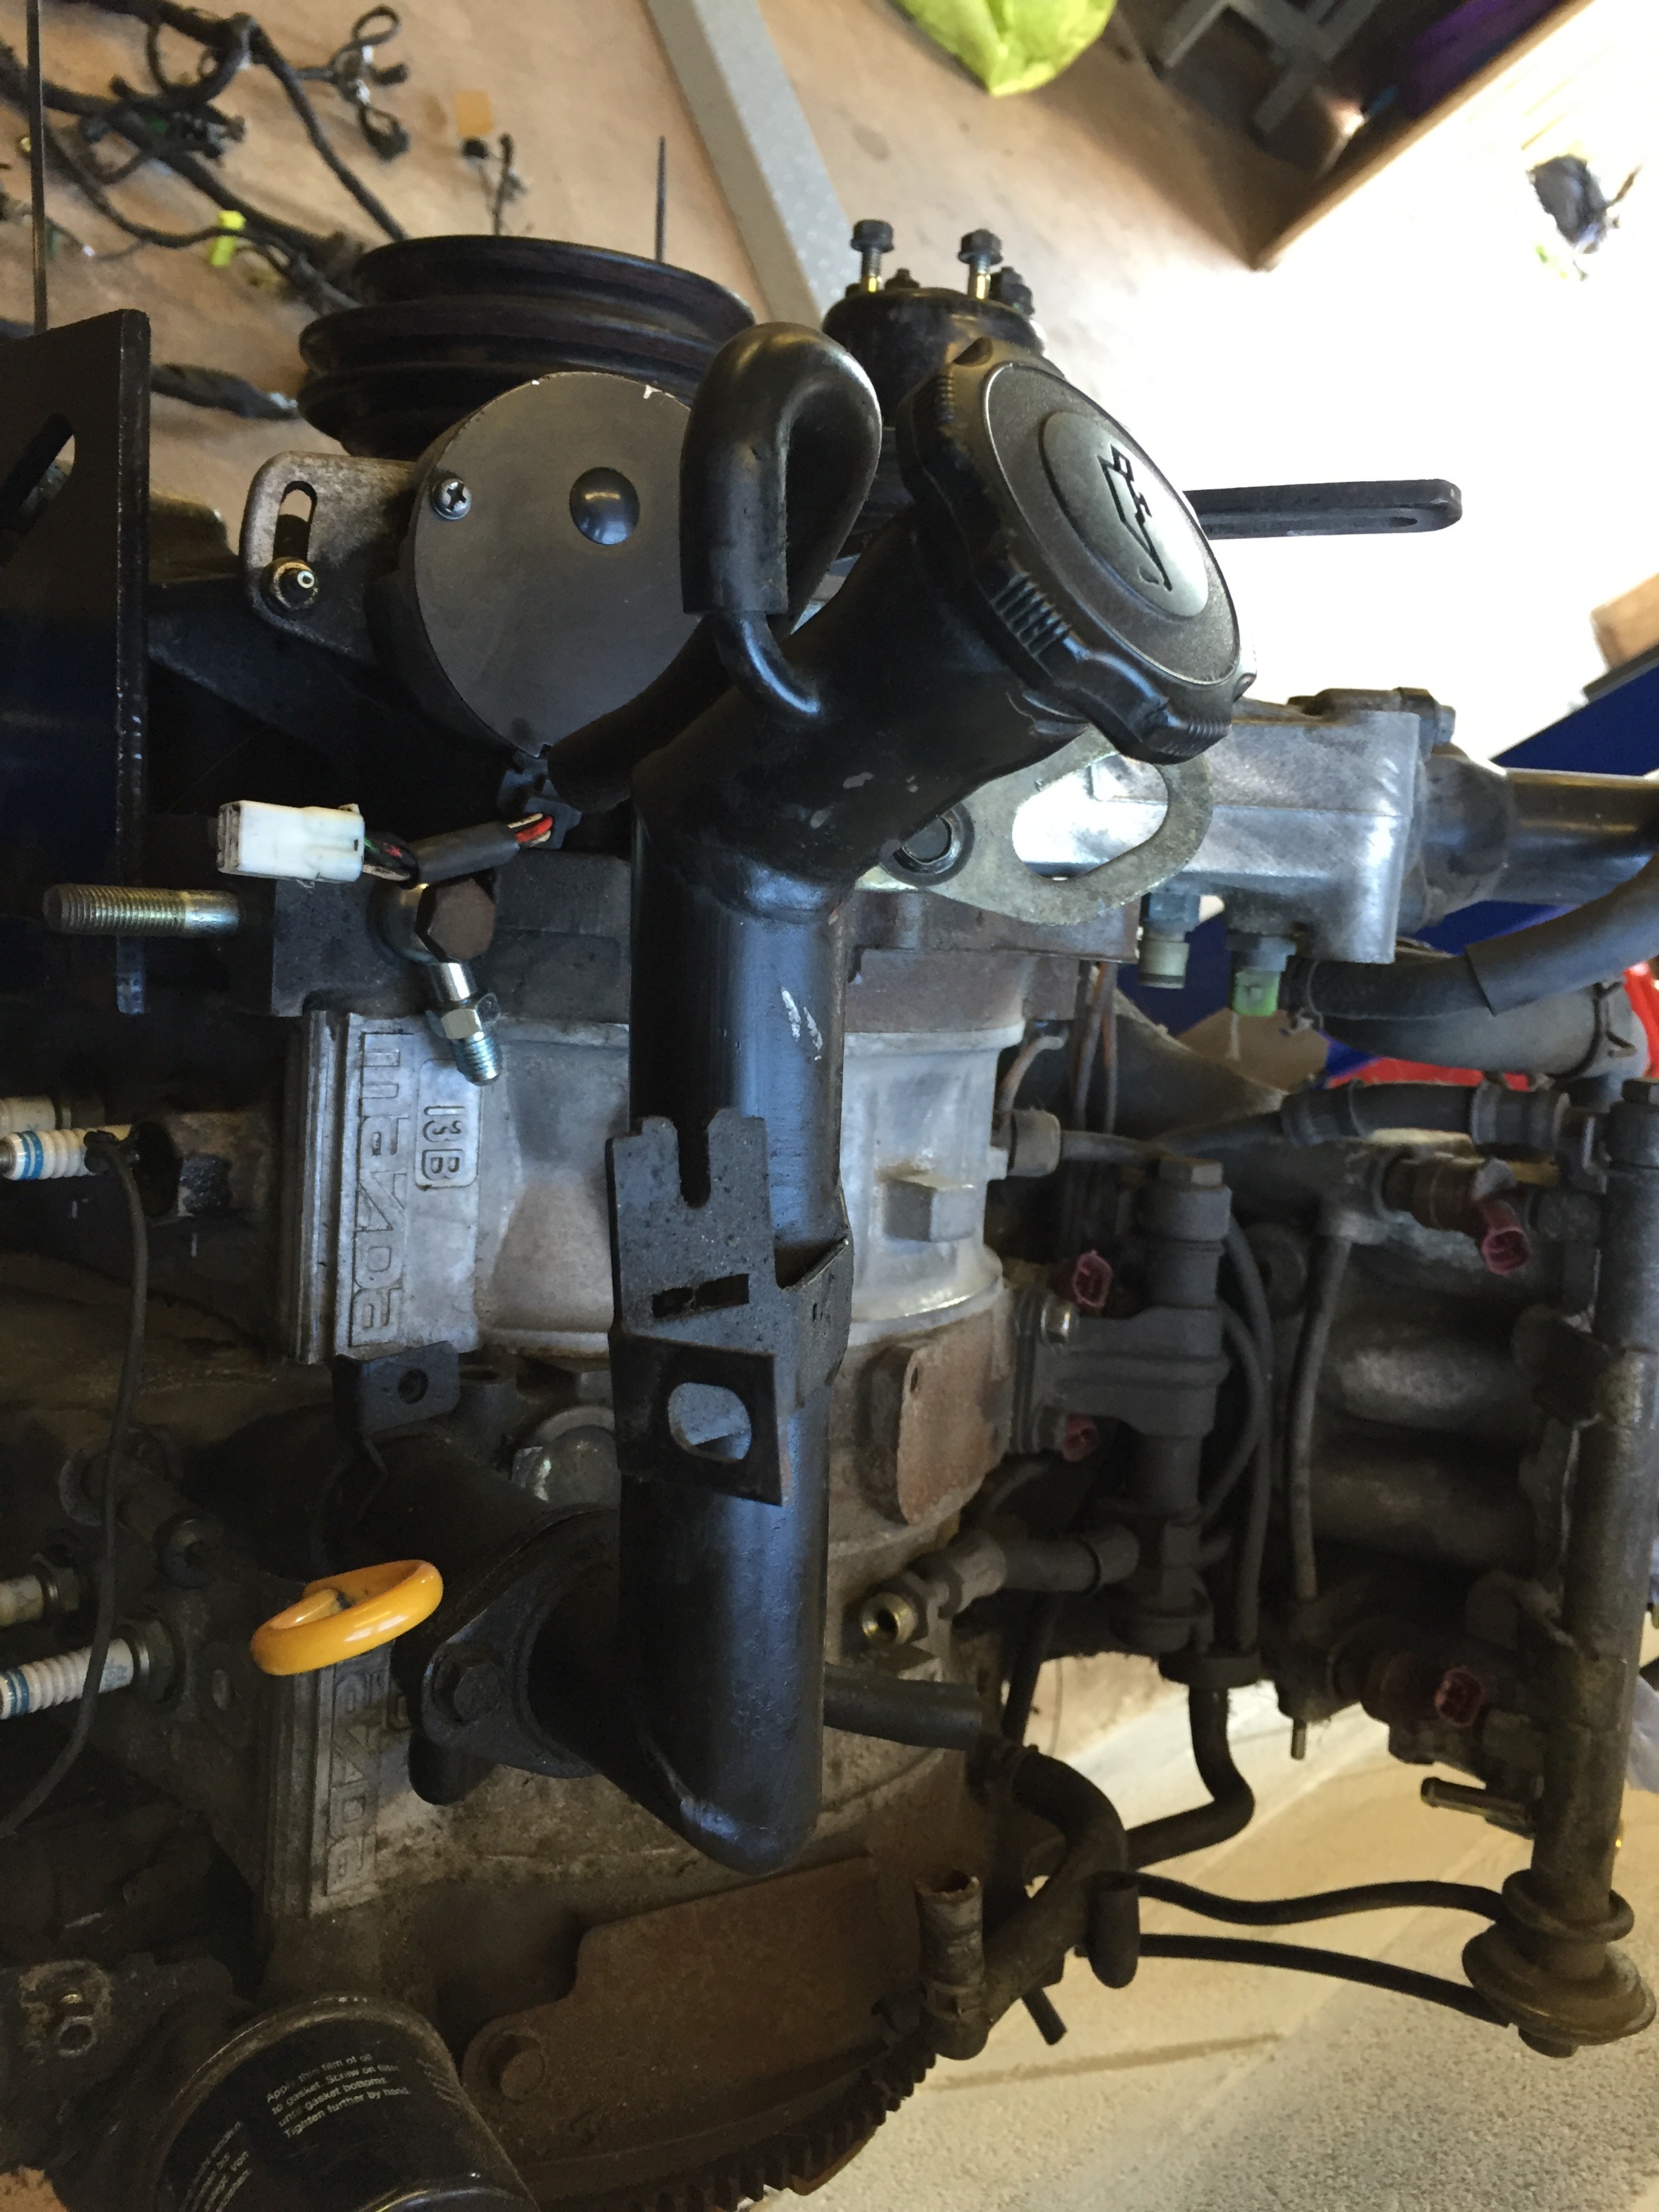
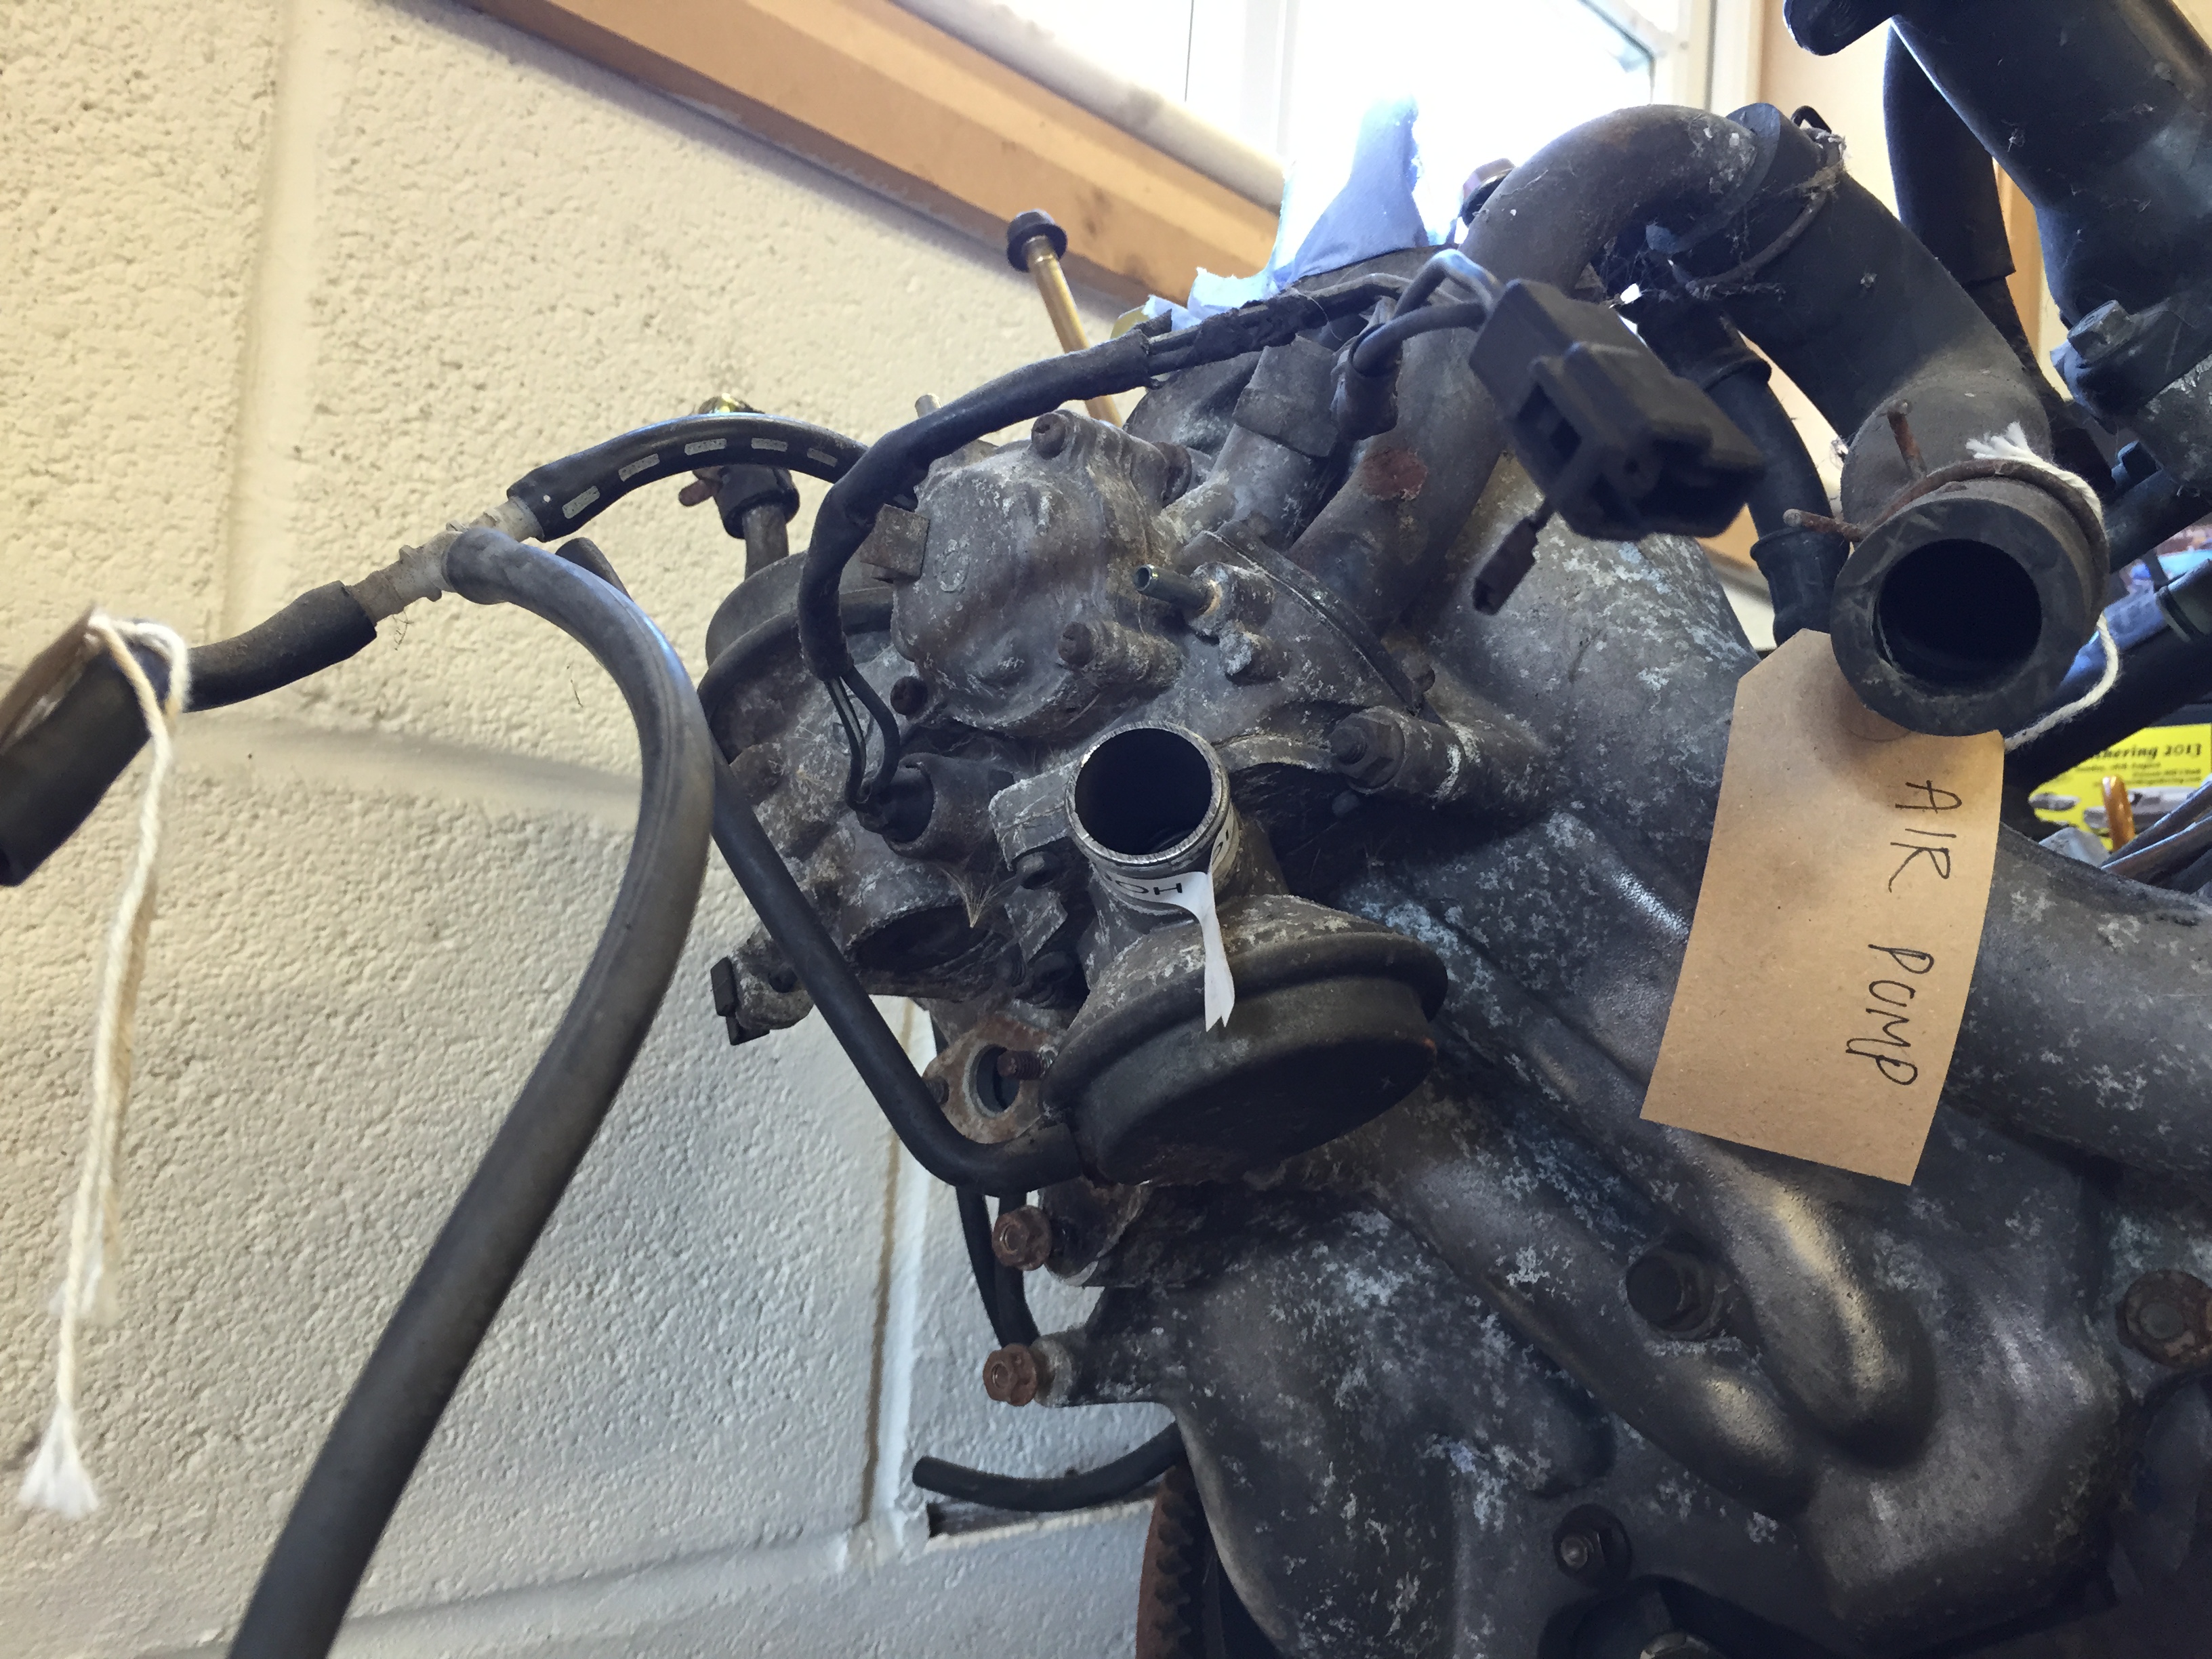
This engine looked huge and as if it would never fit into the Fb�s engine bay but, as we all know, underneath the turbo, heat shields, power steering pump, air con compressor etc is an engine hardly any different in size to the 12a so I set to work stripping off the ancillaries...
First to go was the fan...
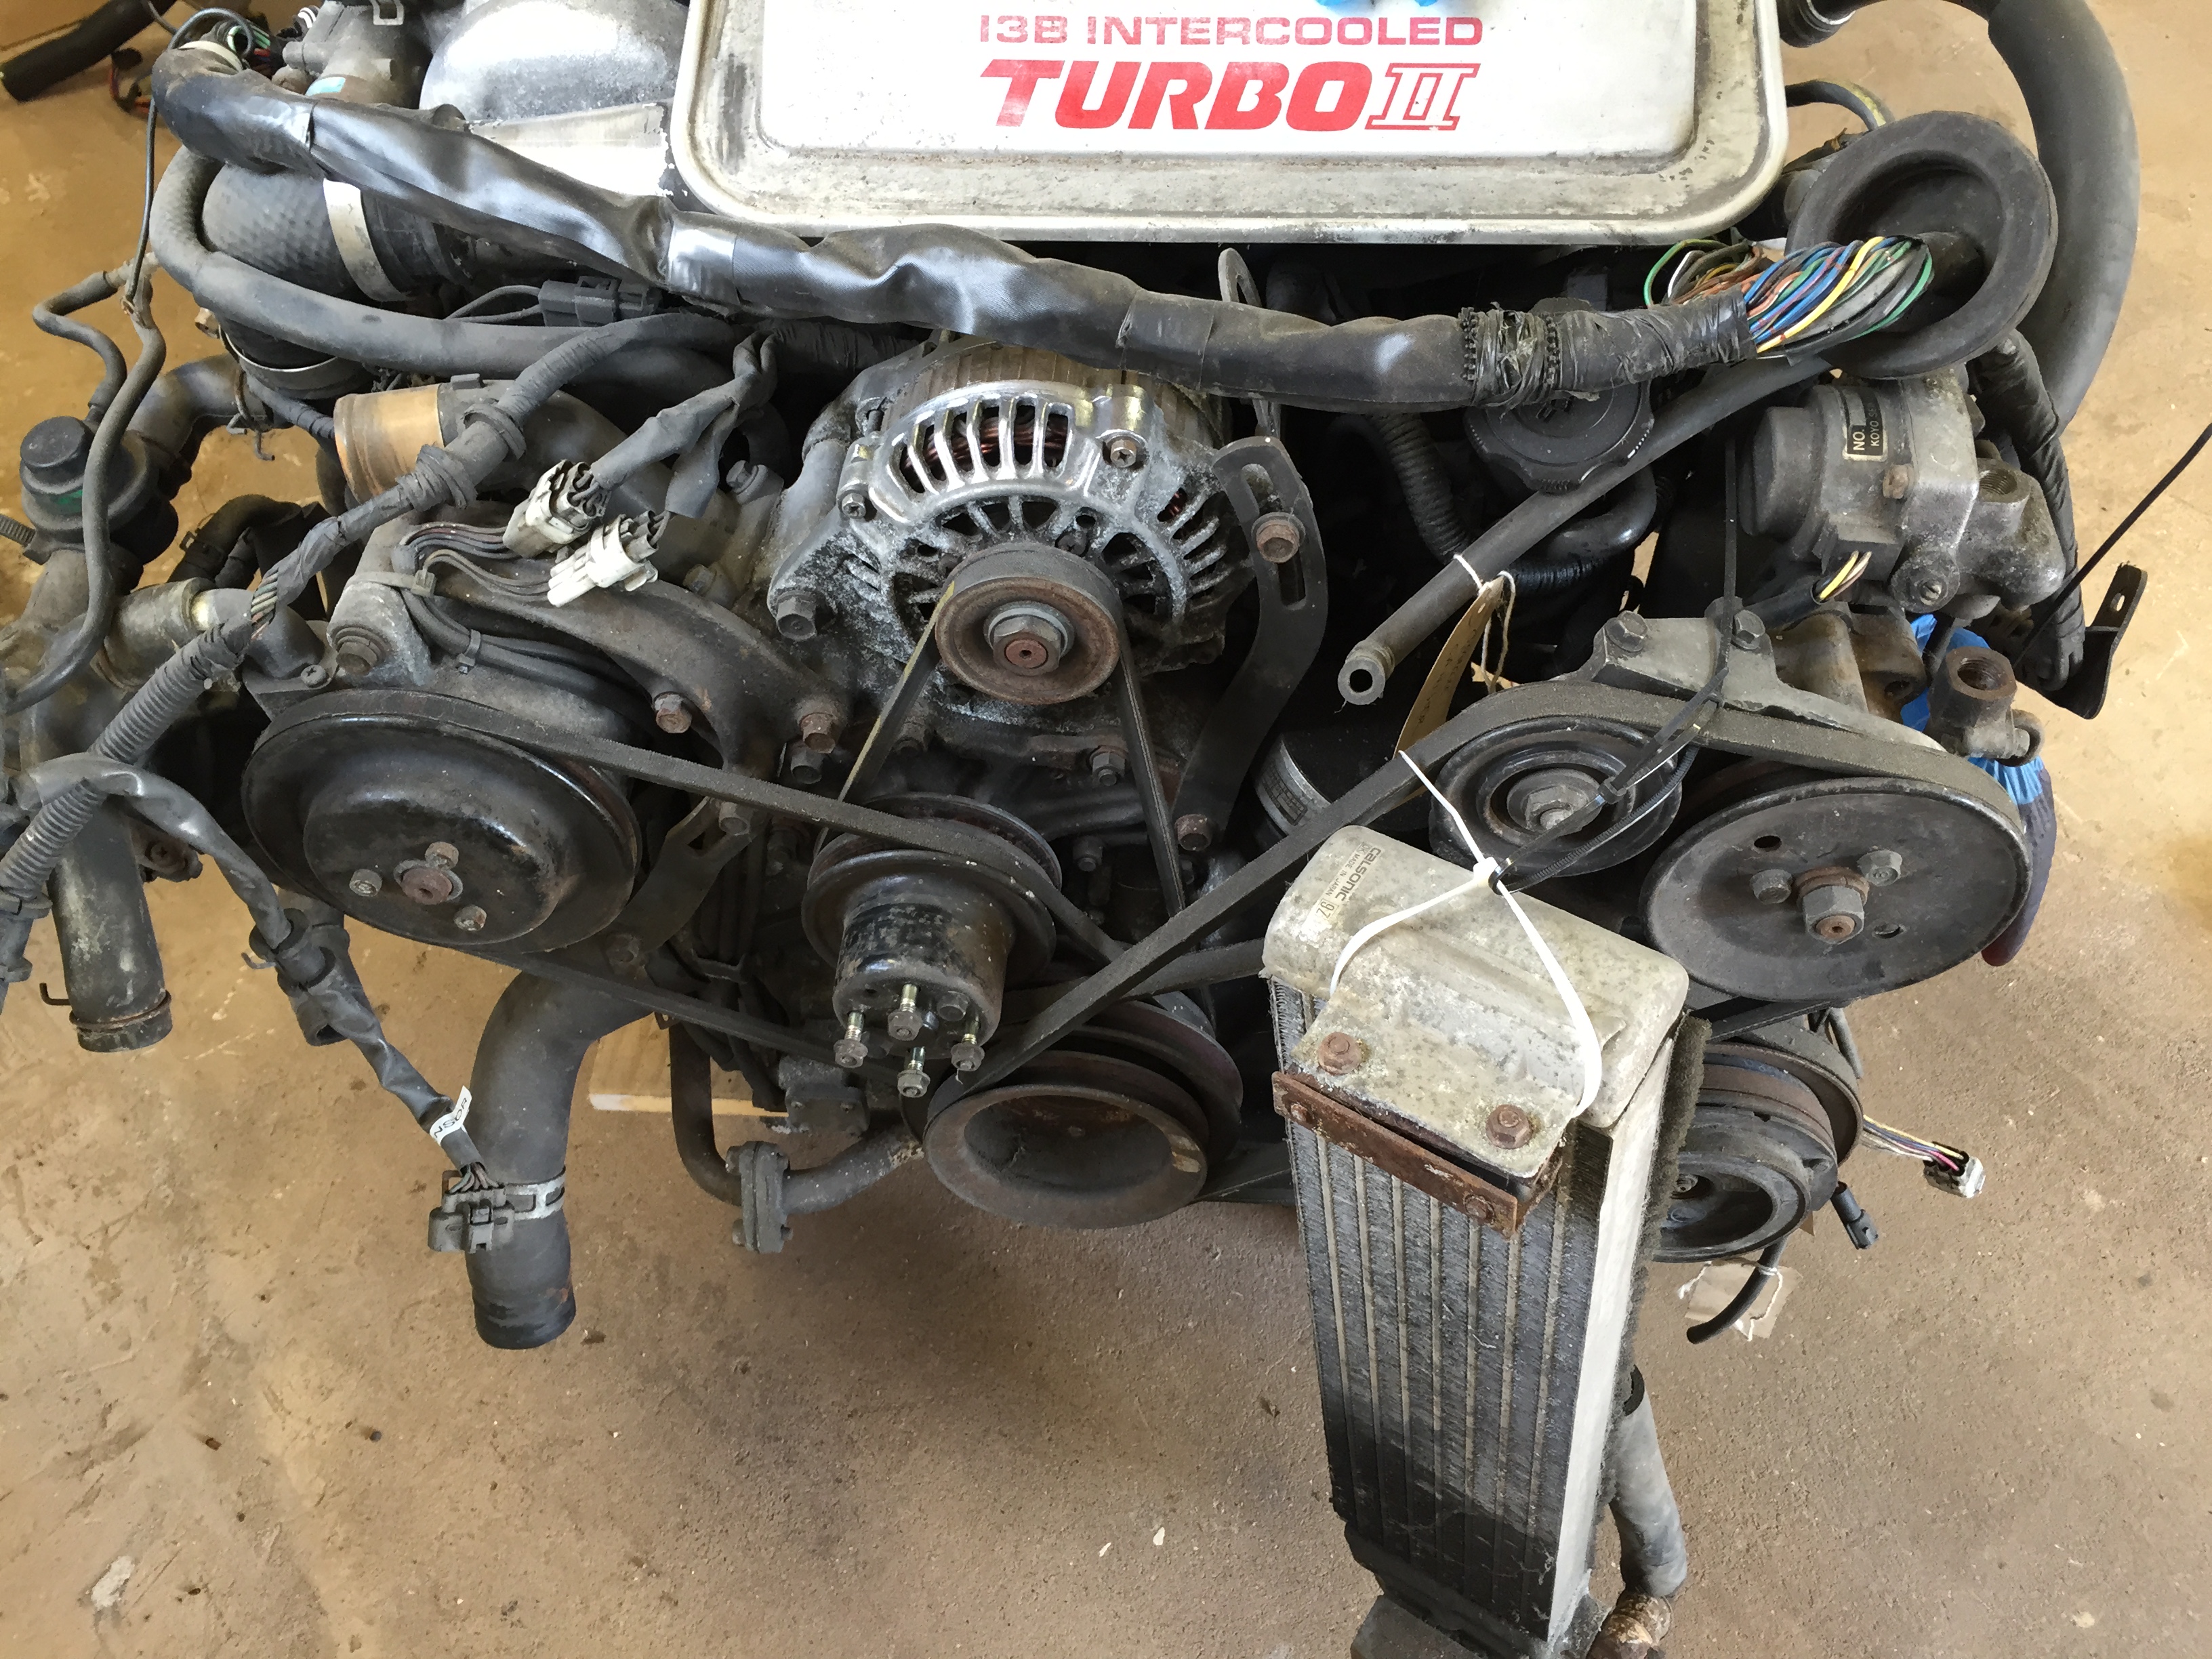
Then the a/c compressor, oil cooler and the power steering pump...
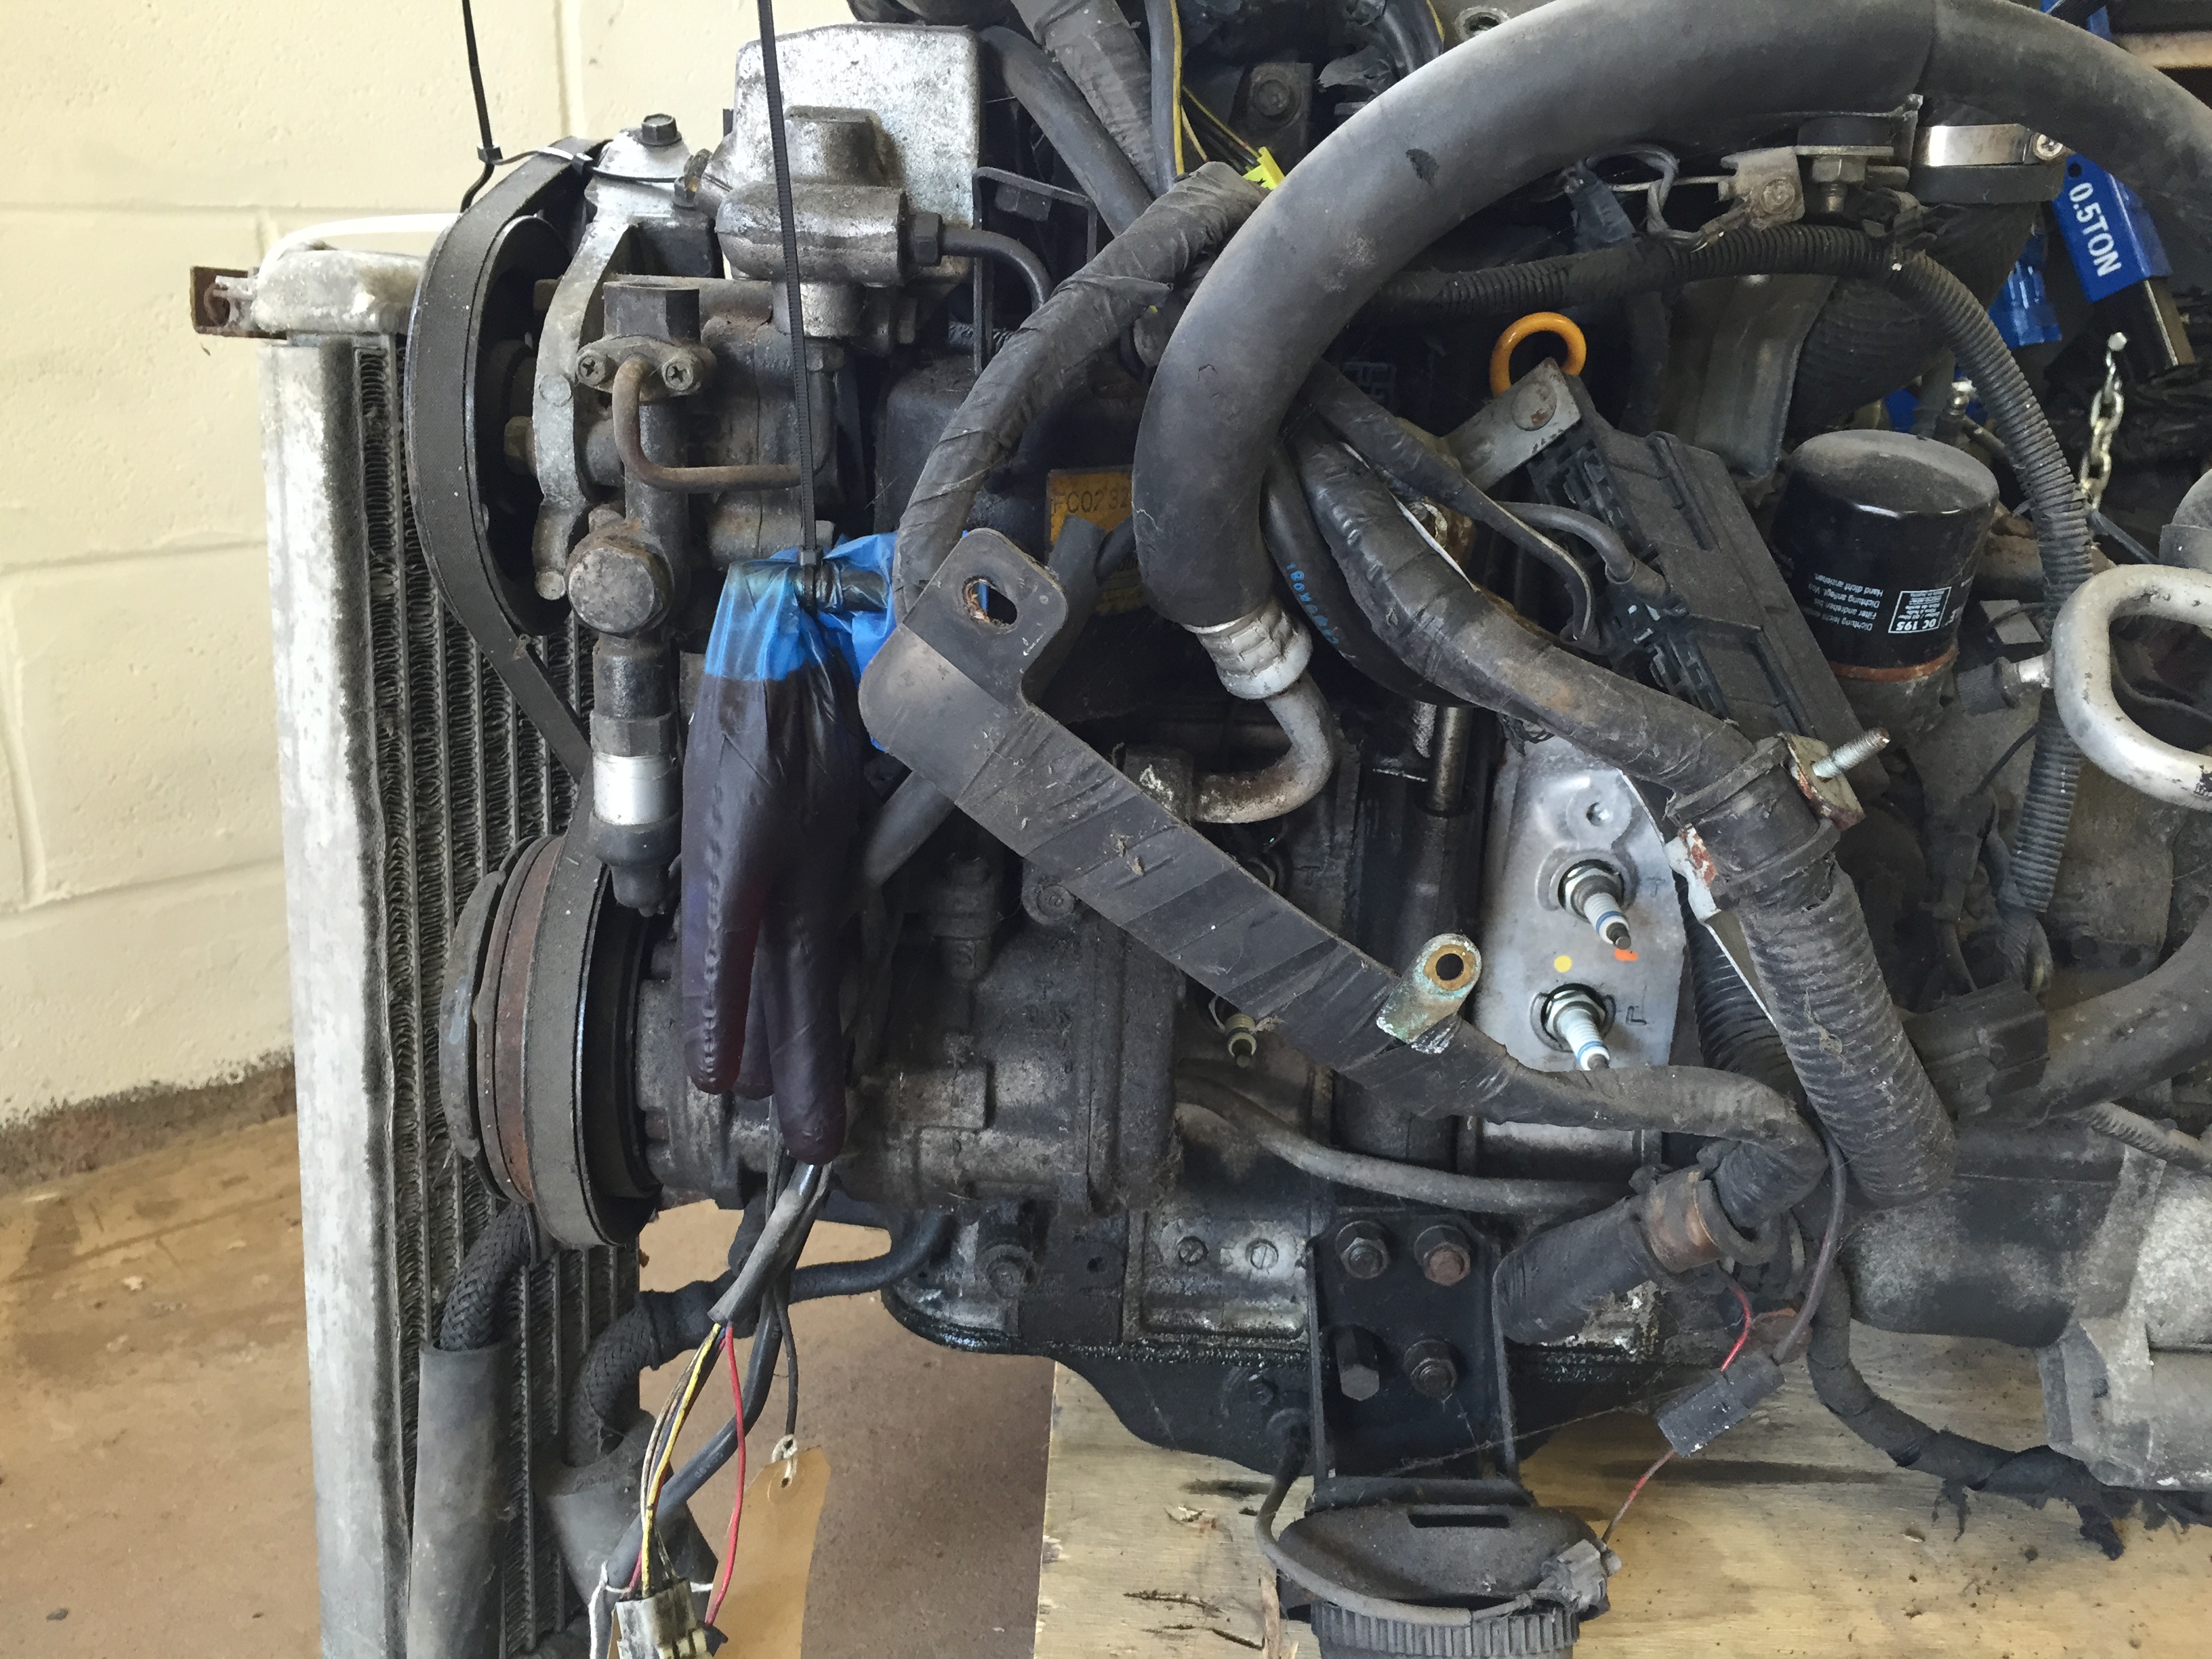
Then the turbo heat shields, downpipe and oxygen sensor...
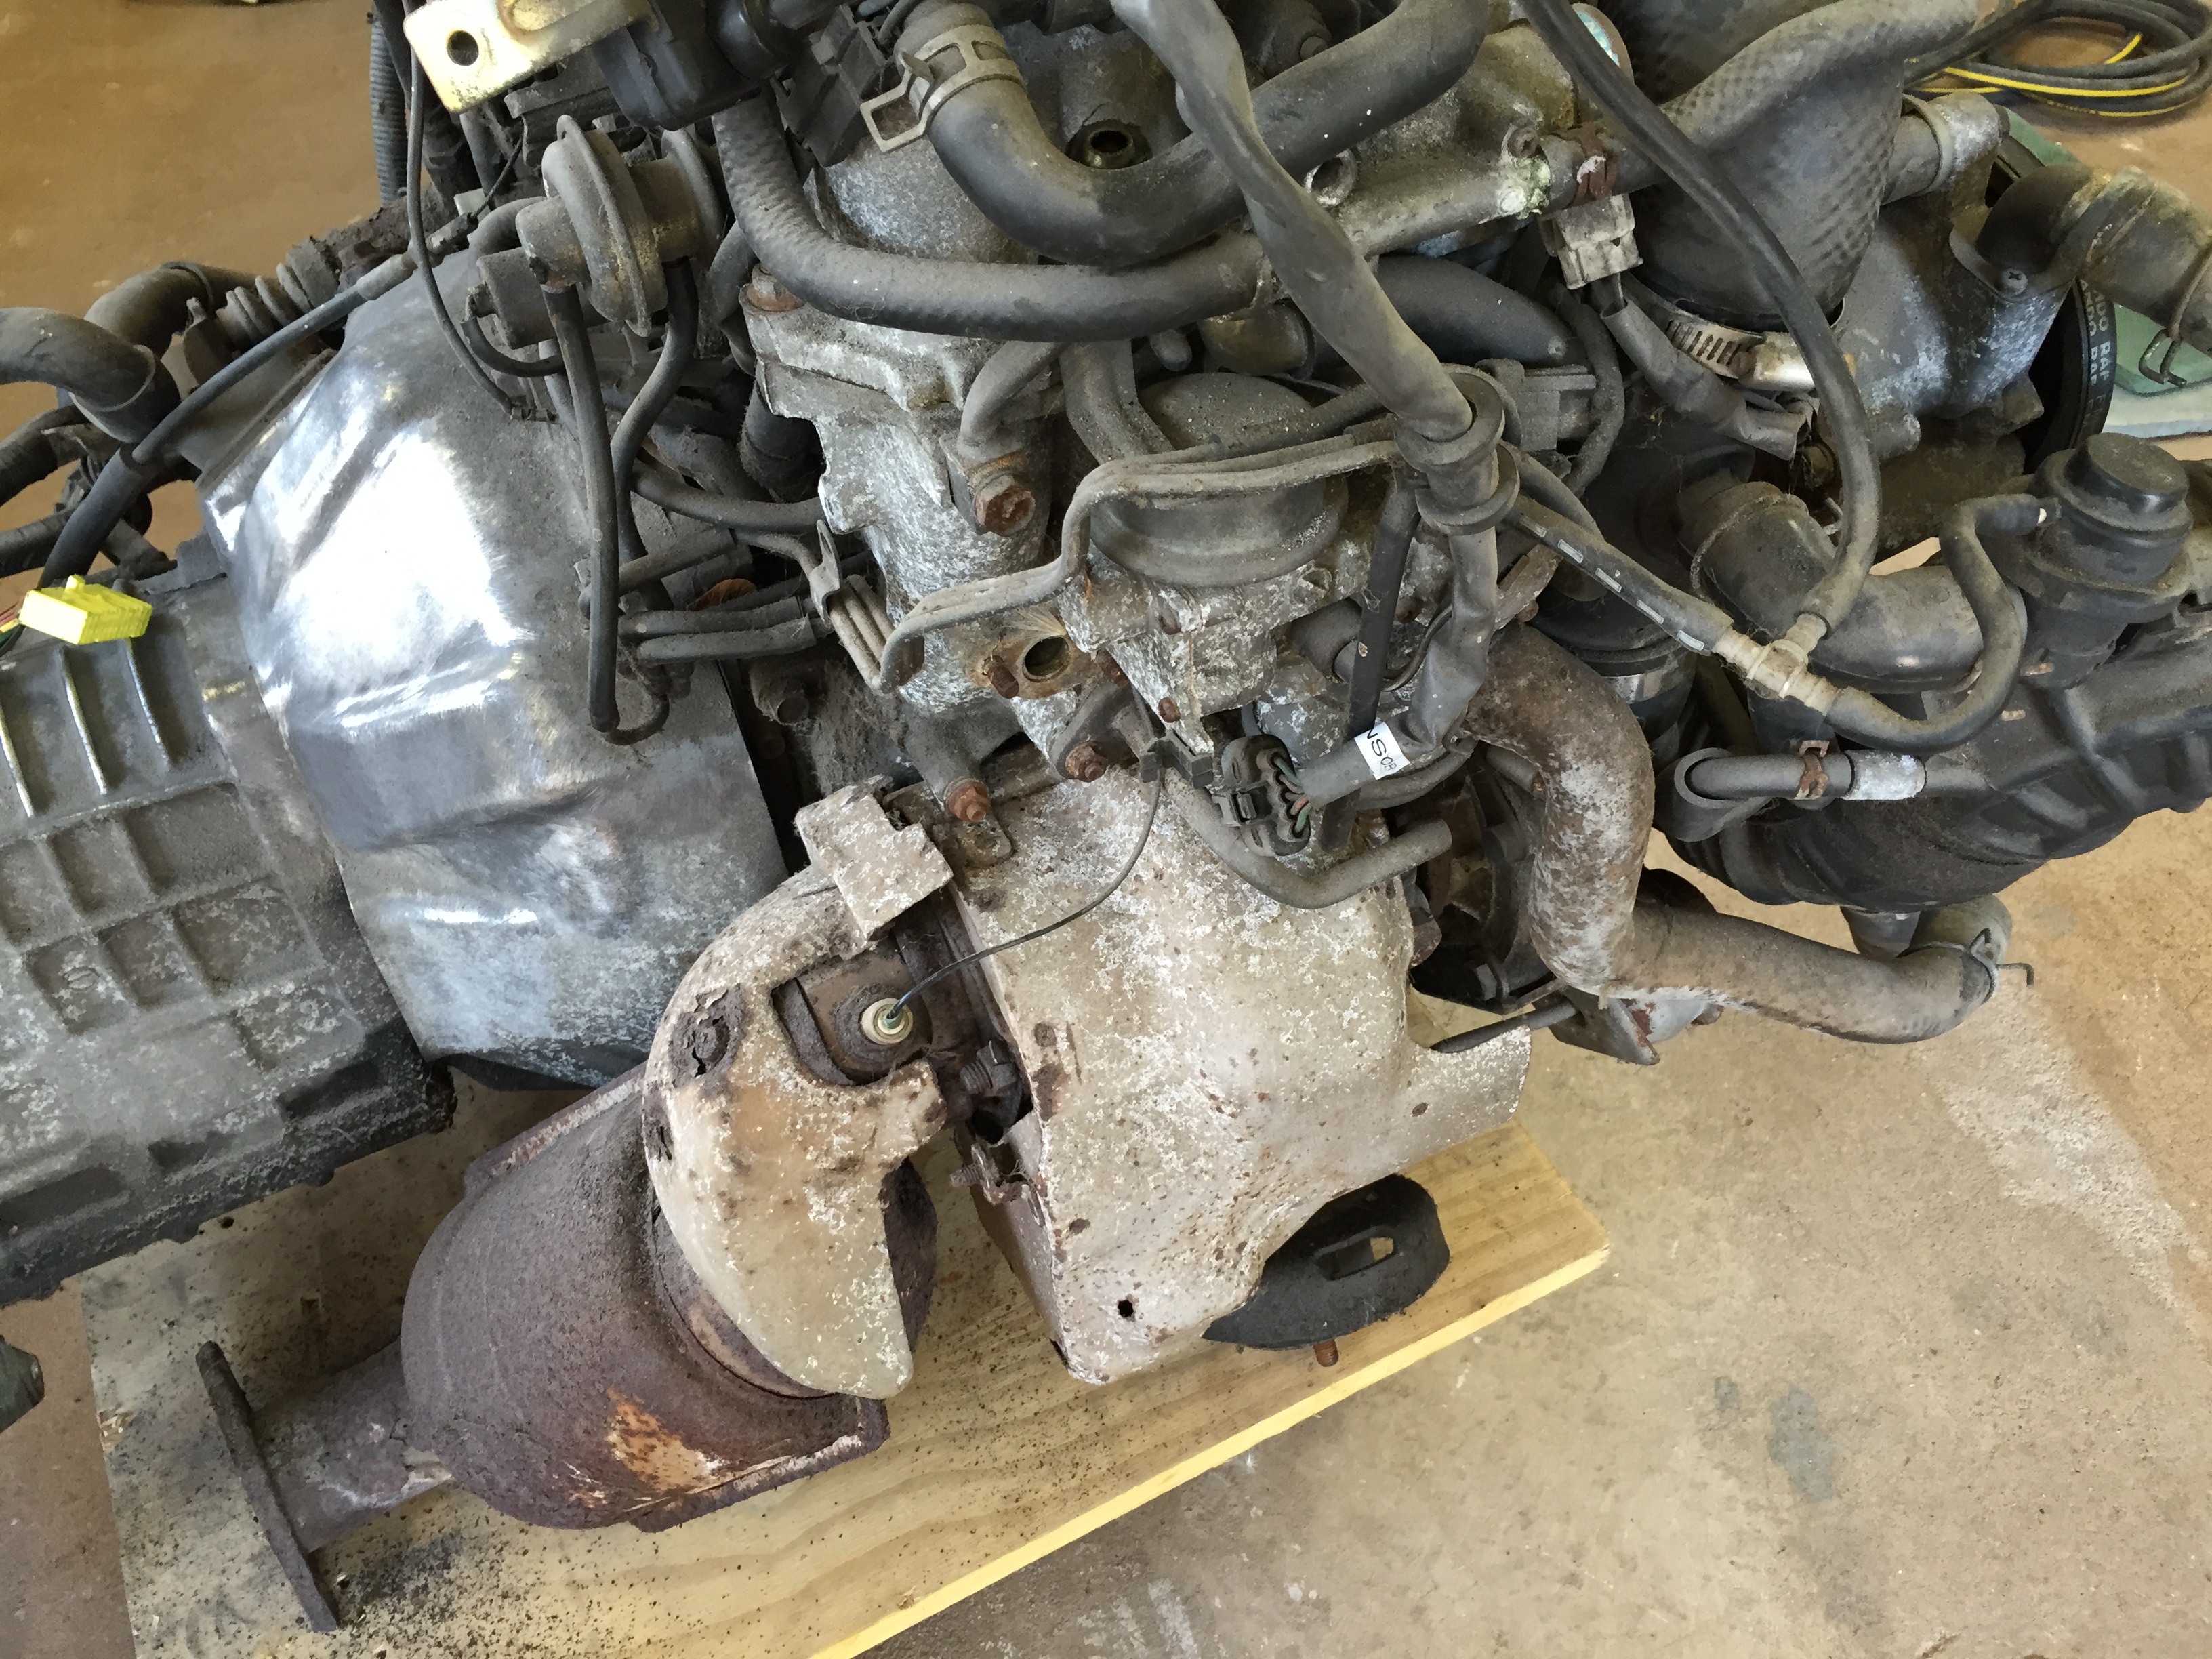
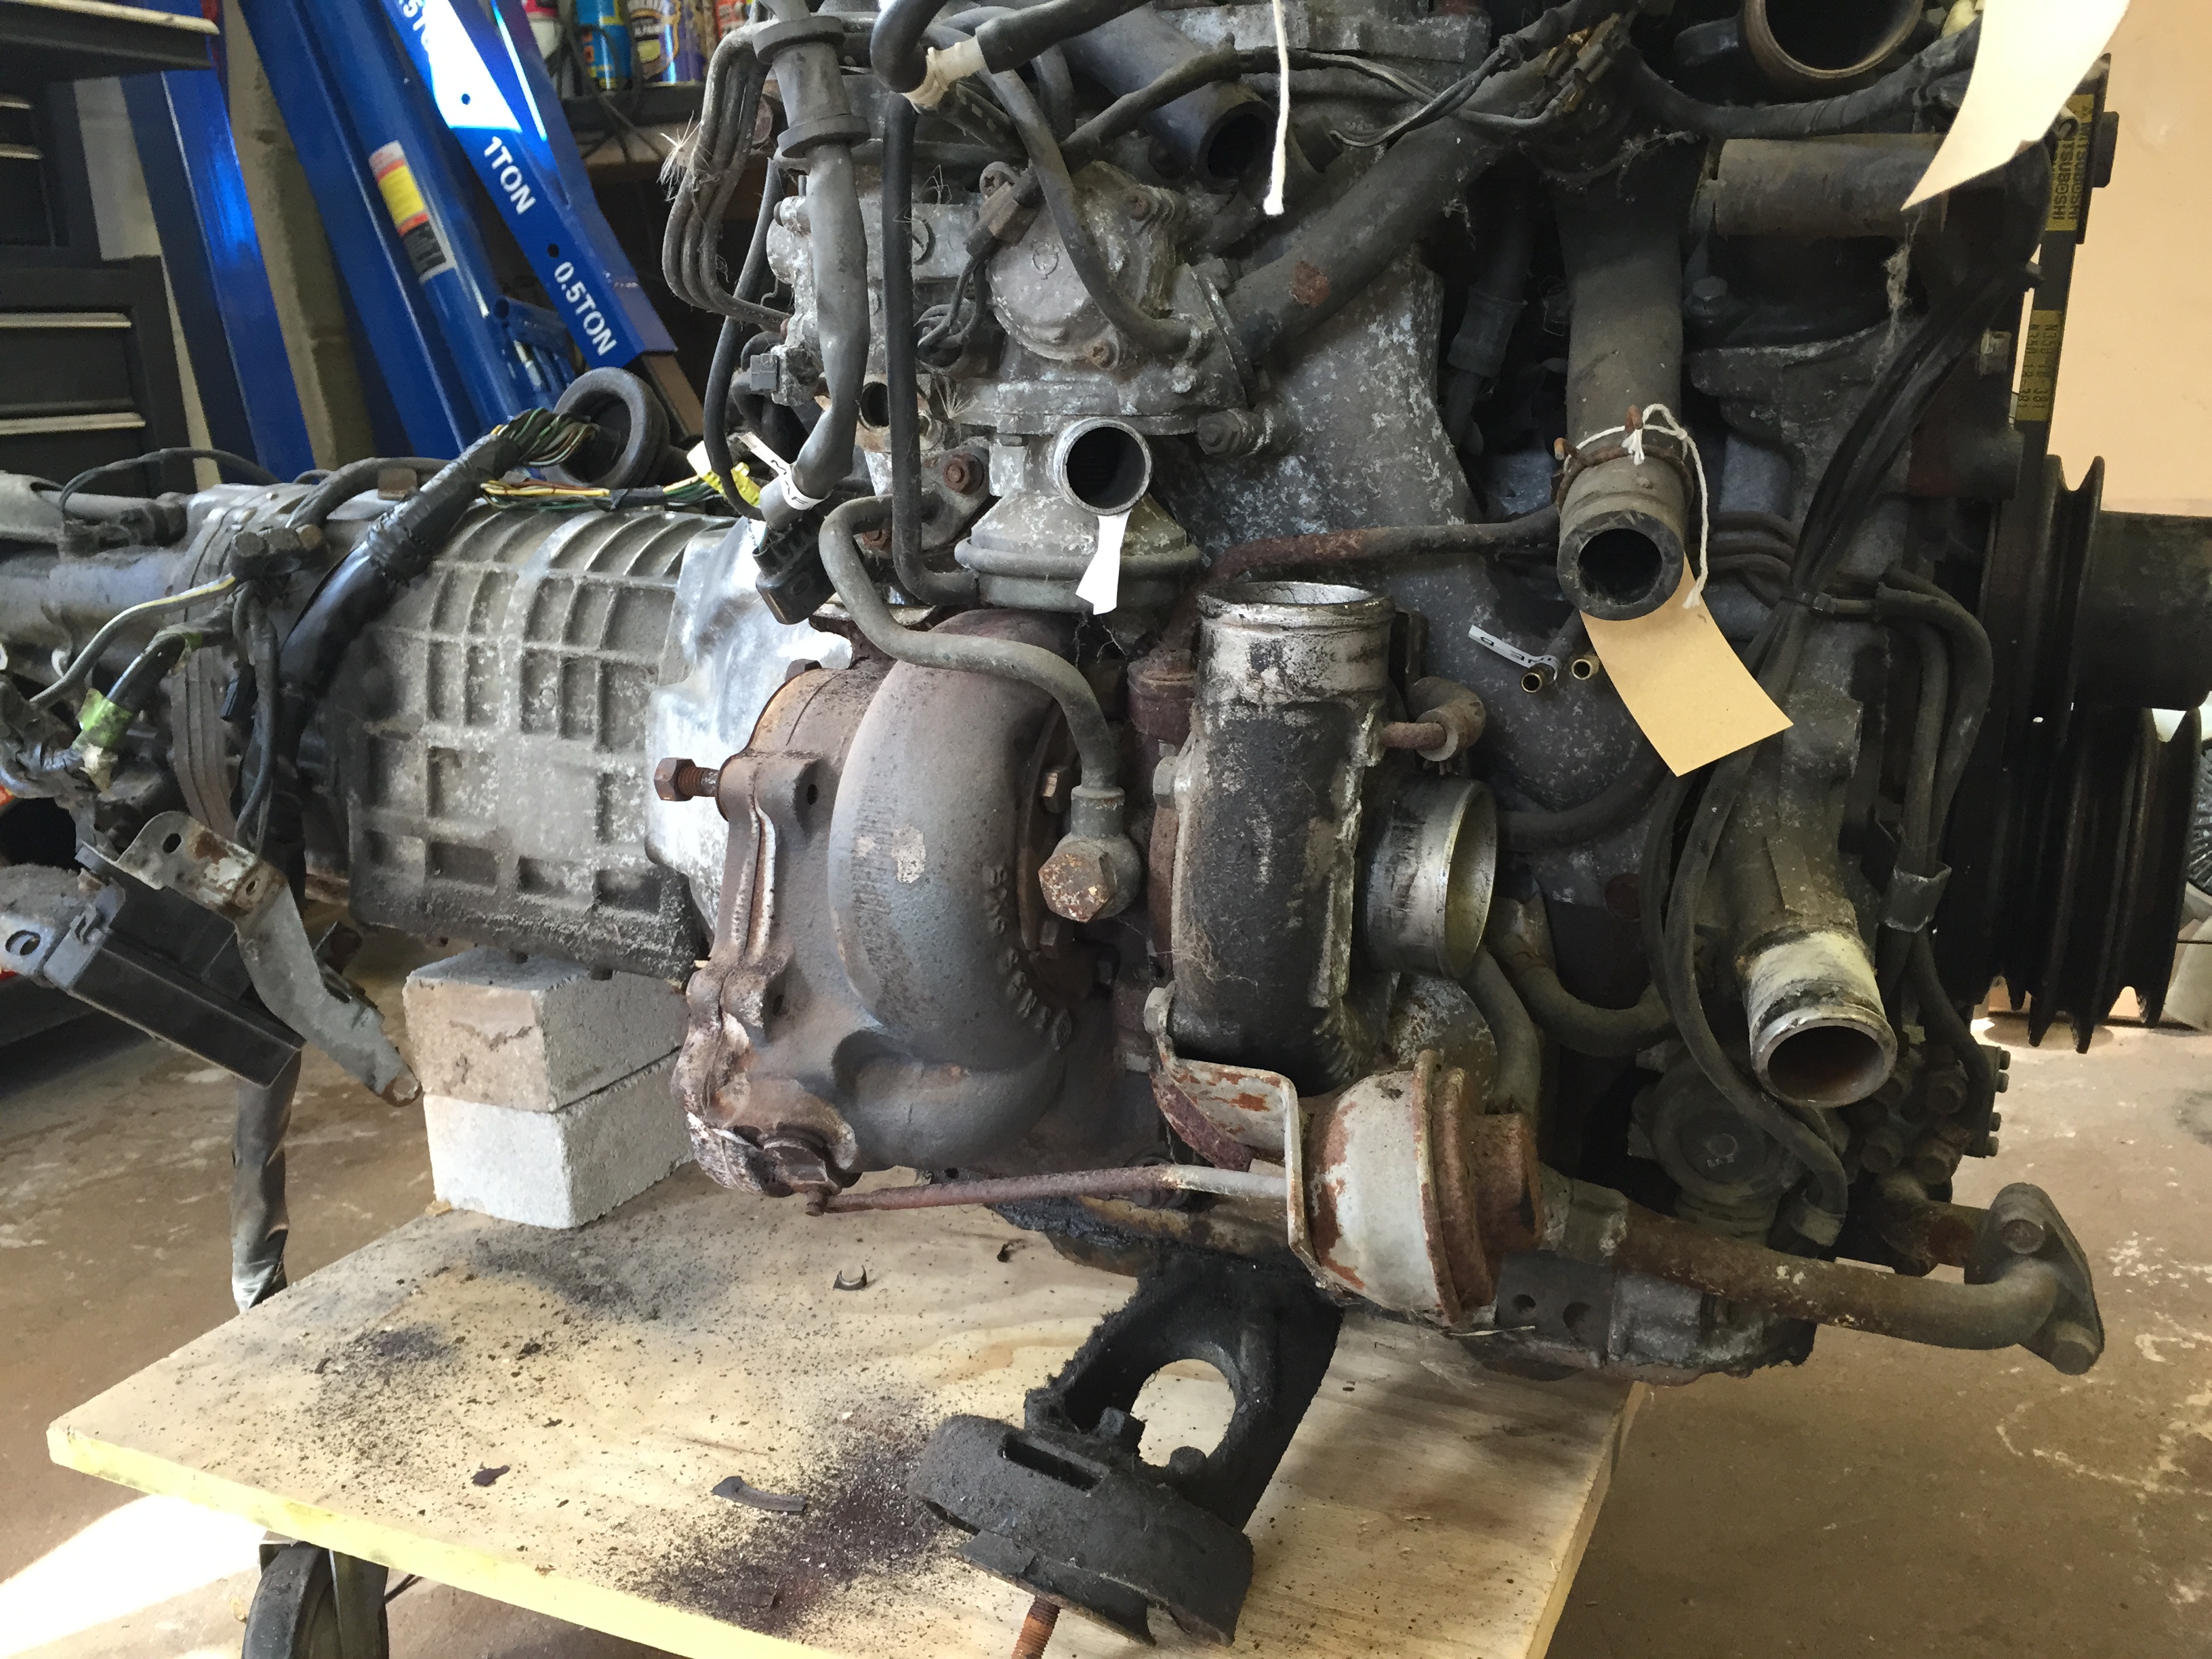
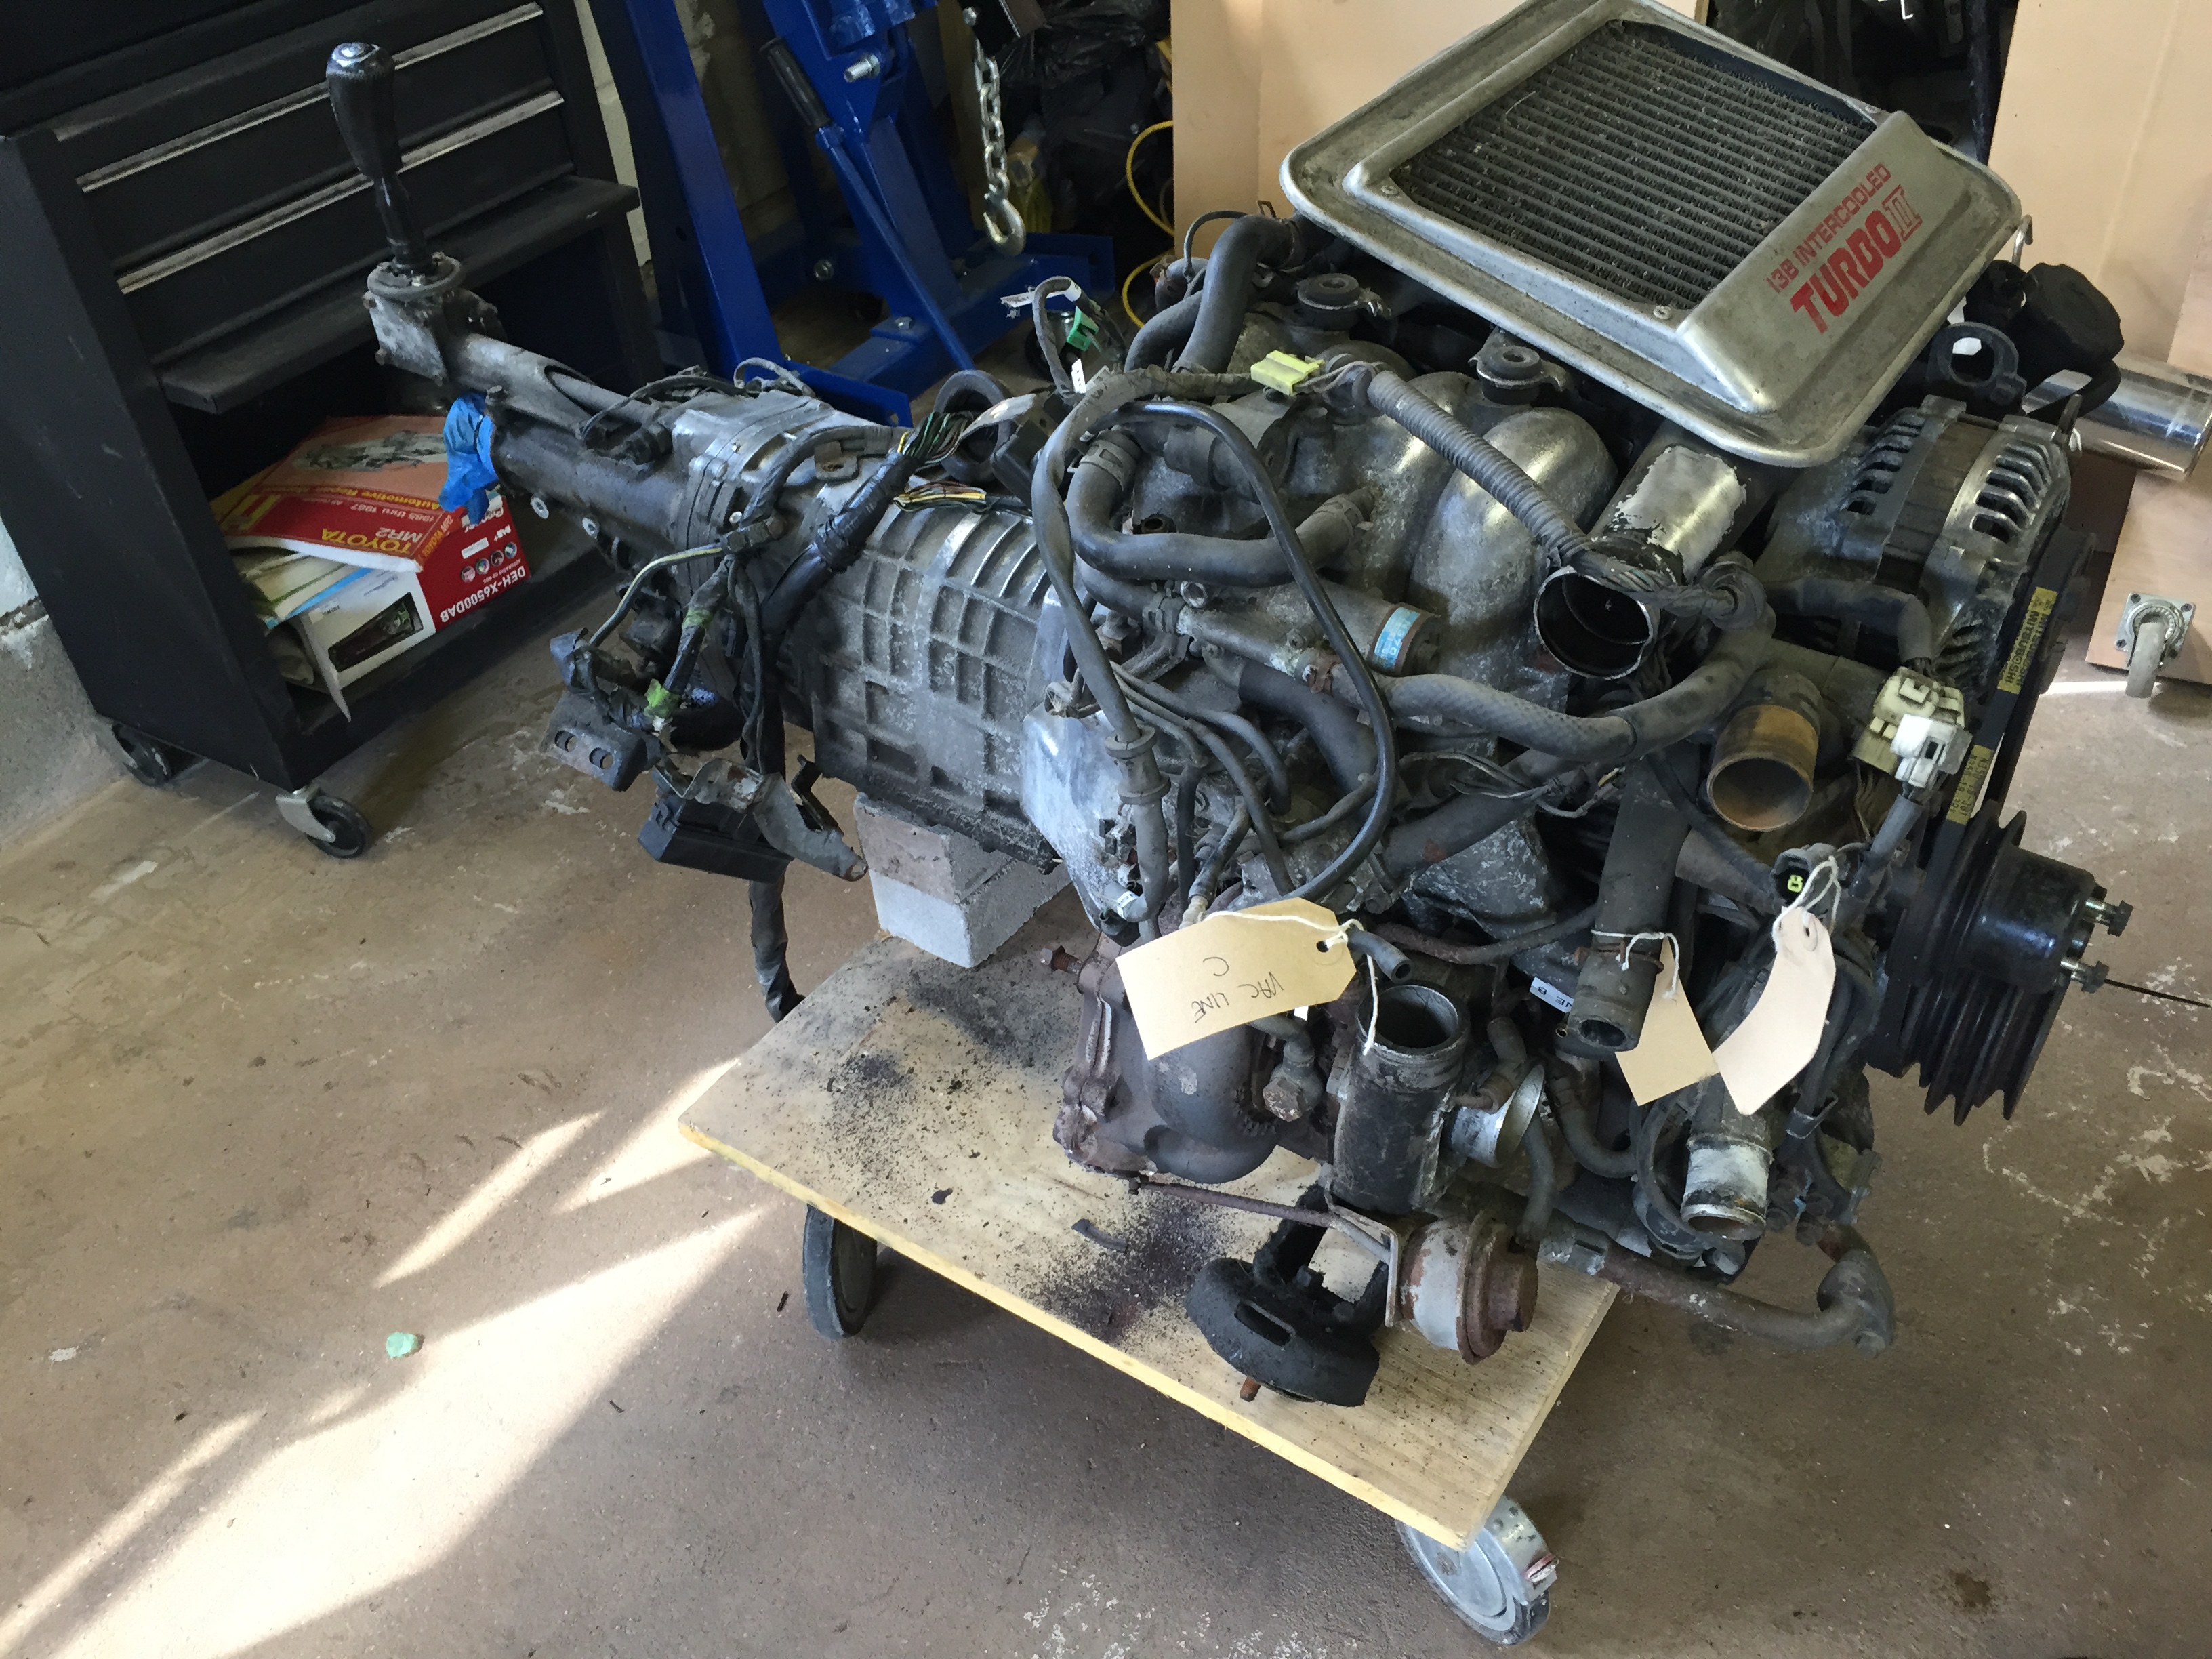
And finally the turbo itself...
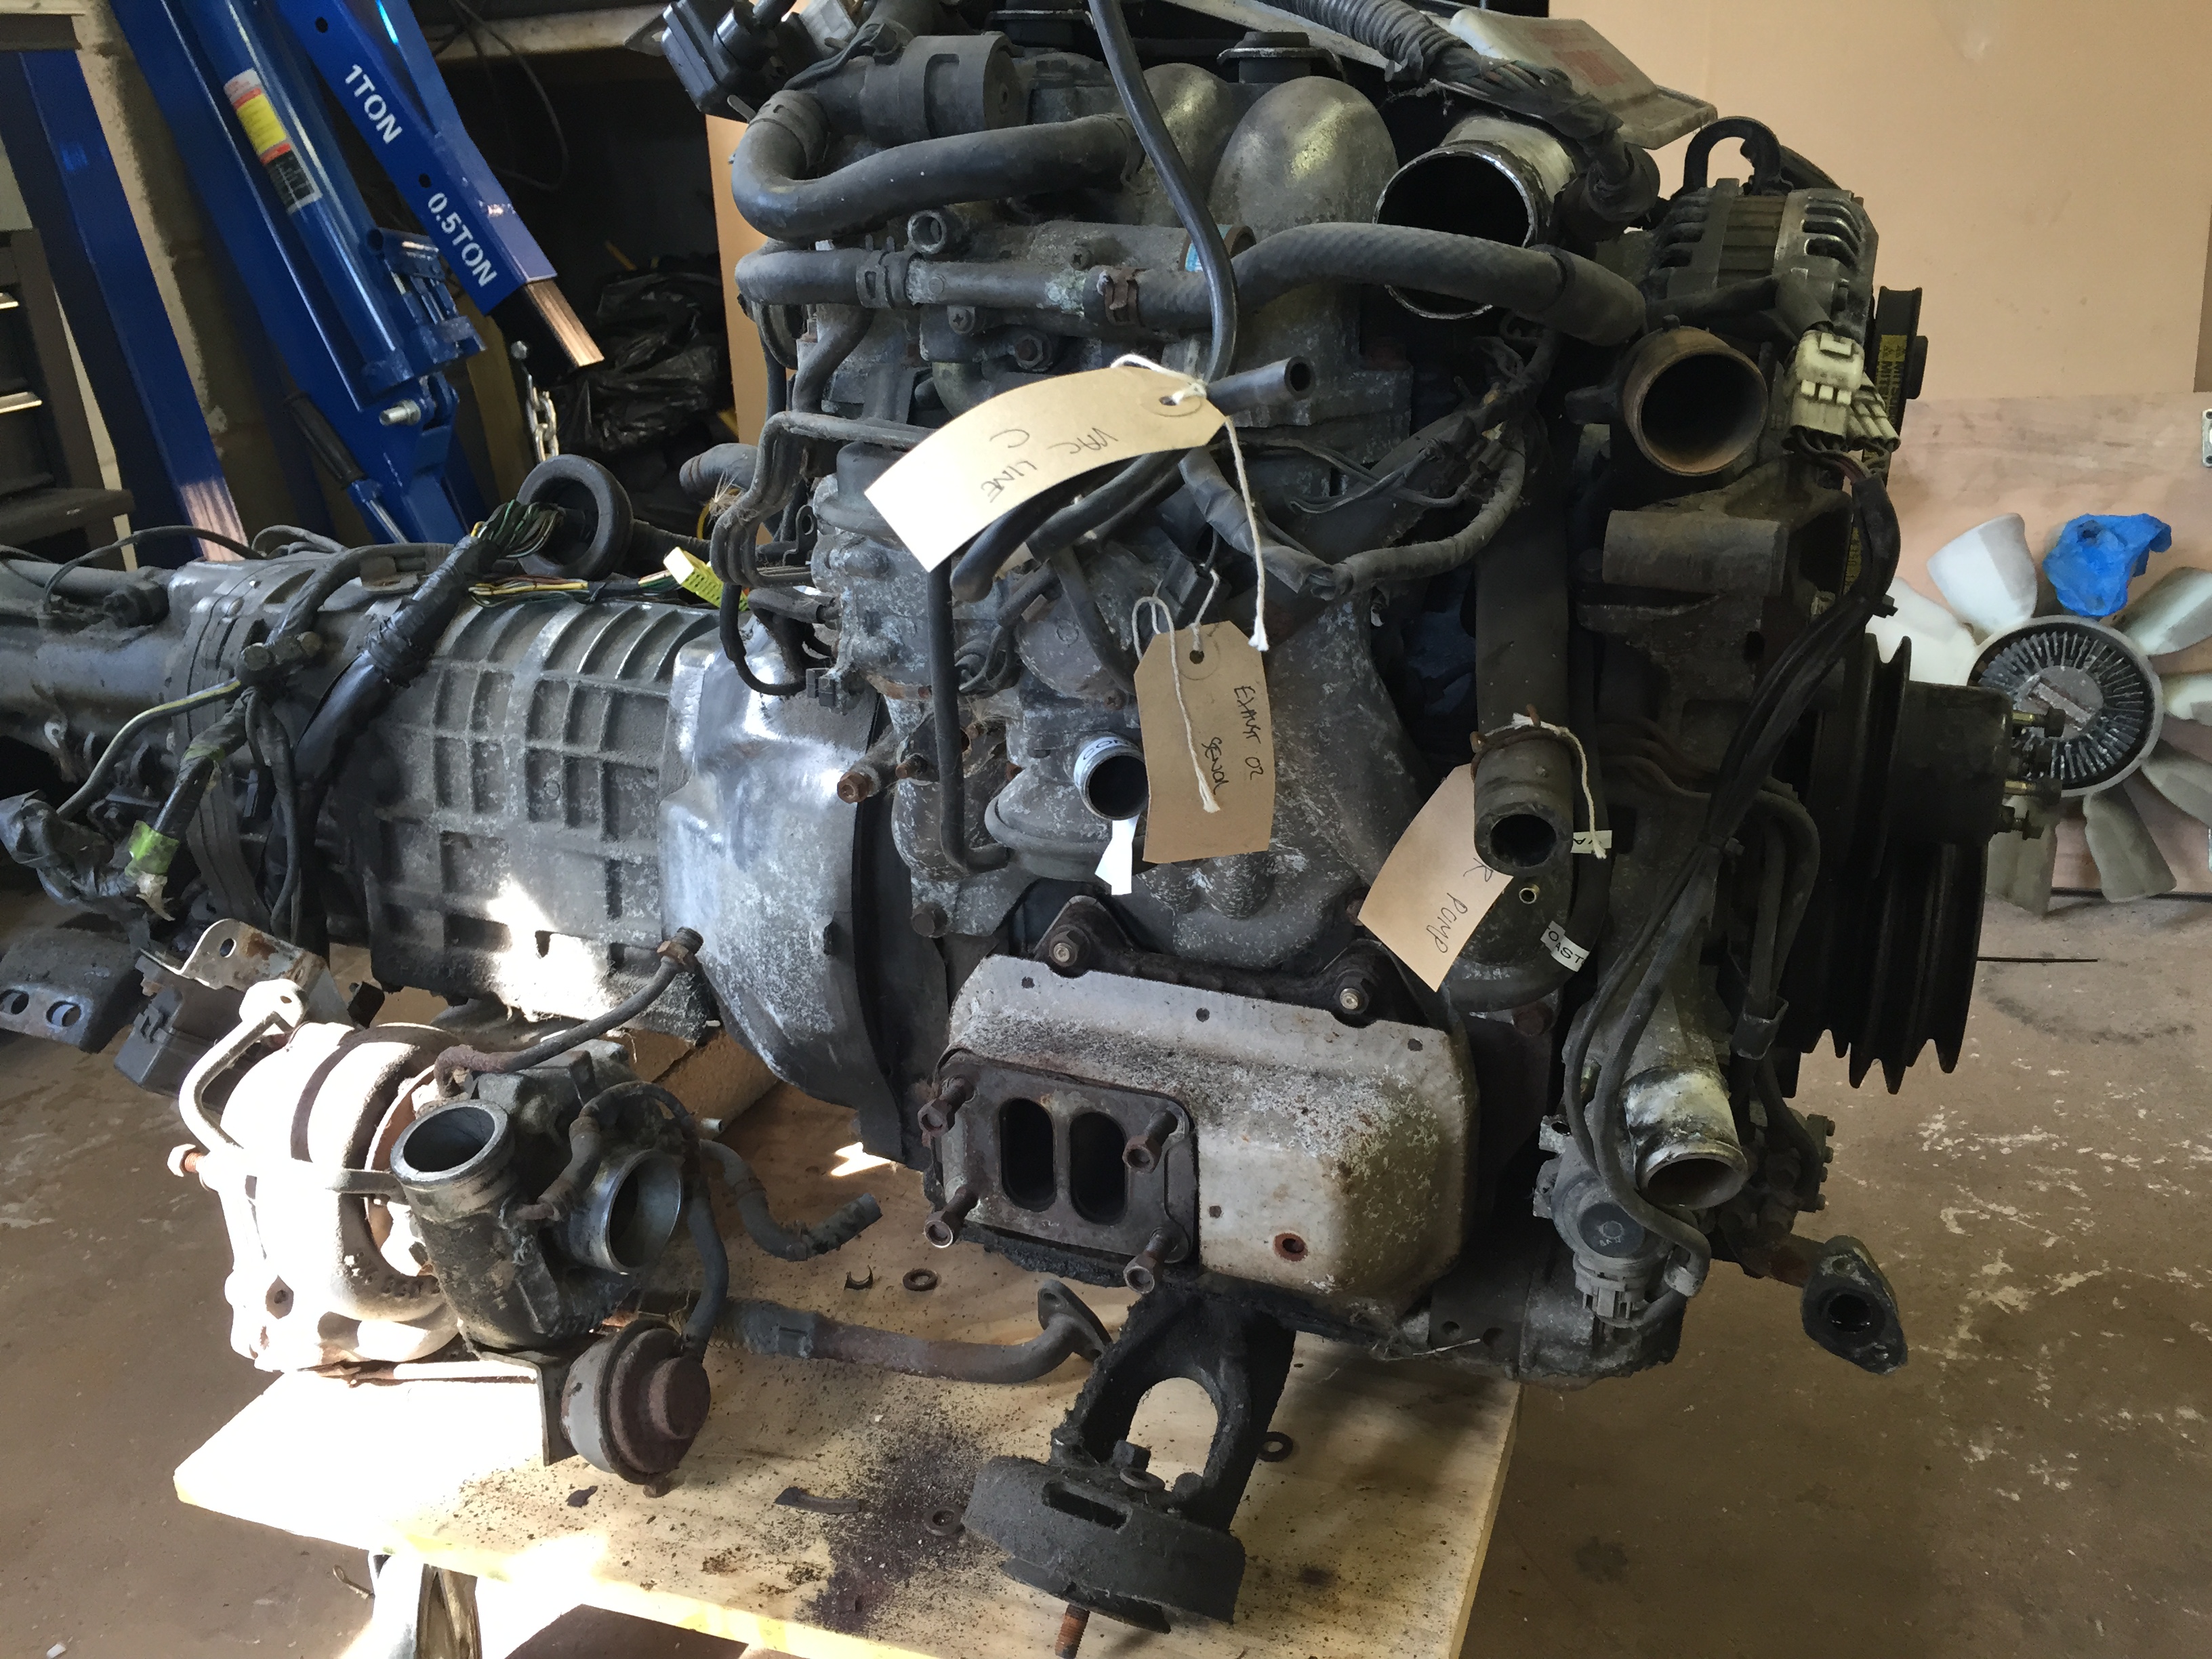
Next jobs are to strip all the emission control stuff off the engine, swap the front cover for a 12a item or a GSL-SE cover if I can get one and swap the sump for one off a GSL-SE so plenty to be getting on with.
My plan is to use the series 5 transmission and clutch so the gearbox will need modifying to bring the gear lever up in the right place inside the car. This will also mean I will need a custom propshaft making up which uses the S5 front yoke and the FB rear flange. As I'm stripping all the emission stuff off the engine I will be able to lose the factory ECU and the electric OMP...
I'm going to build a Megasquirt standalone engine management system which will give more flexibility and tune-ability
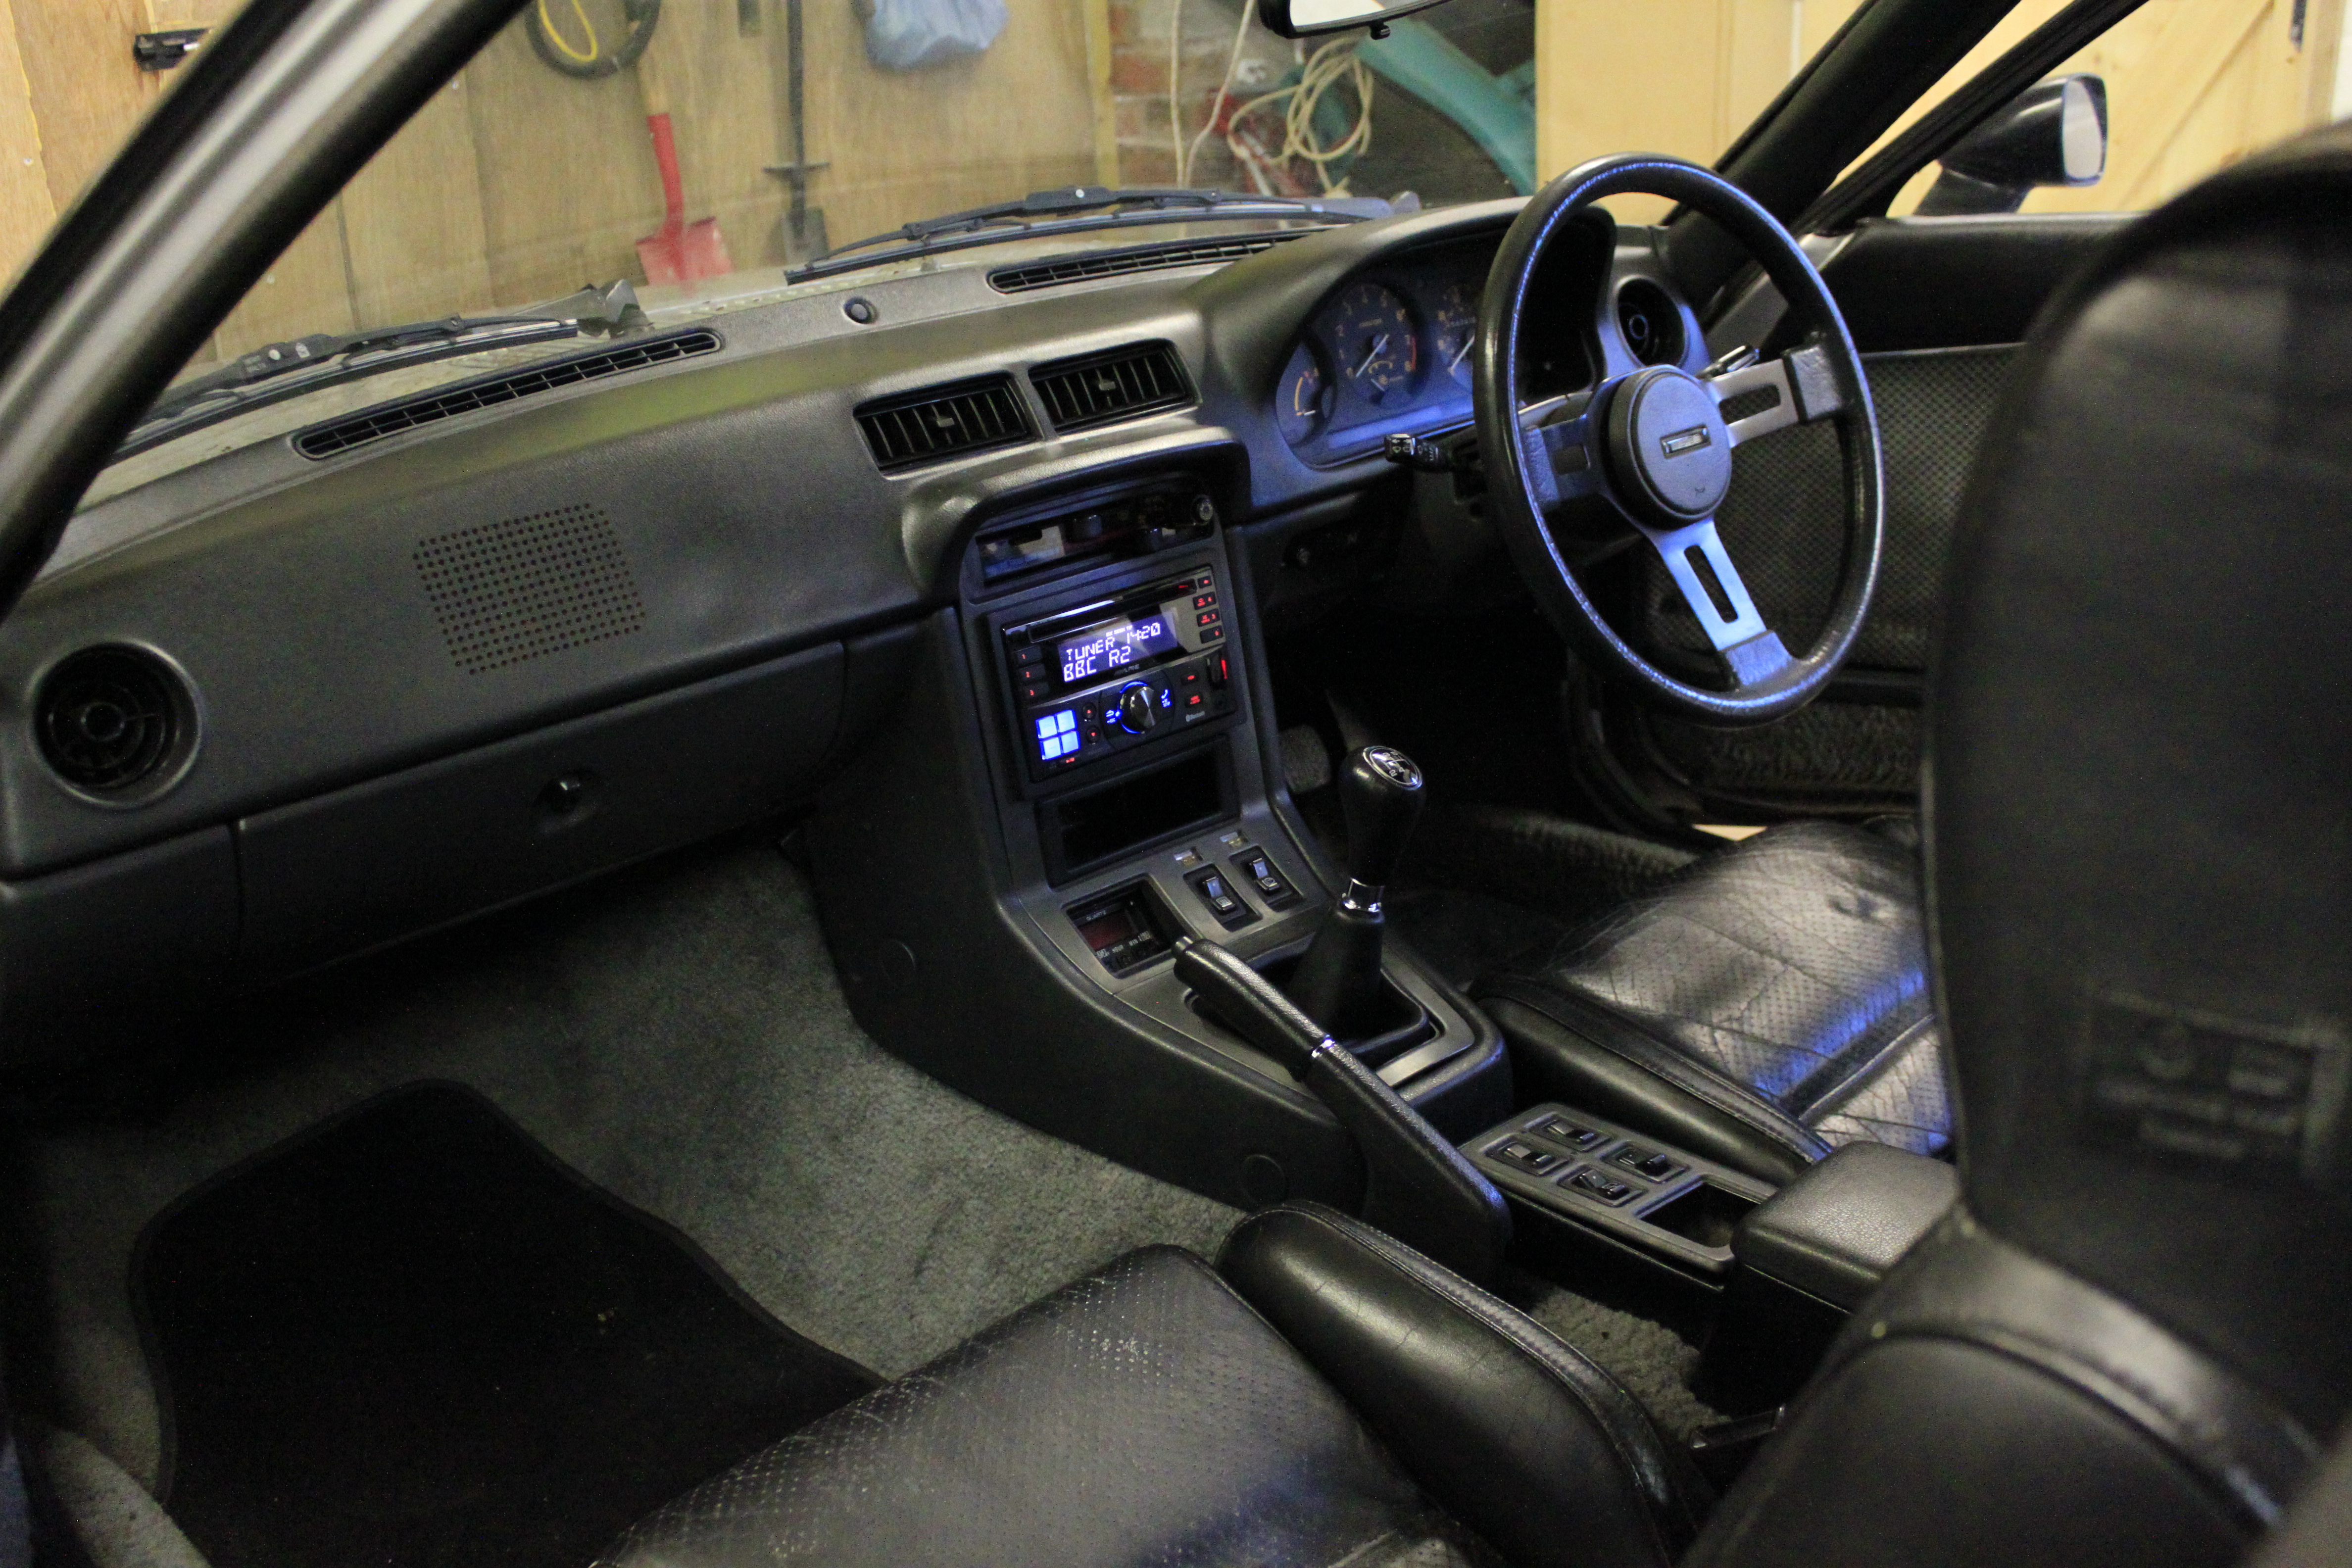
The build will be a big learning curve so I plan to continue to run my Elford setup and whilst I build this 13BT conversion on the bench as much as possible to minimise my downtime.
First to go was the fan...
Then the a/c compressor, oil cooler and the power steering pump...
Then the turbo heat shields, downpipe and oxygen sensor...
And finally the turbo itself...
Next jobs are to strip all the emission control stuff off the engine, swap the front cover for a 12a item or a GSL-SE cover if I can get one and swap the sump for one off a GSL-SE so plenty to be getting on with.
My plan is to use the series 5 transmission and clutch so the gearbox will need modifying to bring the gear lever up in the right place inside the car. This will also mean I will need a custom propshaft making up which uses the S5 front yoke and the FB rear flange. As I'm stripping all the emission stuff off the engine I will be able to lose the factory ECU and the electric OMP...
I'm going to build a Megasquirt standalone engine management system which will give more flexibility and tune-ability
The build will be a big learning curve so I plan to continue to run my Elford setup and whilst I build this 13BT conversion on the bench as much as possible to minimise my downtime.
Thread Starter
Full Member
Joined: May 2010
Posts: 52
Likes: 1
From: England
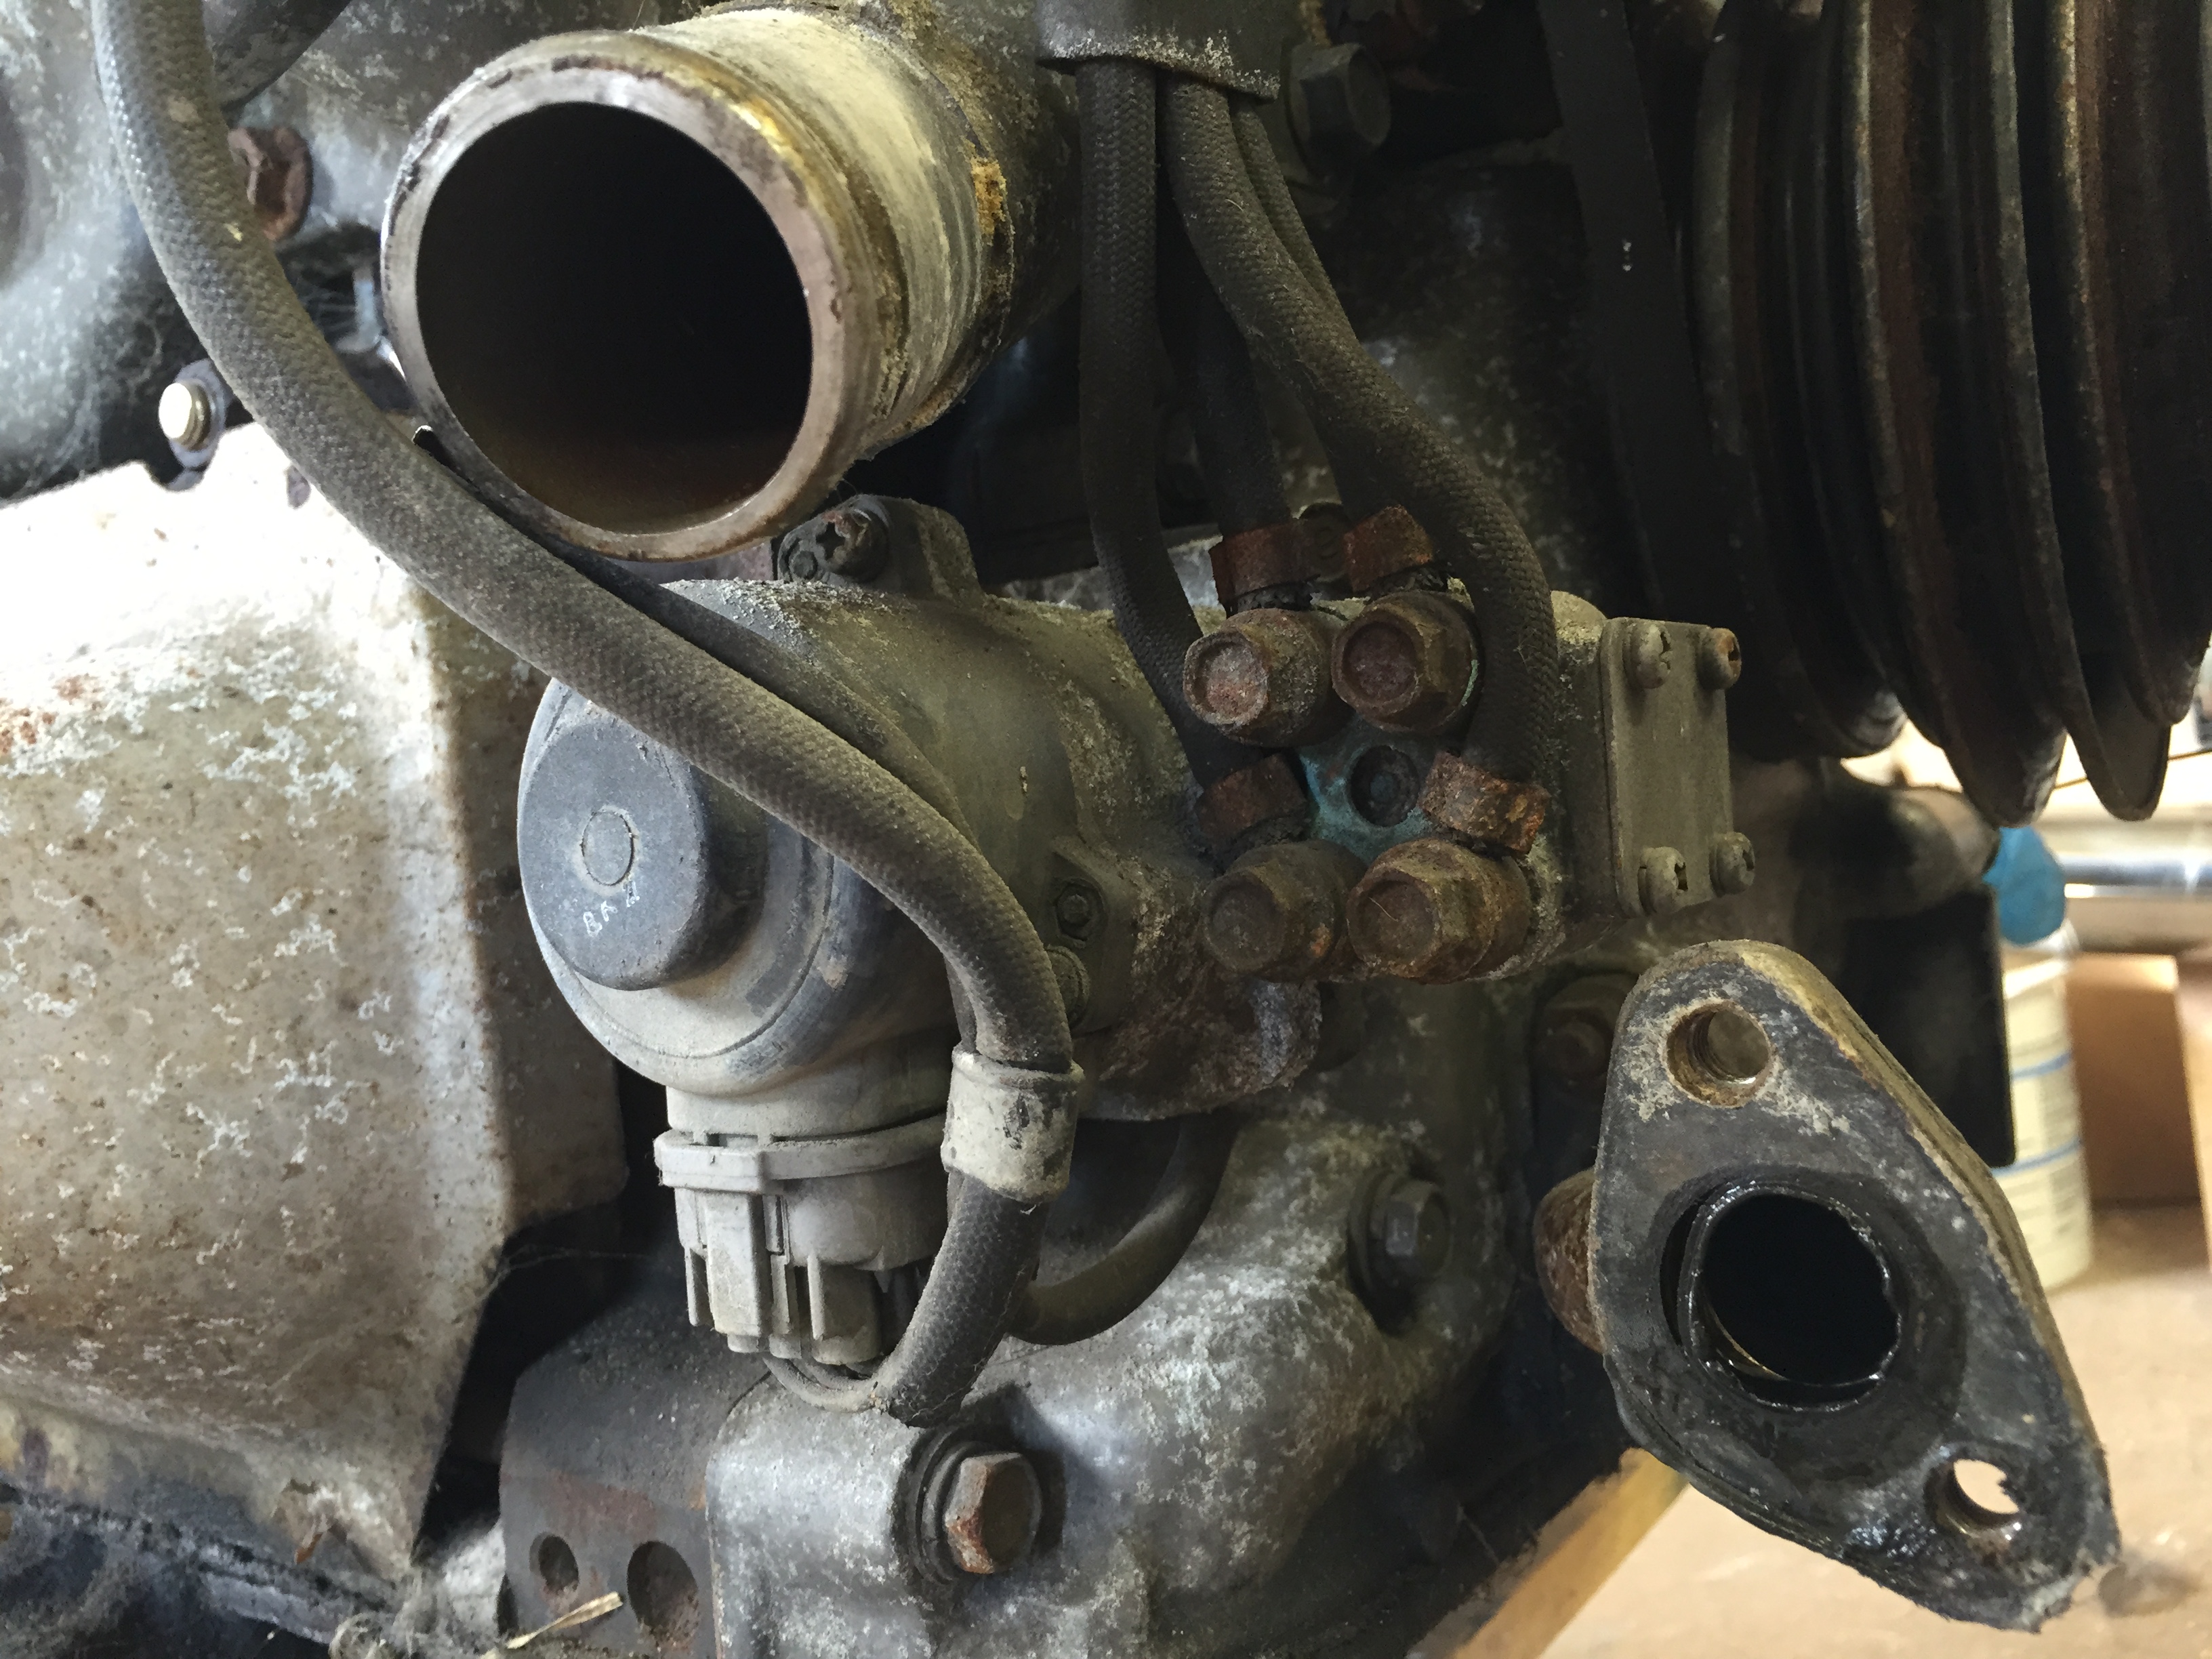
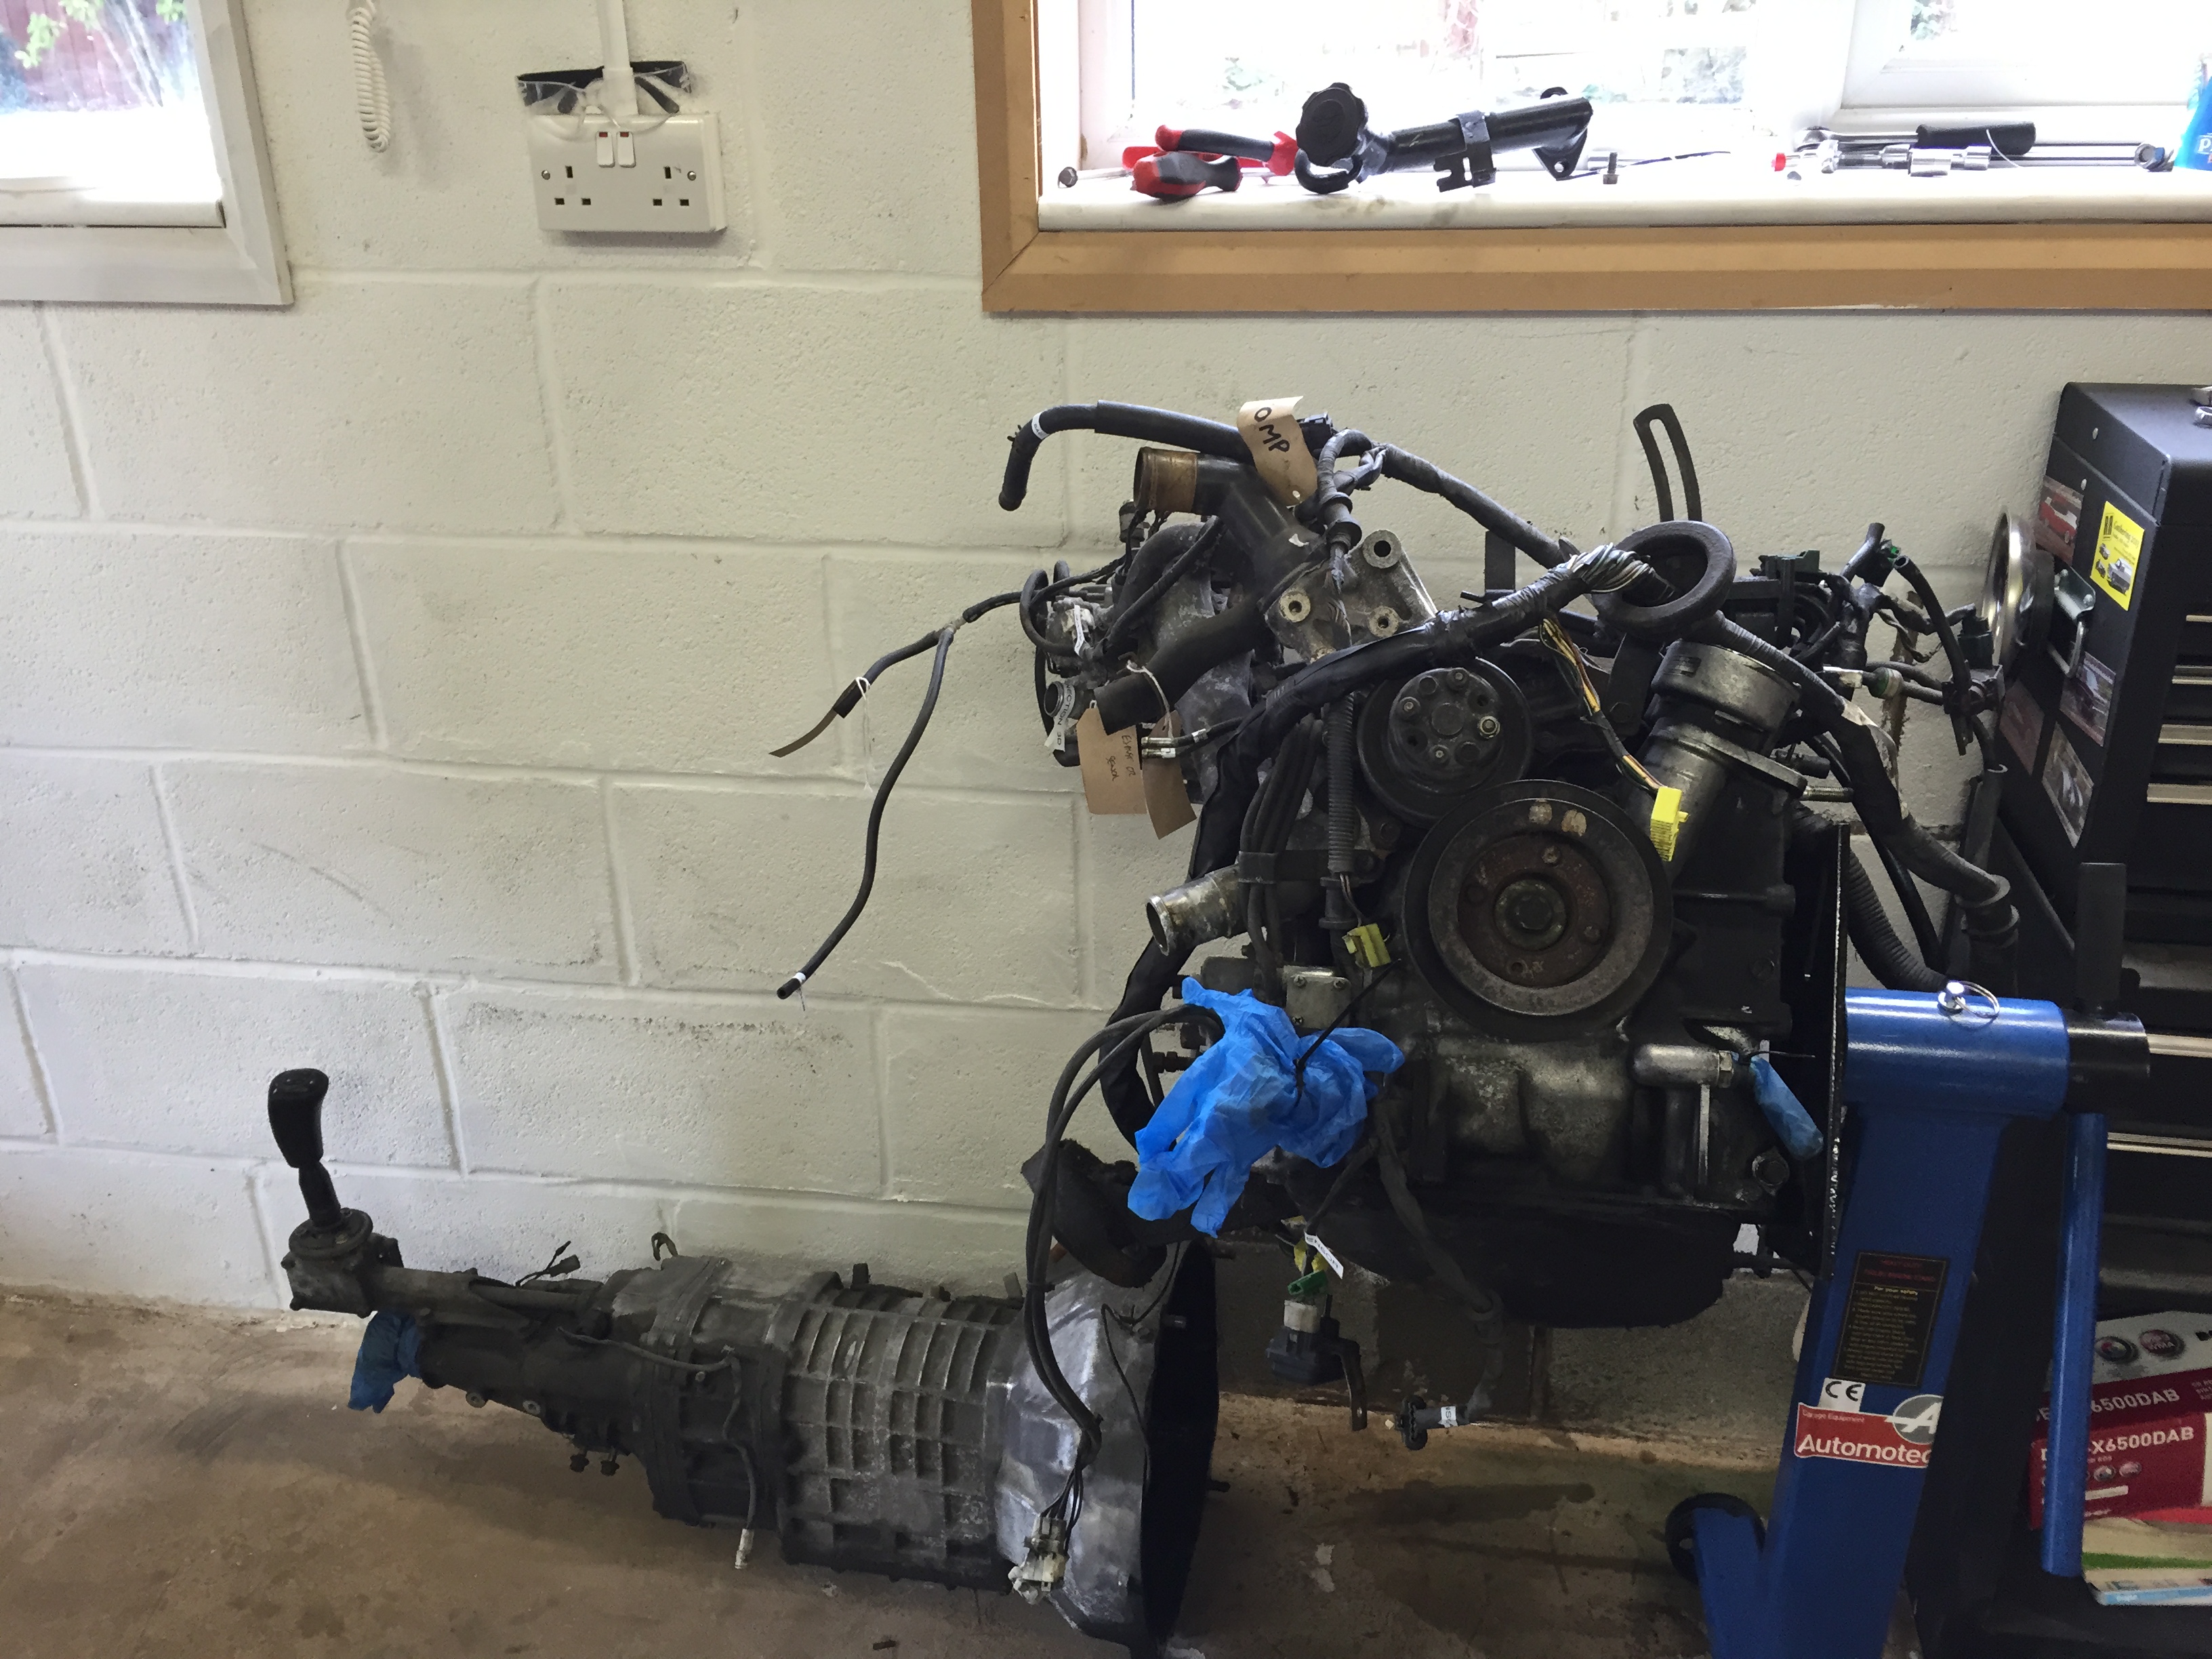
Stripping down of the engine continues.... I've got it onto the stand but need to make an adapter bracket.... I'd like one fro Pineapple Racing but the shipping is too much to the UK.... still, it's ok for now....
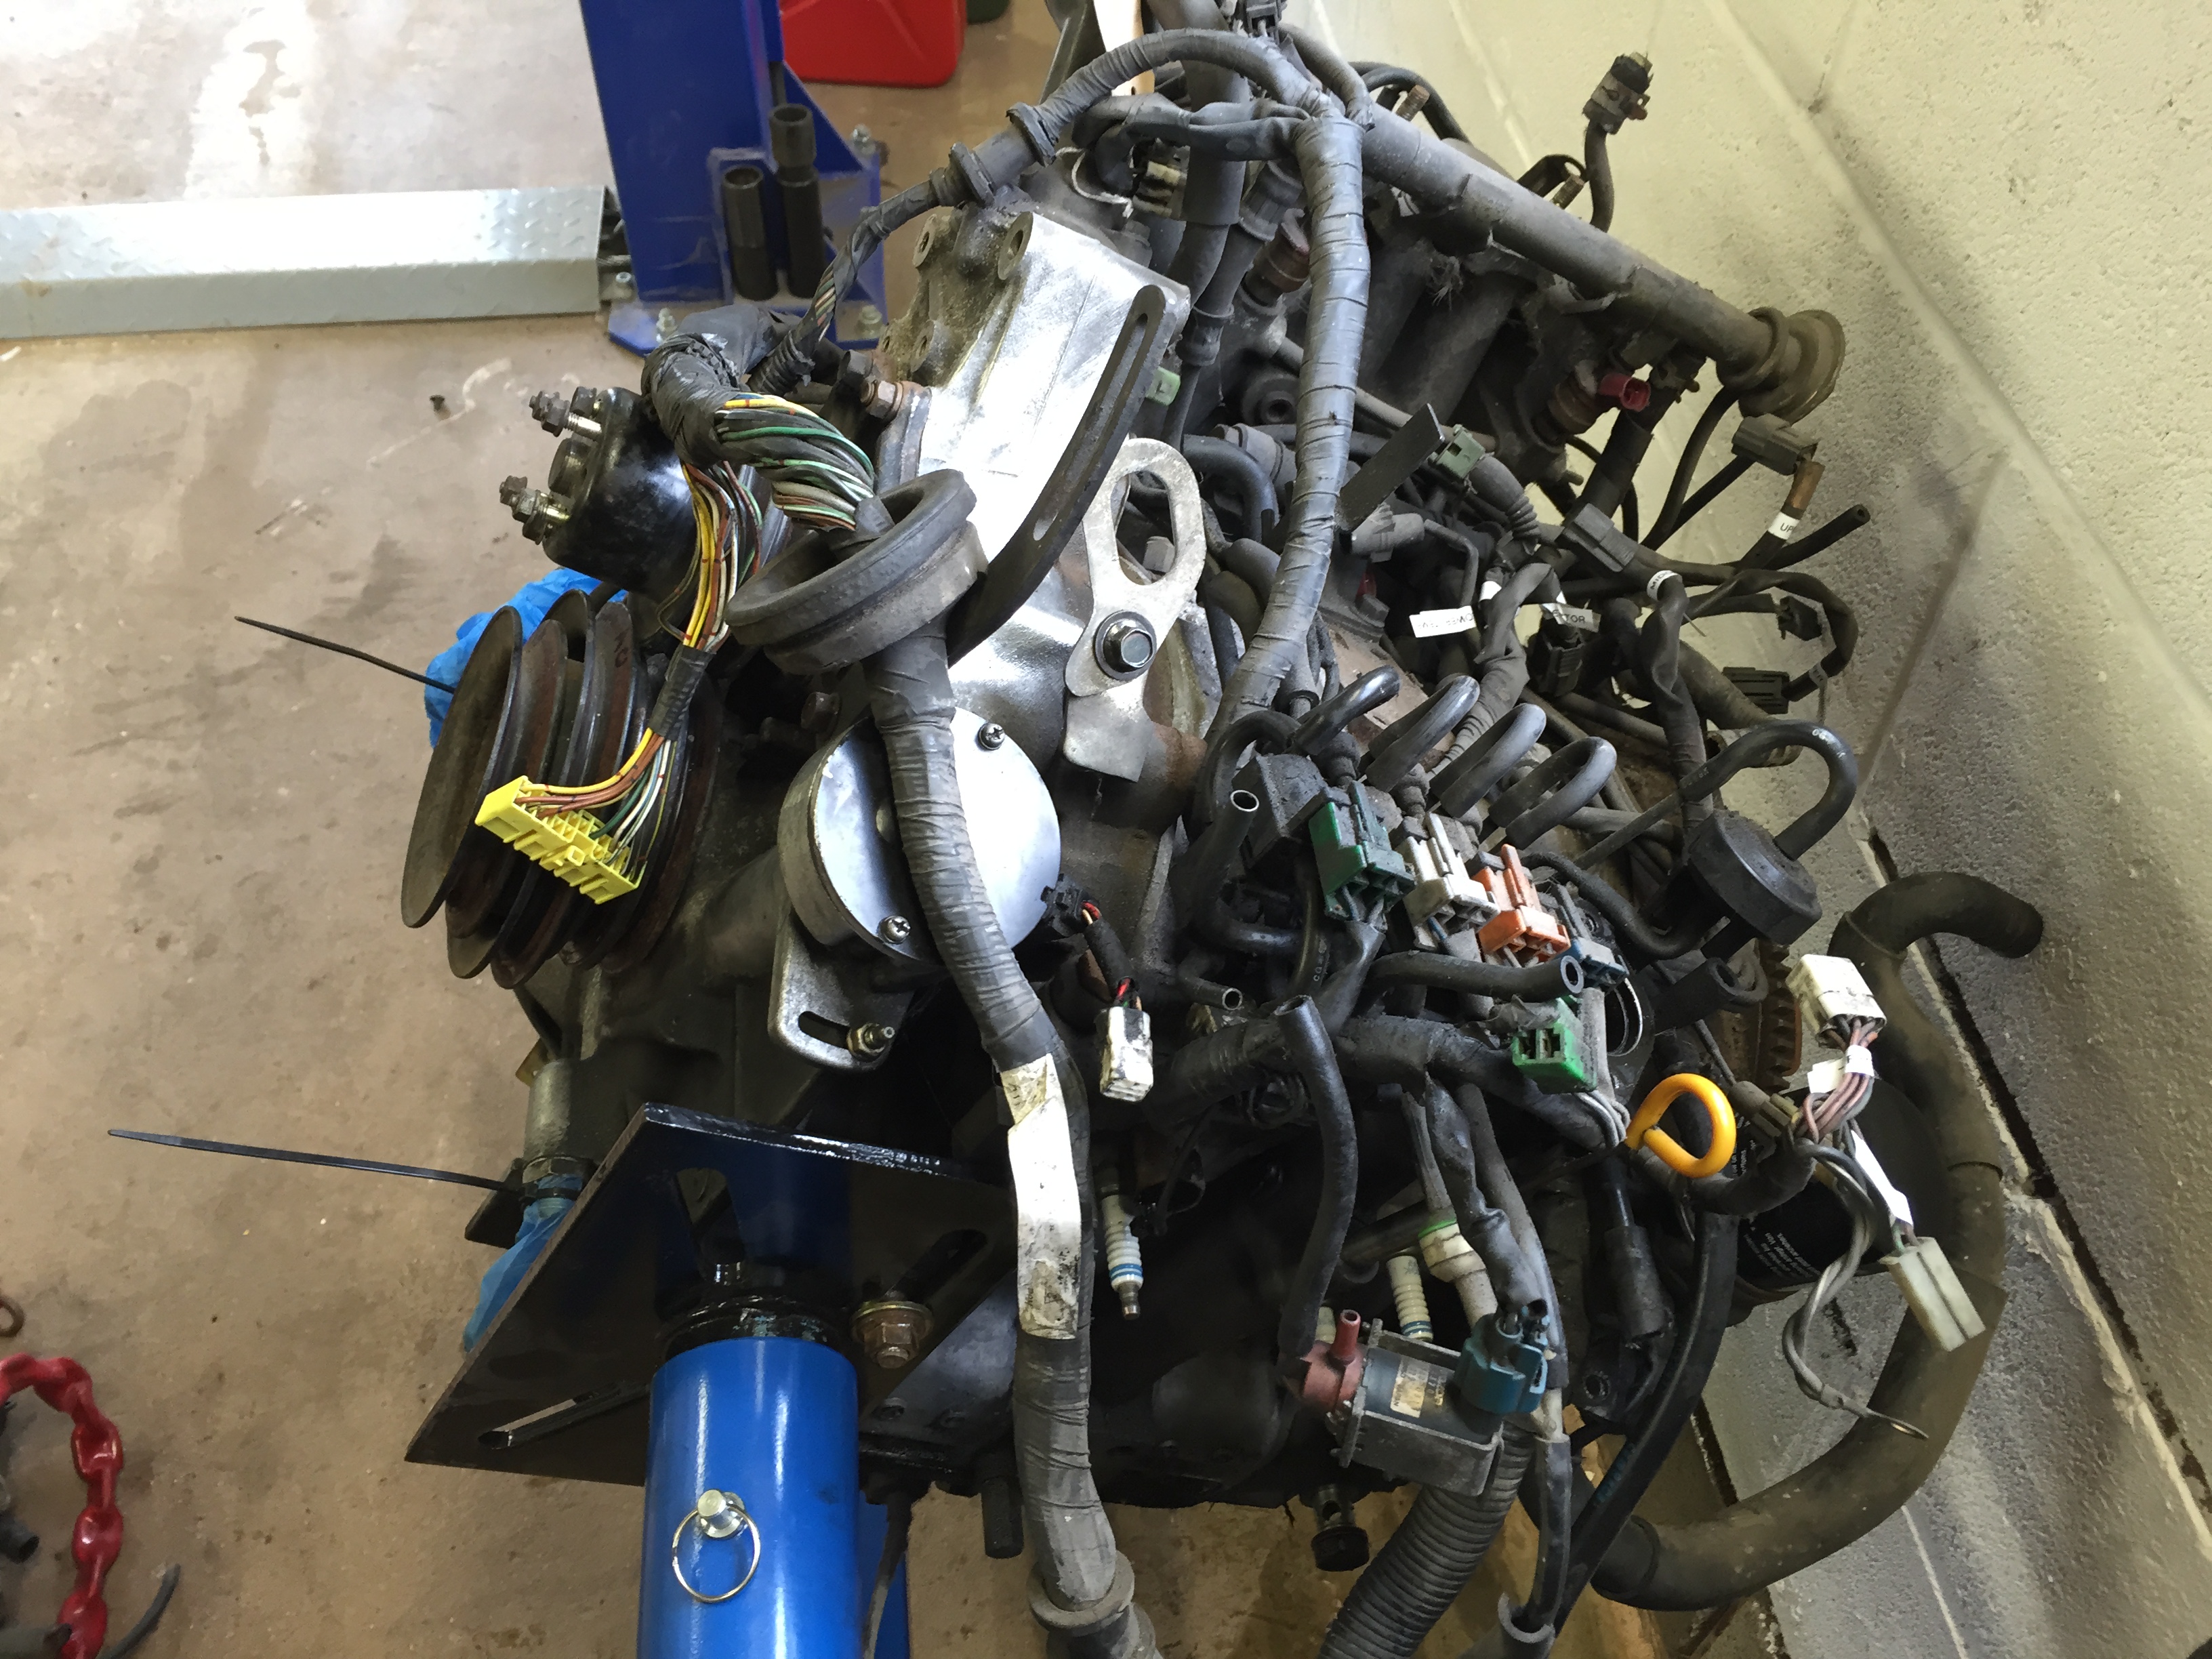
I'm following Aarons guide to Megasquirt it so I've pulled the rats nest...
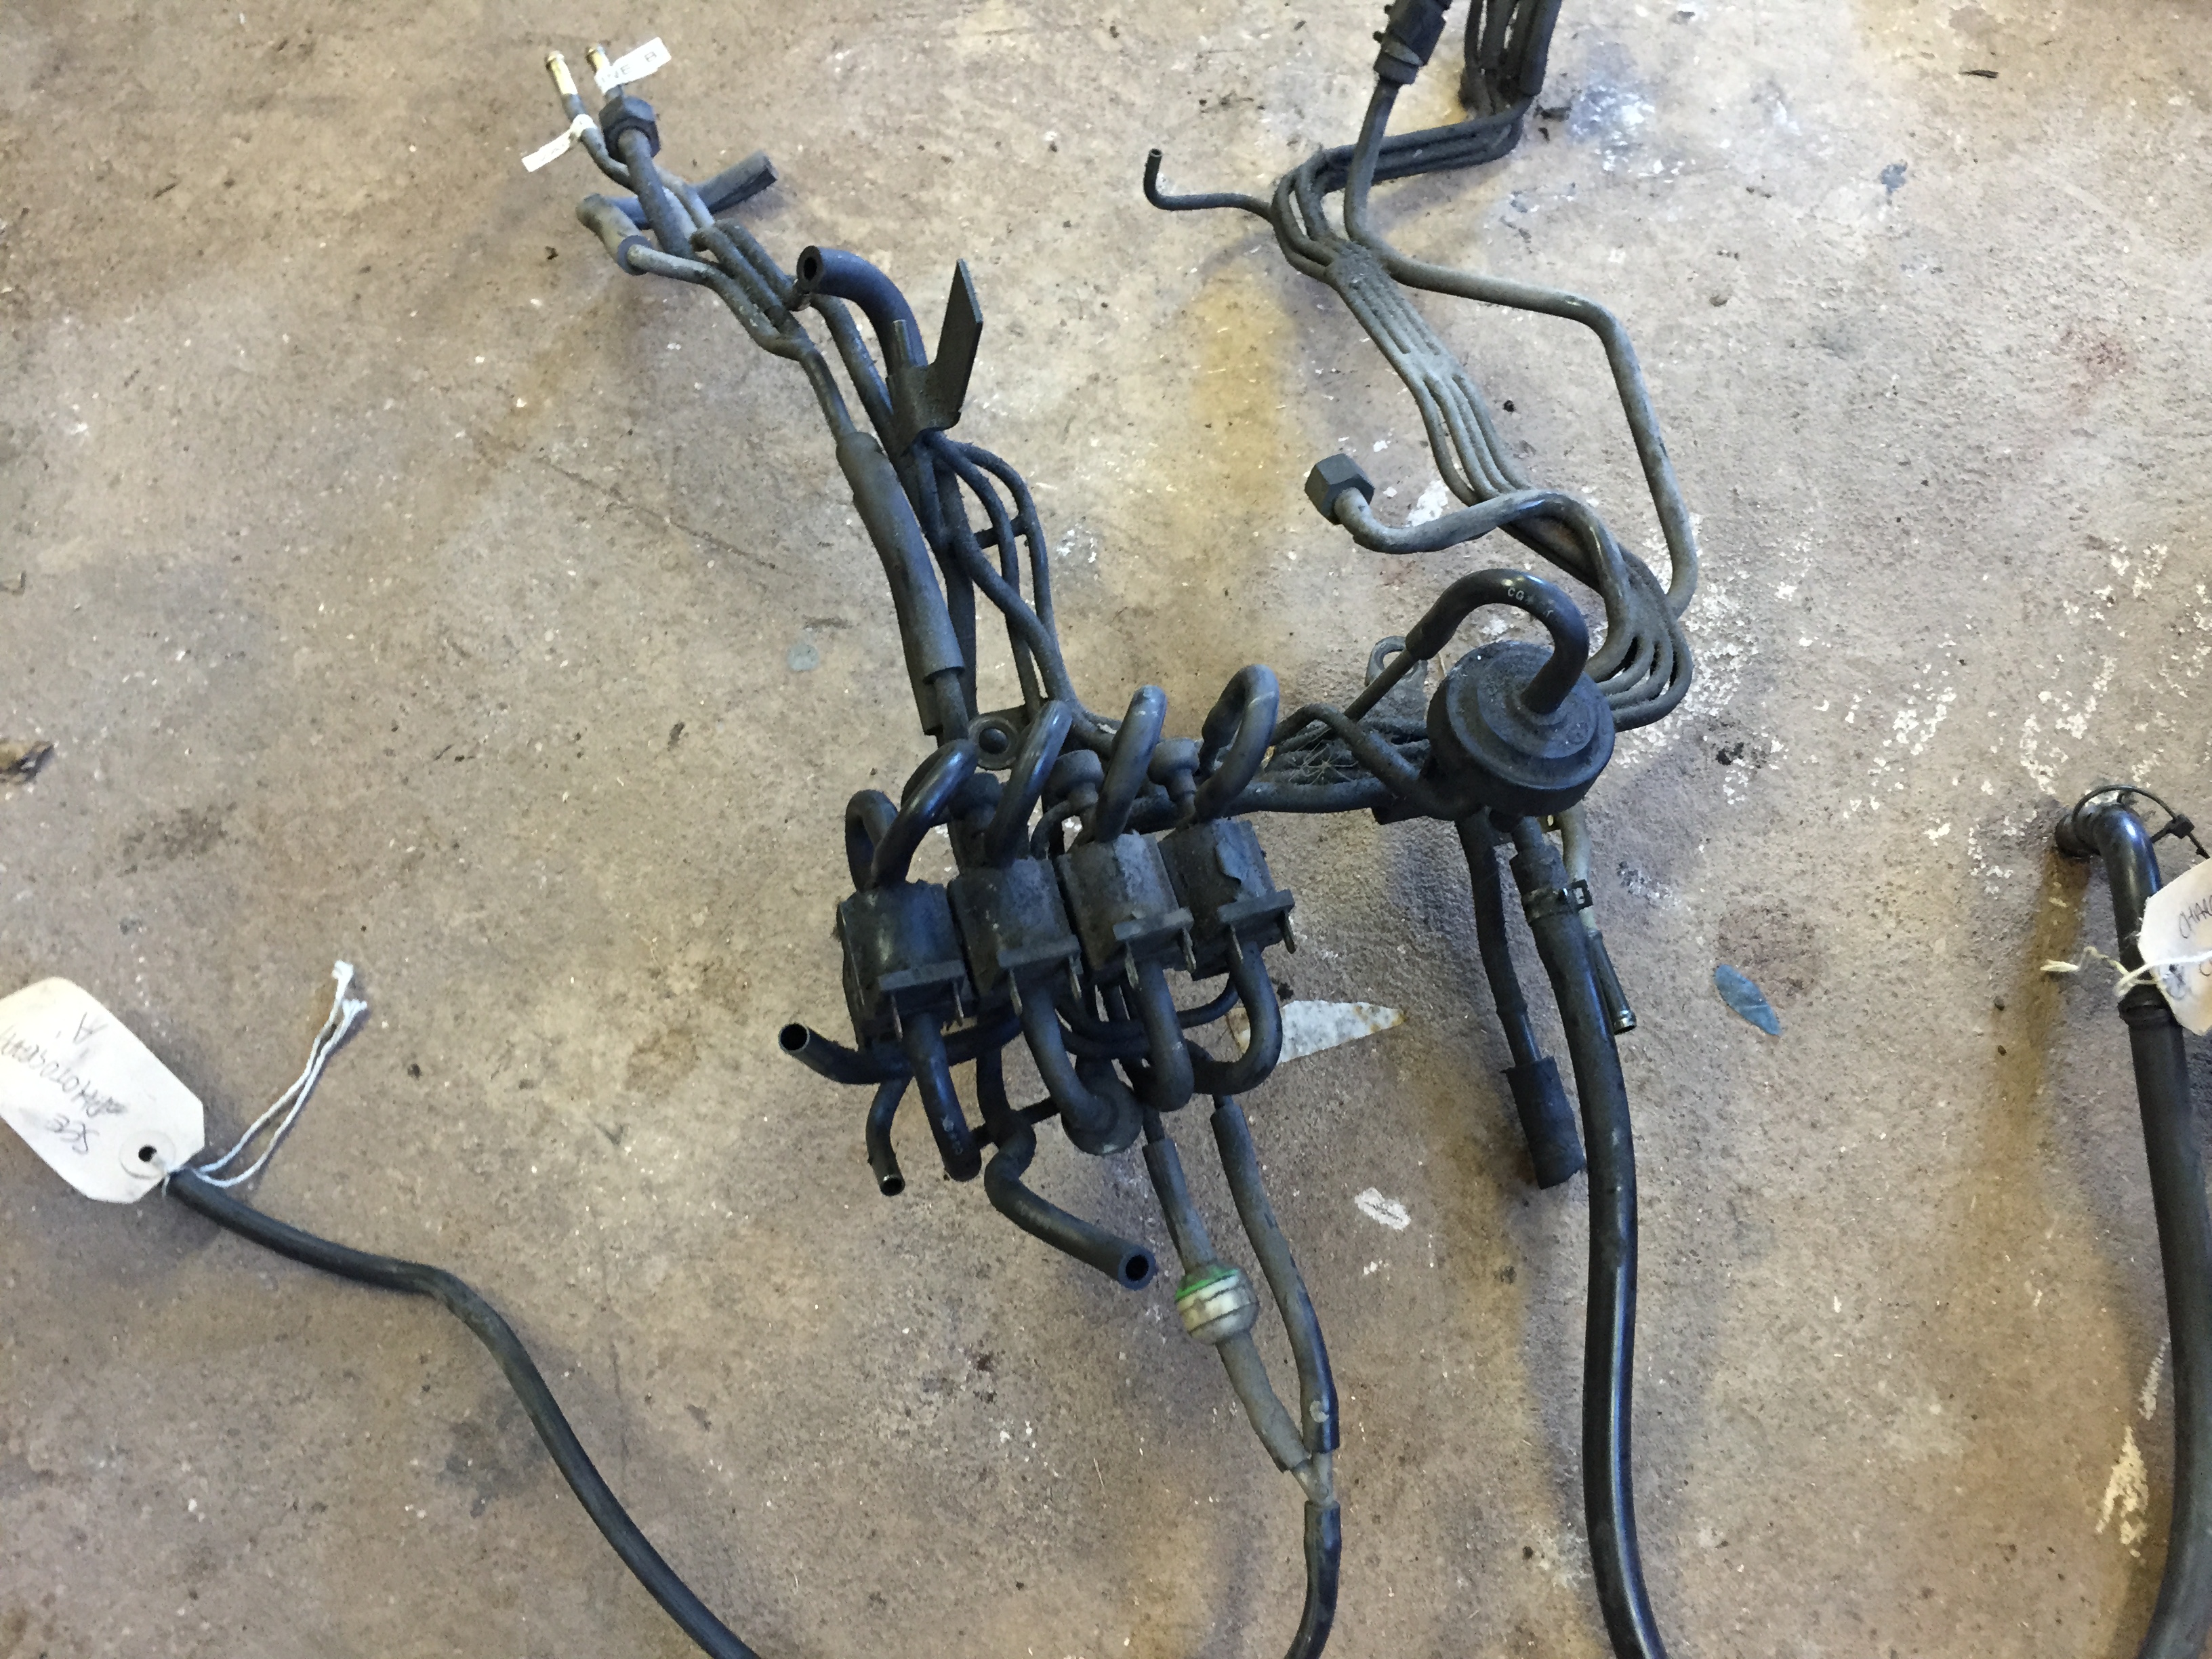
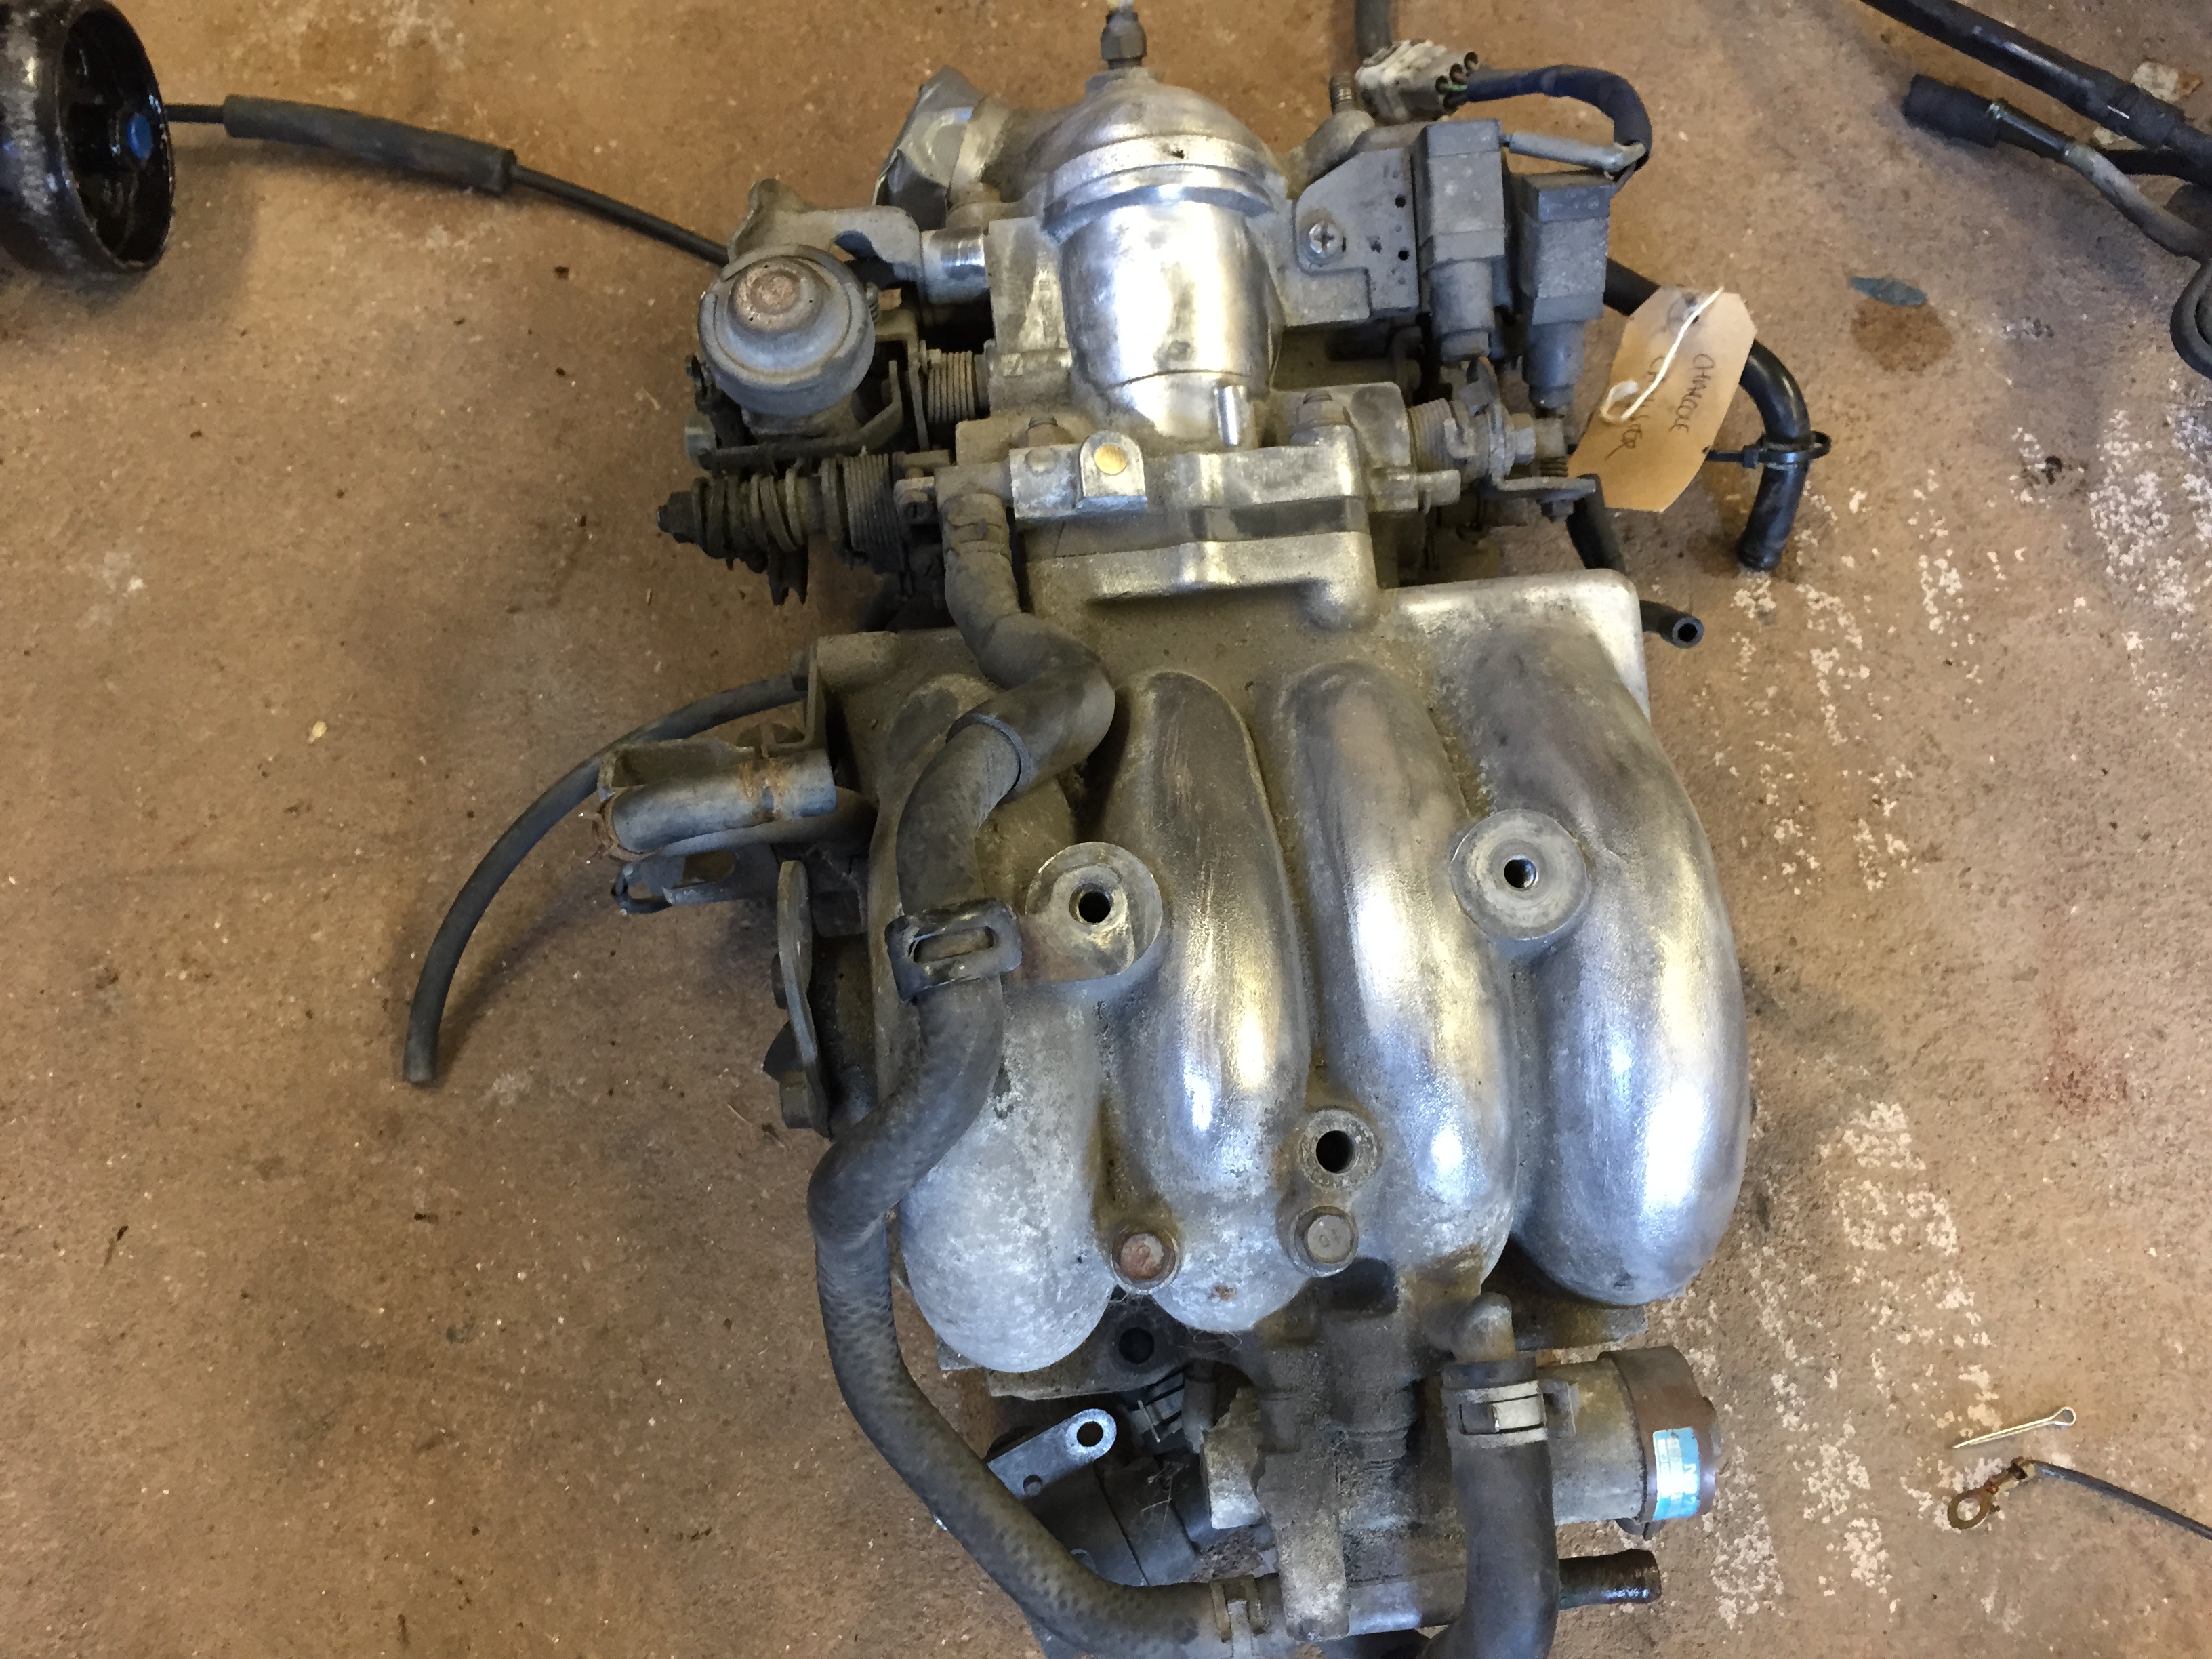
and I've taken the UIM and throttle body off...
and the engine loom...
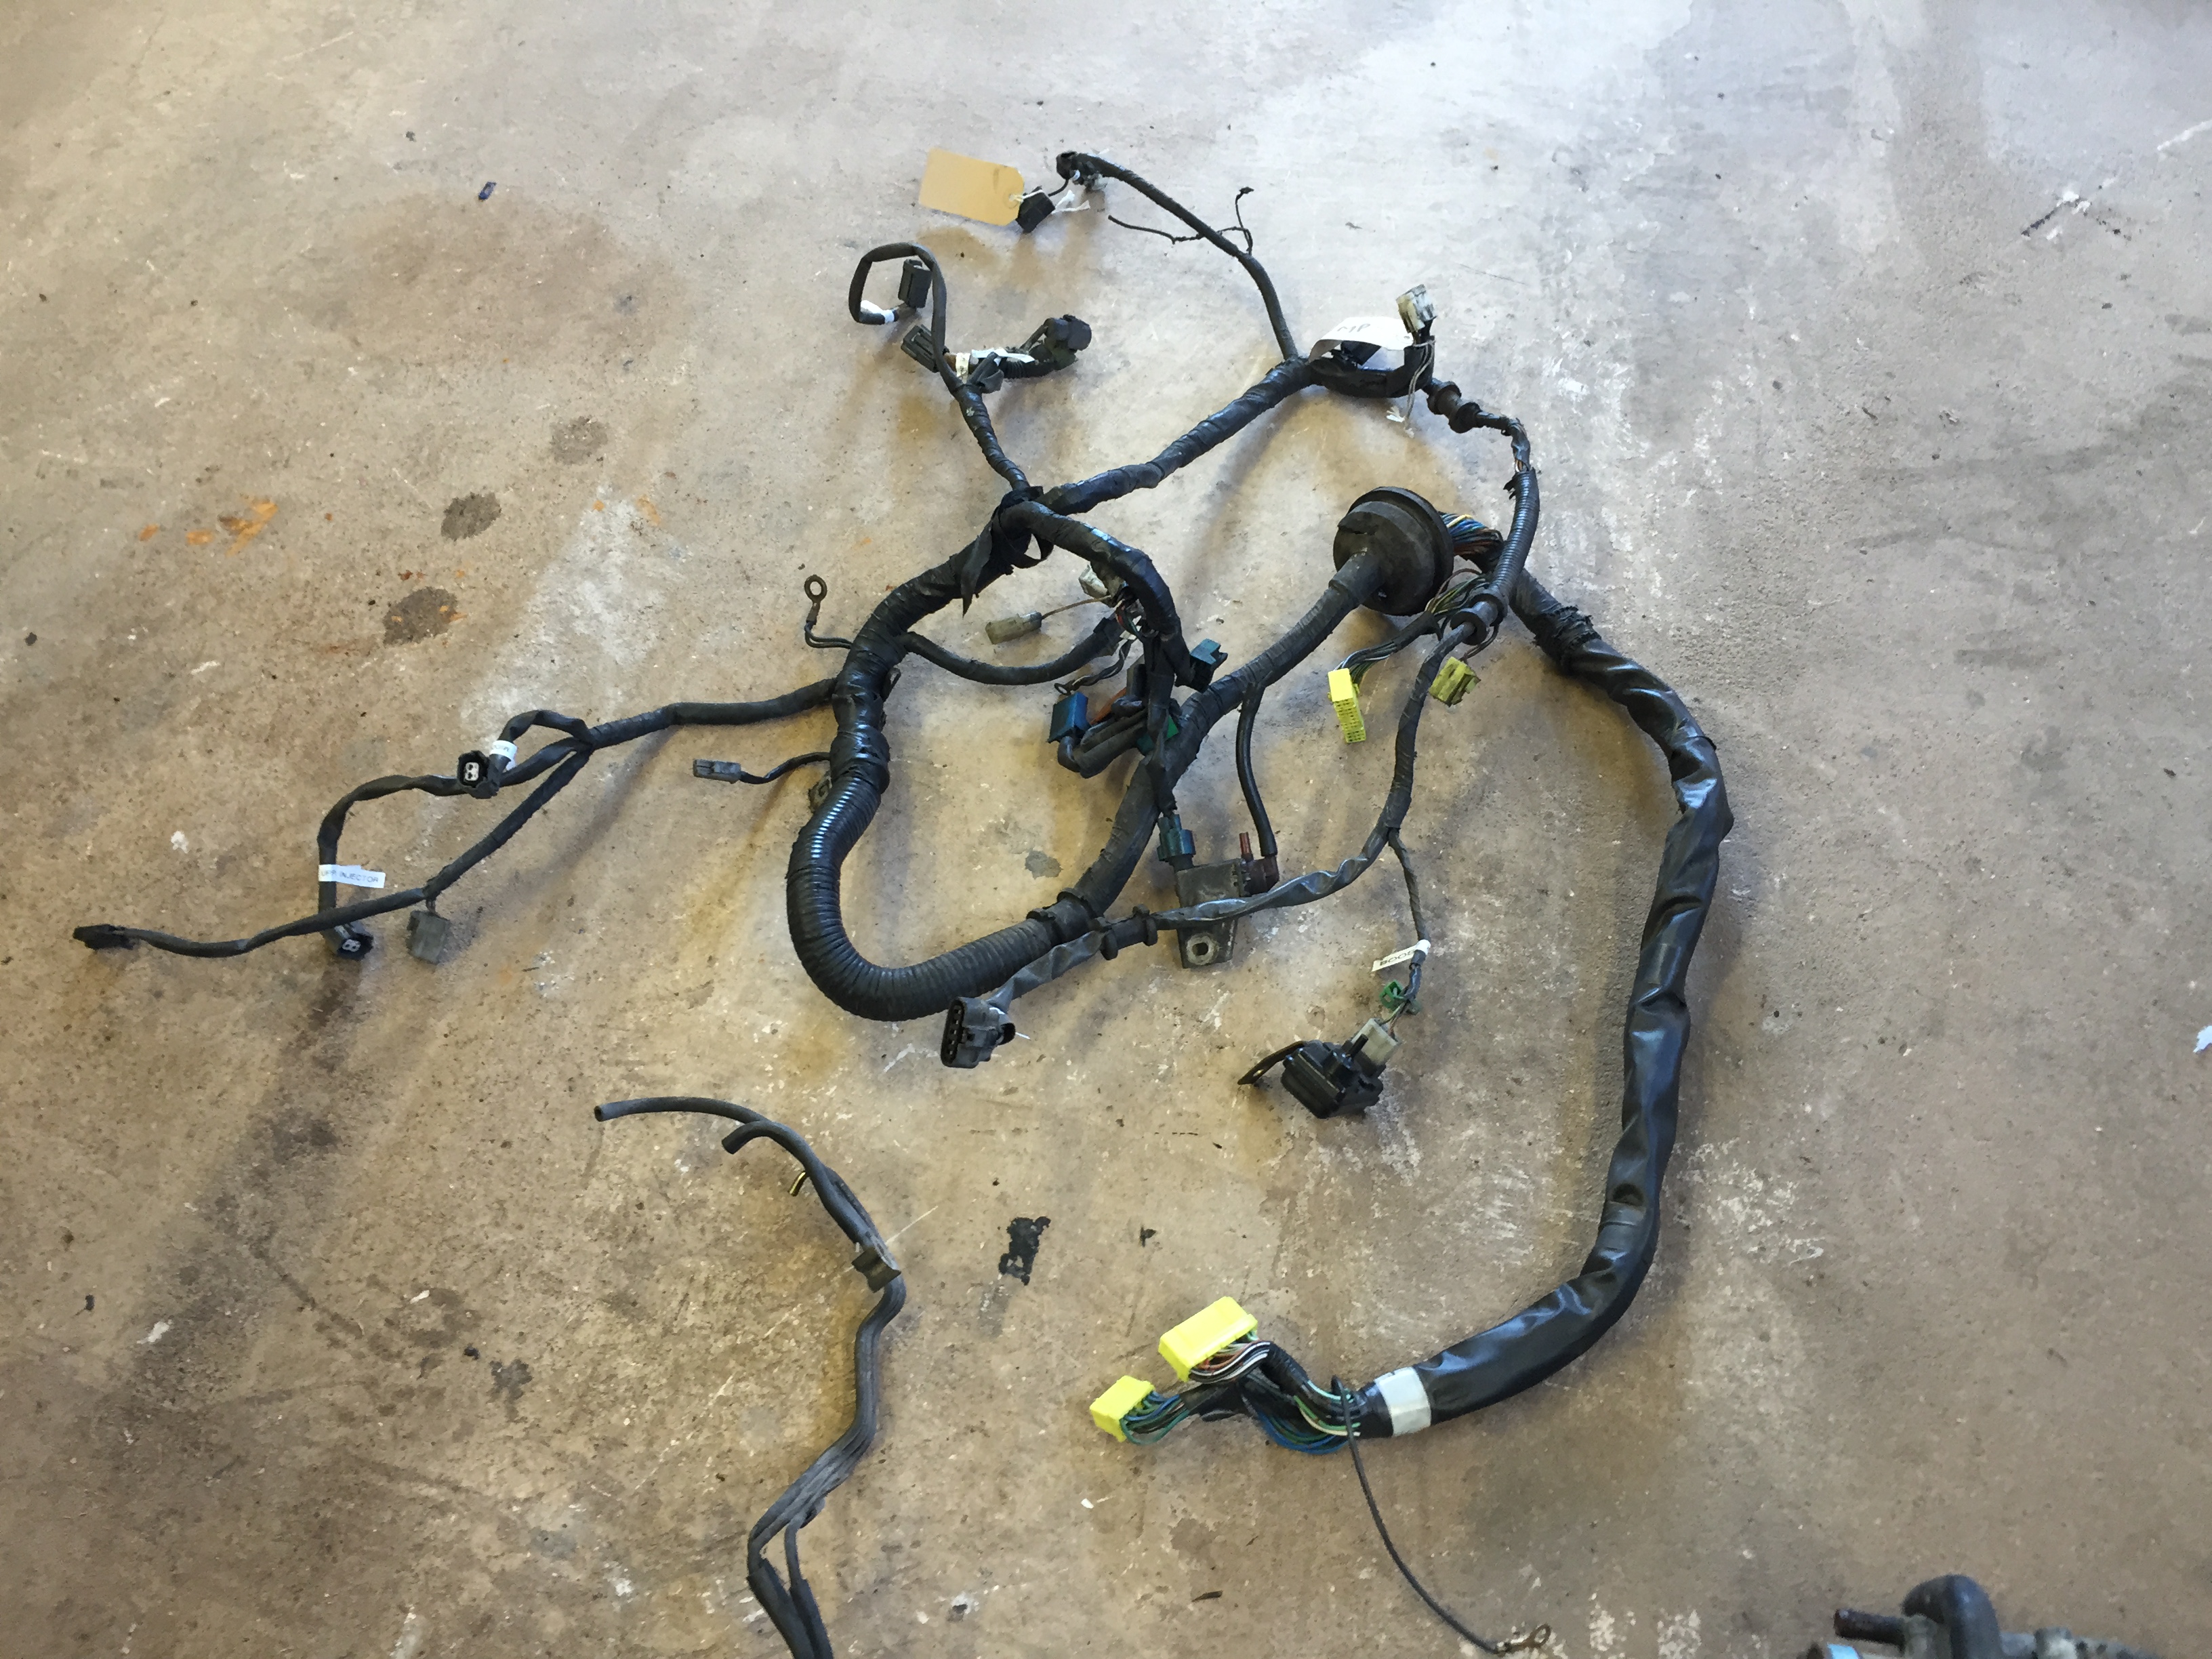
does anyone know if I strip everything off the LIM?

I'm following Aarons guide to Megasquirt it so I've pulled the rats nest...
and I've taken the UIM and throttle body off...
and the engine loom...
does anyone know if I strip everything off the LIM?


Your exhaust manifold is strange to LHD cars.....
$175 for a good engine is a nice steal.
Good luck and good job so far. I bet the second gen forums would be a good place to ask about Tii engine questions.
$175 for a good engine is a nice steal.
Good luck and good job so far. I bet the second gen forums would be a good place to ask about Tii engine questions.
Thread Starter
Full Member
Joined: May 2010
Posts: 52
Likes: 1
From: England
we have a problem putting turbos onto RHD FB's because the steering box tends to get in the way of the turbo.... I'm hoping that I can flip this stock S5 manifold over to throw the turbo away from the steering box enough to clear it.
Trending Topics
Flipping it might get in the way of the front sub frame, but I dunno.
What about an after market header pipe. One that puts the turbo up higher and farther forward. You might have to get creative with your down pipe, but it probably will clear the steer box.
Got any pics of the RHD engine bay?
What about an after market header pipe. One that puts the turbo up higher and farther forward. You might have to get creative with your down pipe, but it probably will clear the steer box.
Got any pics of the RHD engine bay?
Thread Starter
Full Member
Joined: May 2010
Posts: 52
Likes: 1
From: England
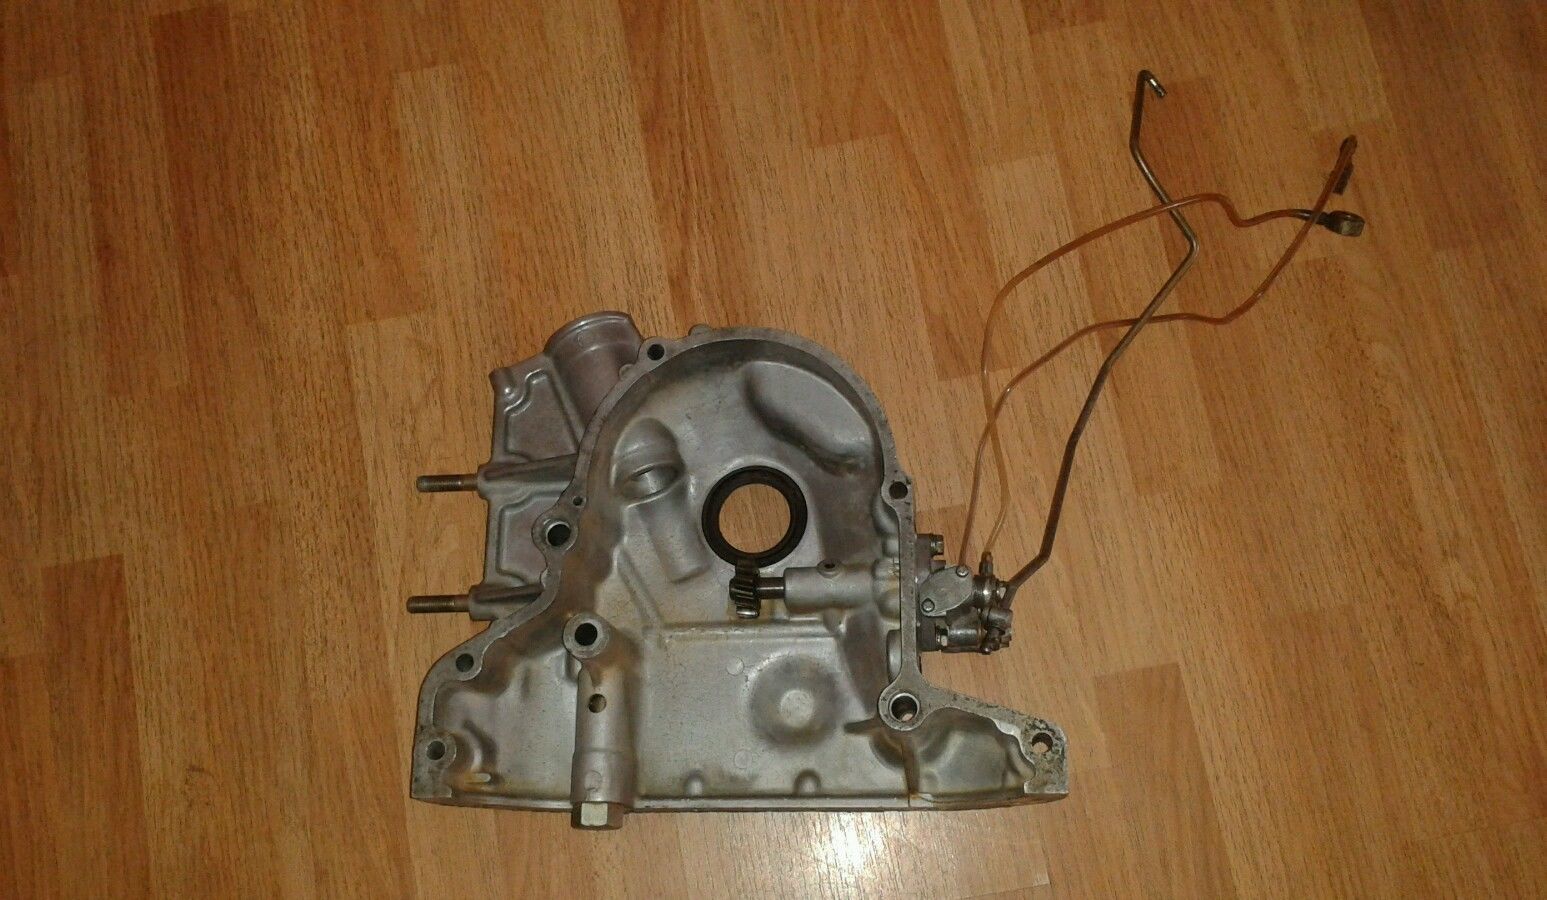
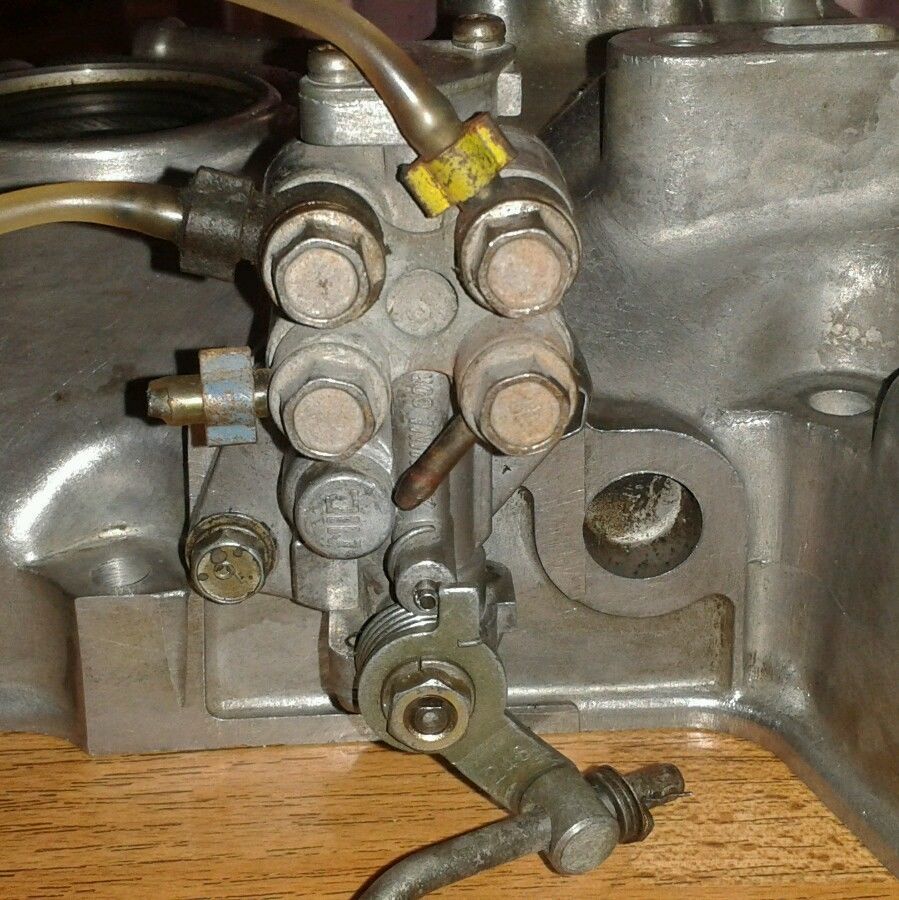
I'm going to swap a GSL-SE front cover onto my S5 TII engine to allow it to mount up to the FB crossmember. Does anyone know if I can leave the GSL-SE oil pressure relief valve in the front cover when I fit it or should I swap it for the TII PRV? Are they rated differently?
Any advice would be appreciated.... I've done a search but still can't come to a decision on what I should do with it.
Any advice would be appreciated.... I've done a search but still can't come to a decision on what I should do with it.
The relief valve should be the same in the front covers, as well as the spring. I do know that the rear pressure regulators are different. Pull out the springs and compare the length and coil size. They should be similar. You want to leave the valve that came with the cover in there because it's worn to the passage. Not that it would happen, but a different valve could seize.

Thread Starter
Full Member
Joined: May 2010
Posts: 52
Likes: 1
From: England
Little bit of an update on this.......
I've bought a GSL-SE front cover to mount the 13BT motor up.....
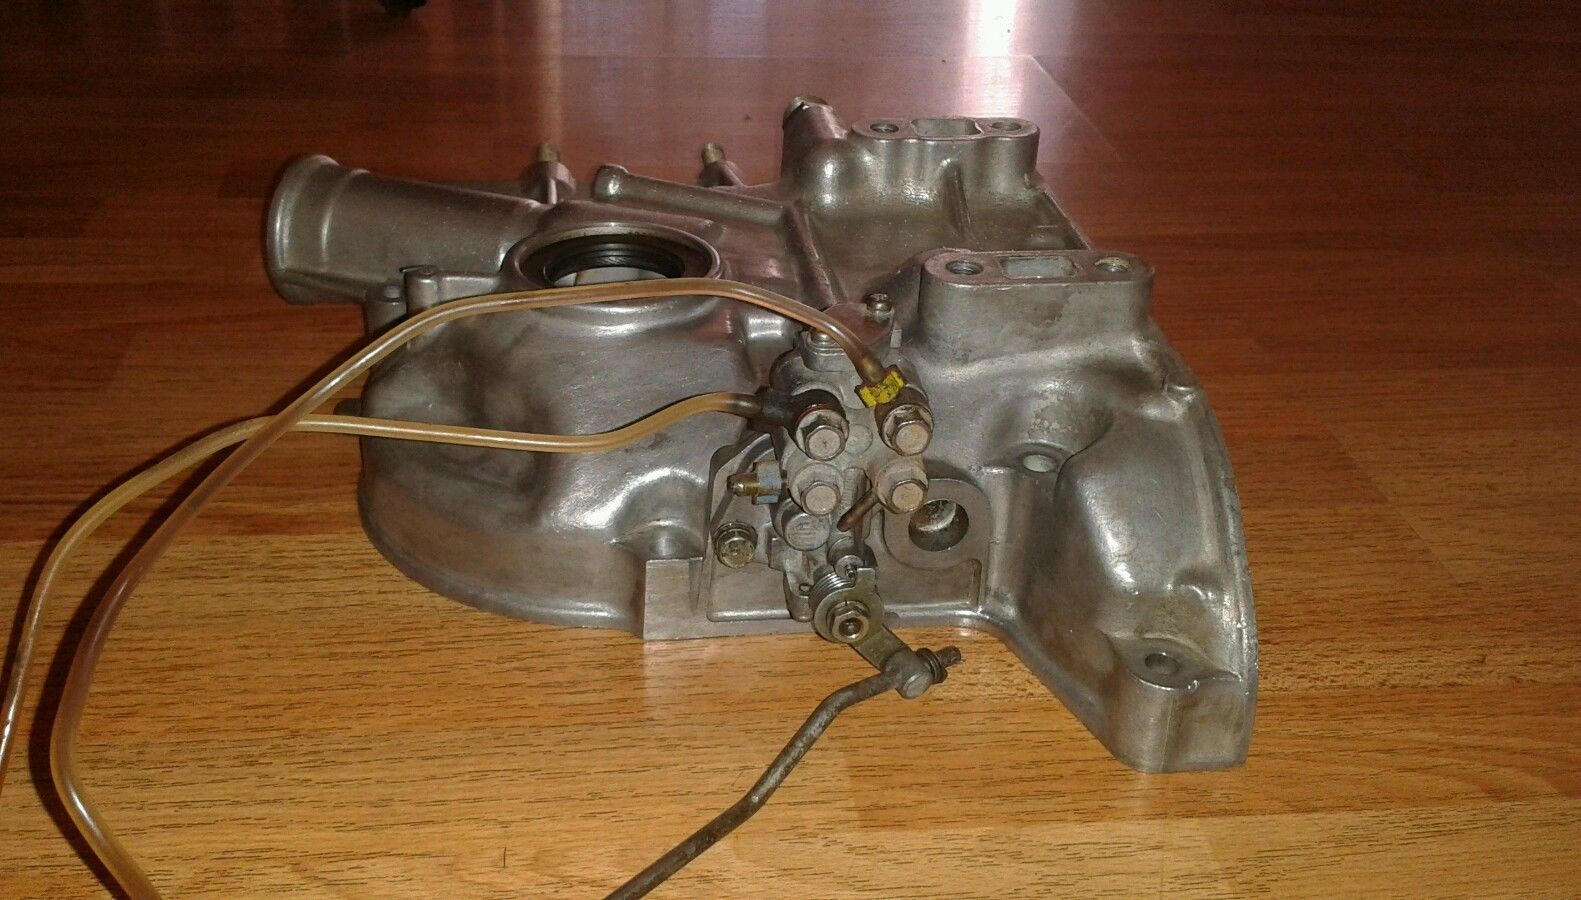
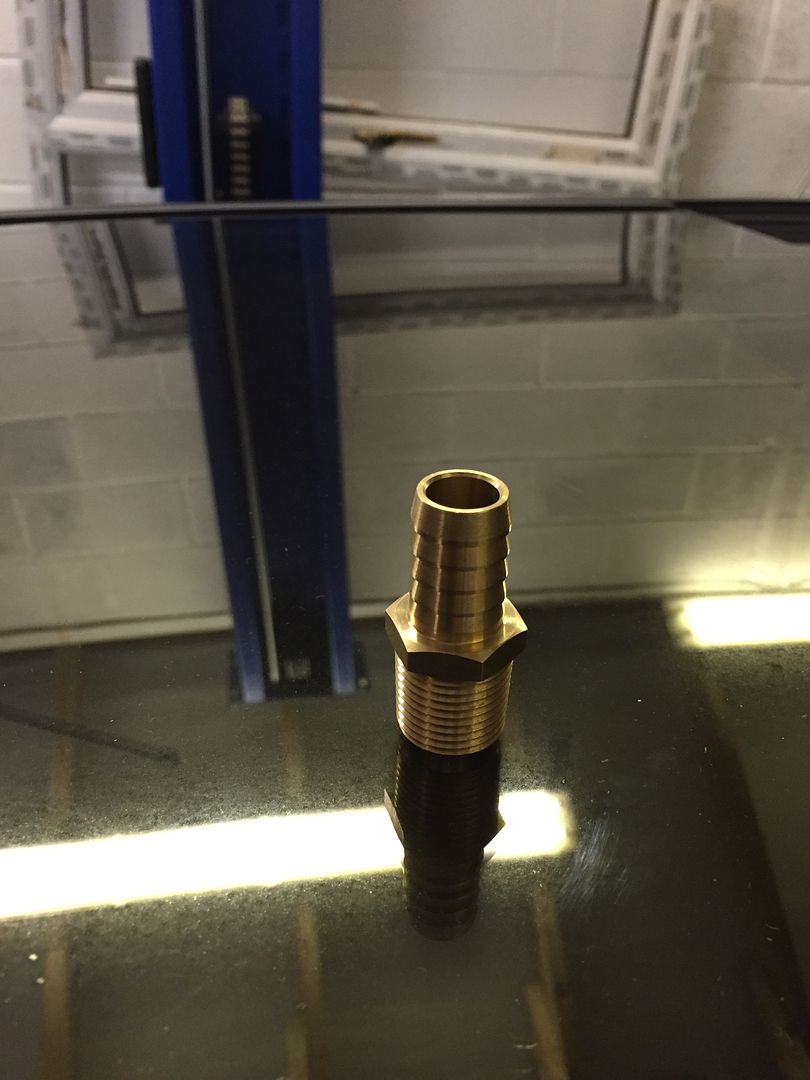
I could have used a 12a cover but I wanted to use a S4 oil metering pump and also take advantage of the ready made strengthened area under the pump to tap in my turbo oil drain...
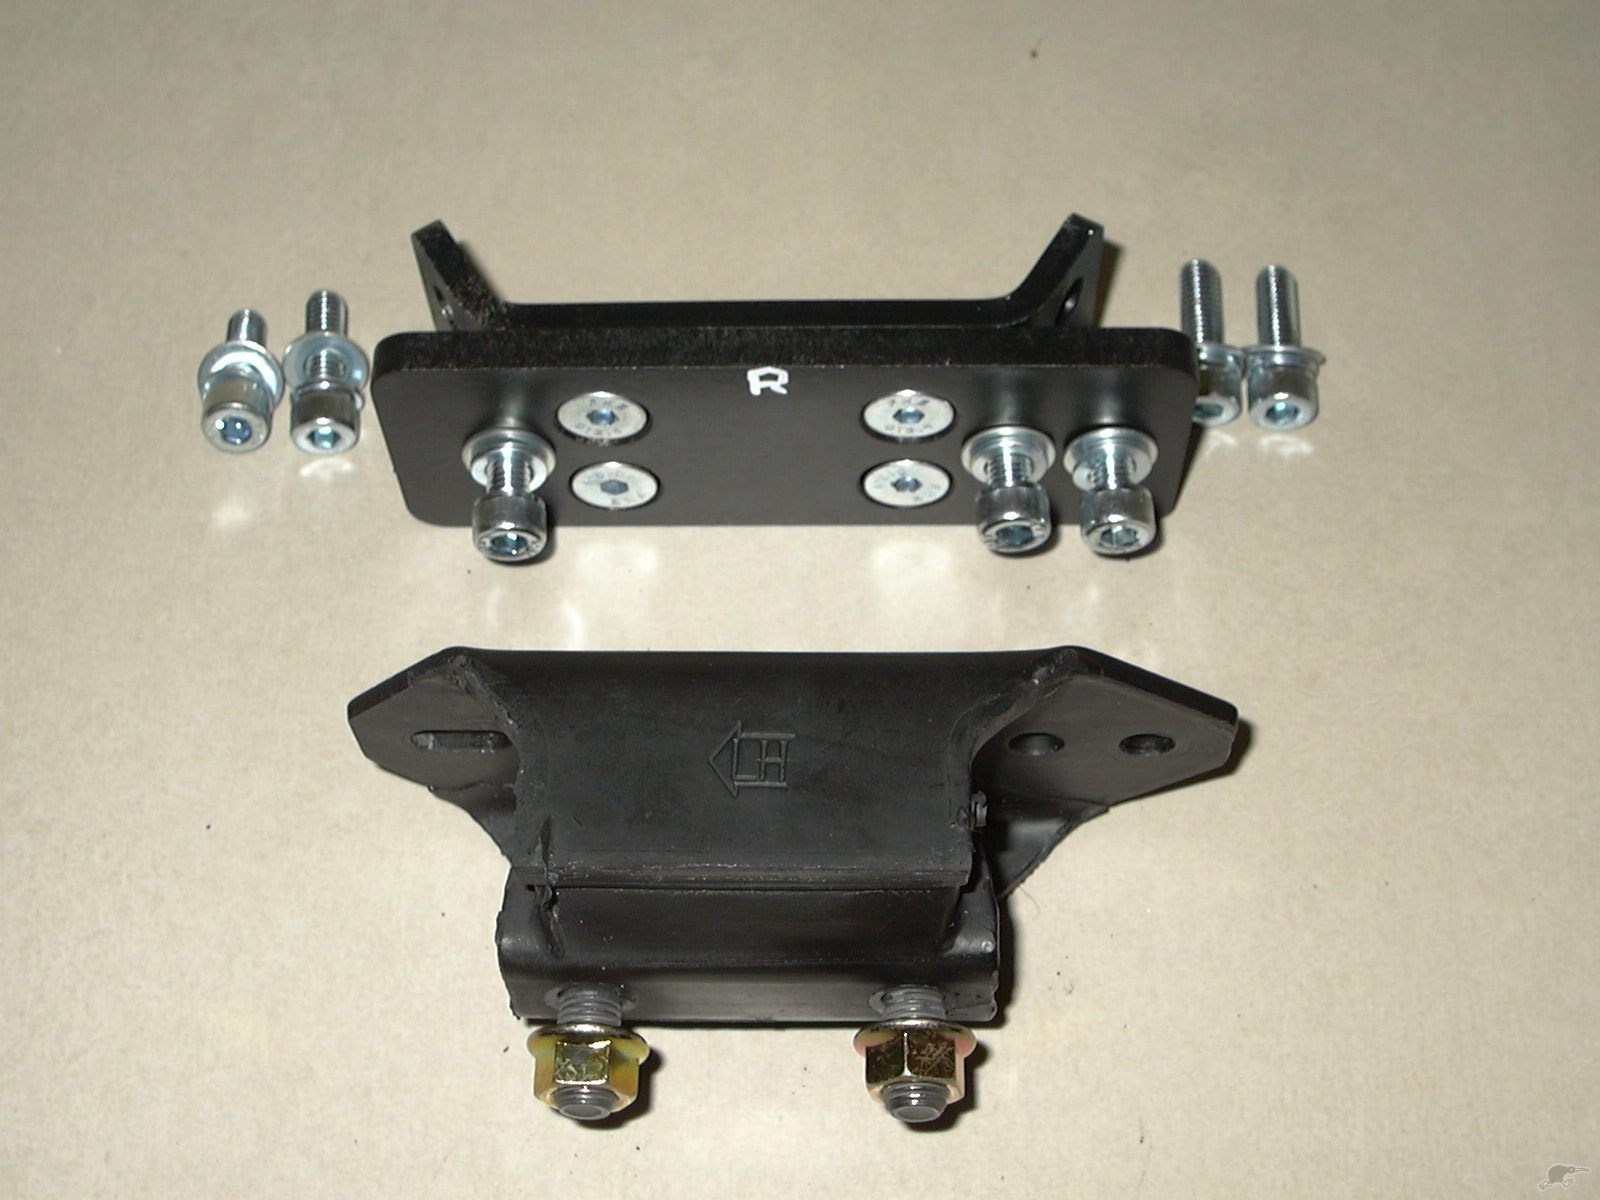
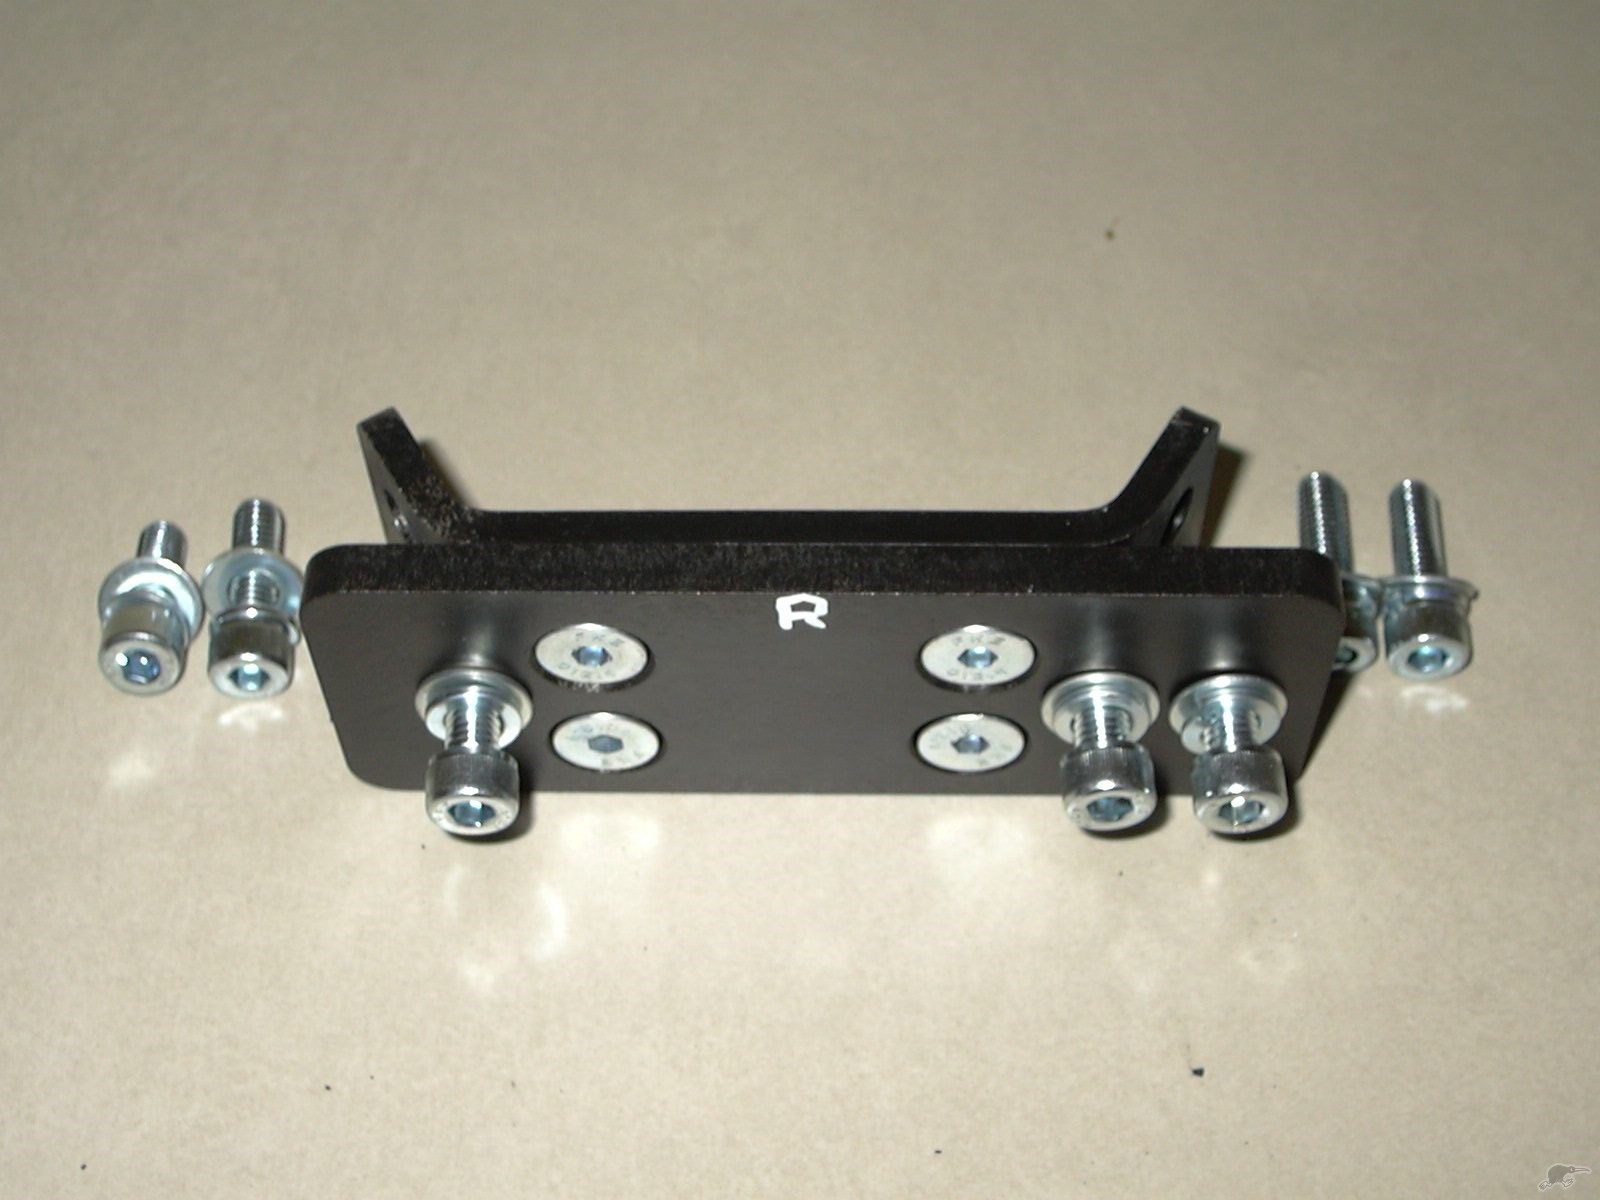
Also bought a custom bracket to mount the S5 gearbox into the FB, a notoriously troublesome part of the swap can now hopefully be avoided...
A couple of nights ago, something magical happened....

resulting in the arrival of this...
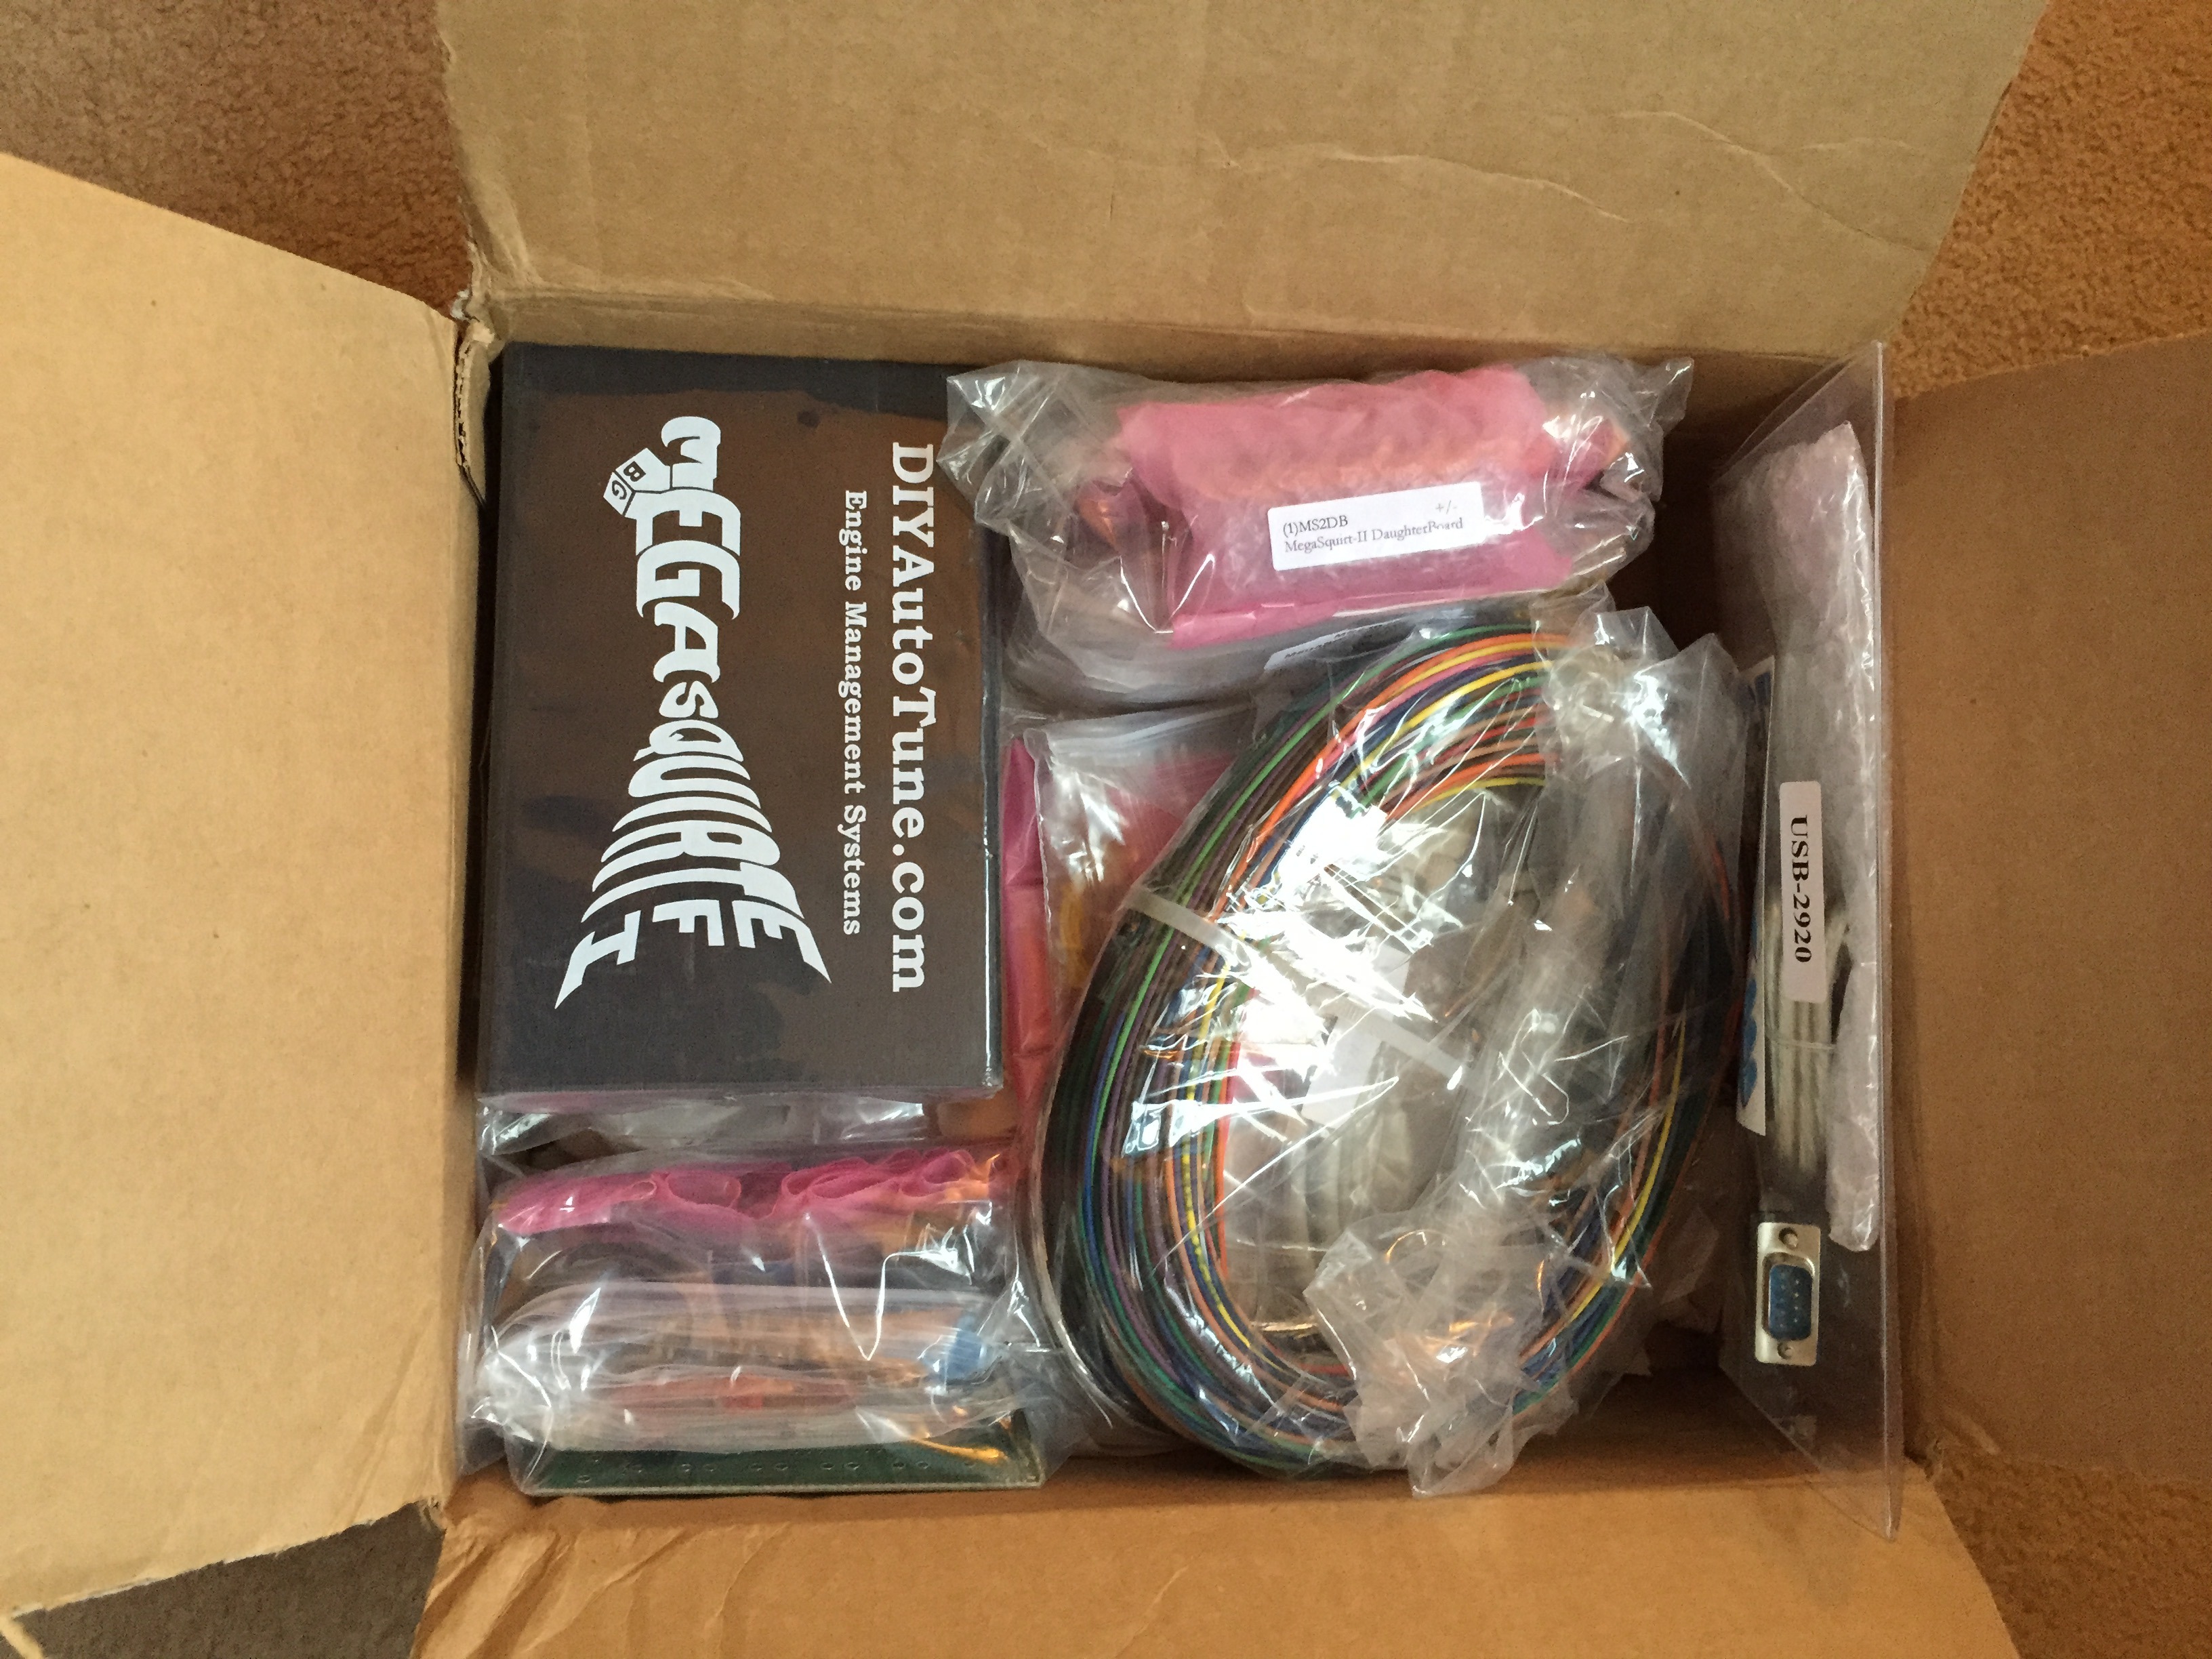
which will now lead to plenty of this....
I've bought a GSL-SE front cover to mount the 13BT motor up.....
I could have used a 12a cover but I wanted to use a S4 oil metering pump and also take advantage of the ready made strengthened area under the pump to tap in my turbo oil drain...
Also bought a custom bracket to mount the S5 gearbox into the FB, a notoriously troublesome part of the swap can now hopefully be avoided...
A couple of nights ago, something magical happened....
resulting in the arrival of this...
which will now lead to plenty of this....

Thread
Thread Starter
Forum
Replies
Last Post
Clacor
Single Turbo RX-7's
19
Sep 11, 2015 08:36 PM
heywier427
Naturally Aspirated Performance Forum
2
Sep 11, 2015 04:49 PM