When you click on links to various merchants on this site and make a purchase, this can result in this site earning a commission. Affiliate programs and affiliations include, but are not limited to, the eBay Partner Network.
0-60 Under 4s (Effortless Power)
Tomb-Like Silence in the Cabin
Audiophile Grade Sound System (4-Way Front Stage)
Supple Handling and a car that isn't afraid of being beat on relentlessly in the canyons day after day
Relatively Unseen Aerodynamics for High Speed Cross Country Rallies
Engine and Drivetrain
Series 5 13BT Swap
S5 OMP, Richard Sohn OMP Adapter, and 2-Stroke Reservoir
6-Rib Pulley Conversion w/ Custom "RGHTBrainDesign Reliability Mods" for Water Pump and Alternator
Injector Dynamics ID1700x Primary, ID1700x Secondary, and ID1700x Tertiary Fuel Injectors
3x Bosch 044 Fuel Pumps Staged with PWM Primary, 2nd and 3rd Staged as Estimated Fuel Flow Values
FSTPerformance RPM500 Fuel/Water Filtration Unit Pre-Pump Filter
Injector Dynamics F750 Fuel Filter Post-Pump Filter
Radium Engineering XR Fuel Pressure Damper
Full Function Engineering S5 13BT Fuel Rails (Run in Parallel)
Weldon A2047 FPR with AEM Digital Pressure Transducer, -8AN Fuel IN/OUT and -8AN Return
Coachman Performance Internal Surge Tank w/ Walbro e85 F90000274 Lift Pump
ORC 559D Damped Twin Disc Clutch
Induction and Exhaust
BorgWarner EFR9174 Supercore
S5 Turbine Housing Knocked Out to Fit EFR 9174 Turbine Wheel with G-Pop Shop Ported Wastegates, Flapper "Extender" Mod
TurboSmart Twin-Port IWG (14psi) IWG-75 Fitted to Factory S5 Wastegate Bracket and 1/4" Clevis (Converting ALL to -4AN port)
Custom Fully Divorced Downpipe
SpinTech Diesel 5000 Series Muffler with 4" Inlet, Dual 3" Outlet
2x 3" Ceramic Packed Resonators (small), 2x 3" Ceramic Packed Resonators (large) and another SpinTech Diesel Muffler w/ Dual 3" Inlet, 4" Outlet
4" Mandrel Bent TIG Welded Exhaust
4-Way MAC Valve (Converting to -4AN throughout)
Dual 3" Exhaust Cutouts with Turndown, Controlled by factory Choke **** Unit (ULTRA STEALTH POINTS!)
Cooling
Griffin 24"x15.5"x3" Race Radiator
FB OEM Oil Cooler with M16x1.5 to -10AN Fittings
FC OEM Oil Cooler with M18x1.5 to -10AN Banjo Fittings (Oil Coolers run in Parallel for Better Oil Pressure)
Bell Intercooler Custom 28"x12"x4.5" CORE with 2.75" Fitting Inlet/Outlet
V-Mount Configuration with Solidworks Modeled Ducting
SPAL High Output 45A 16" Fan (Inrush is over 100A on this bad boy...strongest fan on the market)
2x SPAL High Output 20A 11" Fans for Intercooler
Electrical
Haltech Elite 2500 ECU w/ Short Harness and I/O Box
270A DC Power Engineering Alternator
Full Throttle FT560 Battery Relocation to Driver-Side Storage Bin
Wire Tuck and Mil-Spec Harness (to the best of my abilities)
Pantera IGN-1A Direct Fire Coils (x4)
GM Gen 2 E85 Flex Fuel Sensor/Fuel Temperature Unit
Rigid Q2 LED Headlights for 17000 Lumens of Raw Output
Hot Water Labs LED Turn Signals/Running Lights
AFR500v2 Wideband O2 w/ Calibration Grade Sensor
Suspension
FC Front Subframe Grafted Into the FB Frame Rails using a Proprietary Design for ultimate clamping force and added caster angle
Abercrombie Motorsports FC Drift Knuckles
5 Lug Front End Conversion (with FC Hubs) and ARP Extended Studs
Titanium 6AL4V 12pt Lug Nuts
RGHTBrainDesign Custom Triangulated, Reverse Satchell 4-Link Rear Suspension (No Panhard or Watt's Link Necessary!)
Toyota 8" Solid Axle Swap with 4340 30 Spline Axles redrilled to 5x114.3 w/ ARP Extended Studs
MKIII Supra LSD with Weir Performance LSD Kit and 4.56 Final Drive Ratio (building out a 3.73 or lower as well to hot-swap)
Chassisworks 6.15" Mustang Rear Double Adjustable Coilovers with 200lb Springs to fit in factory damper location
KSport Front Coilovers with 400lb Springs
Custom Camber/Caster Plates from MillProMachining
Audiophile Grade Sound System
CDT Audio ES-06+ Subwoofers (x2) in Rear 6.5" Speaker Location run at 8 ohm
CDT Audio ES-06 Midbass Drivers in Doors
CDT Audio ES-04 Woofer in Front 4" Kick Panel Location
CDT Audio ES-1200iS Tweeter in Front 4" Kick Panel Location
CDT Audio WS-100i Imaging Tweeter Top of A-Pillar w/ M200 Upstage Crossovers
CDT Audio EX-550i Passive Crossovers
Alpine CDA-9855 Headunit
Phoenix Gold Elite.5 Amplifier
Stinger OFC 0ga Wiring with 300A Circuit Breaker and 300A ANL Fuse (One goes to Alternator, other to Amp)
Stinger 8000 Series RCA Interconnects
Second Skin Audio FULL Lineup of Products
Driver Cockpit
Ultrasuede/Fine Italian Leather Dash, Headliner, Center Console Storage, Door Cards, and Steering Wheel
Sparco L777 Deep Dish Steering Wheel with Miata Hub Adapter
Refoam Factory Seats (they're in immaculate condition) and bolster where necessary
Old School Greddy Electronic EGT and Boost Gauges in the A-Pillar
AFR500v2 Wideband O2 Sensor to be mounted in the center console in factory clock location (Stealth!)
Power Door Locks with Smart Triggers (another cool security mod I came up with)
Toyota Celica Power Window/Door Lock Switch in Center Console
Top Tier DEI Alarm System
70% Windshield, 20% Window Tint Everywhere else
Last edited by RGHTBrainDesign; Jan 19, 2018 at 03:35 PM.
Ohh, what's up Mike!?! Woot woot, finally showing off an old build log from (originally 7Tune, then Adaptronic).
You've seen the progress on Facebook... Plenty of goodies in the near future. I'm going to finish the power steering and front coilovers tomorrow. ARP 12pts to the rescue!
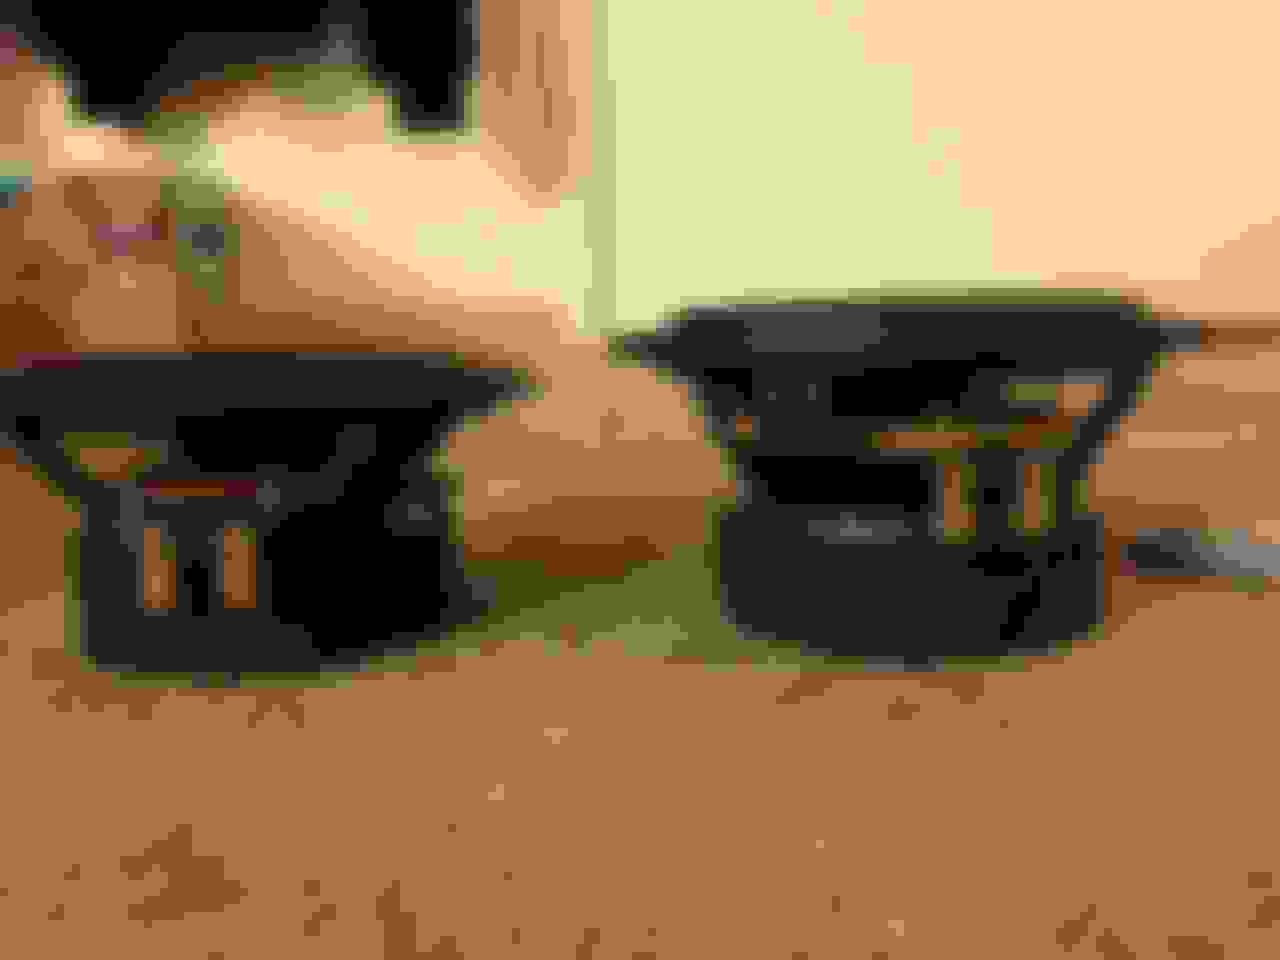
Front Door Woofer 6.7" ES-06 on the LEFT vs. Rear Panel Subwoofer 6.7" ES-06+ on the RIGHT. Both are amazing, but GODDAMN that throw (xmax) on the subwoofer is incredible!
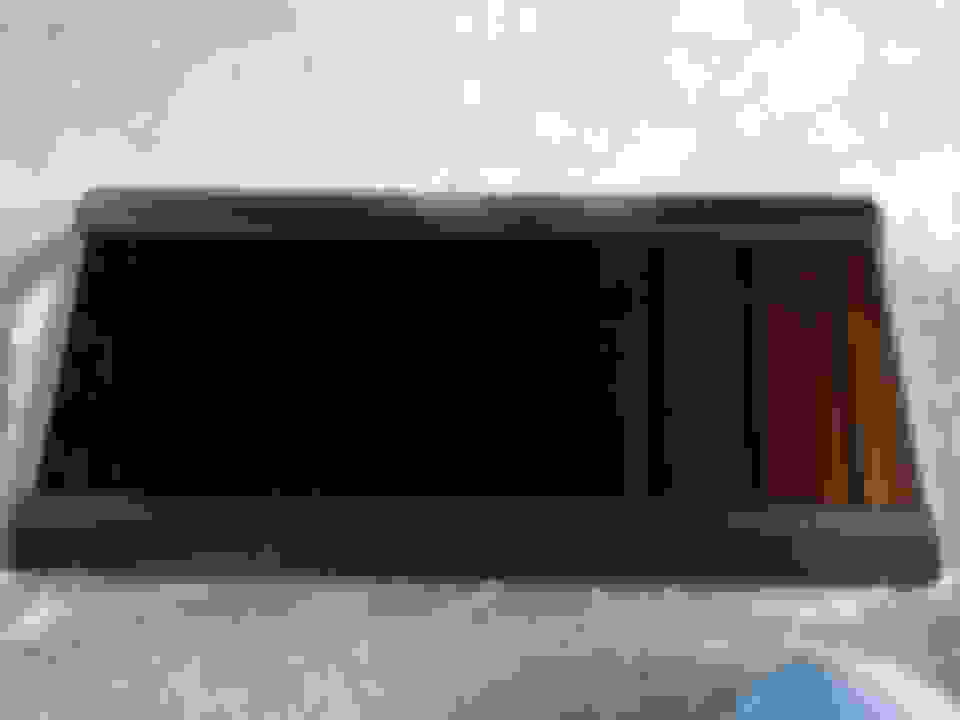
The last of the truly great Alpines with Black and White, Audessey Time Alignment, Imprint/Bass Pro EQ, and one of the first units with iPod Control. It's a beast...
Bye Bye Buzzer!
Last edited by RGHTBrainDesign; Feb 17, 2016 at 10:27 PM.
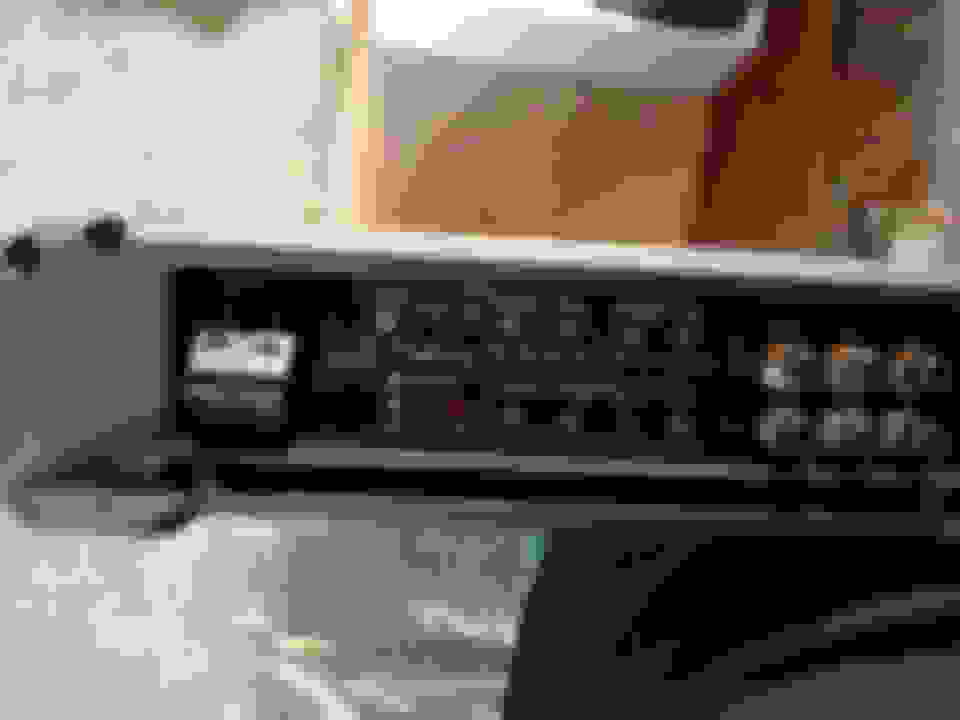
I like that fuse block, where did you get it, if you dont mind me asking
I'm assuming you mean the Circuit Breaker which is from BlueSea. It's only rated for 100A, so relays are needed for all the Inrush power from each system. Not pictured is a bunch of 4/5 pin 40A relays and 4 pin 70A relays.
The fuse holder is mini-ANL with dual 4ga on one side and tri 0ga on the other... Not a fan of THAT design at all.
Great start! I look forward to following this thread with interest. Your mod list is basically a wish list of everything mechanical I am doing or planning to do for my Oz-delivered series 3. One thing I definitely hadn't thought of is using the choke **** for controlling a butterfly valve in the exhaust. Very very clever, well done. I am toying with the thought of an ECU-controlled valve (aftermarket valves controlled by actuator are available here), just like the bimodal systems found on Ferraris etc. Ie mapping butterfly valve angle against rpm/throttle position
Don't throw away that factory headunit either. They are still worth something to guys like me who want to retain original interior appearance.
When I pull it out and all of the original factory electronics, pay shipping and they're yours.
That's both Clarion amplifiers, 4" front Speakers, 6.5" rear Speakers, and head unit. It should all fit in a USPS Large box for flat rate shipping, but I'm not sure if that's Aussie pricing (if they go international).
The #1 problem with an electronic cutout is the motor/wastegate actuator can't handle the rotary heat, regardless of the design. I'm stumped and need to look into aerospace products to find a solution. Let me just say that the 304SS isn't the problem, it's whatever flapper AND motor is actuating the cutout, as well as a poor efficiency from using a y-pipe. Going to 321SS or Titanium wouldn't solve this issue...we'd want a motor mounted lower than the radiating heat and shielded by a ceramic sock.
Here's another thing to consider... Any Y-pipe in the system will lose power compared to a standard 3" exhaust system since air will go into that pipe and bounce back, creating unnecessary turbulence. On a 400whp setup, I'd expect it to lose me 20whp...but it would be awesome. With it open, the pressures are equalized, but NEITHER system is optimized. Here's a great video demonstrating this:
So if you're willing to make the sacrifice in power for fun, which I am, this is probably your best bet: Doug's Headers Electronic Cutout It still needs a y-pipe and downturn (minimum), and possibly a ceramic motor shield, so that $240 isn't exactly CHEAP.
Last edited by RGHTBrainDesign; Feb 18, 2016 at 08:22 PM.
I actually managed to locate a head unit in the US already, but if that unit isn't what I expected I'll be sure to let you know. I was just letting you know that someone on here is bound to pick it up
Details on the valve I'm looking at are here: Active Exhausts (check out the Stage 2 kit and the link for more technical info). It's somewhat different to what you're using. They are not a Y-pipe, but a butterfly valve, with an externally mounted vacuum solenoid - which sits a little way from the exhaust. Heat from a rotary shouldn't trouble this when mounted before the pipe goes over the diff, as AES recommends. This system has been tested on rotaries, as AES over here basically specialise in rotary exhaust systems.
That said, I imagine the butterfly valve will still present somewhat of a restriction at wide open position so it is not perfect either.
That butterfly valve has to come off of something and out to another thing to work.
They use INOX "Steel Wool" which is just like Magnaflow's Rock Wool and is not 2000F capable, so regardless of their history, their material selection isn't up to par with the application.
The butterfly actually sits inline in the main exhaust. Flange is welded to pipe either side, then bolt the valve inline.
The solenoid can sit wherever you want off the actuator, then your electrics control the solenoid. Pretty much the same way an electronically controlled turbo wastegate works (where temps are much much higher).
Oh and the INOX steel wrapped around perforated tube wrapped again with rockwool blanket is the exact design SMB used on their mufflers and which were specifically designed in collaboration with Mazda for the Bathurst 24 hour winning RX-7 SP. It is reliable and works. SMB is what half the FD guys on here use as well.
A lot of the problem with mufflers on rotaries aren't to do with the packing material but the actual construction method. As for AES, they are used on Ric Shaw's 24 hour nurburgring RX-7. Pretty sure they know what they are doing.
Magnaflow aren't great at reducing noise (mainly due to small volume) but I had one on a daily driven 12A for 8 years and the rockwool didn't burn out. The shitty resonators gave out way before the muffler.
Not trying to persuade you against your choice at all, just defending a product that is proven.
Last edited by KYPREO; Feb 18, 2016 at 09:29 PM.
Reason: adding clarification
Oh and the INOX steel wrapped around perforated tube wrapped again with rockwool blanket is the exact design SMB used on their mufflers and which were specifically designed in collaboration with Mazda for the Bathurst 24 hour winning RX-7 SP. It is reliable and works. SMB is what half the FD guys on here use as well.
A lot of the problem with mufflers on rotaries aren't to do with the packing material but the actual construction method. As for AES, they are used on Ric Shaw's 24 hour nurburgring RX-7. Pretty sure they know what they are doing.
Magnaflow aren't great at reducing noise (mainly due to small volume) but I had one on a daily driven 12A for 8 years and the rockwool didn't burn out. The shitty resonators gave out way before the muffler.
Not trying to persuade you against your choice at all, just defending a product that is proven.
Ric Shaw definitely knows his ****... I love watching those videos of his at Bathurst.
I went with a ceramic packing material exhaust with 304SS construction. It's just preference I guess. I don't want it to blow out or overheat.
Without a y-pipe somewhere in line, where does the exhaust go? You NEED some separate pipe, you can't just close off the exhaust. That's my point.
Talking with a buddy who will eventually be my business partner at RGHTBrainDesign, I've come up with two ideas.
1) Run a 1-2 pipe (y pipe) with 3" in, dual 3" out off of the downpipe or after a ceramic resonator (or two) with the passenger side running the other mufflers and the valve and straight pipe on the driver side. As for appearances, I'd want to match rear mufflers, which one wouldn't do much to deaden sound... It'd be beast.
2) Put the y-pipe right off of the downpipe and route it into the passenger side fender (cut a hole) for a true side-exit exhaust. Flames would be epic...
That looks like a crazy setup! Look forward to seeing it.
I see what you mean about my idea. Let me explain, the butterfly valve can never fully close - otherwise you'd need somewhere for the gas to go, as you point it. When the valve is partially closed, it is basically a baffle that simulates a stock narrow diameter exhaust pipe. The obvious byproduct of this is a massive restriction in the exhaust preventing the engine from breathing properly. The butterfly valve angle therefore has to be tied to exhaust flow requirements.
At idle and cruise, the valve is near closed. At WOT, the valve is fully open. Then you basically need to tune the curve for opening angles everywhere in between.
A very early version of the product is illustrated in this article (it has had over 10 years of development since then): AutoSpeed - Butterfly Effect
It's a very different idea to what you're talking about.
On a turbocharged car, I can never see that as a good thing. I want as little back pressure as possible, which is why I go from 80mm downpipe to 76mm (3") exhaust.
My three mufflers are all LONG and through-style as to not slow air down. They even have internal velocity stacks and spun louvers to keep the flow rates up. The added exhaust system won't be made at first, but I really like all this brainstorming we've done on it.
Mad caster indeed! How many degrees have you managed to eek out? And how is that steering effort now lol
Haven't measured it to confirm anything, but well over 8 degrees.
Factory steering is too light in most places, and this should balance things out. Adding steering weight via drift knuckles as well. The tenacity of turn in is incredible. 1/8" steering wheel is a LOT of angle. The factory setup would have twice that in SLOP alone!
This is designed to react quickly for canyon carving, yet compliant enough for street use where it will be used for Gran Touring and long distance rallies.
Upper Links are Rubber units from MetalCloak.
Lower Links are Heims from QSComponents.
Coilovers are Varishock Double Adjustables, in which I'll add a ~3" spacer to the "head" of the mounting bracket by cutting and welding in tubing. This will give me roughly 21.5" OAL, which is similar to OEM height, while also not effecting the 6.15" travel of the shock. Ride height will be adjustable via lower mount. The 3" extension also makes it so I don't have to cut nearly as much off of the factory shock surround.
Last edited by RGHTBrainDesign; Jul 26, 2017 at 09:06 PM.