
Revival Of TheCookieMonster

Thread Starter
777CheekZ
Joined: May 2011
Posts: 138
Likes: 1
From: Montreal
Hey guys..its finally time to start posting up my build thread before i get too into it and forget about making a thread lol
its been 2 years i have my 7 now...its a 1985 12a 's' model (i believe)..base of the base..no a/c..no p/s..no power anything..and one mirror...baws!
i fount it on kijiji posted for 1600$ and got it for 1000$
(first pic is from post) love at first sight
always had a thing for fc's but when i saw this my mind was changed and i had to have it
best part about this car is that ive never driven stick before going to see it! lol
so lets get started!
this is my car
Thread Starter
777CheekZ
Joined: May 2011
Posts: 138
Likes: 1
From: Montreal
this is what the interior looks like...until u remove the carpet but thatll be later! lol
mint condition interior..really nothing to complain about..i love the look
took the steering wheel off another fb..maybe even sa that was abandoned (R.I.P)
dont mind the blue
removed the ripped door panels to compensate for the added weight of the sub lool
i will be adding a custom flat panel to cover the holes for the window
Thread Starter
777CheekZ
Joined: May 2011
Posts: 138
Likes: 1
From: Montreal
this first things i did to the car was paint
i painted the trunk area.. sand - primer - silver base - blue...and this is what it gave me...
then i repainted the ugly spare to a clean black..yes i saved the original sticker it was taped before painted
i also painted the side panel/covers black
i find it made it look alot cleaner
ps: everything is done by can
Rotary Learner
Joined: May 2012
Posts: 175
Likes: 0
From: missouri, east of kc
Looks like a good start. Also I would get some seat time in the car before you start doing a lot of little things to make sure there isnt little bugs that could turn into big ones down the road.
Thread Starter
777CheekZ
Joined: May 2011
Posts: 138
Likes: 1
From: Montreal

Trending Topics
Thread Starter
777CheekZ
Joined: May 2011
Posts: 138
Likes: 1
From: Montreal
then i went a little crazy with the paint
blacked out the tailights with 'nightshade' semi-transparent paint
had a can of pink paint lying around at work (napa) so i got it for 3$ and decided to do my rear wheels...why? because racecar...i guess
after a few months of having the car i took it to see my friend about an hour away and parked it at the shopping mall..when i went back welll someone hit me..cracked and misaligned my bumper...is this an easy fix?
my plan for this car...right now since im tight budgeted..is to clean it up..basically
wire tuck
repair the body/floor
rats nest removal
headers + exhaust
thats prety much it for this year
Thread Starter
777CheekZ
Joined: May 2011
Posts: 138
Likes: 1
From: Montreal
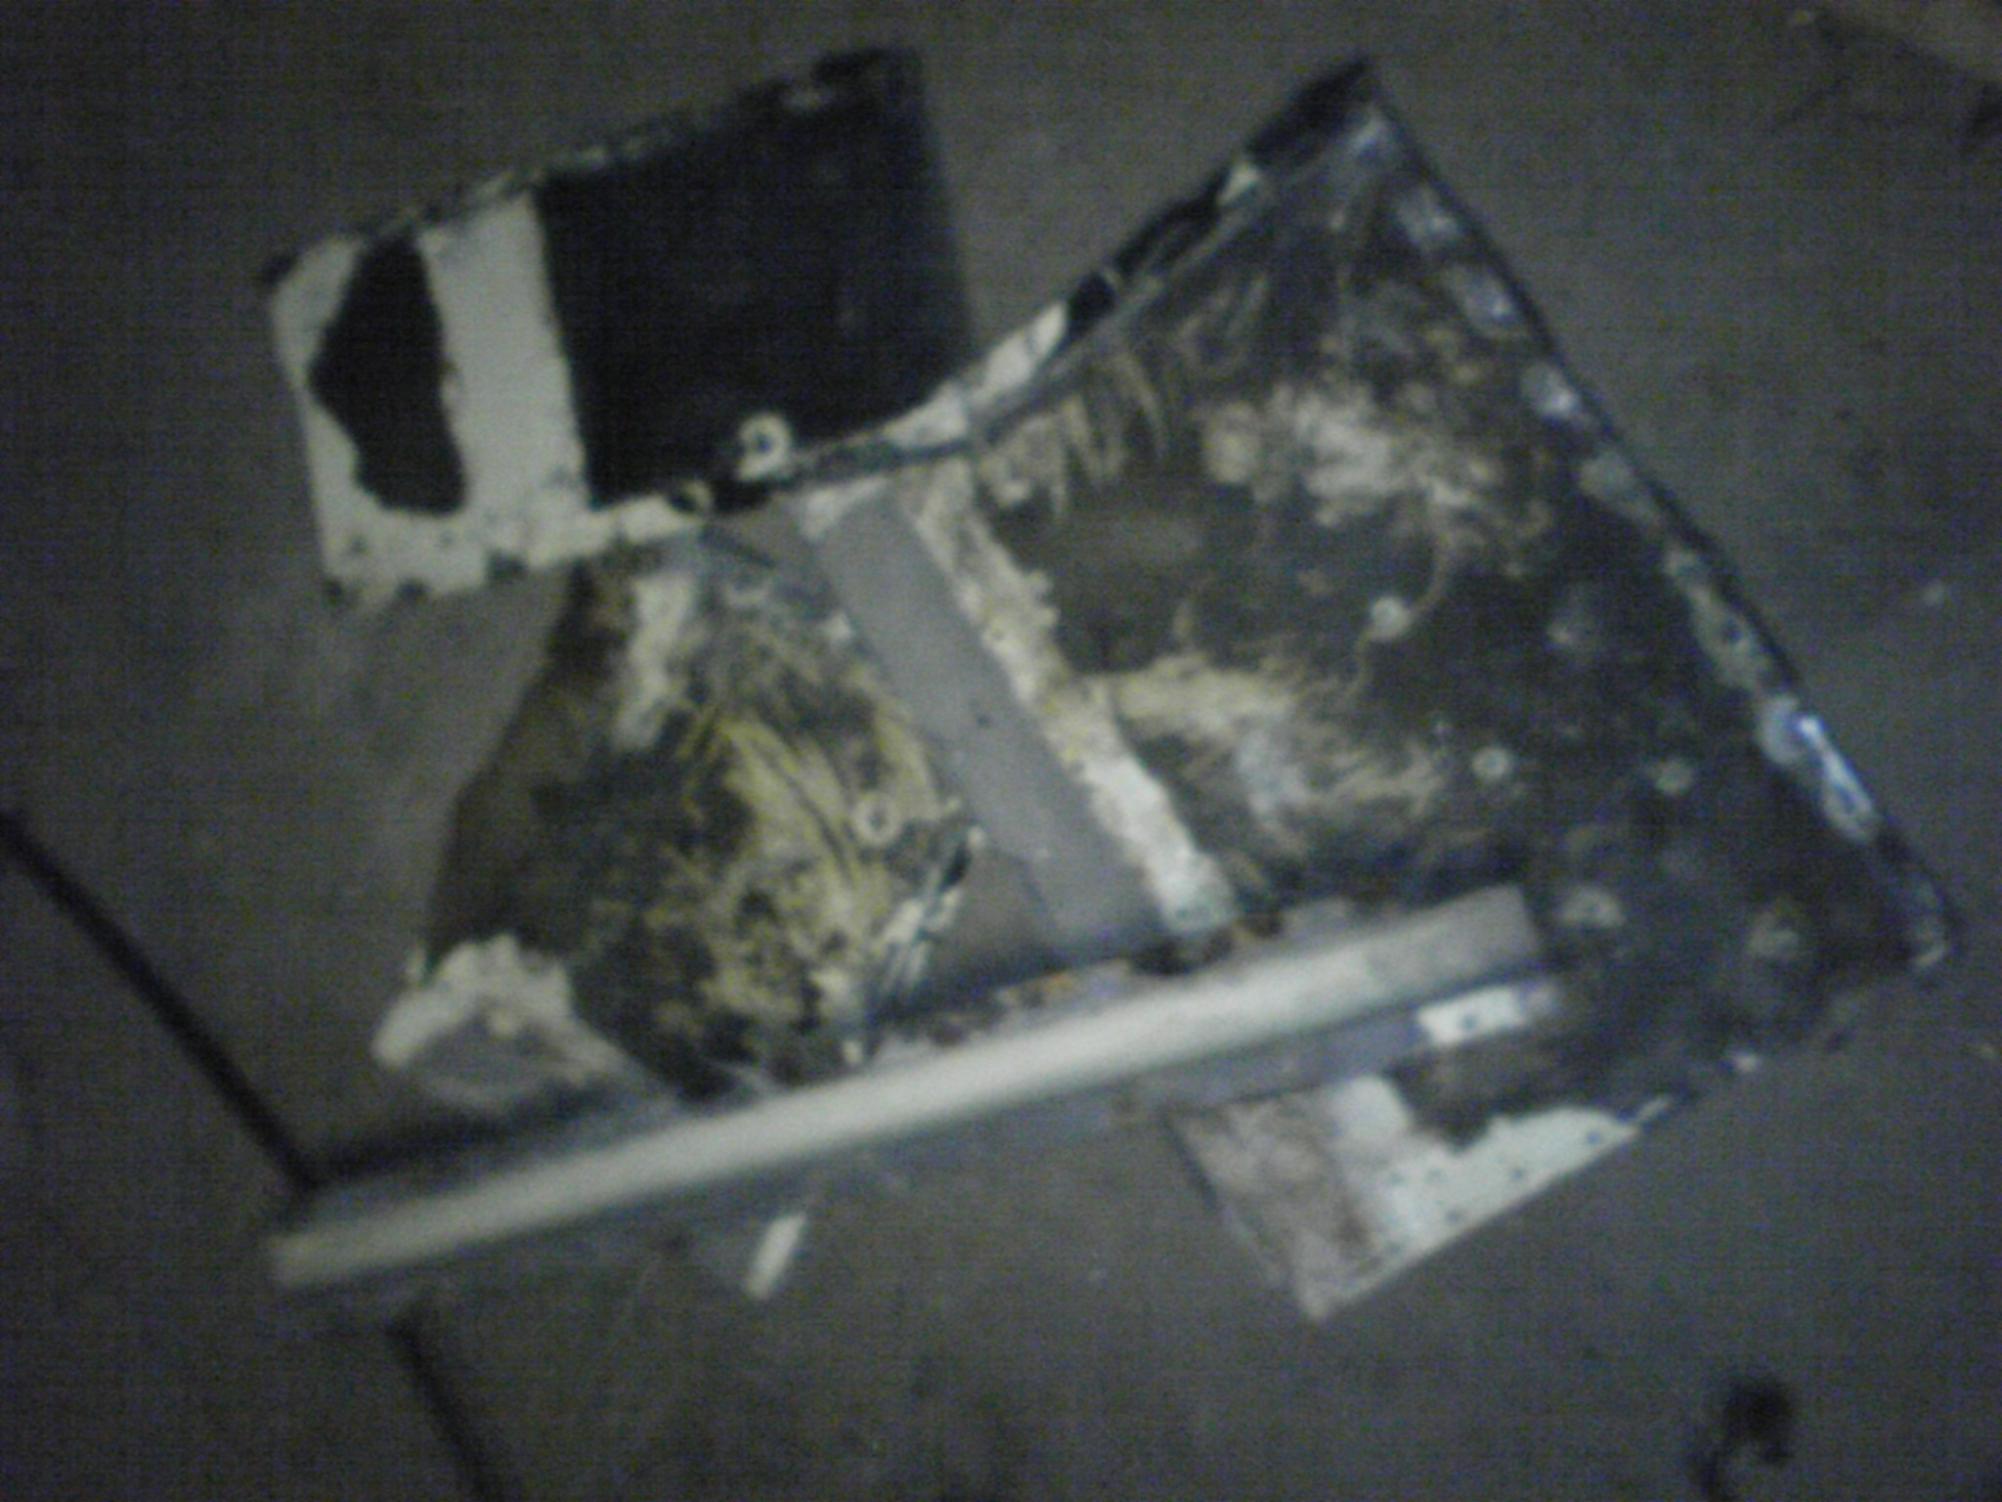
i was out drifting one day when i noticed a weird feeling everytime i did a pull or went sideways
so when i got home i looked under my car and OMG i wanted to cry -__-
correct me if im wrong but my 'lower trailing arm' disconnected from the frame due to rust and my hard turning ripped it off
does anyone have a picture of their rear suspension so i can see what it SHOULD look like lol
or even just an exploded image of it would be helpful
welll summer was over and i put the car away time to get stripping
Thread Starter
777CheekZ
Joined: May 2011
Posts: 138
Likes: 1
From: Montreal
and then came the surprise!
MITSUBISHI?!!?!?
lol jokes thats not the real surprise...this is...

i swear the guy who owned this had zero common sense...

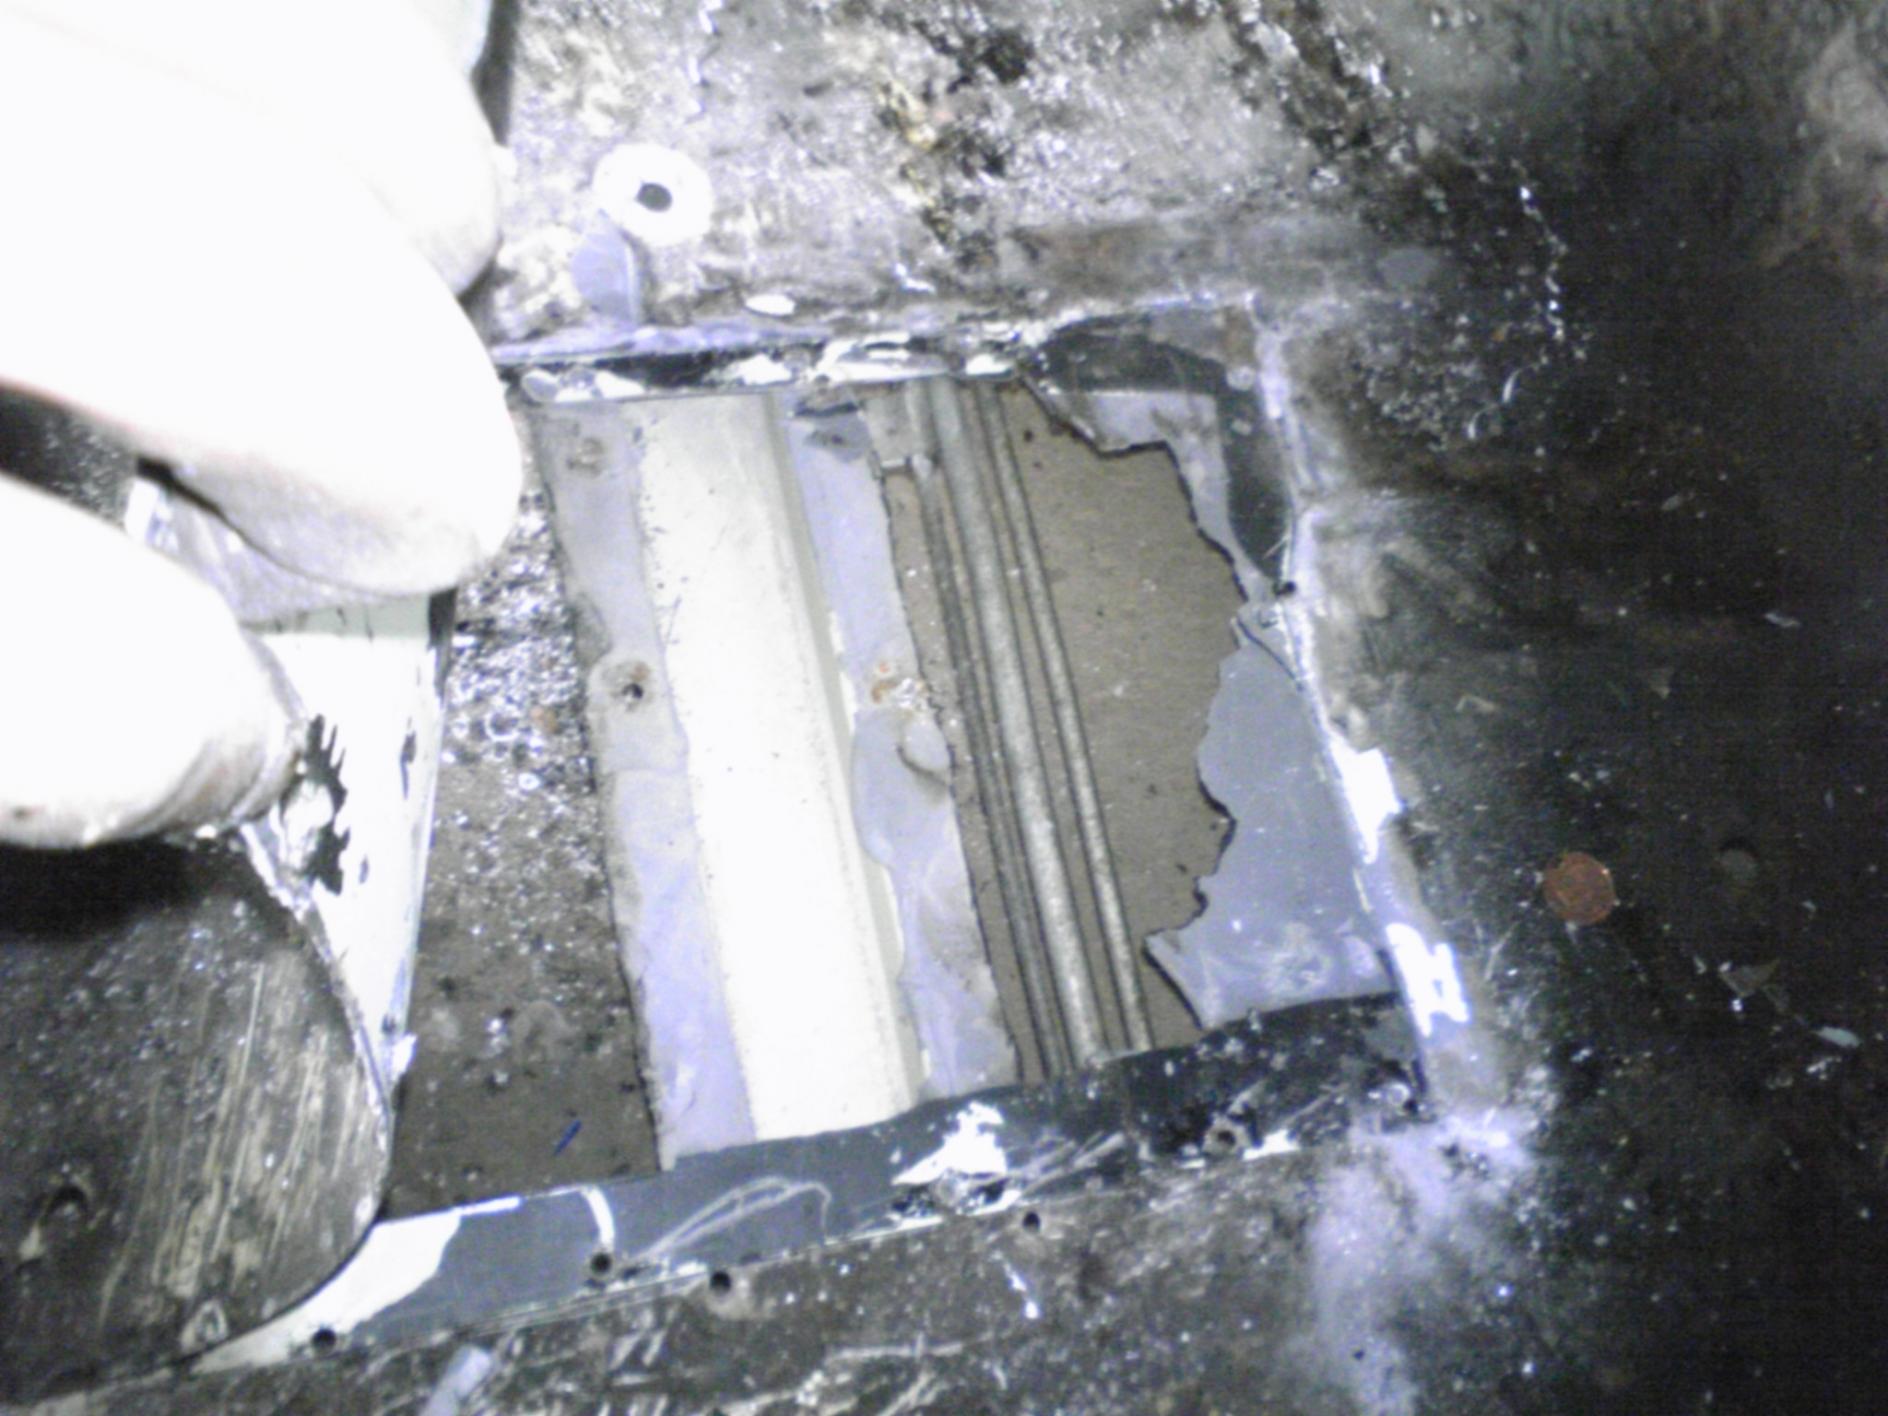
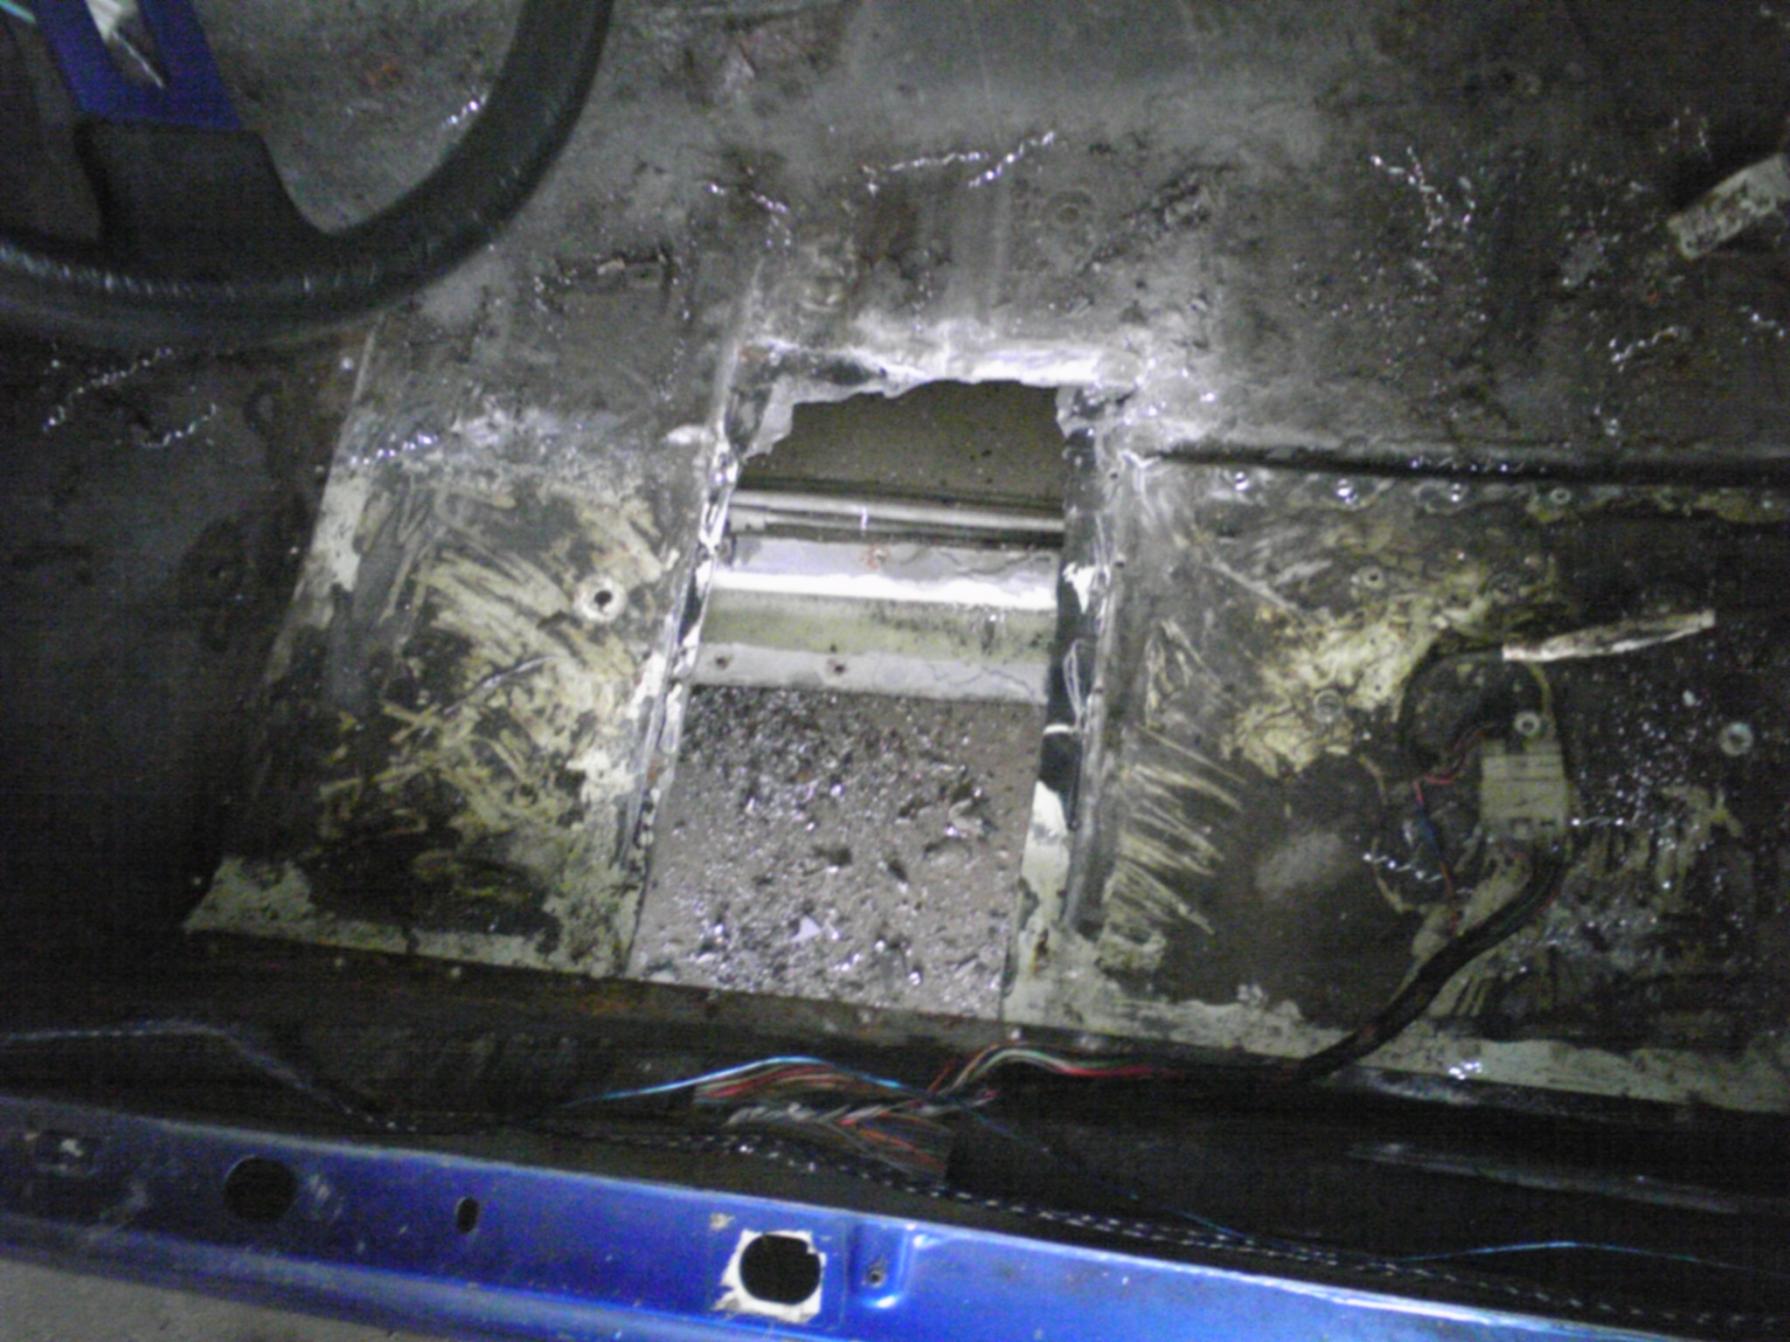
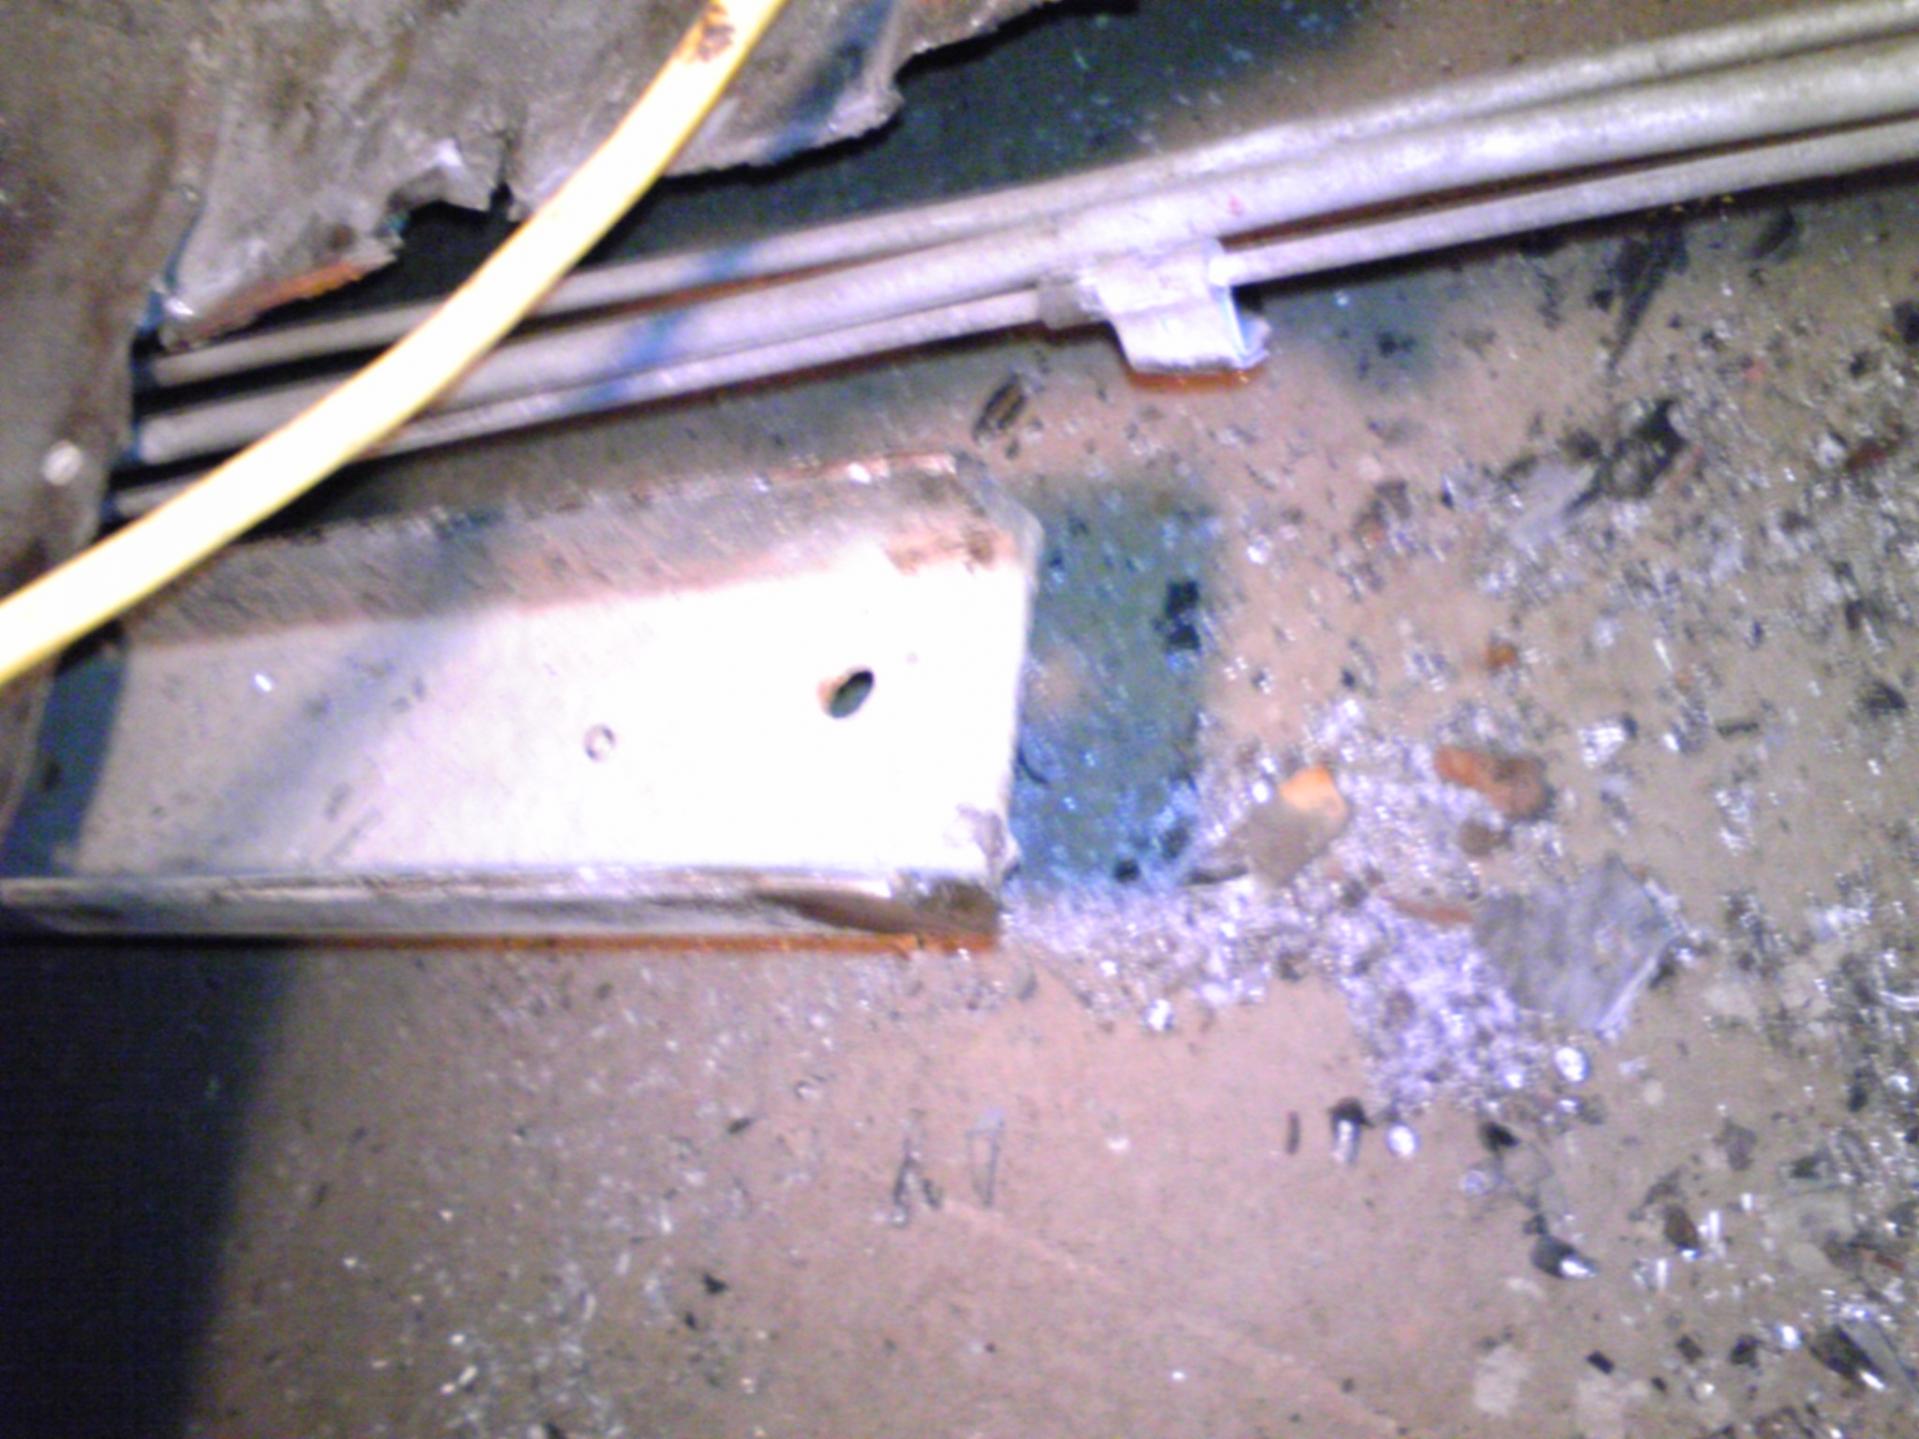
anyways..this hole in the floor and the detatched rear is my biggest problem
its made me think..should i buy a clean rolling shell? or go all the way and fix this baby up! what do u think?
MITSUBISHI?!!?!?
lol jokes thats not the real surprise...this is...

i swear the guy who owned this had zero common sense...
anyways..this hole in the floor and the detatched rear is my biggest problem
its made me think..should i buy a clean rolling shell? or go all the way and fix this baby up! what do u think?
Thread Starter
777CheekZ
Joined: May 2011
Posts: 138
Likes: 1
From: Montreal
get everything out of the interior...even head liner
only thing left is the steering column incase i need to move the car
to take the whole dash out...theres these screws holding the lower middle part in...man was that ever a b***h to get off! 1/4" ratchet..mini extension..swivel..adapter..screwdriver
then i took the hood off...dirty as hell so i cleaned it up...much better
once the interior was all removed i decided to move to the wires...i unplugged everything from the engine bay...tagging them as i disconnected them (to the best of my knowledge)
Thread Starter
777CheekZ
Joined: May 2011
Posts: 138
Likes: 1
From: Montreal
pretty 4 barrel is pretty
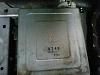
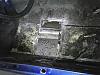
do you think my headlamp holder is salvageable? its been a while since ive been with my car so i cant remember exactly how bad it was
im not sure if theres an easier way to get the engine bay connector through the rubber grommet...but i massacred mine to take it out loll
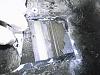
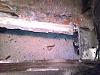
the biggest rust when talking about little rust would be here on the kick panel/fender but at least it shows me that there is space to make the hole from cabin to fender for the wire tuck haha :P
i really cant get over how thin these stock tires are...yet the car takes fast corners so easily!
do you think my headlamp holder is salvageable? its been a while since ive been with my car so i cant remember exactly how bad it was
im not sure if theres an easier way to get the engine bay connector through the rubber grommet...but i massacred mine to take it out loll
the biggest rust when talking about little rust would be here on the kick panel/fender but at least it shows me that there is space to make the hole from cabin to fender for the wire tuck haha :P
i really cant get over how thin these stock tires are...yet the car takes fast corners so easily!
Thread Starter
777CheekZ
Joined: May 2011
Posts: 138
Likes: 1
From: Montreal
heres what ive been working on all winter 2012/2013
my beautiful wiring harness
because my car is a base model with no special features and i dont want to keep unnesecary wiring..i removed the folowing wiring systems:
-power windows
-power mirrons (only have 1 mirror)
-door lock system
-audio system (going to make a new one from scratch when the time comes)
-cruise control
-power steering
-a/t harness
-hot start
-cold start
-storage box light
-sub-zero
-kick-down
-inhibittor switch
-seatbelt light/switch
-interior lights (custom setup to come)
-stop light checker
-coolant level sensor
-transmission oil pressure (a/t)
-oil level sensor
-washer fluid level sensor
-parking break switch
-break fluid level sensor (really?!)
-rear wiper and washer
-and the beautiful emmission control system
cant remember what else but i can say that my harness has shrunk at least to half the original size

this is what it looked like before...unfortunately i dont have a picture of the main harness out of the car

and this is pretty much what it looks like now

10 pounds have been removed from the wiring harness of my car (wires + connectors)
my beautiful wiring harness
because my car is a base model with no special features and i dont want to keep unnesecary wiring..i removed the folowing wiring systems:
-power windows
-power mirrons (only have 1 mirror)
-door lock system
-audio system (going to make a new one from scratch when the time comes)
-cruise control
-power steering
-a/t harness
-hot start
-cold start
-storage box light
-sub-zero
-kick-down
-inhibittor switch
-seatbelt light/switch
-interior lights (custom setup to come)
-stop light checker
-coolant level sensor
-transmission oil pressure (a/t)
-oil level sensor
-washer fluid level sensor
-parking break switch
-break fluid level sensor (really?!)
-rear wiper and washer
-and the beautiful emmission control system
cant remember what else but i can say that my harness has shrunk at least to half the original size
this is what it looked like before...unfortunately i dont have a picture of the main harness out of the car
and this is pretty much what it looks like now
10 pounds have been removed from the wiring harness of my car (wires + connectors)

Thread Starter
777CheekZ
Joined: May 2011
Posts: 138
Likes: 1
From: Montreal
i am very proud of myself for what ive done to the wiring harness..the things you can do when you understand a wiring diagram!
ive also brought home my cluster, took that baby apart and had some fun

some cotton pads and nail polish remover and tadaaa!

would be cool

i bought these gauges wanting to paint them black
weeeeellll painting in the garage mig winter = bad idea...everything crystalized and i scrapped my gauges lool
so im giving them to a buddy of mine whose a graphics designer and hes gunna cut me some new black gauges gauges that look just like these
the plan is to tint the clear plastic to a transparent black..with the black gauges over
so when the lights are off nothing is visible..and when the lights get turned on it lights up all the lines and numbers
ill post a pic later of what i mean
question: if i painted the white part of the cluster black, would that effect the brightness/reflectivity of my cluster lights?
another thing ive been doing for the past...well..since my dash was taken apart...was to rewind my kms (canada)
question: does anyone know of anyway to do so besides by hand lol
(yes its illegal...unless you claim it...which i will)

ive also brought home my cluster, took that baby apart and had some fun
some cotton pads and nail polish remover and tadaaa!
would be cool
i bought these gauges wanting to paint them black
weeeeellll painting in the garage mig winter = bad idea...everything crystalized and i scrapped my gauges lool
so im giving them to a buddy of mine whose a graphics designer and hes gunna cut me some new black gauges gauges that look just like these
the plan is to tint the clear plastic to a transparent black..with the black gauges over
so when the lights are off nothing is visible..and when the lights get turned on it lights up all the lines and numbers
ill post a pic later of what i mean
question: if i painted the white part of the cluster black, would that effect the brightness/reflectivity of my cluster lights?
another thing ive been doing for the past...well..since my dash was taken apart...was to rewind my kms (canada)
question: does anyone know of anyway to do so besides by hand lol
(yes its illegal...unless you claim it...which i will)
Thread Starter
777CheekZ
Joined: May 2011
Posts: 138
Likes: 1
From: Montreal
alright so i did what i can for today at stripping my nikki
2 bolts on the altitude compensator striiped so ill be fixing that later


my work station

before

after
http://sphotos-e.ak.fbcdn.net/hphoto...53397530_n.jpg
the parts i removed...i had no choice in breaking the butterfly rod..guess theres no going back now lol
big thanks to Vipernicus42 for his awesome quide to stripping the nikki
cnt wait to feel my baby again!
2 bolts on the altitude compensator striiped so ill be fixing that later
my work station
before
after
http://sphotos-e.ak.fbcdn.net/hphoto...53397530_n.jpg
the parts i removed...i had no choice in breaking the butterfly rod..guess theres no going back now lol
big thanks to Vipernicus42 for his awesome quide to stripping the nikki
cnt wait to feel my baby again!

Thread Starter
777CheekZ
Joined: May 2011
Posts: 138
Likes: 1
From: Montreal
so its been a while since i posted an update to my build
no i did not stop my project i just hit a ditch of debt and repairing the frame and body was way to expensive.....
so i bought a second 85 1.1!!!
i dont have pics to post yet since im at work all the time but when i get home ill put them up
took a 2 hour trip from montreal to 3rivers and found this beauty hiding in the shed
when i went to check it out i fell in love
clean body just one hole underneath which i beleive was caused from the heat of the exhaust (straight pipe)
along with the car came an engine with a leaky dfront cover...msd ignition..headers (not racingbeat i dont think)..the spoiler..sunroof..and a weber side draft carb with intake manifold!
all this for a beautiful price of 375$
only thing is that towing costed me 500$...totally worth it!
Thread Starter
777CheekZ
Joined: May 2011
Posts: 138
Likes: 1
From: Montreal
last week i prepped both babies for surgery
took everything off the engine put it to the side and took that tiny monster out and put it on the side
took the engine out of the blue one afterwards and swapped it into the white one...then started putting everything back on
had no choice to cut a few lines and hoses but ill be picking up those parts some time this week before i go back to the cars
the guy who owned the white car before told me that before the 'engine blew' he drove the car and had no problems with it and everything worked. which means that once everything is put back on the engine it should start and run "without" problems
now i got a question...stock 12a's usually run about 100hp? how much should i be reaching with the ignition setup, weber side draft, intake manifold, headers and straight pipe get me?i cant remember if the guy told me 125hp or 150hp :S
pics will hopefully be posted up tongiht