My project

 02-20-08, 01:22 AM
#178
Senior Member
Thread Starter
your anti-roll bar is upside down... be a shame to have the car up the right way and realise then. I did the FC subframe conversion a few weeks back on a right hand drive car with a 12A Turbo engine. It was a real bitch getting everything lined up perfectly. So glad I made loads of measurements before I started. Supported the bottom of the collum by making a bracket that secures to the pedal box bolts on the bulkhead. There's a little work involved to make sure the shaft can't move up and down, but will still collapse if there is a front end crash.
Loving your build Norwegian Rotary, fantastic to see such innovation. I'd be very interested in a set of fiberglass wings if you have the time to make them. The summer is not that far away now, good luck!
Loving your build Norwegian Rotary, fantastic to see such innovation. I'd be very interested in a set of fiberglass wings if you have the time to make them. The summer is not that far away now, good luck!
Thats right, i detected that i had put it upside down after I put out the picture, but thats is not a big problem then, fix it tonight.. Also started on assemble the rear axle now..
I'm thinking of selling som fiberglas or CF parts after I have finished my car.. Well see..
02-23-08, 11:45 AM
#179
Senior Member
Thread Starter
your anti-roll bar is upside down... be a shame to have the car up the right way and realise then. I did the FC subframe conversion a few weeks back on a right hand drive car with a 12A Turbo engine. It was a real bitch getting everything lined up perfectly. So glad I made loads of measurements before I started. Supported the bottom of the collum by making a bracket that secures to the pedal box bolts on the bulkhead. There's a little work involved to make sure the shaft can't move up and down, but will still collapse if there is a front end crash.
Loving your build Norwegian Rotary, fantastic to see such innovation. I'd be very interested in a set of fiberglass wings if you have the time to make them. The summer is not that far away now, good luck!
Loving your build Norwegian Rotary, fantastic to see such innovation. I'd be very interested in a set of fiberglass wings if you have the time to make them. The summer is not that far away now, good luck!
I'm sorry to tell you that with my configuration on the steering and front suspension, i need to have the anti-roll bar upside-down from what's normal on an FC. This is beacuase I have fabricated all the atachment points etc my self, so i get it as i want it to be, if I put it the other way it will hit the motor when the suspension is all compressed.
02-23-08, 11:51 AM
#180
Senior Member
Thread Starter
Some new updates comming up now, done a little work with my rear axle the last couple of days now. It to much to do at job, so I haven't been home so I can use some time on my car..
Here are som pictures of what I have done:
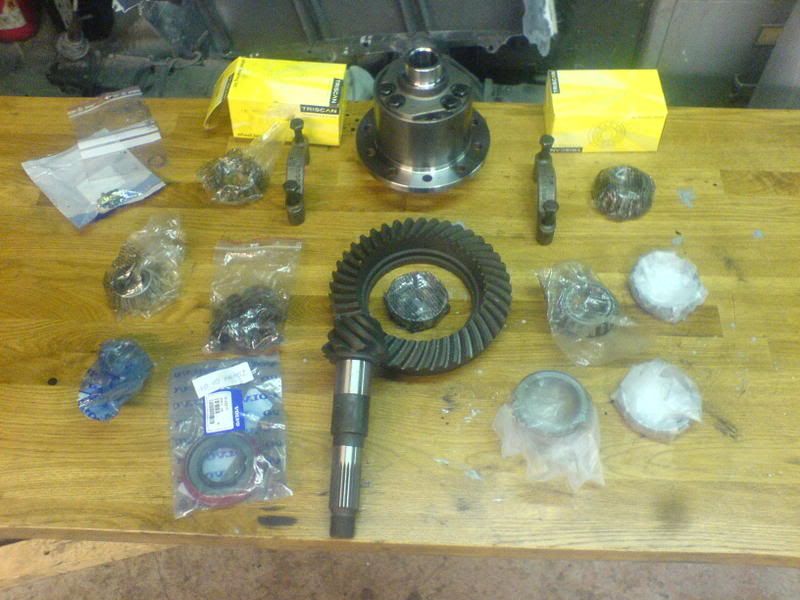
Brand new parts for the rear axle, Wheel bearing, differential, final gear ratio, bearings for the differential.
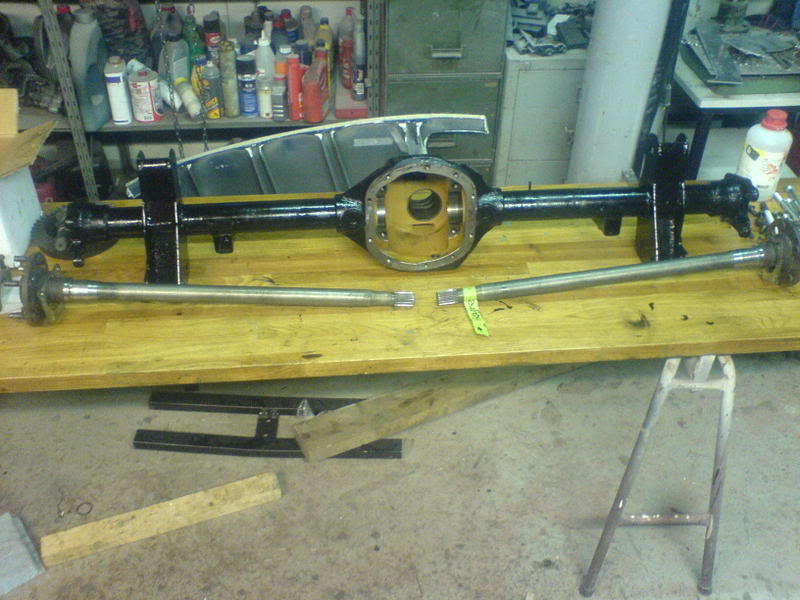
The rear axle with the drive-shafts
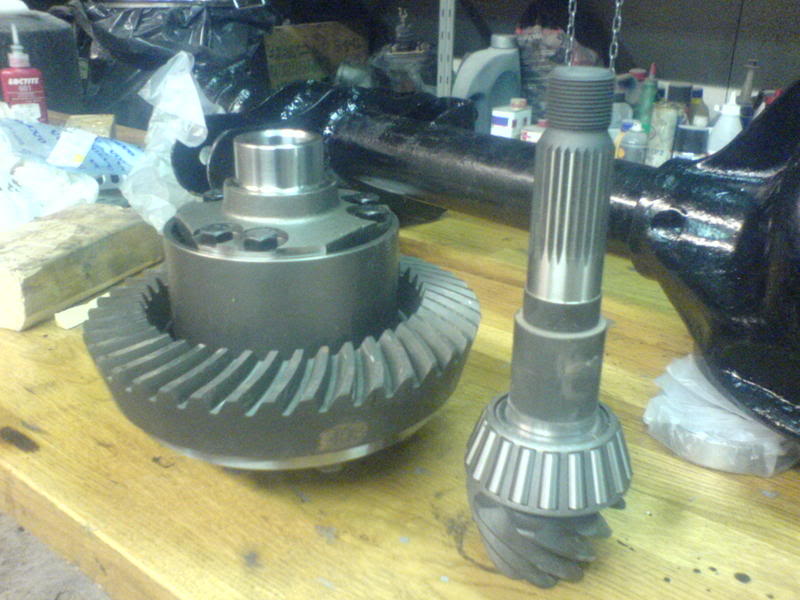
Differential and the gears getting bearings mounted together.
Here are som pictures of what I have done:
Brand new parts for the rear axle, Wheel bearing, differential, final gear ratio, bearings for the differential.
The rear axle with the drive-shafts
Differential and the gears getting bearings mounted together.

 02-24-08, 04:07 PM
#185
Senior Member
Thread Starter
03-02-08, 01:29 PM
#187
Senior Member
Thread Starter
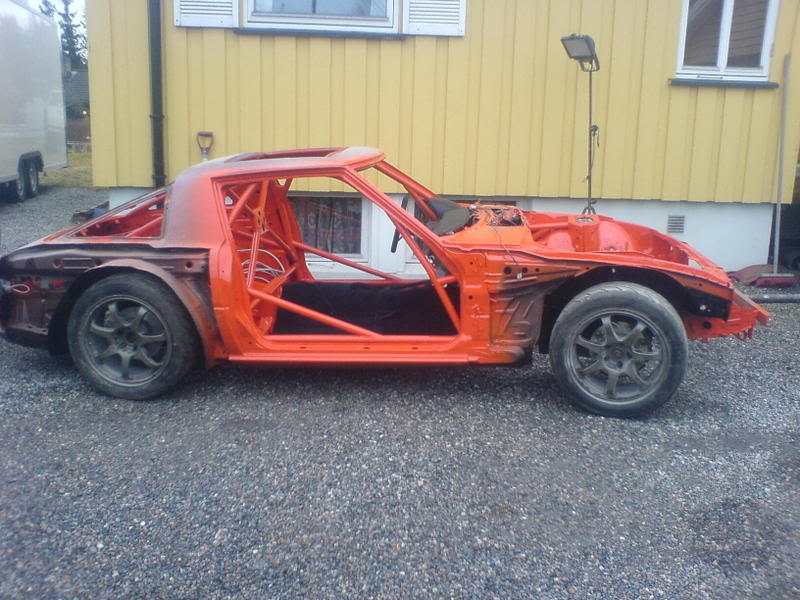
A update from the weekend..
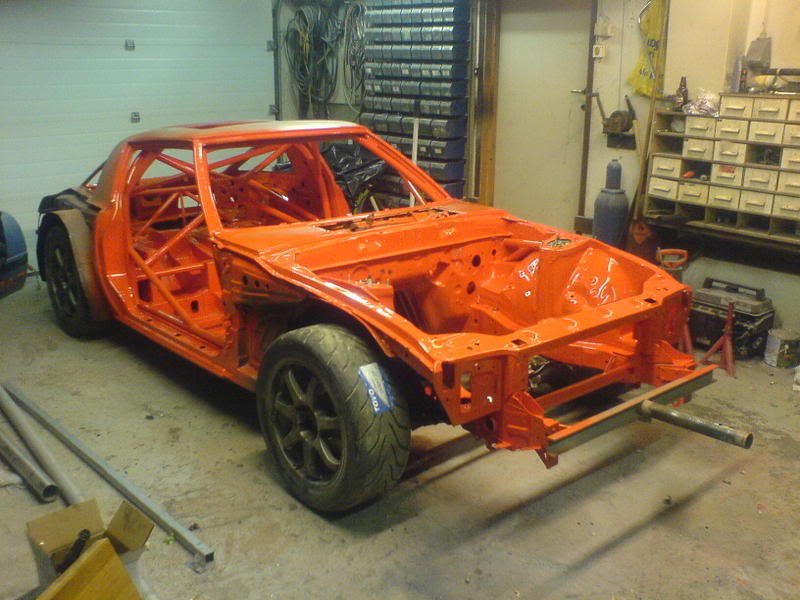
Tok the car out in the sunshine today..
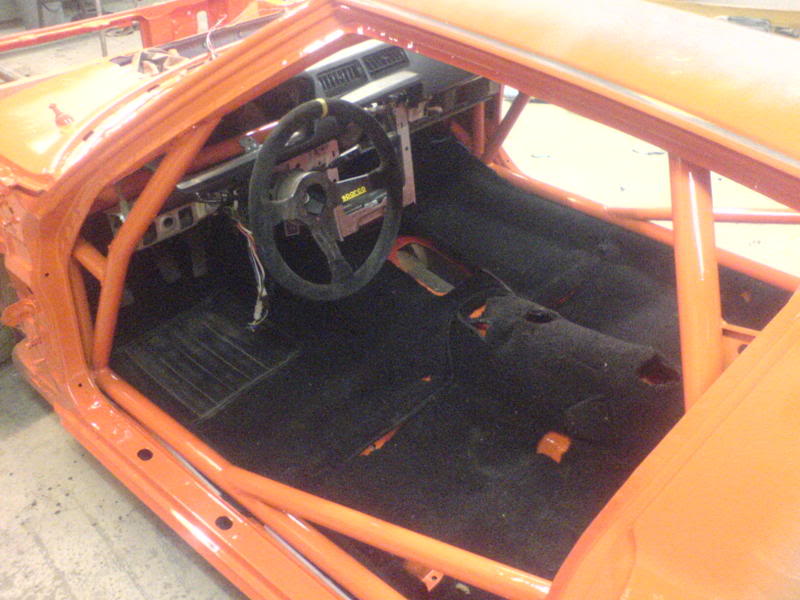
The interior is comming together
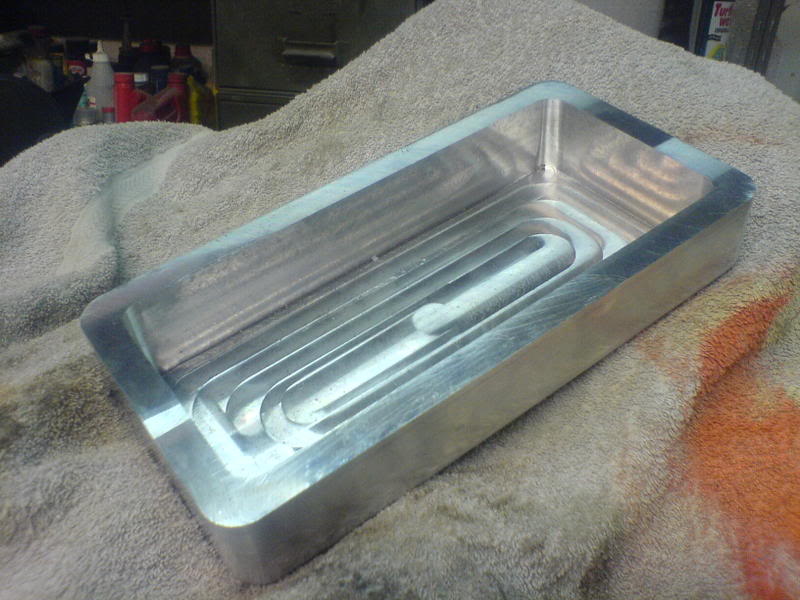
This is the oilpan i made.. Made in a CNC machine
This is the external oil-pump I'm using
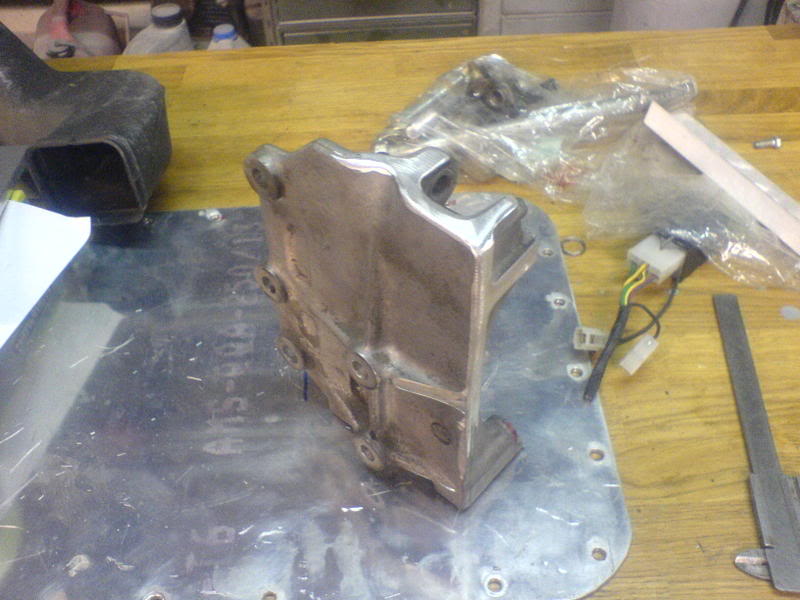
I made an bracket for the wheel for the oil pump, Also made in a CNC machine
Tok the car out in the sunshine today..
The interior is comming together
This is the oilpan i made.. Made in a CNC machine
This is the external oil-pump I'm using
I made an bracket for the wheel for the oil pump, Also made in a CNC machine
03-02-08, 03:09 PM
#189
Senior Member
Thread Starter
03-02-08, 05:37 PM
#191
OBEY YOUR MAZDA
As usual, well done
Are you going to make some barriers inside that beautiful oil pan, so that the oil won't sloosh around and aeriate ?
Why not just go all the way and have a dry-sump set-up, just a flat plate under the motor with a pick up or two for the oil-pump ?
Are you going to make some barriers inside that beautiful oil pan, so that the oil won't sloosh around and aeriate ?
Why not just go all the way and have a dry-sump set-up, just a flat plate under the motor with a pick up or two for the oil-pump ?
03-02-08, 10:42 PM
#193
Senior Member
Thread Starter
I am running a flat oil pan, but the little part you can see i have made is just a small pan on the backside of the oil pan for picking up oil easily..
03-03-08, 01:00 AM
#198
Senior Member
Thread Starter
the rear axle is from a Volvo 940 turbo... With a differential from sellhom.
I'm working on my car only in my spare time yes, and I have a girlfriend but she helps me some times...
I'm working on my car only in my spare time yes, and I have a girlfriend but she helps me some times...
03-04-08, 02:24 PM
#199
Senior Member
Thread Starter
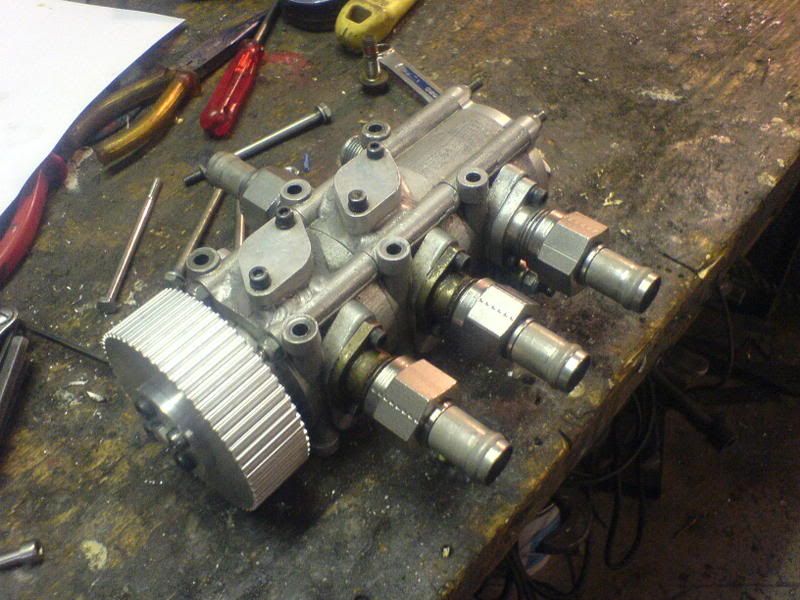
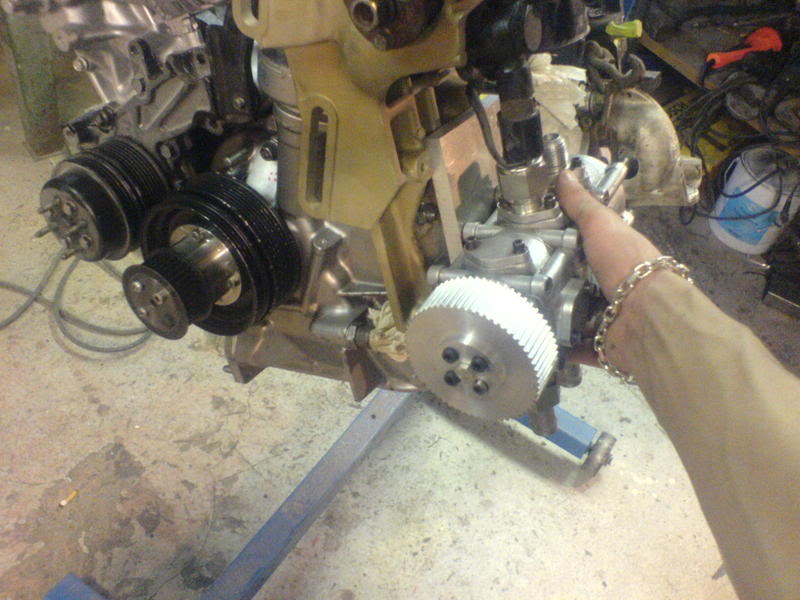
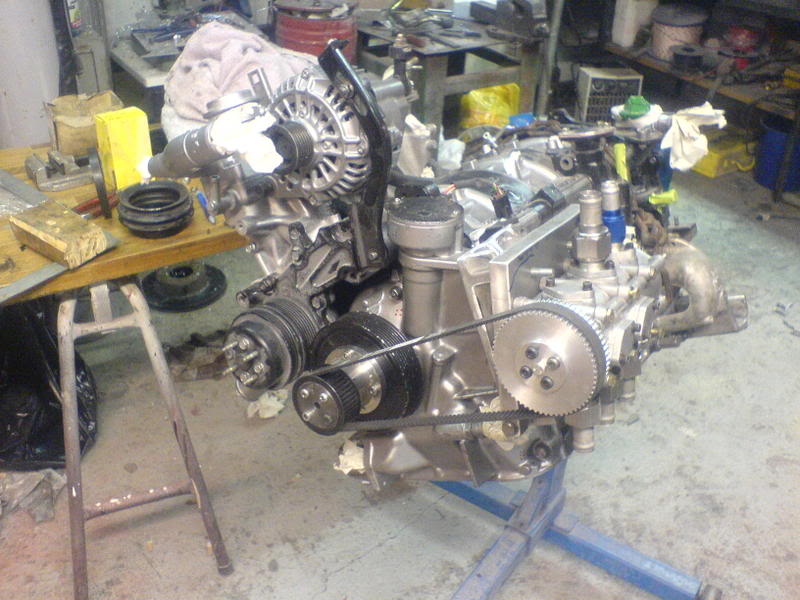
The dry sump pump is finaly installed on the motor, I finished the bracket for the pump this evening..
I modified the stock bracket for the servo-pump so I only have a small piece of it left.
Here you have the pump on the motor, also with the drive-belt
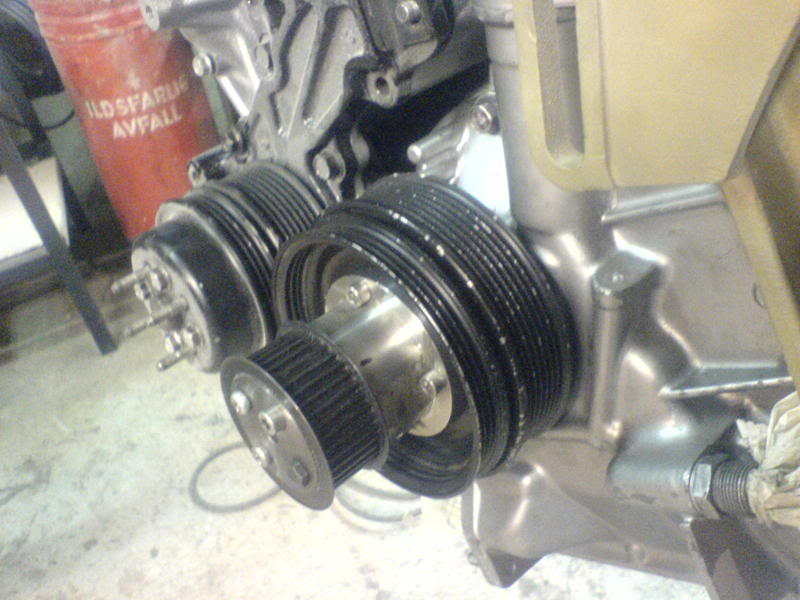
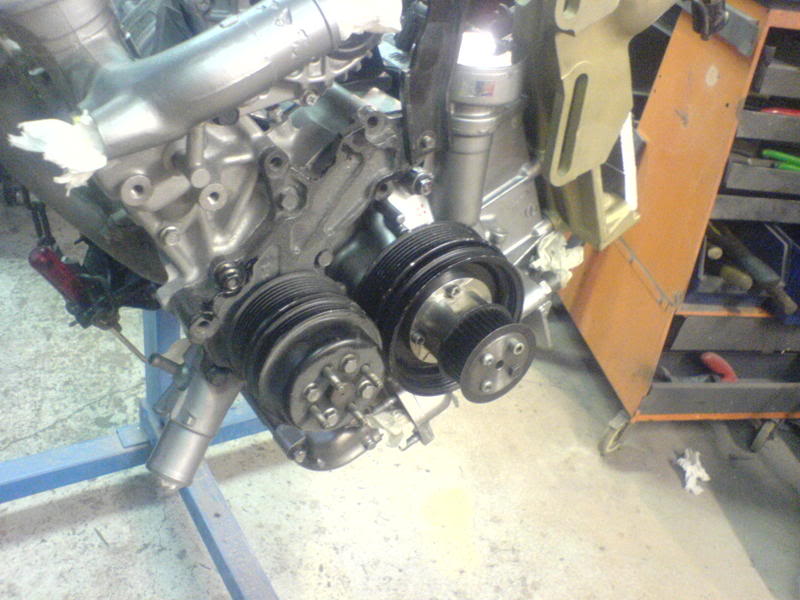
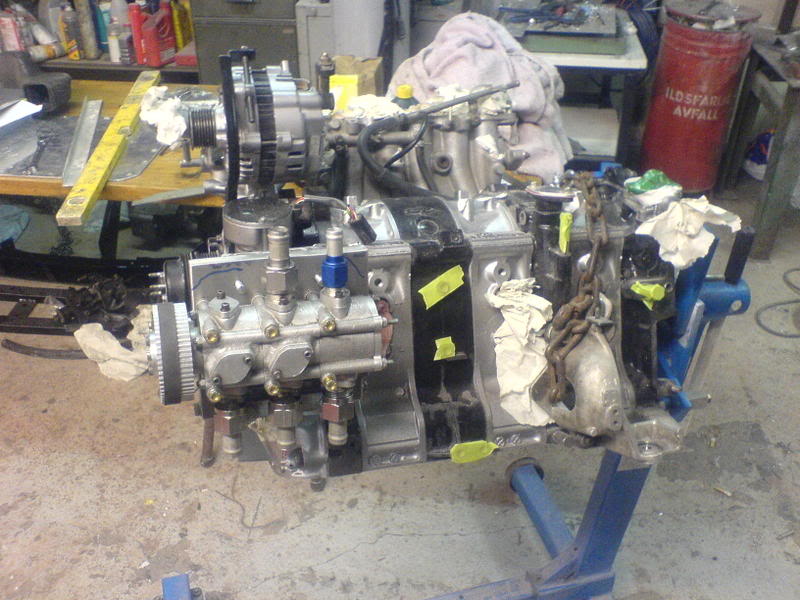
From a different angle
I modified the stock bracket for the servo-pump so I only have a small piece of it left.
Here you have the pump on the motor, also with the drive-belt
From a different angle