My Light Beige GSL-SE Restomod Build
 08-03-12, 11:51 AM
#226
Rotary Freak
Thread Starter
iTrader: (19)
Join Date: Oct 2007
Location: Colorado Springs, CO
Posts: 2,014
Likes: 0
Received 0 Likes
on
0 Posts
I had cut the front off my old car knowing that I would need some of the front end parts. I never thought we would end up using the entire front.
if you look real close to the frame rails in this pic, you can see they are twisted:

I'll take some pics of the front we removed.

 08-08-12, 03:18 PM
#228
Rotary Freak
Thread Starter
iTrader: (19)
Join Date: Oct 2007
Location: Colorado Springs, CO
Posts: 2,014
Likes: 0
Received 0 Likes
on
0 Posts
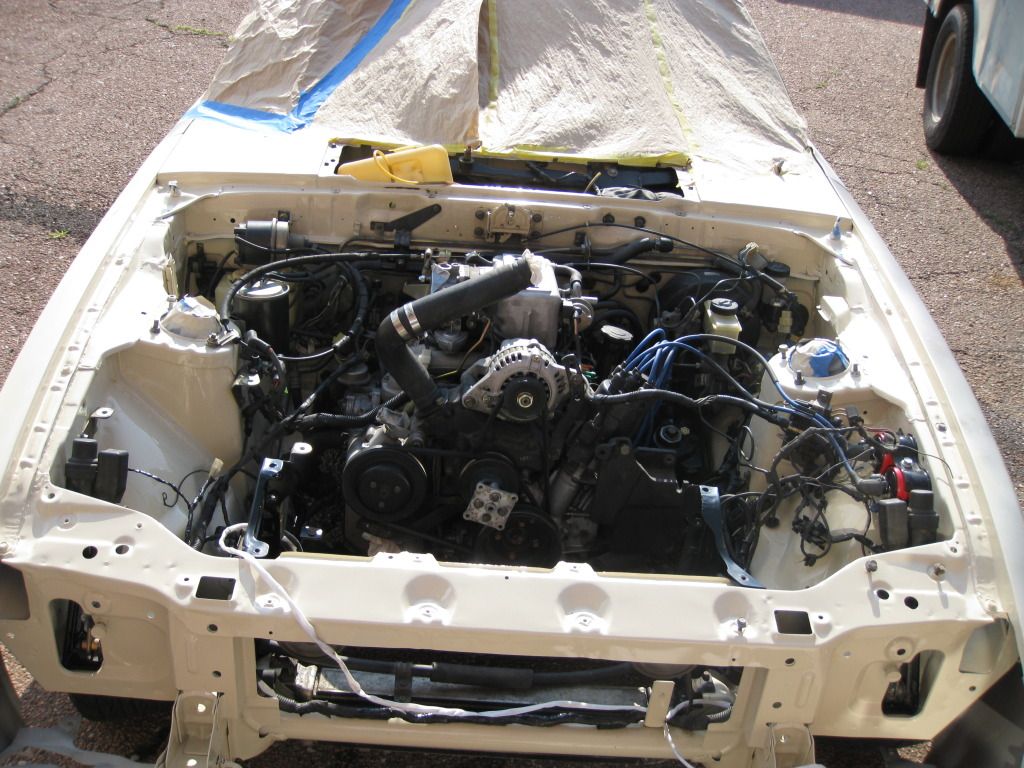
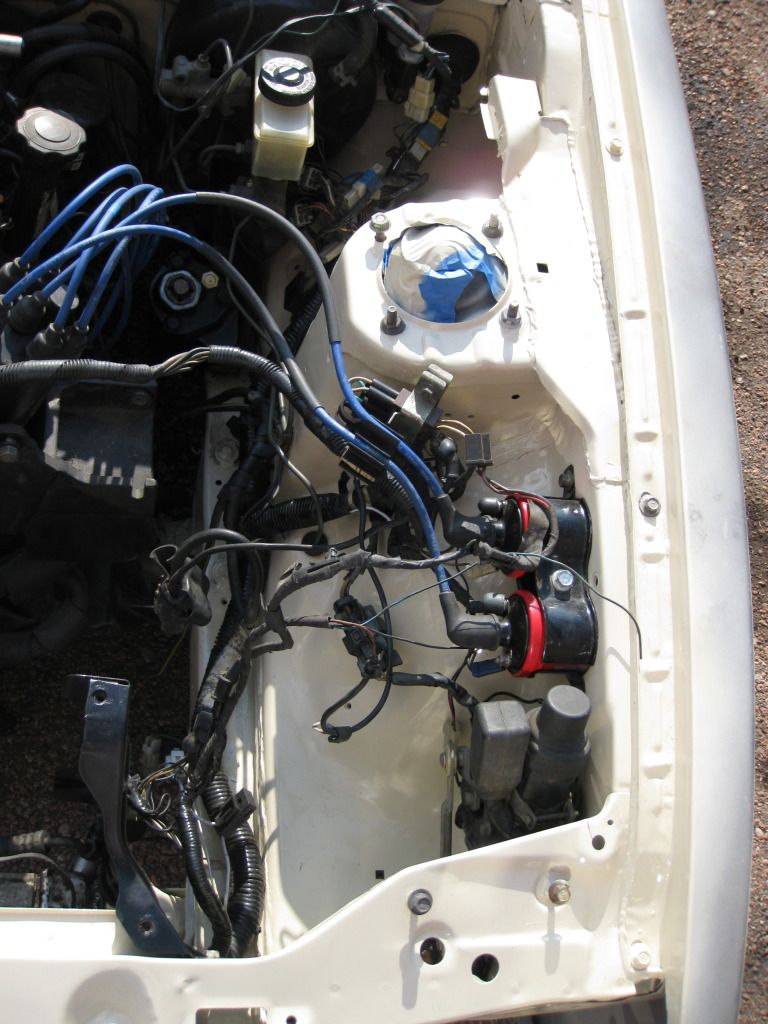
Pics of the engine compartment painted (on the lift so I couldn't get a good overall pic):
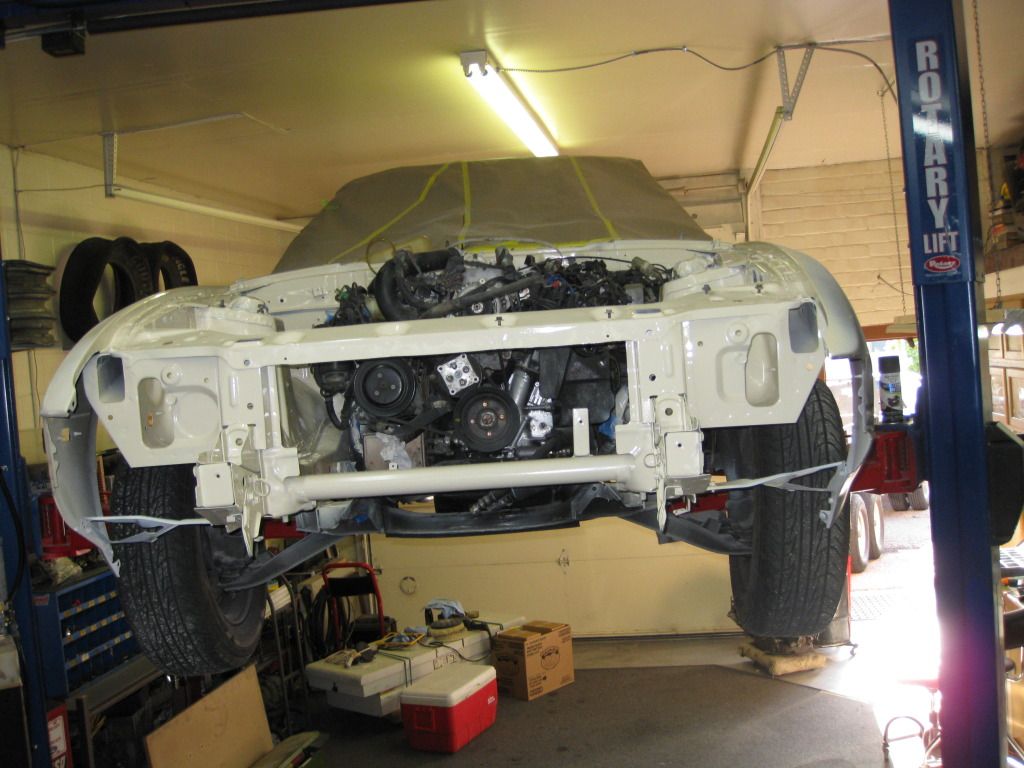
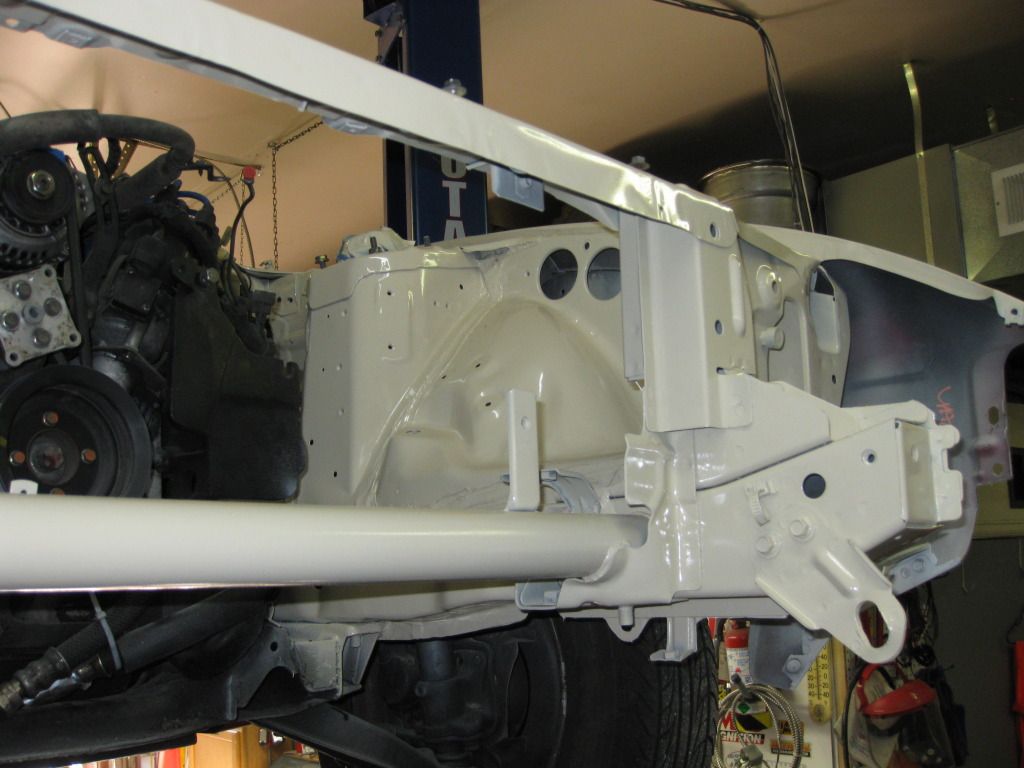
He used a single stage paint under the hood so no clear. We need to compare this paint to the paint being used on the outside of the car and see if it is a good match. He may end up clearing it since it would change the color slightly. The best thing to do would be not to clear it because clear will yellow over time under the hood.
He used a single stage paint under the hood so no clear. We need to compare this paint to the paint being used on the outside of the car and see if it is a good match. He may end up clearing it since it would change the color slightly. The best thing to do would be not to clear it because clear will yellow over time under the hood.
08-10-12, 10:38 AM
#229
Moderator
iTrader: (3)
Join Date: Mar 2001
Location: https://www2.mazda.com/en/100th/
Posts: 30,847
Received 2,606 Likes
on
1,849 Posts
wow that's turning out really nice! i did a car like this a really long time ago, its a BIG project
 08-10-12, 01:23 PM
#230
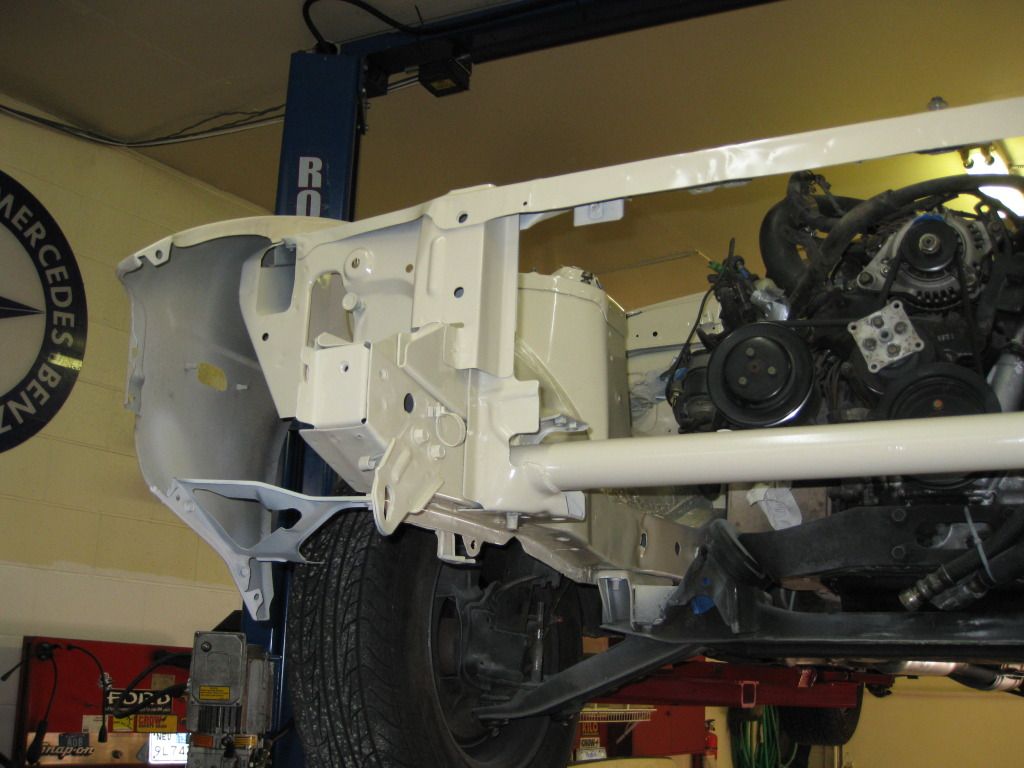
doesn't look like he did any pulls on the front before he cut it, you can see in the picture that the strut tower is still bent. the frame under the car may still be bent
also he could have spent a little time cleaning up that seam sealer to make it look better but that's just a personal preference
also he could have spent a little time cleaning up that seam sealer to make it look better but that's just a personal preference
08-13-12, 03:23 PM
#231
Rotary Freak
Thread Starter
iTrader: (19)
Join Date: Oct 2007
Location: Colorado Springs, CO
Posts: 2,014
Likes: 0
Received 0 Likes
on
0 Posts
there is a little wrinkle in the strut tower but it looks worse in the pics than it actually is. He left the seam sealer messy on purpose because it was messy from the factory. Because the car is a GSL-SE, most of the seam sealer will be hidden.
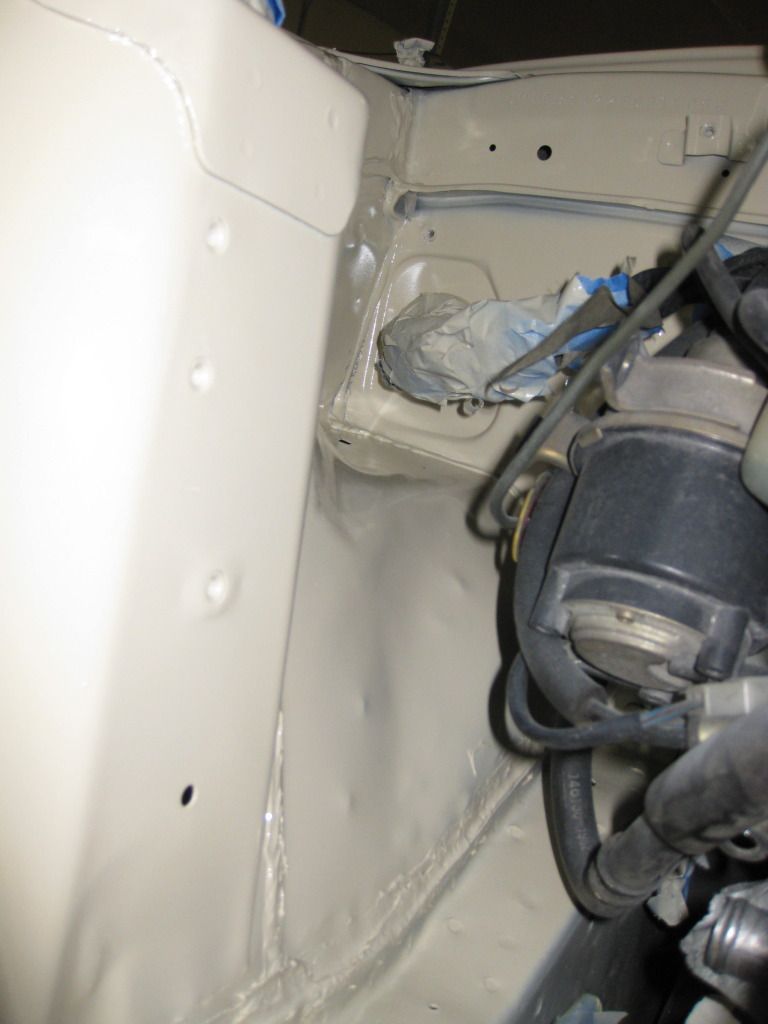
I'm going to start installing everything under the hood this week. It's going to take some time because I want to make sure everything is new looking before it is installed.
I'm going to start installing everything under the hood this week. It's going to take some time because I want to make sure everything is new looking before it is installed.
 08-26-12, 06:27 PM
#234
Junior Member

Join Date: Apr 2012
Location: Grand Rapids, MI
Posts: 35
Likes: 0
Received 0 Likes
on
0 Posts
Wow, just found this, it will be inspirational as i freshen my new-to-me GSL-SE. Should also be a good source of info from Chris and other commenters.
RE: headlight & turnsignals - are you looking for pics of the wiring? I may be able to get some pictures, but no guarantees that mine is right
RE: headlight & turnsignals - are you looking for pics of the wiring? I may be able to get some pictures, but no guarantees that mine is right
08-27-12, 10:22 AM
#235
Rotary Freak
Thread Starter
iTrader: (19)
Join Date: Oct 2007
Location: Colorado Springs, CO
Posts: 2,014
Likes: 0
Received 0 Likes
on
0 Posts
Thanks.
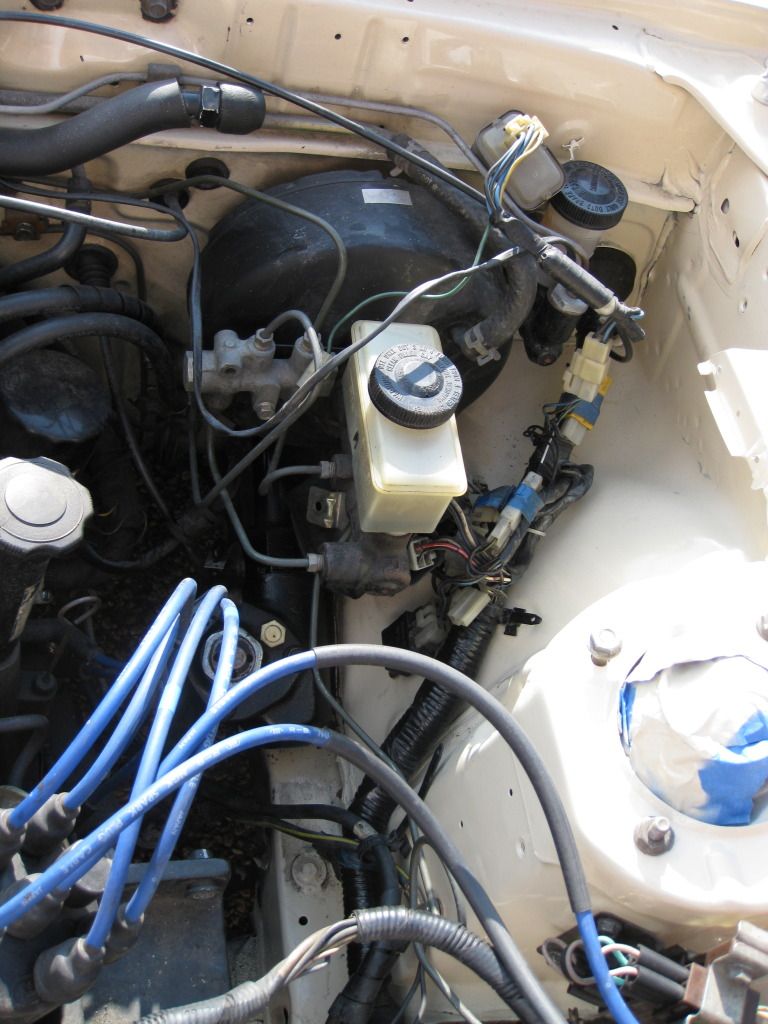
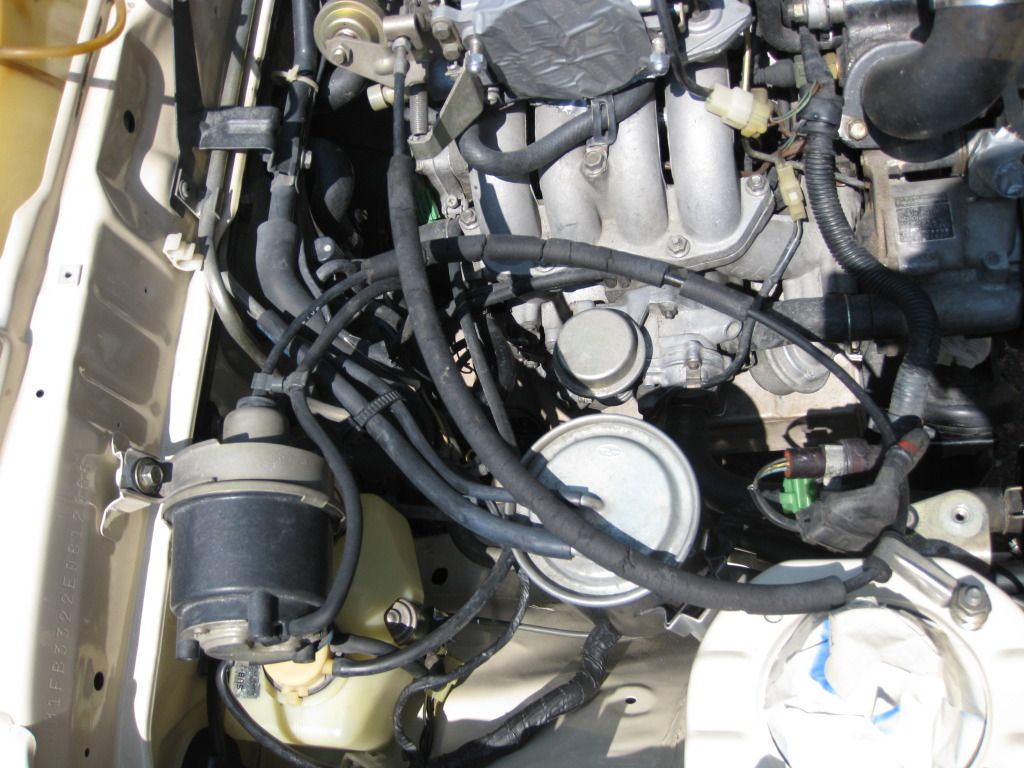
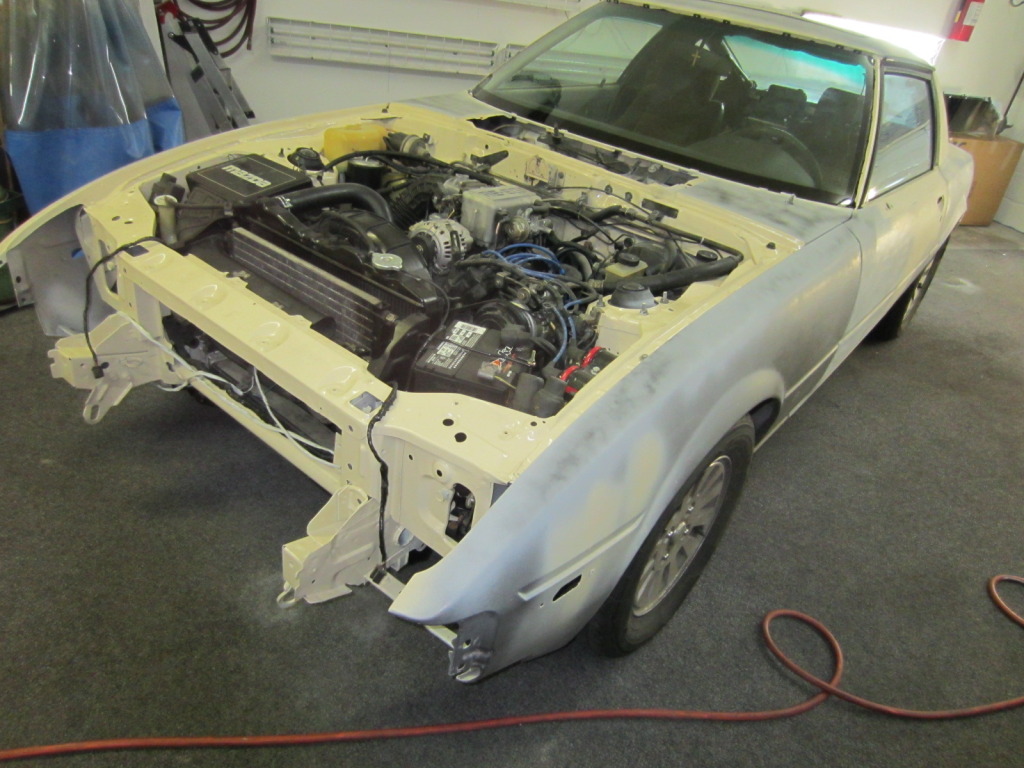
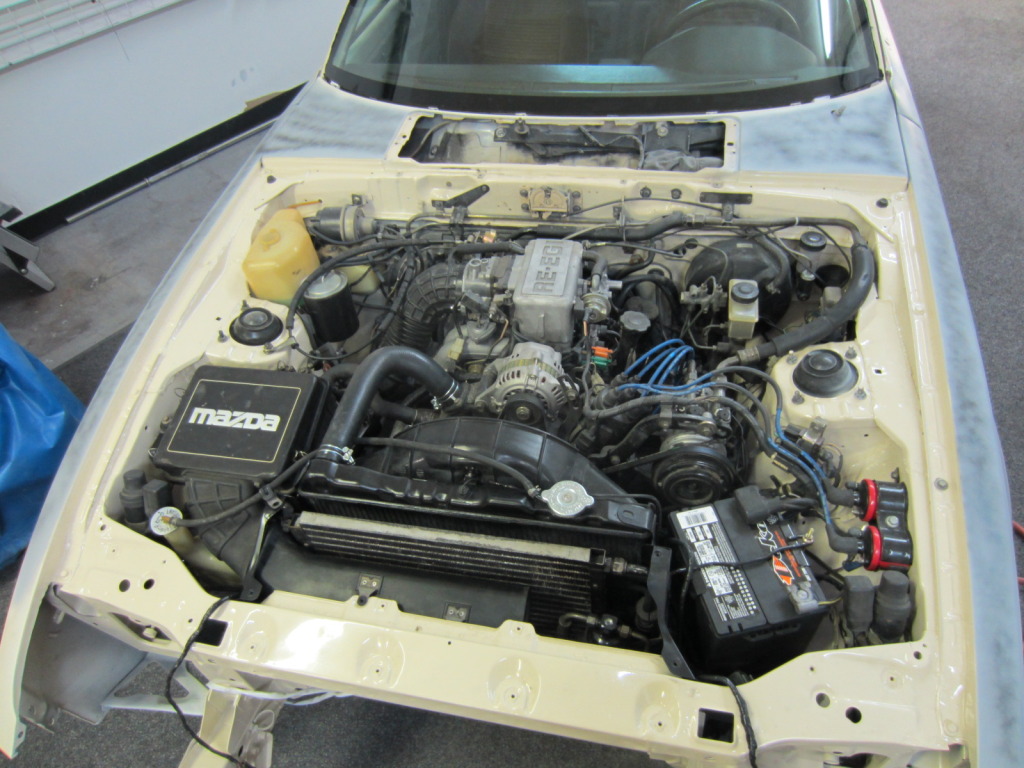
The motor is basically ready to start. One of the ac hard lines needs a pin hole to be repaired to get it charged. I replaced all the o-rings in the system. The entire engine bay is together. I need to get a battery still. The brake system is also ready to do the final bleeding. The cooland will need all the air out of the system but we need to start it first. I need to do the bushings in the front end still.
The motor is basically ready to start. One of the ac hard lines needs a pin hole to be repaired to get it charged. I replaced all the o-rings in the system. The entire engine bay is together. I need to get a battery still. The brake system is also ready to do the final bleeding. The cooland will need all the air out of the system but we need to start it first. I need to do the bushings in the front end still.
09-05-12, 12:55 PM
#238
Rotary Freak
Thread Starter
iTrader: (19)
Join Date: Oct 2007
Location: Colorado Springs, CO
Posts: 2,014
Likes: 0
Received 0 Likes
on
0 Posts
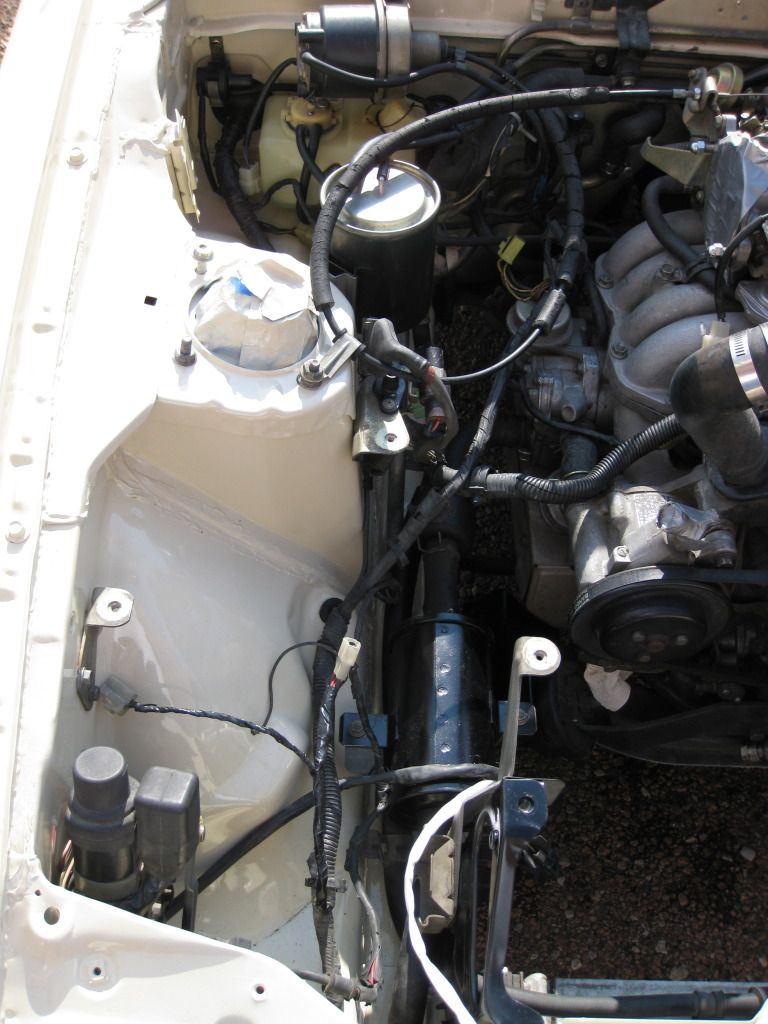
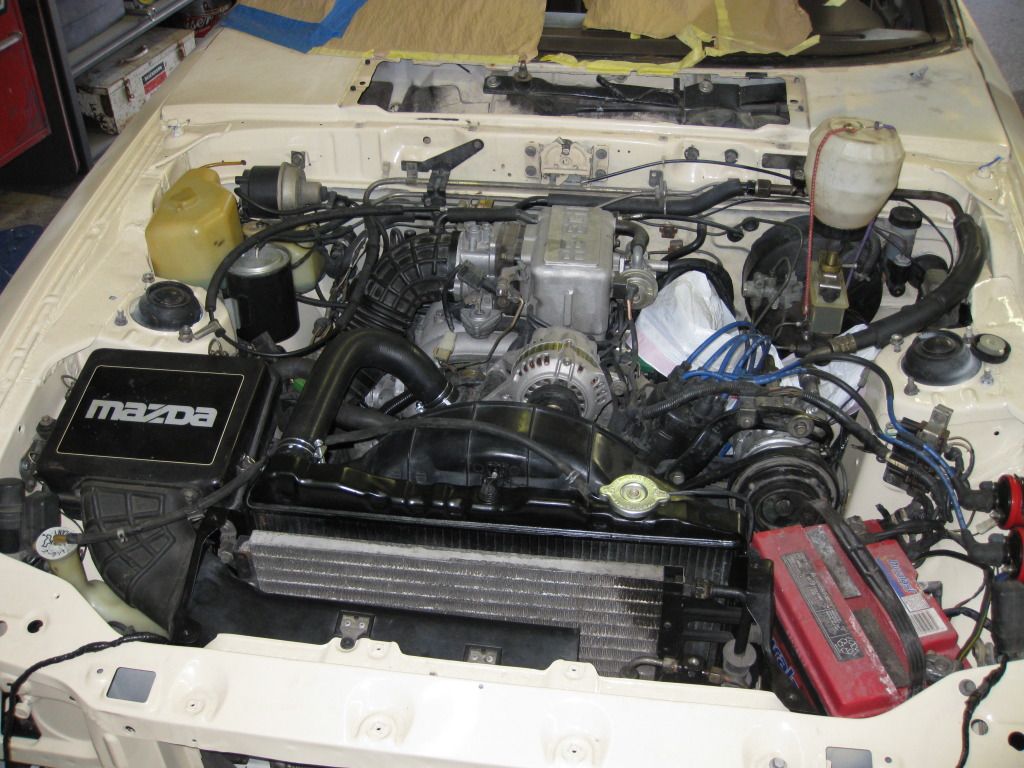
I installed the strut rod/sway mounts, control arm bushings, and sway bar end links. The front suspension is now completely done except the passanger strut rotator.
The latest pics I took:
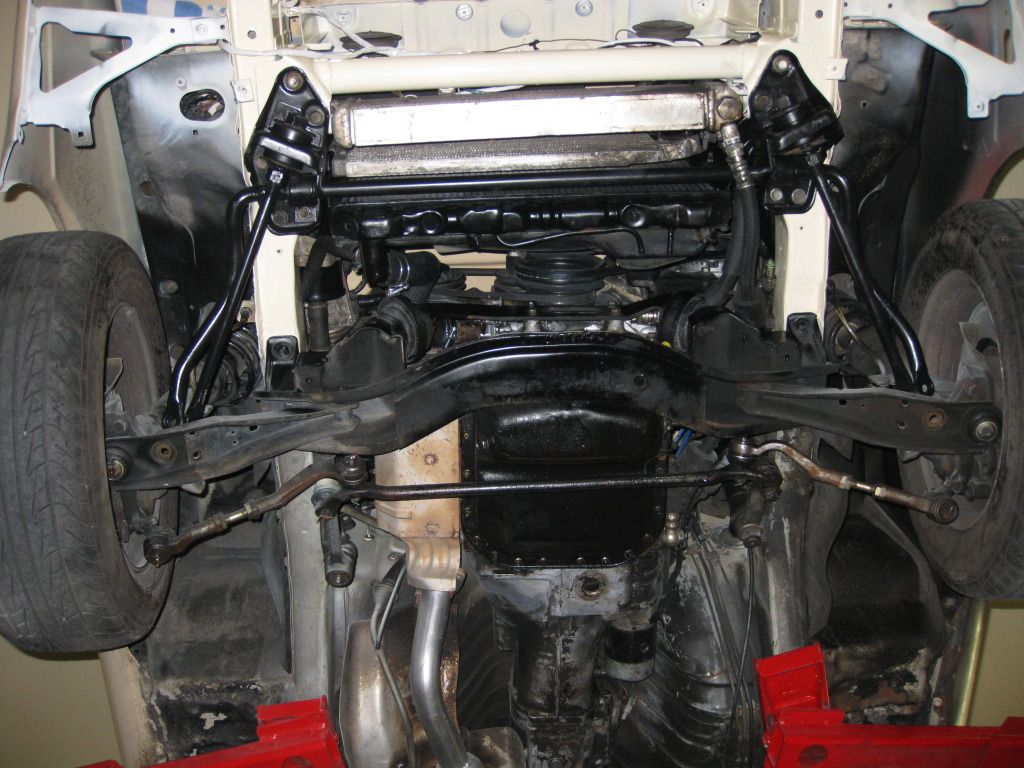
I also picked up a nearly perfect underpan.
The latest pics I took:
I also picked up a nearly perfect underpan.
09-20-12, 09:36 AM
#239
Rotary Freak
Thread Starter
iTrader: (19)
Join Date: Oct 2007
Location: Colorado Springs, CO
Posts: 2,014
Likes: 0
Received 0 Likes
on
0 Posts
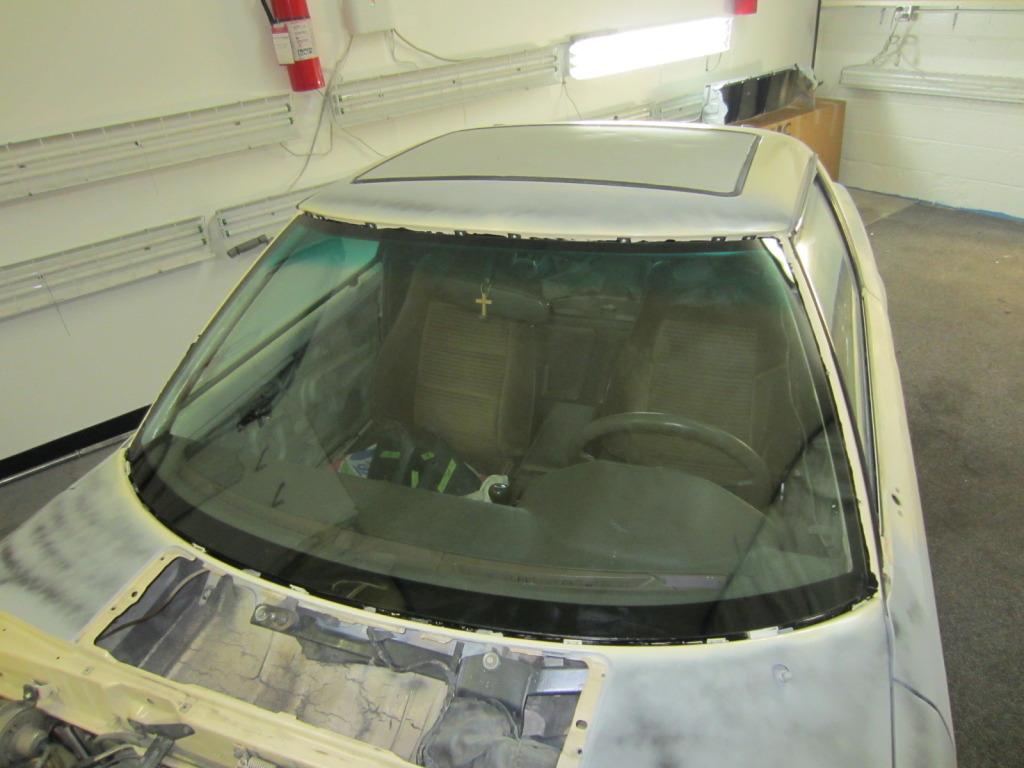
I installed the shifter, primed the oil, and started the car up. The car has no leaks. The clutch and brakes are bled. The A/C is also charged.
All that is left is body work and paint stuff.
Yesterday the rust around the windshield was fixed finally.

I took this pic before he painted the beige. He had two rust holes to fix and it was basically bubbling rust all the way around the frame. He painted two coats of primer and two coats of beige. There is no way this will rust again.
The windshield will go in today.
All that is left is body work and paint stuff.
Yesterday the rust around the windshield was fixed finally.
I took this pic before he painted the beige. He had two rust holes to fix and it was basically bubbling rust all the way around the frame. He painted two coats of primer and two coats of beige. There is no way this will rust again.
The windshield will go in today.
09-20-12, 09:37 AM
#240
Rotary Freak
Thread Starter
iTrader: (19)
Join Date: Oct 2007
Location: Colorado Springs, CO
Posts: 2,014
Likes: 0
Received 0 Likes
on
0 Posts
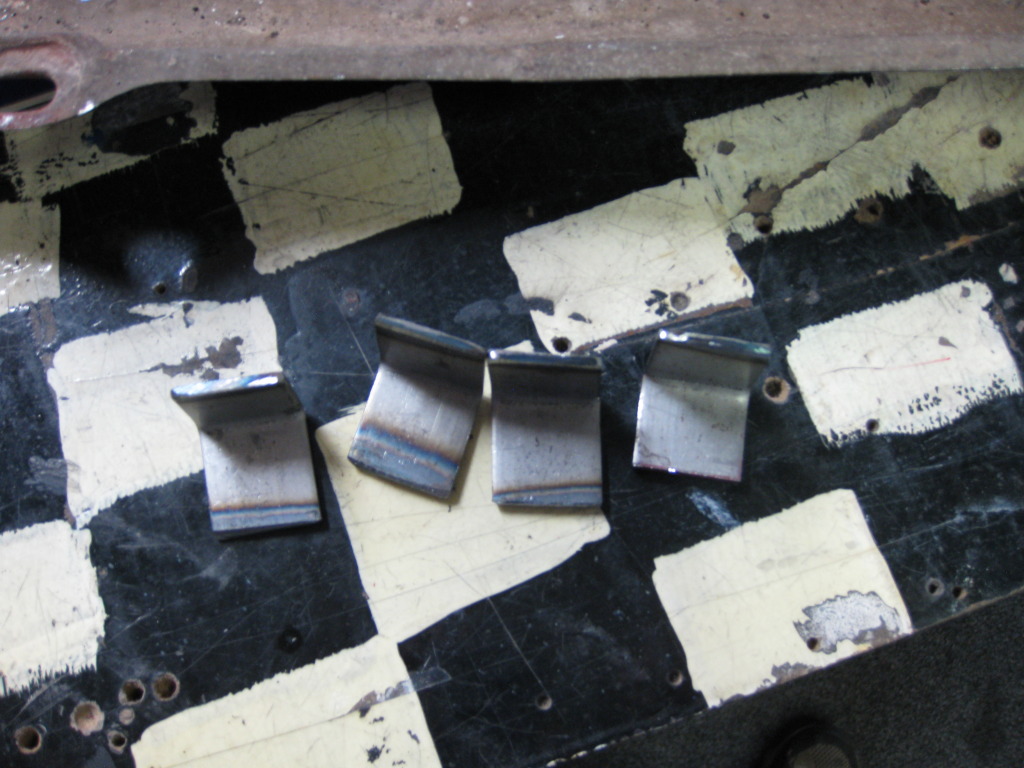
I made some mounts for the exhaust heat shield. The old mounts rusted off. They still need to be welded but that is it. I'll get a pic when everything is installed.
Pipe:
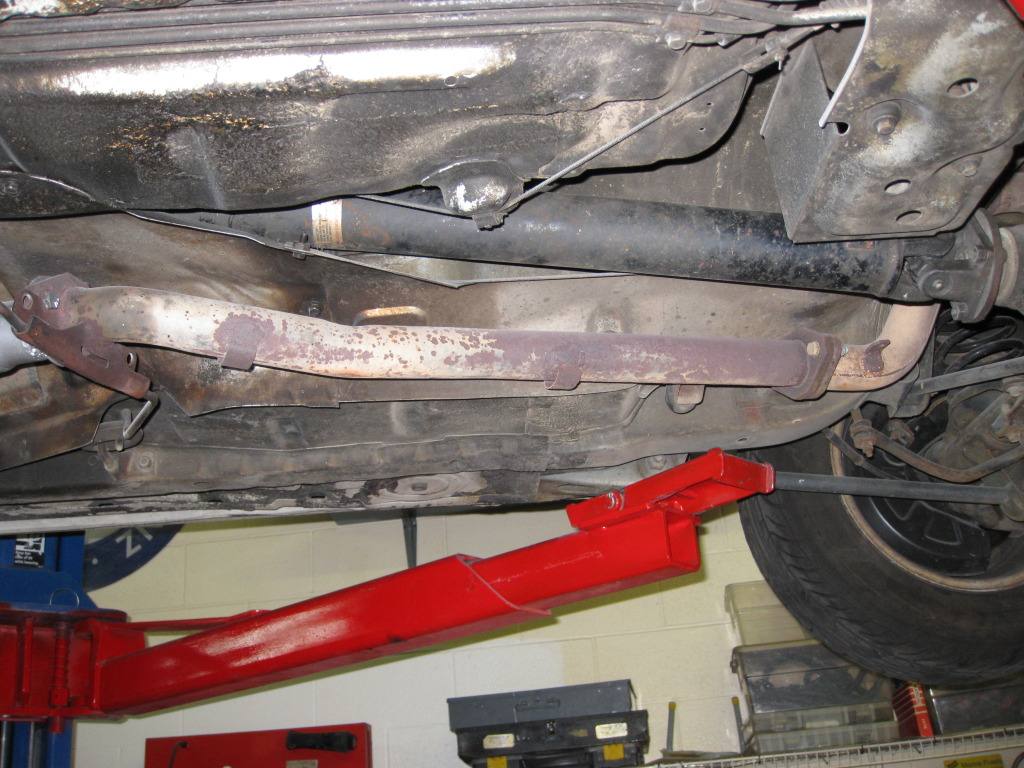
Shield:
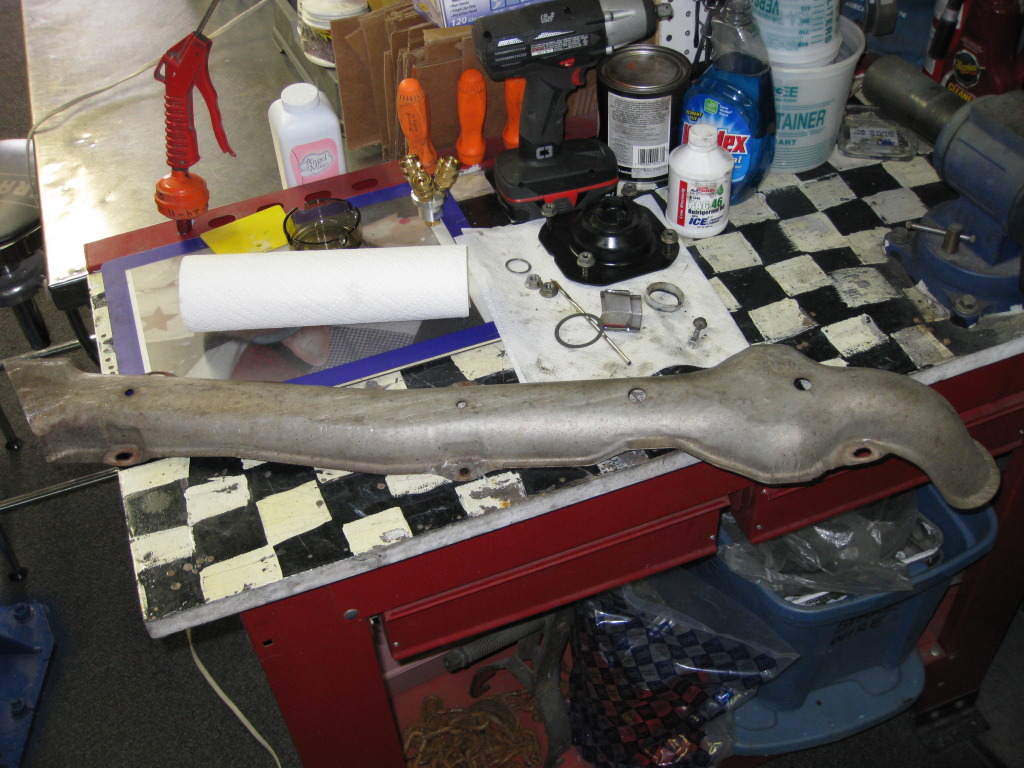
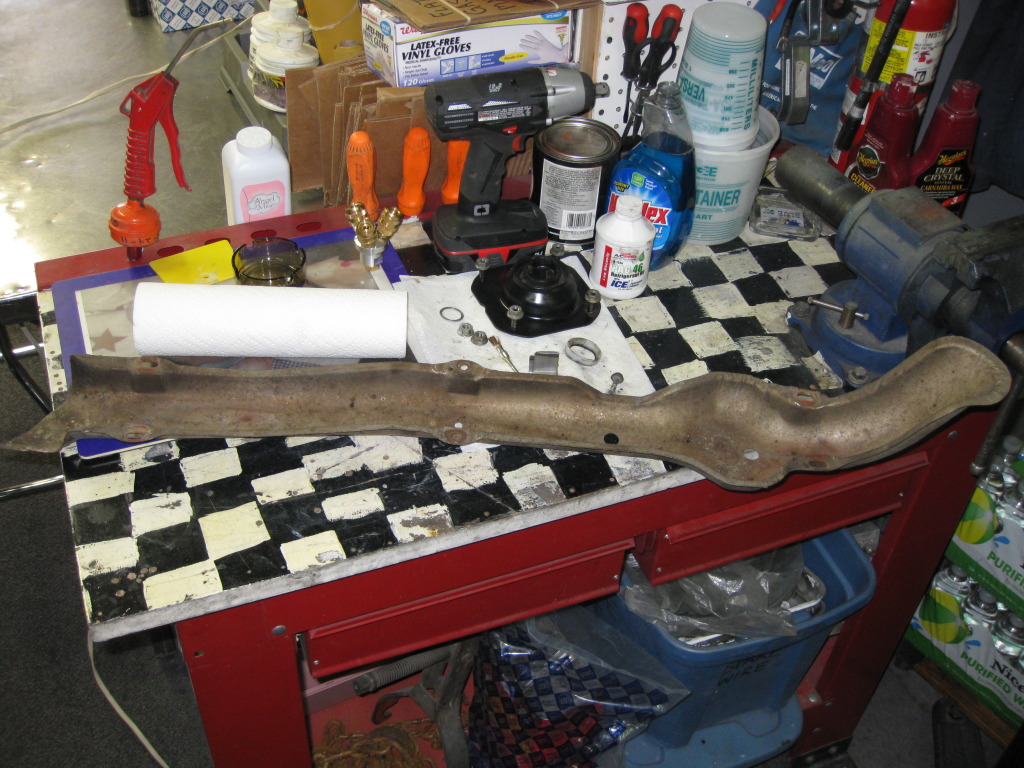
Mounts:
Pipe:
Shield:
Mounts:
 10-01-12, 12:39 PM
#242
Rotary Freak
Thread Starter
iTrader: (19)
Join Date: Oct 2007
Location: Colorado Springs, CO
Posts: 2,014
Likes: 0
Received 0 Likes
on
0 Posts
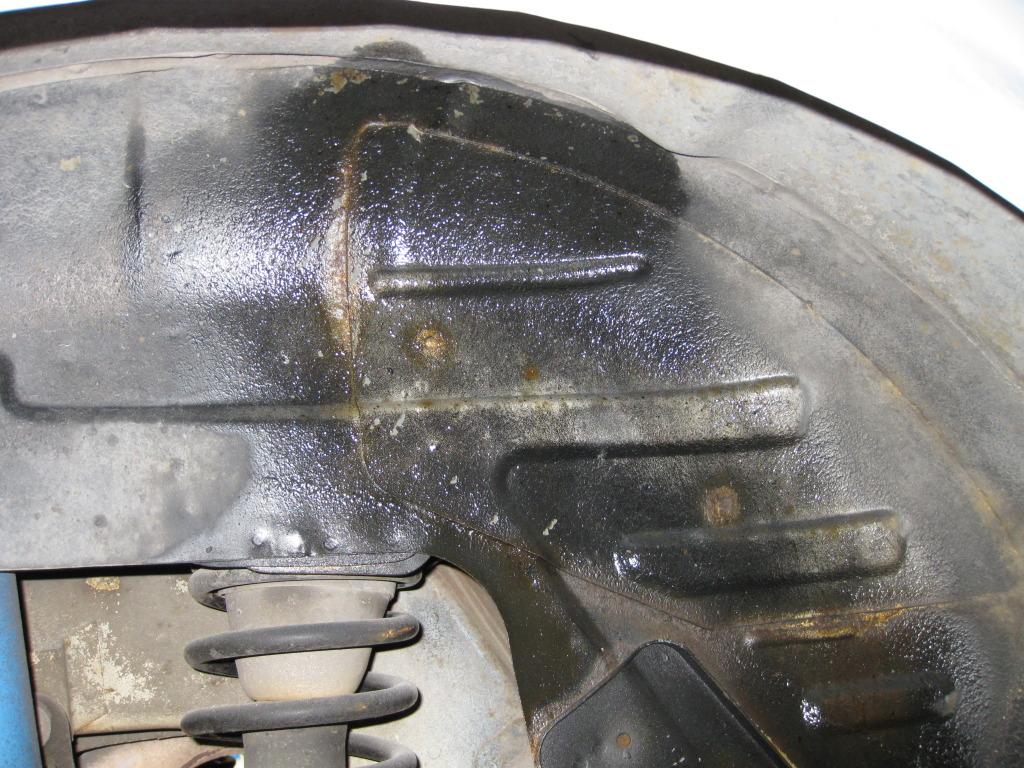
The underside of the hood is painted as well as the underside of the front cowl.
The car is back up on the lift so we can finish the underside. The rust in the rear fender wells is worse than we originally thought. He started tapping the rust (what we thought was just a couple of quarter size holes) with a very small hamer and the hose started getting bigger.
The car is back up on the lift so we can finish the underside. The rust in the rear fender wells is worse than we originally thought. He started tapping the rust (what we thought was just a couple of quarter size holes) with a very small hamer and the hose started getting bigger.
10-01-12, 12:53 PM
#243
Rotary Freak
Thread Starter
iTrader: (19)
Join Date: Oct 2007
Location: Colorado Springs, CO
Posts: 2,014
Likes: 0
Received 0 Likes
on
0 Posts
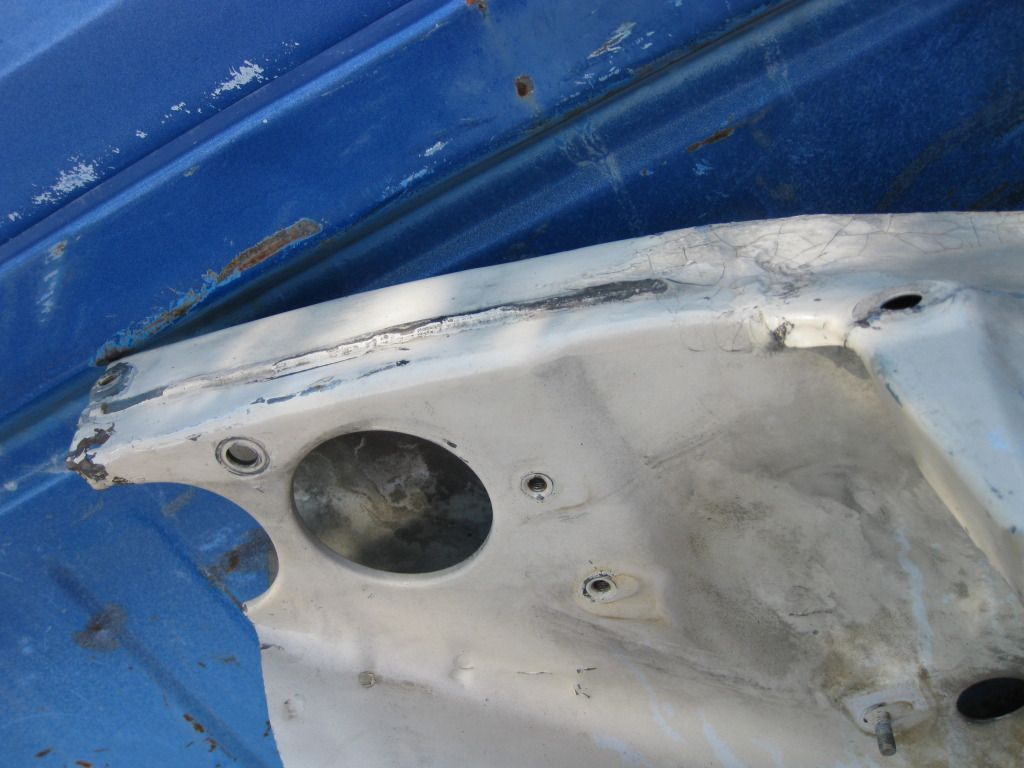
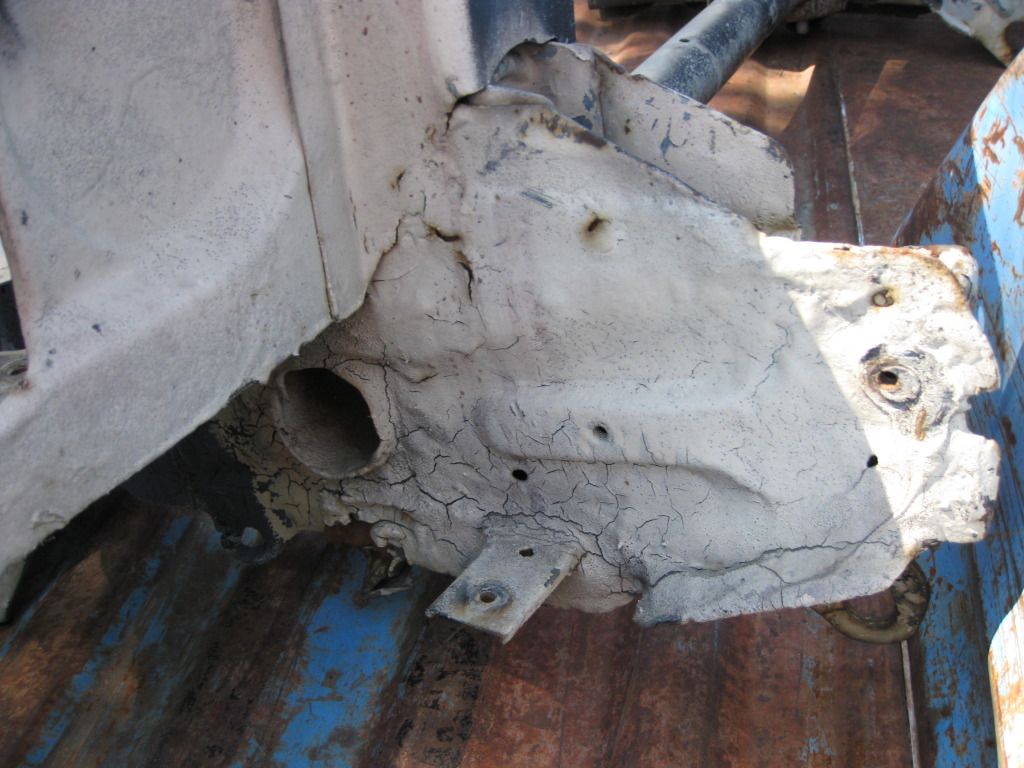
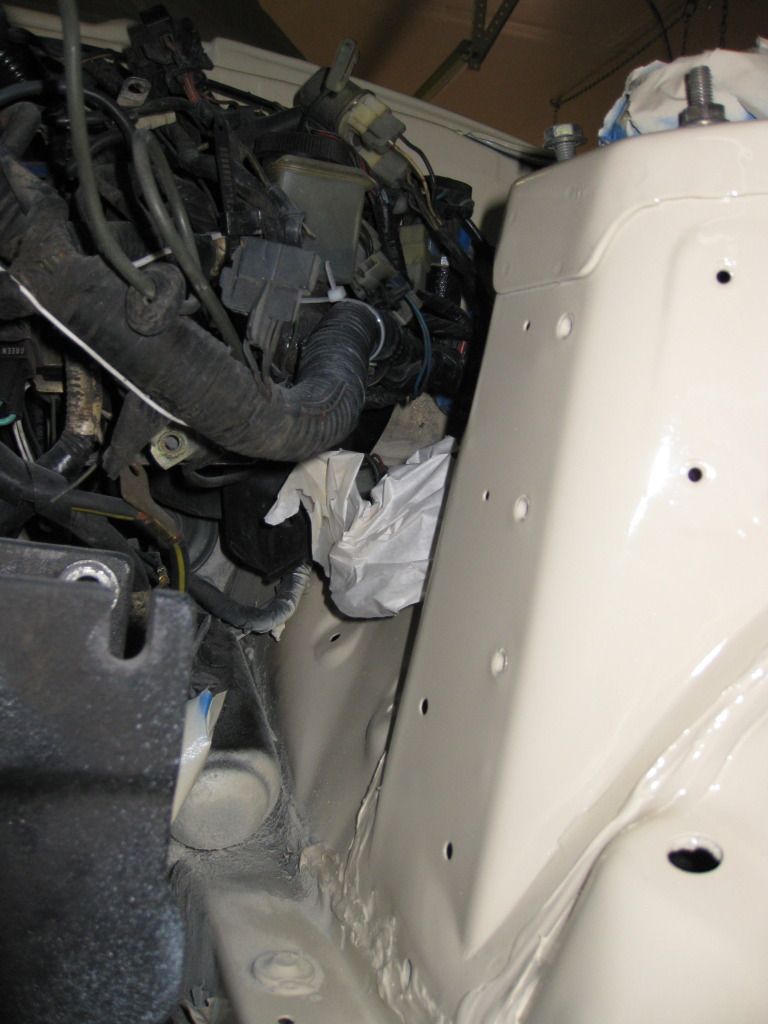
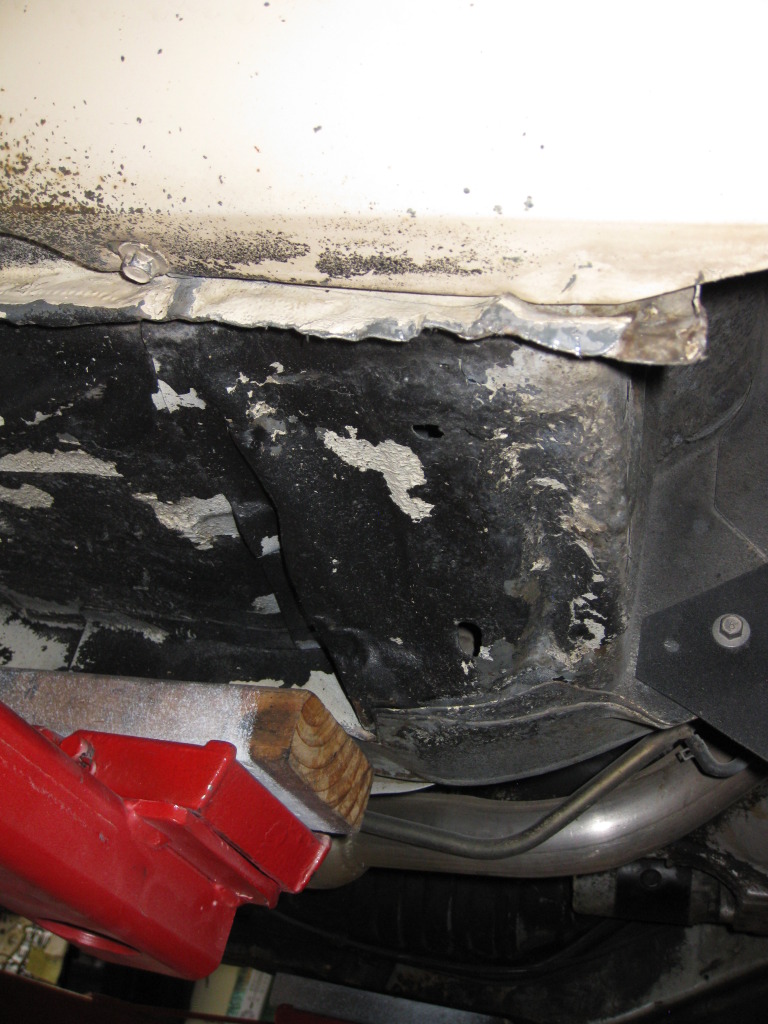
The upper front corner of the wheel well on the passenger side:
This section isn't bad on this side.
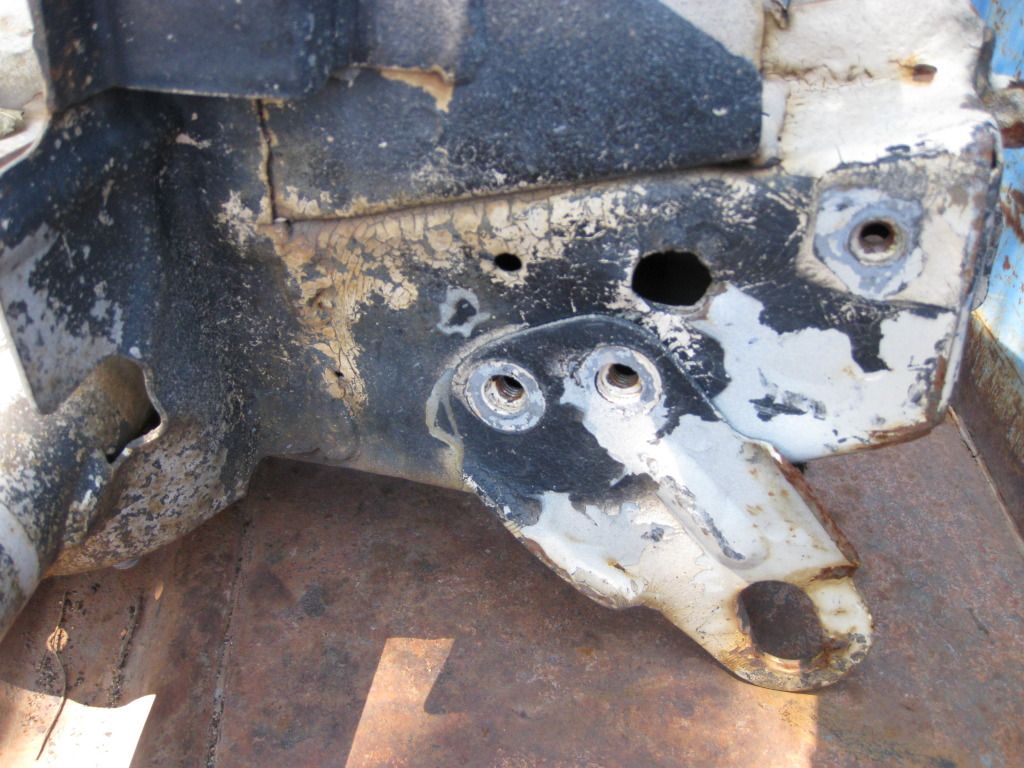
The upper front corner of the wheel well on the driver side:
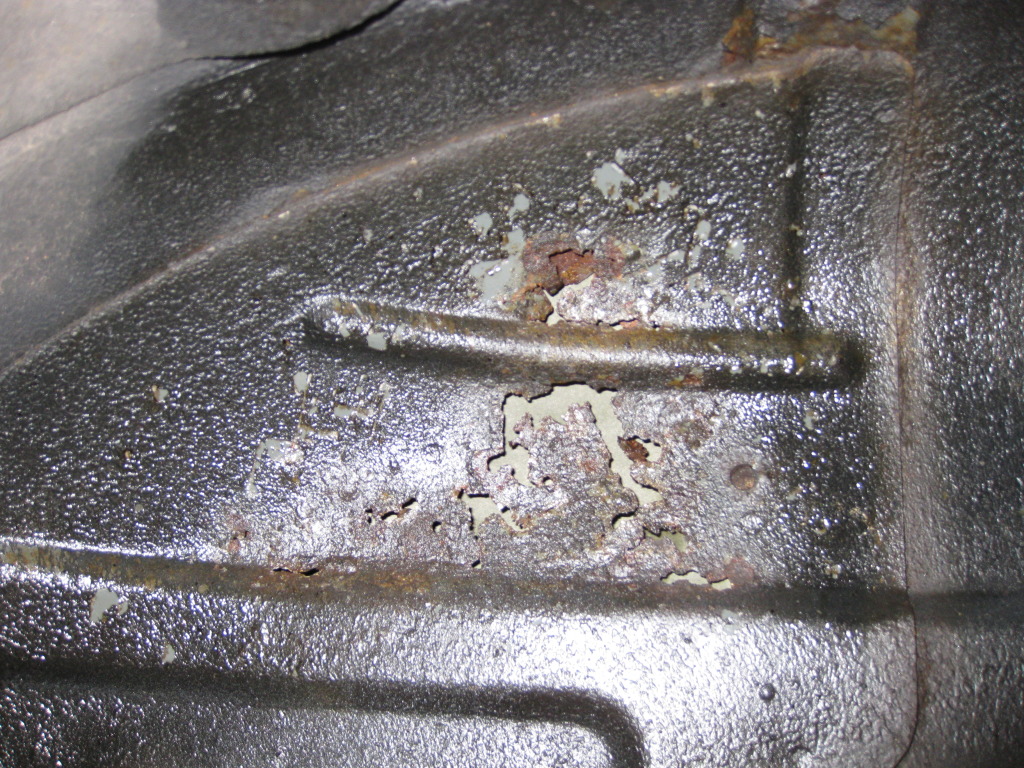
That lighter colored material behind the rust is actually paper on the inside of the car.
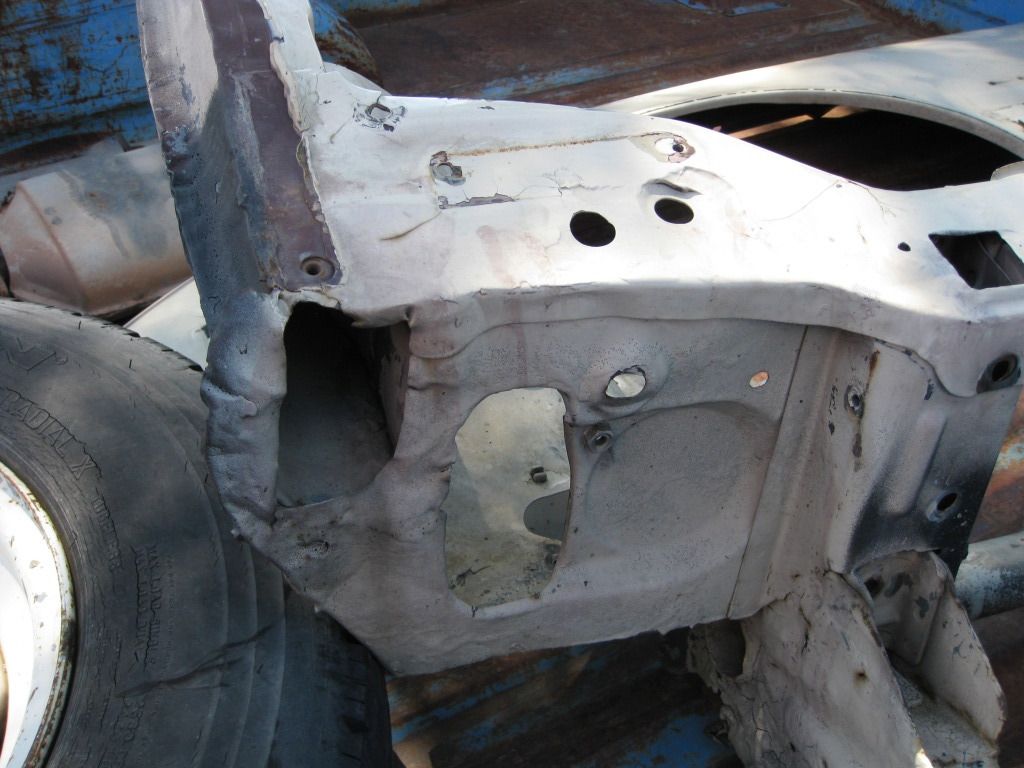
Upper control arm mount on the passenger side:
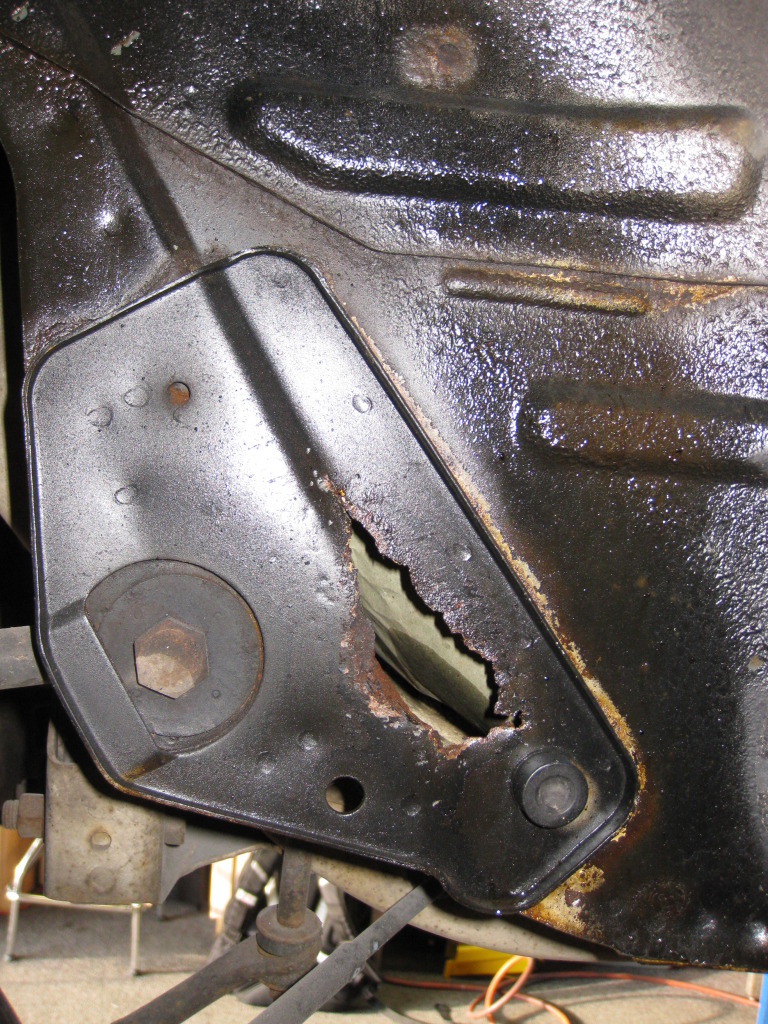
Upper control arm mount on the driver side:
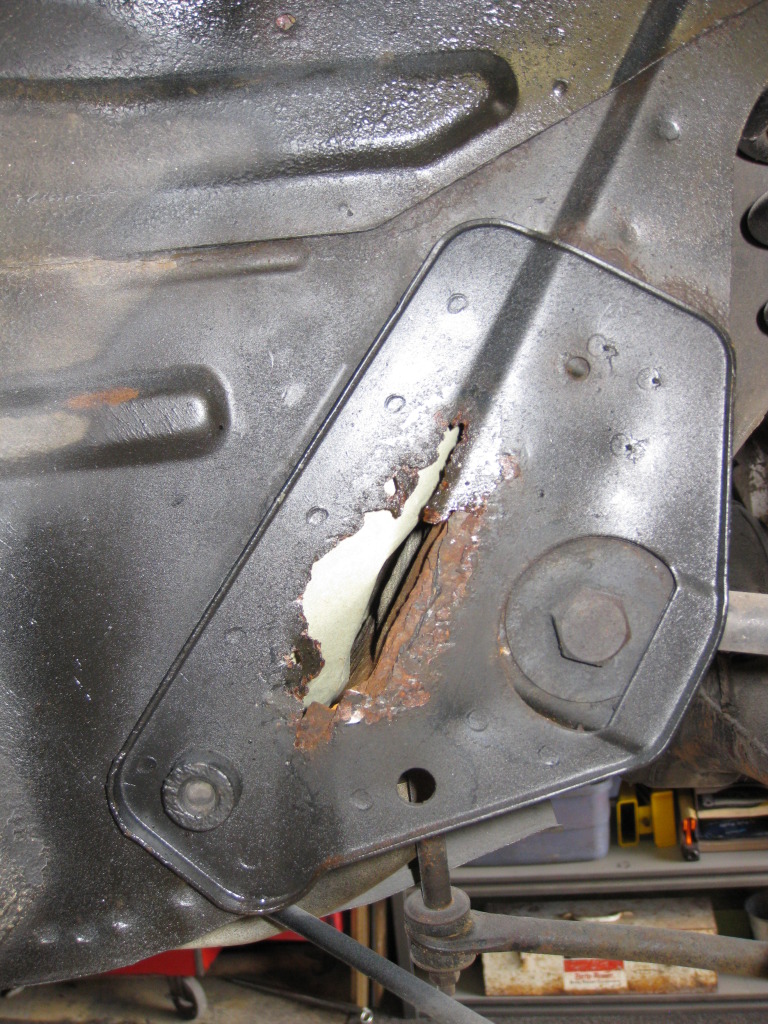
Front angled braces and body seams that will need pulling and straightening. Probably used as jacking points at some time in the past:

This section isn't bad on this side.
The upper front corner of the wheel well on the driver side:
That lighter colored material behind the rust is actually paper on the inside of the car.
Upper control arm mount on the passenger side:
Upper control arm mount on the driver side:
Front angled braces and body seams that will need pulling and straightening. Probably used as jacking points at some time in the past:
12-13-12, 02:42 PM
#244
Full Member

Join Date: Sep 2002
Location: Durham
Posts: 59
Likes: 0
Received 0 Likes
on
0 Posts
Wow, just found this, it will be inspirational as i freshen my new-to-me GSL-SE. Should also be a good source of info from Chris and other commenters.
RE: headlight & turnsignals - are you looking for pics of the wiring? I may be able to get some pictures, but no guarantees that mine is right
RE: headlight & turnsignals - are you looking for pics of the wiring? I may be able to get some pictures, but no guarantees that mine is right
02-05-13, 11:28 AM
#245
Rotary Freak
Thread Starter
iTrader: (19)
Join Date: Oct 2007
Location: Colorado Springs, CO
Posts: 2,014
Likes: 0
Received 0 Likes
on
0 Posts
I haven't been around much in a while because I've been very frustrated at the progress of the paint. In one week it will be a year since the I dropped the car off.
We also have our first baby on the way that will be here any day now (due date 2-12). I've been spending a lot of time working on the house to get it ready.
Finally last night some progress was made:
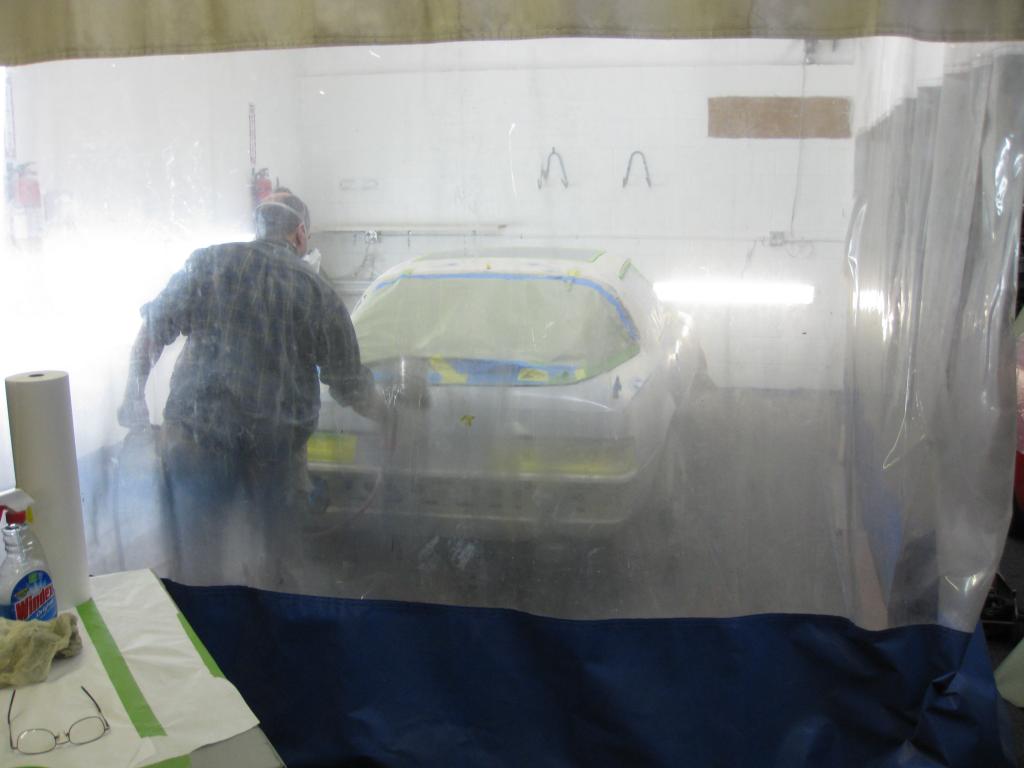
As of this morning the primer is done:
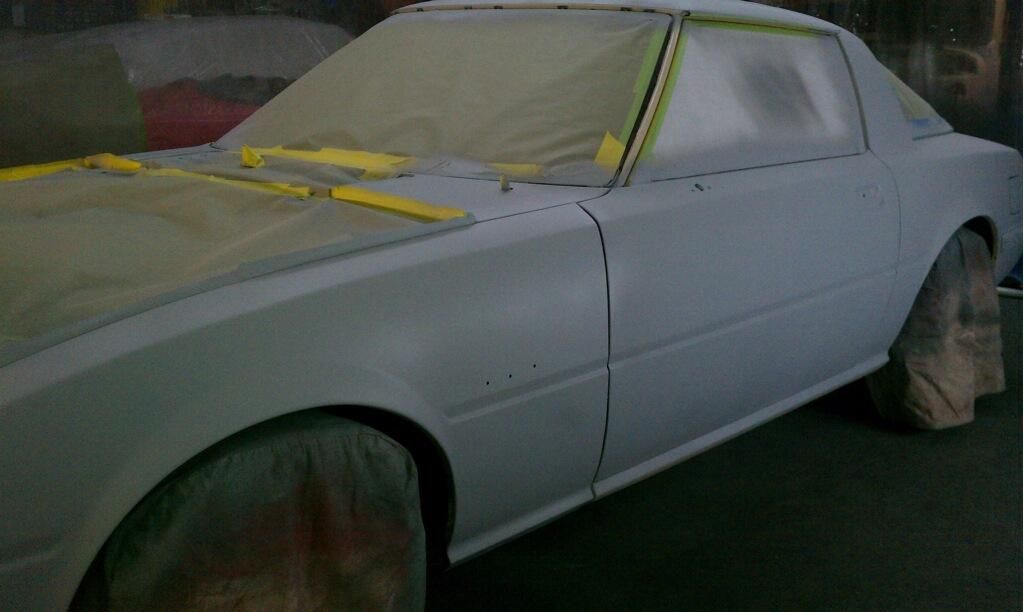
I will be back at the shop this evening to see how it's looking and help get it done.
We also have our first baby on the way that will be here any day now (due date 2-12). I've been spending a lot of time working on the house to get it ready.
Finally last night some progress was made:
As of this morning the primer is done:
I will be back at the shop this evening to see how it's looking and help get it done.

