When you click on links to various merchants on this site and make a purchase, this can result in this site earning a commission. Affiliate programs and affiliations include, but are not limited to, the eBay Partner Network.
I need help - seriously. I need help with my steering
Originally Posted by RCCAZ 1
Been awhile since I've checked in Mike. Amazing progress. I know who to contact when I start cleaning up my undercarriage and suspension . Thinking of pulling my antenna and doing some of my own forensics as well. Antenna goes up and down, but seems to get stuck at various points of each cycle. Need to understand what's causing that and just check out the overall condition of the unit. May post some pics of mine if it would be helpful. Keep up the amazing work!
Thanks Tim! I too suggest taking lots of pictures. I have what I think is a 79 antenna that had a broken mast I've been working on. The spring loaded gear unit unsprung on me and washers went everywhere. It's one of many little projects I have going on...
On to my request for help. I'm hoping Glenn or Banzai or one of the other experts will chime in (I saw Glenn's thread with his steering box taken apart).
In a bit of good news, I found a parts catalog from 79 online, and was able to see that the 79/80 steering box requires TWO seals, one at the bottom of the sector shaft, and one on the steering shaft. You can see these two, part number 32180A, in this shot of the steering gear parts catalog sheet:
Continuing the good news part of this story, I was able to order these seals from Jim Ellis Mazda In Hotlanta... They gigged me a bit on shipping, but I got them! They were spec'd out for an FC, but since the part numbers were the same I think they'll fit. The sector shaft seal looks right, but the other one for the steering column has got me over a barrel....
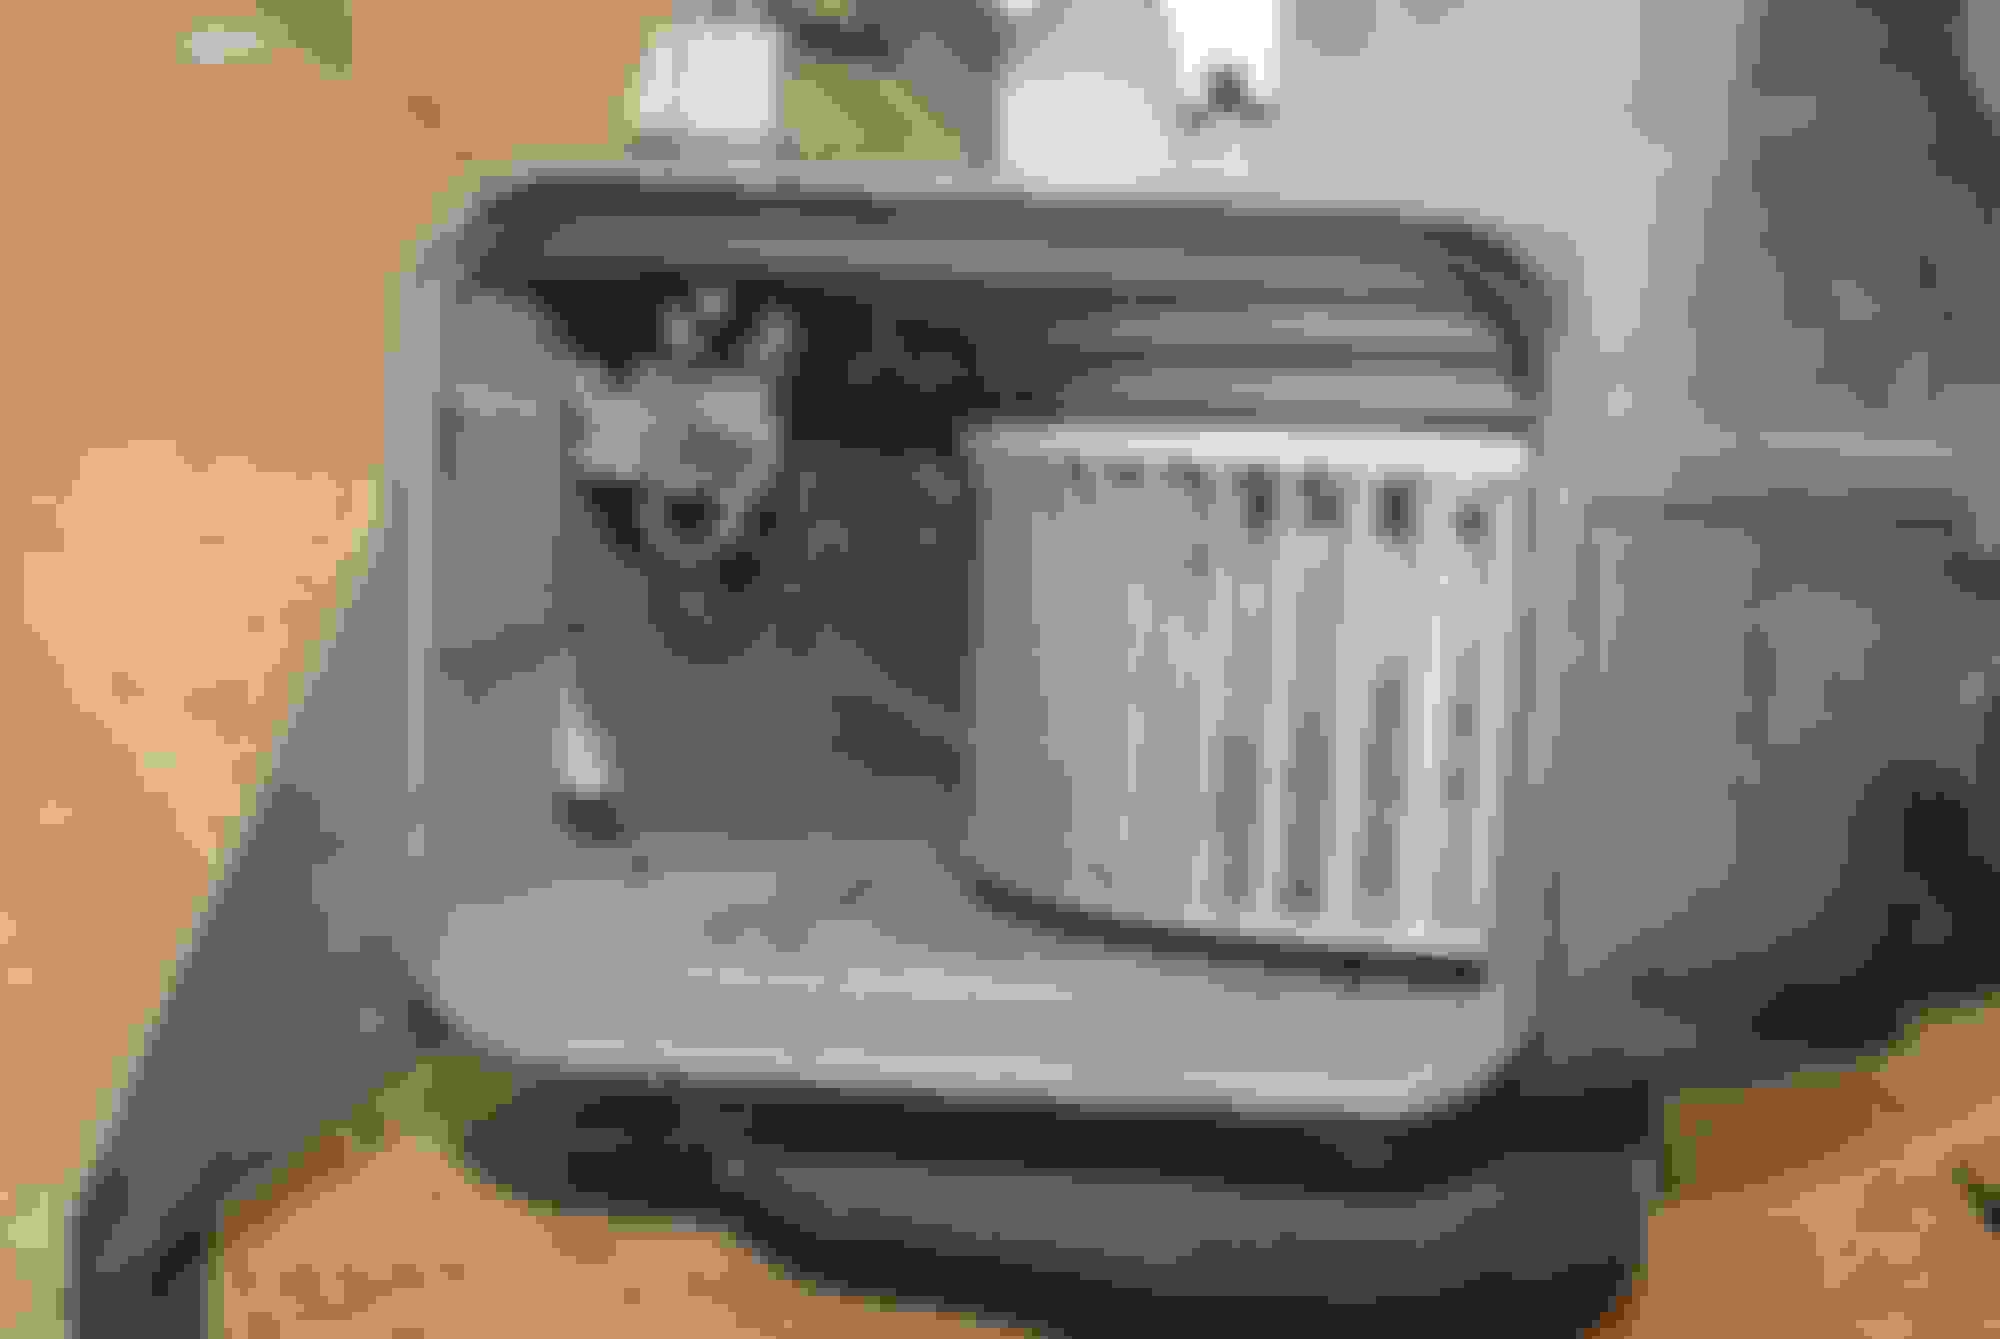
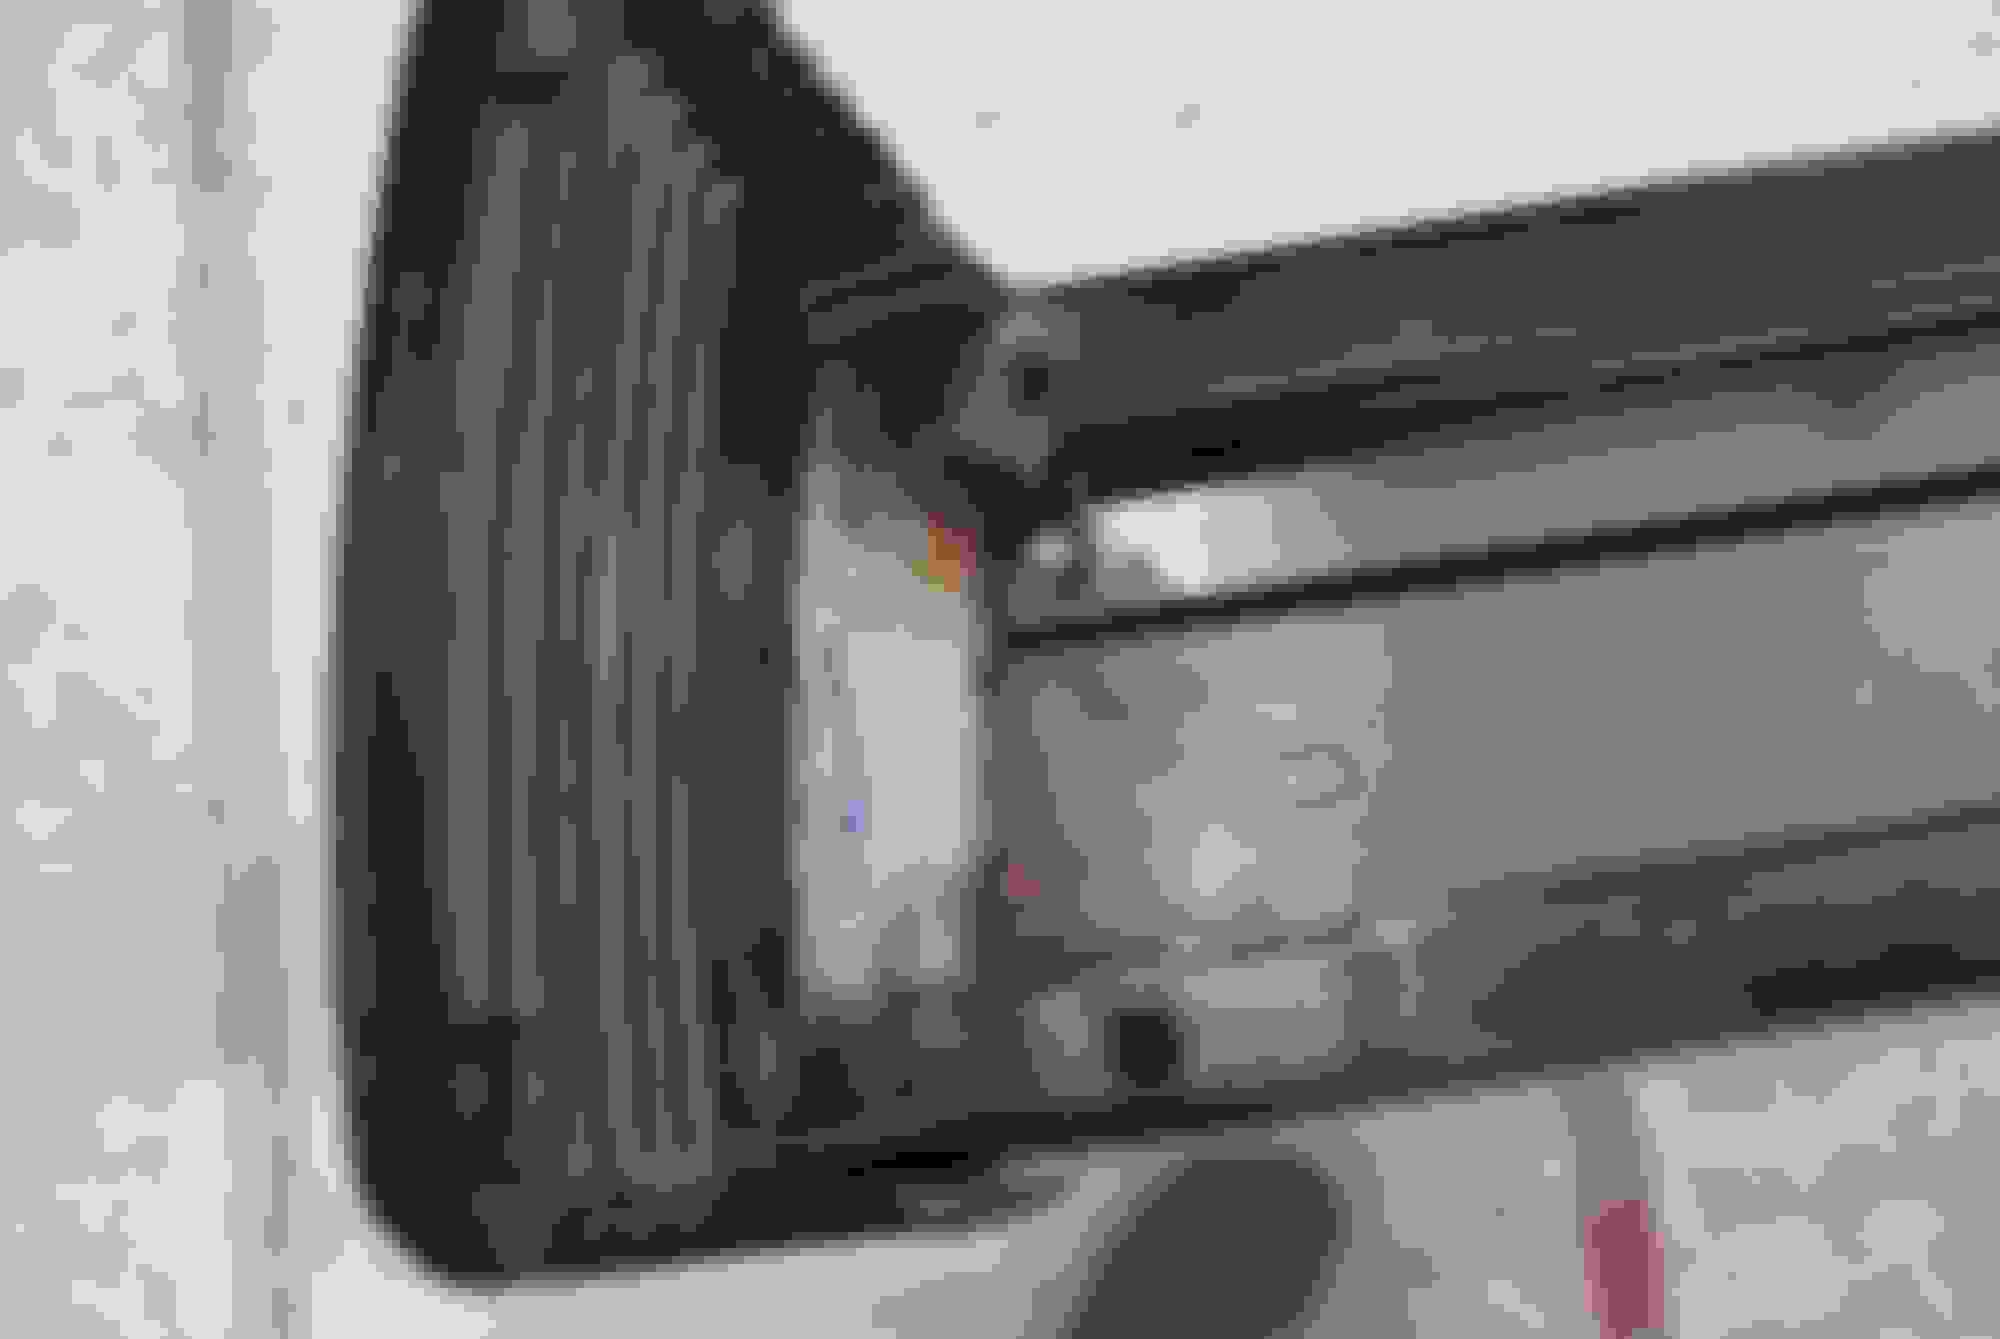
You can see from this shot that my steering shaft is missing the seal, the one that goes between the bearing and the threaded "plug".
In this shot you can clearly see daylight between the steering shaft and the threaded plug, and the new seal sitting next to it.
Man, I'm wondering, knowing that this car was hit hard in the left front, if someone rebuilt this steering column and forgot to put that seal around the steering shaft.... It's the only thing I can come up with.
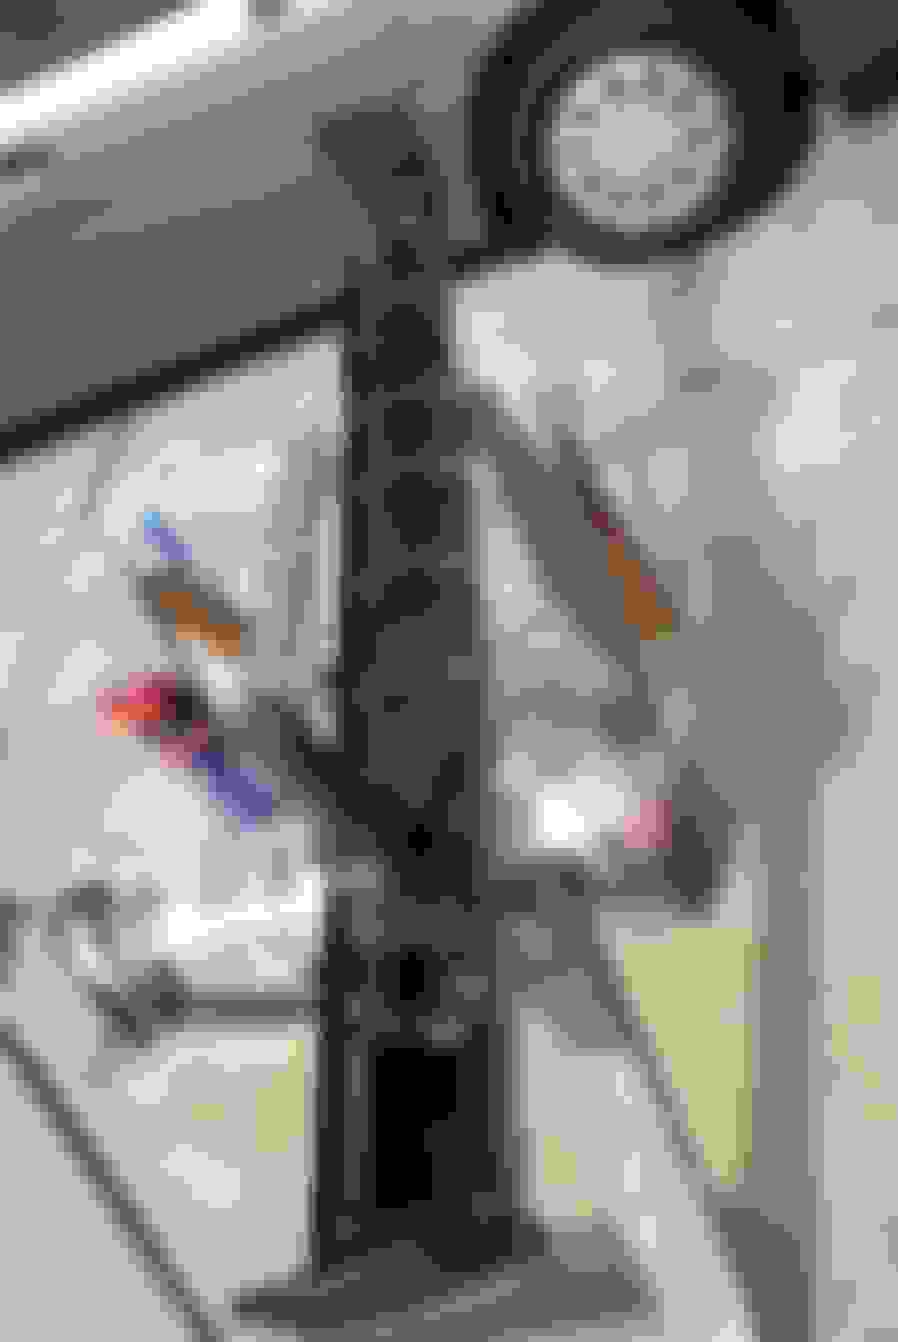
Does ANYONE have any experience with these seals or rebuilding these steering boxes? I have no idea how to put this seal on, except maybe if these steering columns are collapsing columns? There is a small metal band that is welded on each end, about 12 or 18 inches long that seems to keep one section of the steering shaft in place relative to the other - know what I mean? Here's a pic:
I'm wondering if I zip off one end of that metal band if the shaft will separate and I can then get the collar off and put the seal on?...
Well, I guess I'm going it alone on this steering issue as it seems no one has done much with these items. Only one person I contacted responded.
I separated the two halves of the shaft by drilling out the melted nylon and using a scap piece of metal as a drift to separate the shaft halves. I put a cobbled together gasket in place where mine was missing and then put the two shaft halves back together. I heated the shaft and melted into the shaft sections new nylon in the form of a nylon screw I got from Lowes.
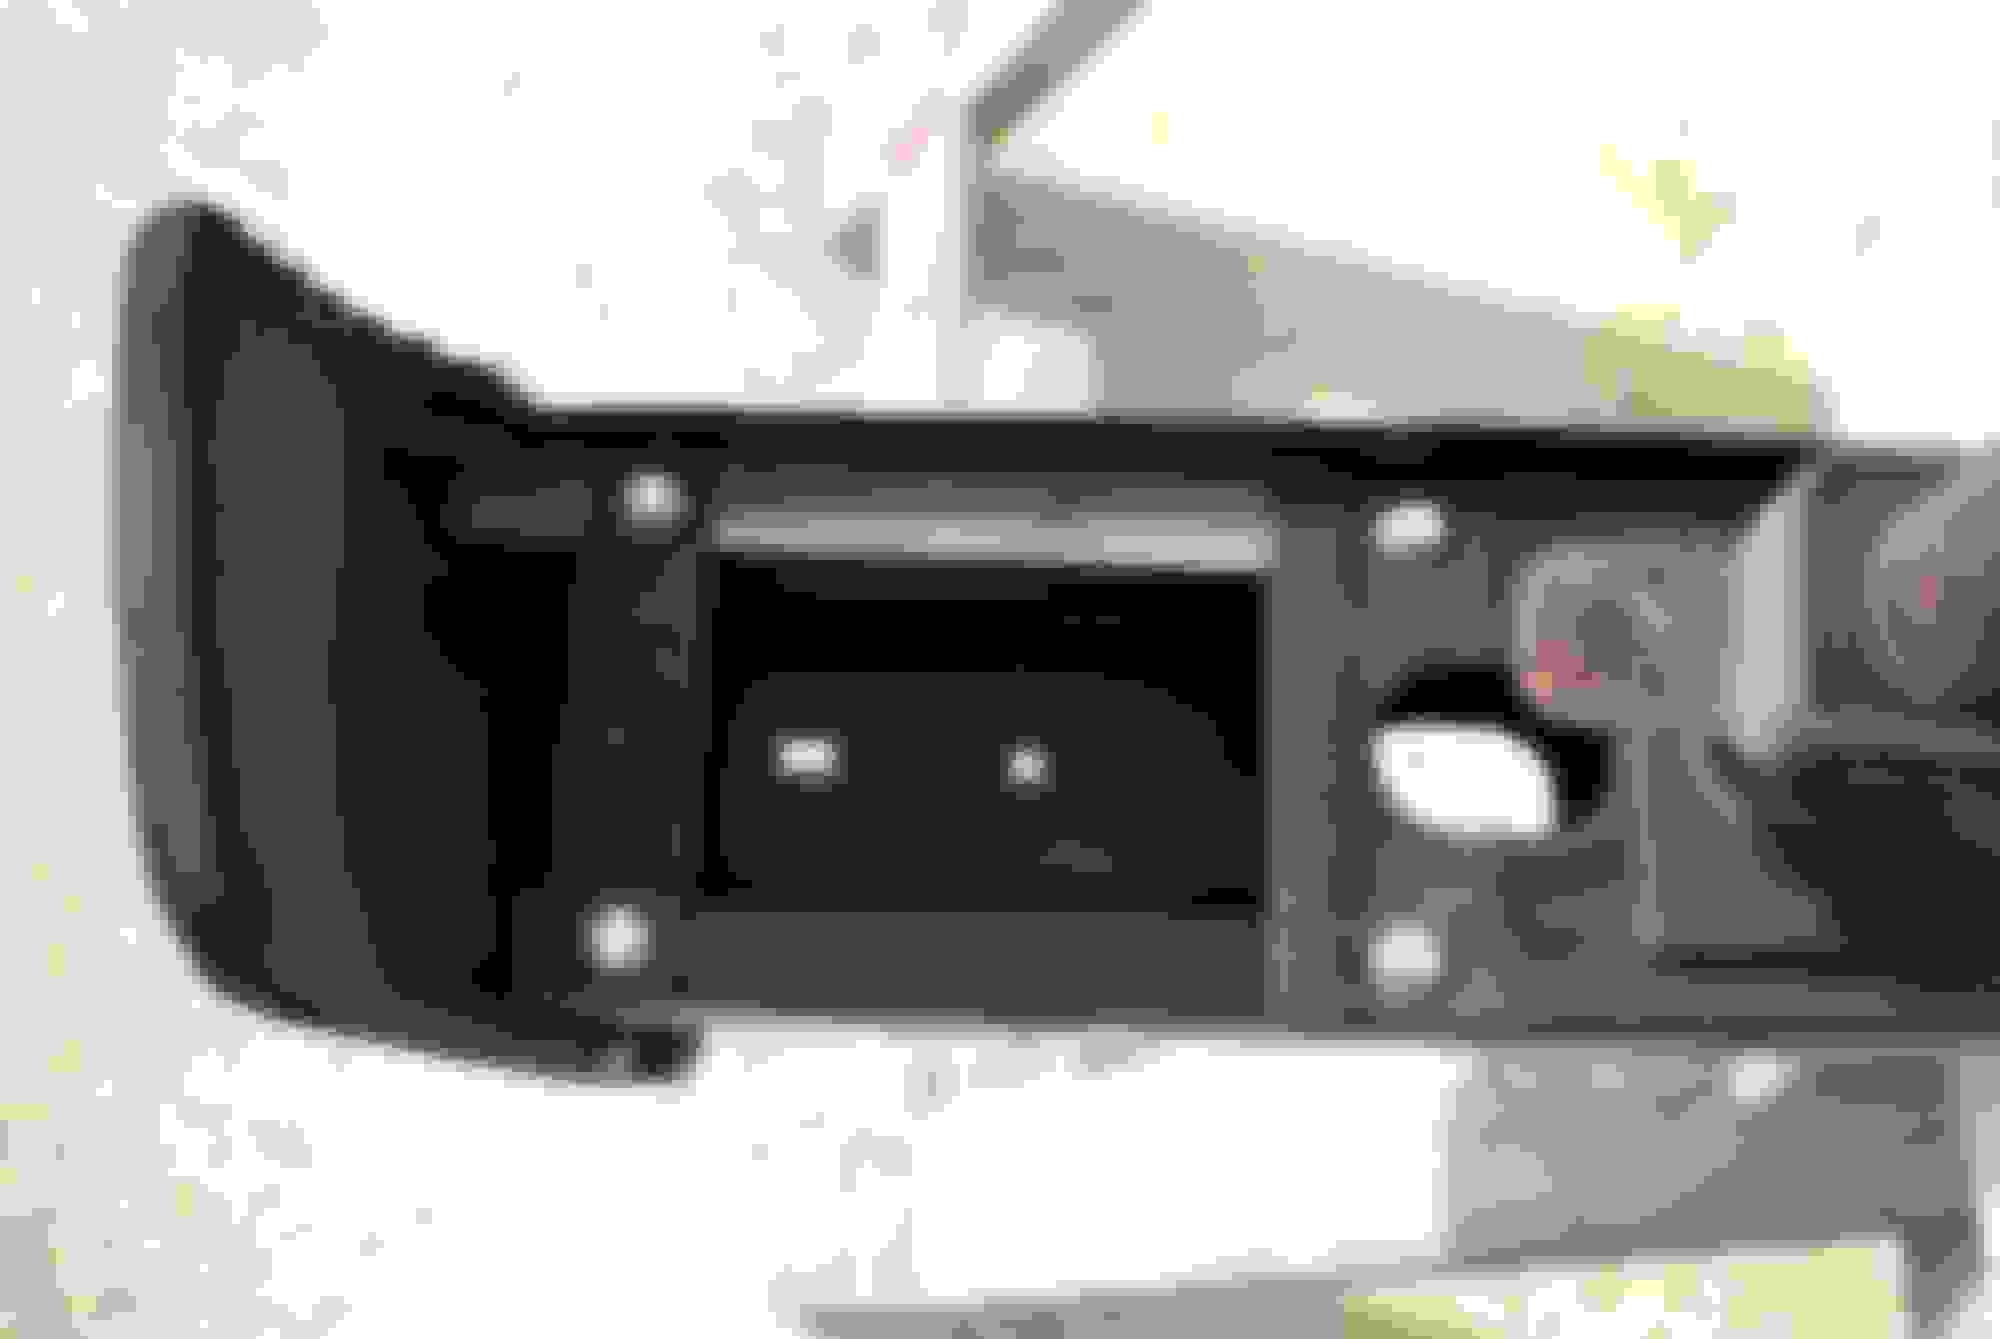
When I reassembled this gear, I put a bunch of axle grease in the bottom of the housing to keep the bearing on the bottom of the worm gear shaft (which is a unicorn) in place while I reassembled the gear box. I tested the pre-load on the gear per the FSM and then reinstalled the column back into the car. I installed a new pittman arm and had the same problem as another user on here is currently experiencing - the arm doesn't engage the sector shaft nearly as far as the stock pittman arm did. I decided to proceed with setting the load on the column per the FSM after it was installed, and could tell right away something wasn't right. I should have been able to grab the pittman arm and rotate it back and forth through the full range of motion, but I couldn't. It was smooth moving only in one direction and I had to rotate the column manually to move the pittman arm in the other direction. I took the side cover off the gear housing and found that the bottom bearing had moved. When I took it out I found this:
Needless to say I was more than PISSED, so I'm trying to source a replacement SA steering gear.
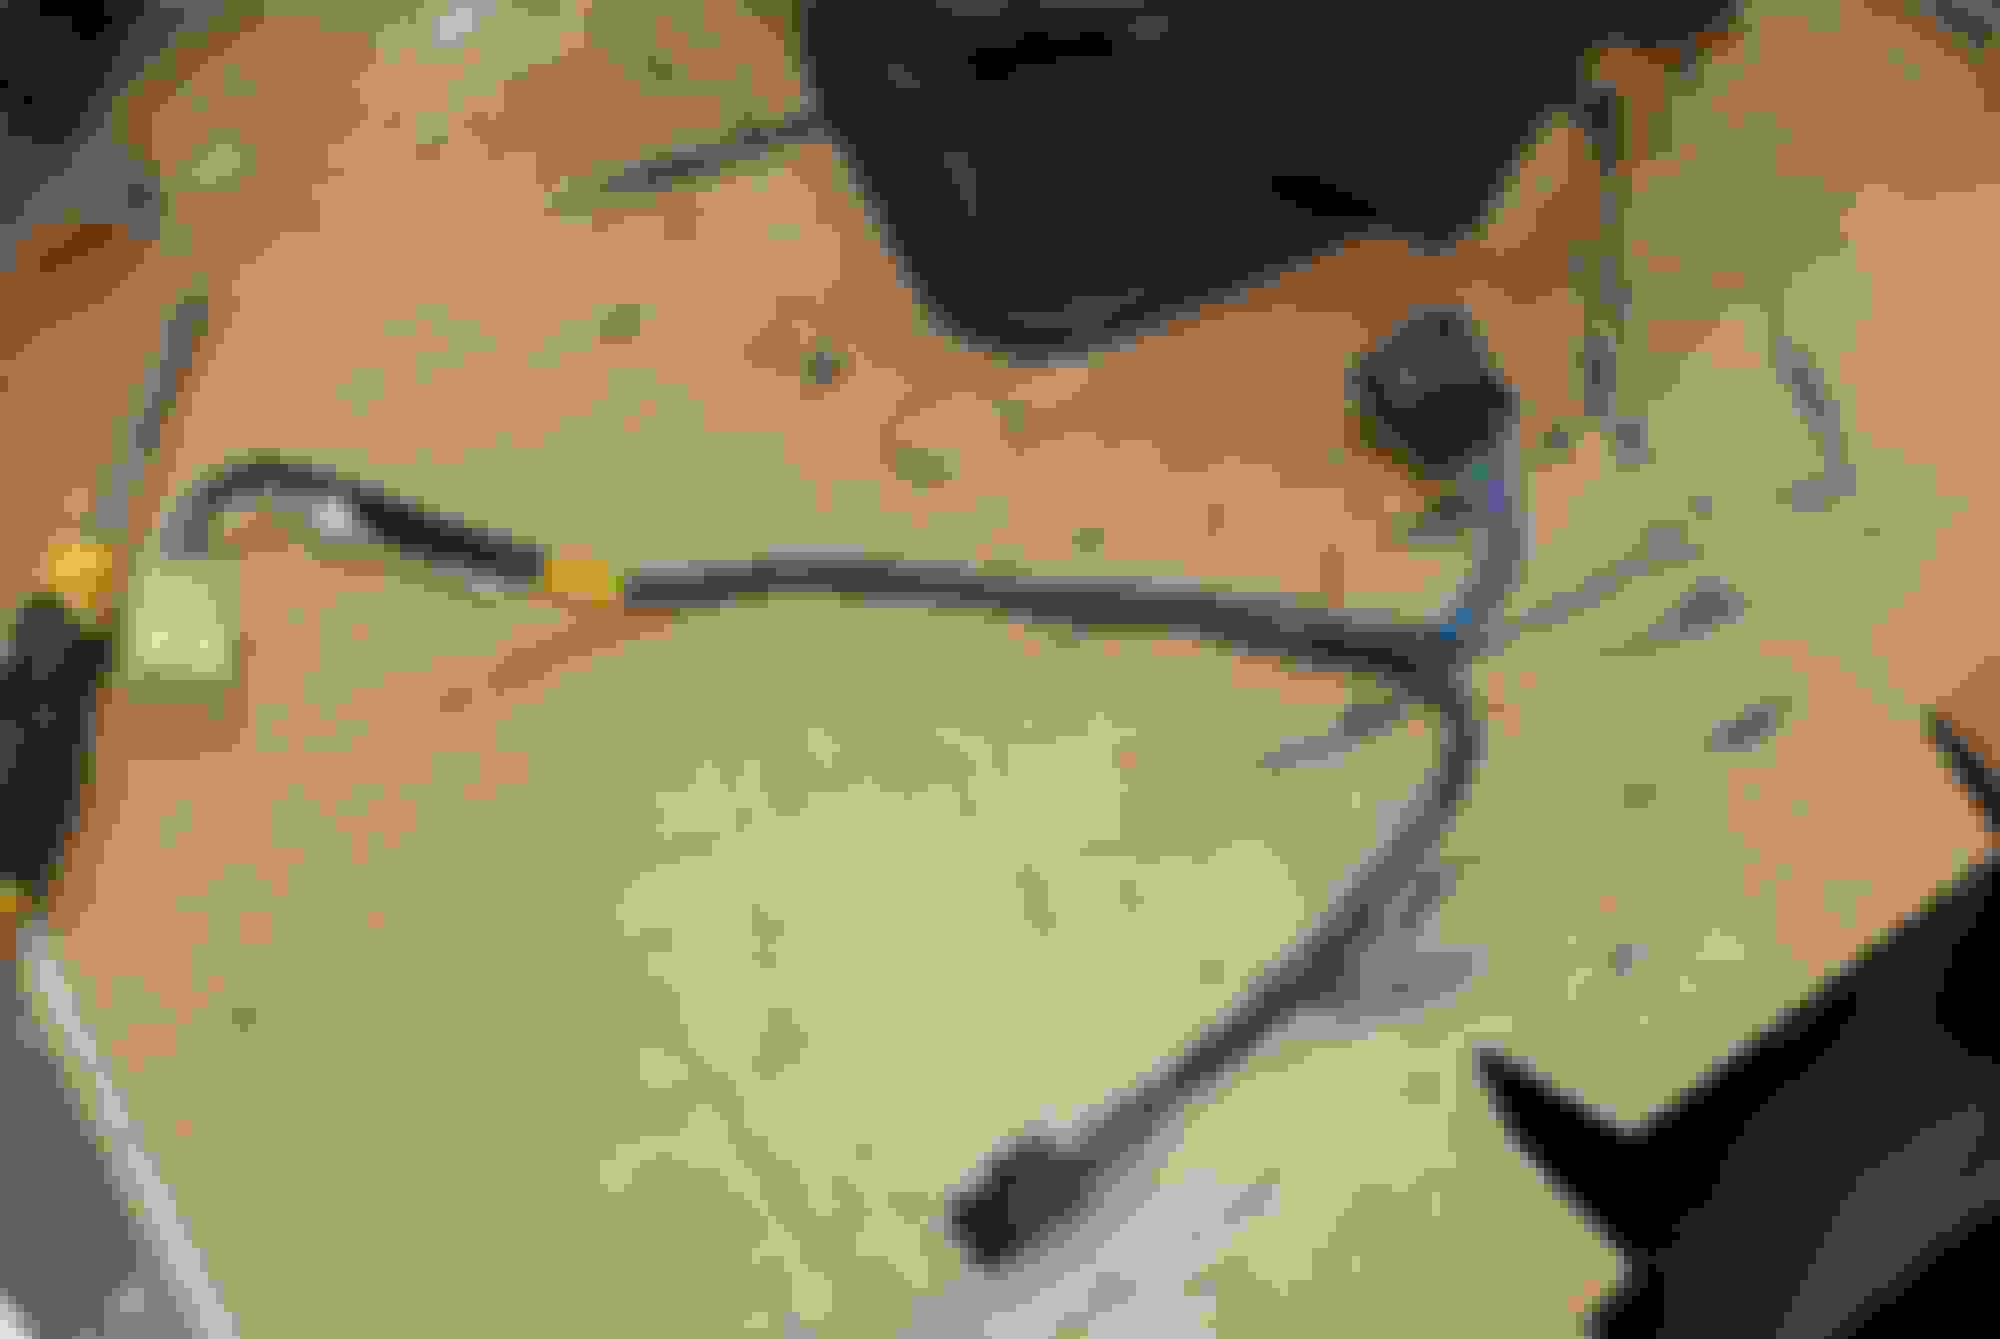
In the mean time, I've been trying to move forward with the interior. I tried cobbling together a 79 antenna with a Mercedes Benz 300E antenna mast but have not got it quite right. I did get the replacement 85 antenna reassembled and tested satisfactorily but the pigtail is too short for the stock wiring harness, so I had to assemble an extension. It tested out ok so I'm confident it will work.
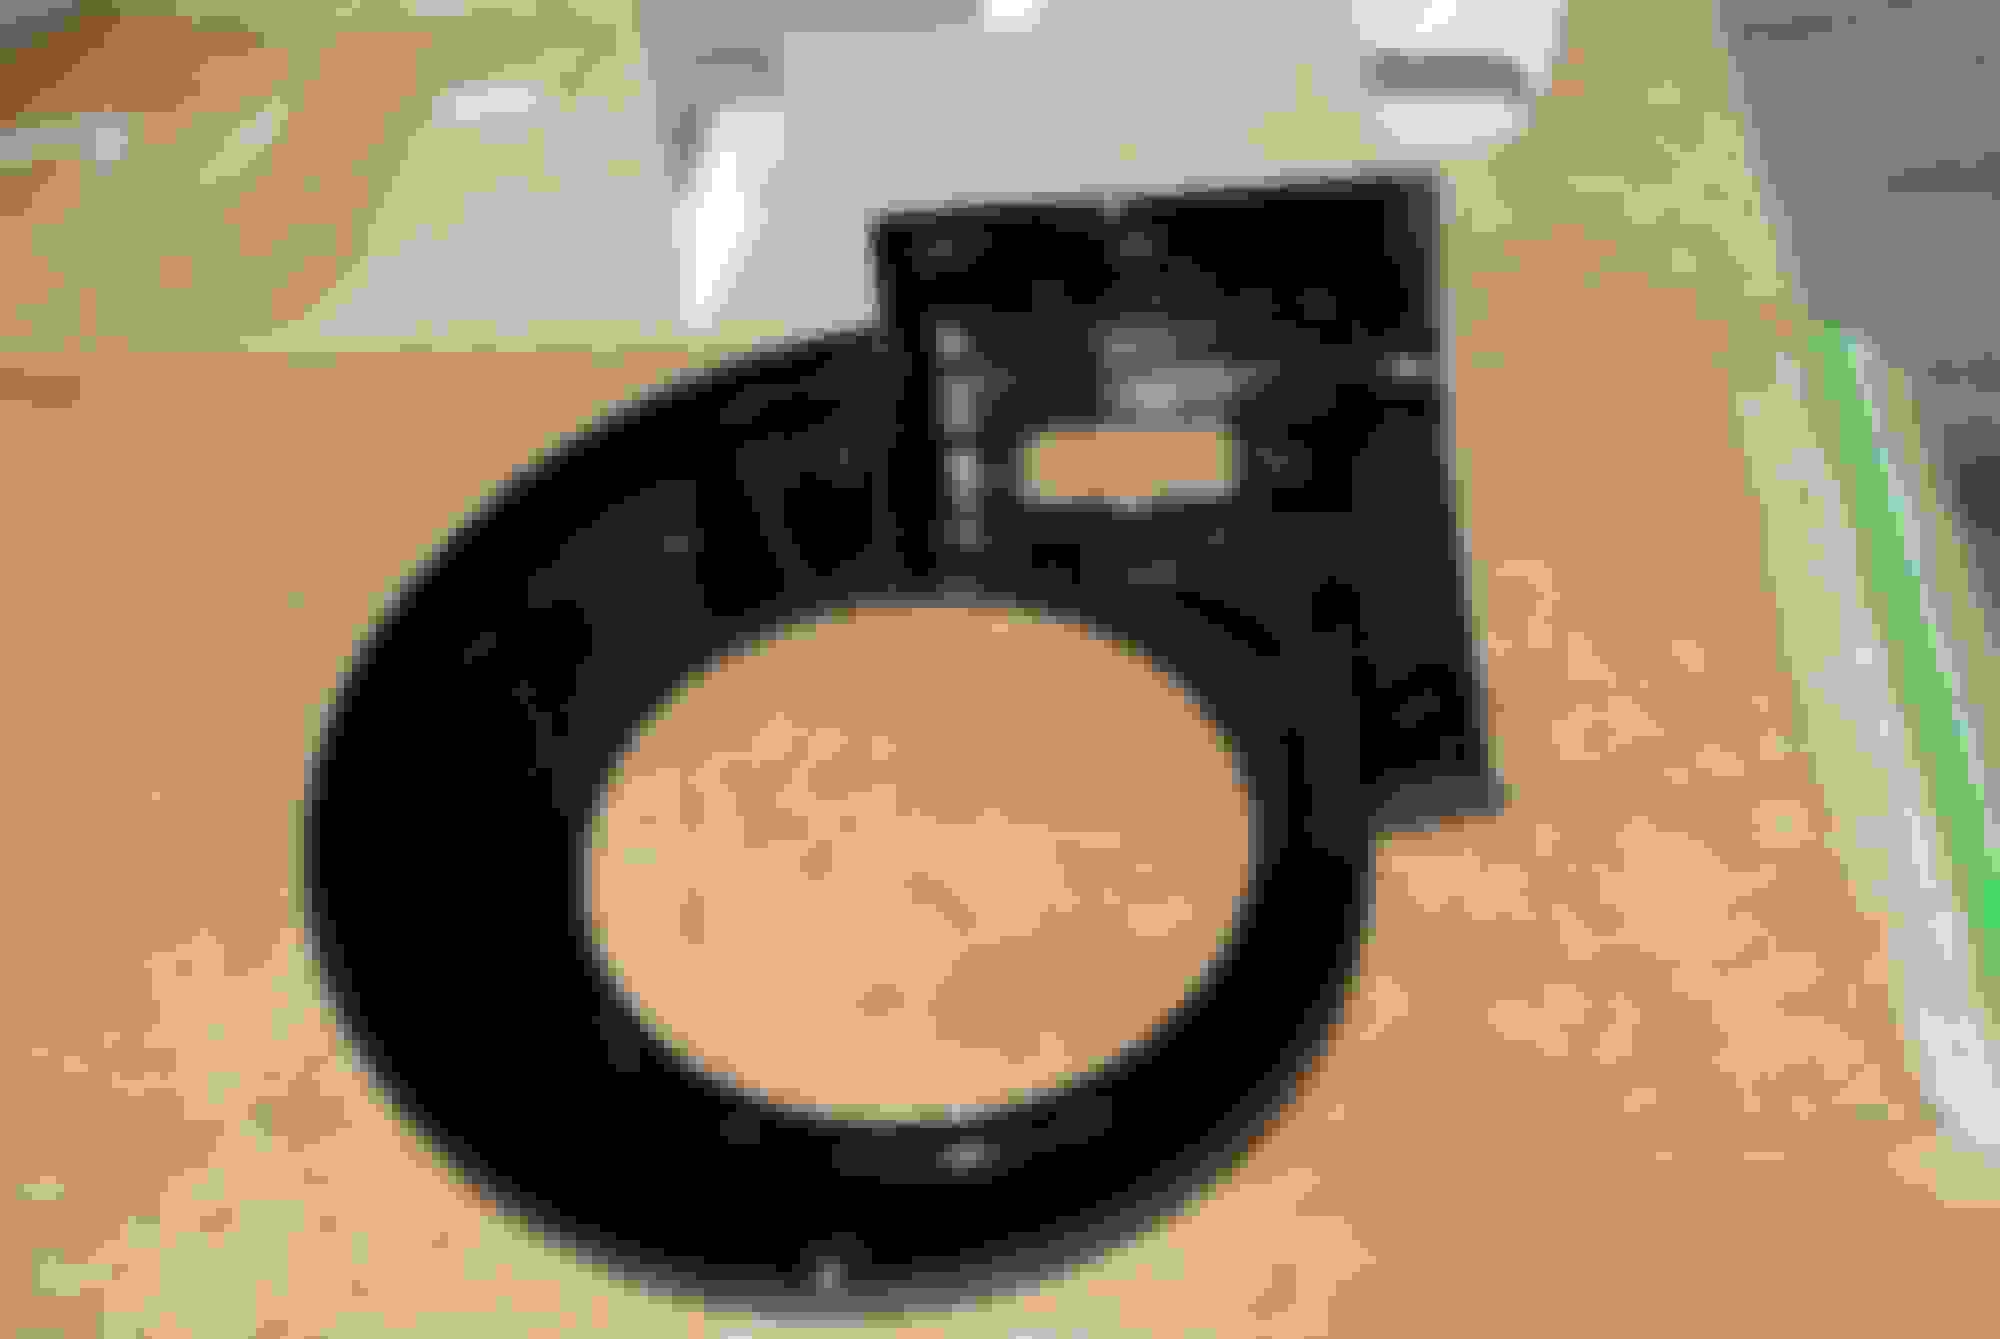
I also have been busy rebuilding the heater core and blower motor assemblies. I followed the archived section and got 'er done. Before and after pics to follow.
I have what I think is a 79 antenna that had a broken mast I've been working on. The spring loaded gear unit unsprung on me and washers went everywhere.
Your Antenna with the teardrop shaped spool cover looks like a later one. 79's were round. Can you extend it by hand? I could have a kink in one or more of the sections. You may be able to form it back into being round by tapping it with a small hammer while rolling it or a smooth jawed pair of pliers. You can try running some scotch brite or steel wool up and down it to smooth it out. Here is a link to a thread about replacing the nylon cord with trimmer line or a cord from Mc Master-Carr.
Your Antenna with the teardrop shaped spool cover looks like a later one. 79's were round. Can you extend it by hand? I could have a kink in one or more of the sections. You may be able to form it back into being round by tapping it with a small hammer while rolling it or a smooth jawed pair of pliers. You can try running some scotch brite or steel wool up and down it to smooth it out. Here is a link to a thread about replacing the nylon cord with trimmer line or a cord from Mc Master-Carr.
Exactly right, thanks Banzai! My dad said he had the antenna replaced at some point. I picked up the 79 from Jerry after I got the car. I replaced the mast on it with one from the MB, which had teeth on it. I removed the teeth with a dremel and narrowed the mast base a bit to fit into the 79 housing. I almost have it working well and if it doesn't work out I'll give the link above a try - thanks again!
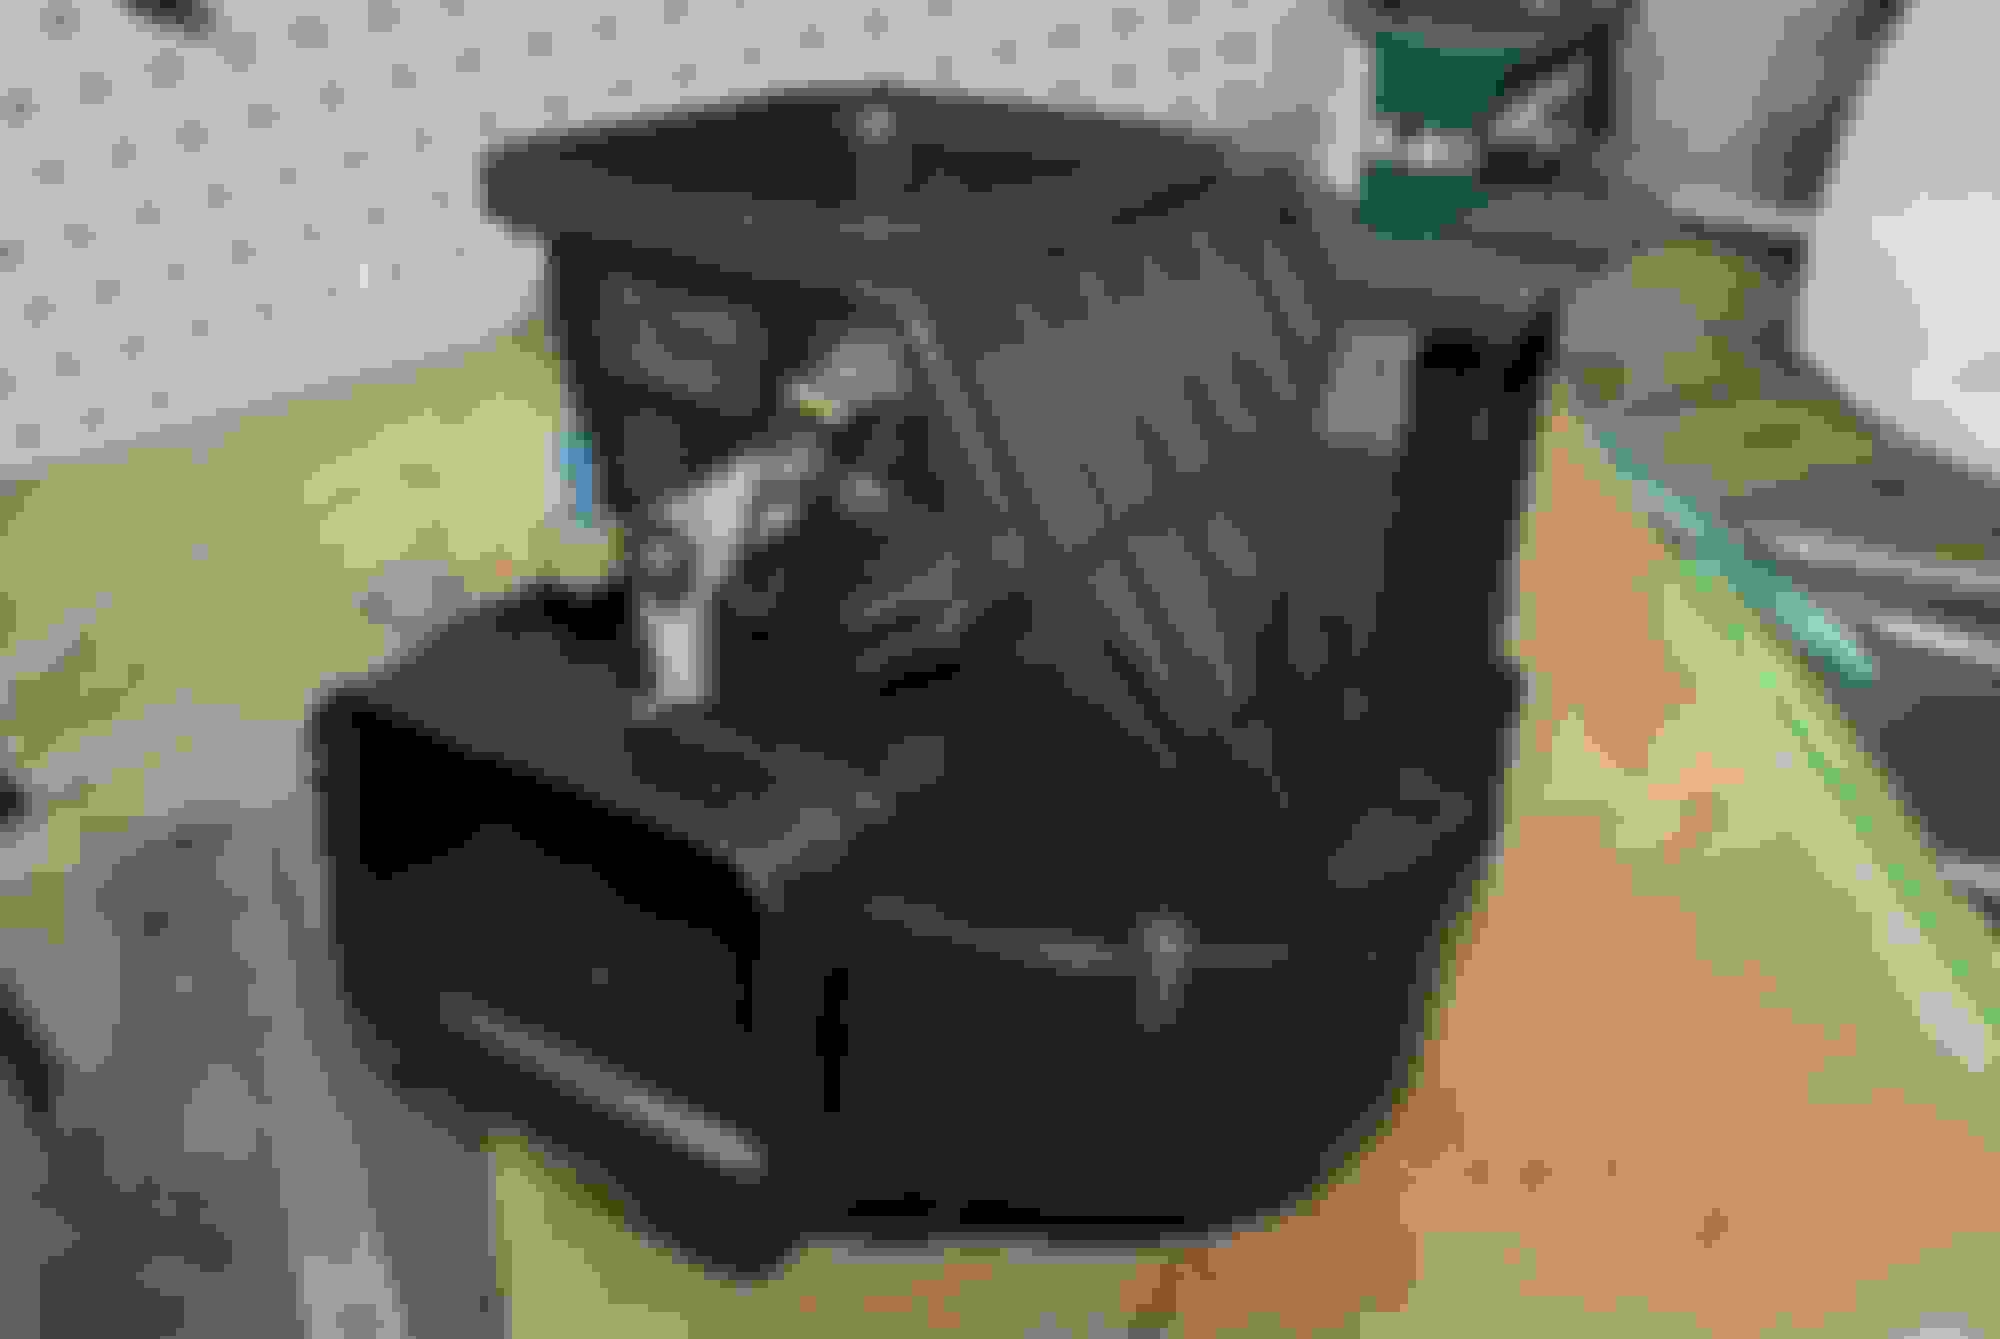
So this weekend I got the heater and blower motor assemblies and the ducting installed with the controls, which seem to function as they should. It's starting to look like an interior again..
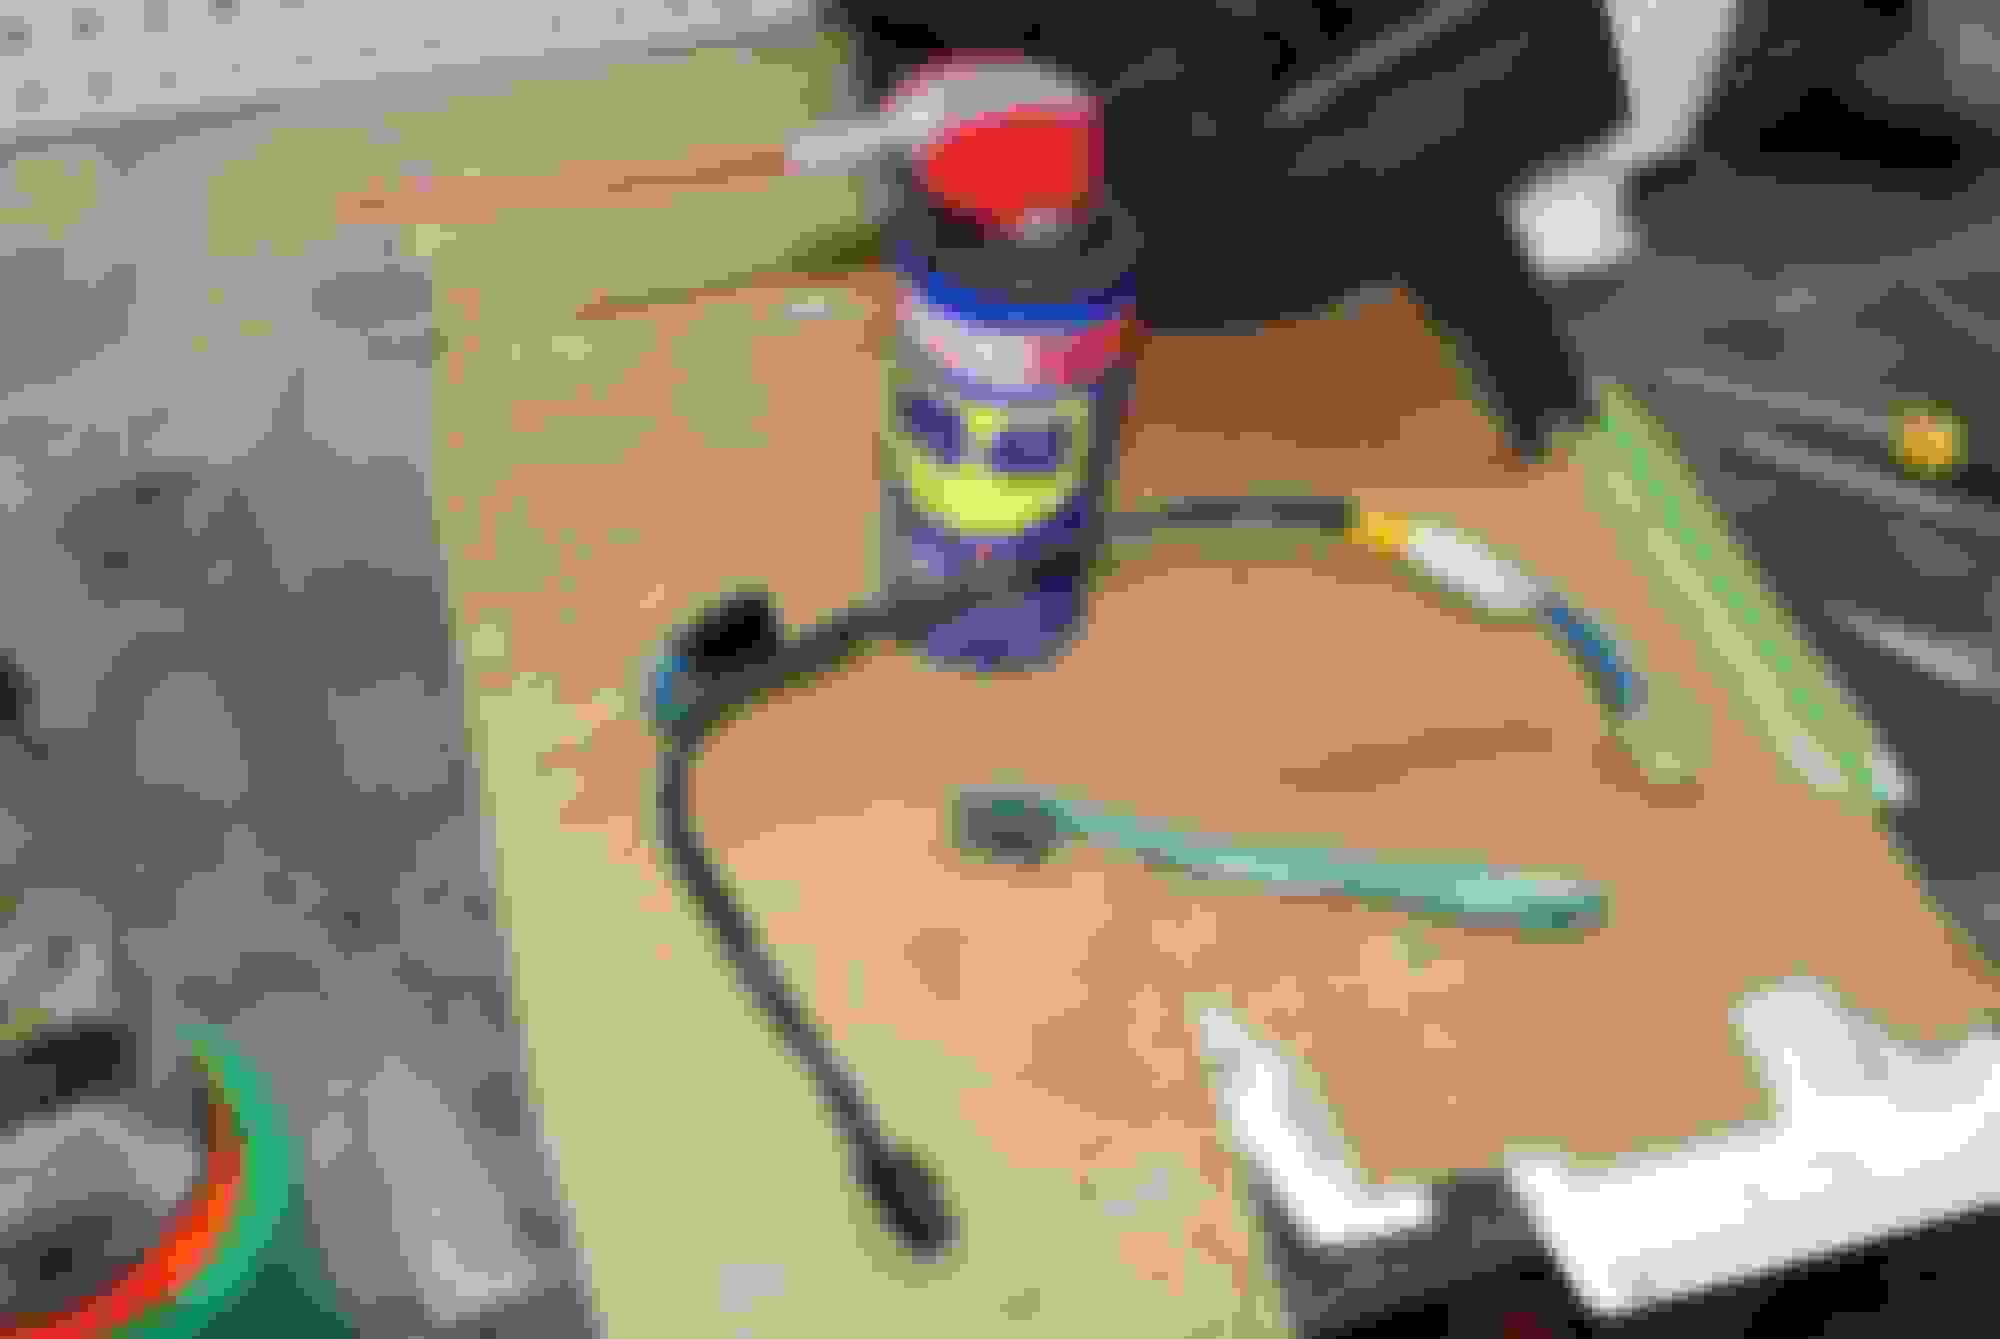
Hey Mike, need to POR the top of your WD-40 can man!!
I know, right?!!
Originally Posted by Frankenmazda
That looks really nice. great job restoring that stuff.
Thanks Frankenmazda. It's been a very slllllloooowwwwwwwww process....
Well, life has really gotten in the way of making progress on this project this summer and I have not had a chance to get anything done to speak of.
Thanks to Victor (vmarx7) I have a fantastically leak free SA steering gear in the car. Very well packed and bought at a fantastic price. Be sure to see what he's selling - he's an awesome seller.
I had to clean out my garage to have some work done to the house and moved out my firewall section -- it was taking up a lot of space. It's for sale in the classifieds, but I'm about to take it to the dump. I can't keep it on the side of my house much longer.
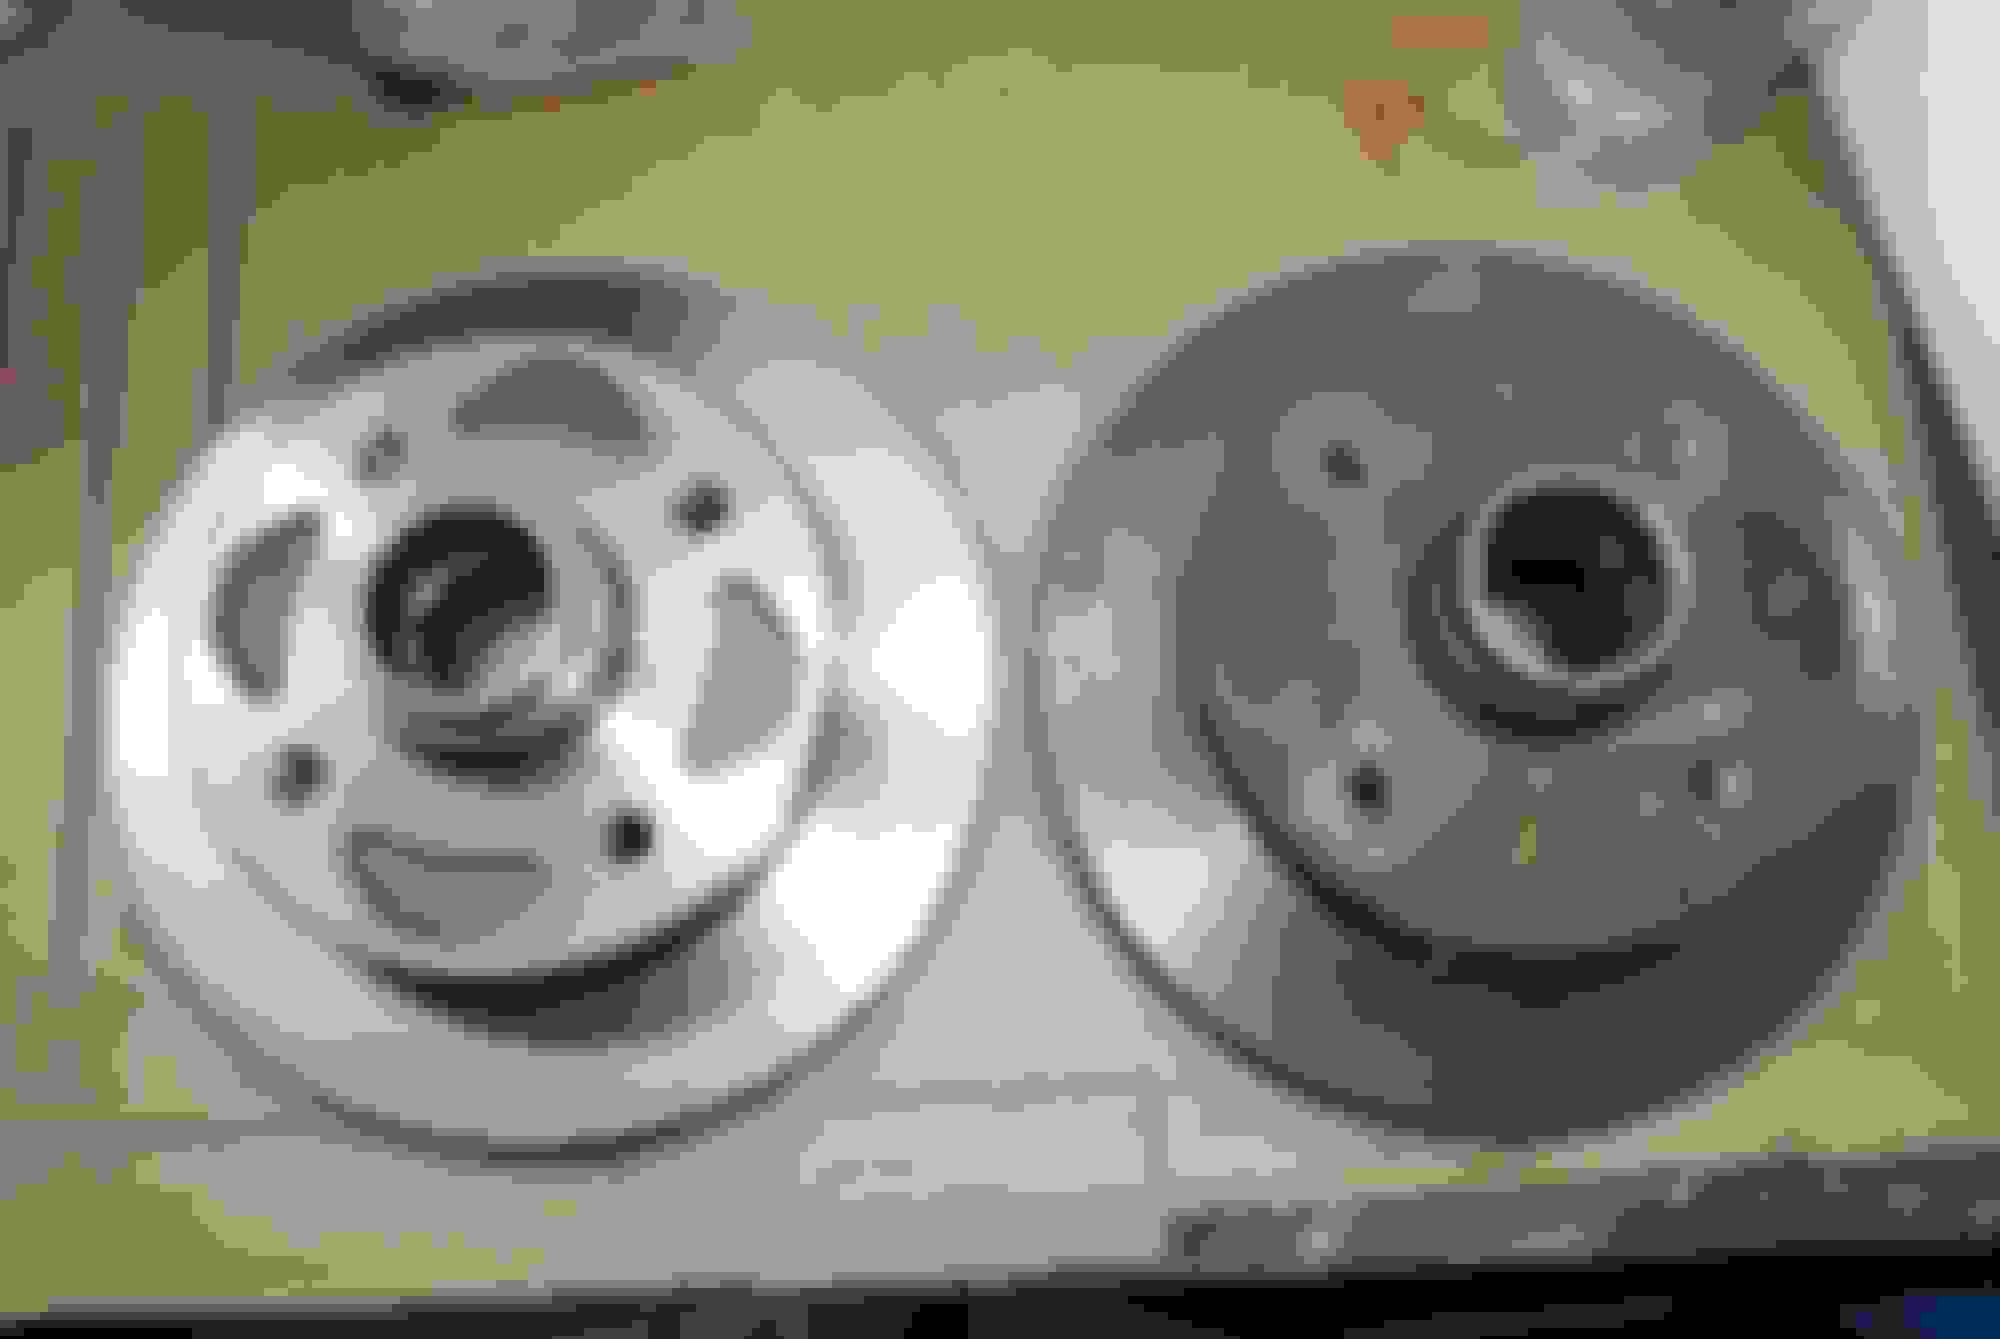
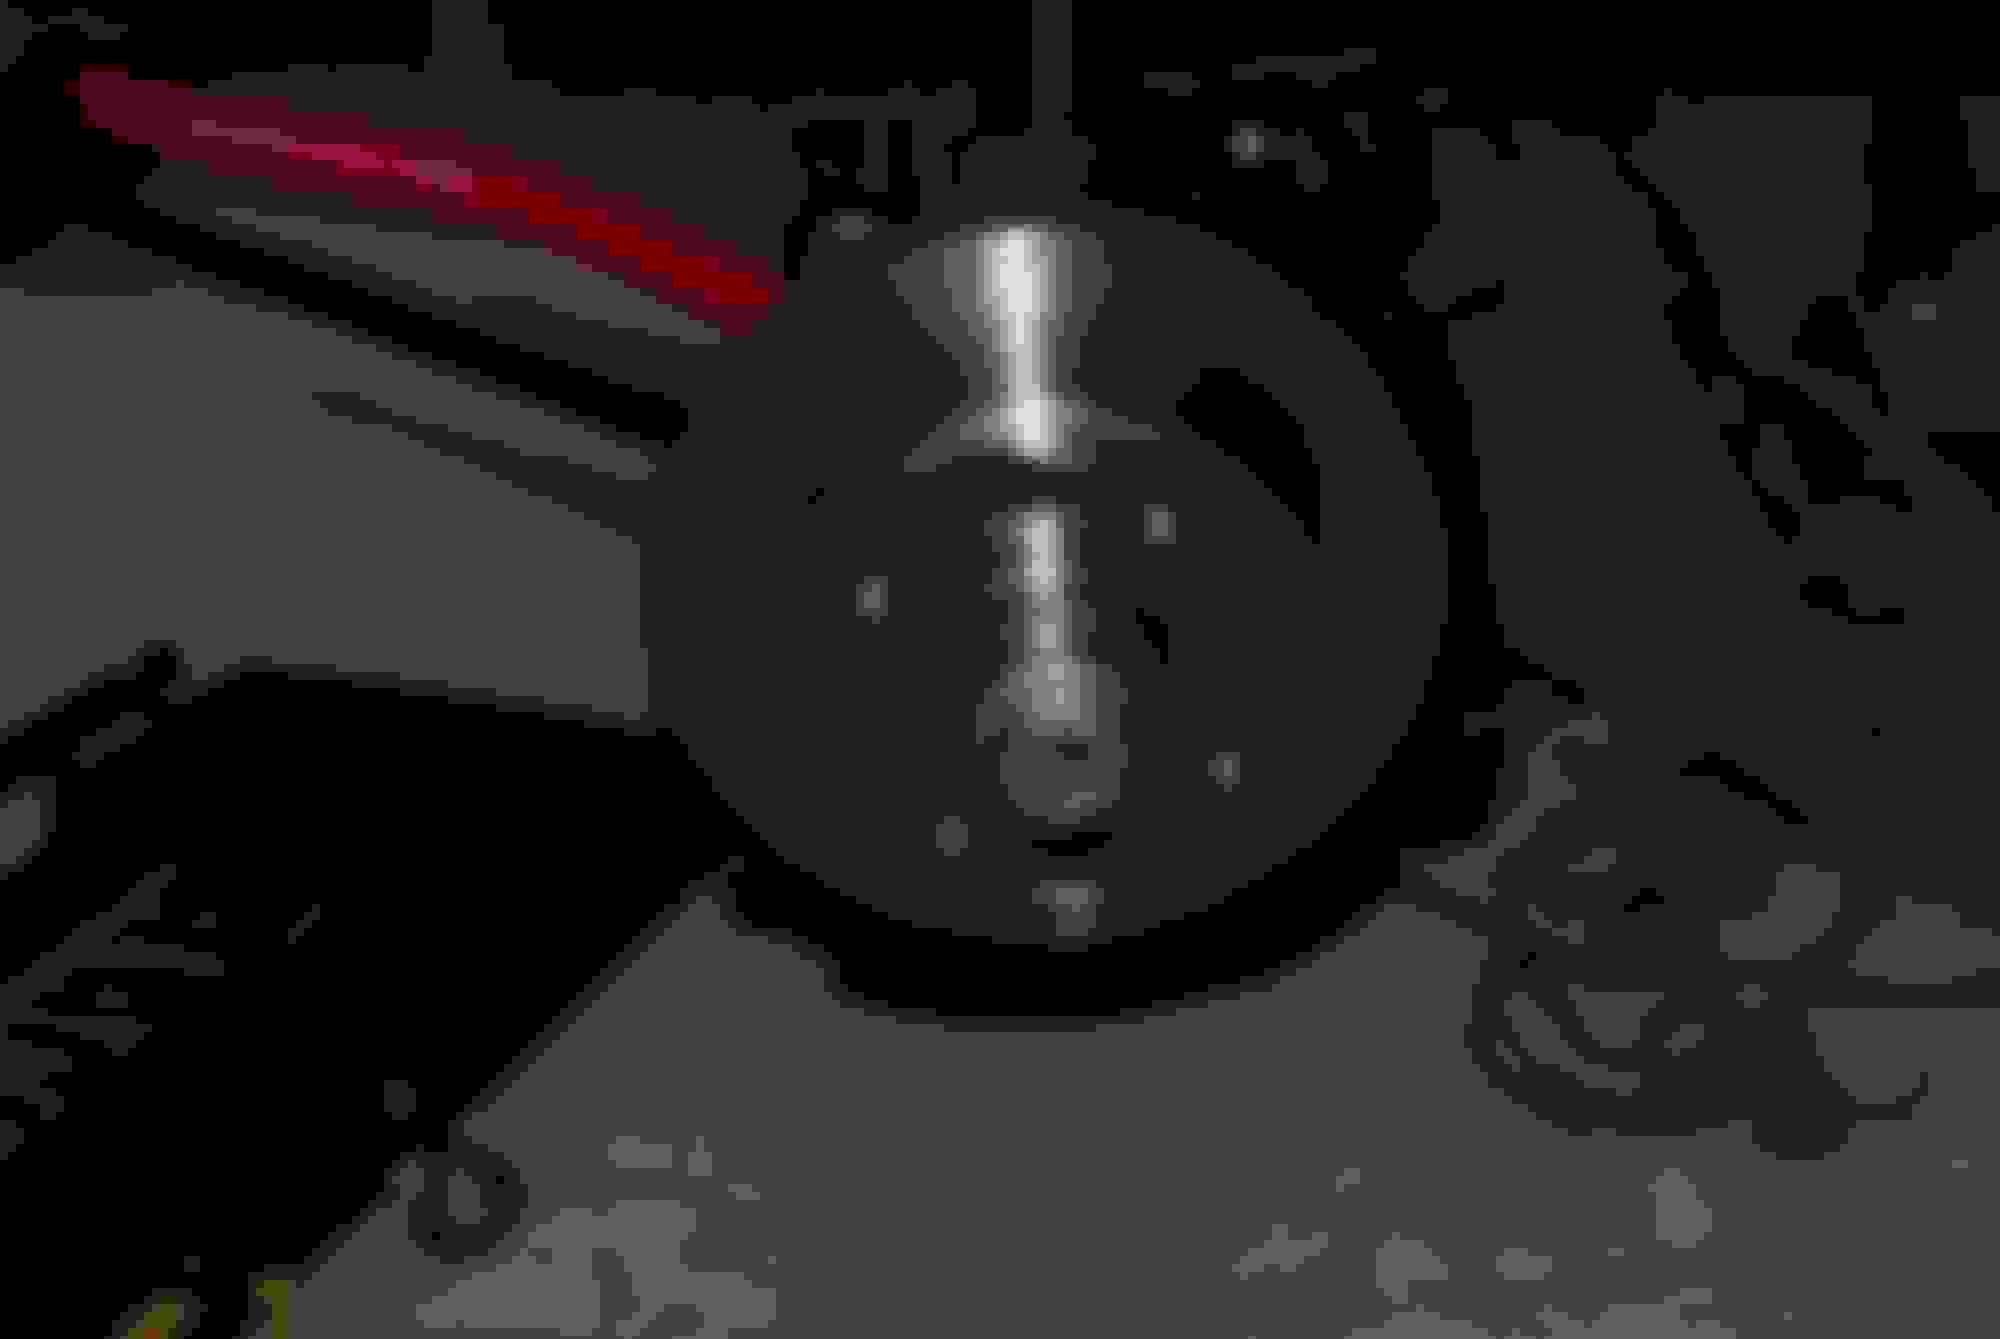
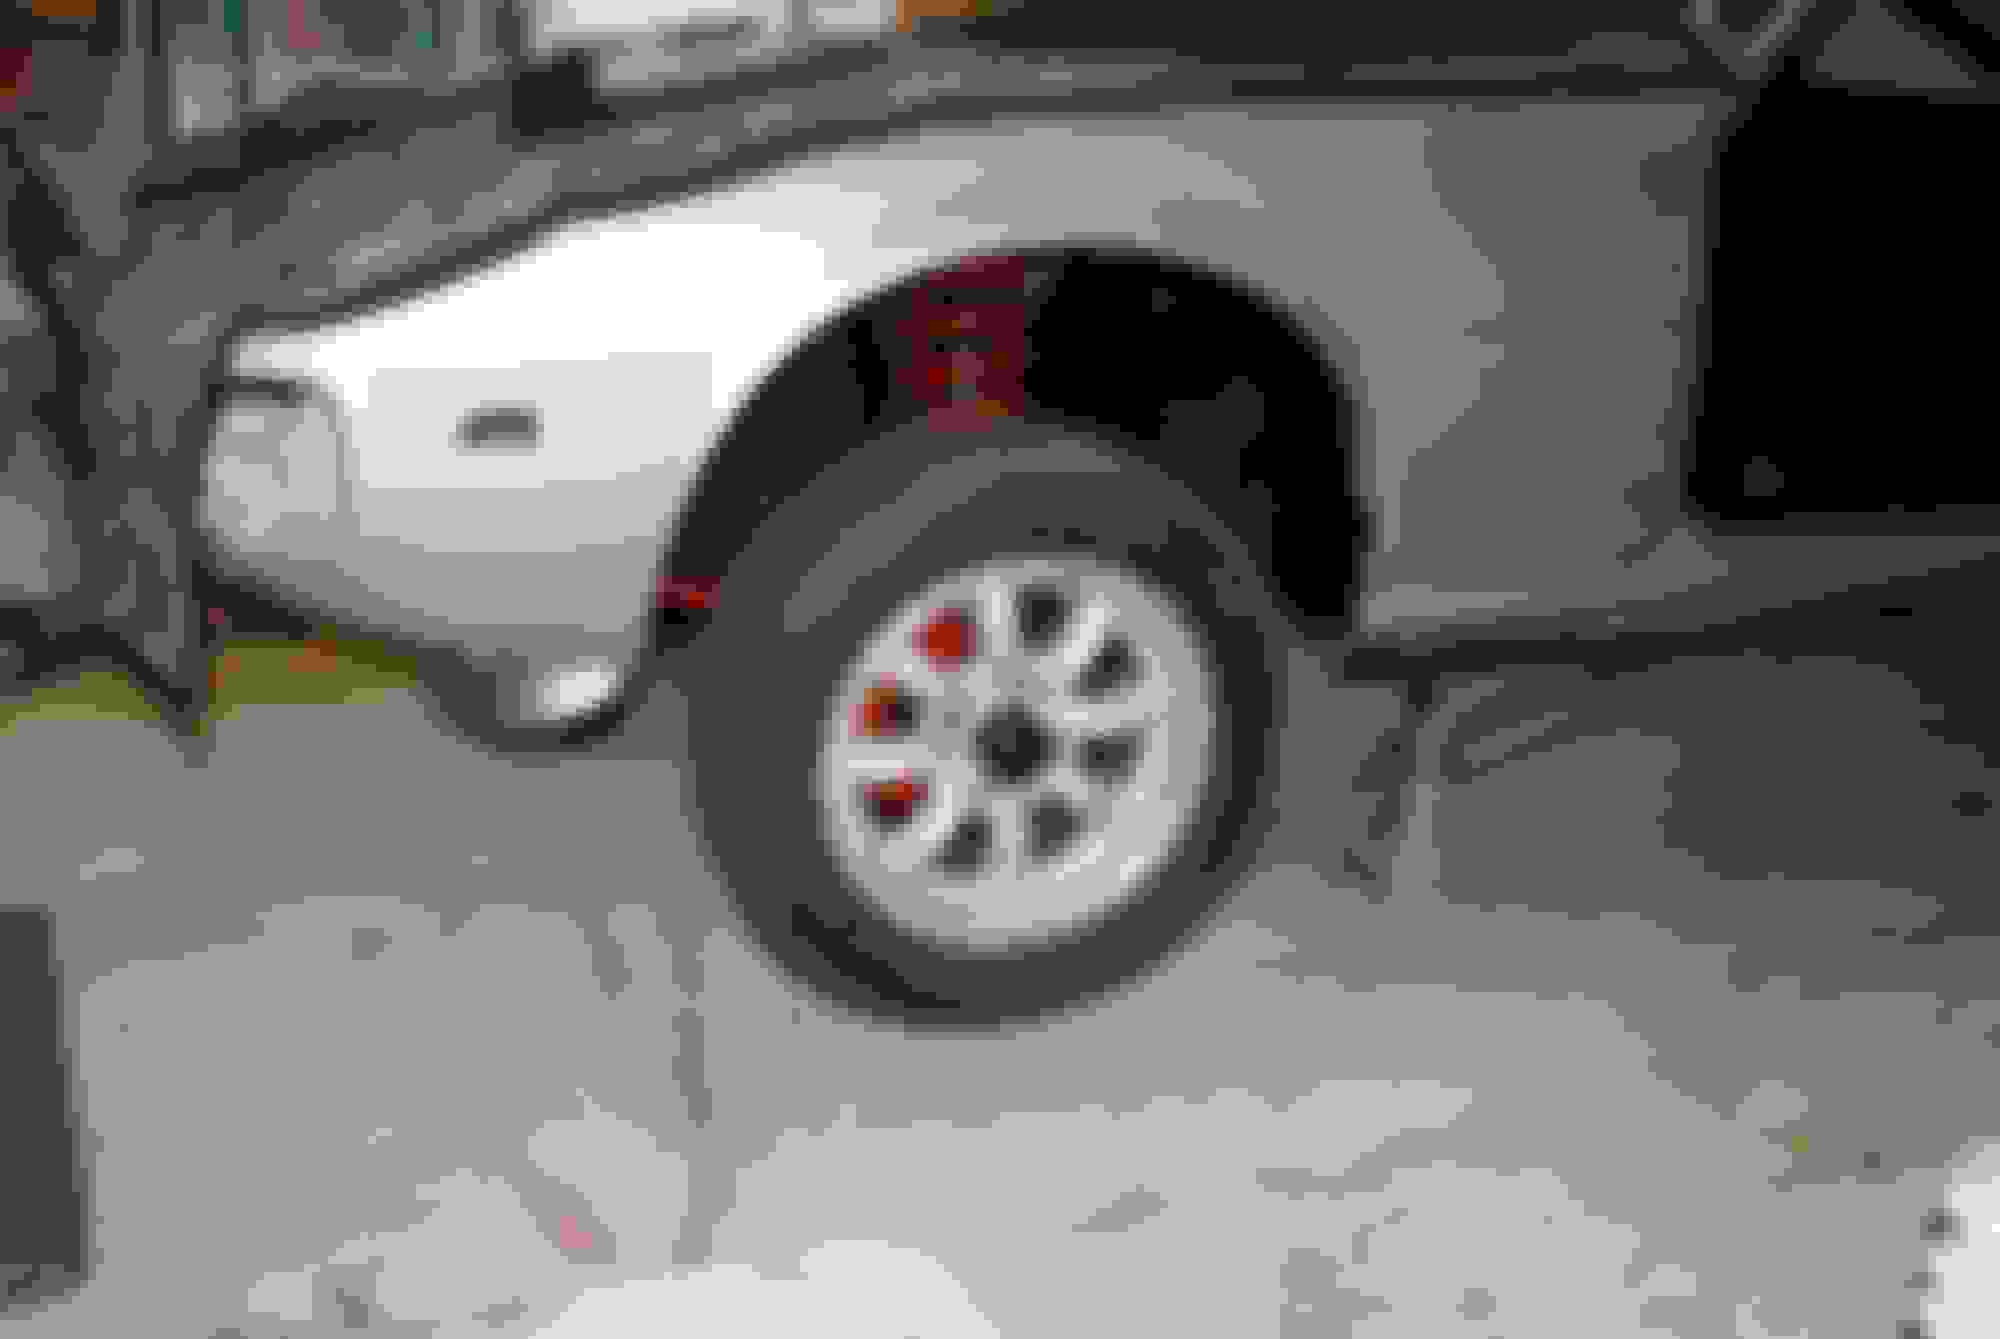
Today I had some time to myself with a day off and torqued down my front steering and suspension. I also put my new rotors and front brakes on the car, and then put the wheels on to see what it looks like. I went with original SA brakes but will prolly upgrade at some point. Those wedges are a pain in the ***....
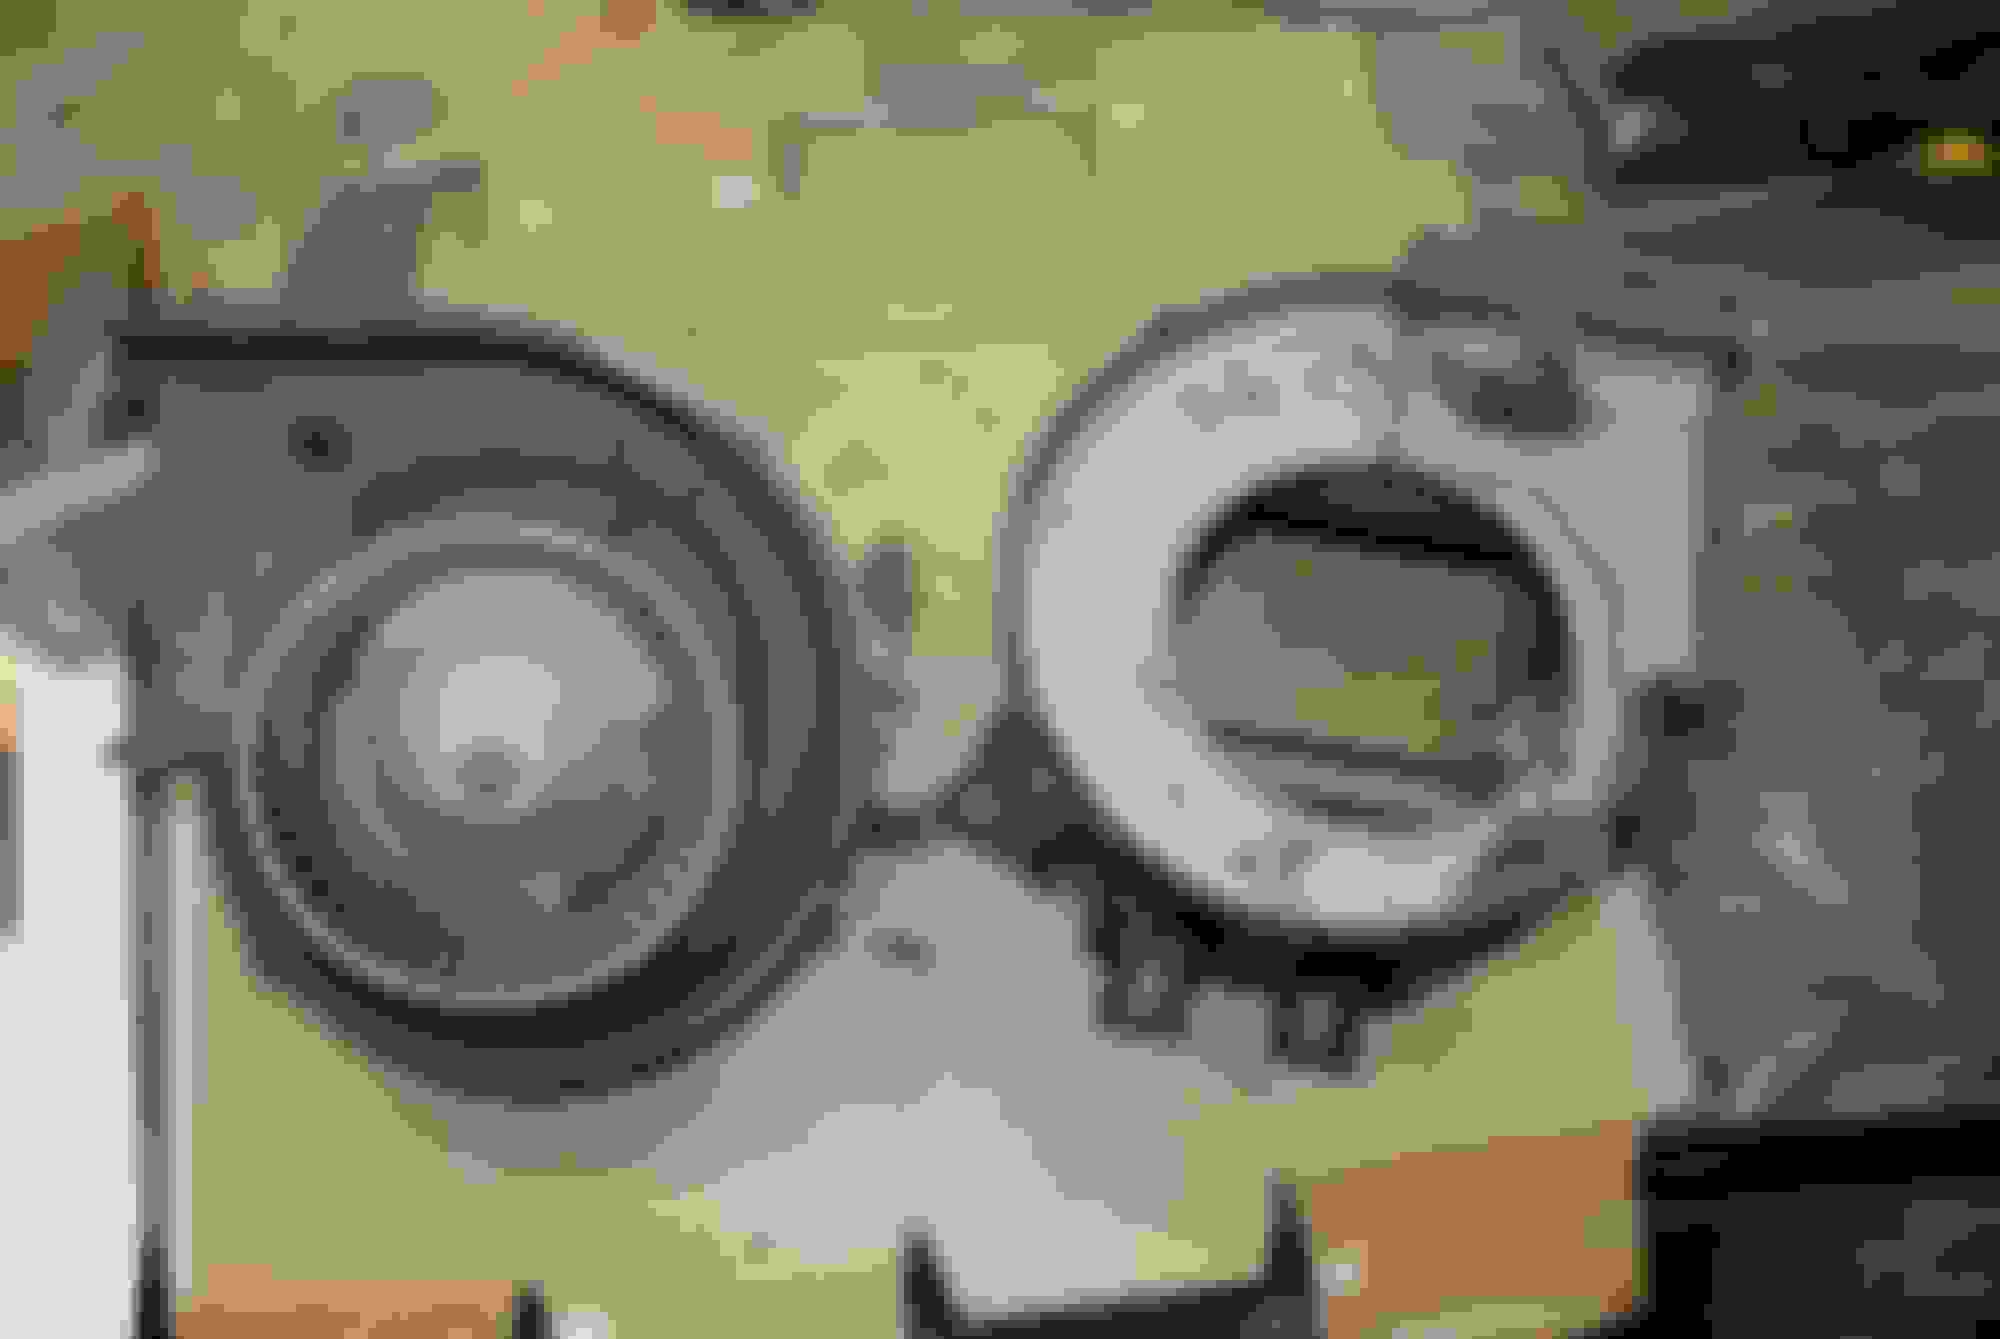
Old vs. New. What a difference. All new wheel bearings and grease seals.
Seems as though I have time for this project in spurts. Last night I re-glued the dash pad to the frame where it had started to separate.
Today I finished cleaning up the dash, taking care of some poor electrical splices, and then got it reinstalled.
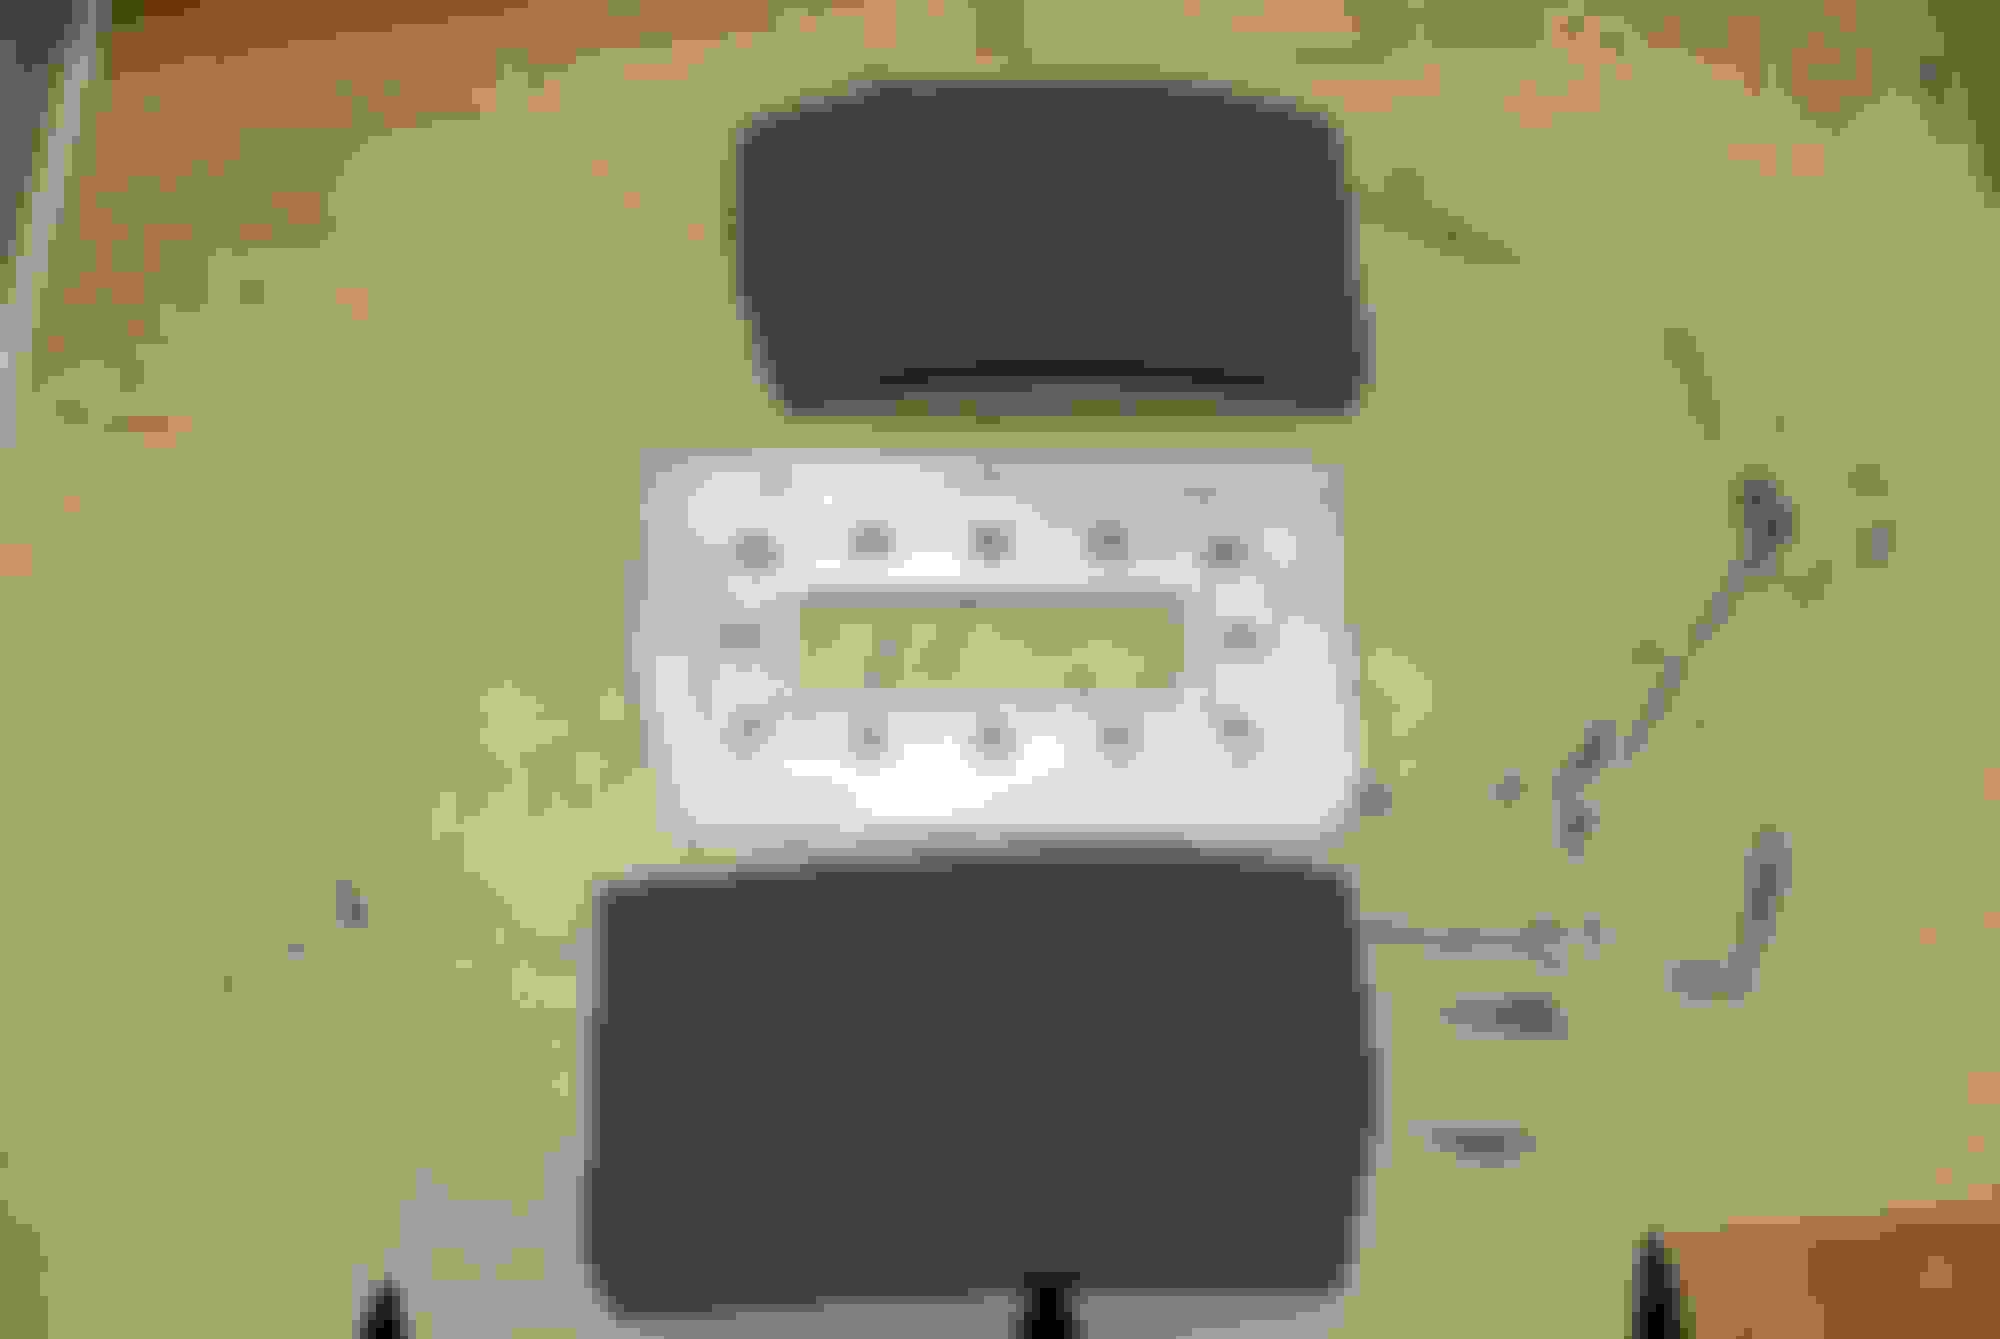
This needed a deep cleaning...
Replaced the old nasty foam with nice new foam!
The aftermarket stereo wiring harness left a lot to be desired.
This was how the hot wire was spliced in. Firestarter for sure!
And how the speakers were spliced in. At least on these connections they tried to solder them.
The removed mess....
I am SOOOOO glad I labeled and saved all this stuff in one bag. Made reinstalling the dash SO much easier!!
I even saved the little tiny screw head covers for the dash vent cover.
I tried to install the clutch and brake pedal assembly, but I am done doing car yoga for the day today. I'll see if I can get that thing in there one night this week.
Making Great progress there. I always try to install the pedals/pedal box before anything else since it's easier to get to, but you'll get it
Yeah, I realized I should have put them in before the dash .... right after i started to put them in AFTER I put in the dash. I refuse to remove the dash at this point tho!
...... On second thought (and after struggling with it for another 2-1/2 hours tonight and getting NOWHERE), I've come to realize that I may have to take the dash out. I cannot for the life of me figure out why I can't get it that last half an inch up on the firewall to the mounting stud. It. Is. Driving. Me BATSHITCRAZZZZZYYYYYYYYY!!!!!!!
u called? j/k. nice progress. hopefully u'll figure out what's in the way of that last .5 inch before pulling the dash off again.
Yeah - did you hear me yelling at the car last night?? Man, I was TORQUED!
So, I ended up taking the 15 minutes or so to remove the dash.... Then another 5 or so to put the freaking pedals on! In the process I scratched the hell out of my newly painted A-pillar trim, so I had to sand that down and repaint it. I also had to trim the carpet a bit to get the gas pedal in there correctly.
There's definitely something to be said for doing things in the right order...
Now I just have to figure out if that firewall insulation is supposed to go between the firewall and the pedal frame or not. I can't imagine it being between, but it wasn't cut out to go around the pedals. It just doesn't seem right that it would go between the firewall and the pedal frame... Gonna look through my old pics and see if I can tell.
Well, I just cut it out around the pedal frame and glued it in place and then I got the dash back in. More better now!
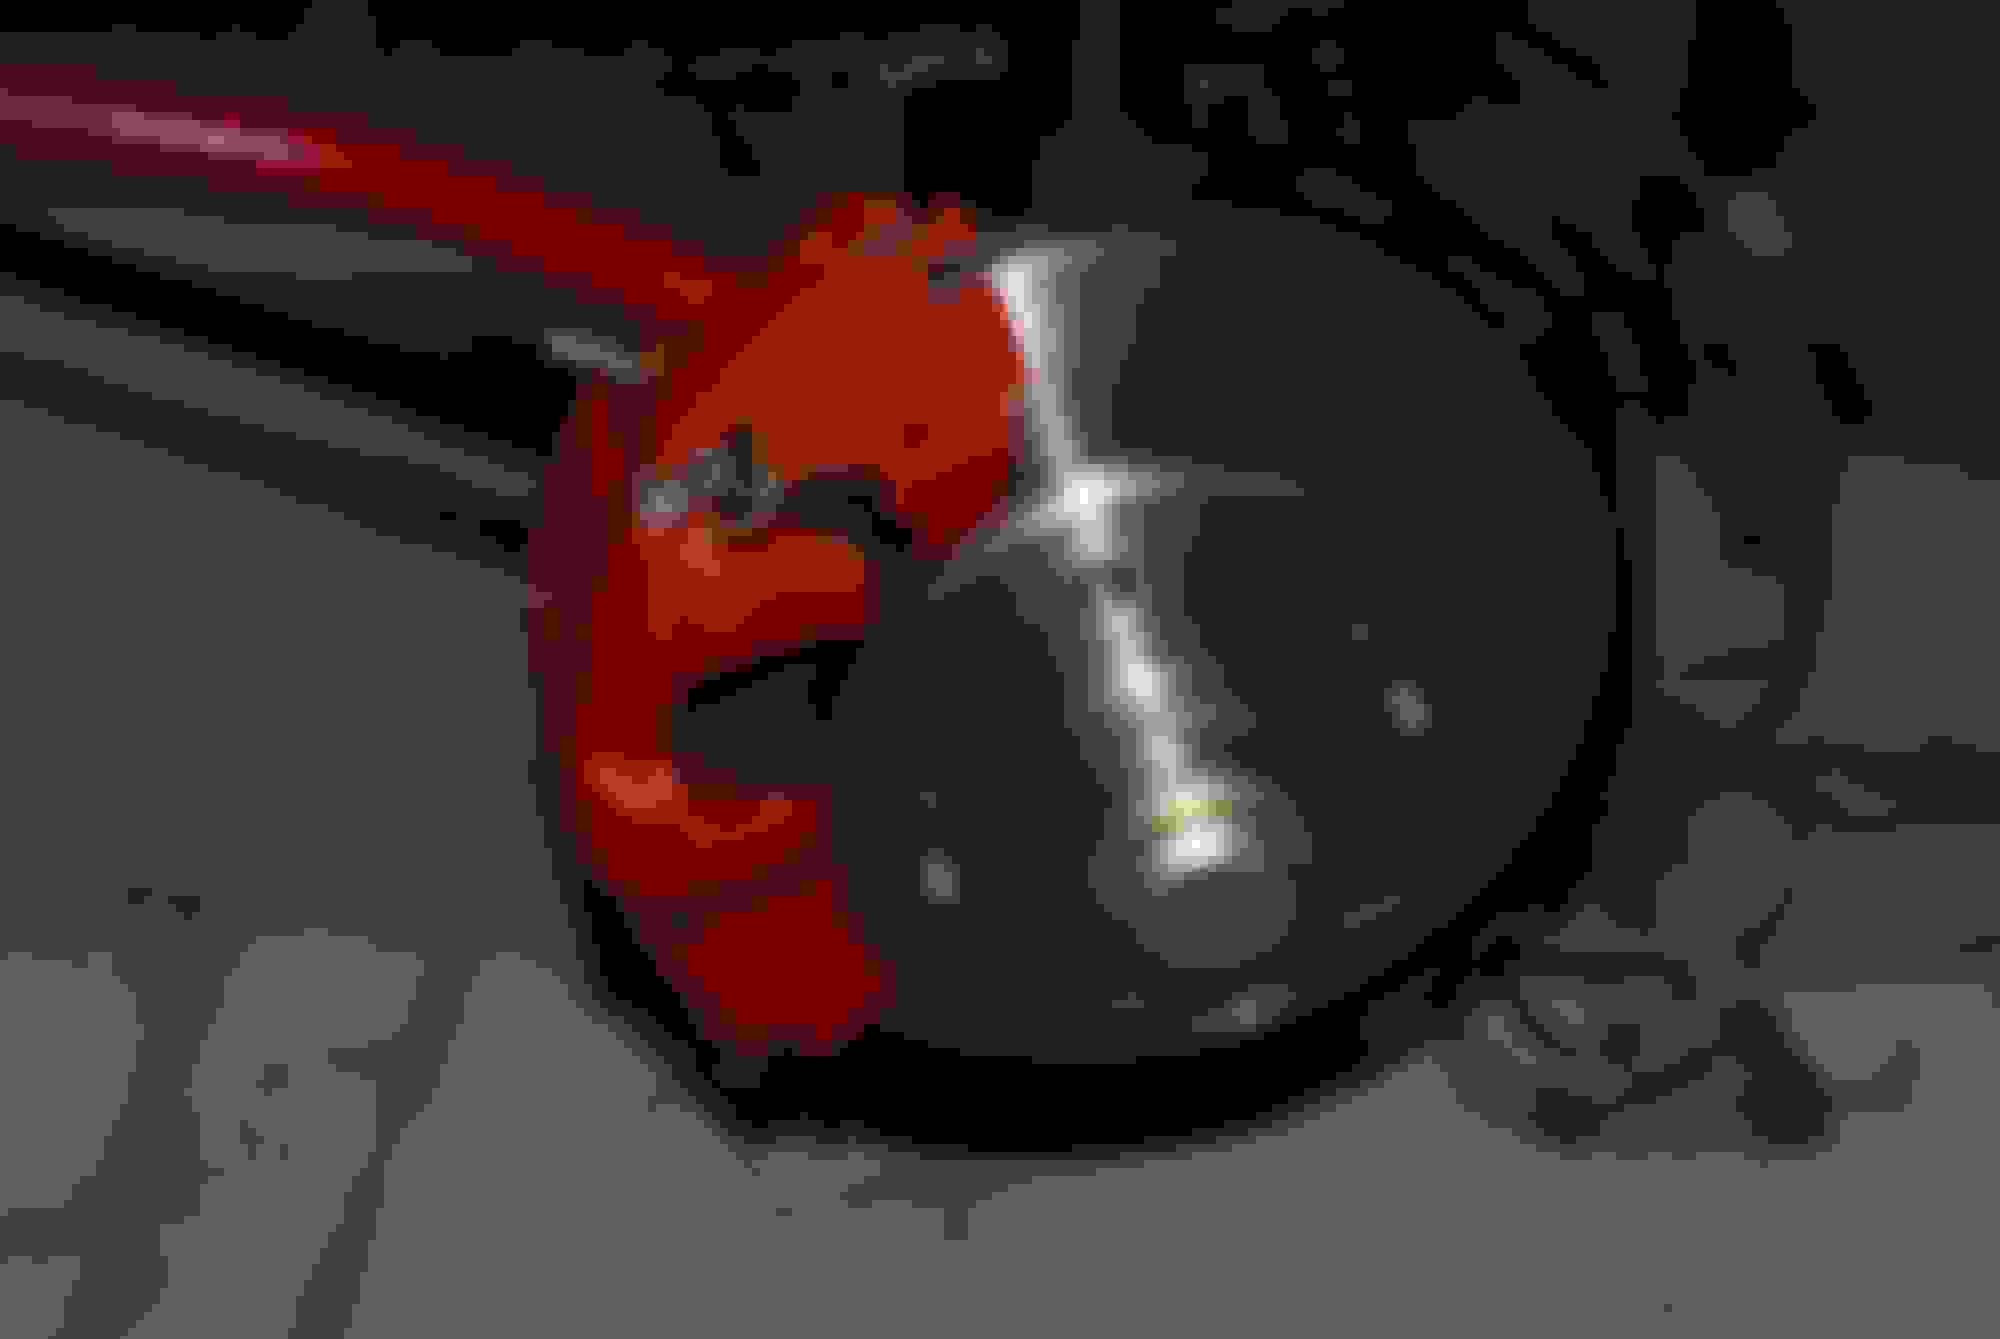
So no one picked up on the fact that I installed the brakes on the wrong side? That happens when you read the FSM for reference after a few brews... Last weekend was thinking they were on backwards - and they were.
Lol I was too busy examining the oddity of the 79 "wedge" style calipers which I haven't seen a good picture of in years (if ever!) to notice they were on backwards.
haha I see the sway bars now. At least its an easy fix. 5 bolts and the tie rod and swap the whole strut left to right.
I actually just removed the brakes altogether and swapped them from one side to the other... Too me about an hour - with a beer.
Originally Posted by 82transam
Lol I was too busy examining the oddity of the 79 "wedge" style calipers which I haven't seen a good picture of in years (if ever!) to notice they were on backwards.
Yeah, those wedges are unique, and a pain in the a$$.
Still haven't had time to do much of anything of note with the car; just messing around here and there taking care of odds and ends as I can. Found myself killing time out of town this past weekend and went to an antique shop. Yep, I'm entering THAT phase of my life I guess.... You know you're getting old when a) you go to an antique shop and don't hate it and b) see stuff in there you grew up with!!!
Well I wasn't in there 10 minutes before I ran across a shop manual. It's a Chiltons import labor guide and parts manual. It had no date on it so I checked the print date on the inside .... 1981. Huh. Imagine that. Looked and found the Mazda section and sure as heck it had the manufacturer part numbers for a ton of parts! I paid $20 for it and was happy. A quick internet search and I discovered that these are out there, and they go for about $20 so I don't feel ripped off at all. The best part is having the part numbers. I'm not sure how but I'm sure this will come in handy down the line... If anybody wants a part number for an SA let me know!
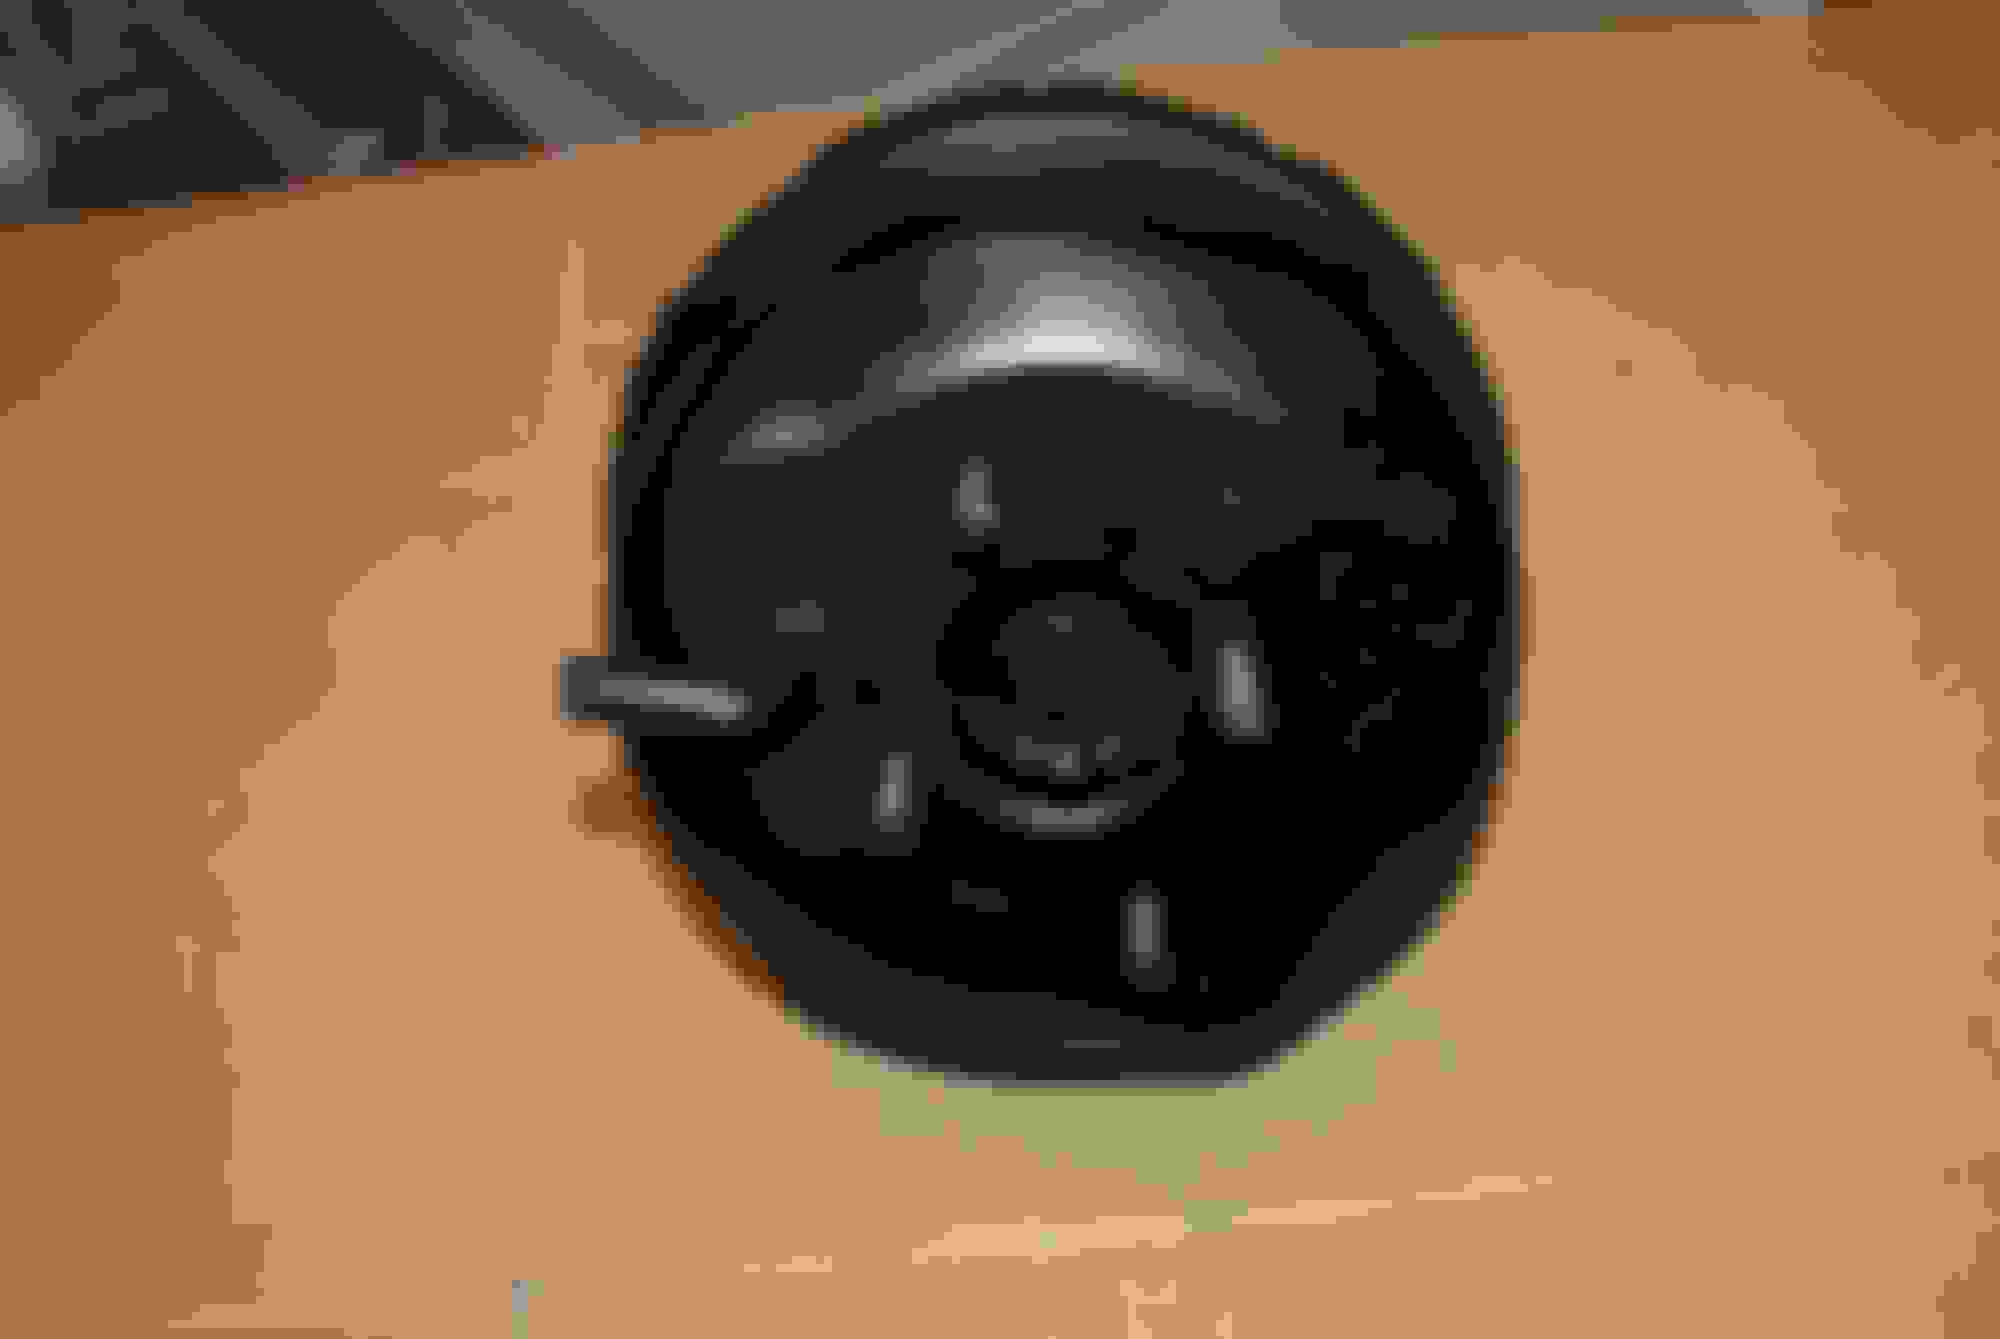
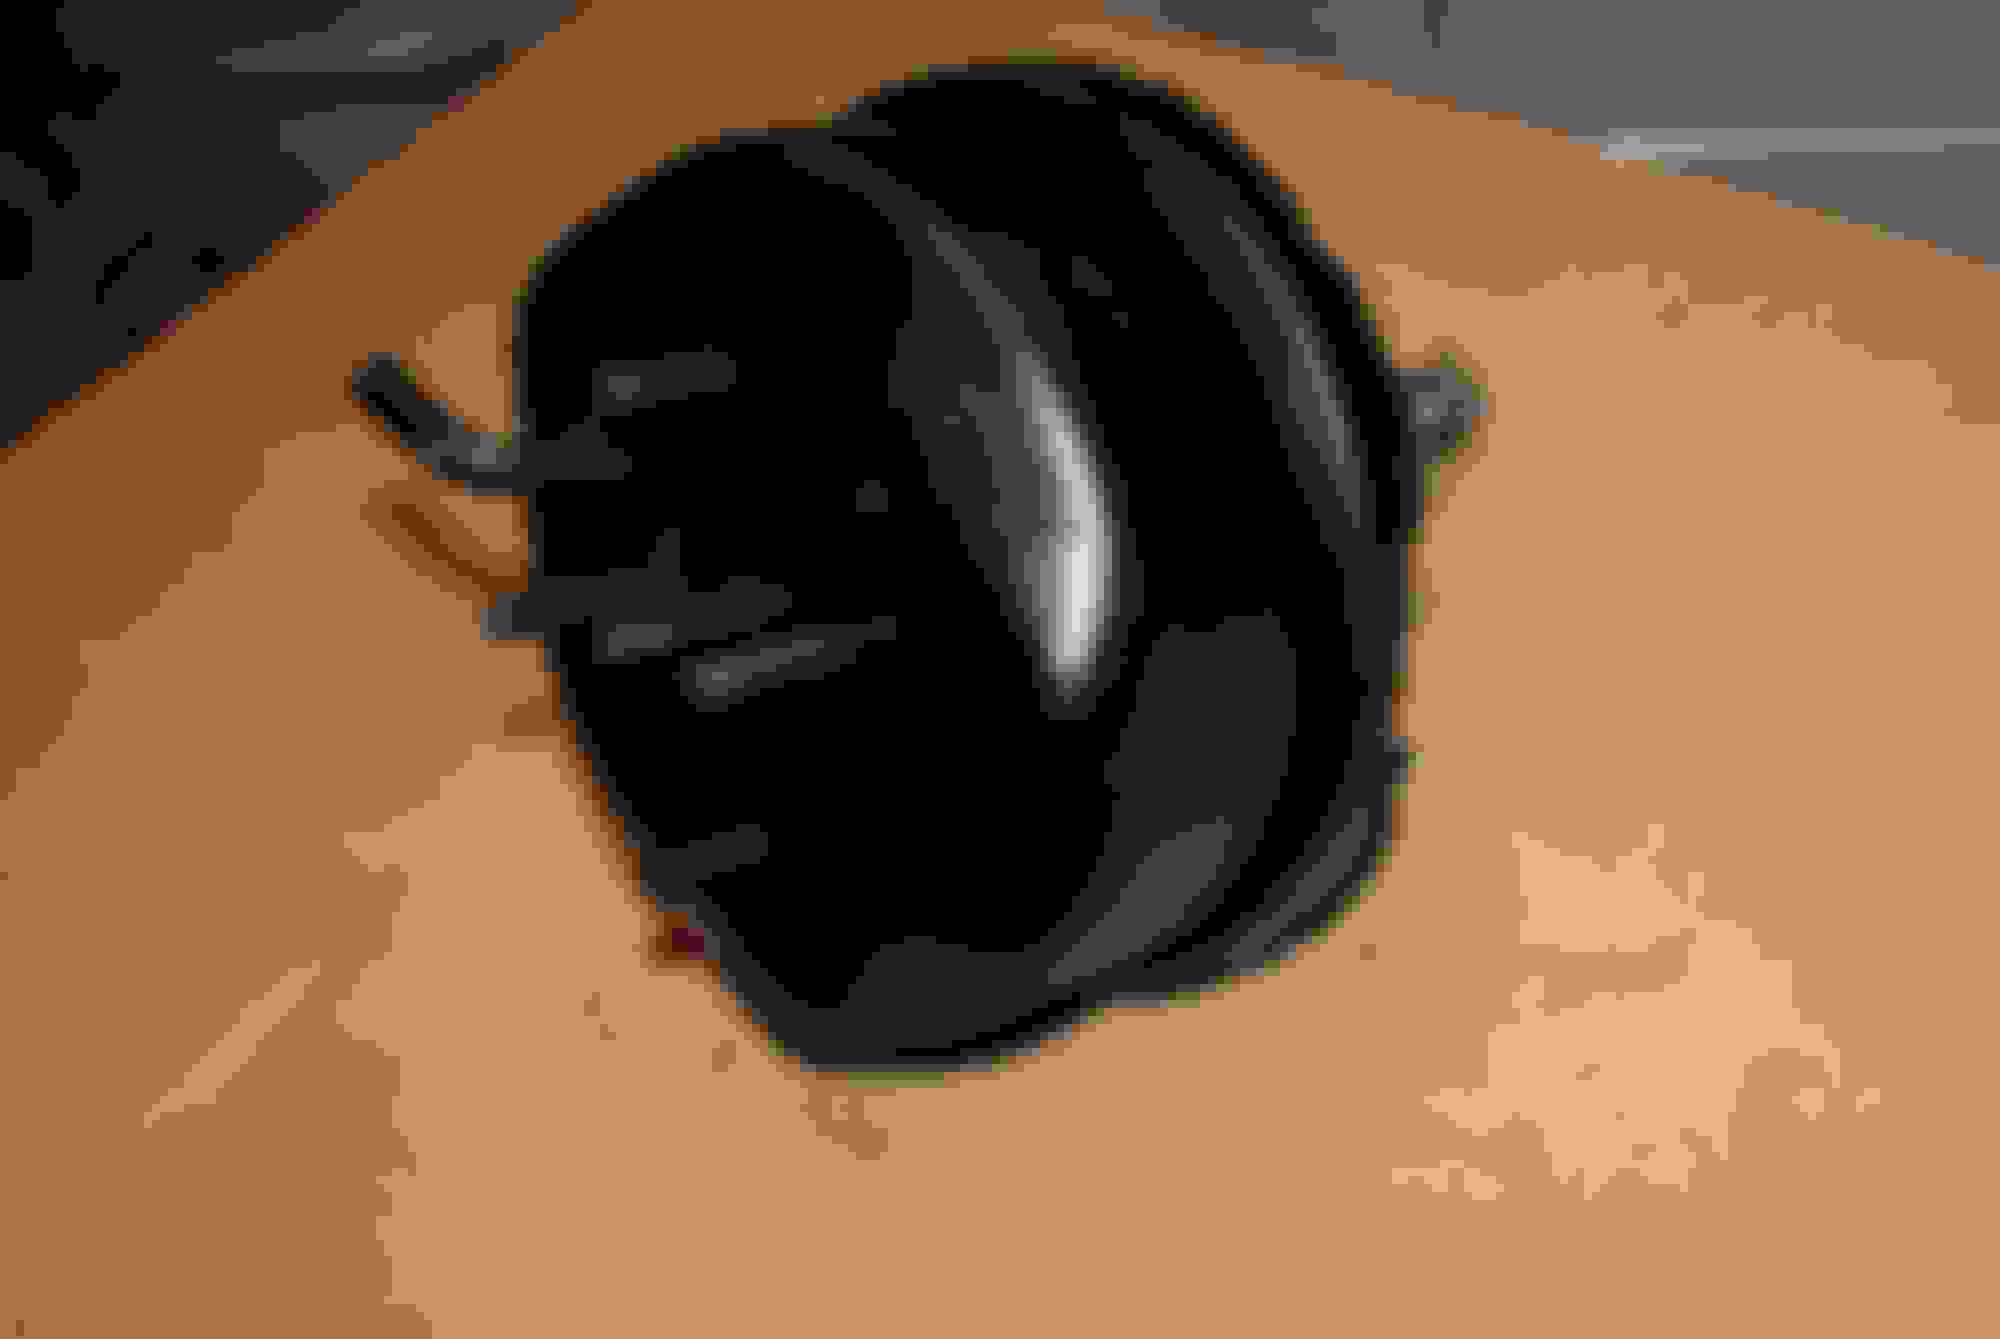
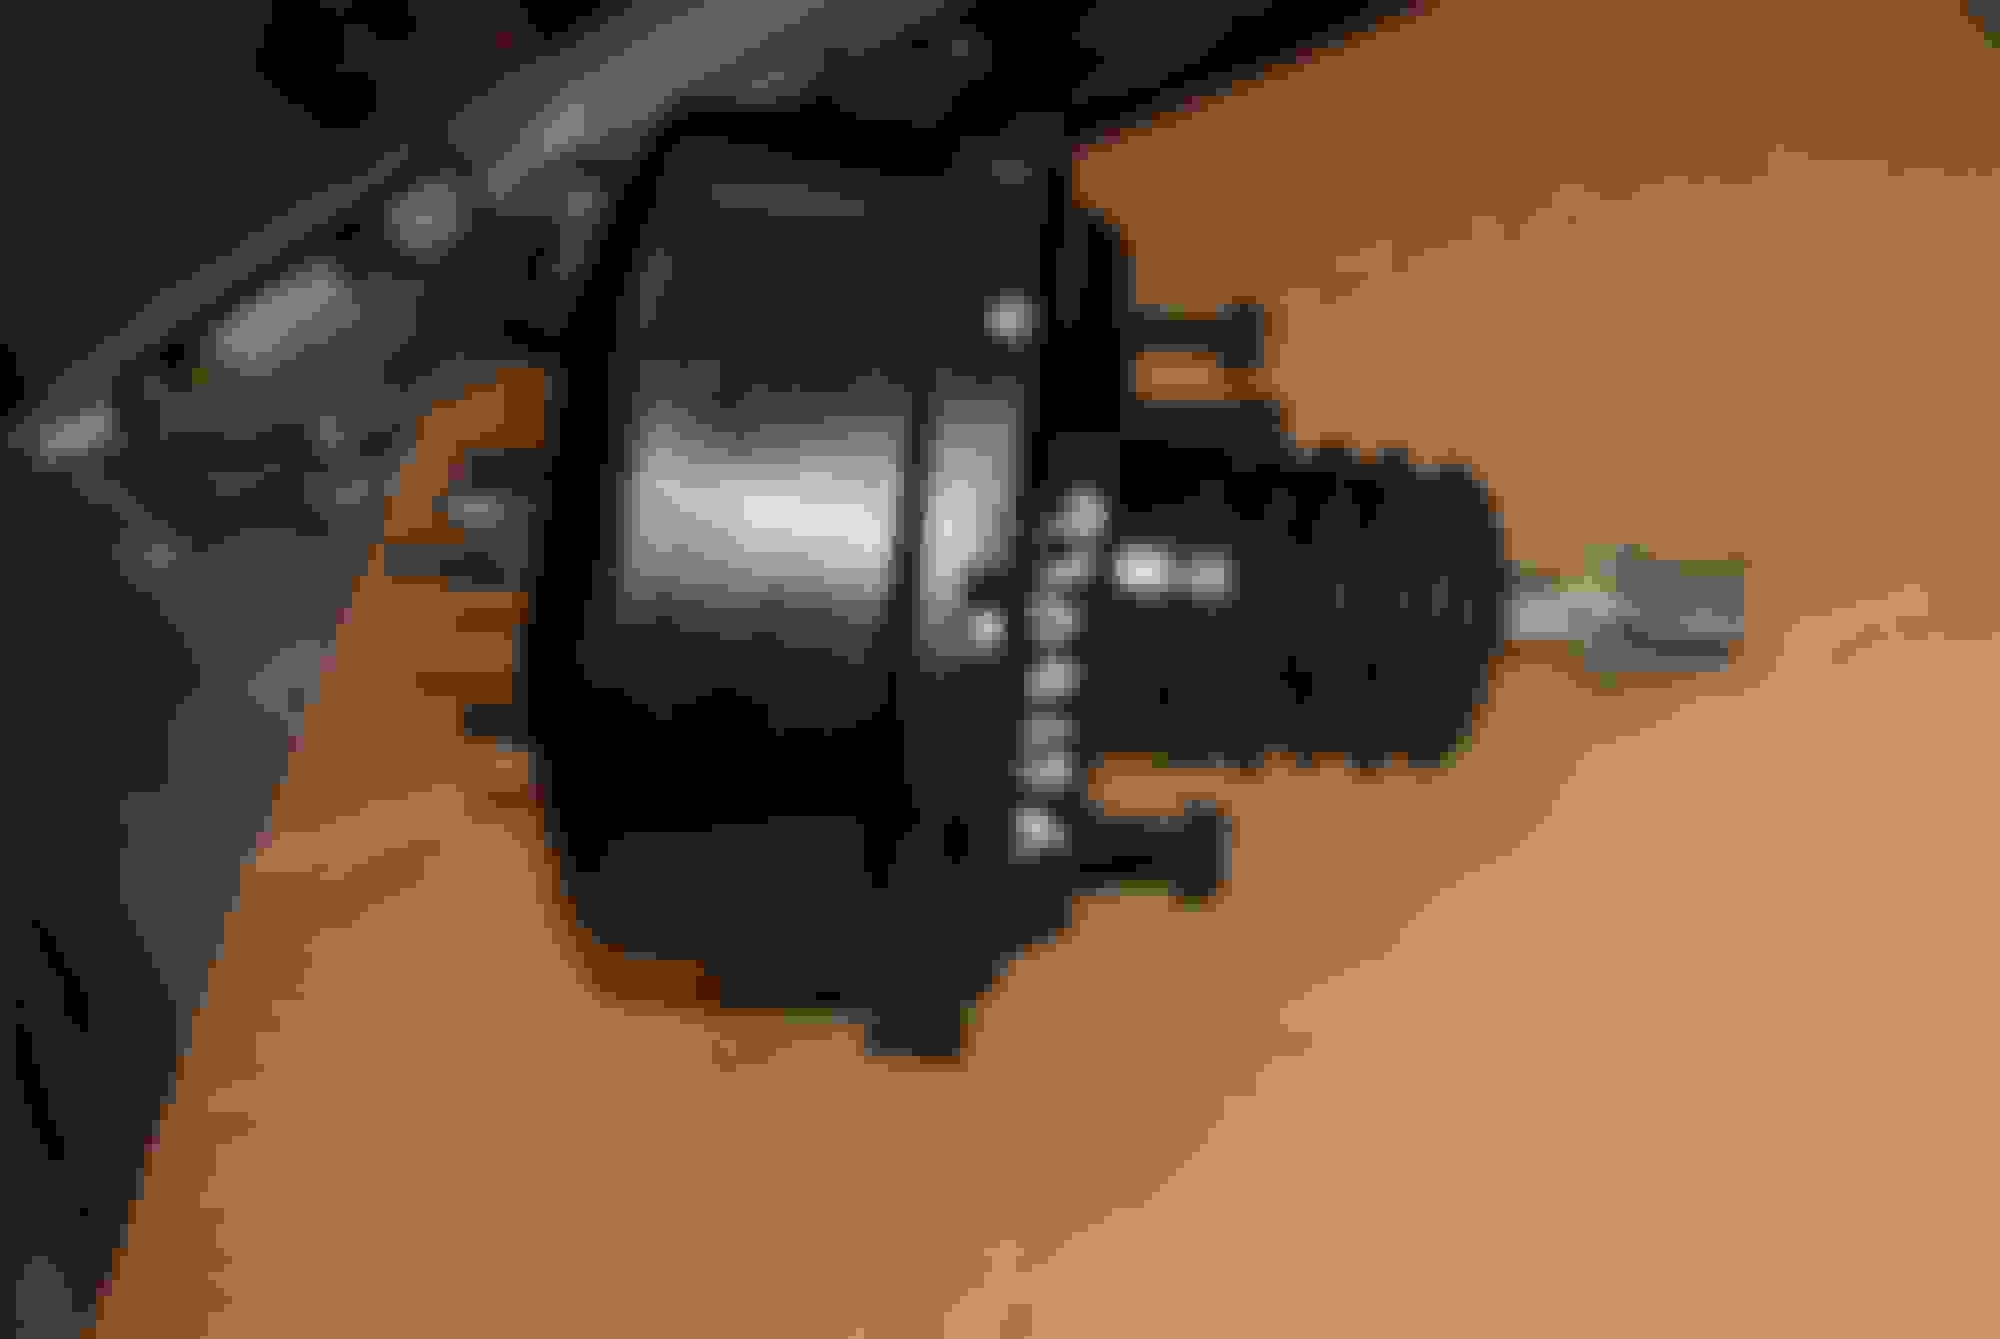
So I was gonna try and tackle the power brake booster. It's rusty and could prolly use a rebuild to be sure it's ok, and to really derustify it right I'd have to blast it, or take it apart and perform electrolysis on it. Given my recent track record of effing things up when I rebuild them (e.g. steering gear), I decided to use the rebuild service from Rock Auto. It took about a couple of weeks, and for around $100 I think it was money well spent. Look at these before and after pics - what a difference!:
So now after two weeks I have what I hope to be a perfectly rebuilt booster. It's not a museum piece but it looks great, and I'm pretty confident it would be partially disassembled and / or partially broken if I had tried to rebuild it myself...
I've managed to get the rear bumper reinstalled. That involved a) finding all the parts (no small challenge there), 2) soaking the rubber pieces overnight to get all the schmootz off them, 3) ordering new hardware - speed nuts and bolts from McMaster Carr, 4) carefully tightening the new hardware on the old rusty posts on the bumper end caps. Man I was afraid I was gonna break one off. On both the left and the right, one post broke when I disassembled the bumper so each of these only has one left. Yikes!!.
It's beginning to look a lot like a car again!
I painted the backside of the bumper satin black, and I think it turned out swwwweeeeeet....
New speed nuts.
Found this in the bottom of a box with the gas tank shroud pieces, seat belt receivers, and misc. interior bits... I really need a better inventory system!
New hardware - looks like jewelry!
I was really rather butt puckered tightening that nut down... Used a generous amount of WD-40 and carefully alternated between tightening and loosening it until it was snug. Phew!
Reassembled with new hardware.... Those bumper mounts tho - whoo! They're relics.
I needed one of these. I got the part number from j9 (he's awesome!), but alas they are NLA... I did find a partial piece of one. It had just enough material remaining that I was able to use gorilla glue and glue it in place. He did give me a possible replacement from a Mazda 6 and I searched around a bit today to see if some of those will work. Next time I'm near the dealer I'll check them out.
The finished product!
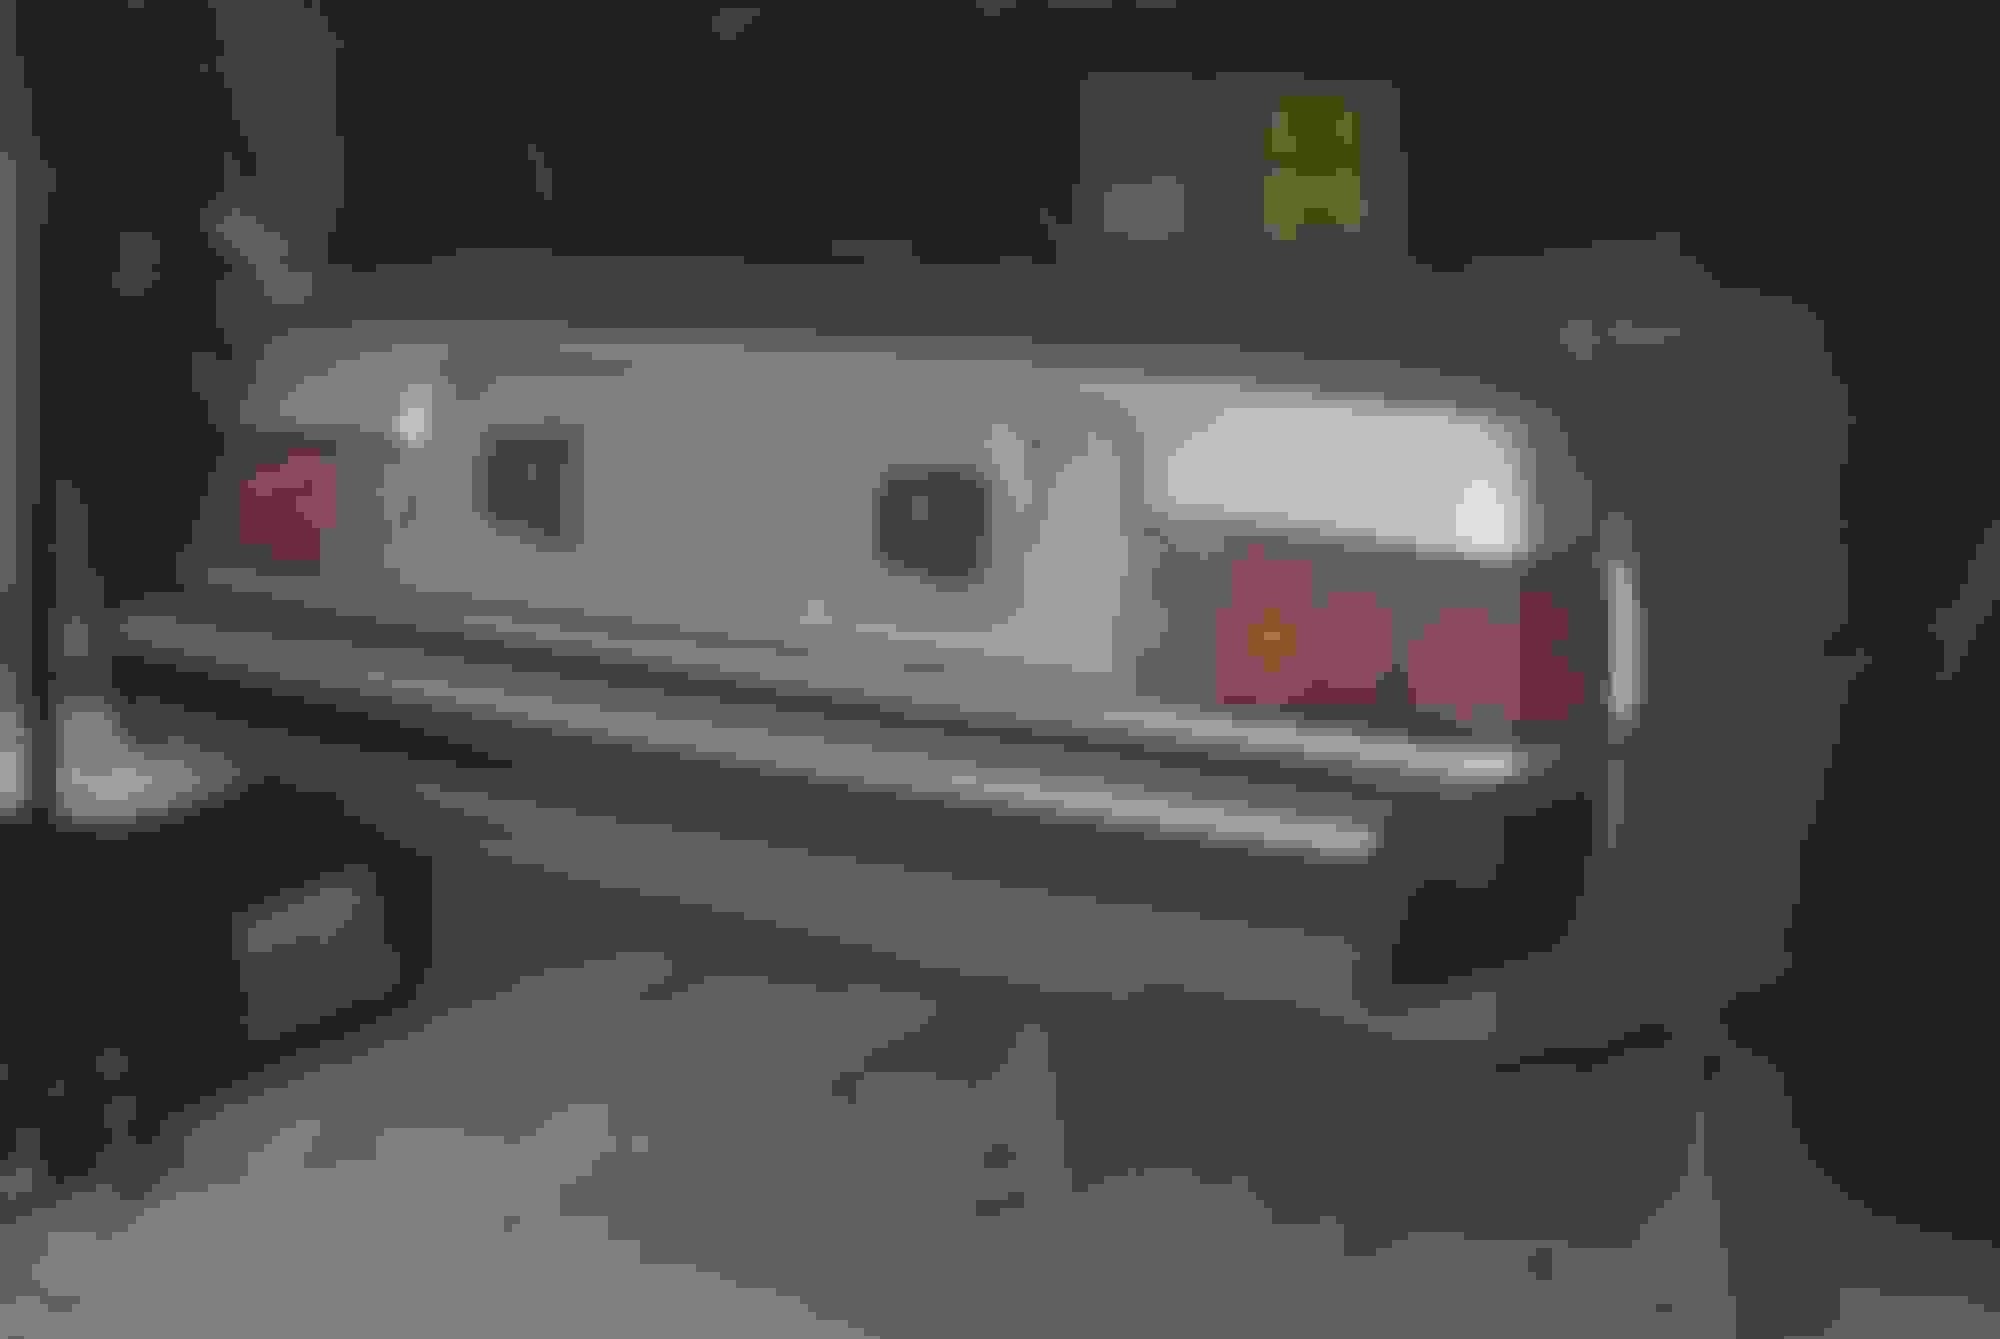
These tail lights are the ones that were on the car when I got it and they're cracked. I have minty mint replacements carefully packed away for when I get it 'done'.
Another bit of character for this car... I tried my best but just couldn't get that 'lazy eye' look out of the right tail light. It actually looks worse! The bumper is straight (of course), but you can see where the previous repair and replacement of the right rear section left the body line sloping up and away from the bumper. It was a major repair so this car must have been smacked pretty hard sometime in the first 3-5 years of its life. I think my brother picked it up sometime around 84.
I've managed to get the rear bumper reinstalled. That involved a) finding all the parts (no small challenge there), 2) soaking the rubber pieces overnight to get all the schmootz off them, 3) ordering new hardware - speed nuts and bolts from McMaster Carr, 4) carefully tightening the new hardware on the old rusty posts on the bumper end caps. Man I was afraid I was gonna break one off. On both the left and the right, one post broke when I disassembled the bumper so each of these only has one left. Yikes!!.
It's beginning to look a lot like a car again!
I painted the backside of the bumper satin black, and I think it turned out swwwweeeeeet....
New speed nuts.
Found this in the bottom of a box with the gas tank shroud pieces, seat belt receivers, and misc. interior bits... I really need a better inventory system!
New hardware - looks like jewelry!
I was really rather butt puckered tightening that nut down... Used a generous amount of WD-40 and carefully alternated between tightening and loosening it until it was snug. Phew!
Reassembled with new hardware.... Those bumper mounts tho - whoo! They're relics.
I needed one of these. I got the part number from j9 (he's awesome!), but alas they are NLA... I did find a partial piece of one. It had just enough material remaining that I was able to use gorilla glue and glue it in place. He did give me a possible replacement from a Mazda 6 and I searched around a bit today to see if some of those will work. Next time I'm near the dealer I'll check them out.
The finished product!
These tail lights are the ones that were on the car when I got it and they're cracked. I have minty mint replacements carefully packed away for when I get it 'done'.
Another bit of character for this car... I tried my best but just couldn't get that 'lazy eye' look out of the right tail light. It actually looks worse! The bumper is straight (of course), but you can see where the previous repair and replacement of the right rear section left the body line sloping up and away from the bumper. It was a major repair so this car must have been smacked pretty hard sometime in the first 3-5 years of its life. I think my brother picked it up sometime around 84.
Mike, I know you're a perfectionist and will always notice this, but trust me, no one would notice unless you pointed it out to them. Could you possibly tweak the passenger side bumper mount a bit to bring the bumper up a quarter inch or so?
The 79 is coming along very nicely! I'm really enjoying the step by step pics! Well done!
Thanks Dave! I keep dreaming that one day I'll be done and can make a road trip up to one of your driveway meets! It'd be great to see everyone and show this thing off.
Originally Posted by RCCAZ 1
Mike, I know you're a perfectionist and will always notice this, but trust me, no one would notice unless you pointed it out to them. Could you possibly tweak the passenger side bumper mount a bit to bring the bumper up a quarter inch or so?
Thanks Tim! I think you might be right - I must be a bit of a perfectionist! I keep telling myself that no one else will notice it, but.... I'm hoping that it'll look less noticeable when the car is on the ground. I thought about raising the bumper up a bit too. I'm not averse to trying that, but at this point I'll probably just live with the "character"...
Been working on getting all the old rusty dirty engine bay pieces cleaned up, repainted, and reinstalled. I got the headlight motors done and reinstalled. Cranked them by hand and verified that they work properly. Not sure though if they should be in the "up" position or the "down" position when I put power to them. Depends on if the switch is simply a back and forth type switch like the antenna, or if there is an up and down switch position.
I've also been meticulously (there's a word commonly used by a perfectionist ) scrubbing the wiring harness first with soapy water and a toothbrush to get the grime off it, and then with WD-40. There is a fair amount of undercoating, old and new overspray, and 38 years of grime on it that just doesn't just simply melt away. I'm debating cleaning it vs. unwrapping it and re-wrapping it with new tape. Gonna look into new tape because it's just not cleaning up like I'd like it to.
Keeping a running list of stuff that needs to be done. I really hope that over the winter I can finish it up and get it fired and running this spring. It's hard to believe it's been five years already. Wow.


 . Thinking of pulling my antenna and doing some of my own forensics as well. Antenna goes up and down, but seems to get stuck at various points of each cycle. Need to understand what's causing that and just check out the overall condition of the unit. May post some pics of mine if it would be helpful. Keep up the amazing work!


 That happens when you read the FSM for reference after a few brews... Last weekend was thinking they were on backwards - and they were.


 ) scrubbing the wiring harness first with soapy water and a toothbrush to get the grime off it, and then with WD-40. There is a fair amount of undercoating, old and new overspray, and 38 years of grime on it that just doesn't just simply melt away. I'm debating cleaning it vs. unwrapping it and re-wrapping it with new tape. Gonna look into new tape because it's just not cleaning up like I'd like it to.