When you click on links to various merchants on this site and make a purchase, this can result in this site earning a commission. Affiliate programs and affiliations include, but are not limited to, the eBay Partner Network.
Its amazing how much you've done (how much drive you have) considering you've only driven the car for a handful of miles.
Yes, they are loud.
Thank you! I've really been motivated to get it done so that I can show my dad - I think he'd be impressed. I remember riding around in it with him when I was in high school - the thing was freakin' FAST.
Originally Posted by ACR_RX-7
What color is your carpet? If it's black, you can do what I did. I'll link my thread.
That was a lot of good work ACR_RX-7. Looks like it came out great. My carpet is black also and I was able to clean up the replacement carpet I acquired. I plan to reuse my rear deck carpet. We vacuumed them really good this past weekend and then used our rug shampooer on them. It's was amazing how much dirt we pulled from them. I just layed them in place for these pics but I think they'll work well. Still need to clean up the vinyl foot pads. The rear deck section may need some dye at some point, but they cleaned up and (most importantly) don't stink. I was really happy with the results.
I also sent away for some headliner glue. I decided that if the pros go to Classic Industries, then I can't go wrong. A 4 oz. can was less expensive than shipping, but this is the right stuff to use.
Headliner work and a surprise method of restoring plastic
Originally Posted by SirLaughsALot
Very impressive, as always.
Thank you Sir! Nothing like your build, but it's coming along!
Originally Posted by andernamen
Lookin' good Mike. Can't wait to see it.
Thanks andernamen! When the weather gets warmer we'll have to get together for a beer and stare at it.
I was looking at the rear interior trim parts that cover the wheel well and speaker on each side. Mine, like many, are faded, cut, scratched and one has a missing tab, but they're all I have. I sanded down the cuts so they weren't as sharp, and then researched how to make them look new again. I google searched and found a thread on this forum from 2002 where someone used black leather dye to refinish these exact panels. Huh... Leather dye. And not just any leather dye - Fiebing's leather dye. A quick search and I was able to locate some locally in VB (Acredale Saddlery) and thought what the heck, for 8 bucks it's worth a shot. Imagine their surprise when they asked me what i was dyeing and I said "old plastic car parts".
Anyway, these pieces came out ok. I applied the dye and let it sit for a good hour. When it looked like it was drying I applied another coat. As the 2002 thread said, I wiped it off with paper towels and then a dry clean cloth until no more dye came off. I let them sit overnight and then coated them with Armorall.
4 oz. for $8
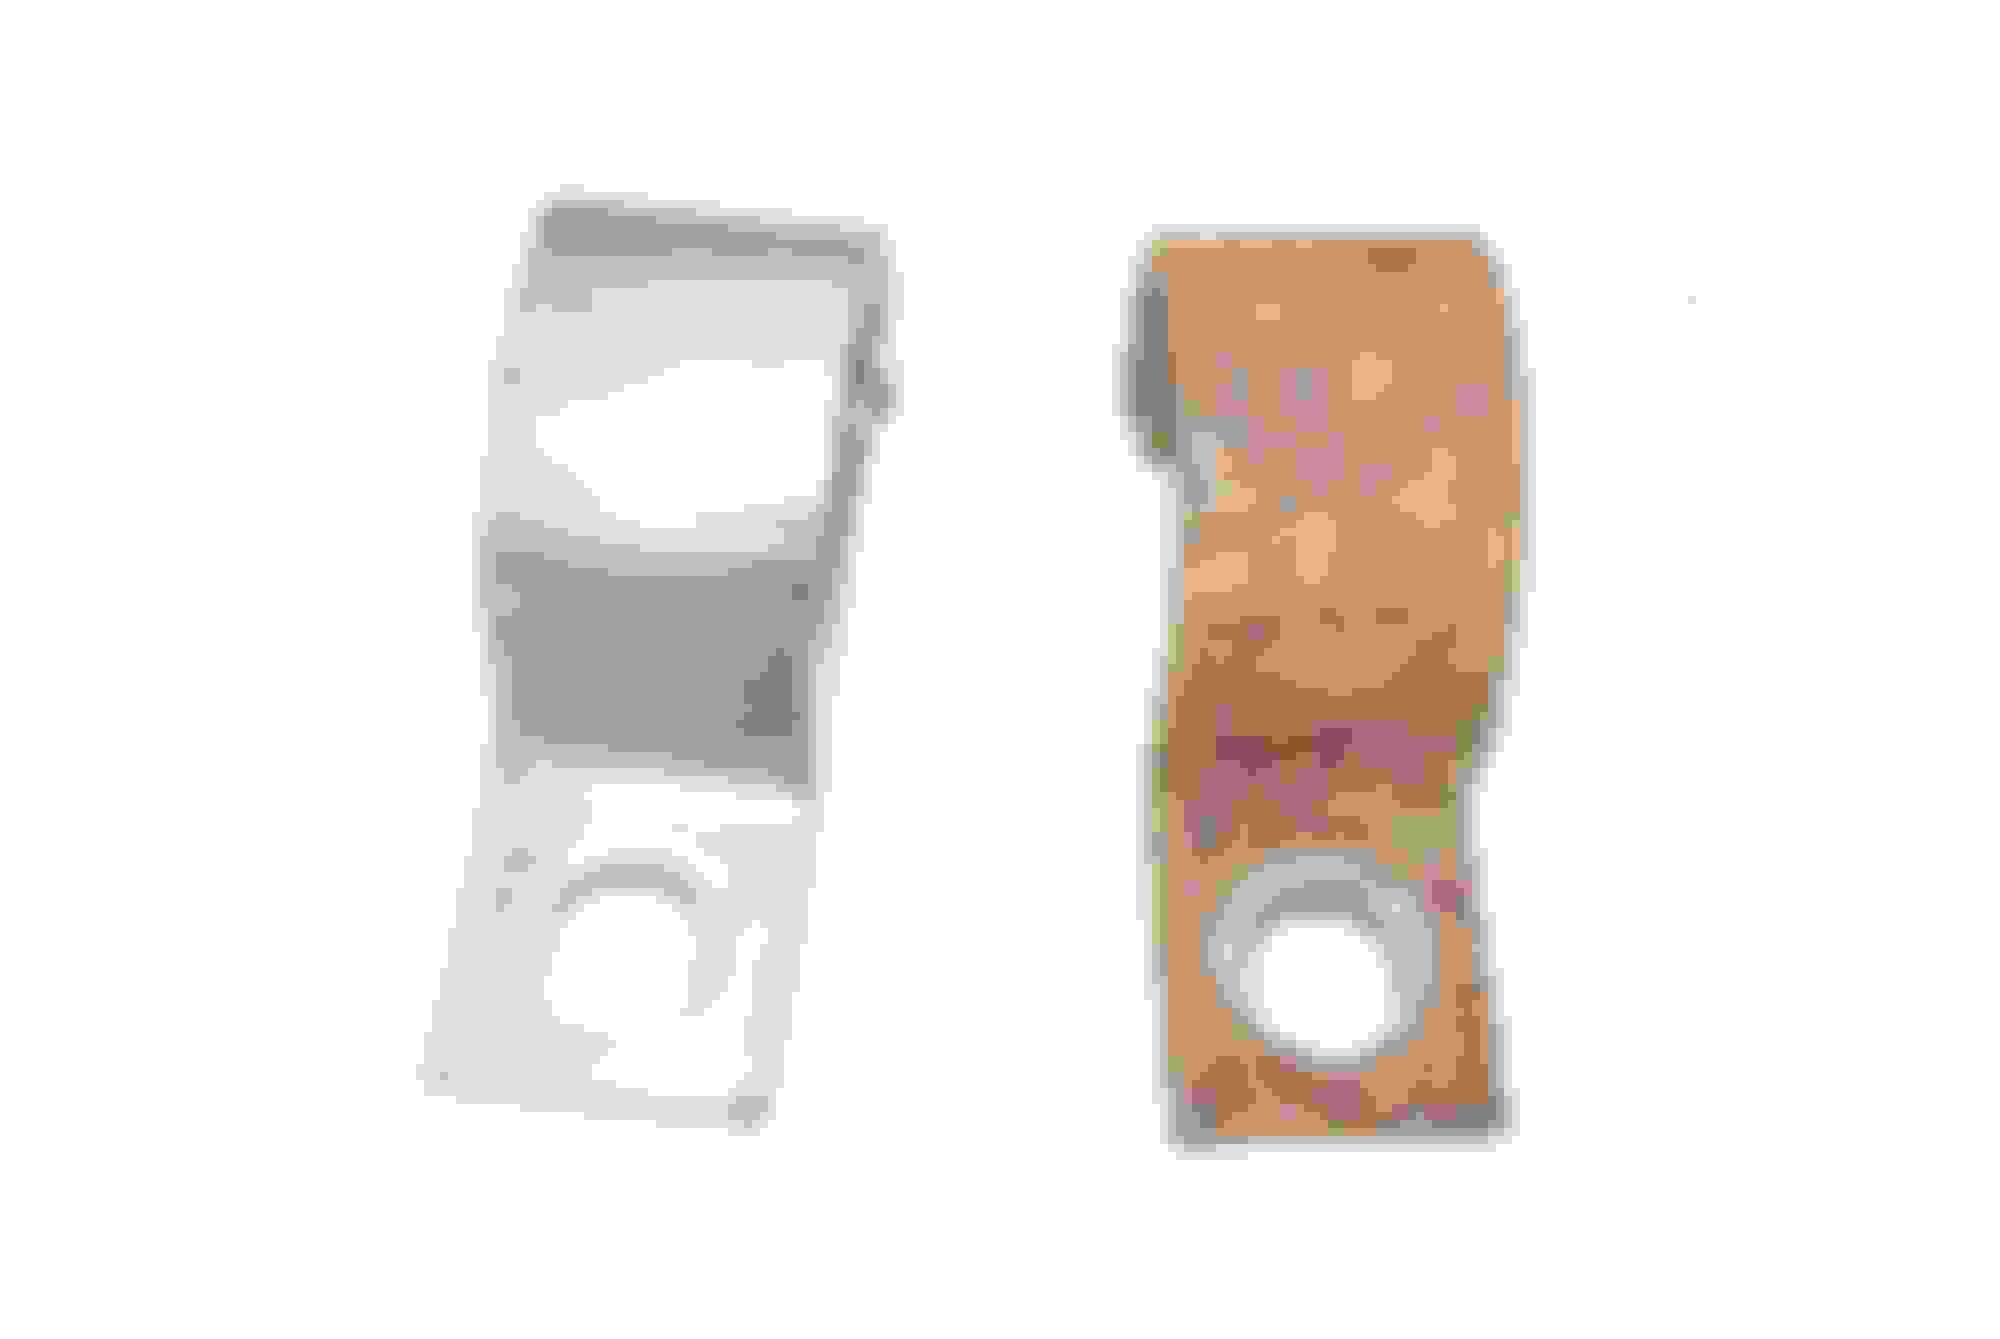
Before dyeing after I had cleaned it well.
Before dyeing after I had cleaned it well.
After a night of drying and then some Armorall.
I can still see a bit of fading when I inspect them, and you might see some in the pictures, but for 8 bucks I'm pretty happy. Not sure how it will stand the test of time, but I'll give it a shot.
I also could not stand not having any heat shield in the area beneath the tin pans where the bins (in an FB) would go, so I searched on line and found this at Lowes.
It was about $20 bucks or so. It's bubble wrap sealed on each side with a reflective surface. Maybe it'll work a bit, maybe not but I thought it was worth a shot. I cut it to size-ish and installed with more contact adhesive. Now I can at least sleep at night knowing I tried to help keep the heat down.
I also got the headliner secured in place this weekend with my glue from Classic Industries and even managed to get the sill trim piece in place around the divers side door opening. I have a bit of cleaning to do on the headliner and the trim piece. I also reinstalled the door shut switch and some wire bundle hold downs. It feels great finally putting this back together!
That stuff is excellent intake wrap. Used to be called, "JiffyPop" by the local racers.
Ha!! Now THAT's funny! I hope it doesn't pop.
I took my nasty old firewall insulation section to a local auto shop for an estimate. It really is (was) rather nasty. Stinky, funky, old, nasty. I was NOT gonna put it back in there, and was willing to see what a professional would charge. The guy was really great. The job was too small for him, but he did offer some advice and told me that I could probably replace the rubberized vinyl with a carpet protector from Office Max, and that I could replace the nasty batting / jute pile with regular old household carpet padding. WHAT AN IDEA!! And I even have some padding in my shed from a carpet job.
He must have had a couple hundred pictures on his wall of cars they'd worked on and they all looked awesome. I spied in a few of them the reflectix I used. He said they use that a lot and could do an entire floor for about 60 bucks. Wow. He also told me that a lot of the heat in a car comes from the transmission and that the reflectix reflects something like 95% of the heat, so I put some more on the transmission tunnel and on the passenger floor since the exhaust runs under it.
So with that knowledge, I set about this weekend to replace that nasty firewall piece. I shopped for a desk chair carpet protector, and those were either too thin or too thick and would prolly get brittle and break over time so I decided I would use my old one. It's sunny but cold here and it's stiff and not too pliable, so I set it in the sun to warm up. I measured it up and then removed the old jute padding:
The old stuff was about 1 inch thick...
Then I decided to use my left over jiffy pop for a base layer, then put the carpet padding on top of that.
Looks 100% better than when I removed it, and more importantly doesn't stink.
The finished product is almost an inch thick, but is prolly a LOT more reflective than the original. I think this will work quite well. Because it isn't really warm here I couldn't get it to stretch entirely across the firewall and I don't want to break it. I'll get a hair dryer out and see if I can stretch it a bit. It's a little bit less than an inch off on the drivers side. I also got the sheet metal pans in place behind the seats and ran some speaker wire and test fit a really nice section of rear carpet that I acquired. It needs some grommets but it is in otherwise really great shape.
What are you planning on doing for the rattling storage bin frame? Being that it's a 79, you're also losing out on a ton of space there. Did you ever consider deleting it and just carpeting the floor where that sits?
Interior is coming along nicely! Even though everything will be covered up by carpeting, it's awesome knowing you've put that much work into it to have a cool and quiet cabin.
What are you planning on doing for the rattling storage bin frame? Being that it's a 79, you're also losing out on a ton of space there. Did you ever consider deleting it and just carpeting the floor where that sits?
Actually, I did this to the underside of both sections:
Used up my last few sheets of damplifier pro, but no more rattle.
Originally Posted by craaaazzy
Interior is coming along nicely! Even though everything will be covered up by carpeting, it's awesome knowing you've put that much work into it to have a cool and quiet cabin.
Thanks craaaazzy! I figure if I can do what I can to make it more enjoyable for the wife, so much the better.
I was working on the piece of carpet that goes in the very back near the tail lights, and saw a curious sticker. It has a date on it - looks like 8 - 05 - 15. The trim tag on the door pillar has a May 78 date. If there was a "7" in front of the "8" then I think this seems to indicate it was the 15th of May 78 that the carpet was made - or installed? Don't the Japanese indicate the dates in year, month, day format? If so, then here's more evidence of the originality of the car.
I took another confirmatory whiff of the carpet sections I cleaned, and ... they still smell old So I took the cleaner and stiff brush to the undersides and hosed them off again and laid them out in the sun to dry. I don't really want to get this far and put this much into the car only to have it smell overtly old. I know it's an old car and it will never have that new car smell, but at the same time I don't want that old car smell either... Know what I mean? My wife said to just go ahead and order new carpet, but I don't have that kind of jack on me at the moment...
As for the smell, have you looked into any of the Zymol products? I use their wax and leather stuff and it is, hands down, the BEST smell I have yet to find for any cleaning/restoration projects. All the Porsche guys swear by it. Speed Wax, Sex Wax, whatever you want to call it. LOL
As for the smell, have you looked into any of the Zymol products? I use their wax and leather stuff and it is, hands down, the BEST smell I have yet to find for any cleaning/restoration projects. All the Porsche guys swear by it. Speed Wax, Sex Wax, whatever you want to call it. LOL
Thanks Sir! I looked that zymol stuff up- looks like good stuff. I'll check it out for future use, like on the dash and stuff.
Originally Posted by Qingdao
I've heard that the "old car smell" largely comes from the glue used in the carpets. I embrace the smell. I like it.
Well, I've been airing out the old carpet for a couple weeks now. My wife told me the other day "you've done so much to this car to get it as good as you can, why don't you just buy new carpet and be done with it?". Well, kitchen passes don't generally come around too often so I decided to use my tax return to get a new carpet set from Stock Interiors. I'll save this carpet set for my next project - if I ever get one.
I've been quite busy getting the rest of my other tasks done. I was preparing my front torsion bars for paint. I decided I'd carefully measure out my threads so I can see where to reset my bushings, when I noticed the drivers side bar looked like this:
Well, so much for using that one! Further evidence of a hard hit to the left front. No bueno.
Then I had to heat up the sleeve where the bushings sit on the passenger side torsion bar because it wouldn't just come off. Couldn't imagine why.... Then when I did I discovered this:
The rust had just eaten up the threads to the point where the bar is unusable. Good thing I have some replacements on hand that were rust free and straight (THANKS JERRY!!), so I cleaned them up with the wire wheel and painted them. No pics but they look pretty darn good.
Then I worked on removing the old bearings and installing my new bearings. I don't have a press so I went the way of manually installing these after having read up quite a bit on the methods to do that. I thought I'd get cute and use gravity as a mechanical advantage so I drilled a hole in my workbench for the axle to go through so that I could persuade the axle into the bearing and retainer.
That ended up not working out so well because ... well because wood is not as hard as iron and the beating I put on the axle tore up my bench. Incidentally, in my haste I put the bearing on with the drum brake backing plate .... uspside down. So off came my first new bearing, and not in a good way. Hello, RockAuto? Yeah, send me one more RW102 rear wheel bearing please.... As a bonus, I received this to add to my collection!!
The reference standard for SAs and quite the inspiration to get my car done!
Once I got that in the mail, I decided I was going to go full on old school. I stuck the axles in the freezer overnight, then heated up the bearings and retainers in the toaster oven to 220. Then used my persuader system to knock them home. One was an absolute BEEEEYOTCH to get on and required more heat to the retainer, some sweat, blood, tears, and a whole lot of "get the F on there!!!" persuasion. In the end though, both axles were outfitted with new bearings and retainers.
That was the last few weekends worth of frustration. I've been working to get the rear end back together and reinstalled. I took the day off yesterday and got quite far in six hours, but it isn't quite there yet. I'll provide an update later this weekend. Today is youth baseball and a much needed rest for my sore body and torn up hands.
Yep, the rear end is in! After getting the wheel bearings on, I put the rear end together with all the linkages and the new poly bushings. I must have switched the axles around because the axles went in with a bit of difficulty. I had to use the rubber mallet and hammer them home. I expected that they'd just slide right in there but the didn't. However, the did go in. I was able to feel them engage so I know they went in straight. Just difficult.
The new poly bushings... Well. They were a bit difficult but they're in there. I learned today that at some point in 1979 Mazda changed the rear sway bar from 18 mm to 14 mm in diameter. The new bushings were for a 14 mm sway bar and guess what? Mine is 18 mm. More research is required to get the right poly bushings for my sway bar.
Enjoy the pictures!
Well, although they say you can use a screwdriver to try and wedge the old oil seal out, don't try it. It will definitely mark up your axle housing.
New energy suspension rear sway bar hardware, and the old stuff... Quite a difference.
Before and after the wire wheel with the rear sway bar retainer clips. Wire wheel and paint and it looks new!
Decided I didn't want the spring to rest on the axle without a little rubber between the two, so I got creative and used some scrap Mercedes Benz wiring harness rubber covering to slide onto the lowest ring of my new Racing Beat springs. Germany, meet Japan...
Rear end assembled with new poly bushings.
Rear sway bar with new links installed.
My helper for the day!
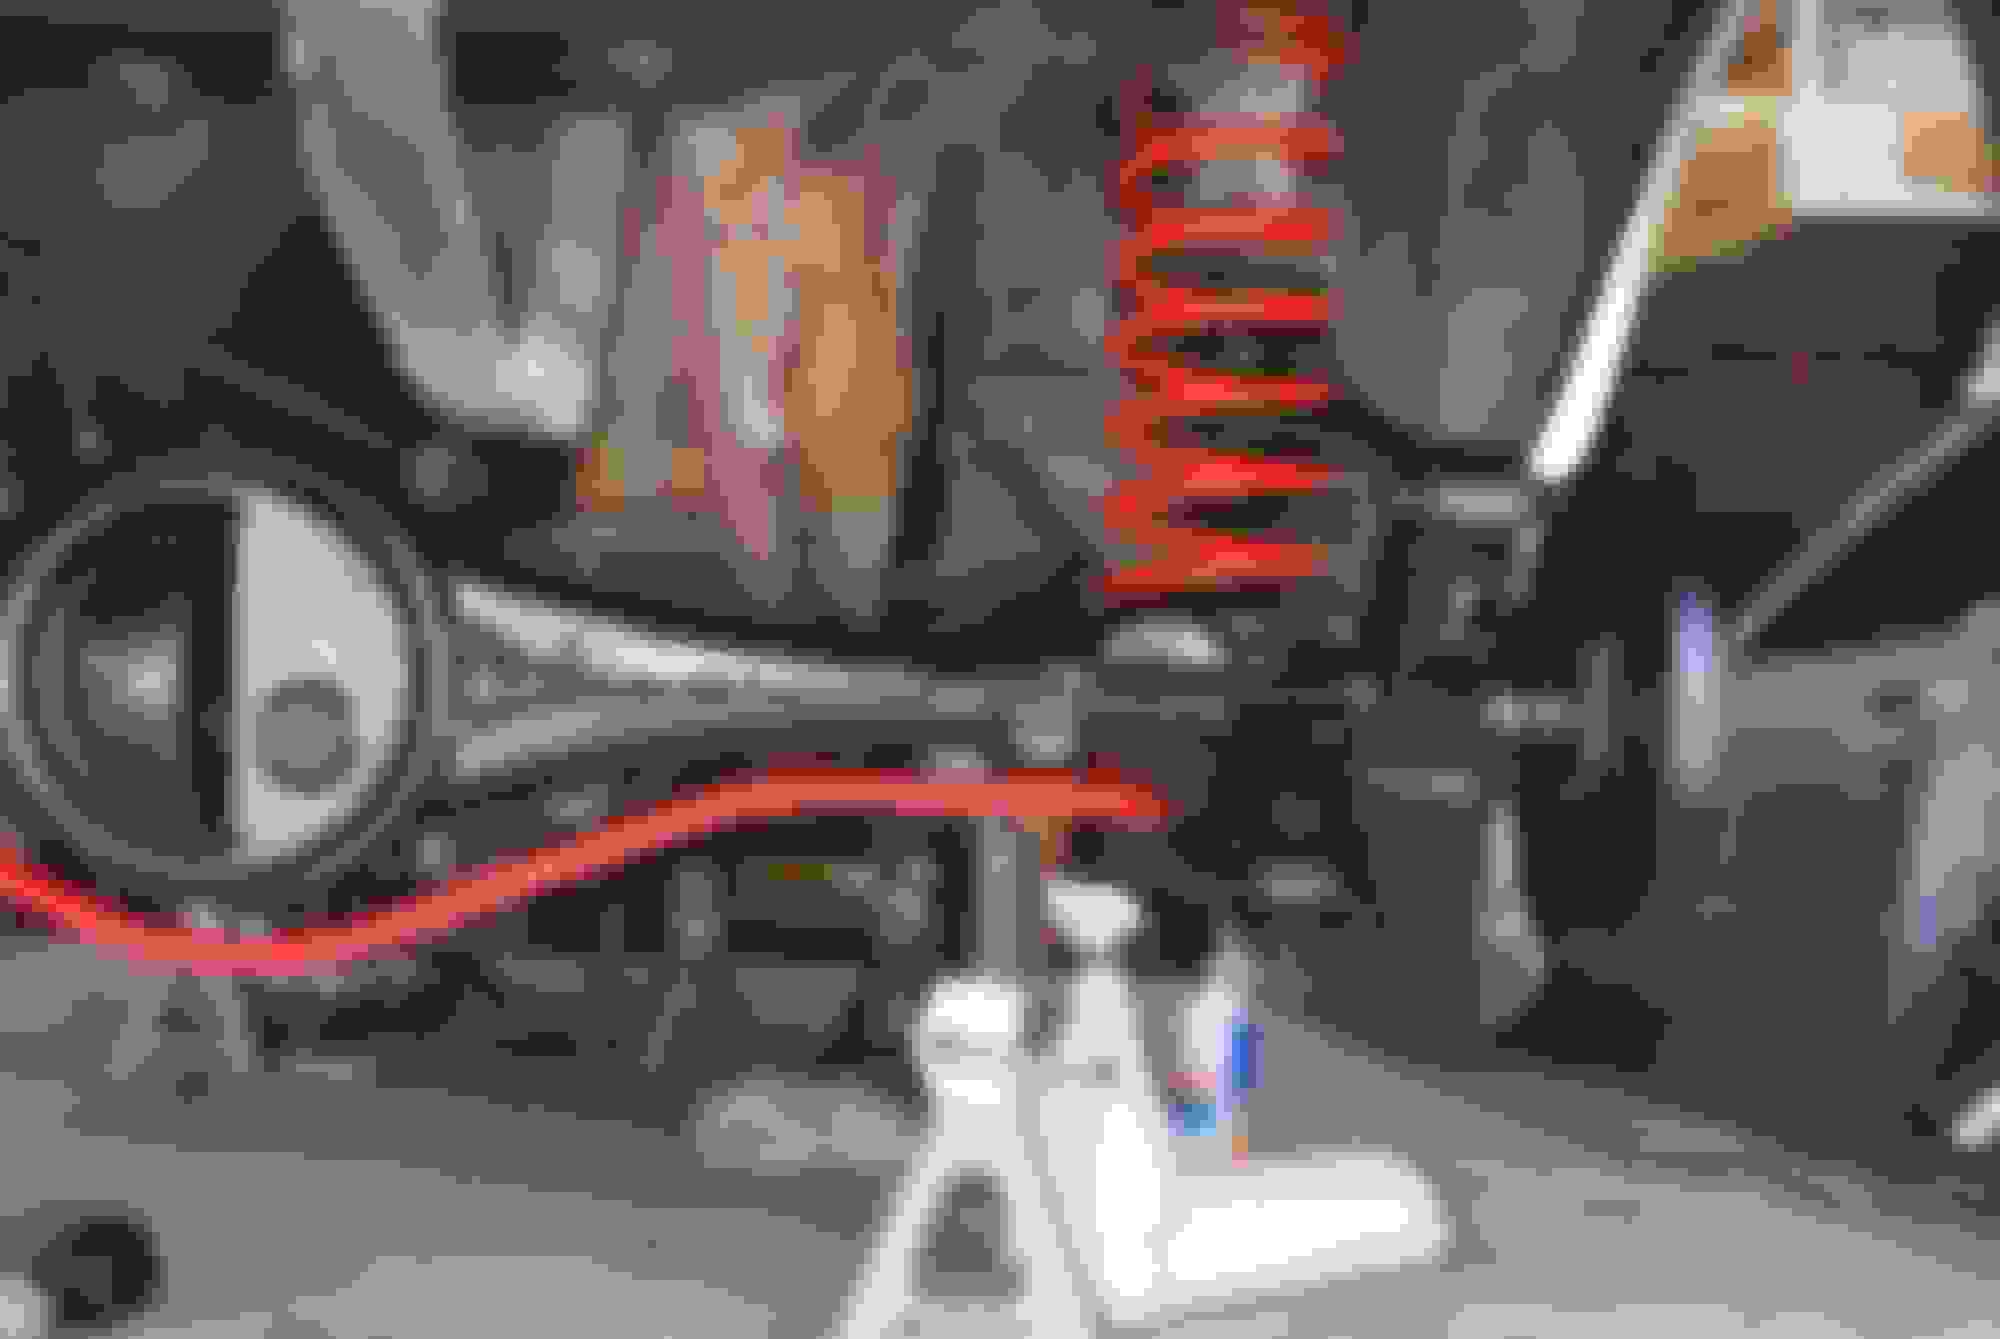
Rear end installed with new racing beat springs.
Painted my drums red to match the springs and sway bar. I kinda like the look
Test fitted my wheels. I REAAAALLLLY like the look of the red drums on here.
I LOVE being able to clear space up in the garage. Feels like I'm getting closer.
That's looking really good. Shame you don't live closer, you could have used my press for those axle bearings...
Thanks Sean! I couldn't stand the cold... Ha!
I've been working on cleaning up the wiring harnesses behind where the dash goes and I ran across something weird, and I'm electrically illiterate so I'm hoping someone smart can help me.
i found one loose blue wire that wasn't connected to anything. It was just randomly looped through other wiring harness sections that were taped together. It was definitely not factory. The end lost the connector and it went to the fuse box. Here's a picture of the fuse box. There is a stray blue wire connected to the 20A "DEFOG AIRCOND (COMP)" connection:
I figured I could just see which connection is missing a wire, and I came across the choke mechanism connection. I counted the wires on each side of the connection - one had 4 the other had 5. Not wanting to fry my car when I eventually start it, I broke out the wiring diagrams to verify my intuition and discovered that the male connectors are labeled "B-09" which has 4 wires: pin 2 Br, 5 BLb, 6 is LR, and 7 is B.
The wiring diagram calls this connector B-09 choke switch
Here's the diagram of B-09, which shows up in two places.
Here are the 4 wires going into this from the harness..
In the FSM the choke magnet says there's 5 wires: pin 2 is LY, 3 Br, 6 is B, 7 is LB, and 8 is Br.
Choke magnet side of the connector with 5 pins...
Pic of the FSM showing this side has 5 wires...
Question 1: Why would this connection only have four wires on one side per the wiring diagram, and 5 on the other per the FSM??
Question 2: Should the choke magnet need a separate 20 amp feed?
Looks like this wire would have connected up to the brown wire at pin 3 on the choke magnet side of the connection.
I am completely lost on this one fellas. Any help would be great!
Seems like I was really busy this weekend but I don't really have anything to show for it picture-wise, except assembling the new front struts with new boots and springs. They look fantastic.
I also painted the rear hatch channels on either side near the quarter glass. That was a lot of masking for 2 minutes worth or work...
I also figured out that I had the wrong order of operations to reinstall the rear hatch glass. I had to install the headliner AFTER the rear glass was installed. So, I had to peel back the headliner in two places to get the hinges and rear hatch glass reinstalled. I refinished the hatch hinges and repainted them. They came out nice, but again, seems like hours of work for 2 minutes of painting.
I got the new MOOG idler arm installed. Two minutes worth of work...
My neighbor came by Friday afternoon and helped me figure out the mysterious blue wire. He said it was likely a hot wire someone installed for an aftermarket radio. Makes sense to me. Afterall, it did have an old cheap radio in there... He said the reason there may be four wires on one side of the B-09 connection to the choke and 5 on the other was to accommodate model year changes without having to change wiring harness connections. That also made sense to me. Hope he's right!
Here's what I actually did this weekend:
Figured out the mysterious blue wire (I hope)
Received and assembled the 18 mm rear swaybar poly bushings. THAT was a struggle.
Installed rear shocks
Cut and installed carpet in forward section. That was quite daunting...
Painted the rear hatch channels black
Refinished and painted rear hatch hinges
Reinstalled the rear hatch hinges to glass
Reistalled the rear hatch glass
Re-glued the headliner
Assembled and painted new inner and outer tie rod ends
Assembled the new struts into strut tubes with new boots and springs
Installed the new idler arm assembly
Refinished the clutch and brake pedal assembly
Installed one of the vinyl wheel arch trim pieces with double sided tape. I have to find my FM antenna wire and run it before I can install the sill plate on the passenger side and call the installation of the carpet complete.
Ordered the materials from McMaster Carr to refinish my heater and blower assembly so I can install it and get the dash back in.
I made a list of things that I need to do, and boy is it long. I have the rear end completely assembled now and I'm hoping that I can get the front steering and suspension back together so I can at least roll the car in and out of the garage. That'd be nice.
Not much to update, but I did get a few things done. I had a friend of mine who has a press, press in my new ball joints, They look great. I tack welded them into place today and repainted them. Seems I spend a lot of time lately either looking for hardware, or finding that its rusty and needs to be wire wheeled and repainted. Then I wait on paint to dry. BOOOOORRRIING.... Here's a pic of the old LCAs that I removed and the replacements with new ball joints - quite the difference!!
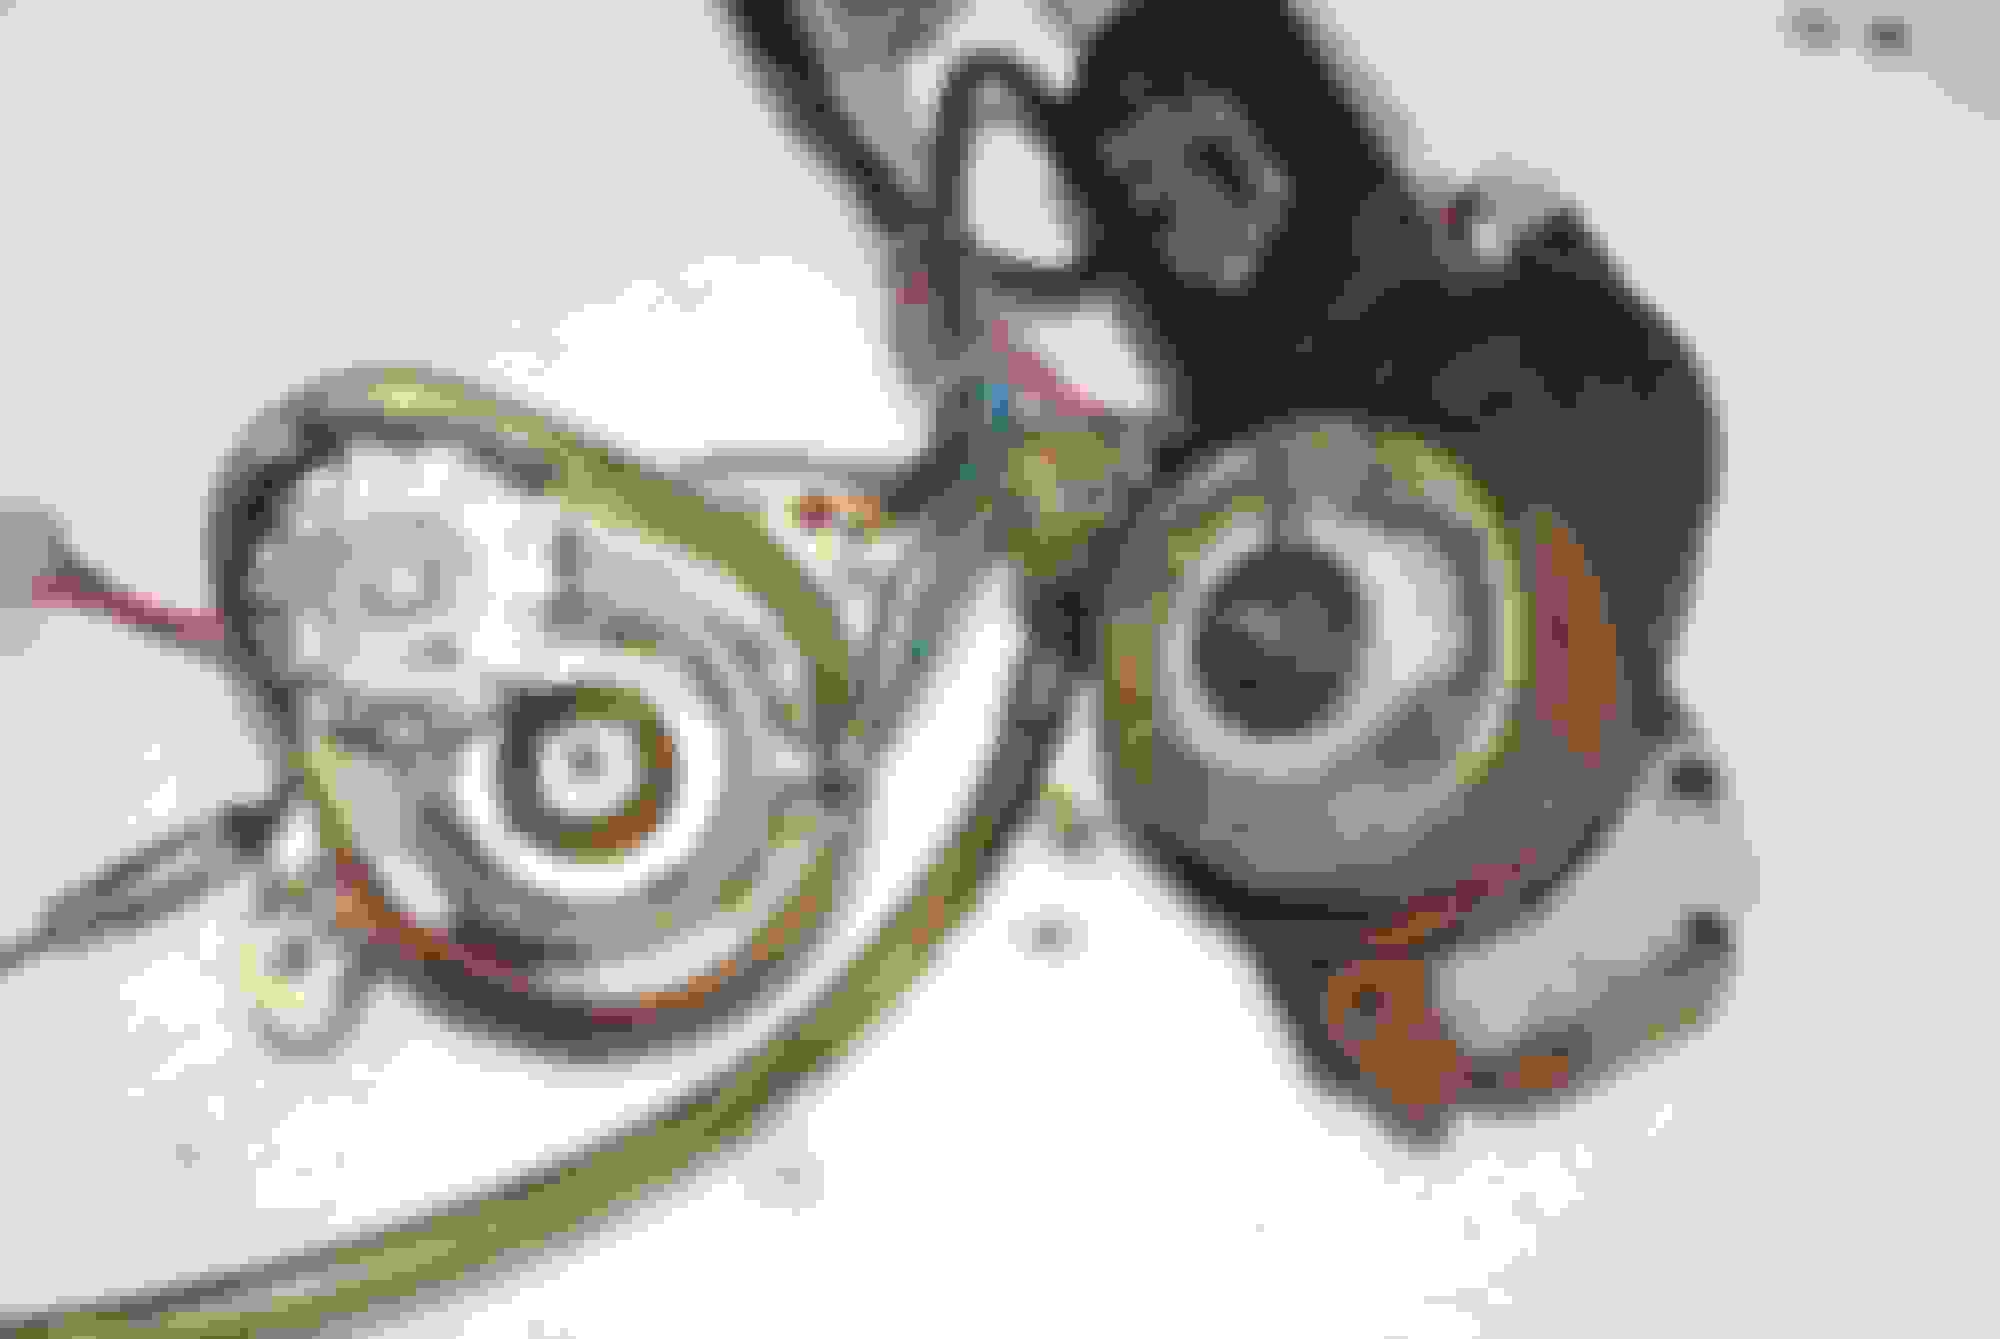
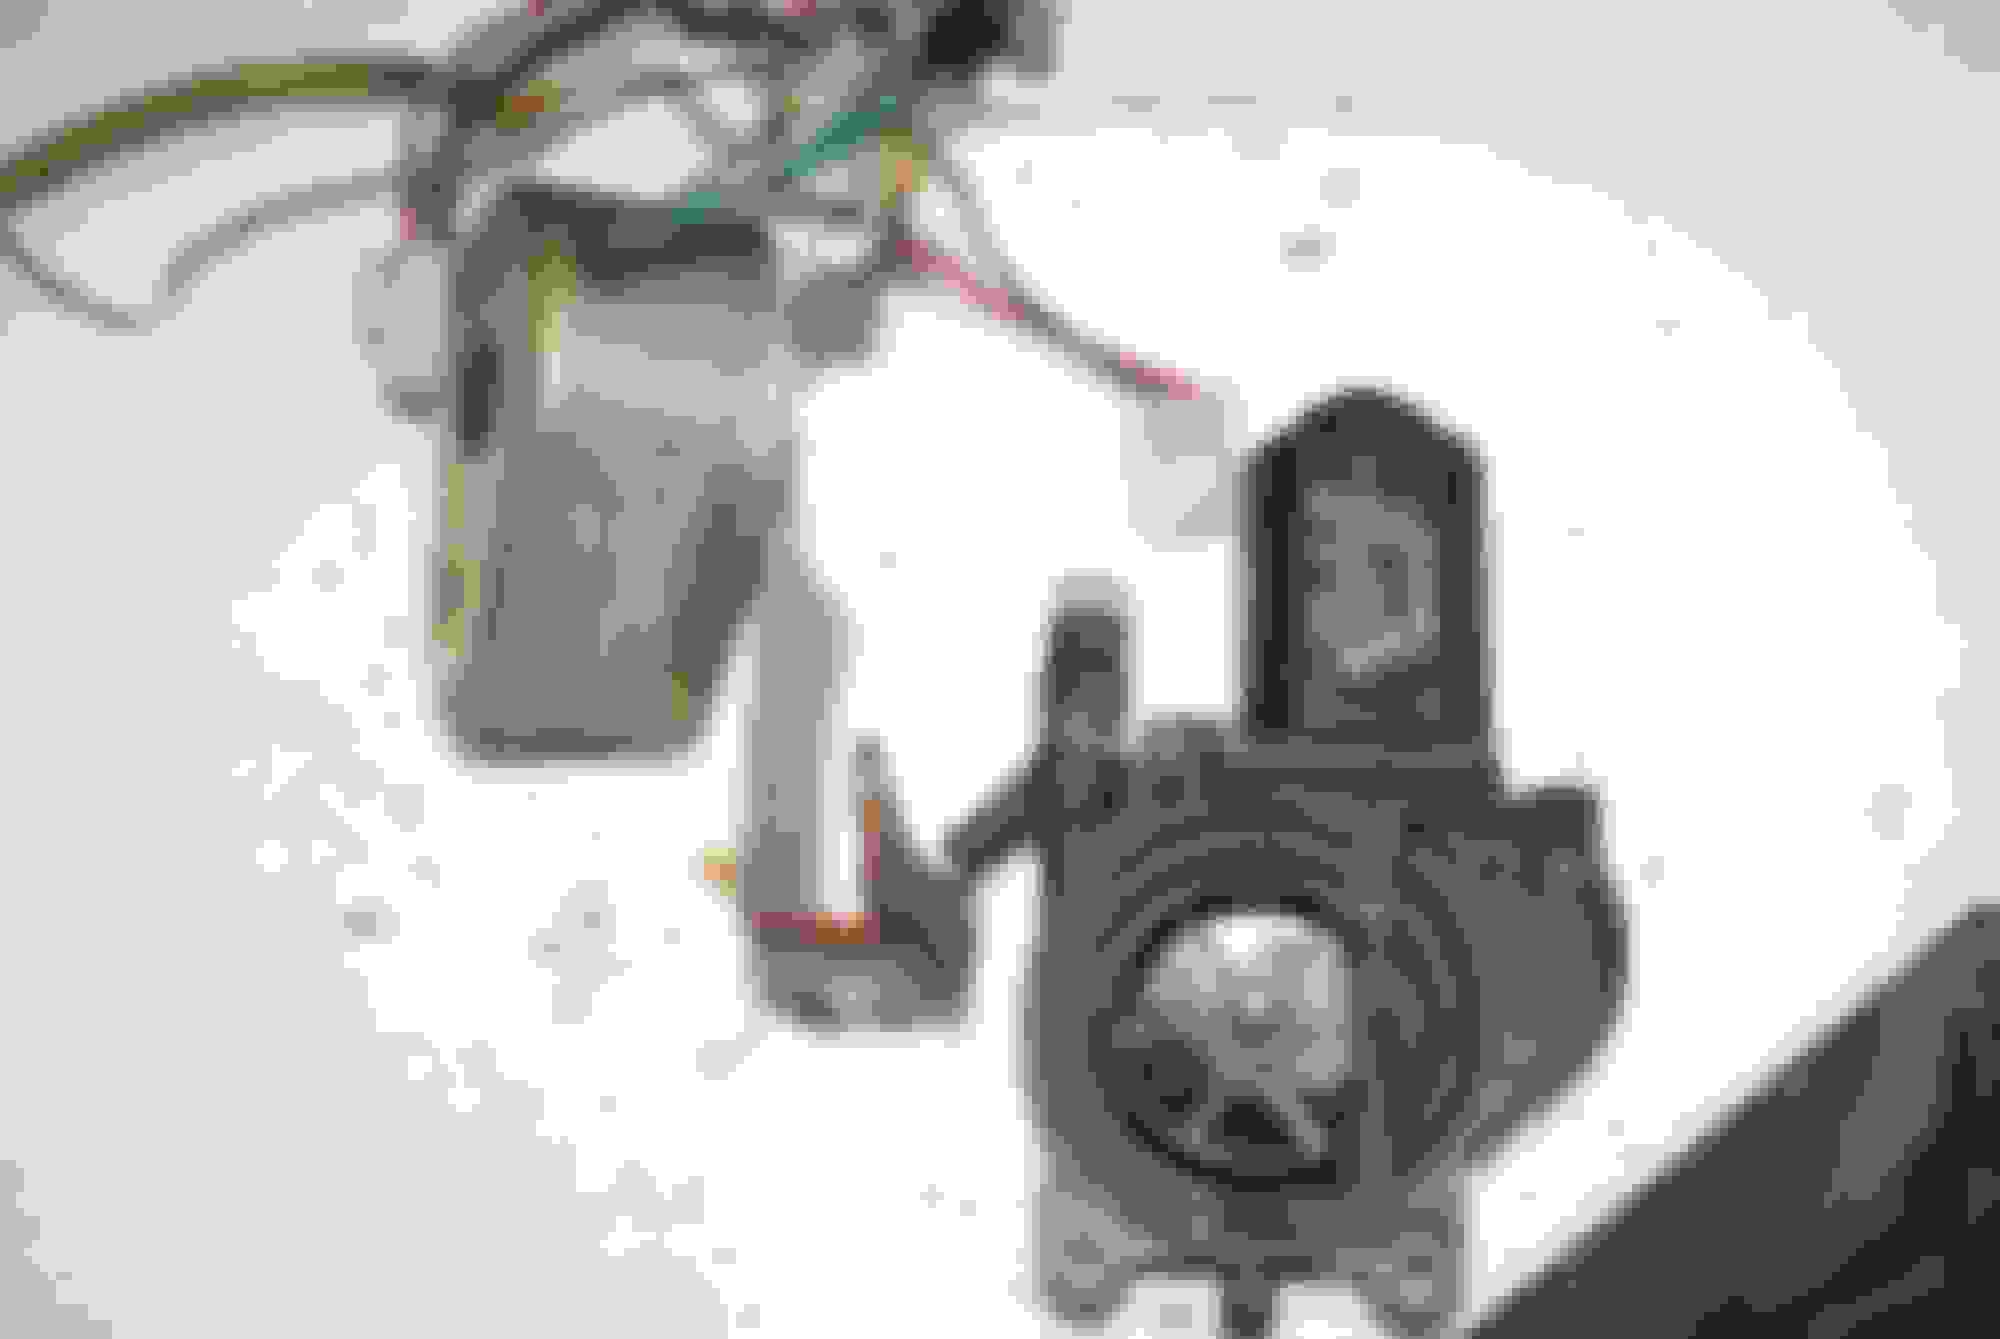
I also have been working on completing the interior, and part of that is rebuilding the antenna. I have a unicorn here with this original antenna, but the mast pusher was broke and coming out of the drain line - whaaaaaa??? Yeah. That wasn't right. So I tested it with 12V power before tearing it down and it WORKED! Albeit not quite correctly. The motor ran though, so I was encouraged. I could retract and extend the antenna mast by hand, but the broken nylon pusher was coming out the drain hole.
I removed the mast and discovered that the rubber grommet and nylon washer in the base of the mast had gotten sideways which was forcing the broken pusher out the drain line. Luckily (I think) the pusher was only broken at the end and its prolly about 6 or 8 inches shorter now. I'm not sure if having 8 inches less of the nylon pusher will make it extend less or if it won't go down all the way.
I cleaned it up as best I could. Treated the rust and cleaned out the tracks which were full of rust and mud. I reassembled it but I couldn't get the motor to run. Not sure what's happening with it but I hope I can resurrect this thing. I'll figure it out. If worse comes to worse I'll buy an aftermarket off eBay and adapt the plug...
So I learned a little bit more about my car tonight. I decided to break out the wiring diagram just to make double sure I had the leads correct to test the motor (positive to the positive, and negative to the negative, and a good ground). Well, I have the wiring diagrams for a 1979; however, my antenna wiring says it's something other than 1979... This car had been hit on the left front and right rear, so I guess they just replaced the antenna with whatever replacement was there at the time... Weird.
The book says the power antenna switch is supposed to have 4 wires... Blue with black stripe, blue with white stripe, blue with red stripe, and black...
However, my connection has only three wires...
.... blue, red and blue with yellow.
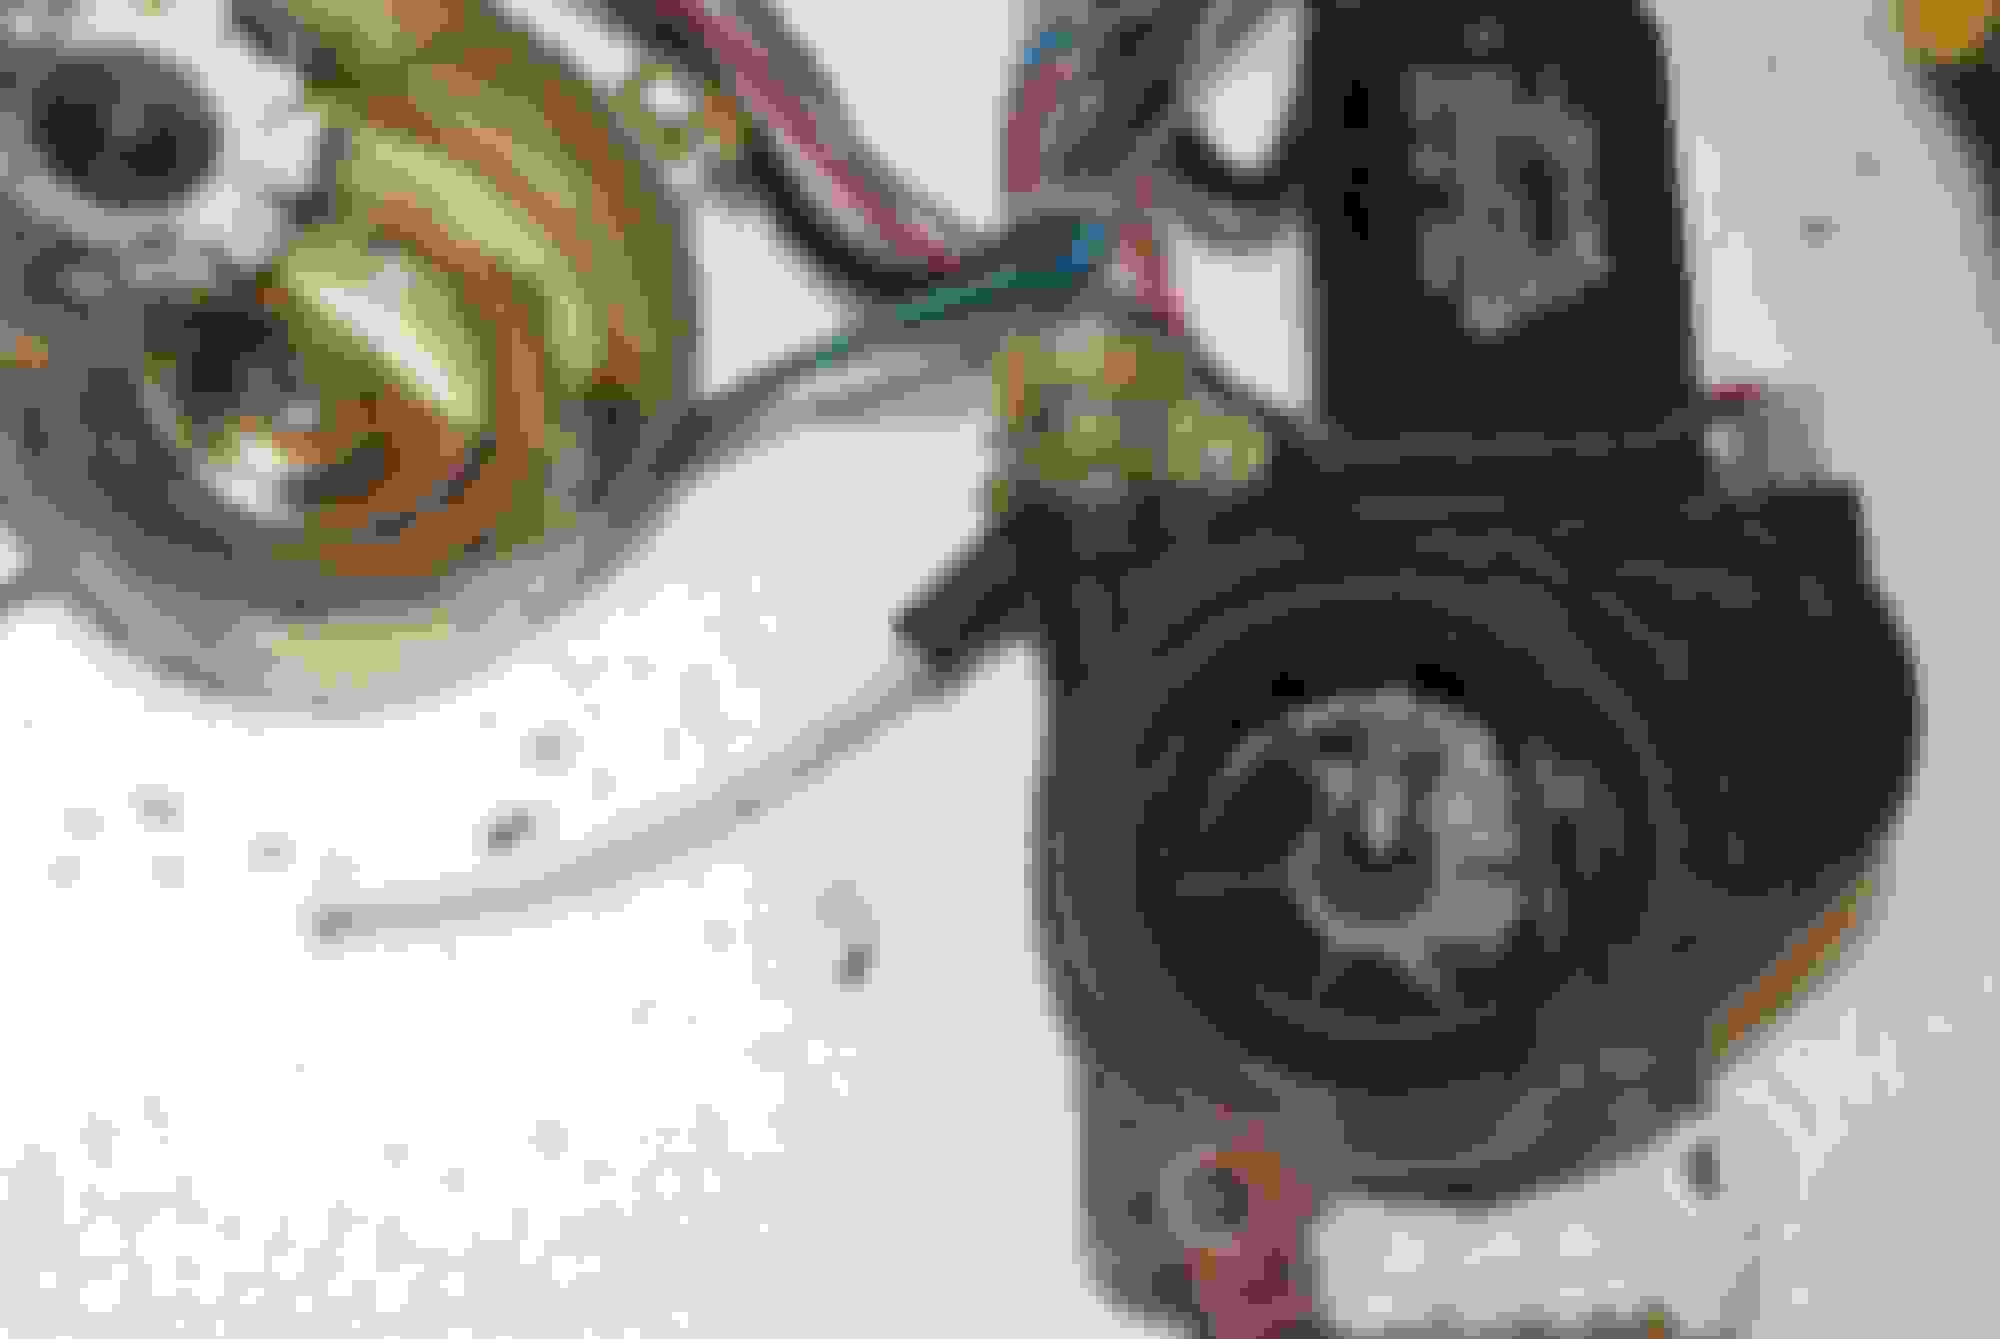
The power antenna motor has two wires, blue with red, and blue with white...
So far so good ....
But, one red. One green...
I'm certain that when I tested it the other day I had the three wire connector hooked up. The red wire went to the positive terminal on my battery, and then the negative to one of the two blue wires. One made the motor go up, and the other one down. Now I think it may be bound up a bit and not turning, but the motor doesn't make any noise. So more investigation required.
I thought it was interesting that the wiring doesn't match the 79 wiring diagram though...
Well, with the help of this thread: https://www.rx7club.com/1st-generati...1-pics-739484/ I was able to get the antenna working properly, but when I bounced the pictures in the thread off the wiring diagrams I was able to determine that the antenna I have is NOT a 79, but rather an 85 (-ish). The wiring harness of the car matches the wiring diagram from 79, and the connectors on the antenna match the connectors in the thread.
I called and asked my dad if he recalled if the antenna worked, and he said it did, so I guess I just need to connect the two prong "G-02" connector from the cars wiring harness to the power antenna motor, rather than the two prong connector that is on the antenna itself (if that makes sense) to the motor. If that's the case then I guess the switch on the dash must have a neutral setting, an "up" setting that polarizes the motor one way, and then a "down" setting with polarity that is opposite the "up" setting. I checked the dashboard antenna switch and my intuition was right. So I should be able to use this antenna, just plug the factory harness two prong plug directly onto the antenna motor and ignore the three prong connector on the antenna with the red, blue and blue/yellow wires.
Having watched all the comments about running an antenna drain line on the 1st gen threads, I can say I won't have such an easy solution. This antenna has TWO drain ports, one from the mast and one from the body of the antenna, and one rather large size rust hole in the clam shell body. Not sure a drain line will help this problem!
Well, I was busy this weekend but I feel like I got nothing done except getting frustrated... I did get the front suspension in and started putting the steering links and tie rods back together.
I got the struts, new springs, front sway bar, and torsion bars back in the front end. The floor jack and my middle son helped tremedously. I remember I had to drill out the old bolts to separate the steering knuckles and strut tube on the passenger side. I had ordered new bolts from BD years ago, but the bolts are the short 25 mm length, and I need a 40 mm M12-1.50. I was unable to find one locally, so I'm gonna have to go online and pay $10 for one with shipping... Frustrating!!
Then I moved on to the steering linkages. I have removed all but the pittman arm and steering gearbox, which had been leaking for years. It hasn't gotten any better since I've had it either. So I finally got the guts to drill the two bolt head on the combination switch on the steering column to remove that and get the column, steering gear and pittman arm out of the car.
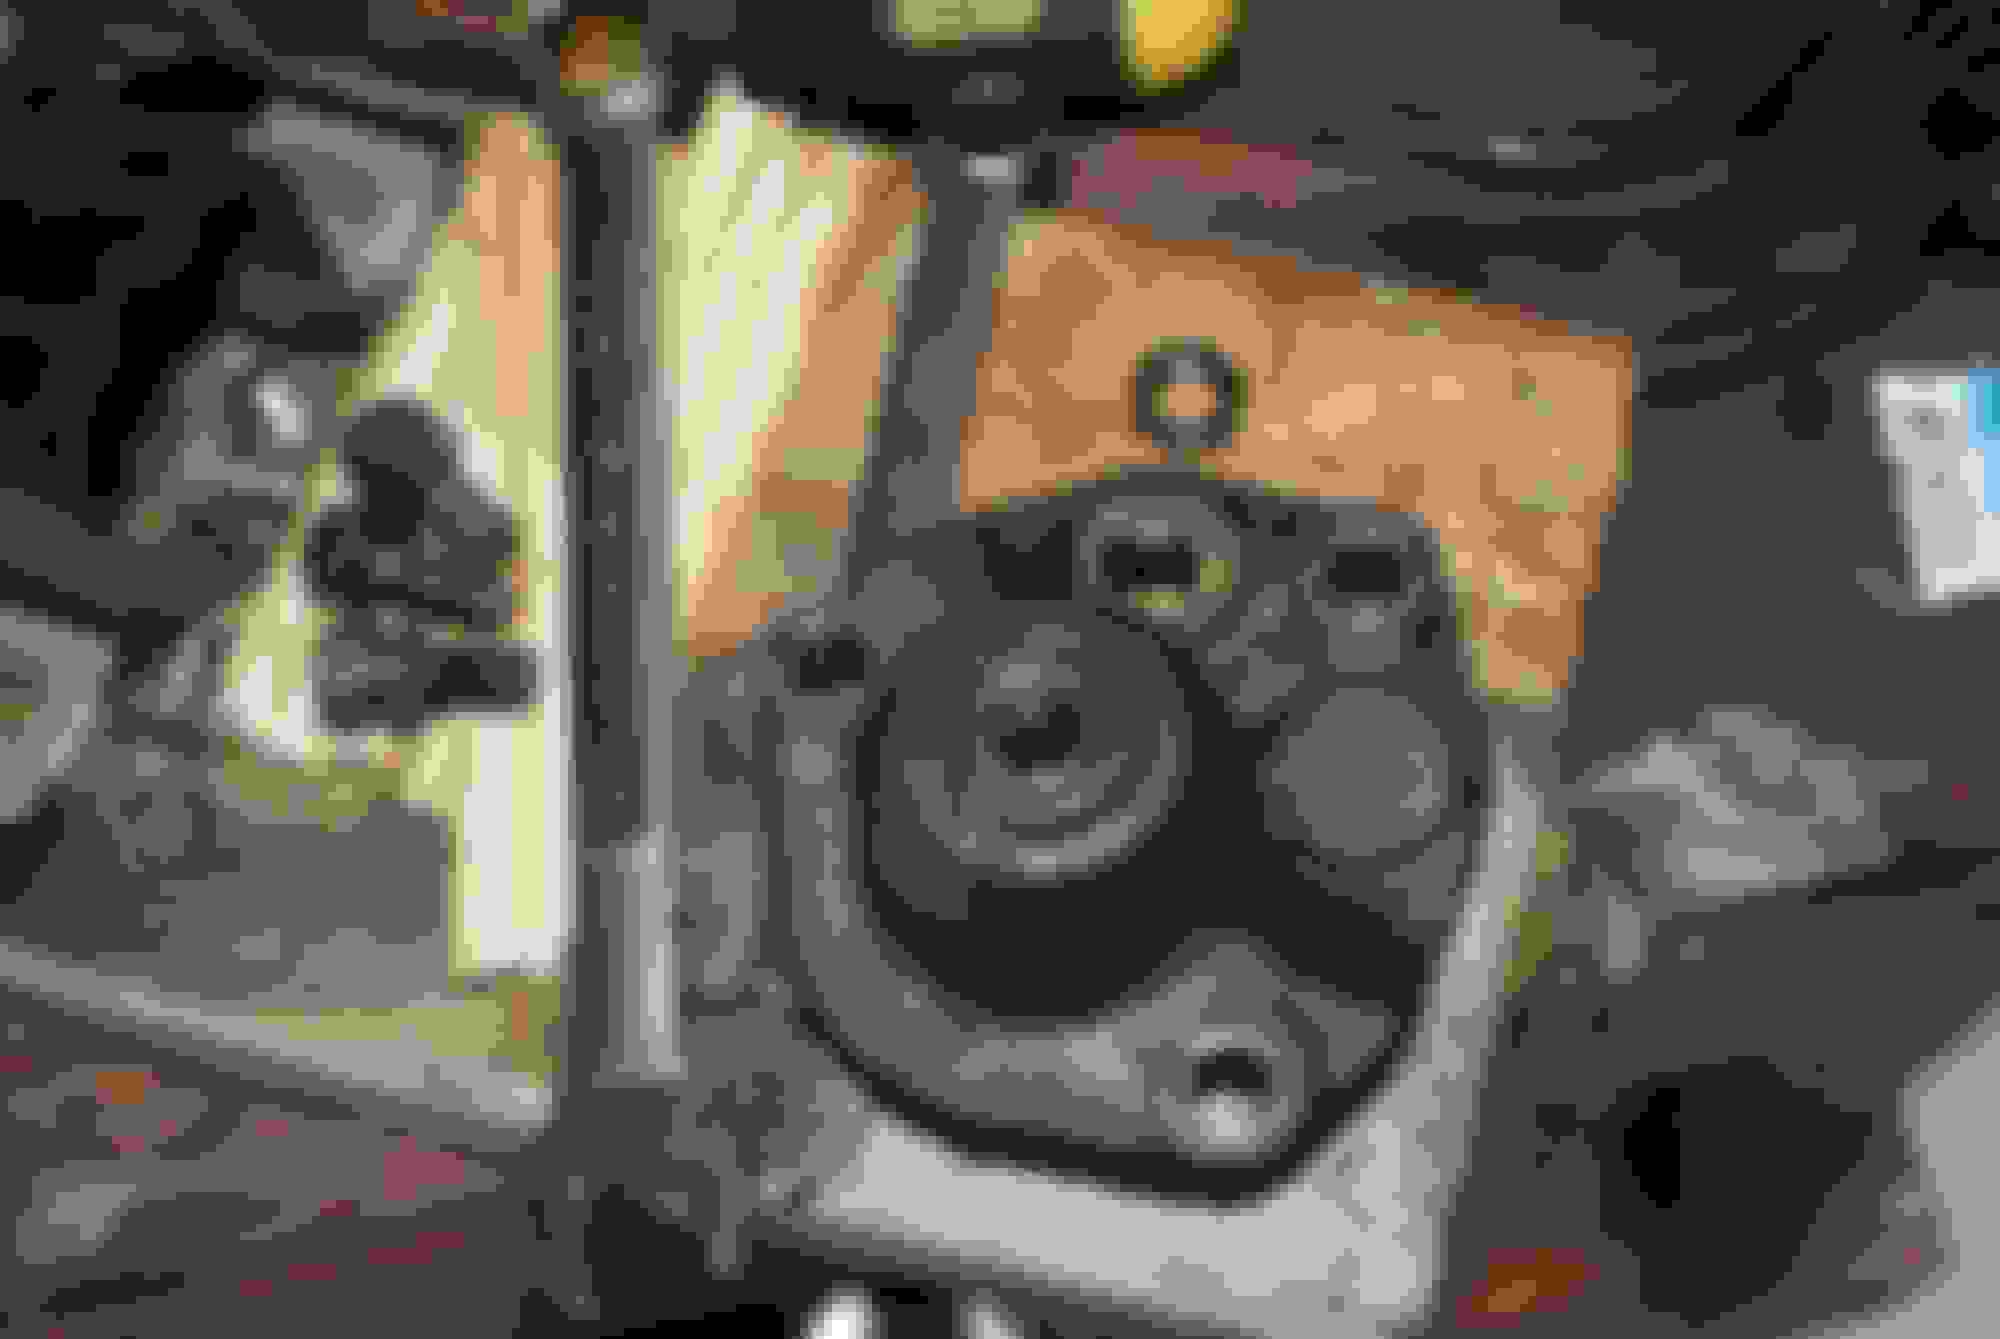
I read up on the FSM about removing the guts of the steering gear because I noticed after taking this picture that the gear was leaking oil onto to floor... No bueno!!
I also had trouble actually painting the steering column tube - I mean, WTF?!? The can was spitting paint, and it fell out of my hands with wet paint on it. FRUSTRATING!!!! Now I have to wait on it to dry so I can sand off the crap and repaint it... UGHHHHH!!!!
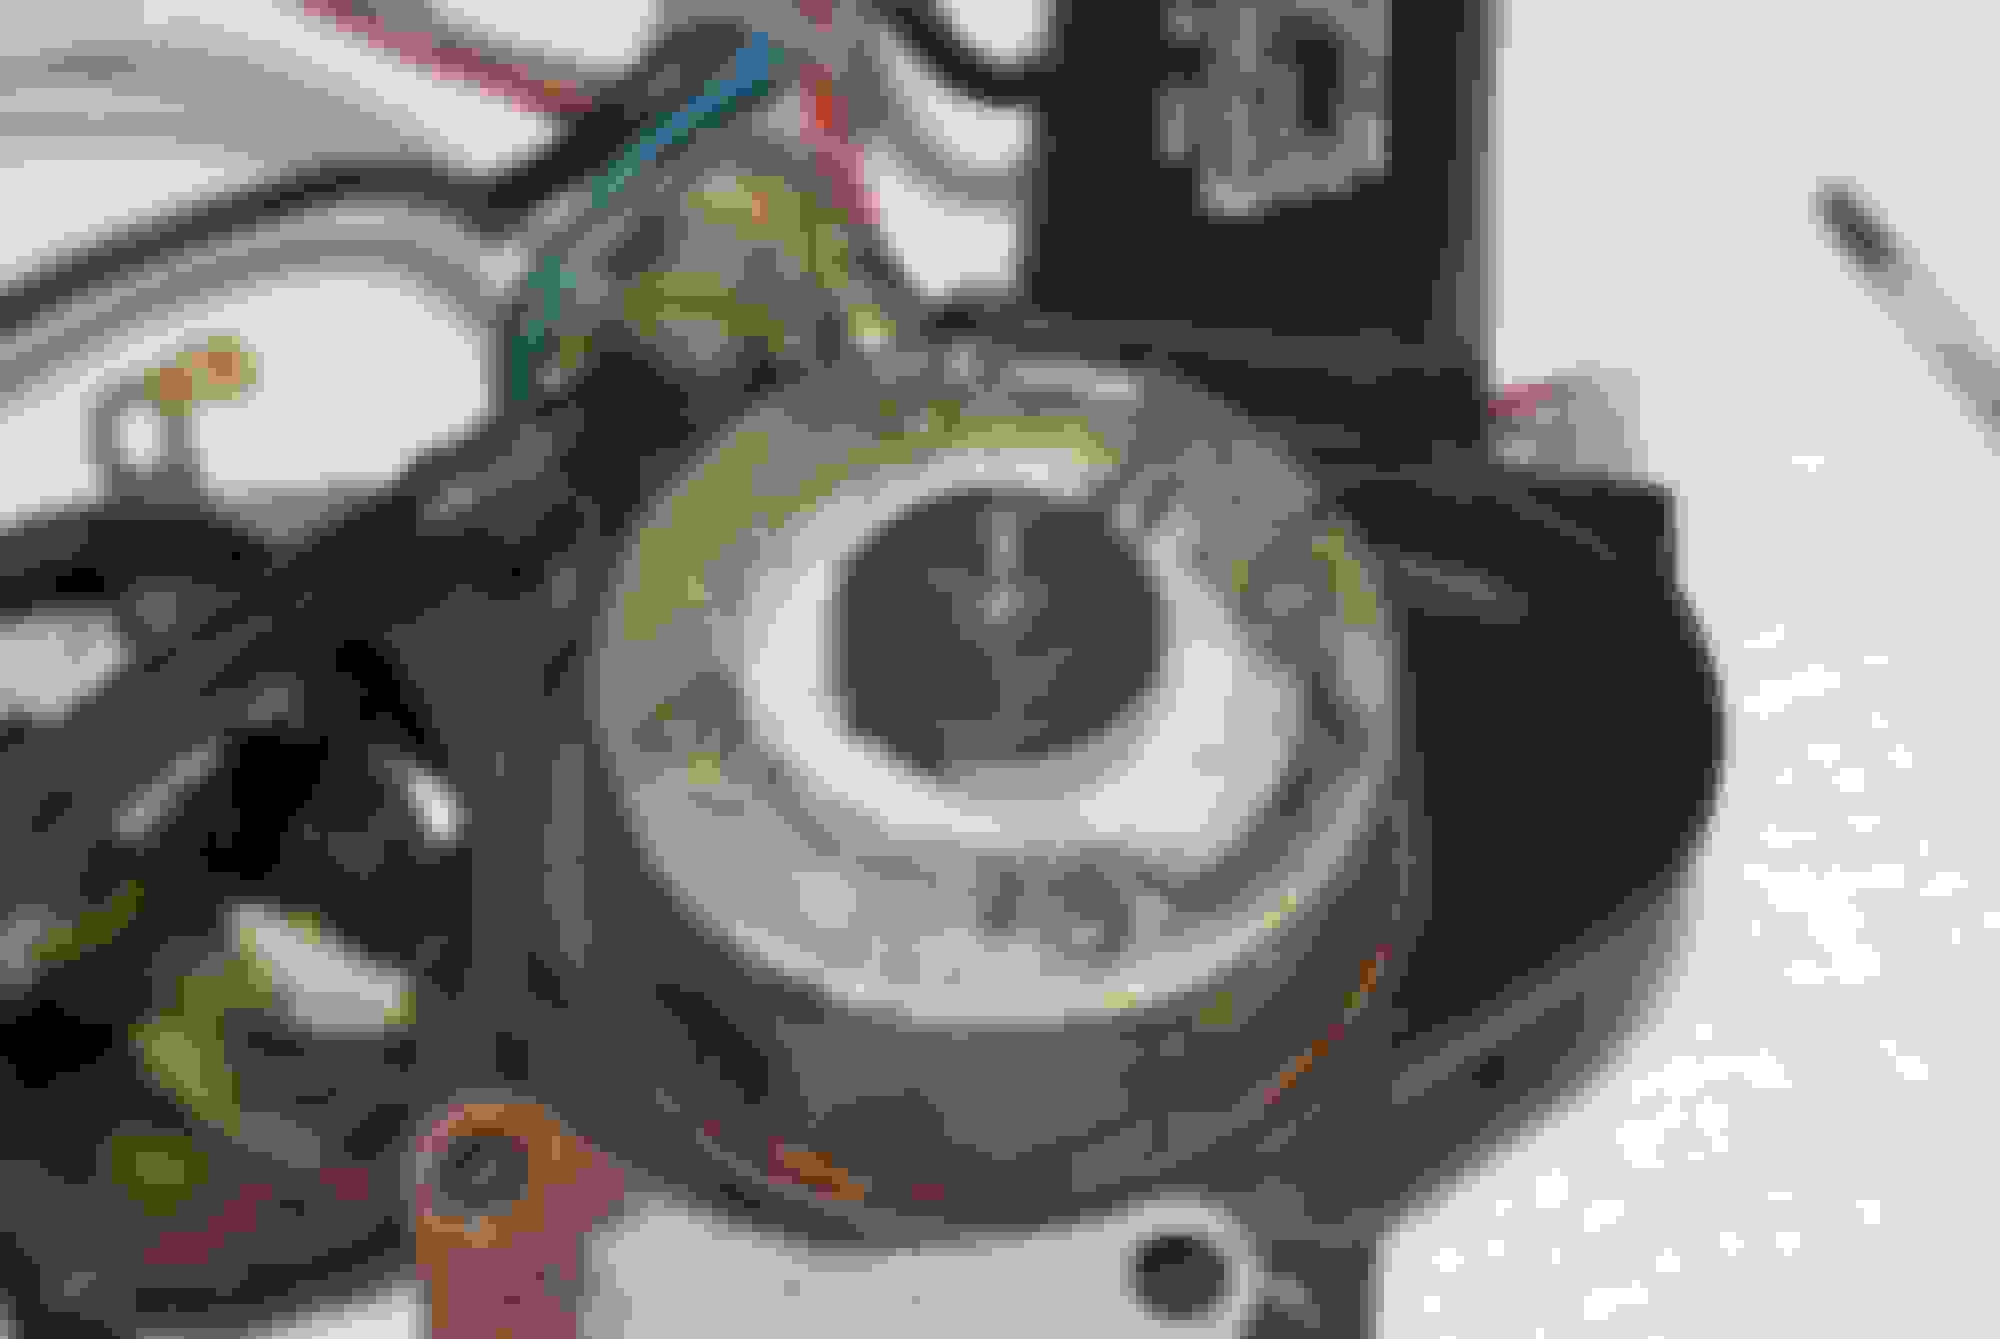
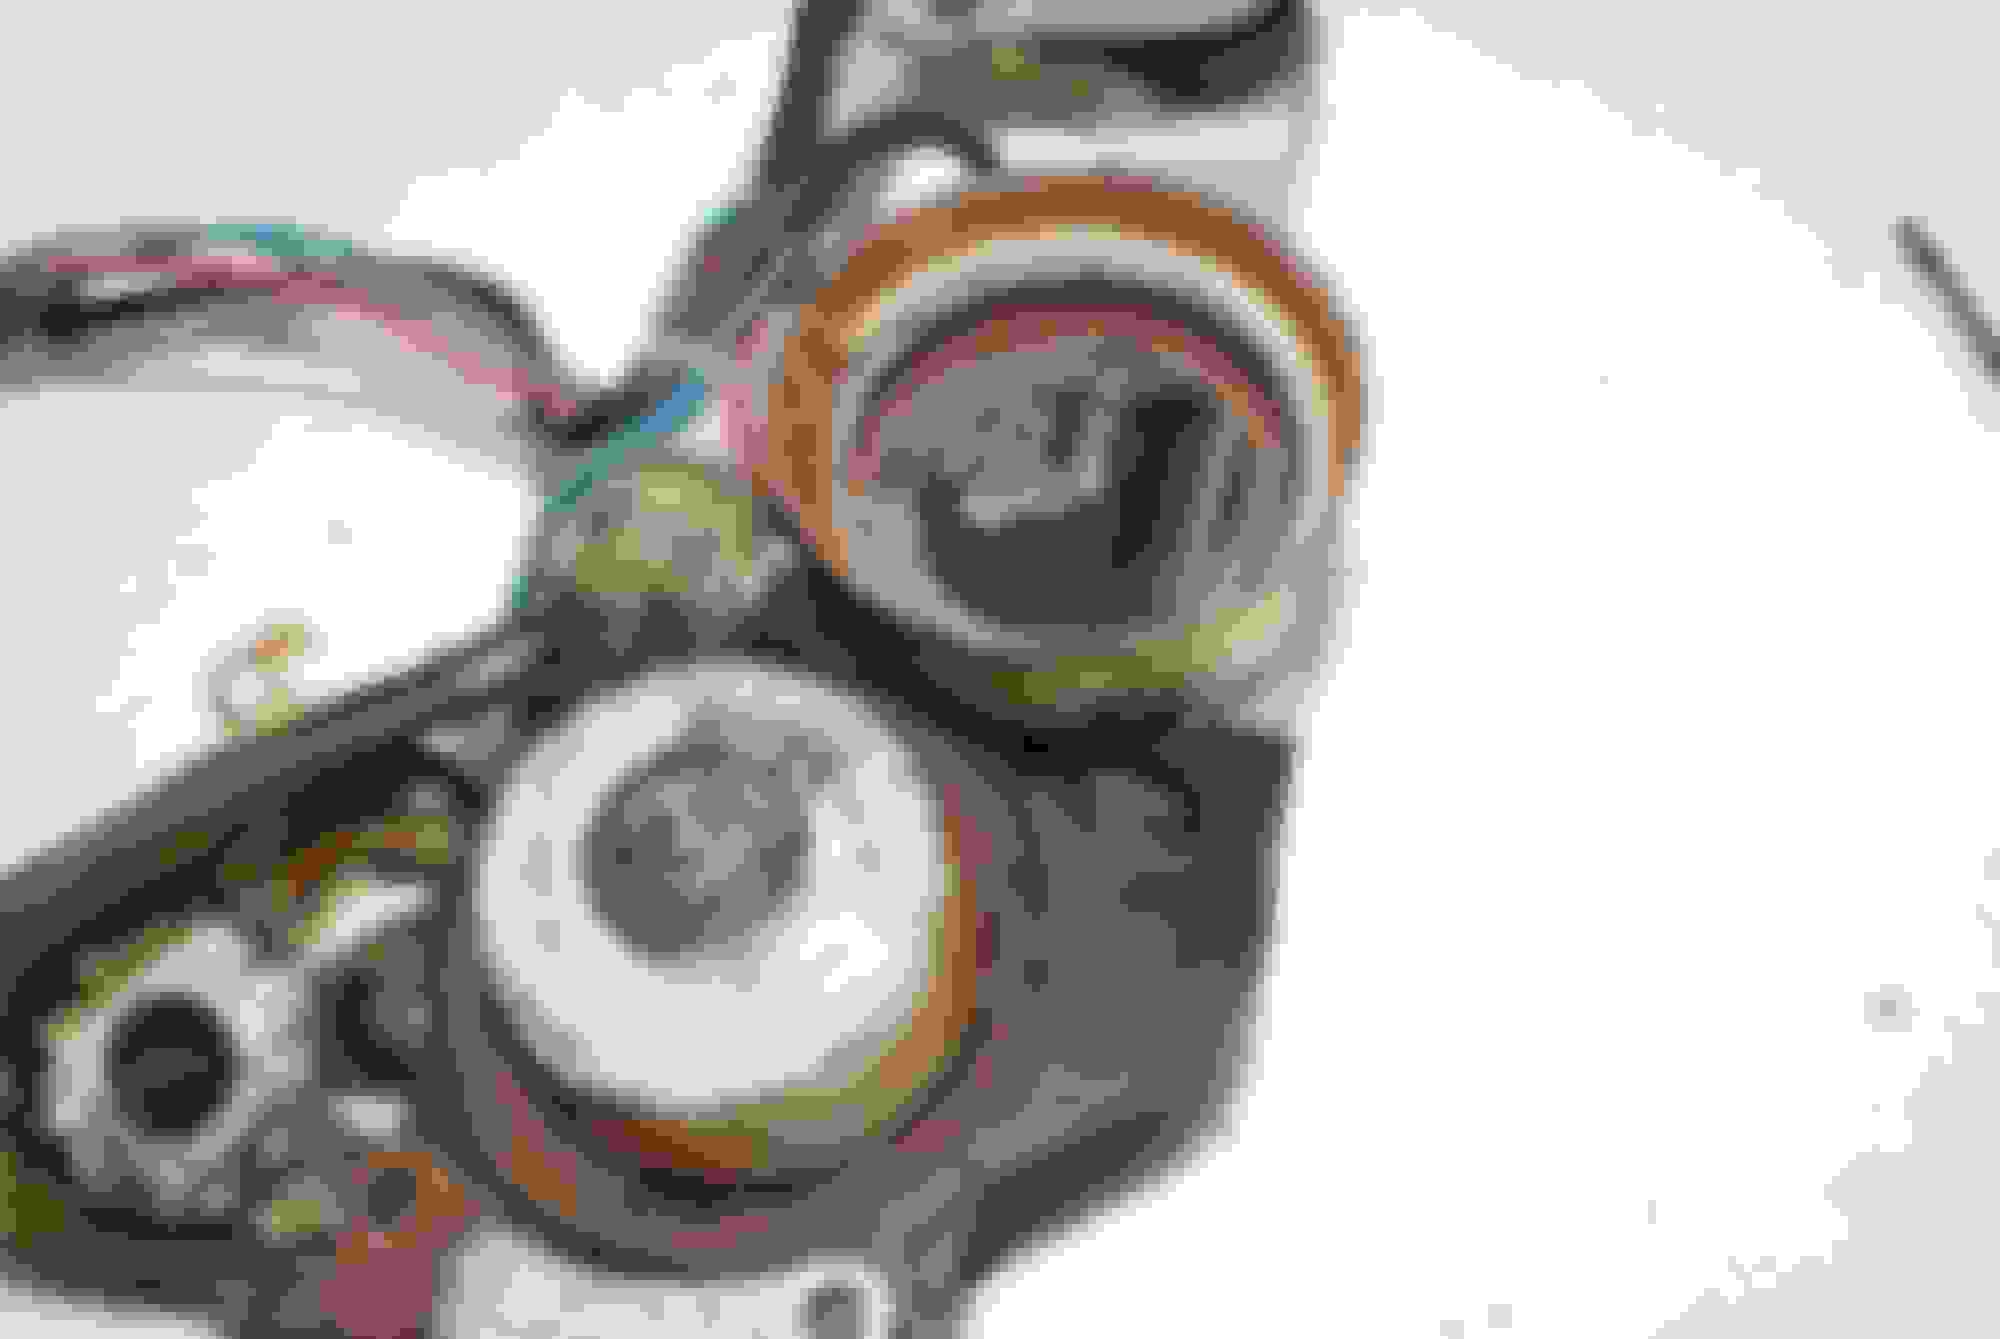
Of course, after I noticed the healthy leak, I decided I need to probably replace the oil seal on the steering shaft, and gave the steering a try by turning the shaft. I could feel the gears actually work - they chattered like a ride down a bumpy road. THAT can't be good. I resigned myself to the fact that I have to rebuild the steering gear and set out to open it up and see inside. One of the three cover bolts was already loose and leaking. Nice...
This was leaking from the shaft seal.
Closer picture of the leaking shaft seal.
The loose housing cover bolt. I could almost undo that one by hand.
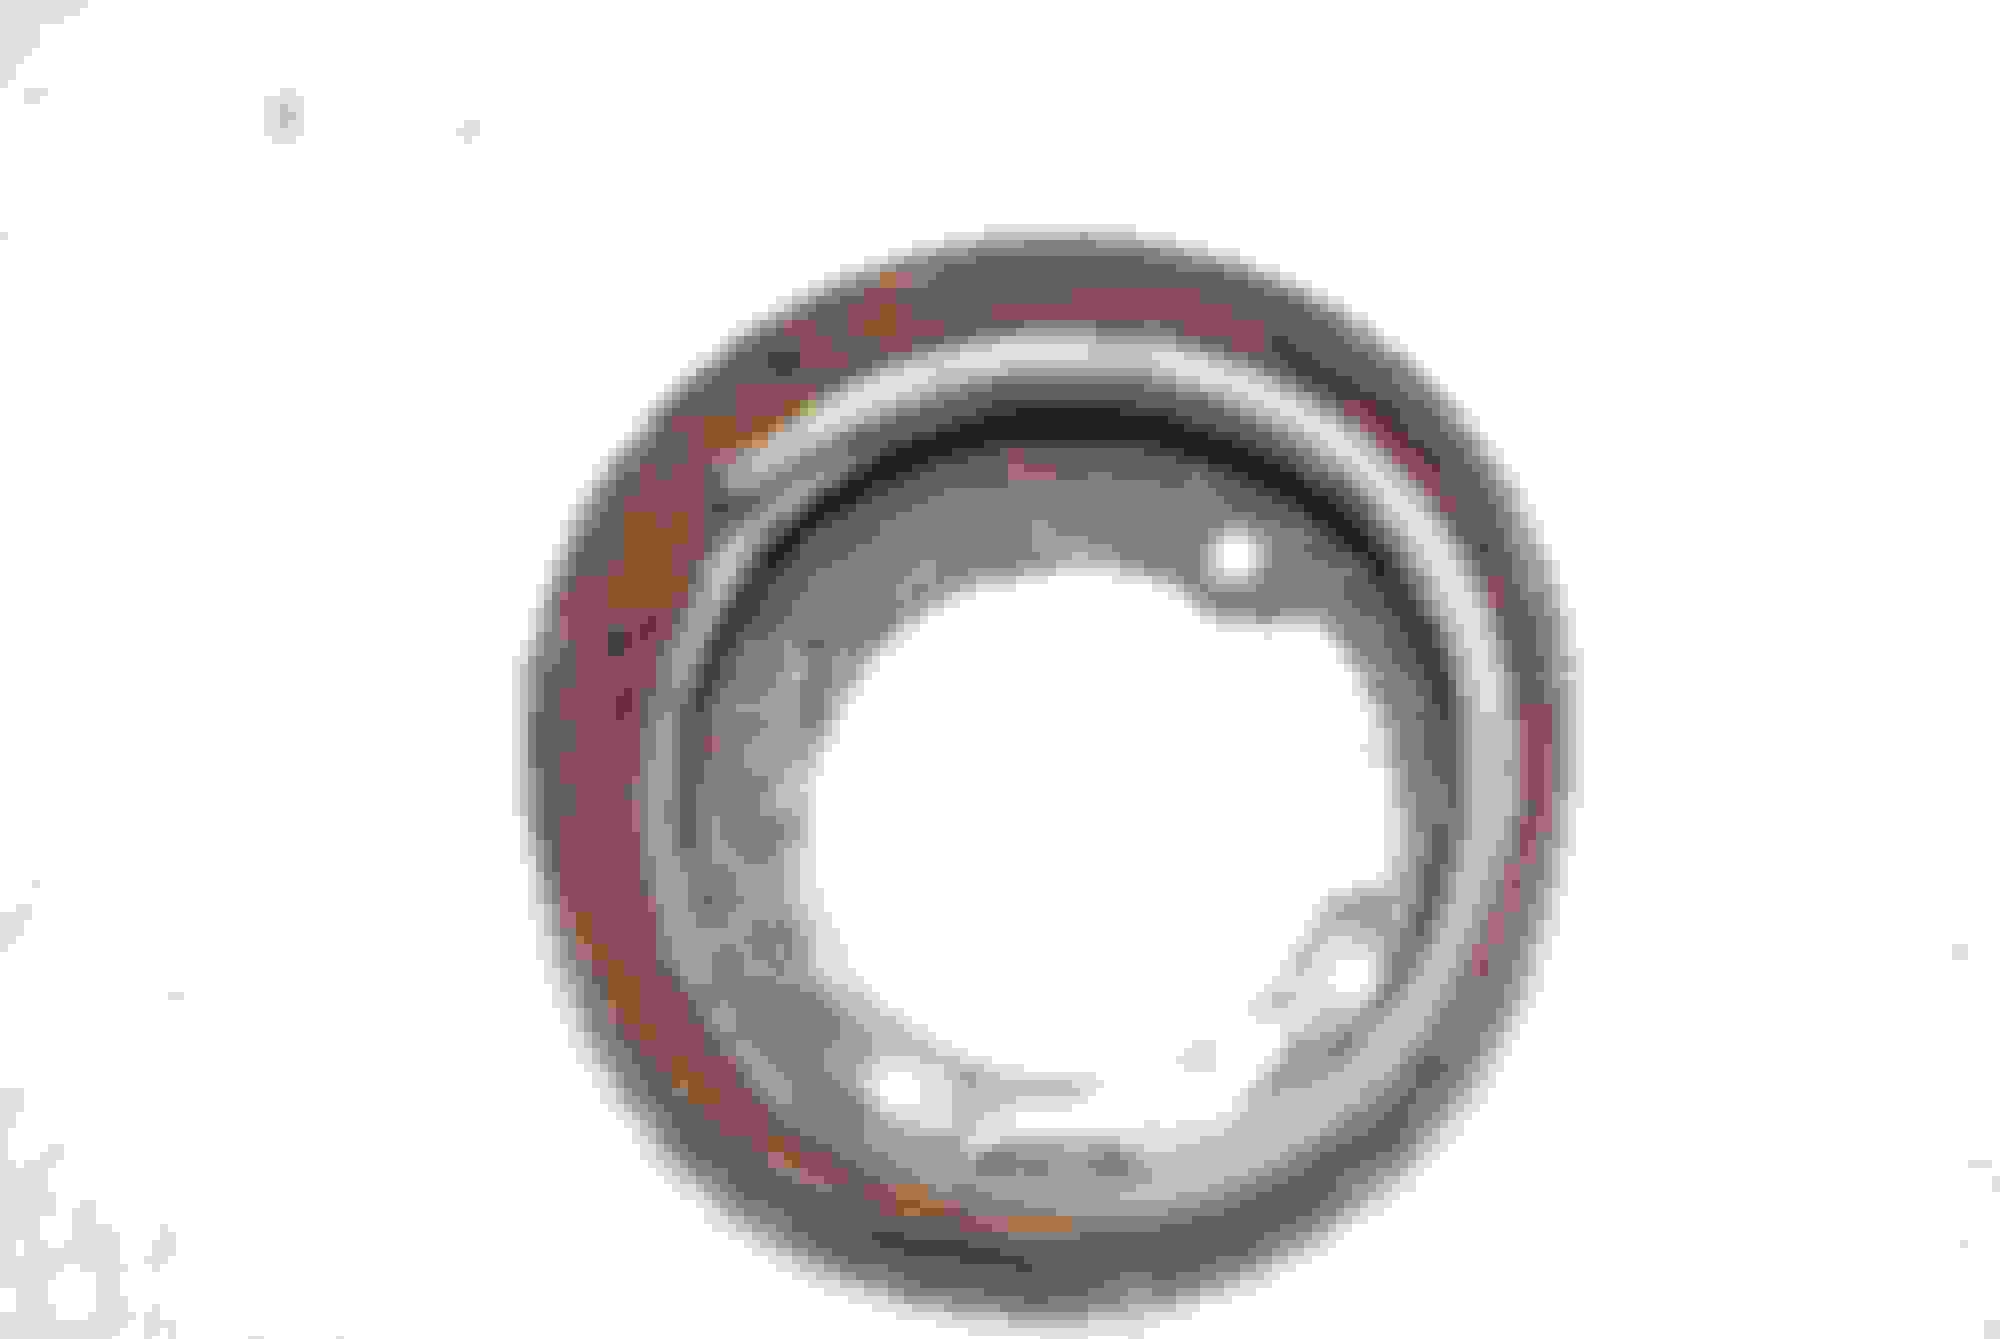
Removed cover ...
That's about as far as I got because the pittman arm is still on there and I need a puller to remove it AFTER I get the giant retaining nut off. I keep telling myself this is the right thing to do...
Anyway, I came in to look up seal kits for these steering gears and maybe a how to on this website for rebuilding these things. Surprisingly, I was unable to find one with the gear out of the car, only threads of it in the car. I was also unable to find a replacement seal kit. Rock Auto only had a rebuilding service for almost $400. This kit was the only kit I could find, and it's universal so I don't know how well it will work:
Let me hunt around my parts bin. I just gave away a super tight one (like 1/4" of play vs. 1"+ of some cars) to my buddy for his drift car.
At this point, I'd start looking into new steering options, PERIOD. The car is SO nice, you deserve a rack and pinion for all of your hard work.
Thank you Sir! You have a good point. I don't want to get this far and not figure out this steering issue, so if you have something I could purchase that would be awesome, thanks!
I've been looking around (a lot), and not much info out there in the way of rebuild kits. There's LOTS of posts on here about adjusting the steering for both FBs and SAs (they're slightly different), but I have not found any info on seals... I did however find an old thread that was started by somebody who said they swapped out the worm gear and sector shaft for that of an old Fox body mustang and an MX3 and that it helped the steering quite a bit. The OP of that thread never gave out specifics tho and got out of the RX-7 game. I could find those parts (there's actually both of those cars in the local yards here now), but I have to disassemble my steering gear and take some measurements to see if the "universal" seal kit I found will work.
Been awhile since I've checked in Mike. Amazing progress. I know who to contact when I start cleaning up my undercarriage and suspension . Thinking of pulling my antenna and doing some of my own forensics as well. Antenna goes up and down, but seems to get stuck at various points of each cycle. Need to understand what's causing that and just check out the overall condition of the unit. May post some pics of mine if it would be helpful. Keep up the amazing work!
Been awhile since I've checked in Mike. Amazing progress. I know who to contact when I start cleaning up my undercarriage and suspension . Thinking of pulling my antenna and doing some of my own forensics as well. Antenna goes up and down, but seems to get stuck at various points of each cycle. Need to understand what's causing that and just check out the overall condition of the unit. May post some pics of mine if it would be helpful. Keep up the amazing work!
Please document carefully when you take it apart. There are a few different washers of various thicknesses under the outer cover. They need to go back in the correct order.
Please document carefully when you take it apart. There are a few different washers of various thicknesses under the outer cover. They need to go back in the correct order.
Good to know! Will make sure and document things carefully!


 So off came my first new bearing, and not in a good way. Hello, RockAuto? Yeah, send me one more RW102 rear wheel bearing please.... As a bonus, I received this to add to my collection!!


 Any help would be great!


 . Thinking of pulling my antenna and doing some of my own forensics as well. Antenna goes up and down, but seems to get stuck at various points of each cycle. Need to understand what's causing that and just check out the overall condition of the unit. May post some pics of mine if it would be helpful. Keep up the amazing work!