When you click on links to various merchants on this site and make a purchase, this can result in this site earning a commission. Affiliate programs and affiliations include, but are not limited to, the eBay Partner Network.
I know some people will yell at me for not using fancy looking loom and such, but I use 3M super 33 (I think that's what it's called, I got it at Lowes/Home Depot) electrical tape on all my wiring harnesses and it holds up very very well. There are prettier looms to be had, but it's cheap and it works, and most of the wring is hidden on my cars anyway so I don't drive myself crazy
Have not updated in a long while because life has gotten in the way once again. My oldest son's car needed some attention around Thanksgiving so that took up 2 or 3 weekends. His intake manifold was leaking oil like crazy, so I decided to take care of that. As I got into it I discovered he had a bad head gasket, so in for a penny in for a pound, and now he has a new top half of his engine. I had a few other odds and ends to take care of like new rear shocks and a new (to him) differential cover and gear lube change out.
So with all that out of the way I decided today was the day to work on the transmission for MY car! I took it apart very gingerly and was able to separate the bell housing from the center plate without the special puller. I decided that I could seal it up from there. The only reason I'm even getting into the transmission is because it leaks badly at the section seams. I took my time taking it apart, documenting every step and painstakingly cleaning all the parts i took off. So far so good!
That's when my luck ran out... I was reassembling it this afternoon when the main gear selector shaft fell out of place after I put the tail housing back together, sooooooo I had to remove the tail housing. Mind you, the working time for the permatex gasket maker is one hour. The clock is ticking... I figured no problem, I'll just remove the tail housing, clean up the permatex I put down, fix the problem and get it back together. Then, the bolt that holds the shift rod connector to the shift rod fell into the transmission.
Off comes the tail housing. Again. Luckily the bolt was right near the shift linkages in the intermediate housing area. No problem. Well, when I was reassembling it all, the bolt that holds the first and second gear selector to the shaft broke. In the shaft. You see, from the head gasket ordeal on my son's car I learned that thread sealer is a must for internal engine uses, and I've heard enough horror stories about people destroying engines and transmissions from loose bolts that come off that I decided that the thread sealer is a MUST in this transmission. Problem is, it had set up from the FIRST time I had reassembled the transmission and would not let the bolt seat completely and the bolt sheared off inside the shift rod. CRAP!!! Almost makes me wish I had been drinking beer all afternoon - at least I'd have a convenient excuse, but no. No beer. Just sheer stupidity and impatience.
I was all excited at the prospect of saving $500 to have the transmission gone through and sealed up. I was trying to sneak in, seal it up, and put it back together nice and slick like.... Oh well. Back to the drawing board. I have to carefully (CAREFULLY) drill out that broken piece and hope I don't screw up the threads.
If you can get a small "center drill" or spot drill to make the initial spot on the broken bolt, they are much less likely to wander against an uneven surface. Try removing 1/2 to 3/4 of the bolt center and see if you can thread it out using either a spiral screw extractor or straight (square) one. The straight ones are stronger in my experience. These are hardened so take care not to break it off in the hole too. Remember, the threads minor diameter is the one you want to not go beyond. If that does not work and your pilot hole is nice and centered, I'd drill it out to about 1/32 under the minor (tap drill size) diameter and gently try again. By then, there will only be the threads themselves left in the hole. You be able to pick the pieces out with a scribe and re tap the original hole.
If you can get a small "center drill" or spot drill to make the initial spot on the broken bolt, they are much less likely to wander against an uneven surface. Try removing 1/2 to 3/4 of the bolt center and see if you can thread it out using either a spiral screw extractor or straight (square) one. The straight ones are stronger in my experience. These are hardened so take care not to break it off in the hole too. Remember, the threads minor diameter is the one you want to not go beyond. If that does not work and your pilot hole is nice and centered, I'd drill it out to about 1/32 under the minor (tap drill size) diameter and gently try again. By then, there will only be the threads themselves left in the hole. You be able to pick the pieces out with a scribe and re tap the original hole.
Awesome, thanks for the tip Banzai! I'm gonna get one of those extractors and try it. I was really super frustrated when I posted my last post. I was ALMOST THERE!!!!
Perseverance pays off. I took Banzai's advice and started with a small pilot hole to remove the remnant of the bolt that sheared off in the shift selector. I didn't find (or really search, to be honest) an extractor, so I just went with progressively larger drill bits until that little bastard came out, and out it did come!
I found a similar bolt to use on the piece that connects the gear shift to the linkage and used the thread sealant on it. I managed to get the transmission all back together and sealed up. It seemed to rotate freely and switch gears so i think it will be ok. Fingers crossed! I didn't like the "aluminum" style paint so I went with a gray color and like it much better.
So I've since been upgrading the lighting in my garage from the T12 lights to LED and let me tell you. It makes a WORLD of difference! It's bright in there. I've also been chipping away at getting the wiring harness cleaned up and the small bits put back into the engine bay. Here's some before and afters for perspective.
Doesn't seem like much, but when working with a toothbrush, that's a MAJOR accomplishment! I;ll keep working away at it and get the WD-40 out to get the wiring all nice and shiny while I wait on new parts. I've ordered a new set of external engine gaskets (front cover, oil pan, water pump, thermostat, etc.) so that I can open up the front cover of my engine again. I didn't torque down the front bolt to spec and there is a lot of play in the rotating assembly and I'm afraid that the torrington bearings may have slipped so I want to open it up and check to make sure. I'd rather pay for the new gaskets than possibly ruin the engine. I think these will look great together in the car.
I have the transmission mount in an electrolysis bath along with the front bumper mounting brackets. I'm sourcing a piece of aluminum to replace the front bumper rubber bracket. There's a nice writeup on here about how to do that. As you can see mine decomposed.
I also have seem to misplaced my front turn signals both for the bumper and the fenders so I have more searching to do...
[QUOTE=woodmv;12249159]Perseverance pays off. I took Banzai's advice and started with a small pilot hole to remove the remnant of the bolt that sheared off in the shift selector. I didn't find (or really search, to be honest) an extractor, so I just went with progressively larger drill bits until that little bastard came out, and out it did come![QUOTE=woodmv;12249159]
Yes, I didn't want to provide too many different instructions, but I've also had good luck by drilling a small pilot hole first then use a left handed drill (a drill that has a LH helix (twist) to the flutes. You run the drill backwards to get it to cut and when it reaches the bottom of the pilot hole the shock of the sudden bottoming combined with the torque of the drill motor (going backwards), zaps it right out. It can be easy to break drills like this too until you get the hang of it.
Thanks Sean! I feel I'm getting closer - one step at a time...
Originally Posted by Banzai
Yes, I didn't want to provide too many different instructions, but I've also had good luck by drilling a small pilot hole first then use a left handed drill (a drill that has a LH helix (twist) to the flutes. You run the drill backwards to get it to cut and when it reaches the bottom of the pilot hole the shock of the sudden bottoming combined with the torque of the drill motor (going backwards), zaps it right out. It can be easy to break drills like this too until you get the hang of it.
Your car is looking better and better!
Thanks Banzai! I was trying to get that hole drilled to accommodate a small square bit drill head that I have - like the kind that comes in a Dewalt pack, if that makes sense (?), and the remnant came out just by drilling the next progressively larger hole. Guess I got lucky!
Originally Posted by SirLaughsALot
Gorgeous. Your hard work is definitely showing.
Thank you Sir! Not nearly as impressive as your superbuild with all the new technology that is WAAAAYYYYY over my head, but I'm enjoying looking at your build as well. It will be neat to see how that monster performs!
I was explaining to a coworker the other day what I have left and as I vocalized the list of stuff to do I realized that I'm closer than I think really... Exhaust will be easy, get the transmission and engine back in the car, new brake lines, check out the gas tank (fingers crossed it's ok - it looks good from the open intake hole) and reinstall it, finish reinstalling the wiring harness, radiator, oil cooler, go through the carb and I should be able to light it off. Sounds manageable anyway.
I was taking a close look at the engine and although I like the paint scheme, sitting next to the transmission with that gloss gray on there it's easy to see that the paint on the engine is thin and not glossy like the transmission. So I've been toying with the idea of just painting the engine glossy gray to match the transmission. I know it would be easier to wipe down and keep clean with a hard glossy finish to it rather than the flat finish it has now, and it might actually look good in the silver engine bay?? Dunno.... More thinking required.
So, I've been chipping away at my list and making some progress. I got my wiring harness, transmission and transmission mount all fixed up. I had a problem with a the reverse light switch wiring on the transmission tho. It had none on the switch itself, so I found some old "new" speaker wire with the right connections and soldered it on the switch so it will connect to the wiring harness. Viola!
Ugly, but hopefully functional...
Recall that my buddy Jerry snatched this engine from PnP for me a couple years ago and I went into the front part to make sure it was ok, replaced the front cover gasket and o-ring and buttoned it back up. The mistake I made was not torquing down the front hub nut to spec and re-positioned the engine so that it was horizontal. At the time I didn't know not to do that. I later learned the potential consequences and knew I needed to get back into the front end of this engine.
I started by reading the FSM (I know, right?!) and got the flywheel nut torqued down. Used a long section of angle iron I had laying around and drilled out two holes that I bolted onto the flywheel.
I don't have a torque wrench that reads higher than 150 ft-lbs, so I did some research. I like the high school physics lab style of "moment arm length X weight" method that many have used here, but I found an easier method posted by Aaron Cake using the "google search" search function on this website (SUCH an improvement!!). He said he found on a rotary airplane engine forum a method he recommended, so I did that. Torque the nut down to 150 ft-lbs, then make a mark on the fly wheel where one of the points of the nut is, and then mark the point on the nut immediately behind that mark and continue to tighten the nut until the marks line up. Worked like a charm with my handy dandy $20 1/2 inch drive 24 inch long breaker bar from HF. One of their best buys, according to Youtube. I actually just match marked one point and the flywheel, then tightened one more point of the nut.
With that done, I replaced the pilot bearing and seal. After some research (again, this new google search function on this website is awesome) I spent $20 and got the HF three prong puller and ground down the ends to make it work, rather than spend the $160 for the Mazda one. It was worth a try, and it worked!
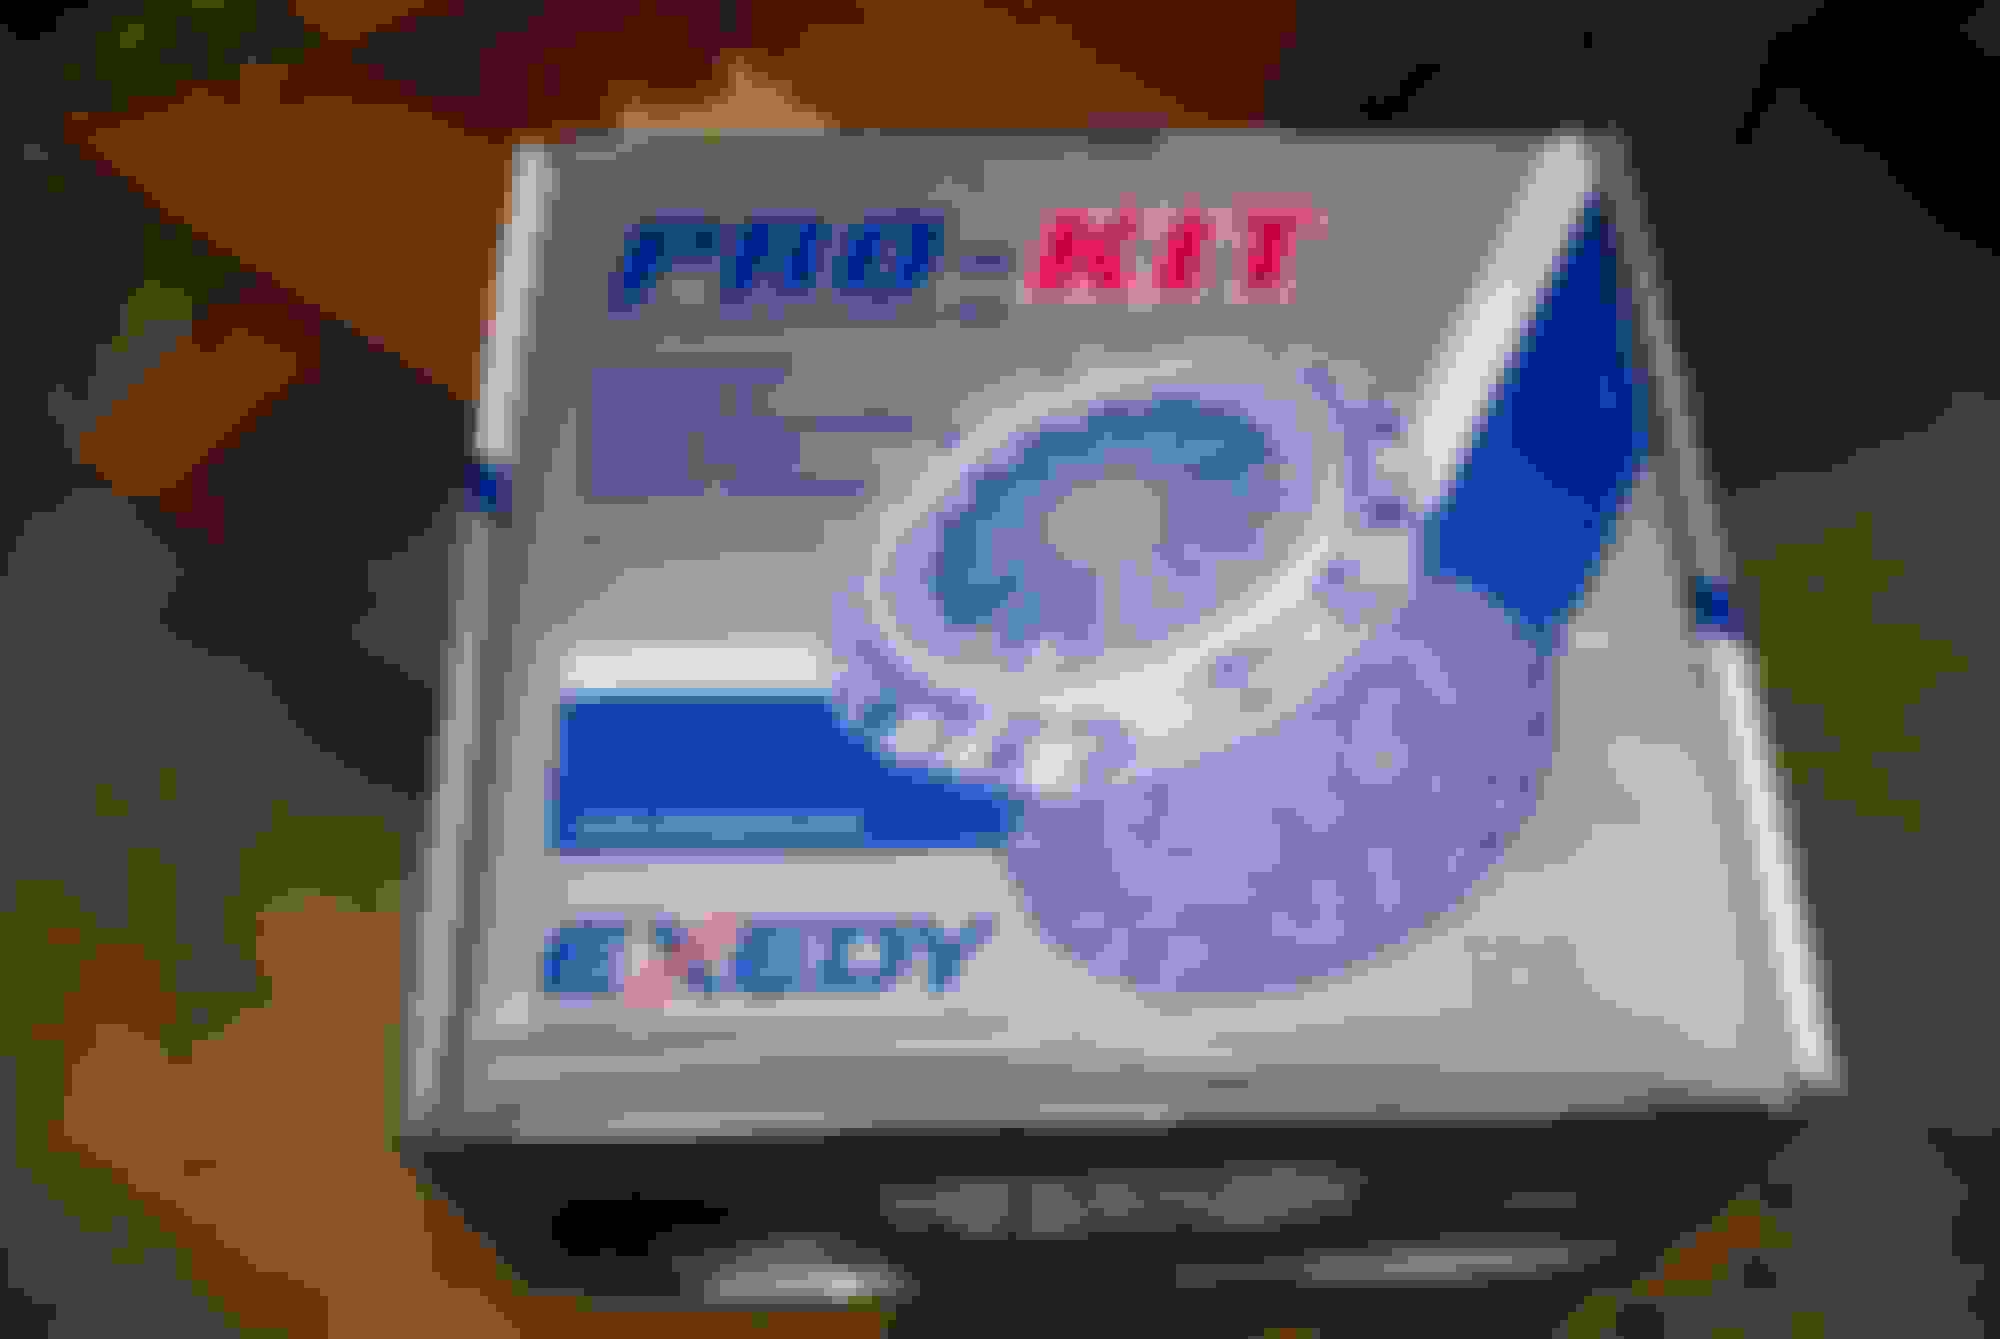
I got the new pilot bearing and grease seal in and continued on down my list. I decided to get back into the front of this engine now that my new oil pan gasket, front cover gasket and o-ring and clutch kit arrived.
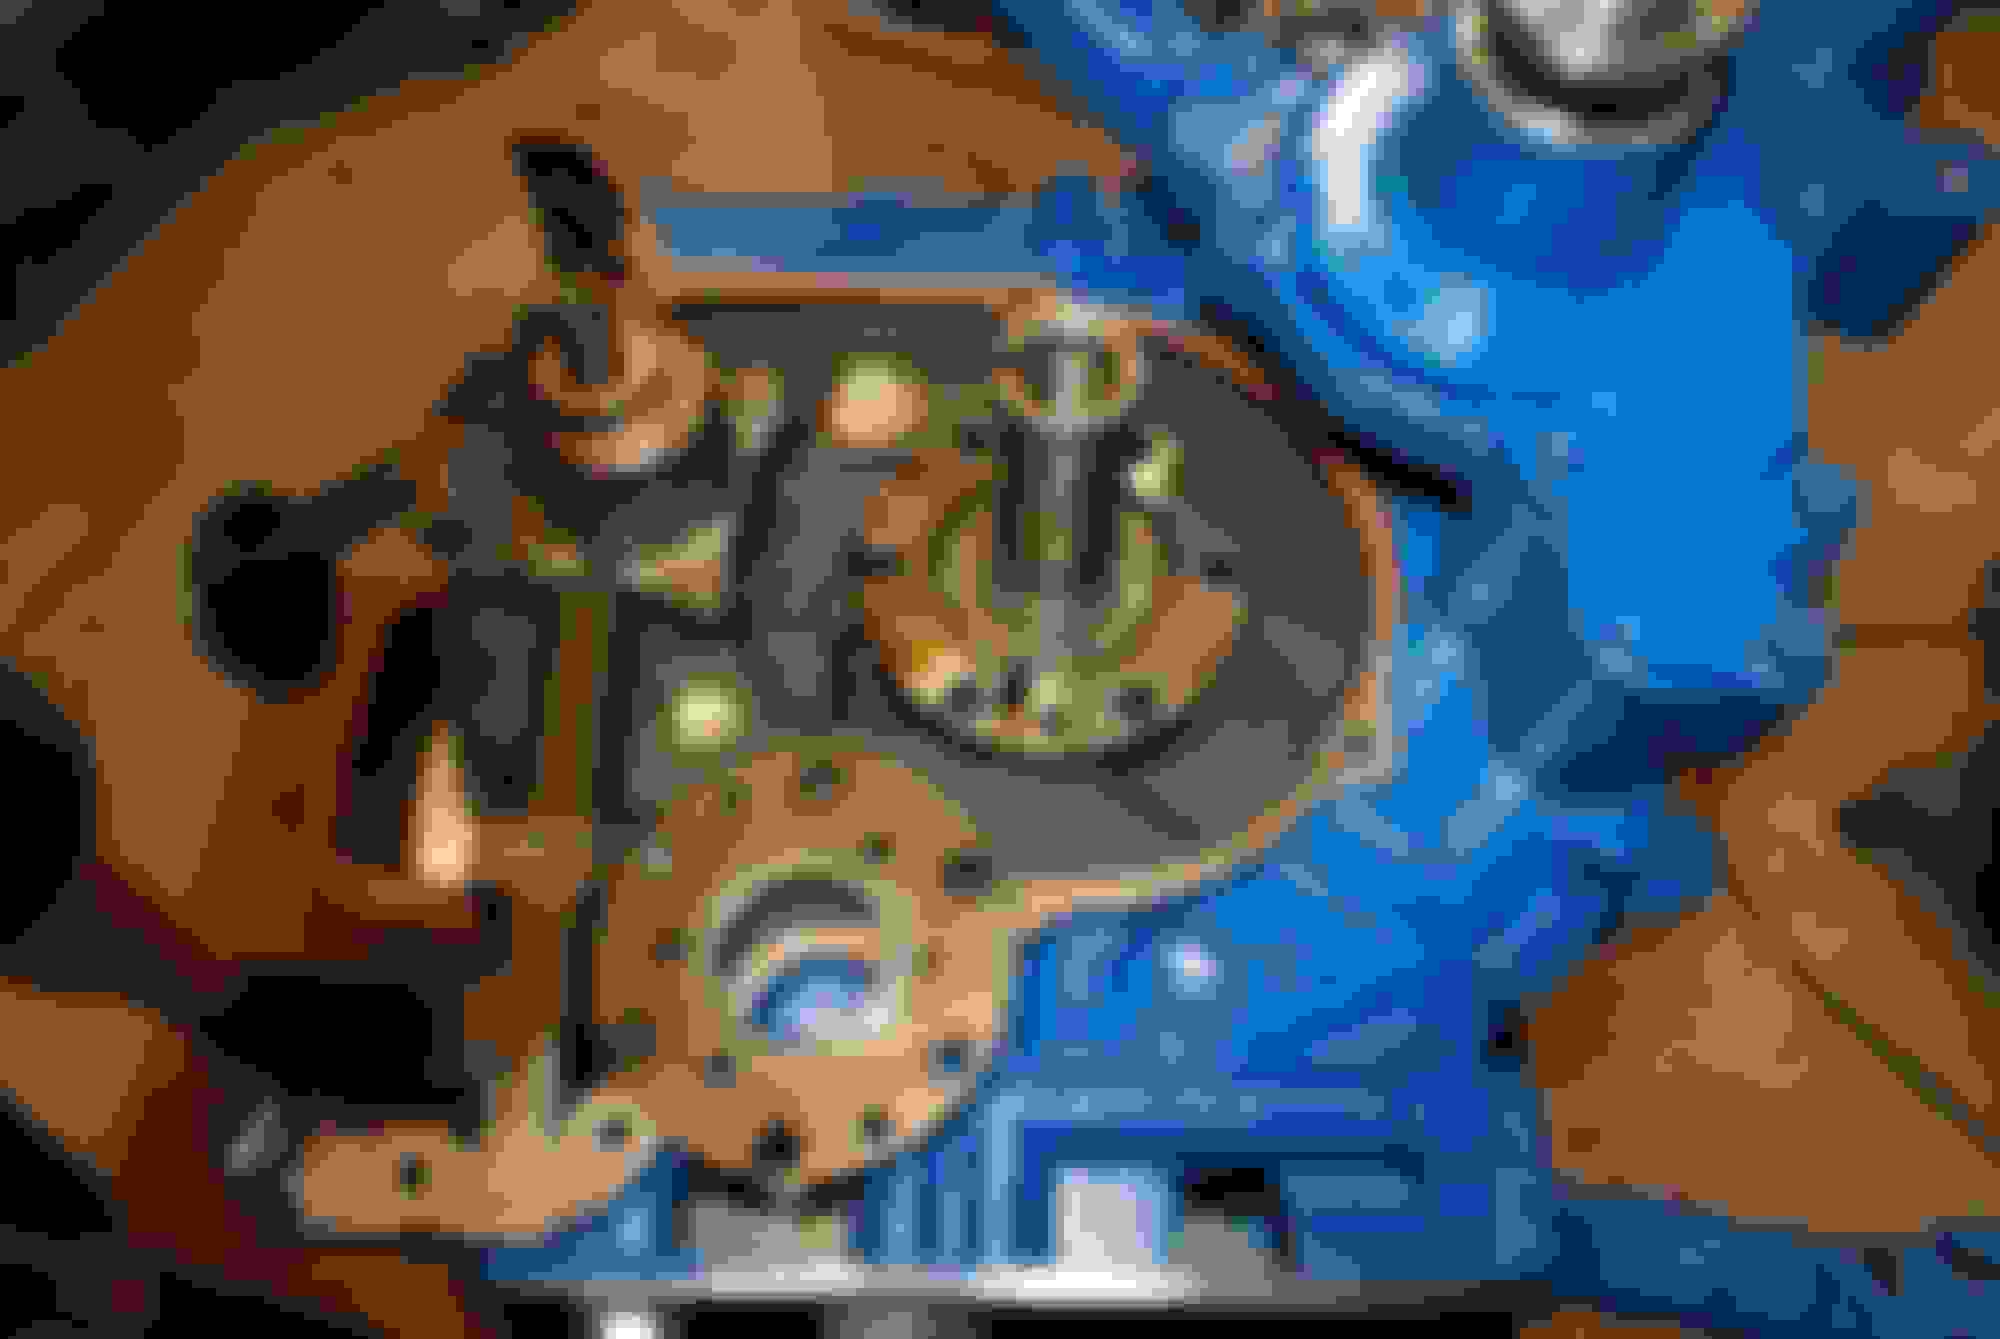
I carefully removed everything and made sure not to disturb the needle bearing in case it had fallen so that I could see it, and sure enough, gravity and stupidity had worked against me! Glad I decided to check it out.
So I carefully cleaned everything up, keeping everything in order and reinstalled it according to the FSM. I reinstalled the distributor gear, front hub and torqued it down to the high end of spec (72 to 87 ft-lbs) and landed on 85 ft-lbs. I got my magnetic base out to check end play and discovered I have ZERO end play. More research and I discovered that this can be caused by several things - incorrect stack up, incorrect spacer, etc. Not sure how this could have happened, but everything I've read indicates that SOMETHING is not correct, so I undid it all. I figured that perhaps the assembly lube I used to put everything back together could have not compressed as much as oil would since it has a higher viscosity and is thicker so I cleaned everything up and made sure it was lightly greased and put it back together, this time torquing the front hub nut to the low end of spec at 75 ft-lbs. Still no end play. At one point I had trouble getting the oil pump drive gear to properly seat and discovered that the woodruff key had slipped and messed up the oil pump housing. Good thing I had a spare oil pump and drive gear assembly laying around. It can be good to horde parts sometimes!
I've repeated and reinspected everything 4 or 5 more times, and each time I get zero end play and cannot for the life of me figure out why.... When I get the hub nut off there seems to be plenty of end play, but when I torque it down I get zero. The spacer I used is the one that was in the engine. I haven't swapped it out. This engine was rebuilt by Atkins at some point (has a stamp on each housing) and I assume it was good and that the correct spacer was used. Does anyone have any ideas? Looking for help here from the rotary wizards and experts on this forum for some advice.
Not sure you can ever assume that something previously done by someone else was correct. Maybe I missed it, did you check endplay before first taking it apart to verify? Can you sneak up on it, tighten 10-15 ft lbs at a time, checking end play each time to see at what torque the play actually goes to zero.
Not sure you can ever assume that something previously done by someone else was correct. Maybe I missed it, did you check endplay before first taking it apart to verify? Can you sneak up on it, tighten 10-15 ft lbs at a time, checking end play each time to see at what torque the play actually goes to zero.
Thanks for responding Banzai! You're right - trust but verify other peoples' work, and no. I did not check the end play before I took it apart. Another learning moment for me here.
I was thinking about finding the point at which the torque overcame the end play this morning after I posted... I was going to tear it apart one last time and then try that, but first a confirmatory measurement to see if I indeed had zero end play. I put the dial indicator on it and lo and behold! It was at 0.0030".... The FSM says between 0.0016 and 0028" is good, with anything more than 0.0035 is out of tolerance. I checked a couple times and had right around 0.0025" a couple times. I guess I must have gotten lucky and put it back together the way the rotary gods wanted somehow the time before I measured this morning. Or maybe it was magic.... Either way, I was happy to have that done and out of the way.
Looks to be about 0.0025".... Right down the middle of the fairway.
Now all I have to do to get these two things in the car is install the clutch and put them together. Then I can reassemble the crane and install them into the car. It'll really look like a car then.
Maybe something was just in a small bind, giving the appearance of no end play clearance. Then, after sitting under pressure for a bit, it moved and became fully seated. You are working with pretty small amounts of clearance. I think that turning the e-shaft and a couple random smacks with a dead blow in between torque steps help to keep everything going together. Either way, at least now you can be more confident of your progress so far. I'd maybe throw a torque wrench back on the flywheel nut to see how much pressure it takes to turn the whole rotating assembly over (w/out any spark plugs). Could be a handy piece of info to have for future reference.
So I went to bolt up my new clutch that I ordered from Mazdatrix and ran into an issue. I put the clutch on and when I tried to tighten down the pressure plate, it didn't engage the clutch. The flywheel is too deep, if that makes sense:
When I pulled out the alignment tool the clutch disc dropped...
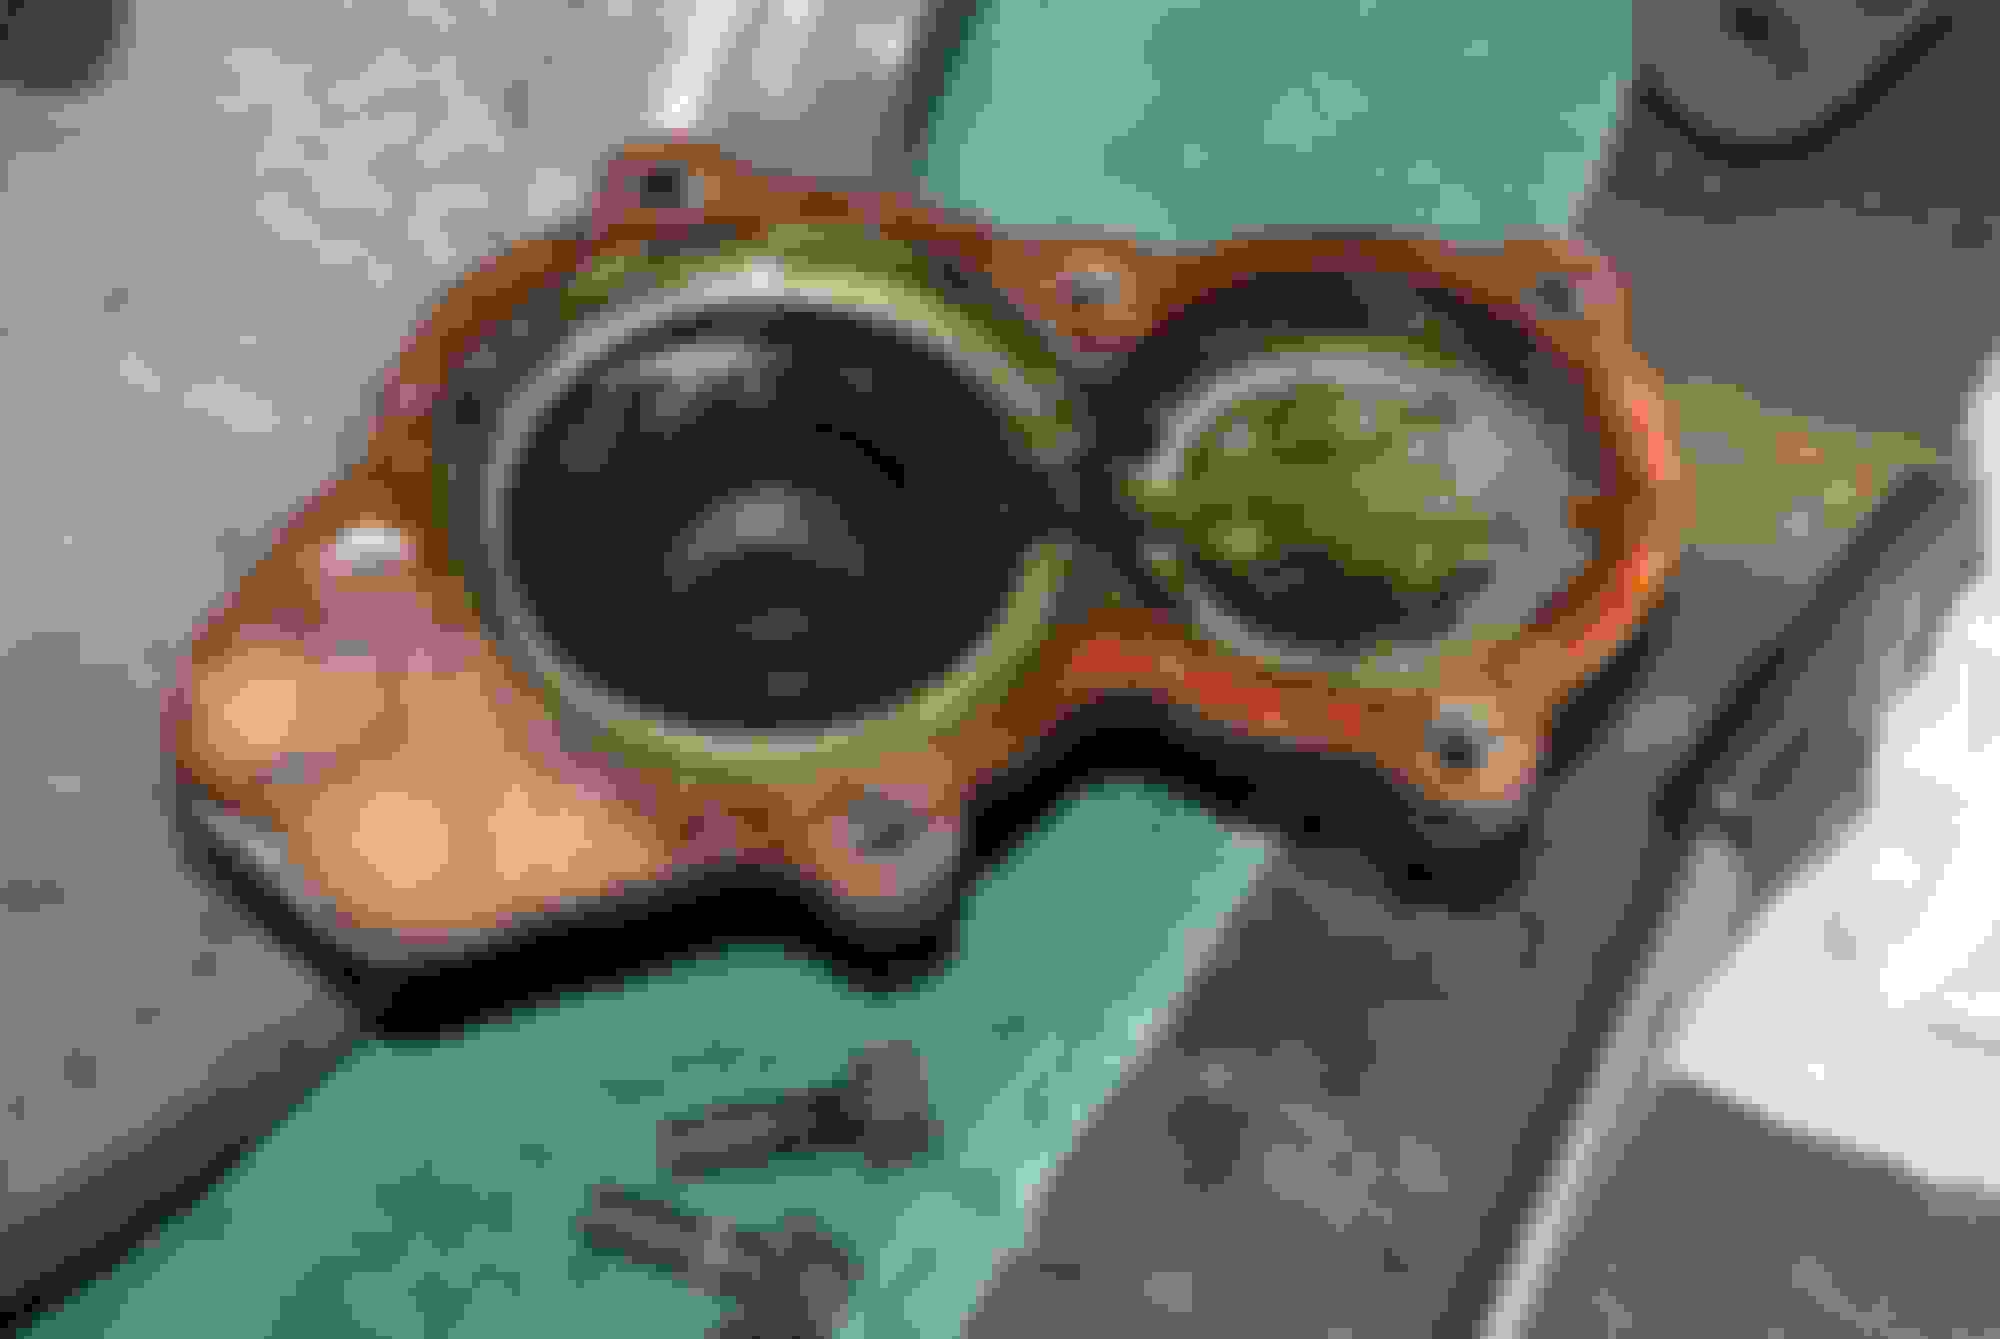
So I dug out the other two flywheels I have laying around. One was from my 79, and the other was from an 80 that I got out of the junkyard. I bolted an old clutch and flywheel that came out of my 79 to the flywheel from my 79 and it ran on down like it should. The new clutch and pressure plate are identical. The inner step to the flywheel surface is noticeably less than the flywheel I put on the engine... Both of these flywheels look identical, except one is marked with a "3" and one is marked with a "1". They both weigh about 30-ish lbs, and both measure 225 mm. Is there a big difference between them, being that they are stamped differently?
So, I've researched and found that the right thing to do is to match the rotating assemblies... Some say that so long as the front counterweight and flywheel match you're ok. I have no idea what the front counterweight is or how to tell, and it's all buttoned up under the front cover with the oil pan installed. This is the most relevant information I could find on the issue:
From a post about differences in 79-85's as posted by Sgt. Stinkfist: All S1 and S2 Rx-7's used a 215 mm clutch/flywheel assembly, while S3 and all later NA rotary engines used a 225 mm clutch/flywheel assembly. These clutchc/flywheel sizes can be interchanged via after market flywheels, as long as the appropriate rear counter weight (to match front counter weight and rotorrs) is used with the flywheel...
So my questions are:
1. Is it ok to use the flywheel that will work with my clutch on this engine given that I don't know if it (or the flywheel I installed for that matter) match the front counterweight?
2. If it IS ok, then is there a difference between the two that I have (79 or 80?
3. If I undo the flywheel nut and change out flywheels, will I upset the endplay and have to go back into the front of the engine or can I simply undo the flywheel nut, swap out flywheels, and the tighten the flywheel nut down and call it day (after I check the endplay again of course)?
Again, I really appreciate any help I can get on this issue.... For reference, this engine came out of an 83, but since it was stamped by Atkins, it's hard to tell what year it is... Man, I thought this would be easy...
As long as you have the front hub on, taking the flywhhel off will not hurt anything.
As for which flywheel to use, use the one that matches the engine. Do not mix-and-match. If the new clutch does not work, it's the wrong clutch.
Thanks KC! It's good to know I won't disturb the front stack.
Thing is, I put an 83 flywheel on that was on the cat food engine I got off CL, and I'm not sure if this engine is actually an 83. It came out of an 83 but looks to be rebuilt by Atkins, so I'm only guessing it's an 83, and it did not come with the flywheel so I'm kinda guessing as to what I have.
What's the worst that can happen if I put the incorrect flywheel on? Will it be extremely unbalanced?
Sunday AM update:
I looked back at some old pictures, and the flywheel that I installed did NOT come from the cat food engine, it came from this engine. That solves the problem of balancing, but now I have to figure out what clutch to put on it...
Last edited by woodmv; Feb 25, 2018 at 08:07 AM.
Reason: added clarifying info
The counter weight and fly wheels are matched to counterbalance the weight of the rotors which changed slightly depending on year. I know that 79 and 80 are the same, plus a 81 or 82 flywheel is still compatible with an SA rotors and counterweight. If your engine is an 83 (with 83 rotors) then I think you need an 83 flywheel to be correctly matched to the counter weight and counterbalanced to the rotors. Not sure if 84 / 85 flywheels could be used as well. Mazda Trix has a page which explains all this in better detail, along with pictures to identify the year of the flywheels.
The counter weight and fly wheels are matched to counterbalance the weight of the rotors which changed slightly depending on year. I know that 79 and 80 are the same, plus a 81 or 82 flywheel is still compatible with an SA rotors and counterweight. If your engine is an 83 (with 83 rotors) then I think you need an 83 flywheel to be correctly matched to the counter weight and counterbalanced to the rotors. Not sure if 84 / 85 flywheels could be used as well. Mazda Trix has a page which explains all this in better detail, along with pictures to identify the year of the flywheels.
THANKS Banzai!! You've been an awesome help on this website and to me, so THANK you!!
I had also posted up in a few groups on FB and one of the gentlemen answered me with a link to that webpage from Mazdatrix:
He also posted up this picture of the front counterweights:
I don't have a picture of the counterweight in this engine, but it definitely IS the one on the right, so I was able to narrow down the engine to 83-85. Then I took an impression of the casting on the flywheel onto a piece of paper:
Using the webpage from Mazdatrix I was able to determine the flywheel is indeed an 83. PHEW! Crisis averted.... Now I just needed to get the correct clutch and pressure plate so I contacted Mazdatrix an they agreed to swap out the 79 clutch and pressure plate for an 83. Easy peasy. Hopefully in a couple weeks I'll have that back.
In the mean time, I found the original pigtail for the reverse light switch. I cleaned it up, removed the janky looking pigtail I installed and then installed the correct one. Much better.
Nice Mike. Are you gonna be driving this Summer? I sure hope so. It's long overdue. Incredible work as always!!!
Thanks Tim! I sure hope so too! It's getting closer and closer and I think this summer is a realistic goal to work towards. I'm getting really really anxious to finish.
With that said, I set out to find some of the nylon screw nuts that fit into the fender. A quick internet search turned these up - an exact match!
Then my exchanged and CORRECT clutch and flywheel came from MAZDATRIX, so they went on, then the transmission. I cleaned up some studs, got the 20mm freeze plugs (which were surprisingly difficult to find) and installed them, then installed the transmission and engine in the car with the help of my son.
New 83 clutch and pressure plate.
Bought a new starter... Amazingly it was in stock at Autozone just around the corner!
My 14 year old helping guide this mammajamma into place.
I think it looks pretty awesome sitting there. Freed up more floor space in my mess of a garage! Another milestone checked off the list!
I even got one of the new clutch slave cylinders that I bought from Black Dragon on sale when they had the "we're no longer selling first gen RX-7 parts" fire sale. Painted it to match the transmission and installed it.
Looking great . I would leave the engine as is it looks good
Originally Posted by WJM ROTARIES
Wow is starting to look like a car now . Great work
Yes it is, and thank you! You were right about not painting then engine gray. I think I like it even more now.
Originally Posted by Qingdao
Are you going to remake all the brake hard lines?
Looking super though.
Hey Qingdao! Yes, I have to get that done now before much more goes in there. I need to get my hands on a flaring tool... I have that to do, rebuild / replace the master cylinder, get the gas tank inspected/sorted out, new fuel lines, go through the carburetor (learn how to do that first tho), finish the exhaust, brakes, radiator and cooling system, connect wiring harness, install the seats, outfit the doors and install them, tighten down all the body panels one last time ... and then any other odds and ends.
I keep researching rats nests and weighing the pros and cons of having them vs. removing them. Mine is pretty rusty. I've got my eye on one that is pretty rust free but haven't made my decision on keeping or going without it yet. I also found that the seats are a bit harder to install since I have all the sound proofing in there... Another challenge.


 I;ll keep working away at it and get the WD-40 out to get the wiring all nice and shiny while I wait on new parts. I've ordered a new set of external engine gaskets (front cover, oil pan, water pump, thermostat, etc.) so that I can open up the front cover of my engine again. I didn't torque down the front bolt to spec and there is a lot of play in the rotating assembly and I'm afraid that the torrington bearings may have slipped so I want to open it up and check to make sure. I'd rather pay for the new gaskets than possibly ruin the engine. I think these will look great together in the car.