When you click on links to various merchants on this site and make a purchase, this can result in this site earning a commission. Affiliate programs and affiliations include, but are not limited to, the eBay Partner Network.
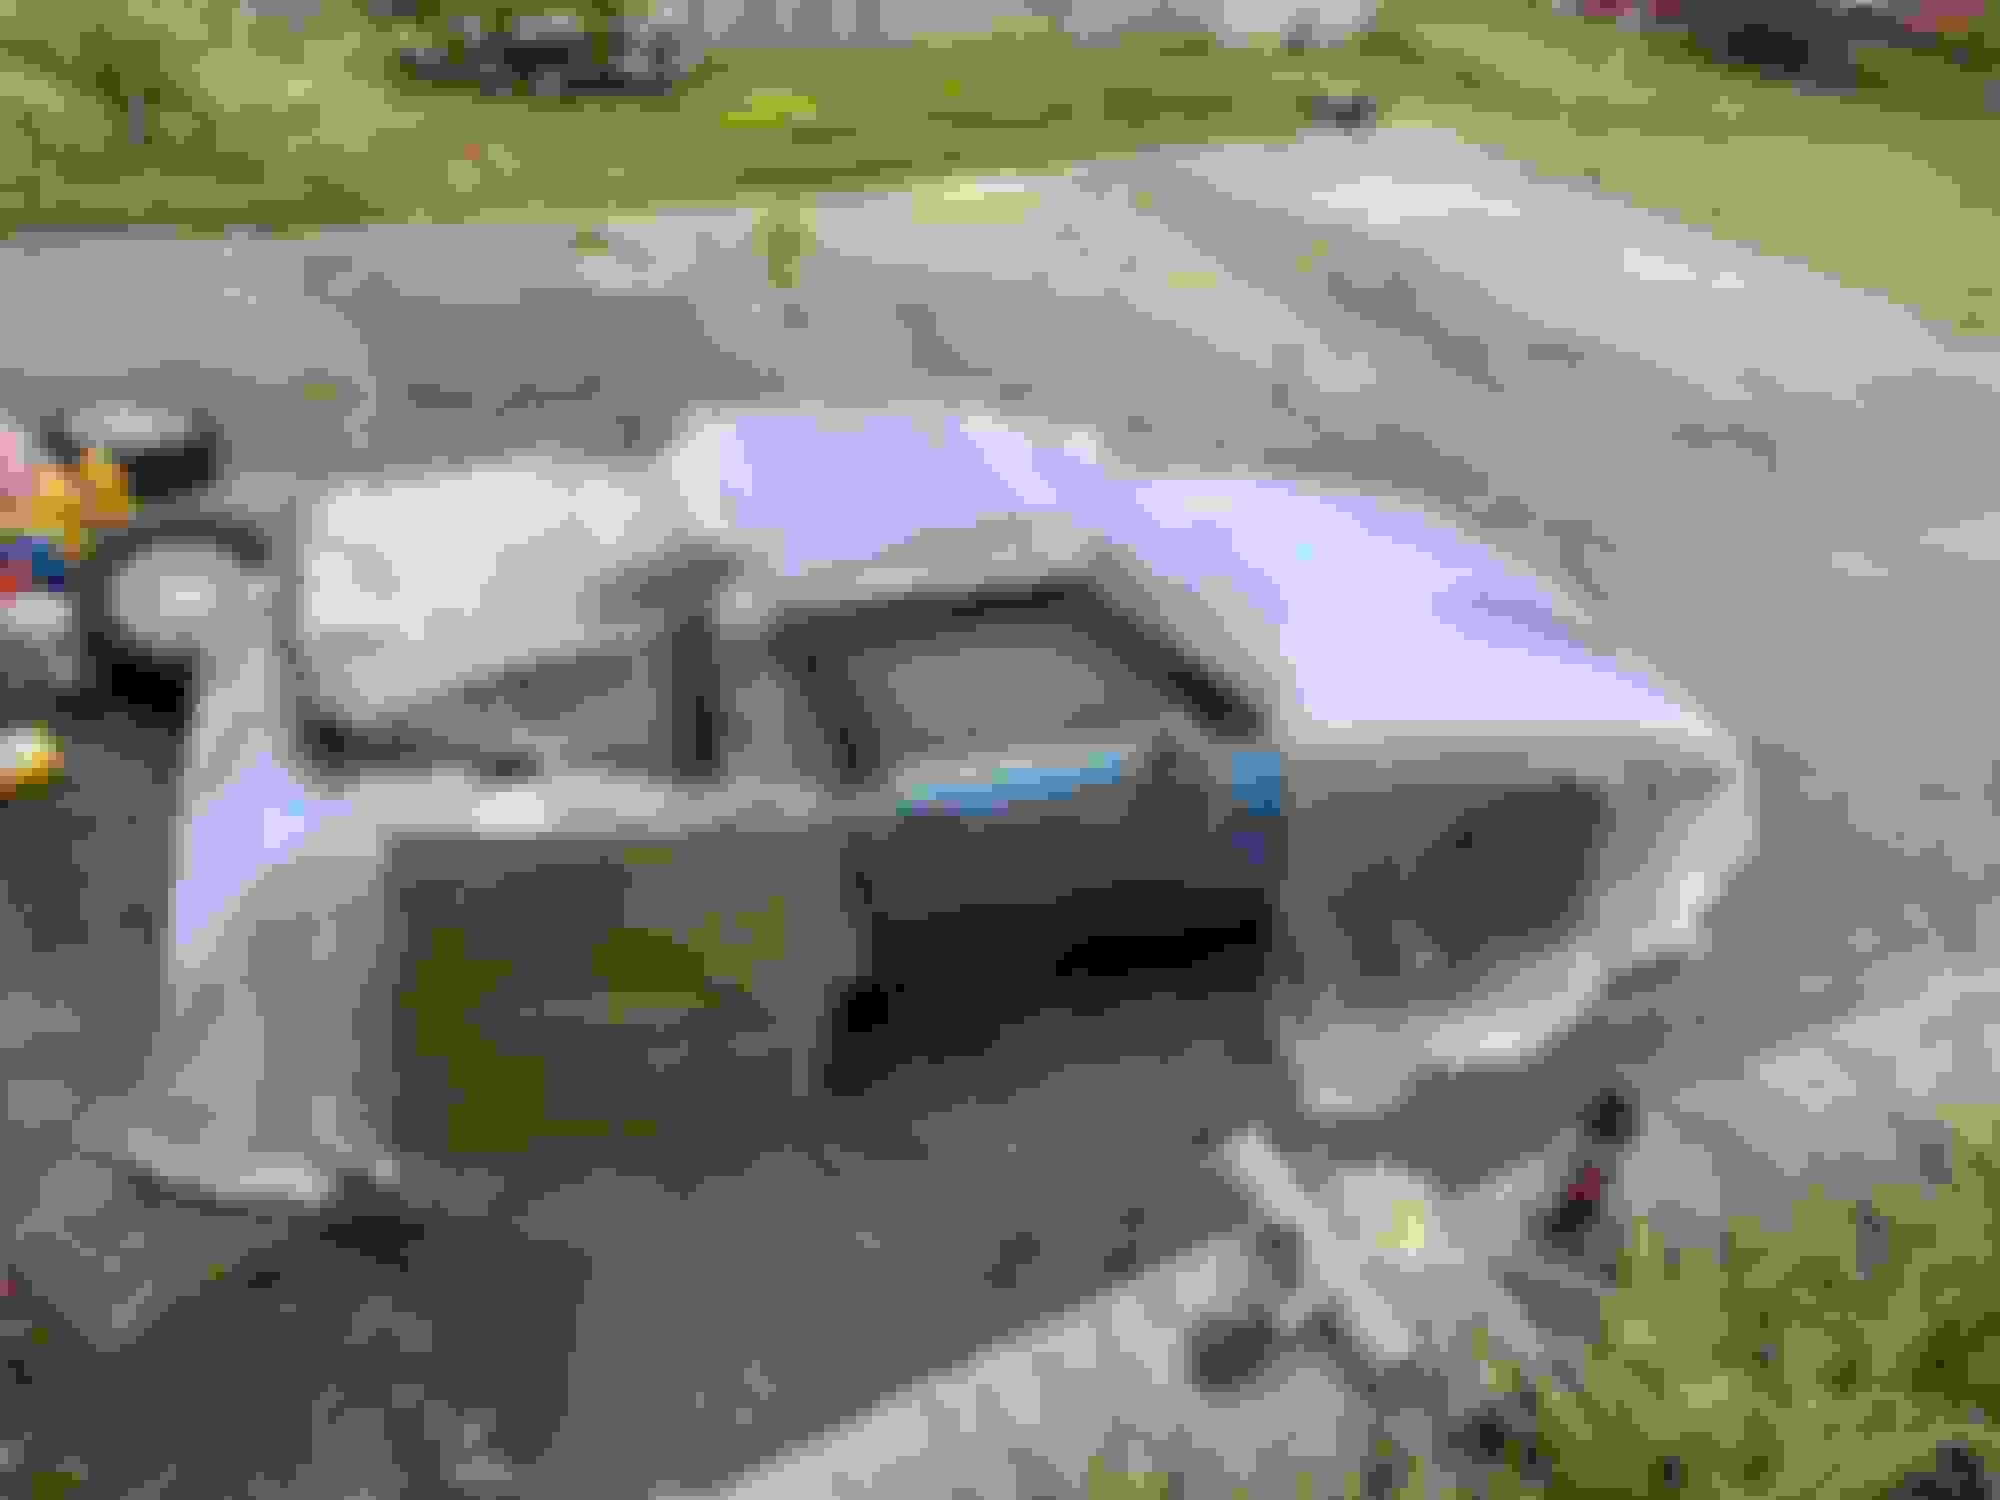
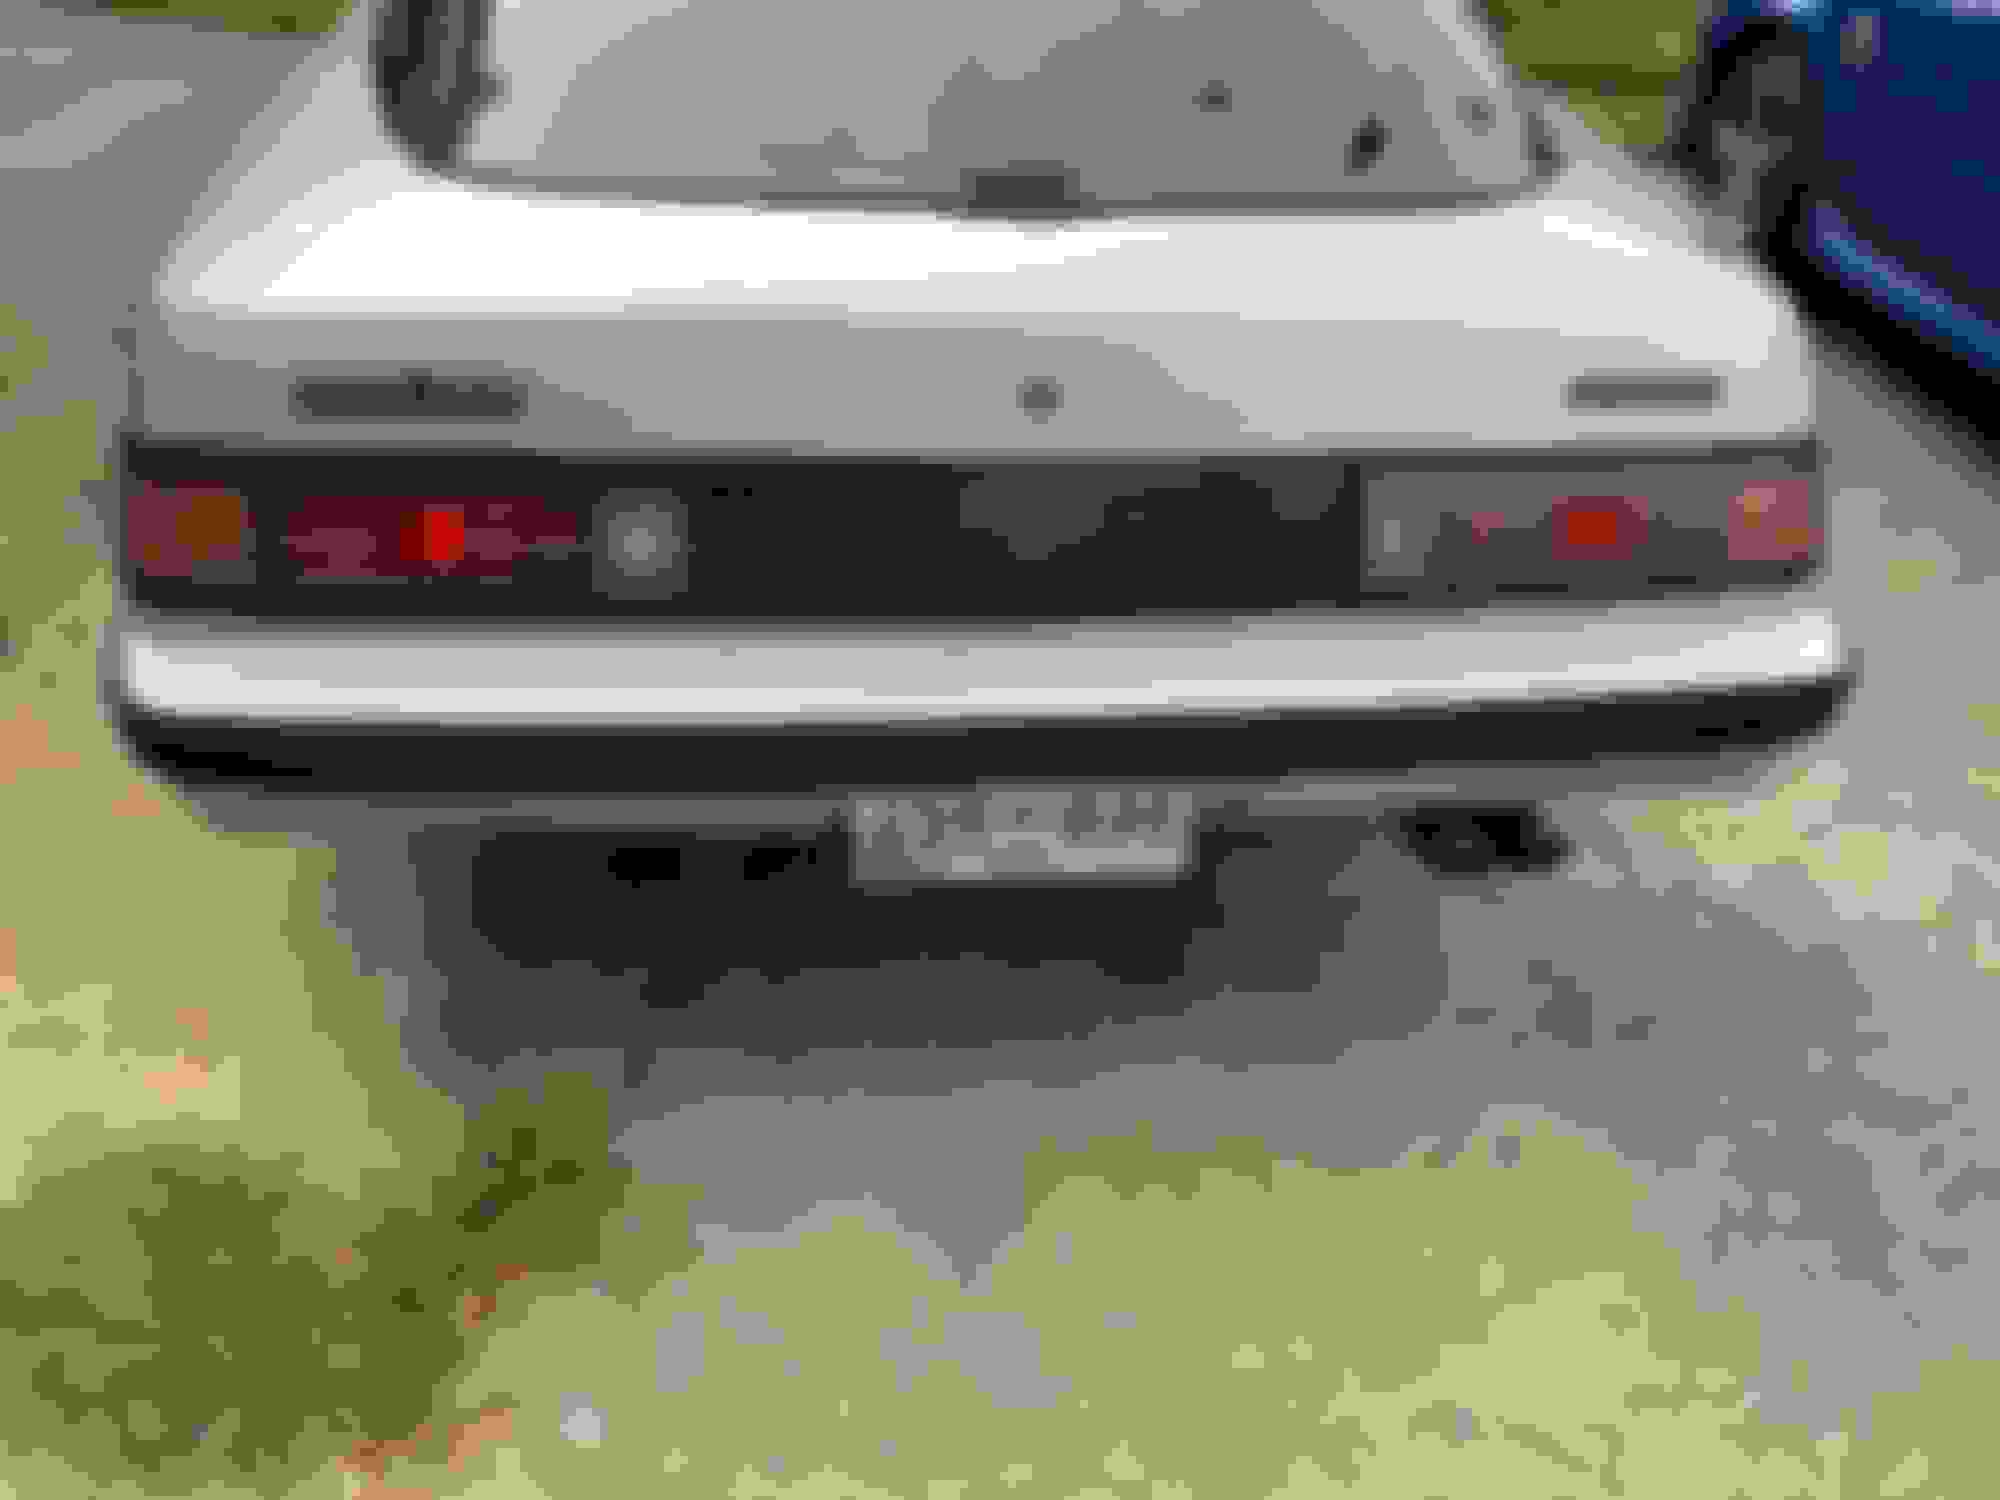
I finally got around to wrapping this up, at least cosmetically on the exterior. I primed and rattle-can painted all the black trim on the car, replaced and installed powder-coated windshield trim, and reinstalled the rear trim/taillights with fresh rubber moulding. I also finally gave it a wash to see how it looked all cleaned up!
I am very happy with the quality of the new taillight/rear trim moulding. I bought it from "fibremaz" in Australia and the stuff is identical to OEM. Only about $60 shipped to the USA.
Last, the car after its first wash with fresh paint!
Next up, I need to install the S5 power steering control unit, then start prepping for a Haltech ECM. The GSLSE ECM works, but not great. It's just good enough to break the engine in
You've done an awesome job bringing this car back to life! The new paint looks great and great job on the engine rebuild!! What's the story behind the car? How did you find it and did you buy it as a roller?
I bought this car running in 2015 from South Carolina and drove it for a few years while tinkering a little. I put about 10k miles on it before I decided to do a full restoration in 2018.
The FD has always been my dream car since I was a kid, but since I am not a professional mechanic and I knew nothing about rotaries I wanted to start with something simpler and cheaper. When shopping for an FC I learned about the GSL-SE with its fuel injected 13b so when I found one for sale I jumped on it (I like the look of the FB better but didn't want a carb). At the time I paid $4k for it and it ran well but the paint was already starting to peel, so I think I overpaid. Oh well. I did quickly learn about rotaries after buying this car and by 2017 I felt confident enough to buy the FD. I was actually going to sell the FB but I couldn't bring myself to do it. I love how it drives and how it looks, and there's something cool about an NA rotary's sound and throttle response. The restoration took almost exactly 2 years from start to finish (if you can call it finished yet)
wonderous. stellar work. any plans to show the car when things get to normal ?
Absolutely! I live very close to the tail of the dragon, so I want to take it to the next DGRR. Unfortunately I have missed the last THREE due to important events (graduation, wedding, birth of my child) but I'll do my best to attend it next time. I'll bring it to local car shows too and see how it goes. The interior isn't perfect and neither is the engine management, so I still have things to work on before it's truly show quality. The paint job also looks a lot better from 10 feet away than up close!
'll try to get some better pictures of the whole car this weekend
That looks great! Love the colors and the paint turned out great!
I'm currently working on my 5 letter when weather permits. Luckily there is lots of little projects I can do inside like restoring electrical components and redoing wiring!
nice work. i really like what you've done all around, but for some reason, i'm always extra impressed when someone (that doesn't do it for a living) performs their own bodywork and paint. as much as i'm a sucker for engines and the things that surround them, i think your bodywork is the coolest thing.
also, a belated congratulations on your graduation, wedding and child.
ECM:
It's not running well with the mashed together S3 and S5 fuel injection, so I went ahead and ordered a Haltech Elite 1000 and supporting parts. I got about $300 off everything with black friday sales. Yeah, it's overkill for an NA car, but someday I'd like a Haltech in my FD and this is a good way to familiarize myself with it. I got the Haltech ECM, the CAN wideband o2, 4x AEM ignition coils, unterminated wiring harness, and various connectors for a little under $2000. I also picked up 4 RX-8 450cc yellow injectors to run with it.
Sway Bar:
I also tackled another part I kept putting off � installing the sway bar. This required some fabrication because the FC sway bar mounts in a different place. I had to notch the bottom of the frame a little, similar to getting the FC subframe to clear. There is a lip that has to be cut out. It also pushes the GSL-SE oil cooler line at a bad angle.
I took a plate of steel, drilled two holes, and welded M8 nuts to the backside to use as a sway bar bracket mount. I then drilled two larger holes on each side of the frame to fit the nuts into, and welded the plate onto the bottom of the frame. This gave me threaded holes in the right spot on the frame so my sway bar can now bolt up like normal. I sprayed some primer over this to prevent rust also.
I reinforced the welds and added primer to the new bracket after this picture. Currently the sway bar is out so I can paint it and order the correct bolts and new bushings and end links. I also determined the oil coil line can be safely routed under the sway bar and above the steering rack without any contact.
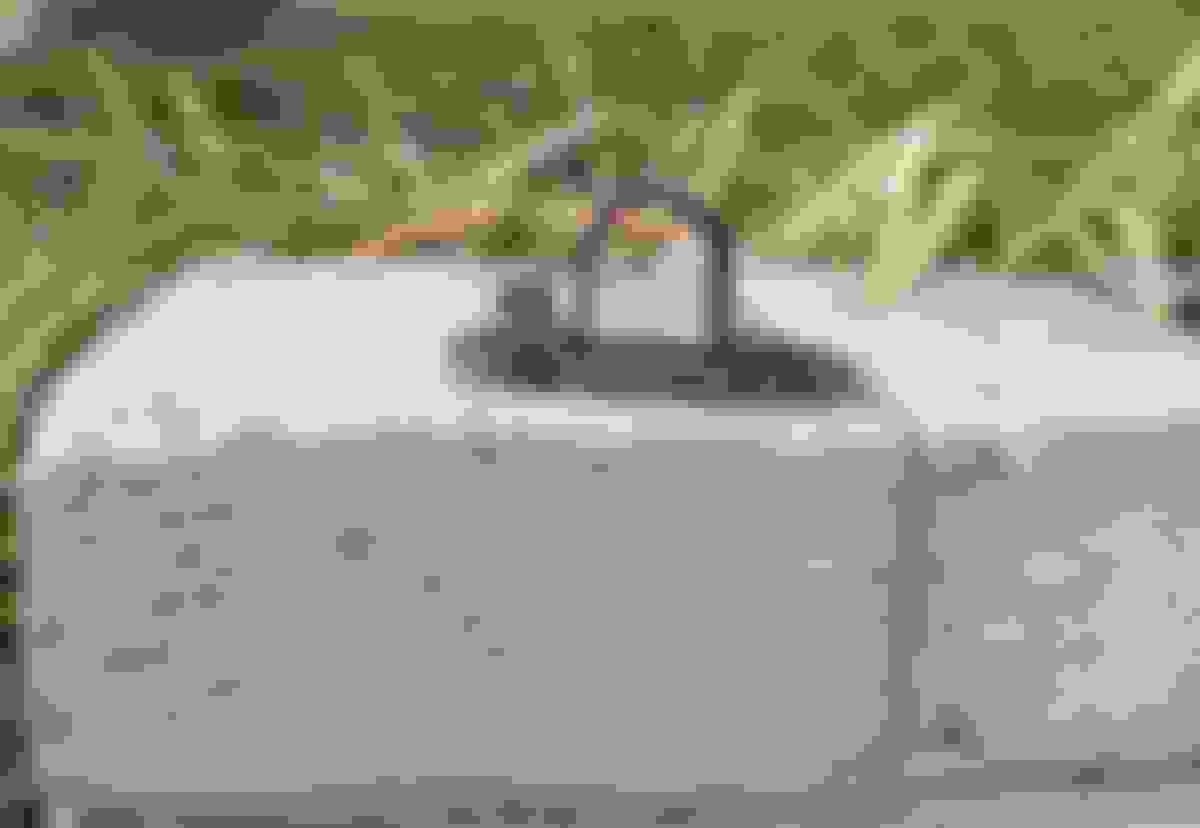
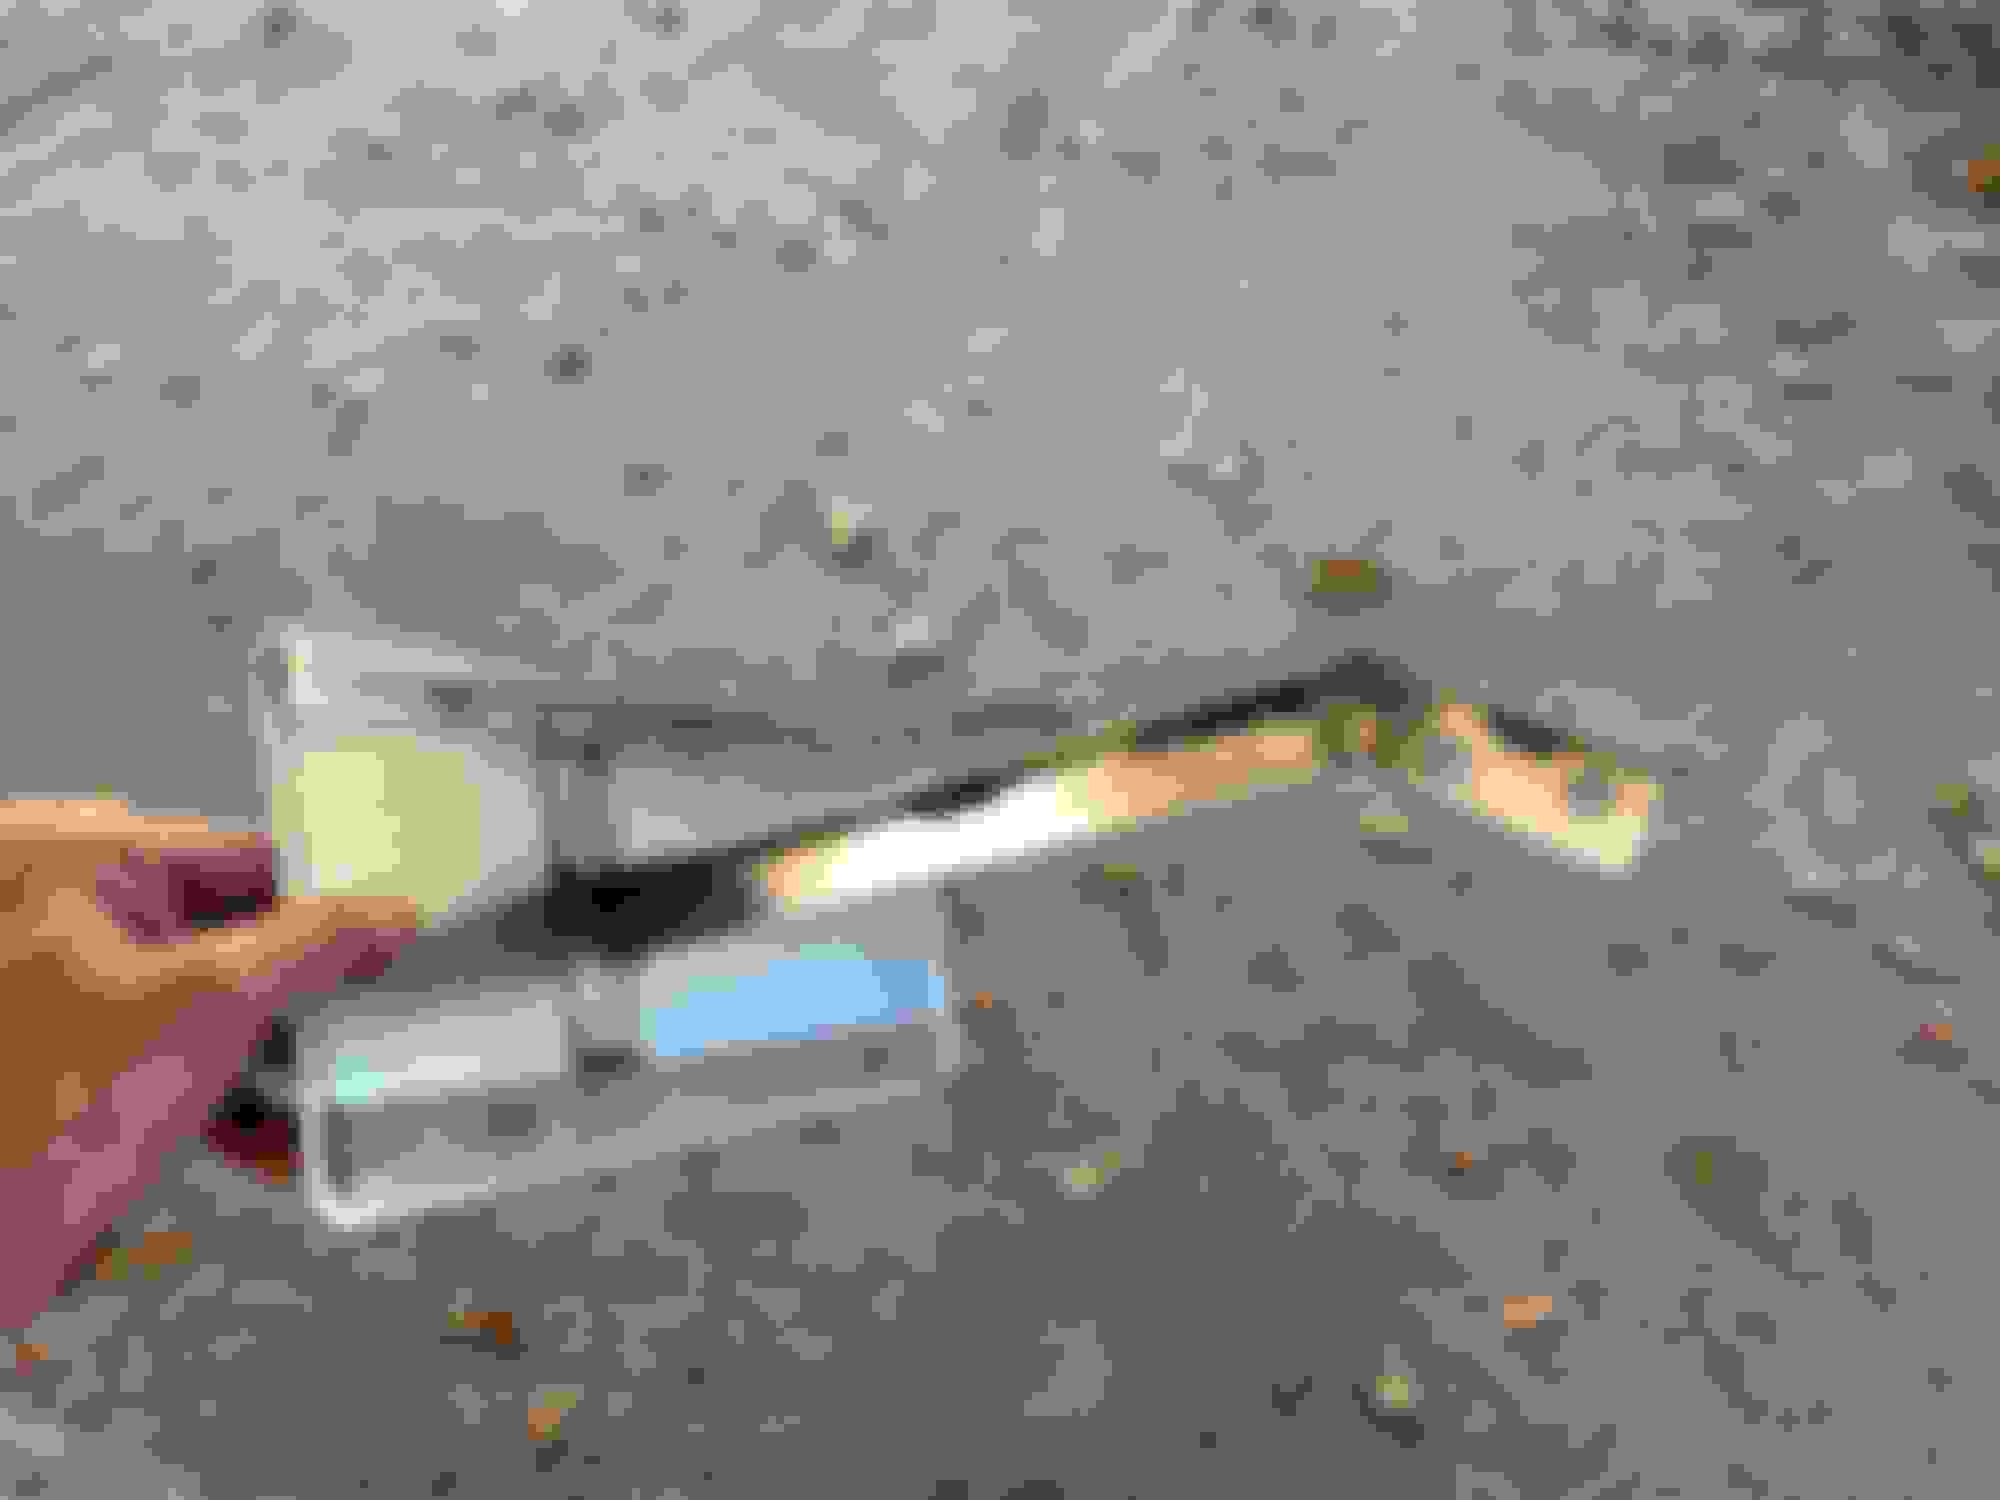
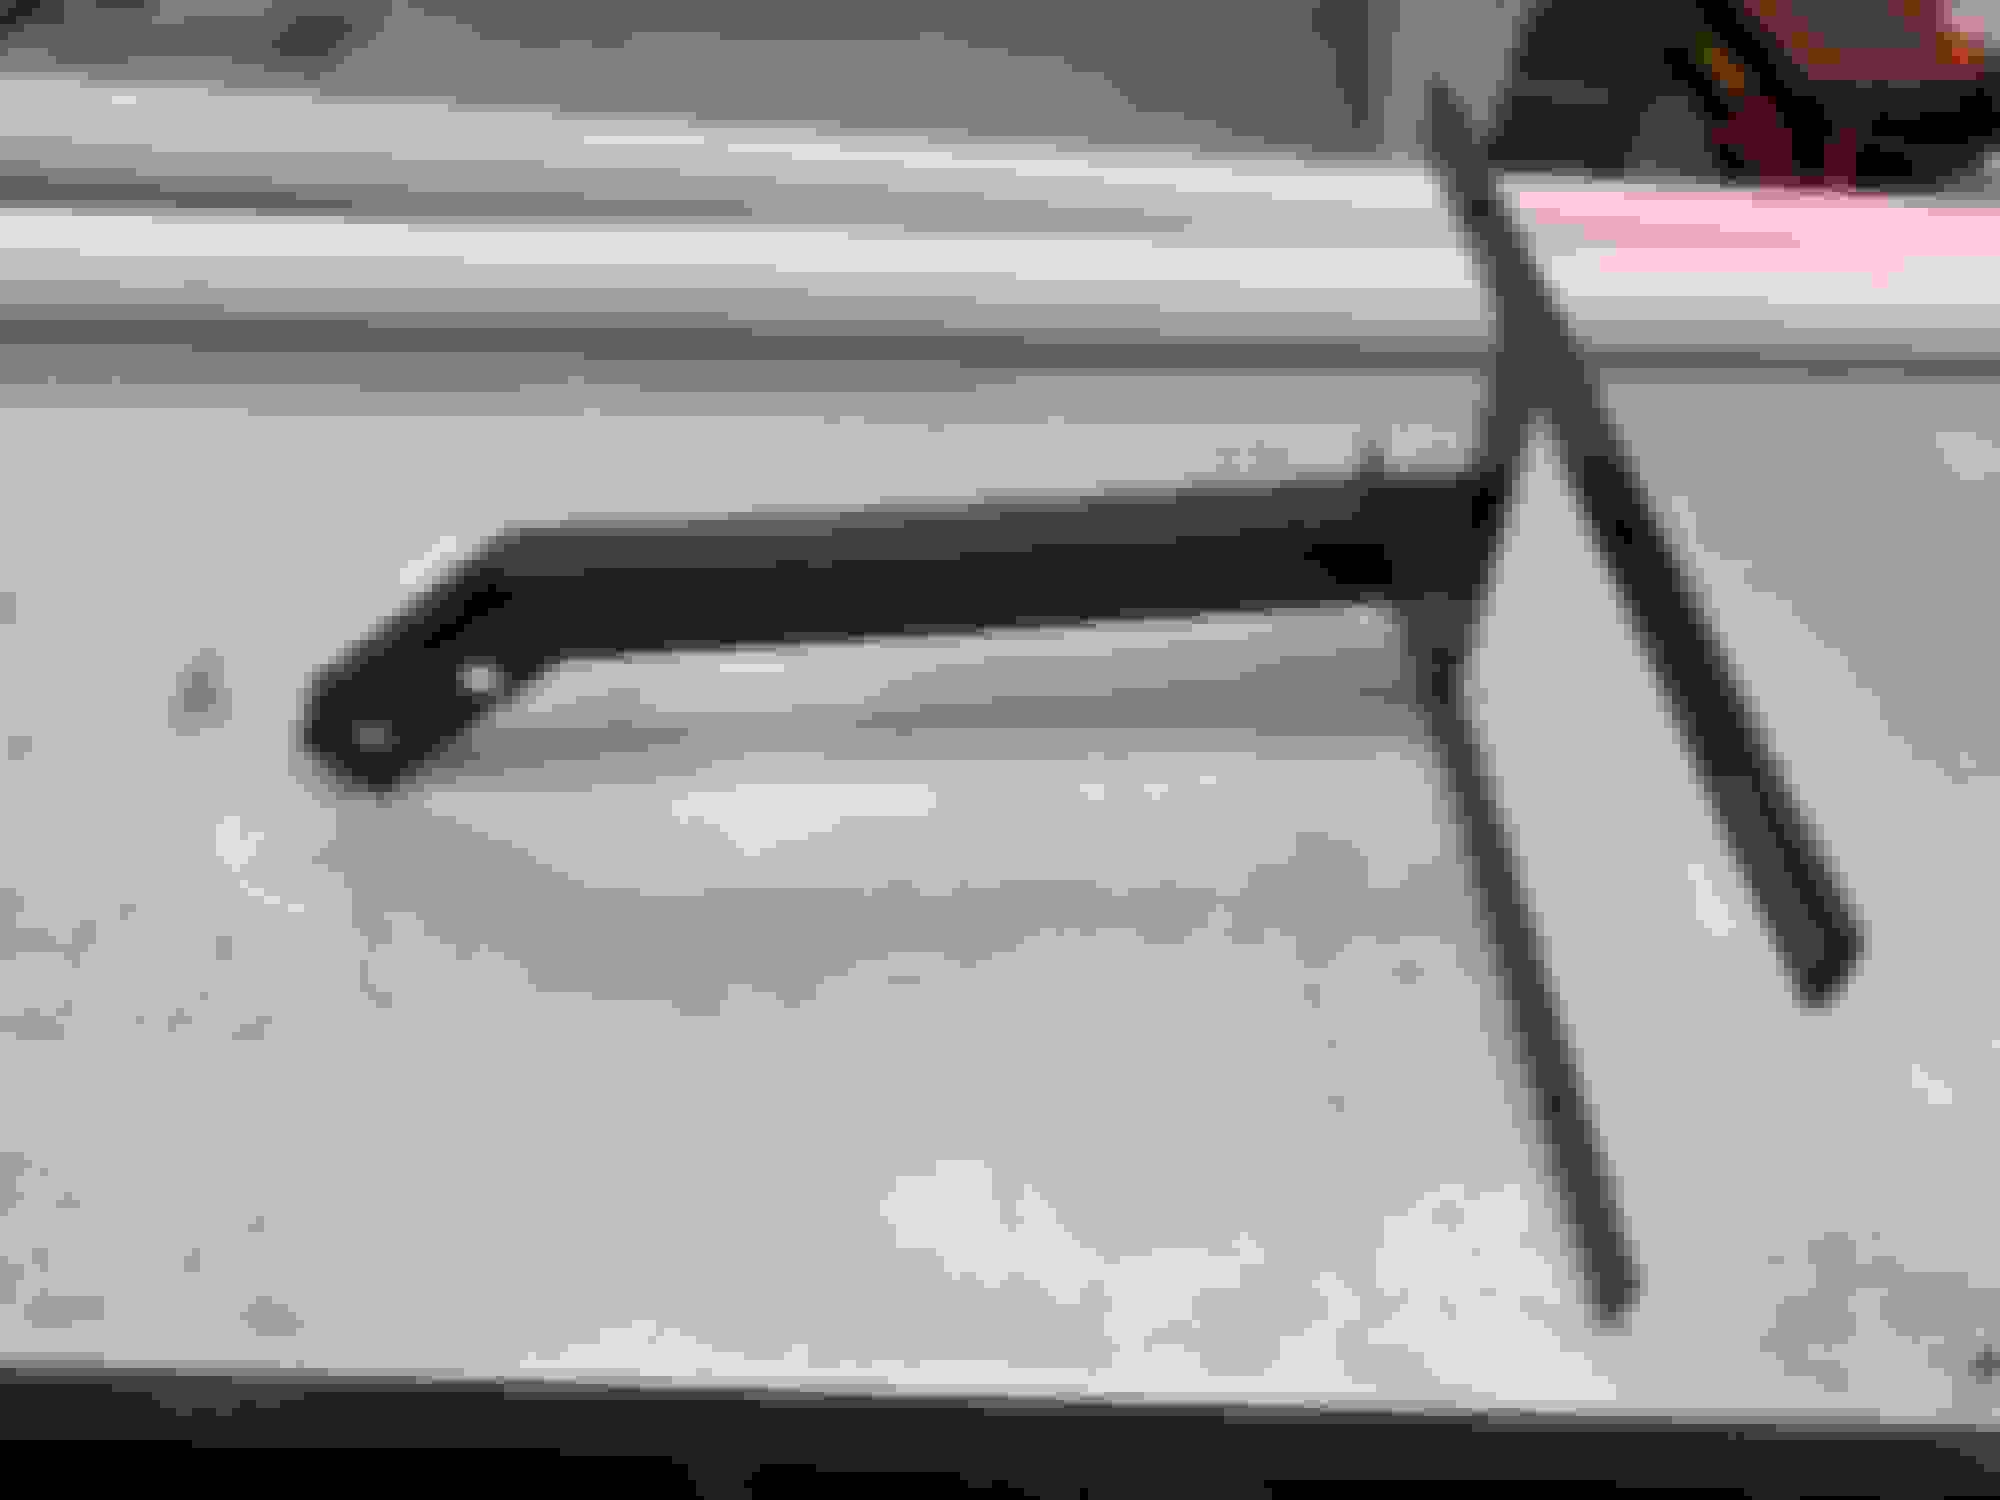
Last picture.... I splurged on new side emblems. They are pricey at $43 each but it's one of those parts that I'd rather buy today while I still can then kick myself years later for not buying when I had the chance.
Haltech installation is in full swing right now. After months of fighting the car since it would die instead of idle and was running super rich, I decided just to rip all the engine management out and start over. I spent some money on this, probably more than I should have for an old NA car, but I'm excited to use a Haltech instead of the ancient PowerFC I have in my FD.
Parts purchased:
Haltech Elite 1000 + premium lead
S5 TPS, 4x RX8 yellow injectors, Hatech Intake air temp sensor
Wiring connectors for EVERYTHING including the original TE connectors in the FB's harness. No cutting of the FB harnesses required
AEM coils
Haltech wideband
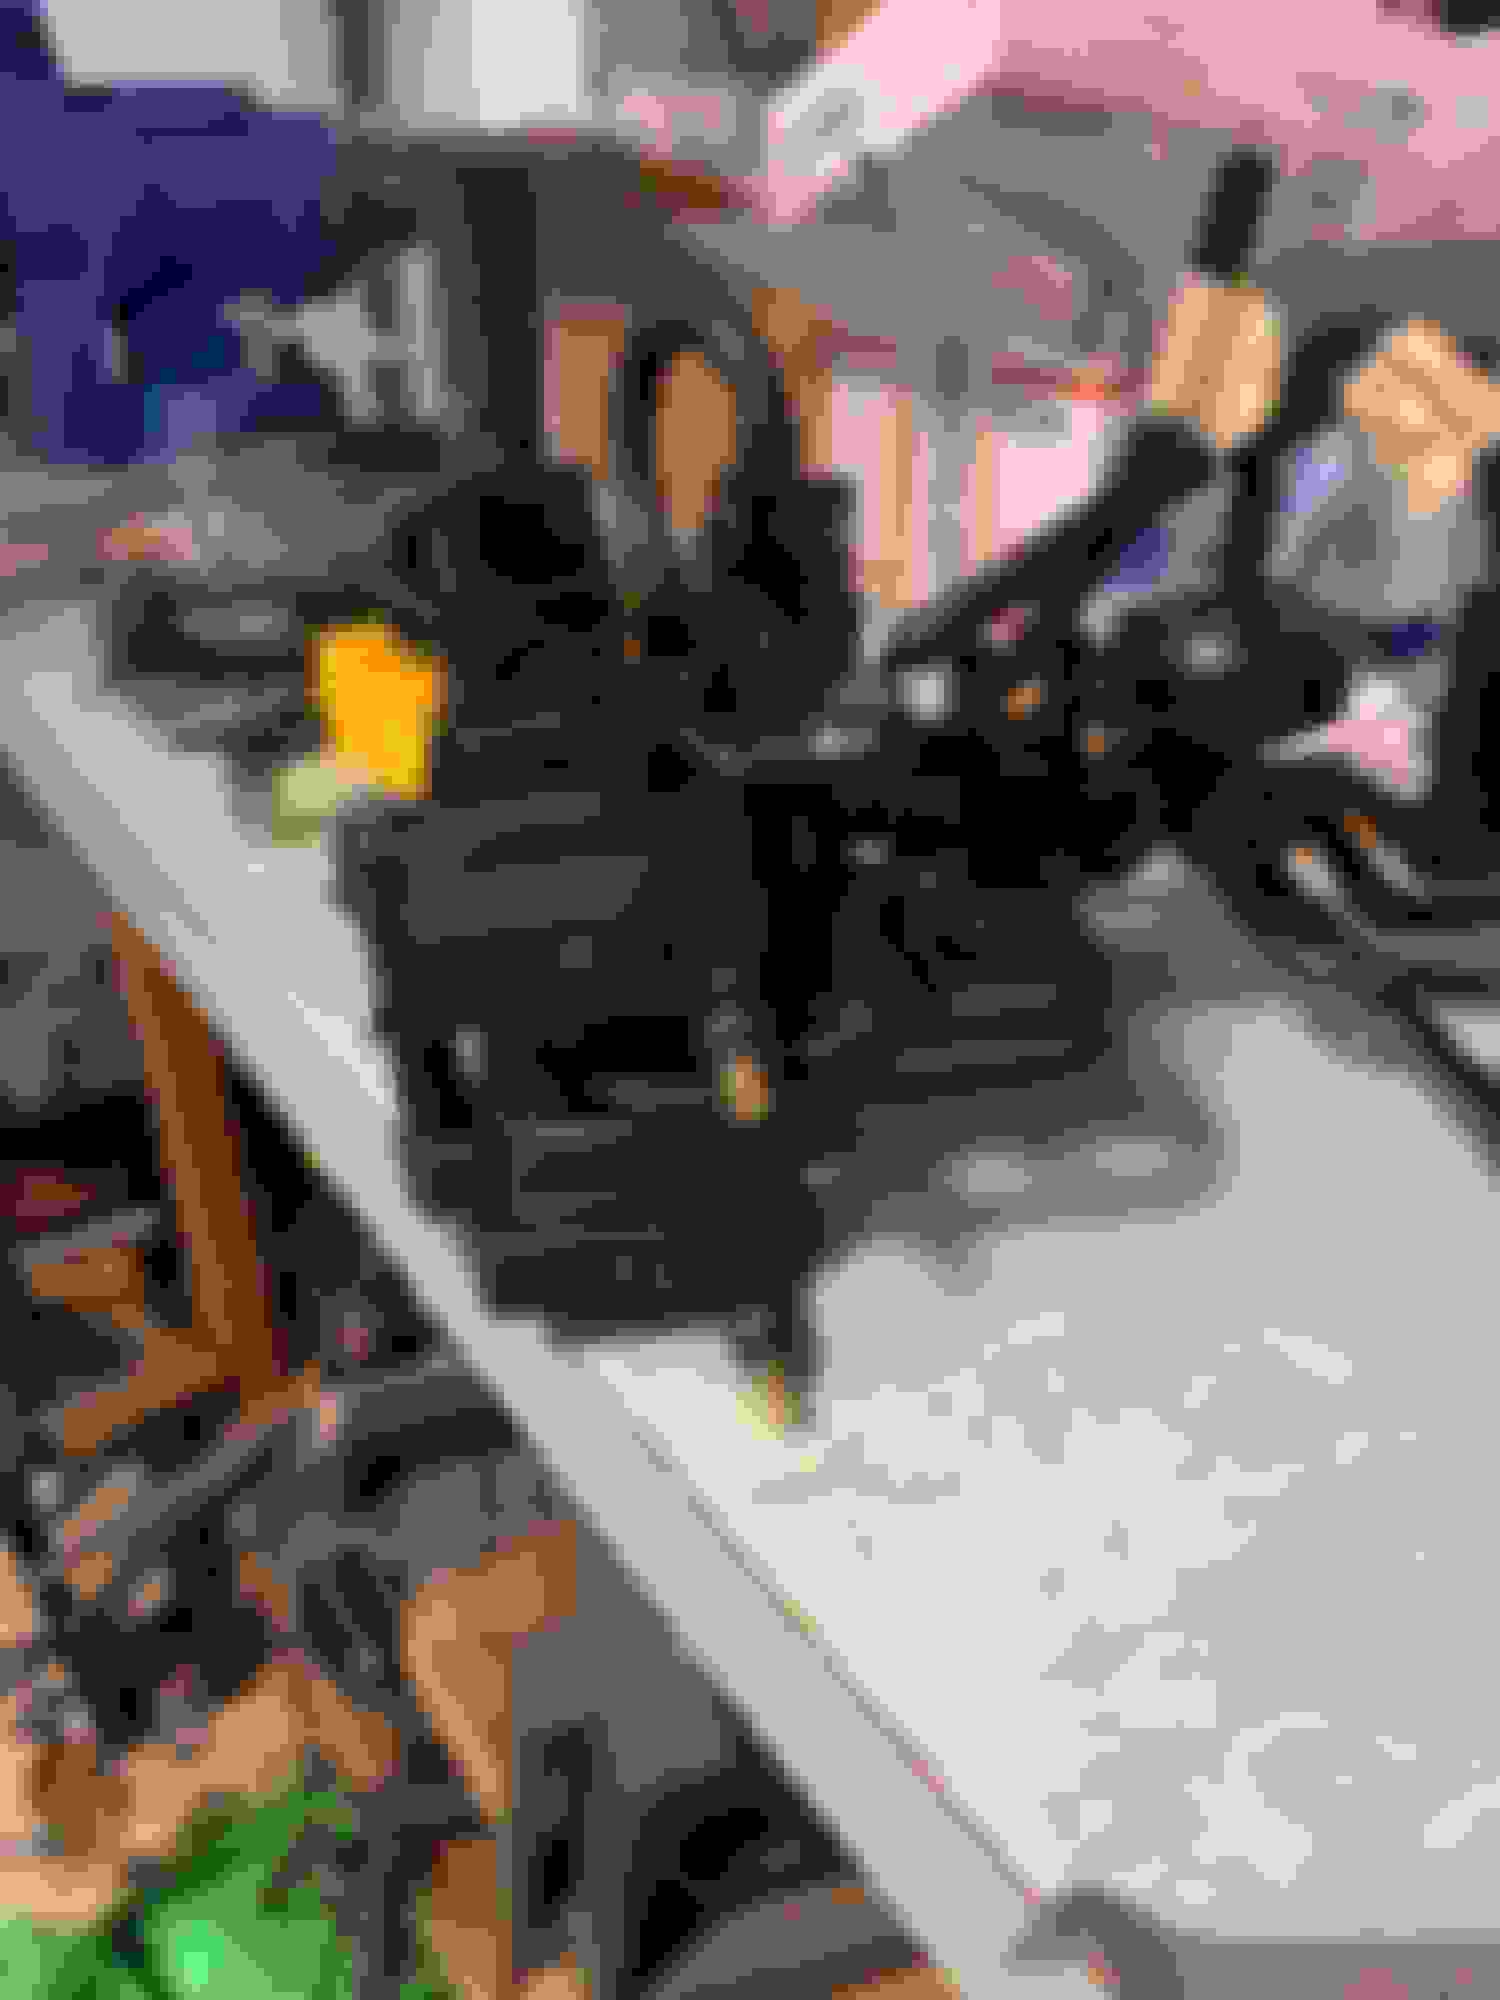
I fabricated a means of installing the AEM coils within the existing S5 vacuum rack by cutting out a portion where the solenoids sit and mounting them with a new steel plate in the middle. The remaining two will mount in a bracket in the front fender, where the original 2 FB coils sit. This was tricky and my bracket is a little sloppy but it's a good use of space given that I'm keeping power steering and AC in this car. The top coil sits where the bottom 3 solenoids sit in a factory S5 setup, but since I am only keeping the VDI and 5/6th port solenoids (no ACV) I can ditch the bottom 3 and leave the top two in their original location. I did cut out some parts of the vacuum rack that I don't need and overall think it's better to use it than to ditch it in this setup.
I am mounting both the Haltech and fuse box under the passenger floorboard where the original ECM was. The fuse box barely fits and I had to remove the carpet padding under it to get it to sit flush. I cut a smaller L shaped piece of steel to bolt onto the original ECM frame in order to mount the Haltech on it.
I fished all the wires needed in the engine bay through the original hole in the firewall. I did notice the Haltech firewall grommet is 2" and I need 2.5", so I'm waiting on the correct one to show up before I can continue
I got a lot of these Haltech parts from Chris at LMS-EFI. He's been extremely helpful and also sent over a customized base map. I can't thank him enough
Last edited by derSchwamm; Feb 16, 2021 at 10:00 AM.
Have fun , I know it been great for me so far. With the latest update I had to do a mild rewire so I can utilize the launch control and two days ago I had flat shift explained to me that it helps reduce load on the transmission by briefly reducing torque during shifting. I had to add a momentary switch to the clutch pedal to accommodate flat shift. I�m also using a Mac valve (like they use for boost control) to control the aux ports on my build. Currently set for rpm and tps%. Looking forward to see how you do this.
My current plan for 5th/6th ports is essentially to keep the factory system in place but with the solenoid controlled by a DPO on the Haltech. My base map has some provisioning for that already which Chris set up, based on RPM and TPS also. As for the air necessary to actuate them, it's a little awkward and I haven't figured it out. I removed my ACV, so my air pump is only needed to provide some air to these ports which feels like overkill. Given that one of my actuator rods is physically broken, making that system work well is a little lower priority for me at the moment!
I just found your own build thread by the way. Incredible.
That is intense! Running a CO2 bottle like that would work but seems hardly worth doing – it's bulky enough I may as well just keep the air pump and rig something else up. I'm intrigued by the way the RX8s handled it with an electronic solenoid, but the design is different enough that I don't think it would be easy to retrofit. Next time I'm at a junkyard I might try to pick up a solenoid though
Was it a solenoid or a servo? I would think a solenoid our activate to quickly , causing a lean condition. A servo or a stepper motor would have articulate control and open gradually. Please bear in mind I likely don�t understand what I�m saying.
I might be using the wrong language here. The 6 port RX8 basically replaces the vacuum/air pressure actuator with an electric motor and gear that turns the shaft directly. They call it the APV motor (aux port valve?). I'm sure it's possible to fabricate a plate and bolt these on to the lower manifold with the ACV removed, but getting a corresponding gear on the existing S5 aux port rod sounds like a bigger challenge
I wonder if this could be a foundation to work from.
That sort of thing was my initial thought when I started digging, however most of these types of components won't hold up in a hot engine bay. This one is only rated to 50� celcius. I am sure the engine bay gets hotter than that regularly, especially in the Texas summer heat I'll soon be in.
I've done more wiring and mounting work over the past weekend. First up, I got all 4 AEM coils successfully mounted in the car. The two trailing coils are mounted in the original spot, using a custom bracket I crudely fabricated. The two leading coils mount under the two solenoids I'm retaining on the factory vacuum rack. I had to flip the AEM coils around 180� to get them to clear the power steering pump, and that makes the connector on the bottom one close to the tab on the front iron, but it'll fit.
I also mocked up the wiring harness (roughly) using some velcro ties. I started with the wiring running FD-style on the firewall then under the intake manifold, but there is a lot of junk that gets in the way and there isn't much vertical space between the S5 intake and vacuum rack. So I switched back to the GSL-SE routing, just behind the air pump and alternator. The wires to the battery and two of the coils will run over the top of the power steering pump and over to the driver's side strut tower. I'm stewing on this for a couple days before I start cutting and crimping
Update time! The car runs on the Haltech, and after swapping out the throttle body I even got it to idle well. It's perfectly drivable, although I have a lot cleanup to do in the fuel map. I'm thrilled to finally be able to enjoy the car again. I gave it a good wash and got some pictures taken.
Next up I need to figure out how to control the S5 power steering unit and get it aligned, then just keep breaking in the engine. And someday I'll get to the interior...
Also, need to re-paint and considering doing a more extensive renovation, to include an engine re-build. Did you do the re-build yourself?
The struts were originally replaced with Tokico Illumina 5-way adjustable struts before I did all this restoration work. They were good, but stiff for city driving even on a soft setting. I found them dirt cheap on clearance. With the FC subframe swap, I had to get BC Racing coilovers for the front to get the right adjustments since I have an FC subframe. I bought the pair for $630, FC coilovers with FB top plates so they bolted right up. Not cheap but they are great.
The engine rebuild was 10x easier than painting the car. This was my first rotary rebuild and it was easier than I expected. I was meticulous in finding parts that were well in spec and it's running great, and has been for the past year.
Since I last posted in May, I've had a kid and moved to Texas, so not much has happened on the FB. I did want to share my front license plate bracket in case anyone needs inspiration in the future.
I tried to find the OEM Mazda bracket but couldn't and I really wanted an offset plate anyway, so I fabricated a steel bracket that shares the front tow hook bolts. It's 12 gauge steel so it's sturdy, and a little heavy but it definitely isn't going to fall off. A couple hours of measuring, cutting, welding, and painting later it came out well: