When you click on links to various merchants on this site and make a purchase, this can result in this site earning a commission. Affiliate programs and affiliations include, but are not limited to, the eBay Partner Network.
well, today i wanted to fill the tranny and button it up but noticed that there were some leaks. took the time today to drop the tranny, a little hard with only one person but i managed...wondering how i'll get it back in though but i'll worry about that later.
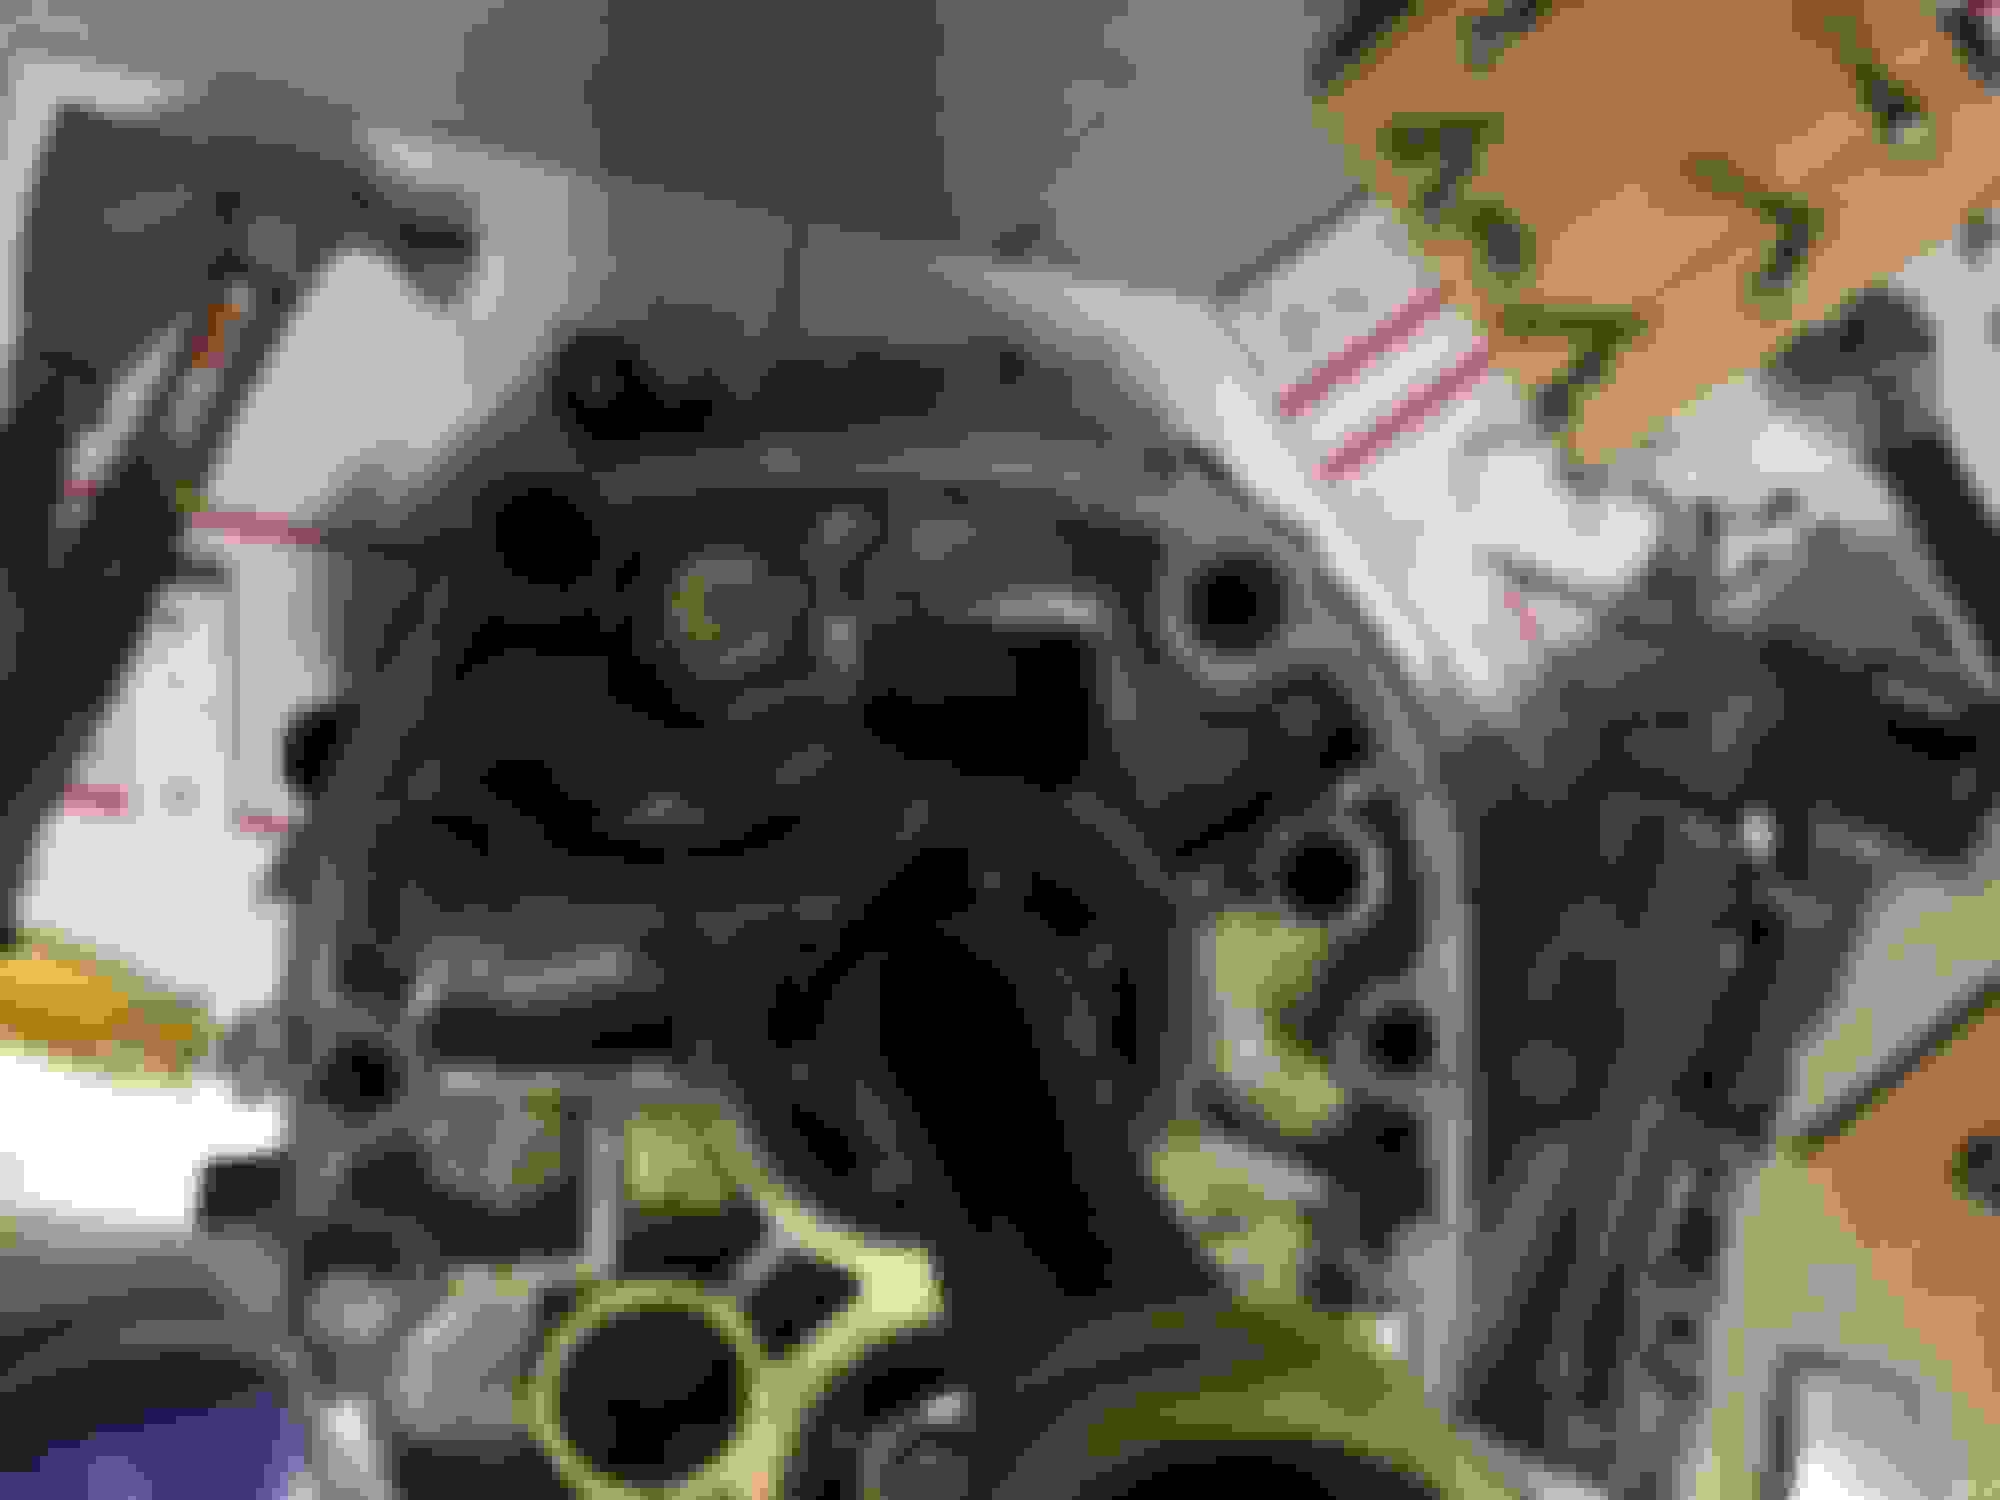
removing the transmission pan, noticed the gasket was some sort of paper material. does anyone know if i can use RTV similar to the engine oil pan? i'm assuming so.
Thanks Kansas, it's actually a TII tranny. Looks like about $20 from dealership. May just buy it instead of using "the right stuff" for the cover (I called it a "pan" before but that's not right).
Took the rear shifter housing off, cleaned it up, and resealed it. I believe I figured out where the leak was coming from. 2 of the bolts on the bottom go all the way through the tranny and oil was seeping through one of them...also noticed that these 2 bolts had some sort of green thread lock. Cleaned the bolts and applied some "right stuff" on the threads...hopefully will resolve that leak.
Ordered a new tranny cover gasket from the dealer so am just waiting on that. But I went ahead and installed the tranny back in. Built a platform that bolts up to my jack to help support the tranny, instead of trying to balance it on the 4" pad. Hardest part was lifting the tranny onto the platform while under the car...I did not jack up the car too high for fear my jack would not be able to lift it that high. A few 4x6's and 2x4's helped to lift the bell housing end. Luckily I got things lined up pretty well and it slid right in. Need to install the shifter and put it in neutral so I can spin the driveshaft and bolt it in.
No pics other than a single one of the platform I built.
got the tranny cover gasket and was planning on installing it today but found that the tranny now leaks from the plate before the tail housing section. I posted a question on the 2nd gen forum to see if I can reseal that part myself, not sure if I need any special tools, etc. if anyone knows, please let me know.
Forgot to mention, it only took me an hour to drop the tranny this time.
Last edited by craaaazzy; Jan 14, 2017 at 08:31 PM.
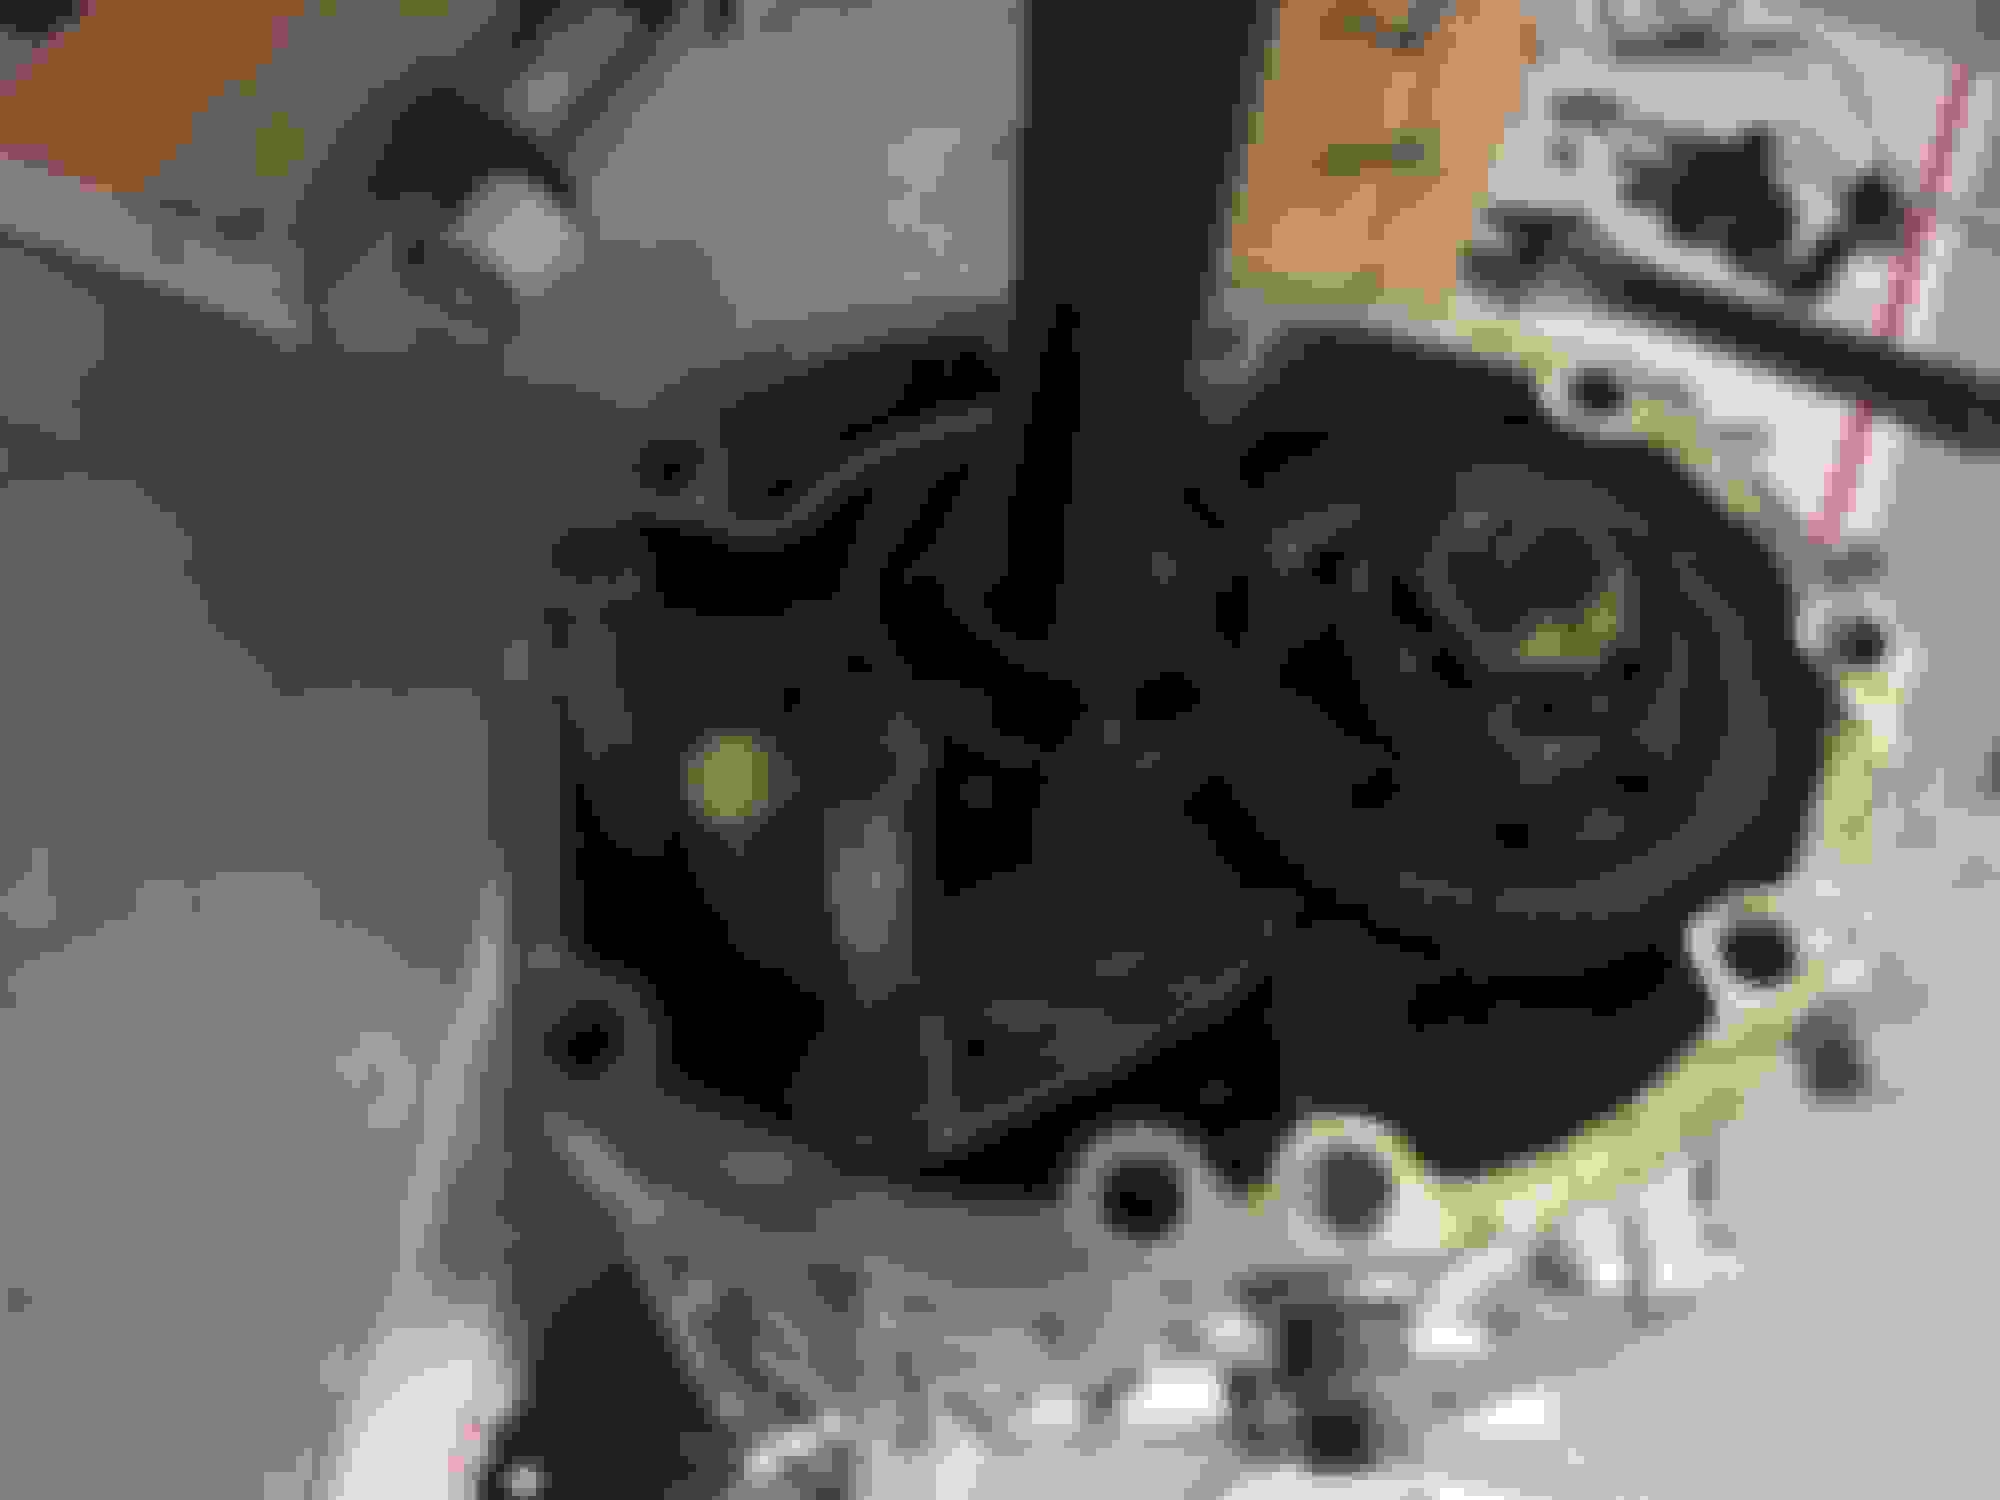
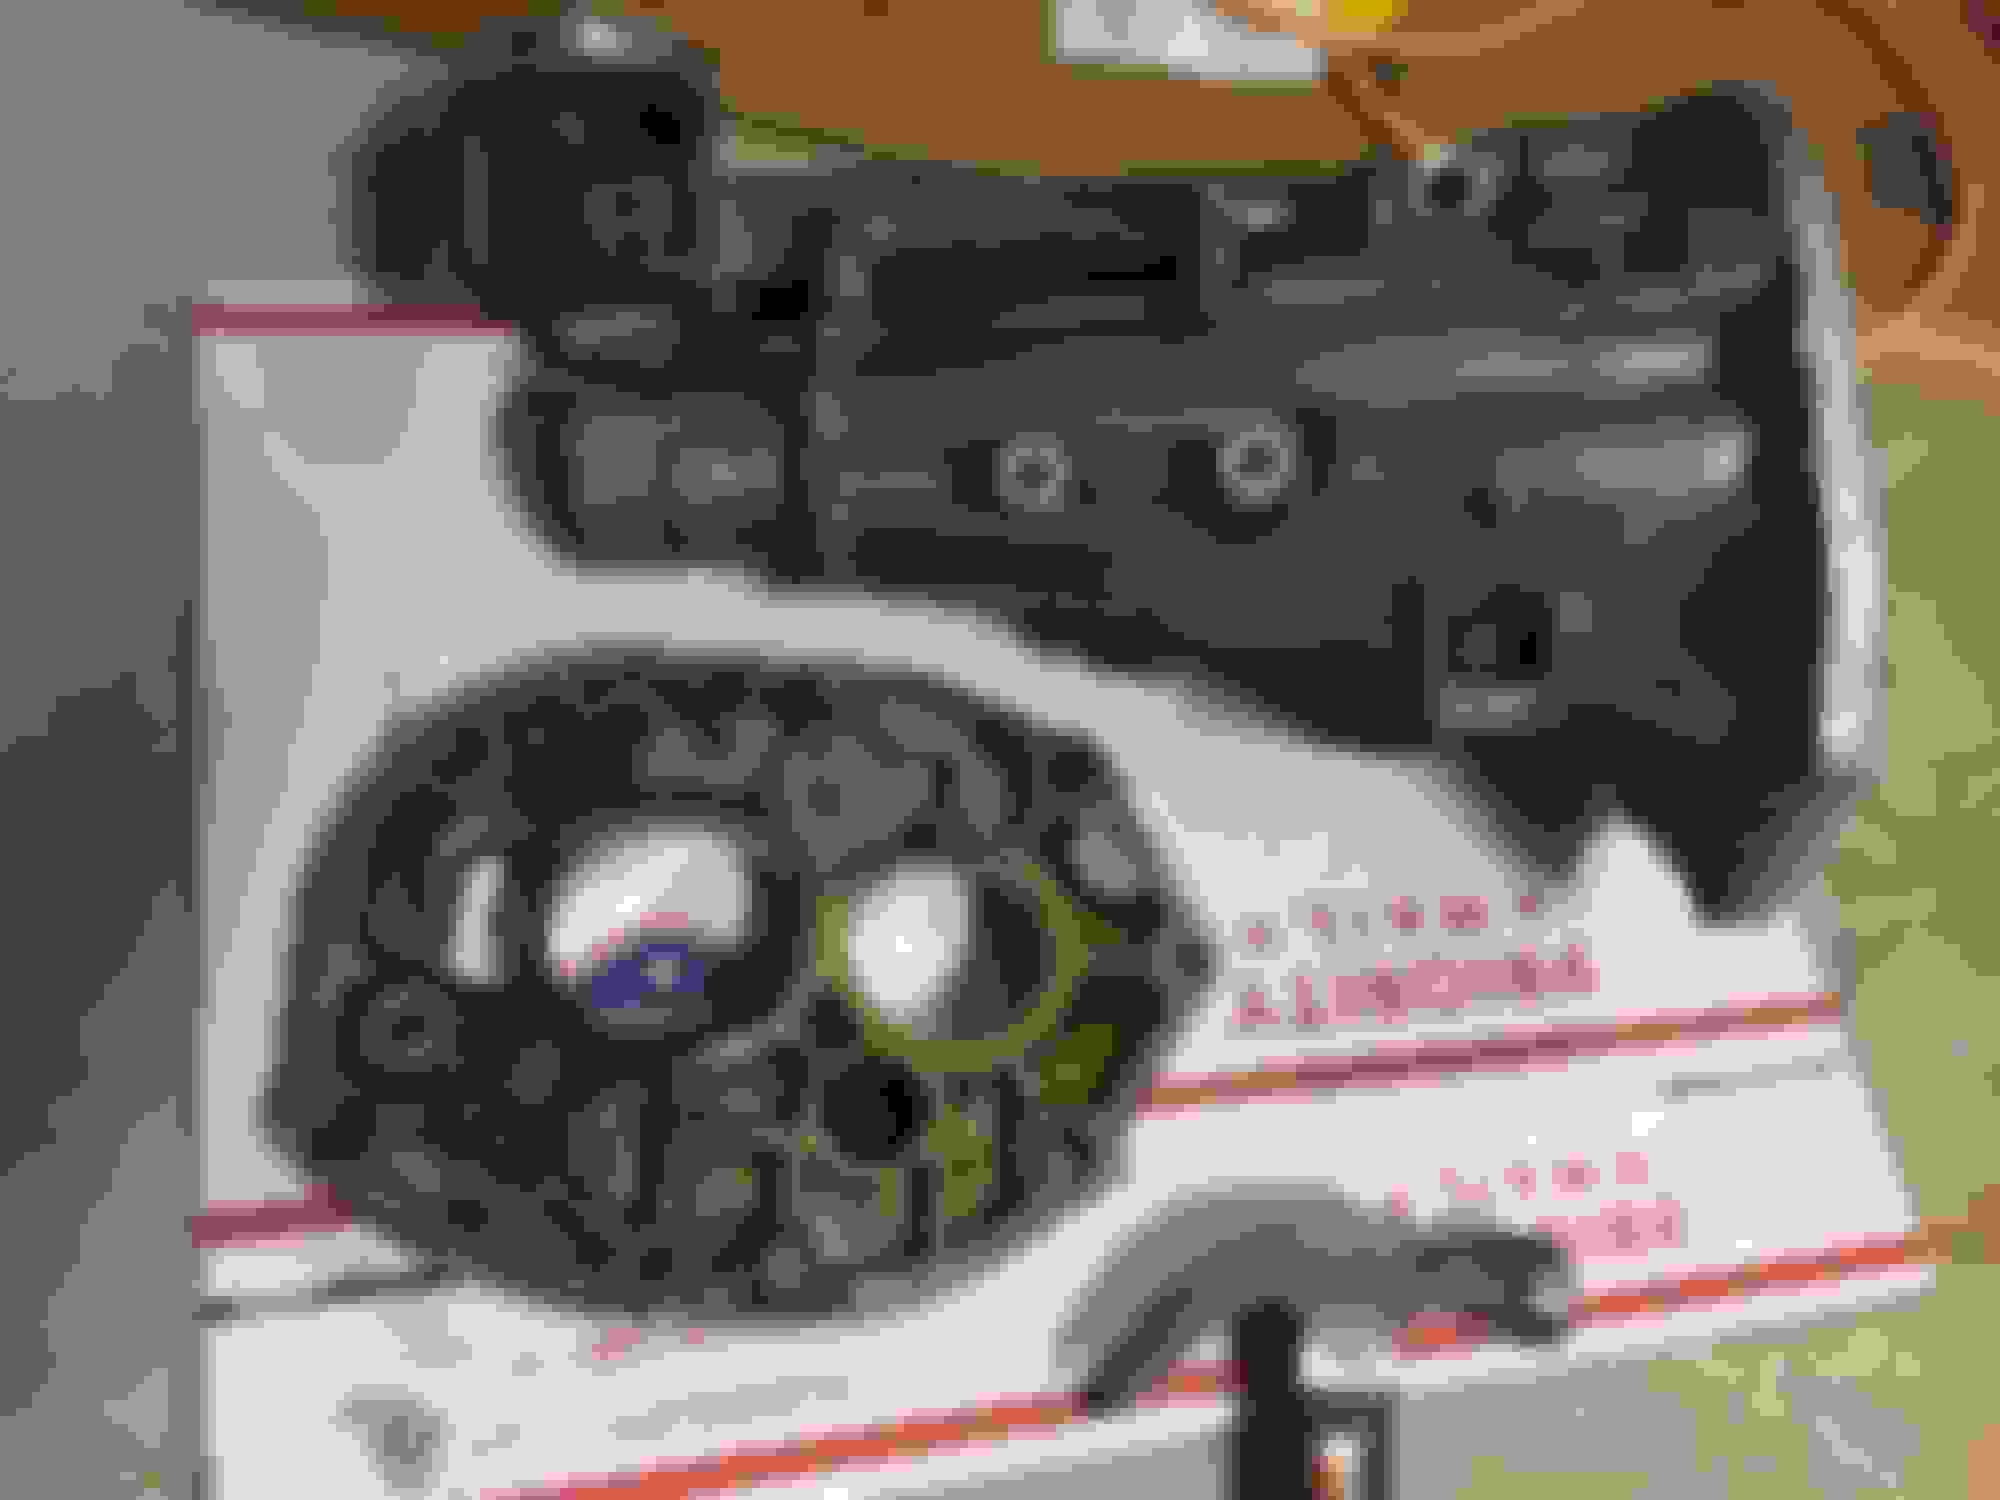
Removed the shifter housing once again...third times the charm I hope. "Right stuff" definitely makes it harder to remove things. Then removed the 3 shift rod ends and popped the bearing housing off. Need to clean everything up now and figure out what kind of RTVto use. I can't use "right stuff" unfortunately cause it cures too fast (your supposed to have it torqued down within a minute I believe). Need time to install the shifter rods as well as the shifter housing...I need at least 10 minutes to make sure I install everything properly. If anyone has any recommendation on the kind of RTV to use, please share.
Sensor and shifter cover to be removed. Pin holding shifter block needs to be removed (no pic)
Pic of orientation of shift rod ends while in neutral
Sooo, I'm thinking of cracking open my transmission and resealing the housings and replacing the gaskets cause it leaked a lot when I changed out the fluids and drove my project around the neighborhood a few times before tearing it apart. I got a rough quote of $550 from a local transmission guy that works from his home to go through it and reseal everything. I thought maybe I could try it, but this looks scary. Maybe I ought to go with the expert.
But for your project, I think they used a silicone sealant between the casing sections? Seems like I remember seeing that somewhere but I don't recall that it had a quick dry time like some RTV products have...
yeah, stock (assuming the tranny has never been opened before) had rtv on it as it was dry and pliable (not sticky like anaerobic sealant where it does not cure when air is present). i got some ultra black rtv by permatex so will be trying that as it's cure time is a day (but needs to be assembled within an hour or so).
for $500, i would attempt it myself first if it's only the rear portion. it's not hard to do the rear shifter housing (no idea on the bellhousing side though...maybe front seal?)
well I started on the old thread and migrated to this one after "meeting" Fred and being directed to this new build thread. All I can say at this point is "very tasty" build!!! I like it.youve been working this one for four years. Outstanding patience and perseverance.
Thanks, time and resources are the biggest factors here, not lack of motivation. Wish I could simply put life to the side and finish but other obligations are always going to be a priority over the car hobby.
Thanks, time and resources are the biggest factors here, not lack of motivation. Wish I could simply put life to the side and finish but other obligations are always going to be a priority over the car hobby.
i finally read the whole thread... wow
in one of your posts about the side skirts/ rockers you mention " took ten minutes from lunchtime and ..." when you cut the cardboard to get the brain juices going. Those little sessions add up. Those are the difference makers in a long build with a job, family.. other responsibilities. Applaud the effort. When it's done you'll enjoy just sitting in a folding chair and staring at it for hours. Cool man.. real cool.
I haven't pulled up a chair yet in the garage but I do look at the car every time I go to the garage, does that count?
I sealed up the housings today so nearly ready to go back in the car.
Tranny is back in the car. Just need to fill it with oil...hopefully no more leaks. Will try to get that done this week and move on with other things remaining. No pics as there was nothing exciting under the car except for a few cob webs.
Lol, if I that much free time to just stare at it, the car would have been done by now.
I did get the chance to fill the tranny today. Let's hope I see no oil in the next few days on the cardboard I placed under it.
Am also relocating my catch can. Instead of the passenger side firewall (wiring harness is in the way and would require me to make a bracket to clear it), I'm going to mount it directly under the oil filler neck (where the power steering pump or maybe the A/C stuff used to be?). Need to get another 90* fitting to make it work.
since installing the tranny and filling it with fluid, i have yet to see any oil! hurray!
catch can installed, just need to install the hose. hard to get a pic of it but here's the best i could do:
bringing my list back up as well:
-install hood and check for clearance against intercooler piping
-bleed clutch
-bleed brakes
-install front seat
-WIRING <-this is the scary one (PFC, alternator, fans, fuel pump, MAP sensor, etc)
-tune PFC
-fabricate intake box/panel (optional)
-fabricate brake master cylinder brace (optional)
-boost gauge (optional)
Last edited by craaaazzy; Feb 22, 2017 at 11:42 AM.
In my research about 2nd gen coil/igniter, found out that they are grounded by their mounting to the chassis so I had to sand down my bracket to bare metal (at mounting points) and reinstall.
started building the wiring harness for the coils/igniters. i only have black wire on hand so needed to somehow distinguish one from the other so this is how i did it. will solder the connectors on later on.
started building the wiring harness for the coils/igniters. i only have black wire on hand so needed to somehow distinguish one from the other so this is how i did it. will solder the connectors on later on.
too late now but perhaps you could have used "shrink tubing"..? I'm sure your aware of it. You slide it on large and put a hot blow gun to it. Shrinks up real tight and looks cool. Comes in colors.
too late now but perhaps you could have used "shrink tubing"..? I'm sure your aware of it. You slide it on large and put a hot blow gun to it. Shrinks up real tight and looks cool. Comes in colors.
Am familiar with it but only using it where I am soldering the connections. The wiring i'm doing now is temporary as I would want to remove anything not needed once I get the car up and running (of course this may be a few years from now though as I'm already not liking messing with the wiring). Thanks for the suggestion though.
i really should have used friction tape cause electrical tape (which is what i used) will get messy and sticky. will change that once i decide to redo the wiring.