When you click on links to various merchants on this site and make a purchase, this can result in this site earning a commission. Affiliate programs and affiliations include, but are not limited to, the eBay Partner Network.
etch primed and painted the brackets. here's pics of them outside the car so you can see how i did it. they mount to the stock GSL-SE oil cooler bracket if you haven't noticed.
add foam insulation pieces and mounted everything back into the car. i may need to get a little thicker foam for between the radiator and intercooler section but everything else is good.
next is to get some aluminum panels to make some ducting, well not really ducts but panels to not let the air escape out the sides.
no progress so no update to the car. was busy selling my 2001 BMW 525it 5speed wagon so i could pick up my new daily driver...a 2015 4runner.
need to order some parts that would include AN lines and fittings for the REW oil cooler which I'll be using, some exhaust parts cause i want to redo the exhaust as it's too close to the underbody for my liking, and aluminum panels so i can make ducts for the vmount (will get this locally). still need to look at how i'll be mounting the bosch 044 pump, not sure if it'll fit in the stock fuel pump location...may need to get creative here.
Awesome car. I'm building my first RX from a stripped bare shell, and can now really appreciate how much work went into this.
How did you mount your seats, specifically the passenger side one? I am having trouble mounting Mitsubishi Evo VIII seats that look similar in dimension to your (sparcos?)
Awesome car. I'm building my first RX from a stripped bare shell, and can now really appreciate how much work went into this.
How did you mount your seats, specifically the passenger side one? I am having trouble mounting Mitsubishi Evo VIII seats that look similar in dimension to your (sparcos?)
i made brackets that would bolt onto the stock seat rails and then they bolt onto the seats.
There's some really awesome fabrication work going on here. I didn't really have any way of appreciating that kind of work until I tried it, and Craaaazzy makes it look easy - but it's not!
so i decided to redo my exhaust cause i didn't like the way it had turned out the first time. 2 issues i had. first, it was too close to the body. second, i didn't like the mating flanges that i used to connect the rear most part of the exhaust system (say muffler to the midpipe area). i am now using a slip connector to join them together. came out much better. i will tell u i don't want to do another exhaust again. cutting those angles was a pain in the butt. thought it was going to be pretty quick but ended up taking at least 3 days to do that (spread over months of course) but i am finally satisfied with how it came out. now i can start working on the other things i need to do to get it running.
Between Erick, you, and I, we have three completely different approaches for our V-Mounts. You guys are slightly ahead of me, but I'll have some BIG updates soon.
Between Erick, you, and I, we have three completely different approaches for our V-Mounts. You guys are slightly ahead of me, but I'll have some BIG updates soon. -Ryan
I've read your thread but didn't see any pictures of the vmount...maybe something ur currently working on? Ur car is coming along nicely...lots and lots of work has gone into it!
I've read your thread but didn't see any pictures of the vmount...maybe something ur currently working on? Ur car is coming along nicely...lots and lots of work has gone into it!
It's been mocked up without any mounting hardware, but I'm focusing on dialing the chassis and rear end designs first, then moving to the front afterwards. Fuel system, then electrical harnesses, interior/sound deadening/amplifier/battery relocation, and final assembly.
Just finished stripping down the Toyota 8" axle housing and reworking the 300M (4340) axles for 5x114.3 lug pattern and rear Turbo II brakes today. Sneaking the biggest brakes under 15" wheels as I can.
Bought a sheet of aluminum the other day and started making the ducting for the vmount. Still needs to be attached but there will be 4 panels which will facilitate installing and removing when necessary. Not sure if the pic will look good here but will attach any way.
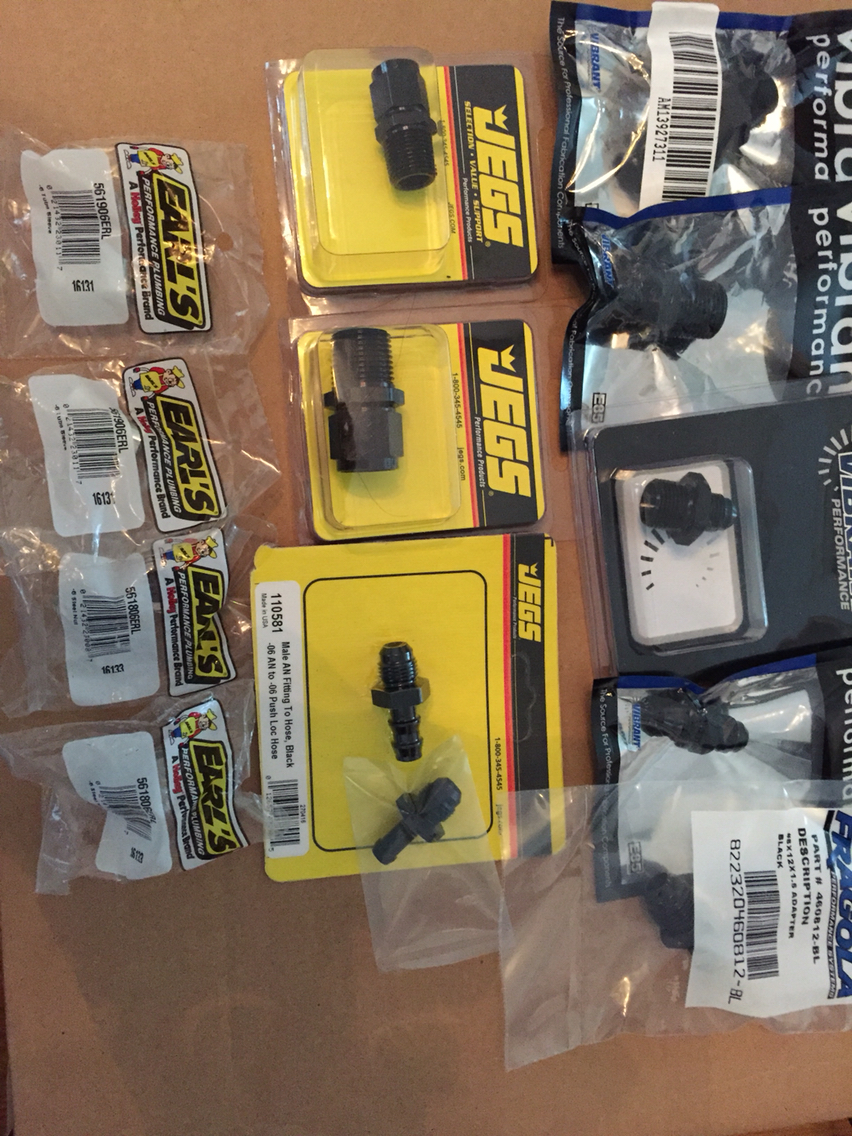
Also dropped the gas tank in anticipation of redoing the fuel system. Tank had some rust flakes swimming around inside but inside walls were rust free. Will be vacuuming that out and trying to see what can be used as a strainer on the pick up tube since the oe strainer is NLA? If anyone has any idea on what to use, please let me know as my post on the 1st gen section has gotten no replies yet. Fuel system parts have been ordered which include 3/8" steel lines that I'll use to make new feed and returns, a bunch of an fittings, and a larger 10 micron filter.
Also will be deleting the fuel pulsation damper as I've read those will go bad, and add a 3/8" barb to primary rail.
Intercooler piping on order as well. Will be really short the way I have it set up with the vmount.
Silicone coolant hoses have arrived so need to install those as well.
Overall, am getting closer and closer but still need to wire it all up before i can even crank it...this is the scary part for me so we'll see how it goes when I get there.
Didn't get as much done today as I had wanted because I had to make several trips to the big box stores, hardware stores, auto parts stores for different things I needed. Some stores didn't have the fittings I wanted, fuel hoses not in stock, wrong size hose bought, needed a 90degree fitting instead of a straight fitting, etc. I did finally get the primary fuel rail back in. Luckily I decided to do the pulsation damper delete cause I noticed both fuel diffusers were pretty much non existent. The angled piece was broken off, not sure if on purpose or not (engine was a rebuild from rx7store) so out in ones from my spare engine. Also the injector grommet was ripped so special ordered new ones and got them in. I played around with the fuel pressure regulator because I wanted to try to get the gauge pointing towards the passenger side but unfortunately there was clearance issues so had to uninstall it again and put it back to what it was before. I probably tried that when I got the FFE step up kit but it's been so long ago that I forgot...another problem with taking so long on this build is that I forget where I put parts so I have to search up and down, and look in different boxes for what I want. Intake is now back on.
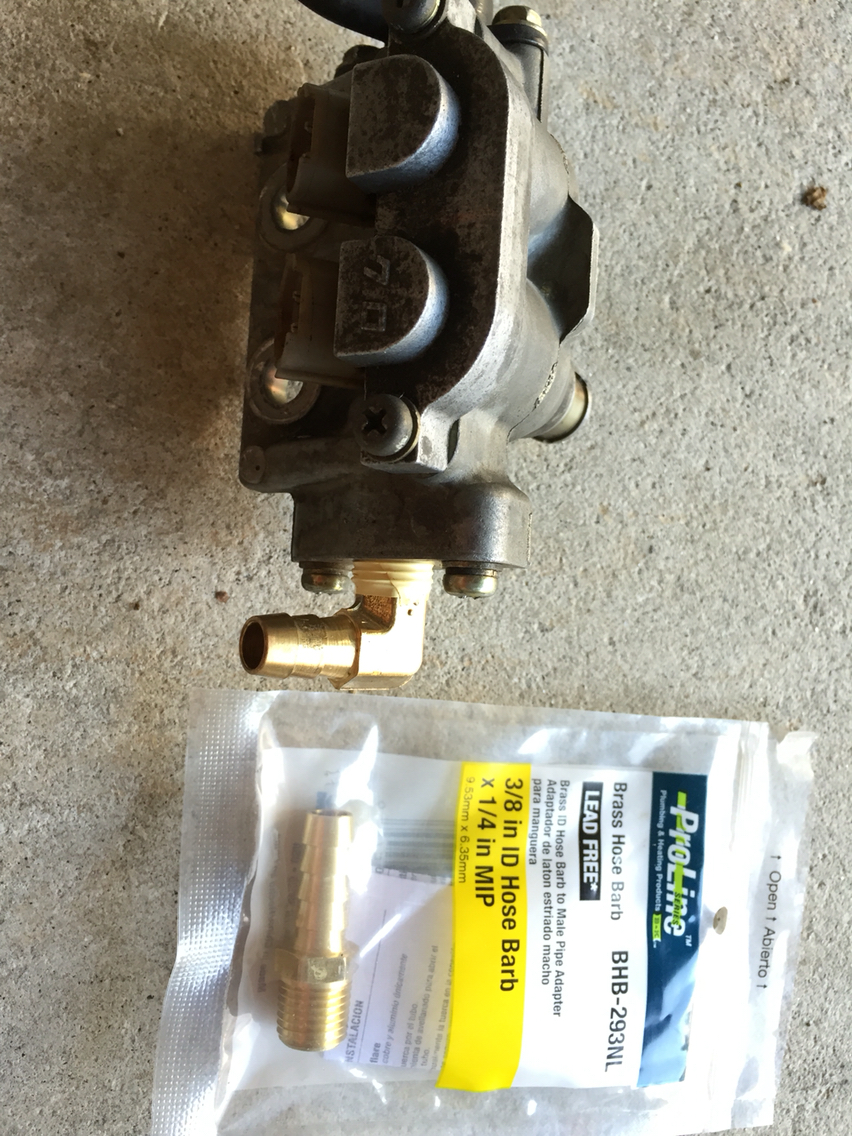
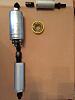
Here's the modified primary. I attempted to use a straight fitting initially but that would cause the hose to hit the wiring harness so had to swap to a 90degree fitting. I used 3/8" barb to 1/4" MIP.
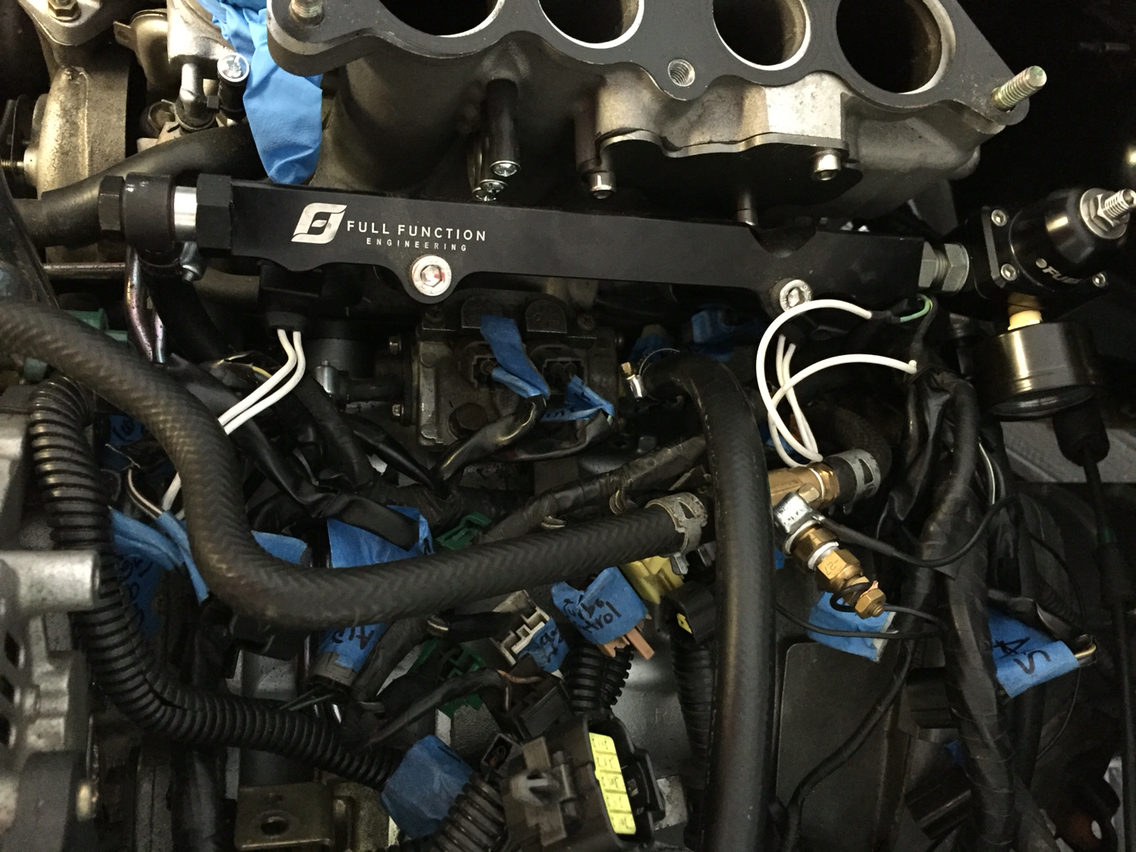
Here's it is installed. Excuse the wiring. I will tackle that after the engine is running so I know I wouldn't need any of these plugs. Same goes for all the wiring in the car at them moment.
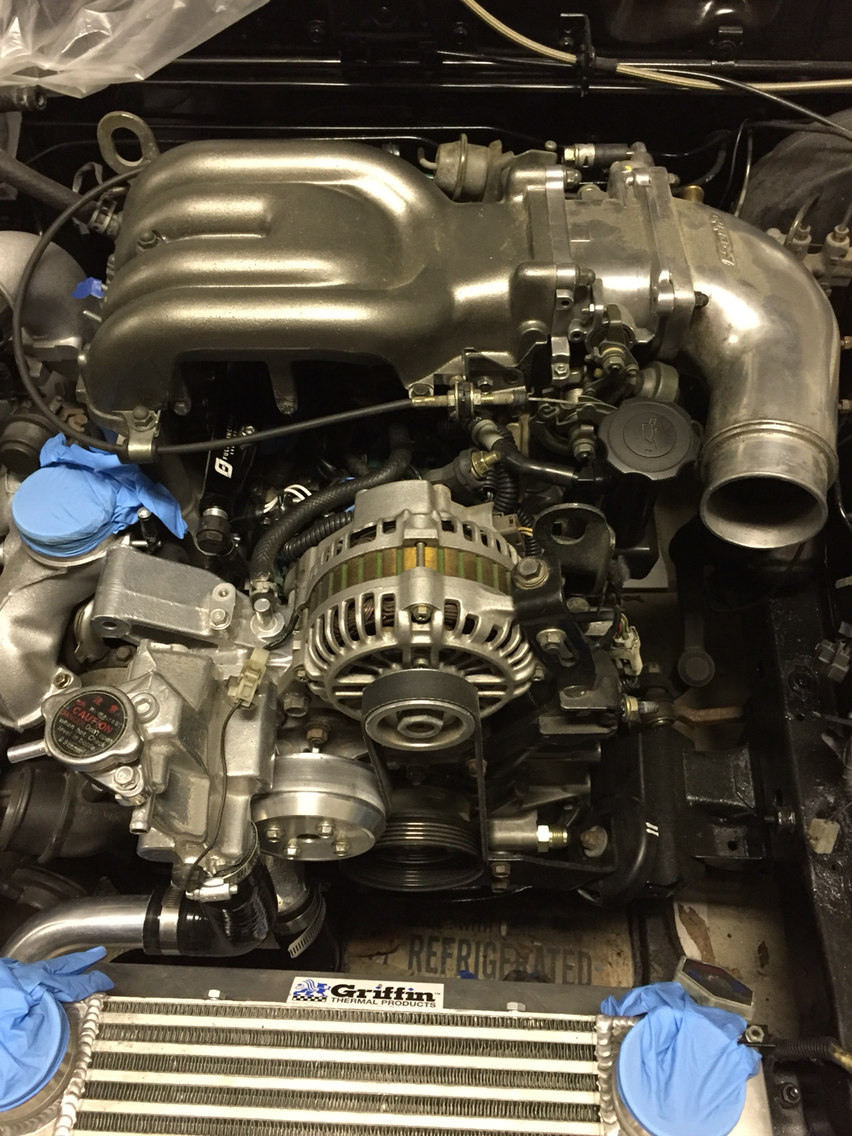
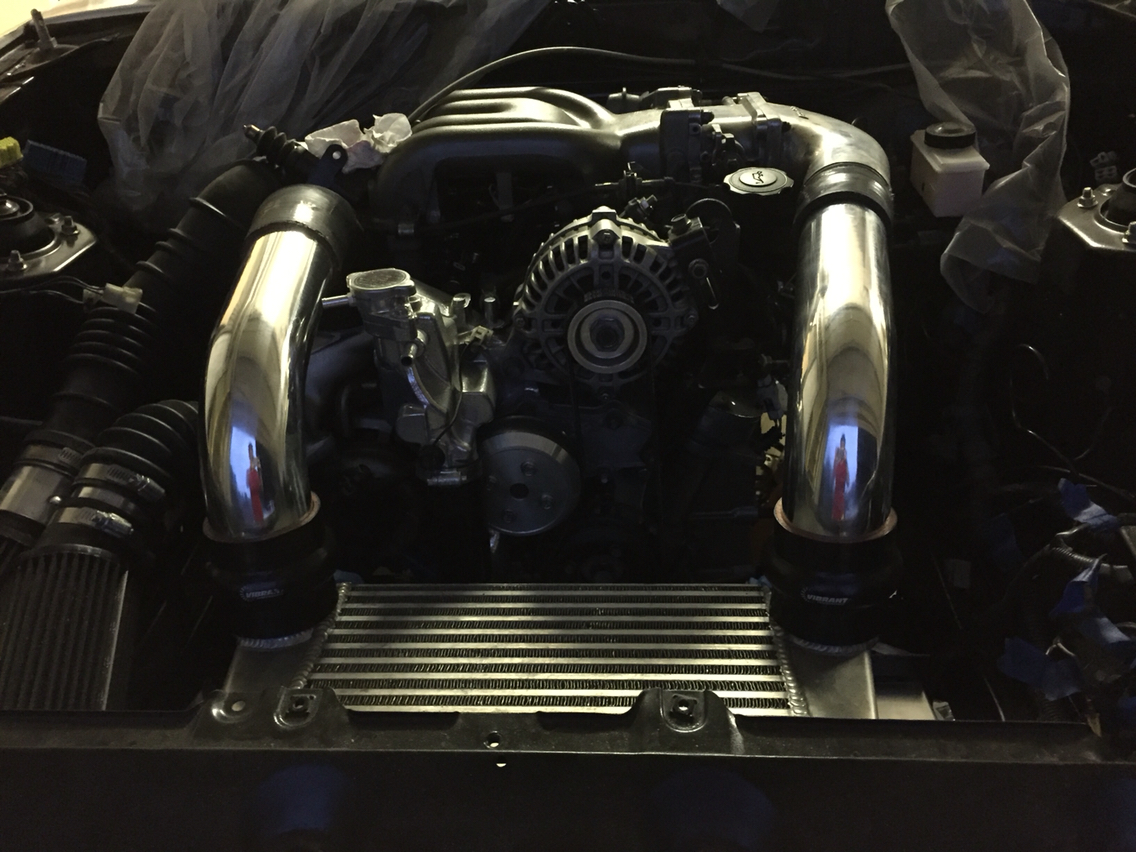
With intake back on.
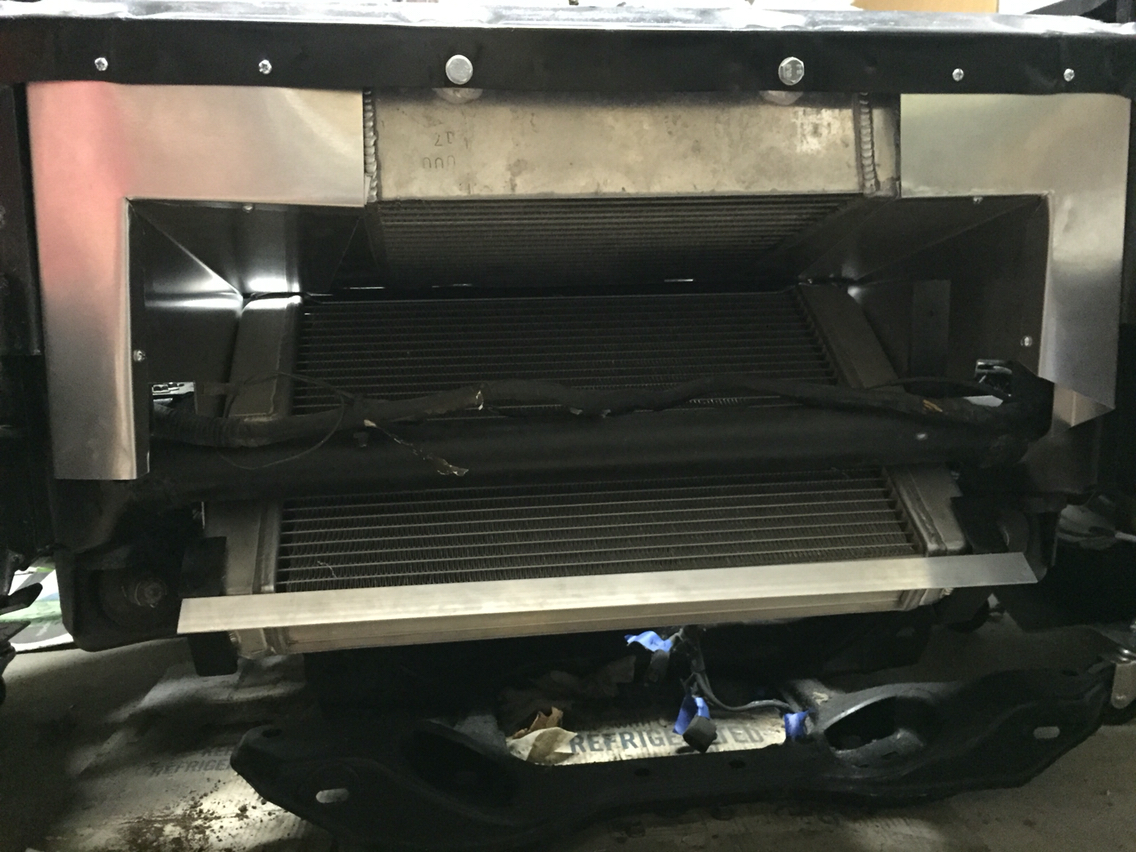
Also finished the ducting.
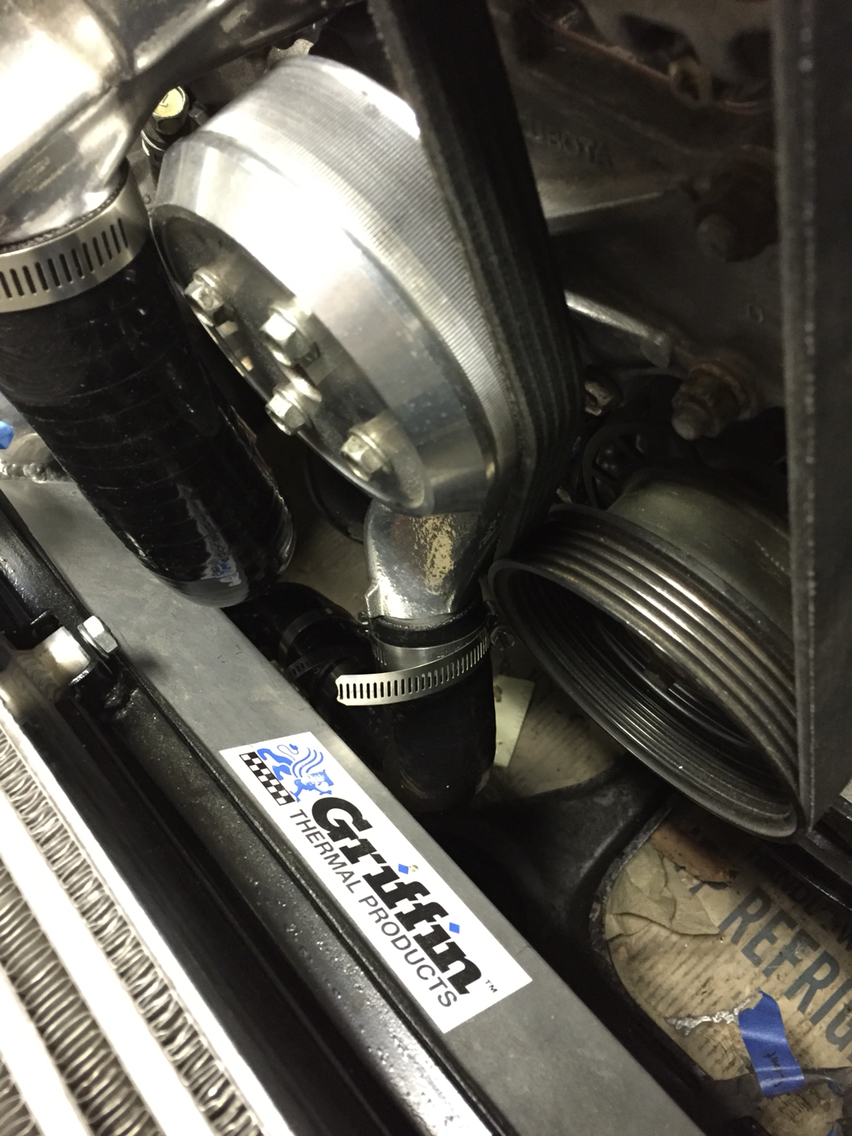
Coolant hoses attached. Here you can see how tight it is between the water pump pulley and hose. I can't even fit a poster board sheet in between but there is no rubbing.
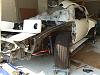
Today I cleaned up the garage a bit and turned the car around so the front faces toward the outside. I'm glad I bought those skates from harbor freight as they work wonderfully.
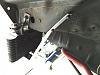
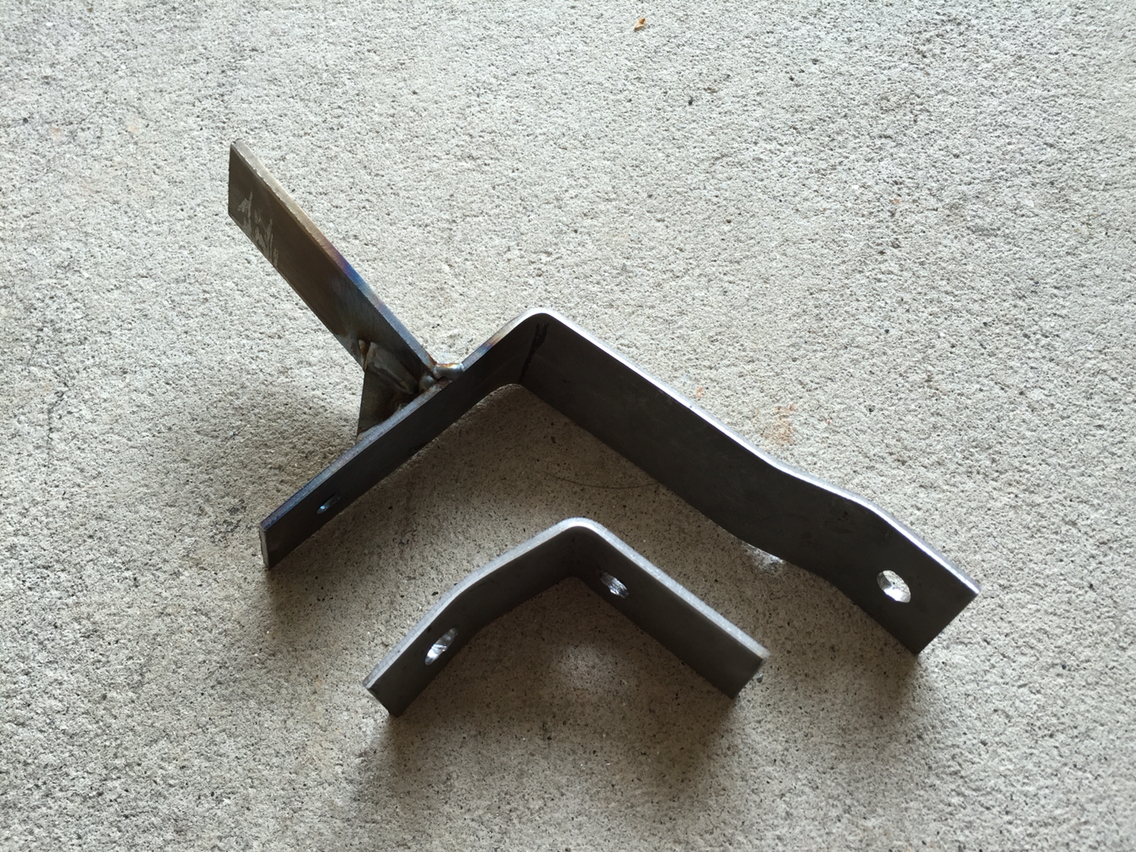
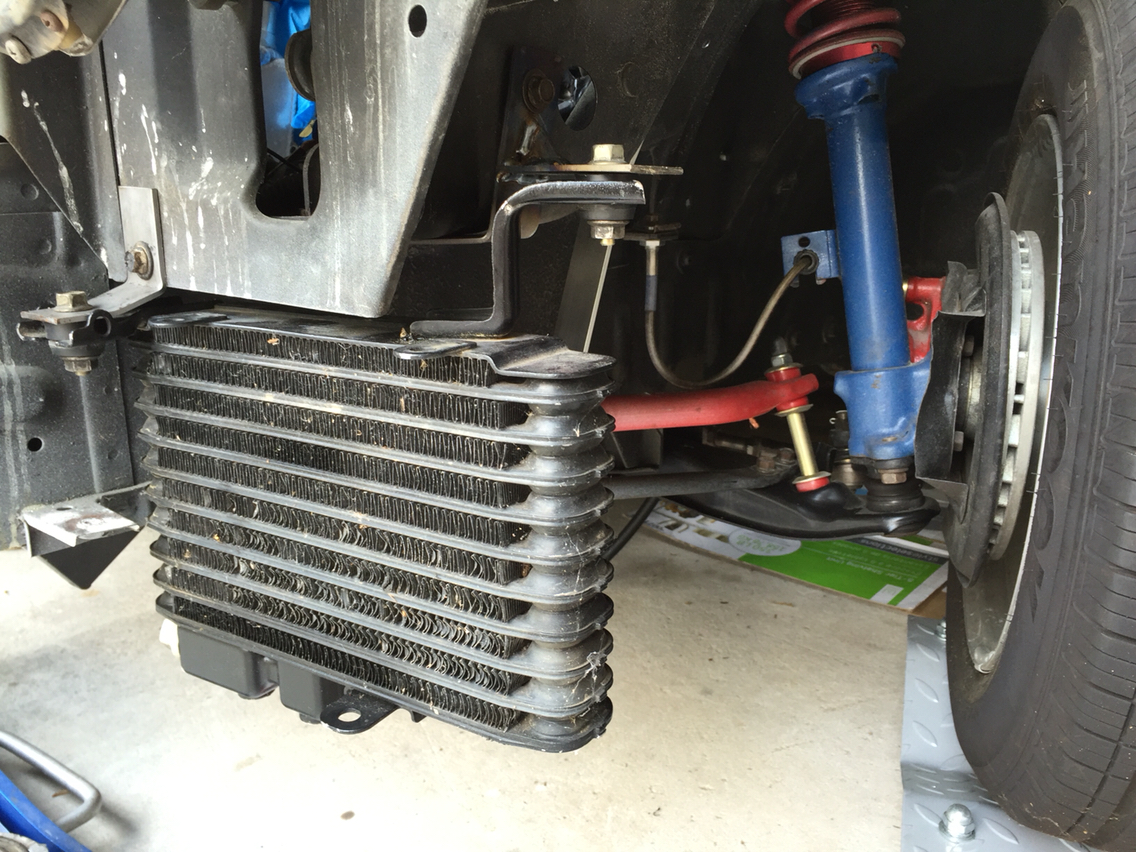
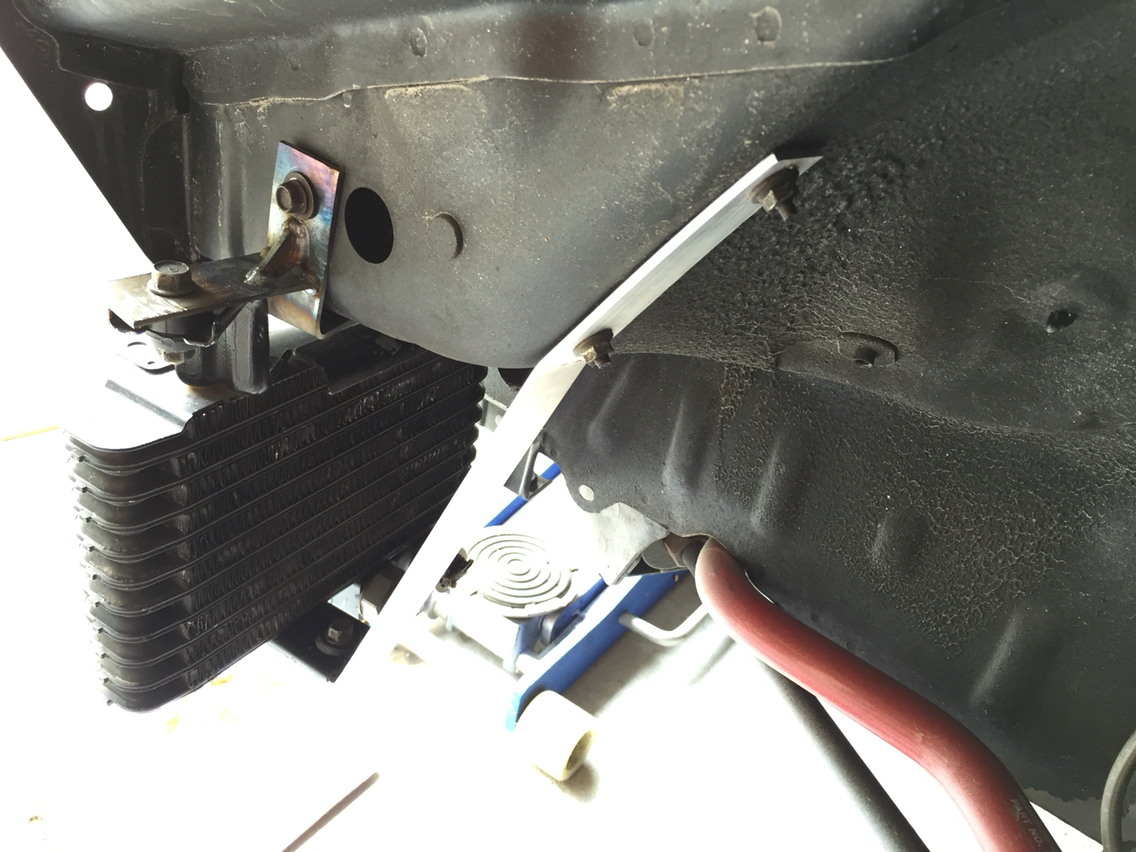
Fabricated mounts for the oil cooler. Am using the REW cooler and installing it on the drivers side. Here are 2 of the 3 brackets. These are steel which support the weight of the cooler while the 3rd, I used a piece of aluminum as it is only used to keep the cooler from swaying. Will need to measure and have AN lines custom made.
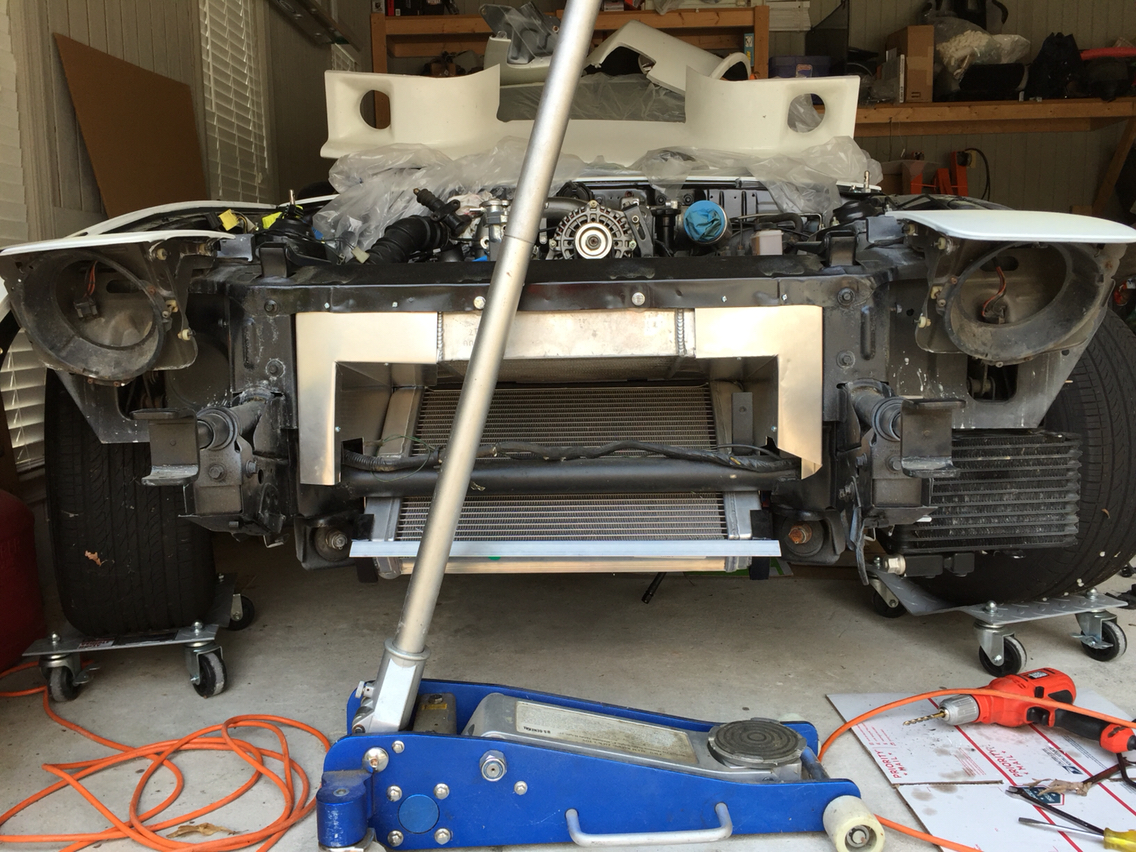
Here's the front. Am planning on fabricating some sort of ducting on the passenger side to allow fresh air to go to the intake. But that's later I think...
I've been thinking about getting those skates. They look pretty slick. I also need to clean out my garage. I have an entire winter's worth of CRAP in there. Love the progress you're making. Keep going!
I've been thinking about getting those skates. They look pretty slick. I also need to clean out my garage. I have an entire winter's worth of CRAP in there. Love the progress you're making. Keep going!
They are awesome. When I got them, I made sure to pack the bearings with grease before putting them on as it had none when I got them from the store.
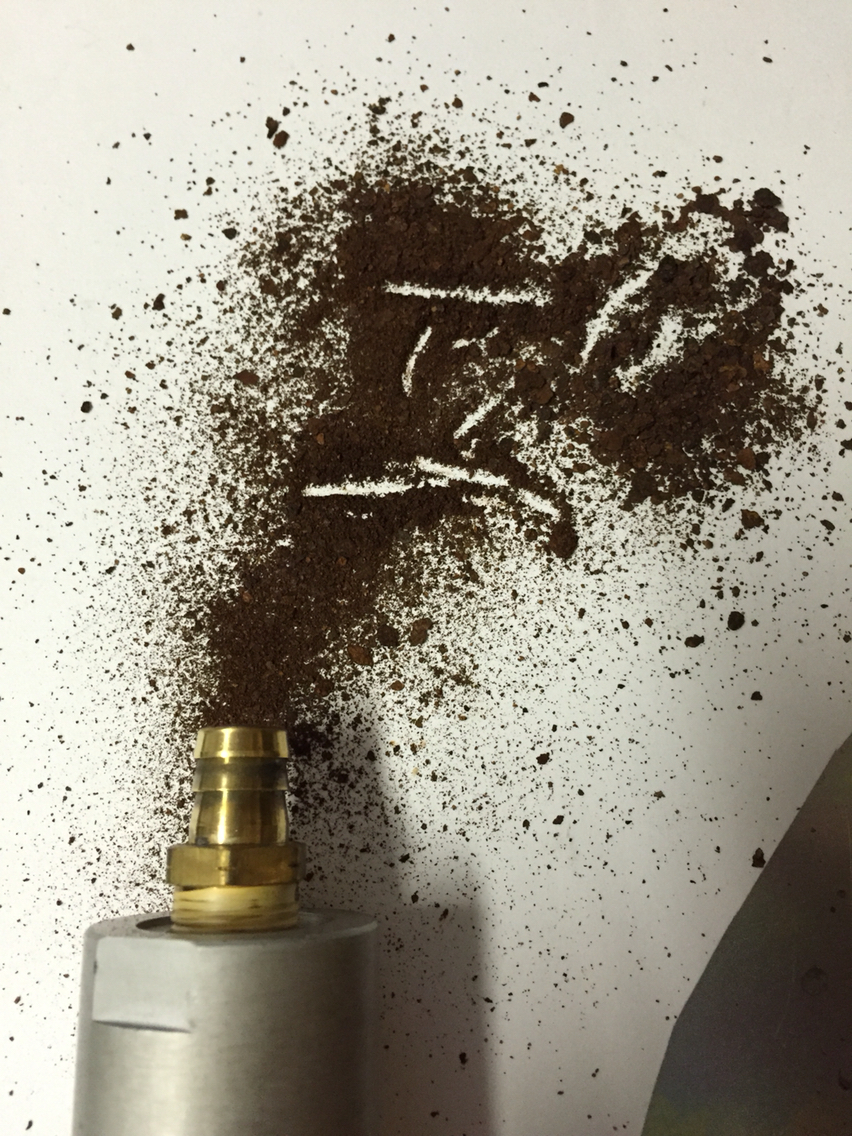
Last night I removed the fuel pump and my 3" pre-pump fuel filter. This morning, before work, I wanted to figure out how to mount everything and when I was holding the filter, this started coming out...maybe this is why my pump failed at DGRR 3 years ago! I'm sure the stock fuel filter was also clogged up with this crap from the tank.
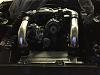
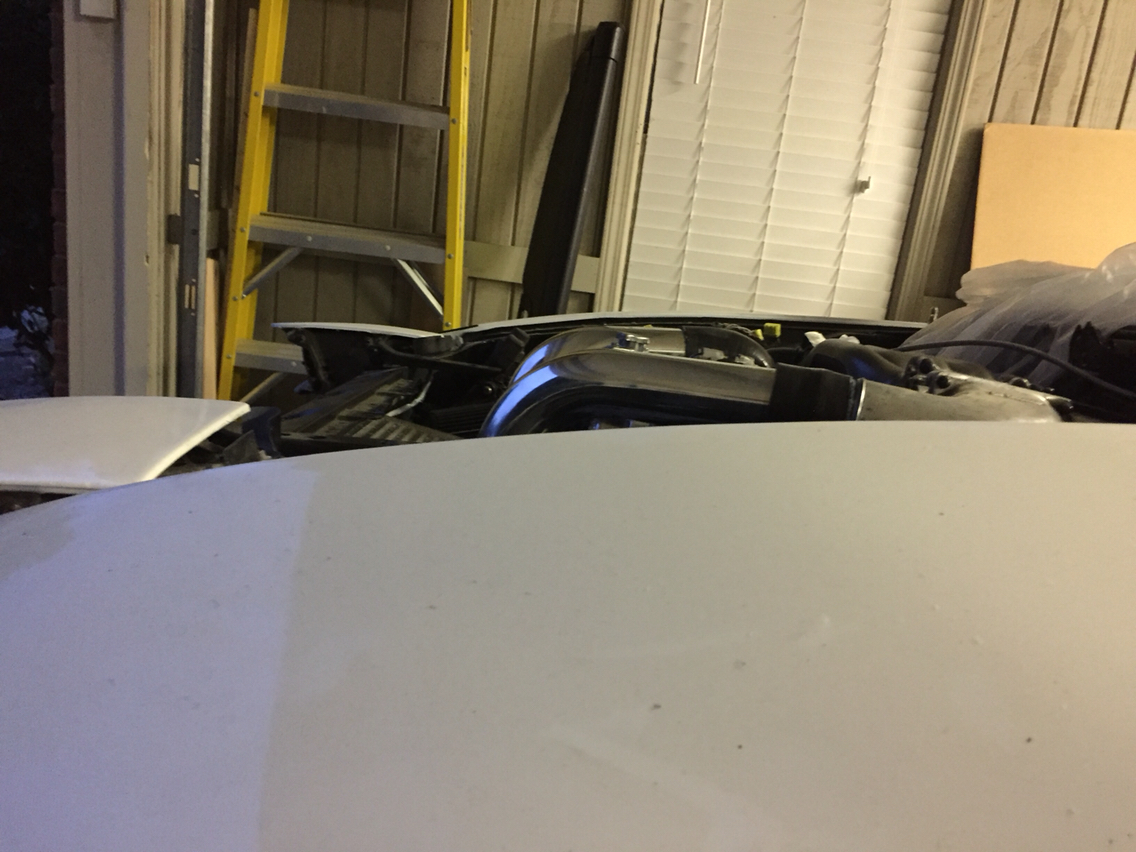
My 2 intercooler pipes arrived today so I cut them to length. I hope I don't have any clearance issues with the hood...if I do, I may have just a little bit more cutting but not much left to comfortably secure them on the couplings.
Stock feed and return lines have been removed from the car. Need to buy some metal in order to make a mounting panel for my filters and fuel pump. Hopefully tomorrow I have some time to pick some up.
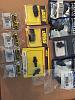
Here's now the pre-pump filter, fuel pump, and post pump filter will be connected(missing the 90 degree -6 male/female adapter).
Did go and buy a sheet of aluminum I'll use for mounting them. was looking for steel since I can weld wit but I'll figure how to make it work with aluminum since the metal store had a minimum requirement for a custom cut and the piece I bough was from their drop inventory (precut that they sell buy weight so it's much cheaper, probably from incorrect measurements, scrap from larger cuts, etc).
 08-20-15, 12:58 PM