
Austin's FB TII Swap - Details and Pics Aplenty

Thread Starter
Joined: Aug 2011
Posts: 3,078
Likes: 42
From: Cambridge, Minnesota
One thing that I don't think is mentioned often about the FC in tank mod is that the S4 pump hanger is preferable since it's the correct height. S5's have larger tanks and the pump hanger is a bit too tall. It can be made to work without much hassle, but the S4 is easier if you can find one.
The mounting ring and baffle can be cut out of any FC tank, that is all the same.
The mounting ring and baffle can be cut out of any FC tank, that is all the same.
Here's my answer - s2000 pinion gear fb gslse
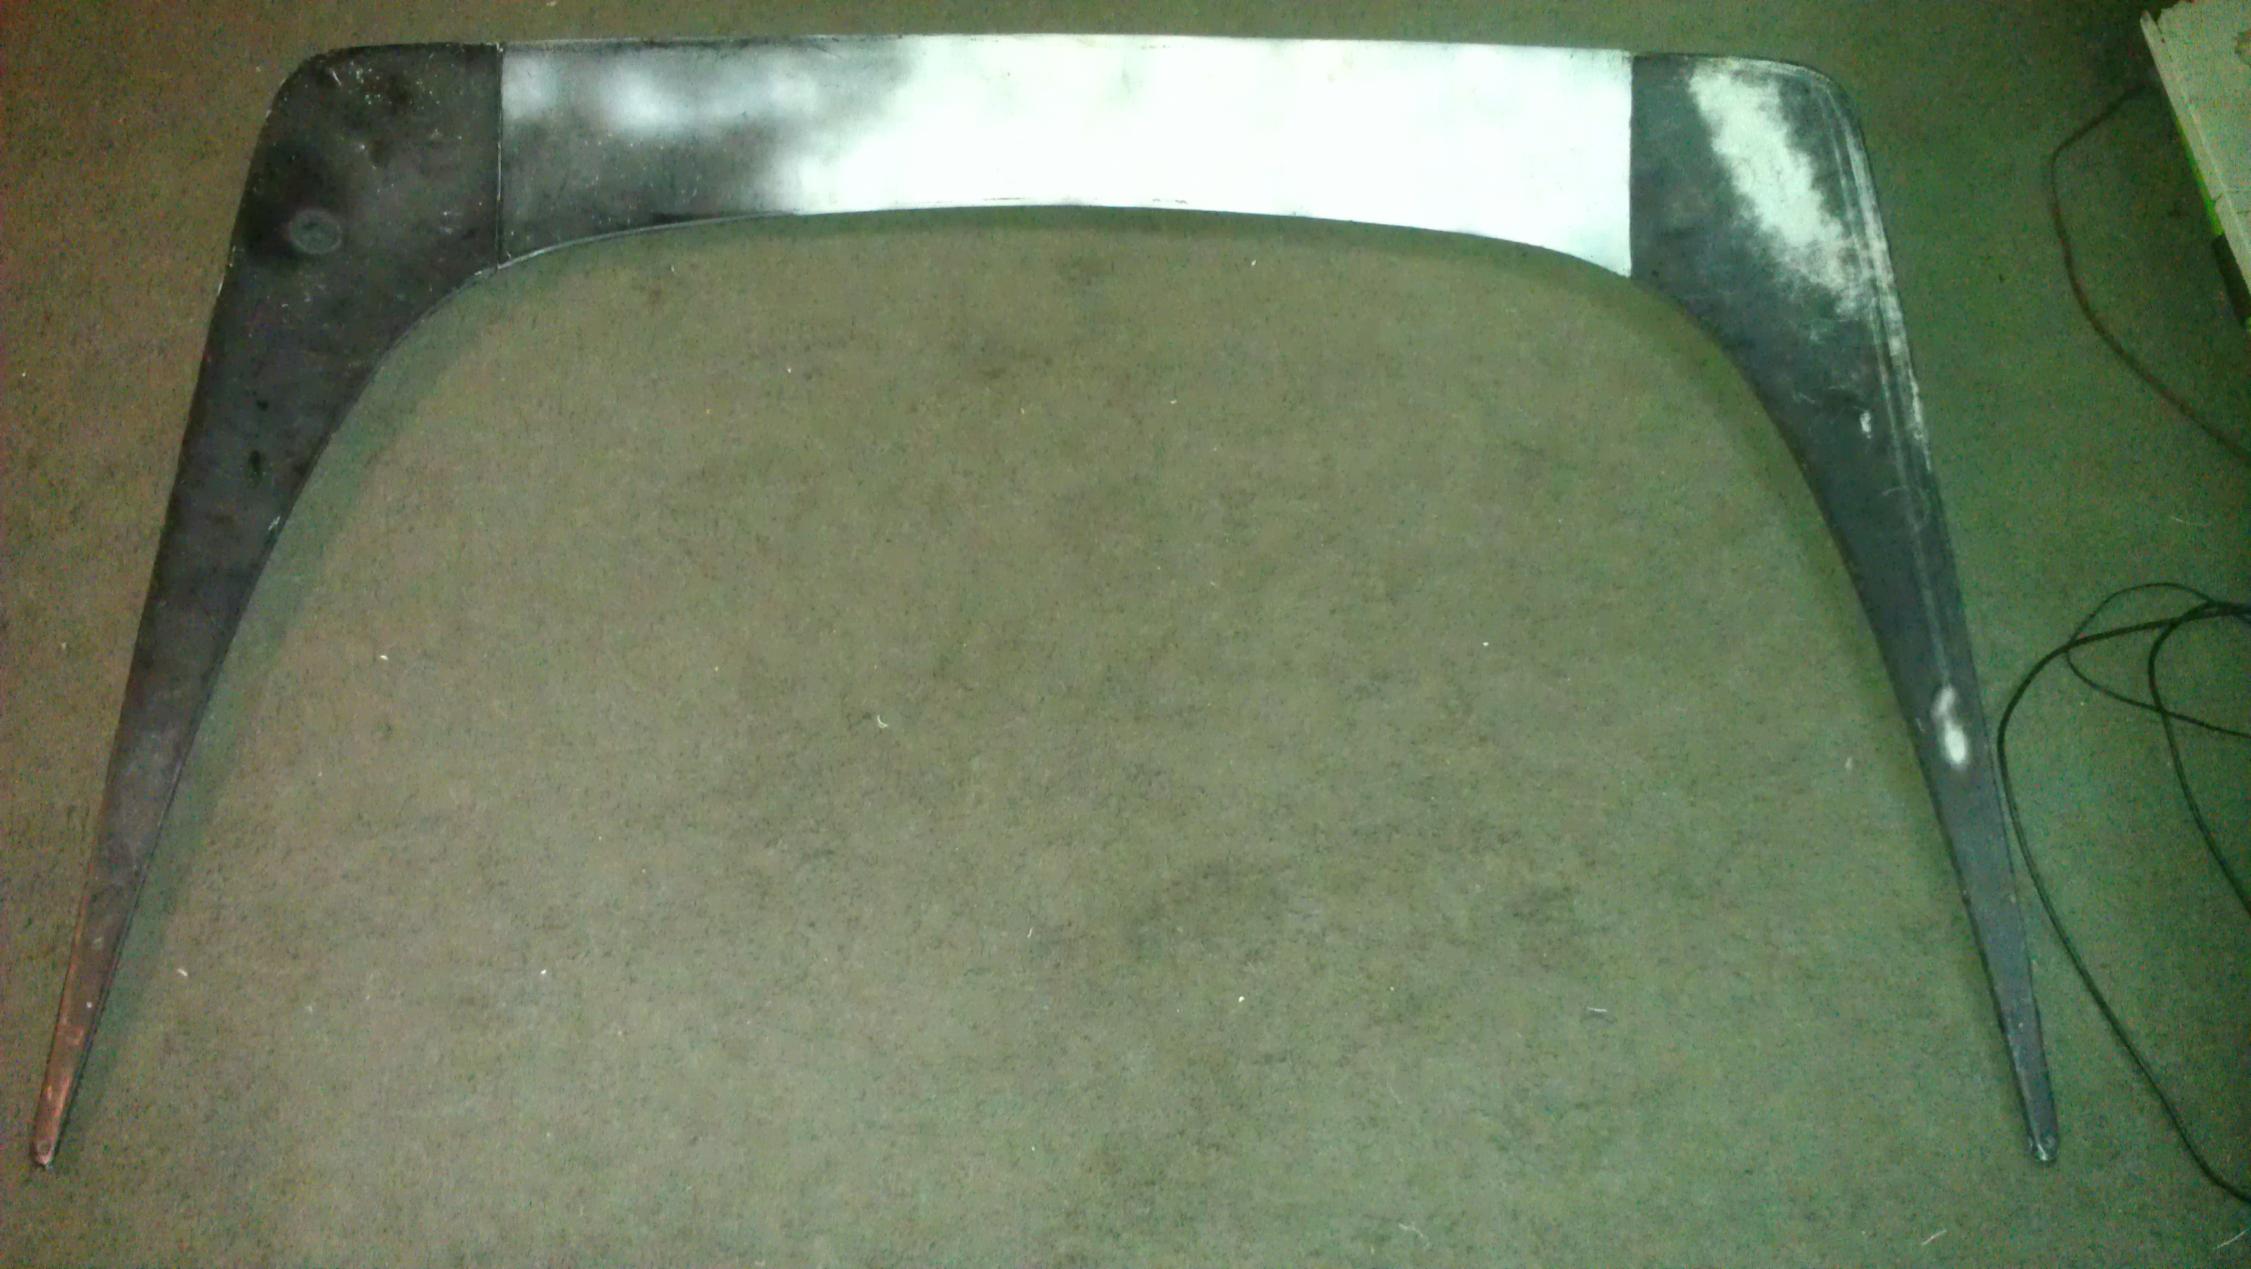
IMSA 3-piece spoiler for cheap that I'll be fixing up and repainting

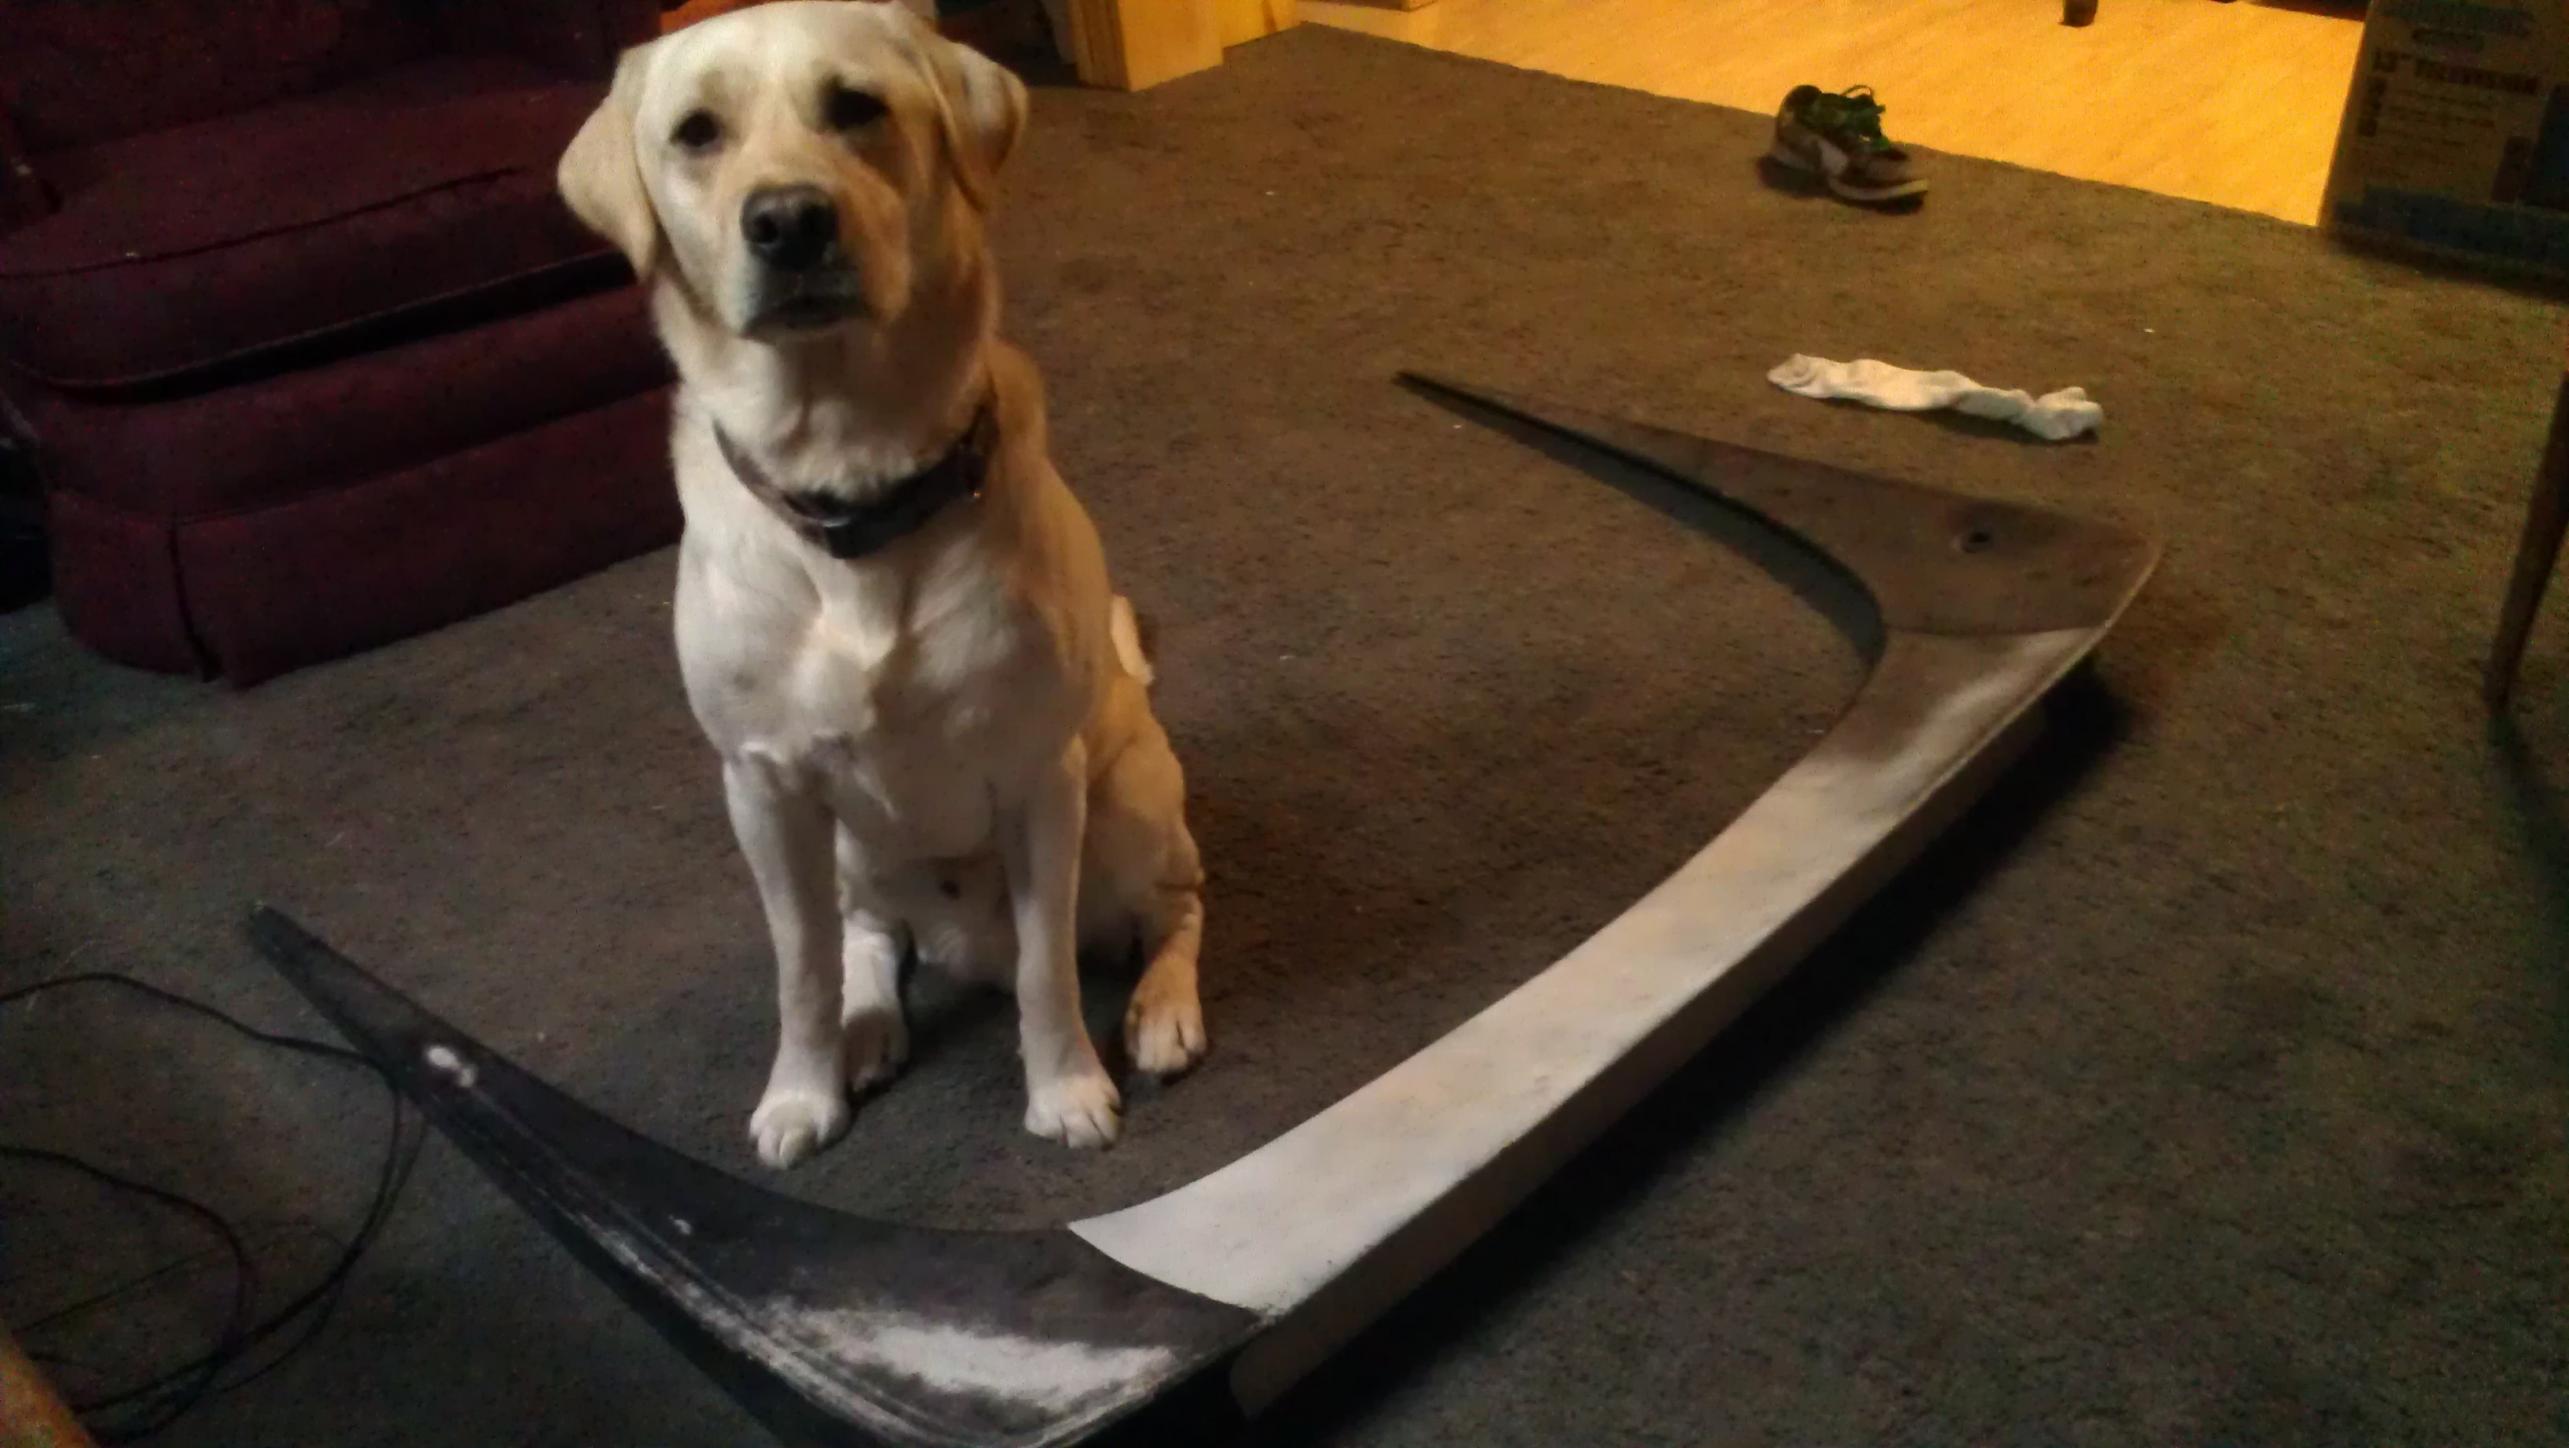
He's also my Lab assistant

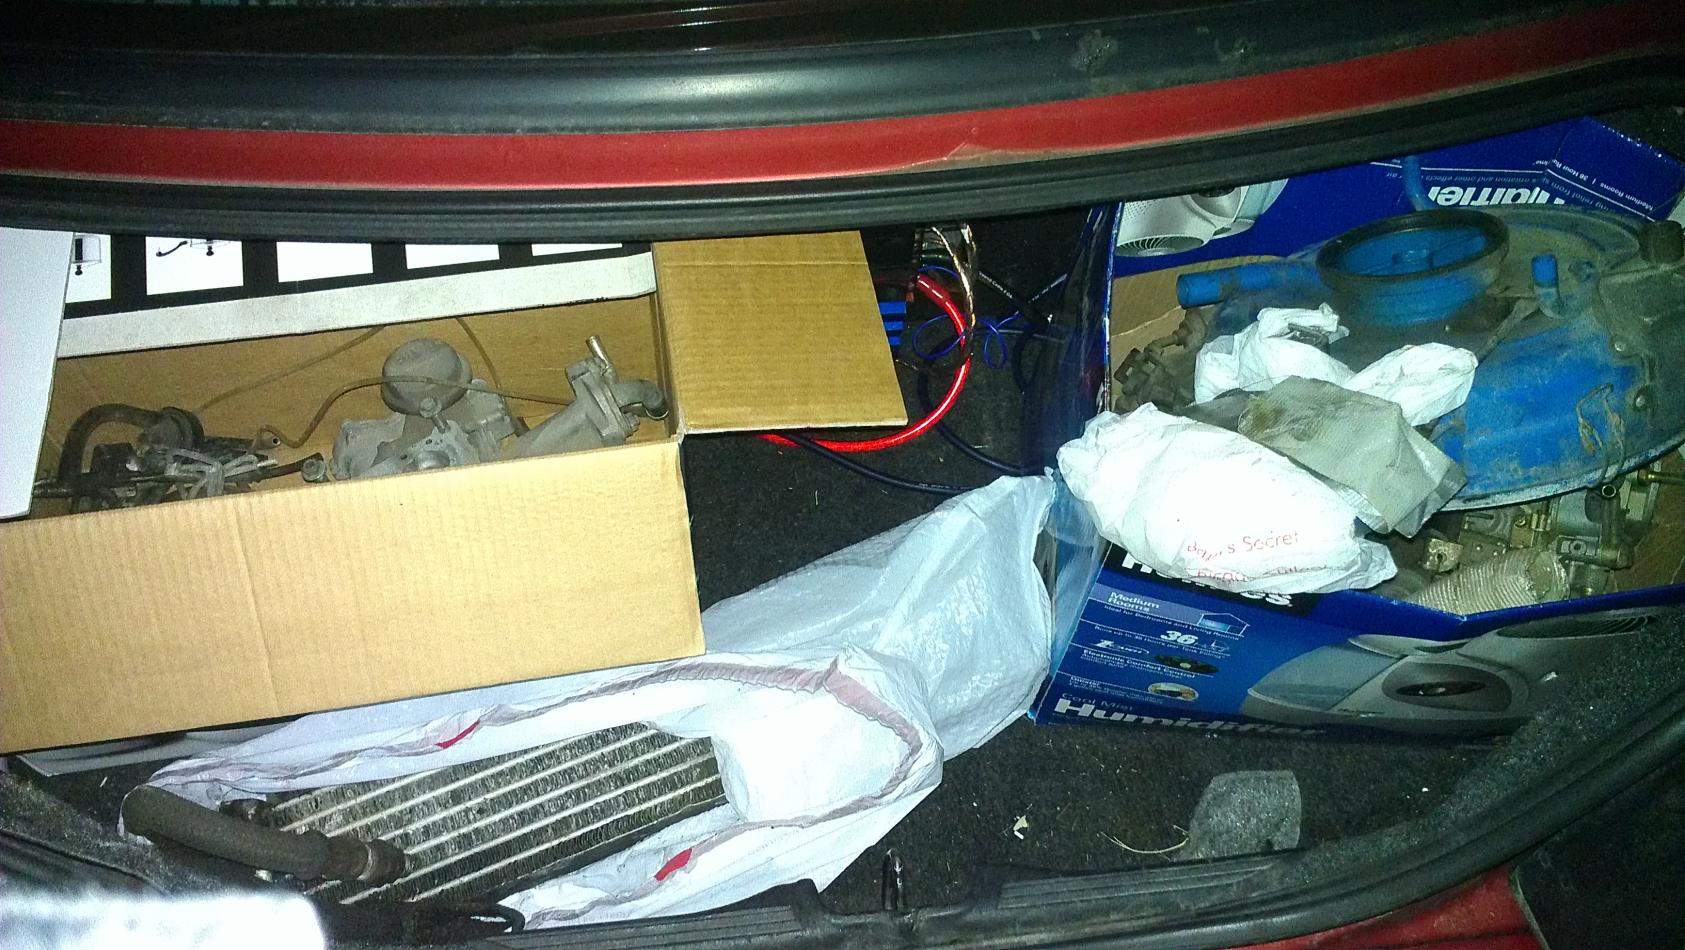
Other parts that I got in the deal (Oil cooler, two Nikki carbs, intake, rat's nest, air cleaner box)
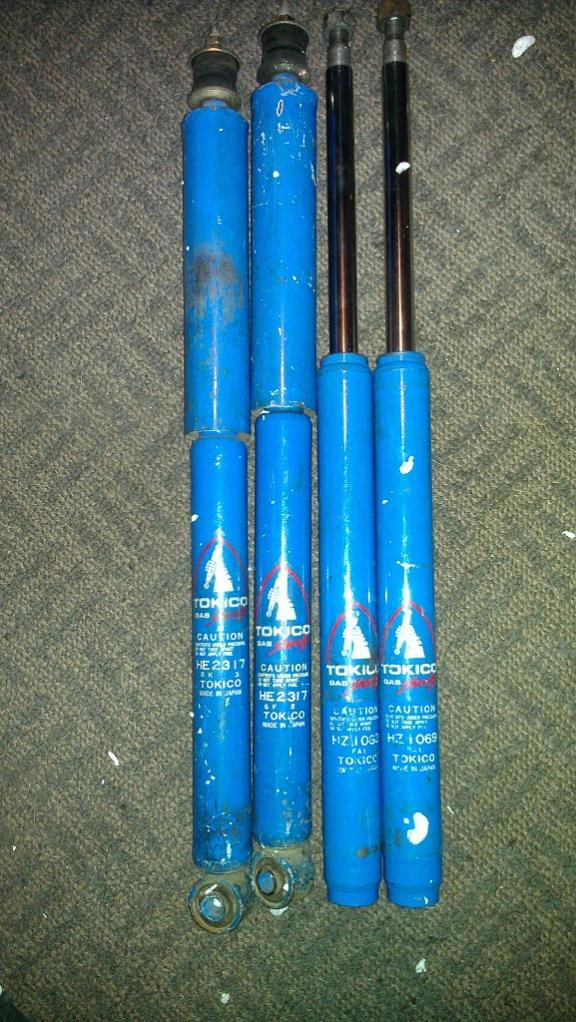
Some cheap used Tokico shocks that I paid only $1 more than I paid for shipping (and I only paid $20 for shipping!)


Yeah, good thing the search function ****'s didn't catch that one... I did a quick search and found my answer shortly afterwards.
Of course my luck would be at one of my local yards there is a 2001 4WD sportage and a '99 2WD sportage.
I think I'm gonna post a WTB in my local CL for one. : "I'll come and convert your 4WD to 2WD for FREE!!! BETTER FUEL MILLAGE. And I'll change your car into 2WD at your home or office no hassle" LOL
I see this car is gonna Free *****.
Thread Starter
Joined: Aug 2011
Posts: 3,078
Likes: 42
From: Cambridge, Minnesota
Yeah, good thing the search function ****'s didn't catch that one... I did a quick search and found my answer shortly afterwards.
Of course my luck would be at one of my local yards there is a 2001 4WD sportage and a '99 2WD sportage.
I think I'm gonna post a WTB in my local CL for one. : "I'll come and convert your 4WD to 2WD for FREE!!! BETTER FUEL MILLAGE. And I'll change your car into 2WD at your home or office no hassle" LOL
I see this car is gonna Free *****.
Of course my luck would be at one of my local yards there is a 2001 4WD sportage and a '99 2WD sportage.
I think I'm gonna post a WTB in my local CL for one. : "I'll come and convert your 4WD to 2WD for FREE!!! BETTER FUEL MILLAGE. And I'll change your car into 2WD at your home or office no hassle" LOL
I see this car is gonna Free *****.
And no "free *****-ing" with a turbo in front driving the wheels! The pic of a garbage bag is a full GSL rear axle that I'm rebuilding to hold up to the TII engine
Thread Starter
Joined: Aug 2011
Posts: 3,078
Likes: 42
From: Cambridge, Minnesota
Thread Starter
Joined: Aug 2011
Posts: 3,078
Likes: 42
From: Cambridge, Minnesota
Thanks Scott! I'll have to race you in your mint -SE when we hang out 
Well, updates will continue tomorrow but as of tonight I'll list what has gone on over the last week and a half.
03/07
Bought Racing Beat 2.5in downpipe and presilencer on the forum
Bought an Auto Meter Ultra Lite boost gauge from the forum
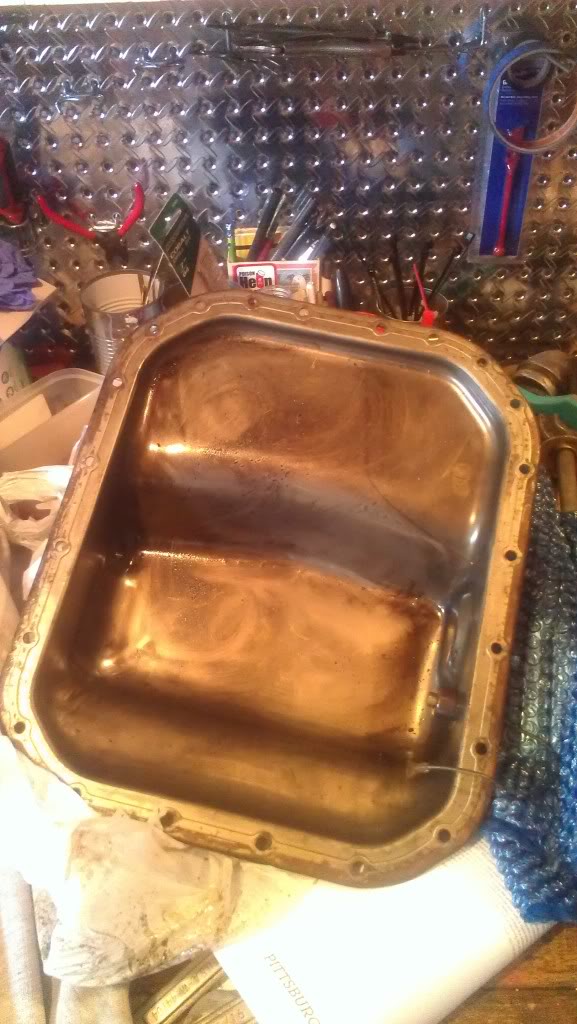
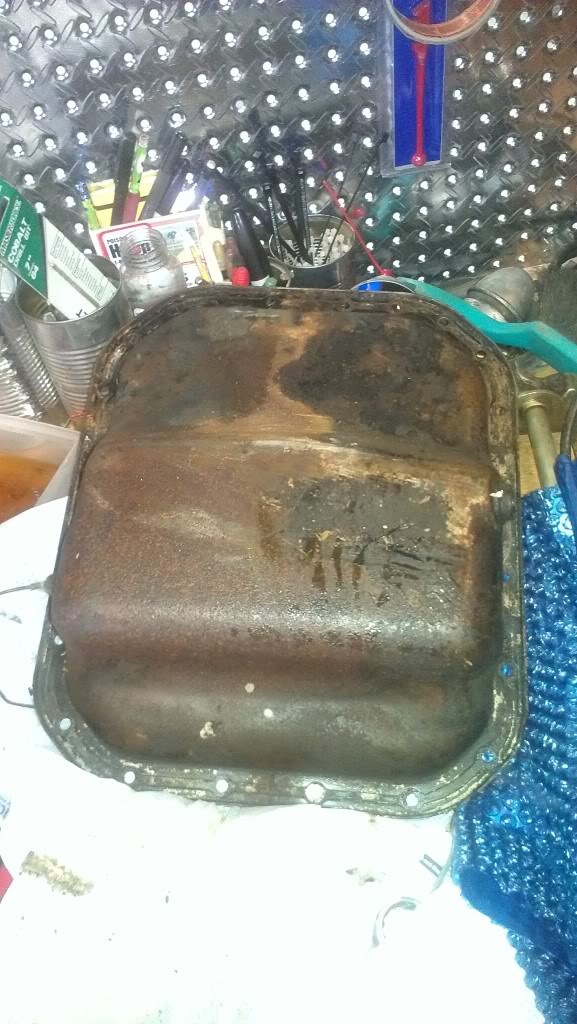
Bought an early 13b oil pan on the forum
03/08
Ordered almost 30 different gaskets and such parts from Atkins Rotary
Got tabs for the 7 since they're due in March and I want to drive it as soon as she's completed
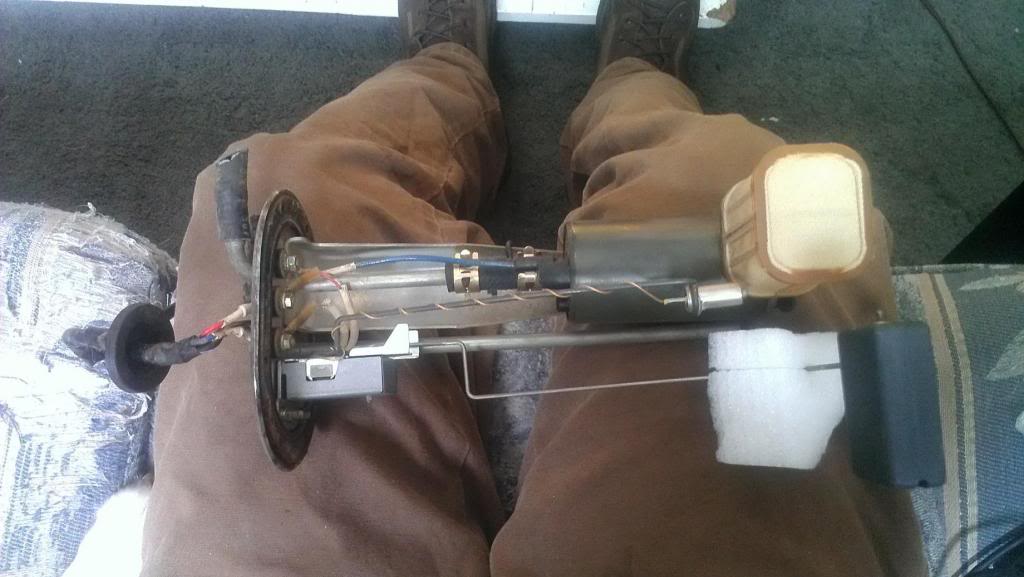
Bought an S4 TII fuel pump sending unit from the forum to mount in my tank
03/09
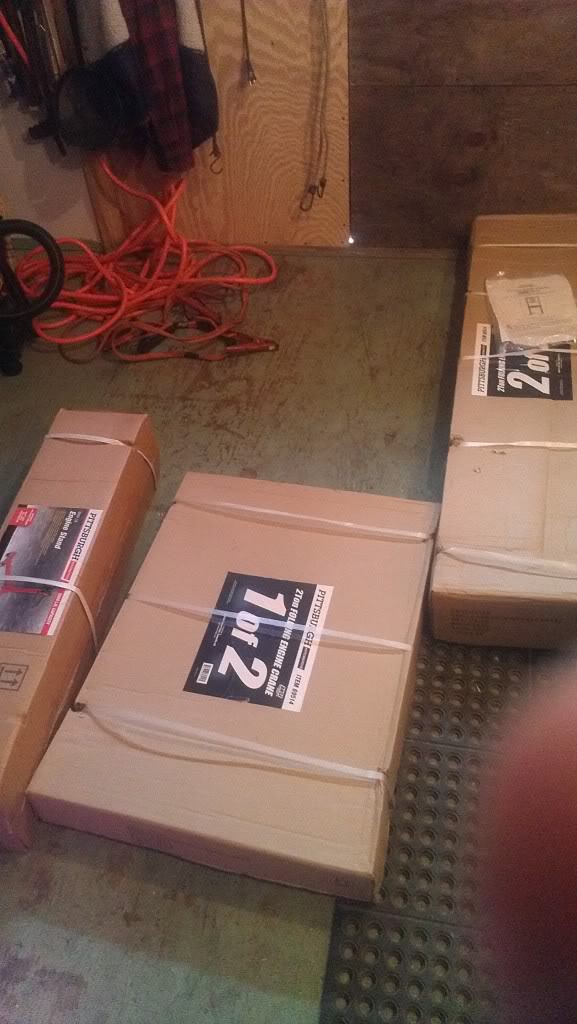
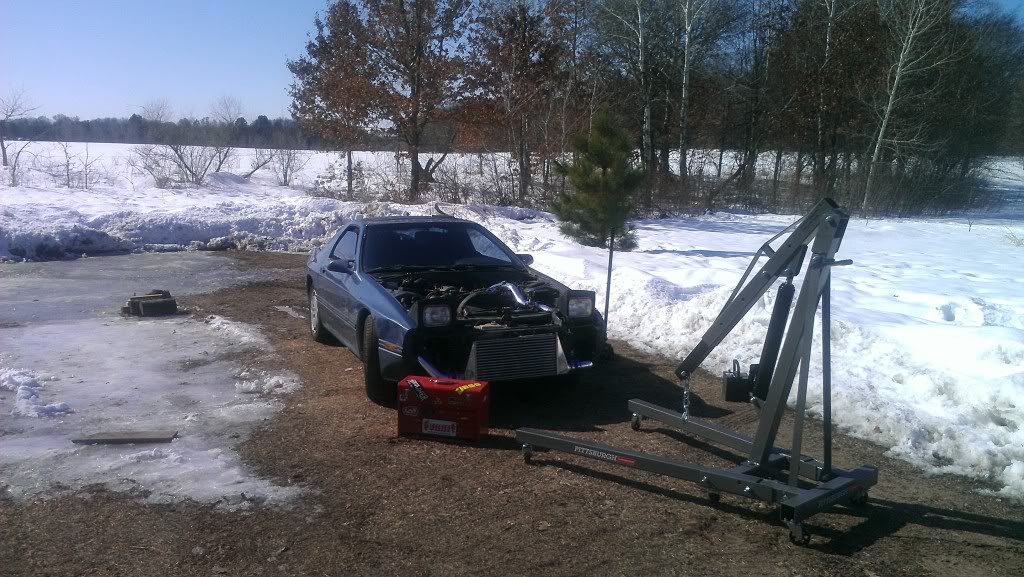
Bought the 2 ton shop crane and 1 ton engine stand from Harbor Freight. Very cool transaction, I asked for the 1 ton crane but they didn't have it so the cashier said that they had the 2 ton. I said I'd get that one even though it was $50 more than the smaller one. 15 minutes later after dealing with some nit wit employees she billed me out. I kept doing the math and I thought it would have totaled to more. Looked at the receipt and she gave me the 2 ton for the promotional price of the 1 ton - like $90 the original price of $269.99, shweet!!
03/11
Went and bought an S4 turbo from the guy I bought the whole TII car from tonight. Will port the wastegate myself and possibly rebuild the whole thing but I'm undecided yet.
Tomorrow I'll be building up the shop crane and engine stand, then getting ready for the engine pull. Will get the wiring pictures taken and marked off, take trans out, things like that first.
Goal is to have the engine out by Thursday and mostly disassembled for the Atkins order to arrive sometime that day. Then I can rebuild it up and get it ready for install.
Should be getting many boxes of parts and goodies this week and can't wait to get this thing in and running
Well, updates will continue tomorrow but as of tonight I'll list what has gone on over the last week and a half.
03/07
Bought Racing Beat 2.5in downpipe and presilencer on the forum
Bought an Auto Meter Ultra Lite boost gauge from the forum
Bought an early 13b oil pan on the forum
03/08
Ordered almost 30 different gaskets and such parts from Atkins Rotary
Got tabs for the 7 since they're due in March and I want to drive it as soon as she's completed
Bought an S4 TII fuel pump sending unit from the forum to mount in my tank
03/09
Bought the 2 ton shop crane and 1 ton engine stand from Harbor Freight. Very cool transaction, I asked for the 1 ton crane but they didn't have it so the cashier said that they had the 2 ton. I said I'd get that one even though it was $50 more than the smaller one. 15 minutes later after dealing with some nit wit employees she billed me out. I kept doing the math and I thought it would have totaled to more. Looked at the receipt and she gave me the 2 ton for the promotional price of the 1 ton - like $90 the original price of $269.99, shweet!!
03/11
Went and bought an S4 turbo from the guy I bought the whole TII car from tonight. Will port the wastegate myself and possibly rebuild the whole thing but I'm undecided yet.
Tomorrow I'll be building up the shop crane and engine stand, then getting ready for the engine pull. Will get the wiring pictures taken and marked off, take trans out, things like that first.
Goal is to have the engine out by Thursday and mostly disassembled for the Atkins order to arrive sometime that day. Then I can rebuild it up and get it ready for install.
Should be getting many boxes of parts and goodies this week and can't wait to get this thing in and running
Thread Starter
Joined: Aug 2011
Posts: 3,078
Likes: 42
From: Cambridge, Minnesota
Thanks! 
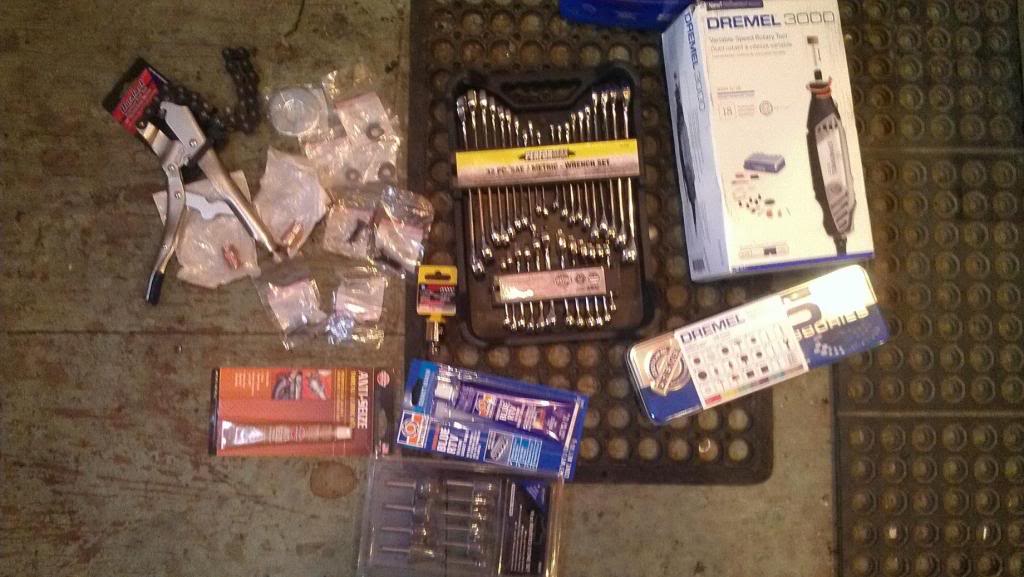
Boxes of new tools
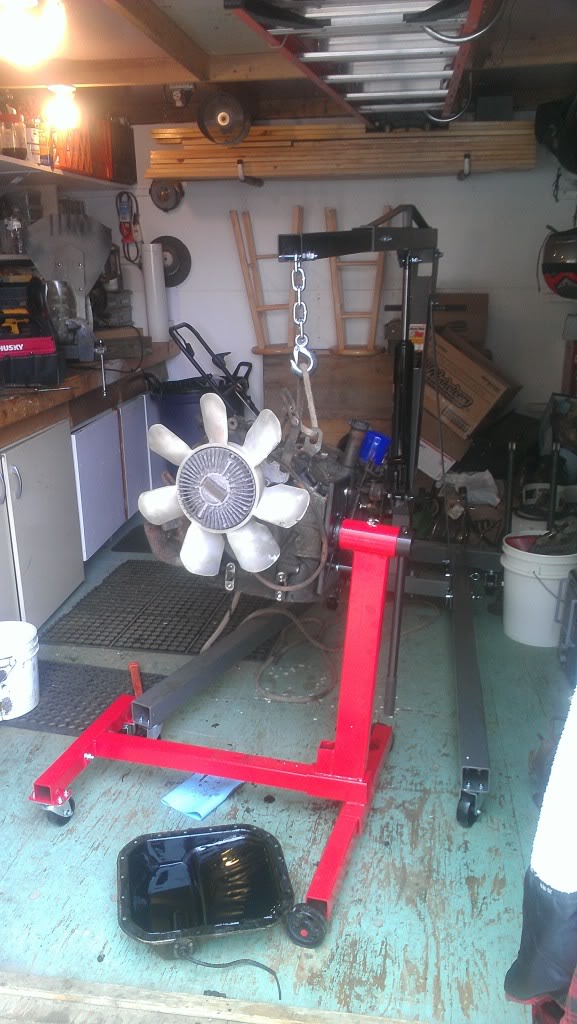
2 ton foldable shop crane and 1,000lb engine stand
1st rotary engine on the new tools (parts 12a)
Got the early 13b oil pan in the mail today thanks to rotopower74
Also got an S4 TII fuel pump sending unit for a spare that I'll be rewiring for use with the Walbro 255 when I want to upgrade from the stock one I'll use first.
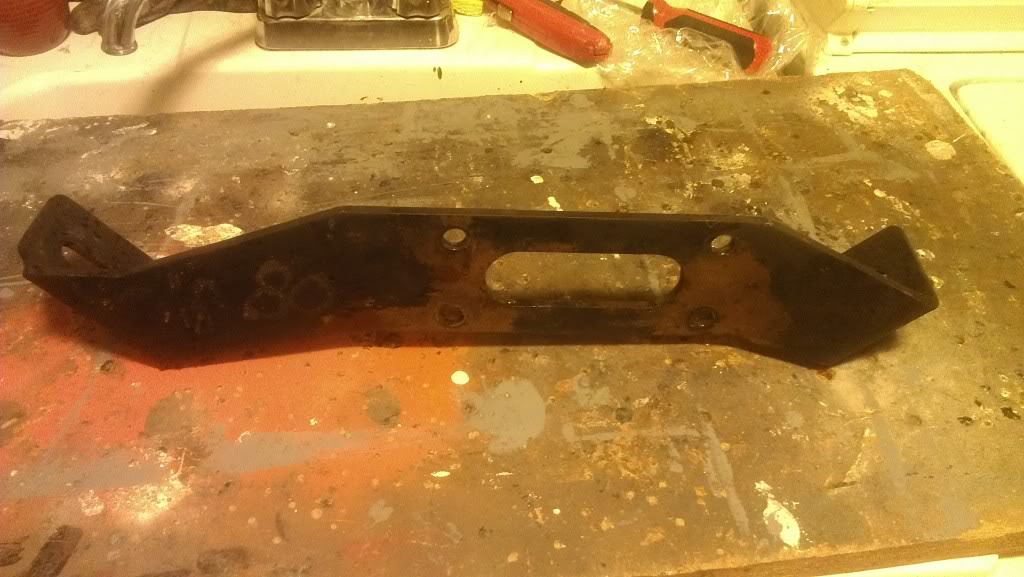
12a stock engine mount that I'll be modifying
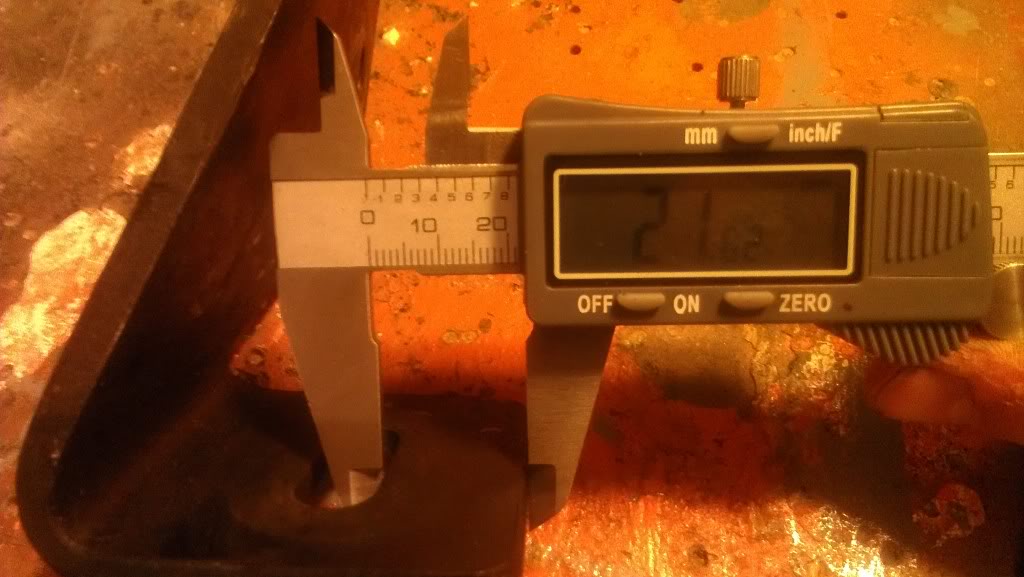
Measurement of how much material is on the stock mount. The holes have to be 20mm further back (so ~1.62mm left of space) so I'll be welding a plate to the back for support
So today I got a lot done including:
Building up my tools for the engine swap
Pulled the oil pan off my parts 12a and took out the oil pickup tube
Got the spare S4 TII fuel pump sending unit
Got the early 13b oil pan for the swap
Cleaned the parts for the swap and they are drying currently
My plan is as follows:
This was from an email between myself and another member, which I wrote these words, and I think this is my final plan as of now.
Boxes of new tools
2 ton foldable shop crane and 1,000lb engine stand
1st rotary engine on the new tools (parts 12a)
Got the early 13b oil pan in the mail today thanks to rotopower74
Also got an S4 TII fuel pump sending unit for a spare that I'll be rewiring for use with the Walbro 255 when I want to upgrade from the stock one I'll use first.
12a stock engine mount that I'll be modifying
Measurement of how much material is on the stock mount. The holes have to be 20mm further back (so ~1.62mm left of space) so I'll be welding a plate to the back for support
So today I got a lot done including:
Building up my tools for the engine swap
Pulled the oil pan off my parts 12a and took out the oil pickup tube
Got the spare S4 TII fuel pump sending unit
Got the early 13b oil pan for the swap
Cleaned the parts for the swap and they are drying currently
My plan is as follows:
Originally Posted by lindahlish
I'm definitely doing the "stages" right now. From the advice of the woman and you, it will be easier on the budget and my mind.
Stage 1
Just got the -SE oil pan in the mail today so now I have an -SE front cover, -SE oil pan, and will be modding my extra engine mount brace to fit the 13b in the 12a's spot. Will keep the stock wiring harness, turbo, ECU, all emissions except cold start assist, and just get it in and running well enough to drive all summer.
Stage 2
Next fall I'll upgrade the turbo if at all possible, and do the 5 lug conversion if it's in the budget and I have the space and parts available. Will redo the exhaust probably, wideband, upgraded ECU to either Rtek 2.1, Adaptronic entry level (because Turblown is only 30 minutes away and will cut me a deal) or Haltech E6k.

Thread Starter
Joined: Aug 2011
Posts: 3,078
Likes: 42
From: Cambridge, Minnesota

I'm going to be staying with the stock 12a radiator with my 14" 650CFM e-fan with the 180*F thermostat controller for right now. Will be utilizing one of the 3 available FMOC's I have at my disposal (2 are from TII's, one is from an earlier 81-82 FB). Eventually I'd love to do a V-mount with an intercooler but I'm not there yet.
Alright, pictures are louder than words:


Well, I finally made headway towards getting this swap accomplished.
List for the day:
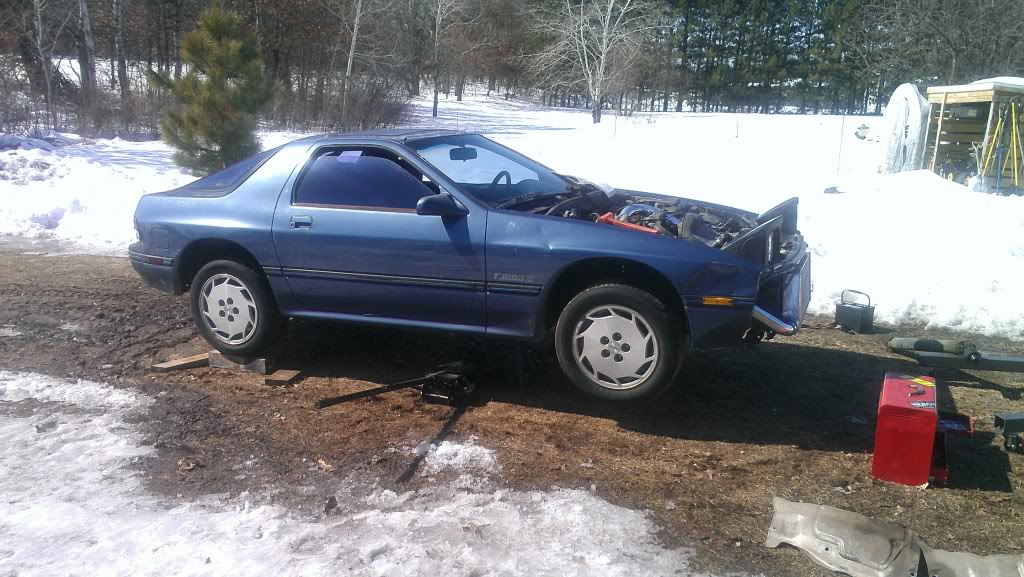
Got the car running and drove it to the most plausible place in the yard to pull the engine and trans out
Started with the trans and finally got that out
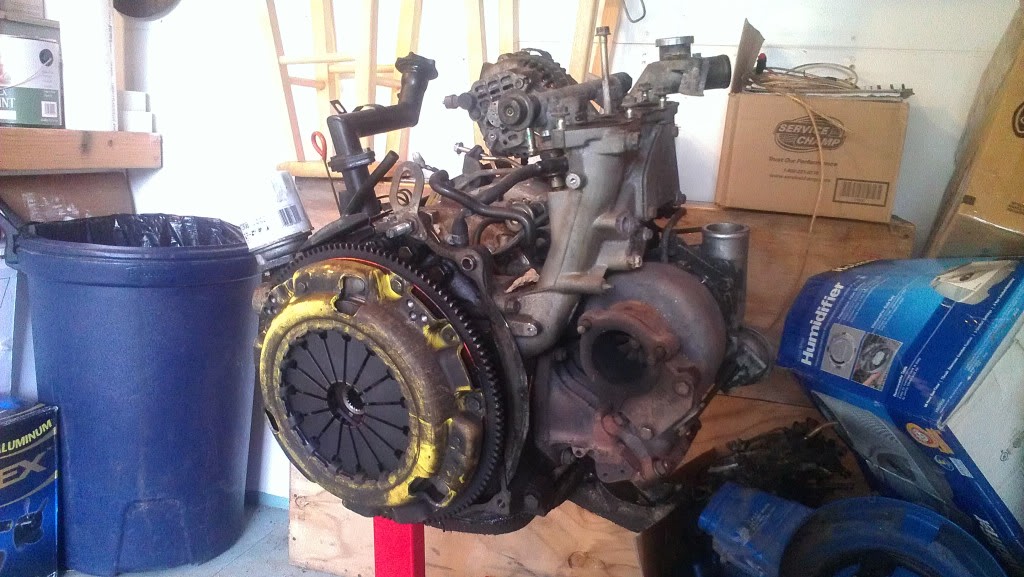
Got the engine out just in time to leave for a work meeting and found some goodies
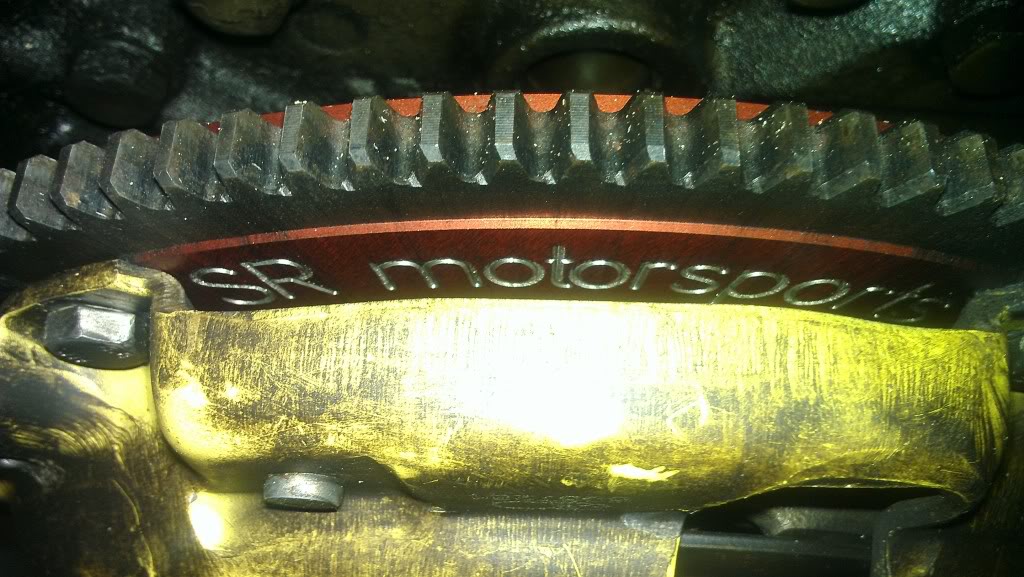
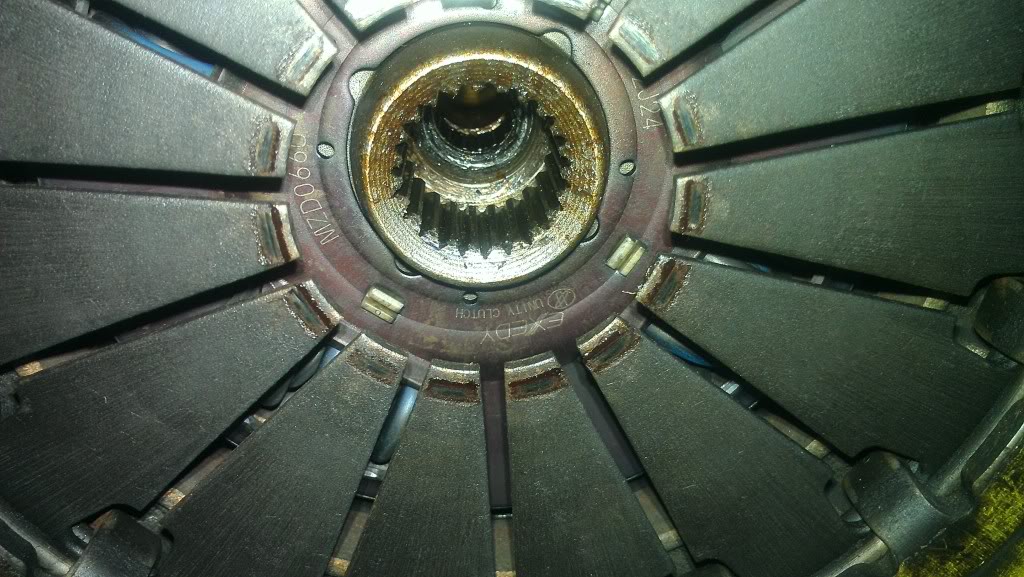
SR Motorsports Flywheel - $549 on SALE!
Exedy clutch will depend on if it is a stock replacement, or stage 1 or 2 - we will see tomorrow!
Both look like they have barely been used though, super stoked about that!
Tomorrow I'll be tearing the engine down to just the keg for inspection of any porting that could have been done, and maybe swapping out for another that spare turbo but I think I'll just leave the one on there. Should be getting the big box of parts from Atkins tomorrow so I can rebuild it for install in the FB.
Very productive day and looking forward to what comes next
Thread Starter
Joined: Aug 2011
Posts: 3,078
Likes: 42
From: Cambridge, Minnesota
Looks like you made some good progress there. Yeah cherry pickers and dirt kinda suck, I usually find it easier to just roll the car backwards and leave the crane stationary...
The FB radiator (as long as it's the tall 83-85 one) will cool a FC engine just fine, you might want to consider something more powerful than a 650 cfm fan though..
The FB radiator (as long as it's the tall 83-85 one) will cool a FC engine just fine, you might want to consider something more powerful than a 650 cfm fan though..
Woops, silly brain. 1800 CFM is the correct measurement of the throughput of the fan. Wow, 650 would be like a house fan
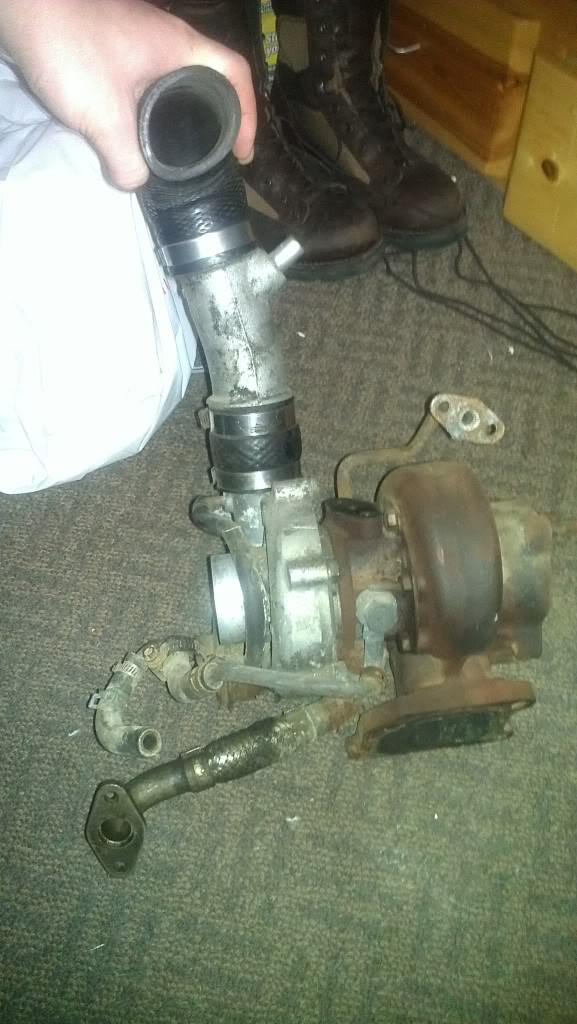
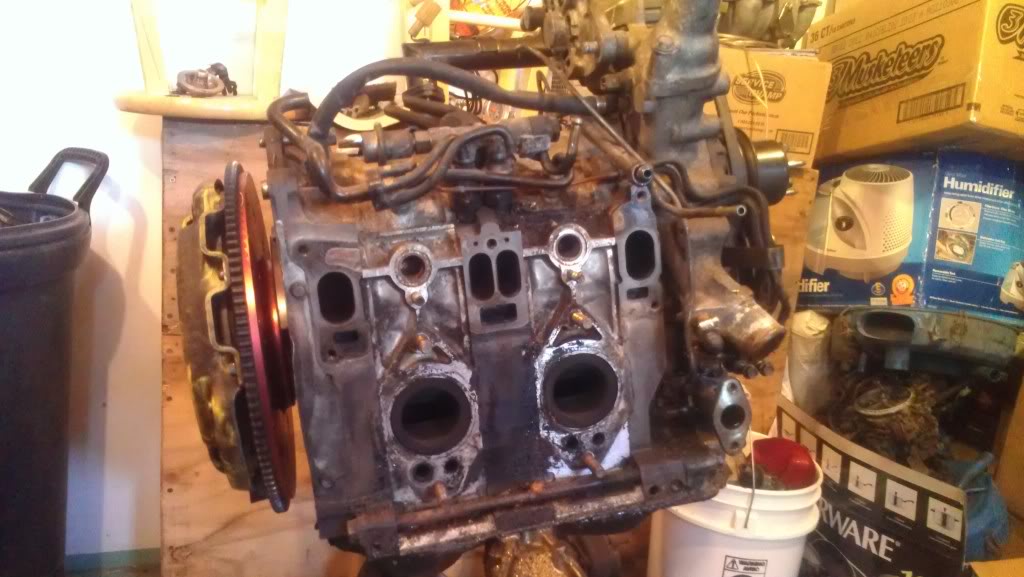
Started off looking at this today:
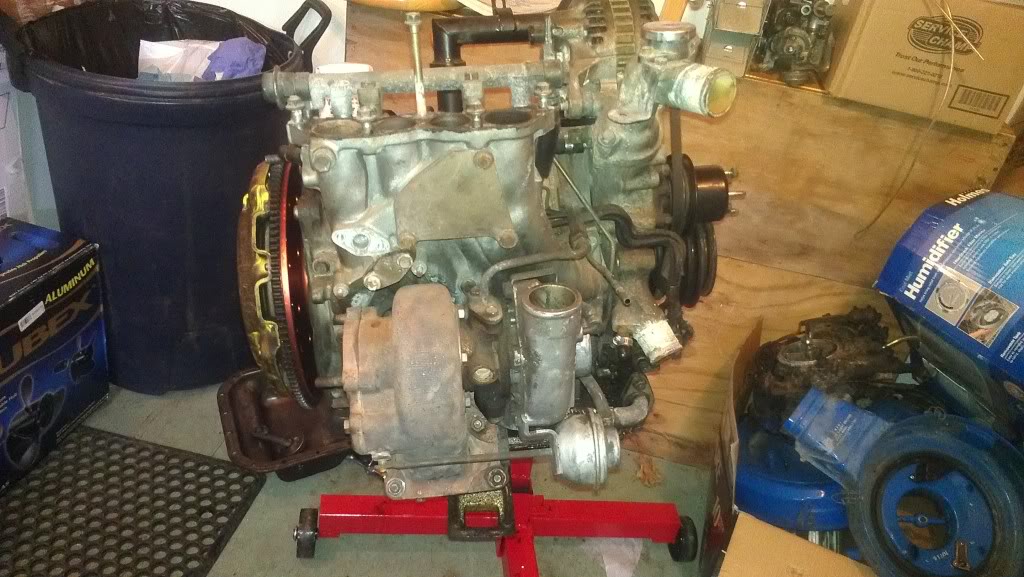
Tore it down to this:
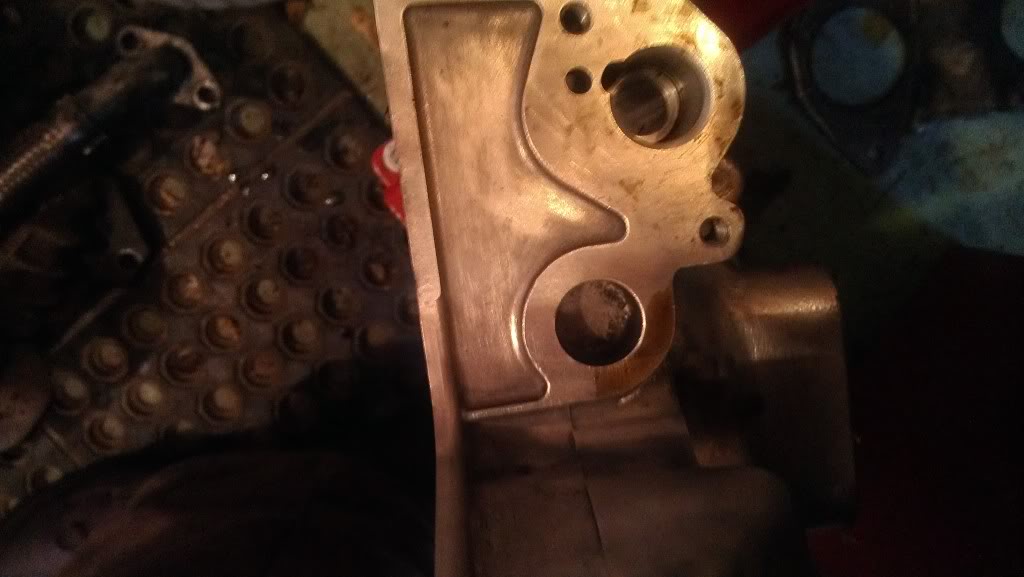
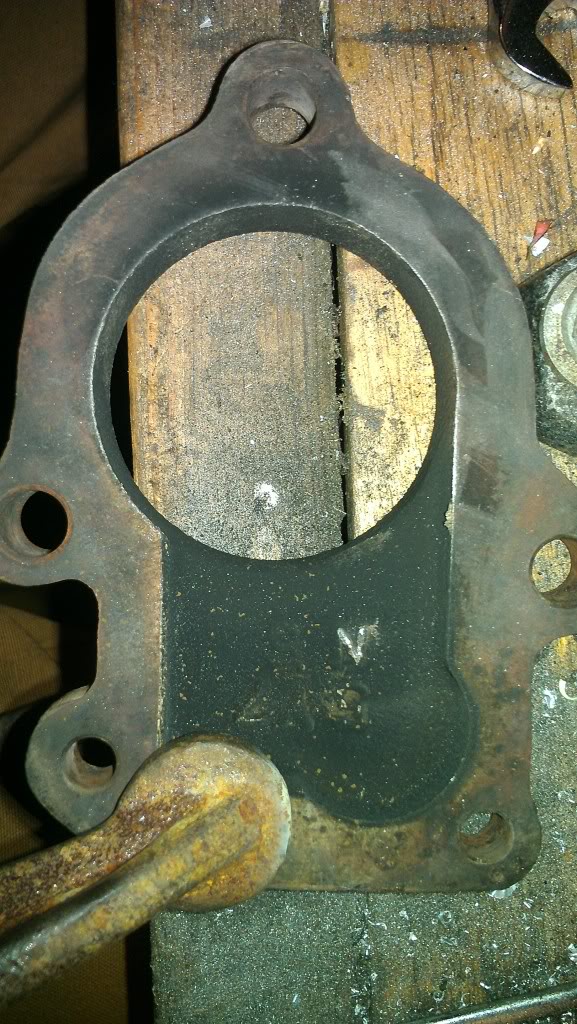
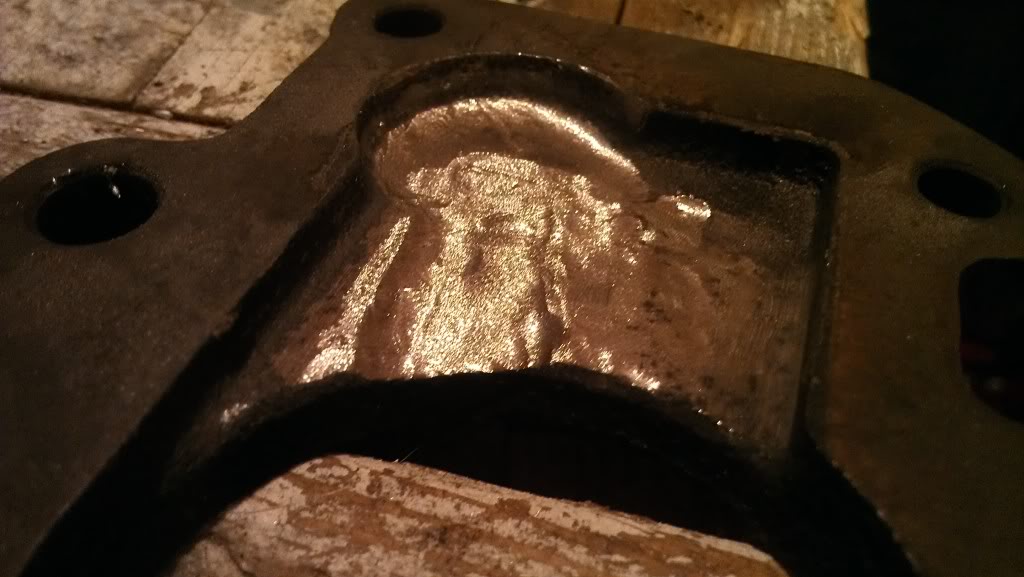
Sludge in the blocked coolant passage to the intake manifold:
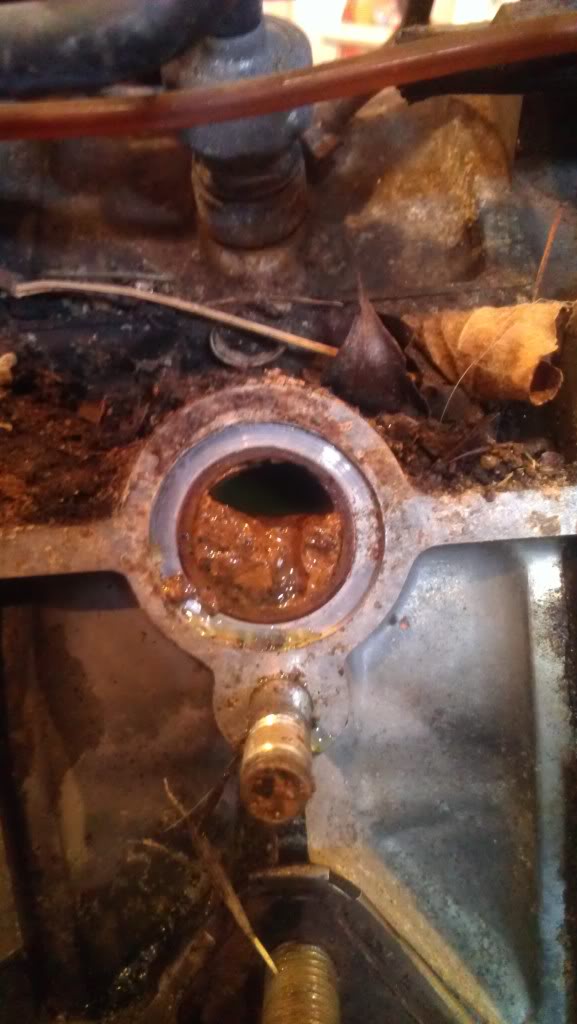
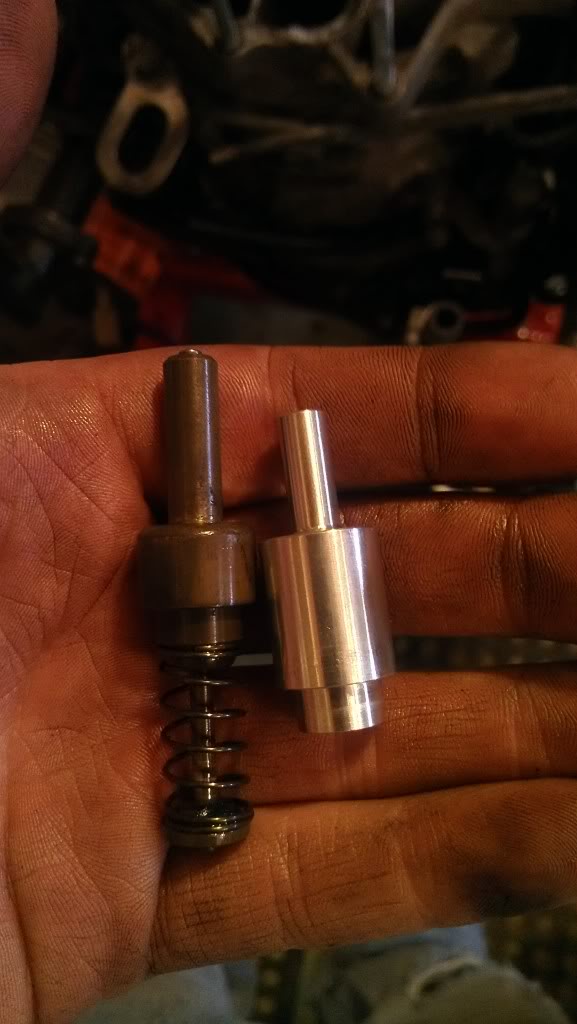
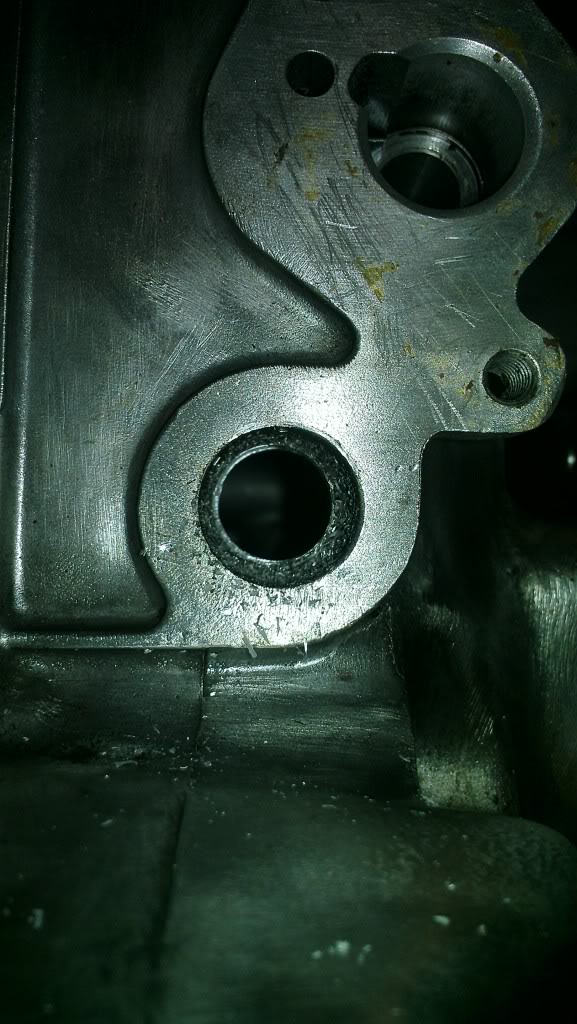
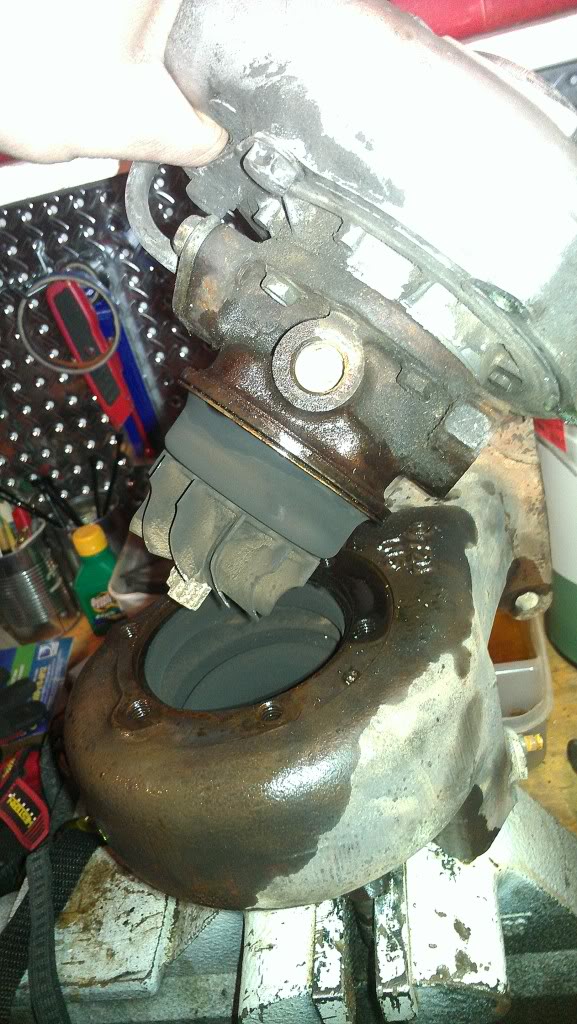
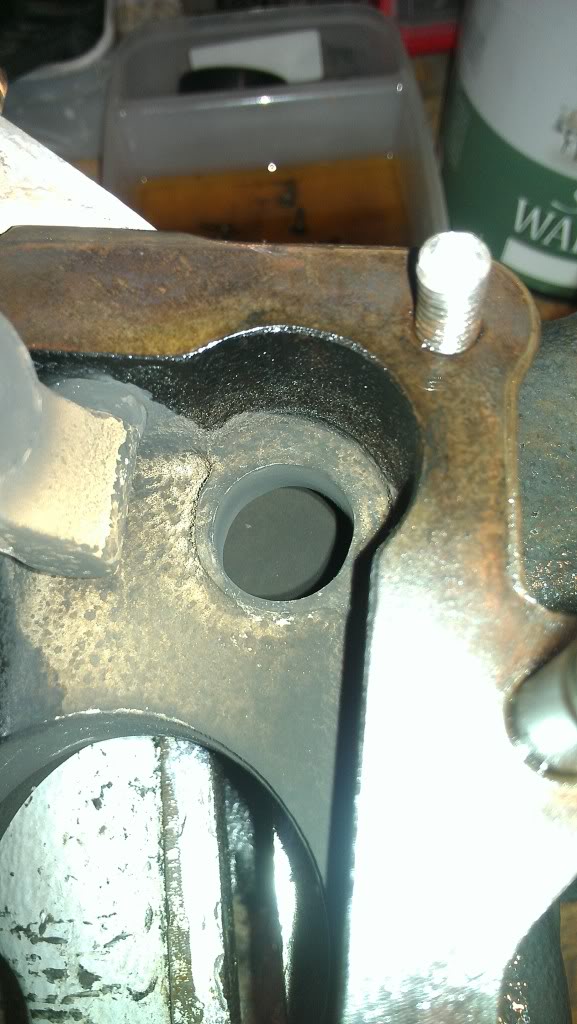
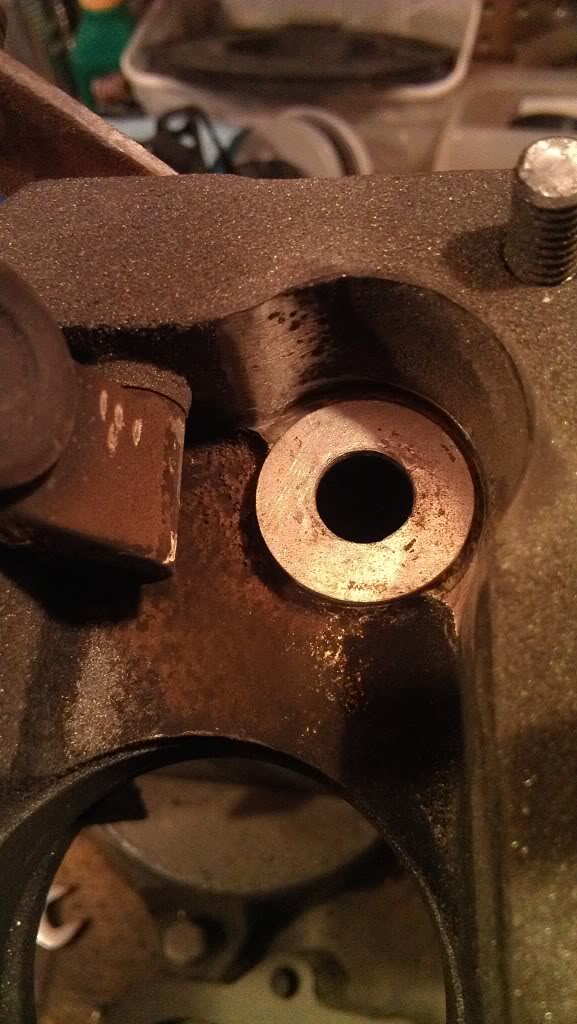
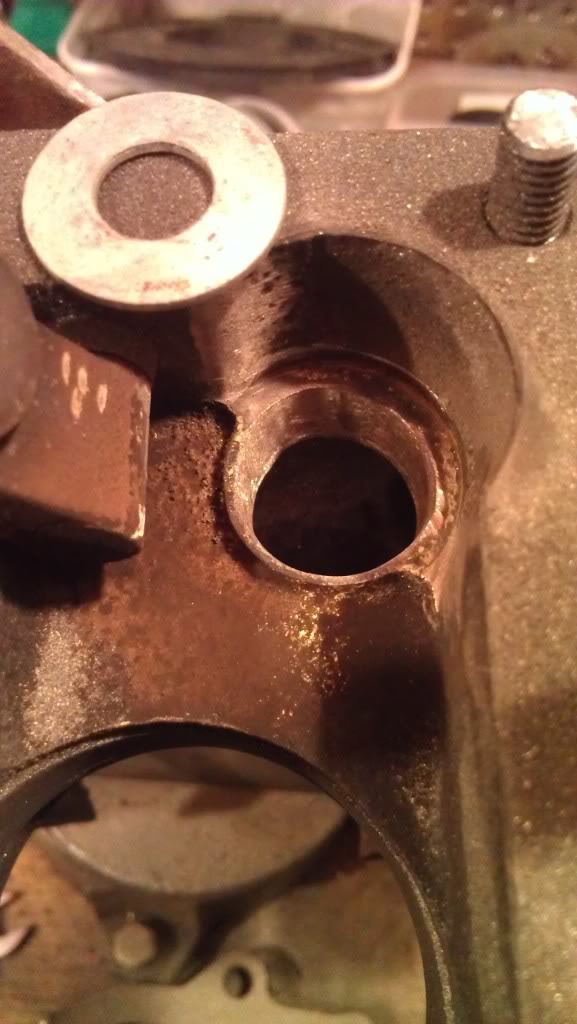
Figured out how to mod this spot to accept the turbo oil drain, thanks to 82transam - lifesaver!
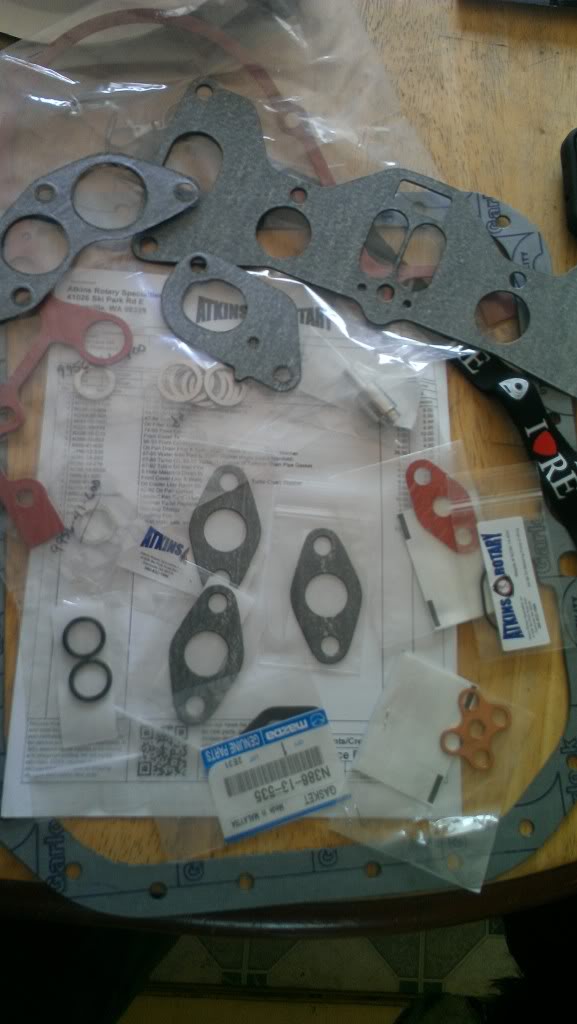
Got my Atkins order today as well so I could reinstall some parts with new gaskets:
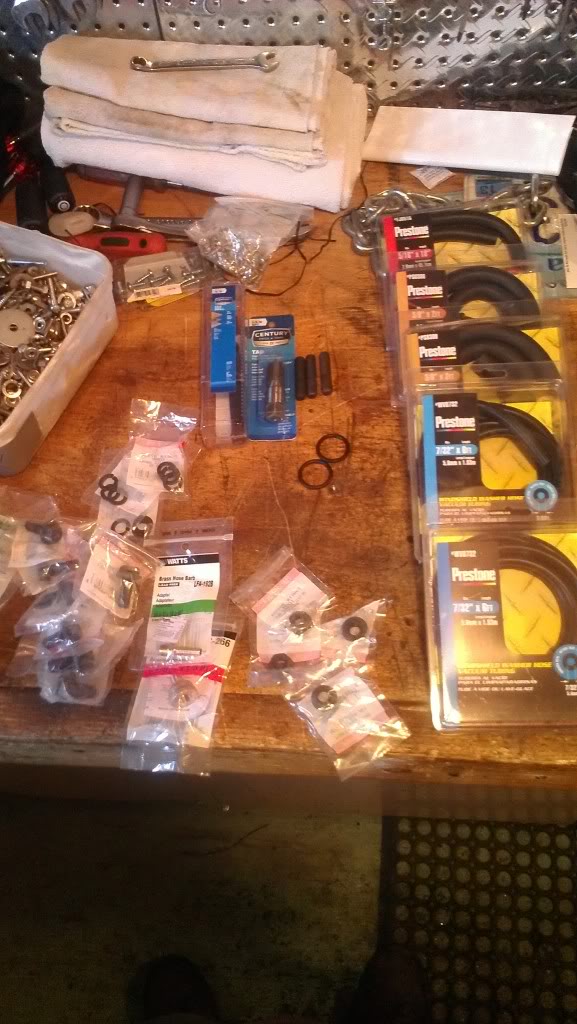
Went out and spent hours searching around for nuts, bolts, O-Rings, hose to redo some of the lines, and some other necessities:
Then I couldn't finish off the night without having this happen:
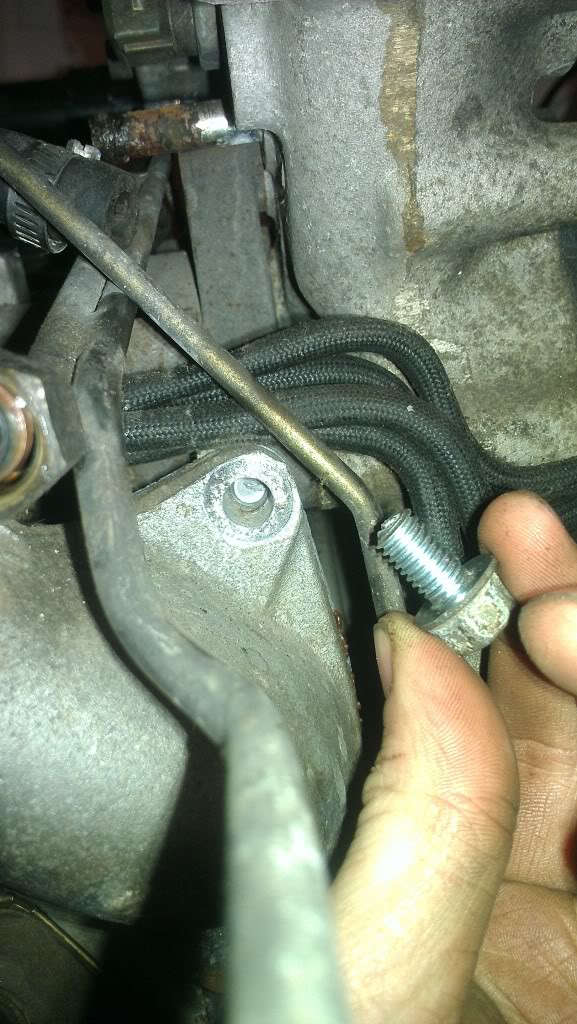
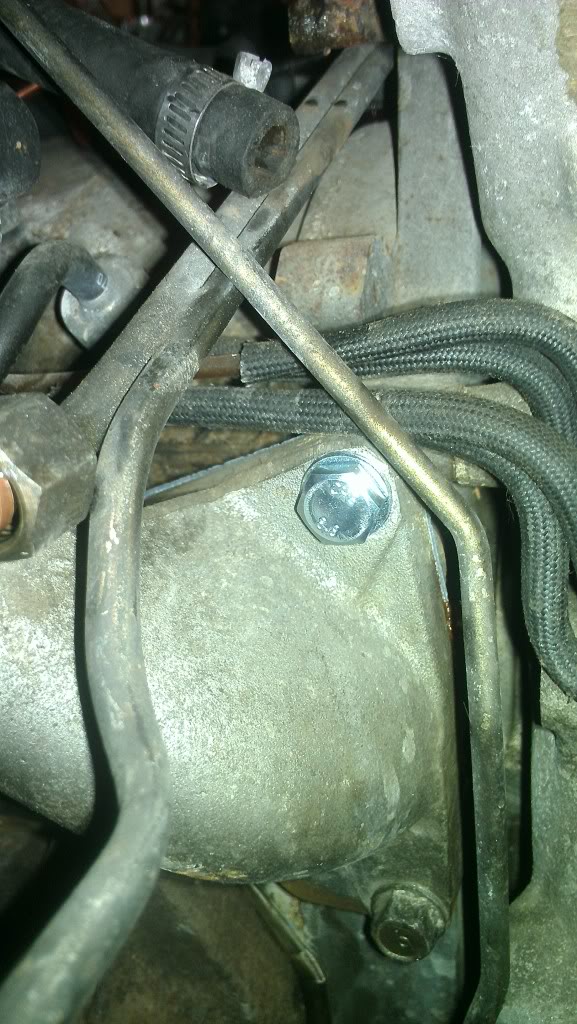
So the lower intake manifold is now installed with a new gasket and new coolant o-rings and one new bolt. I'll be going to get a slightly longer bolt tomorrow since this one isn't as long as it should be. I was in a hurry since I only had 10 minutes to find it.
Won't have time to work on the engine for a while but next on the list is:
Correct bolt for intake mani
Get my 1/8NPT oil filter sandwich gauge adapter installed
Drill and tap the -SE front cover for the turbo oil drain install
Grind the -SE front cover to fit with the TII water pump
Get -SE oil pan installed
Port S4 turbo wastegate to a safe size to prevent boost creep
Inspect and install turbo with coolant lines and oil lines
Looking forward to a few days off but I've enjoyed the time working on the car.
If life gives you turbo'ed rotaries...

Thread Starter
Joined: Aug 2011
Posts: 3,078
Likes: 42
From: Cambridge, Minnesota
Out to work on the engine some more
Thread Starter
Joined: Aug 2011
Posts: 3,078
Likes: 42
From: Cambridge, Minnesota
Progress is being made on the swap now. Hoping to finish up my turbo oil drain tonight, as well as finishing my S4 turbo porting job.
List is:
Finish turbo oil drain
Finish porting job on wastegate
Mod 12a engine brace 20mm rearward
Finish up modding the gas tank for S4 TII pump install
Mount engine and transmission in car
Rewire the ECU and harness
Fuel lines figured out
First startup
Get on trailer and bring to drivetrain shop for custom driveshaft
Enjoy
Goal is to be safely driving the car on the road safely by May 10th because of the following:
May 11th - window tinting day specials for MNMazda forum members and I'm on the short list of 8 allowed to go
May 17th - Aaron Lewis concert 5hrs away from me, overnight stay in a hotel with fiance, drive back
May 24-28th - Memorial Day camping, may need to drive separately
Thread Starter
Joined: Aug 2011
Posts: 3,078
Likes: 42
From: Cambridge, Minnesota
What's The Holdup?!
Well, it's these things:
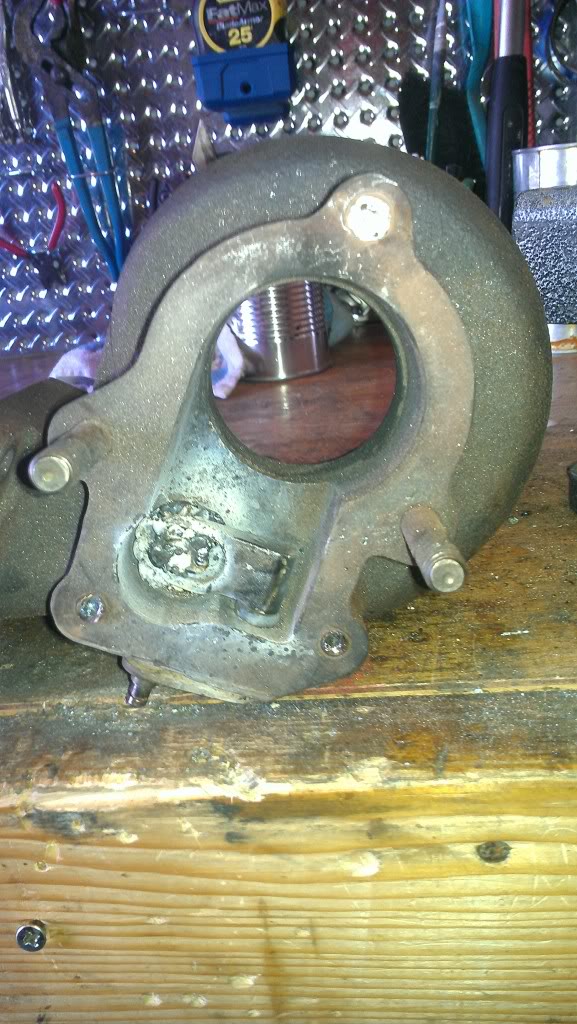
Previous owner took apart the turbo to port the wastegate. He only shaved enough so that the stock flapper fit over the opening.
So he went from:
~14mm stock size -> ~17mm ported
I went from:
~14mm stock size -> ~17mm his port -> ~21mm my port
So I'm at about 150% of the stock wastegate port size to eliminate some boost creep. I could have gone bigger but didn't want to cut into the exhaust turbine housing any more than I already did. So I'm done with this aspect of the build.
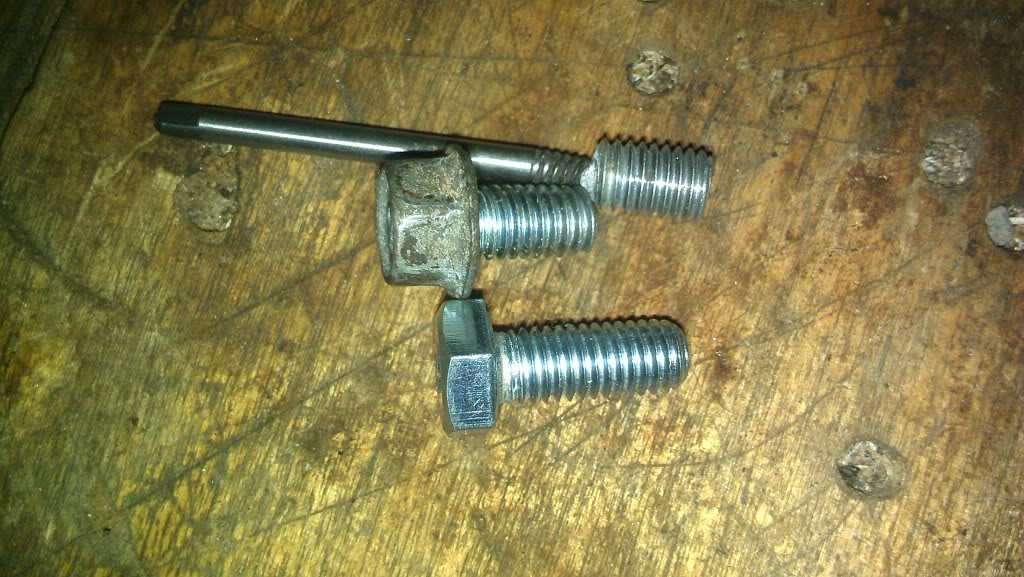
But, he put the wrong thread bolts in the wastegate cover and busted the top downpipe bolt when removing the stock DP!
In trying to remove them the heads stripped right off the bolts. I knew it was wrong when I had to put a 1/2" wrench on the bolts to remove them.
5 Dremel cutting discs, 6 drill bits, 1 stripped EZ-Out and an hour into it I've decided to bring it to a machine shop and have them remove the bolts. Will be bringing the whole housing in today.
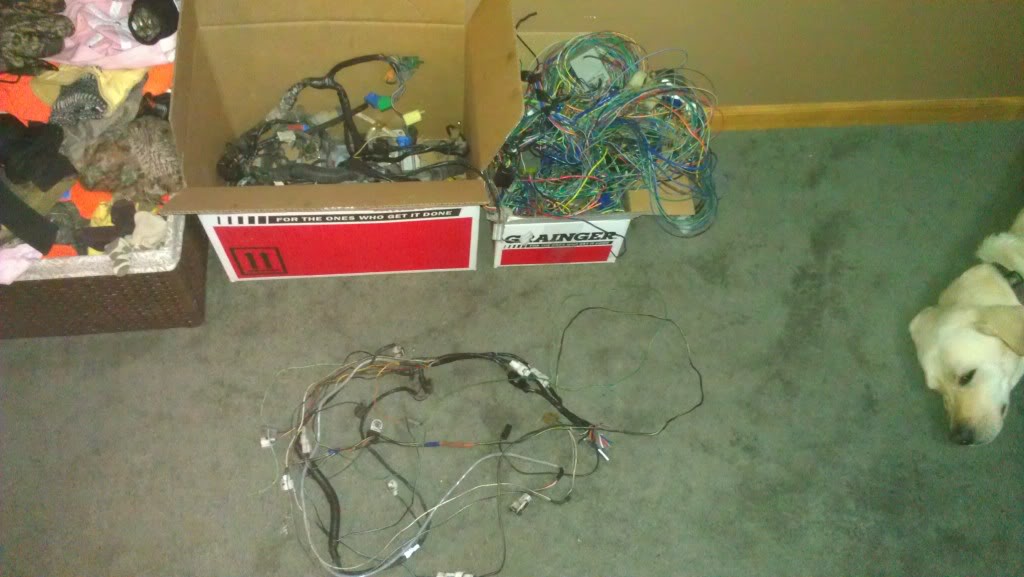
What I started with:
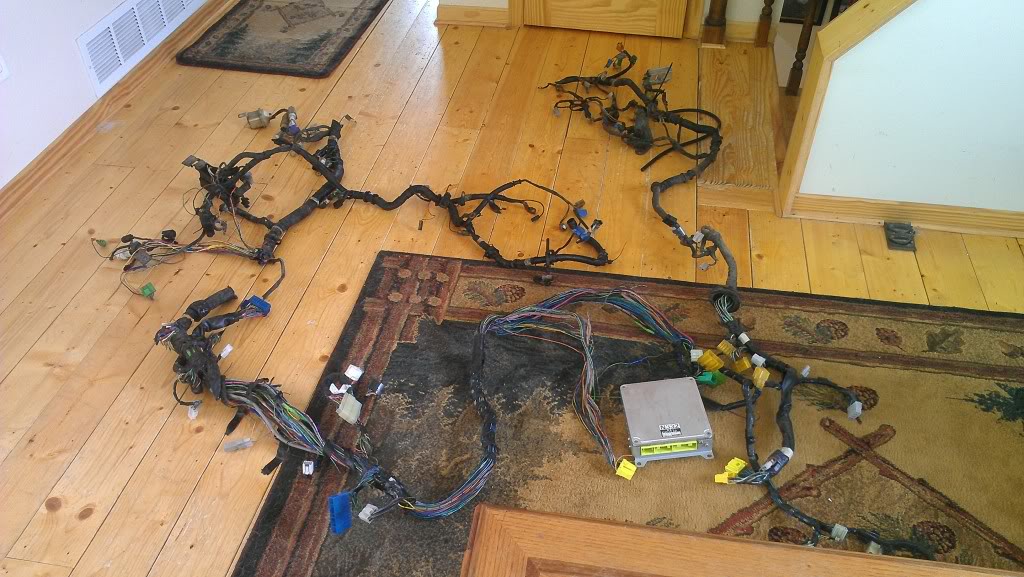
Still working on these:
Main ECU Plug #1 wiring harness and FEM-02 ready to be wired in:
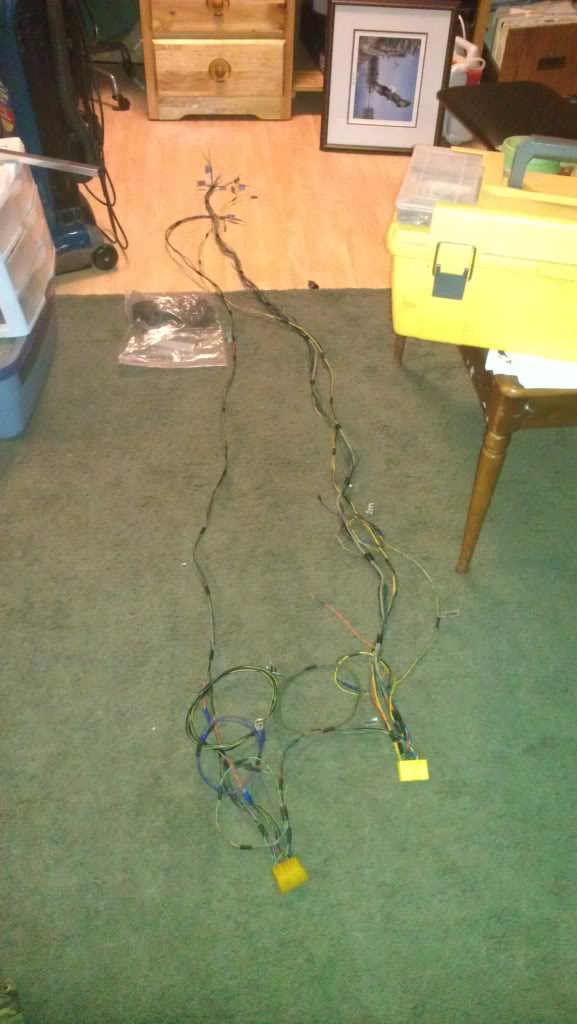
Crazy amount of time into this harness so far - probably around the 15 - 17 hour mark right now and many more to go. Goal is to make it almost a plug-and-play when the engine goes in. Everything so far is labeled and separated based on where it runs and what it goes to.
Previous owner took apart the turbo to port the wastegate. He only shaved enough so that the stock flapper fit over the opening.
So he went from:
~14mm stock size -> ~17mm ported
I went from:
~14mm stock size -> ~17mm his port -> ~21mm my port
So I'm at about 150% of the stock wastegate port size to eliminate some boost creep. I could have gone bigger but didn't want to cut into the exhaust turbine housing any more than I already did. So I'm done with this aspect of the build.
But, he put the wrong thread bolts in the wastegate cover and busted the top downpipe bolt when removing the stock DP!
In trying to remove them the heads stripped right off the bolts. I knew it was wrong when I had to put a 1/2" wrench on the bolts to remove them.
5 Dremel cutting discs, 6 drill bits, 1 stripped EZ-Out and an hour into it I've decided to bring it to a machine shop and have them remove the bolts. Will be bringing the whole housing in today.
What I started with:
Still working on these:
Main ECU Plug #1 wiring harness and FEM-02 ready to be wired in:
Crazy amount of time into this harness so far - probably around the 15 - 17 hour mark right now and many more to go. Goal is to make it almost a plug-and-play when the engine goes in. Everything so far is labeled and separated based on where it runs and what it goes to.


Looking good, 15-20 hours on wiring is about right if you're going for the "it could be factory" look. It's a bunch of work, but once you're done (if you've done it right) you won't have to touch it again for a looooong time

