85 gsl

Thread Starter
Senior Member
Joined: May 2009
Posts: 446
Likes: 0
From: troy
85 gsl
i guess i can start this even tho it will be a very very slow build lol
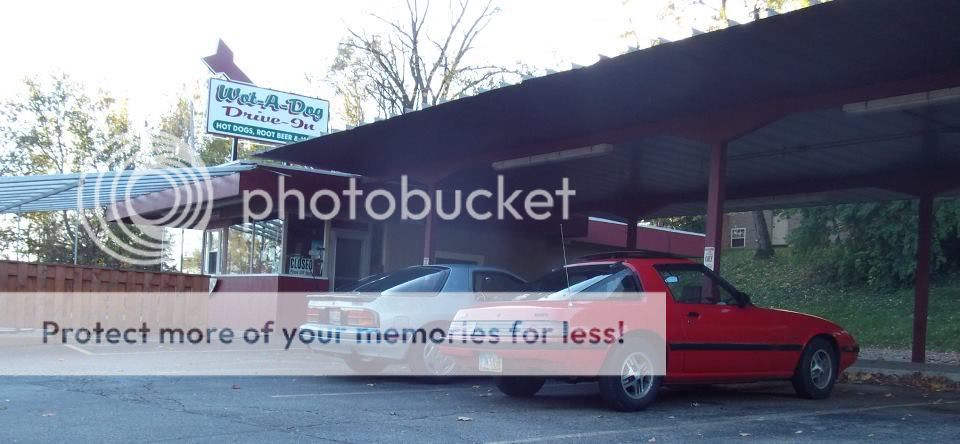
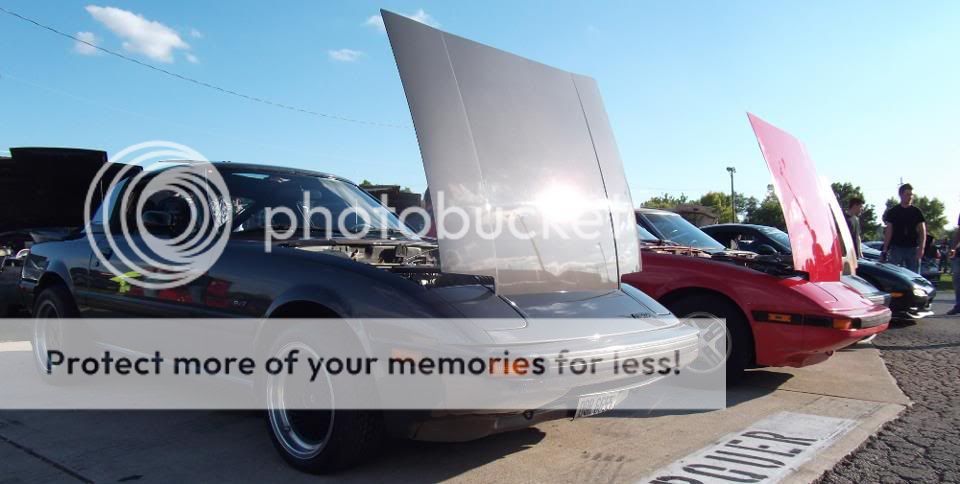
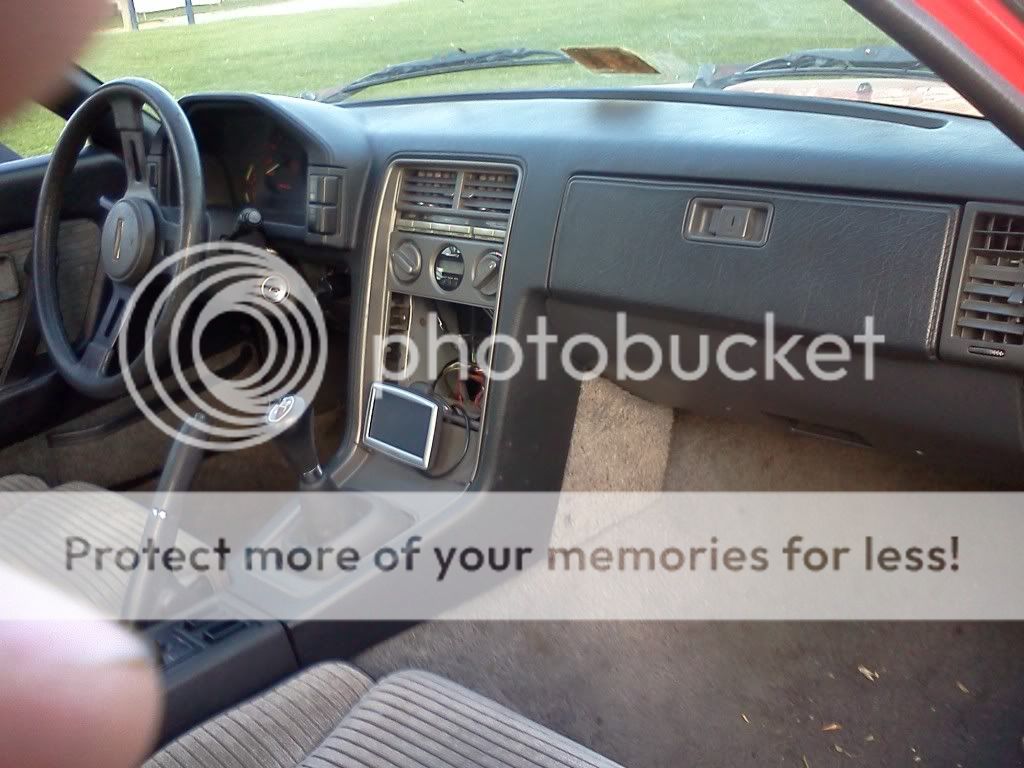
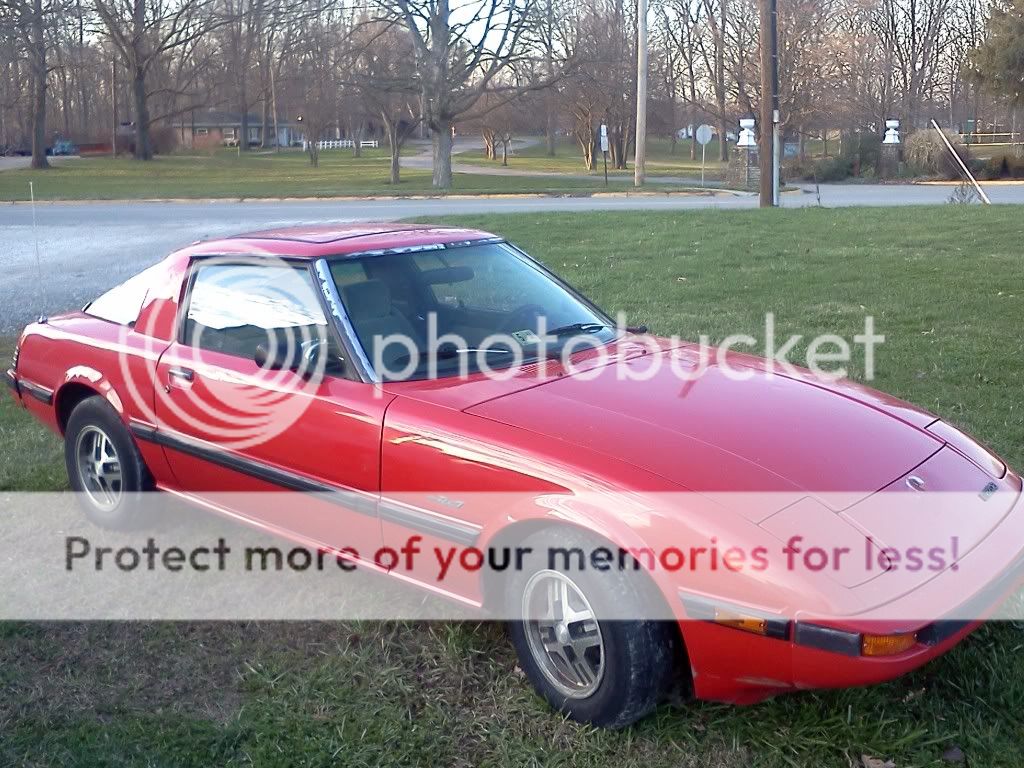
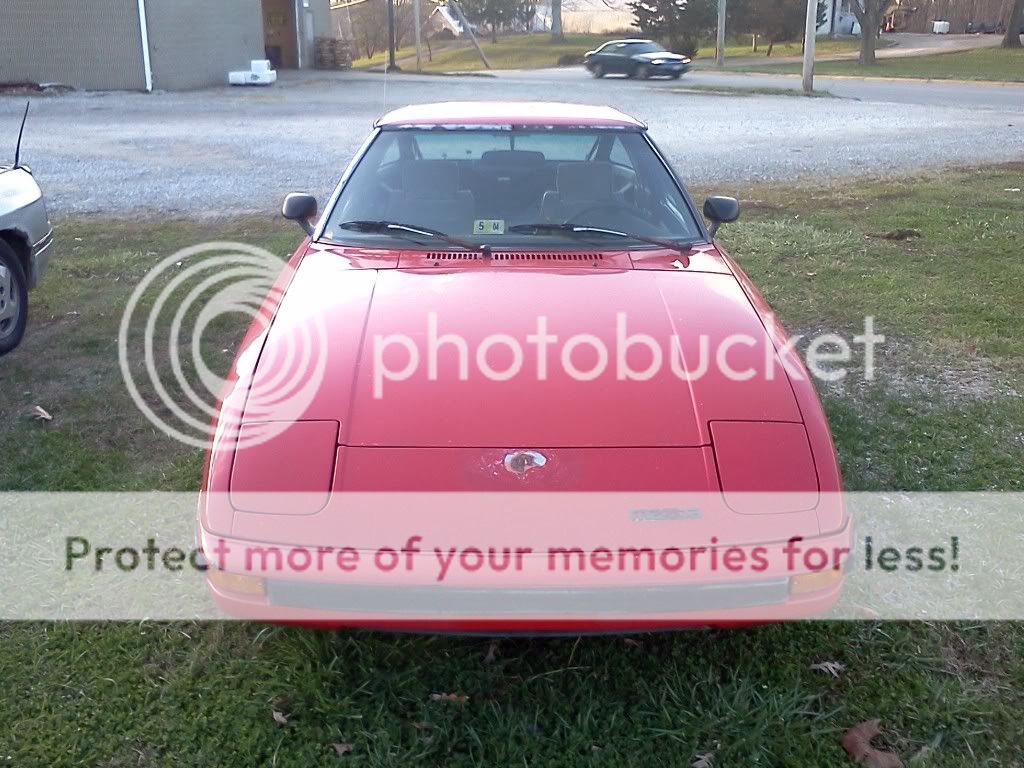
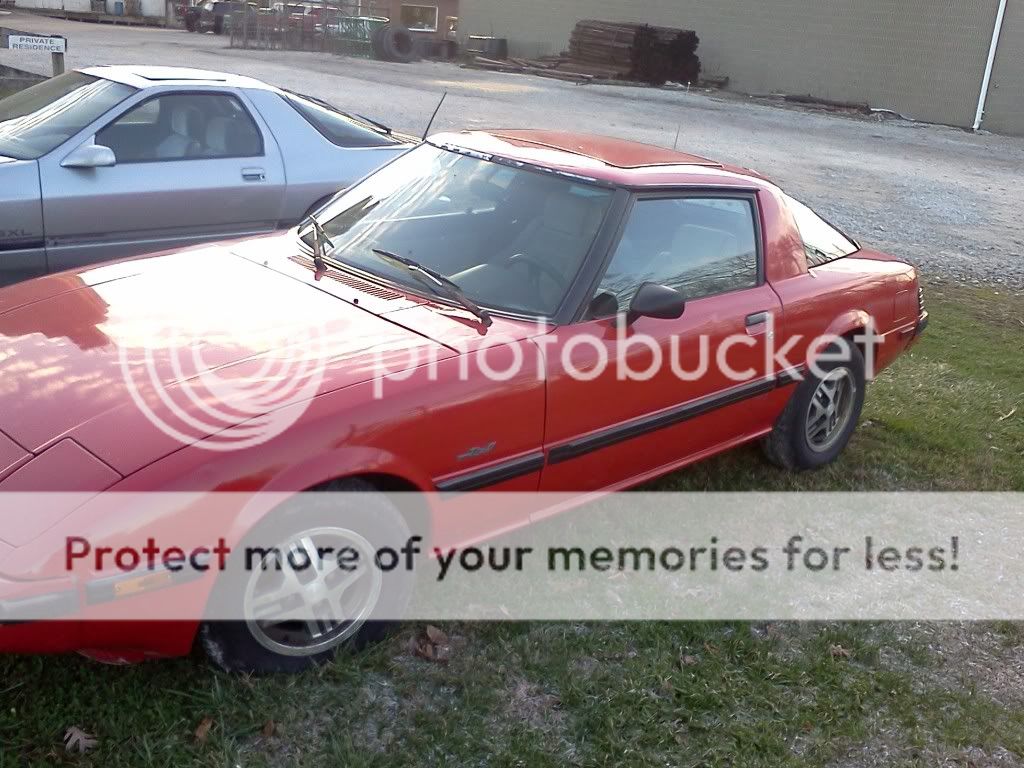
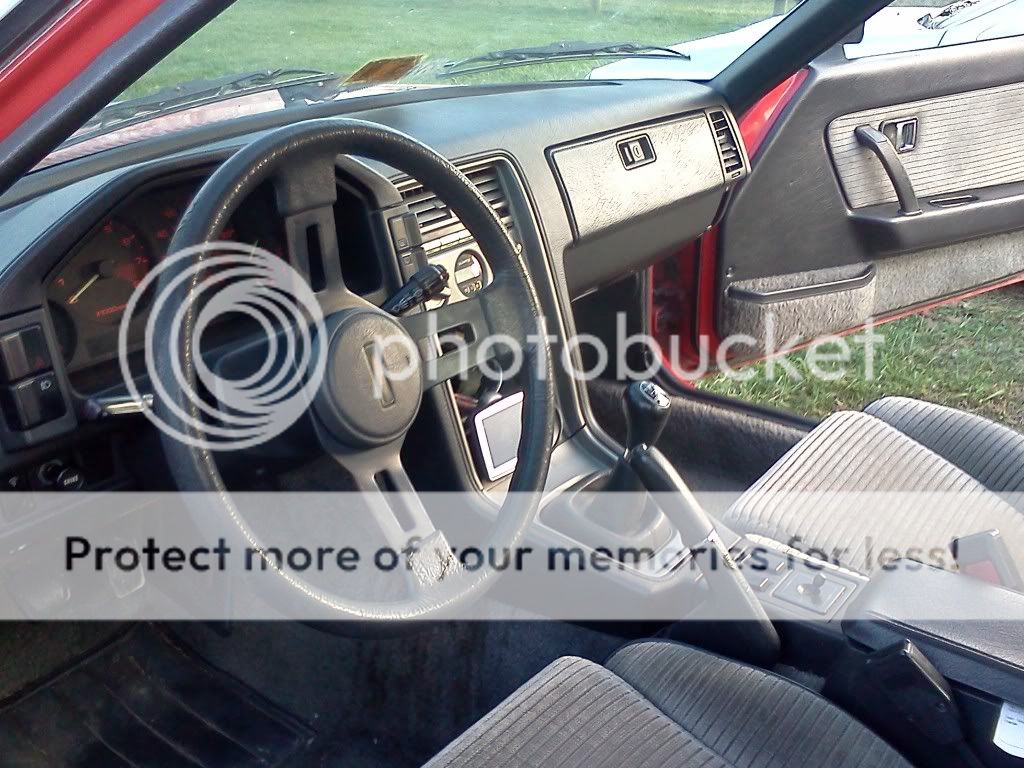
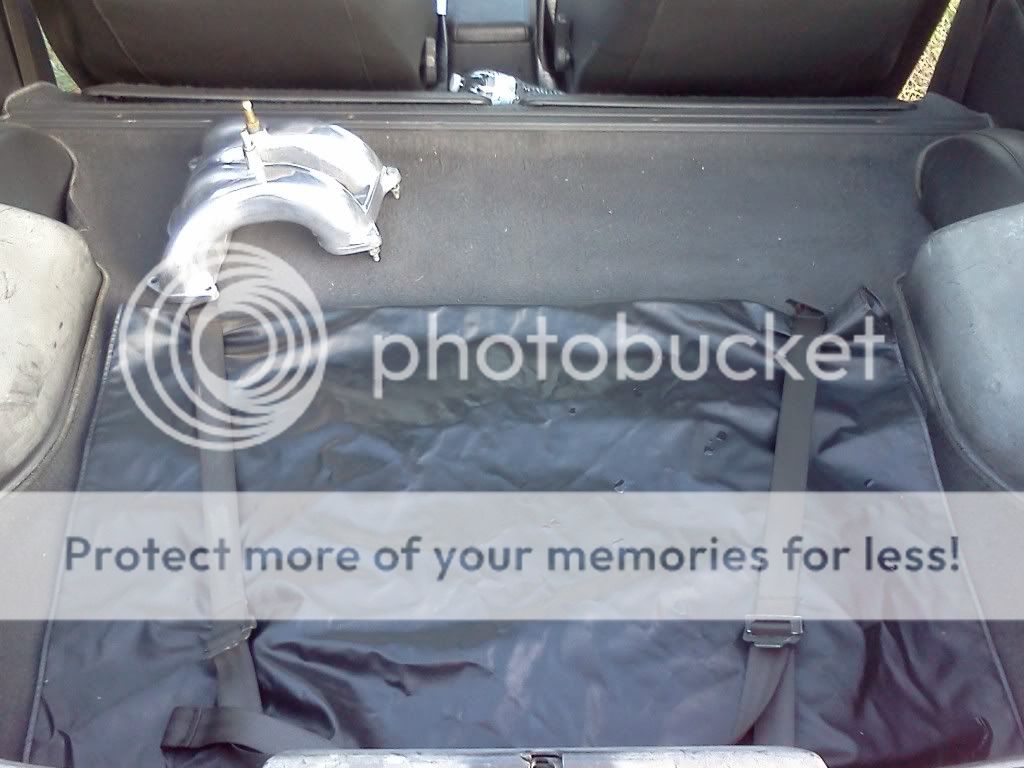
paid $1,600 for the car in september of 2011 car was 100% stock! so far the original exhaust was taken out and has now been replaced with just a thrush turbo muffler welded about 8" away from the factory manifold. all vacuum and emissions have been deleted. omp and acv have been blocked off and cab stripped down.


old school side draft intake monifold...... $135
now i just need $400 for a side draft carb :cry:
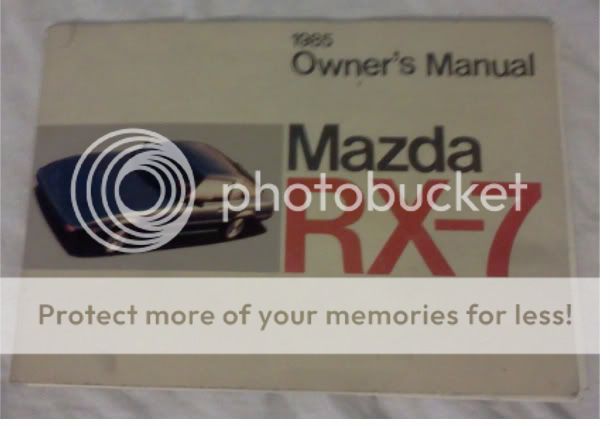
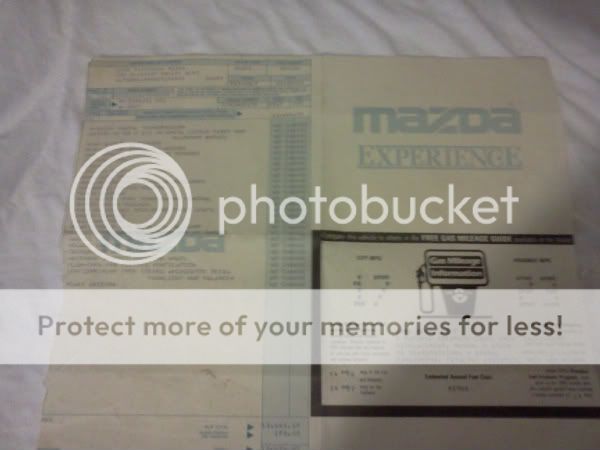
how many of you can say you have the window paper and the owners manual from 1985?
Owner's Manual
Window Paper with options
paid $1,600 for the car in september of 2011 car was 100% stock! so far the original exhaust was taken out and has now been replaced with just a thrush turbo muffler welded about 8" away from the factory manifold. all vacuum and emissions have been deleted. omp and acv have been blocked off and cab stripped down.
old school side draft intake monifold...... $135
now i just need $400 for a side draft carb :cry:
how many of you can say you have the window paper and the owners manual from 1985?
Owner's Manual
Window Paper with options
Thread Starter
Senior Member
Joined: May 2009
Posts: 446
Likes: 0
From: troy
interesting facts:
Dealer: Dean Patterson Mazda
Location: 200 Pleasant Valley BLVD
Altoona, Pennsylvania 16603
Purchase Date: August 8,1985
Purchase Price: $13,834.00
Model: RX7-GSLP
Color: Ext: Sunrise Red
Int: Grey
Shipping Weight: 2380LBS
Rated Gas Mileage: City: 14-20
Highway: 19-27
Motor: 1.1L 2 rotor 70(35x2) cubic inches
Carb: 4 barrel Nikki carb


Thread Starter
Senior Member
Joined: May 2009
Posts: 446
Likes: 0
From: troy
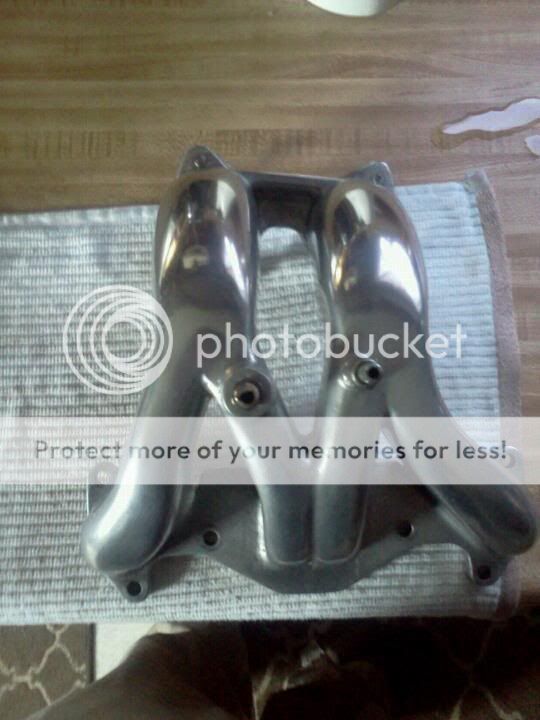
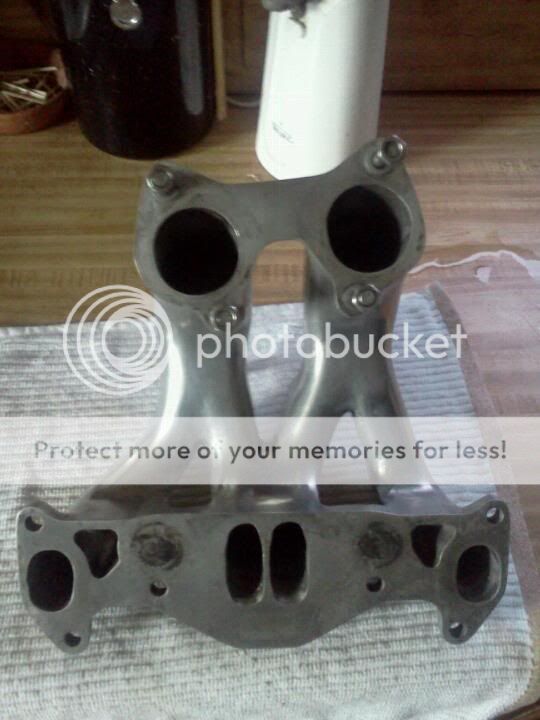
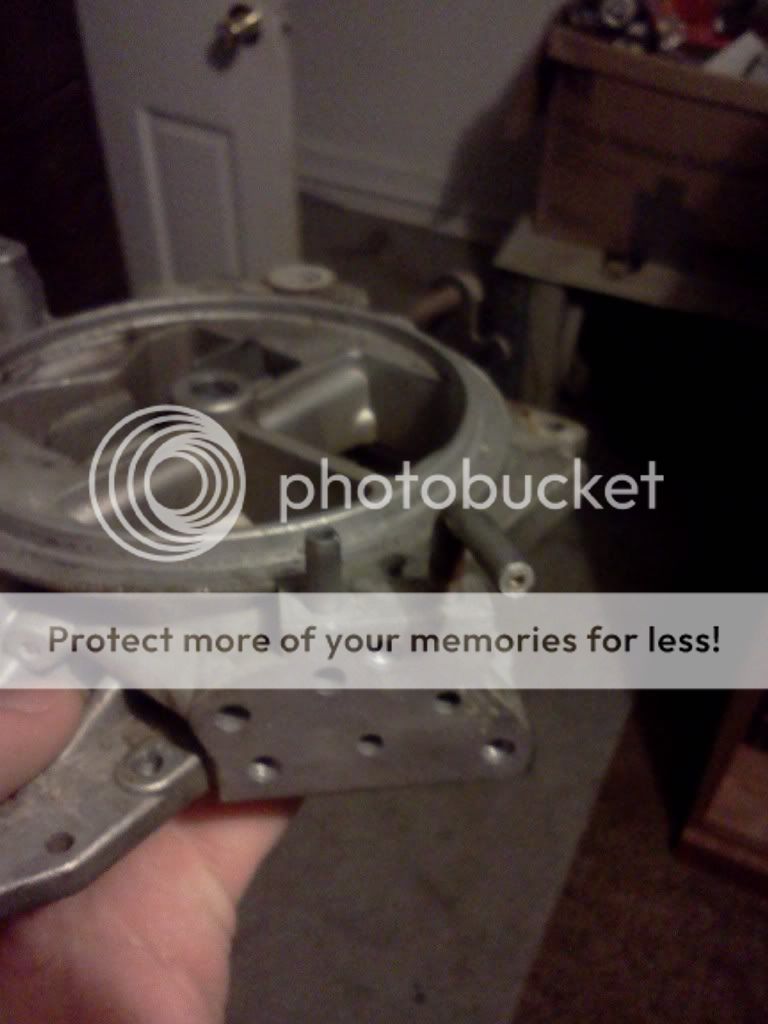
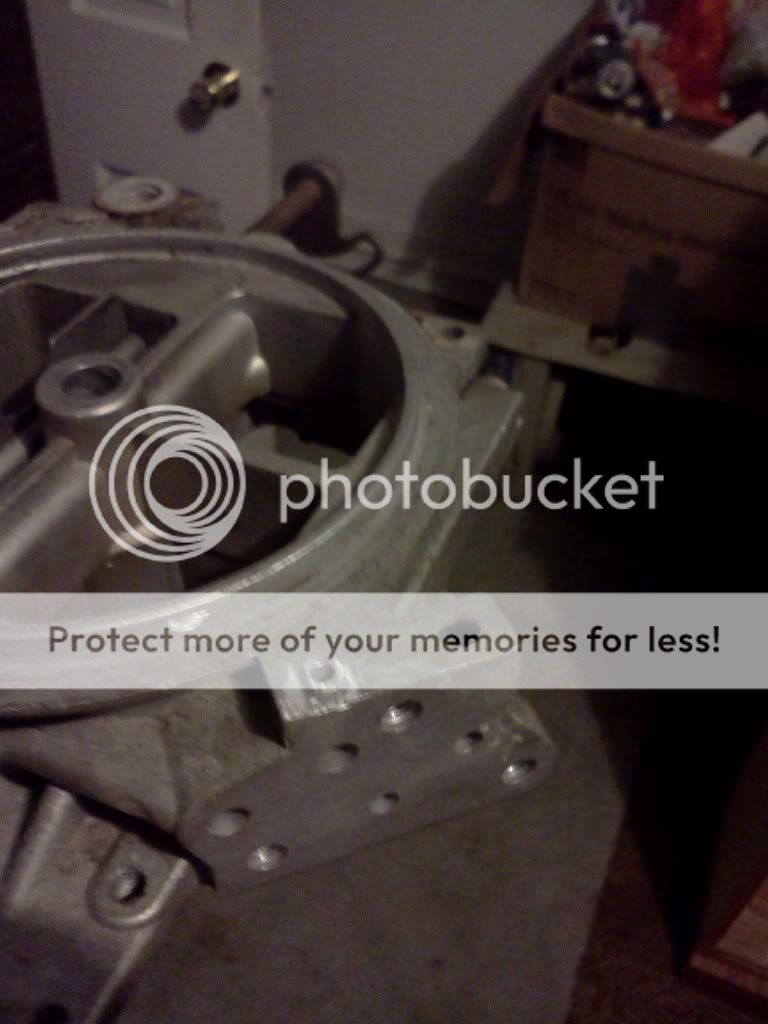
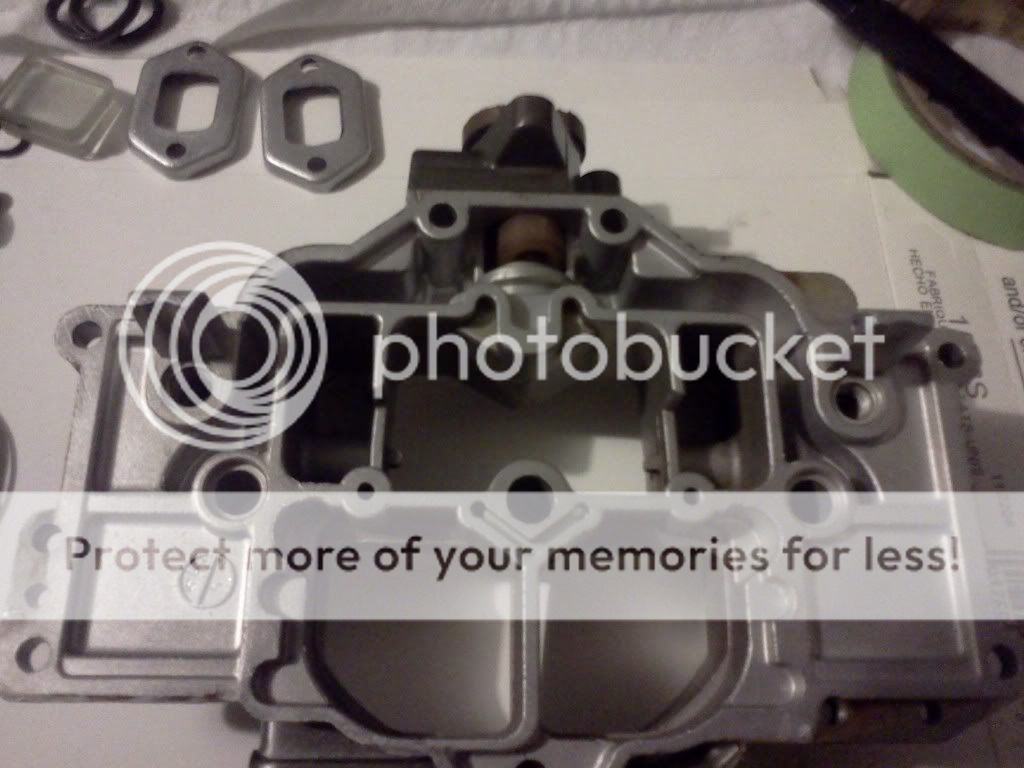
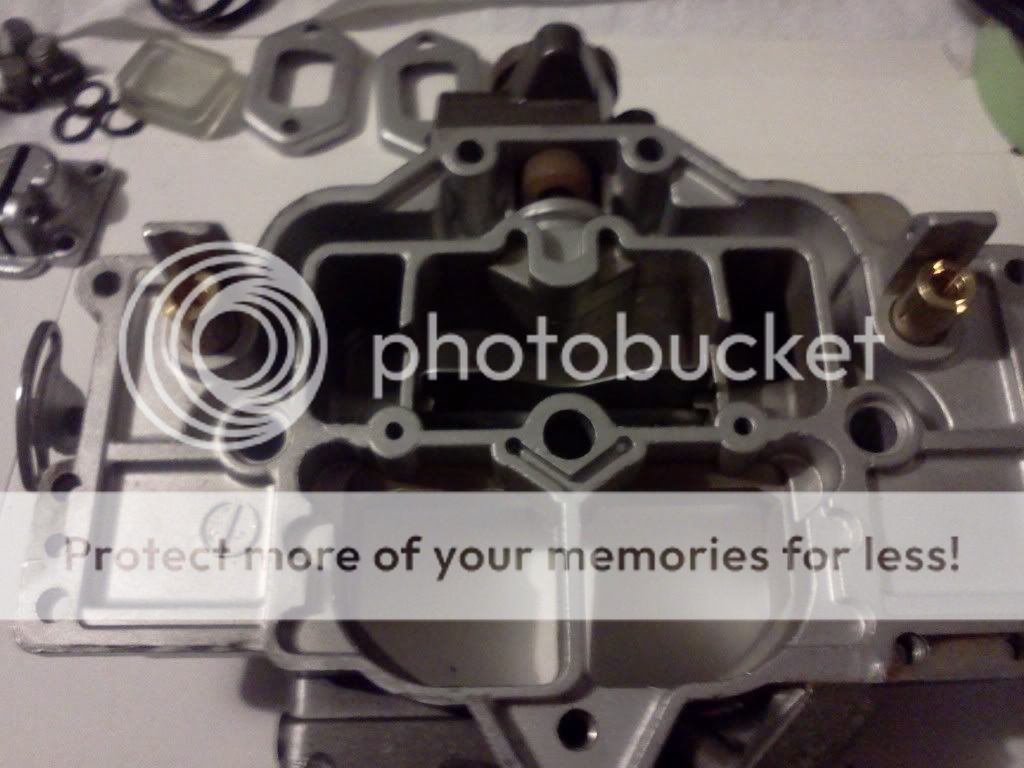
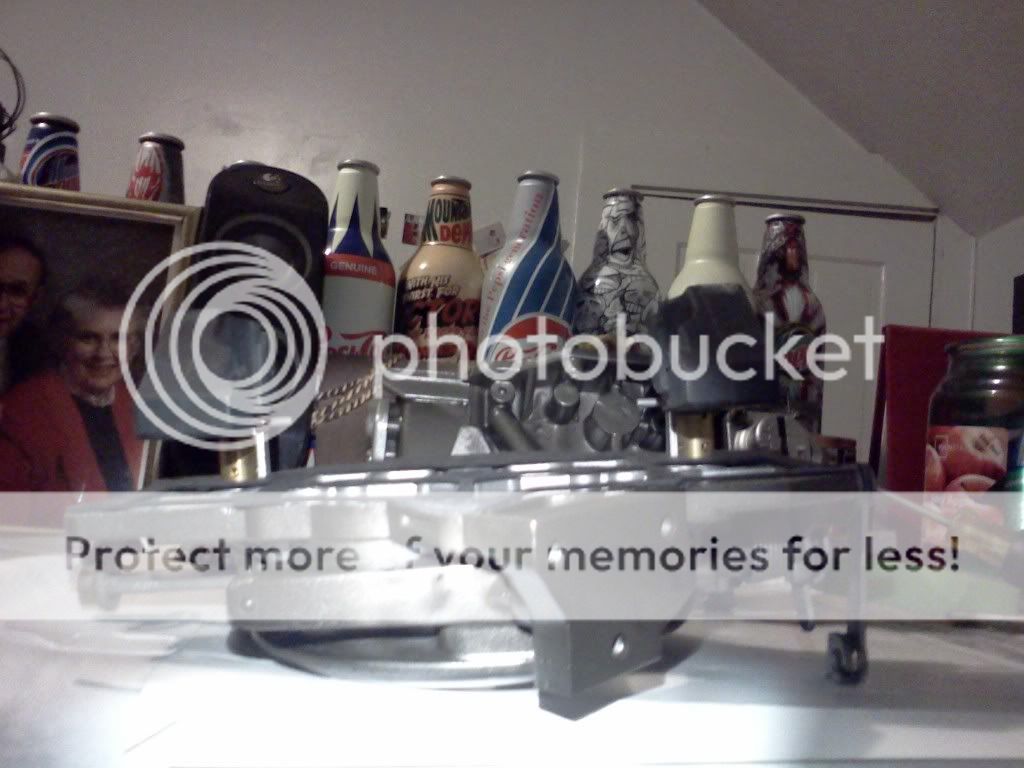
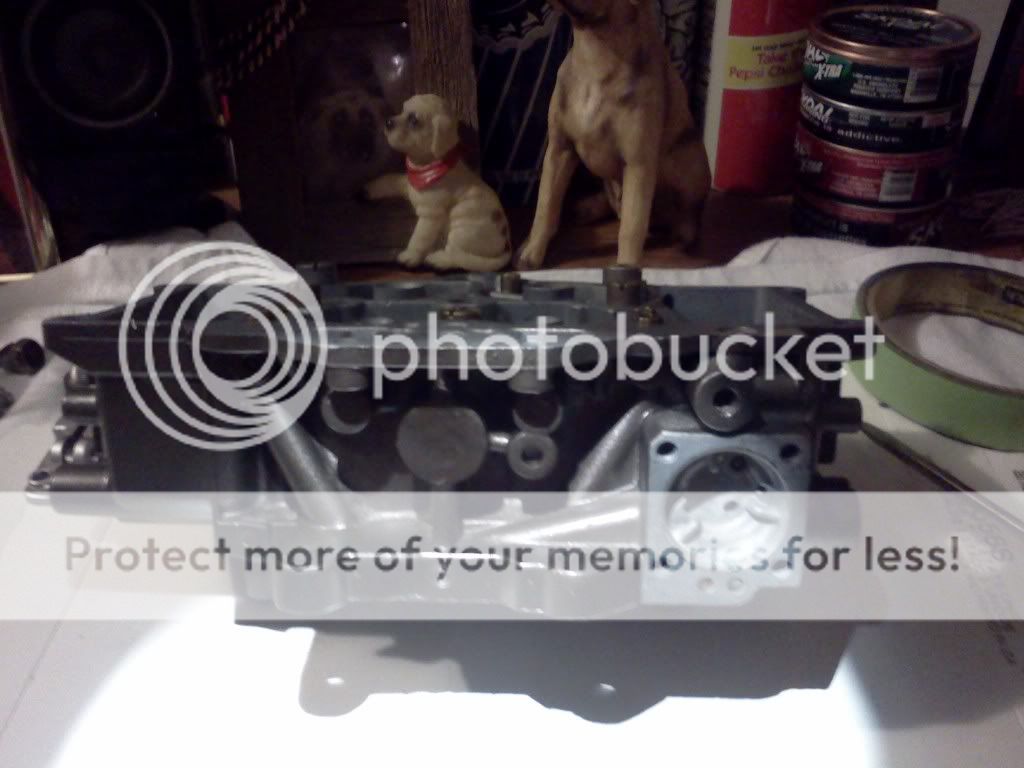
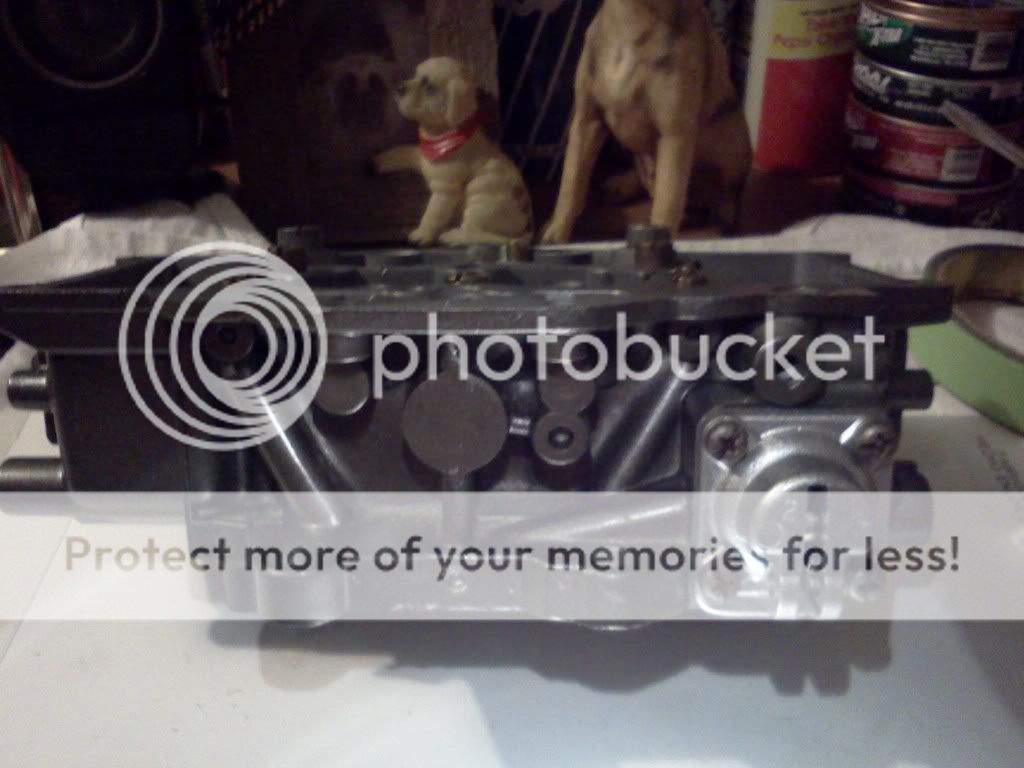
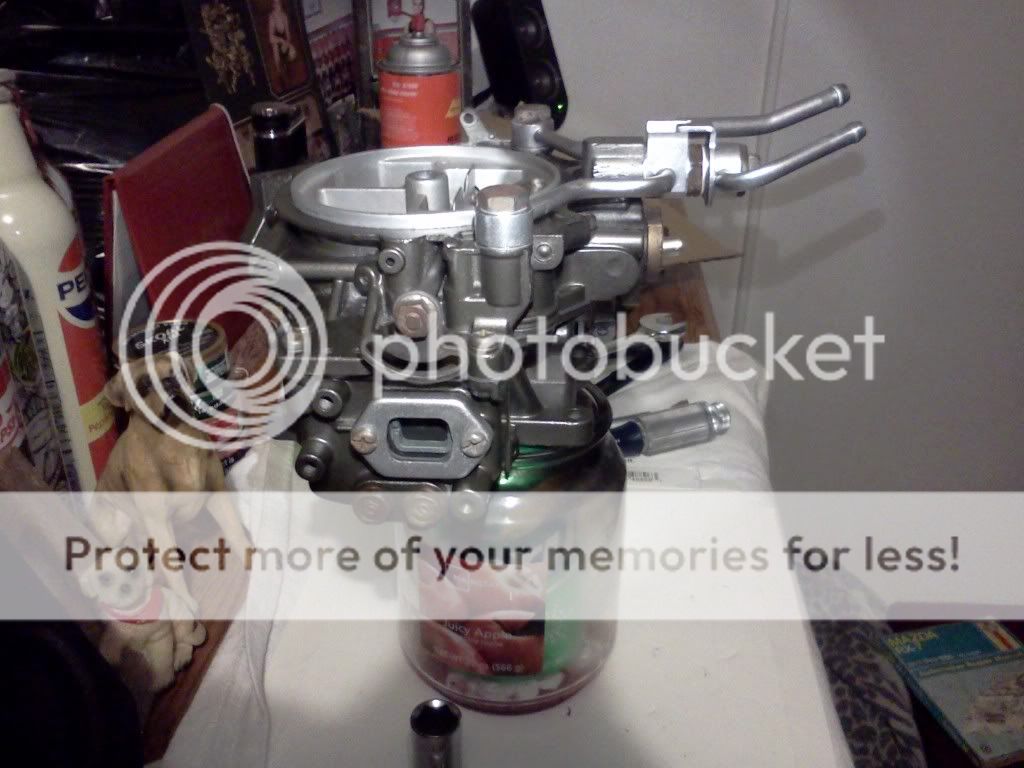
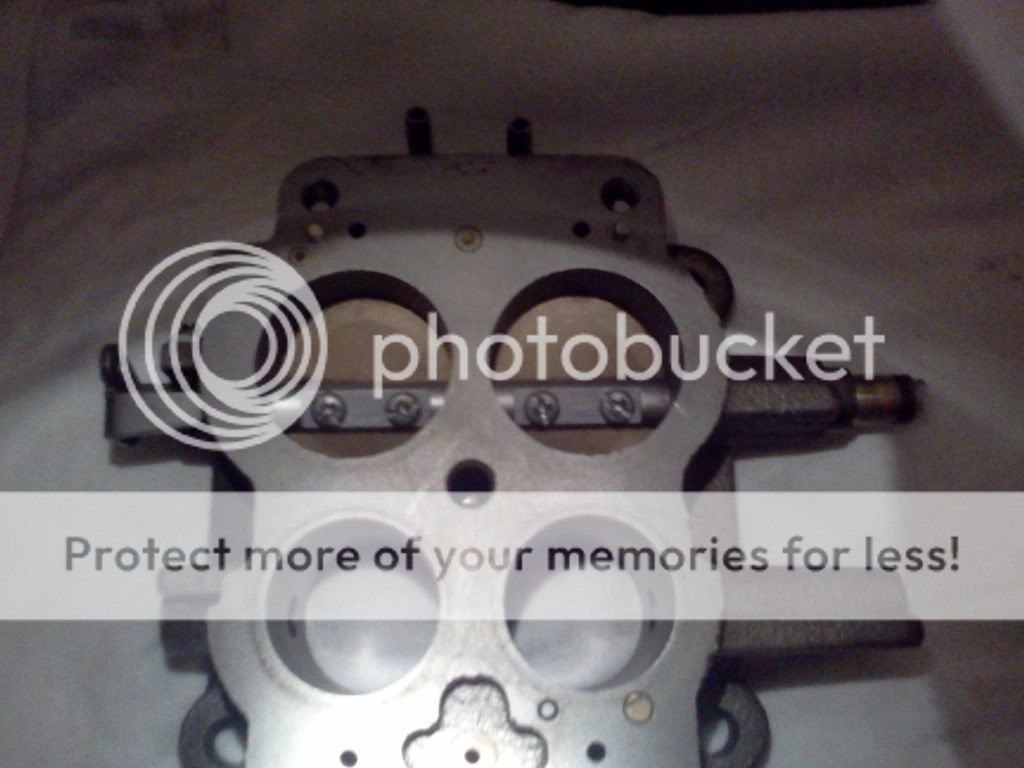
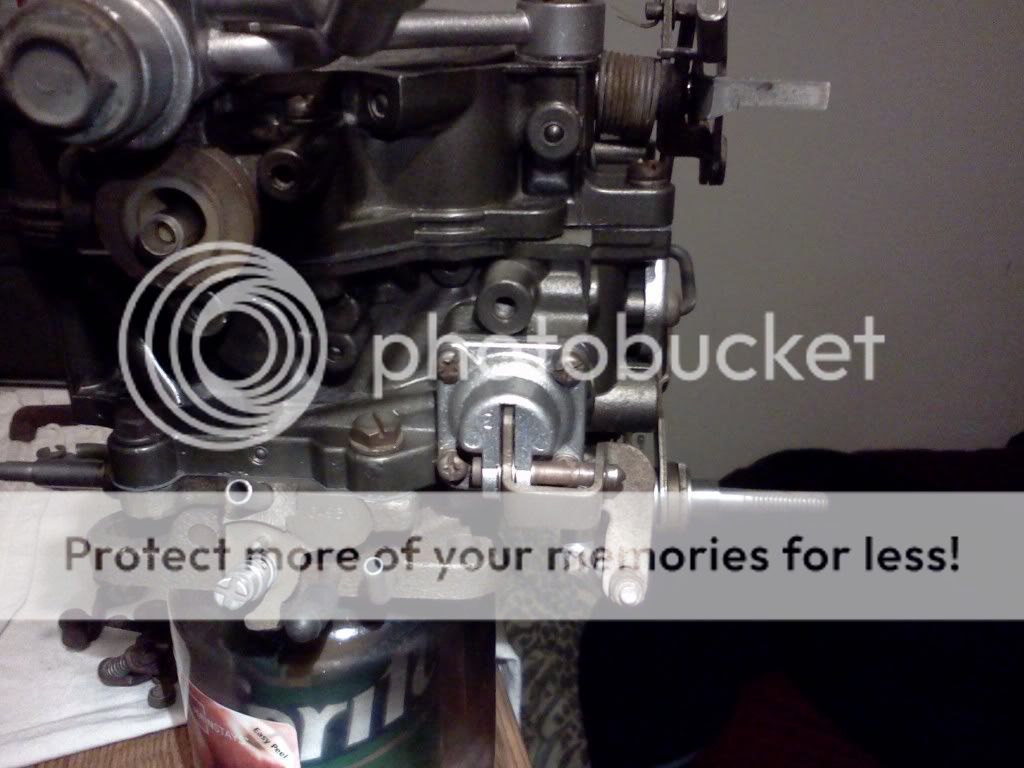
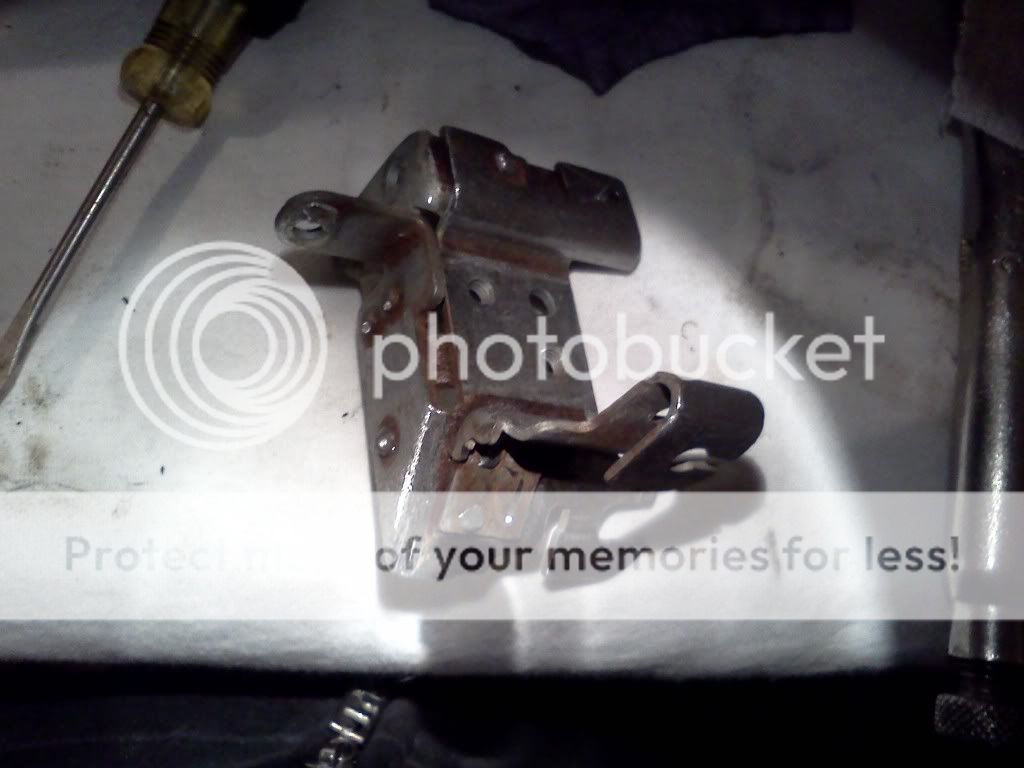
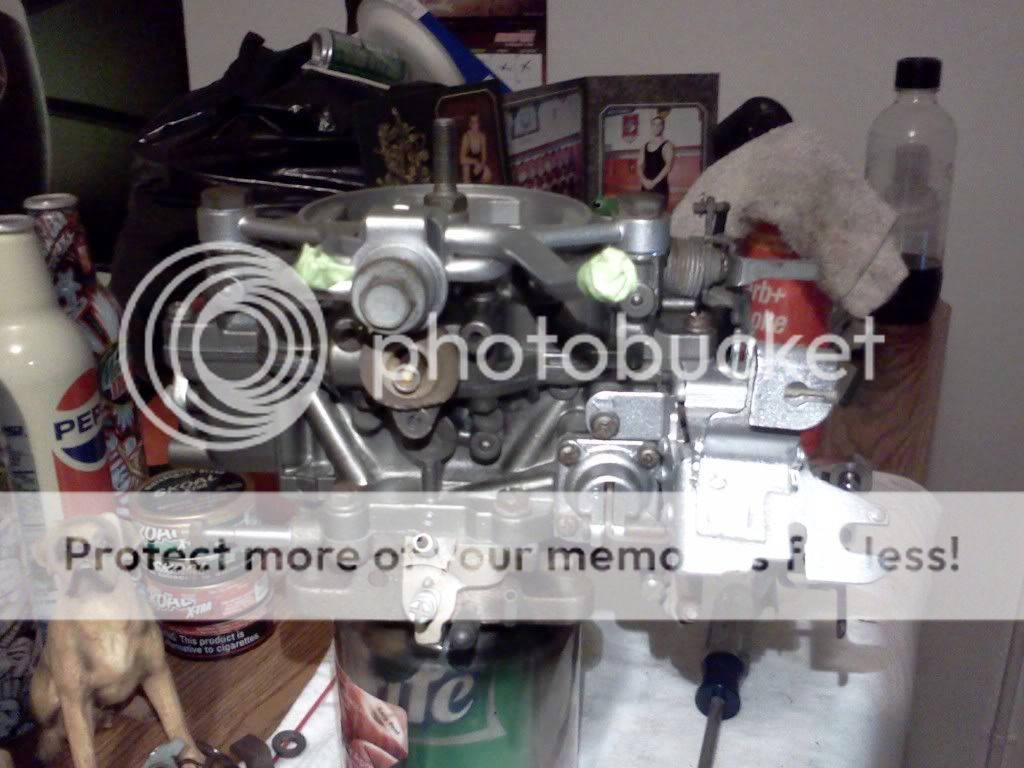
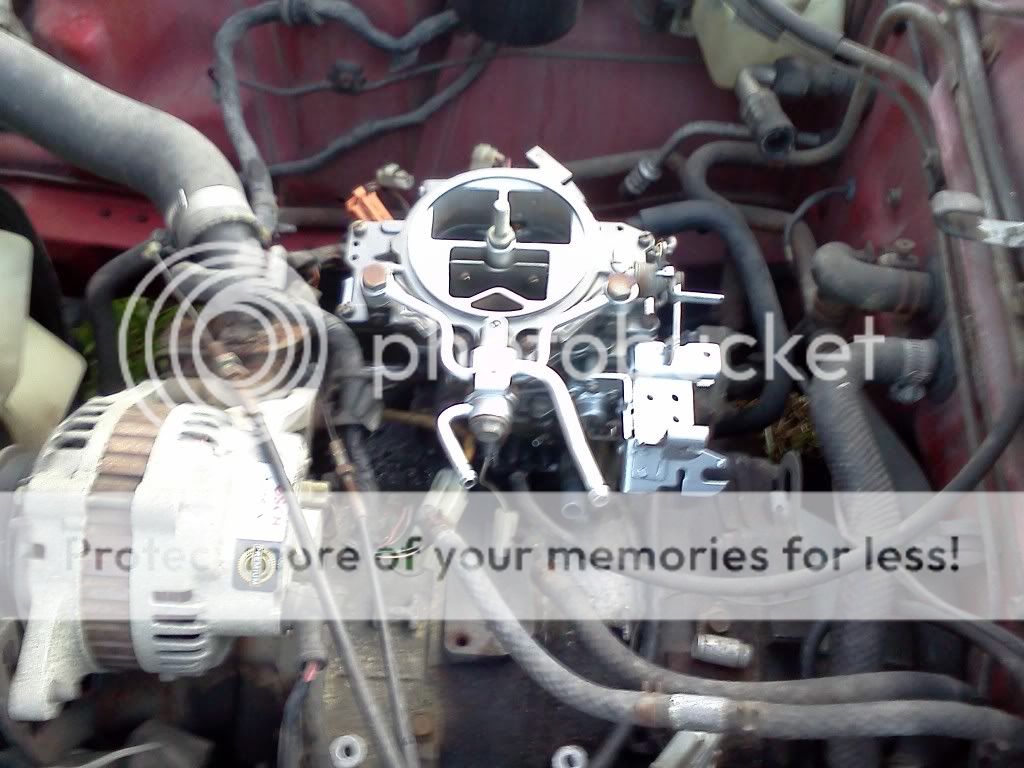
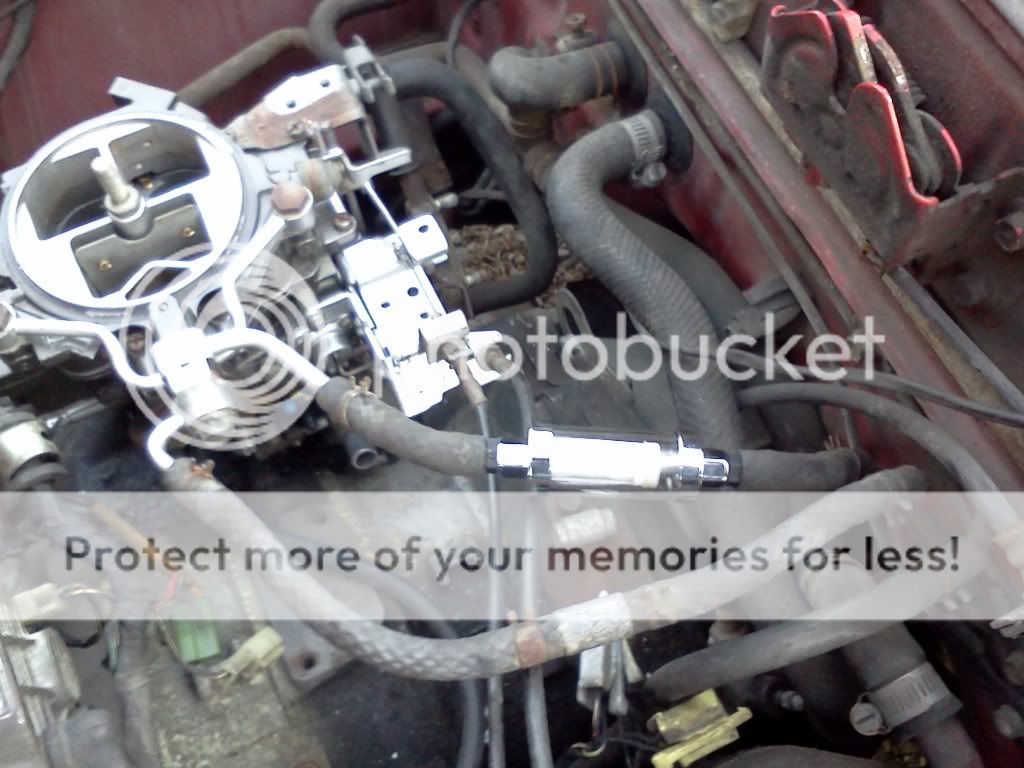
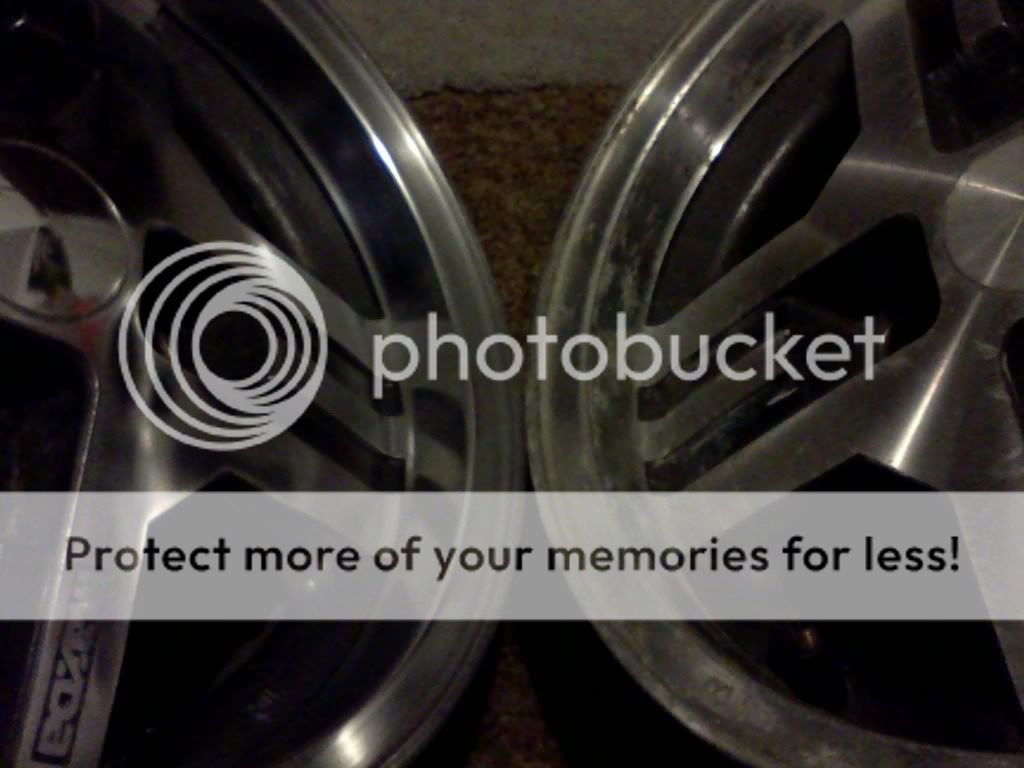
Well here it is.... i forgot to take pics before i took it apart, but trust me it was pretty bad!
i still have alot of parts to take apart, but this is where i'm at now
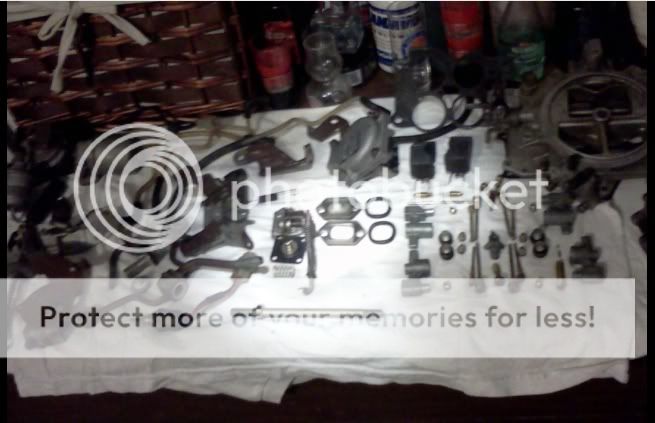

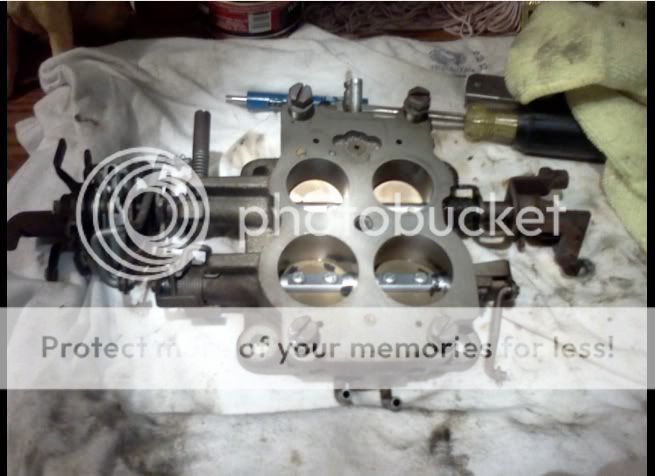
there was alot of dirt floating inside
i still have alot of parts to take apart, but this is where i'm at now
there was alot of dirt floating inside
Thread Starter
Senior Member
Joined: May 2009
Posts: 446
Likes: 0
From: troy
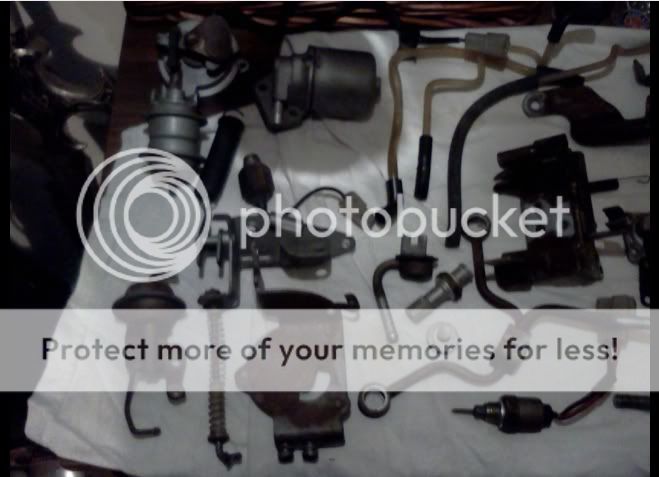
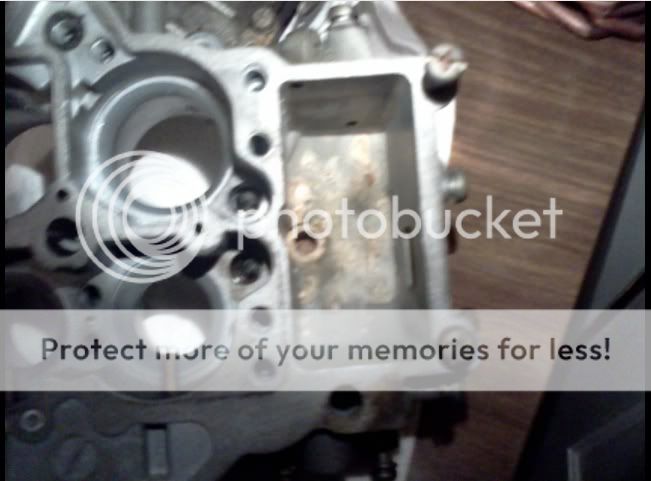
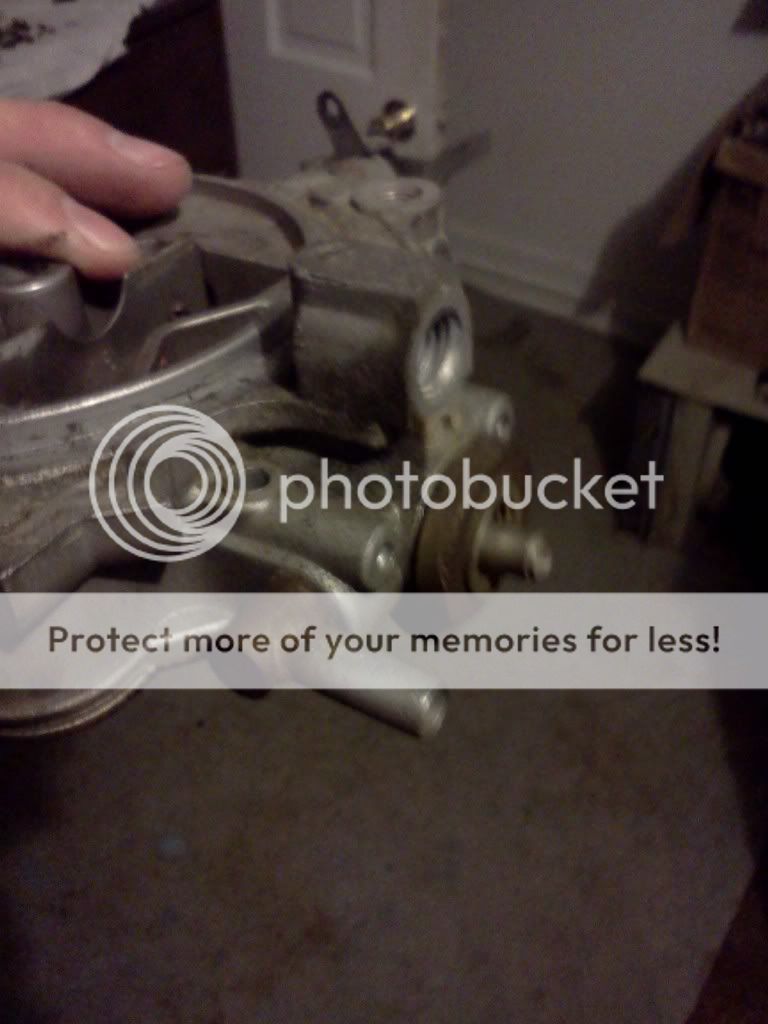
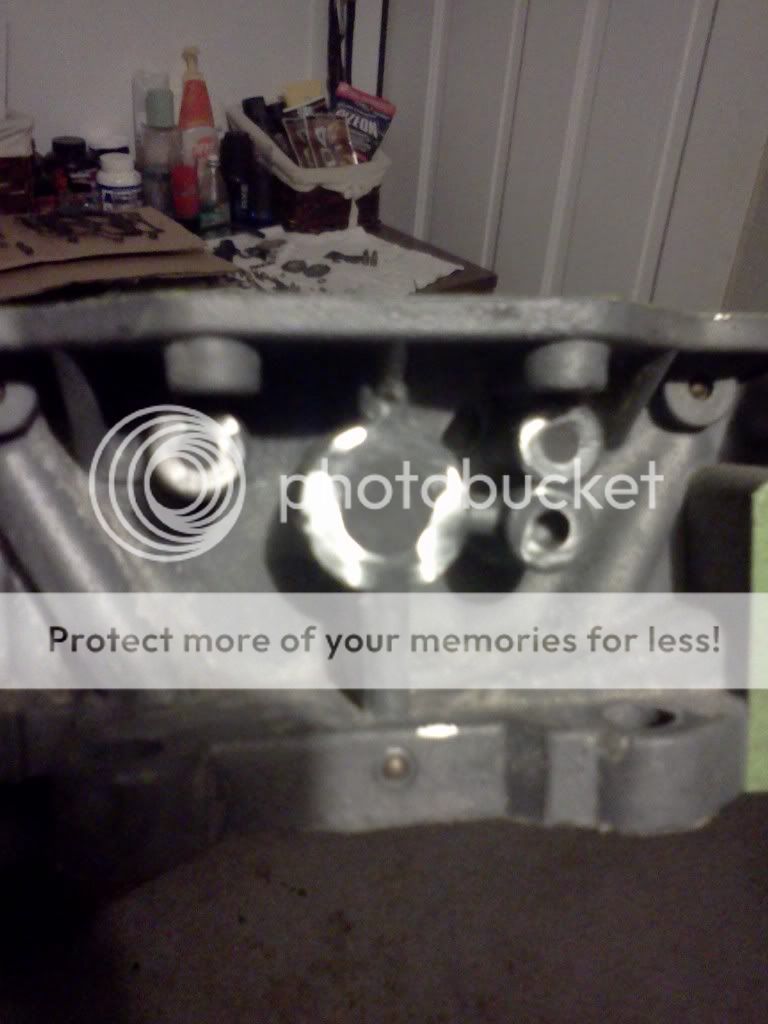
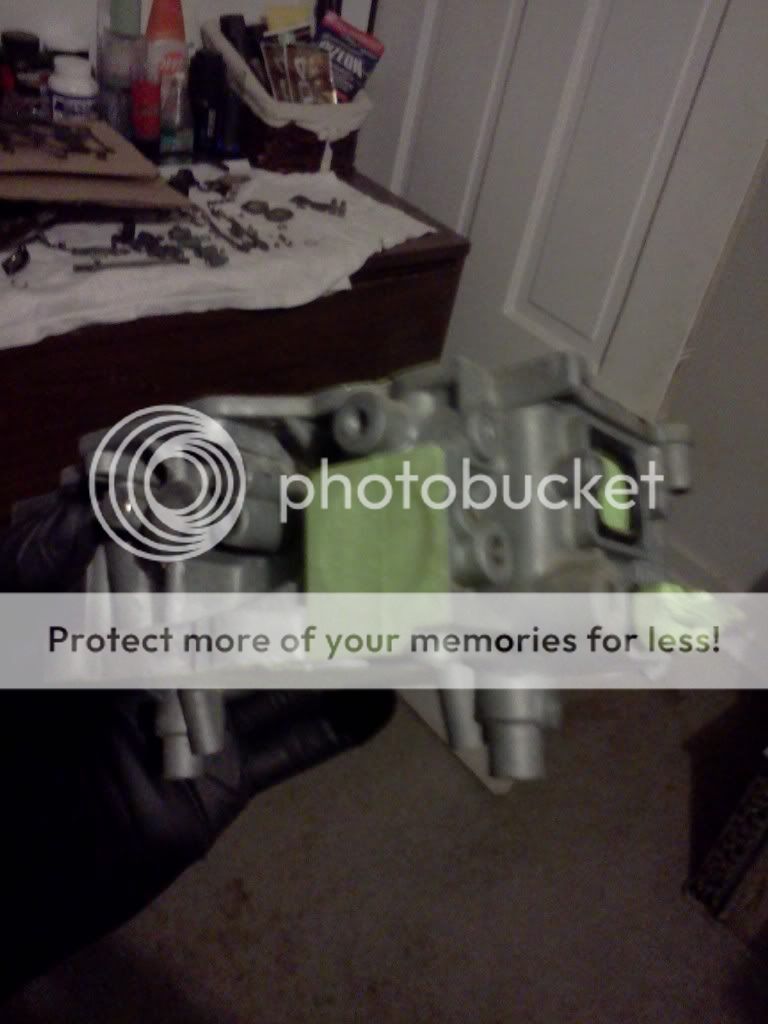
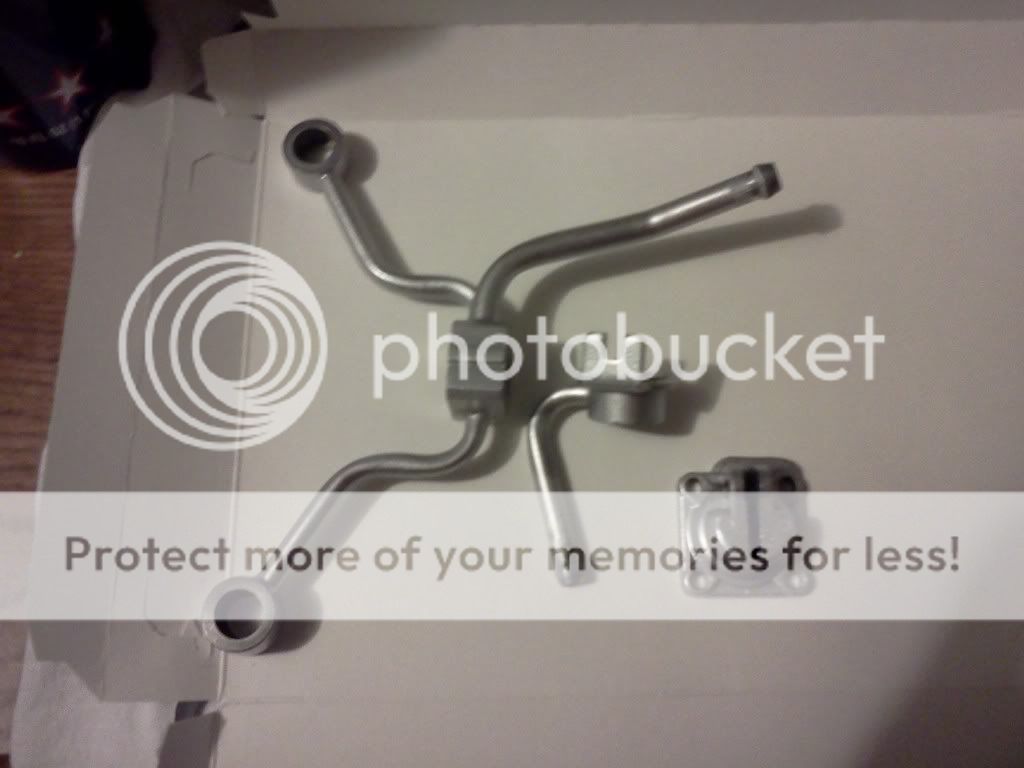
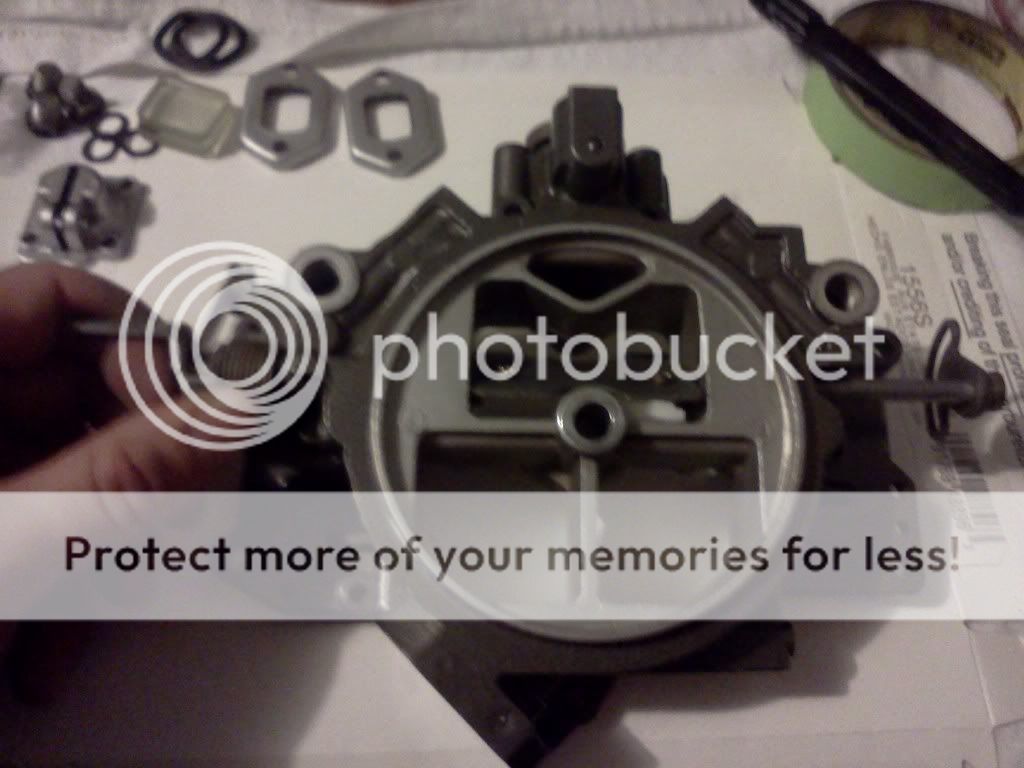
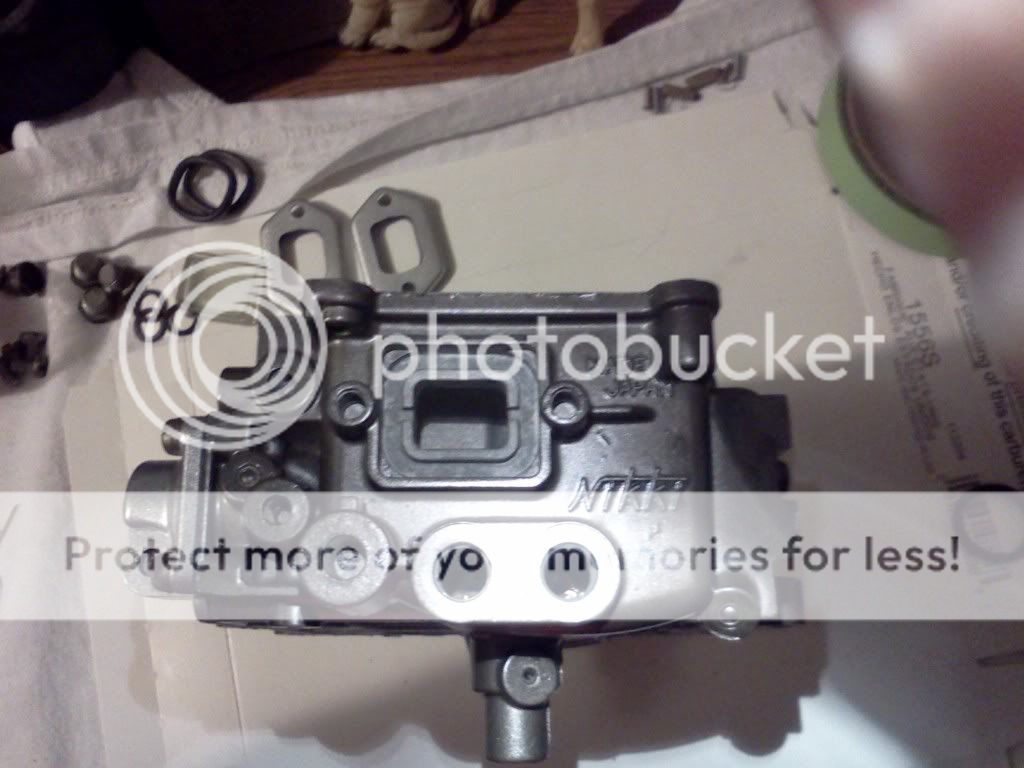
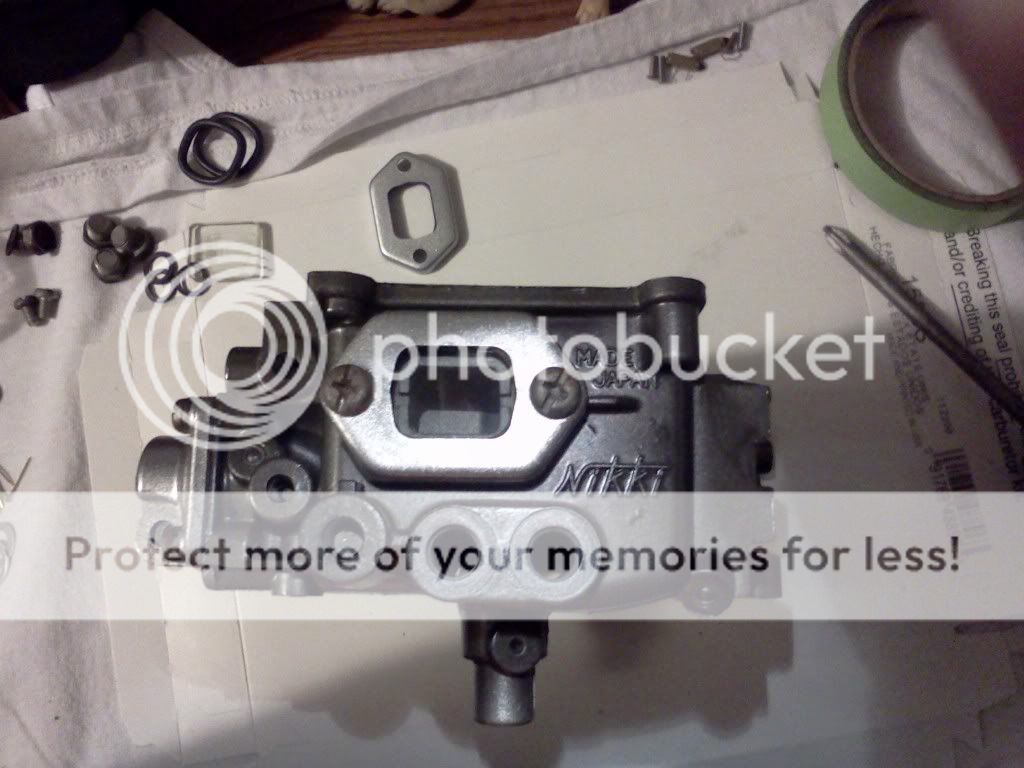
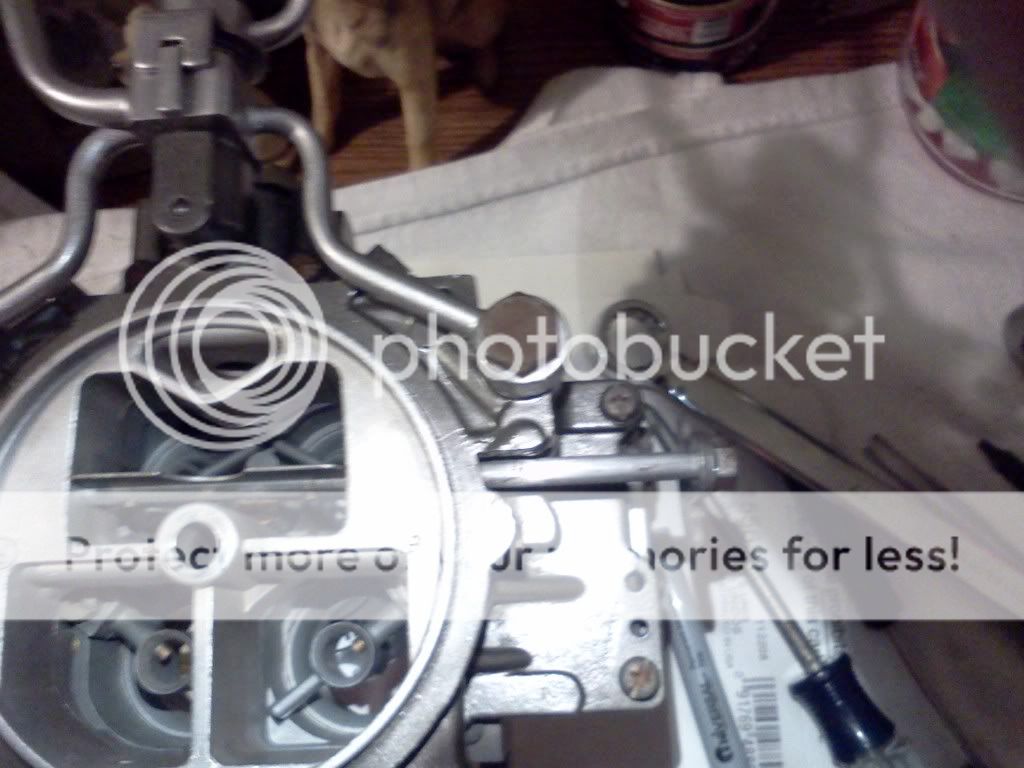
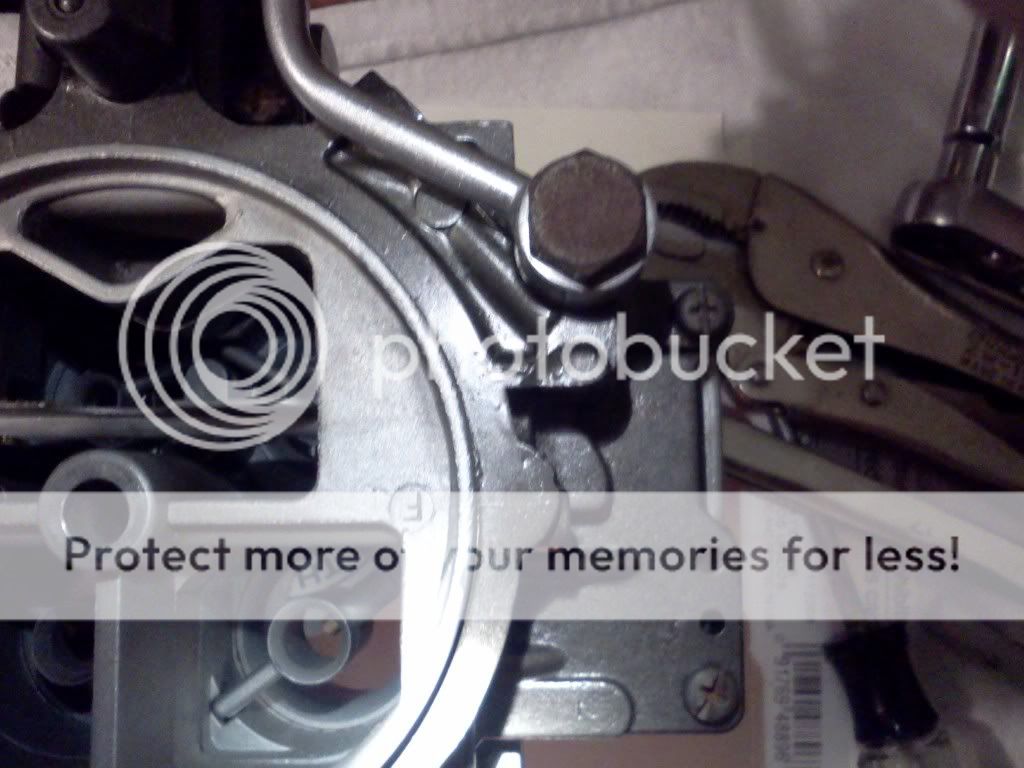
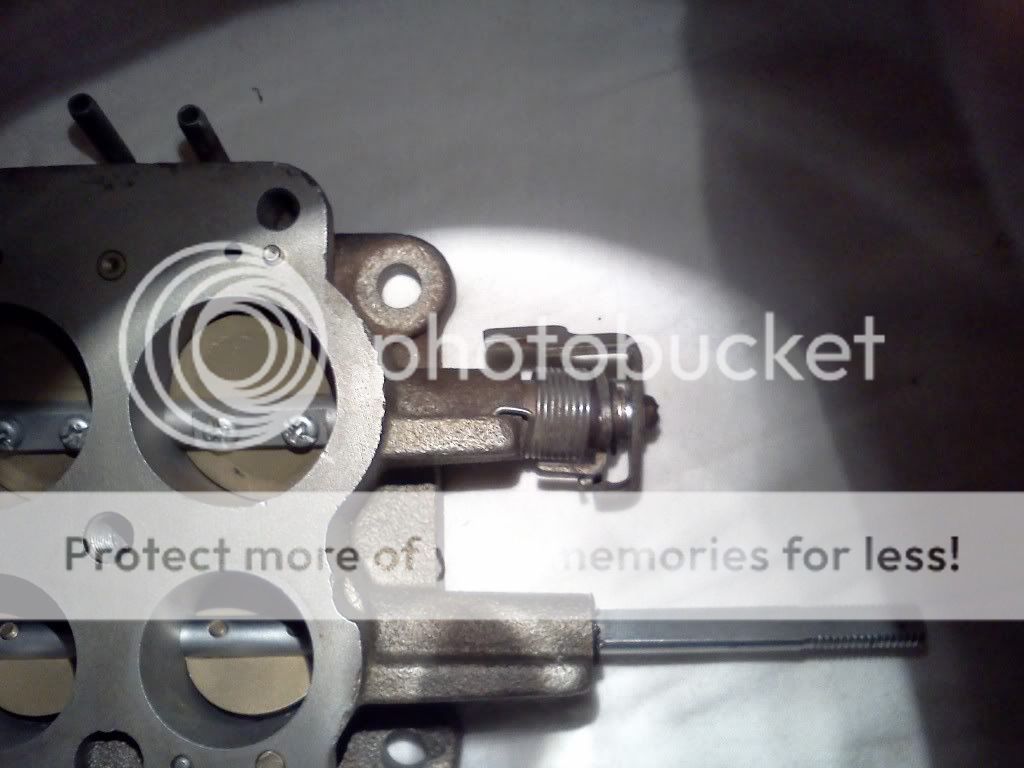
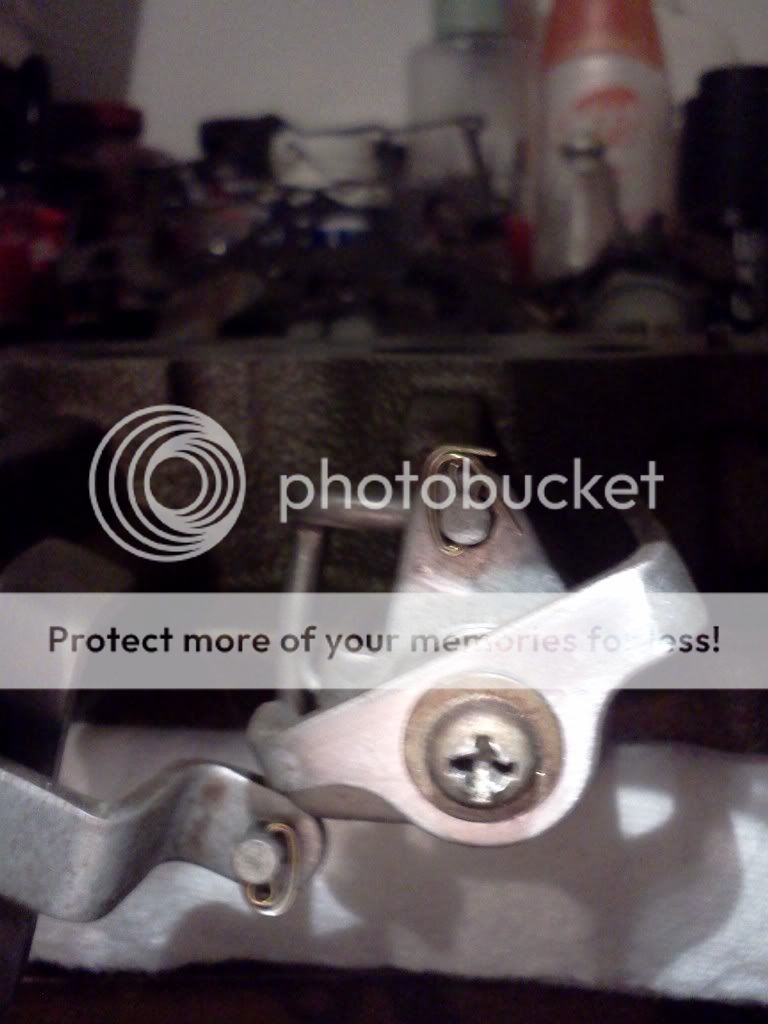
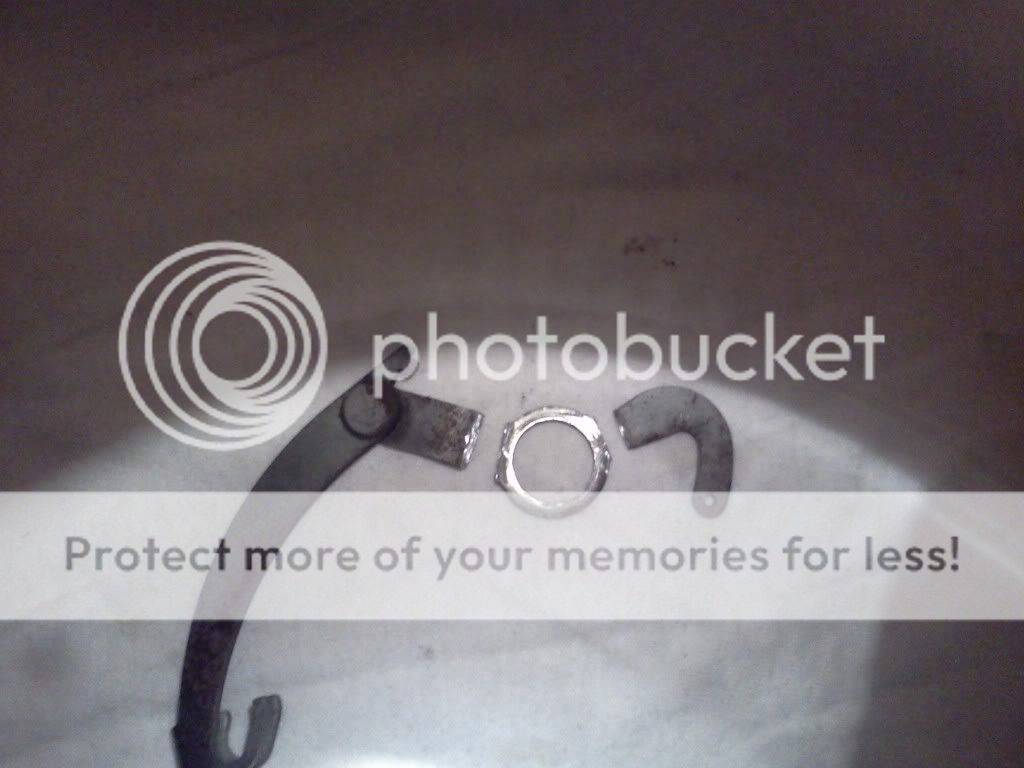
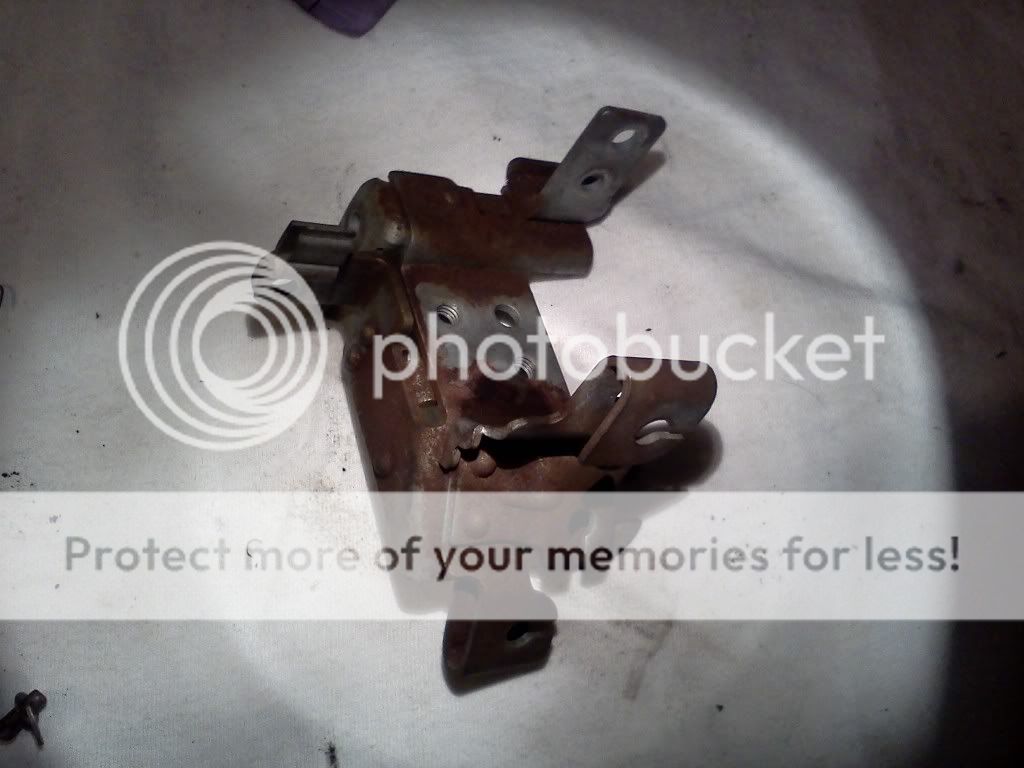
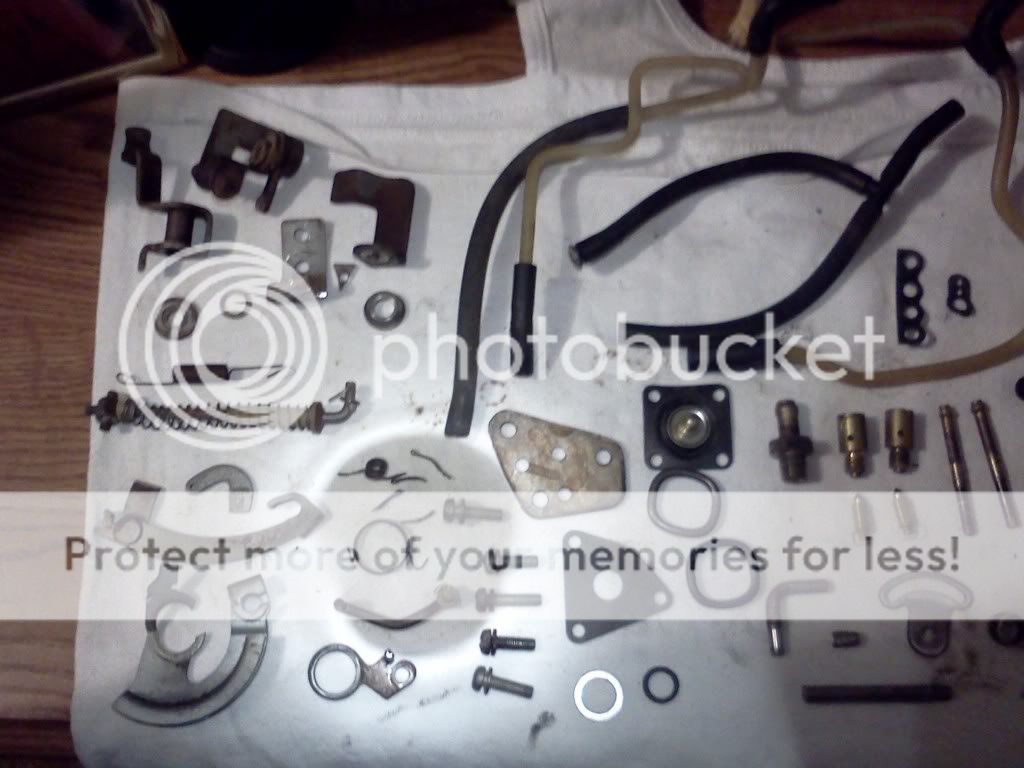
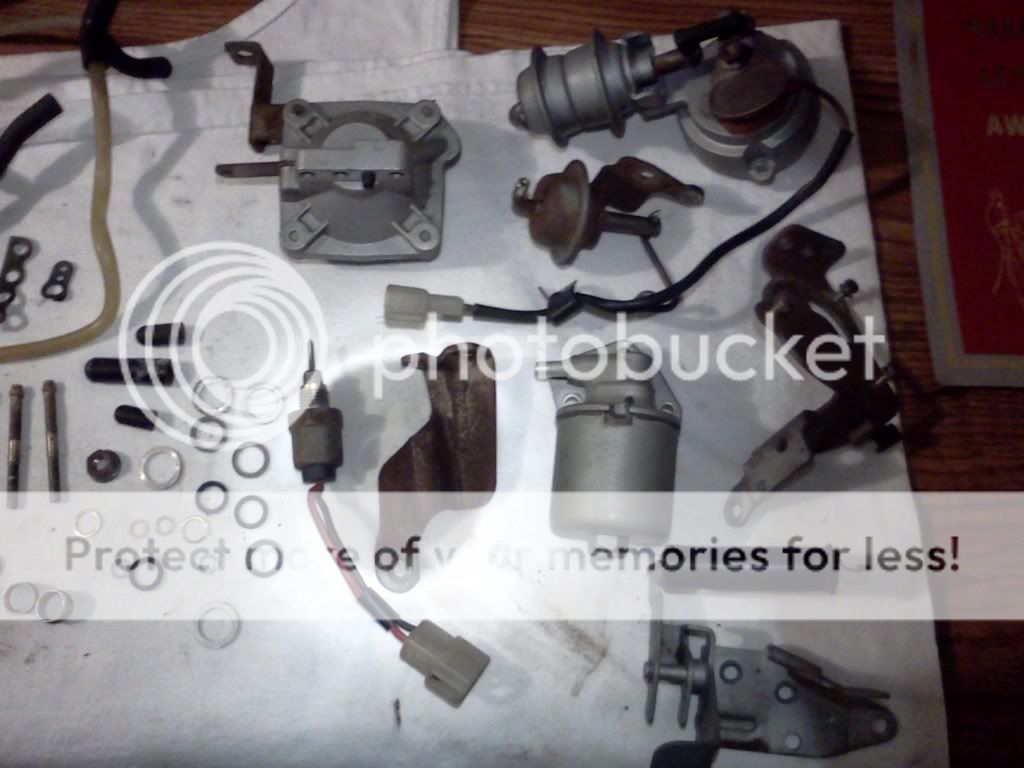
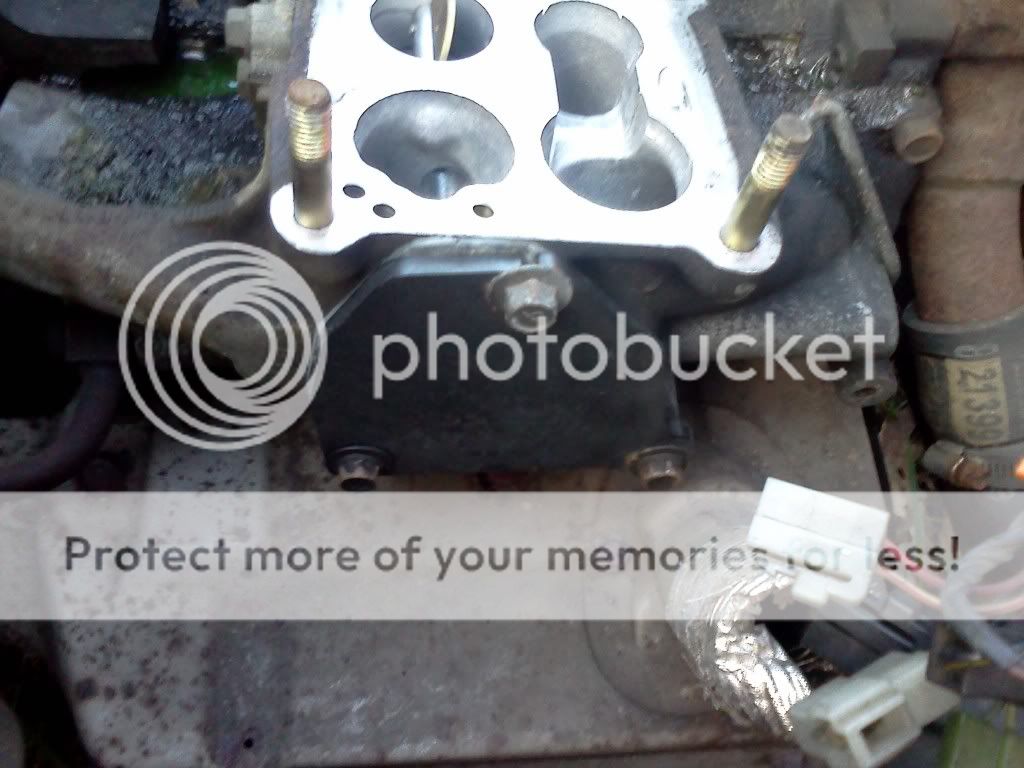
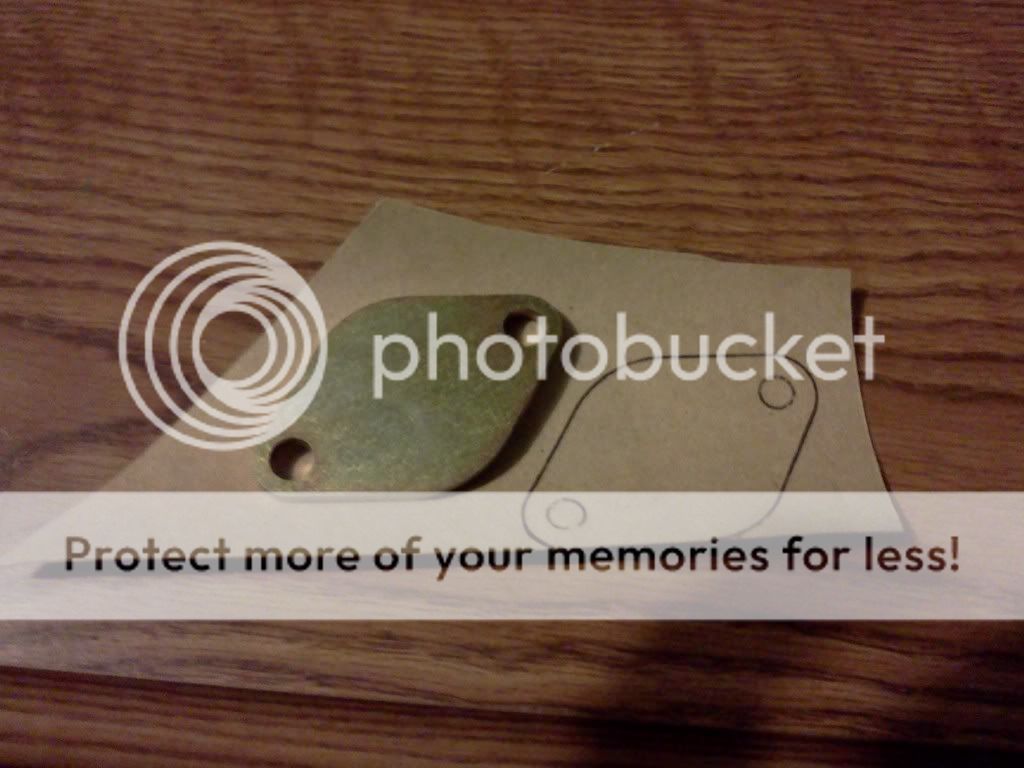
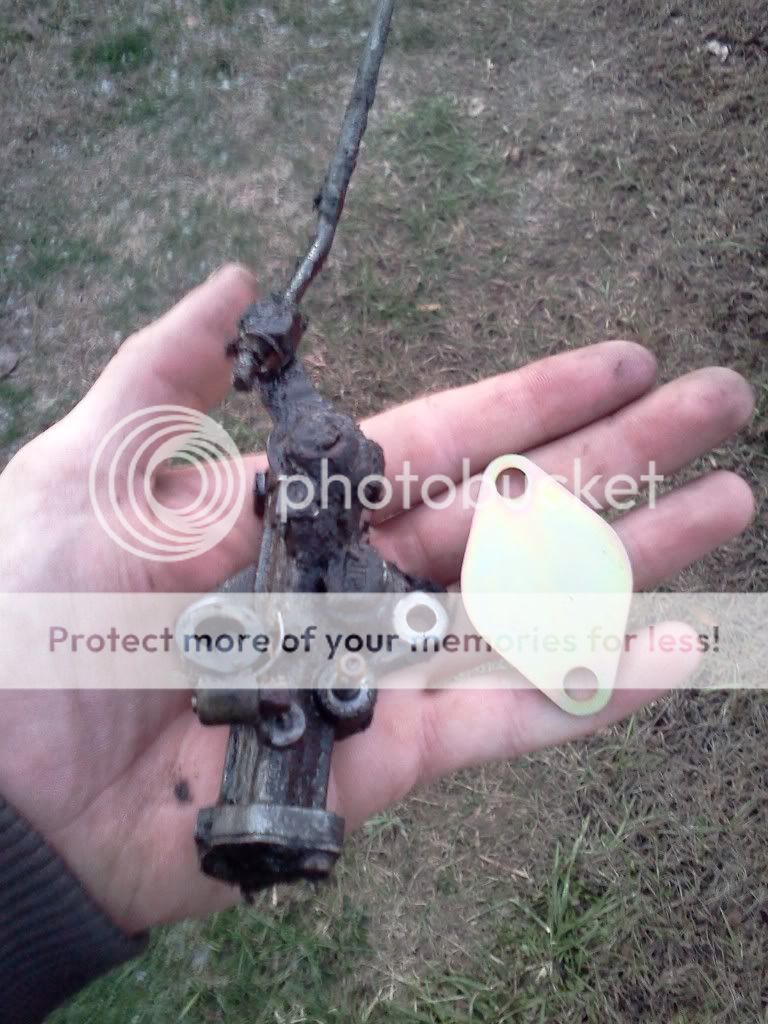
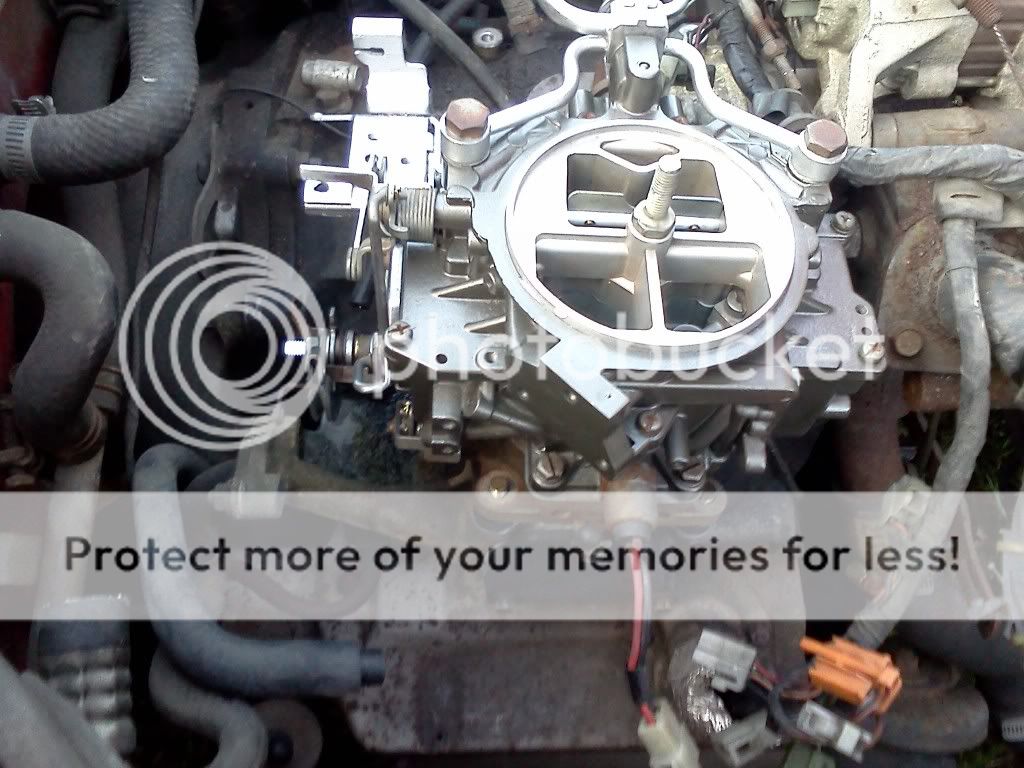
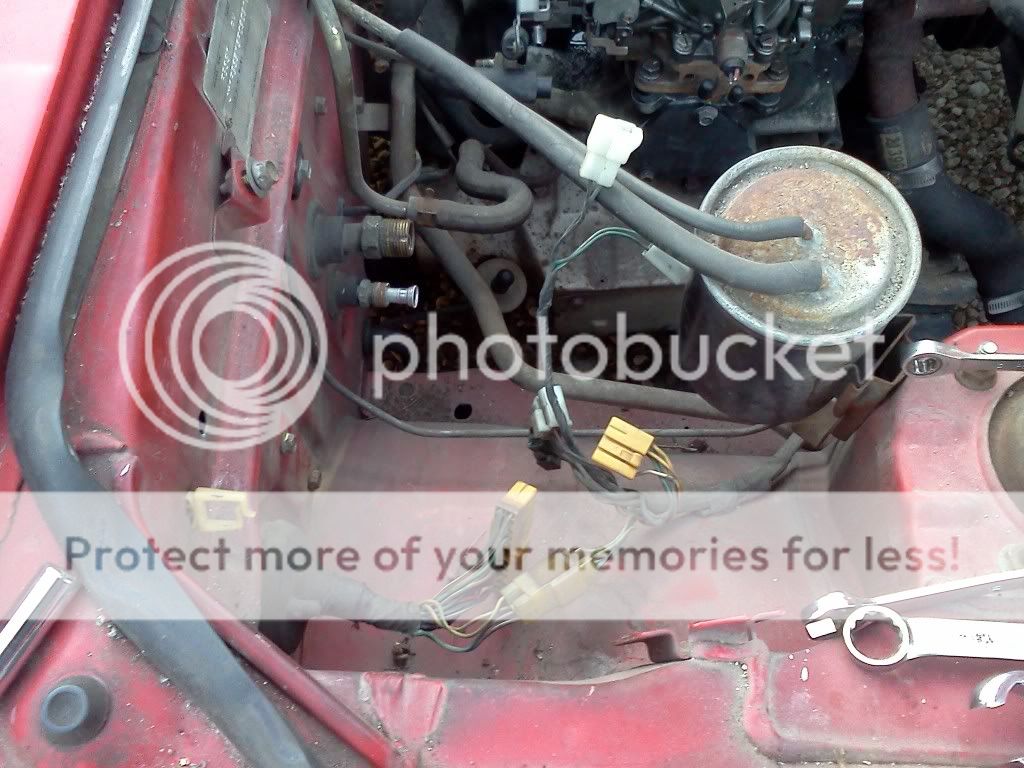
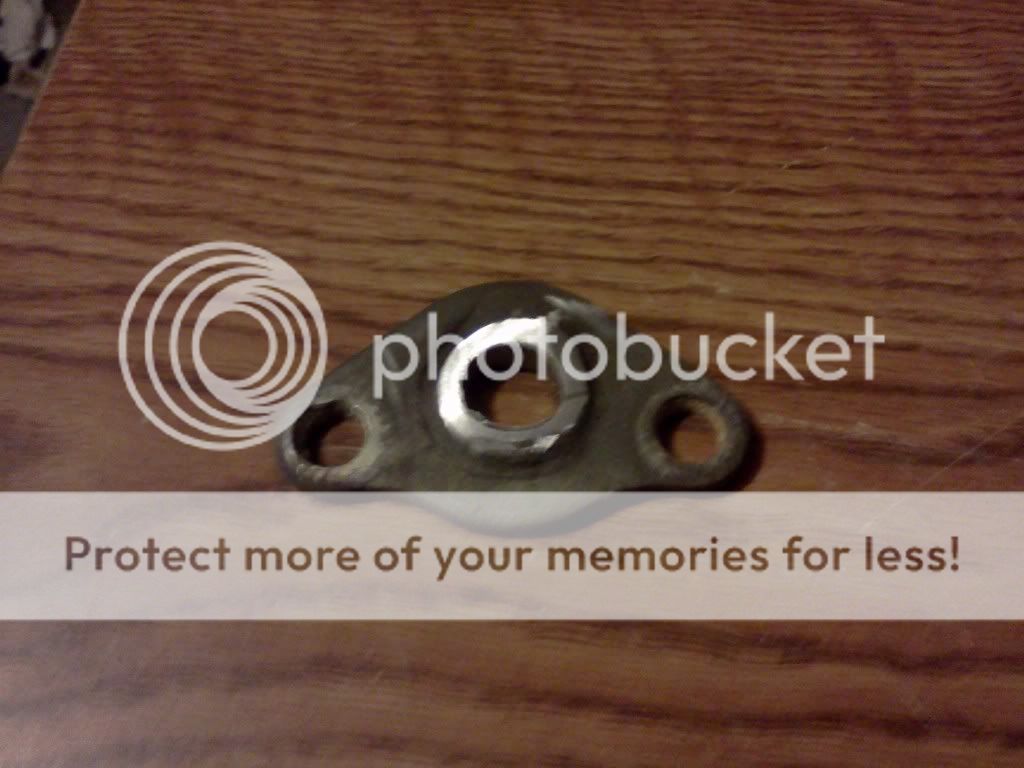
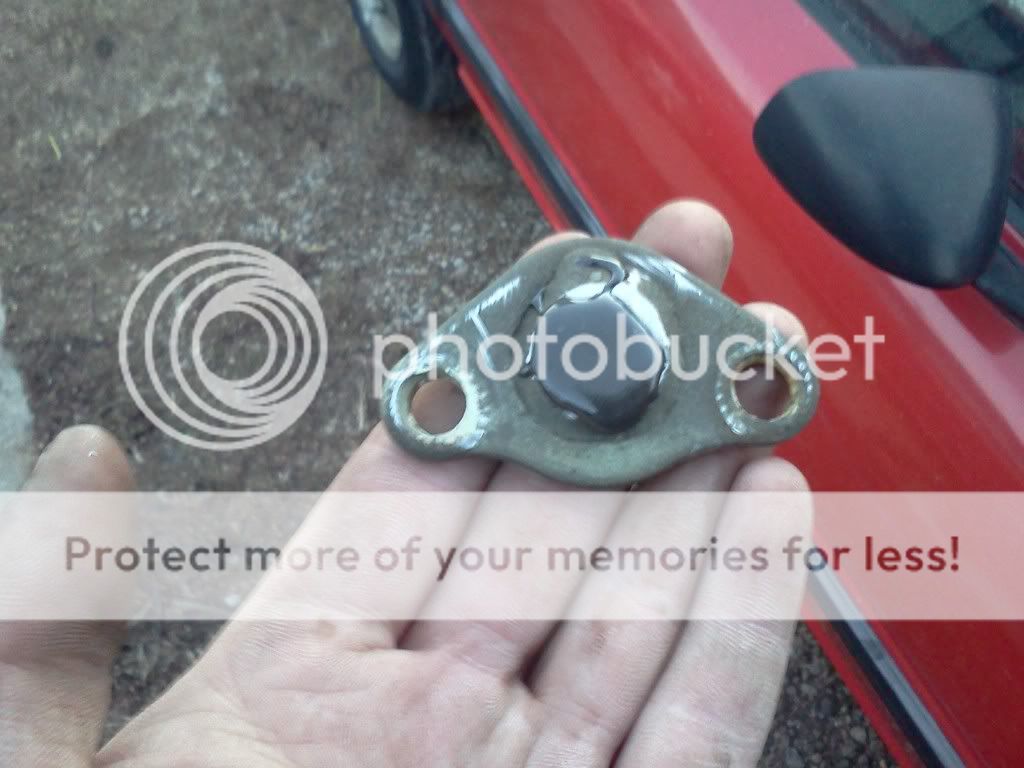
i noticed that all the omp lines were leaking oil and i ended up braking 2 of them getting the carb off, but i already have a new omp block off plate so i guess it's time to throw it on. i'm also going to take out the nozzles that spray the oil into the carb and block them off as well. i'm going to try and keep the carb as clean as possible so i'll have to read up and see everything that i can leave off of it and i will paint it as well.
Thread Starter
Senior Member
Joined: May 2009
Posts: 446
Likes: 0
From: troy
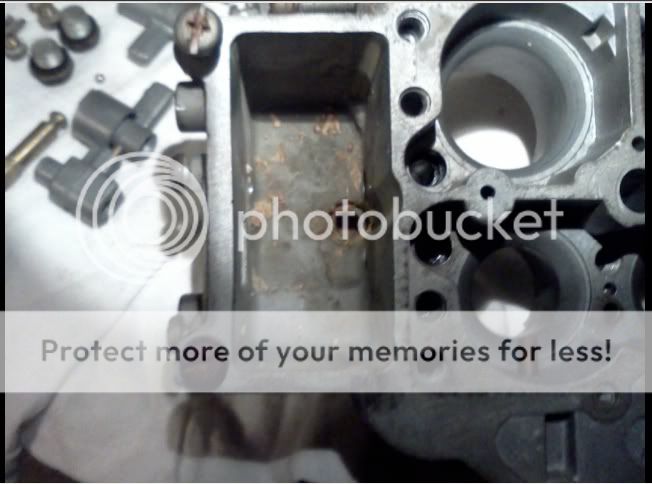
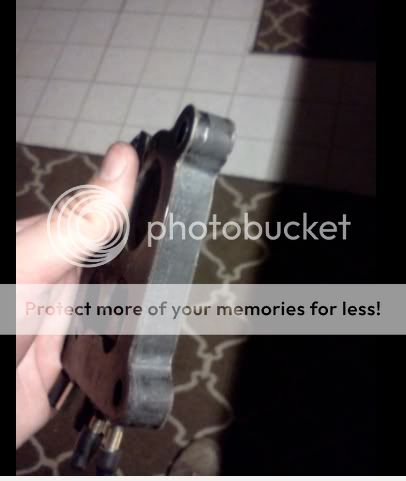
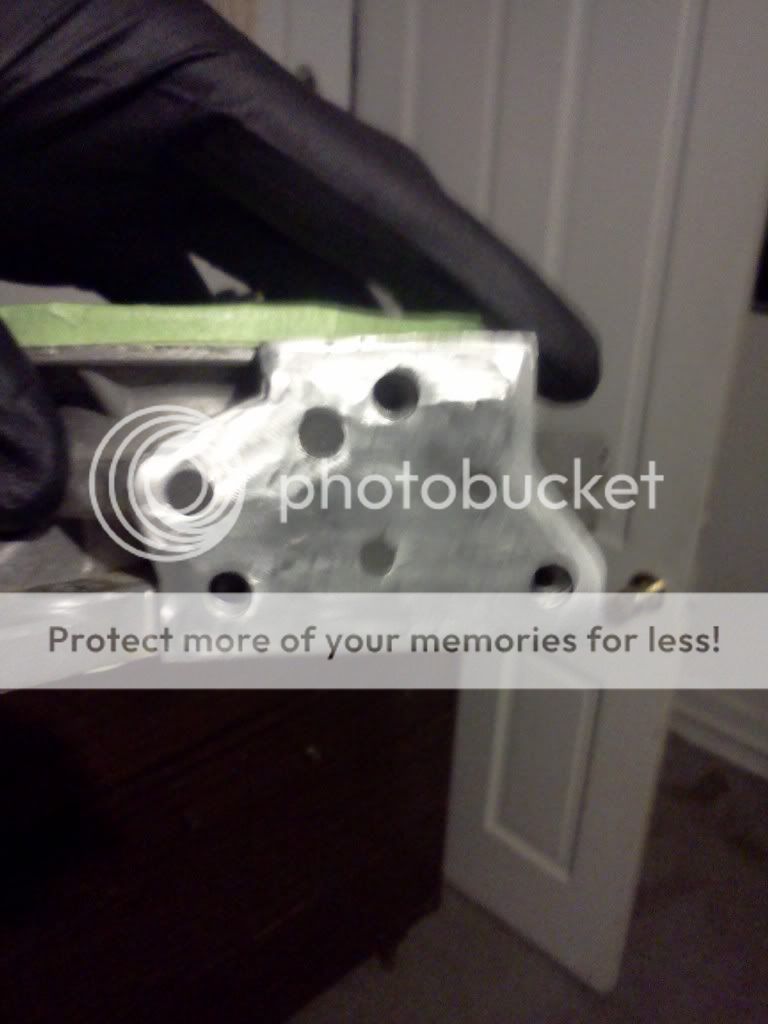
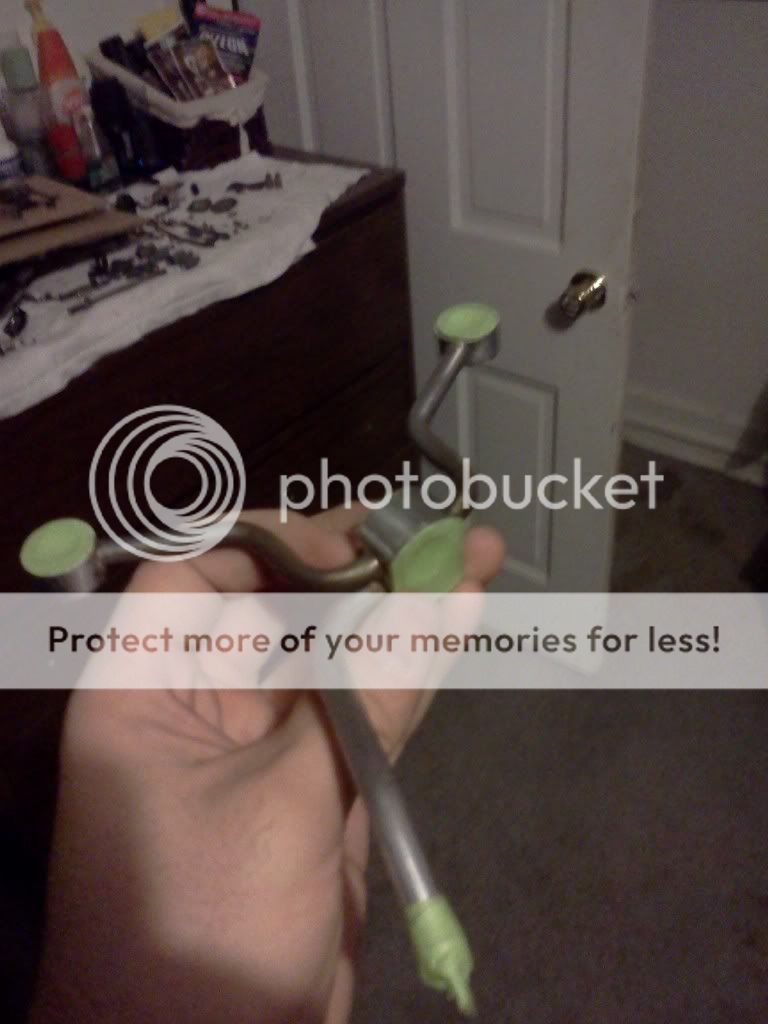
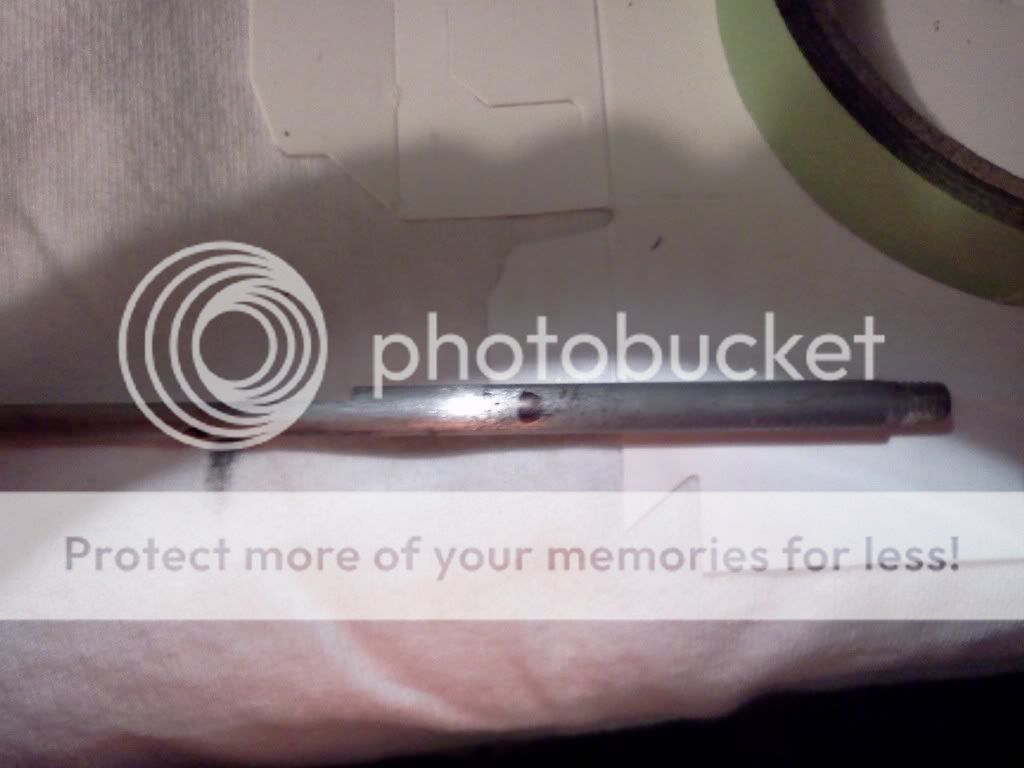
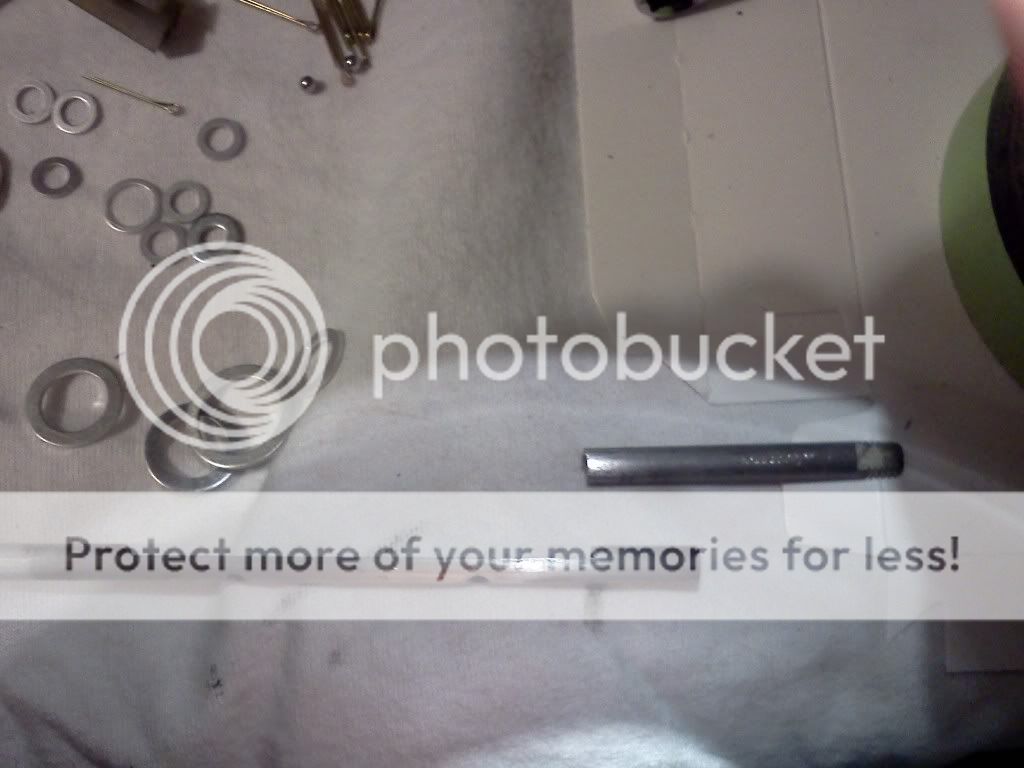
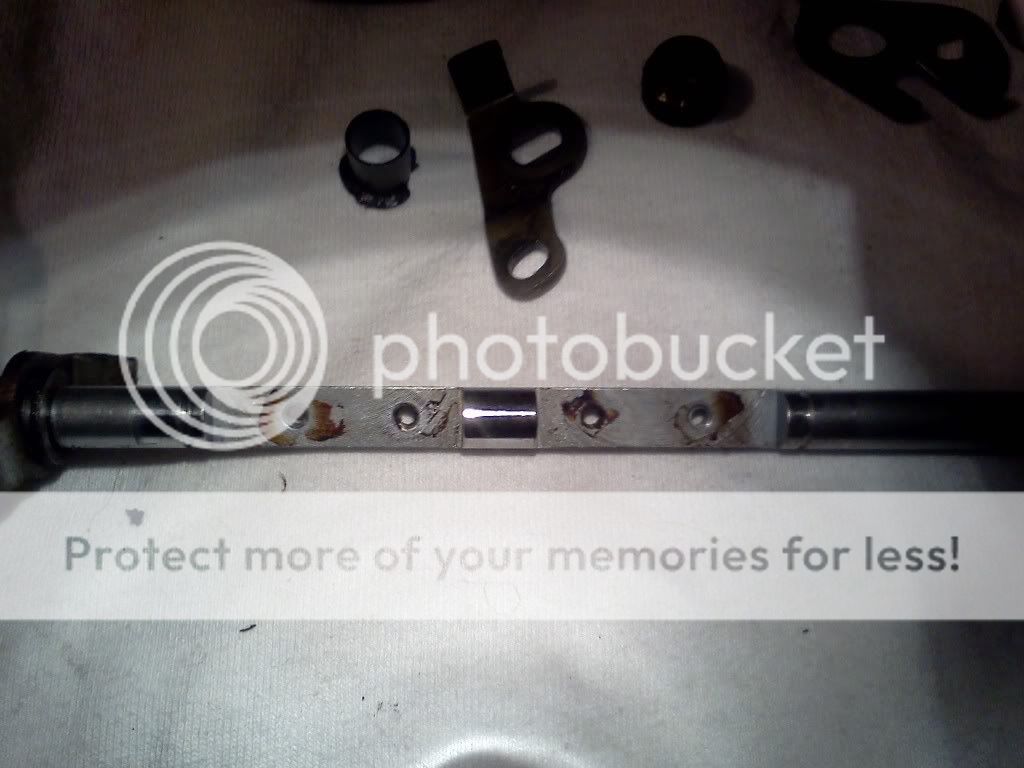
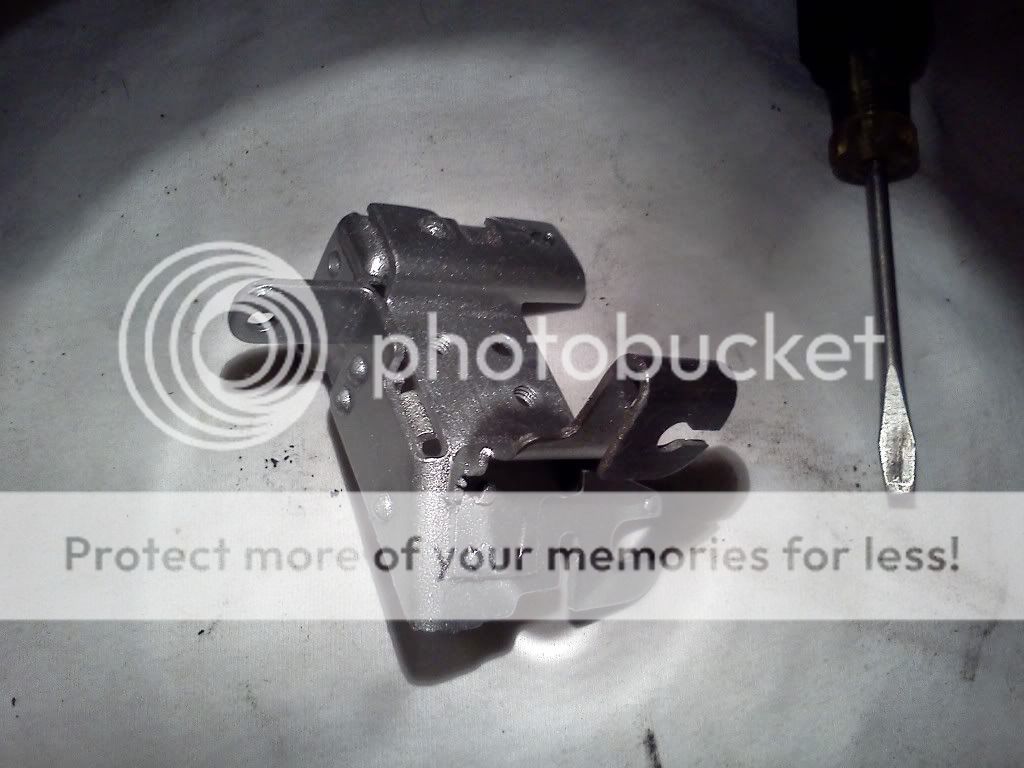
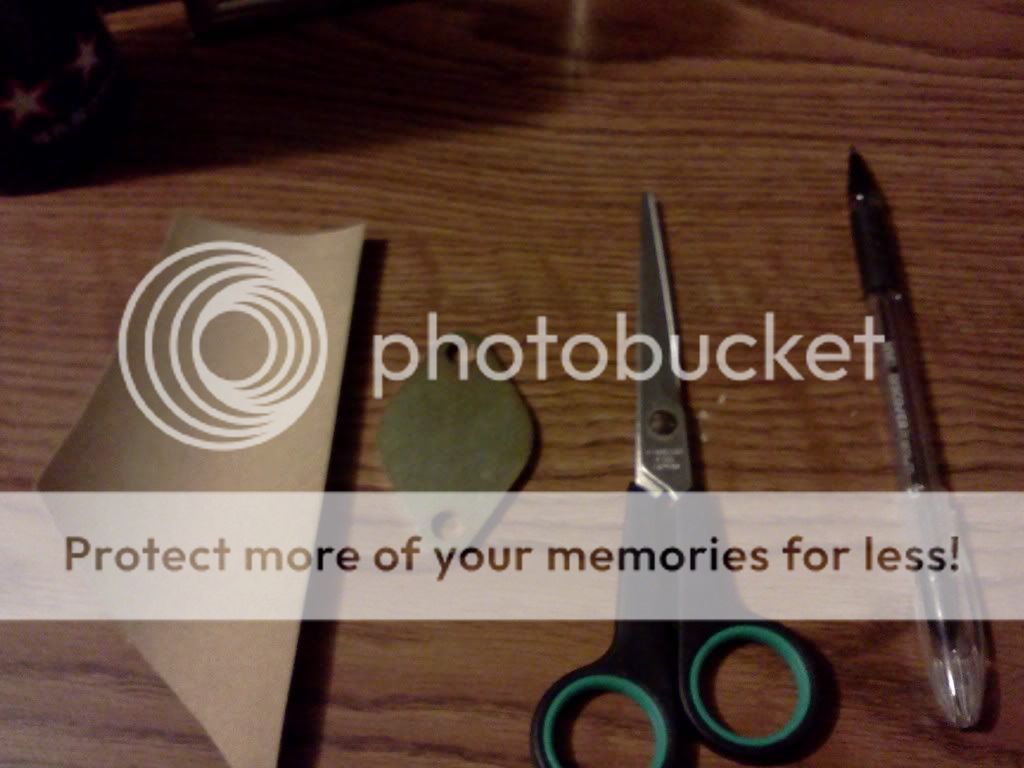
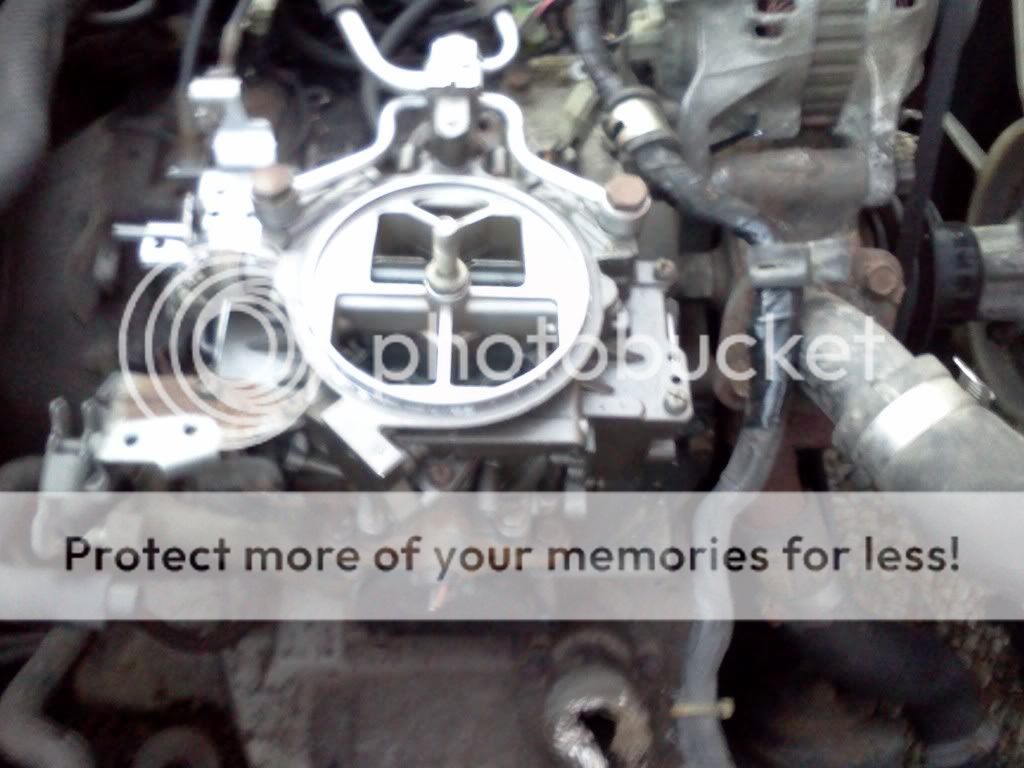
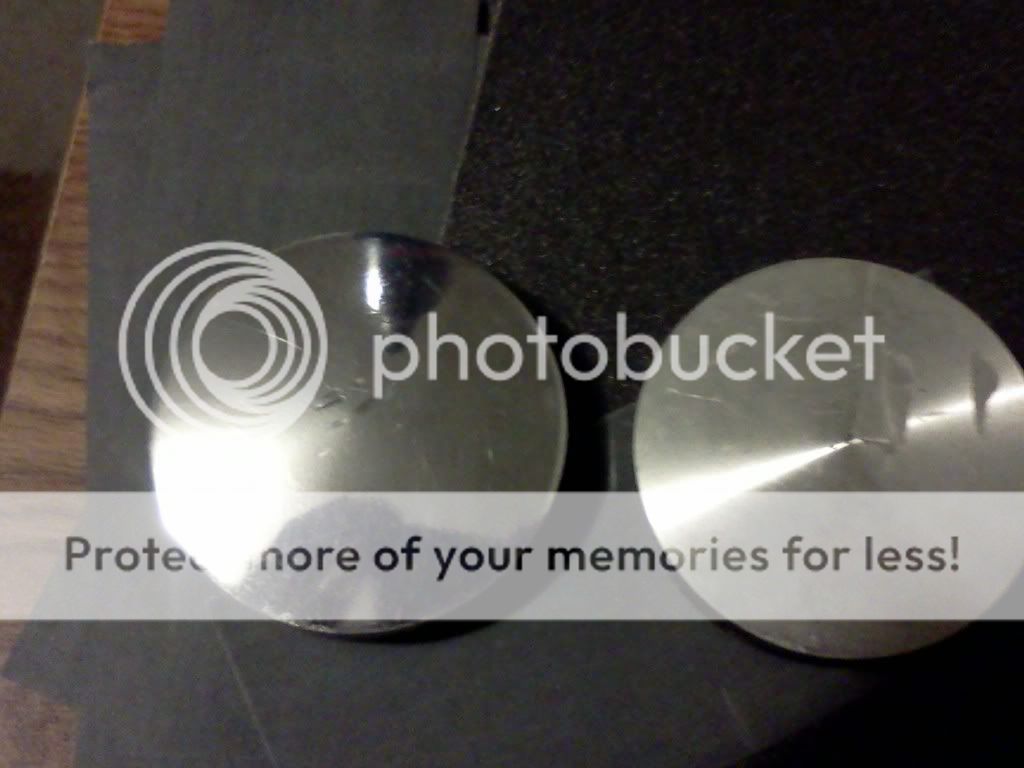
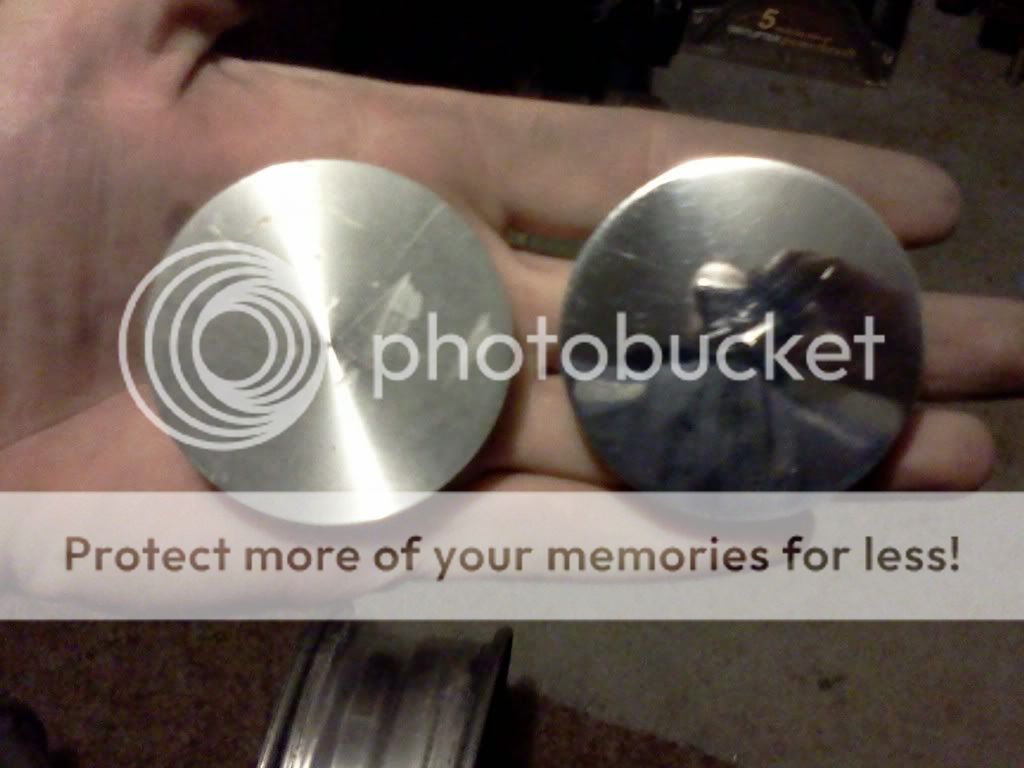
i don't have the rebuild kit yet, but i was bored so i took the old carb spacer.... you know the one with the giant plastic piece running around the outside of it?
i broke off all the plastic and used my drimel and sanded down the sides so it looks like it never had it lol... i hate the big bulky look! better now
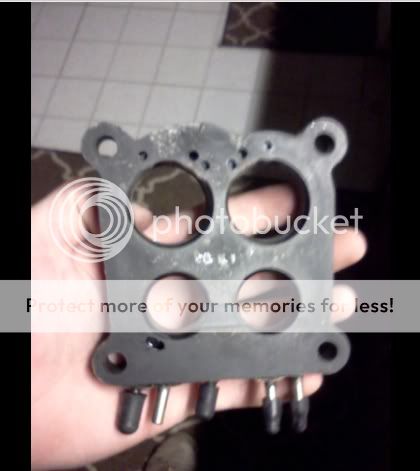
it was pretty messy lol
i broke off all the plastic and used my drimel and sanded down the sides so it looks like it never had it lol... i hate the big bulky look! better now
it was pretty messy lol
Trending Topics
Thread Starter
Senior Member
Joined: May 2009
Posts: 446
Likes: 0
From: troy
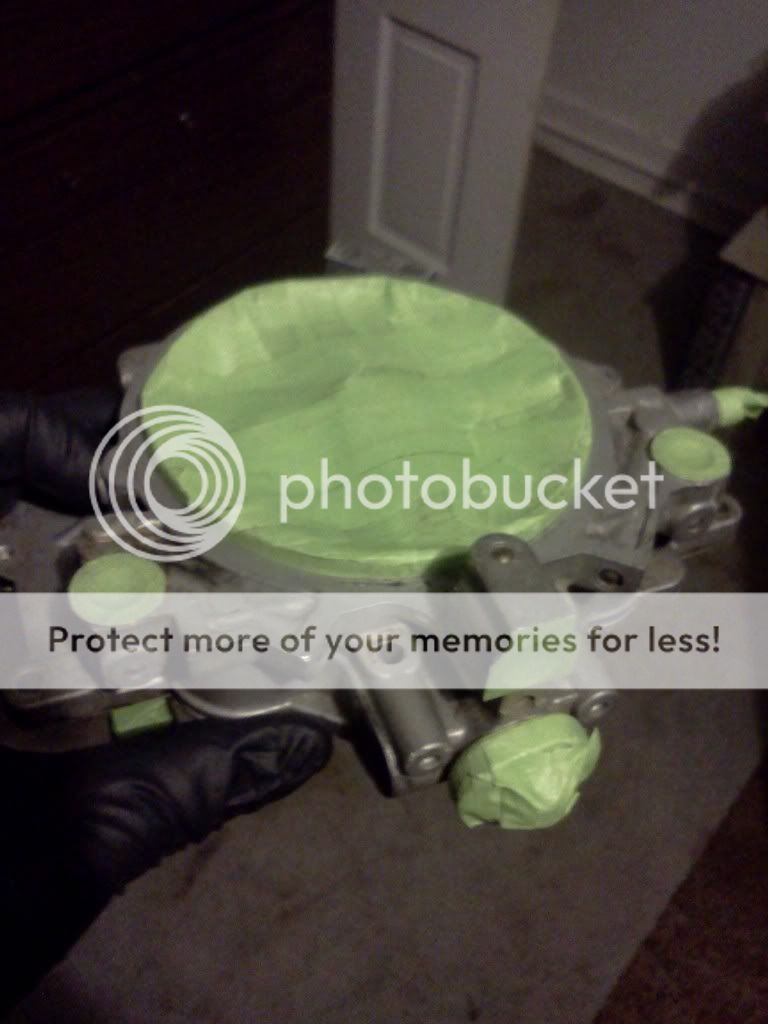
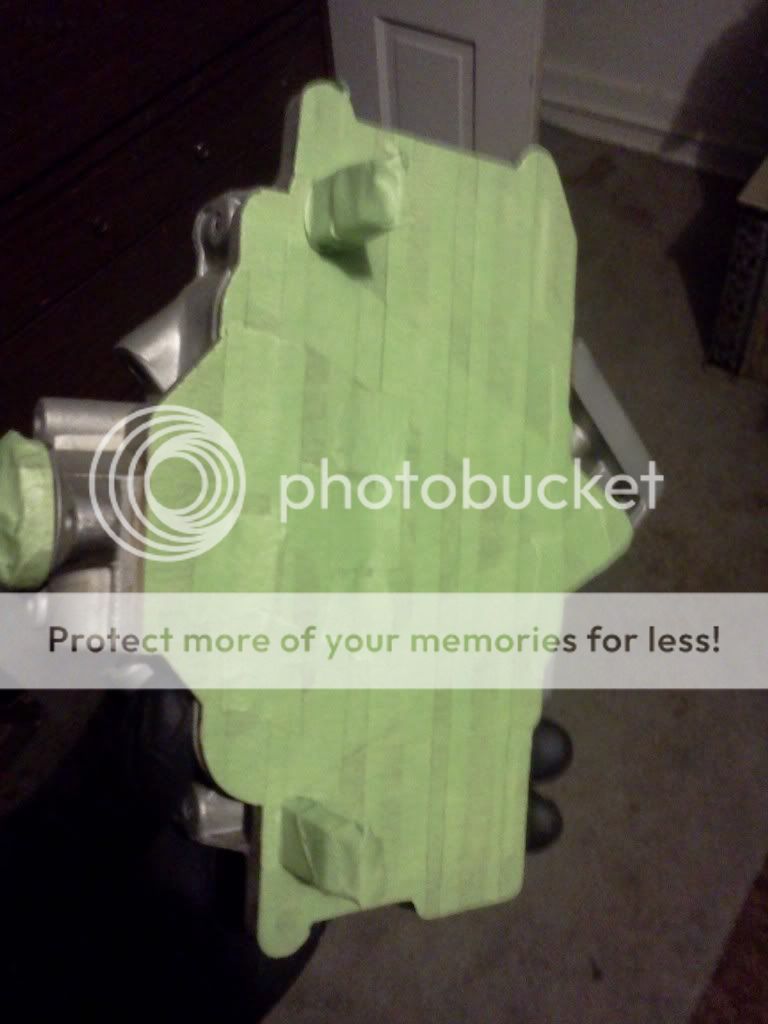
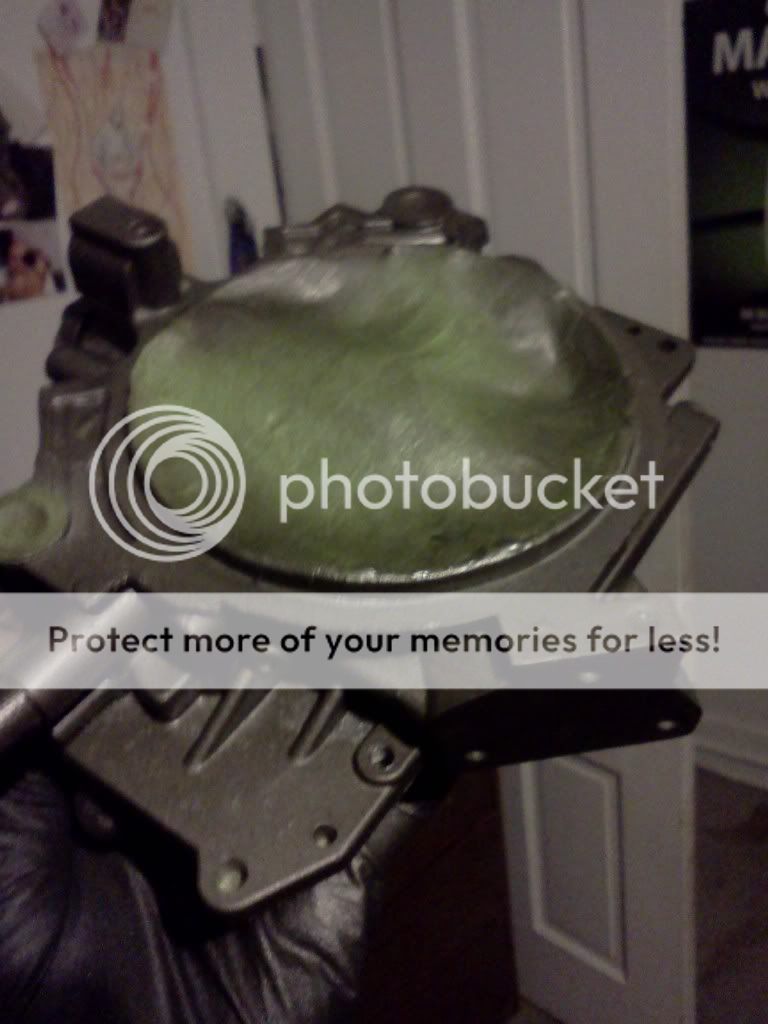
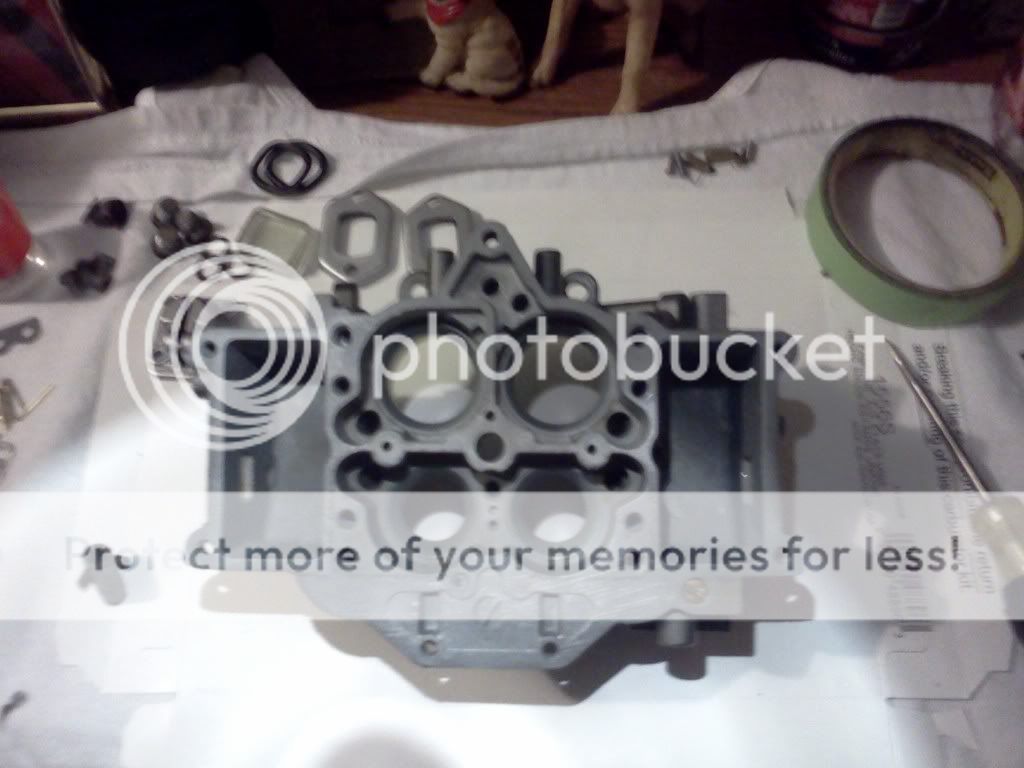
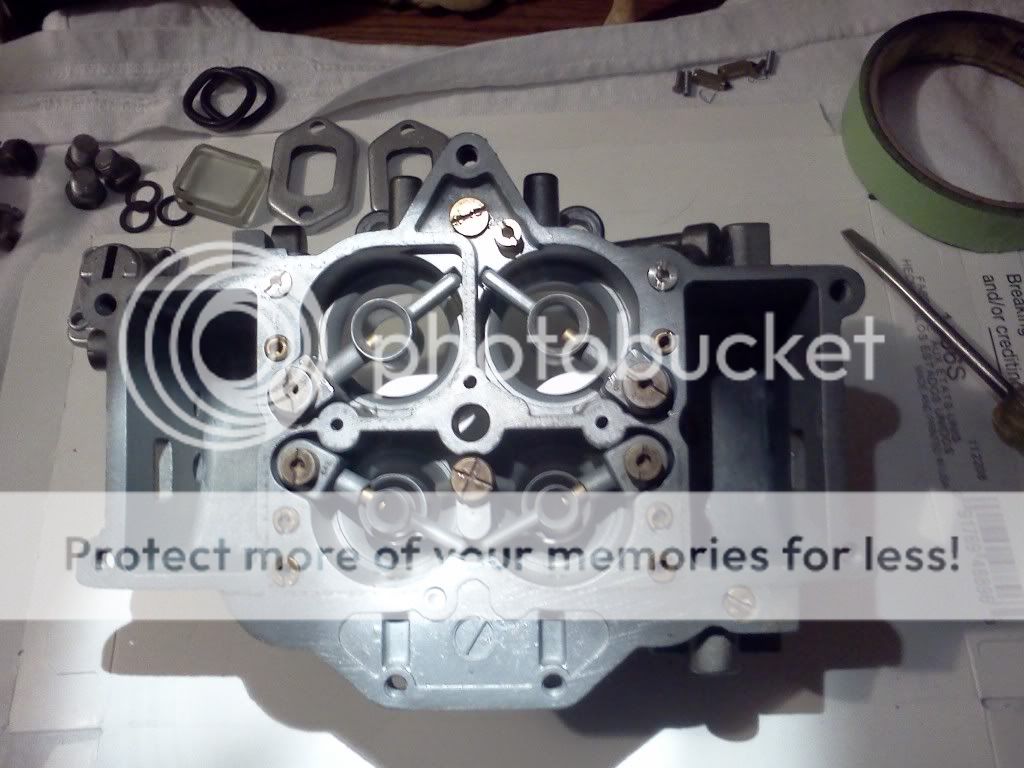
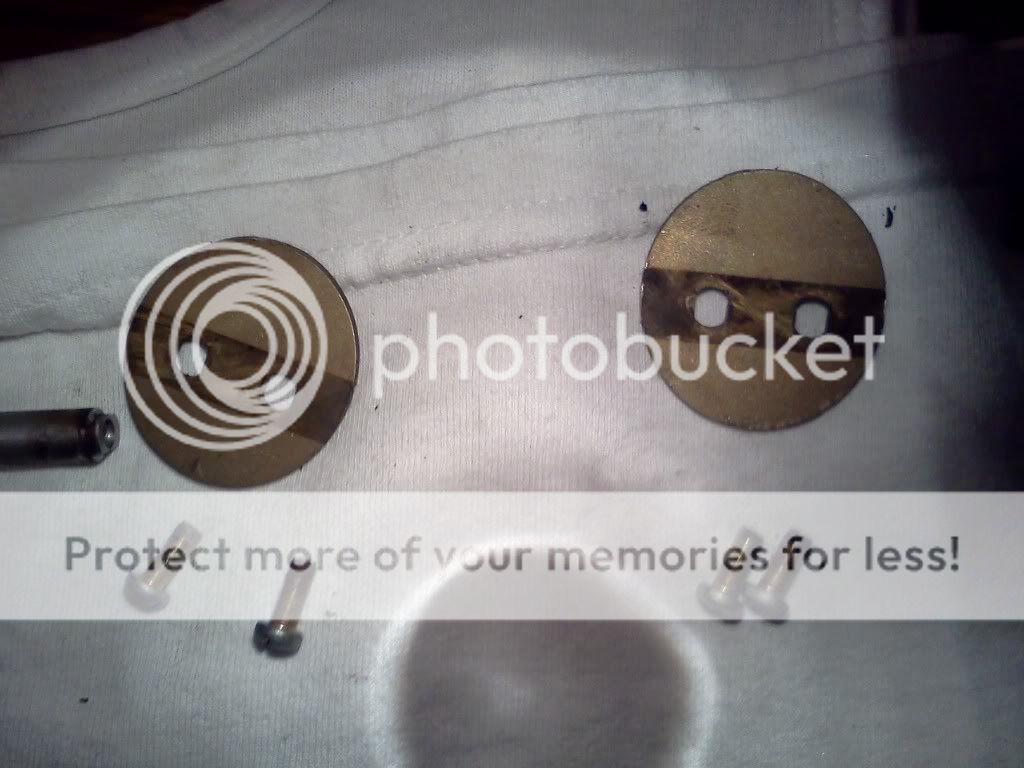
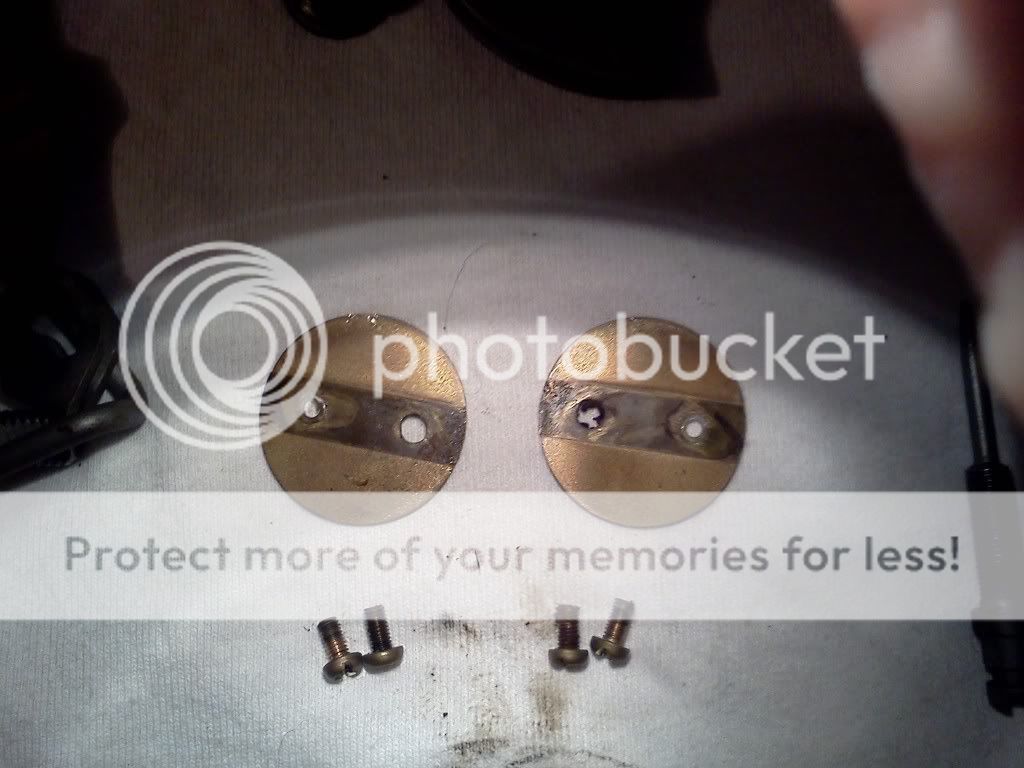
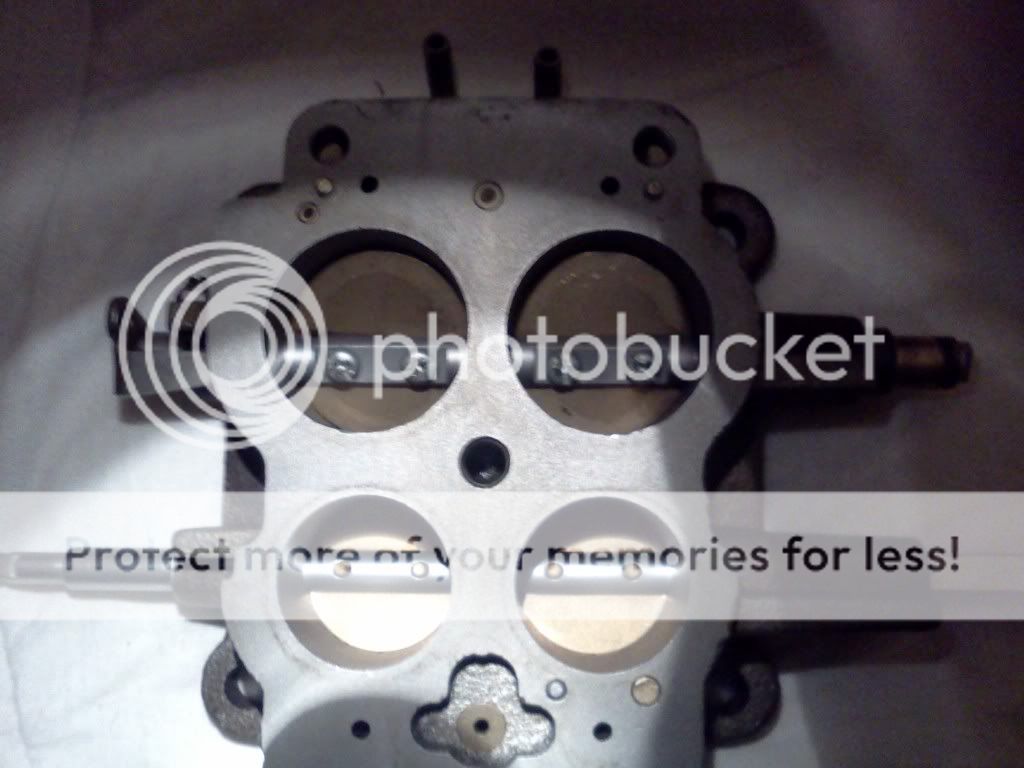
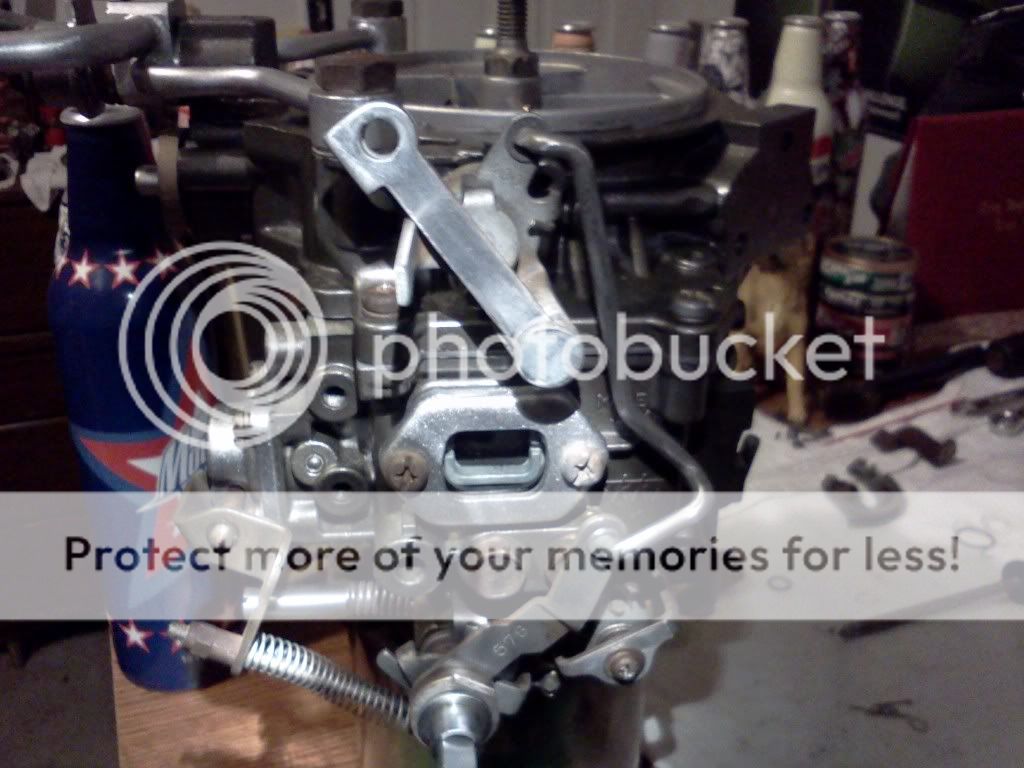
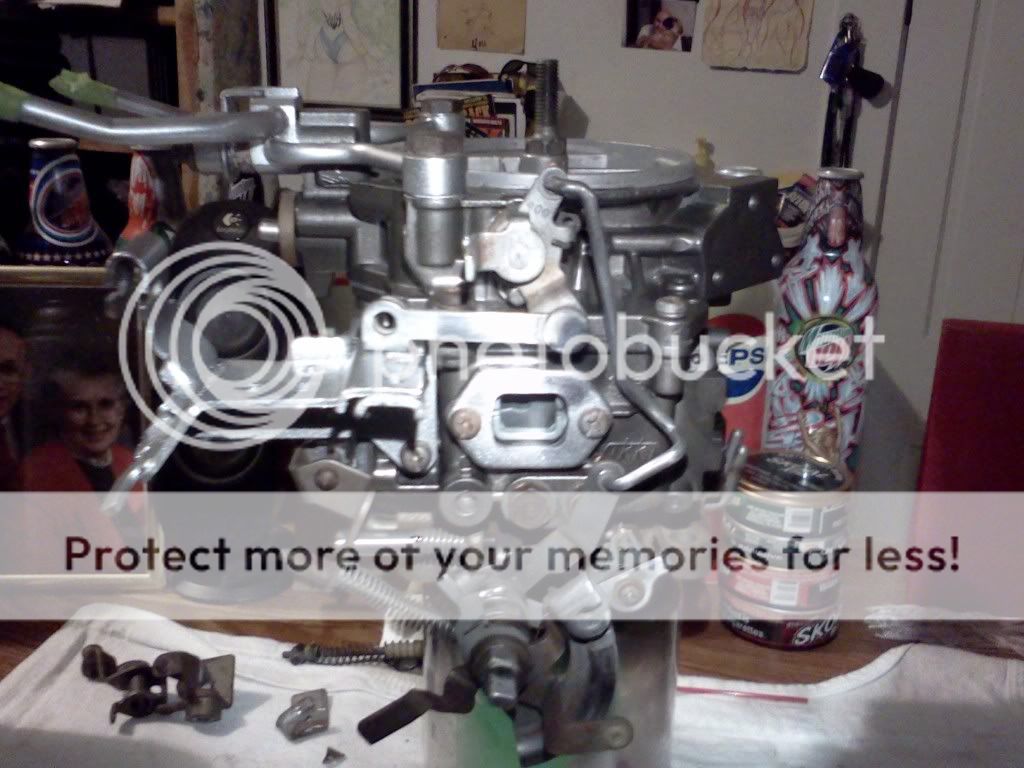
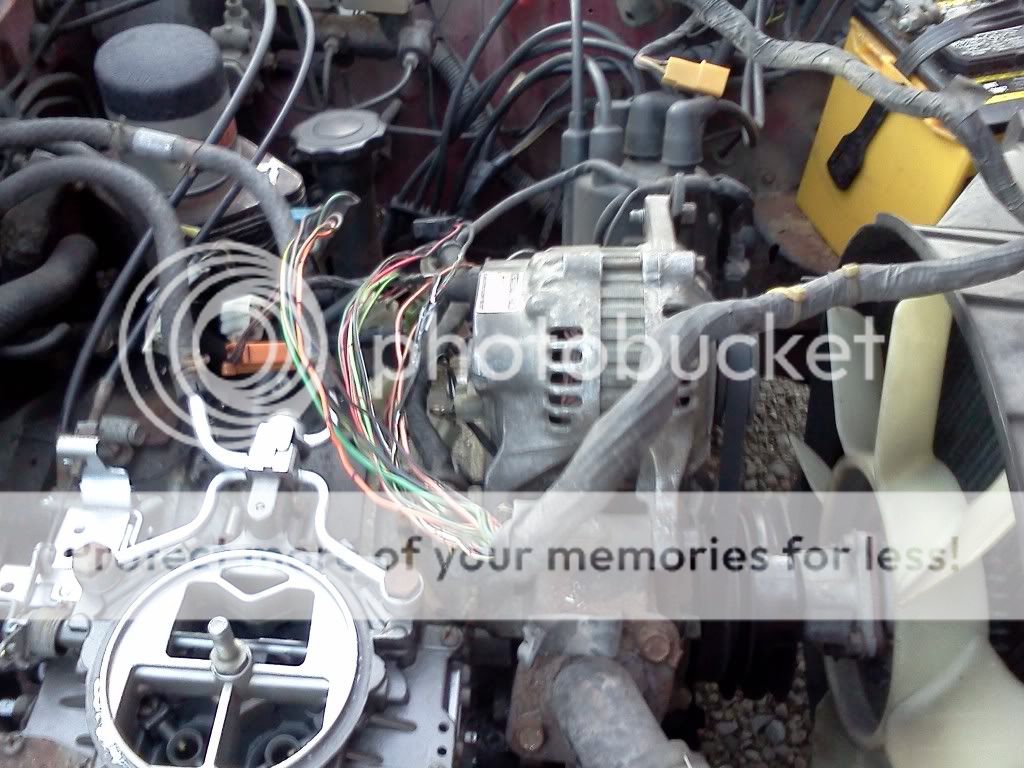
sense i have ample time to do this carb and i hate how cluttered it was factory i decided to eliminate everything that i don't. all vacuum and oil ports will be gone!
oil nozzles
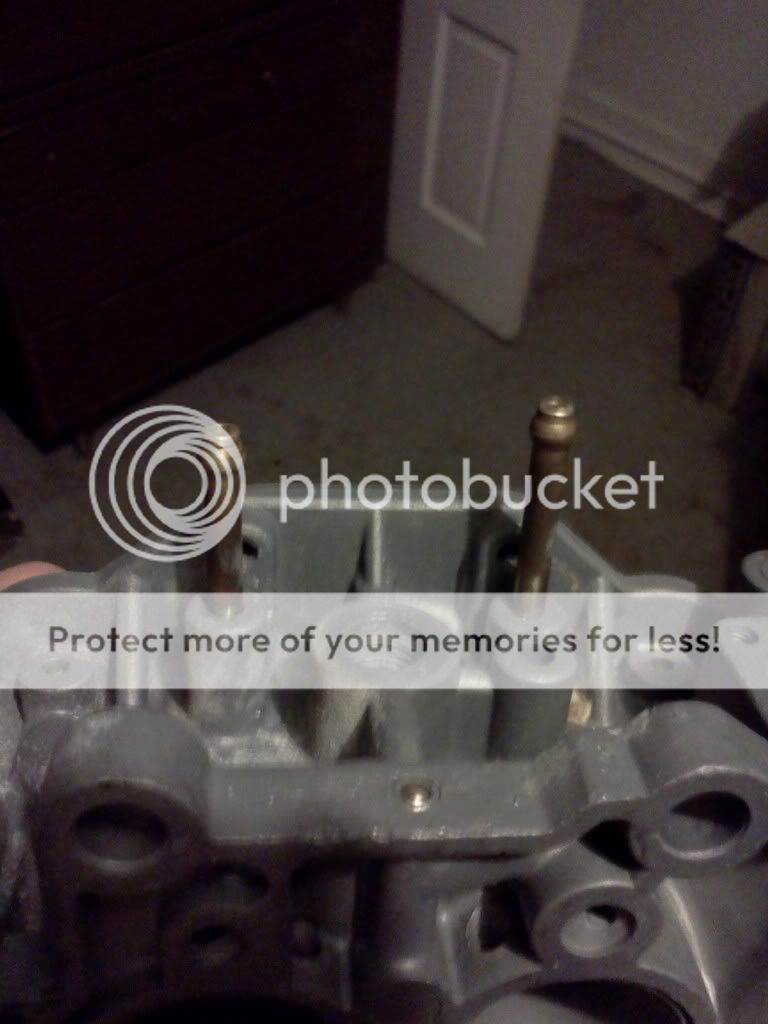
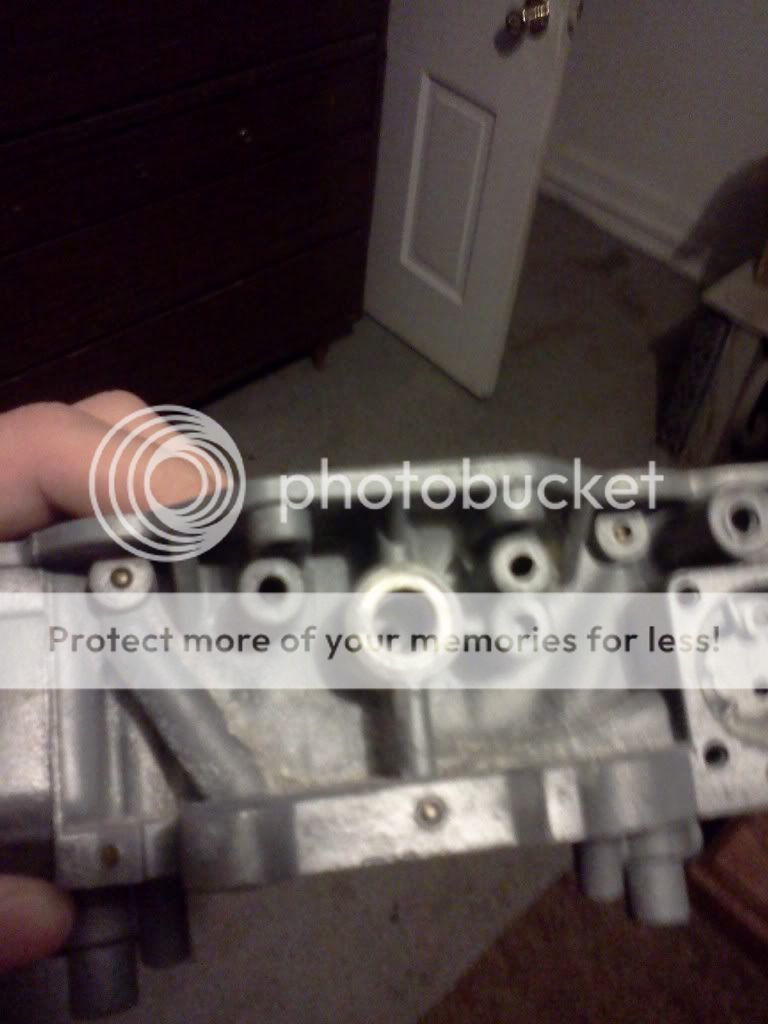
vacuum ports
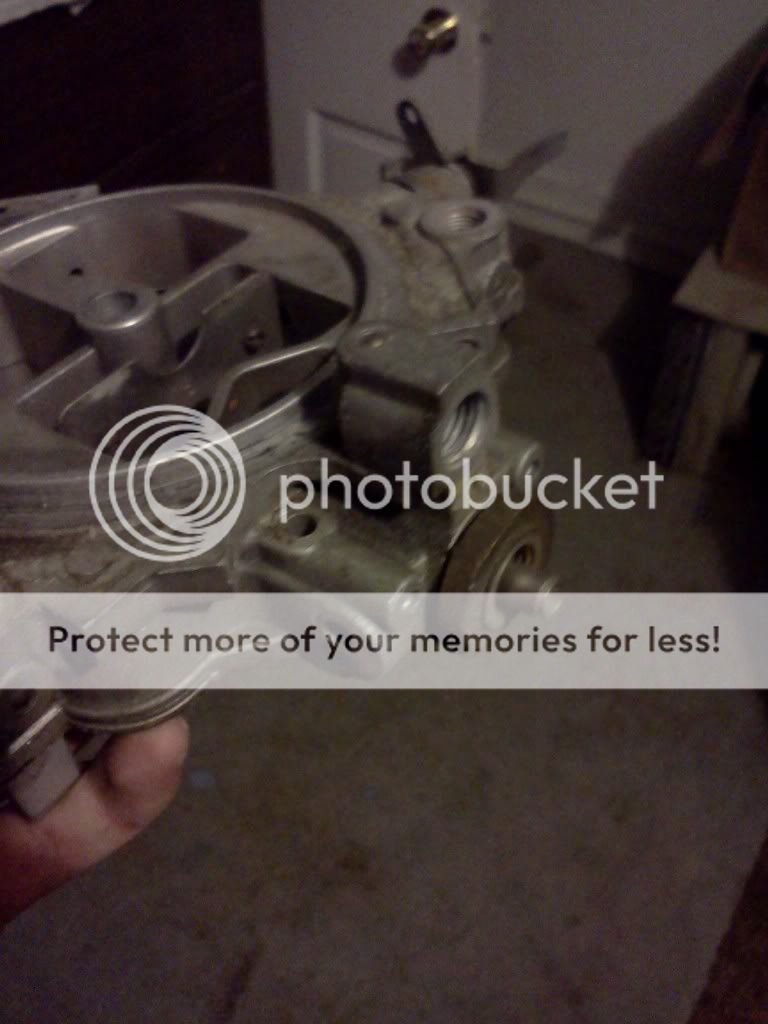
all holes will be filled with jb weld and smoothed out.
oil nozzles
vacuum ports
all holes will be filled with jb weld and smoothed out.

Thread Starter
Senior Member
Joined: May 2009
Posts: 446
Likes: 0
From: troy
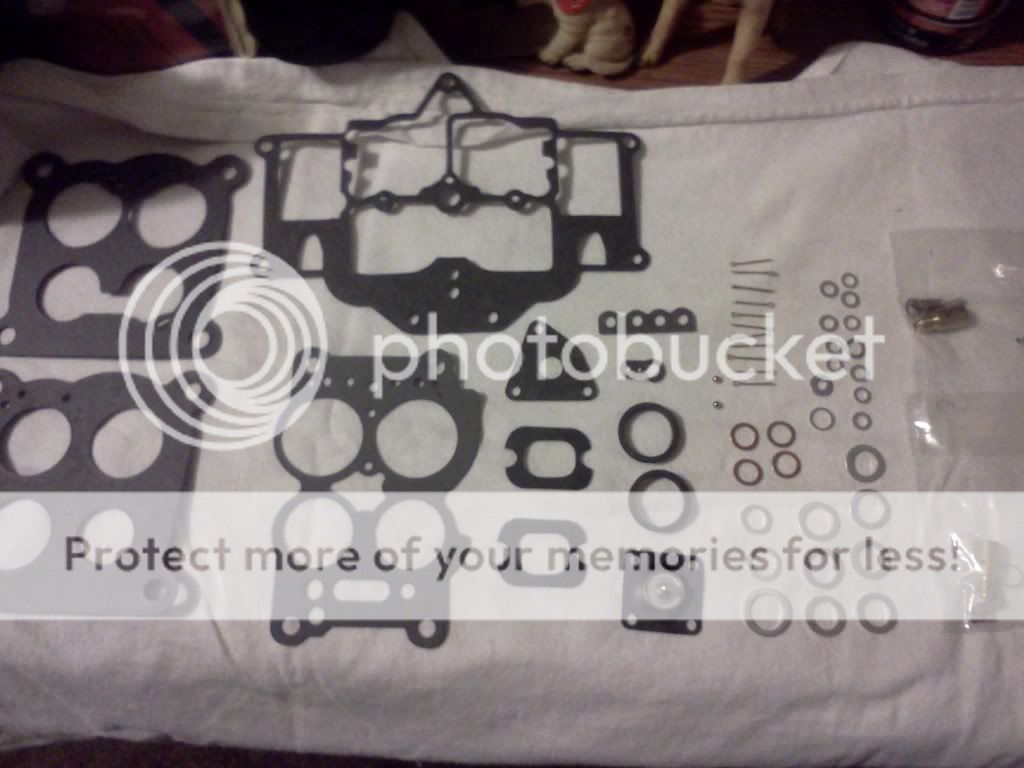
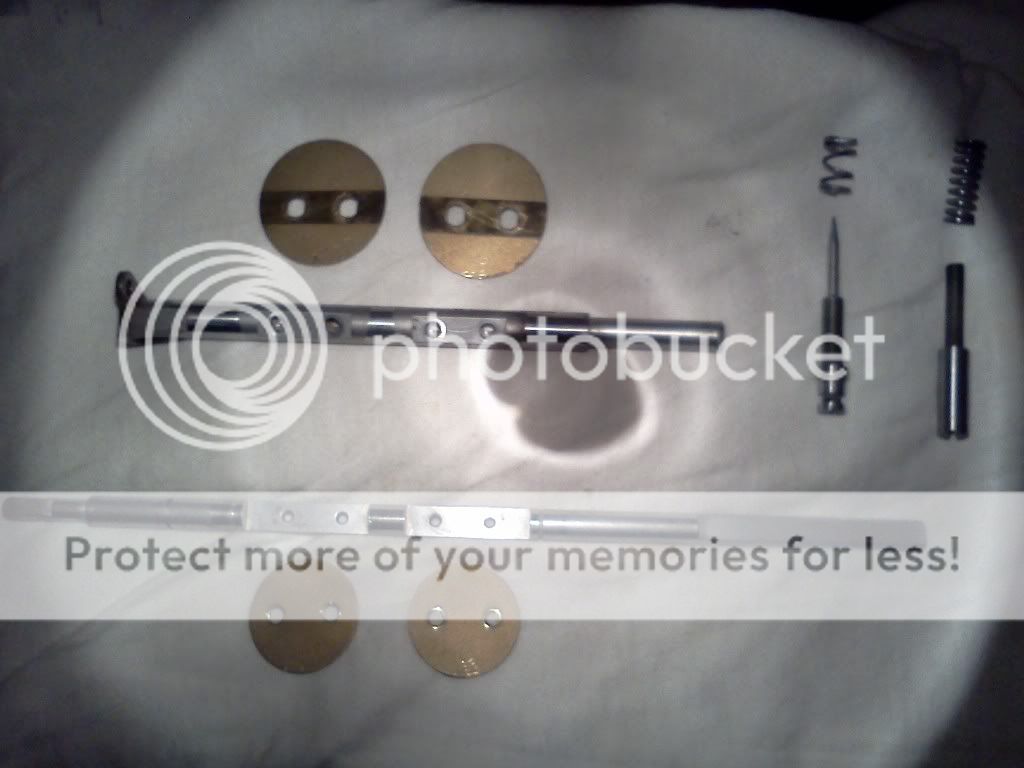
rebuild kit.... doesn't come with the two filters that go in the carb! might have to go without them :x
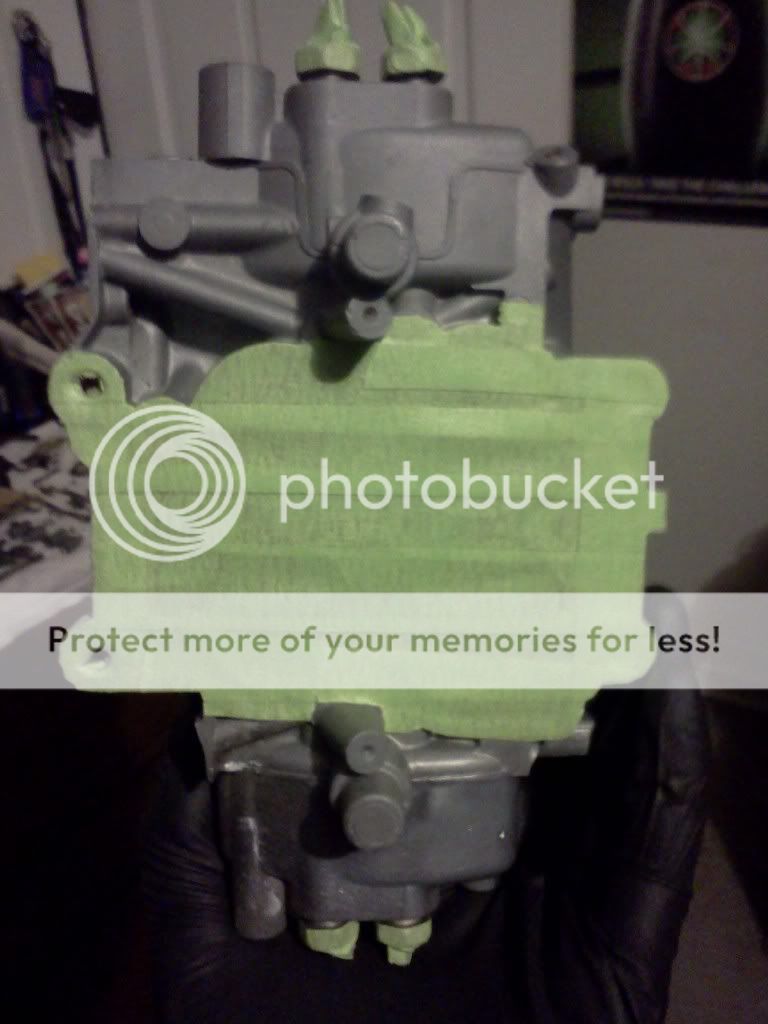
1st coat of duplicolor cast coat iron

duplicolor metalcast ground coat silver flake
1st coat of duplicolor cast coat iron
duplicolor metalcast ground coat silver flake


Thread Starter
Senior Member
Joined: May 2009
Posts: 446
Likes: 0
From: troy
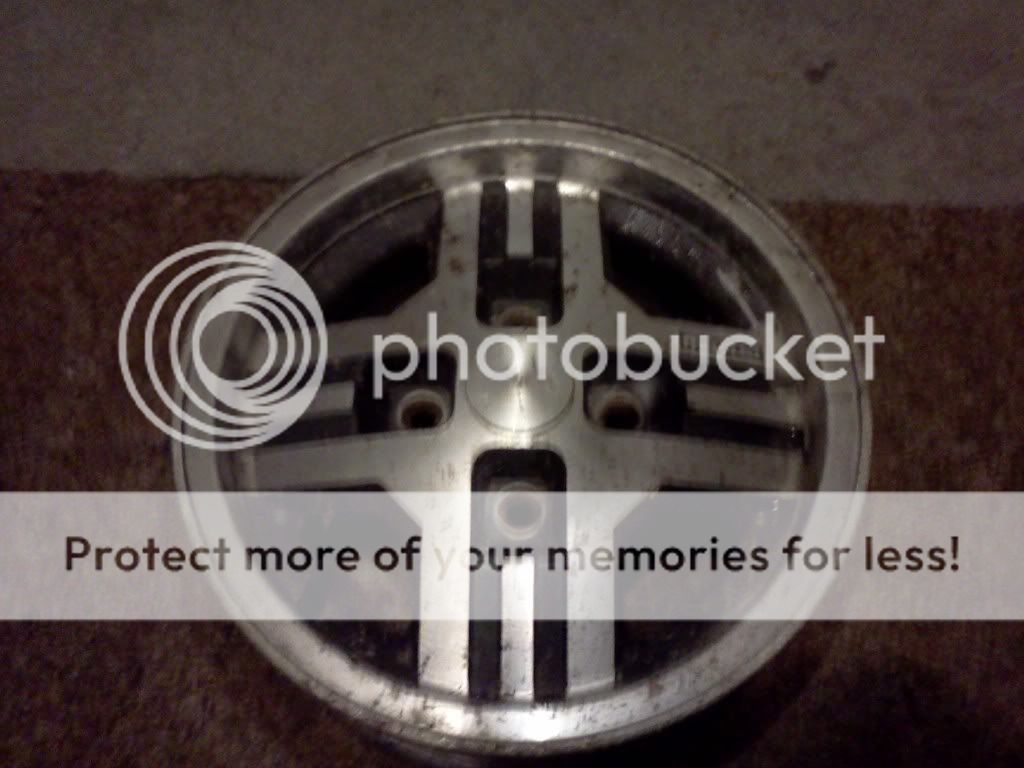
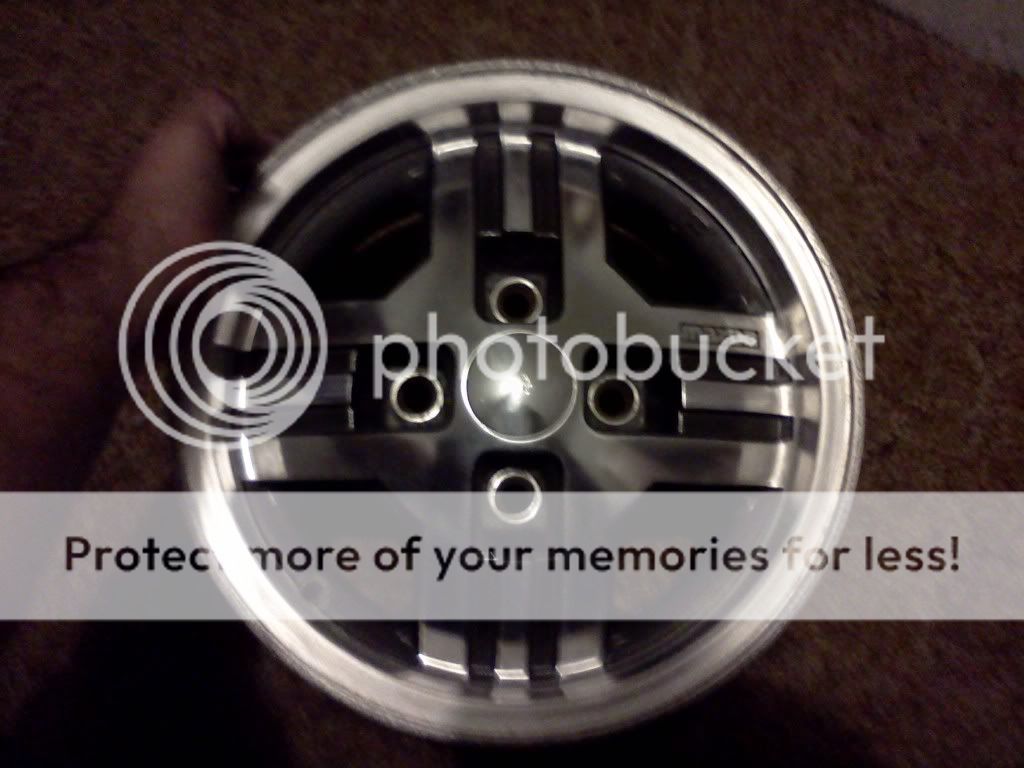
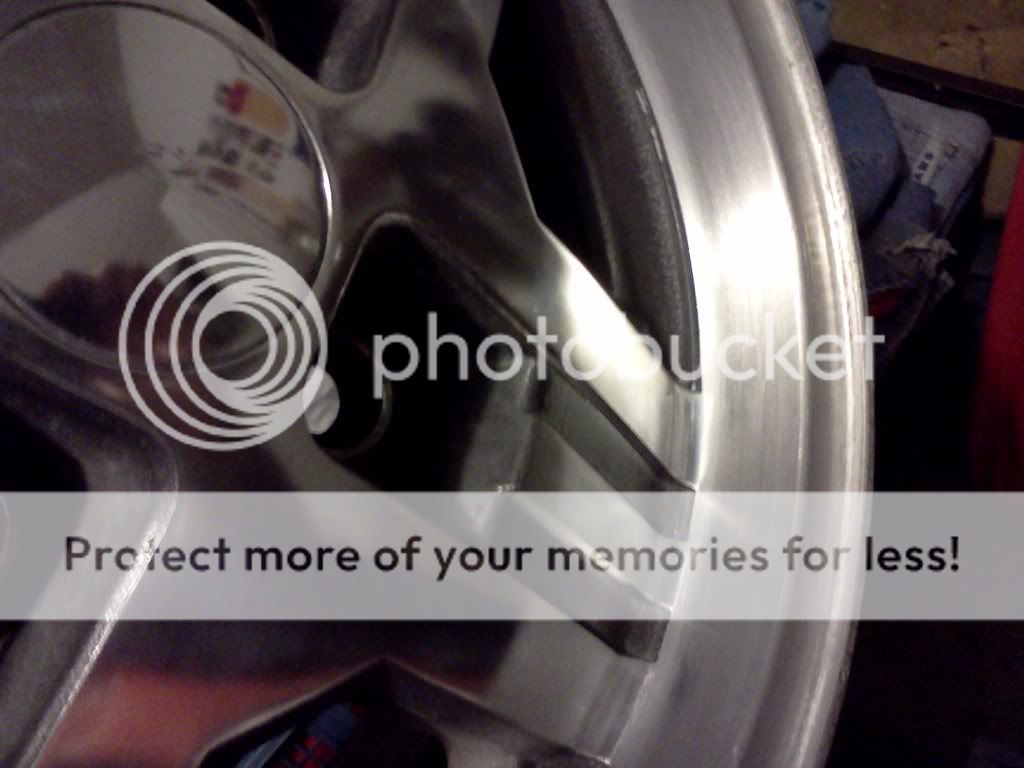
still need whipped down and might paint the recessed parts black for more contrast, but here is the first one!
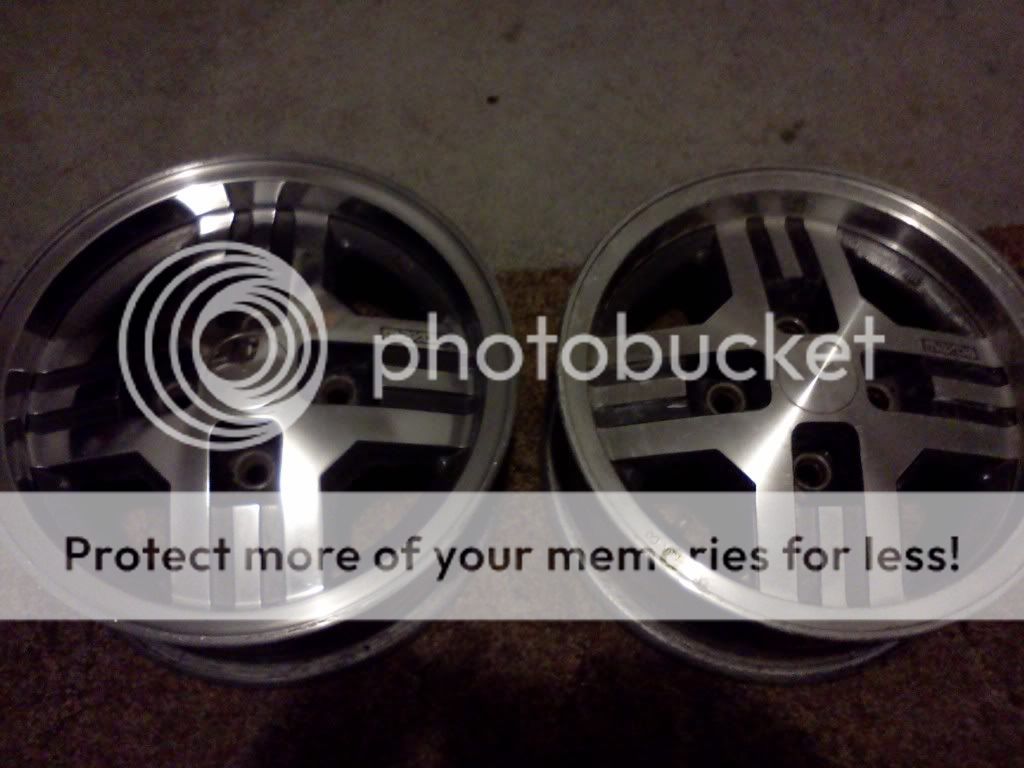
see the difference?
pics suck, but i will get outside shots tomorrow to see them in the sunlight
see the difference?
pics suck, but i will get outside shots tomorrow to see them in the sunlight