When you click on links to various merchants on this site and make a purchase, this can result in this site earning a commission. Affiliate programs and affiliations include, but are not limited to, the eBay Partner Network.
Wrapped the RB header in heat wrap and installed (temporarily) an oil catch can.....still looking for a better place to put it.....not sure where yet......
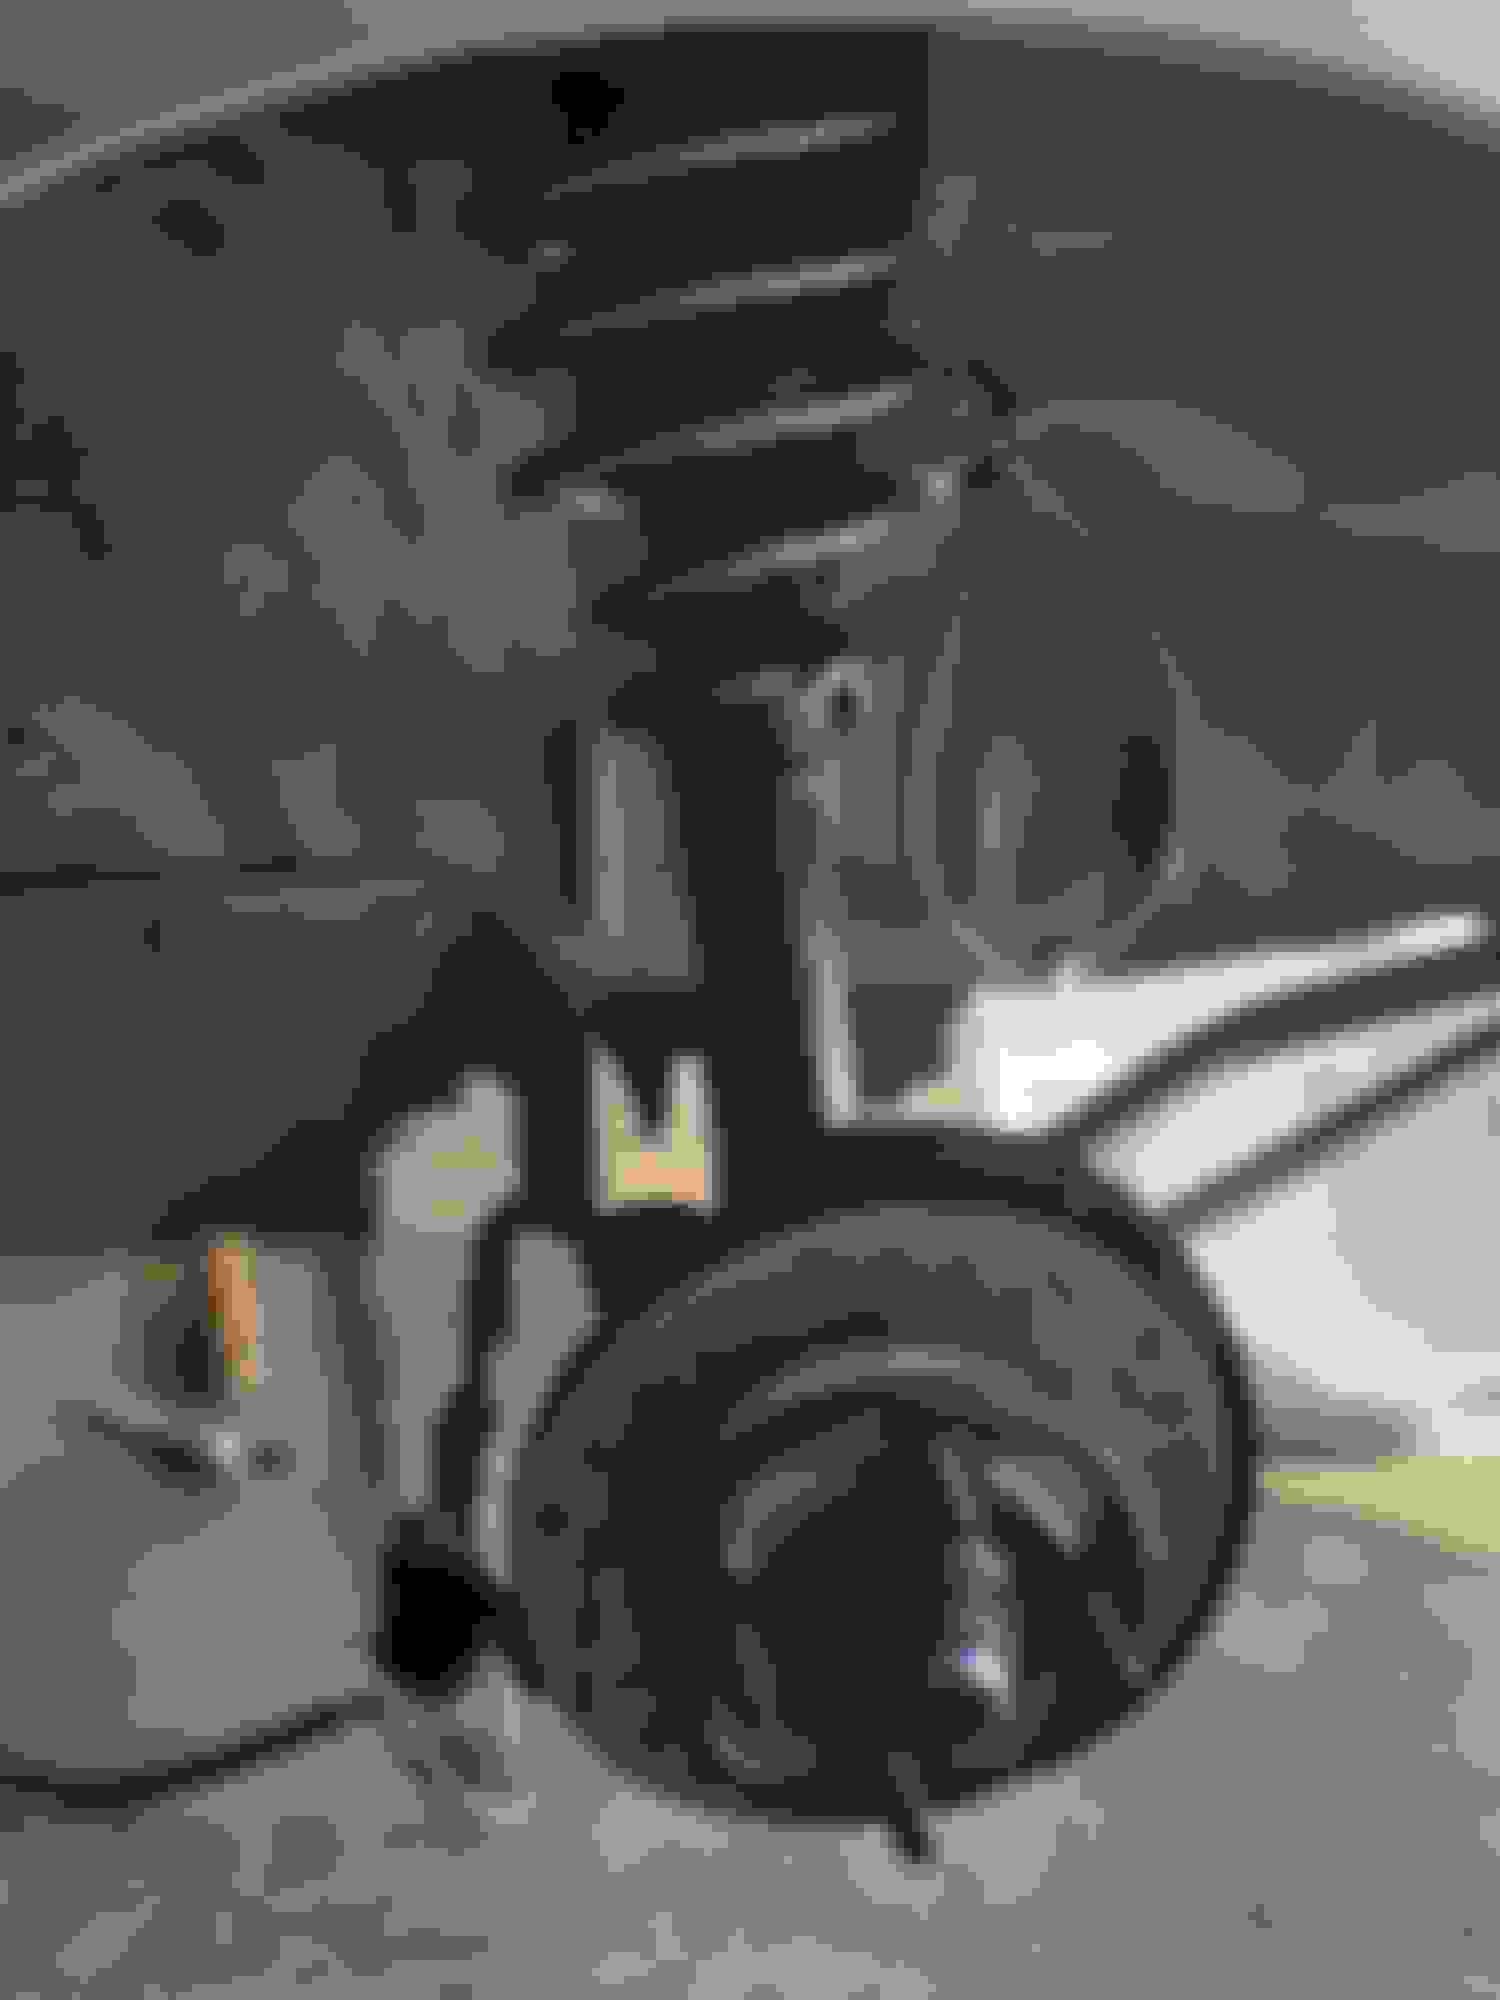
That is all for now .... hopefully I can get the front brake calipers cleaned, painted and installed on the struts this weekend ......
I painted the front brake calipers the i realized that I didn't rebuild them. After taking them apart i realized that the piston on the passenger caliper was worst that it looked.
So I took apart the factory caliper (the ones Im installing are a replacement set) and took out the piston and it looked ok ....a little sanding and cleaning and came out like new.
Installed the new rubber seals, cleaned them and painted them again and now they are ready to install ....
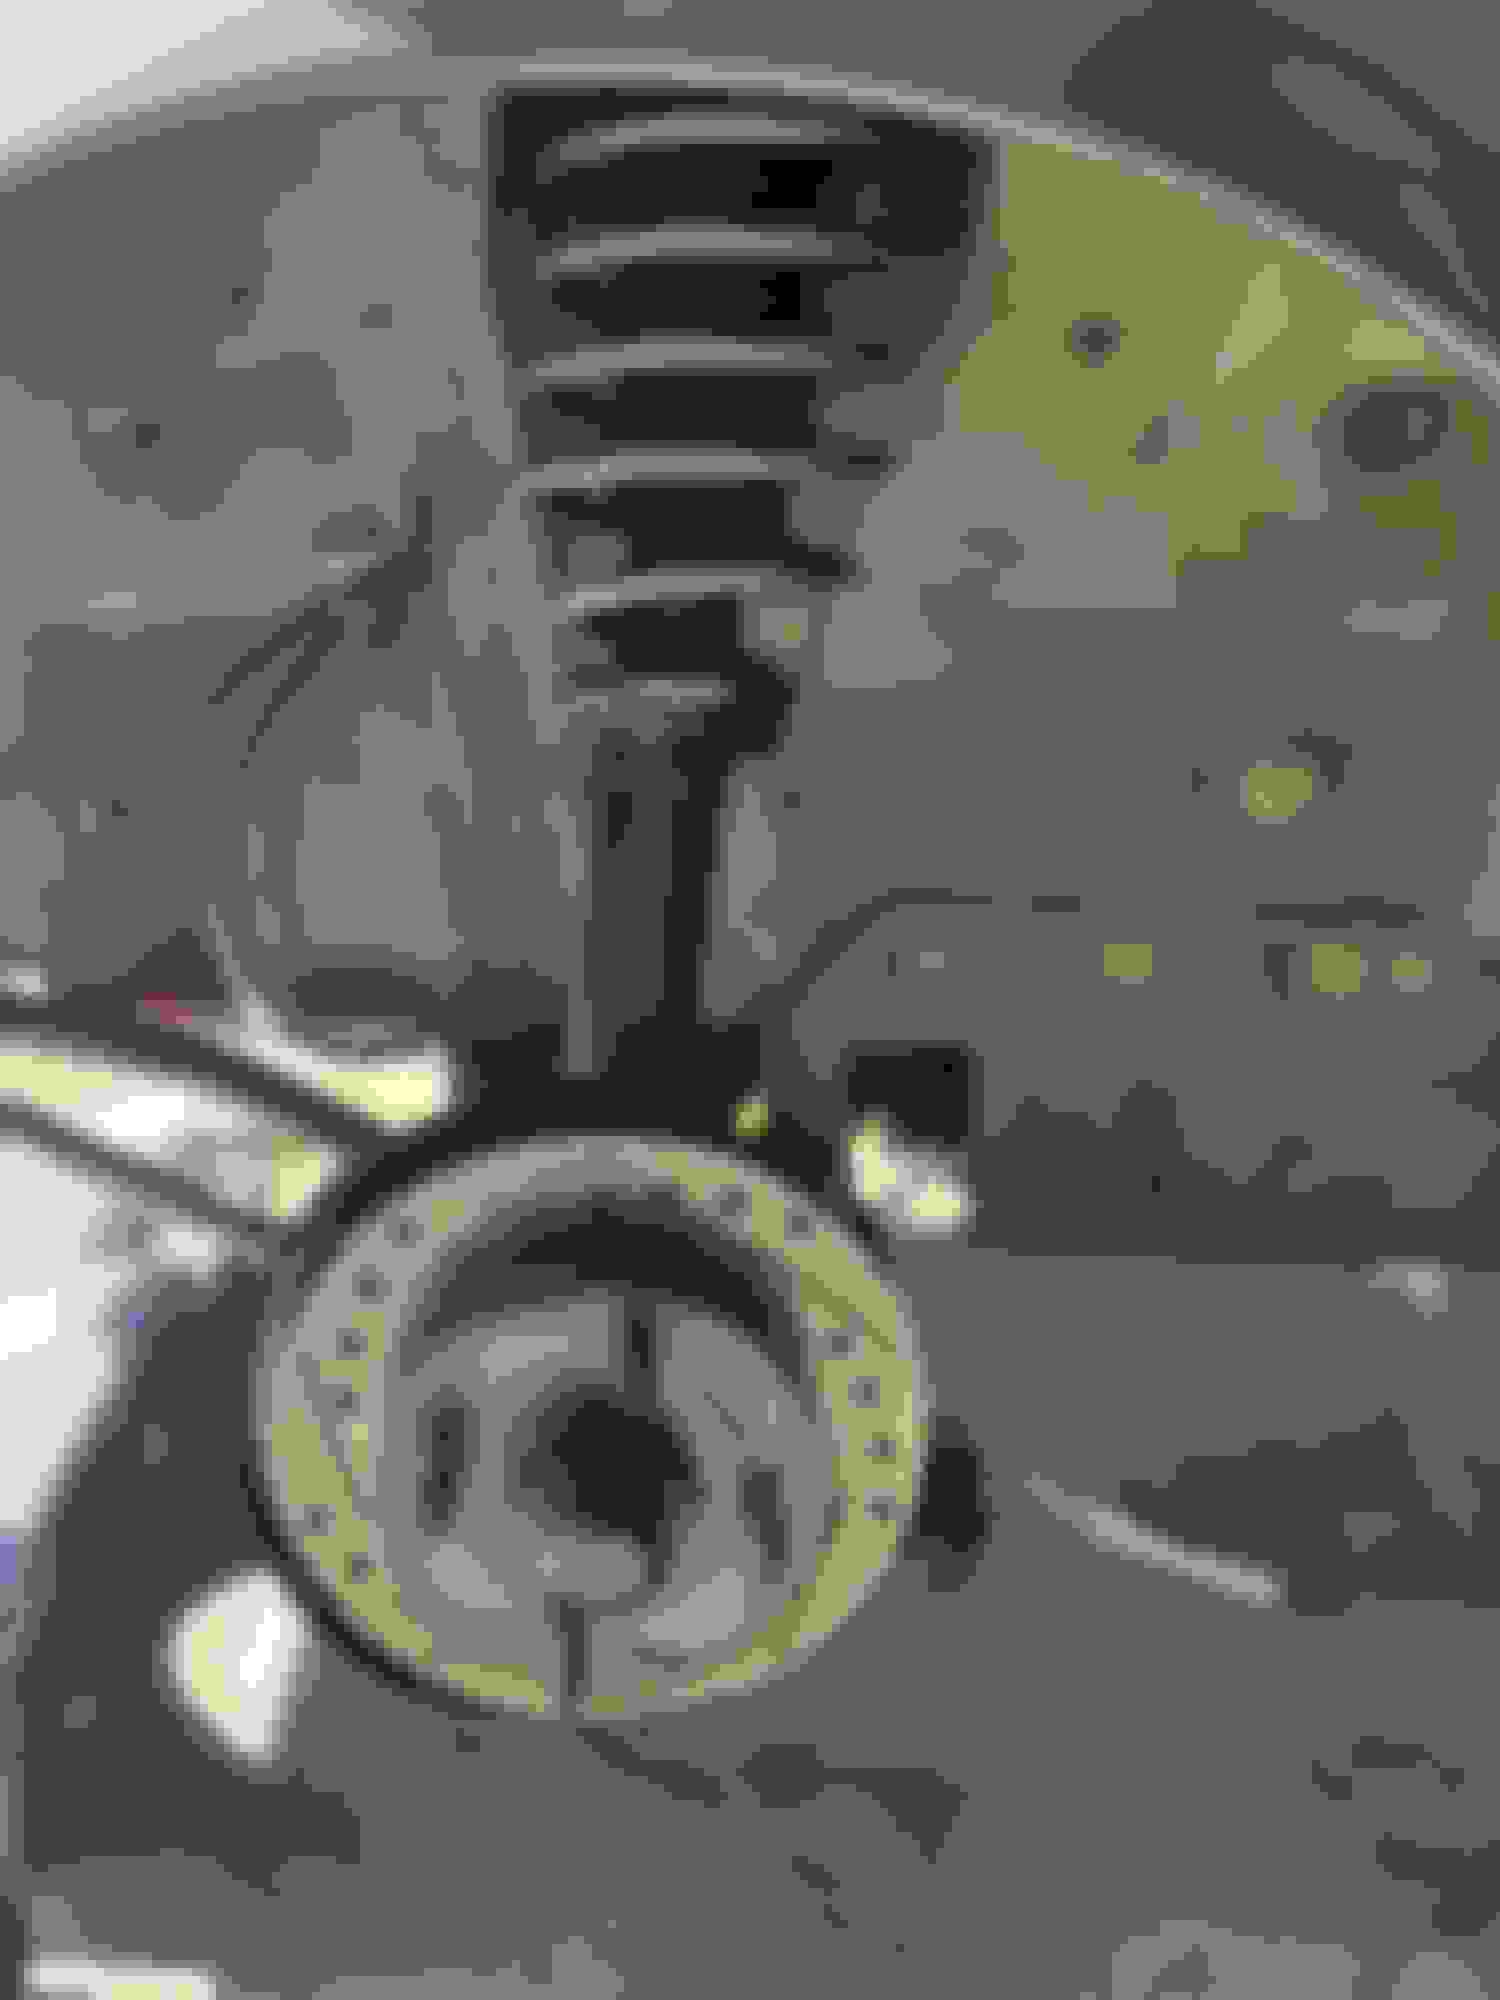
Did those rotors come painted, or did you do it yourself?
I didn't paint mine and I've been debating with myself ever since whether I should have gone ahead and done them (except for the pad area of course)...
Did those rotors come painted, or did you do it yourself?
I didn't paint mine and I've been debating with myself ever since whether I should have gone ahead and done them (except for the pad area of course)...
I painted them......they came out good....just little things to make it look better ....
Well.....finally was able to bleed the brake system after rebuilding all 4 brake calipers and installing braided lines, new hardware, brake rotors and pads ...
Bleeding came without a hitch.....the rebuilding worked perfect....no leaks. ....also bled the clutch system after installing a new slave cylinder and braided clutch line...it held the pressure like it's supposed to....
Also received in the mail the last set in the world, commercially speaking, of Mazda front sway bar bushings.... I don't know if someone has stashed away a set, but ordering it I got the last set in the world.....🤣.....also got a set of the rear sway bar bushings.....from Mazda also...... Front sway bar bushings Rear sway bar bushings
I also forgot to show you guys ... I'll be running the Racing Beat Pro Pulse air breather.
Because I didn't like the white I got it painted cast iron the top and black the bottom. Also because I didn't like the sticker I went to a sign place that I've used many time before called Sign-a-rama and tasked them to recreate the lettering in the factory carburator blue air hat yo put in the Racing Beat hat .
It's strange to see the RB cleaner that color, but it looks great! The lettering came out nicely as well. Some photos of the whole cleaner with the black bottom half visible would be great to see too .
It's strange to see the RB cleaner that color, but it looks great! The lettering came out nicely as well. Some photos of the whole cleaner with the black bottom half visible would be great to see too .
Thanks..... I will get the pics of the whole cleaner tomorrow ....I will try to get it installed but I don't have a proper size filter...but I'll figure something out and post some pics tomorrow.....
It's strange to see the RB cleaner that color, but it looks great! The lettering came out nicely as well. Some photos of the whole cleaner with the black bottom half visible would be great to see too .
Got some pics...there are not great because as I said before, I don't have the correct size filter......
I got the final part to complete my interior yesterday ......also got the headlight/ wiper combo switch to replace my replacement that took a crap.....
Getting there.....
The dash pad has a crack in the middle but that is an easy fix....and I will flock it afterwards....😎
Fixed the alternator cable coming out the fusible link.... It broke off and the PO attached it to the positive that comes out of the battery bypassing the fuse ...so...I upgraded the fuses, fixed the cable and relocated the box .....
I will use this until I can upgrade to a S4 fuse box.....
Well.....got the silicone hose from the rad to the heater mounted, the braided line from the coolant reservoir to the radiator and the braided lines from the oil catch can to the motor installed also. Cleaned the fuel lines and now got to fill up with coolant and start working for the start up in the next couple of weeks .....
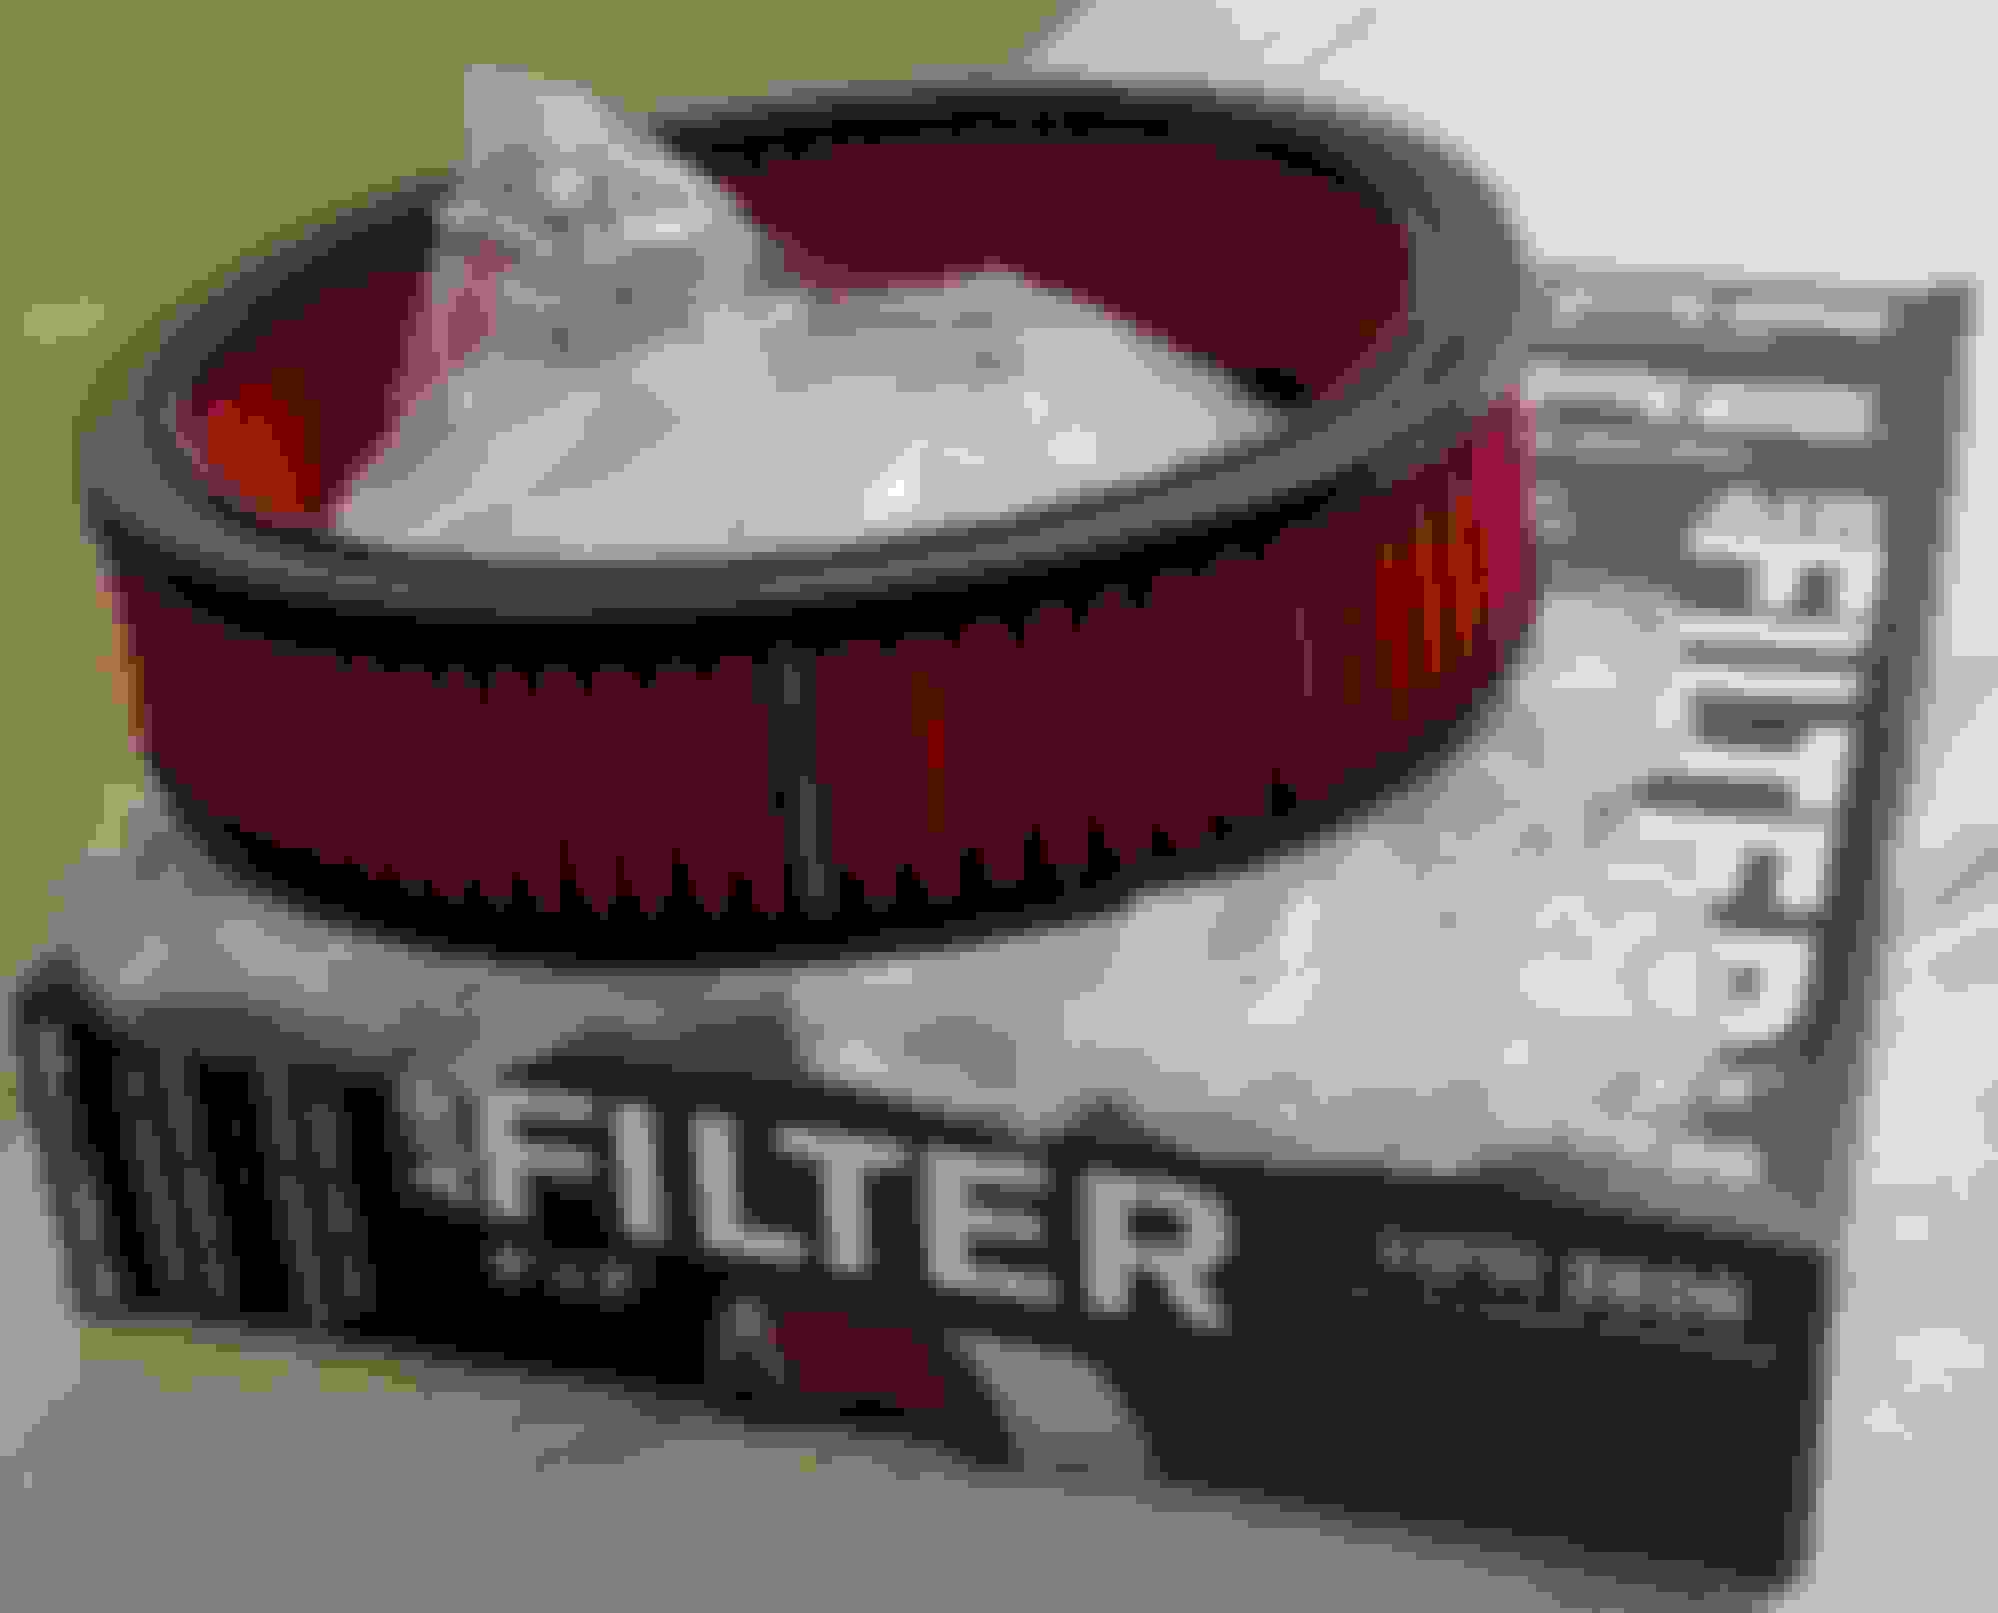
Also cleaned and covered in rubberized coating the trunk area and got the new air filter from Spectre Performance.... .
Well....after much deliberations i didn't like the way the mirrors looked shiny......so I painted them again but now in matte black....and I like them......
Also ordered an higher amp alternator and painted it also to keep the theme going....130 amp alternator....looks awesome....
Also she was looking a little grimmy so I gave her a bath and a little spray wax and cleaned out perfectly......she looks good.....
 09-14-21, 09:32 PM


 .
.