
1985 S model


Thread Starter
Senior Member
Joined: May 2009
Posts: 446
Likes: 0
From: troy
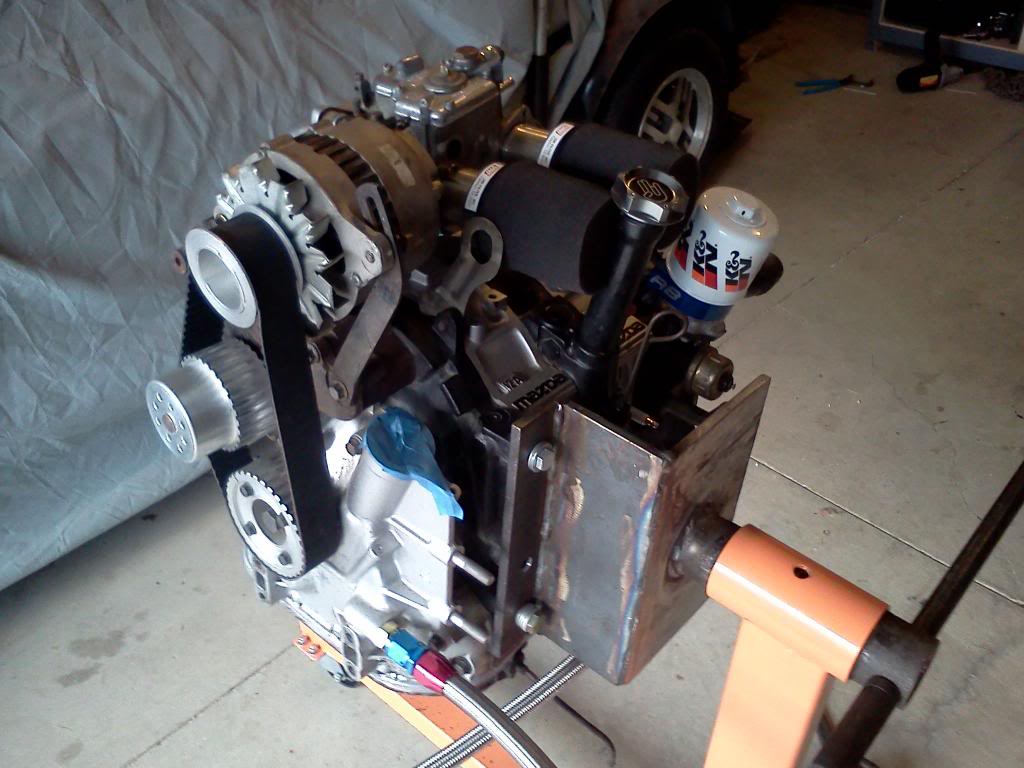
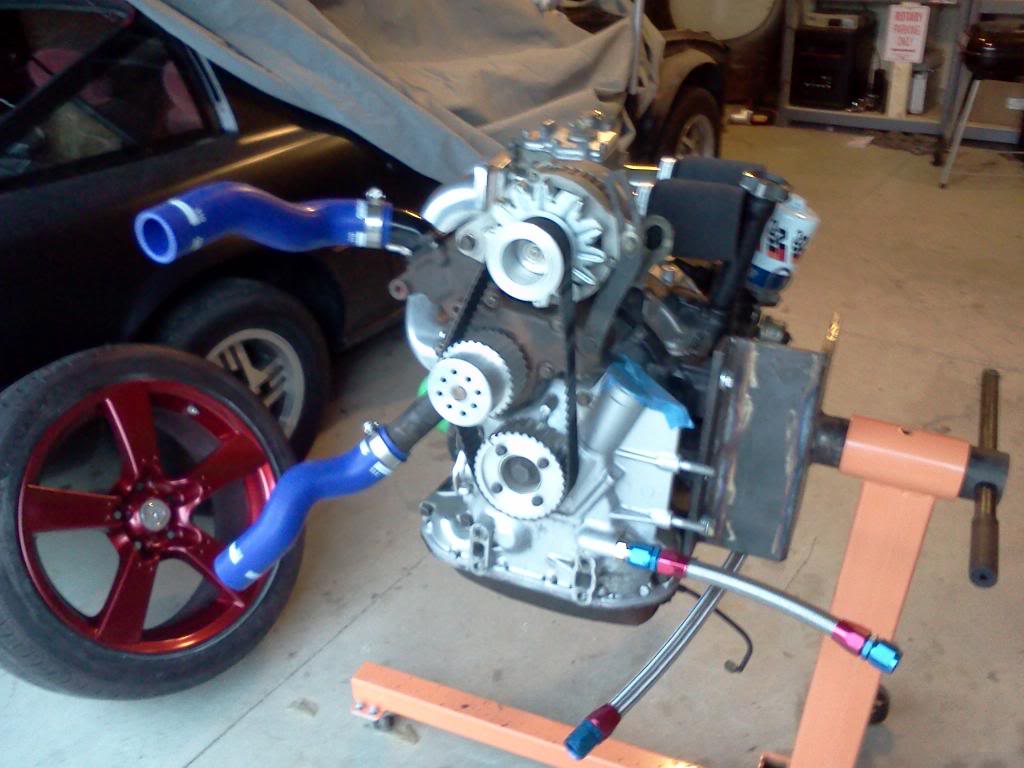
the O-ring for the oil filter sandwich had to be cut down to fit properly! i cut it at a very tight angle on both ends and used vaseline and packed it in the seat. as for the pulleys the water pump pulley had to be milled out for the shaft to fit through it. took some time, but i finally got it to fit. the carb spacers are actually a little long.... about 1/4" too long to be exact, but will work beautifully. other than needing to find out if the motor was timed at a diff. degree other than stock the motor is pretty close to being ready to drop in.
i'll be dropping the pulleys and velocity stacks off monday to be anodized and hopefully get around to ordering a new water pump, rad and plug wires. more updates coming soon!!!!!!!
i'll be dropping the pulleys and velocity stacks off monday to be anodized and hopefully get around to ordering a new water pump, rad and plug wires. more updates coming soon!!!!!!!

Thread Starter
Senior Member
Joined: May 2009
Posts: 446
Likes: 0
From: troy
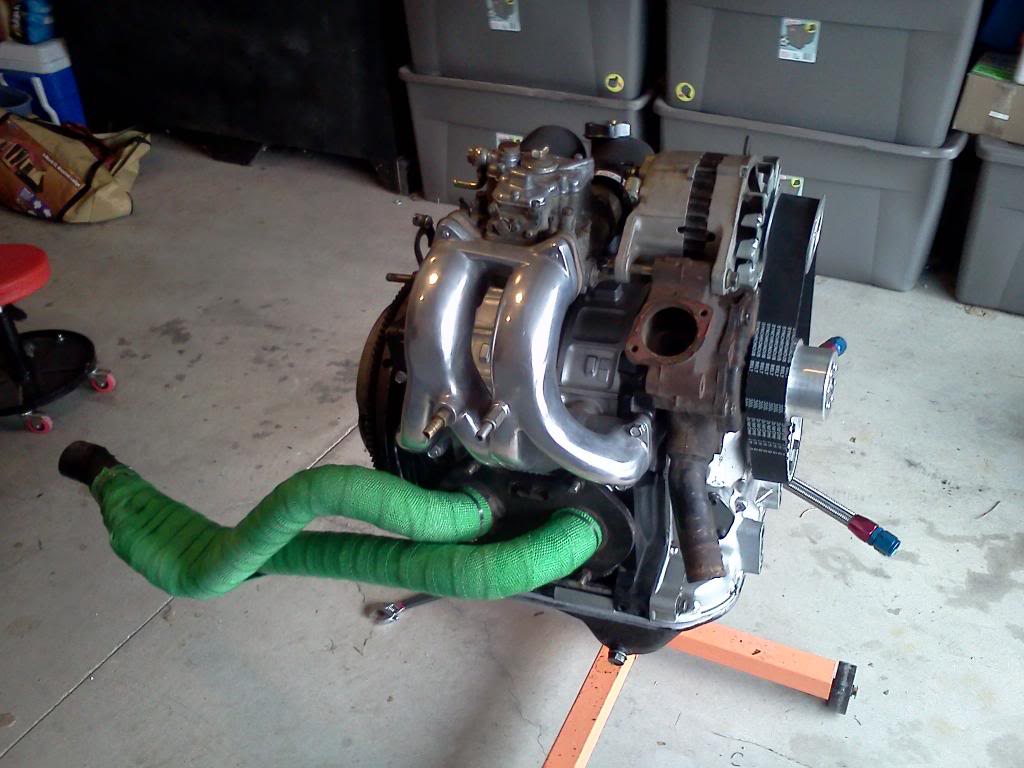
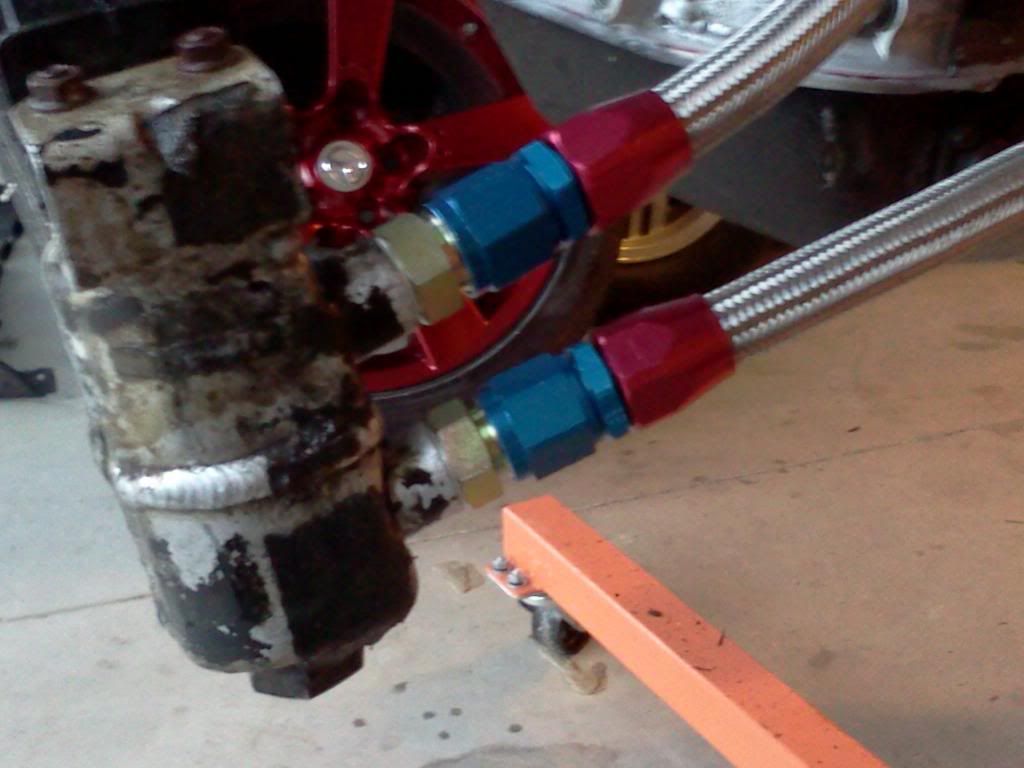
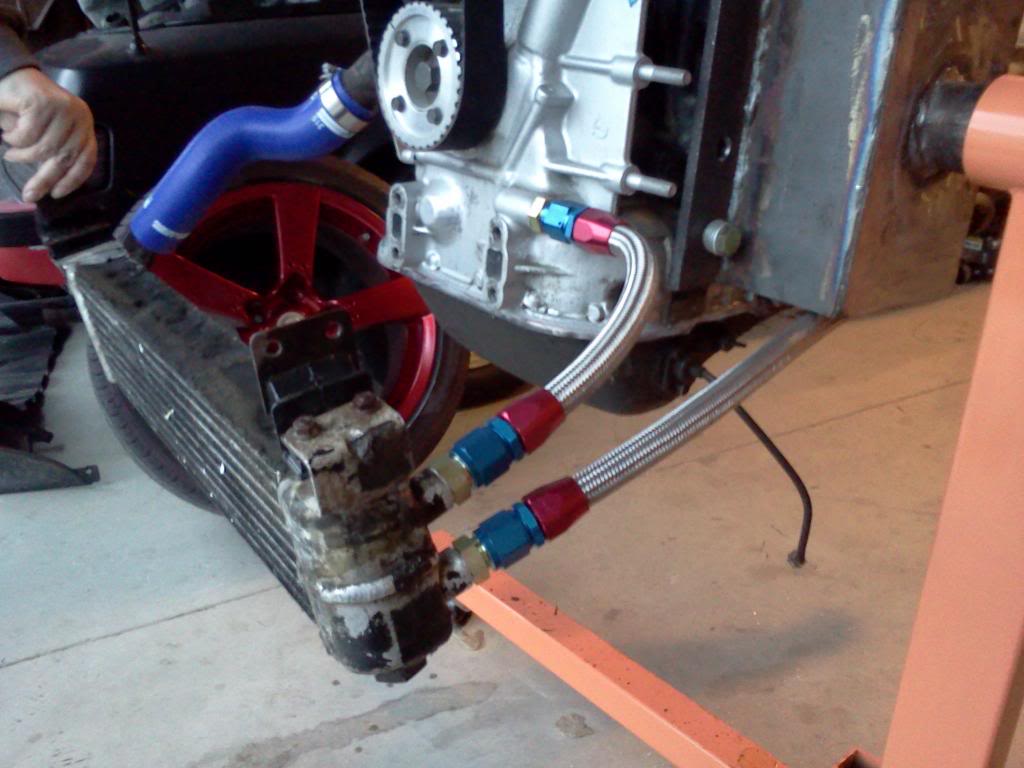
the main reason for them is 1. they are bigger in diameter and flow a higher volume and 2. they can withstand a higher psi rating for when i install a new adjustable oil pump. other than that they are kickass to look at and just less things to worry about leaking/replacing later!
Thread Starter
Senior Member
Joined: May 2009
Posts: 446
Likes: 0
From: troy
ya i looked forever for the one i got and ended up getting it for i believe $150. just put a $20 rebuild kit on it and should be ready to go  just keep looking you'll find one eventually. although i'd probably go with like a 40DCOE mine is a 45 and i'm pretty sure it will still be very rich!
just keep looking you'll find one eventually. although i'd probably go with like a 40DCOE mine is a 45 and i'm pretty sure it will still be very rich!
Thread Starter
Senior Member
Joined: May 2009
Posts: 446
Likes: 0
From: troy
you can buy inserts for the carb to change the mm. i'm running a 45mm on a half bridge port motor which may or may not be too much for the motor. my buddy had a 48mm on a stock 12a and it was extremely rich no matter what..... it was horrible at stop lights/signs. lol
Thread Starter
Senior Member
Joined: May 2009
Posts: 446
Likes: 0
From: troy
back from DGRR 2013....... if you've never been you MUST go! if you have been then you know why lol. got a few things i'll be steeling from Rwatson5651.... he's got a beautiful car btw! too bad he hit a deer on the way home..... :'(
Thread Starter
Senior Member
Joined: May 2009
Posts: 446
Likes: 0
From: troy
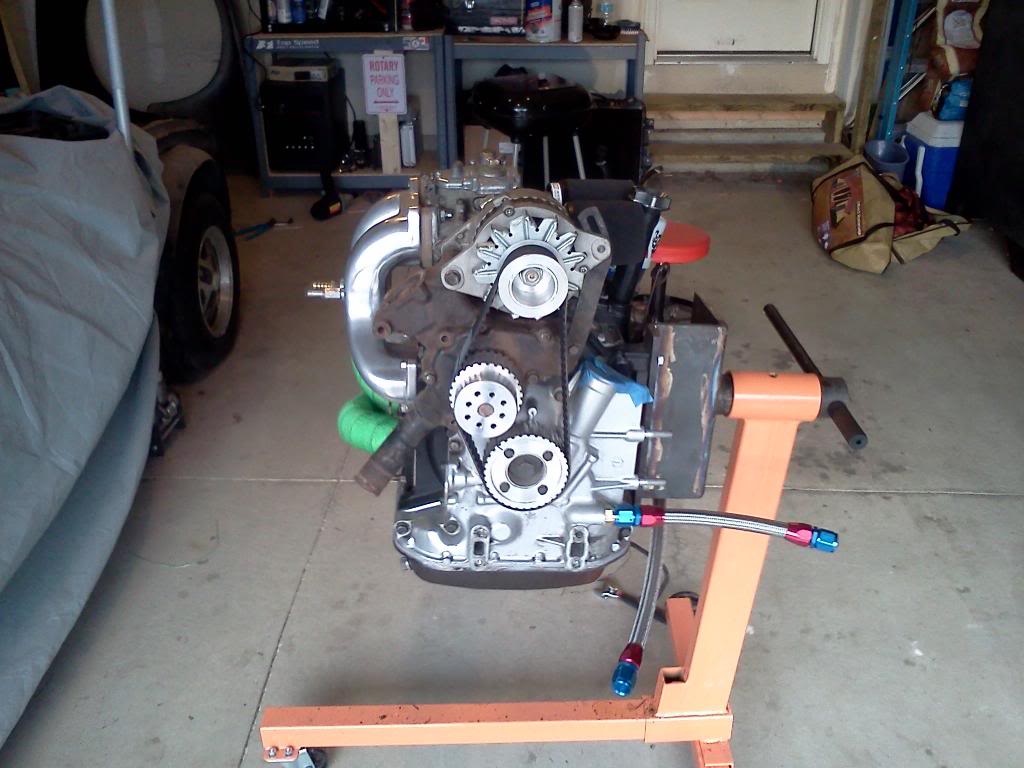
finally got the brand new water pump painted and installed! looking for a way to mount an adjustable alt. tension rod for a v8 on the rx7 as it would be easier to tighten the belt with the new pulley set up. pics coming soon.


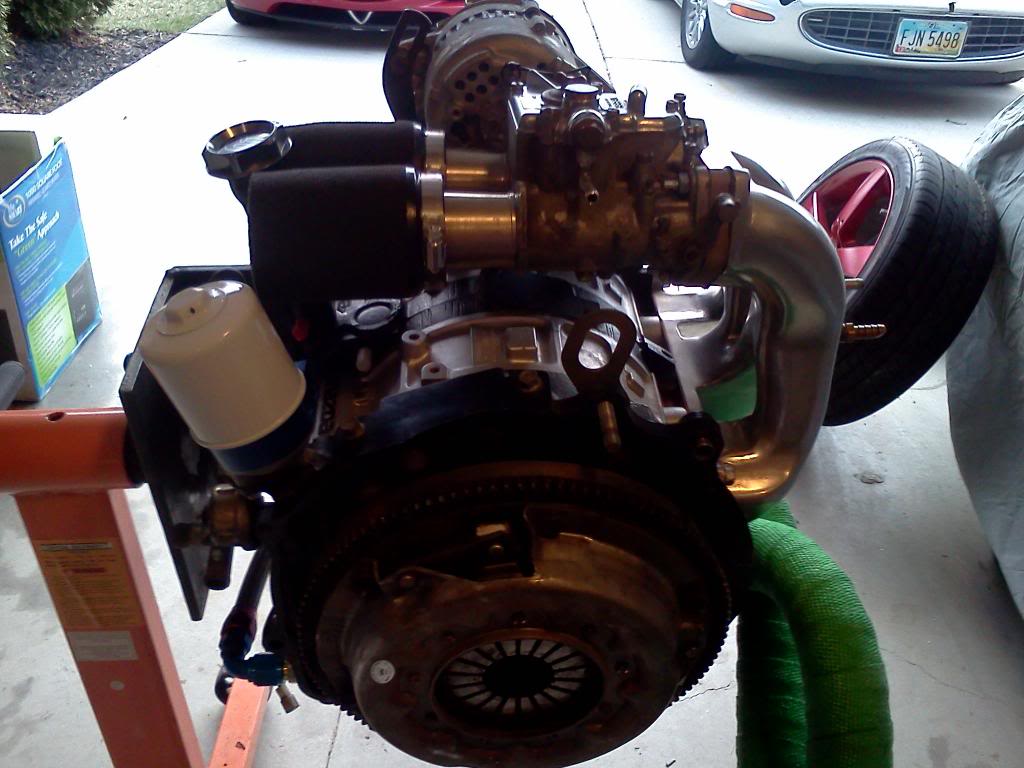
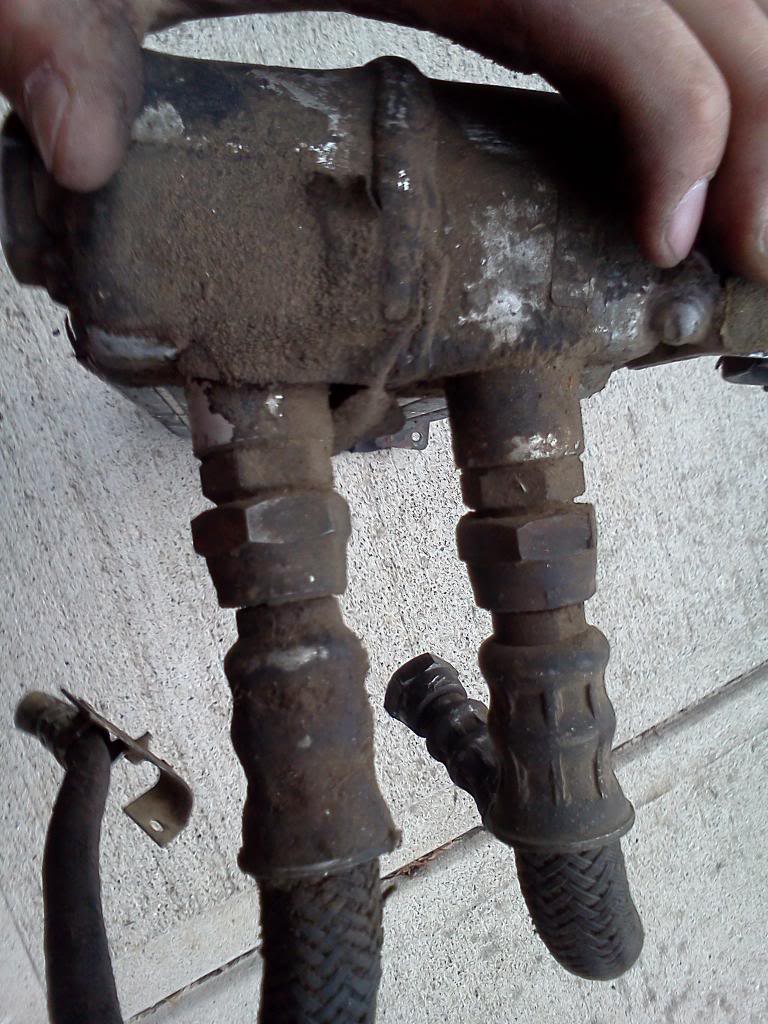
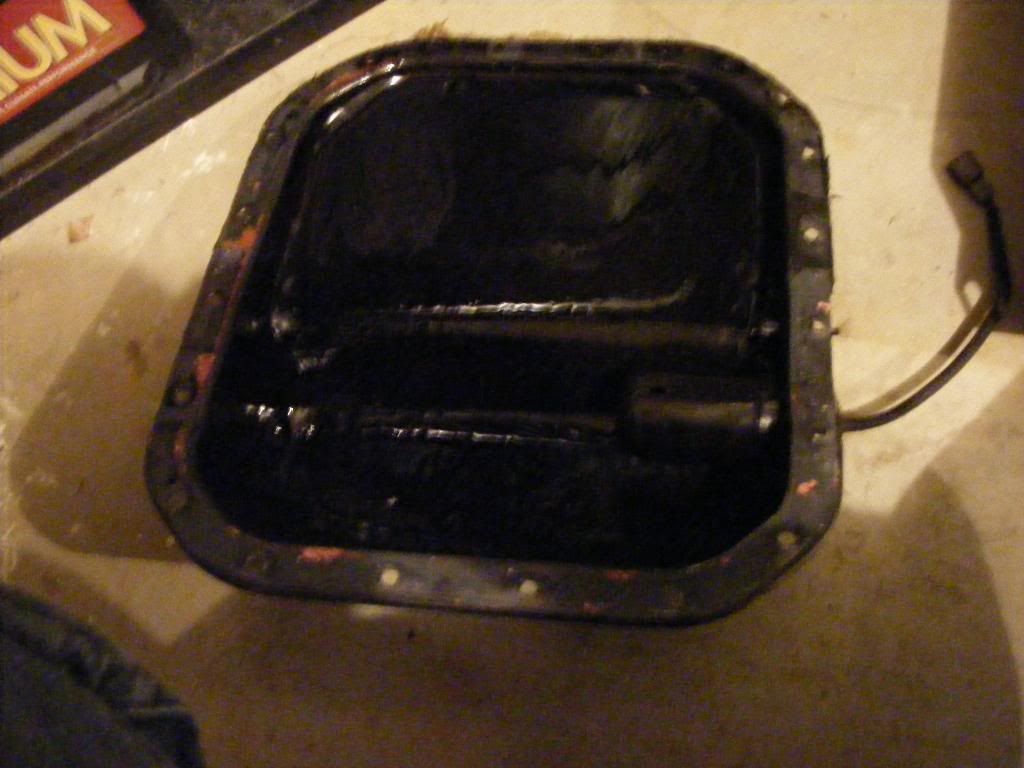
Hey, not to hijack your thread, what is that black cylinder in the oil pan? The engine I just picked up and tore down has one and I've never seen it before.
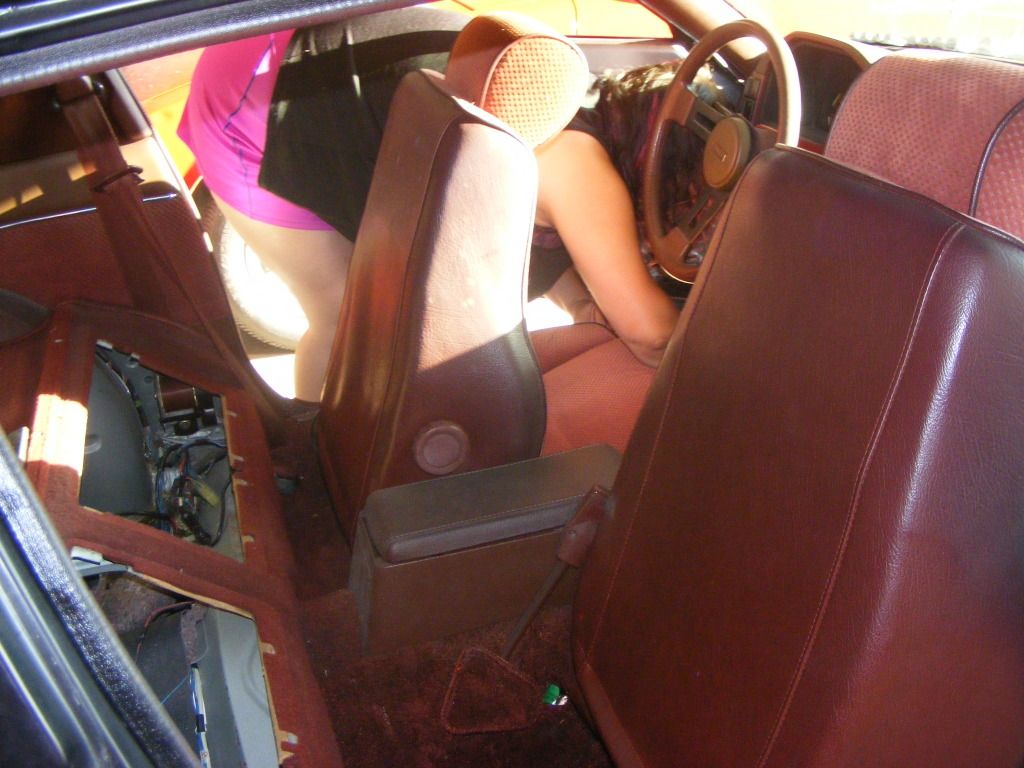
Also, how hard was it to take out the suspension? I have my engine bay torn down to about the same point for blasting and repaint and have it still in the car, but it's just sitting there begging me to take it out and rebuild/repair/repaint.
Can't wait to see how yours turns out! Very inspiring to see that we're at similar points on our rebuilds.

Thread Starter
Senior Member
Joined: May 2009
Posts: 446
Likes: 0
From: troy
Hey, not to hijack your thread, what is that black cylinder in the oil pan? The engine I just picked up and tore down has one and I've never seen it before.
Also, how hard was it to take out the suspension? I have my engine bay torn down to about the same point for blasting and repaint and have it still in the car, but it's just sitting there begging me to take it out and rebuild/repair/repaint.
Can't wait to see how yours turns out! Very inspiring to see that we're at similar points on our rebuilds.
honestly i'm not really sure what it is. i believe it's just a casing that goes around one of the sensors. as for the suspension it's easy! there are 4 bolts each side where the sway bar mounts, 2 bolts each side for the cross member and 4 bolts each side for the struts..... remember to unbolt the brake lines and steering arm 1st as well.

Thread Starter
Senior Member
Joined: May 2009
Posts: 446
Likes: 0
From: troy
finished painting the engine bay this evening and started putting things back together. selling a lot of factory parts off the car in the process so if you guys need anything let me know!


Thread Starter
Senior Member
Joined: May 2009
Posts: 446
Likes: 0
From: troy
Ok guys question time.....
I just picked up gsl-se suspension for an upgrade. My question is what transmission should I use and what proportioning valve do I need to use? Thanks and ( a lot of pics ) coming soon
I just picked up gsl-se suspension for an upgrade. My question is what transmission should I use and what proportioning valve do I need to use? Thanks and ( a lot of pics ) coming soon