1985 S model

Thread Starter
Senior Member
Joined: May 2009
Posts: 446
Likes: 0
From: troy
trying to decide if i want to install a light weight flywheel or not before it goes in. waiting on some ordered parts to arrive and more tear down on the engine bay.... looking for a good new set of coils to upgrade to and may mount to the motor for a cleaner look. any ideas guys?
Thread Starter
Senior Member
Joined: May 2009
Posts: 446
Likes: 0
From: troy
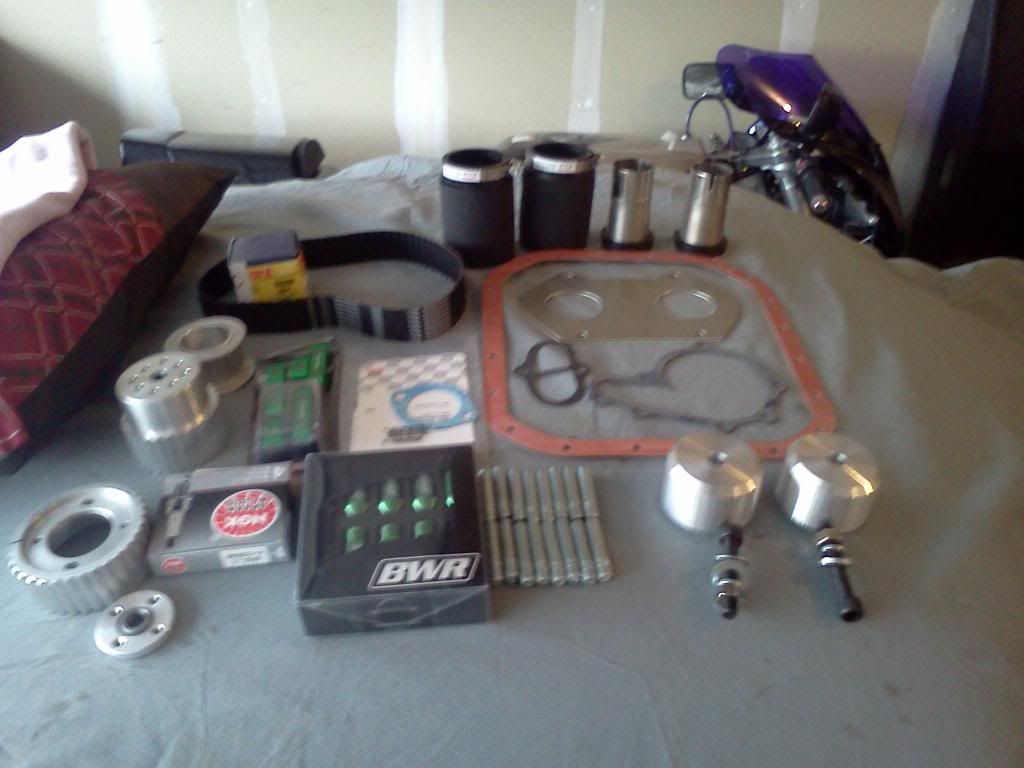
motor mounts, lug nuts, carb spacers, spark plugs and thermostat are here. just waiting on the racing beat oil lines, rad hoses, oil sensor block, water pump gaskets, oil pan gaskets and many other things to arrive. going to sand blast and paint a few parts before the new motor goes in
Thread Starter
Senior Member
Joined: May 2009
Posts: 446
Likes: 0
From: troy
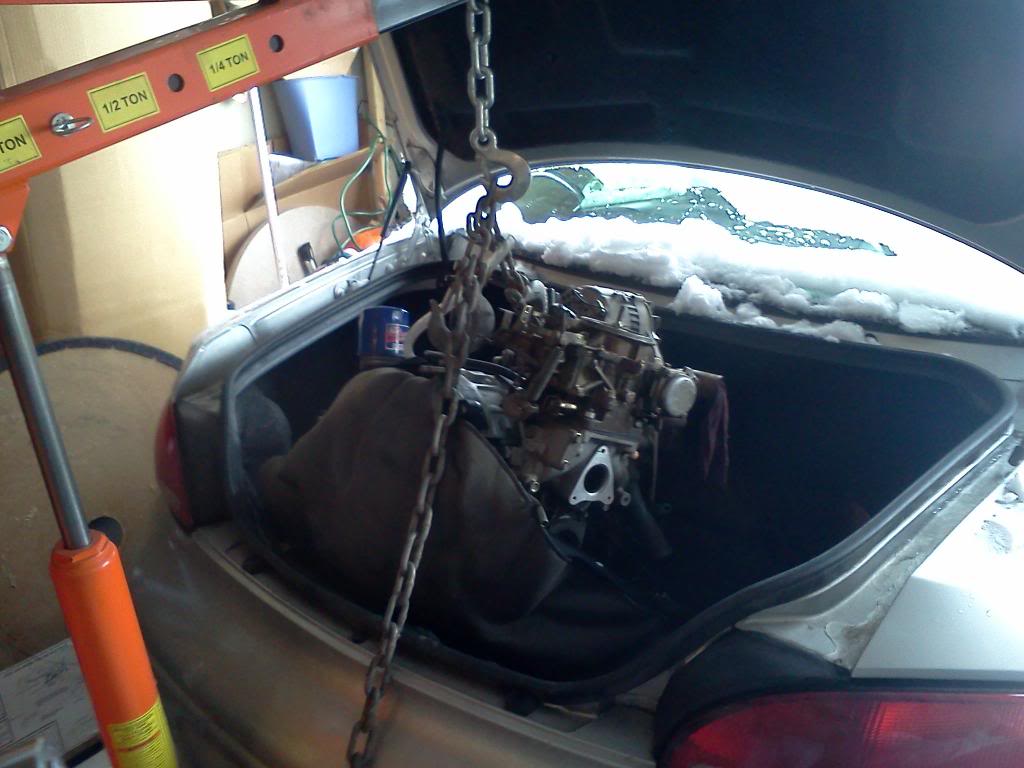
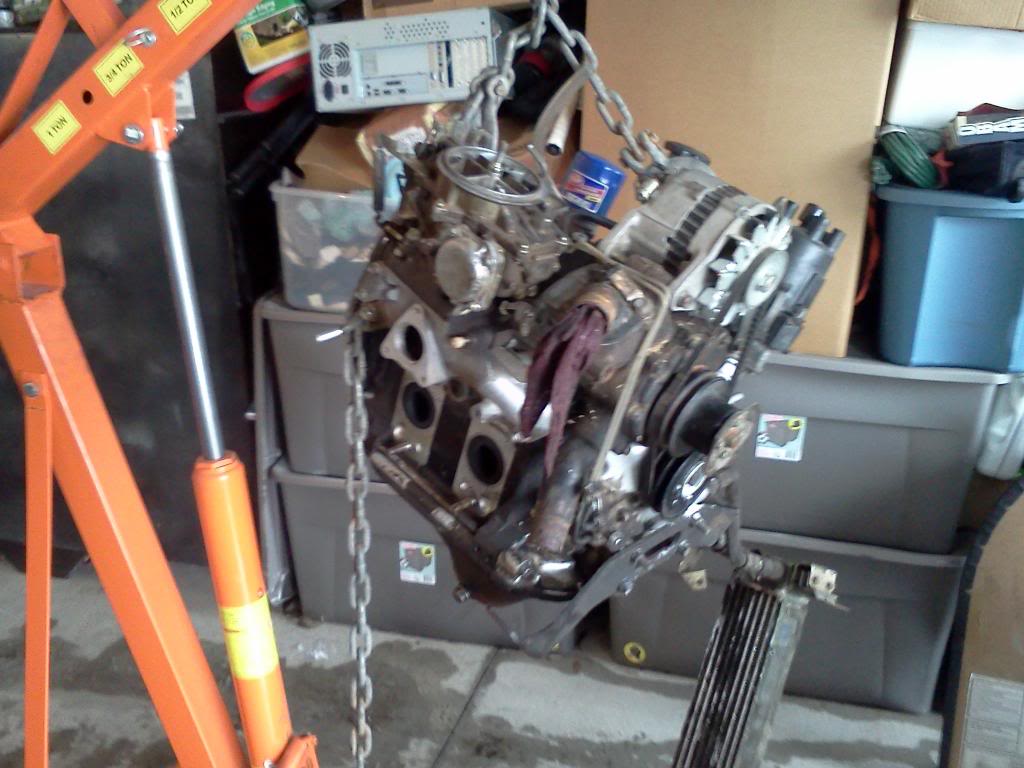
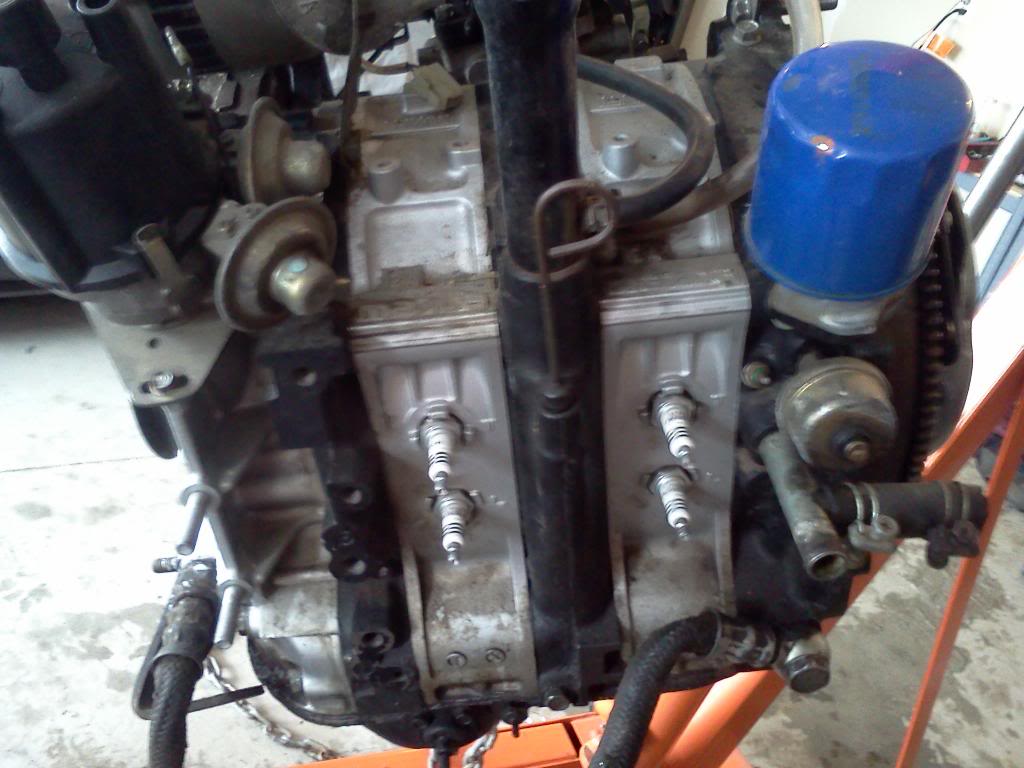
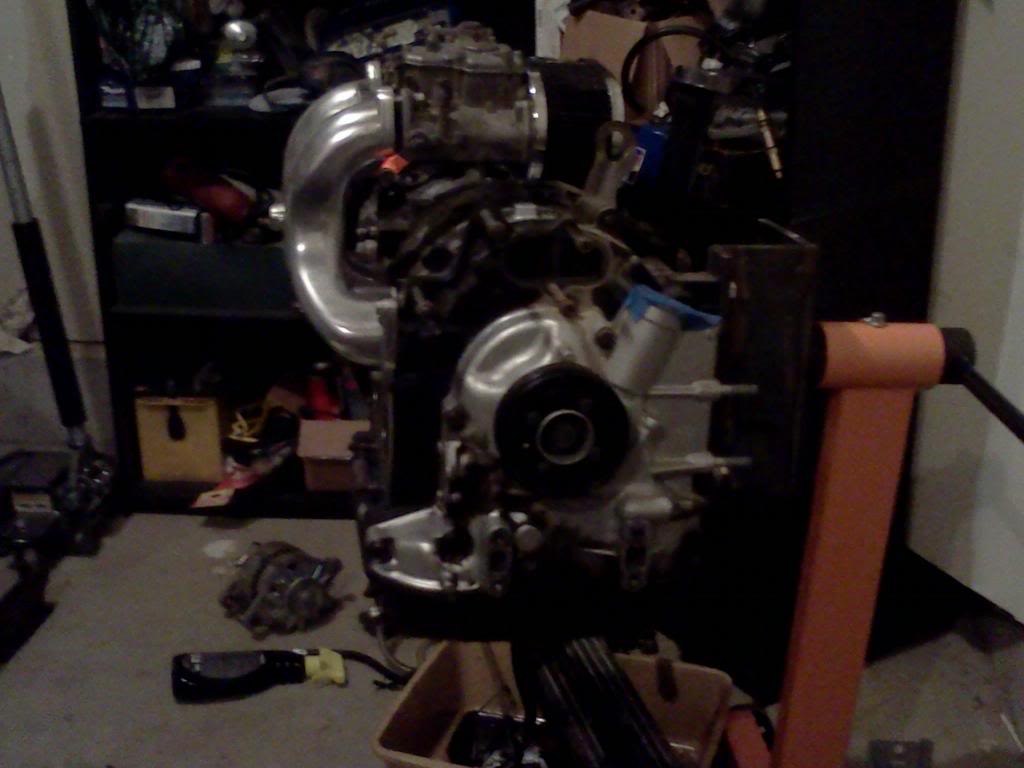
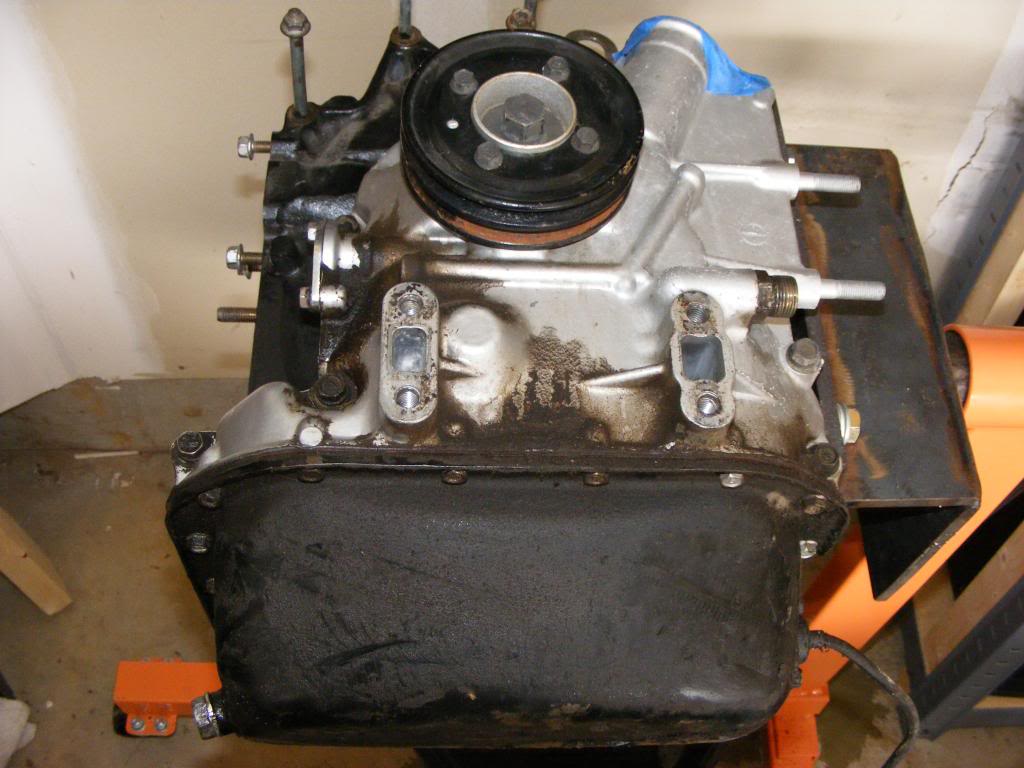
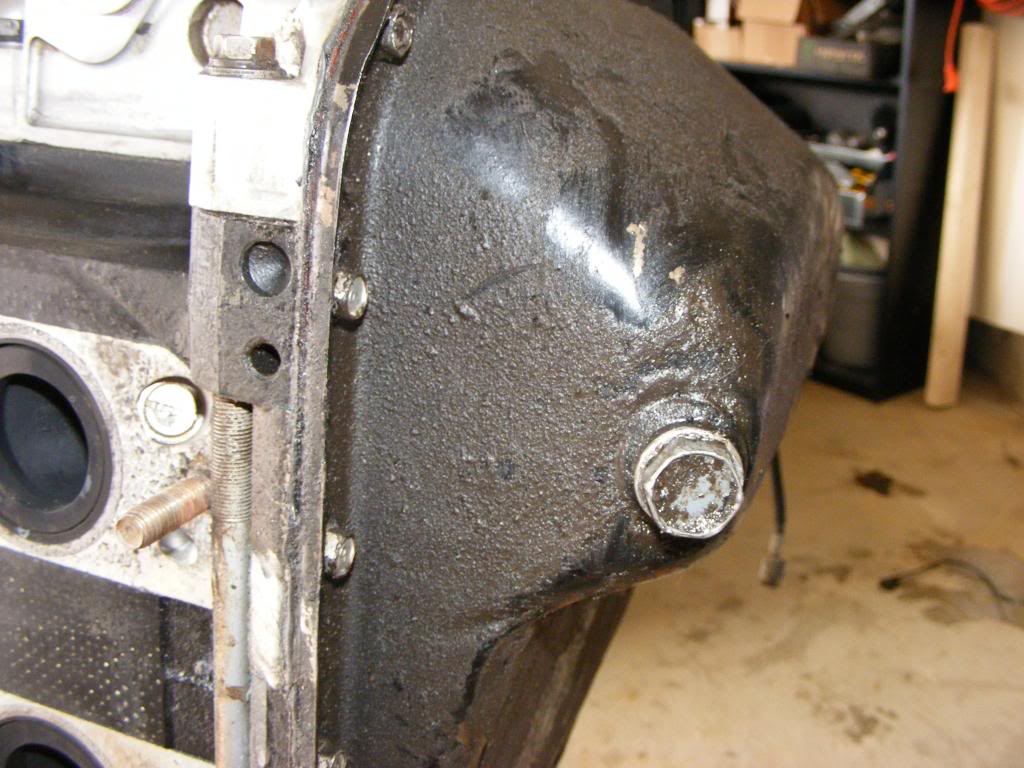
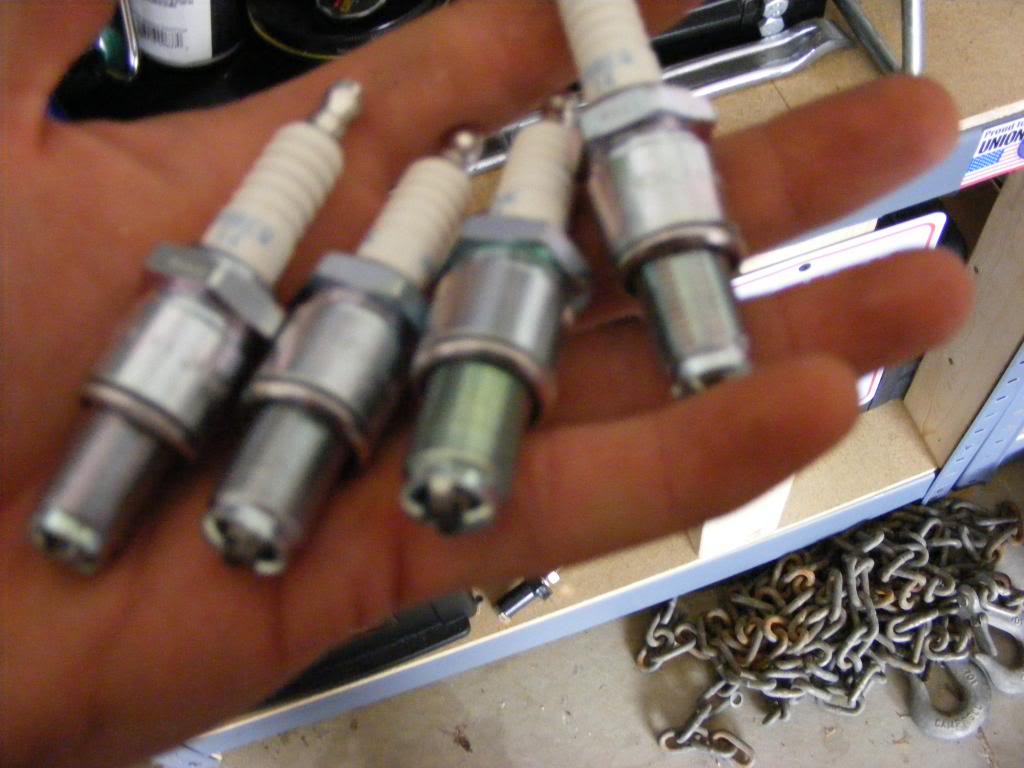
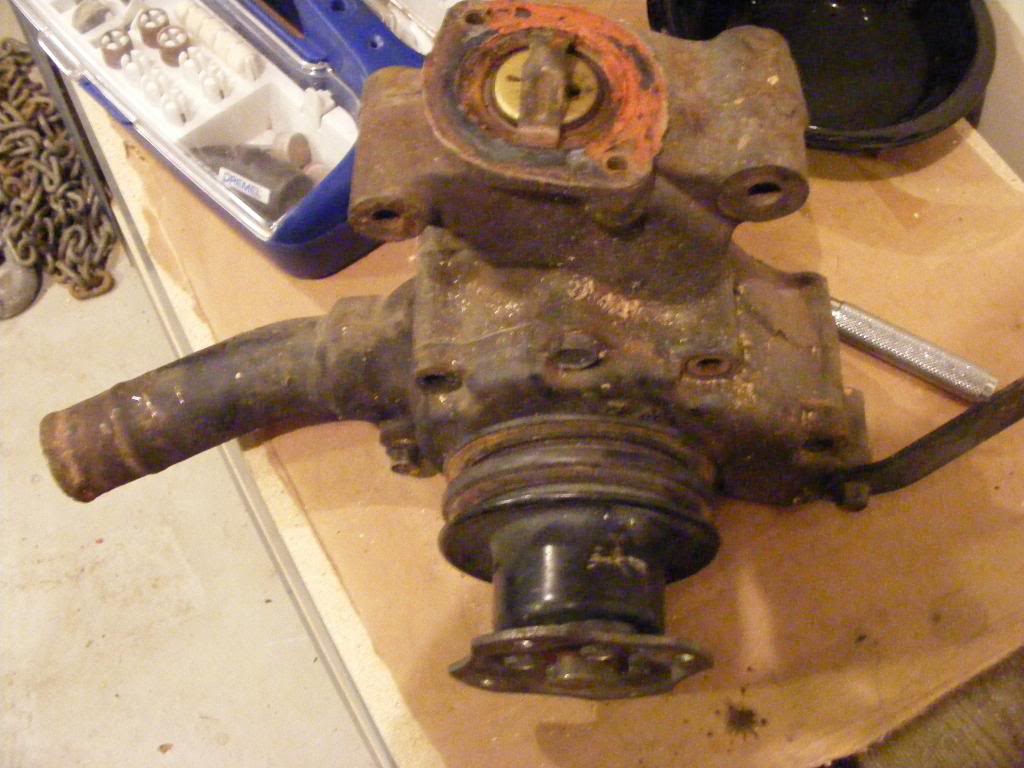
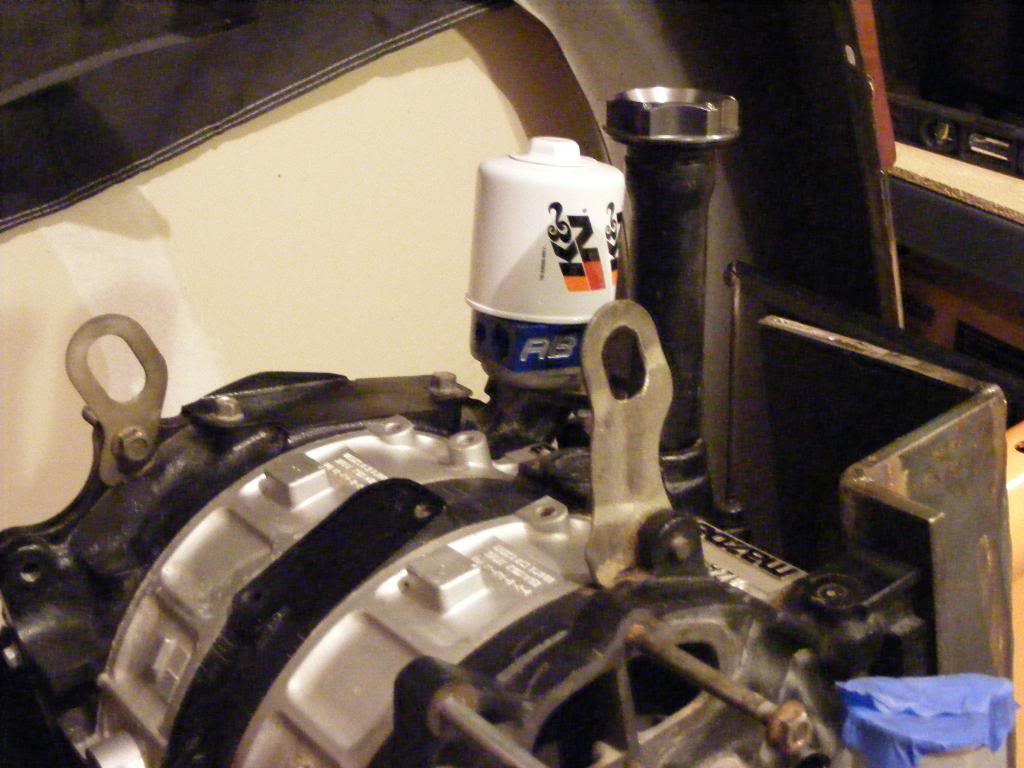
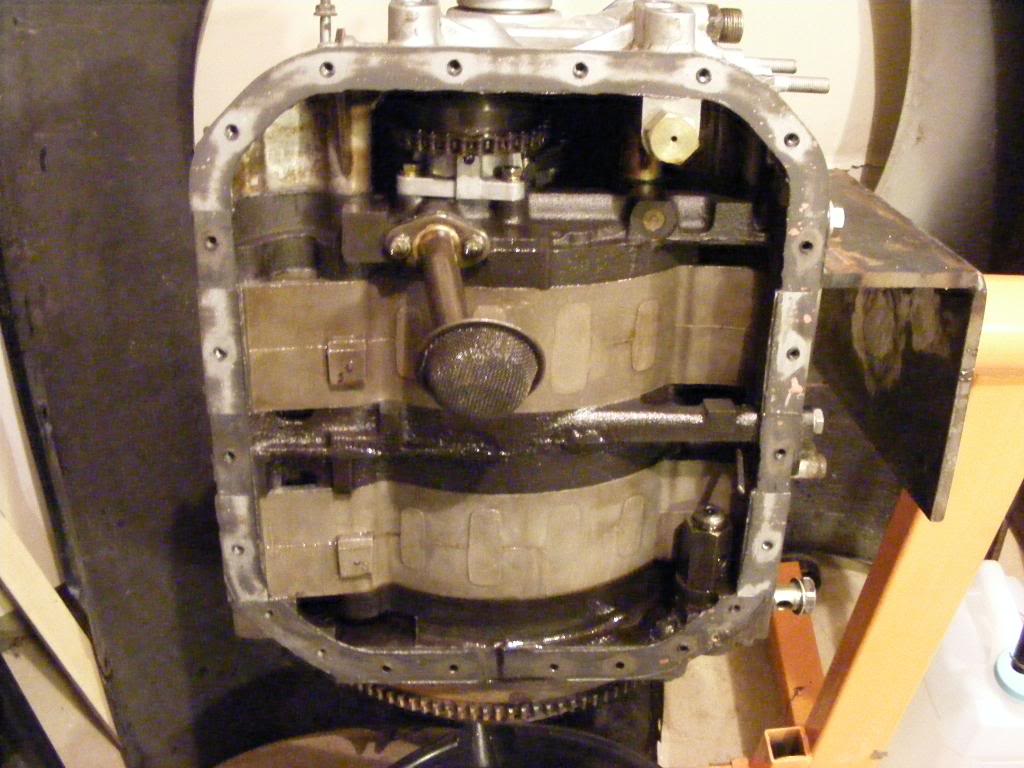
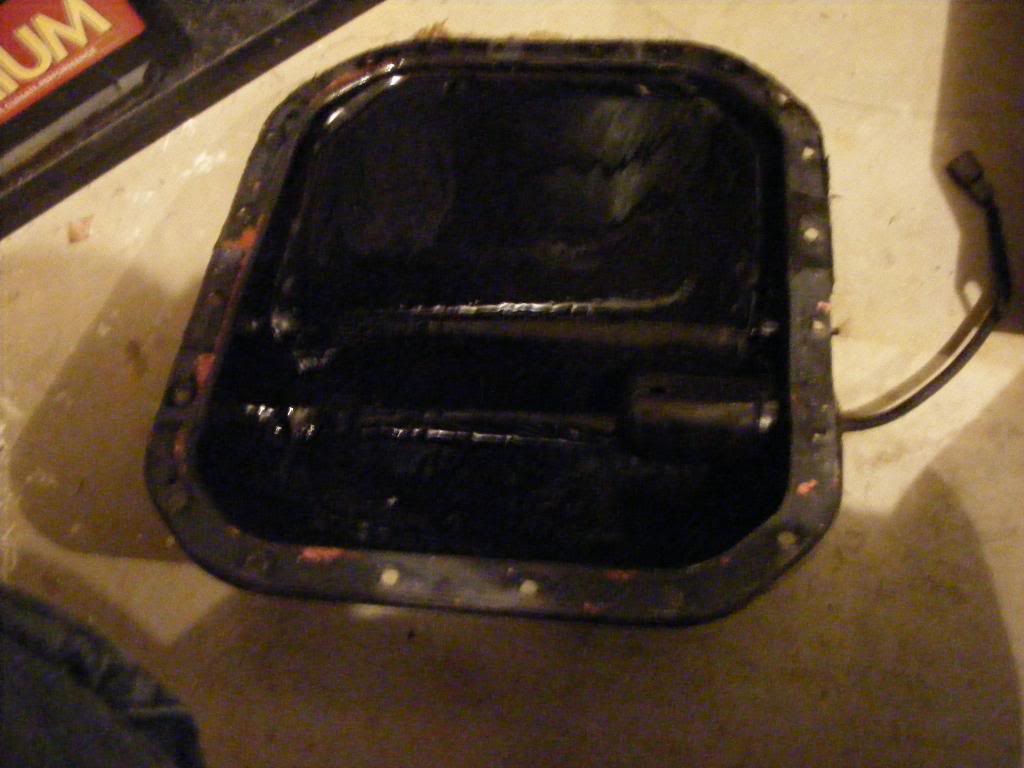
Well I got the motor all cleaned up from the oil pan and omp leaking all over it. Also changed out the spark plugs with better ones, replaced the oil filter, new oil cap and installed the omp block off plate. Still have multiple parts and gaskets coming in the mail and plenty of work to be done.


Thread Starter
Senior Member
Joined: May 2009
Posts: 446
Likes: 0
From: troy
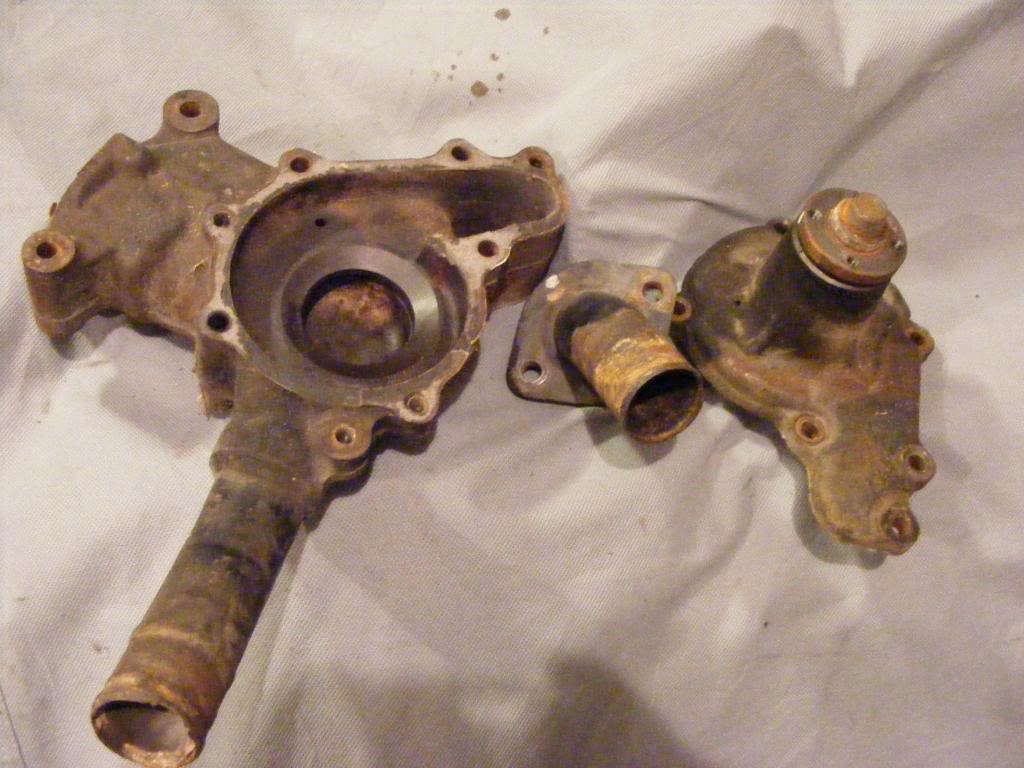
took the water pump housing apart to be sand blasted and painted
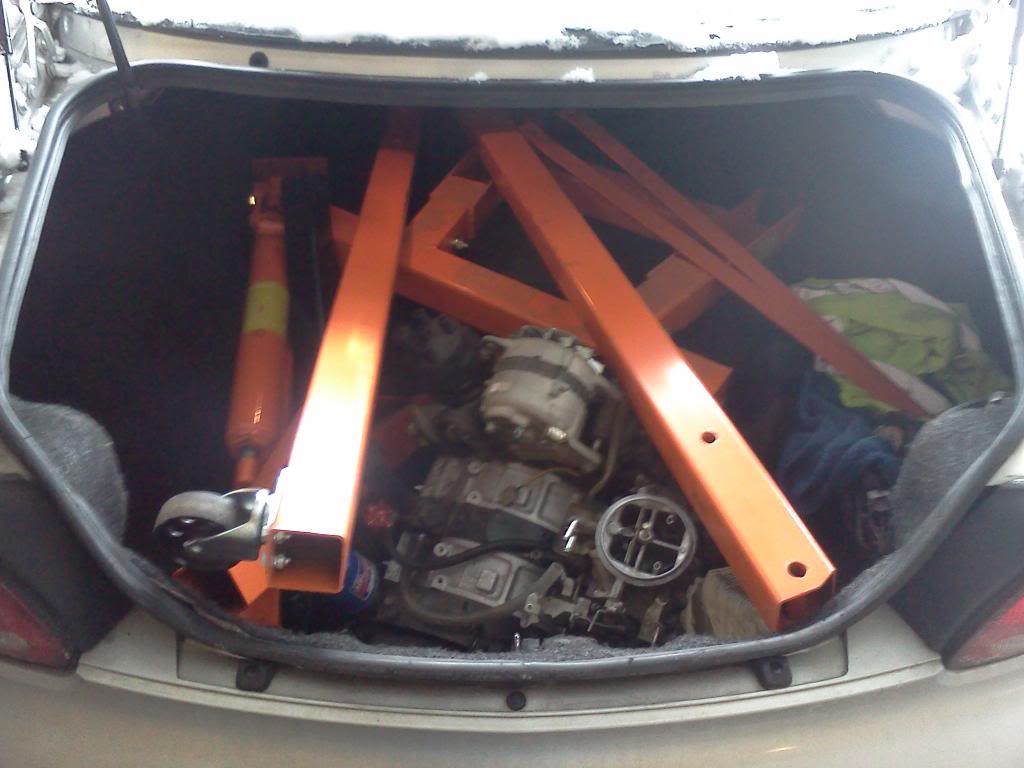
I've got a box of parts that will be sand blasted and painted hopefully by this weekend. I'm hoping to have the motor ready to be installed soon!
I've got a box of parts that will be sand blasted and painted hopefully by this weekend. I'm hoping to have the motor ready to be installed soon!
Thread Starter
Senior Member
Joined: May 2009
Posts: 446
Likes: 0
From: troy
so i went into school early the other day and tried using the sand blaster on some parts. either the psi wasn't high enough or the sand wasn't abrasive enough and didn't even really take a lot of the rust or old paint off.......... guess i'll just use the grinder with a wire wheel.
on another note i did get some more parts in the mail today. just waiting on the stuff from racing beat to arrive then i can do some more productive work.
on another note i did get some more parts in the mail today. just waiting on the stuff from racing beat to arrive then i can do some more productive work.
Thread Starter
Senior Member
Joined: May 2009
Posts: 446
Likes: 0
From: troy
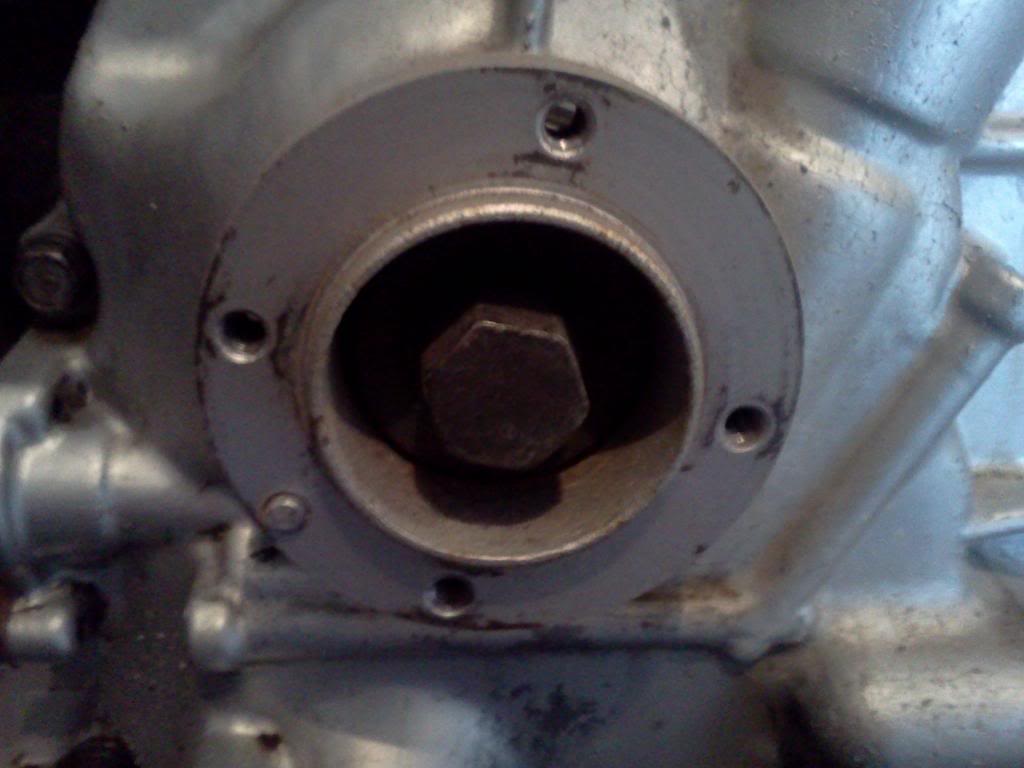
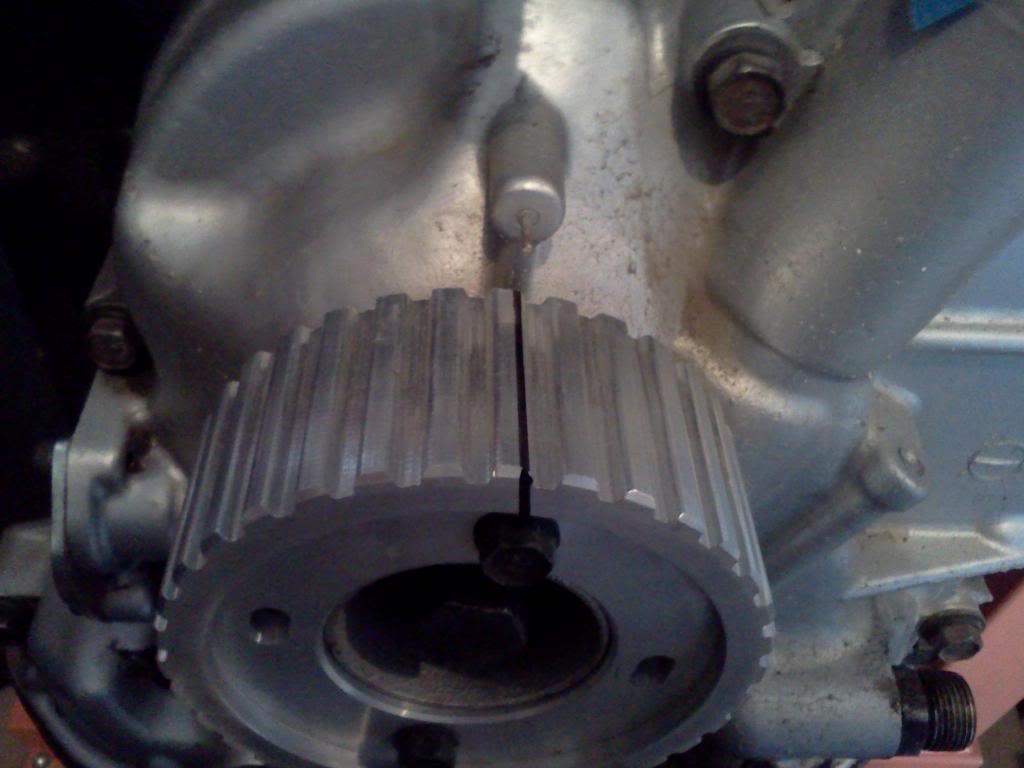
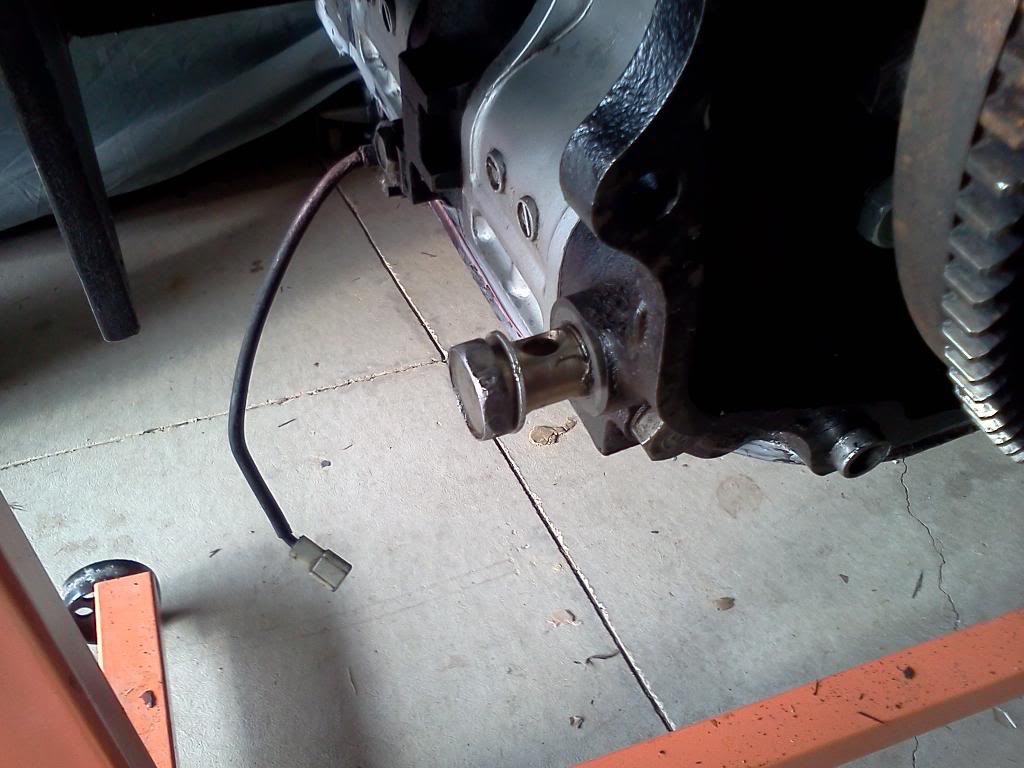
the original main pulley has a little stud where it mounts to ensure proper alignment for TDC. i'm going to not the new pulley so i can find TDC without installing the old pulley when i need to do so, however i will keep the old one around for such a thing!
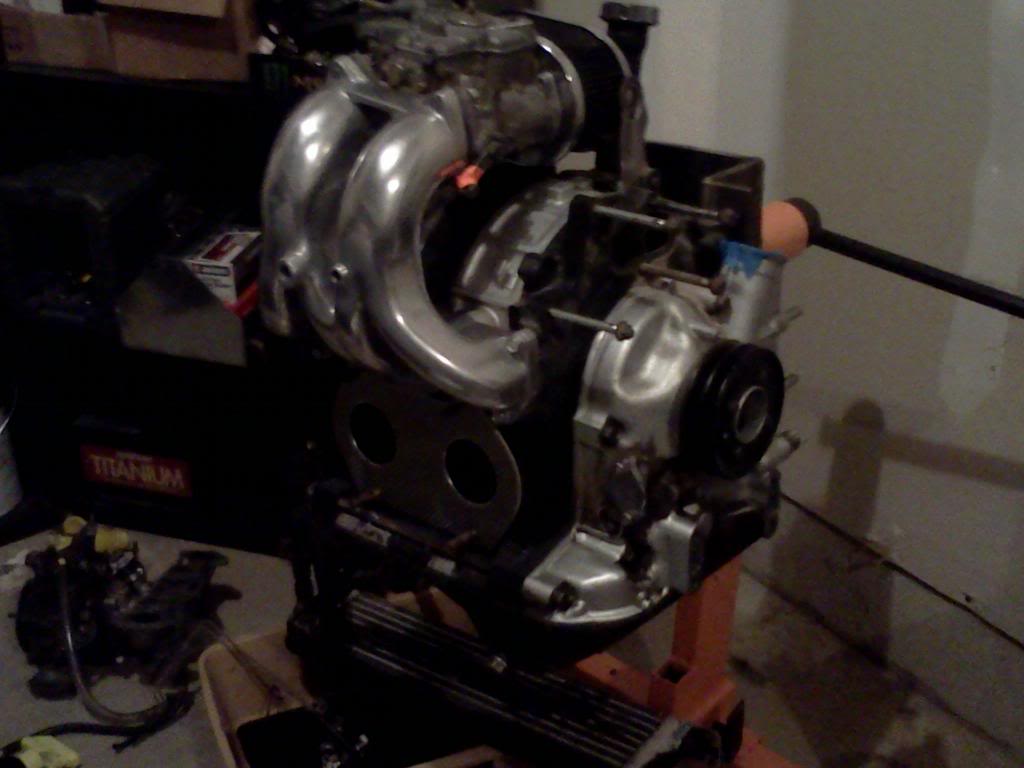
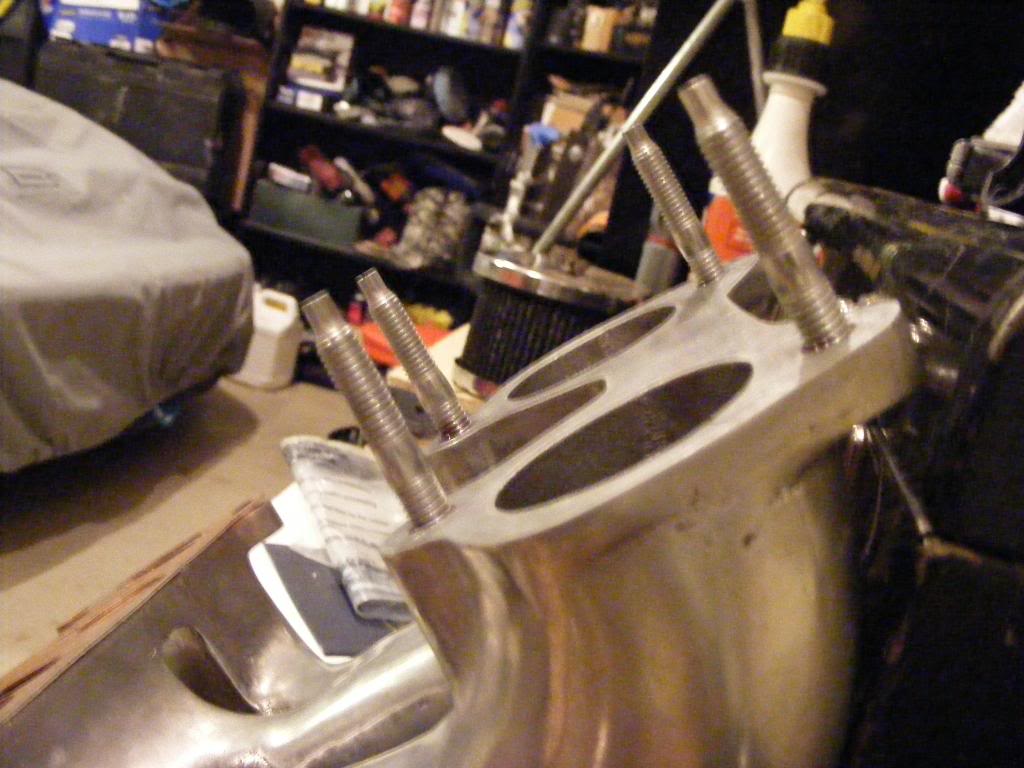
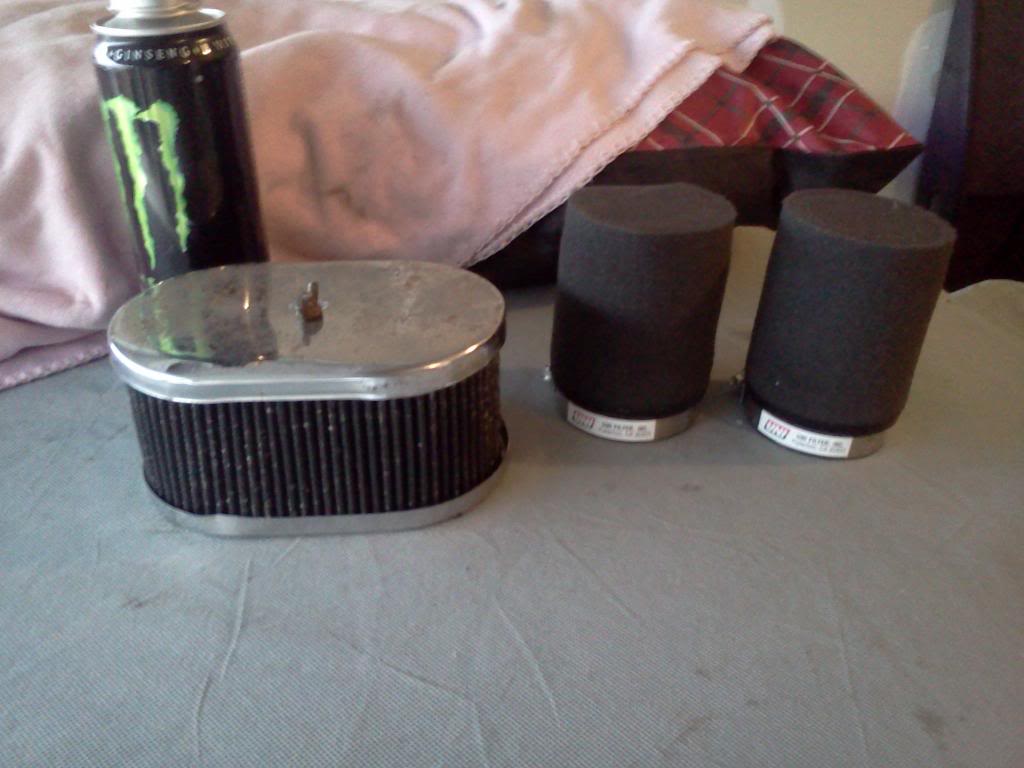
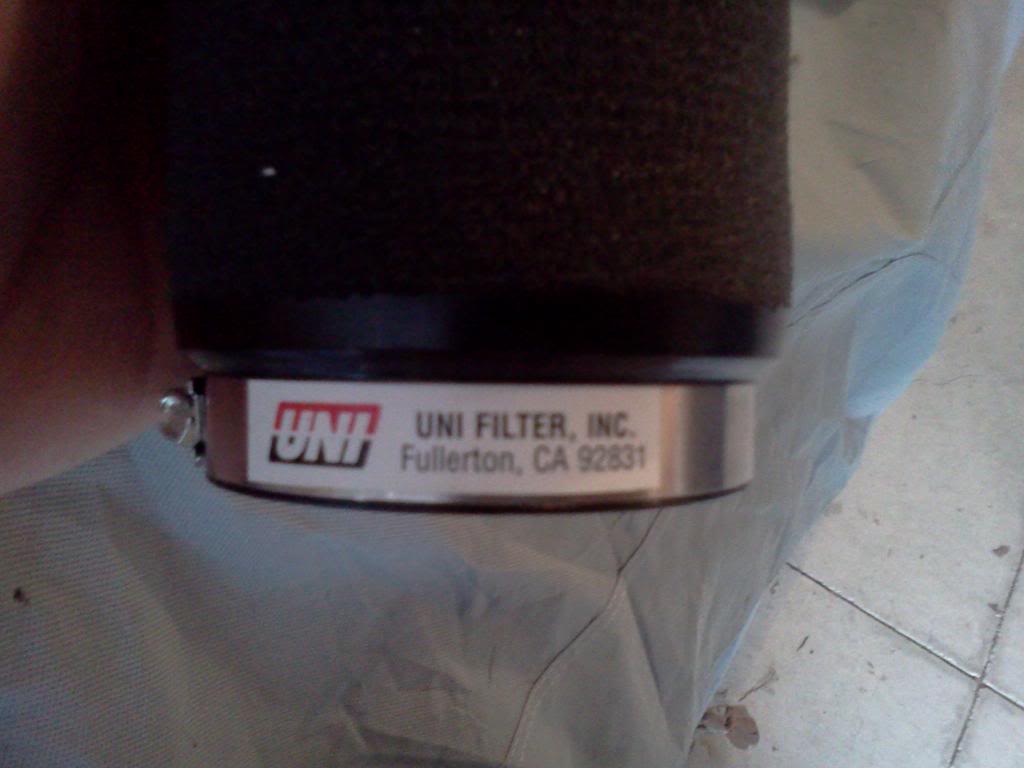
carb spacers, carb, filters and pulley fitted.
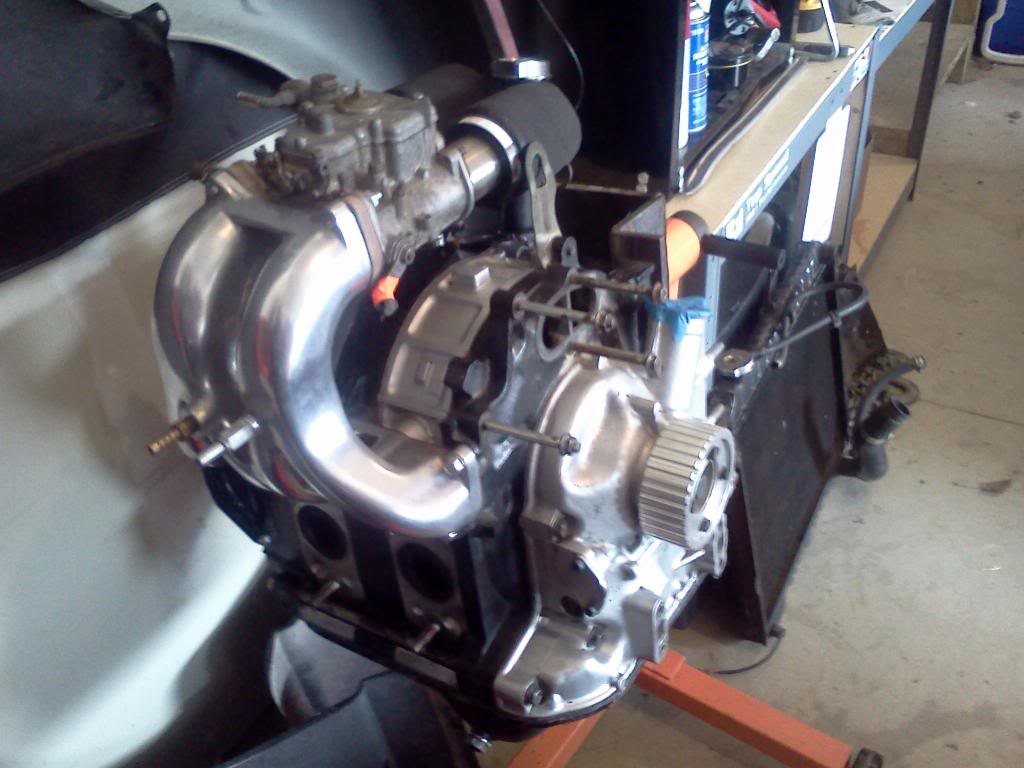
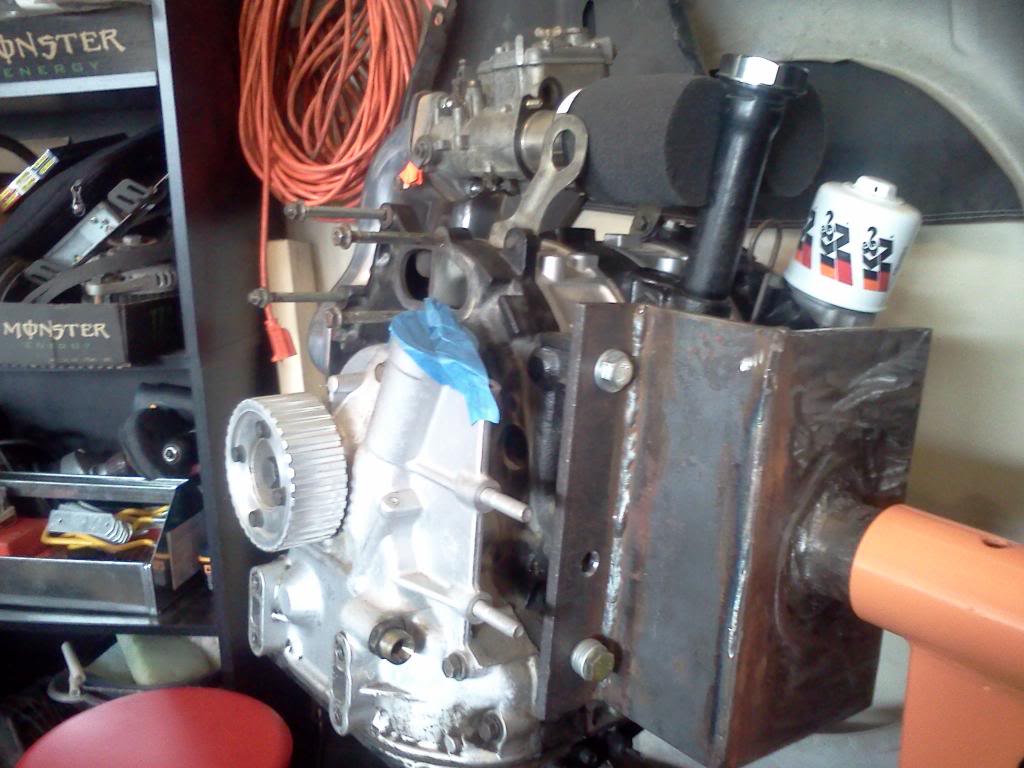
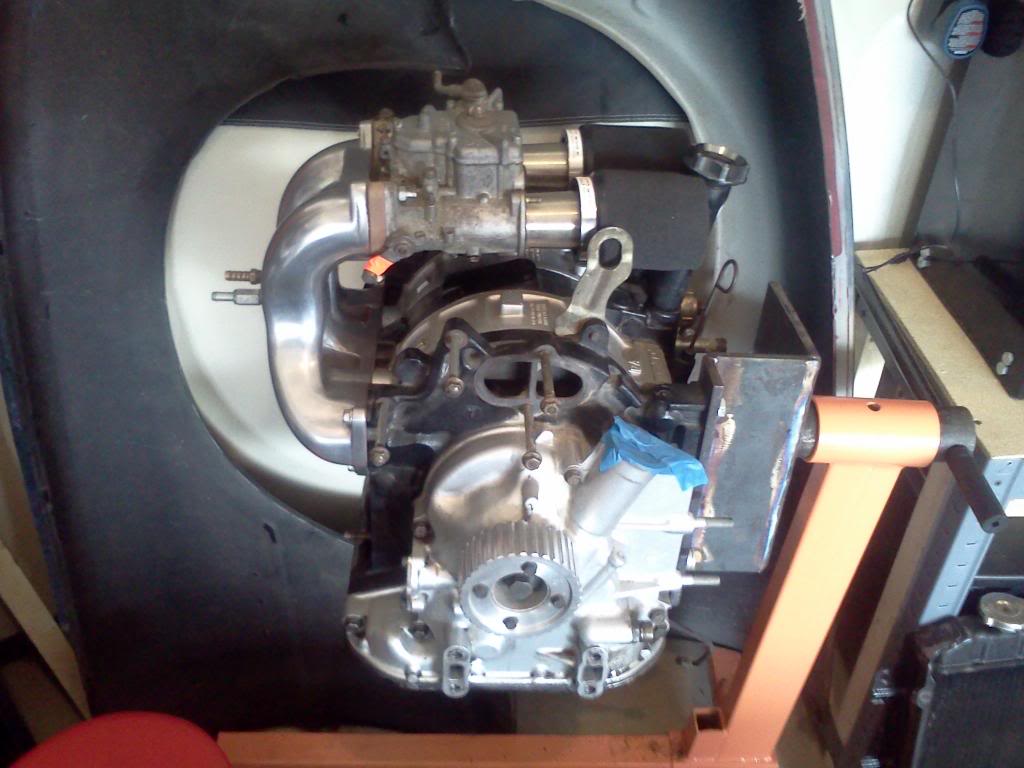
carb spacers, carb, filters and pulley fitted.
Thread Starter
Senior Member
Joined: May 2009
Posts: 446
Likes: 0
From: troy
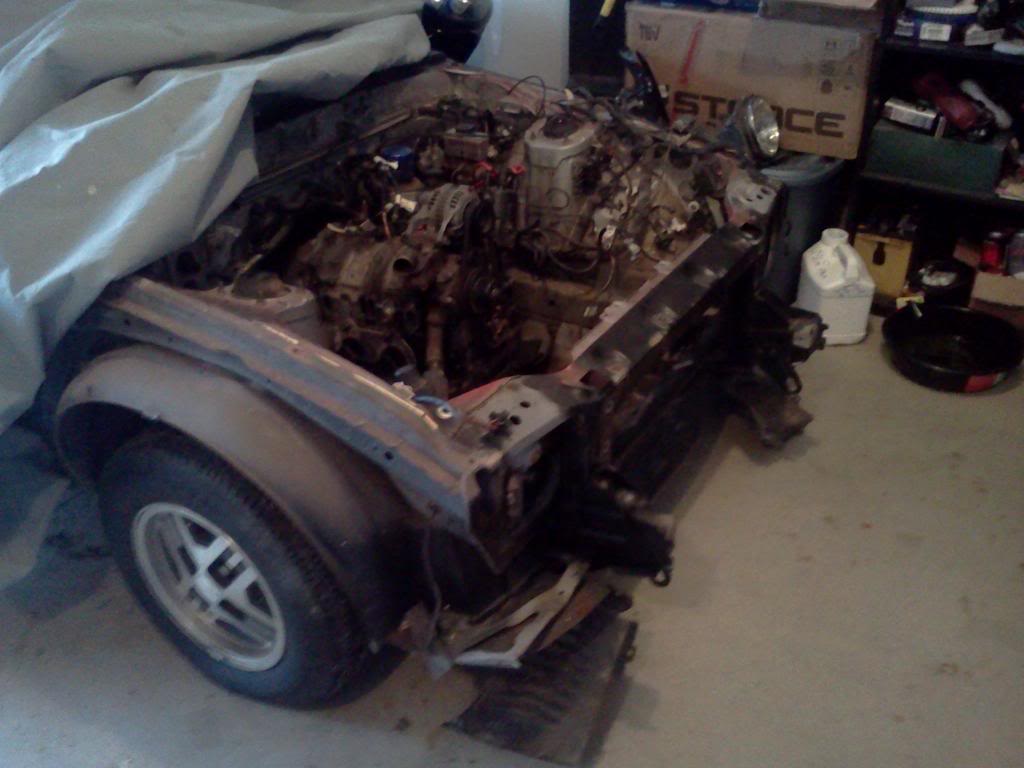
also took the front bumper and fenders off so i can sand and paint the front end as well as the engine bay. working on labelling everything as this will be the 1st time i've taken everything out of the 7's engine bay. should be easy to remember where it all goes seeing how this is my 5th FB.
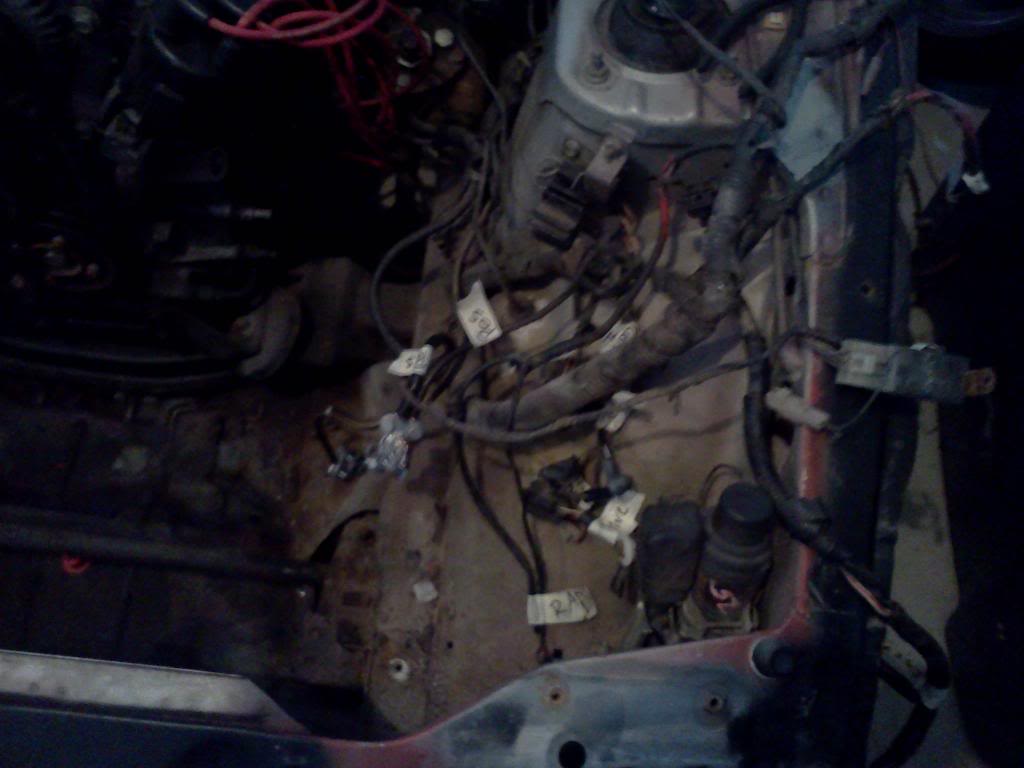
when it comes time i will also be eliminating a lot of the wiring to clean things up a bit!!!
when it comes time i will also be eliminating a lot of the wiring to clean things up a bit!!!
Looking good. Remember when working on the front pulley to keep the motor tipped up facing the ceiling so as not to lose the positioning of the torrington bearings in the front stack. Once that happens you will crush them going back together.
Thread Starter
Senior Member
Joined: May 2009
Posts: 446
Likes: 0
From: troy
always good to keep in mind! a lot of people don't know about them or don't think about it at the time. thankfully i'm only loosing the pulley bolts and not the front cover or anything else.... thanks for the heads up though
i started cleaning up the dizzy, but i'm not sure i wanna take it all the way apart
 i know a few guys have and haven't had any issues. idk yet.... i may considering i have 2 of them. we will see


Thread Starter
Senior Member
Joined: May 2009
Posts: 446
Likes: 0
From: troy
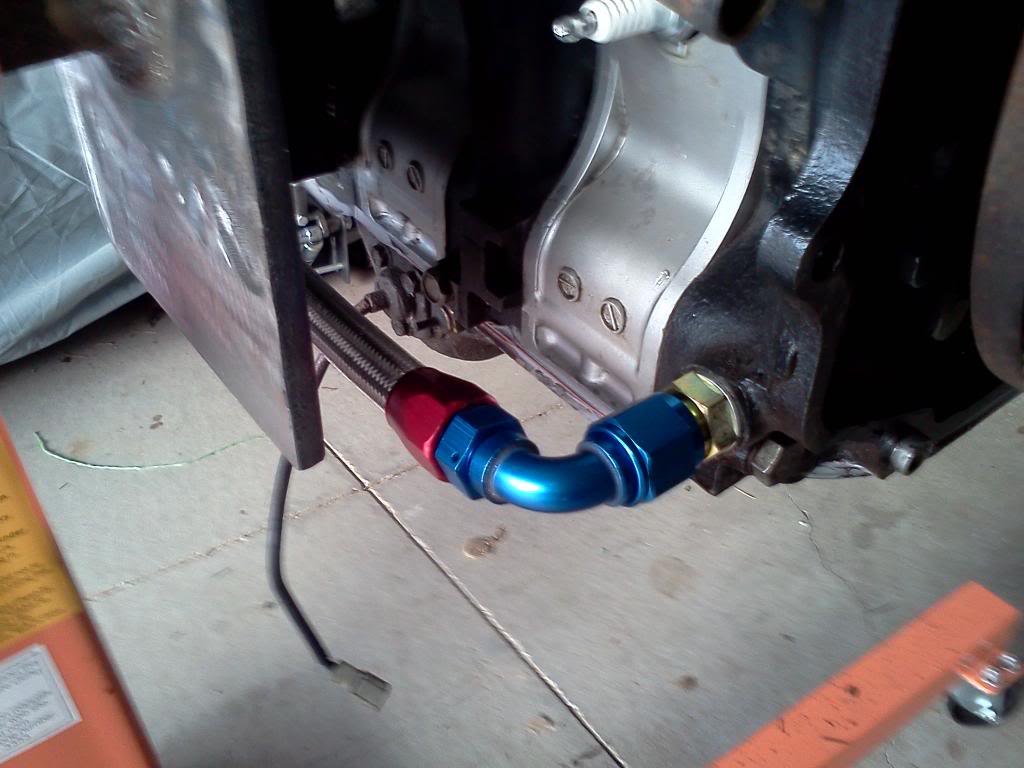
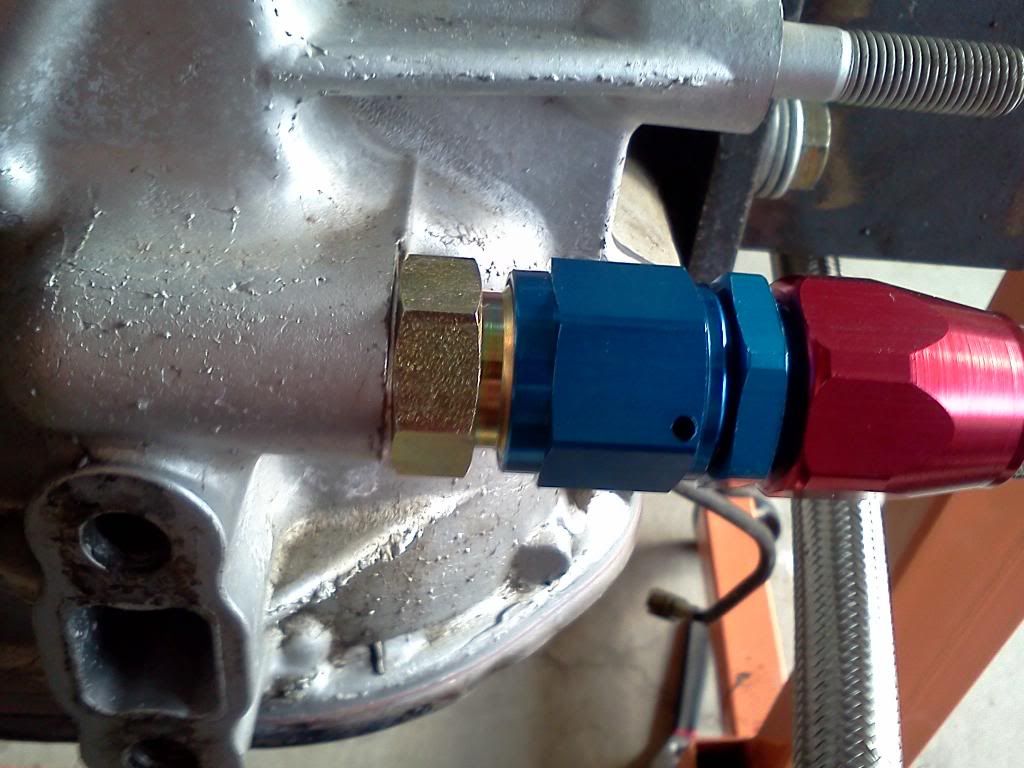
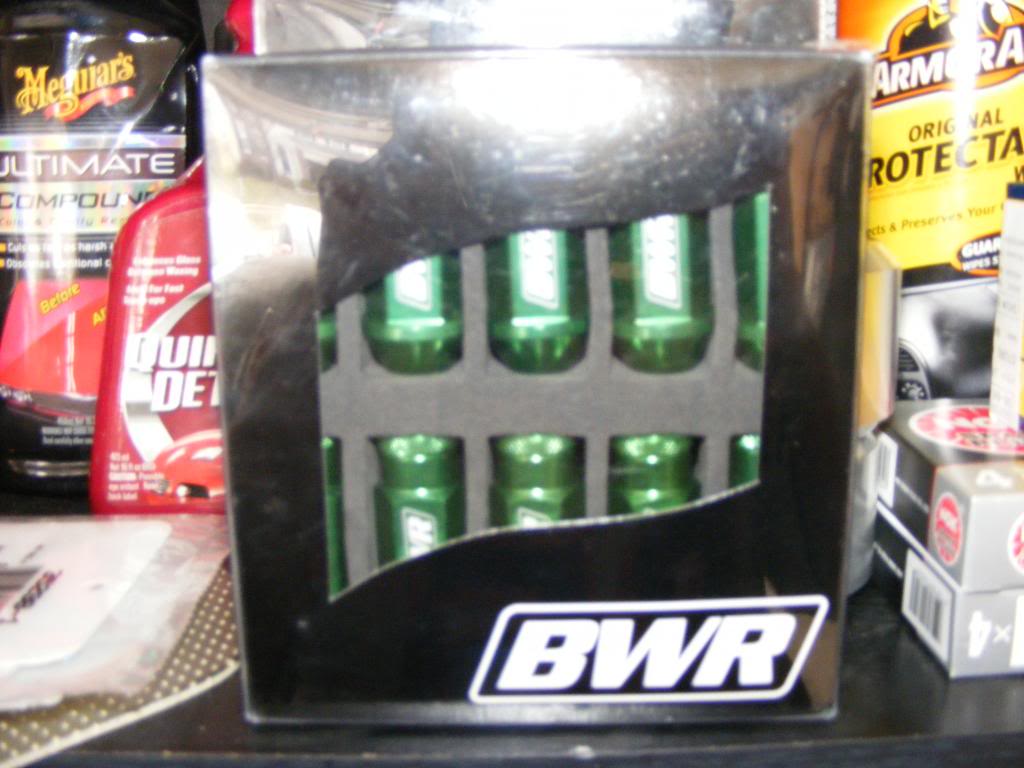
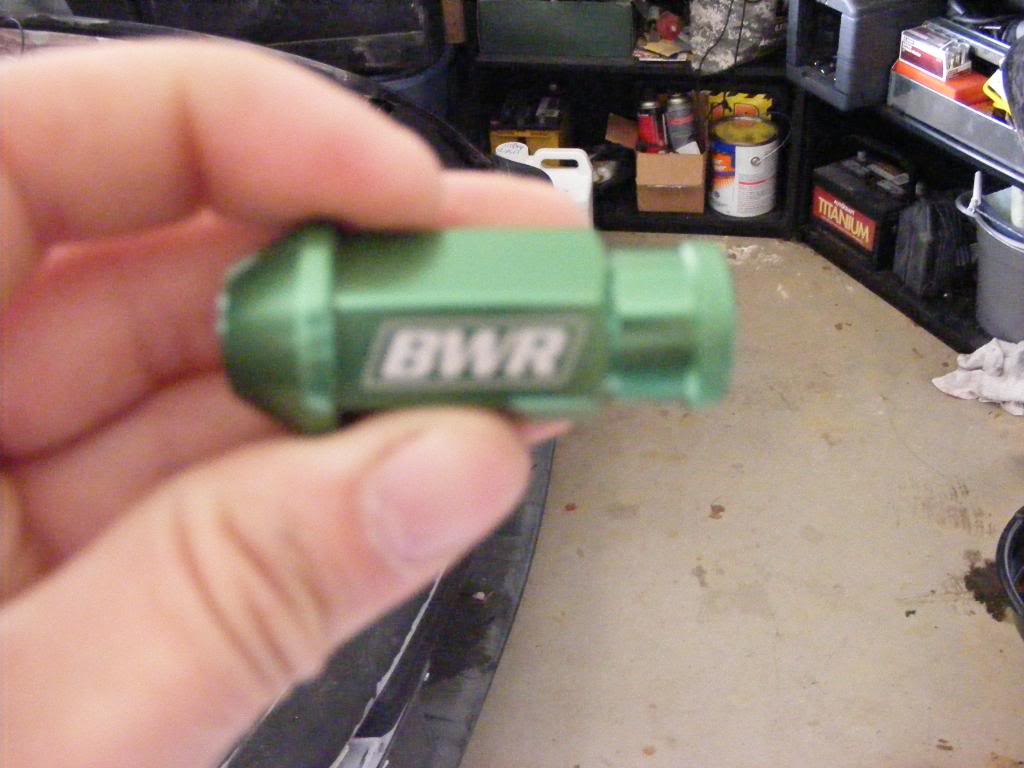
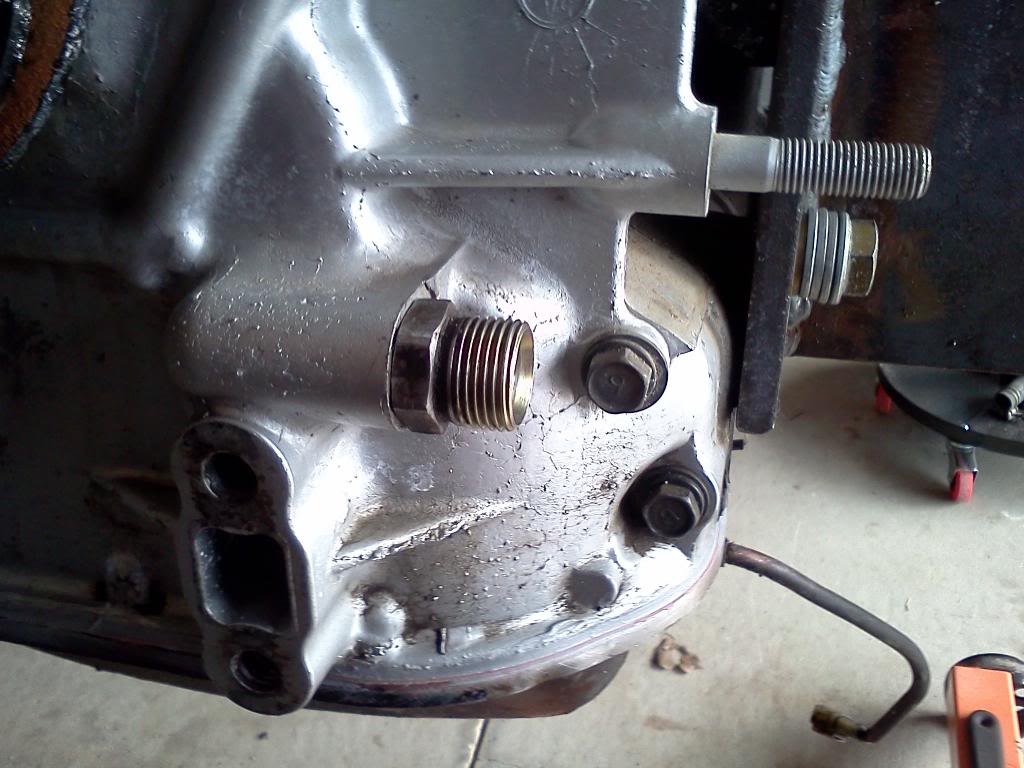
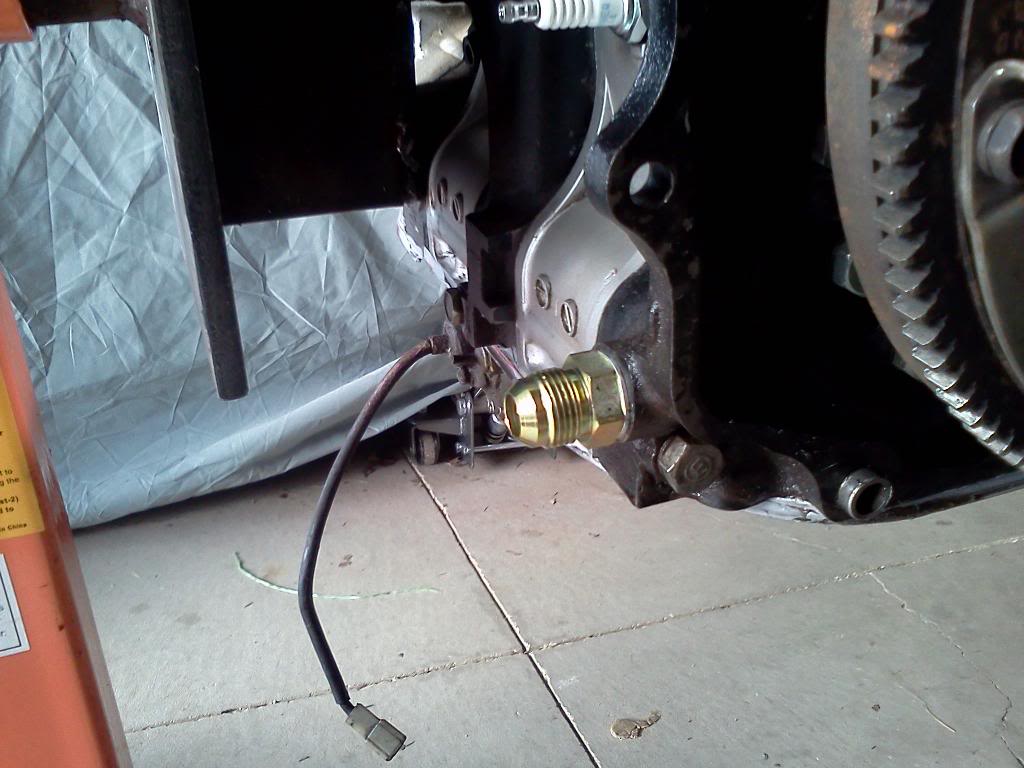
got one of my boxes of goodies today from Racing Beat....
silicone rad. hoses and RB clamps, RB braided oil cooler lines and RB oil filter sandwich plate.
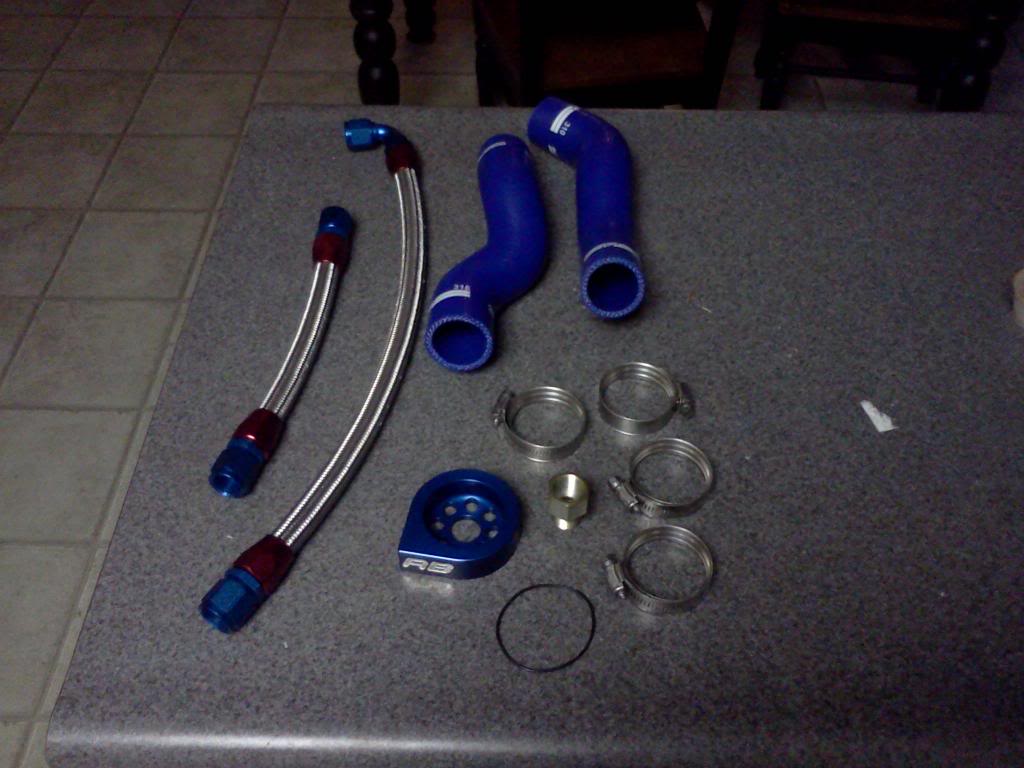

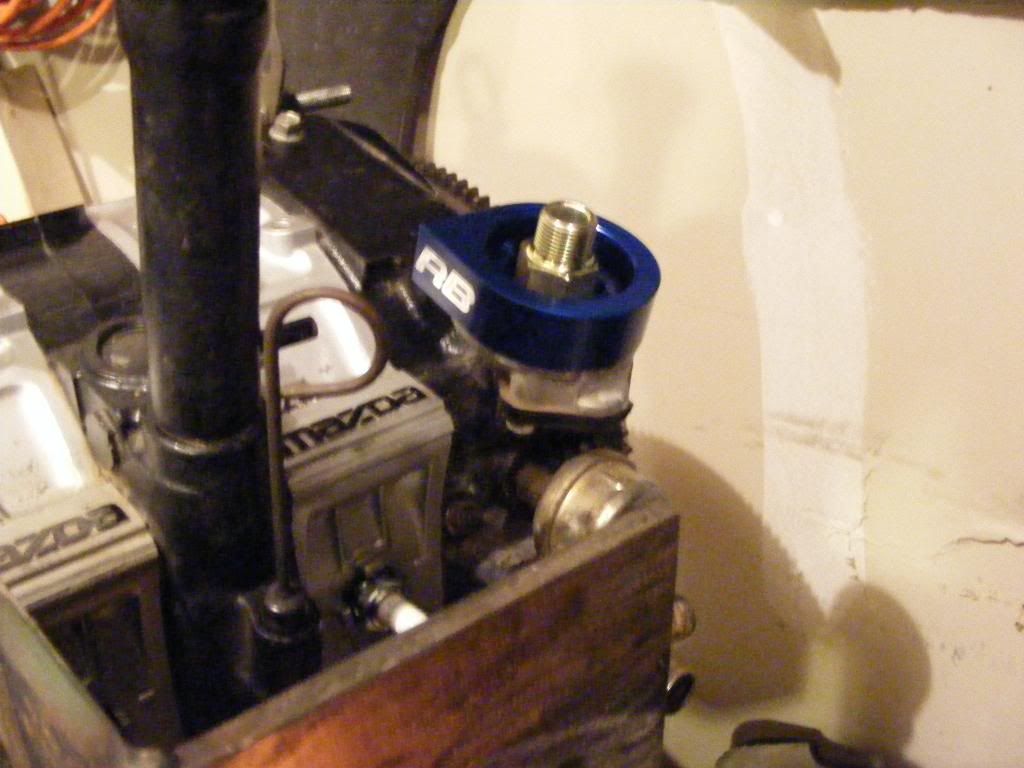
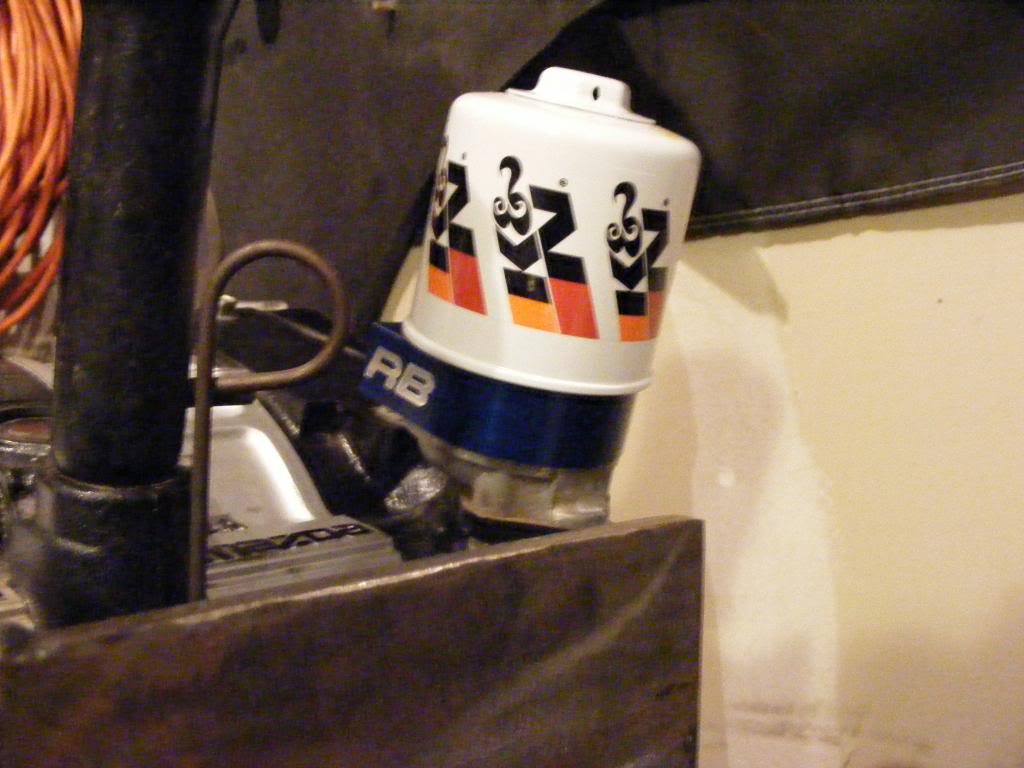
still waiting on the connectors for oil lines that i forgot to order
silicone rad. hoses and RB clamps, RB braided oil cooler lines and RB oil filter sandwich plate.
still waiting on the connectors for oil lines that i forgot to order


Looks great! I've not yet gotten the ambition to remove the fenders and front bumber / valence. I prolly should, but I just don't know yet.
Love the new oil lines. I'm gonna get me summadem...
Love the new oil lines. I'm gonna get me summadem...
Thread Starter
Senior Member
Joined: May 2009
Posts: 446
Likes: 0
From: troy
lol i'm going to be installing a wide body kit so i wanted to check for rust and paint everything as i go!

Thread Starter
Senior Member
Joined: May 2009
Posts: 446
Likes: 0
From: troy
i love coming home after 10hrs of work and 4hrs of driving to new parts waiting for me!!!!!!!!!!
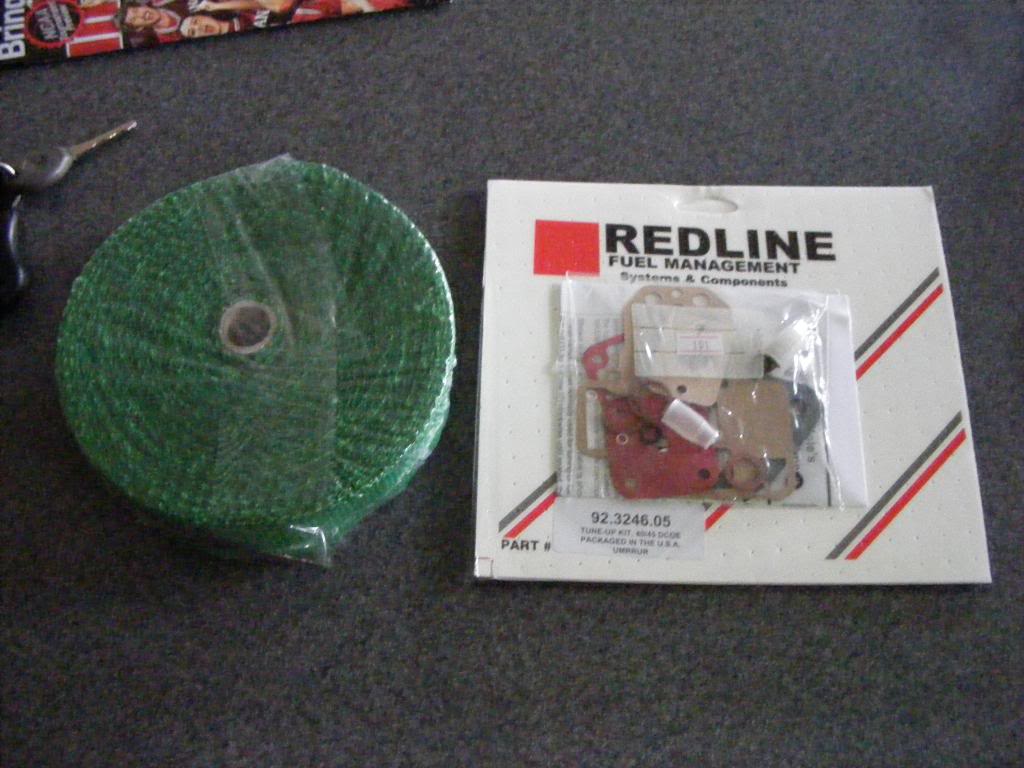
header wrap and 45mm dcoe carb kit.
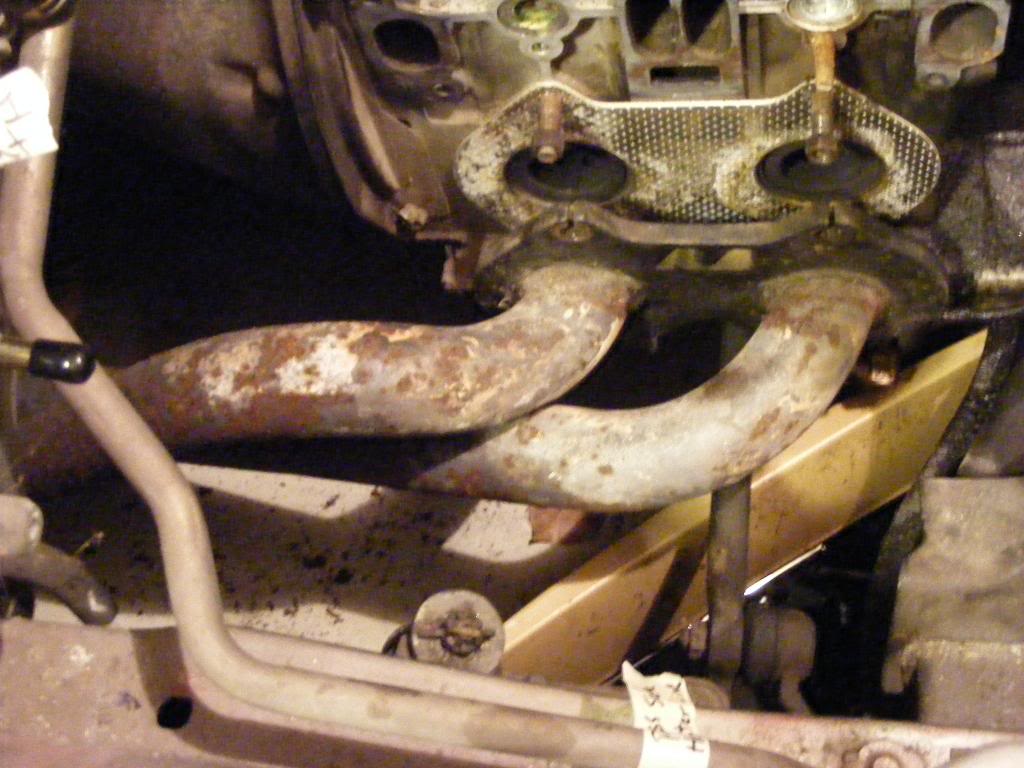
Racing Beat header.
the entire exhaust system is welded together....... WTF!
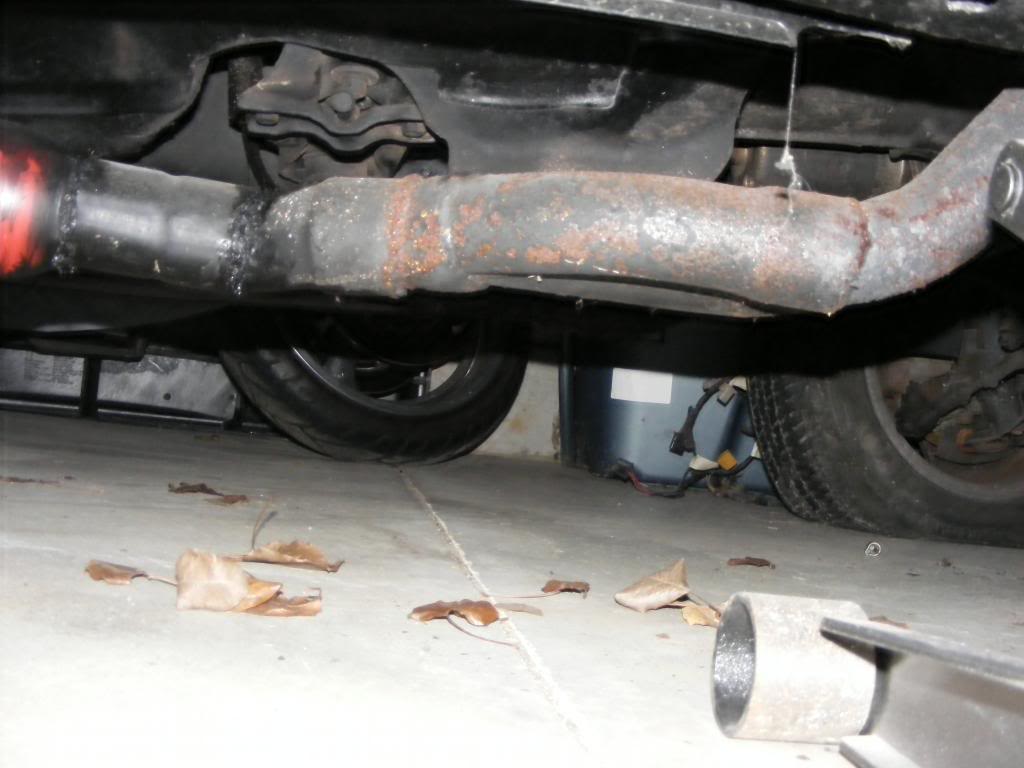
had to cut it out
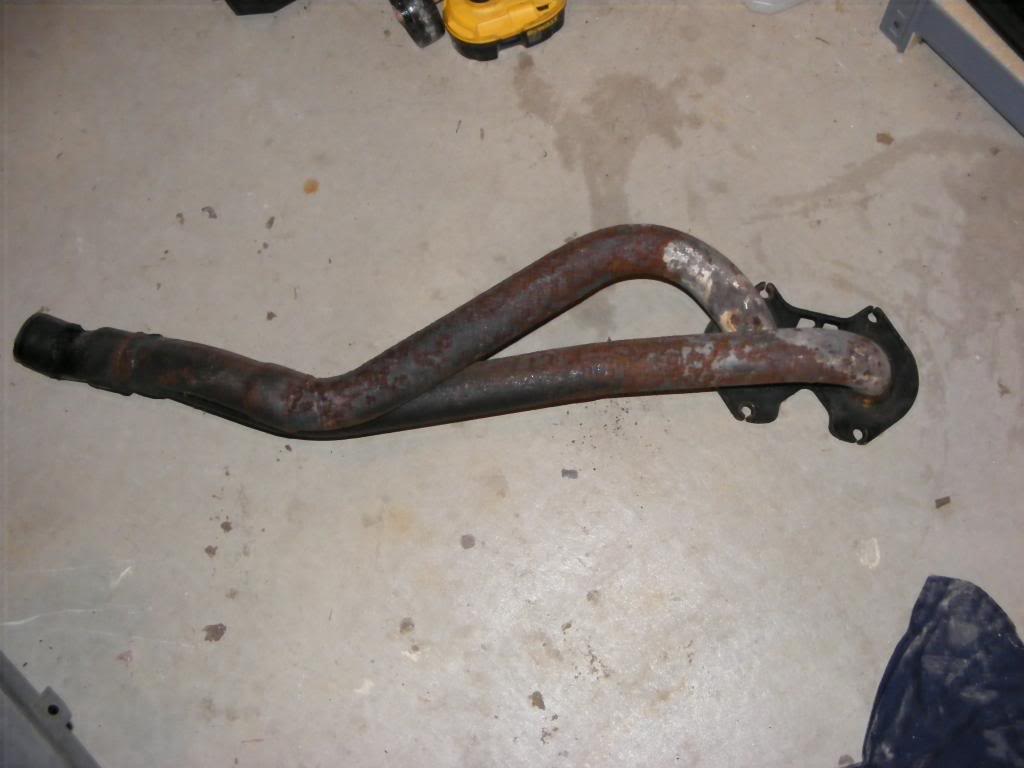
half way done
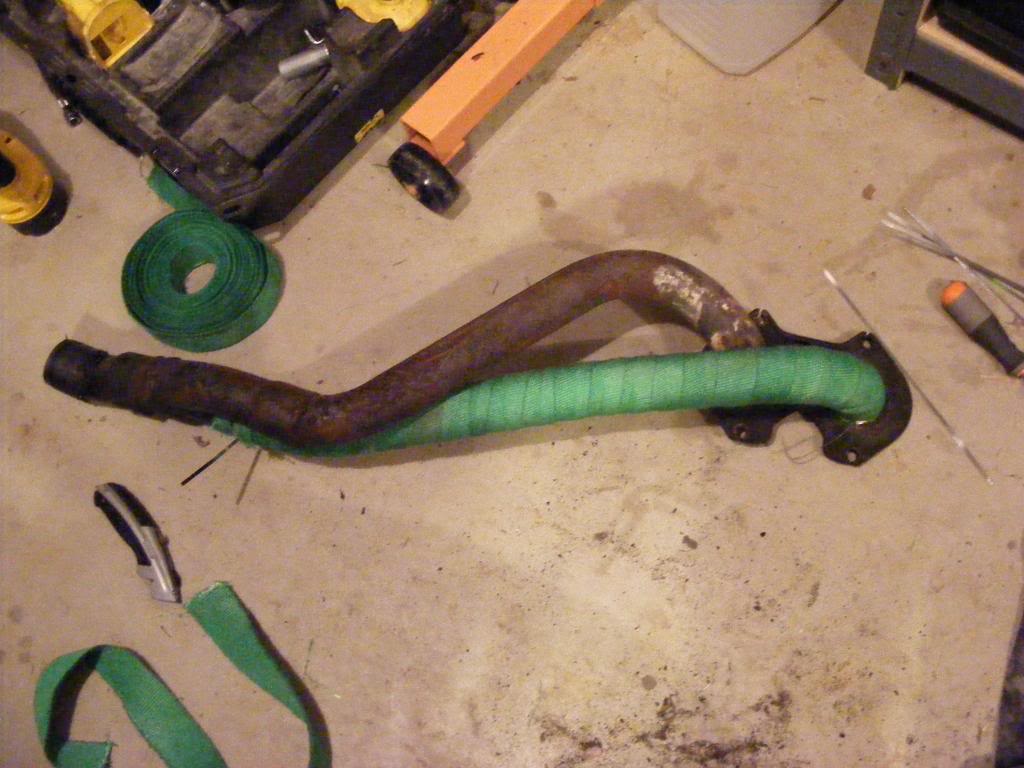
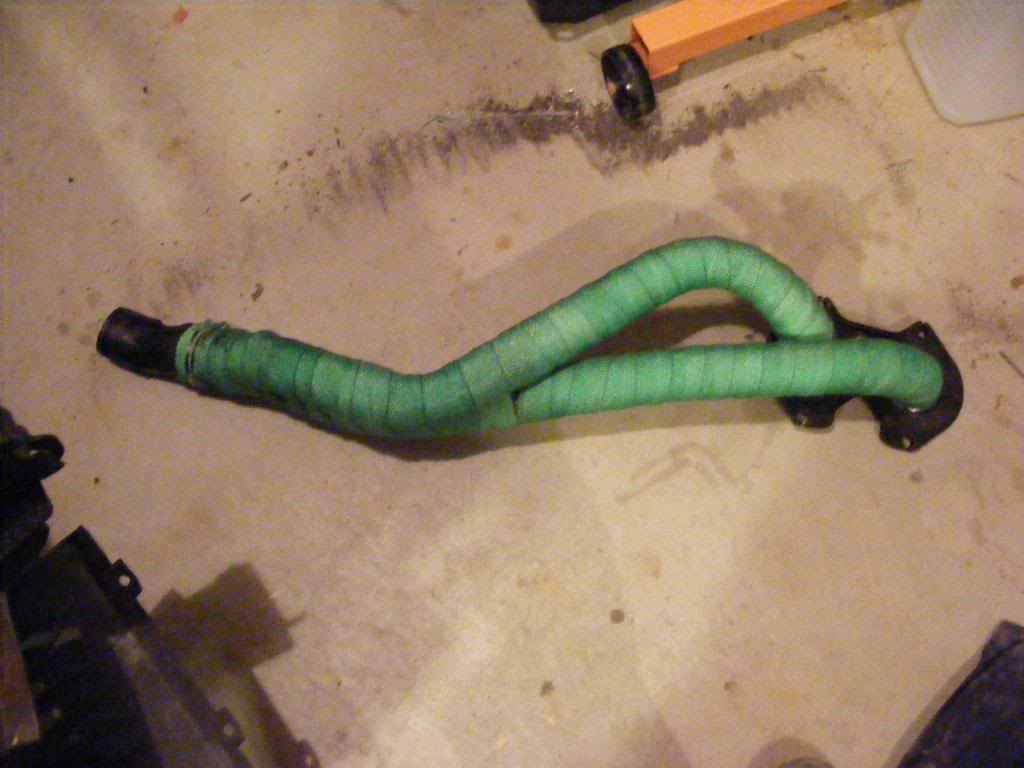
header turned out nicely especially considering this was my 1st time wrapping a header of any kind. on the down side i'm itching like a crack *****
header wrap and 45mm dcoe carb kit.
Racing Beat header.
the entire exhaust system is welded together....... WTF!
had to cut it out
half way done
header turned out nicely especially considering this was my 1st time wrapping a header of any kind. on the down side i'm itching like a crack *****


Thread Starter
Senior Member
Joined: May 2009
Posts: 446
Likes: 0
From: troy
bolted some stuff together today to check for any issues.... i found several things that needed attention, but overall everything went together pretty good.
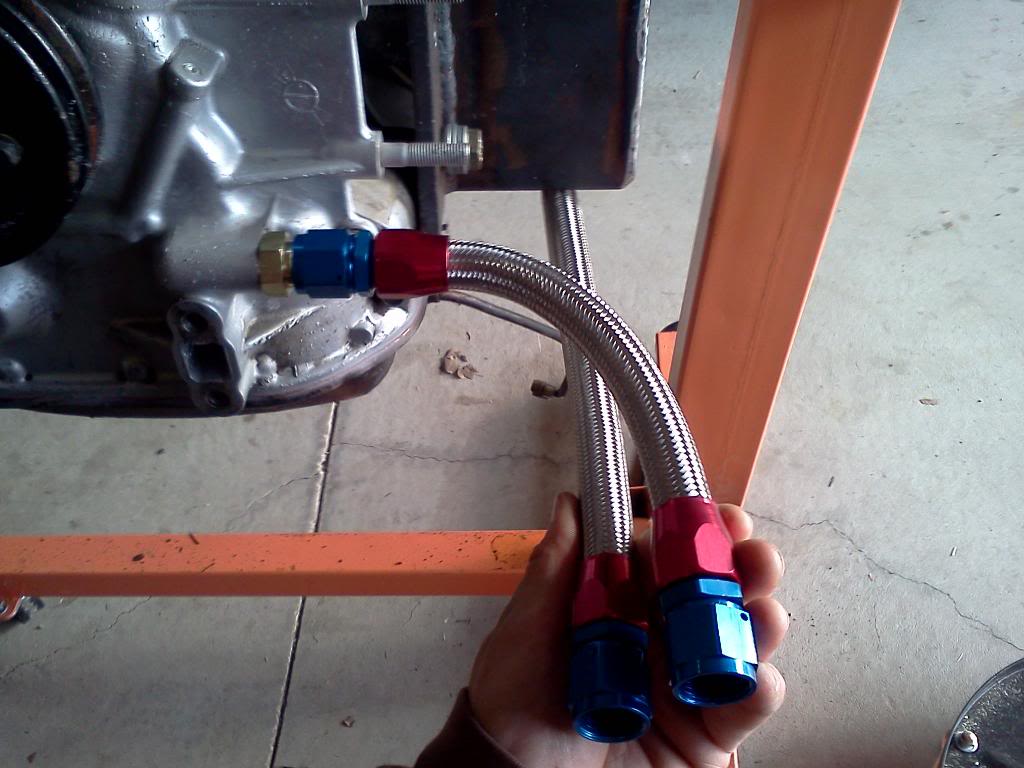
Racing Beat oil lines and fittings
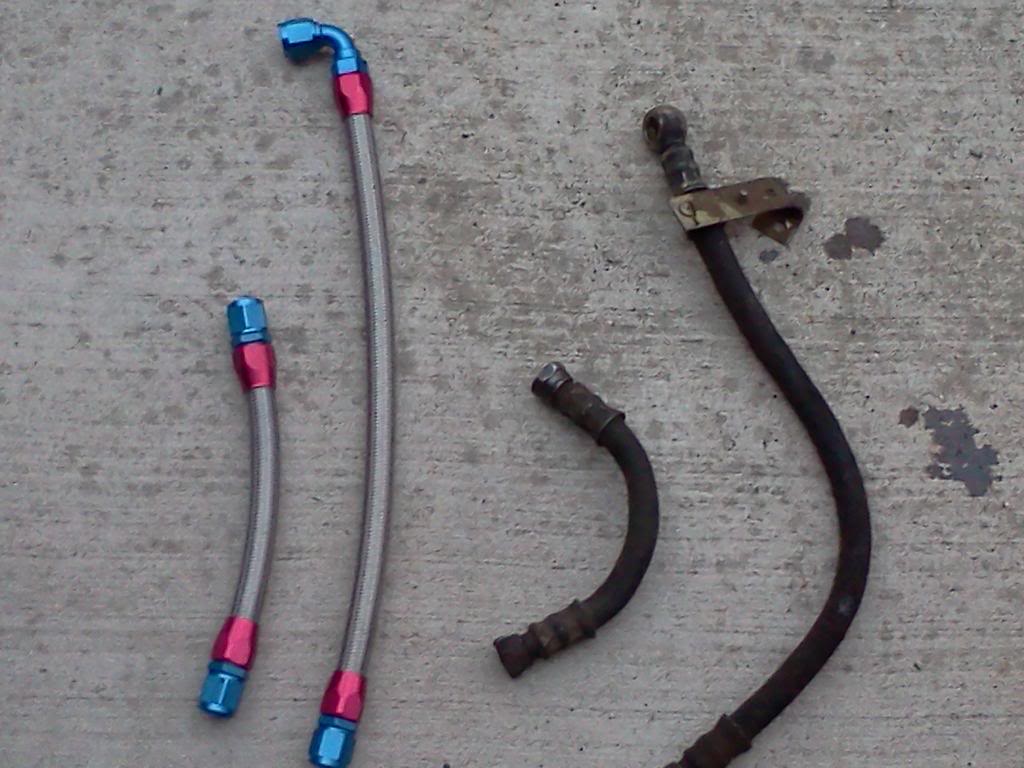
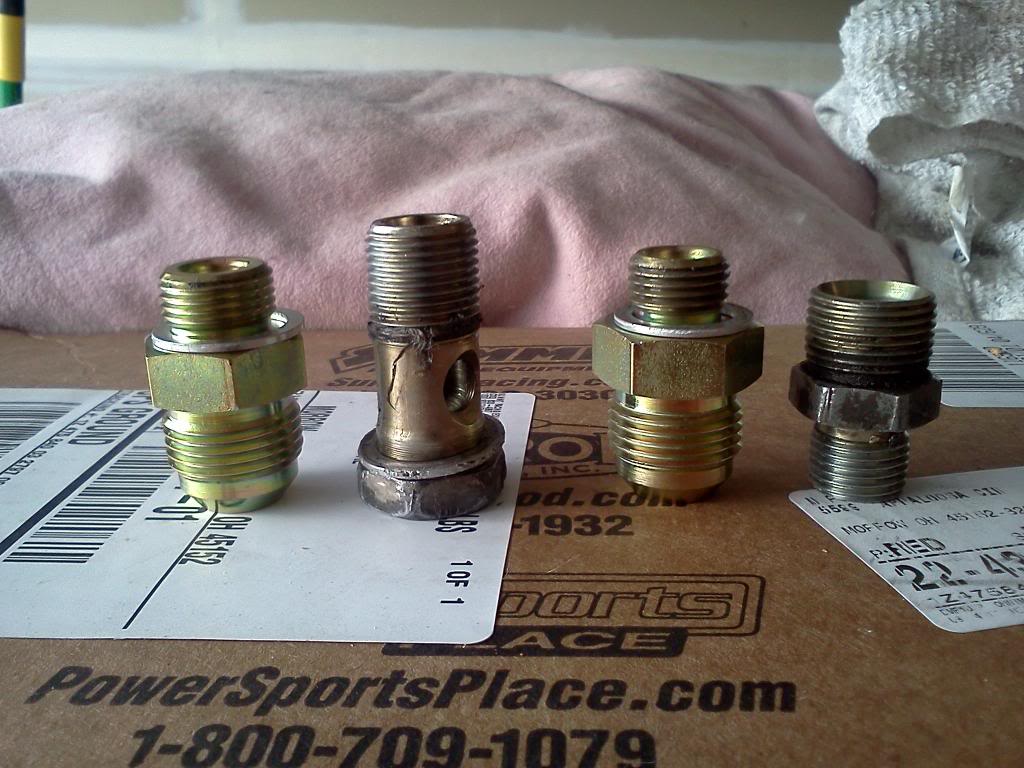
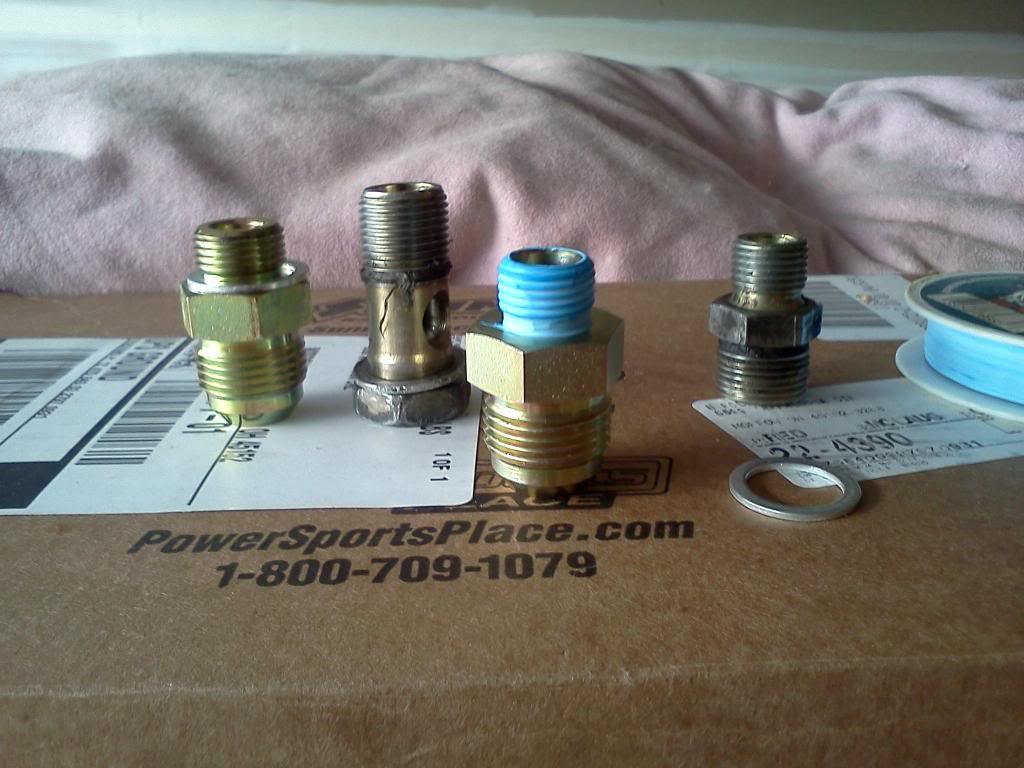
Racing Beat oil lines and fittings