
1984 5-letter / S5 "Selene"

Joined: Aug 2011
Posts: 3,078
Likes: 42
From: Cambridge, Minnesota
I LOVE working with this stuff. Once I figured out the technique, i was flying! Well actually i take a long time to do anything, but it wasn't obnoxiously difficult. for the hard to reach places, i found cutting smaller chunks made it much easier. Also, the technique you use to determine where to cut each sheet can make a huge difference. I suggest looking at how they did the stock matting and going from there. Learning to do angles, corners, and curved surfaces took only one sheet before I figured it out.
I know that before / after stuff is the best way to demo a thing, and I seriously thought about doing that for this project. A few things made me decide against it - a camera's mic can't really pick up all the nuances of road noise, the pressure you feel on your ear after an hour of driving, etc. If I had a field recorder I would have used that, but alas I do not currently have one.
Second, I didnt have any speakers or stereo in the car previously, so there's no before / after there.
Second, I didnt have any speakers or stereo in the car previously, so there's no before / after there.


Full Member
Joined: Sep 2002
Posts: 59
Likes: 0
From: Durham
Thread Starter
Joined: Jul 2002
Posts: 3,219
Likes: 8
From: Washington State
I think I should be able to affix it back in though. Maybe even bungee crimps or something.
To truly do it you have to remove the dash. What brilliant engineer came up with that one??
Very nice! I too think a S5 SE is a great route to go, and you can't beat silver! It looks like you're running an unmodified SE lower manifold. I didn't know that was a direct swap onto a S5 keg. That's good info to know.
Are you planning to stick with the Dellorto or go to the FI setup?
Are you planning to stick with the Dellorto or go to the FI setup?

Thread Starter
Joined: Jul 2002
Posts: 3,219
Likes: 8
From: Washington State
Very nice! I too think a S5 SE is a great route to go, and you can't beat silver! It looks like you're running an unmodified SE lower manifold. I didn't know that was a direct swap onto a S5 keg. That's good info to know.
Are you planning to stick with the Dellorto or go to the FI setup?
Are you planning to stick with the Dellorto or go to the FI setup?
As for Dellorto / EFI - I should be getting in a box of EFI goodies this afternoon from RotaryShack. Haltech F9, polished fuel rails, 3" TB inlet duct, etc. I love the vintage aspect of the Dellorto - and it runs so well! But its crap for fuel economy (12-14mpg) and subject to variable performance based on altituted and weather.
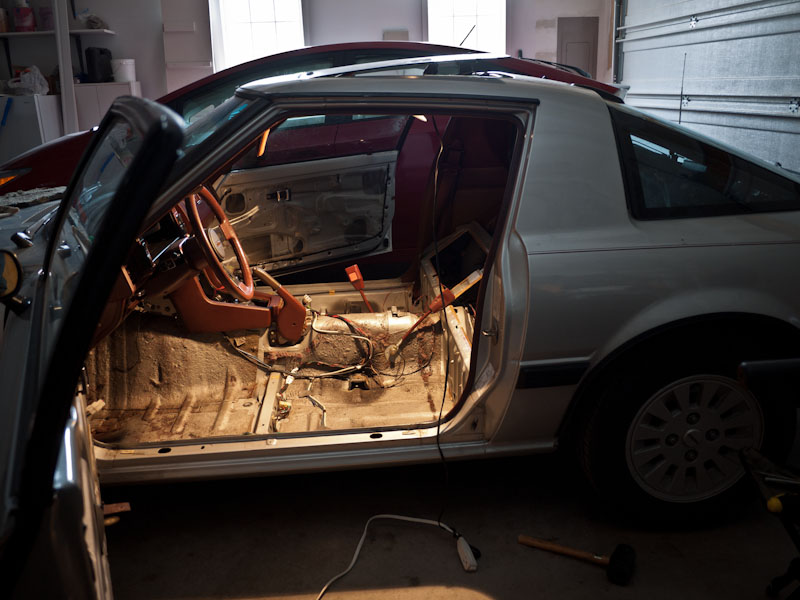
Honestly though, right now I'm focusing on finishing up the interior.
I'm a big proponent of "one project at a time" - and if I lump all of my current projects into "interior" i guess i could say thats true.
"Interior Project" See what I did there? Just one project at a time
which entails:- Repair rust damage to wheel well, then cover with Hushmat
- Tap in Aux input to factory Clarion headunit.
- Wire up a "6-pin DIN - to - RCA" cable to hook factory Clarion up to JL 5-channel amp
- Temporarily mount amplifier (will need to relocate at least once i'm sure)
- Design and build subwoofer box
- Wire up power window relay system
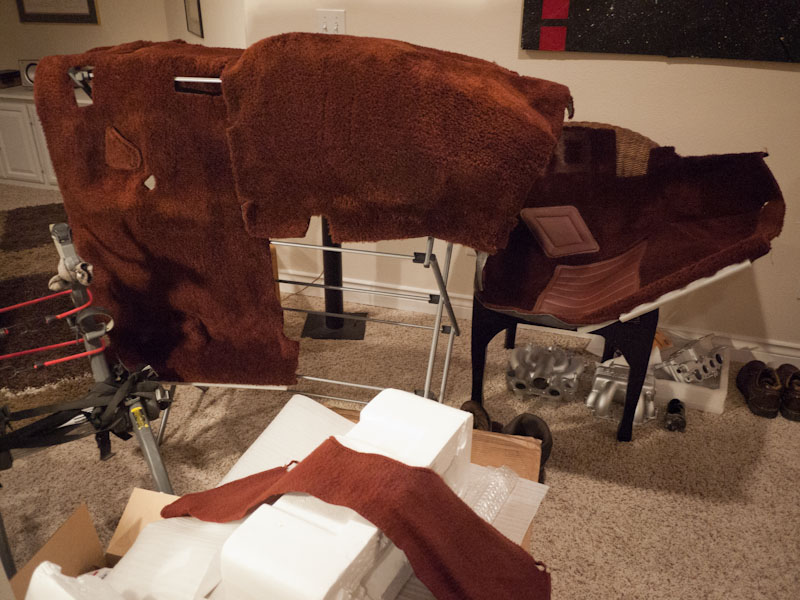
- Cut new under-carpet liner
- Restore / paint interior panels
- Clean out all valence / sunroof / hatch drains, replace weather seals, then drench in water to test for leaks. I had 3 previously and I think I've got them all. Need to verify.
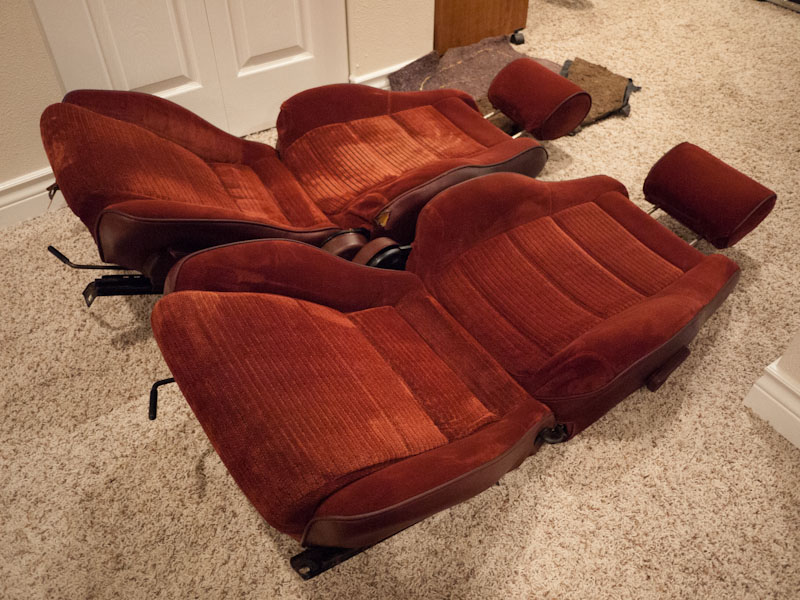
- Re-install interior
THEN I can get to other items on the list. Sequencing. Yikes.
Thread Starter
Joined: Jul 2002
Posts: 3,219
Likes: 8
From: Washington State
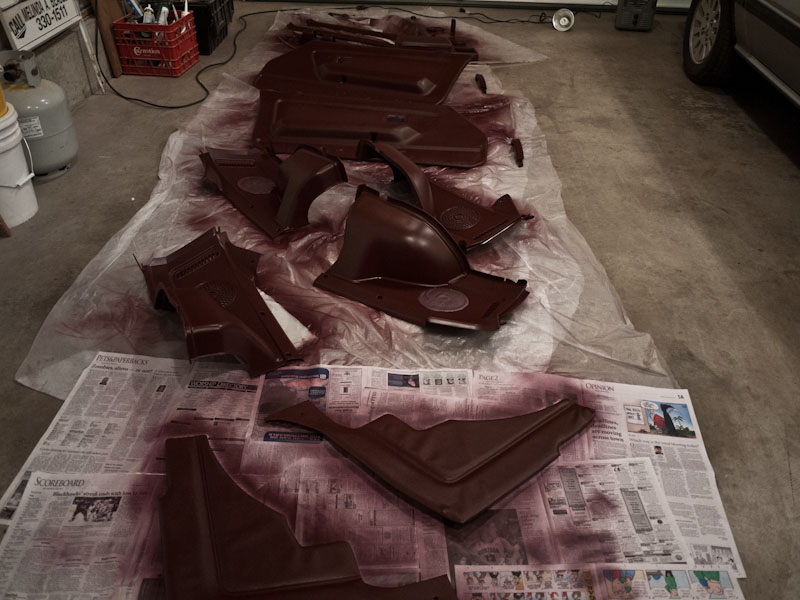
Painted interior panels - SEM Burgundy #15063
I've had a box of vinyl / plastic paint for over a month, waiting for the right time to paint. So this weekend I decided that the biggest thing holding me back from getting the interior refresh done and everything re-assembled was restoring those door cards and interior panels.
To begin with I used SEM surface prep cleaners, one for Vinyl (#38343) and one for Plastics / Leather (#38353).
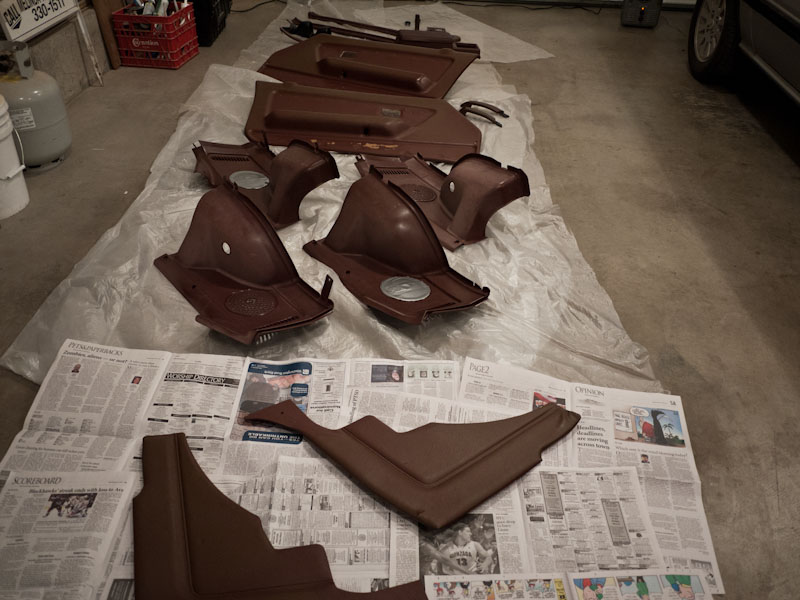
Next up was two quick coats of Bulldog Adhesion Promoter (Which i found out you can get at O'Reiley's) and then one medium coat of SEM Color Coat Burgundy (#15063) followed by several light coats for even texture and coloration.
The process was painless and straightforward - just dont rush anything and it will turn out very well. Surface prep is of utmost importance. ALL dirt, grime, waxes, grease, armorall, must be removed for proper adhesion. The vinyl prep agent helps soften and clean the vinyl - the plastic cleaning agent scrubs the hard plastic down to bare surface (it WILL damage the finish on extremely sun faded parts - but thats OK as we end up painting them!)
As always, take your time and dont spray too thick. Also complete your spray stroke across the entire width of the part you're spraying. 5-10 minutes between coats. I always get lazy and end up doing a few mid-sweep switch backs. You'll need to go over those with another thin, even layer.
Will post more pics when I re-assemble everything so you can get an idea how amazingly close this Burgundy color is. I would say its about a 95% match to OEM burgundy - just slightly more purple / less red than stock.
To begin with I used SEM surface prep cleaners, one for Vinyl (#38343) and one for Plastics / Leather (#38353).
Next up was two quick coats of Bulldog Adhesion Promoter (Which i found out you can get at O'Reiley's) and then one medium coat of SEM Color Coat Burgundy (#15063) followed by several light coats for even texture and coloration.
The process was painless and straightforward - just dont rush anything and it will turn out very well. Surface prep is of utmost importance. ALL dirt, grime, waxes, grease, armorall, must be removed for proper adhesion. The vinyl prep agent helps soften and clean the vinyl - the plastic cleaning agent scrubs the hard plastic down to bare surface (it WILL damage the finish on extremely sun faded parts - but thats OK as we end up painting them!)
As always, take your time and dont spray too thick. Also complete your spray stroke across the entire width of the part you're spraying. 5-10 minutes between coats. I always get lazy and end up doing a few mid-sweep switch backs. You'll need to go over those with another thin, even layer.
Will post more pics when I re-assemble everything so you can get an idea how amazingly close this Burgundy color is. I would say its about a 95% match to OEM burgundy - just slightly more purple / less red than stock.


Joined: Aug 2011
Posts: 3,078
Likes: 42
From: Cambridge, Minnesota
Love the paint job, I'm looking at doing something similar to my plastic interior parts next winter. I'll actually be considering many of these same interior things in my car for the future, keep the suggestions coming 
Thread Starter
Joined: Jul 2002
Posts: 3,219
Likes: 8
From: Washington State
Day after recap- they say to use a lint free cloth during the prep phase.
Confirmed. USE A LINT FREE CLOTH!! It isn't bad, but if you get way up close you can see lint embedded in the paint in some small areas.
Not bad enough for a do-over, I doubt anyone will ever get that close to see them - you literally need to be 8" away and shining a light on it to see the imperfections.

SEM is the only one I've found so far that's even close to the factory burgundy, at least in a can. I'm sure a paint shop could mix you a custom dye, if you wanted to pay. Most others I found were too red (maroon.)
I've been using the SEM 15063 on my FC interior (got rid of the automatic seat belts - had to replace all the trim around the doors), and I'll be using it on a few parts on my grey GSL-SE's interior that have turned brown.
SEM has their own adhesion promoter, I got that as well as the plastic and vinyl prep products. So far, so good. The seat adjuster handle I did 3 years ago seems to be holding up well.
Thread Starter
Joined: Jul 2002
Posts: 3,219
Likes: 8
From: Washington State
I've heard nothing but great things about SEM (when done properly)!
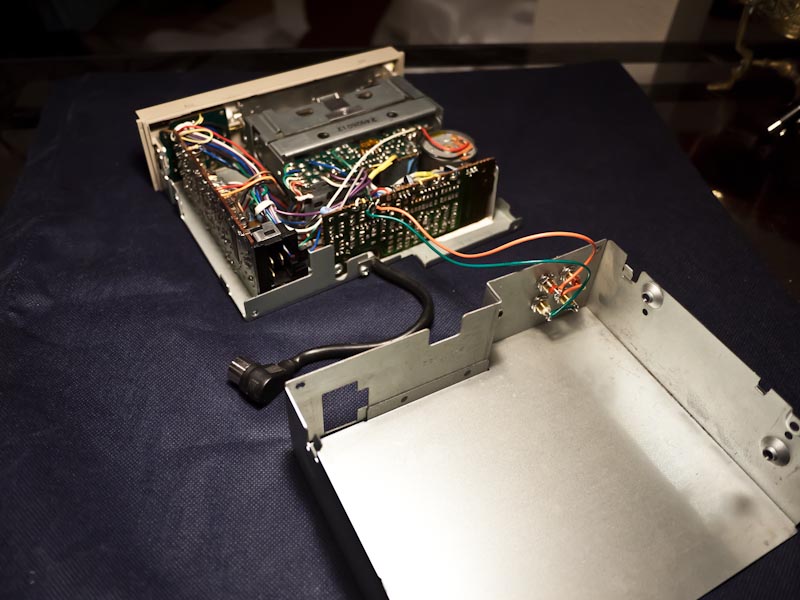
Todays progress - March 12, 2013
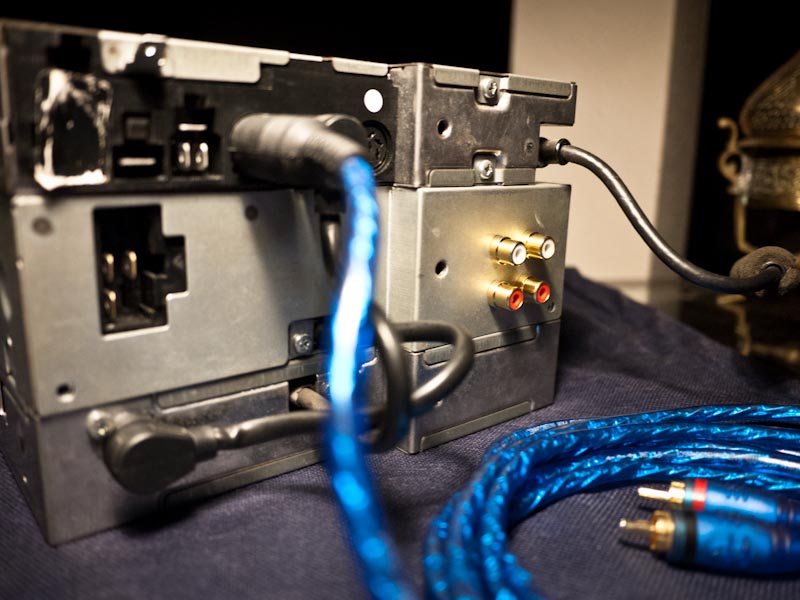
Received some electronics wiring goodies in the mail. I now have NO excuses to 100% finish my interior / stereo project.
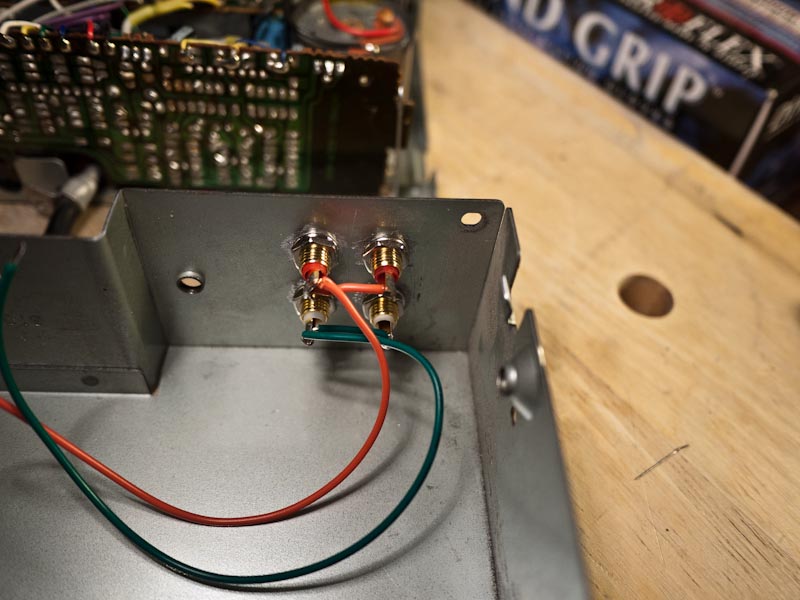
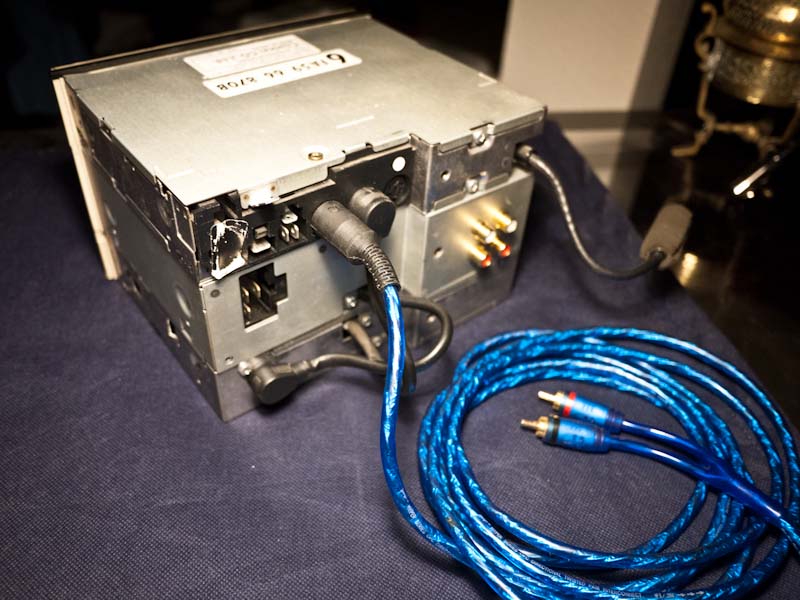
I decided to start by getting some shiny gold plated RCA input jacks and mounting them to the factory tape deck chassis:
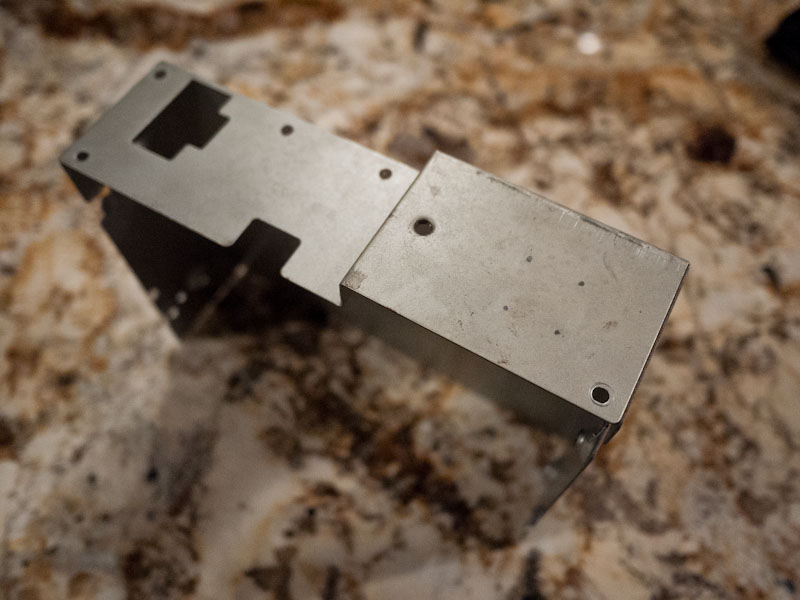
Started with 1/16", then 1/8", then 1/4" drill bit:

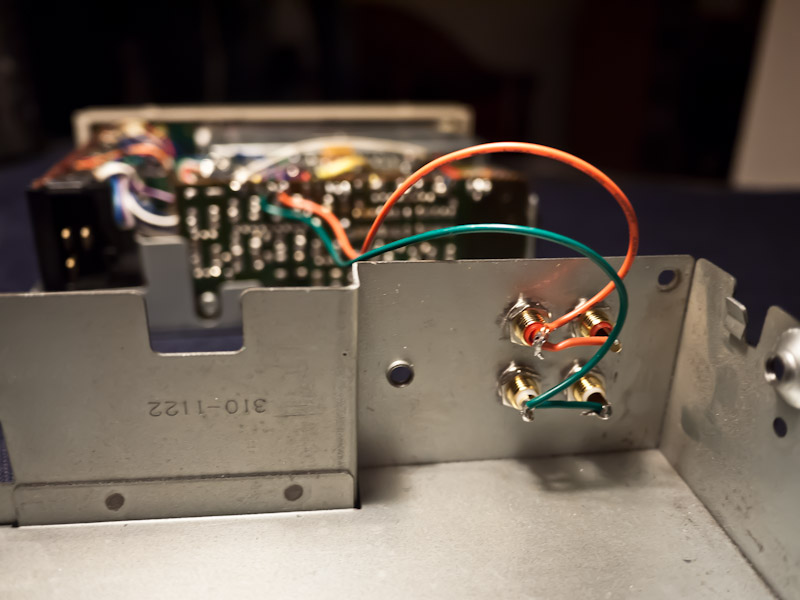
I left the outside totally factory finish, and used a dremel to grind away the inside of the chassis for a clean and solid ground (RCA plug itself is ground):

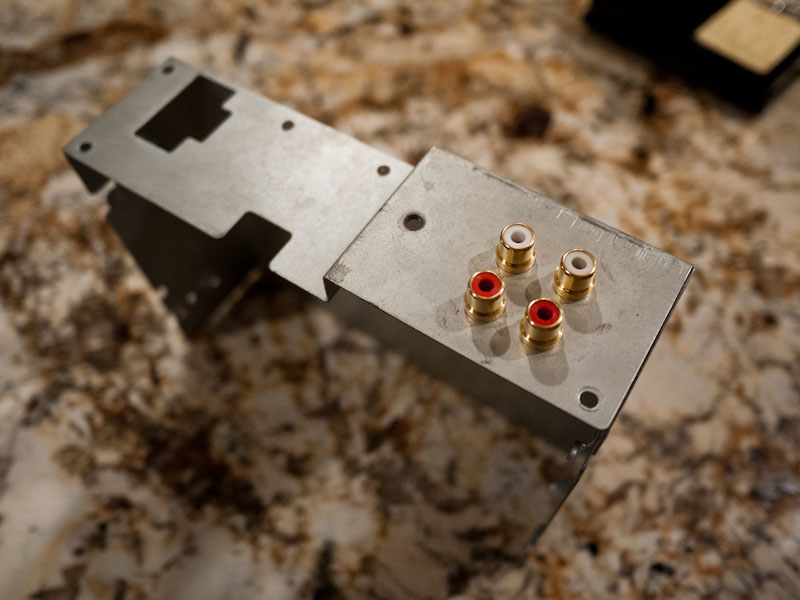
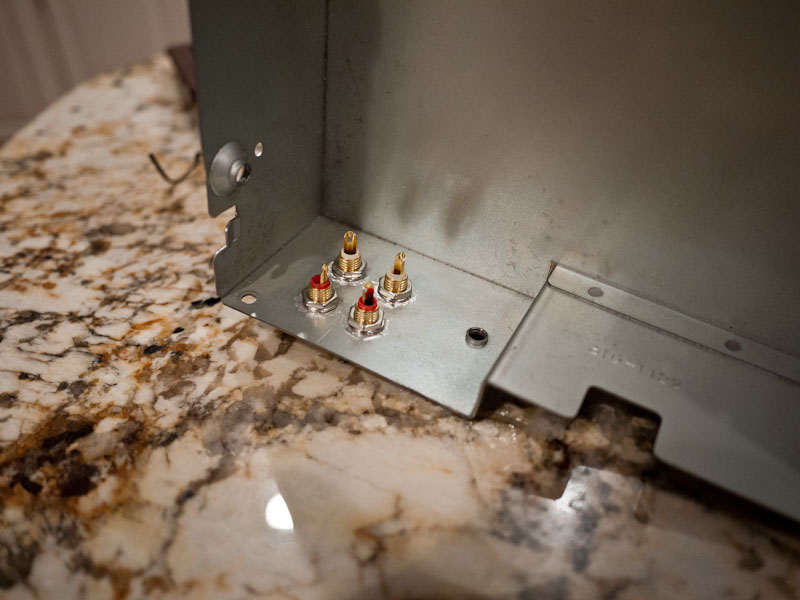
As you can see there is PLENTY of clearance, i'm talking 3-4mm:
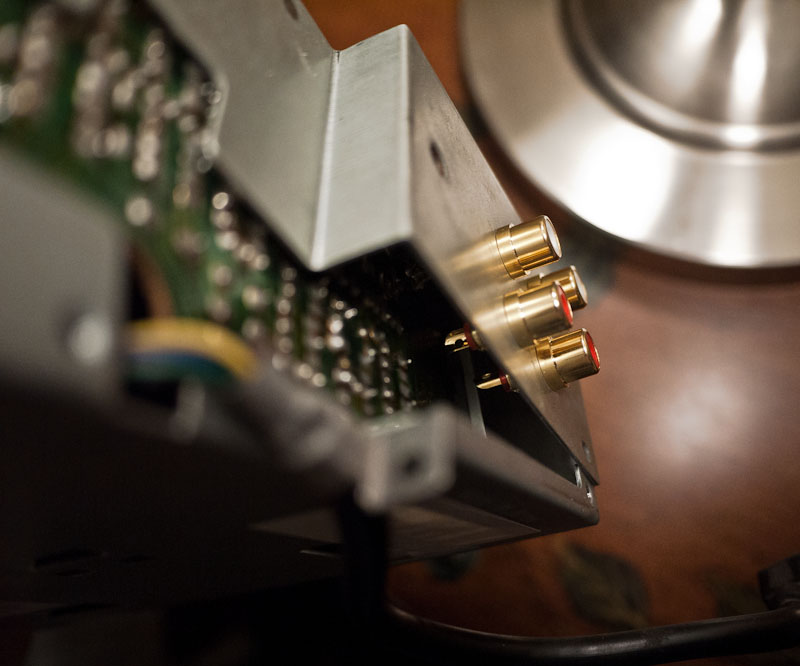
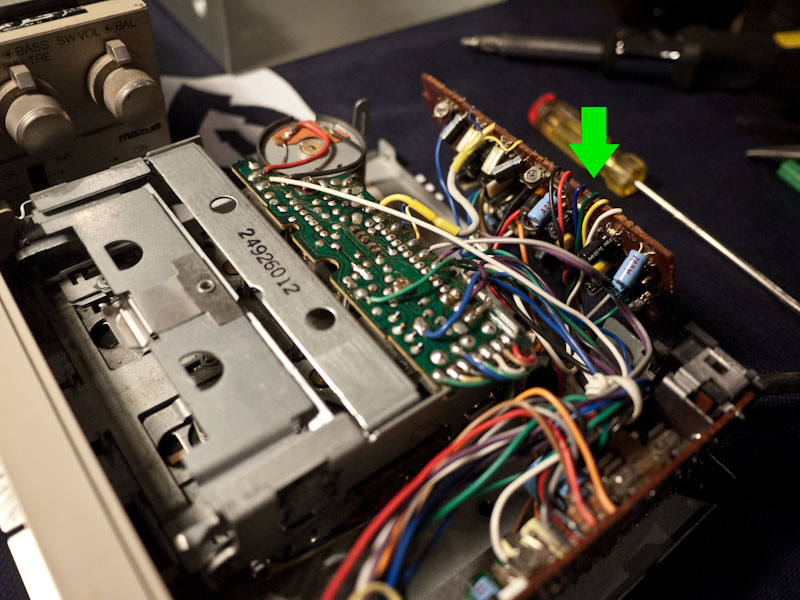
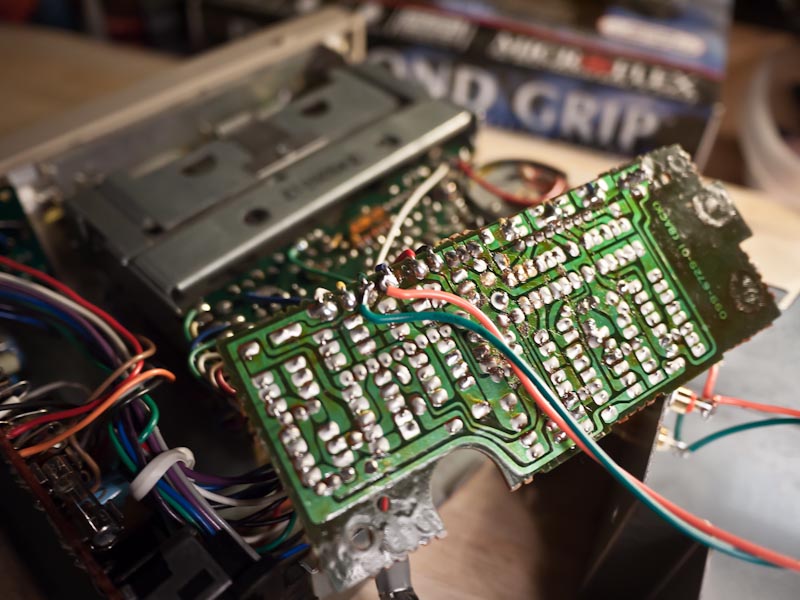
We will then be wiring these RCA jacks in parallel to the factory "input" (blue / green) on the tape deck rear PCB:
Todays progress - March 12, 2013
Received some electronics wiring goodies in the mail. I now have NO excuses to 100% finish my interior / stereo project.
I decided to start by getting some shiny gold plated RCA input jacks and mounting them to the factory tape deck chassis:
Started with 1/16", then 1/8", then 1/4" drill bit:
I left the outside totally factory finish, and used a dremel to grind away the inside of the chassis for a clean and solid ground (RCA plug itself is ground):
As you can see there is PLENTY of clearance, i'm talking 3-4mm:
We will then be wiring these RCA jacks in parallel to the factory "input" (blue / green) on the tape deck rear PCB:
Thread Starter
Joined: Jul 2002
Posts: 3,219
Likes: 8
From: Washington State
moar!
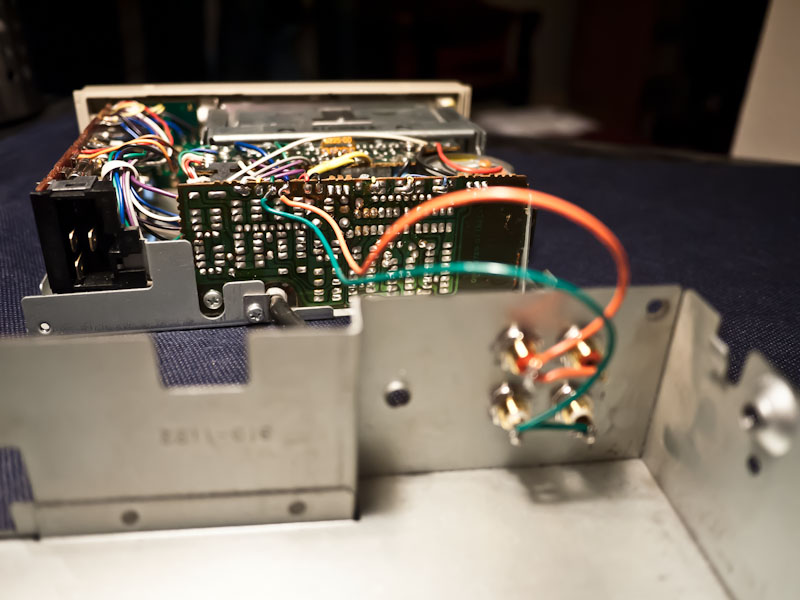
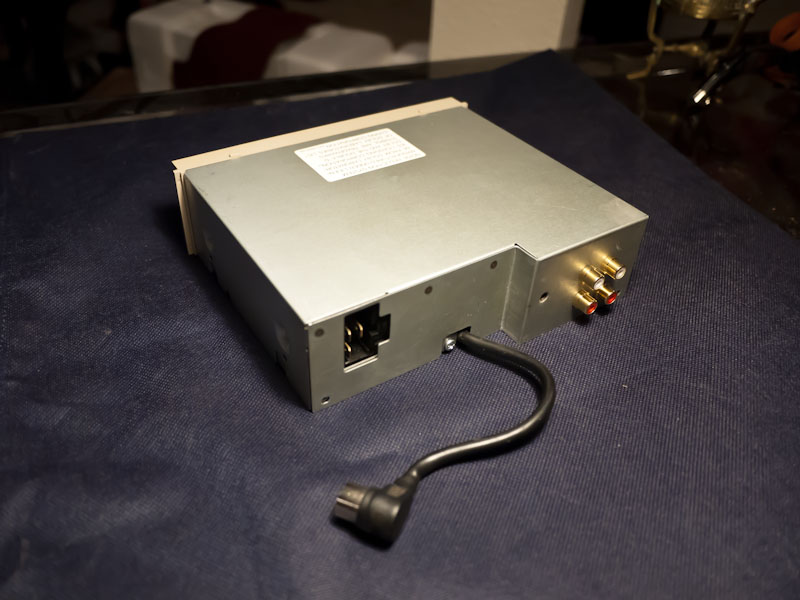
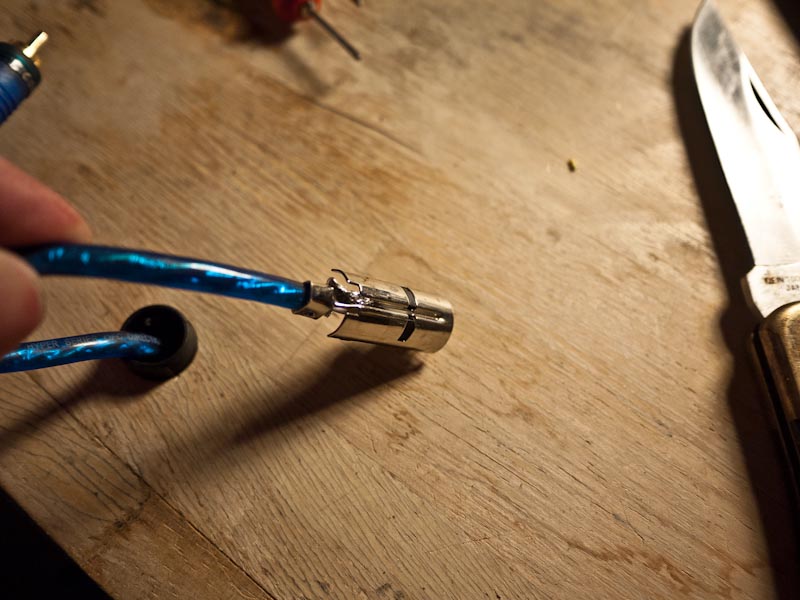
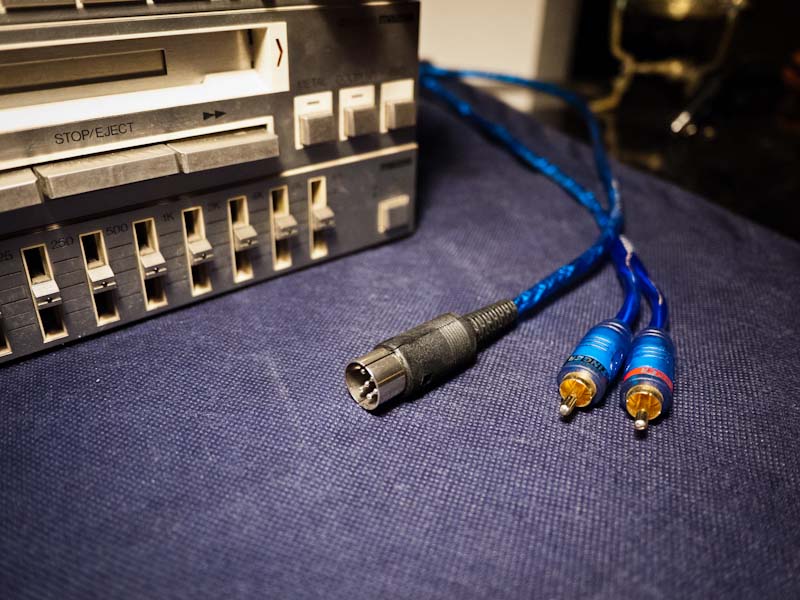
So - we have our inputs, now we can wire up the outputs! We need to go from 6-pin DIN to RCA dual output.
Step one: slice a very expensive RCA cable in half
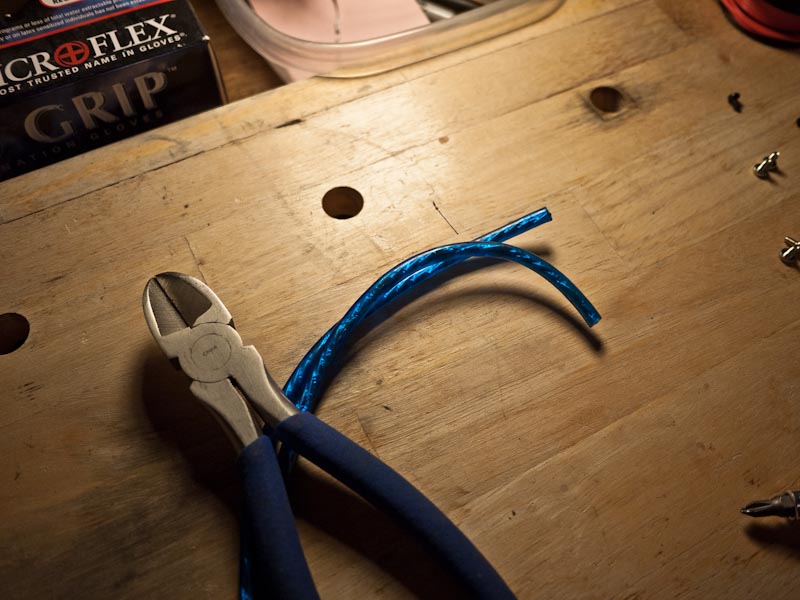
Pull back the sheath and separate the wires
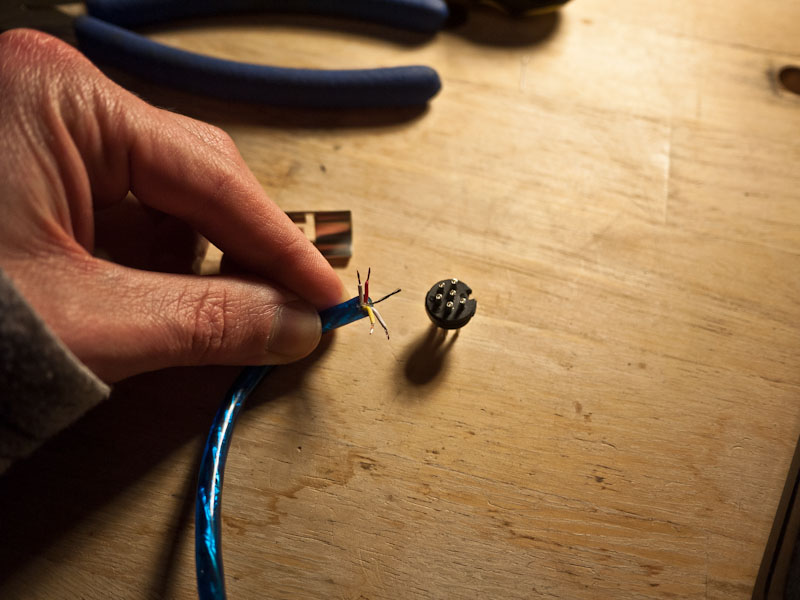
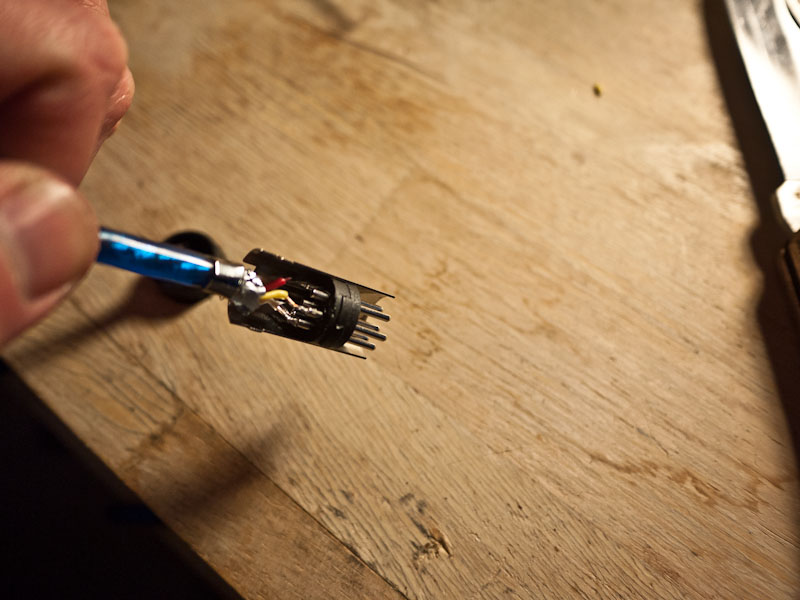
After soldering them onto the 6-pin DIN connector - make sure to double check your work with a multi tester. Glad i did - somehow i managed to get the ( - ) signals reversed for L and R!!! I swore to both the Old Gods and the New.
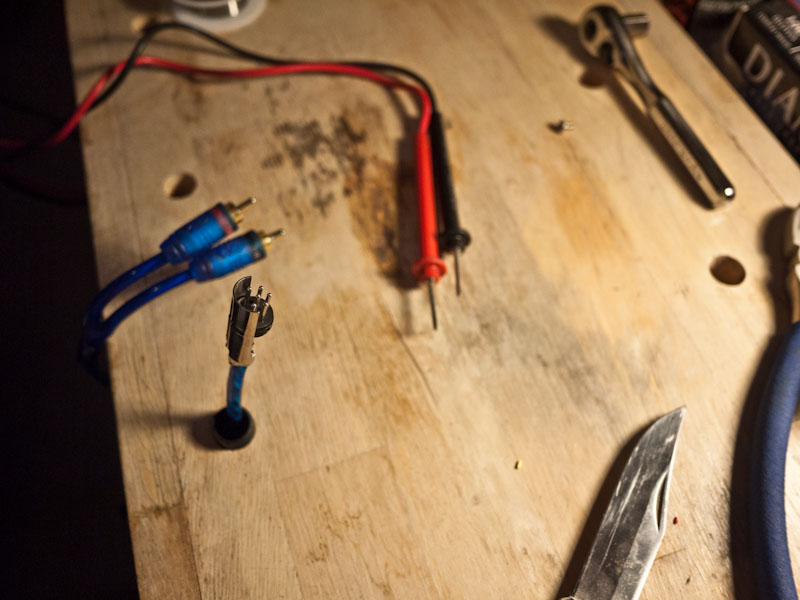
Ground down some of the shielded earth casing and soldered the stuffing wire / sheilding to it
Step one: slice a very expensive RCA cable in half
Pull back the sheath and separate the wires
After soldering them onto the 6-pin DIN connector - make sure to double check your work with a multi tester. Glad i did - somehow i managed to get the ( - ) signals reversed for L and R!!! I swore to both the Old Gods and the New.
Ground down some of the shielded earth casing and soldered the stuffing wire / sheilding to it
GSL-EV
Joined: Jun 2012
Posts: 450
Likes: 8
From: Rapid City, SD
Those turn signal lenses
Hey, do you know the source for those clear lenses on the turn lights? I can't recall seeing those before. I would like to have a set of those for my next project.
Where in Washington are you located??? I am near Carnation.
I have a 1984GSL with the same interior as yours, in similar condition. Did an engine swap last year, might be of interest if you have not seen it.
http://www.cardomain.com/ride/3936025/1984-mazda-rx-7/
See my "owner's other rides" for some of my other RX-7 projects.
Your project is really looking good. I think the gas strut for the hood would be a nice touch - I have done a couple more for other 1st gen RX-7 friends, and they all love it - let me know if you want the details.
SEM is the only one I've found so far that's even close to the factory burgundy, at least in a can. I'm sure a paint shop could mix you a custom dye, if you wanted to pay. Most others I found were too red (maroon.)
I've been using the SEM 15063 on my FC interior (got rid of the automatic seat belts - had to replace all the trim around the doors), and I'll be using it on a few parts on my grey GSL-SE's interior that have turned brown.
SEM has their own adhesion promoter, I got that as well as the plastic and vinyl prep products. So far, so good. The seat adjuster handle I did 3 years ago seems to be holding up well.
I've been using the SEM 15063 on my FC interior (got rid of the automatic seat belts - had to replace all the trim around the doors), and I'll be using it on a few parts on my grey GSL-SE's interior that have turned brown.
SEM has their own adhesion promoter, I got that as well as the plastic and vinyl prep products. So far, so good. The seat adjuster handle I did 3 years ago seems to be holding up well.
I prepped the vinyl and other plastic parts by wiping them down with lacquer thinner - got them pretty wet, so that the vinyl actually softened to the point of getting some ripples in it, then immediately sprayed on the paint. Everything went back to normal after the paint dried overnight, and it all looks good today, no tendency to fade, chip, flake or wear after about 16 years and 40,000 miles. (Except the shift **** - wore all the paint off that.) I do keep it garaged - sunlight is what kills interiors.
I painted the shifter surround and center console facia panel the with the same color because I did not like the look of the silvery color with the maroon - just personal preference.
Thread Starter
Joined: Jul 2002
Posts: 3,219
Likes: 8
From: Washington State
Best part is if you mess up, just do another coat! its clear!!!
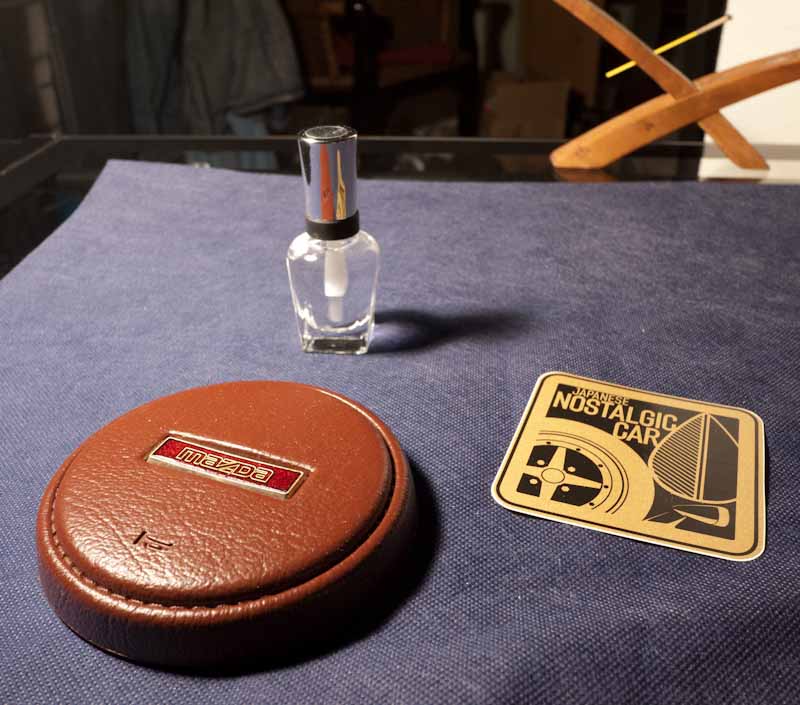
The vinyl horn button itself has been prepped with SEM vinyl prep, Bulldog adhesion promoter, and SEM Burgundy spray dye/paint.
Stillettoman - I'm in Eastern WA (for now - maybe seattle later this year) - will hit you up for that hood strut. I've been thinking a bit about that actually!
As far as paint holding up - Only on week 2, and only 3 panels in the car so far. however, after scraping and rubbing up against the storage bin frame - no scratches yet! Very pleased. I also took the time to prepare and clean all surfaces prior to spraying.
~Geoff
Ready or not...
Joined: Dec 2009
Posts: 261
Likes: 0
From: Taos, NM
You Rock!
Heck of a work over you're giving her... I'm sure she feels pretty and loved. Do you have a working old stereo? I have NOTHING in mine. Well, I have speaker covers (haven't looked further, as there is no stereo unit). I have been totally distracted by fluid leaks... How many are possible? I'm touching on every system.
Nice work... I'm inspired by your thoroughness.
Nice work... I'm inspired by your thoroughness.