
1980 Restoration

Thread Starter
Junior Member
Joined: Nov 2003
Posts: 48
Likes: 0
From: Dallas
1980 Restoration
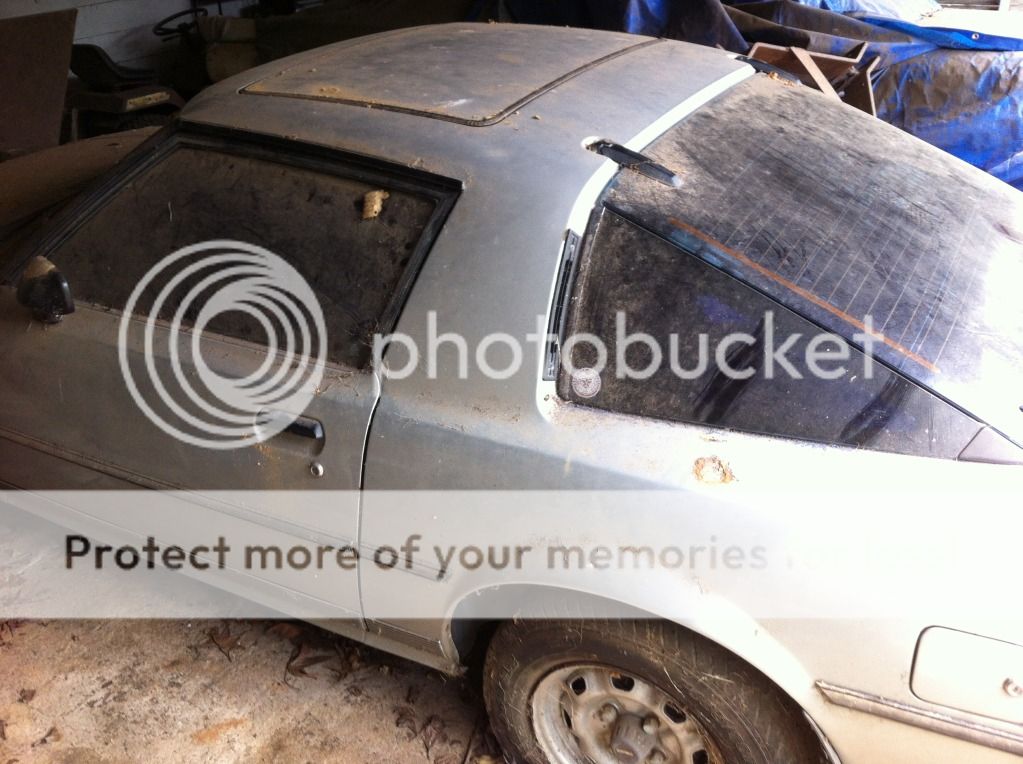
This was my first car and I drove it through college. Trashed the crap out of it, as my dad reminded me yesterday when we pulled it out, and now I'm on a mission to put it back to the way it was when I got it. Put a 13B in it back in college..remember rebuilding the motor in the kitchen of the apartment 
Anyway...interior is in really good shape and its been covered in a shed so no water on it...its going to need a repaint and I have a few parts to track down but all in all it should be fun to bring it back to life...guess this is my version of a midlife crisis...I'm looking forward to driving it. I'll post more pics today when I clean it up.
hmm pic isn't posting for some reason???


Trending Topics
Thread Starter
Junior Member
Joined: Nov 2003
Posts: 48
Likes: 0
From: Dallas
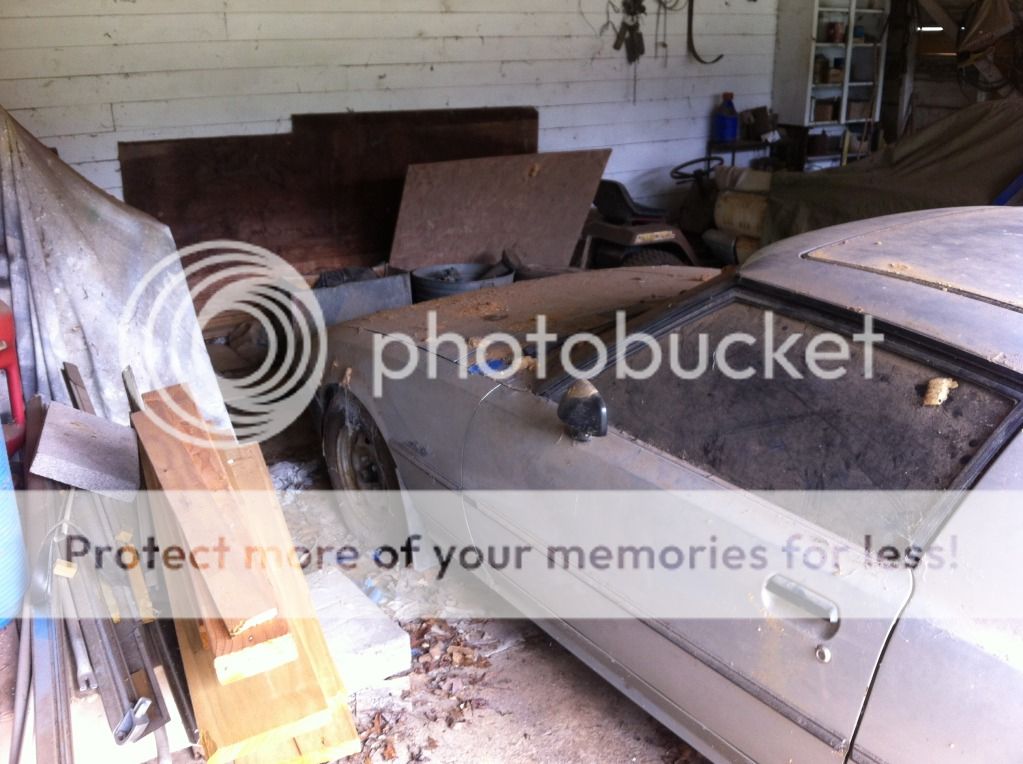
I'll have more tonight...it was an easy find I was the one that put it in the barn back in the 90's
I love the wheels they are fun..I just need to find one replacement center cap...lord I feel like I'm going to be hunting alot of hard to find bits.
I'm going to try and make it as good as when it rolled out of the factory..
I love the wheels they are fun..I just need to find one replacement center cap...lord I feel like I'm going to be hunting alot of hard to find bits.
I'm going to try and make it as good as when it rolled out of the factory..
Thread Starter
Junior Member
Joined: Nov 2003
Posts: 48
Likes: 0
From: Dallas
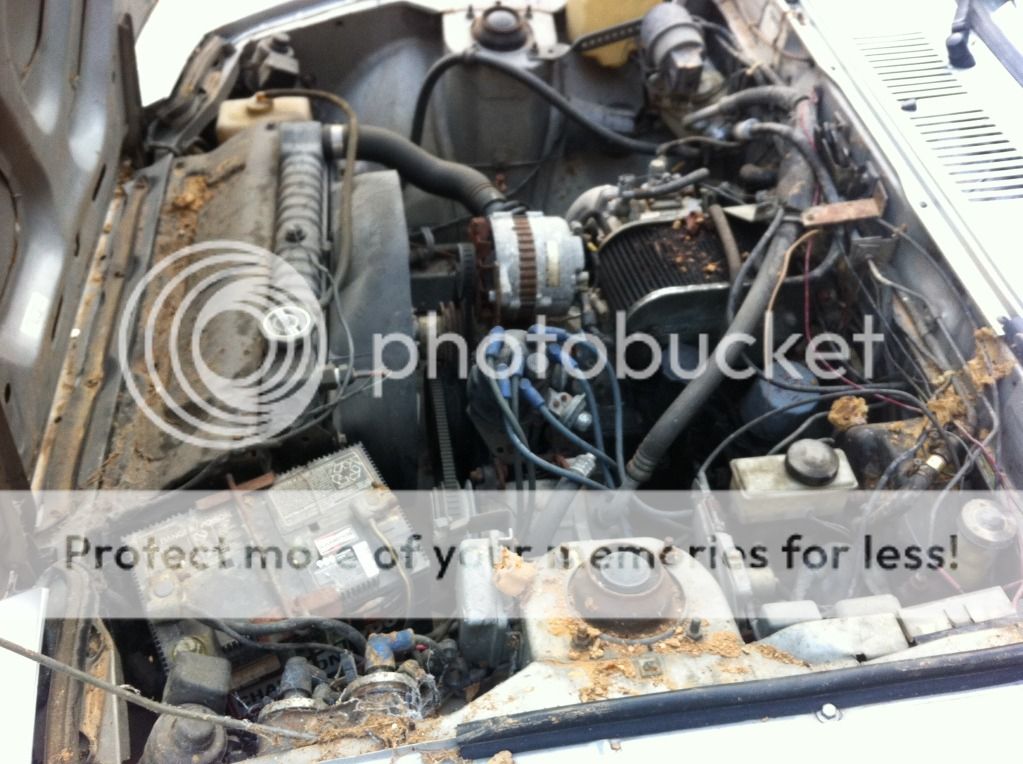
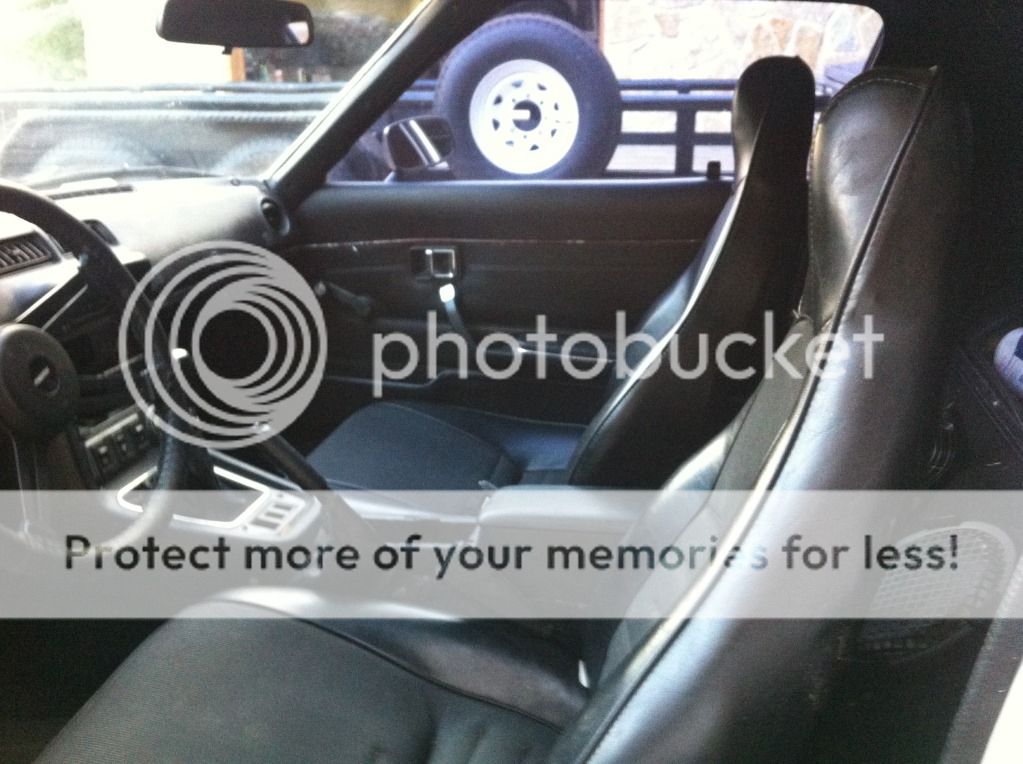
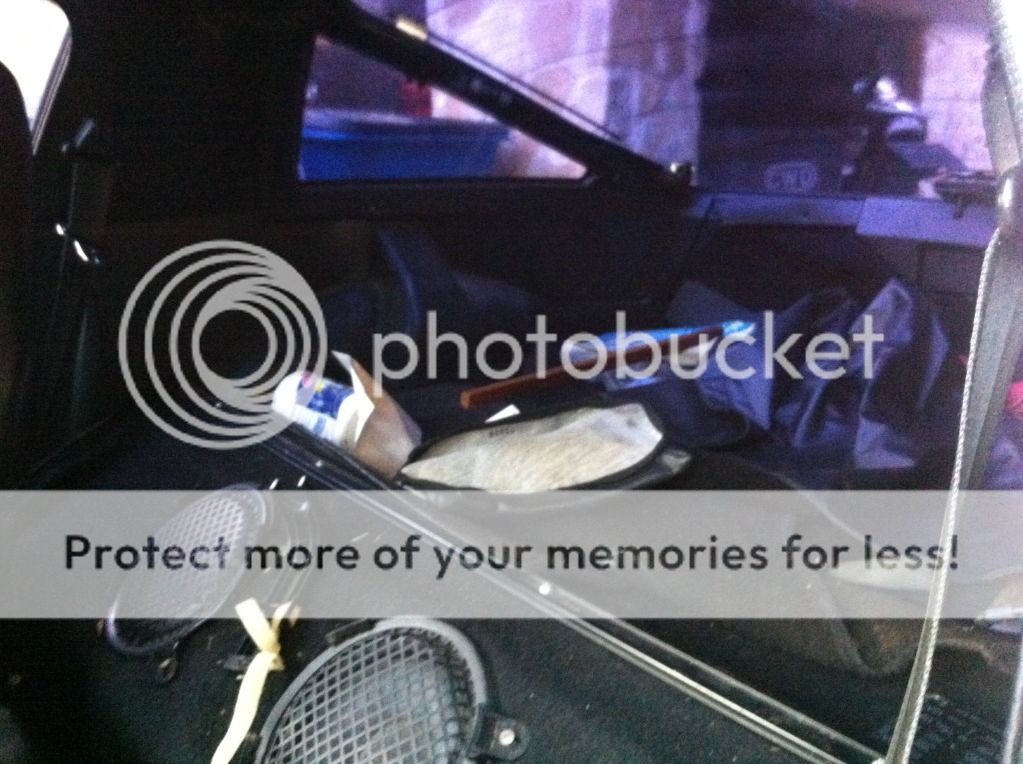
Interior pics and an engine shot.
I'm really kind of torn. I want my car back on the road and I've found a decent 79 that I could use everything that I need out of..dollar for dollar I'm about even if I bought the parts vs part out the 79 thats running. I hate to tear down a good car and make it worth only the parts left but what do you do???putting pen to paper I'm going to be about even or even ahead if I part one out...by the time I get the parts I don't need sold I may be even further ahead. What would you guys do?
Anyway pics


Thread Starter
Junior Member
Joined: Nov 2003
Posts: 48
Likes: 0
From: Dallas
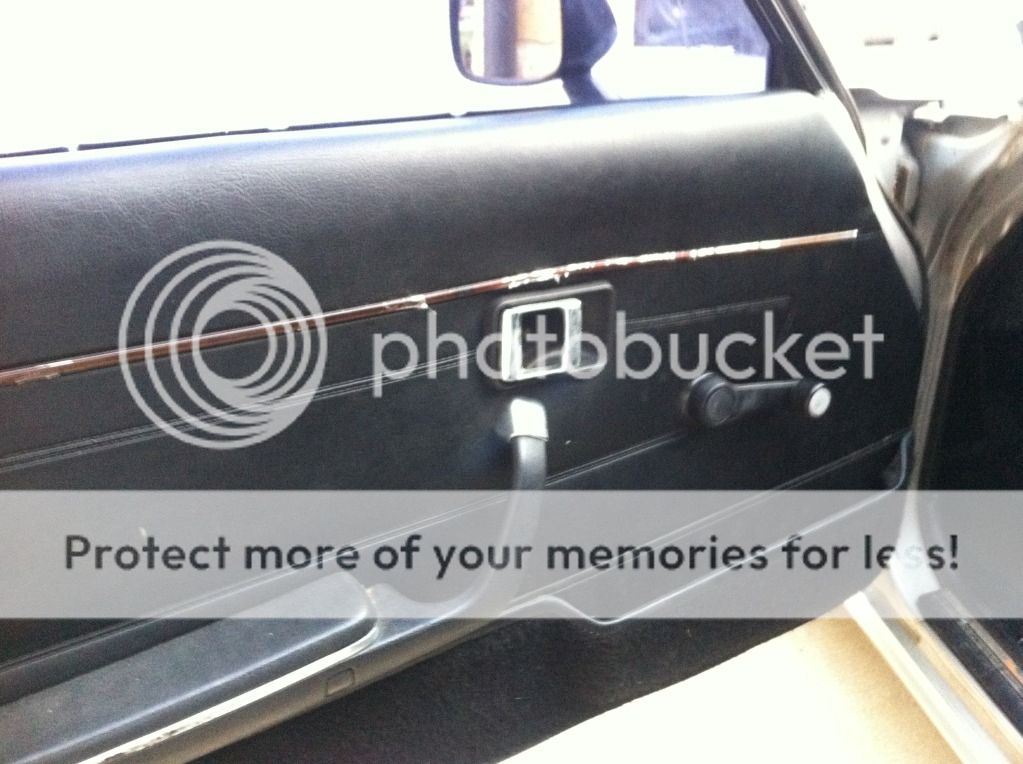
Divin I appreciate the comments...now can you give me an idea how I can fix that chrome trim on the doors and dash to make it look new???thats the one throwing me for a loop right now...didn't know if chrome paint would work or not.
Thread Starter
Junior Member
Joined: Nov 2003
Posts: 48
Likes: 0
From: Dallas
Well I made a deal today on an original 79 completely stock with 60K miles...red interior which sucks but original engine, original exhaust...so I can dye the dash black and use it. Figure it will make a great parts car. Sorry but mine has more sentimental value.
Joined: Jun 2008
Posts: 8,376
Likes: 28
From: Chino Hills, CA
The dash trim can probably be tackled in similar fashion. Mine are still in okay shape so I haven't felt the need to take them on just yet.
The door card trim being fused to the vinyl might be a bit more of a challenge, but there's always a way to make stuff look right if you're crazy enough.
I've never seen a chrome paint that actually looked really like chrome, unless it took an insane amount of surface prep first.
Joined: Jun 2008
Posts: 8,376
Likes: 28
From: Chino Hills, CA
The short version:
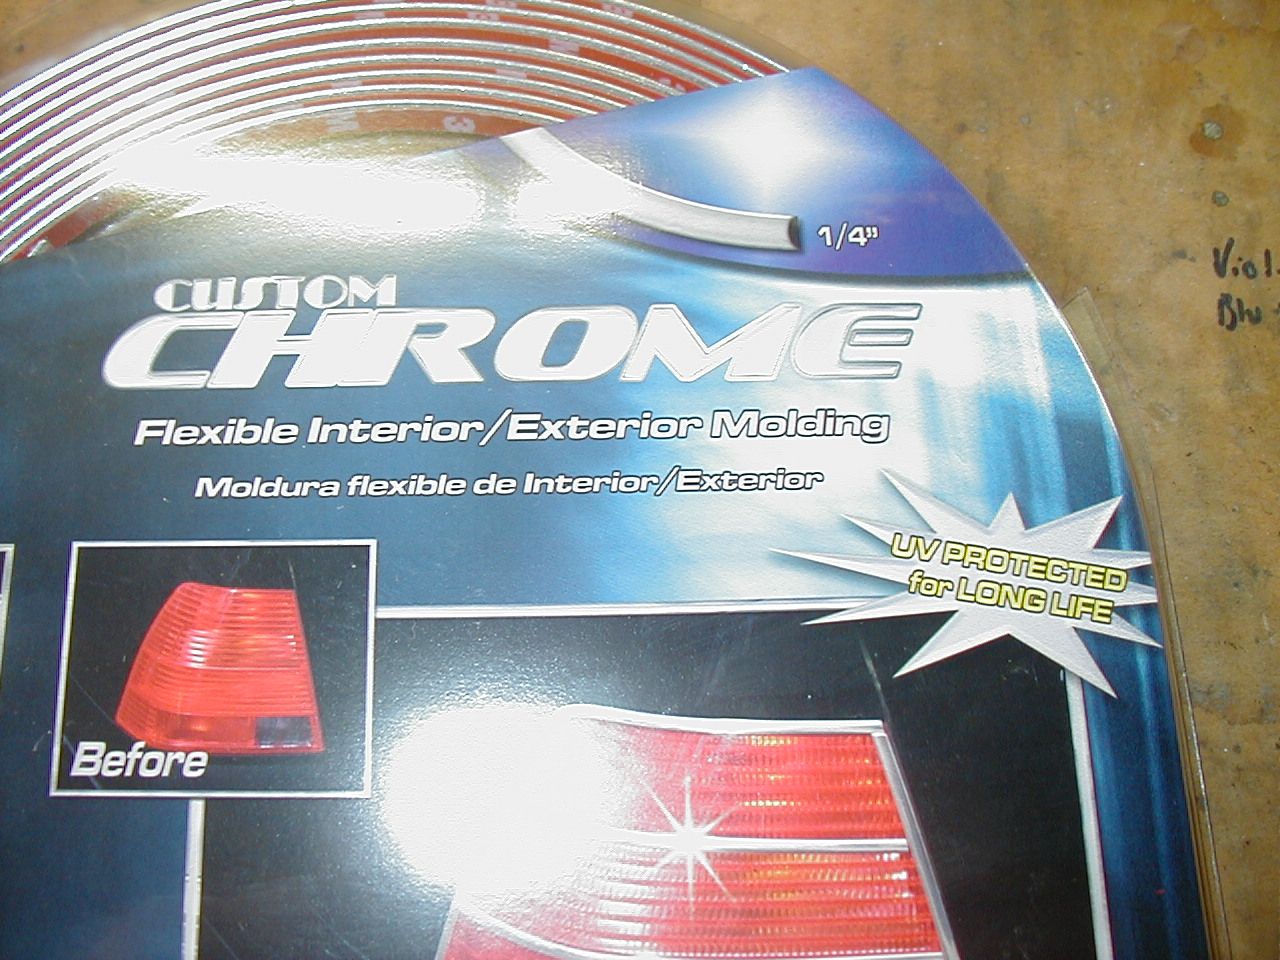
Buy some of this (auto zone, etc) 1/4" size is what you want:
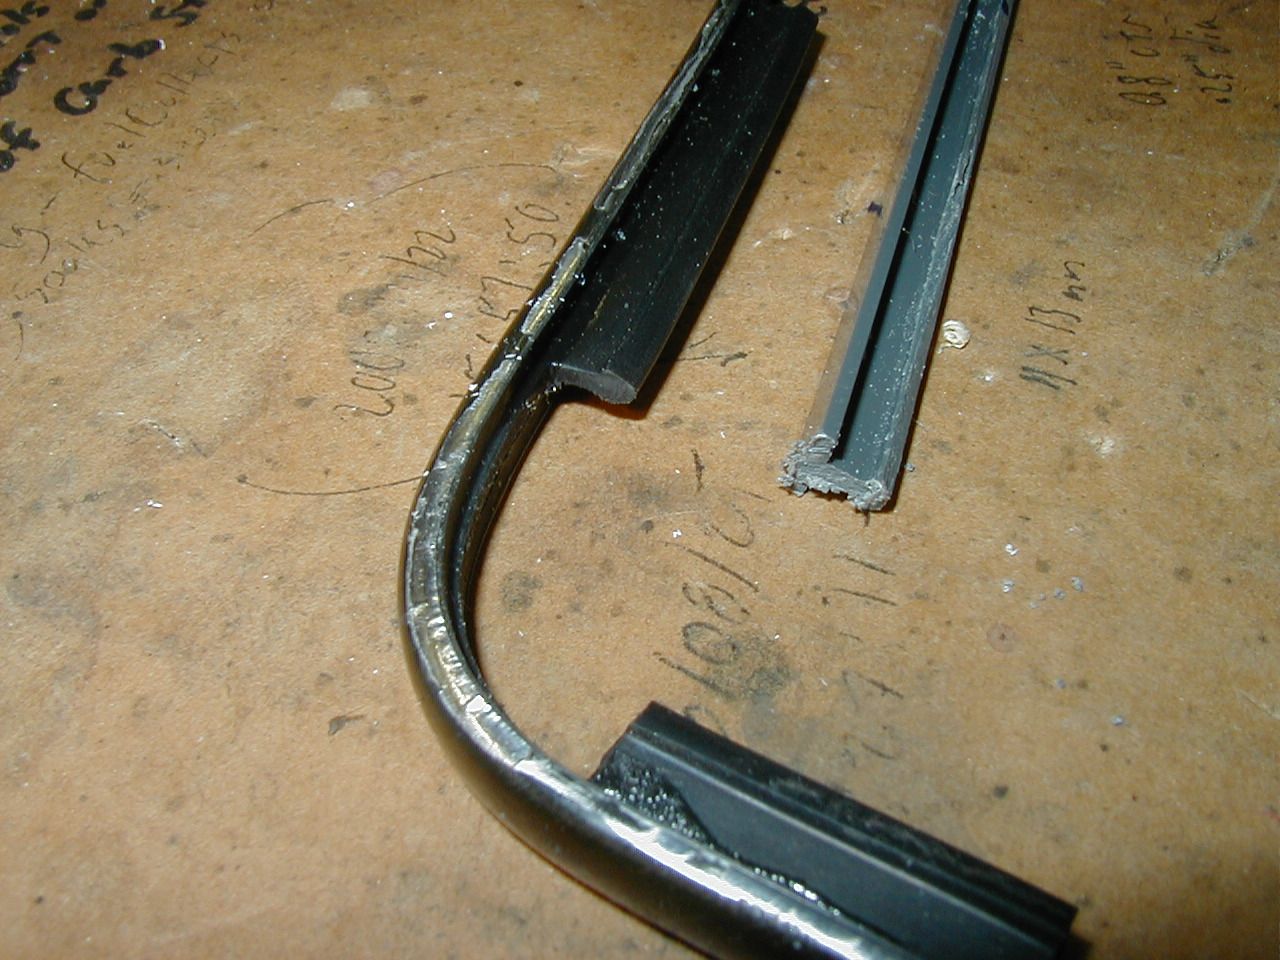
And get some Plastruct Scale Plastic I-Beam from you local hobby store: I think I used 3/8" size but I don't have the package any more. Measure your old trim's dimensions and get the part number from here:
Plastruct, Inc. - Online Product Detail
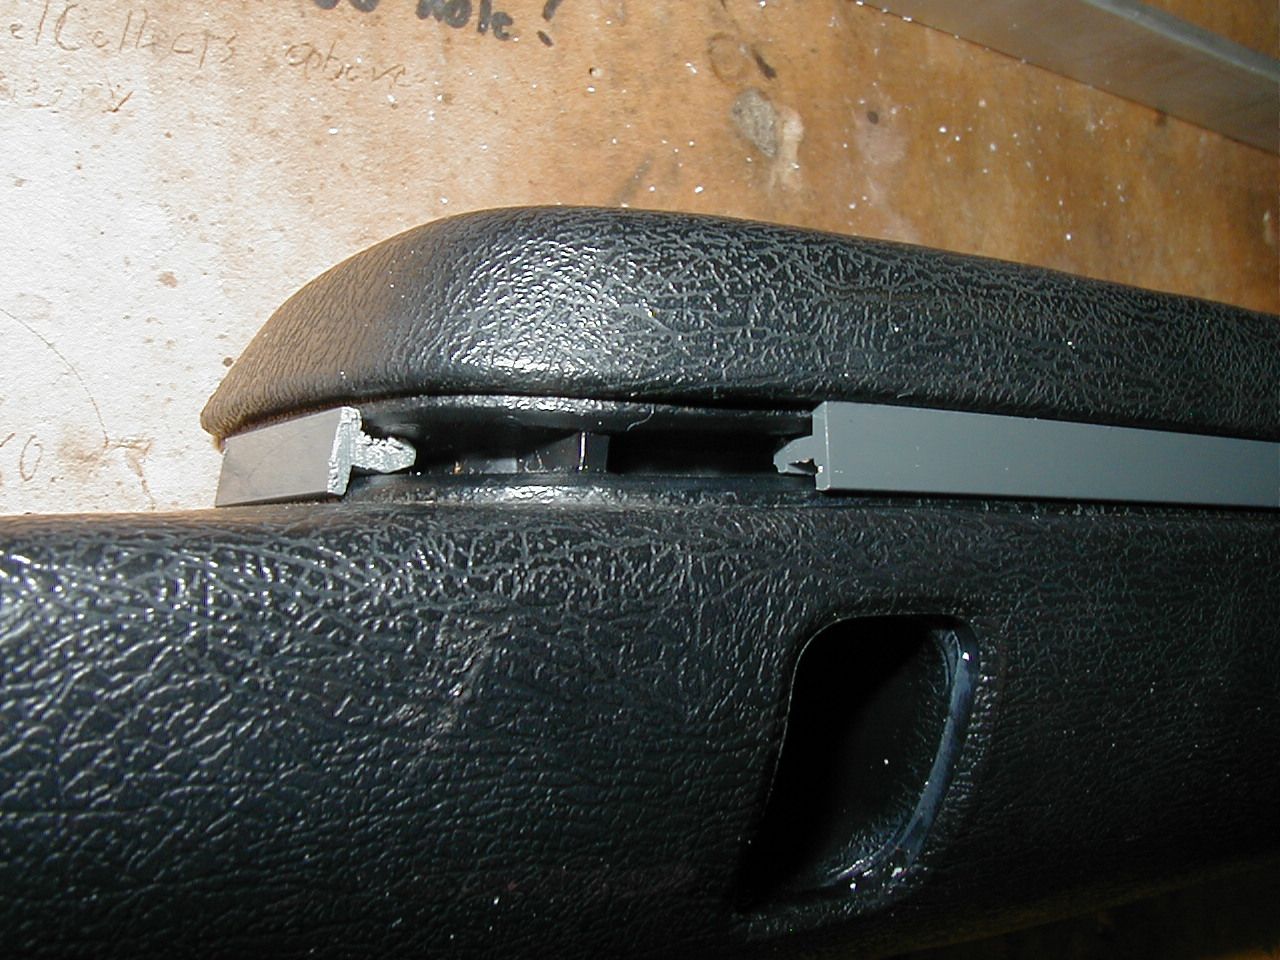
Cut one flange off the I-beam with a hobby blade or dremel tool, and shape the cut edge like this to match the cross-sectional shape of the original trim:
Cut short sections of the i-beam and stick them in the slot in the armrest where the old trim went:
DON'T fit any to the corners - - you want the corners to remain flexible.
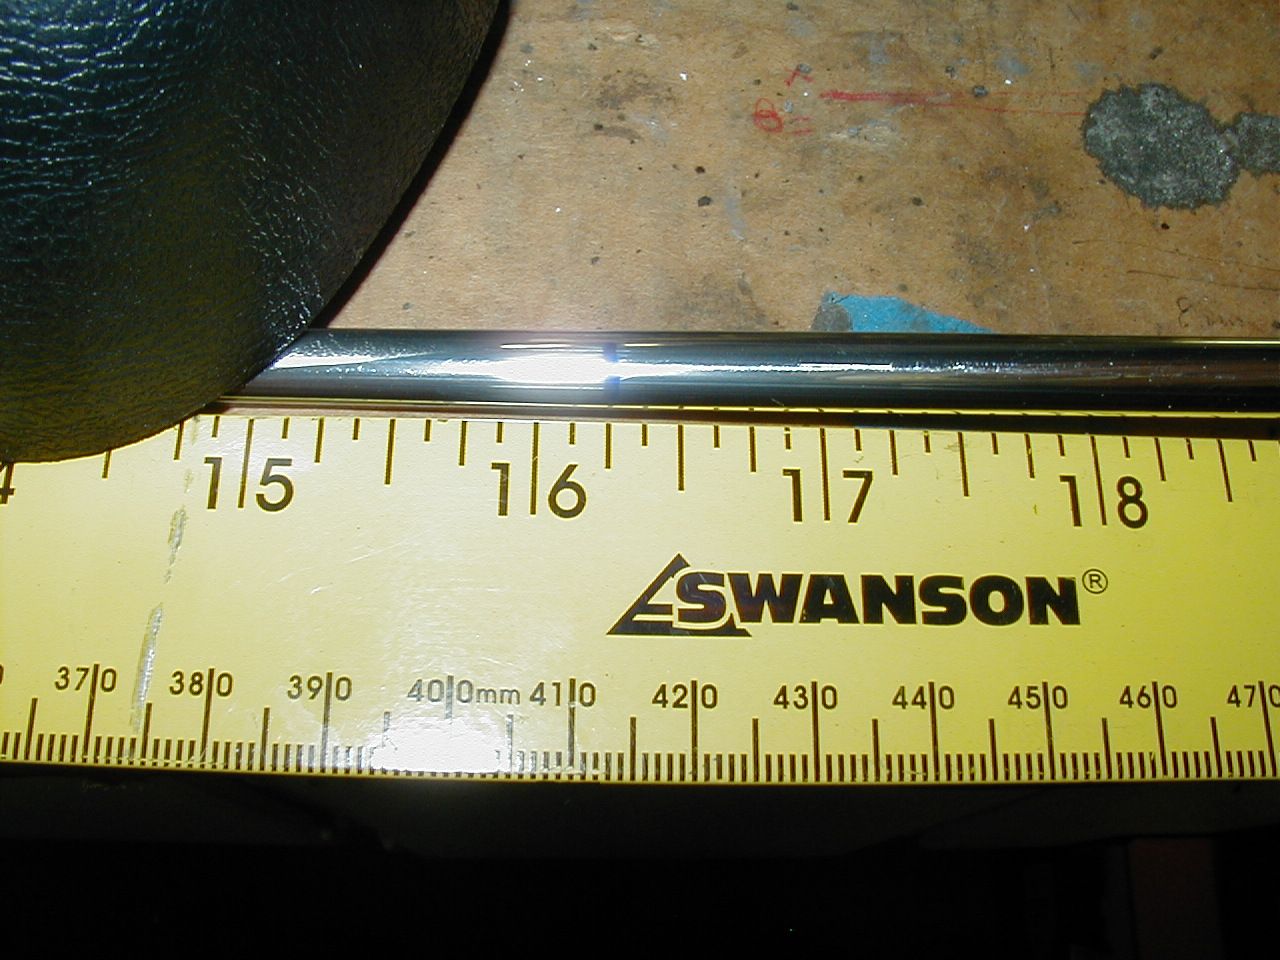
Cut a proper length of the chrome trim, leaving an inch or more overlap at each end:
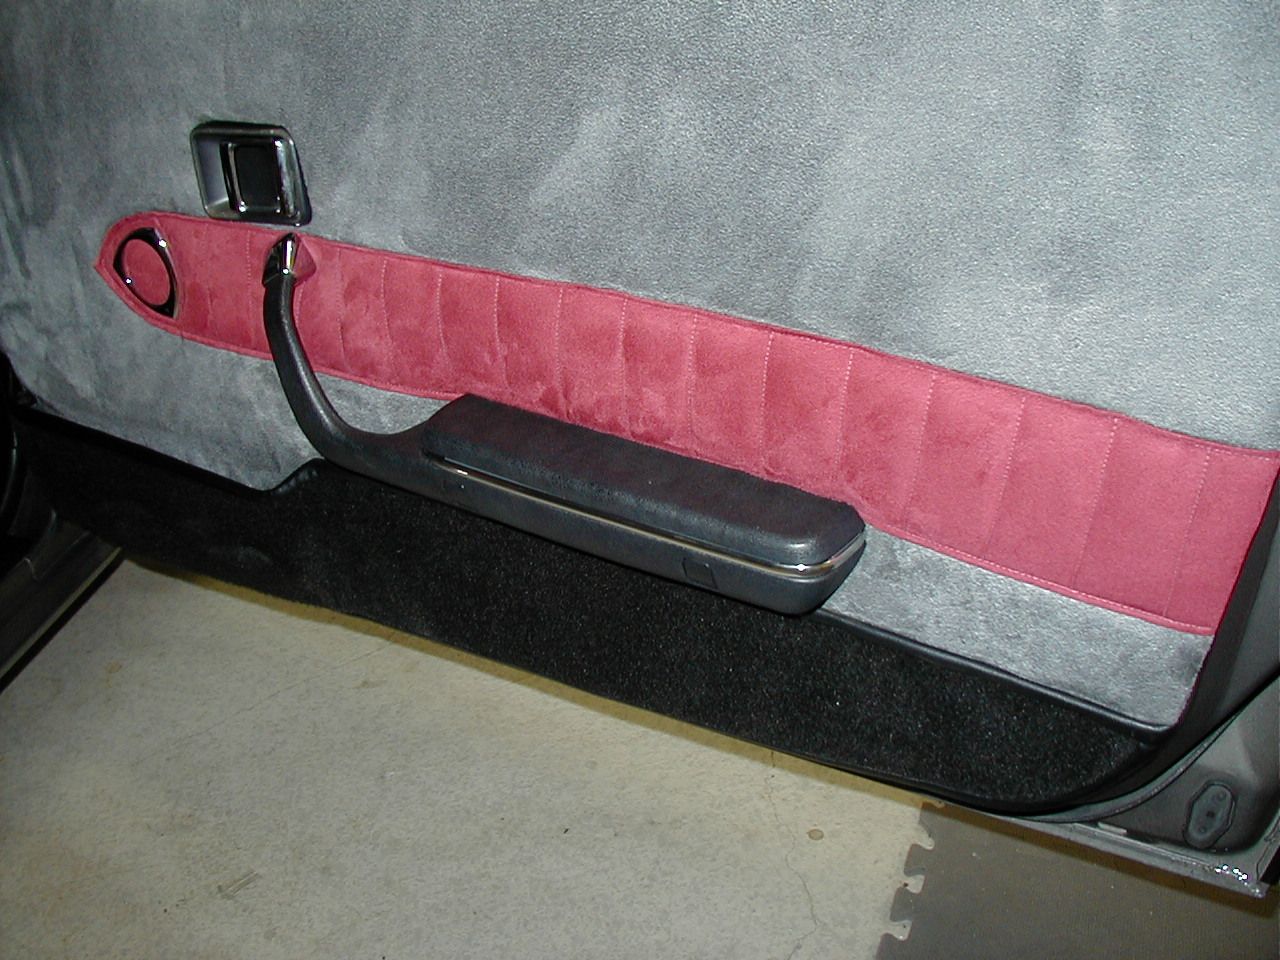
Peel the adhesive, and carefully lay it over the I-beam supports. draw the corners tight so they conform to the curve.
Score the ends slightly but don't cut through; you want them to hold the tension but also corner sharply. Tuck them behind the armrest.
Reattach to the door and marvel at how exactly they match the original pieces.
For the dash trim; you'd need to either find some vinyl-patterned plastic to put alongside the chrome, or you could cut the damaged chrome center part out & replace it with the chrome strip.
I've no detailed idea how to tackle the door panels. Since they don't have any bends, maybe mylar chrome tape would work well enough, if you got the old trim absolutely clean so it could stick properly.
Buy some of this (auto zone, etc) 1/4" size is what you want:
And get some Plastruct Scale Plastic I-Beam from you local hobby store: I think I used 3/8" size but I don't have the package any more. Measure your old trim's dimensions and get the part number from here:
Plastruct, Inc. - Online Product Detail
Cut one flange off the I-beam with a hobby blade or dremel tool, and shape the cut edge like this to match the cross-sectional shape of the original trim:
Cut short sections of the i-beam and stick them in the slot in the armrest where the old trim went:
DON'T fit any to the corners - - you want the corners to remain flexible.
Cut a proper length of the chrome trim, leaving an inch or more overlap at each end:
Peel the adhesive, and carefully lay it over the I-beam supports. draw the corners tight so they conform to the curve.
Score the ends slightly but don't cut through; you want them to hold the tension but also corner sharply. Tuck them behind the armrest.
Reattach to the door and marvel at how exactly they match the original pieces.
For the dash trim; you'd need to either find some vinyl-patterned plastic to put alongside the chrome, or you could cut the damaged chrome center part out & replace it with the chrome strip.
I've no detailed idea how to tackle the door panels. Since they don't have any bends, maybe mylar chrome tape would work well enough, if you got the old trim absolutely clean so it could stick properly.
Thread Starter
Junior Member
Joined: Nov 2003
Posts: 48
Likes: 0
From: Dallas
I have to look at my car but the only spots I remember the chrome coming off of were the door panels and the shifter bezel. I think my arm rests and dash are good. I wonder if they make T-molding small enough to match the trim. I have some chrome for one of my video games but its a little big I'll have to look at and see if they make a smaller version.
Thanks for the help I'm sure I'm going to need more of it.
Thanks for the help I'm sure I'm going to need more of it.