When you click on links to various merchants on this site and make a purchase, this can result in this site earning a commission. Affiliate programs and affiliations include, but are not limited to, the eBay Partner Network.
The project was basically getting to the point where every time I walked into my buddy's shop his first comment was " I've got bad news". The next day was no different. My OEM hood had ripples and ridges like it had been been used in filming a **** movie, or maybe the previous owner was just slick with the ladies. Either way, it was time for another roadtrip to see Fritz.
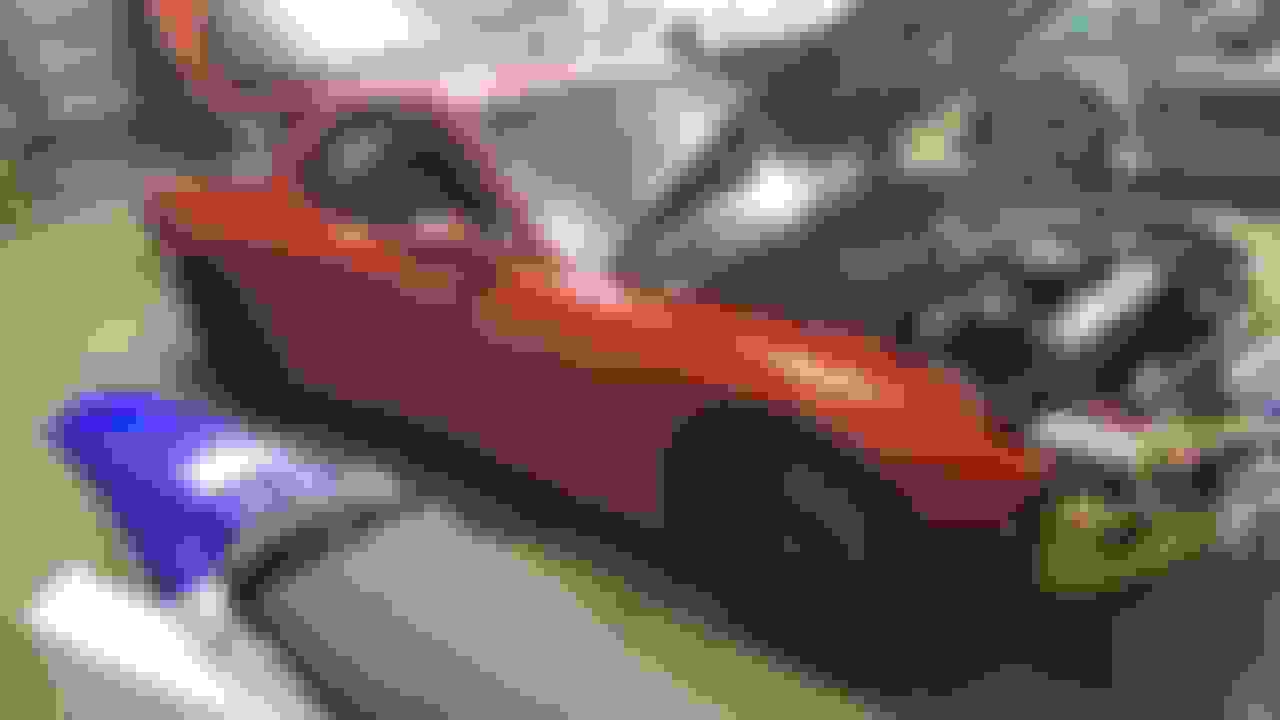
Finally, some major progress when it was primed and blocked. Starting to really look like something again.
The man, the legend--Shane. I can't say enough about the body work he's done so far. This dude is good at what he does.
The surprises finally come to an end and it gets better from here
Thanks. Will be updating this build soon, lots of work, upgrades etc. has gone on since the last update. Yes I have a PFC/commander. Two of them actually, plus a ton of other oem and aftermarket parts. PM if interested. I need to set up a post-build classifieds ad sometime to clear the clutter. I have a 7x16 enclosed trailer which at some point turned into a storage shed full of FD parts.
Awesome progress dude! How much longer before you're out brapping around? Paint looks incredible, and so satisfying seeing all that old crud under the paint get fixed or replaced! I don't even want to know yet how awful mine looks under the skin but I'll cross that bridge when I get to it.
Awesome progress dude! How much longer before you're out brapping around? Paint looks incredible, and so satisfying seeing all that old crud under the paint get fixed or replaced! I don't even want to know yet how awful mine looks under the skin but I'll cross that bridge when I get to it.
Thanks man. Shooting for wrapping things up this spring or early summer, though in reality it may never be "finished". Doing some fuel systems changes then retuning, as well as putting the finishing touches on the paint/body. Getting close now. I'll update this thread soon.
So, it was time to take a break from body work. Body guy needed to catch up on some other jobs anyway, while I start putting the interior back together at my house in my garage. My garage is a lot more cramped.
But, my body guy loaned me a lift so it made things infinitely easier.
First thing I wanted to do was pull the trans and change 5th gear. Don't know whether it is compressor surge, or the 8374, or just the nature of single turbos on this car with the tall 5th gear, but couldn't stand it. Had to go with the .806 JDM gears. Time to pull the trans.
I let Bryan at Rotorsports install the 5th gear. Kind of a shame as he'd just done the 5th synchro on this trans, but oh well. Reinstalling the trans with a portable scissors lift in the way sucked. Had to get creative. Would've been easier on jack stands.
Cramming it back onto the clutch and snapping the release collar back in was a learning experience too.
While I was under there, with the PPF gone out of the way, slapped on Banzai trans and diff braces.
With the trans sorted to my liking, time to put the interior back in. Wanted to quiet things down just a bit and make the car a little more refined so, put a some sound and heat insulation in some key areas Yep that's a genuine B&M shifter sourced from a forum member. Forgot to pic that during trans install.
Carpet reinstalled
New non sunroof headliner to properly finish the hardtop conversion sourced from tomsn16
Jumped in on the levy rotor corp AL pedal GB. Wide pedal and dead pedal looks and fits great!
Next-The seats. They were in good shape with surprisingly little bolster wear, but I'm not really a fan of leather, and to do an R1 conversion right...
Traded a guy near DC for these mint R1 seats.
Interior coming back together, slowly.
OEM AL sills and a sakebomb pass footrest.
Meanwhile, my body guy cranked out some awesome work on the hood and fenders, buffing them out and getting them ready.
Of note about the paint--I was originally hesitant to mention, but, seeing as this car has had several owners and has an accident on the carfax, it won't make a difference, but this is not VR. We took a low mile VR door we got from Fritz and using a paint scanner and a trained professional's eyes with many many samples, we kept coming back with a perfect match-- Magma Red (Magmarot)--a Mercedes color. Maybe this info helps someone in the future looking for a near-perfect match available in a better quality 2 stage PPG paint.
Last edited by aplscrambles; May 12, 2019 at 11:47 PM.
Next, I tackled the fuel system. The car was running ok, had a driveable street tune from rotorsports, but the fuel system wasn't up to par. Denso 850 primaries with melted and broken connectors, Ford 1680s in a KG rail (Nothing against a KG parts), and resistors with wires literally twisted together and taped with electrical tape.
Also upgraded the supra pump to a Walbro 400 at the same time.
Decided to go with an FFE rail, -6 fittings, ID2000s,and after a bad experience with a local fuel injection shop, some brand new Denso 550s for tuning/driveability.
Everything buttoned up with new parker push lok hose, rewrapped some of the wire harness, eliminated a connector or two, and four new NAPA Denso style injector plugs crimped on to replace the burnt and broken stock ones.
Man this project just keeps getting better. I've got serious interior envy on you now! Can't wait to see this thing in person and on the road!
Thanks, Still working on improving the interior. Teaser of a couple things that just showed up for the interior. Going '94 texture on some of my interior plastics, also snagged a set of sweet aluminum door cups.
Thanks guys for the encouragement. Got a few things done over the holiday weekend.
Finally got around to installing my PFC and datalogit into the turbojeff holder I got from Max_spd, Also figured out the wiring (I think) from my MTX-L wideband for logging.
Installed new 94+ textured door trim on both sides. lh was parts from another FD I had, rh was new Mazda OEM from Ray Crowe. Installed new AL door pull cups too, man those things are tough!
Installed a turbosource turbine shield ($$$) that I've had lying around for a while. Major bitch to install with the turbo in the car, but looks great and hopefully functions well too.
Lastly, reinstalled a EFR boost solenoid and wired to precontrol for PFC boost control. I can't figure for the life of me why I let my tuner talk me into a turbosmart MBC/tee, when EFR/PFC boost control is so simple? Then again I can't figure out why lots of things were done the way they were by my tuner. Topic for another day...
awesome dedication - makes what ive done with my build in last year and a half look trivial lol. Has the wife started asking where all the savings have gone yet?
awesome dedication - makes what ive done with my build in last year and a half look trivial lol. Has the wife started asking where all the savings have gone yet?
Luckily, I pay the bills, and handle most of the finances of the household, otherwise, this thread should probably read more like an obituary! All joking aside, I stopped counting a while back. This has become more a labor of love as I have become more emotionally invested in it. I have every receipt except body and paint work (cash), but have no real desire to add it up as it would be a scary number.
Unfortunately I had to come with grips on how much had been spent right before I got mine back on the road for insurance purposes - since I wanted an agreed amount from the "collector's car" insurance provider I'm using(Grundy Worldwide), I had to itemize everything and do what I could to provide receipts for all that had been spent. At that point back in Sept I was somewhere close to the $23k marker not factoring the 500 hours of labor I put into it on my own to get things where they were. Your project has much more refinement and a lot more goodies than mine so I could definitely see how much that would hurt to peer into!
Unfortunately I had to come with grips on how much had been spent right before I got mine back on the road for insurance purposes - since I wanted an agreed amount from the "collector's car" insurance provider I'm using(Grundy Worldwide), I had to itemize everything and do what I could to provide receipts for all that had been spent. At that point back in Sept I was somewhere close to the $23k marker not factoring the 500 hours of labor I put into it on my own to get things where they were. Your project has much more refinement and a lot more goodies than mine so I could definitely see how much that would hurt to peer into!
Yikes. I wish I was only $23k into this car. Good on you. I had forgotten about insurance. I guess I will HAVE to add everything up so I can negotiate an agreed upon amount with Hagerty's or whoever I end up with. Right now I'm with Farm Bureau where I carry all my other insurance, but my agent suggested that he could broker a deal with Hagerty's when the car is complete.
Decided to go a different direction with the brakes, and give the tres vogt wilwood kit a shot, because racecar. I know everyone raves about the SB kit, but for $500 less, you know. While I understand unsprung weight and aluminum rotor hats would be cool, yada yada, yada, I'm still going to have the same cooling ability and braking power with the exact same calipers.
The issue that many have with this kit is wheel/caliper clearance. Mine was close, but should be fine. I'm liking my tire rack special OZ's more and more.
Did an ignition upgrade a while back. Forgot to post the pics.
Driftin' Jim IGN1a (smart coil) kit to replace the twin power, and get some junk out from under the UIM. Bracket is nothing special but everything fits and works great. Once again, another bargain compared to "the other guys"
Body guy came over one evening last week and we started fitting the rear bumper. 99 spec tails I got from Fritz are looking good too.
Last edited by aplscrambles; Jun 10, 2019 at 11:11 PM.
Finally got around to installing a few more things- garage alpha "hyperion" surge cover-
Wrapped the downpipe to complement the turbo shield for a little more heat control-
Almost everything in the engine bay assembled--nearly ready to run-
Draining and replacing the old fuel out of the tank for the who-knows-how-manyth time-
Off the lift and headed back to the body shop for the last time-under its own power. Car started right up, but the tune sucks-
Back at the body shop. Aligned the rear bumper and lights, installed emblems and "adjusted" the tailpipes.-
Installed new exterior door handles, right and left fenders--
New door rubbers, beltlines, seals, etc., headlight covers, and bumper installed, now to start aligning it and working on the body lines...
Last edited by aplscrambles; Oct 22, 2019 at 10:05 PM.