When you click on links to various merchants on this site and make a purchase, this can result in this site earning a commission. Affiliate programs and affiliations include, but are not limited to, the eBay Partner Network.
How well did the car run on the current tune with the previous turbo kit? Keep in mind the EFR is going to come into boost sooner, and probably make more power on the top end( bigger turbine wheel). So you're going to want to take it in steps and review a lot of logs before hammering on it. It would probably be best to strap it on a dyno for this( and use the wideband's dyno, in addition to the in car unit). You don't want to blow an engine and wipe out the turbo while you are at it.
How well did the car run on the current tune with the previous turbo kit? Keep in mind the EFR is going to come into boost sooner, and probably make more power on the top end( bigger turbine wheel). So you're going to want to take it in steps and review a lot of logs before hammering on it. It would probably be best to strap it on a dyno for this( and use the wideband's dyno, in addition to the in car unit). You don't want to blow an engine and wipe out the turbo while you are at it.
It actually ran ok on the existing tune, was spooling very well. Bear in mind the way I had it plumbed with no boost controller, it was only doing around 8 psi, and surprisingly holding there though I didn't really stay in it long enough at a time to see if it would creep, due to the fact it wasn't tuned for this setup, and I had no wideband at the time. It Almost immediately went to Rotorsports here in NC to get a tune. IIRC He had 2 or 3 other cars at his shop with your EFR kit on them just when I was there! (~Aug-Oct '17)
Put in some fresh fuel, tied up some loose ends, took the car out a couple times, just some twisty roads "around the block", even took the wife out to dinner one night, temps, guages etc., seemed normal, but it needed a tune. Driveability wasn't great, it would buck and hesitate, sometimes, and would lope/hunt/surge upon cold and warm startups. And some god-awful suspension squeaks had developed that were so loud they were embarrassing!--the looks I got driving through a parking lot. This would have to be addressed after the tune. But....
Delivered the car to Rotorsports--bear with me I had smartphone issues and lost almost all pics of the time period while the car was at the shop--
Basically it was there to get a tune, install a wideband, a dual oil cooler kit, a 5th gear synchro, and just do a general once over of all the systems in the car, including all the work I had done to make sure it was up to snuff.
However, that wonderful rotary engine had different plans. First thing was a compression test. We kept getting 70s on one face of the front rotor-not good. Next time I saw the car, it looked like this-
Last edited by aplscrambles; Mar 12, 2018 at 11:39 AM.
Again, bear with me on the lack of photos for the next couple of posts.
I was literally shocked when I got to Rotorsports to meet with Bryan and the motor was already out. This guy wastes no time. I half expected for the car to be pushed out into the weather and sit for a few months before he'd be able to work in a rebuild-I must've caught him at the right time. He even already had the motor torn down. The Verdict--broken corner seal and some fragments from it had taken out the front rotor as well. Second problem as we saw it, was 3mm apex seals. Thirdly, the housings and side housings were pretty beat up. Not good. This motor was tired. We mulled over options for a few days and I just happened to mention I had a complete Mazda reman that I'd kept from the roller FD I had a few years ago. I just assumed the housings and rotors were trash, tossed them in a box and never really inspected them.
Last edited by aplscrambles; Mar 12, 2018 at 11:33 AM.
Surprisingly, he was all for me bringing in this spare motor I had and checking it for usable parts. And Finally a stroke of good luck--It turned out to be in good shape! The rotors, housings, everything was in really nice condition. I remember him saying it was one of the nicest used motors he'd opened up in a while. Thankfully 2mm apex seals in the rotors also. We moved forward without hestitation to build this motor with Goopy apex seals, and OEM for all the rest of the seals.
So while the car was at Rotorsports for the rebuild, they did an r1 dual cooler install, 5th gear synchro, Turbosmart MBC, and a 15 psi street tune. Naturally, we ran into a few issues along the way, which called for an ACT clutch, and some new motor mounts. Some of these were things I wouldn't have felt too confident tackling myself, so in a way it all worked out. Car runs like a raped ape at WOT, at normal driving speeds the tune could use a little more work, there is some bucking and roughness on takeoff and between gear changes, and on cold startup there is some pretty significant idle hunting depending on temps. When I got the car back, I fixed a couple vacuum leaks, located some unplugged connectors, a missing throttle body o ring, tweaked the air screw, properly adjusted the dashpot, with only a little improvement. For now, A/F r's are good under boost so no immediate danger, but definitely planning on a proper dyno tune in the near future. Fit of the intercooler is still not perfect. I'll get around to that.
Underhood pic after getting the car back from the rebuild with the motor and accessories cleaned up, blasted and/or painted: Still much to be done.
Last edited by aplscrambles; Mar 27, 2018 at 11:38 PM.
Next on the agenda, the rediculously stiff, squeaking, groaning suspension. I suspected bushings were most of the problem, but the **** Megan racing coilovers had to go too.
More greasy, grimy, oversprayed suspension components.
Man you weren't kidding about some of the similarities - that overspray is the first thing that comes to mind. I'm still debating taking my engine off to Rotorsports or another backyard mechanic type guy in NC that seems to know his stuff without the big shop costs.
Debating a bushing refresh on my own at this point too - are/did you pick up some kind of hydraulic press or are you going to contract out that work?
May want to jump on some stainless steel brake lines while you're in there too - they're amazing on every car I've added and with the age we're dealing with here it's a safety mod too.
I actually lucked out and got a set of used rear control arms with very low mileage bushings and pillowballs. As for the front, I bought a set of the aftermarket control arms, since it turned out I needed bushings and ball joints. See next post(s)
Last edited by aplscrambles; Mar 27, 2018 at 11:00 PM.
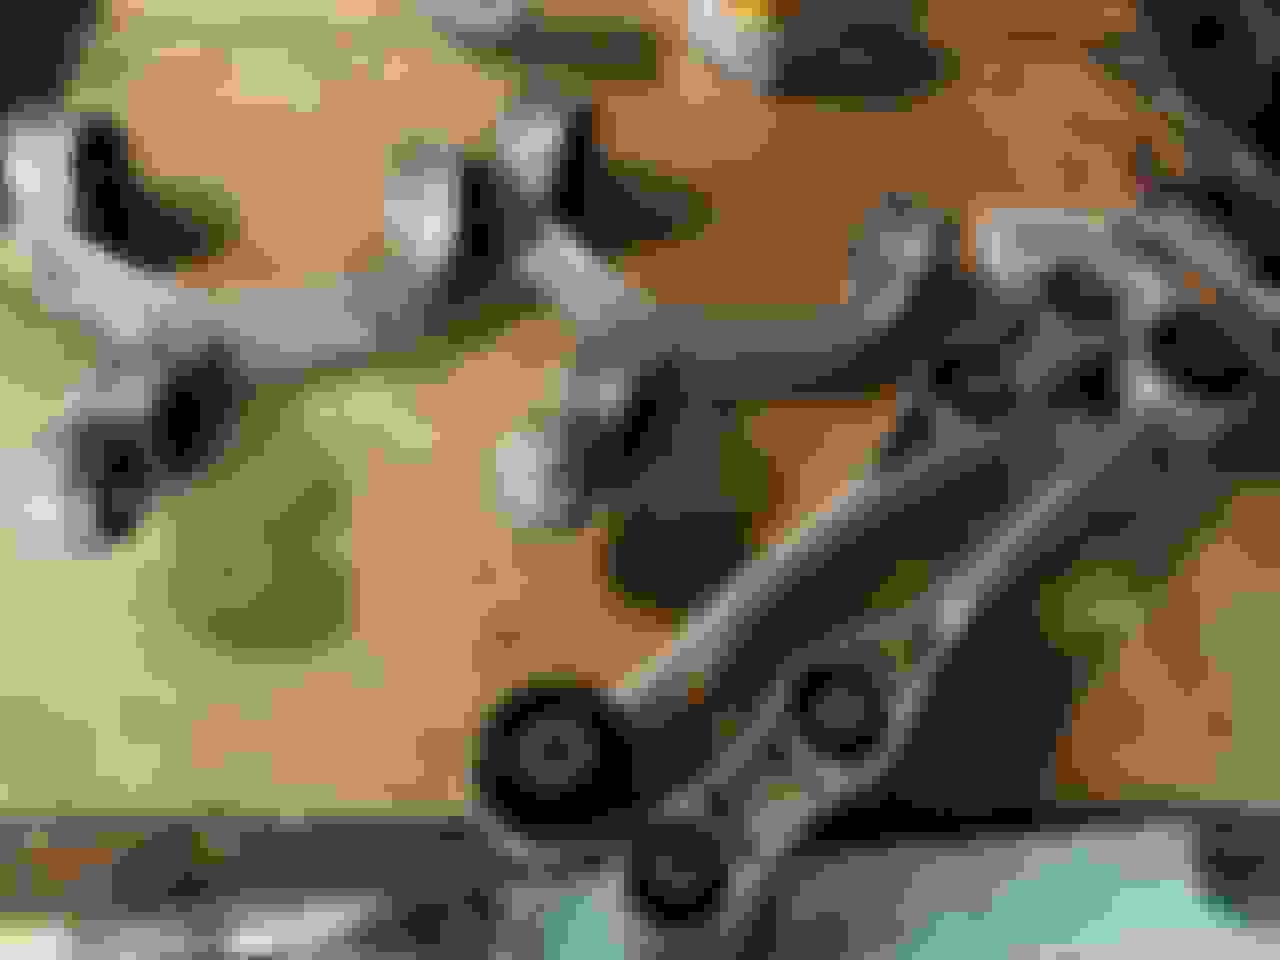
Cleaned up the front control arms and located the source of the suspension problems-Delrin
All the bushings in the front and rear control arms were delrin. Ain't nobody got time for that! Found a used set of rear upper and lower arms with almost new bushings. Score.
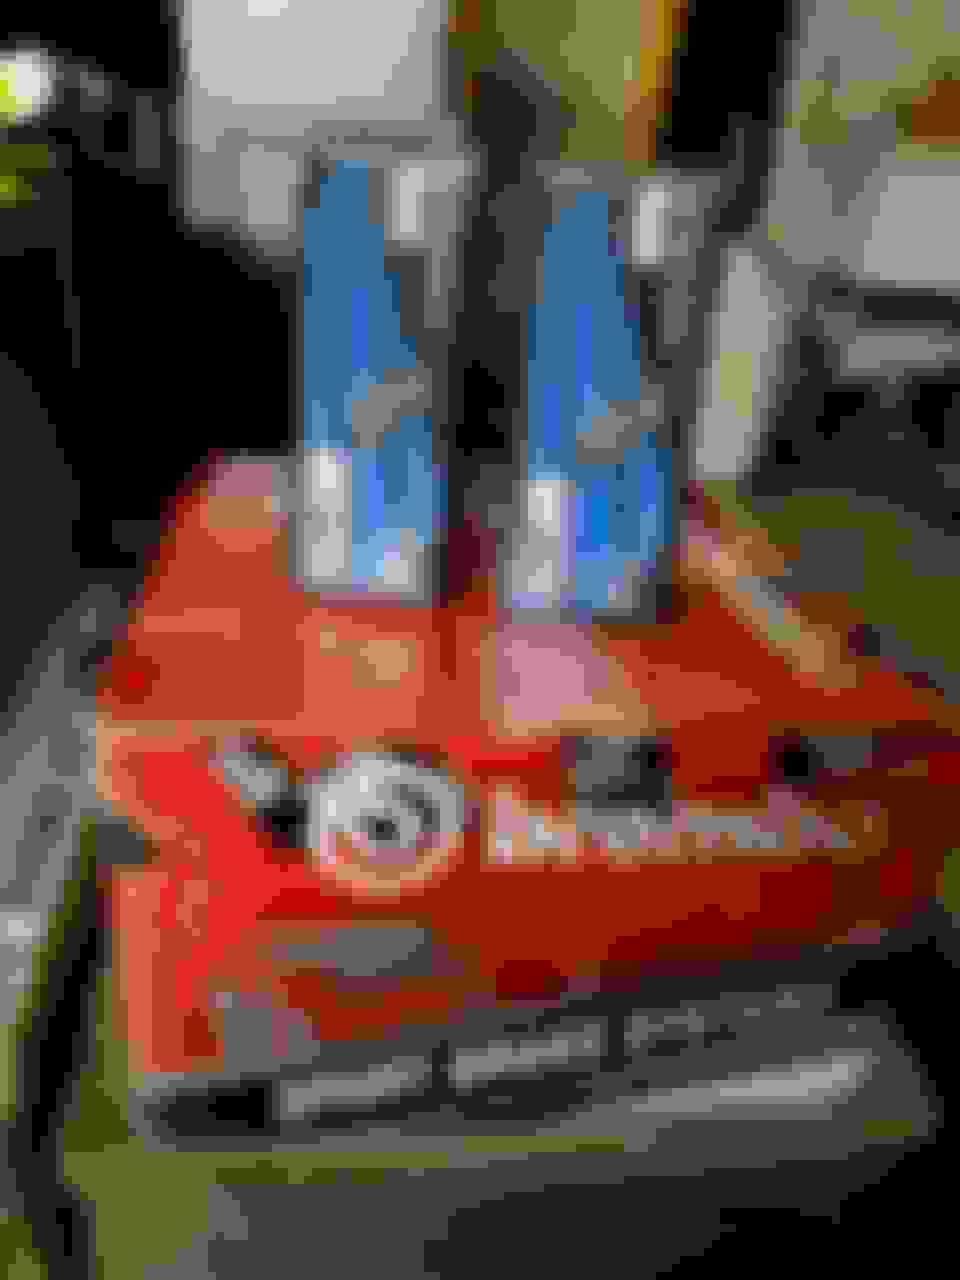
In the front, I needed bushings and ball joints, so not having found any real positive or negative reviews on the aftermarket stuff, I decided to give the mevotech/dorman combo a shot
So this was back in February when this alignment was done. It was on a pretty cold, day maybe around 25 deg, but I was determined to hit some local country backroads and took the long way home that morning. Car drove and gripped very well on the roads I chose. Decided to hammer it in one long straightaway. The boost gauge was creeping up and nudging 20psi! Cold day-shorty manifold-8374 iwg--no Bueno. I will hardly ever be drving it under these conditions, but still, I don't know. Will have to address this in future. 1st things 1st. This car needs body work, needs to lose the idiotic racing stripe, needs all the holes from the "widebody kit" welded up, the side scoops painted, etc., etc. If I only knew the can of worms about to be opened...
how is the dorman upper front arm ? i was thinking about them as a replacement but oppt for oem last minute
do they seem quality ?
Yes I thought they appeared to be of good quality, look and fit just like OEM, but only time will tell if the bushings and balljoints are comparable quality.
So...9 mos. behind on the thread. Update time. Took the FD to one of my best buddy's body shops. He's been doing body work 25 years and custom fabrication and restoration in his off time for almost as long. It was an easy choice. It didn't take long to see this wasn't going to be a "scuff and respray" lol The next few posts will be pretty pic heavy. Right off the bat, we found a partial rear quarter had been patched in, and not done well.
Next, we ran into a concerning amount of filler and bondo on the other quarter.
All the grind marks were us trying to find just how deep/how much there was. Didn't really matter, the only right way to do it was a new quarter, which I sourced from Fritz, a very valuable resource here on the forum who lives only about 3 hours away in VA. Little did I know this would be the first of many trips to Fritz' house for parts...
He graciously met me at like 10:00 pm so I could get this left rear quarter
Next, ripping off the old quarter and gluing/welding the new one in place--luckily there was no inner structure damage so the panel went on and mounted up easily.
It was really refreshing to be apart of the r/r and watching/helping someone do body work in general. This was uncharted territory for me, so to watch all the techniques and processes of a seasoned veteran, and know it was all being done properly step by step was awesome. However, note the filler in the drivers door. Damn.
At this point, we realized we had gotten into a car that had had some body damage in quite a few places and had been repaired very poorly. The hand sanding and even the D/A was no match for the amount of filler on some of the panels. We called in the big guns. Within a week we had a local mobile soda blasting guy out to blast the whole body. As an aside, hindsight being 20/20, cleanup after the soda blasting was a JOB. All the cleaning of the engine, interior, damaged weatherstripping, that friggin soda gets EVERYWHERE in EVERYTHING. I would never do it that way again, but at the time it seemed like the right way to go, with all the sanding/filler issues, we needed to get to bare metal to see what we had.
So, back to the drivers door-- Another trip to Fritz in VA netted me a loaded minty door.
And while there had to gawk at one of fritz' FDs--His ultra low mileage CW. Gorgeous.
So---back to the RR quarter. We've gone this far, if we're going to take the car to "that" level that quarter's got to be replaced too. Off comes the front fenders as well. Thank god, finally a break, they were both in good shape and needed little to no body work. Car looking a lil' bare at this point lol
Sourced a rear quarter panel from the ONLY dealer in NC that was willing to discount MSRP on parts to me. Mad props to Hickory Mazda in Hickory, NC, they were willing to match Ray Crowe's price on a RR quarter, and were only 1.5 hrs away. I highly recommend and would definitely deal with them again if the need arises.
Installed. Looks a little less like something out of Mad Max the more body panels are reinstalled!
Next thing, I guess may be kind of controversial to some, but me and my body guy were totally in agreement-- Lose the roof! Convertible FD!
But after some deliberation...We decided an OEM hardtop was better than making a ragtop FD lol
Next order of business--the interior needed to be stripped, there was way too much welding, gluing, grinding, in-and-out of the car going on. It was only a matter of time before something irreplaceable got ruined.