Build Threads The place to discuss complete builds

Too much time at the bar, cut off from Sakebombs!

Thread Tools
 
Search this Thread
 
Old Jun 8, 2014 | 12:20 AM
  #101  
Monkman33's Avatar
Thread Starter
Goodfalla Engine Complete
Tenured Member: 20 Years
Liked
Loved
Community Favorite
iTrader: (28)
 
Joined: May 2005
Posts: 3,243
Likes: 42
From: Kennewick, Washington
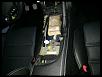
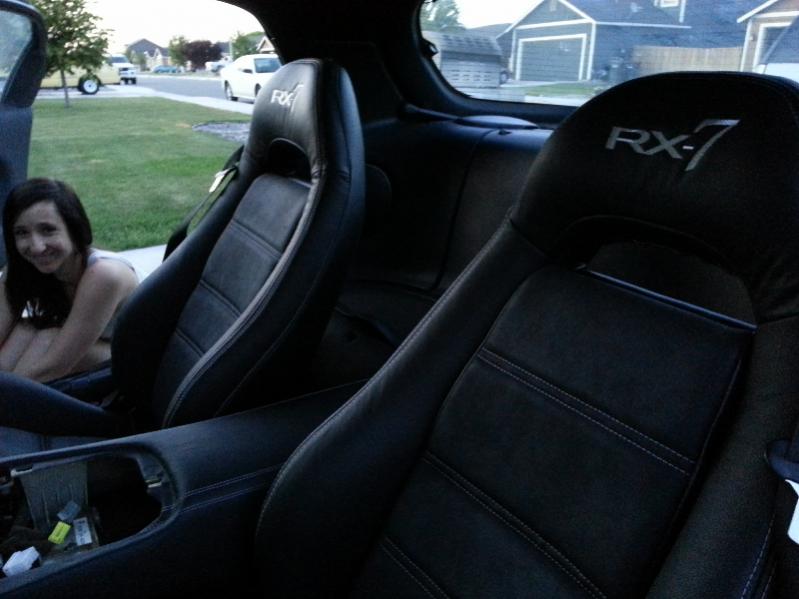
My wife helped me get the dash in. Two sets of hands makes it much nicer. And man law is covered in this post. Not a good picture, but still counts.

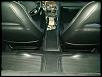
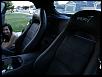
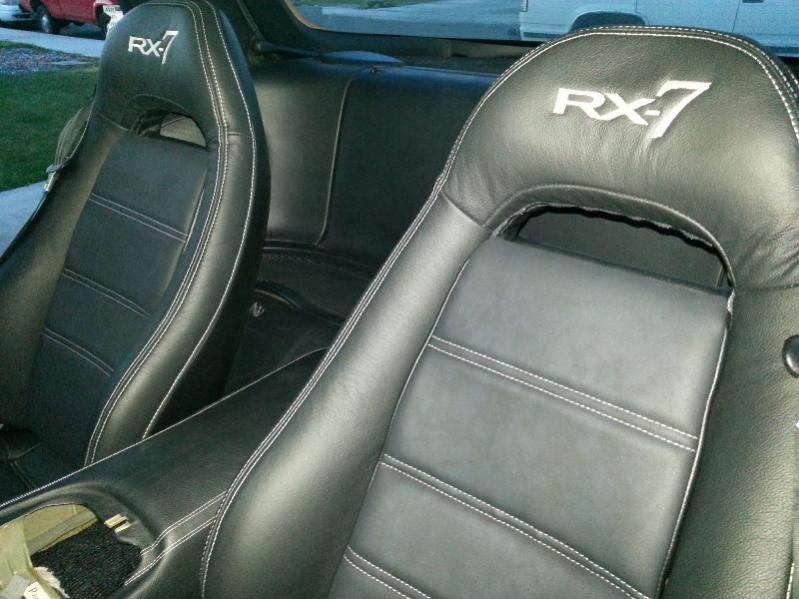
Oh, I love these seats. All new plastics. Map pockets on the back of each of them. Solid leather backs and sides. Synth Suede inserts, Silver stitching to match the center console and the e brake and shift boot... and shift ****.... and brake handle. Been trying to do a custom interior that doesn't scream custom. My goal is only for RX7 people to know just how it's been subtly altered.

Too much time at the bar, cut off from Sakebombs!-forumrunner_20140607_221347.jpg


Too much time at the bar, cut off from Sakebombs!-forumrunner_20140607_221407.jpg


Too much time at the bar, cut off from Sakebombs!-forumrunner_20140607_221424.jpg


Too much time at the bar, cut off from Sakebombs!-forumrunner_20140607_221440.jpg
Reply
Old Jun 8, 2014 | 06:46 AM
  #102  
Fd3BOOST's Avatar
Recovering Milkaholic
iTrader: (7)
 
Joined: Jan 2002
Posts: 8,206
Likes: 0
From: Budds Creek, Maryland
Looking really good, I had to replace both of my defroster vents too. You must be emailing Ray as often as I am. Seats look nice too btw!
Reply
Old Jun 8, 2014 | 10:15 AM
  #103  
Monkman33's Avatar
Thread Starter
Goodfalla Engine Complete
Tenured Member: 20 Years
Liked
Loved
Community Favorite
iTrader: (28)
 
Joined: May 2005
Posts: 3,243
Likes: 42
From: Kennewick, Washington
Originally Posted by Fd3BOOST
Looking really good, I had to replace both of my defroster vents too. You must be emailing Ray as often as I am. Seats look nice too btw!
Probably! He juat answers the phone with "hey Nathan, now what?"

And thanks! Been a lot of planning and back and forth to get the interior plans nailed down.
Reply
Old Jun 8, 2014 | 05:24 PM
  #104  
Spalato's Avatar
Rotary Enthusiast
Tenured Member: 20 Years
Liked
Loved
Community Favorite
iTrader: (34)
 
Joined: Jul 2004
Posts: 1,274
Likes: 178
From: US/EU
Originally Posted by Monkman33
I believe it was the smallest one in the harbor freight set. I couldn't find d anyone else that had one small enough.
ok thats good to know, thx
Reply
Old Jan 18, 2015 | 12:41 PM
  #105  
Monkman33's Avatar
Thread Starter
Goodfalla Engine Complete
Tenured Member: 20 Years
Liked
Loved
Community Favorite
iTrader: (28)
 
Joined: May 2005
Posts: 3,243
Likes: 42
From: Kennewick, Washington
No problem.

It's going to be a year and a half before I get to make much more progress, but I will post a sneak peak of what little has been done since the last update.
Reply
Old Jan 18, 2015 | 01:22 PM
  #106  
Monkman33's Avatar
Thread Starter
Goodfalla Engine Complete
Tenured Member: 20 Years
Liked
Loved
Community Favorite
iTrader: (28)
 
Joined: May 2005
Posts: 3,243
Likes: 42
From: Kennewick, Washington
Attached Thumbnails Too much time at the bar, cut off from Sakebombs!-20150107_002918.jpg  
Reply
Old Jan 18, 2015 | 02:28 PM
  #107  
Monkman33's Avatar
Thread Starter
Goodfalla Engine Complete
Tenured Member: 20 Years
Liked
Loved
Community Favorite
iTrader: (28)
 
Joined: May 2005
Posts: 3,243
Likes: 42
From: Kennewick, Washington
IRP built the engine. The rotors were machined lightened and balanced by rotaryengine.com.

The rotors are from a batch of 9.7 NA engines with the induction hardening that was done on the REW 9.0 rotors.

The tube bending was done by me. After a decade of parts and tools collection.
Reply
Old Jan 18, 2015 | 03:06 PM
  #108  
IRPerformance's Avatar
Sponsor
iTrader: (41)
 
Joined: Apr 2003
Posts: 11,347
Likes: 321
From: NJ
Looking super clean
Reply
Old Jan 18, 2015 | 03:07 PM
  #109  
Monkman33's Avatar
Thread Starter
Goodfalla Engine Complete
Tenured Member: 20 Years
Liked
Loved
Community Favorite
iTrader: (28)
 
Joined: May 2005
Posts: 3,243
Likes: 42
From: Kennewick, Washington
Thanks! Helps to have a nice clean engine to start with! :-)
Reply
Old Jul 1, 2015 | 12:02 PM
  #110  
Monkman33's Avatar
Thread Starter
Goodfalla Engine Complete
Tenured Member: 20 Years
Liked
Loved
Community Favorite
iTrader: (28)
 
Joined: May 2005
Posts: 3,243
Likes: 42
From: Kennewick, Washington
Well, I am still very far away from my car, and will be for a while. But that doesn't mean my hometown has stopped doing cool stuff. My friend back home designed and made these:
(fabricator ****, warning) Get ahold of Linder Power Systems on facebook to learn more.


Attached Thumbnails Too much time at the bar, cut off from Sakebombs!-jig-5.jpg   Too much time at the bar, cut off from Sakebombs!-jig-4.jpg   Too much time at the bar, cut off from Sakebombs!-jig-2.jpg   Too much time at the bar, cut off from Sakebombs!-jig-1.jpg   Too much time at the bar, cut off from Sakebombs!-jig-3.jpg  

Reply
Old Jul 1, 2015 | 05:03 PM
  #111  
10aeRX7's Avatar
Canadian Boost
Tenured Member: 20 Years
iTrader: (3)
 
Joined: Nov 2005
Posts: 868
Likes: 0
From: Ottawa, Canada
that is a really neat piece to own. works mint by the looks of it.
Reply
Old Jul 1, 2015 | 06:42 PM
  #112  
Monkman33's Avatar
Thread Starter
Goodfalla Engine Complete
Tenured Member: 20 Years
Liked
Loved
Community Favorite
iTrader: (28)
 
Joined: May 2005
Posts: 3,243
Likes: 42
From: Kennewick, Washington
Originally Posted by 10aeRX7
that is a really neat piece to own. works mint by the looks of it.
Yeah. Being able to just cut slices off on a whim, and having a stop for consistent angles on second cuts. If I was a skilled fabricator, I would have one.
Reply
Old Dec 19, 2015 | 12:33 PM
  #113  
Monkman33's Avatar
Thread Starter
Goodfalla Engine Complete
Tenured Member: 20 Years
Liked
Loved
Community Favorite
iTrader: (28)
 
Joined: May 2005
Posts: 3,243
Likes: 42
From: Kennewick, Washington
Small winter updates


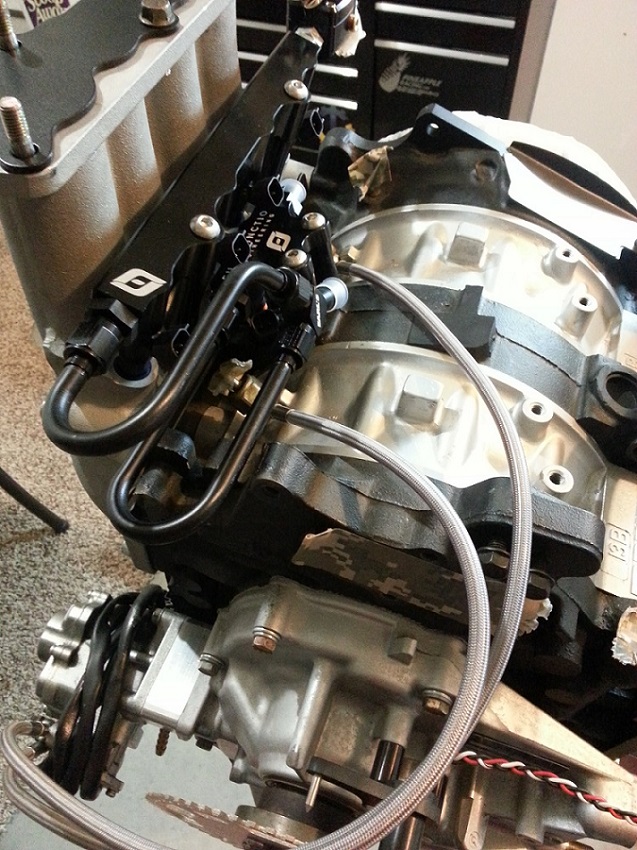
FFE sent me a different trigger wheel setup due to a suspected issue with the 60-2. I can't say enough good about Aaron and his business.<br/><br/>Also installed the Banzai single belt main pulley.


Banzai Racing is having a sale on their Single Belt Pulley kit.<br/><br/>I have a water pump pulley for sale if anyone wants it.
Reply
Old Dec 19, 2015 | 12:47 PM
  #114  
Monkman33's Avatar
Thread Starter
Goodfalla Engine Complete
Tenured Member: 20 Years
Liked
Loved
Community Favorite
iTrader: (28)
 
Joined: May 2005
Posts: 3,243
Likes: 42
From: Kennewick, Washington
Parts for sale:

Banzai water pump pulley: $60 shipped
Xccessive Oil Pan with hardware for FFE motor mounts or stock motor mounts: 400 shipped.

PM with offers.
Reply
Old Dec 19, 2015 | 07:39 PM
  #115  
Monkman33's Avatar
Thread Starter
Goodfalla Engine Complete
Tenured Member: 20 Years
Liked
Loved
Community Favorite
iTrader: (28)
 
Joined: May 2005
Posts: 3,243
Likes: 42
From: Kennewick, Washington
Turbo Oil Feed Fitting

The fitting that came with the Turblown kit was blue, and they have a specific fitting they use for consistency in their kit. I personally wanted black so I ordered a black one.

Side note: ordered from summit racing on the 18th. Did not pay extra for shipping. Got it on the 19th. Not sure how they did that. PFM.

Problem. The black fitting did not thread in far enough to seal against the crush washer. So I had to shorten it and clean it up to make it work. So this confirms that not all fittings are made to the same spec. But the adventure is over and only one little fitting is installed.


The fitting that got to me in 20 hours.


After being shortened by about a thread and a half and cleaned up.


Side by side to check height.


Installed. Anticlimactic... I know.

Last edited by Monkman33; Dec 19, 2015 at 09:17 PM.
Reply
Old Dec 19, 2015 | 08:17 PM
  #116  
Monkman33's Avatar
Thread Starter
Goodfalla Engine Complete
Tenured Member: 20 Years
Liked
Loved
Community Favorite
iTrader: (28)
 
Joined: May 2005
Posts: 3,243
Likes: 42
From: Kennewick, Washington
Exhaust Manifold Install

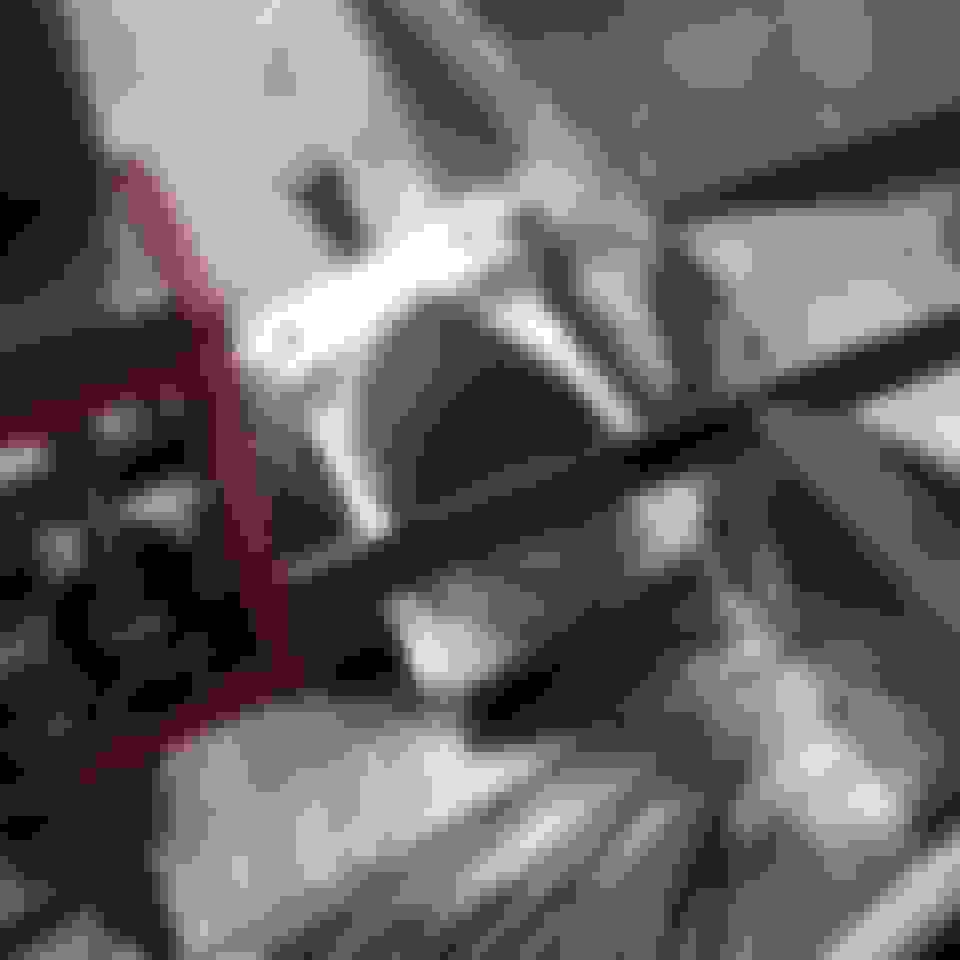
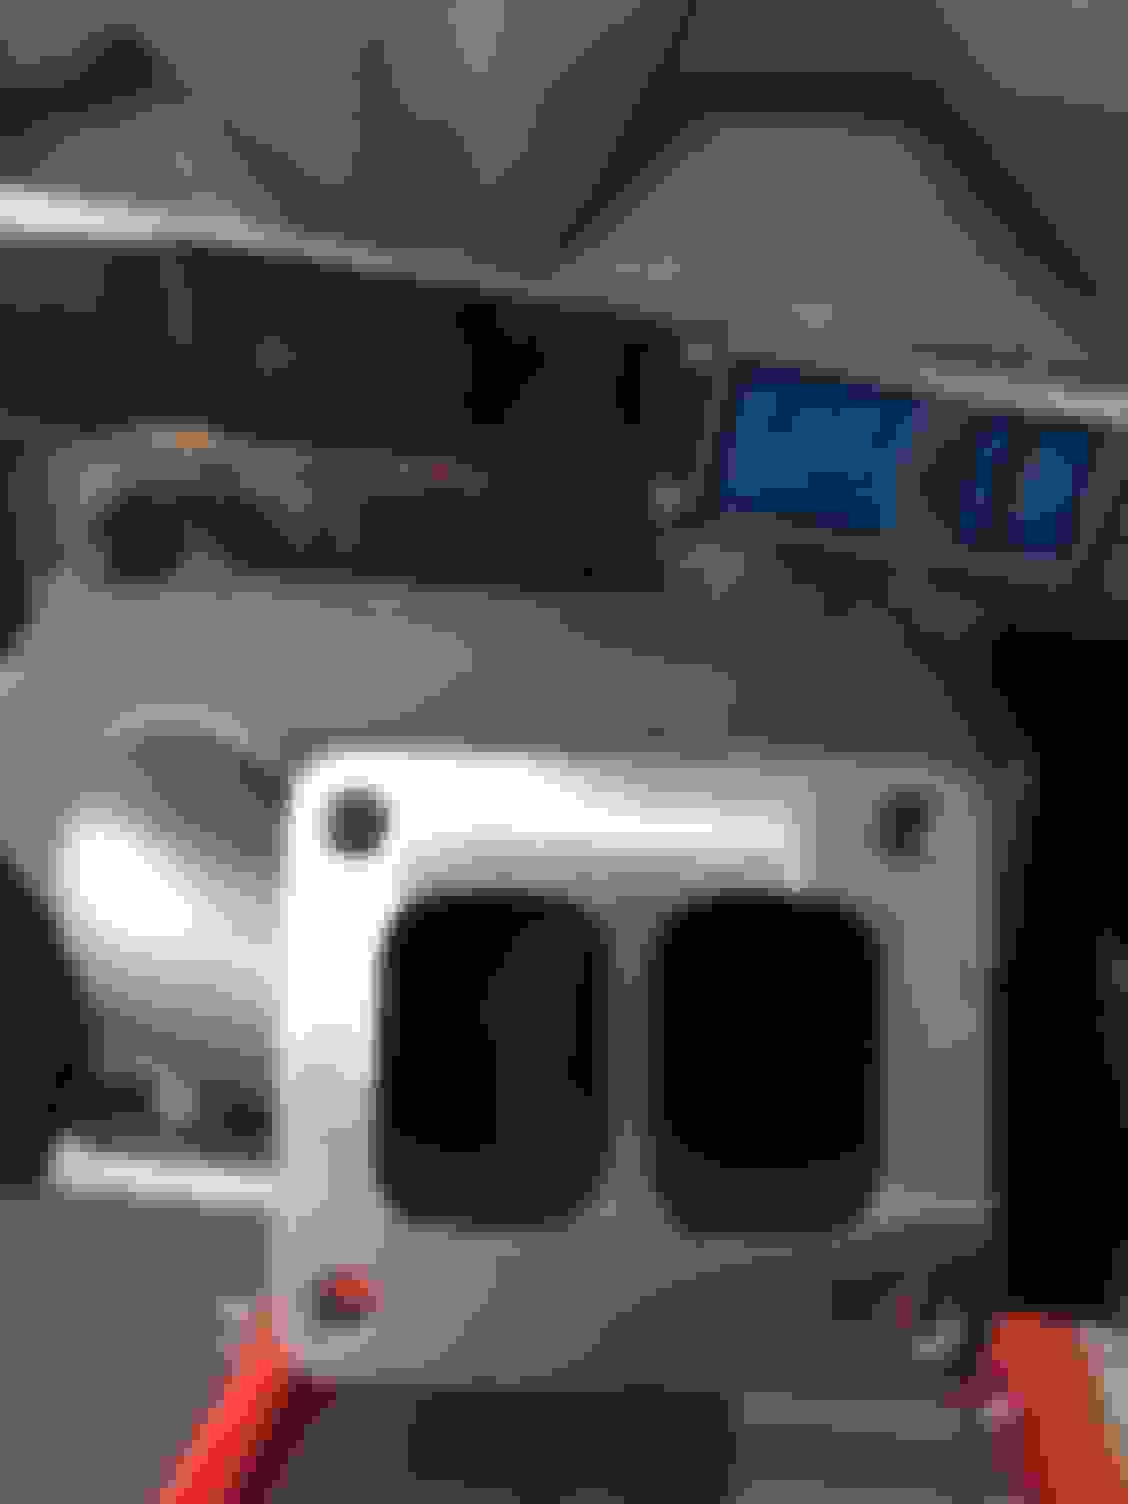
I was fortunate enough to get in on a Turblown Cast EFR manifold. This is a beautiful piece of work. Worth every penny and probably more.

Question for the techs out there: I torqued the exhaust nuts down to 34 ft/lbs (I believe I got this from a 93 manual). The '95 workshop manual says 51-57 ft/lbs. which is correct?


New gaskets and new OEM exhaust nuts. Thanks Ray Crowe!


And some Nuclear Grade Anti-Seize. Seriously, that's what the original container said. By the way, this stuff is evil. Once you get it on something... It finds its way to everything. So be careful and use sacrificial paper towels for clean up.


Witness marks on the studs to confirm that the studs were not moving during the torquing process. Currently at 34 ft/lbs. I may go more depending on further information.


From the 1995 workshop manual.
Reply
Old Dec 19, 2015 | 09:02 PM
  #117  
ZE Power MX6's Avatar
Boilermakers!
Tenured Member: 20 Years
Liked
Loved
Community Favorite
iTrader: (170)
 
Joined: Nov 2002
Posts: 3,771
Likes: 379
From: Chicago, IL
That cast manifold look legit
Reply
Old Dec 23, 2015 | 09:38 PM
  #118  
Monkman33's Avatar
Thread Starter
Goodfalla Engine Complete
Tenured Member: 20 Years
Liked
Loved
Community Favorite
iTrader: (28)
 
Joined: May 2005
Posts: 3,243
Likes: 42
From: Kennewick, Washington
BaconSports Oil Pan install

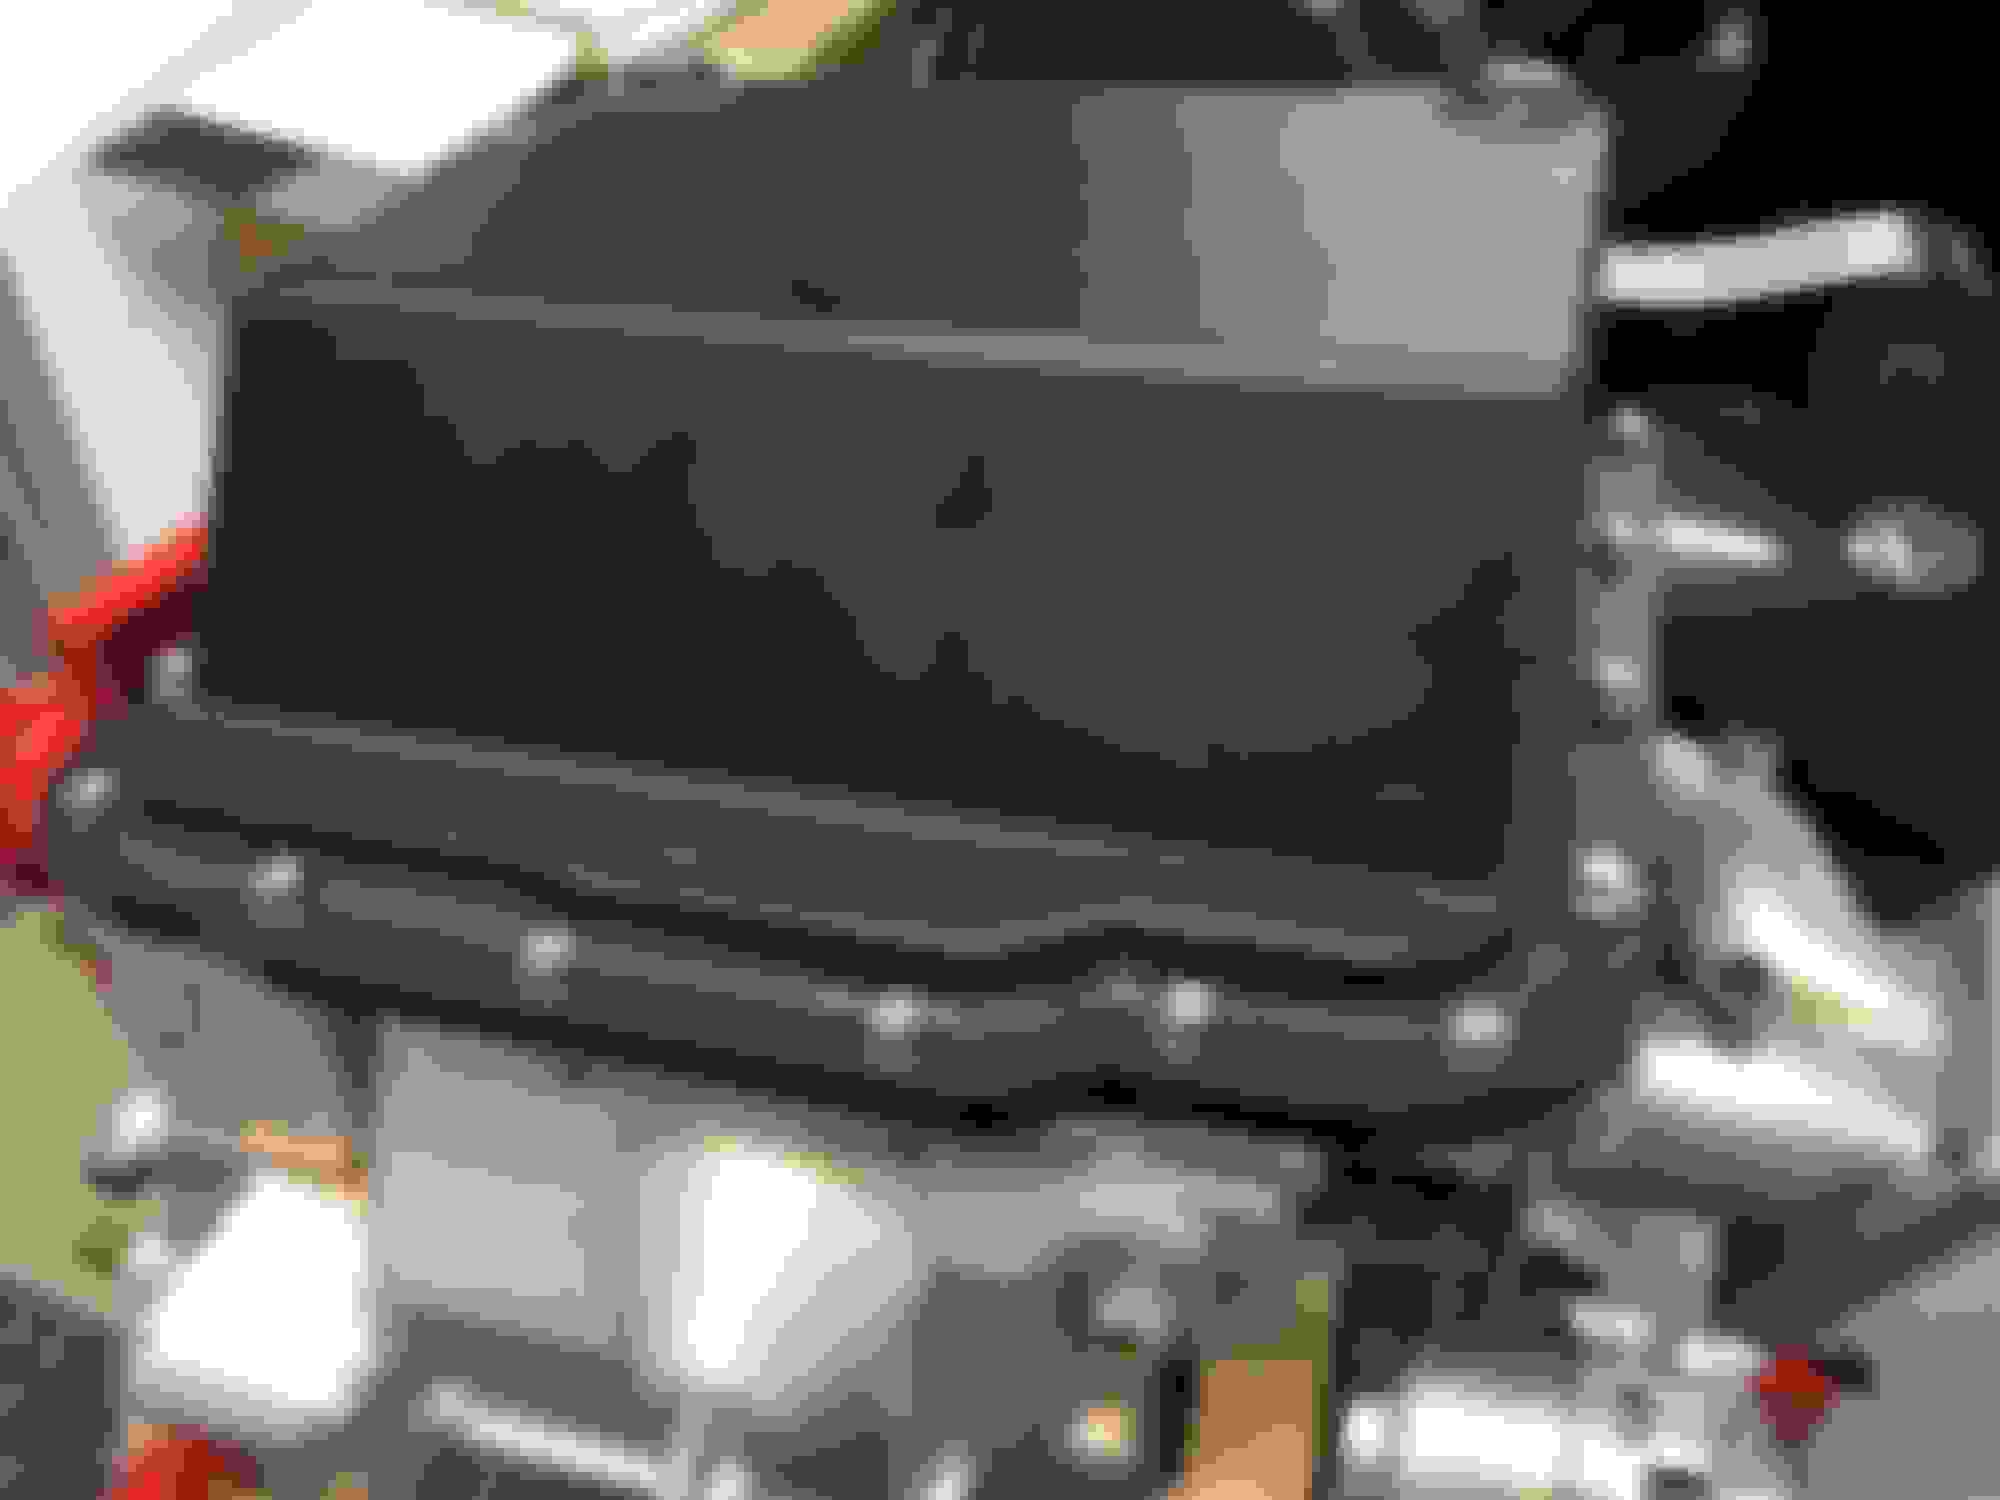
Initial thoughts on this oil pan:
Well thought out.
Welded sheet aluminum, dent vs break.
Baffles look like they will be very effective.
The anodizing looks good.
Welds look good.
Negatives:
Needed some die grinder touch up for fitment. Not entirely a big deal considering this is the first batch.


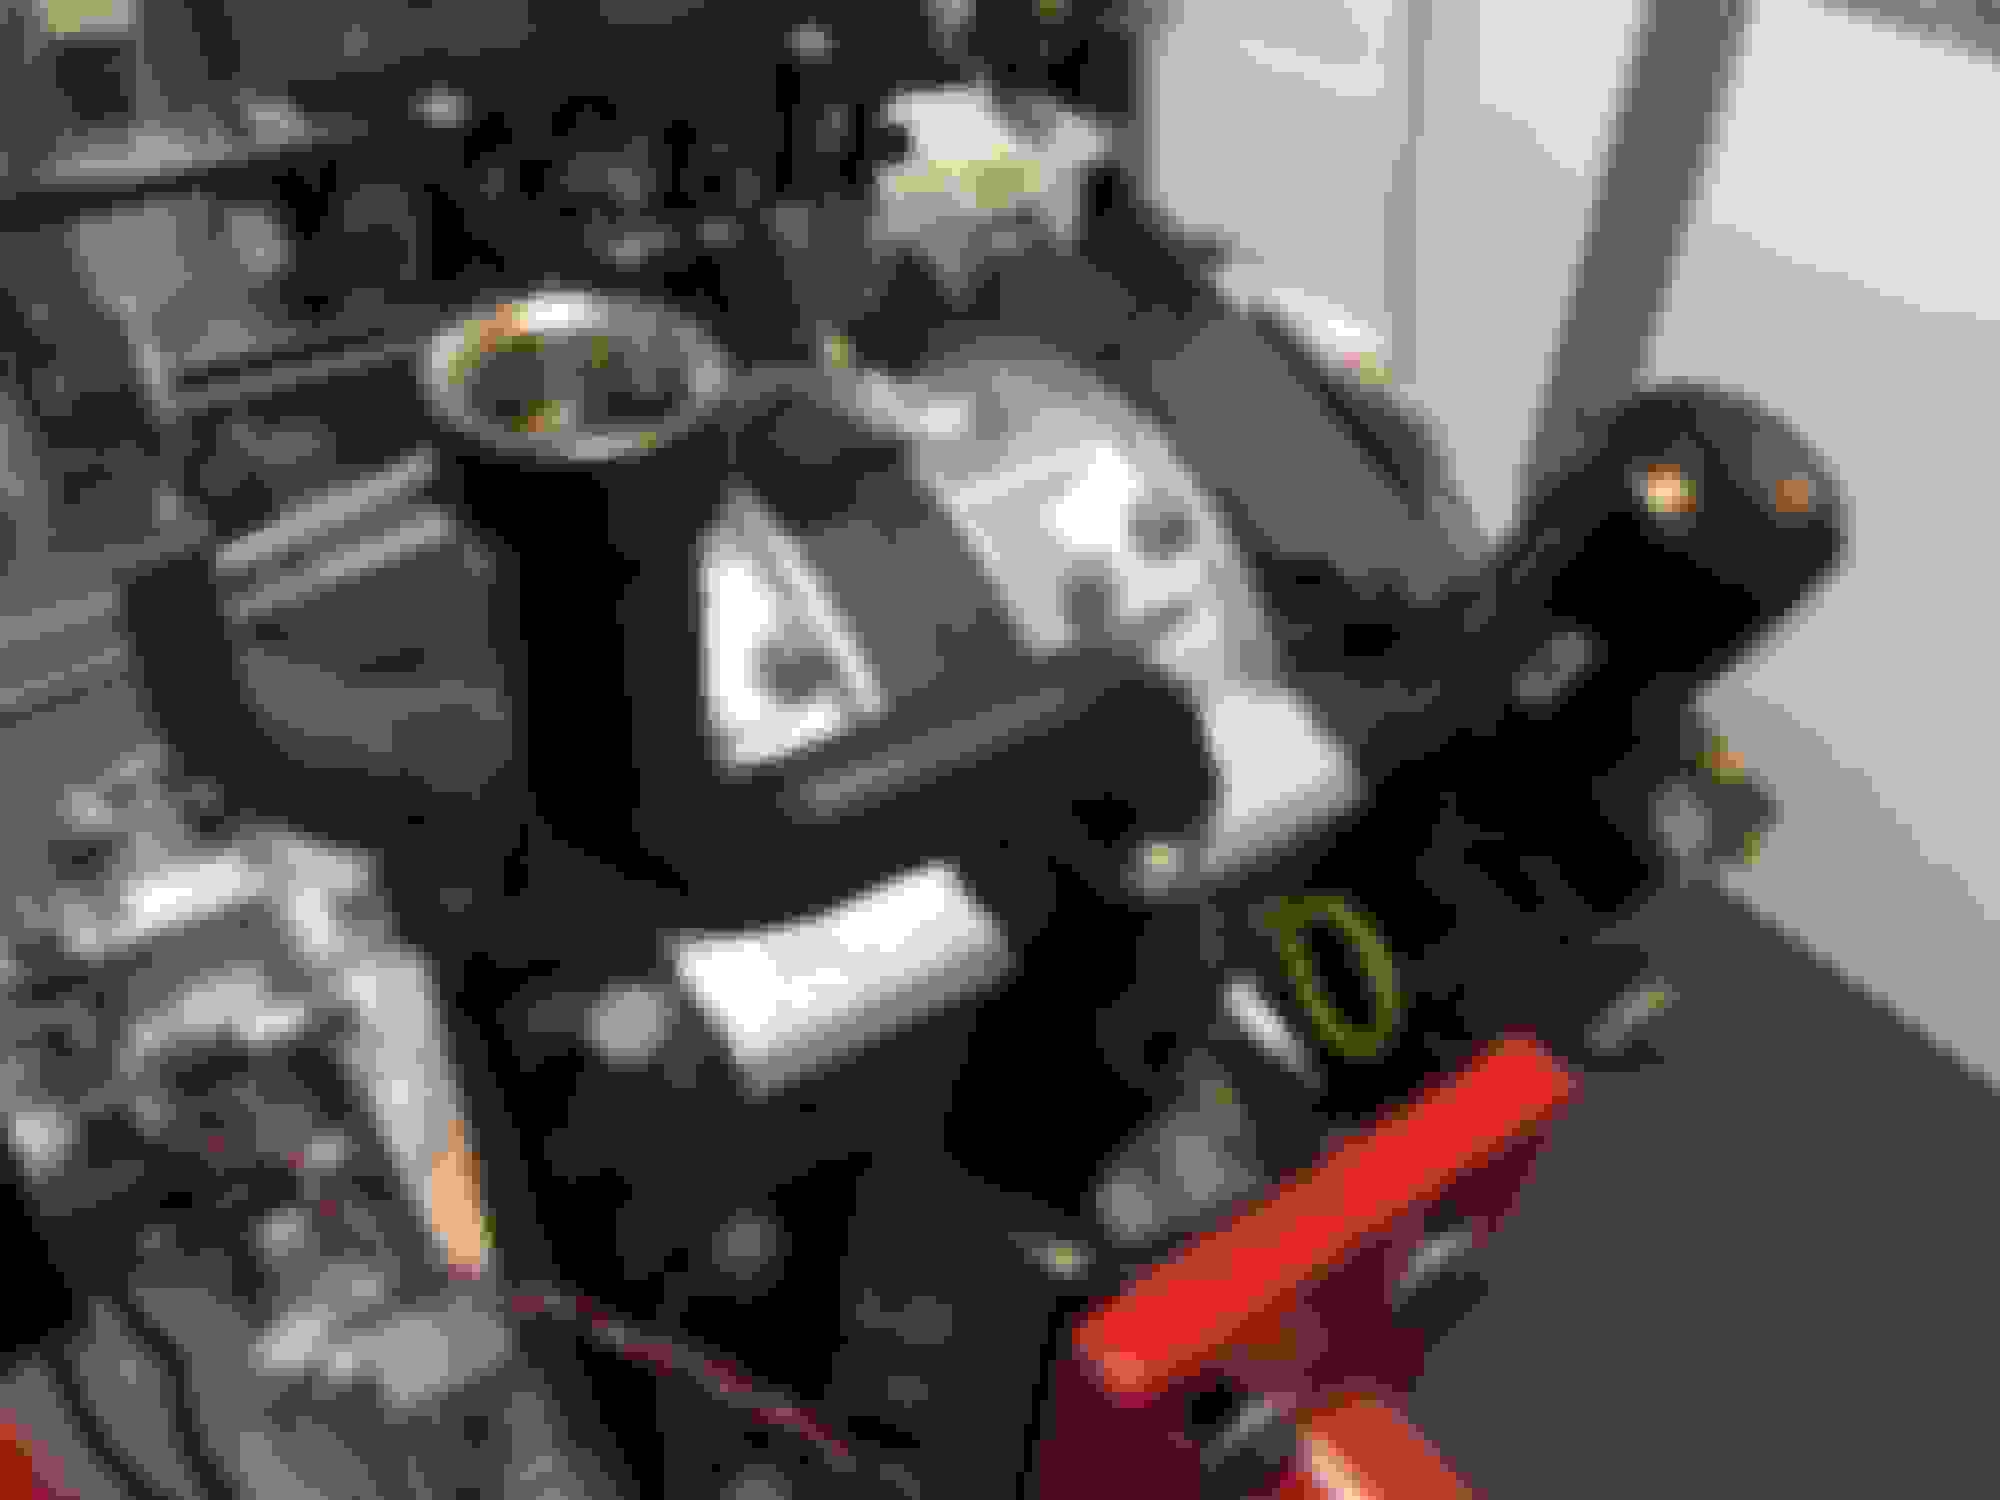
The included spacer for the oil pickup. O rings on both sides.


Installed with a bit of loctite. Don't want this to come loose.


Can barely make out the trap doors. There are three of them to maximize oil in the pickup area. O-ring is pre-installed in the pan for easy bolt up.


A little bit of pull from the weld. This should come down flat with even and stepped torquing. Speaking with Len, they mounted these to a 3/4" fixture to prevent warping. So the minor amount left over wasn't a problem later.


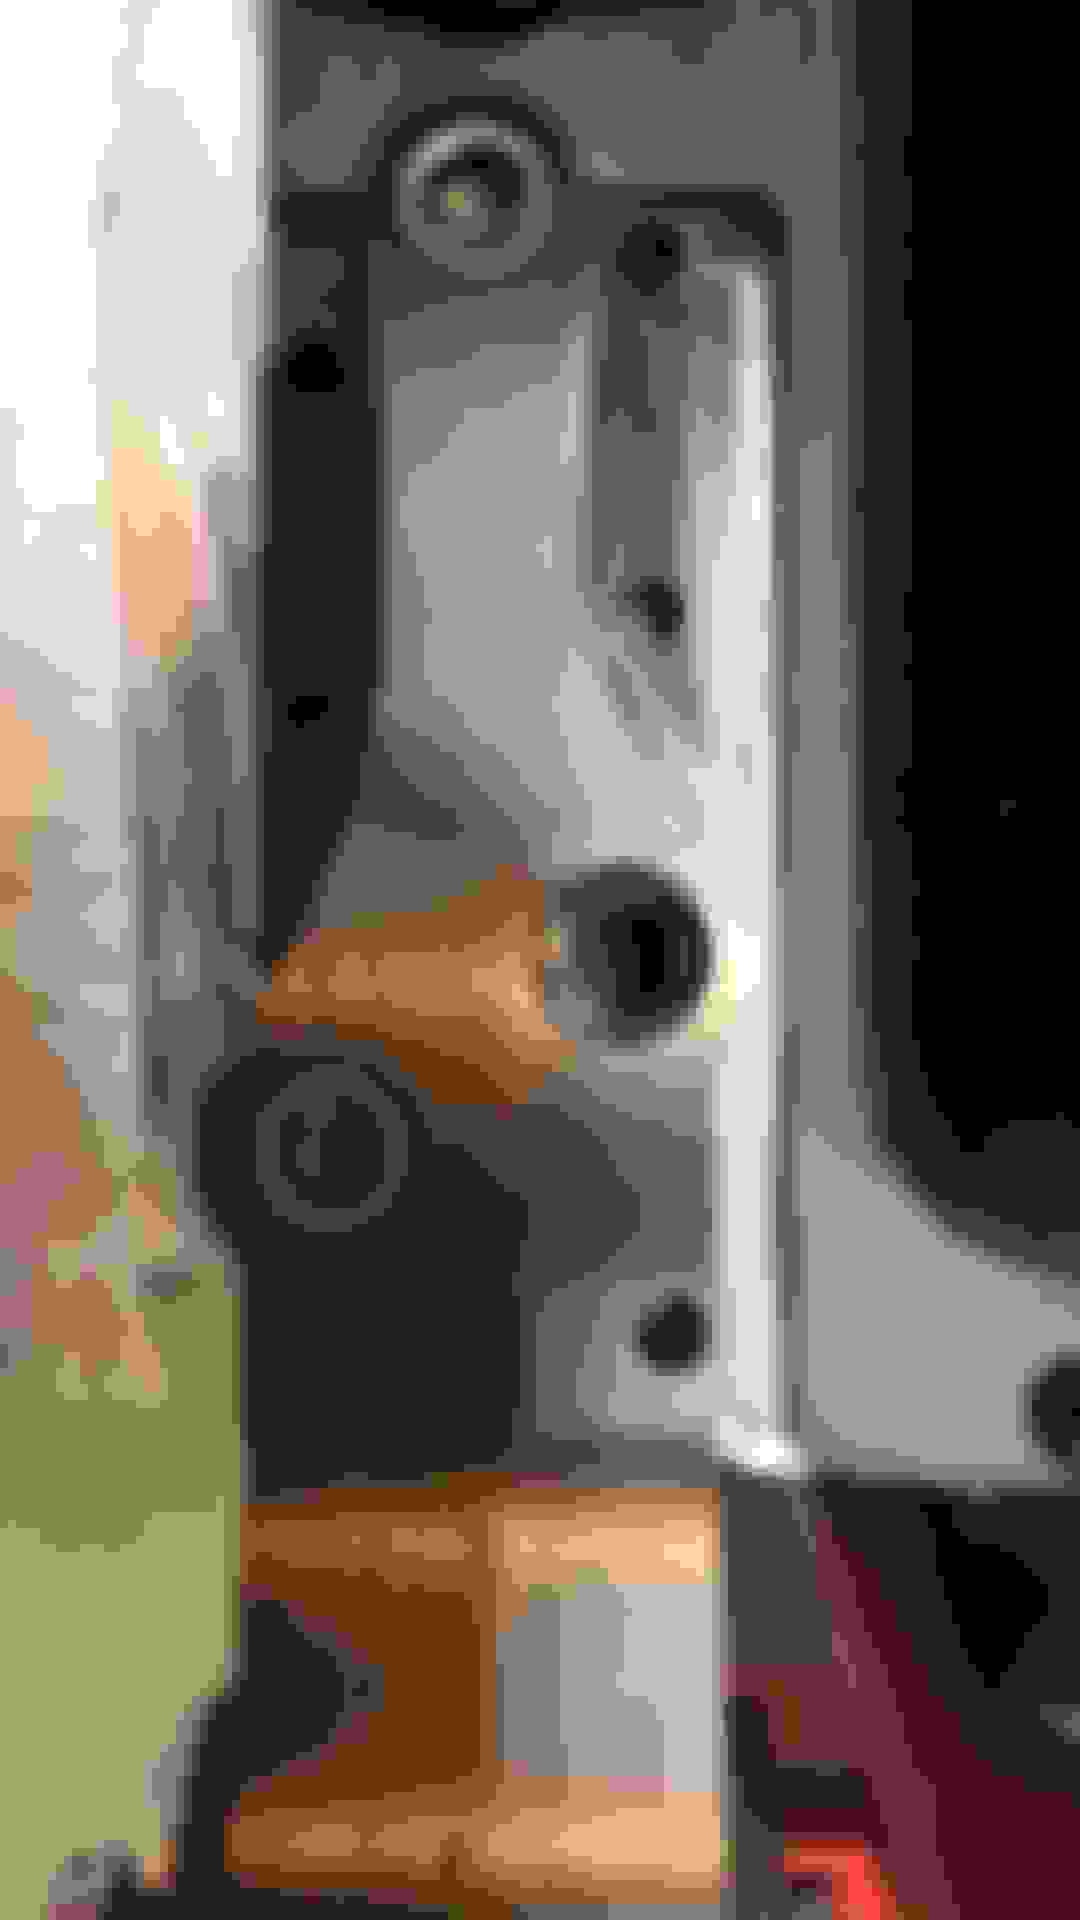
There was some misalignment the required a die grinder to oval out a couple of the holes on the engine mount bolt locations. This could be due to slight variations in different irons or because of my metal front cover gasket. Or a combination of slight variances.<br/><br/>During development of the IRP Filler Neck, we learned that the spacing of the bolts is different between 93 and 95 models, so anything is possible.


Just another shot of what needed to move a little. After breaking out the die grinder, everything fit. I ended up having to oval out three of the holes.<br/><br/>If yours requires this, don't get crazy, it is just aluminum and I ended up just barely breaking through into the o-ring land. Luckily it is nothing major and won't negatively affect the sealing properties.
Reply
Old Dec 23, 2015 | 09:49 PM
  #119  
Monkman33's Avatar
Thread Starter
Goodfalla Engine Complete
Tenured Member: 20 Years
Liked
Loved
Community Favorite
iTrader: (28)
 
Joined: May 2005
Posts: 3,243
Likes: 42
From: Kennewick, Washington
Oil pan install

Originally Posted by ZE Power MX6
That cast manifold look legit
Thanks man! I am very happy I got in on the original run.


The oil pan install went pretty straight forward once the holes were clearanced. I swapped out the hardware for shiny stuff.


I used a thin bit of silicon gasket maker with a little extra at the joints between the housings and plates.


Used blue loctite on the bolts and tried to do a 'star' pattern with multiple steps up to the final torque value of 100 in/lbs. <br/><br/>Also, these precision instruments torque wrenches are nice!


Engine mounts torqued down as well to 68 ft/lbs, with blue loctite as well.


From six bolts are Allen head. There is a relief machined into the lip of the pan, however, since the alignment was ever so slightly off, I used copper washers to allow for a more even surface tension at the bolt head.


Up close on one of the copper washers. You can see the relief machined into the weld for the bolt to have a flat mating surface. Definitely a well planned detail.


Here is the lip pulled flat. I used numerous steps in getting the torque up to 100 in/lbs.
Reply
Old Dec 23, 2015 | 10:35 PM
  #120  
IRPerformance's Avatar
Sponsor
iTrader: (41)
 
Joined: Apr 2003
Posts: 11,347
Likes: 321
From: NJ
That oil pan is a nice piece. I've never been a fan of some of the other pans on the market due to them being cast aluminum (can crack if you bottom out or hit something) and lack of or very poor baffling.
Reply
Old Dec 24, 2015 | 12:12 AM
  #121  
Monkman33's Avatar
Thread Starter
Goodfalla Engine Complete
Tenured Member: 20 Years
Liked
Loved
Community Favorite
iTrader: (28)
 
Joined: May 2005
Posts: 3,243
Likes: 42
From: Kennewick, Washington
IRP Oil Filler Neck

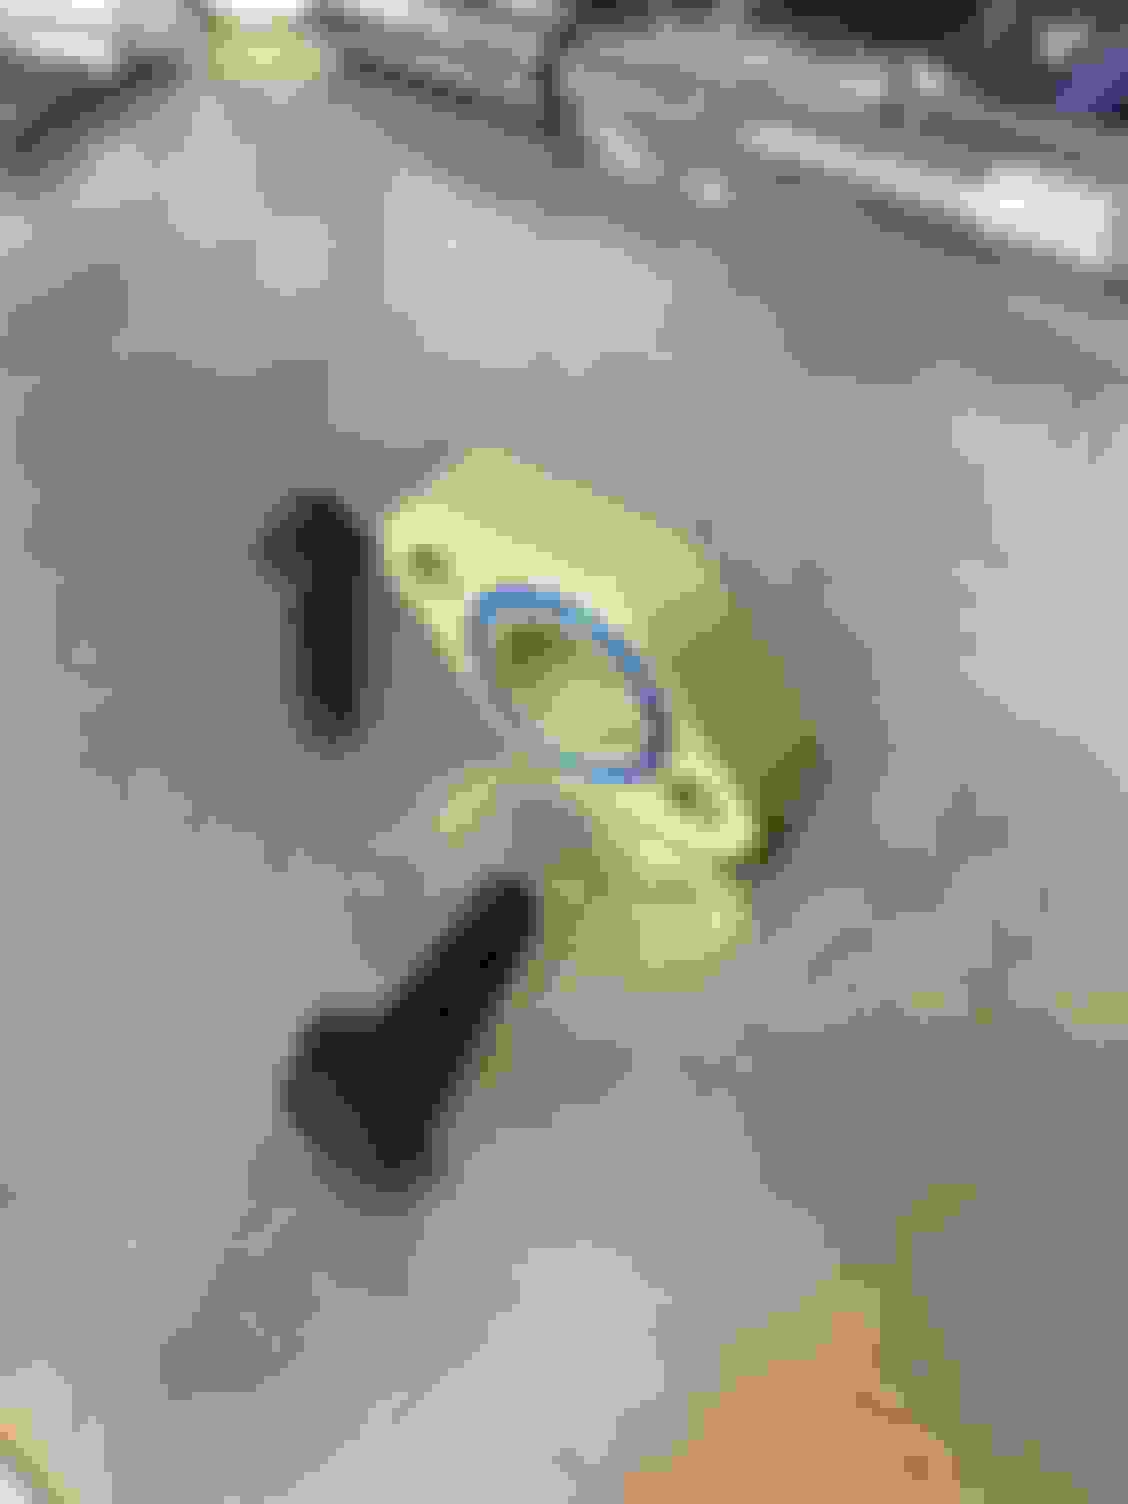
This is an old update, but I did not like the Zeeshan filler neck. And so began the development of the IRP Oil Filler neck, with main work and contribution from LPS-Fab.

This has a unique baffle design and custom machined threaded portion and ports.

Only a limited number of these have been produced (approximately 160)


This is one of the dual -6 filler necks. Most are made with the single -10, a larger forward facing port.


Reply
Old Dec 24, 2015 | 12:19 AM
  #122  
Monkman33's Avatar
Thread Starter
Goodfalla Engine Complete
Tenured Member: 20 Years
Liked
Loved
Community Favorite
iTrader: (28)
 
Joined: May 2005
Posts: 3,243
Likes: 42
From: Kennewick, Washington
Originally Posted by IRPerformance
That oil pan is a nice piece. I've never been a fan of some of the other pans on the market due to them being cast aluminum (can crack if you bottom out or hit something) and lack of or very poor baffling.
That was the main motivation behind the change in oil pans. Only downside is this one does not have an oil level sensor location. But some would say that is a benefit or one less leak possibility.
Reply
Old Dec 24, 2015 | 09:02 AM
  #123  
Smokey The Talon's Avatar
Long time on-looker
Tenured Member: 20 Years
Liked
iTrader: (33)
 
Joined: Oct 2005
Posts: 886
Likes: 50
From: Columbus, OH
Can you share any more about the oil pan like where to buy. It looks great and love that it's not cast. Feel like there's any need to run a brace with it or the flange already acts like one?

BTW, your project and attention to detail are great.
Reply
Old Dec 24, 2015 | 10:22 AM
  #124  
04G35S's Avatar
Rotary Enthusiast
Tenured Member 05 Years
iTrader: (10)
 
Joined: Jan 2013
Posts: 1,053
Likes: 4
From: Madison, WI
It looks just like one another member just had custom made.
Reply
Old Dec 24, 2015 | 02:12 PM
  #125  
Monkman33's Avatar
Thread Starter
Goodfalla Engine Complete
Tenured Member: 20 Years
Liked
Loved
Community Favorite
iTrader: (28)
 
Joined: May 2005
Posts: 3,243
Likes: 42
From: Kennewick, Washington
Oil Pan info

The oil pan is one made by Len Bacon. Or at least organized by Len, involving other people for each part of the process.

Here is his Facebook page:
https://www.facebook.com/BaconSportsRacing/

Probably not custom made for any one person as it was designed and built for their own drag car.
Reply


All times are GMT -5. The time now is 06:10 PM.