
Too much time at the bar, cut off from Sakebombs!

Thread Starter


Joined: May 2005
Posts: 3,243
Likes: 42
From: Kennewick, Washington
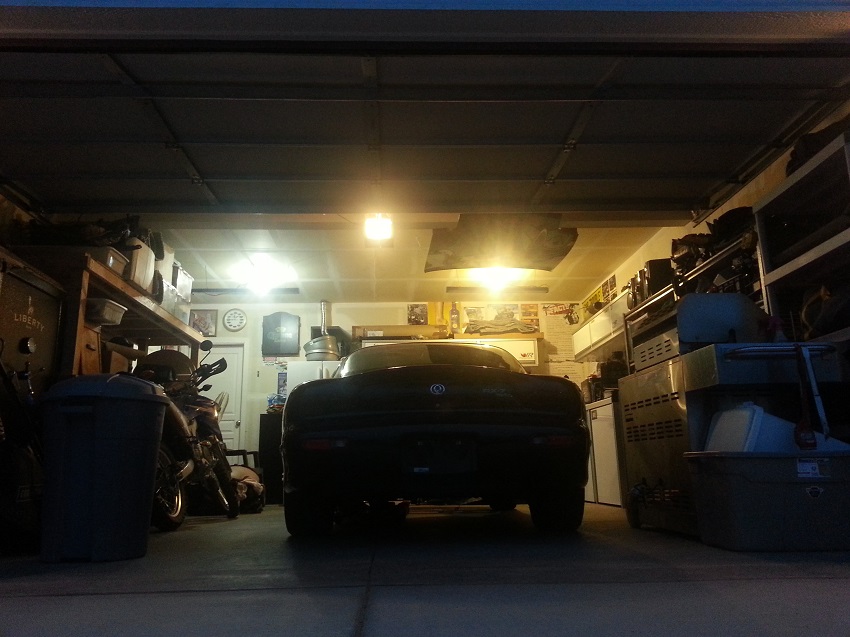
And here she is in my garage today... which is about to undergo a major clean up after I can piece together a shed to move a bunch of stuff out.
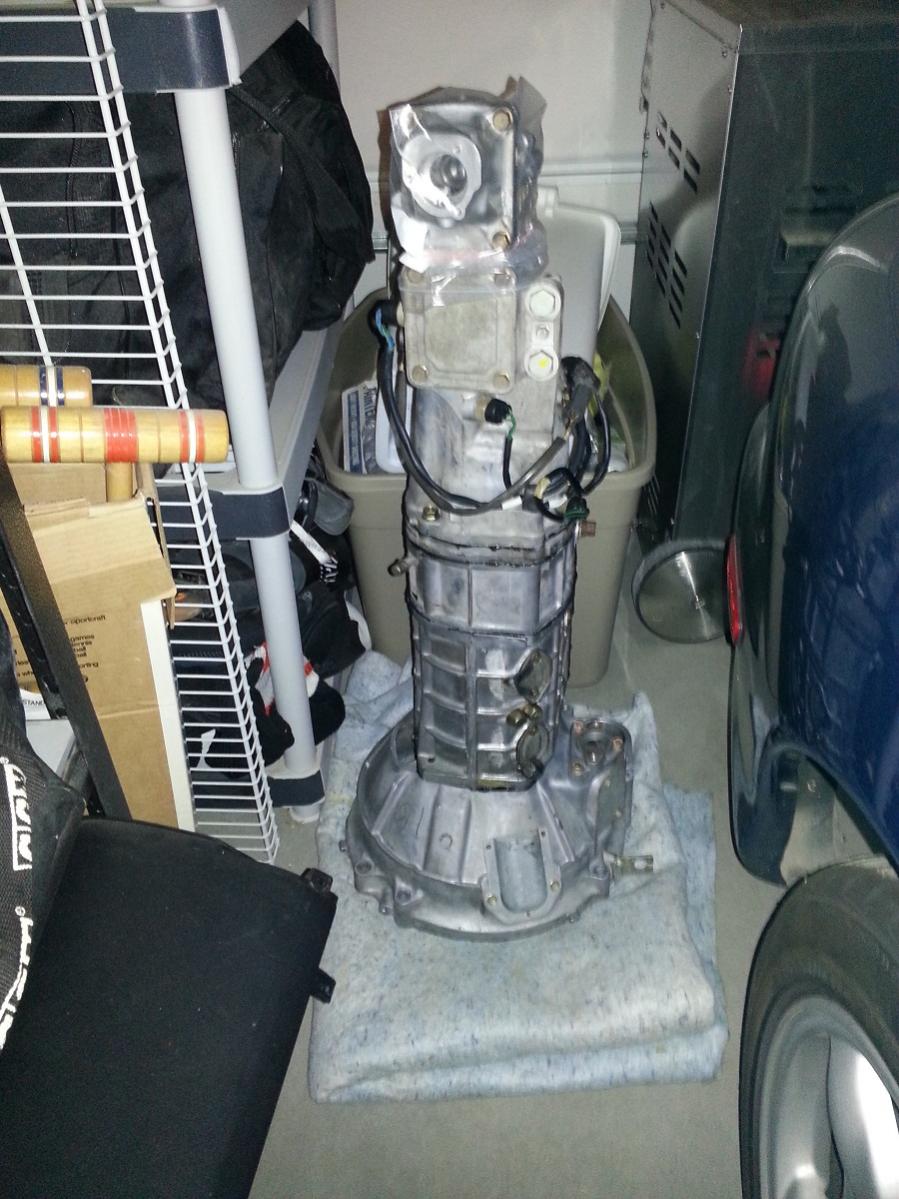
Even today, I still don't have my garage set up for me to have finished the transmission on my own, so I am glad I had a shop finish it up. But part of me still wants to prove I can do it. So I will be replacing the 5th gear synchro in the other transmission I have. At least then I will feel like I have done a whole one... kind of... but it counts to me.
Even today, I still don't have my garage set up for me to have finished the transmission on my own, so I am glad I had a shop finish it up. But part of me still wants to prove I can do it. So I will be replacing the 5th gear synchro in the other transmission I have. At least then I will feel like I have done a whole one... kind of... but it counts to me.
Thread Starter
Joined: May 2005
Posts: 3,243
Likes: 42
From: Kennewick, Washington
Well, Finally back to work and making some money after a 6 month lay-off. I have a few surprises in store (including a pretty awesome gift from my family).
So, I have been stripping out the interior for quite some time now. Trying to find a home for everything as it is removed has proven to be the most difficult task. These engineers were masters at automotive Tetris! So here are a few of the progress of tearing out (ie delicately removing) the interior:

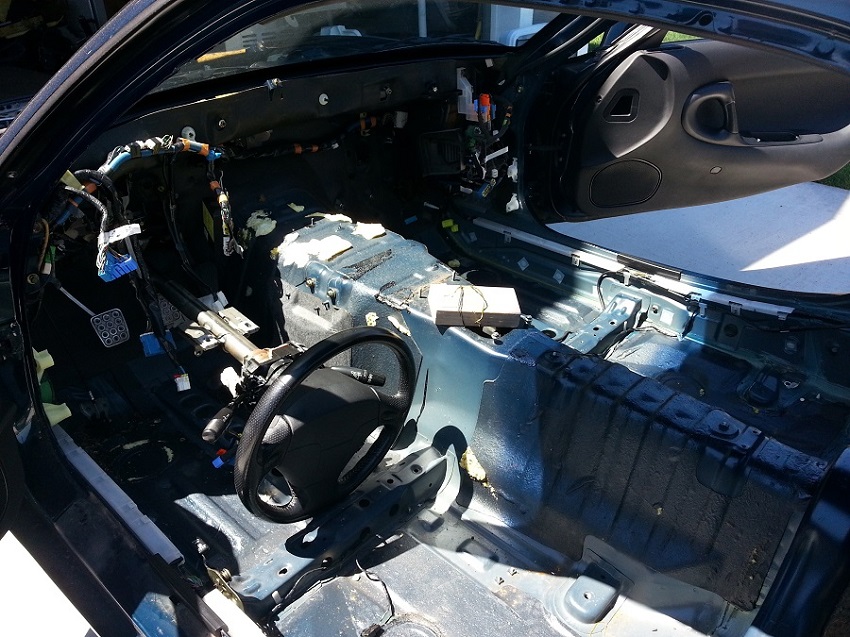
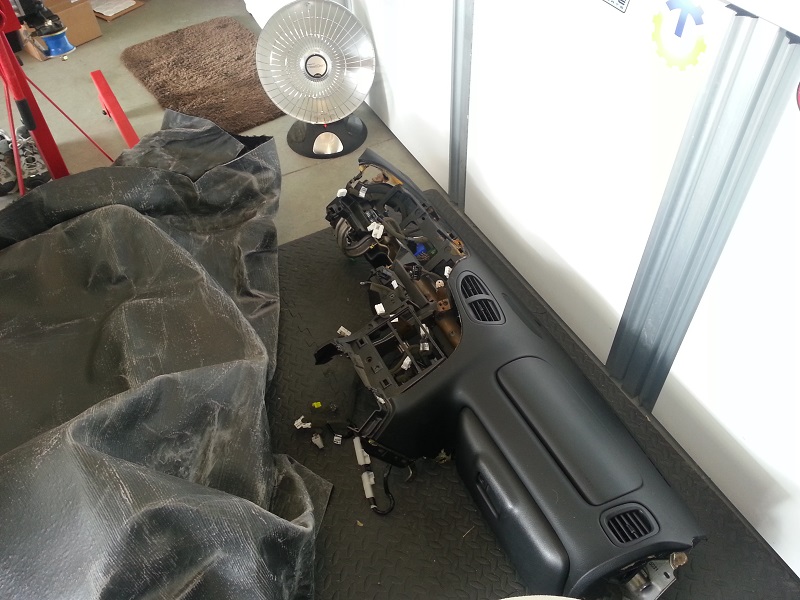
Had to remove the AC connections to really get everything out of the way in the interior.
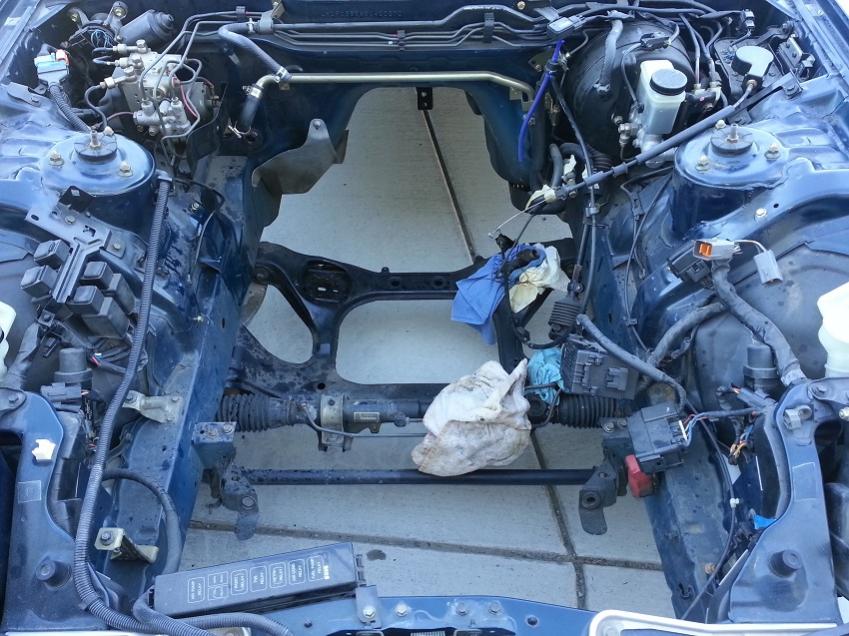
The reason for the full strip out: New carpet and battery relocation and some sound deadening (maybe)
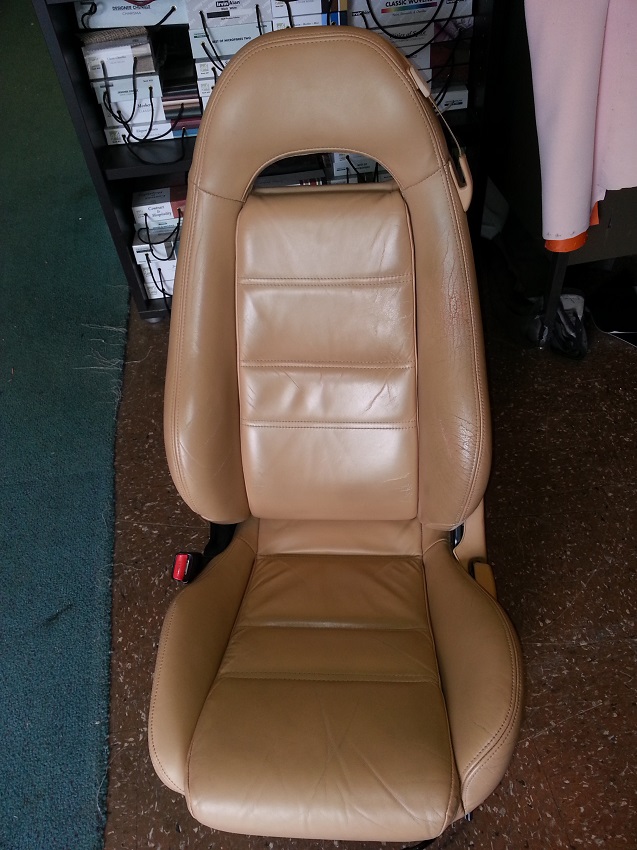
Now for the gift from my family: Here are the seats before:
So, I have been stripping out the interior for quite some time now. Trying to find a home for everything as it is removed has proven to be the most difficult task. These engineers were masters at automotive Tetris! So here are a few of the progress of tearing out (ie delicately removing) the interior:
Had to remove the AC connections to really get everything out of the way in the interior.
The reason for the full strip out: New carpet and battery relocation and some sound deadening (maybe)
Now for the gift from my family: Here are the seats before:
Thread Starter
Joined: May 2005
Posts: 3,243
Likes: 42
From: Kennewick, Washington
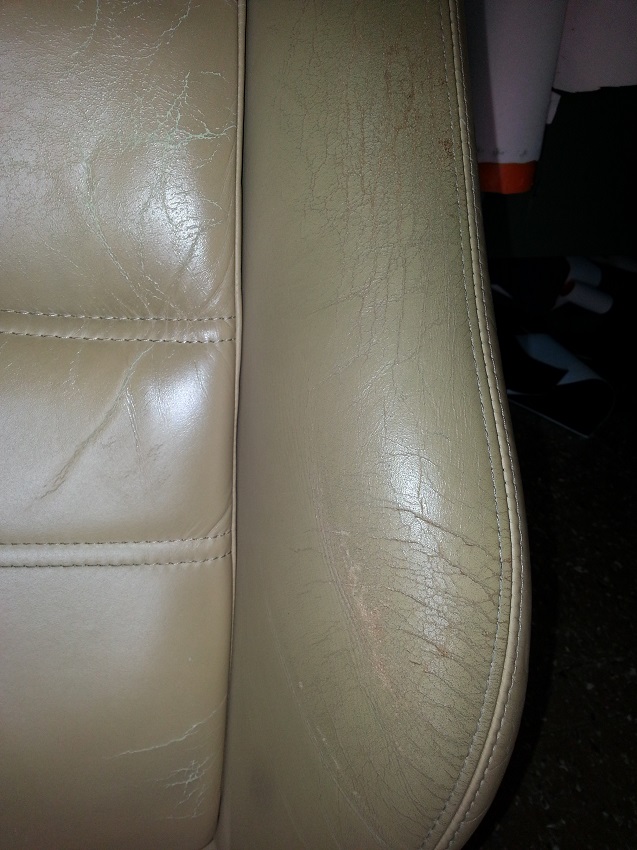
More of the old seats:
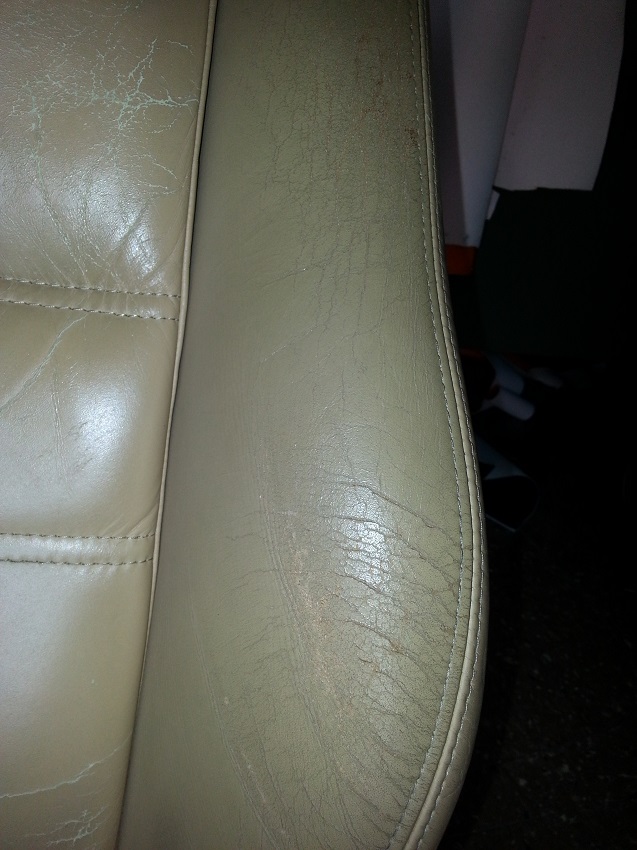
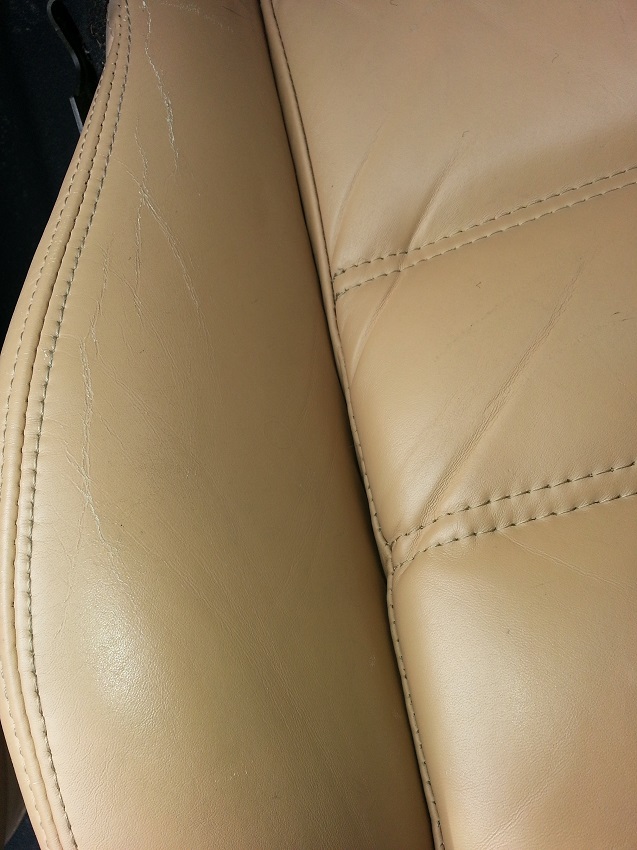

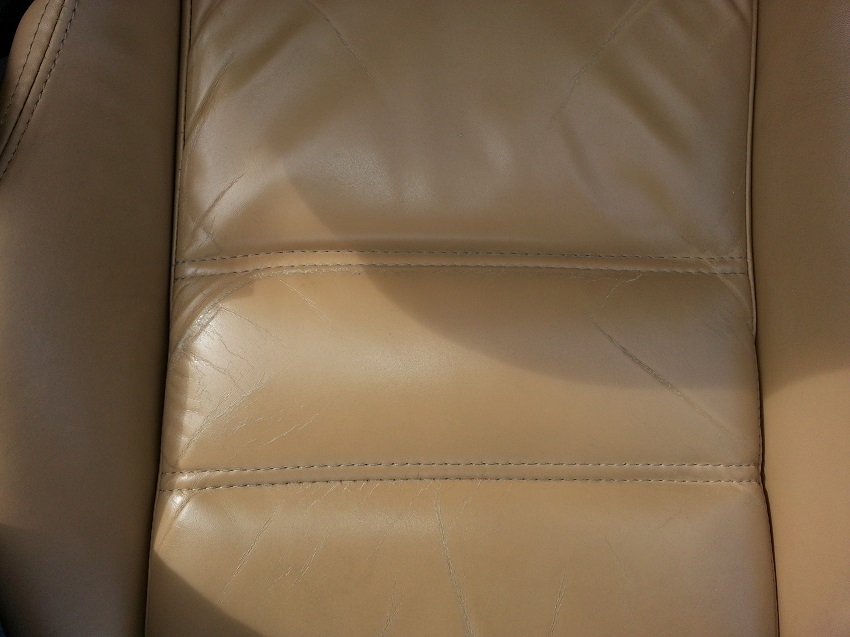
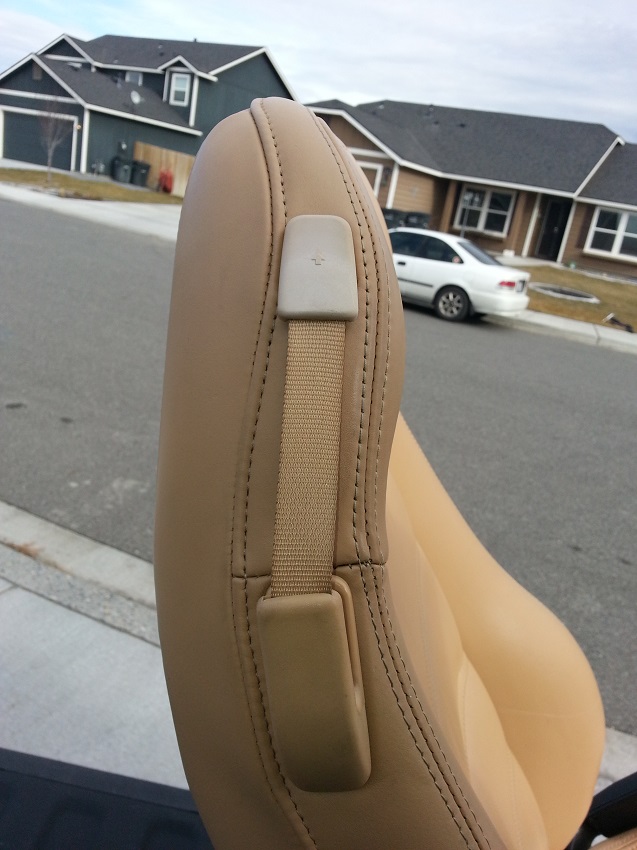
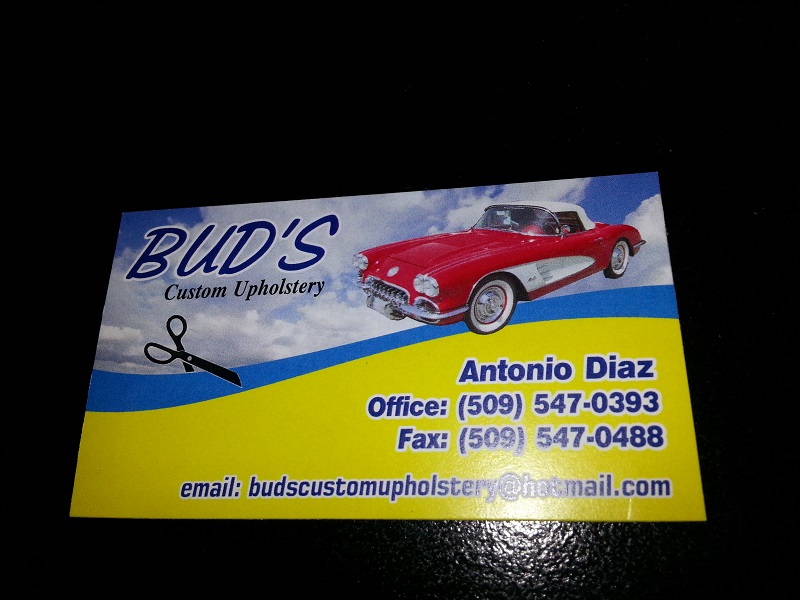
They weren't terrible, but they weren't super nice either. So when my family wanted to do something big for my birthday and to help with the project, my step-dad suggested redoing the seats at his favorite shop in town. Here are the results. They are not the cheapest place, but they are not the most expensive. I think they do quality work for a fair deal. I sure as heck didn't want to learn how to hog ring a seat cover on.
They weren't terrible, but they weren't super nice either. So when my family wanted to do something big for my birthday and to help with the project, my step-dad suggested redoing the seats at his favorite shop in town. Here are the results. They are not the cheapest place, but they are not the most expensive. I think they do quality work for a fair deal. I sure as heck didn't want to learn how to hog ring a seat cover on.
Thread Starter
Joined: May 2005
Posts: 3,243
Likes: 42
From: Kennewick, Washington
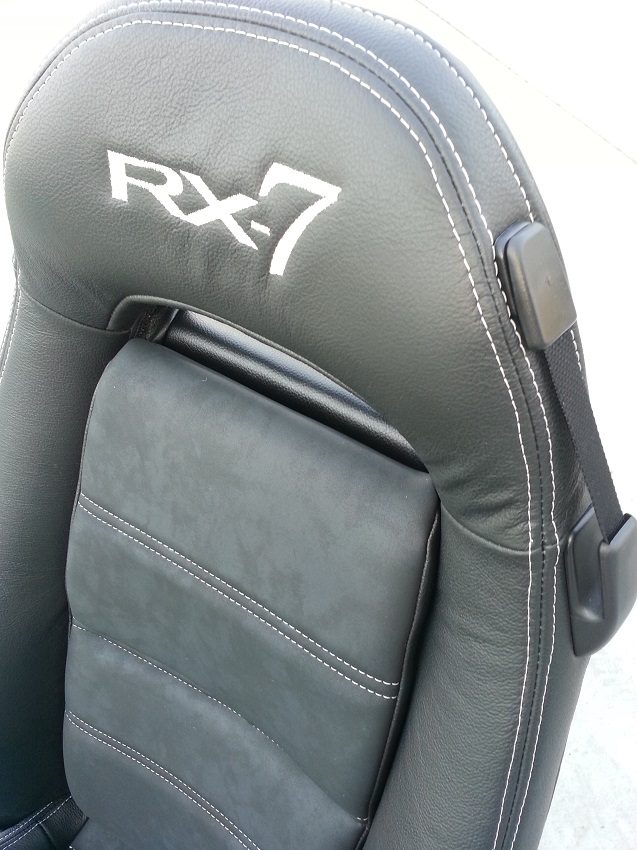
Seats!

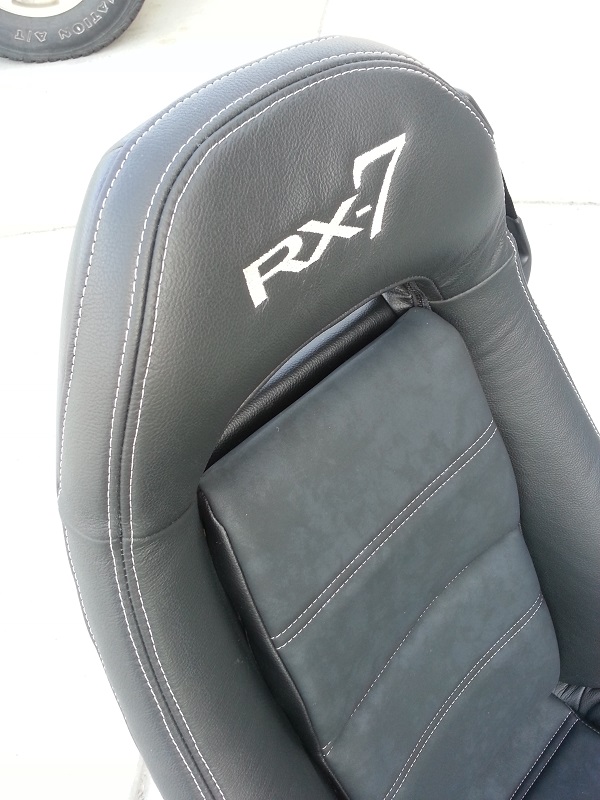
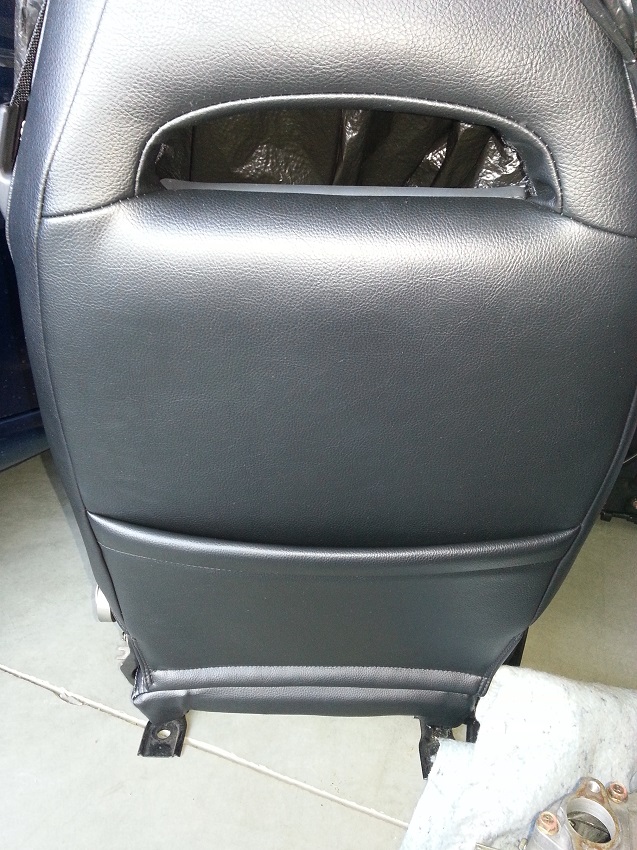
Here's the shop:
I am beyond happy with how they turned out! It's all leather with a synth suede insert. (I had pulled on it earlier and not pushed it back in, hence why it is bulged out in the pics) and I have not put the black plastics on them yet.
Thread Starter
Joined: May 2005
Posts: 3,243
Likes: 42
From: Kennewick, Washington
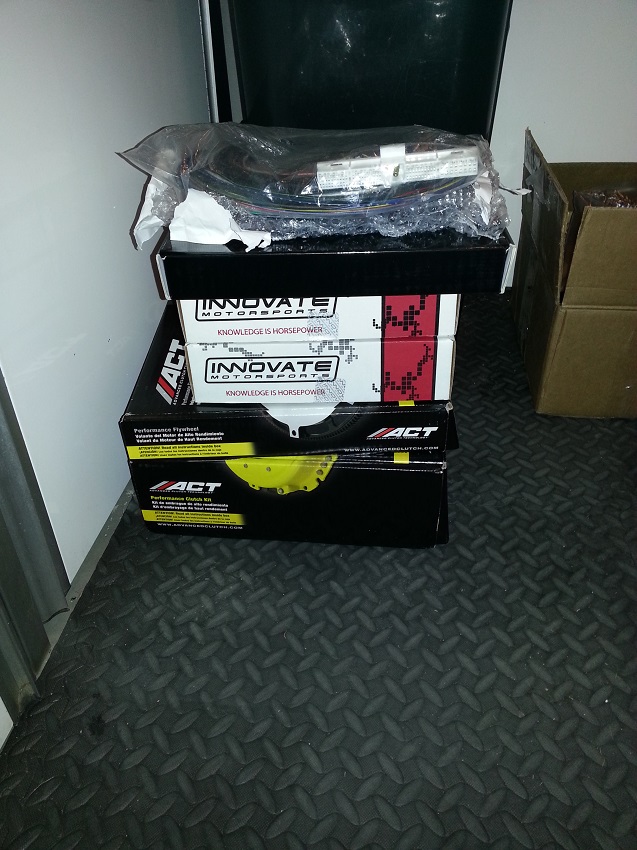
Some goodies arrived from Turblown and GoodfellaFD3S at IR Performance:
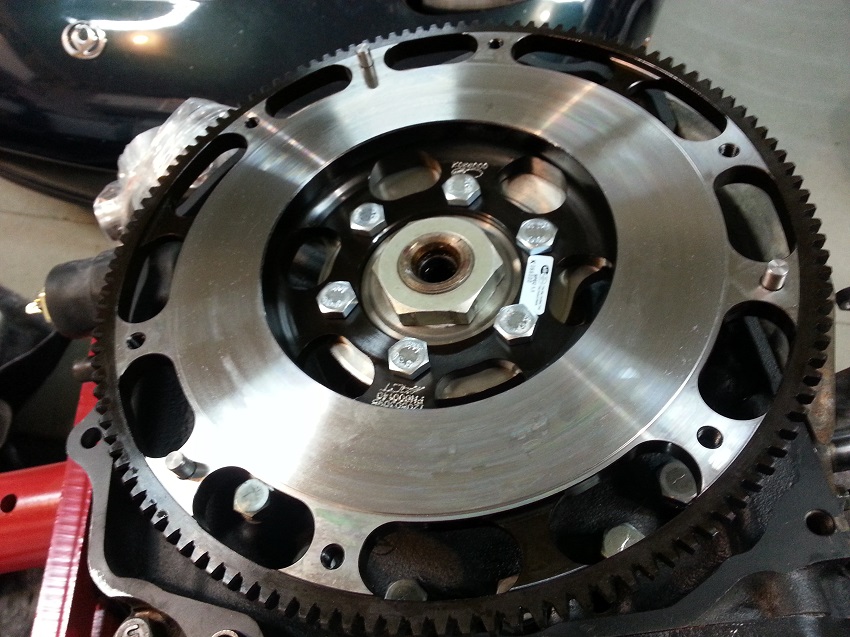
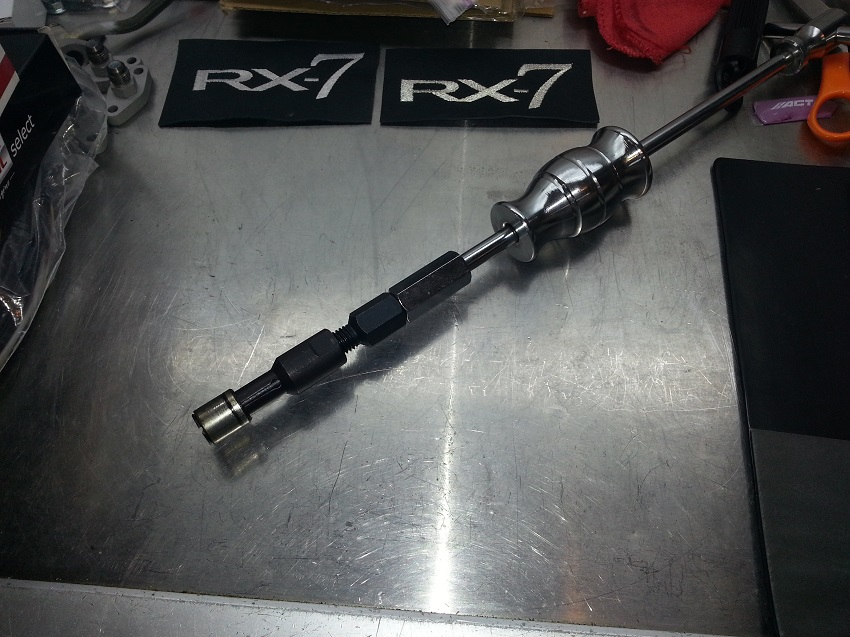
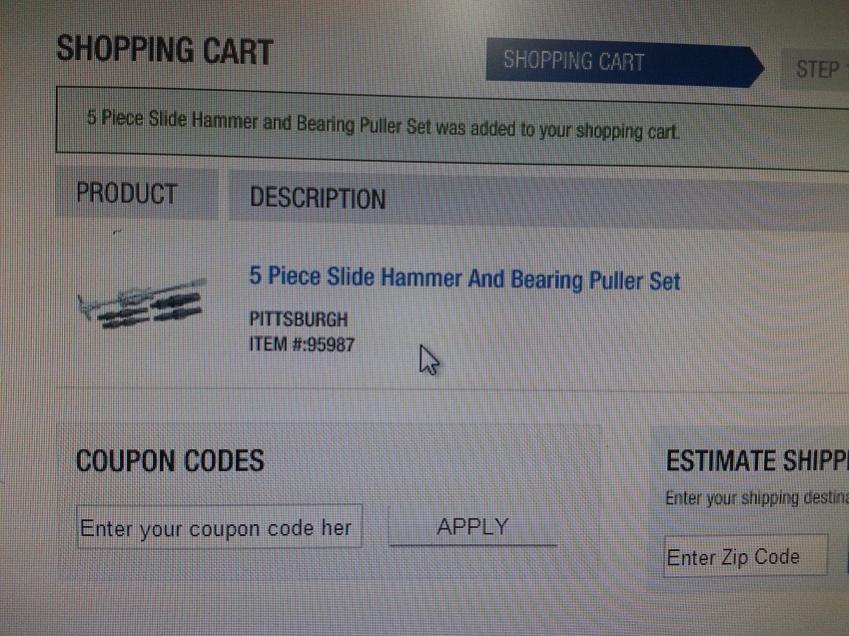
Installed the new pilot bearing even though IRP installs new ones with their engine builds. I had left it uncovered for so long that dust and dirt had gotten inside. So I felt that replacing it was cheap insurance. Here is the tool and method I used:
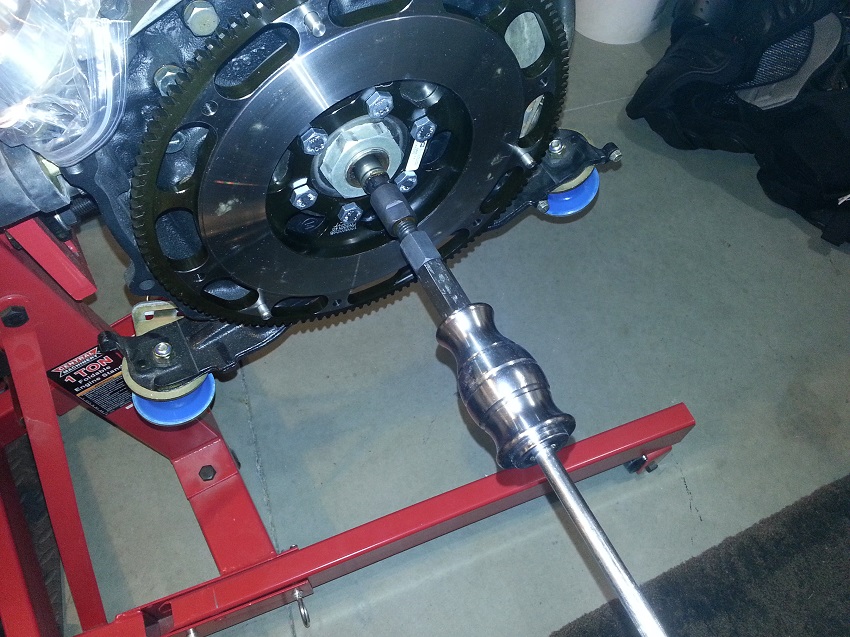
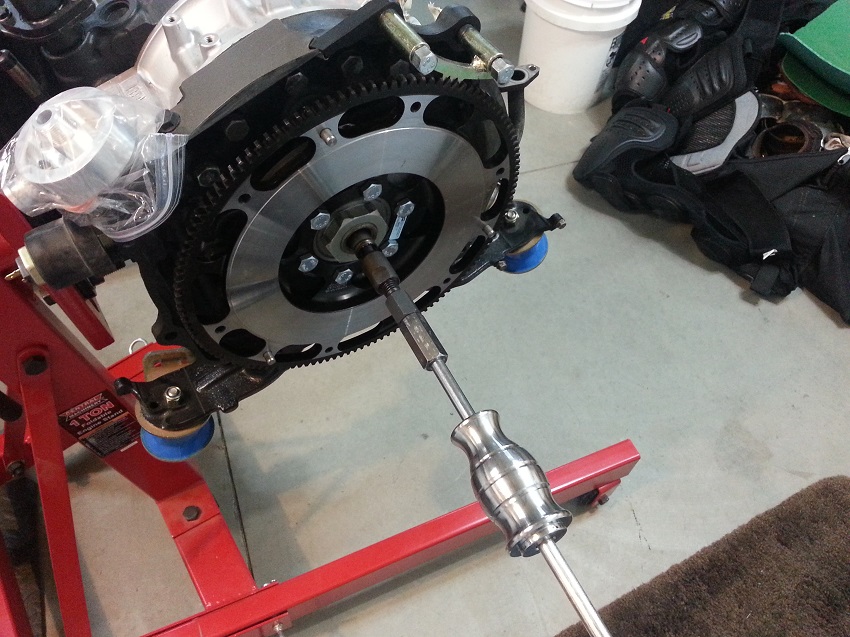
Installed the new pilot bearing even though IRP installs new ones with their engine builds. I had left it uncovered for so long that dust and dirt had gotten inside. So I felt that replacing it was cheap insurance. Here is the tool and method I used:
Thread Starter
Joined: May 2005
Posts: 3,243
Likes: 42
From: Kennewick, Washington
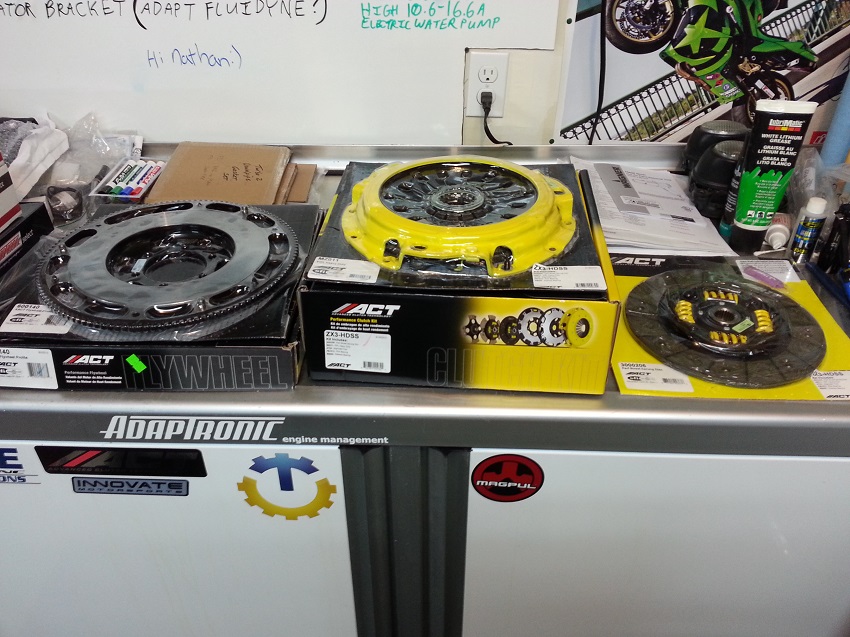
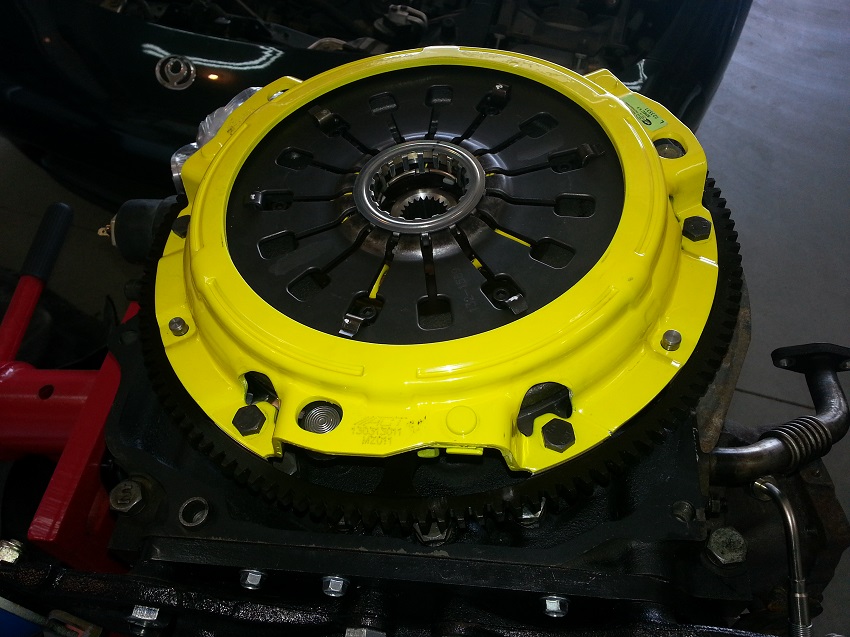
Went with the HD Pressure Plate and the Street/Strip Disk. I am not looking for crazy power levels. I am mainly focused on a broad usable curve.
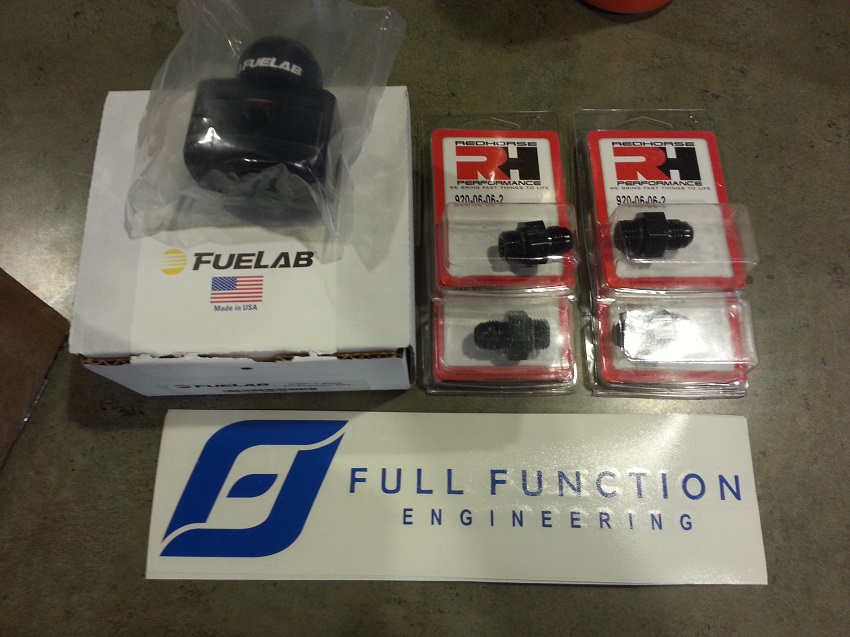
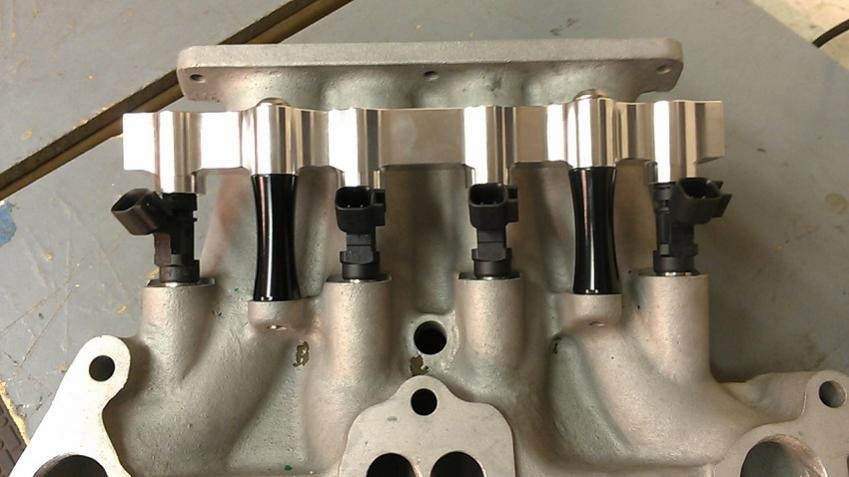
A few goodies came in to match the fuel rails:
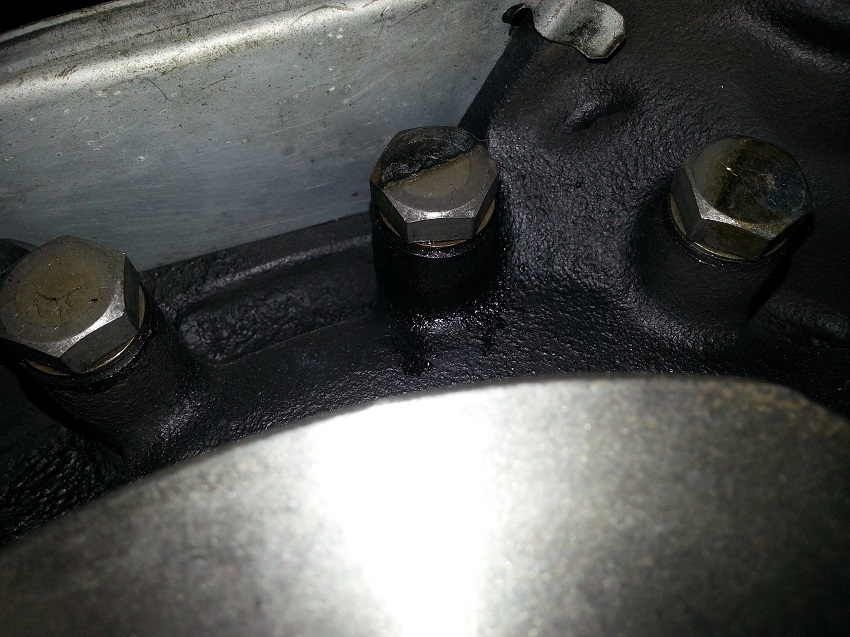
And not sure why, but it seems that there is oil weeping out around the tensioning bolts. Odd looking. But probably normal?
Thread Starter
Joined: May 2005
Posts: 3,243
Likes: 42
From: Kennewick, Washington
And every now and then, you'll get an added visitor when you order parts from other parts of the country. This little bugger was still alive and flew out of the packaged item and took a lazy stroll through our house until cornered and killed by a cat. I definitely gave Fritz a ration of crap for this one! :-)

And my shameless copycat shot attempt. I'll do a good copy later.
And my shameless copycat shot attempt. I'll do a good copy later.
Oil on the tension bolts is normal, its just from assembly lube. Hows the ECU install coming along?

i am curious to see that adaptronic in action. elliot seems to be marketing the hell out of these. $1350 seems like a good price, but it's approaching the Haltech PS1k (minus $/time to make a flying lead harness). it's gotta be better than a powerFC at least.
what kind of shape was your harness in? that's my only beef with these plug-n-play systems. people think it's not a big deal when every connector on their stock harness has the wire insulation cracked where it goes into the plug, with copper exposed.
what kind of shape was your harness in? that's my only beef with these plug-n-play systems. people think it's not a big deal when every connector on their stock harness has the wire insulation cracked where it goes into the plug, with copper exposed.
Thread Starter
Joined: May 2005
Posts: 3,243
Likes: 42
From: Kennewick, Washington
i am curious to see that adaptronic in action. elliot seems to be marketing the hell out of these. $1350 seems like a good price, but it's approaching the Haltech PS1k (minus $/time to make a flying lead harness). it's gotta be better than a powerFC at least.
what kind of shape was your harness in? that's my only beef with these plug-n-play systems. people think it's not a big deal when every connector on their stock harness has the wire insulation cracked where it goes into the plug, with copper exposed.
what kind of shape was your harness in? that's my only beef with these plug-n-play systems. people think it's not a big deal when every connector on their stock harness has the wire insulation cracked where it goes into the plug, with copper exposed.
I am not a fan of going high performance with on-the-edge tuning when the electronics is not fully sorted and reliable.
Here are a couple of pics. The e1280s is actually pretty tiny. I was very surprised at how small it is.
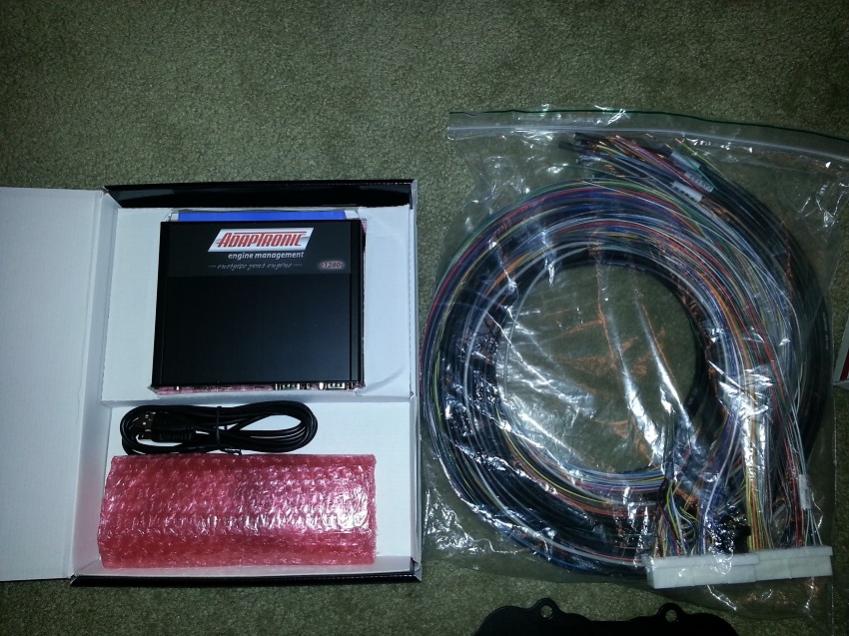
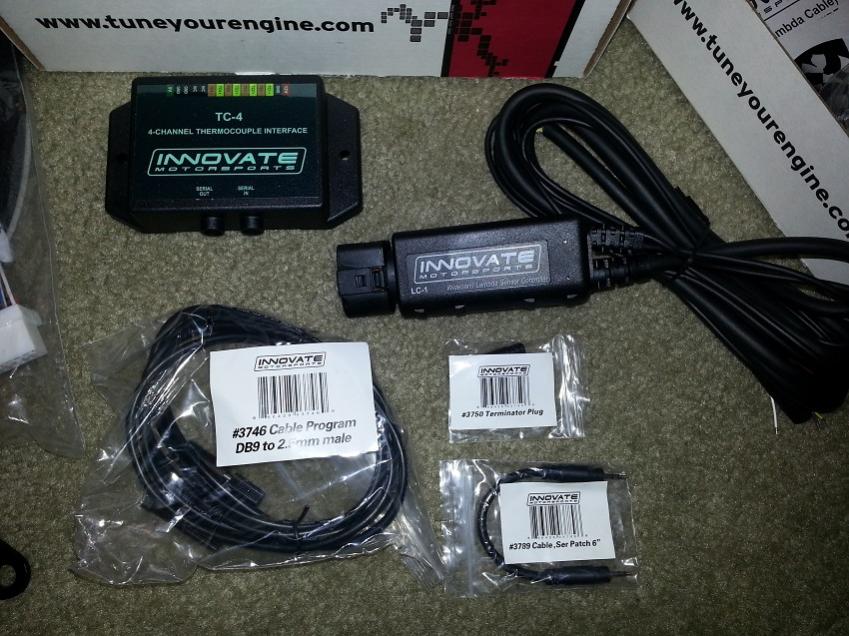
Here are some other goodies I ordered along with it.
Innovate LC1 and TC4: I really like the compatibility and the way the adaptronic and lc1 will communicate with each other.
My wife bought me this a while back: Sakebomb Nut Blocker. Can't wait to start blocking nuts! (Manlaw already covered on page 1)
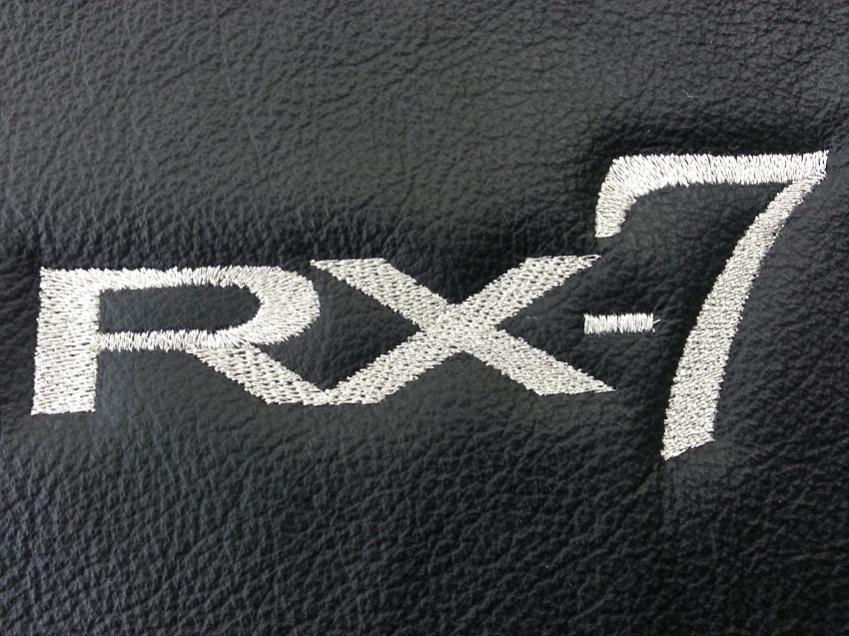
And here are a couple of pics I found of the headrest pieces and embroidery up close before the seats went back together. Short Dog Embroidery here in Pasco, WA did the embroidery work.
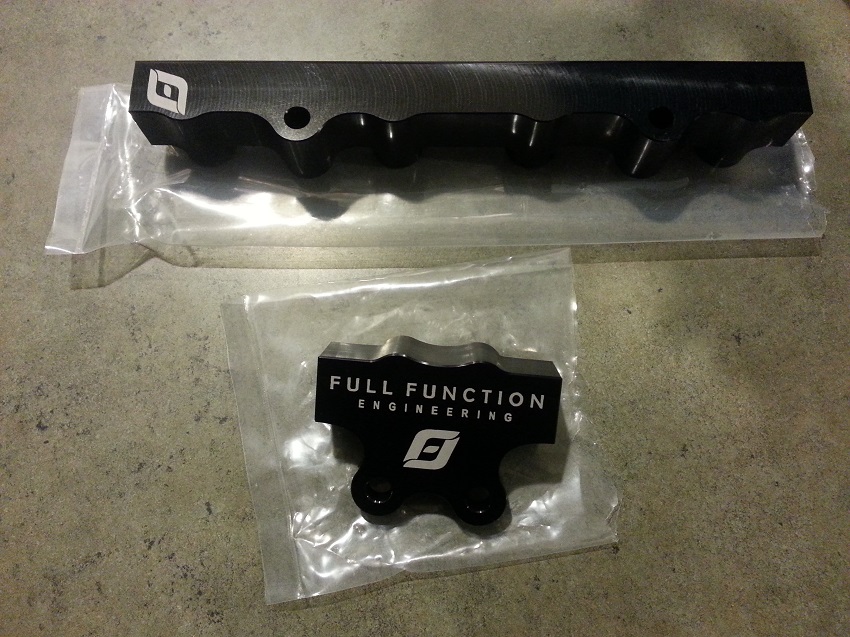
And here are the fuel rails when I got them last year. Still finding pics. lol. This is the 4 injector rail for the xcessive LIM.
Thread Starter
Joined: May 2005
Posts: 3,243
Likes: 42
From: Kennewick, Washington
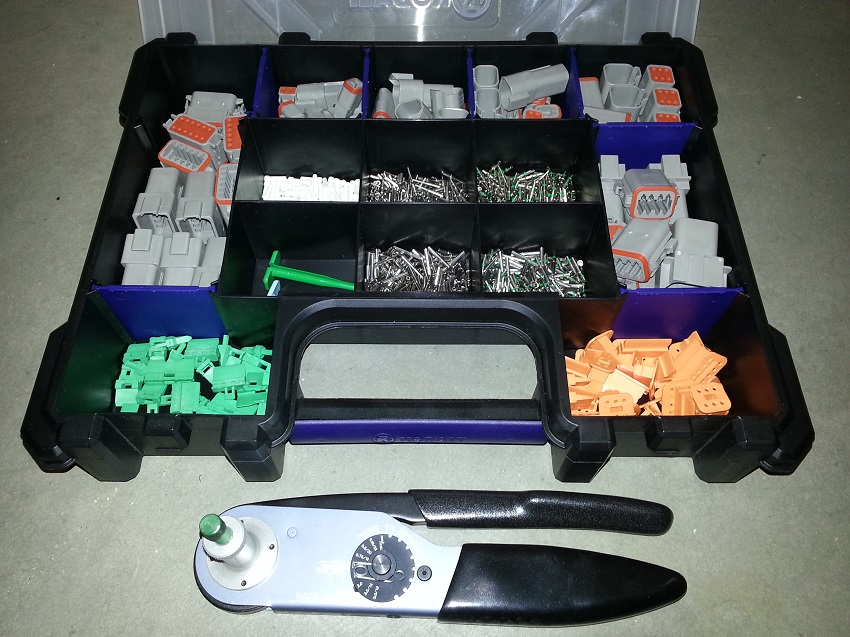
Here is what I plan on using for most of the connections (unless they come with a connector that looks better or has some sort of reason to keep it.
Here was the progress pic of the 4 injector rail during its early stages. Quality from the start with FFE.
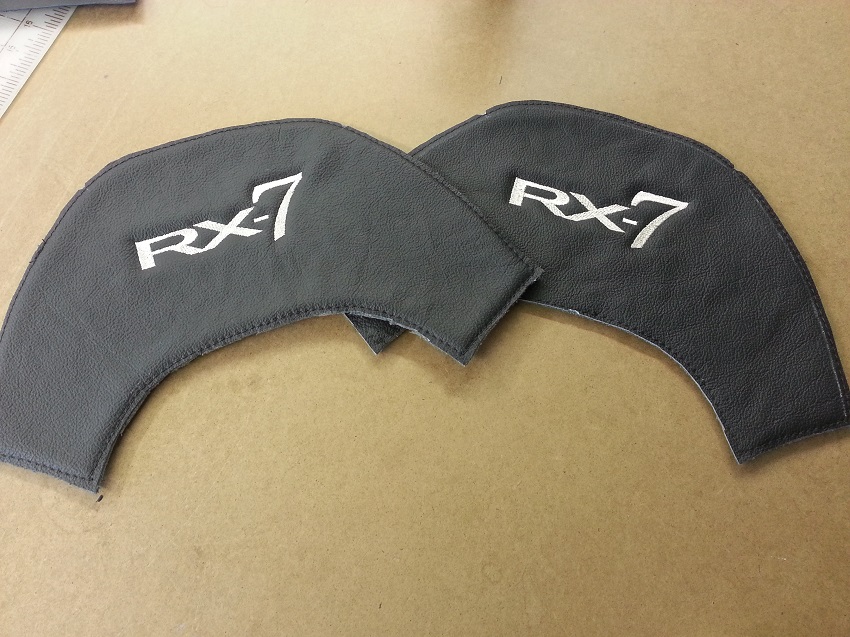
And here is something I had re-stitched from black to silver in hopes of matching the seats.

My goal for the interior is for it to look factory at a cursory glance. But once someone sits inside, I want them to start noticing the subtle details. I am hoping they don't clash with each other and are subtle enough to blend in except to the trained eyes.
Here was the progress pic of the 4 injector rail during its early stages. Quality from the start with FFE.
And here is something I had re-stitched from black to silver in hopes of matching the seats.
My goal for the interior is for it to look factory at a cursory glance. But once someone sits inside, I want them to start noticing the subtle details. I am hoping they don't clash with each other and are subtle enough to blend in except to the trained eyes.

Joined: Mar 2001
Posts: 30,814
Likes: 655
From: FL-->NJ/NYC again!
Seats are looking sharp, Nate..... the build is coming along nicely 
Kind of random, but if you're taking the front bumper off anytime soon, look into upgrading your horns. Over the years I've sourced OEM RX-8 horns for numerous guys and they sound much better than the FD horns IMO. Plug and play, you just have to get a little creative with the mounting brackets
Kind of random, but if you're taking the front bumper off anytime soon, look into upgrading your horns. Over the years I've sourced OEM RX-8 horns for numerous guys and they sound much better than the FD horns IMO. Plug and play, you just have to get a little creative with the mounting brackets
Thread Starter
Joined: May 2005
Posts: 3,243
Likes: 42
From: Kennewick, Washington
Thanks Rich!
I'd be interested on doing the RX8 horns. I'll have the bumper off for the oil coolers so it would be a good time to do that.
Now I just have to decide to go 99 spec or not.
I'd be interested on doing the RX8 horns. I'll have the bumper off for the oil coolers so it would be a good time to do that.
Now I just have to decide to go 99 spec or not.
Thread Starter
Joined: May 2005
Posts: 3,243
Likes: 42
From: Kennewick, Washington
Thread Starter
Joined: May 2005
Posts: 3,243
Likes: 42
From: Kennewick, Washington
Center Console
I know this is turning into a build thread/mini diys/picture whoring. But bear with me. I'm hoping these pictures come in handy in the future for someone.
So, after sitting in its packaging for years, I sent my RedLineGoods center console cover back to them to re-stitch it with silver thread to match the seats. And decided that it would be a good time to do the install.
Quick overview:
If you can get someone to help you... do it. An extra set of hands was a definite must!
Dont let leather sit for years and then expect it to unfold without some residual markings left.
Be patient. My lines didn't end up exactly how I wanted them because I got into a hurry by the end of the second night. (technically third)
I now know why I would pay a professional shop to do this.
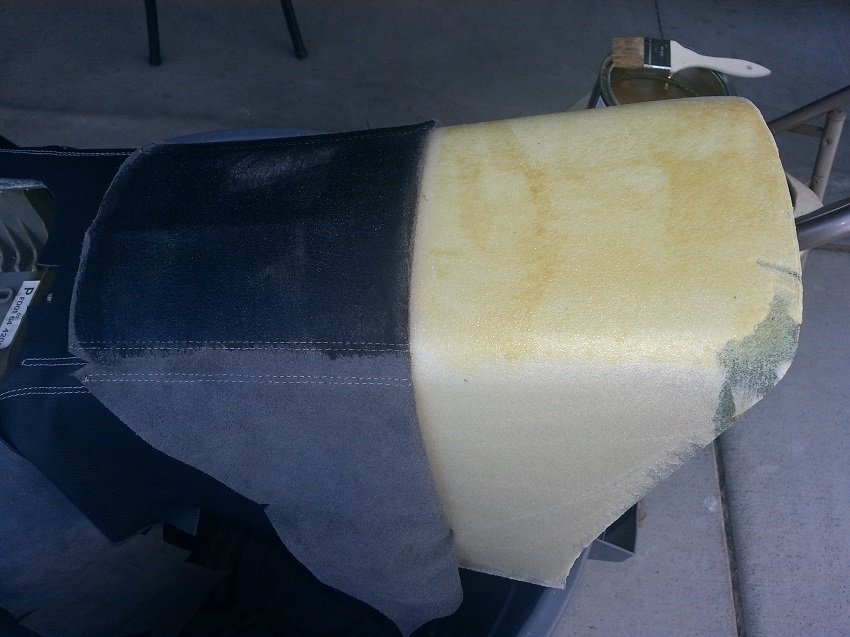
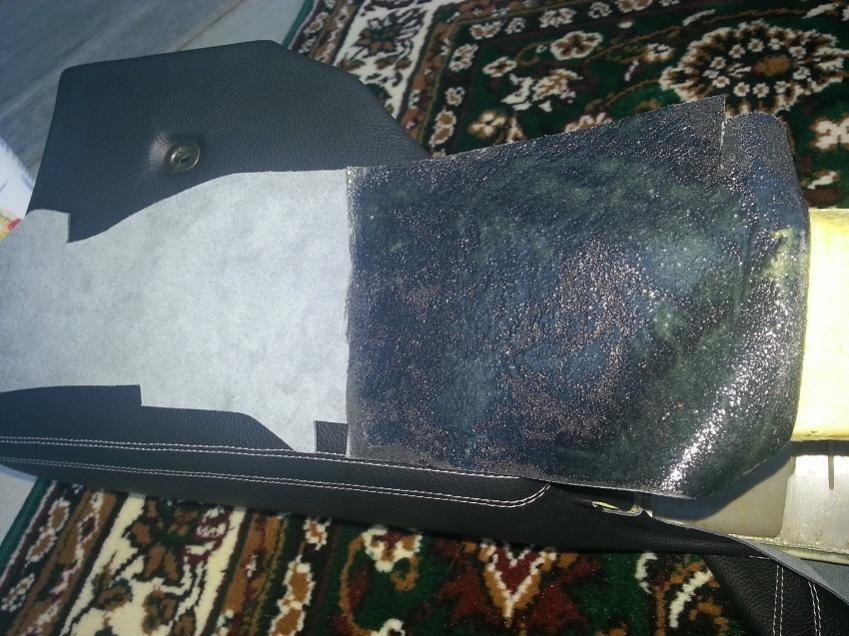
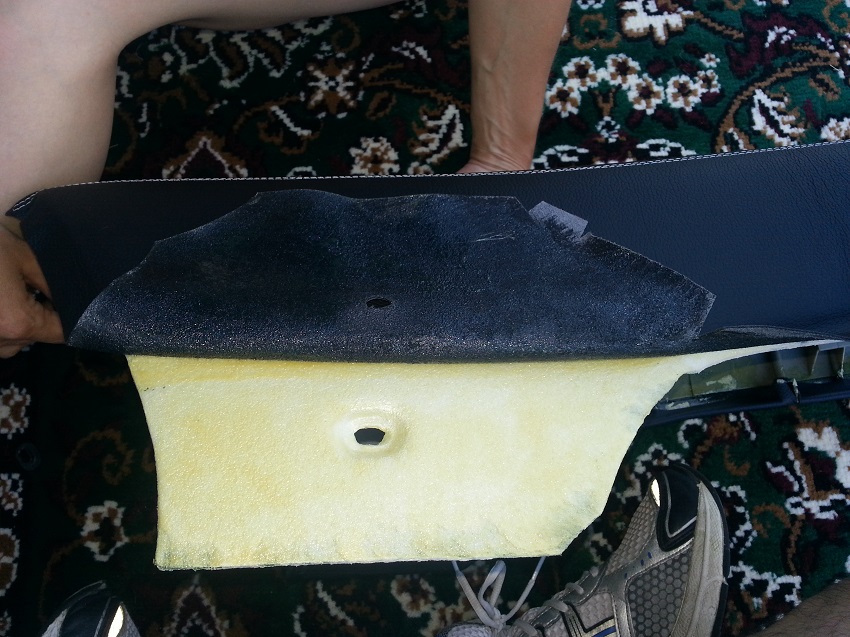
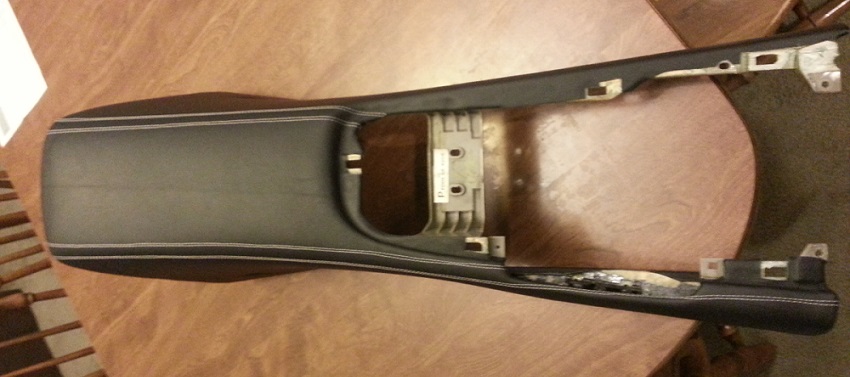
The first night was removing the stock covering... which was in perfect shape, and I am an idiot in hindsight. I should have just bought one in crappy shape and sold this one for a profit. But, you live and learn. (probably not in my case) I left the stock foam layer to give the leather a bit of the "cushy" feel. Then I stretched the leather so both holes lined up and put the grommets back in to hold it in place. I left it like this overnight to allow the leather to settle out a bit.
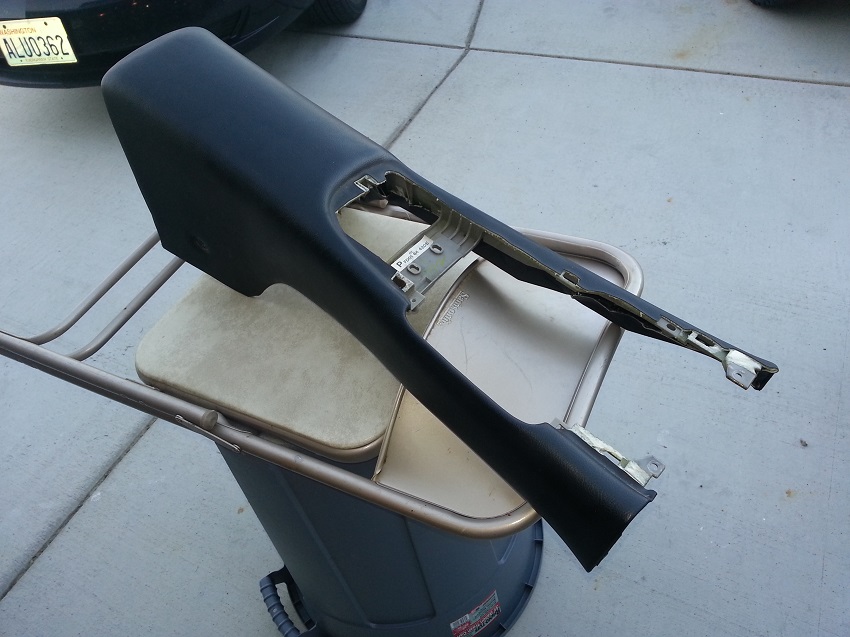
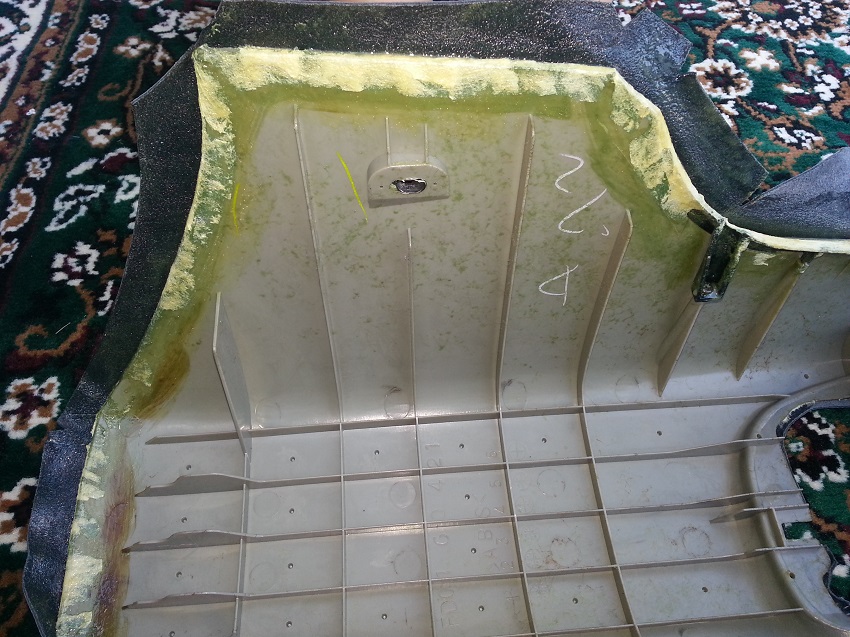
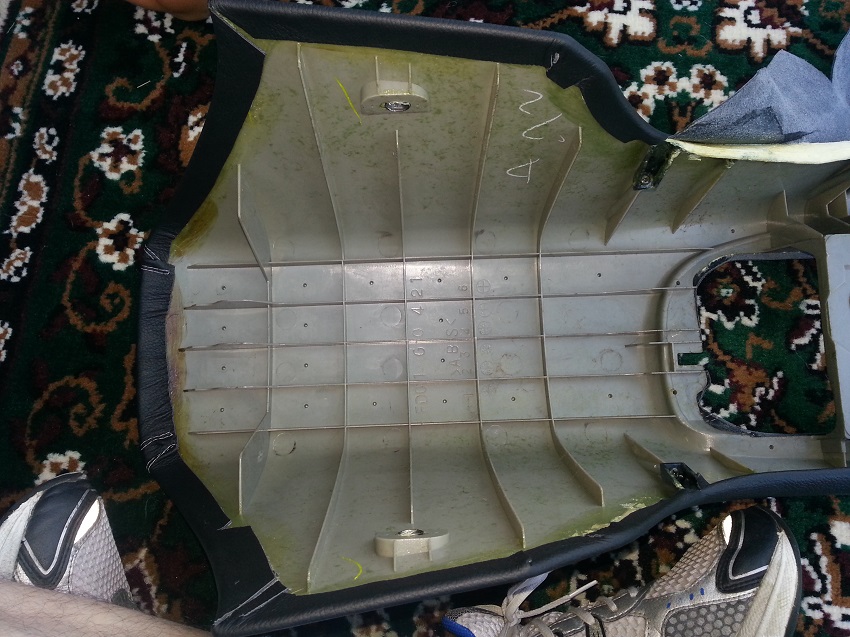
Here it is stripped down. Still kicking my self for tearing apart a mint OEM one.
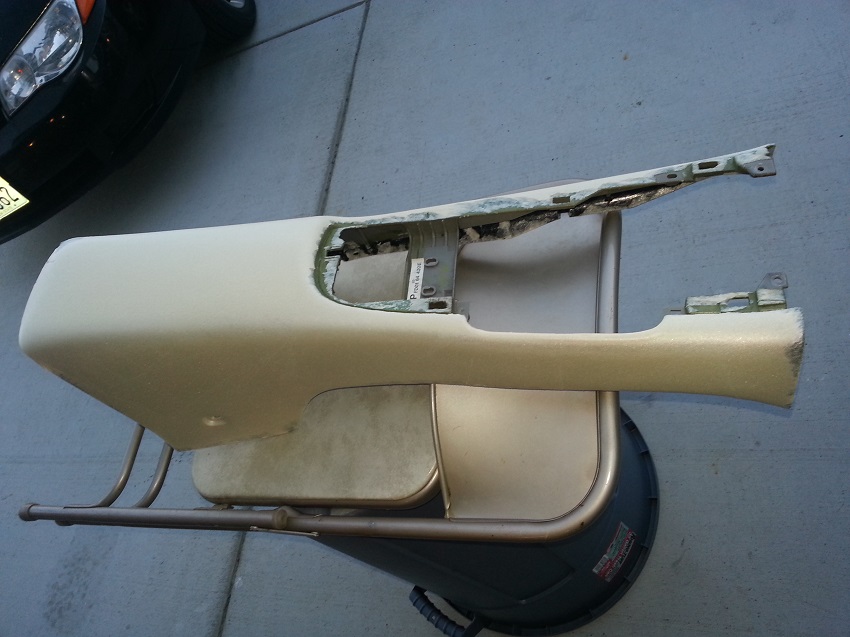
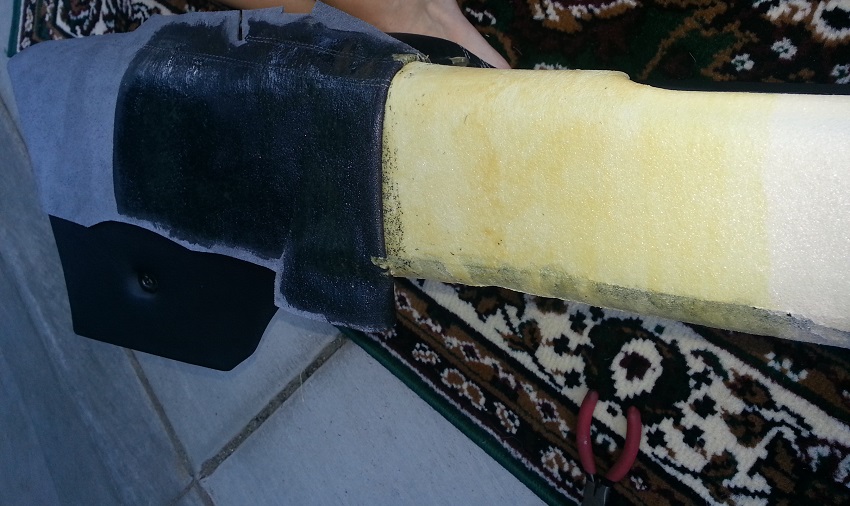
Leather stretched over and left to sit for a night.
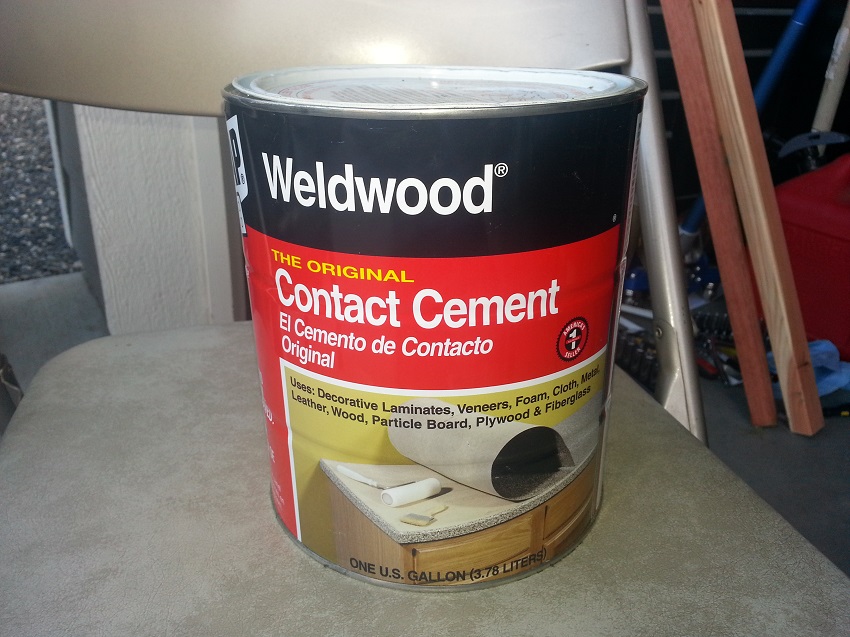
The stuff I used to stick the new one on. Its pretty good stuff. Paint it on, let it dry, sticks to itself like crazy! It takes multiple layers on the backside of the leather to make it stick right. But once it's on... not chance it's coming off.
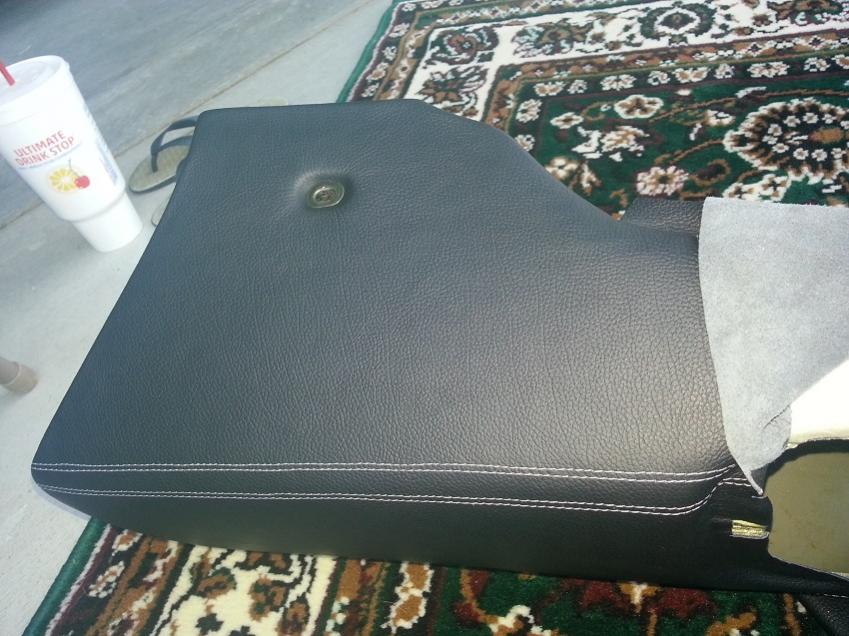
left the grommets in and just rolled the leather back to make sure it started exactly where I wanted it to.
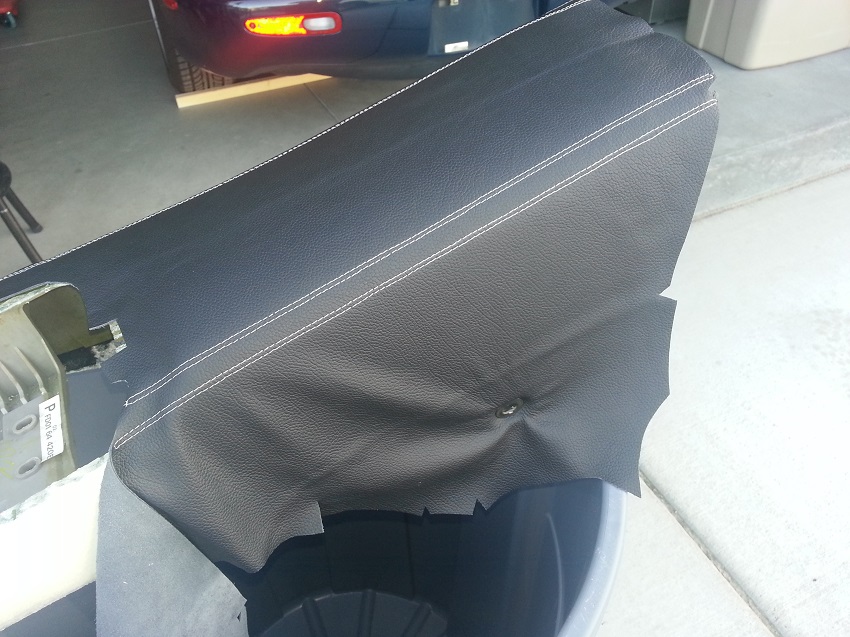
One side done
So, after sitting in its packaging for years, I sent my RedLineGoods center console cover back to them to re-stitch it with silver thread to match the seats. And decided that it would be a good time to do the install.
Quick overview:
If you can get someone to help you... do it. An extra set of hands was a definite must!
Dont let leather sit for years and then expect it to unfold without some residual markings left.
Be patient. My lines didn't end up exactly how I wanted them because I got into a hurry by the end of the second night. (technically third)
I now know why I would pay a professional shop to do this.
The first night was removing the stock covering... which was in perfect shape, and I am an idiot in hindsight. I should have just bought one in crappy shape and sold this one for a profit. But, you live and learn. (probably not in my case) I left the stock foam layer to give the leather a bit of the "cushy" feel. Then I stretched the leather so both holes lined up and put the grommets back in to hold it in place. I left it like this overnight to allow the leather to settle out a bit.
Here it is stripped down. Still kicking my self for tearing apart a mint OEM one.
Leather stretched over and left to sit for a night.
The stuff I used to stick the new one on. Its pretty good stuff. Paint it on, let it dry, sticks to itself like crazy! It takes multiple layers on the backside of the leather to make it stick right. But once it's on... not chance it's coming off.
left the grommets in and just rolled the leather back to make sure it started exactly where I wanted it to.
One side done
Thread Starter
Joined: May 2005
Posts: 3,243
Likes: 42
From: Kennewick, Washington
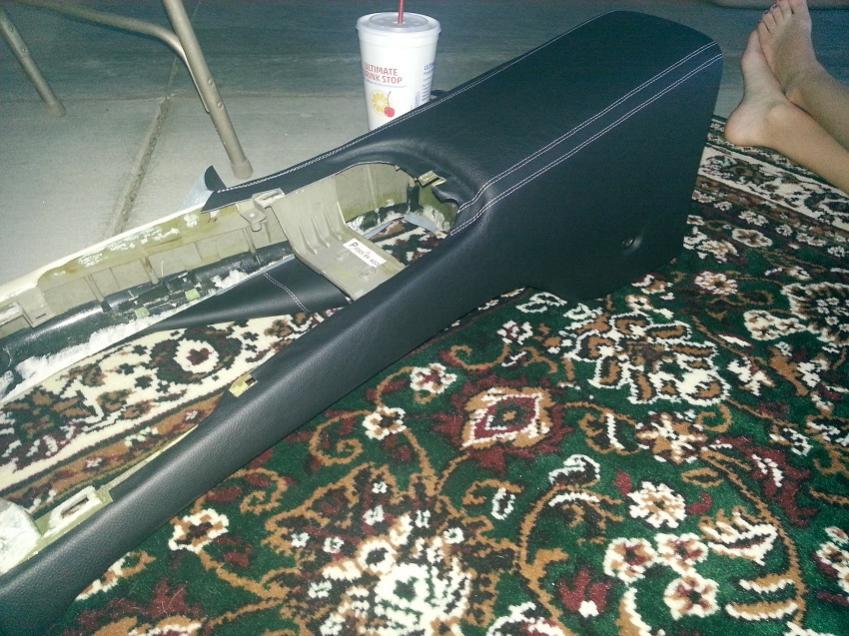
and working my way down a side.
Finishing up the driver's side.
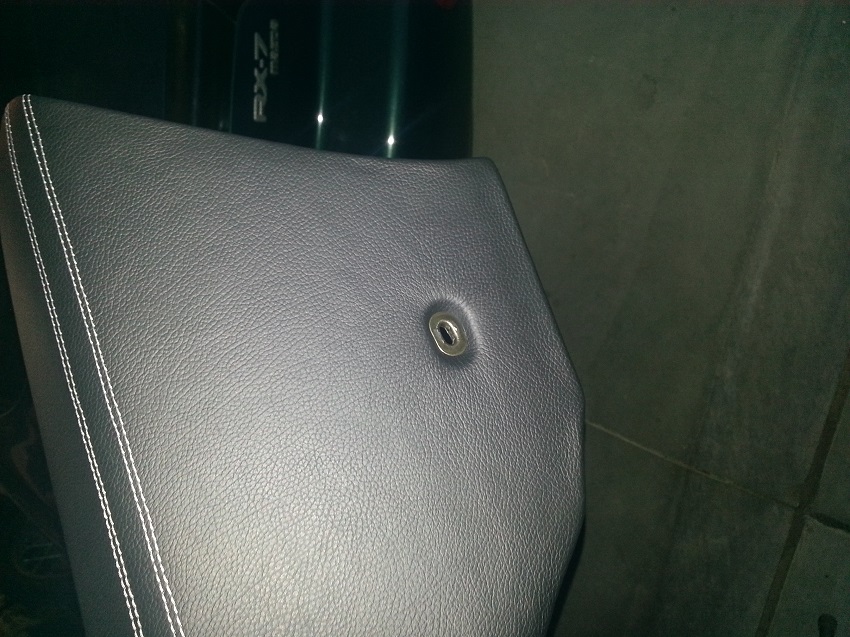
Driver's side done.
Factory Grommet re-used.
Inside edges
Starting on the passenger side. This part is stressful. You have to keep tension on the leather for the holes to match up, and then you have to lay it down without out leaving bubbles, etc. Extra person = way easier.
Finishing up the driver's side.
Driver's side done.
Factory Grommet re-used.
Inside edges
Starting on the passenger side. This part is stressful. You have to keep tension on the leather for the holes to match up, and then you have to lay it down without out leaving bubbles, etc. Extra person = way easier.
Thread Starter
Joined: May 2005
Posts: 3,243
Likes: 42
From: Kennewick, Washington
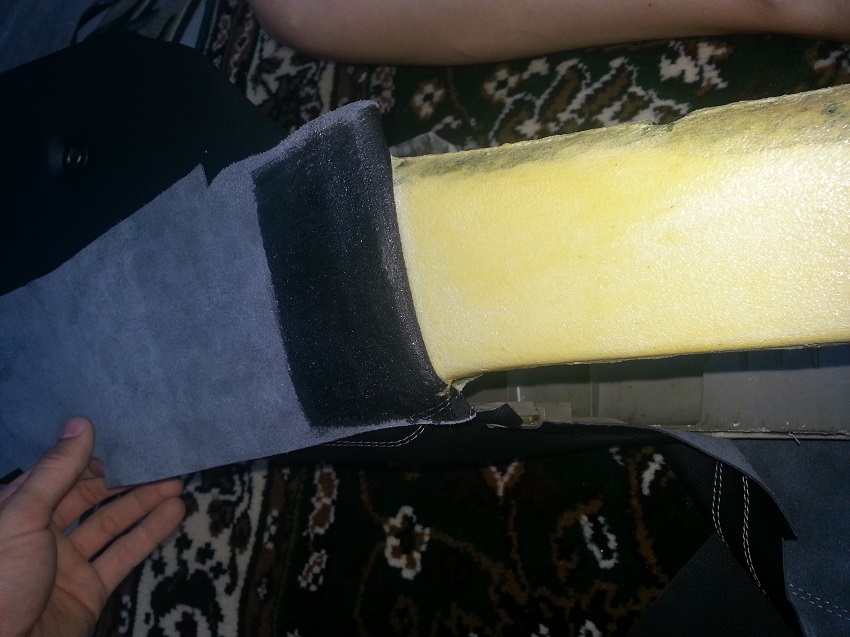
Inside edges
Inside Progress
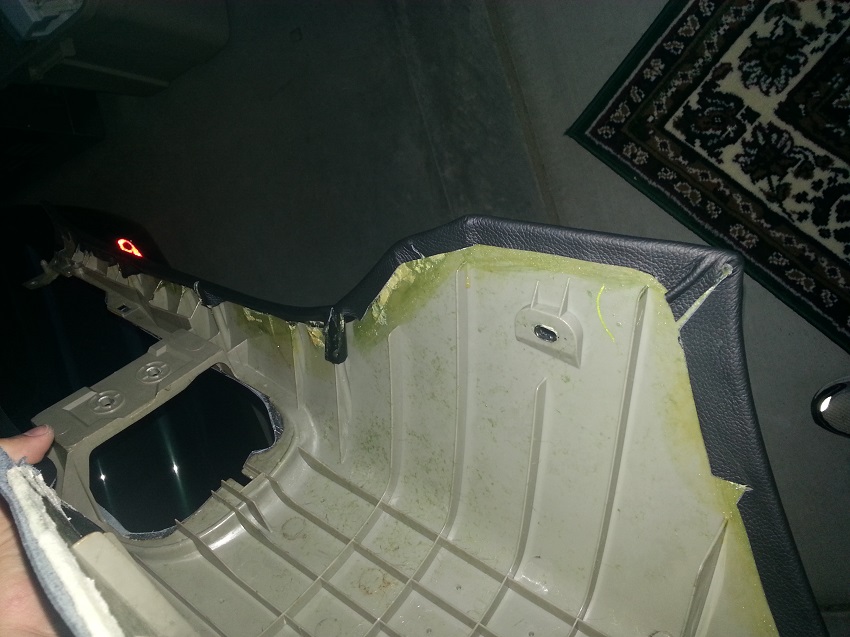
This is where I hurried a little bit... or just wasn't paying attention. Honestly.. I just wasn't paying attention. The stitching lines got a bit too far up and inside. I wanted one line to line up with the middle of the e-brake boot and the other to go right below the boot hole.
Here is the finished product. There was no way I was going to be able to peel up the leather after it was stuck down... I would destroy the foam underneath. And every imperfection in that foam WILL show through the leather. You can see in this picture how the stick rolls over in the e-brake cut-out. I am hoping it looks good once it is all back together, or I will be getting another one and doing it all over. Luckily, that can be done after the whole project is done, as it will not affect the drivability or finished status of the vehicle. And I don't have to remove the whole interior to get to this piece. It's actually one of the easier parts to remove.
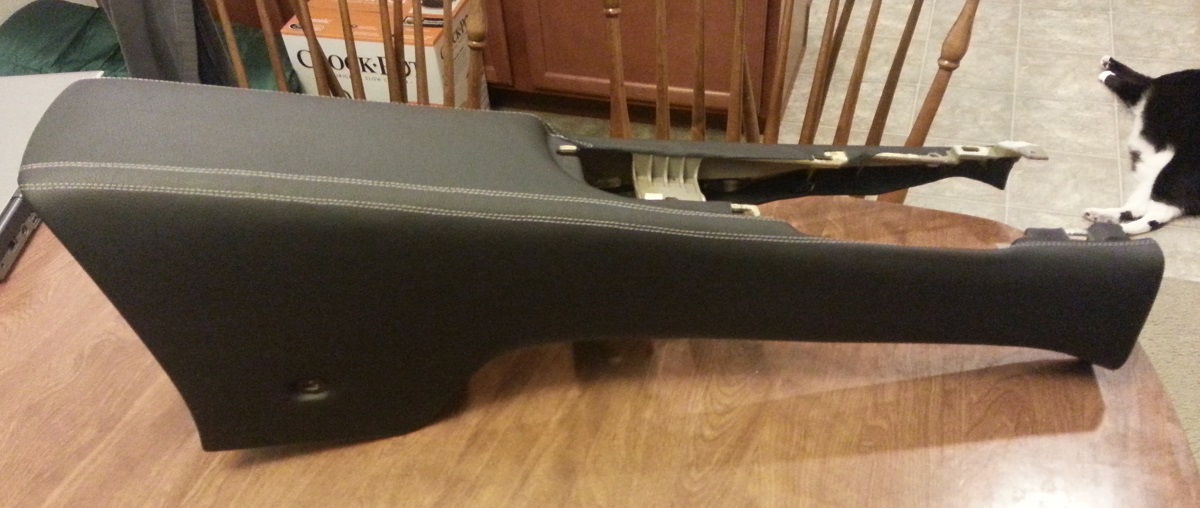
I am impressed with the RedLineGoods console cover, the material quality, and the overall product for the price. If I hadn't already bought all three main items they off for the FD, I would definitely have made further purchases based on this item. (ie shift and e-brake boots)
Inside Progress
This is where I hurried a little bit... or just wasn't paying attention. Honestly.. I just wasn't paying attention. The stitching lines got a bit too far up and inside. I wanted one line to line up with the middle of the e-brake boot and the other to go right below the boot hole.
Here is the finished product. There was no way I was going to be able to peel up the leather after it was stuck down... I would destroy the foam underneath. And every imperfection in that foam WILL show through the leather. You can see in this picture how the stick rolls over in the e-brake cut-out. I am hoping it looks good once it is all back together, or I will be getting another one and doing it all over. Luckily, that can be done after the whole project is done, as it will not affect the drivability or finished status of the vehicle. And I don't have to remove the whole interior to get to this piece. It's actually one of the easier parts to remove.
I am impressed with the RedLineGoods console cover, the material quality, and the overall product for the price. If I hadn't already bought all three main items they off for the FD, I would definitely have made further purchases based on this item. (ie shift and e-brake boots)

 ?
?
Thread Starter
Joined: May 2005
Posts: 3,243
Likes: 42
From: Kennewick, Washington
Knowing what I know now, I could make sure the stitches line up better than mine. And yes. Good eye! I don't like to use the spray adhesive if I don't have to, the paint on stuff is super strong and easier to keep it exactly where I want it to be
