Too much time at the bar, cut off from Sakebombs!


Thread Starter
Joined: May 2005
Posts: 3,243
Likes: 42
From: Kennewick, Washington
Well.. finally getting little things done.
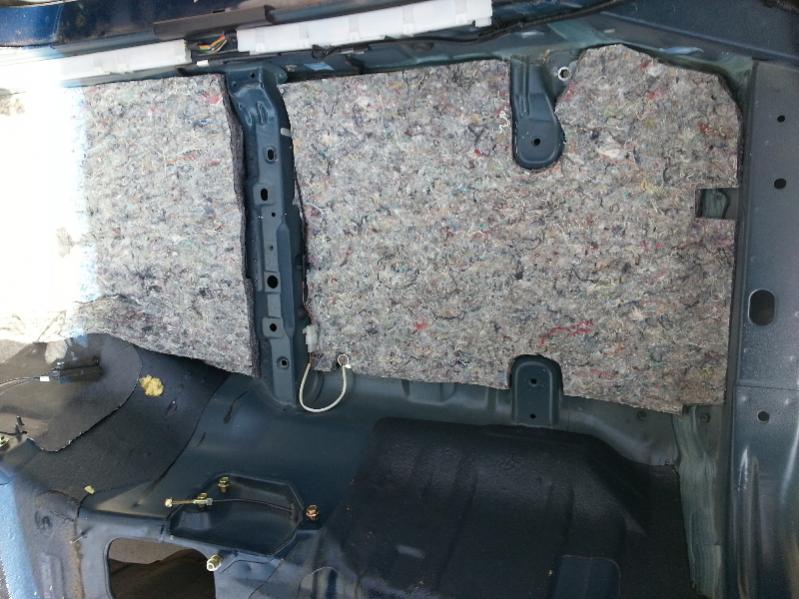
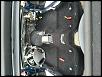
Started in on installing the new carpet. Not bad shape for sitting in storage for years.... many years. This is the 601 black carpet from the TFent group buy if that says anything about its age.
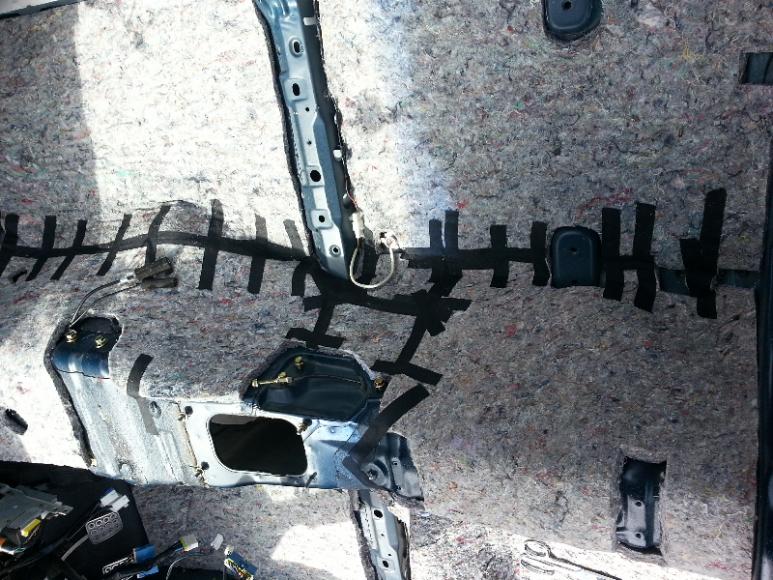
Doing the matting:
Used tape to join all the seams together and to secure the matting in place. Tedious, but it made things easier when trying to muscle that huge chunk of rubberized carpet into position.
I found that starting at the back of the carpet was ideal. It was the most positive shape portion of the carpet. Also required the least amount of trimming. Which this carpet requires plenty of.
Advice: have your old carpet laid out as a reference.
Started in on installing the new carpet. Not bad shape for sitting in storage for years.... many years. This is the 601 black carpet from the TFent group buy if that says anything about its age.
Doing the matting:

Used tape to join all the seams together and to secure the matting in place. Tedious, but it made things easier when trying to muscle that huge chunk of rubberized carpet into position.
I found that starting at the back of the carpet was ideal. It was the most positive shape portion of the carpet. Also required the least amount of trimming. Which this carpet requires plenty of.
Advice: have your old carpet laid out as a reference.

Thread Starter
Joined: May 2005
Posts: 3,243
Likes: 42
From: Kennewick, Washington
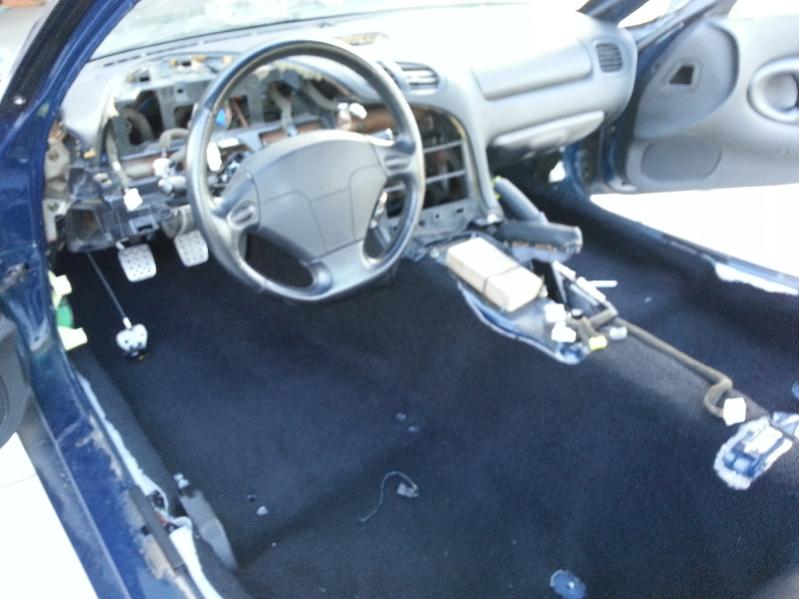
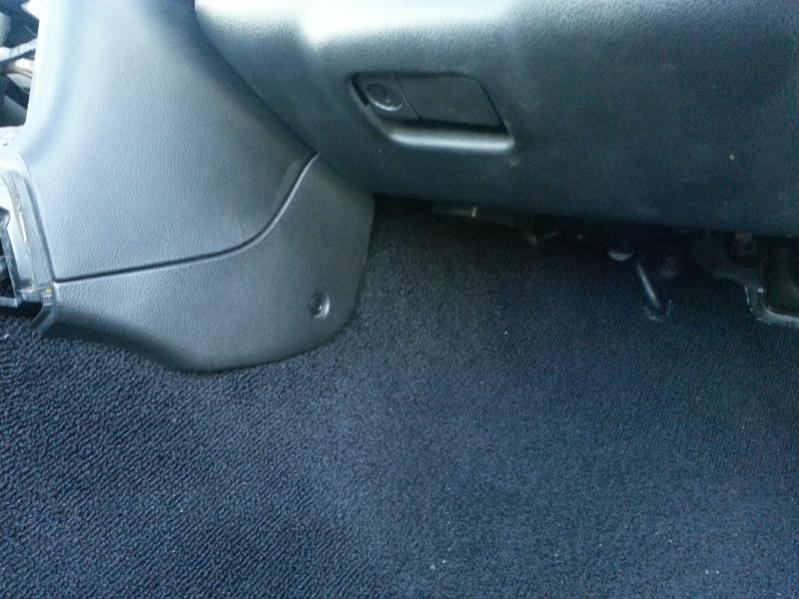
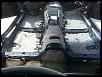
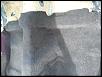
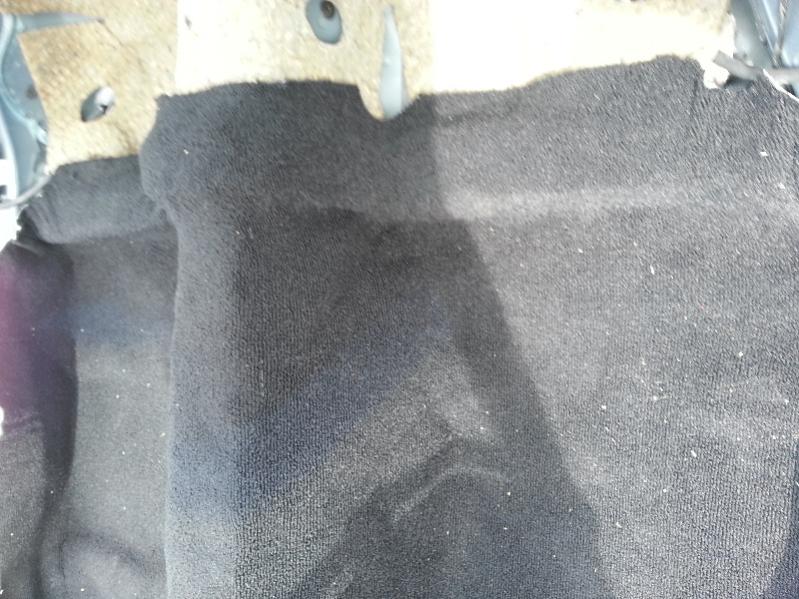
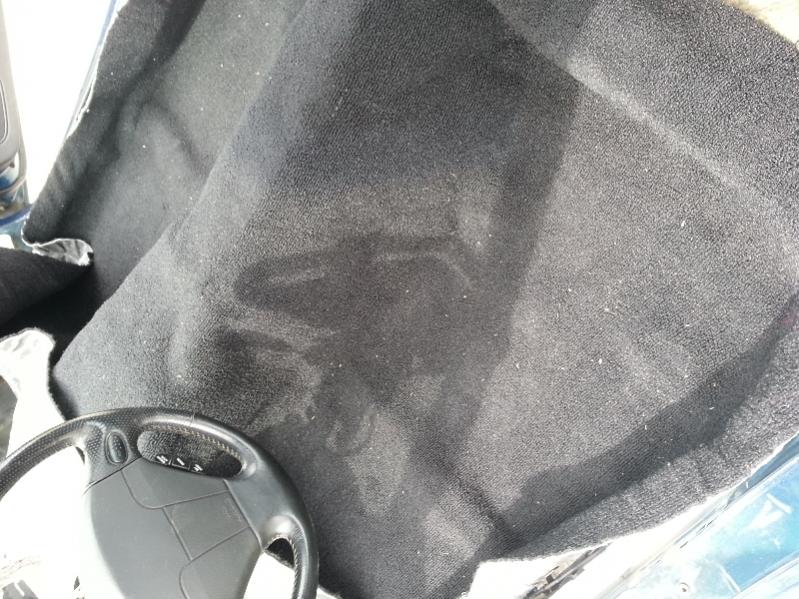
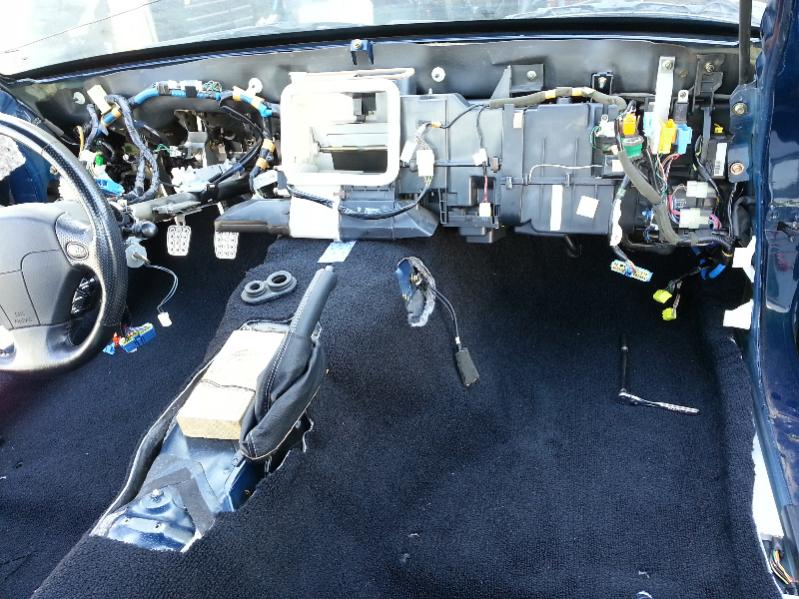
Here is the carpet going in. I originally tried to slide it in under the pedals first.
This did not work.
There is too much excess material to do it this way. Instead. Start from the back pf the car with the carpet folded back and roll it forwards. Getting it under the pedals is a chore, but it will not roll out all the way. Cut off the excess that wont unfold. Be careful not to cut through to anything important. I have not finished all of the holes for mounting the interior, but all I can say is give yourself plenty of time and be very patient. I an hoping I didn't cut too far down on the driver's side of the transmission tunnel where the dash mounts.

Thread Starter
Joined: May 2005
Posts: 3,243
Likes: 42
From: Kennewick, Washington
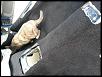
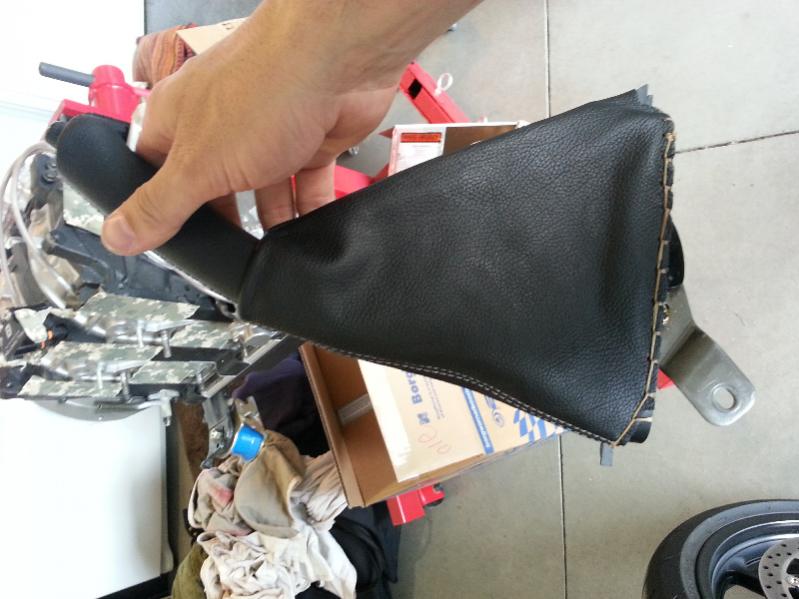
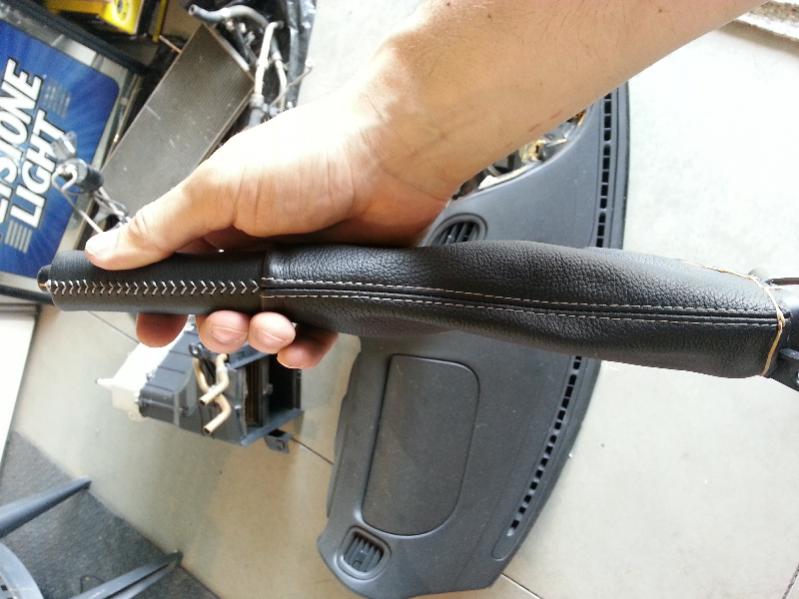
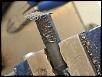
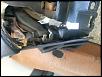
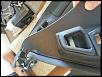
I also installed the new e brake boot from redlinegoods. I like the feel of the leather WAY better. I am hoping my stitching lines up alright with the stitching on the console cover. But for my first ever interior... I'm not going to stress it too much.

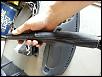
I didn't have a stapler to mimic the factory mounting method... but I did have my leather working tools so I punched and stitched the mounting ring onto the leather.
I didn't have a stapler to mimic the factory mounting method... but I did have my leather working tools so I punched and stitched the mounting ring onto the leather.
Thread Starter
Joined: May 2005
Posts: 3,243
Likes: 42
From: Kennewick, Washington
Thanks! I cant vait to start up ze engine you built me.
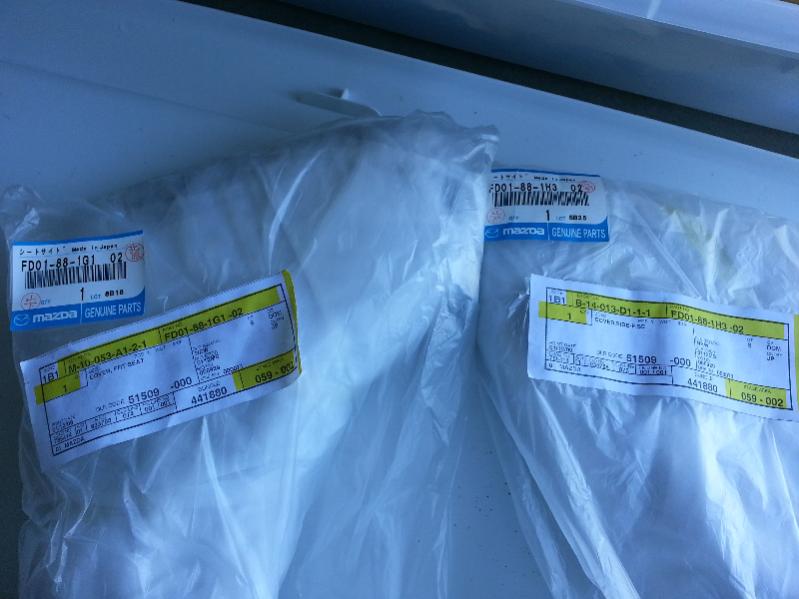
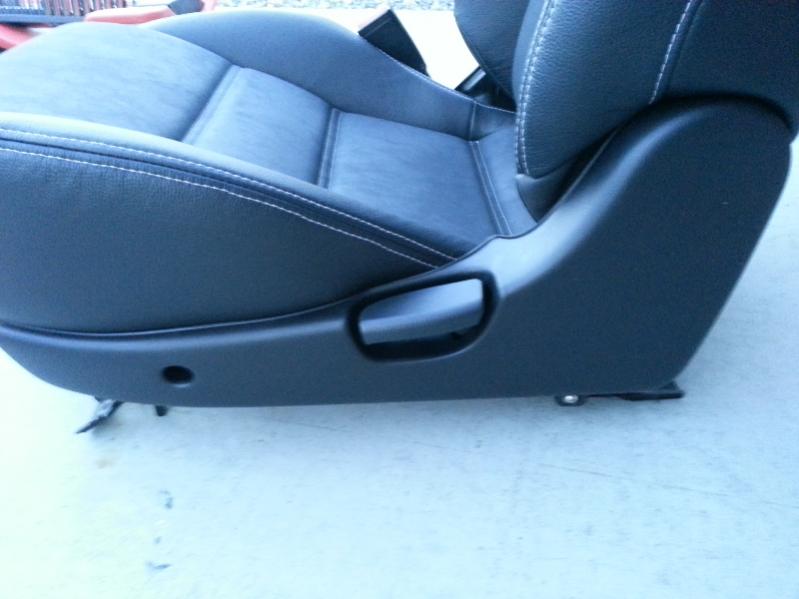
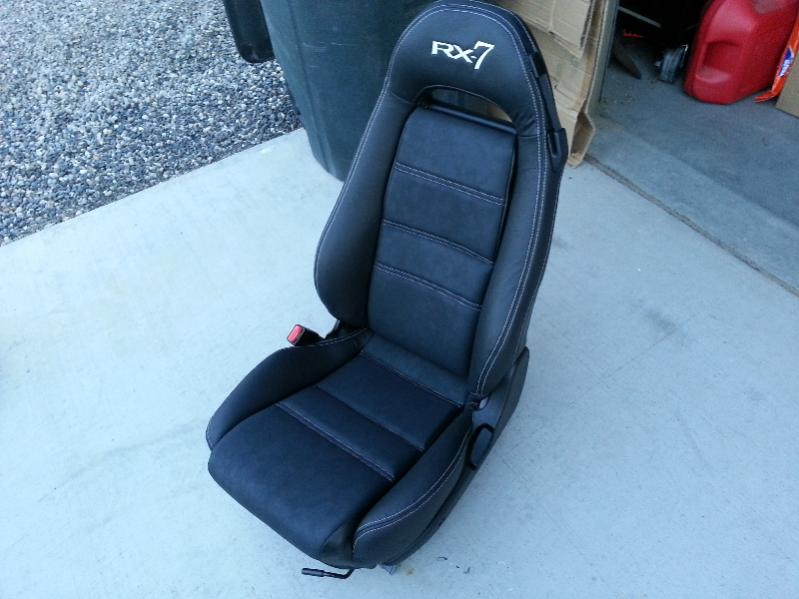
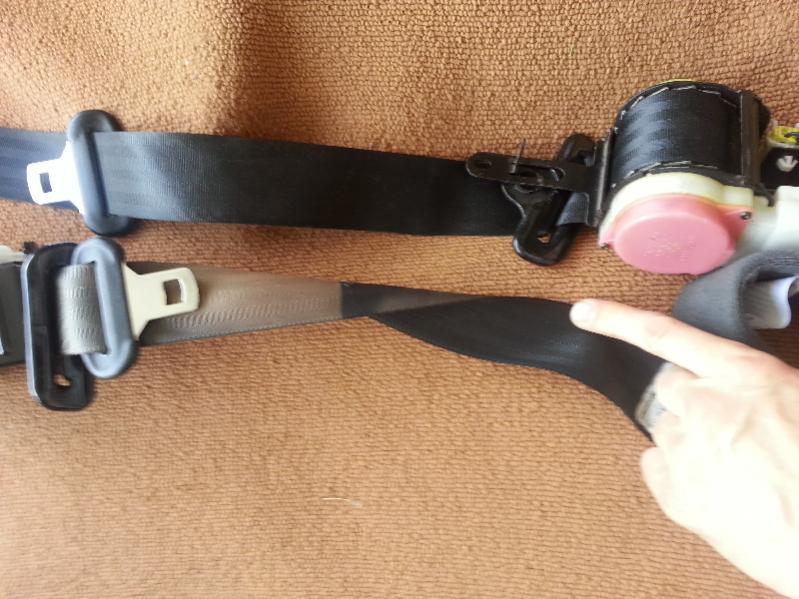
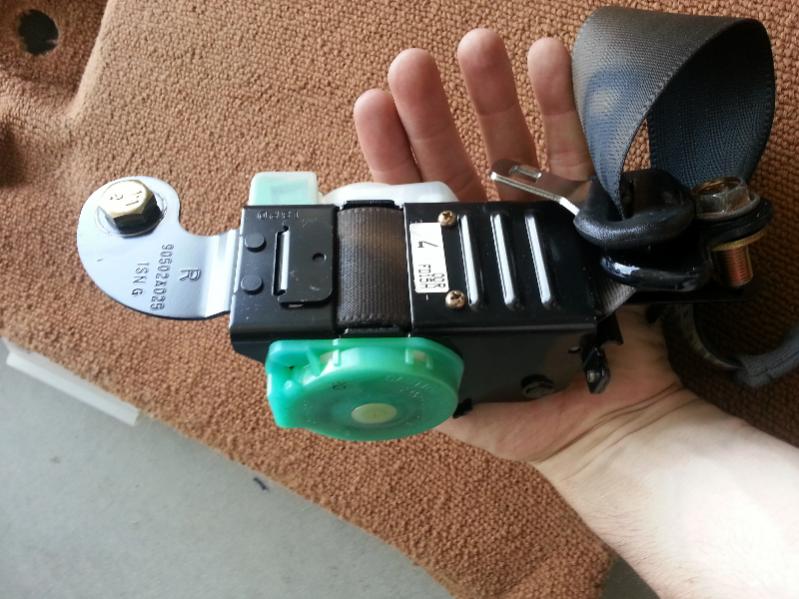
I replaced the seatbelts with non faded ones. I am continually impressed with how clean the parts in this 102k mile chassis are. These will be up for sale. Possibly a good candidate to be re dyed black.
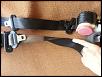
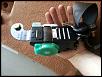
I replaced the seatbelts with non faded ones. I am continually impressed with how clean the parts in this 102k mile chassis are. These will be up for sale. Possibly a good candidate to be re dyed black.
Thread Starter
Joined: May 2005
Posts: 3,243
Likes: 42
From: Kennewick, Washington
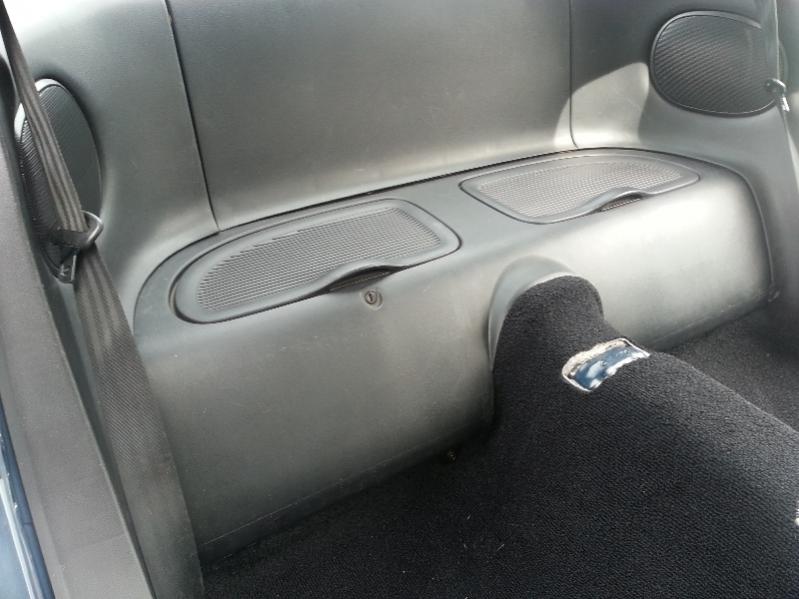
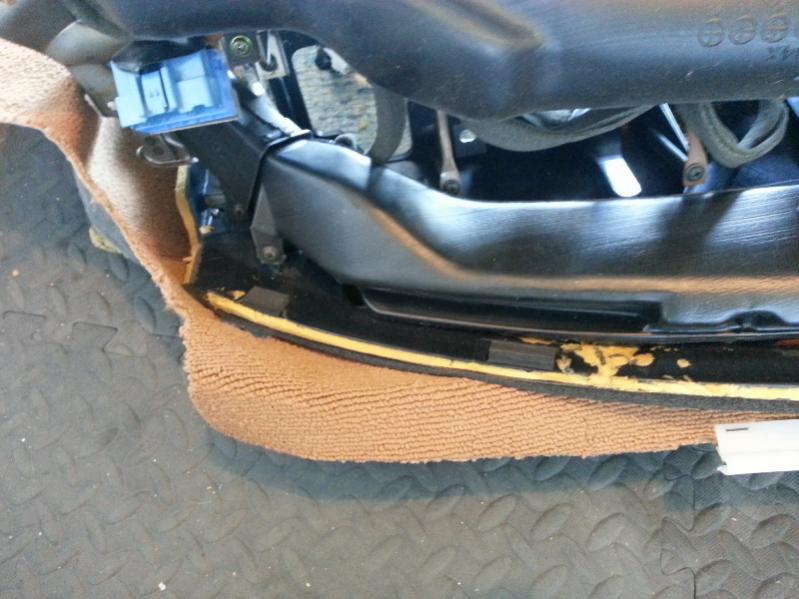
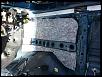
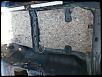
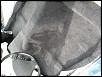
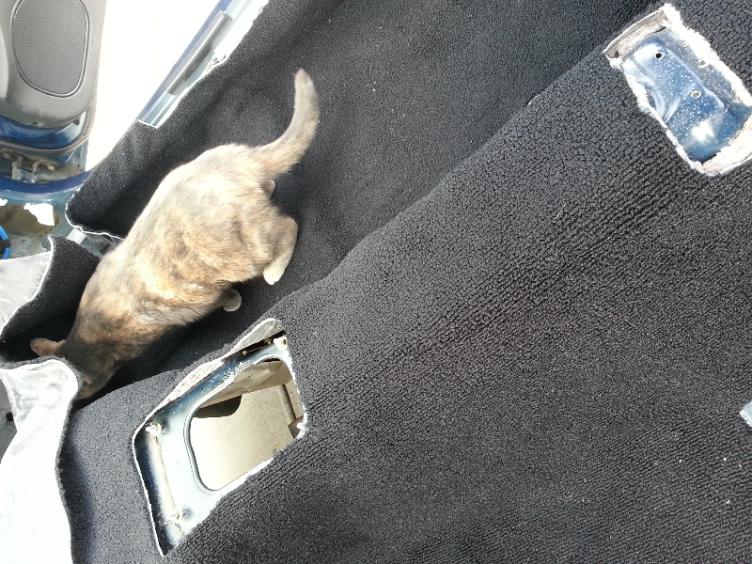
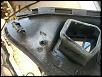
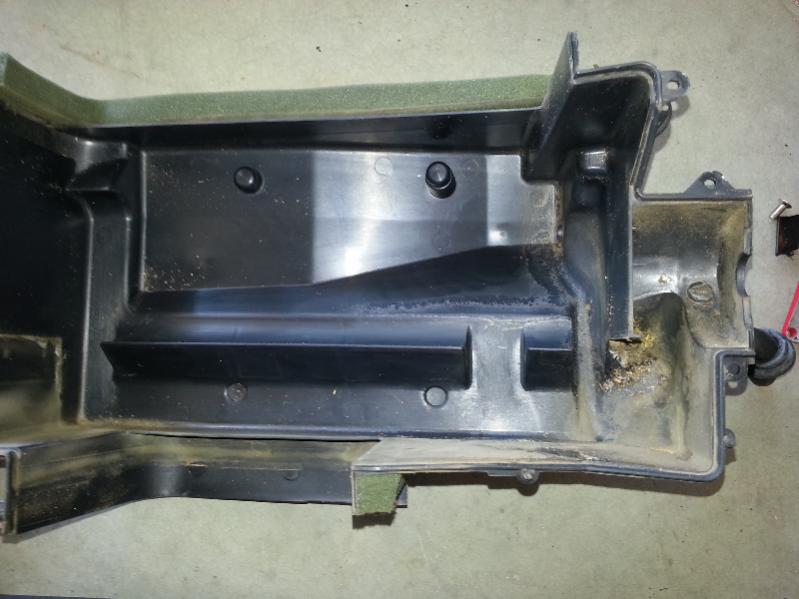
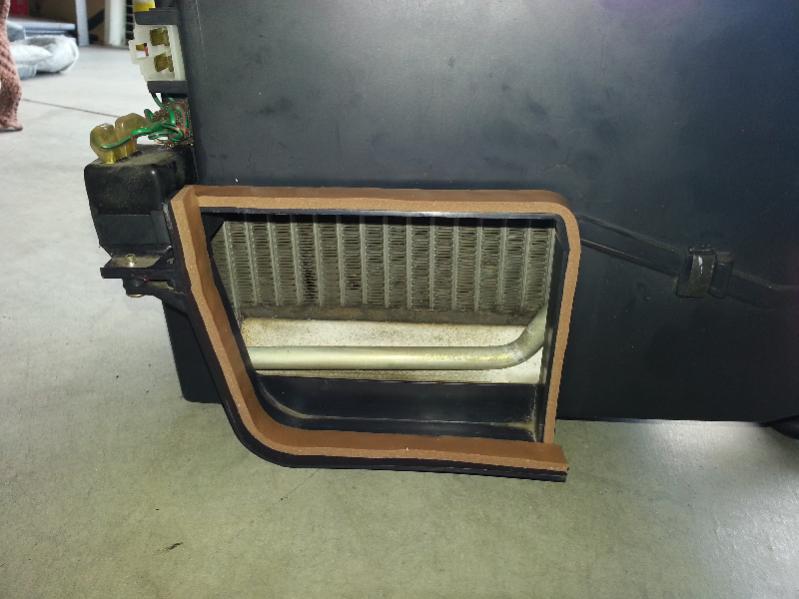
And the rear portion of the interior is back together. Thankful for zero lost or broken clips. Now I am just waiting on McMaster Carr to get me all the foam amd such to recondition the heater core and ac evaporator housings. My current foam is falling apart and I would be afraid to turn on the fan blower for fear of getting blinded by debris.

Thread Starter
Joined: May 2005
Posts: 3,243
Likes: 42
From: Kennewick, Washington
Thread Starter
Joined: May 2005
Posts: 3,243
Likes: 42
From: Kennewick, Washington
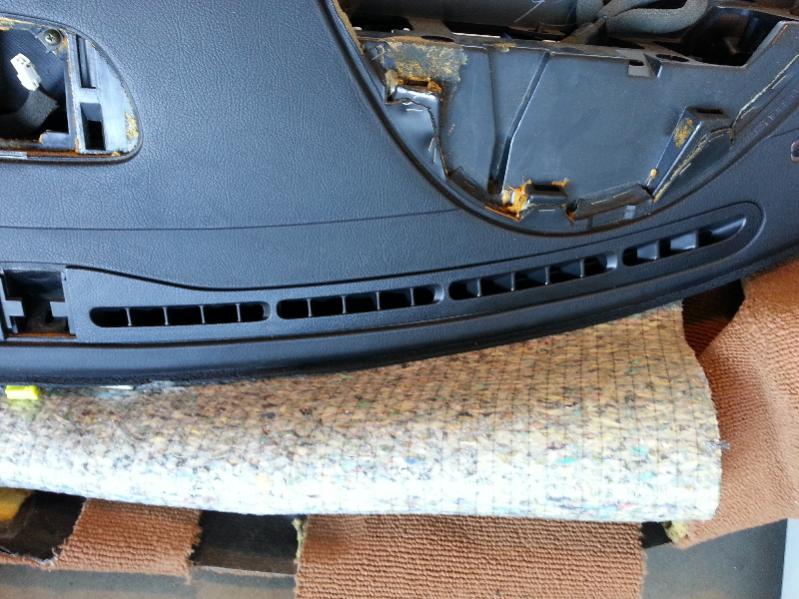
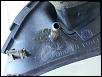
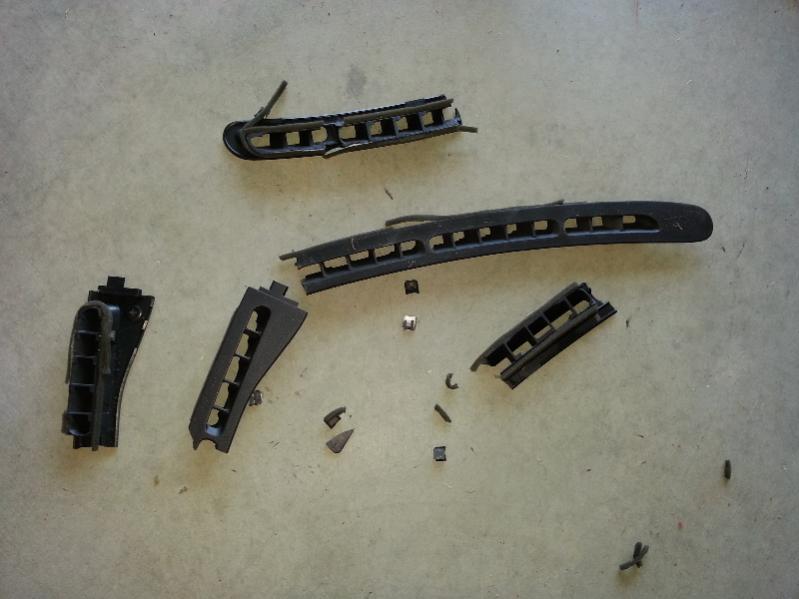
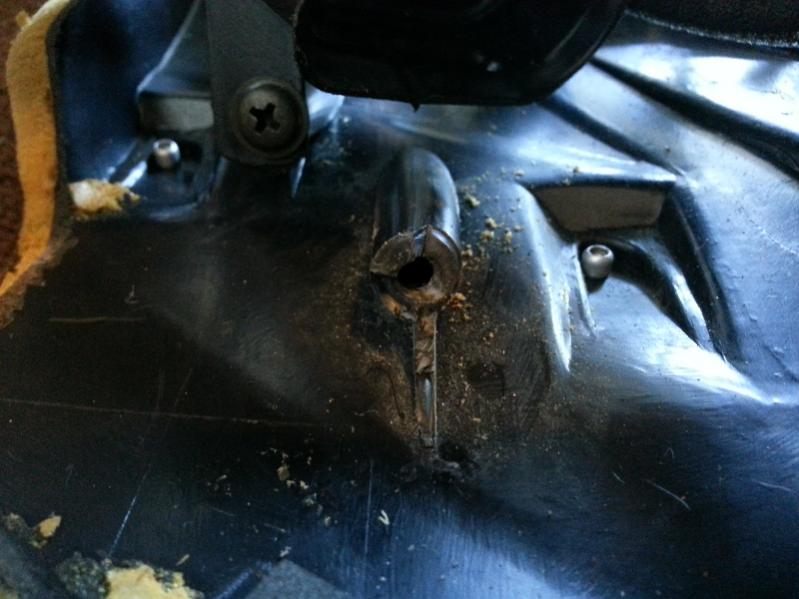
Plastic repairs!
So I have been pondering figuring out the best way to repair plastic posts that decide they no longer want to be a part of their original design.
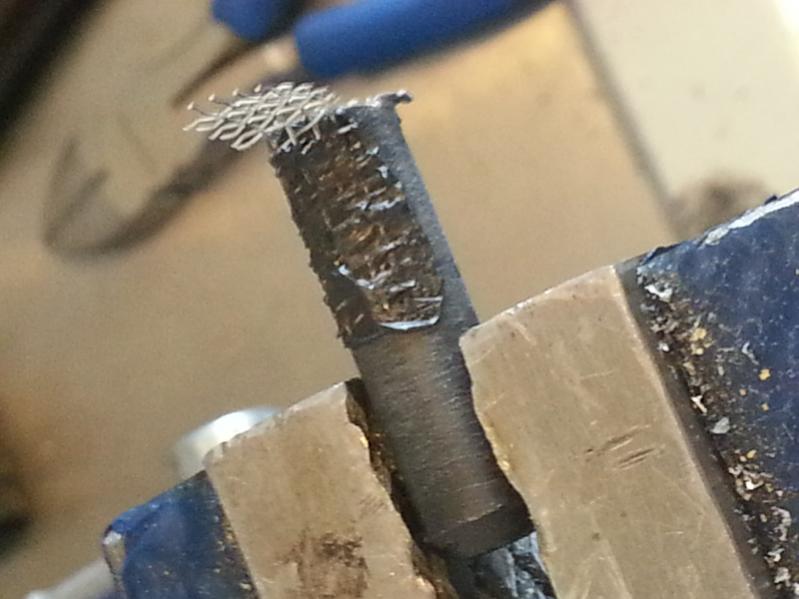
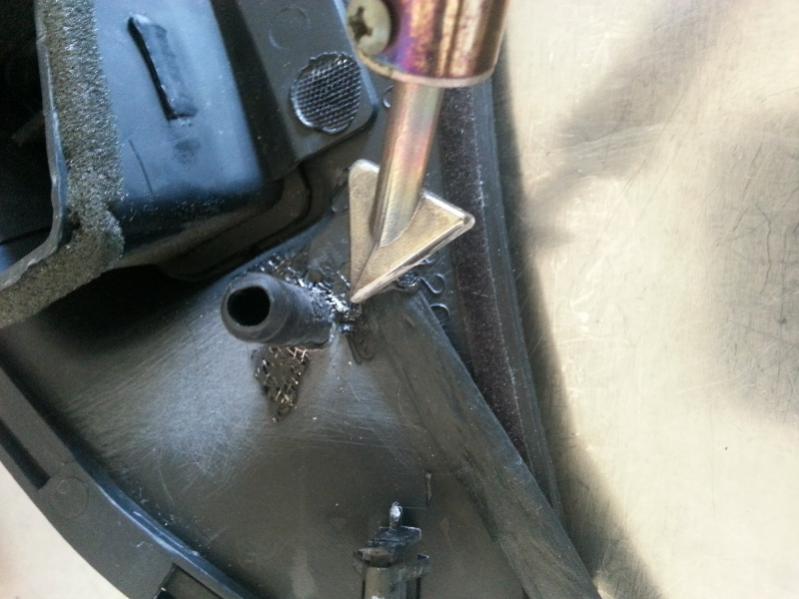
So I bought a harbor freight plastic welding kit because it was the closest to the expensive setups I could test out for cheap. Dont buy the big fan ones. Get the sub $20 soldering iron with some steel mesh. Here is the process I used:
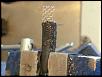

Tips: get an edge and corner melted in, then let it cool. Then work your way across. It seemed to do the trick for me.
Being patient and not getting any one area too hot for too long seems to be a very important tidbit. Otherwise, if the whole piece of mesh is hot, it will pull out completely or at least move around.
So I have been pondering figuring out the best way to repair plastic posts that decide they no longer want to be a part of their original design.
So I bought a harbor freight plastic welding kit because it was the closest to the expensive setups I could test out for cheap. Dont buy the big fan ones. Get the sub $20 soldering iron with some steel mesh. Here is the process I used:

Tips: get an edge and corner melted in, then let it cool. Then work your way across. It seemed to do the trick for me.
Being patient and not getting any one area too hot for too long seems to be a very important tidbit. Otherwise, if the whole piece of mesh is hot, it will pull out completely or at least move around.
Thread Starter
Joined: May 2005
Posts: 3,243
Likes: 42
From: Kennewick, Washington
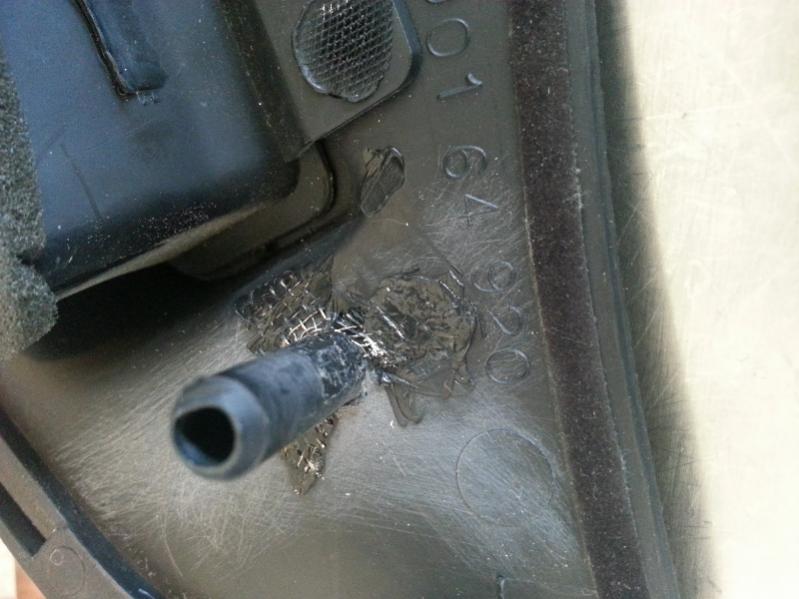
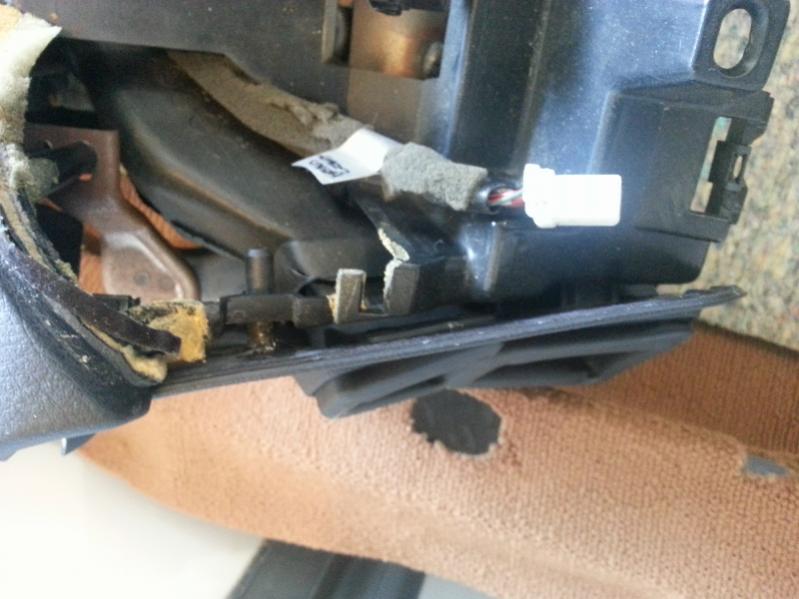
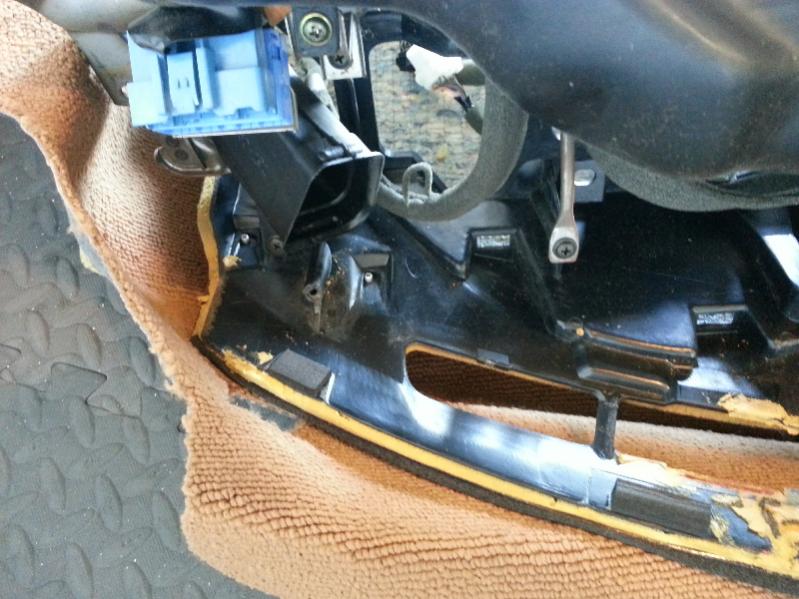
Plastic repair (continued):
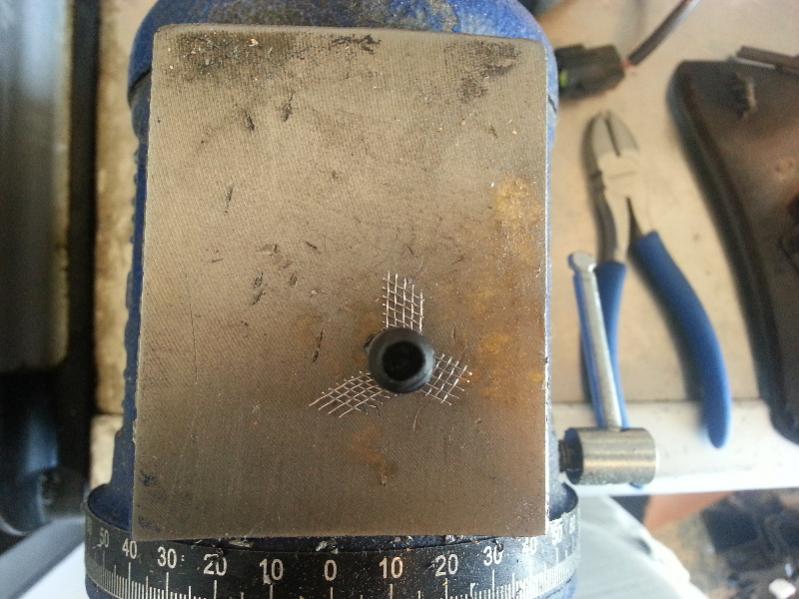
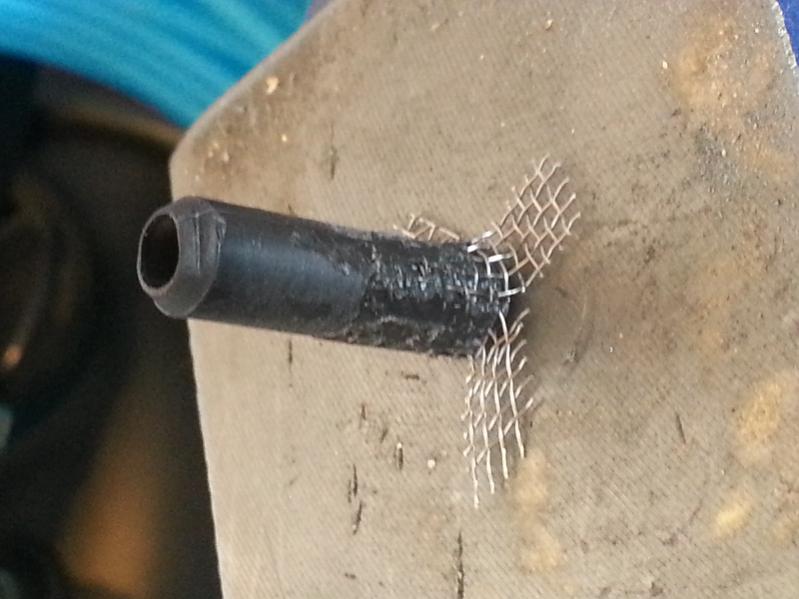
I lined up the post and tacked the edge of each tab. I then slowly worked my way towards the center. Afterwards, I added some extra filler material to smooth everything out and hopefully make it all a little bit stronger.
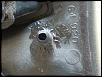
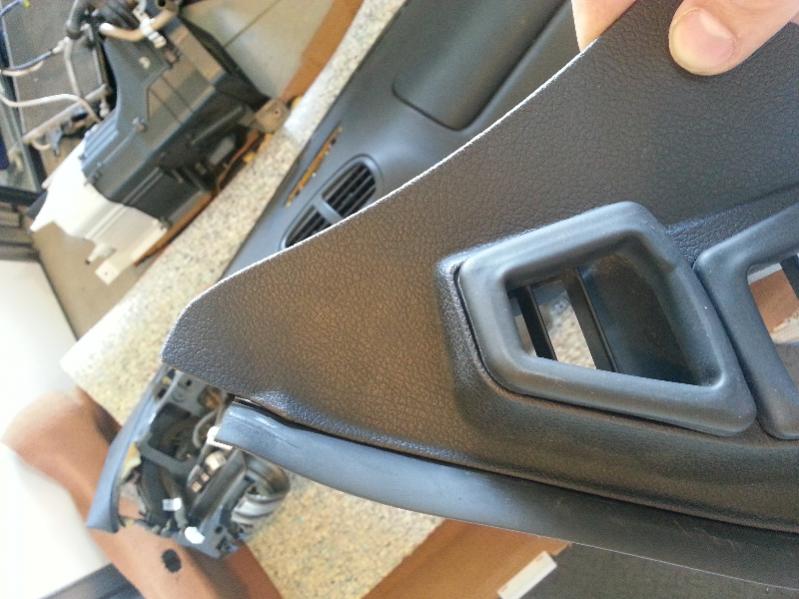
Test fitting.
Proof I didn't melt the good side.
Final product.
I lined up the post and tacked the edge of each tab. I then slowly worked my way towards the center. Afterwards, I added some extra filler material to smooth everything out and hopefully make it all a little bit stronger.
Test fitting.
Proof I didn't melt the good side.
Final product.


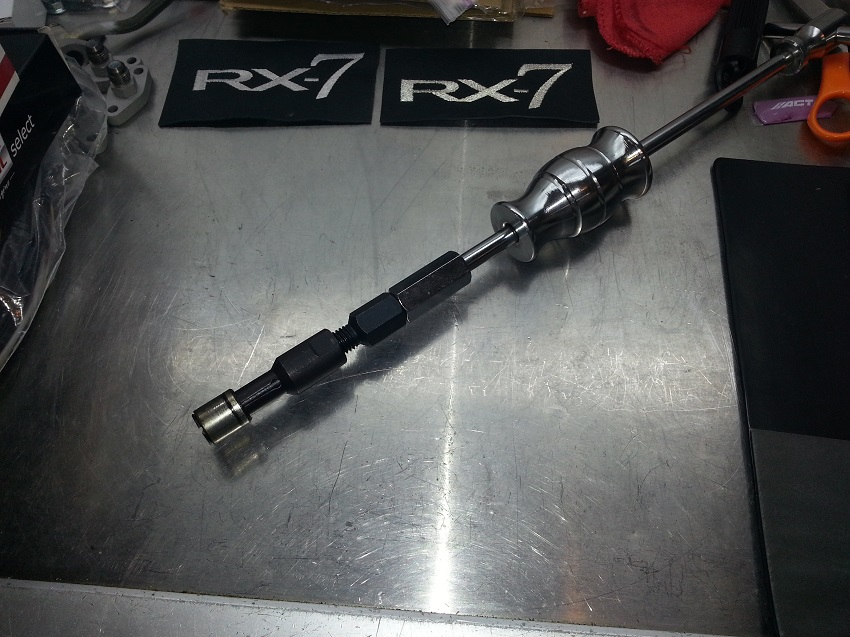
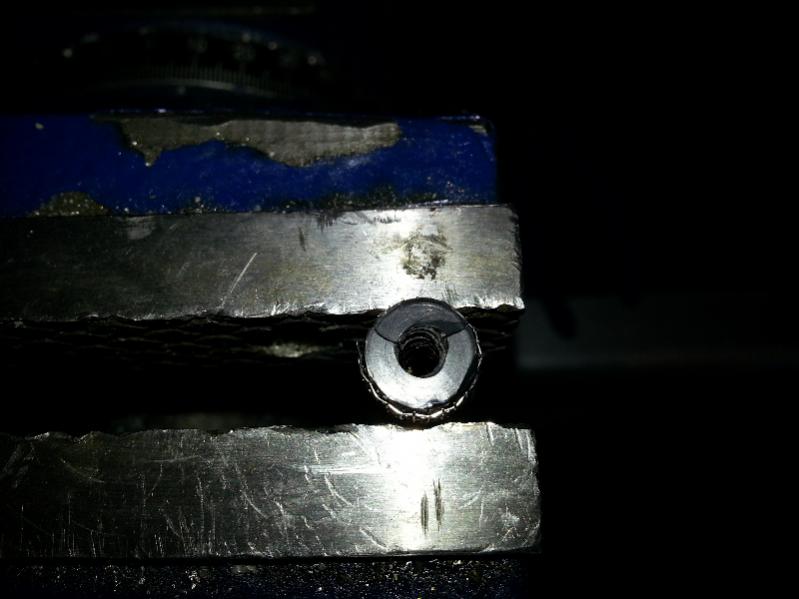
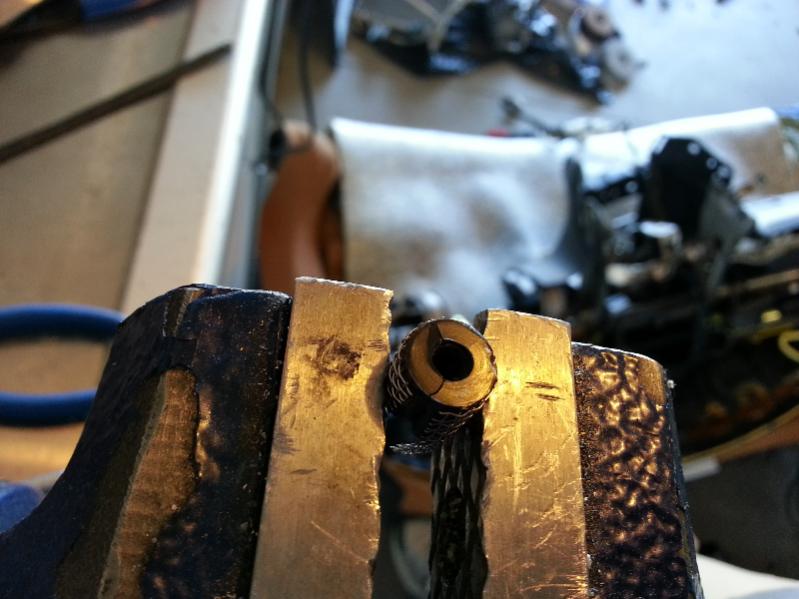
I own the Mazda SST slide hammer, but I need the collet that attaches to it to pull the bearing. Do you know exactly what collet size I need to pull the pilot bearing?
Can anyone point me in the right direction to find one? I only see complete sets for sale...
Oh and BTW nice build keep up the good work!
Can anyone point me in the right direction to find one? I only see complete sets for sale...
Oh and BTW nice build
keep up the good work!
Thread Starter
Joined: May 2005
Posts: 3,243
Likes: 42
From: Kennewick, Washington
I own the Mazda SST slide hammer, but I need the collet that attaches to it to pull the bearing. Do you know exactly what collet size I need to pull the pilot bearing?
Can anyone point me in the right direction to find one? I only see complete sets for sale...
Oh and BTW nice build
keep up the good work!
Thread Starter
Joined: May 2005
Posts: 3,243
Likes: 42
From: Kennewick, Washington
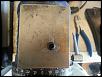
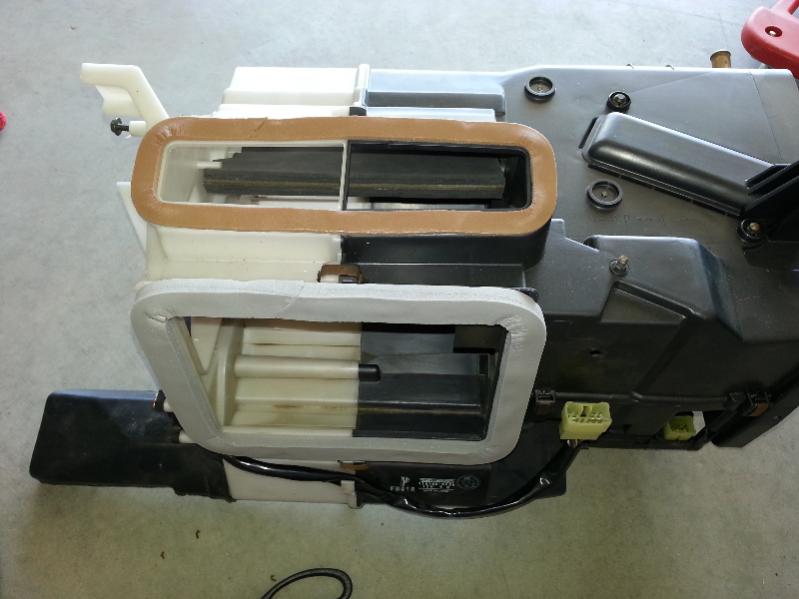
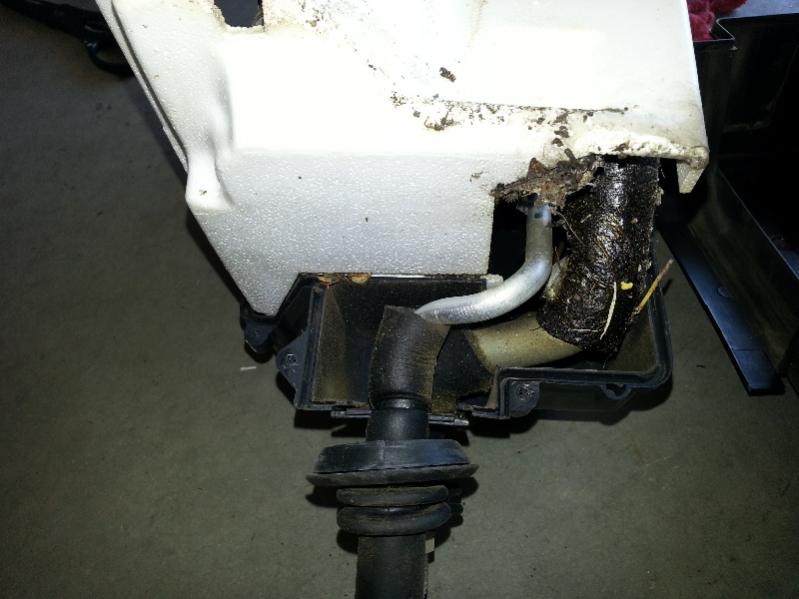
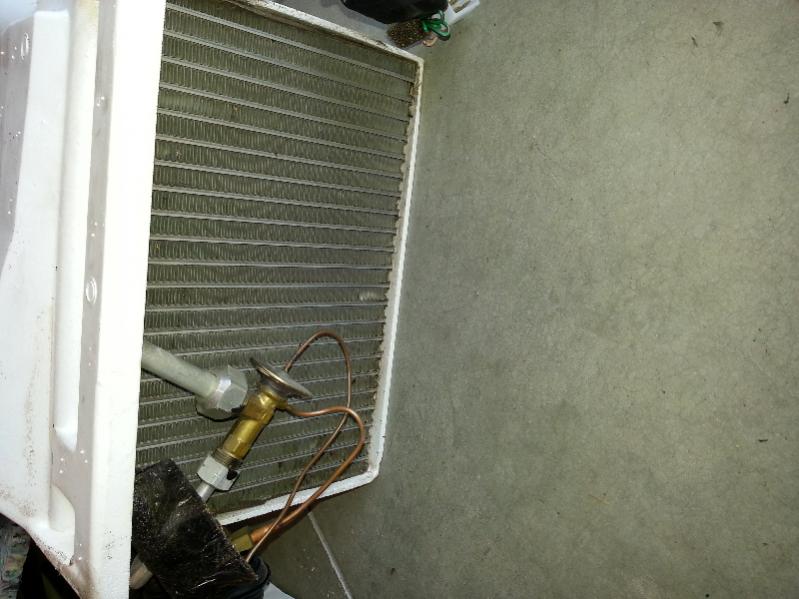
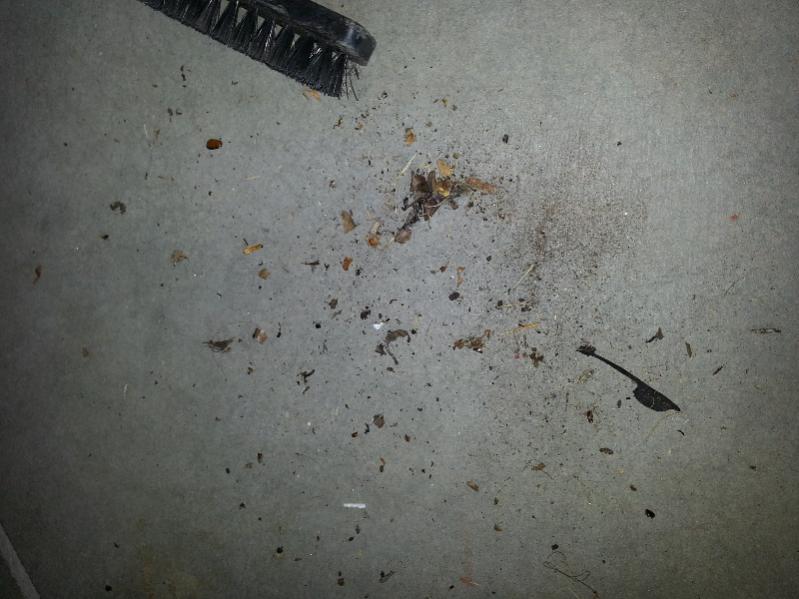
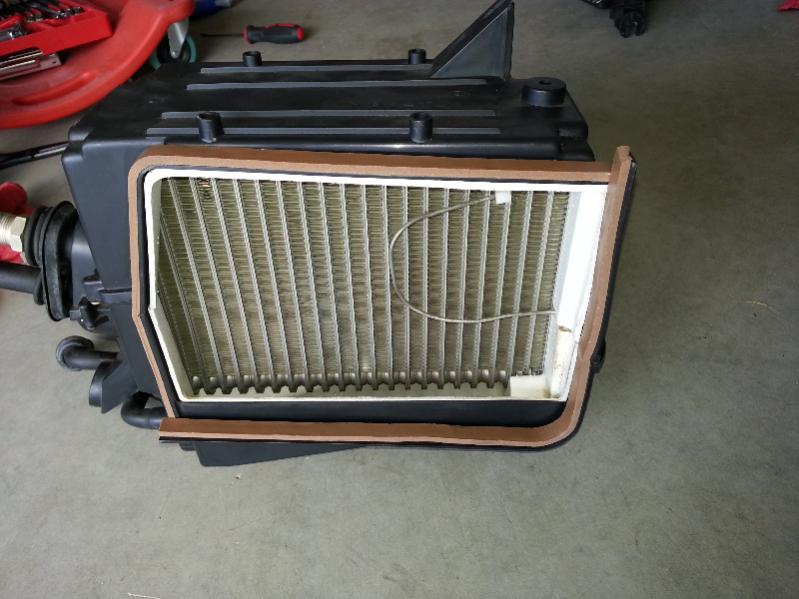
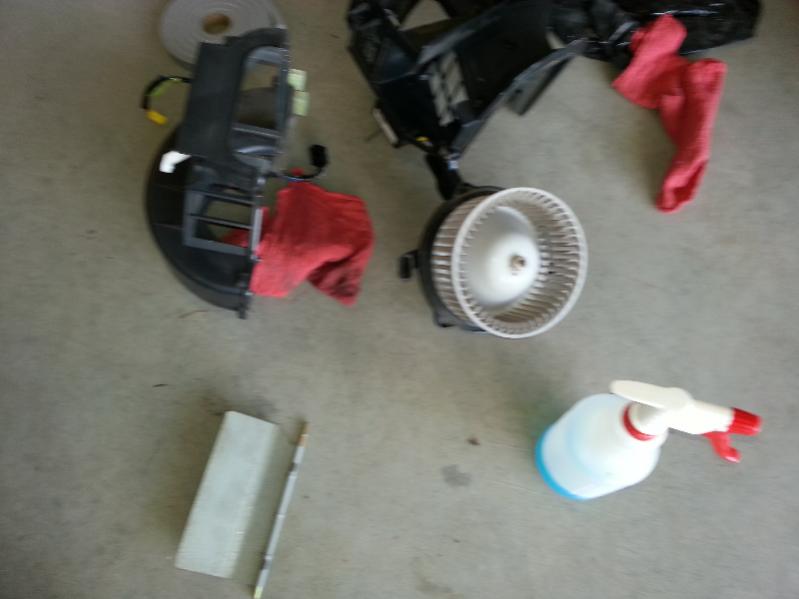
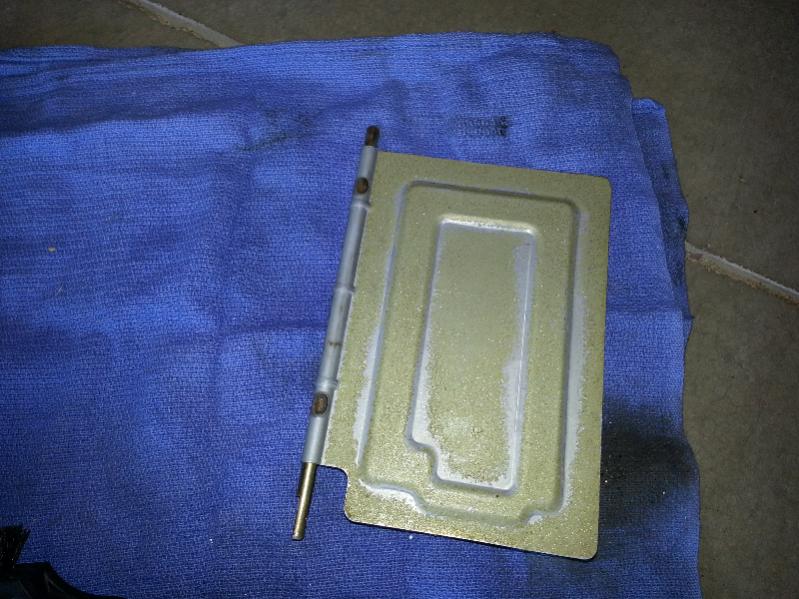
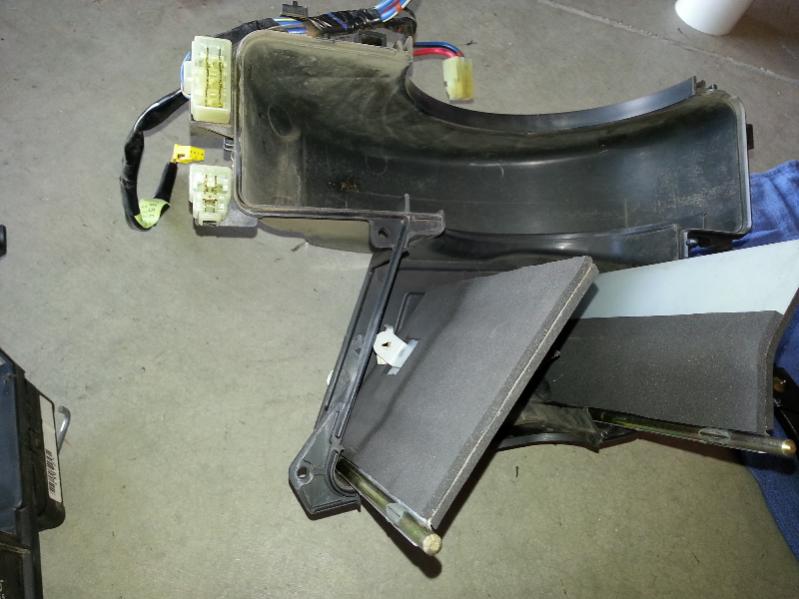
Started in refurbishing the heater core, ac core, amd blower motor foam and such. Shook out all sort of gunk. And all of the foam was terrible. I found that scraping off as much as possible and then using alcohol and a plastic bristle brush to get the rest. It didn't get all of the adhesive off, but after it dried, the new foam stuck just fine.

Thread Starter
Joined: May 2005
Posts: 3,243
Likes: 42
From: Kennewick, Washington
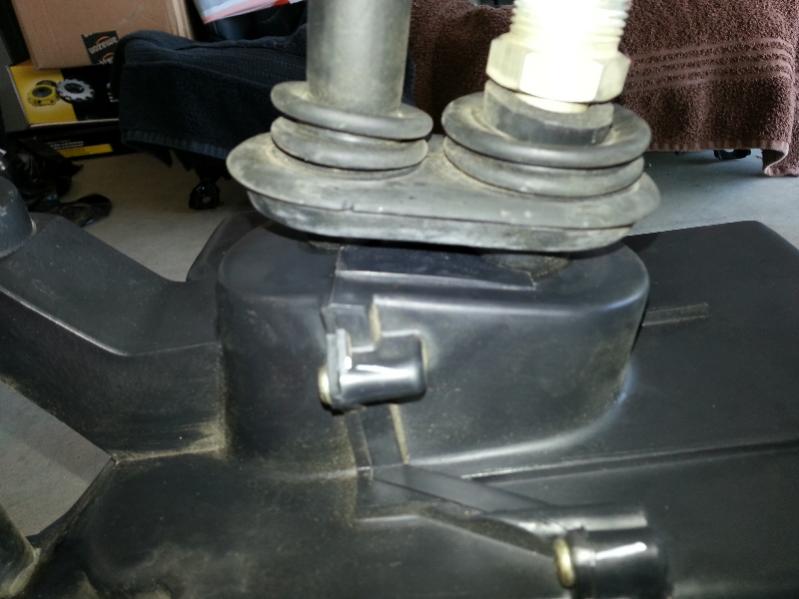

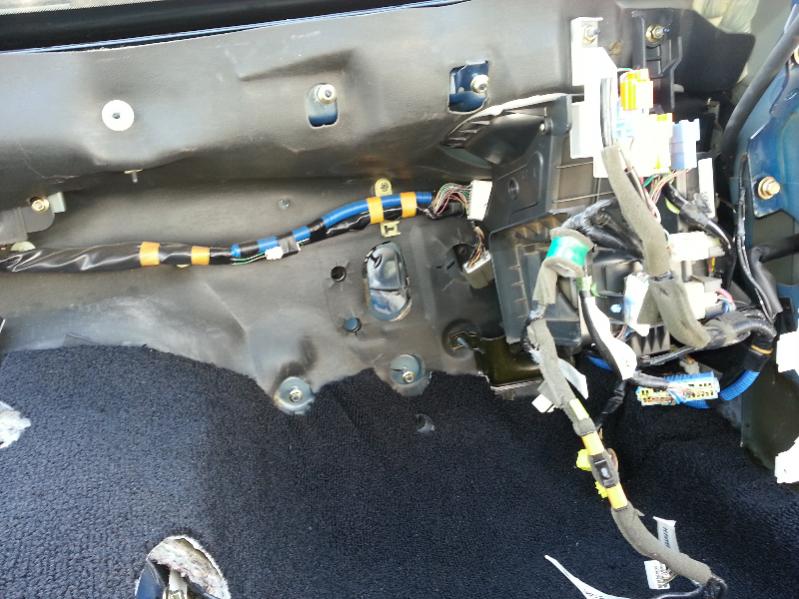
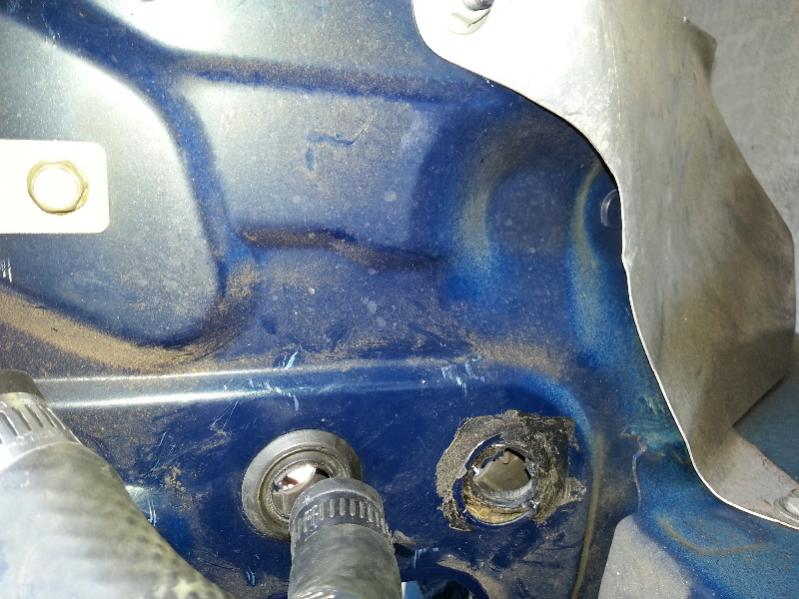
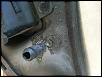
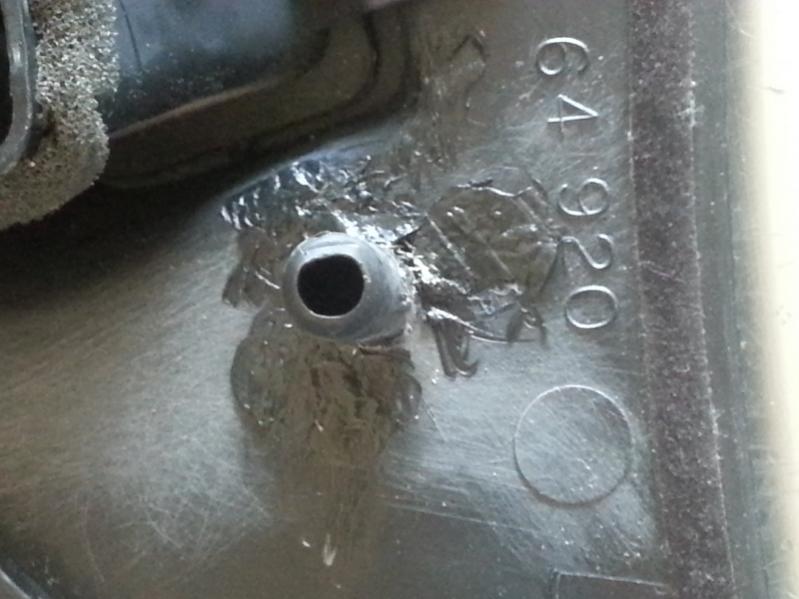
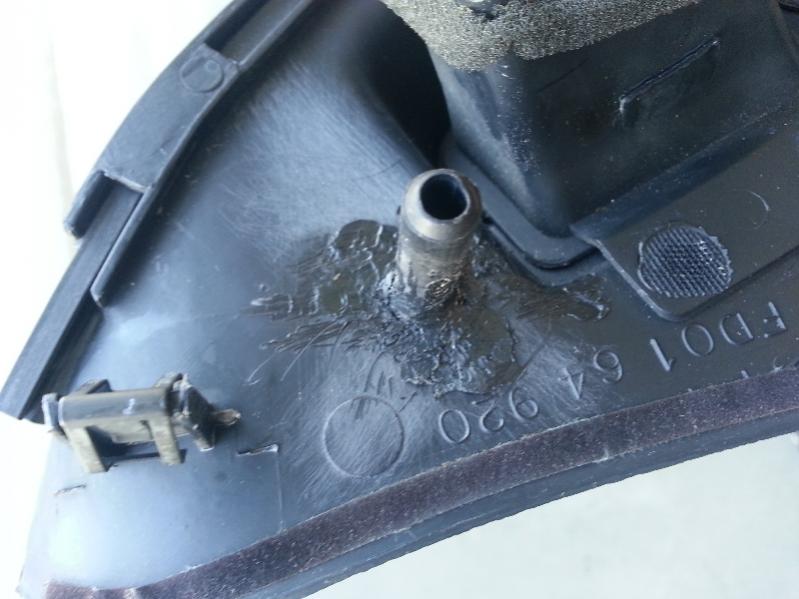
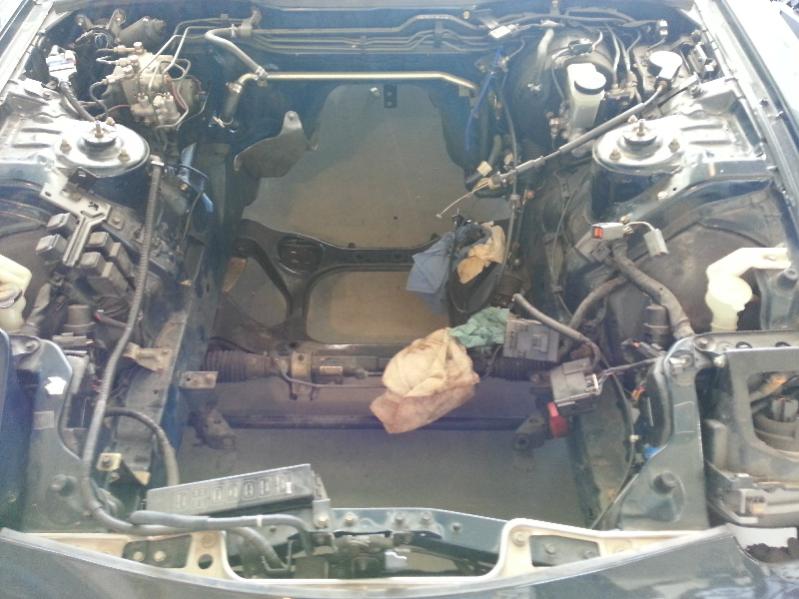
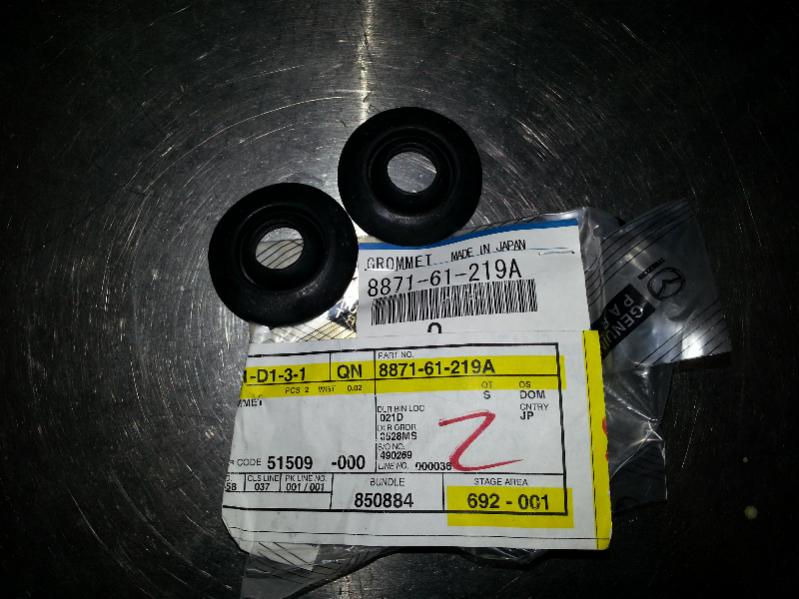
Previous owner didn't want to do it right, so they just put silicone all over it to seal it up. These grommets are still available. The one for the ac evaporator is not.
Thread Starter
Joined: May 2005
Posts: 3,243
Likes: 42
From: Kennewick, Washington

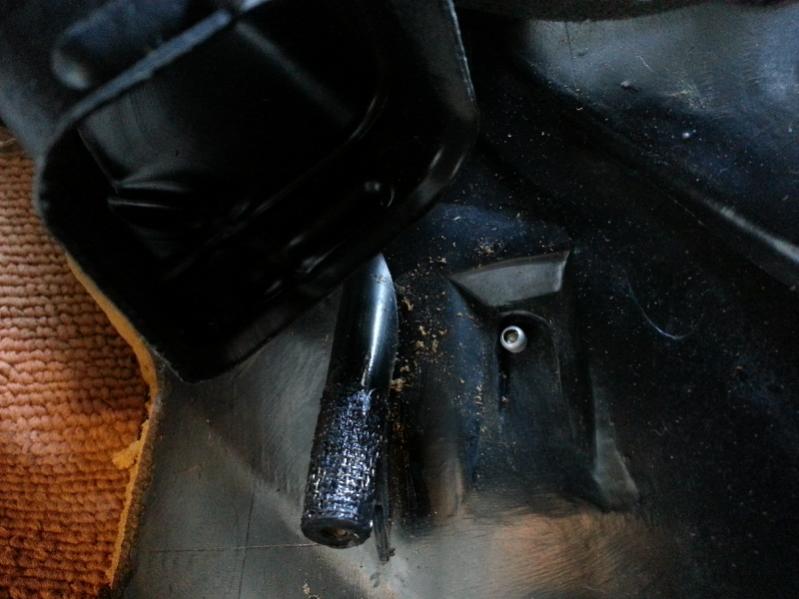
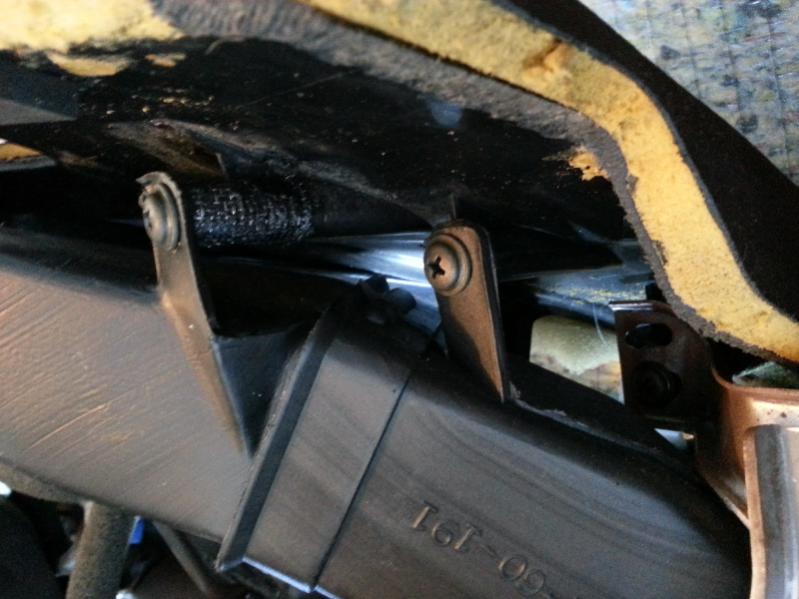
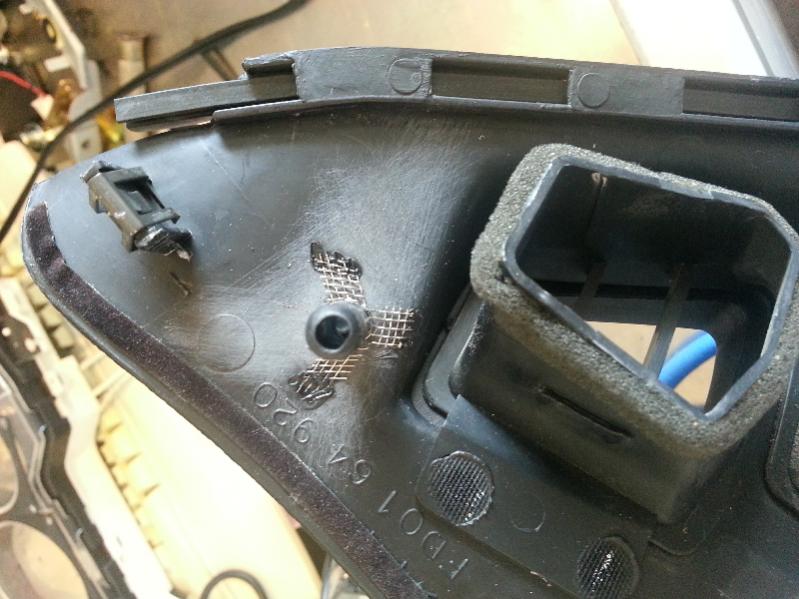
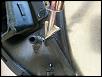
Made a major plastic repair. The post had broken off and then split in two. So I wrapped it and then attached it. Test my ability to get into tight spaces without damaging other plastics.