Build Threads The place to discuss complete builds

Stock Twins FD to Single E85 Build

Thread Tools
 
Search this Thread
 
Old 03-13-20, 10:20 AM
  #76  
Full Member
Thread Starter
 
quinnry2's Avatar
 
Join Date: Jan 2019
Location: Grand Rapids, MI
Posts: 105
Received 28 Likes on 24 Posts


The carbon Miata pieces are not exactly oem fit.

New bosses in as you can see below, they do not line up in most cases.

Old 03-14-20, 11:55 PM
  #77  
Rotary Enthusiast
iTrader: (3)
 
spintriangles's Avatar
 
Join Date: Jul 2016
Location: fl
Posts: 911
Received 217 Likes on 165 Posts
Very nice build. Lately people have been building some really clean cars here
Old 04-03-20, 06:45 PM
  #78  
Psalms 37**25

 
rotaryB-2000's Avatar
 
Join Date: Jan 2007
Location: Garnerville N.Y
Posts: 866
Received 0 Likes on 0 Posts
very nice
Old 04-10-20, 10:34 AM
  #79  
Full Member
Thread Starter
 
quinnry2's Avatar
 
Join Date: Jan 2019
Location: Grand Rapids, MI
Posts: 105
Received 28 Likes on 24 Posts
Project update... A/C System - Condenser and lines flushed, created dryer bracket and bend/tweaking some lines around the turbo intake. Drier bottle was no longer available so those lines had to be made with the bracket to adopt a generic one for the MANA system.


Last edited by quinnry2; 04-10-20 at 10:39 AM.
Old 04-10-20, 10:44 AM
  #80  
Full Member
Thread Starter
 
quinnry2's Avatar
 
Join Date: Jan 2019
Location: Grand Rapids, MI
Posts: 105
Received 28 Likes on 24 Posts

New oil level sensor popped into the oil pan.

The compressor line ran right into the oil thermostat so Andrew had to rotate it and angle it down.
The following users liked this post:
ZE Power MX6 (04-10-20)
Old 04-14-20, 08:07 AM
  #81  
Full Member

iTrader: (5)
 
Mike93r1's Avatar
 
Join Date: Aug 2011
Location: Nebraska
Posts: 108
Received 8 Likes on 7 Posts
Awesome build so far. How did those Speedhut guages fit with the Carbon Miata piece. Did you have to modify it to fit the Speedhut chrome rings? Pictures would be great if you have any. Keep up the good work.
Old 04-14-20, 10:27 AM
  #82  
Senior Member

iTrader: (5)
 
Akomix's Avatar
 
Join Date: Apr 2015
Location: St. Louis, MO
Posts: 396
Received 161 Likes on 78 Posts
Really enjoying this so far. Excited to see where it ends up at the end.
Old 04-16-20, 03:55 PM
  #83  
Old Member

iTrader: (15)
 
wutangben's Avatar
 
Join Date: Jul 2002
Location: IL
Posts: 525
Received 43 Likes on 18 Posts
hell yeah. very similar to what I just went through on my car. I'm curious how you will fair when it comes to the injector staging issue that the haltech's have. we are still trying to solve the issue on my car once and for all.
Old 04-18-20, 10:21 PM
  #84  
hkp
big turbo spoolin

iTrader: (2)
 
hkp's Avatar
 
Join Date: Jul 2005
Location: san antonio tx
Posts: 1,002
Received 7 Likes on 7 Posts
Was poking around for some E85 stuff and found your thread, amazing work, can't wait to see some videos of this thing rippin.
Old 04-19-20, 12:21 PM
  #85  
Full Member
Thread Starter
 
quinnry2's Avatar
 
Join Date: Jan 2019
Location: Grand Rapids, MI
Posts: 105
Received 28 Likes on 24 Posts
Update time...Some more AC component love... rusty brackets painted and aligned fins as well as final line routing pics.


Old 04-19-20, 12:25 PM
  #86  
Full Member
Thread Starter
 
quinnry2's Avatar
 
Join Date: Jan 2019
Location: Grand Rapids, MI
Posts: 105
Received 28 Likes on 24 Posts
Shameless plug for Andrew’s (Zprecision) Haltech Elite bracket. My car was the guinea pig for this and it turned out really well.


Old 04-19-20, 12:30 PM
  #87  
Full Member
Thread Starter
 
quinnry2's Avatar
 
Join Date: Jan 2019
Location: Grand Rapids, MI
Posts: 105
Received 28 Likes on 24 Posts
When I first got the car I did not give the tan interior a second thought but the more I saw the timeless look of all black the more I decided to source some black oem pieces.

Jim sold me some nice carpet and side panels to get the conversion rolling.


Old 04-19-20, 04:03 PM
  #88  
Full Member
Thread Starter
 
quinnry2's Avatar
 
Join Date: Jan 2019
Location: Grand Rapids, MI
Posts: 105
Received 28 Likes on 24 Posts
Like any car that had been sitting for a long time you are prone to find some surprises. In this case, more mouse homes!


Is a nice condition tan carpet worth anything?
The following users liked this post:
Nakd n Fearless (06-12-20)
Old 04-21-20, 07:34 AM
  #89  
Full Member
Thread Starter
 
quinnry2's Avatar
 
Join Date: Jan 2019
Location: Grand Rapids, MI
Posts: 105
Received 28 Likes on 24 Posts
Originally Posted by Mike93r1
Awesome build so far. How did those Speedhut guages fit with the Carbon Miata piece. Did you have to modify it to fit the Speedhut chrome rings? Pictures would be great if you have any. Keep up the good work.
The Carbon Miata pieces seem to be a complete pain to work with. I will let Andrew comment on anything else as he is the one messing with it.

Originally Posted by Akomix
Really enjoying this so far. Excited to see where it ends up at the end.
Thanks, lights are starting to shine at the end of this long tunnel.

Originally Posted by wutangben
hell yeah. very similar to what I just went through on my car. I'm curious how you will fair when it comes to the injector staging issue that the haltech's have. we are still trying to solve the issue on my car once and for all.
Mind elaborating? Also on the hunt for some remote tune help to get it rolling - Anyone?

Originally Posted by hkp
Was poking around for some E85 stuff and found your thread, amazing work, can't wait to see some videos of this thing rippin.
You and me both. Soon.


Old 04-21-20, 07:45 AM
  #90  
Full Member
Thread Starter
 
quinnry2's Avatar
 
Join Date: Jan 2019
Location: Grand Rapids, MI
Posts: 105
Received 28 Likes on 24 Posts
Some more progress... new foam/ cleaning and putting dash pieces back together.


Last edited by quinnry2; 04-21-20 at 07:48 AM.
Old 04-24-20, 07:54 PM
  #91  
Full Member
Thread Starter
 
quinnry2's Avatar
 
Join Date: Jan 2019
Location: Grand Rapids, MI
Posts: 105
Received 28 Likes on 24 Posts
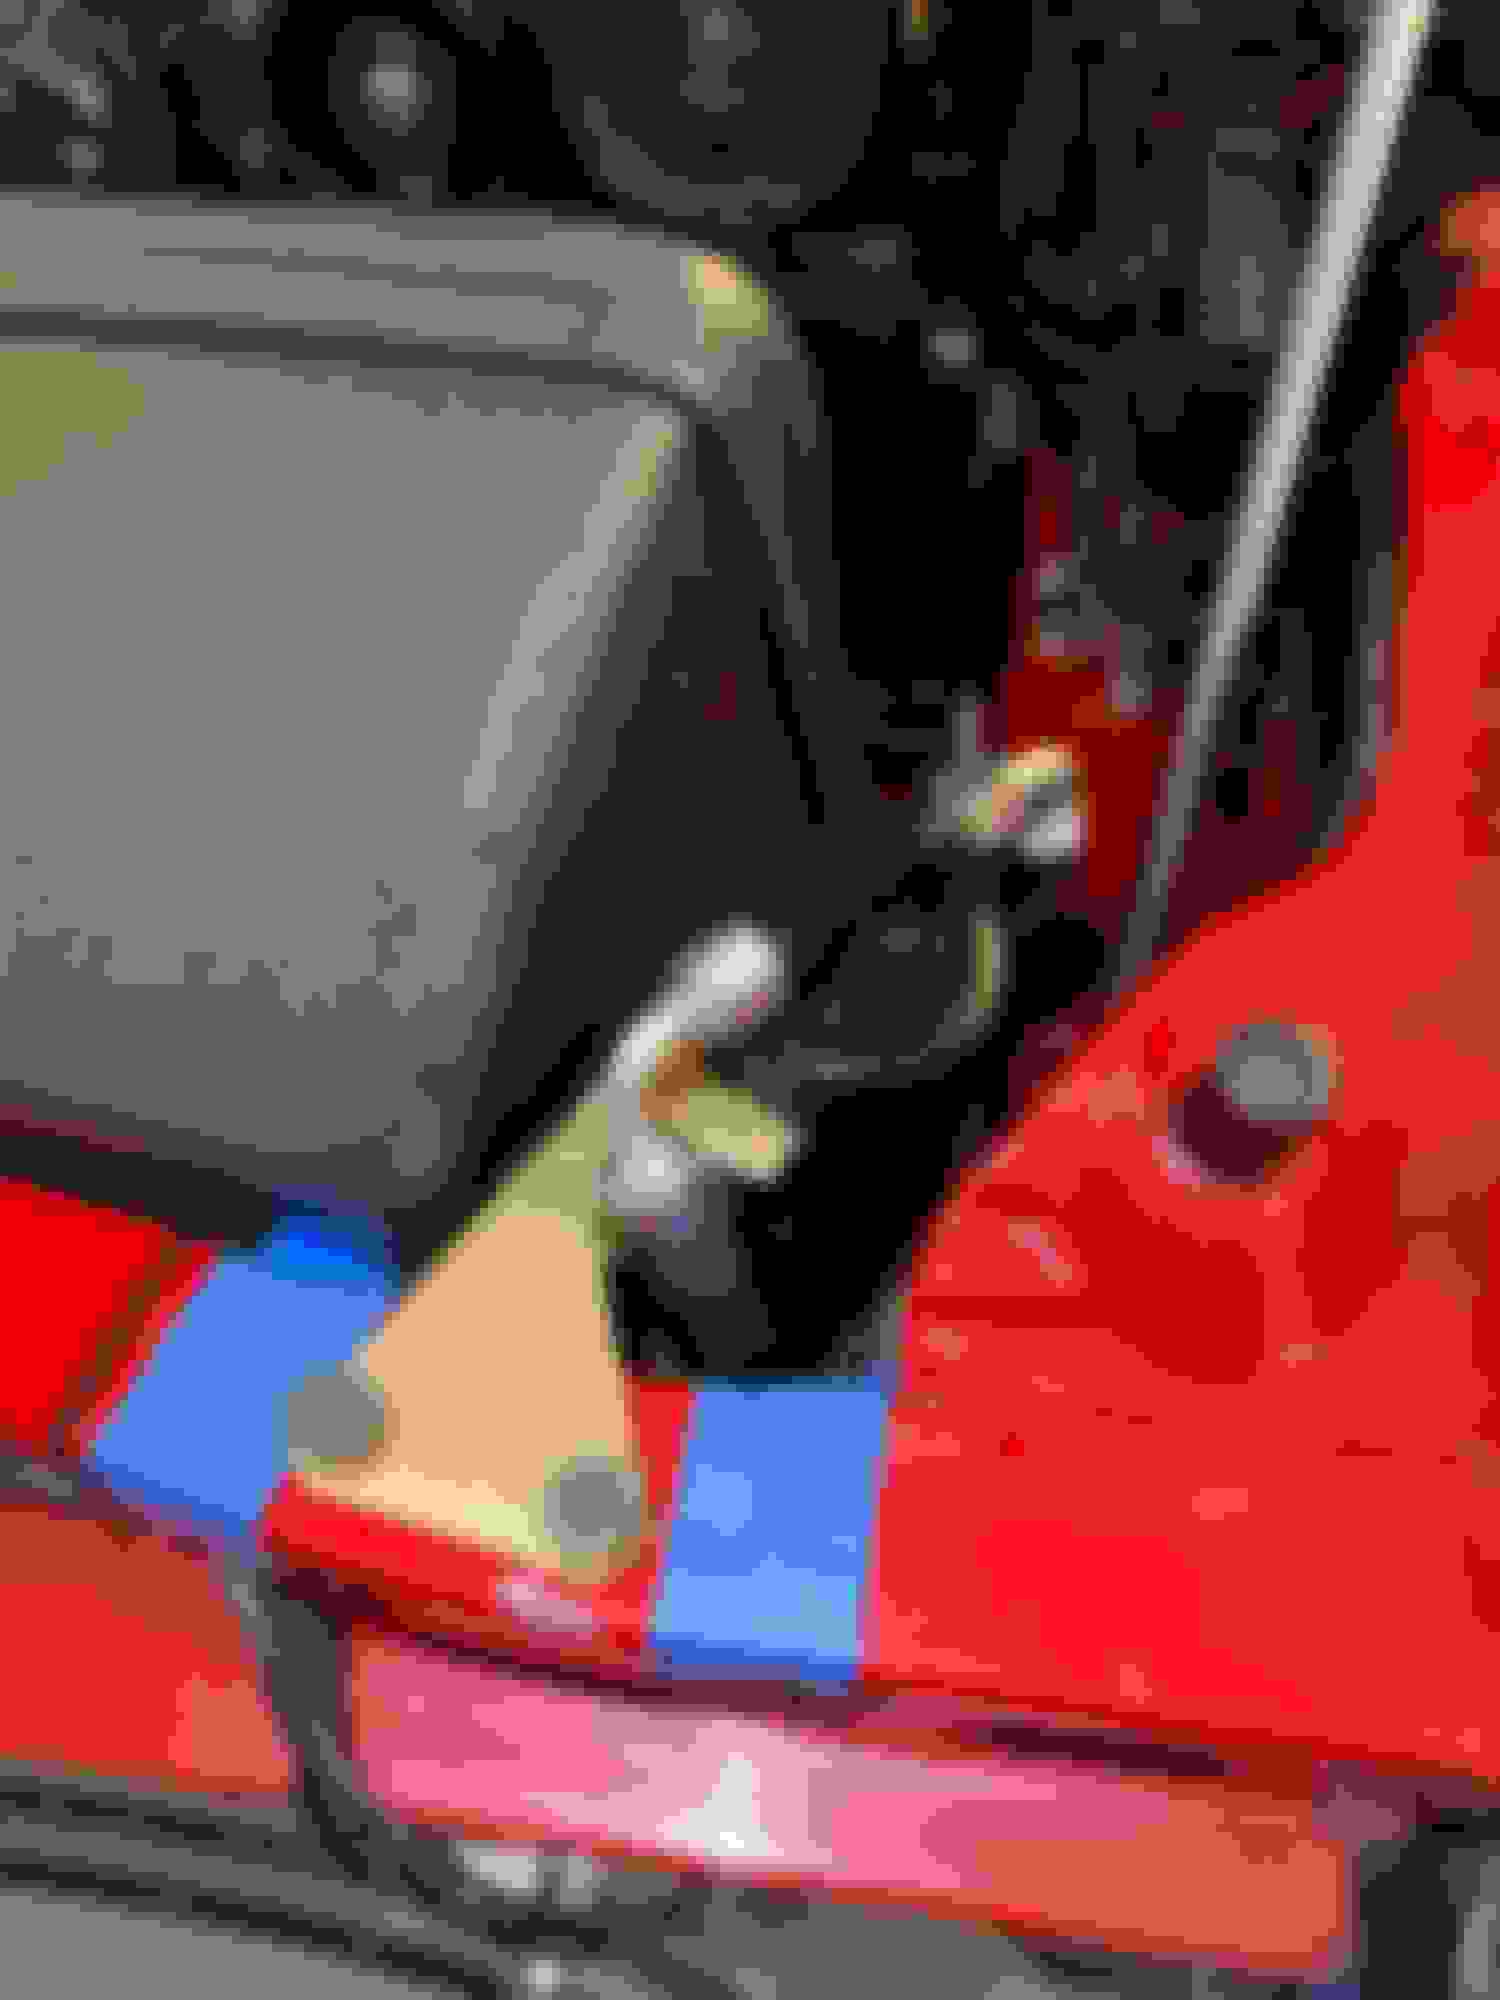
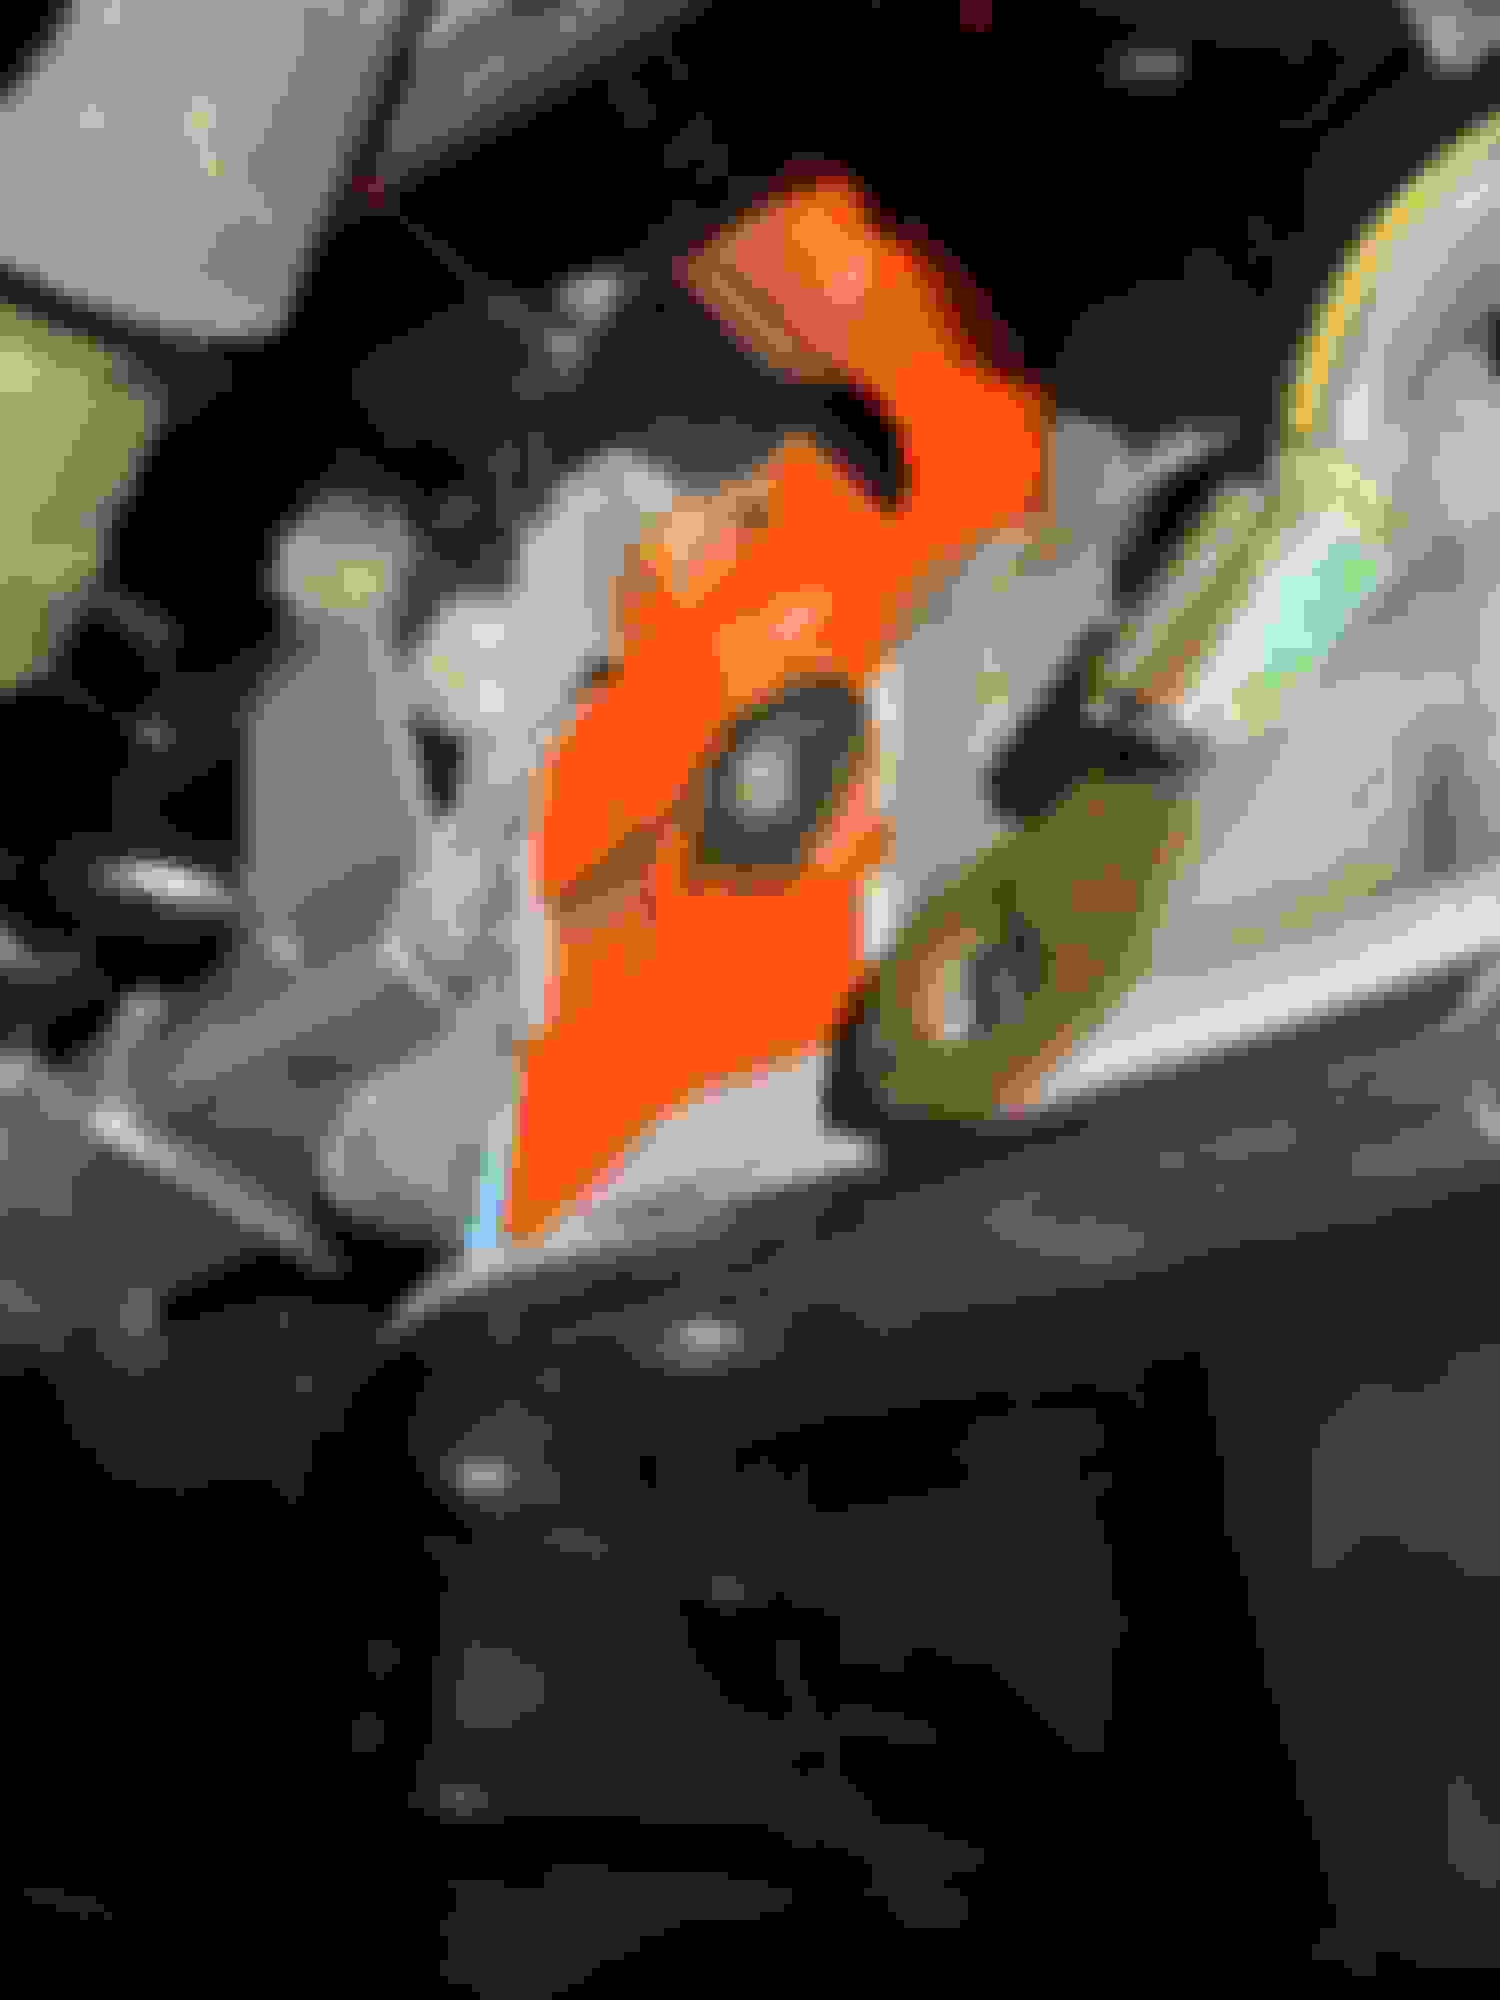
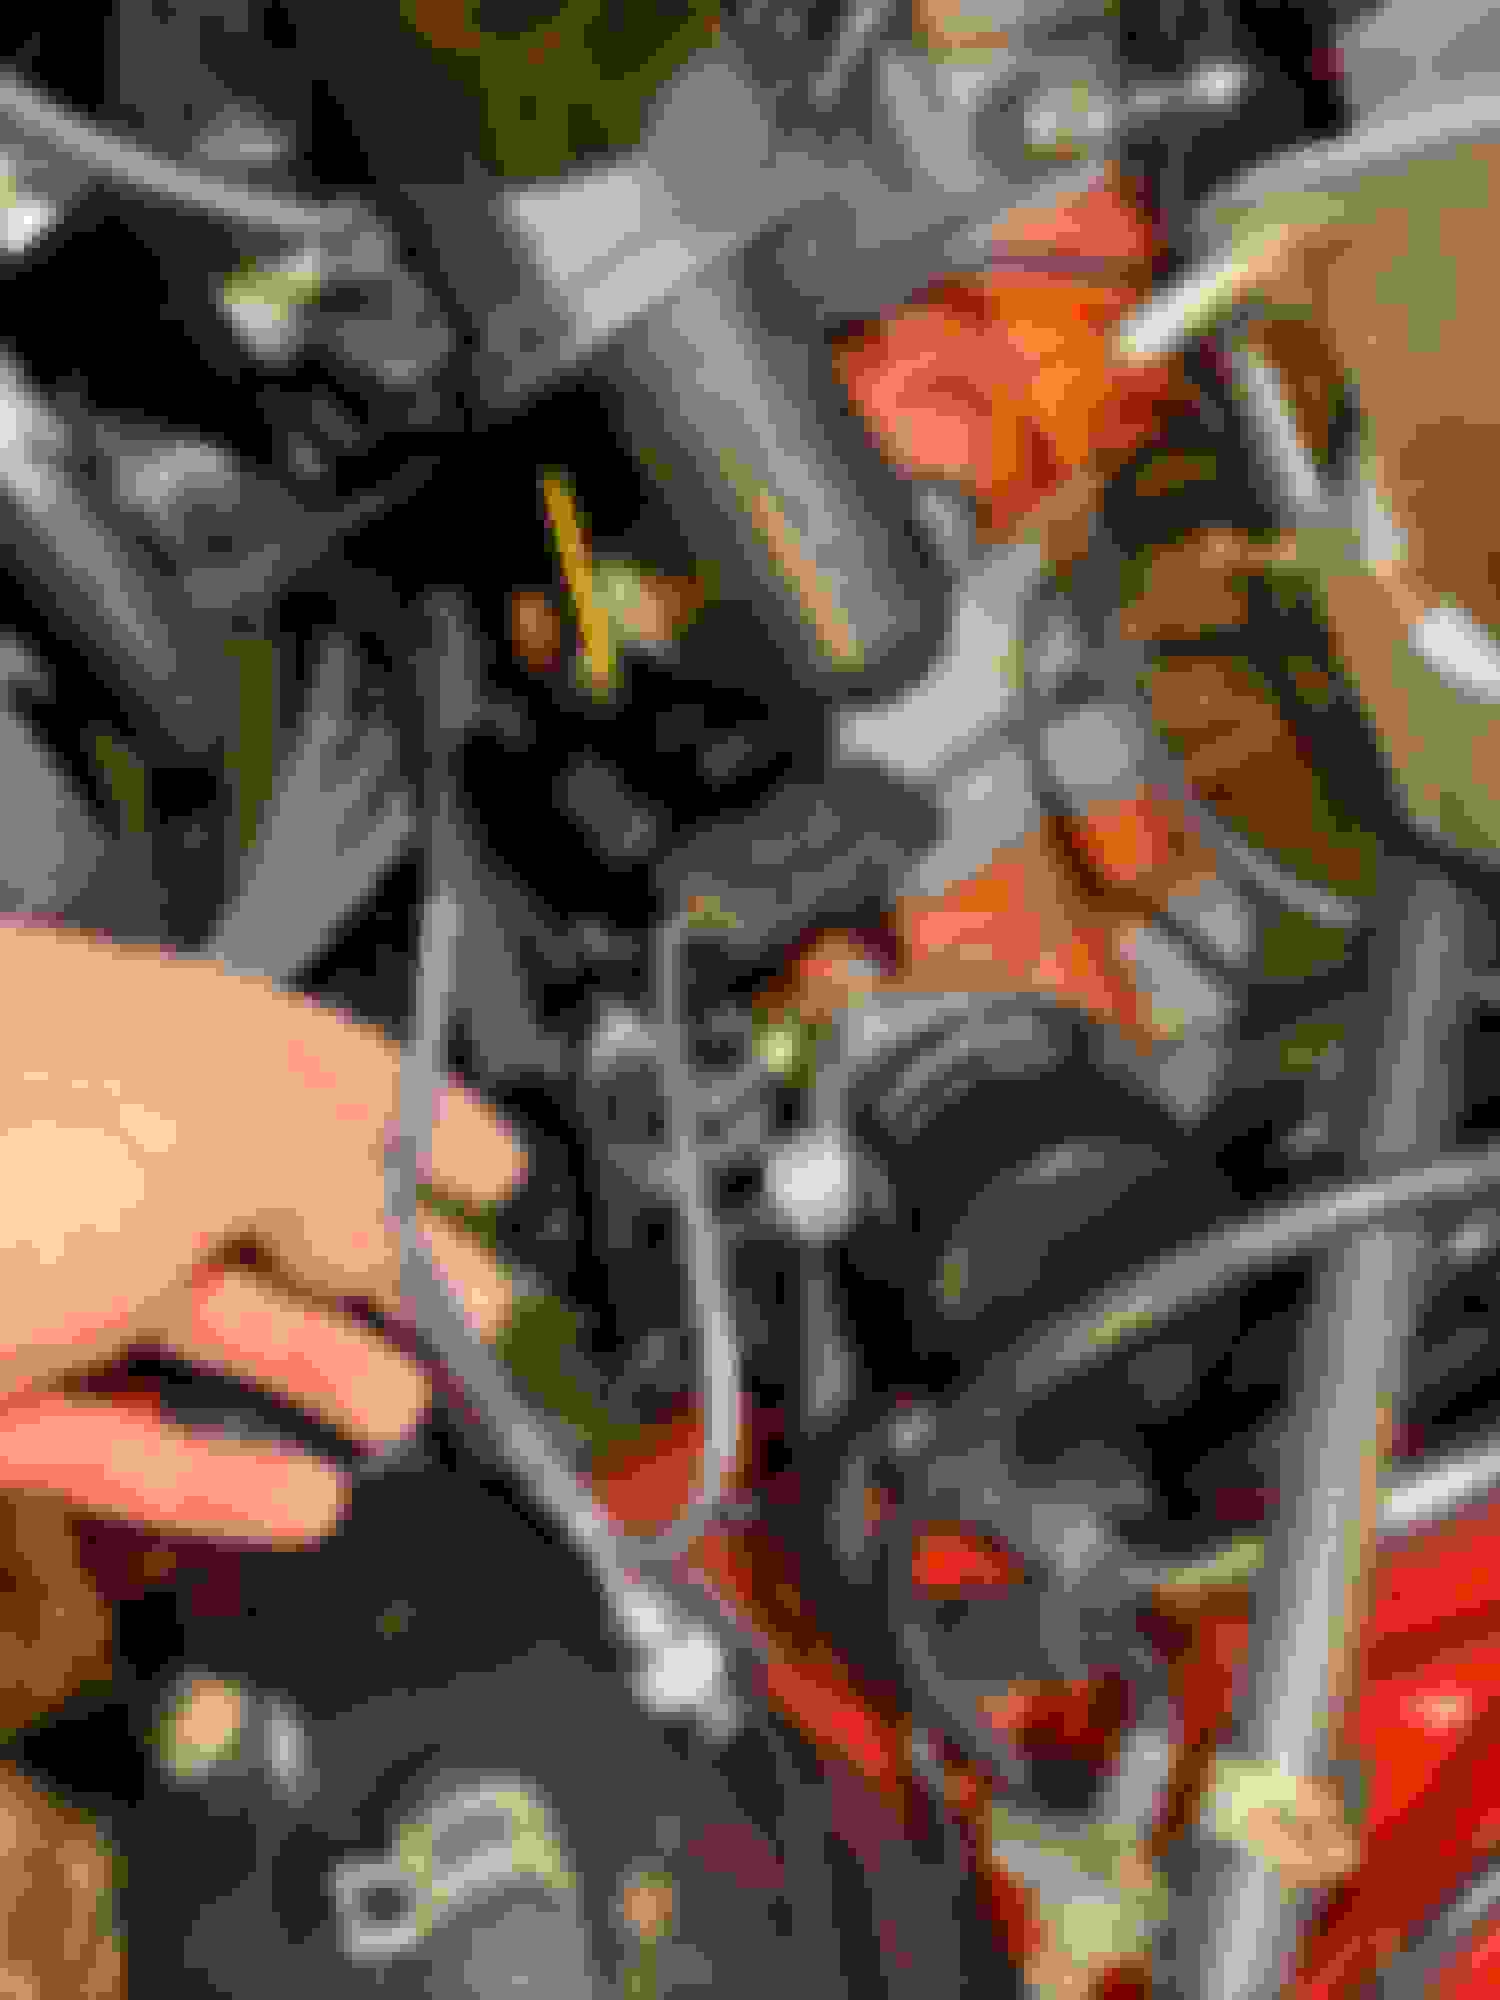
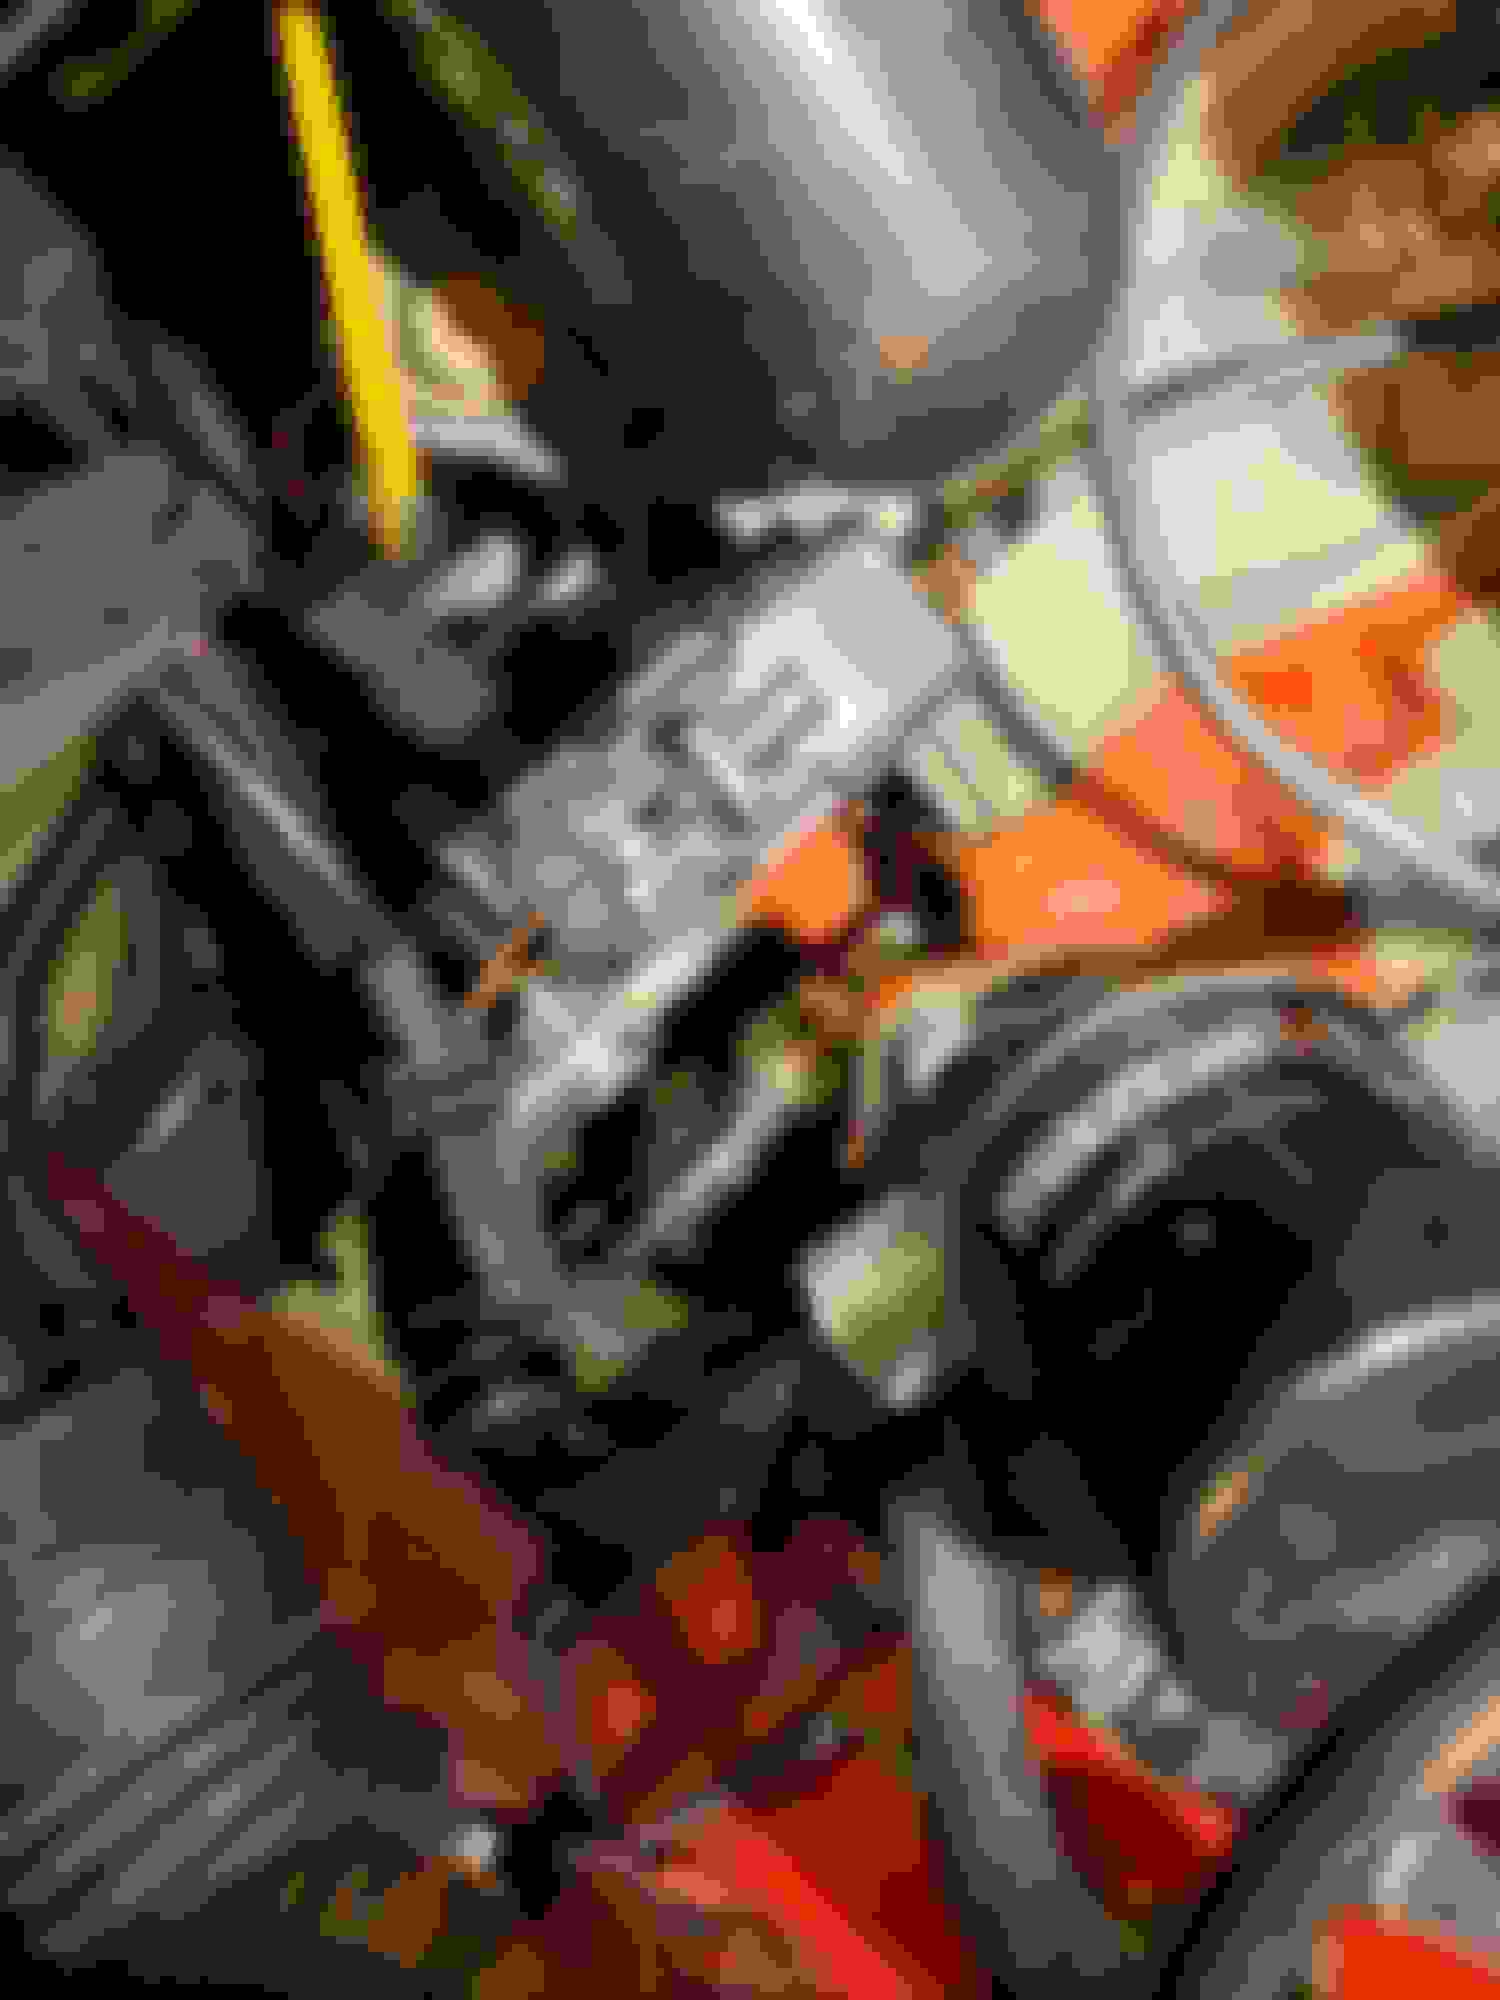
Most pieces under the hood are now ready to go. Besides fluids and final checks it should be good to start soon...pics below of some “adjustments” needed of the oem hood to fit the Pettit intercooler.


but first... engine **** for your viewing pleasure.


Old 04-24-20, 08:08 PM
  #92  
Full Member
Thread Starter
 
quinnry2's Avatar
 
Join Date: Jan 2019
Location: Grand Rapids, MI
Posts: 105
Received 28 Likes on 24 Posts
Installing the interior back together needed a fix for some of the cracked dash plastics and checking the AC install for leaks...


Old 05-12-20, 06:54 AM
  #93  
Full Member
Thread Starter
 
quinnry2's Avatar
 
Join Date: Jan 2019
Location: Grand Rapids, MI
Posts: 105
Received 28 Likes on 24 Posts
Painted the remainder of the tan trim with SEM Black Trim paint and the headliner with Duple-Color Vinyl and Fabric. It turned out great.


Bins and battery back in the car...

Last edited by quinnry2; 05-12-20 at 07:05 AM.
Old 05-12-20, 07:07 AM
  #94  
Full Member
Thread Starter
 
quinnry2's Avatar
 
Join Date: Jan 2019
Location: Grand Rapids, MI
Posts: 105
Received 28 Likes on 24 Posts
Next onto the catch can...Custom piece made by AZ to fit the OEM oil filler neck while the other line routes to the Intake. Realize this Can is a little small for an FD, if its a problem there is plenty of room under to expand the tank.


Last edited by quinnry2; 05-12-20 at 07:21 AM.
The following users liked this post:
larboleda (05-12-20)
Old 05-12-20, 11:22 AM
  #95  
Rotary Enthusiast
iTrader: (3)
 
spintriangles's Avatar
 
Join Date: Jul 2016
Location: fl
Posts: 911
Received 217 Likes on 165 Posts
Wow!! That really came out nice. I wonder how durable that paint is. Did you have to do any prep
The following users liked this post:
larboleda (05-12-20)
Old 05-12-20, 08:13 PM
  #96  
Full Member
Thread Starter
 
quinnry2's Avatar
 
Join Date: Jan 2019
Location: Grand Rapids, MI
Posts: 105
Received 28 Likes on 24 Posts
Interesting to see some gas coming up through the bulkhead connectors on the fuel hanger. Any suggestions?


Old 05-13-20, 01:41 PM
  #97  
#garageguybuild

iTrader: (32)
 
estevan62274's Avatar
 
Join Date: May 2002
Location: Space Coast, Florida
Posts: 3,185
Received 761 Likes on 334 Posts
Mine is installed the other way.... maybe that could be the issue?
I was a little worried about using that bulkhead connector too, so far no leaks or seepage and it been about 3 months installed.

Good luck man, love this build very clean!!!
Steve

Stock Twins FD to Single E85 Build-pyncc46.jpg
The following users liked this post:
quinnry2 (05-13-20)
Old 05-14-20, 06:02 AM
  #98  
Full Member
Thread Starter
 
quinnry2's Avatar
 
Join Date: Jan 2019
Location: Grand Rapids, MI
Posts: 105
Received 28 Likes on 24 Posts
2 awg ground wire added from chassis to block after some recommendations of others. Factory ground is still in place as well.


Last edited by quinnry2; 05-14-20 at 06:06 AM.
Old 05-14-20, 06:19 AM
  #99  
Rocket Appliances

iTrader: (11)
 
Skeese's Avatar
 
Join Date: Nov 2013
Location: Canton GA
Posts: 1,134
Received 203 Likes on 113 Posts
Man the painted bins and headliner came out great! I'd like to know what, if any, prep you did on that and how you went about the painting. I've got like 80% of the black interior in mine and am only missing the really hard to find bits, which I would most definitely be ok painting if I could get a finish like yours!

Thanks,

Skeese
Old 05-14-20, 07:51 AM
  #100  
Full Member
Thread Starter
 
quinnry2's Avatar
 
Join Date: Jan 2019
Location: Grand Rapids, MI
Posts: 105
Received 28 Likes on 24 Posts
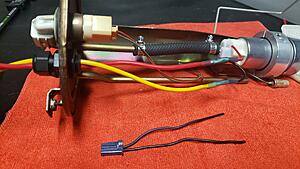
Video attached showing the oil pressure sensor integration with the Haltech Elite. Compensated for 0.1V offset between readings by adjusting the calibration curve.


Pictures below on wiring setup...


Quick Reply: Stock Twins FD to Single E85 Build


All times are GMT -5. The time now is 07:35 AM.