When you click on links to various merchants on this site and make a purchase, this can result in this site earning a commission. Affiliate programs and affiliations include, but are not limited to, the eBay Partner Network.
So we knew the motor was recently refreshed but before getting too far, wanted to complete an independent compression test before things got too buttoned up. Results below... apparently this tester is an older version but we are satisfied with the results to keep moving forward.
Those seats look great! I always thought they look similar to the spirit R/RZ that are unobtainable. How ingress/egress of these in your opinion? If you don't mind me asking where did you purchase them from?
Those seats look great! I always thought they look similar to the spirit R/RZ that are unobtainable. How ingress/egress of these in your opinion? If you don't mind me asking where did you purchase them from?
Agreed. I copied AZieger as he has the same ones. Sitting in them I would say they fit me well at a 32in waist. Demon Tweeks had the best price but you will have to be patient for them - It took around 3 months to get.
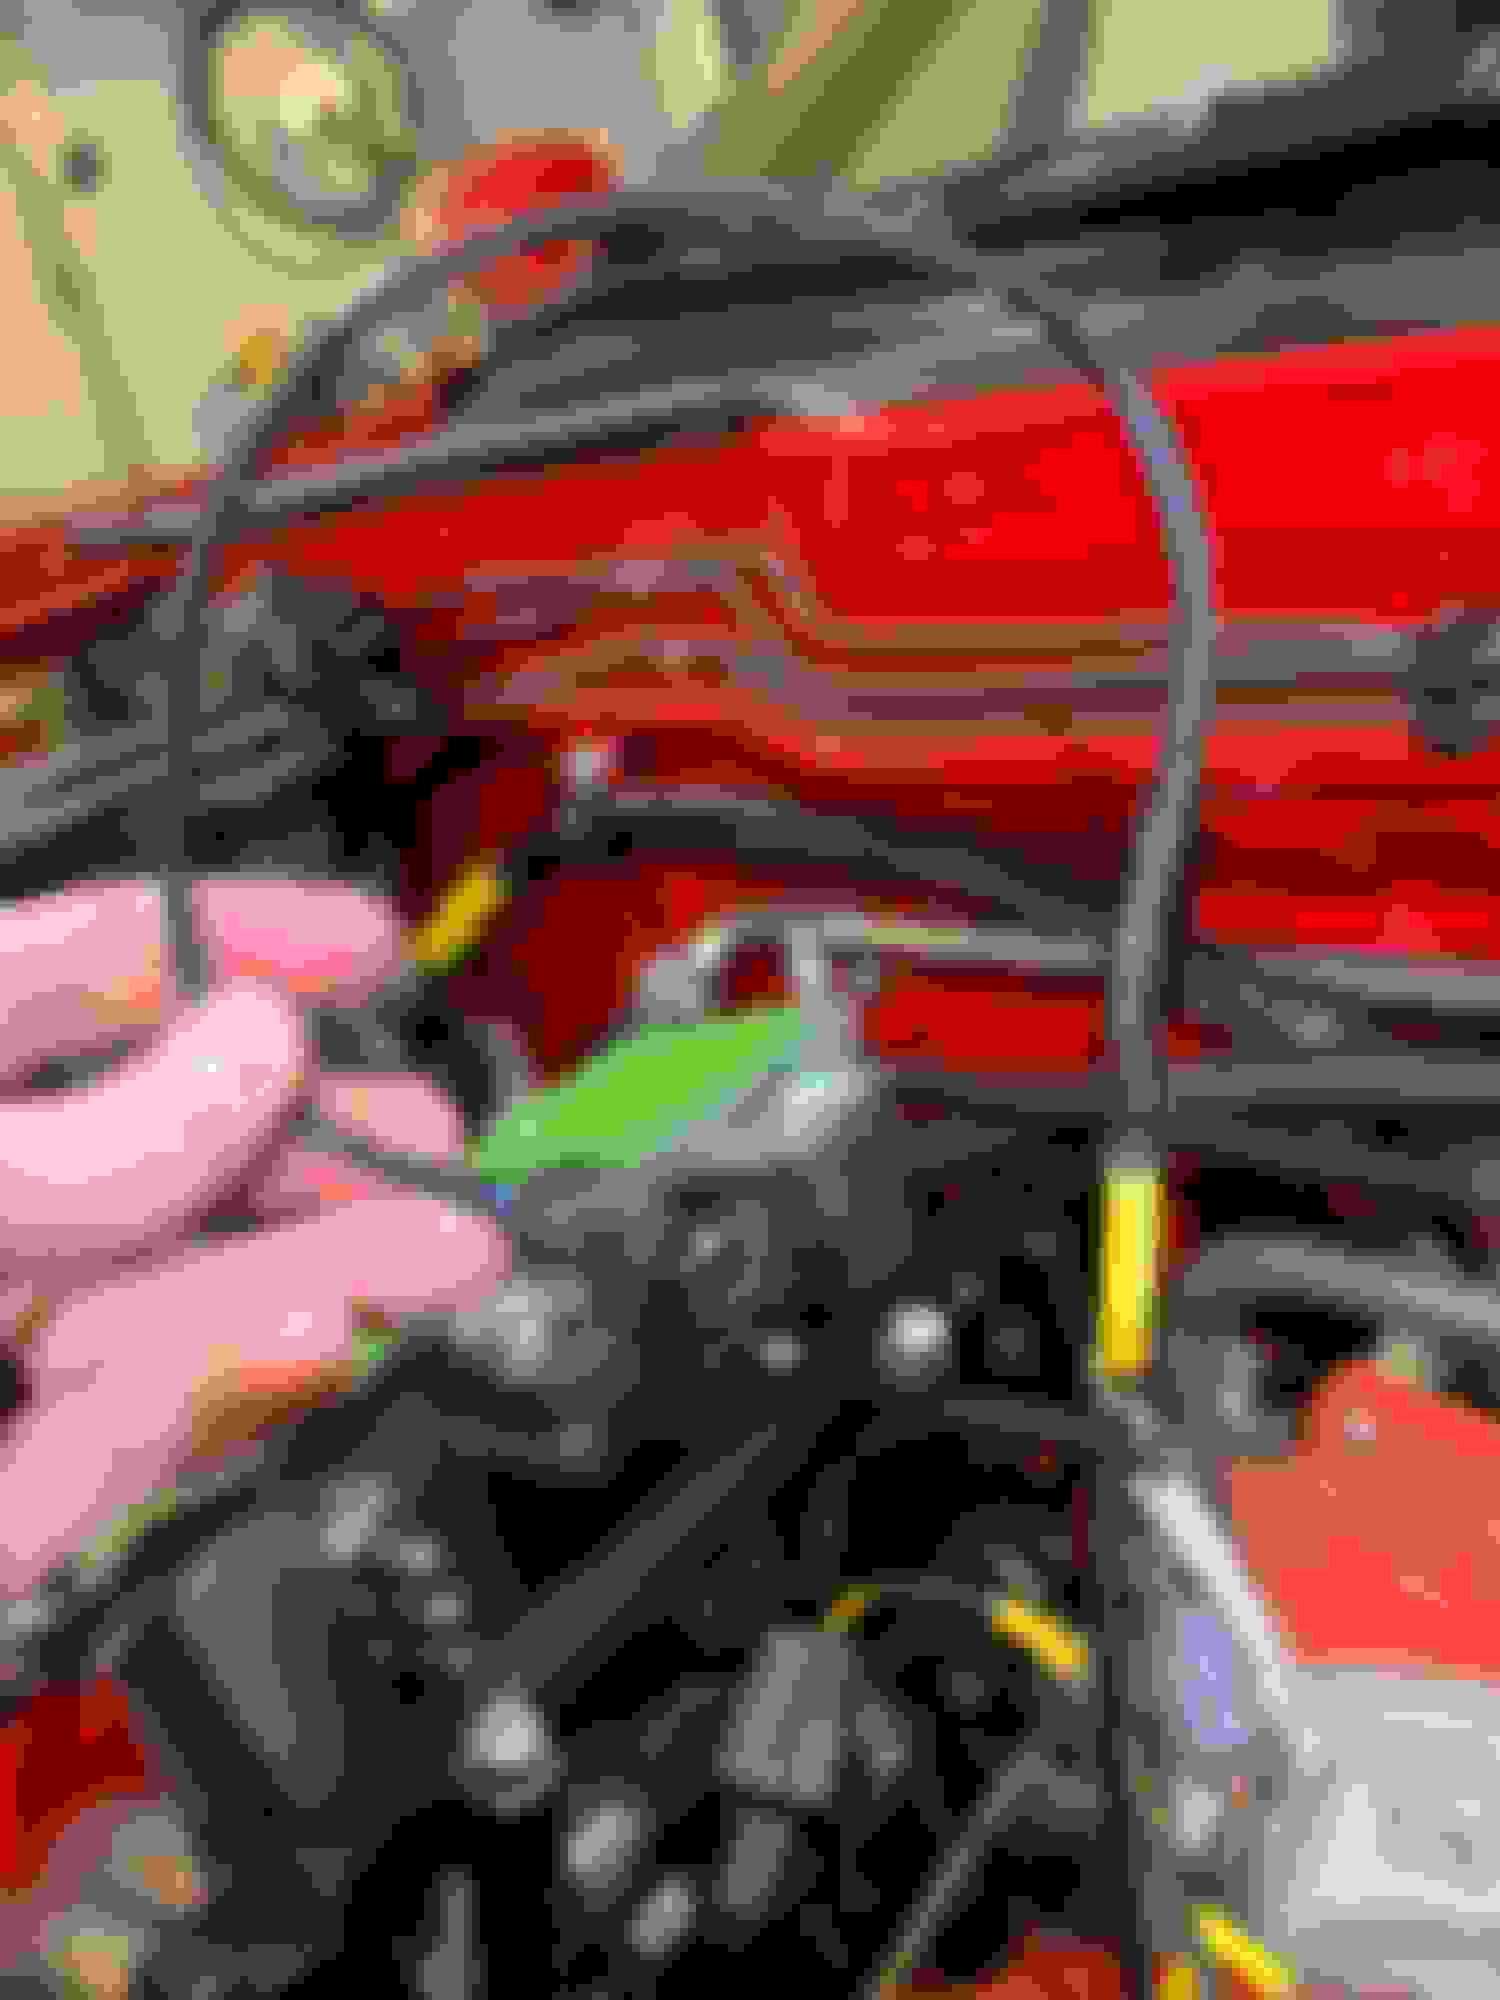
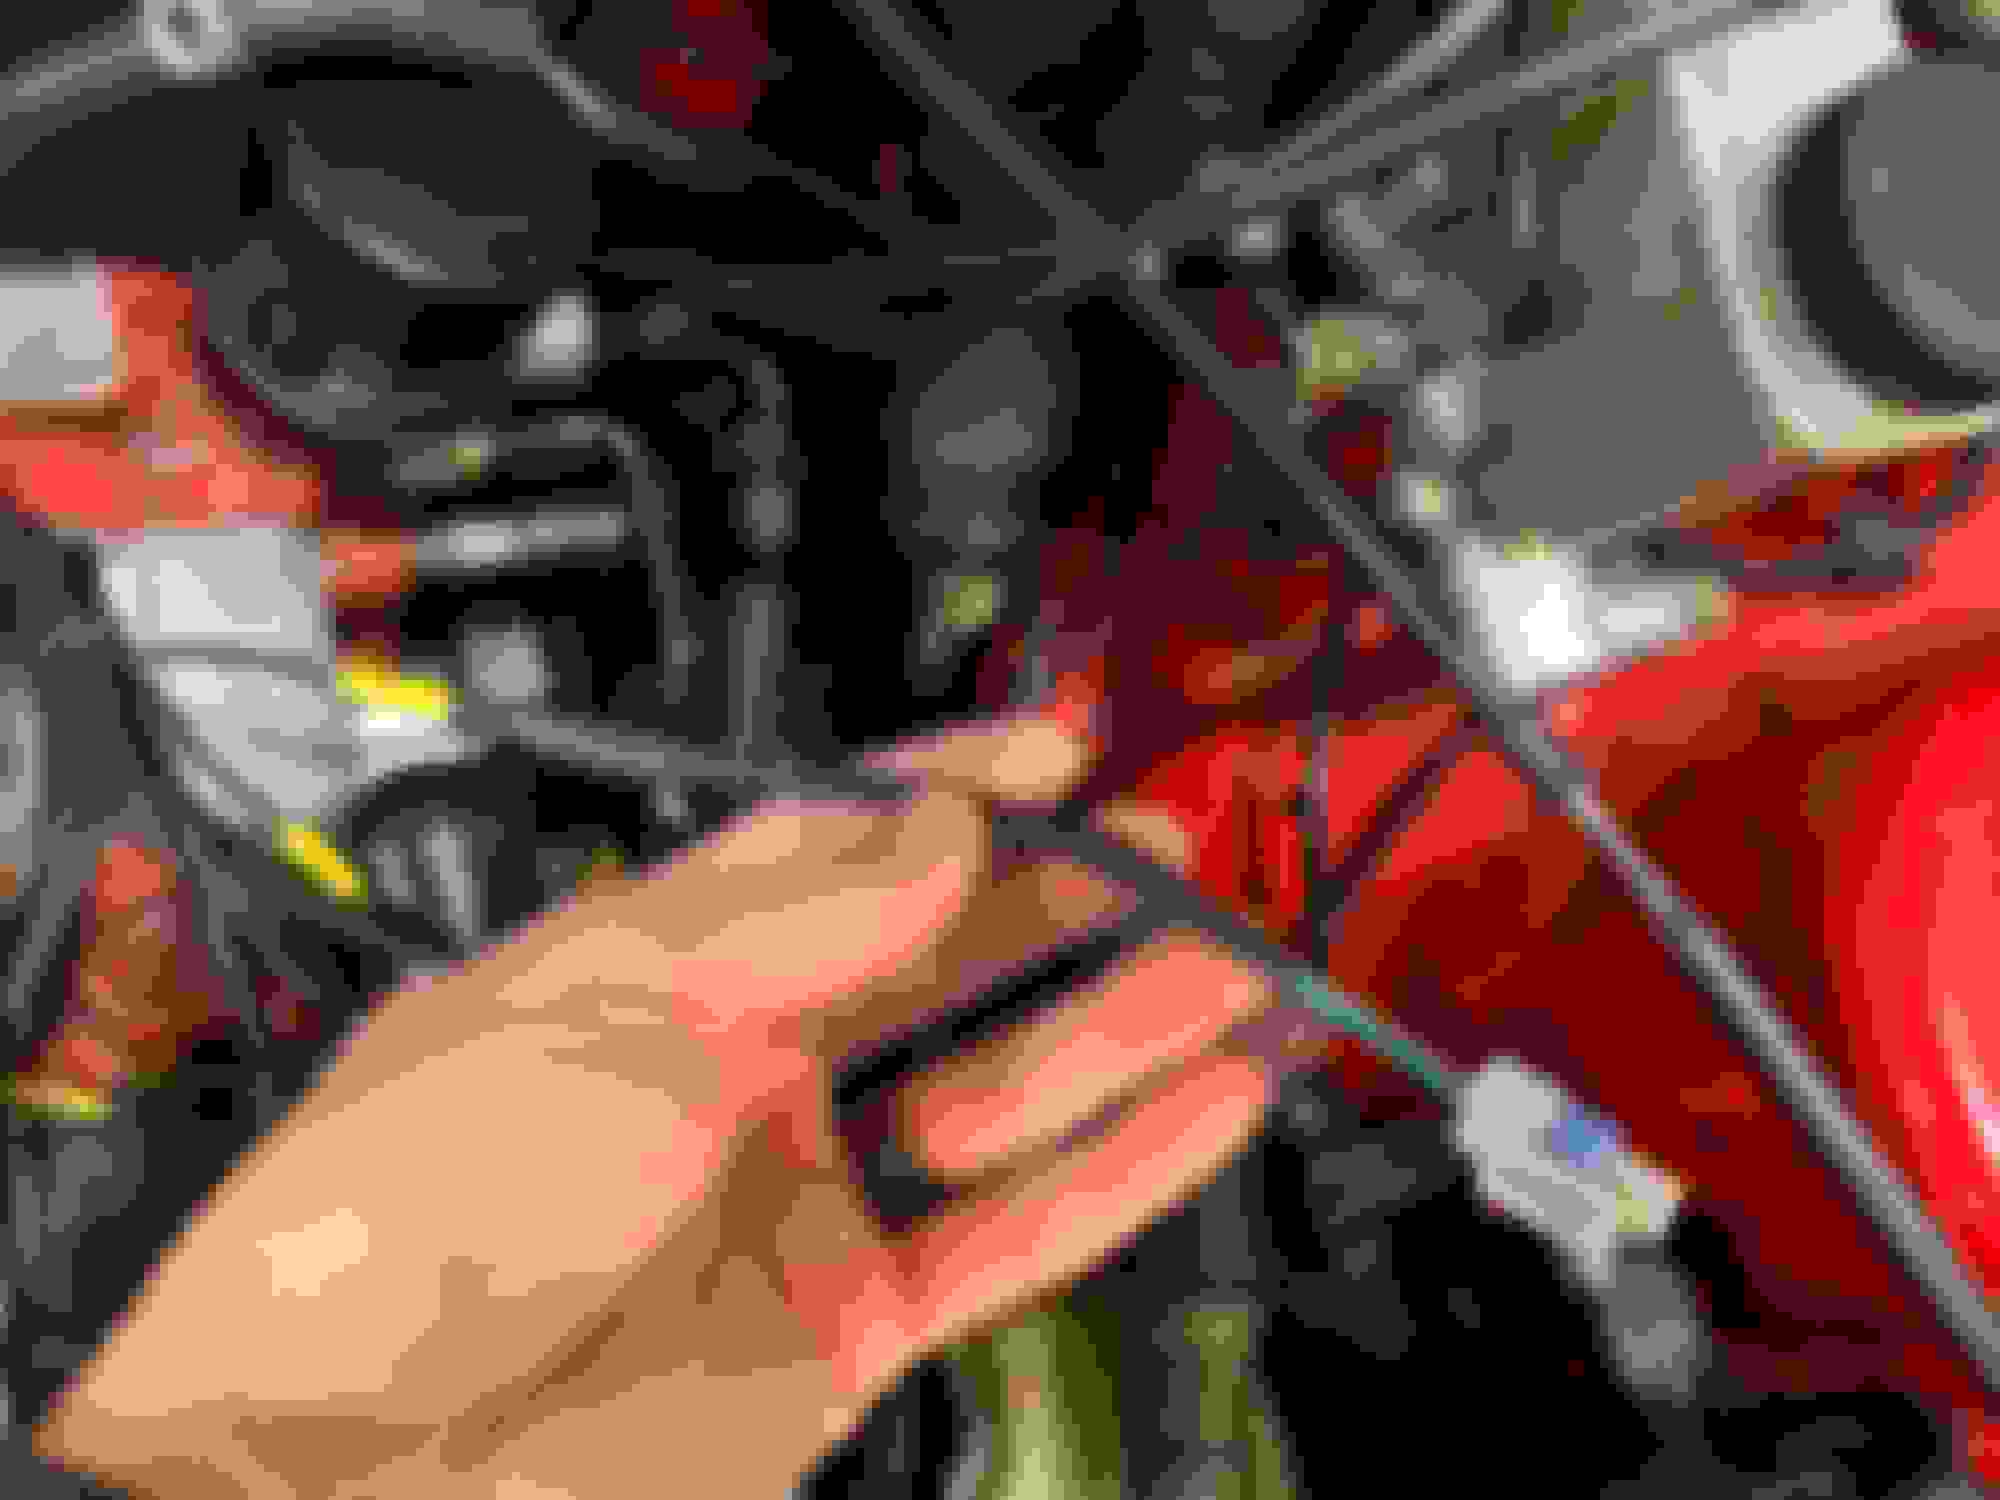
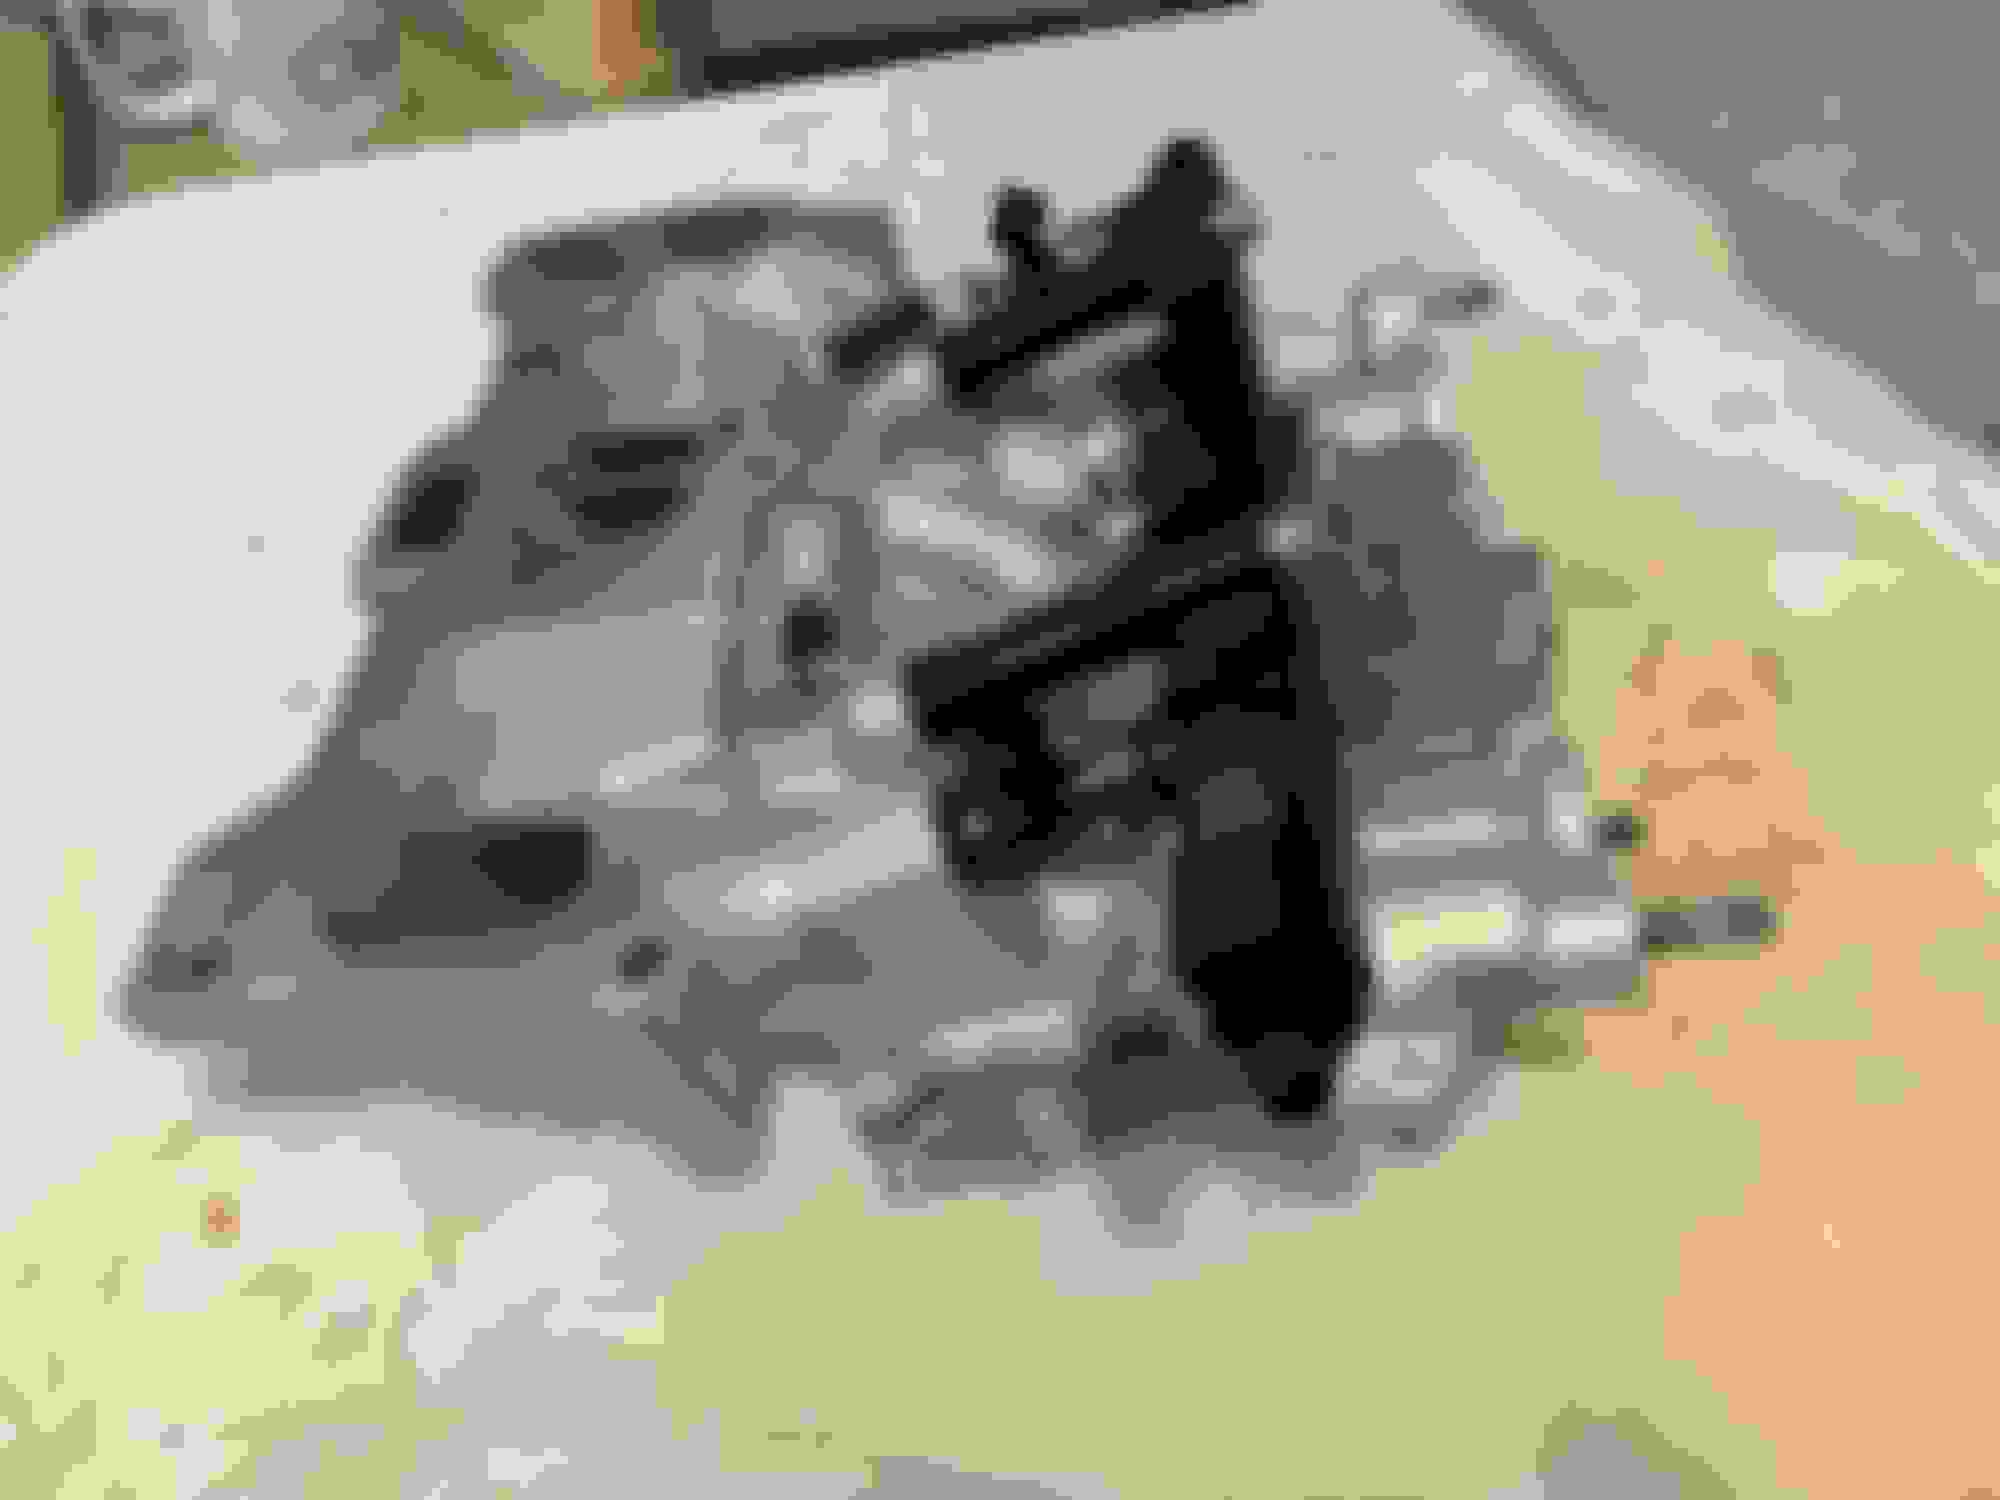
Next up.... Wiring! Such a huge project to get the new RyWire harness, Haltech and sensors connected properly.
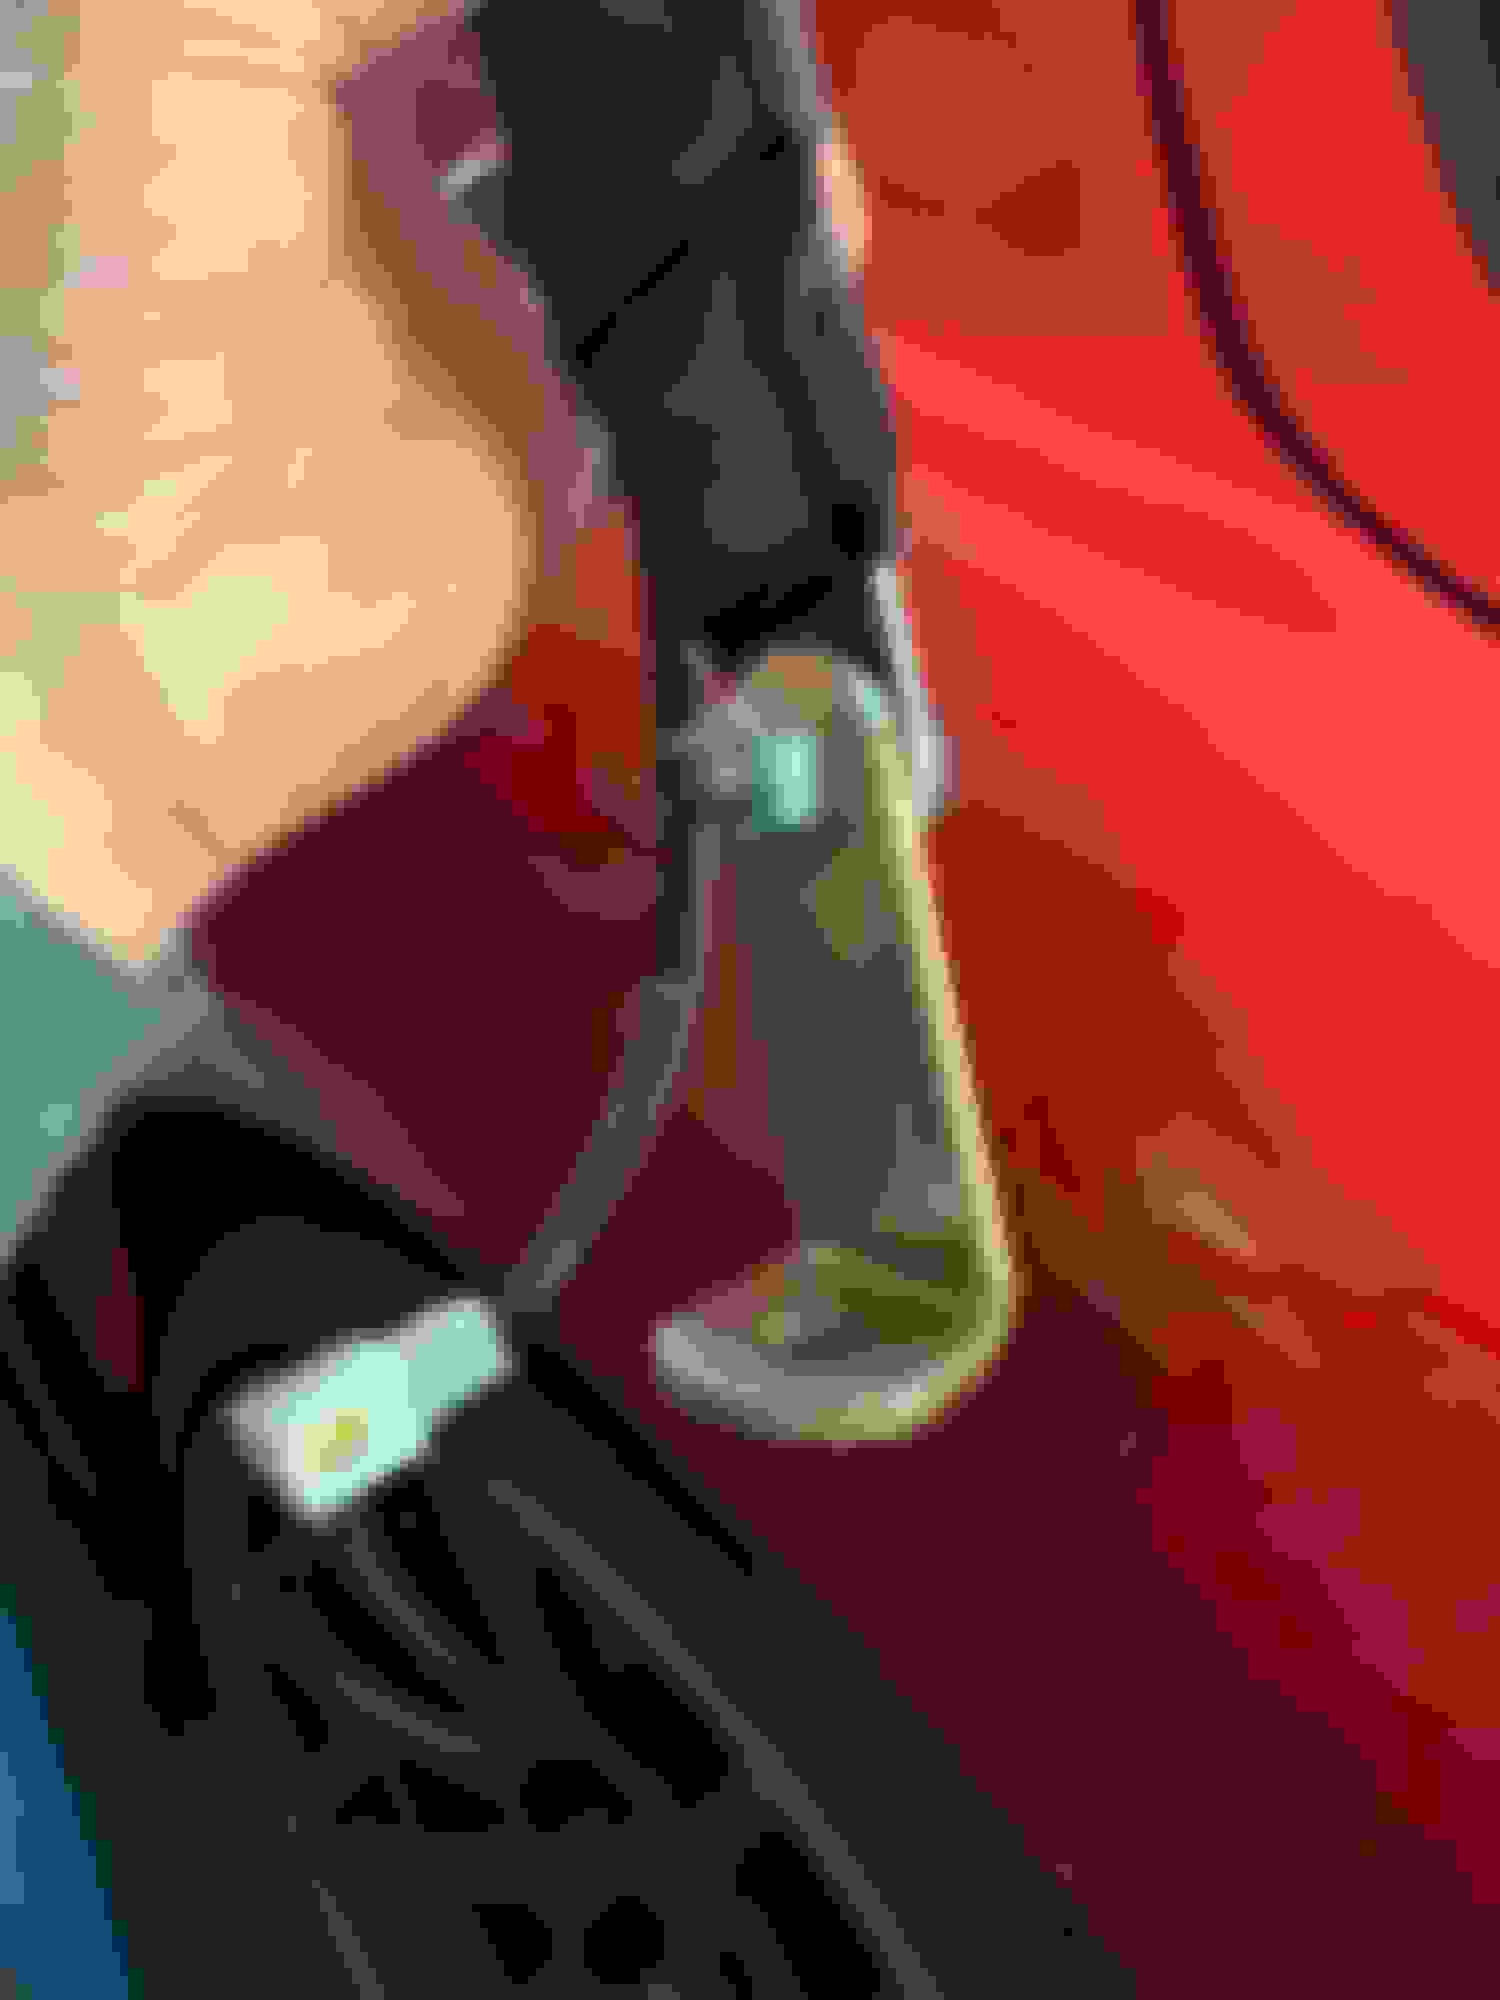
My head hurts looking at this. Boost wire that needs to be extended. Extended boost wires to connect to control solenoid IAT wires needed to be extended as well.
Drill and tap UIM for new IAT sensor
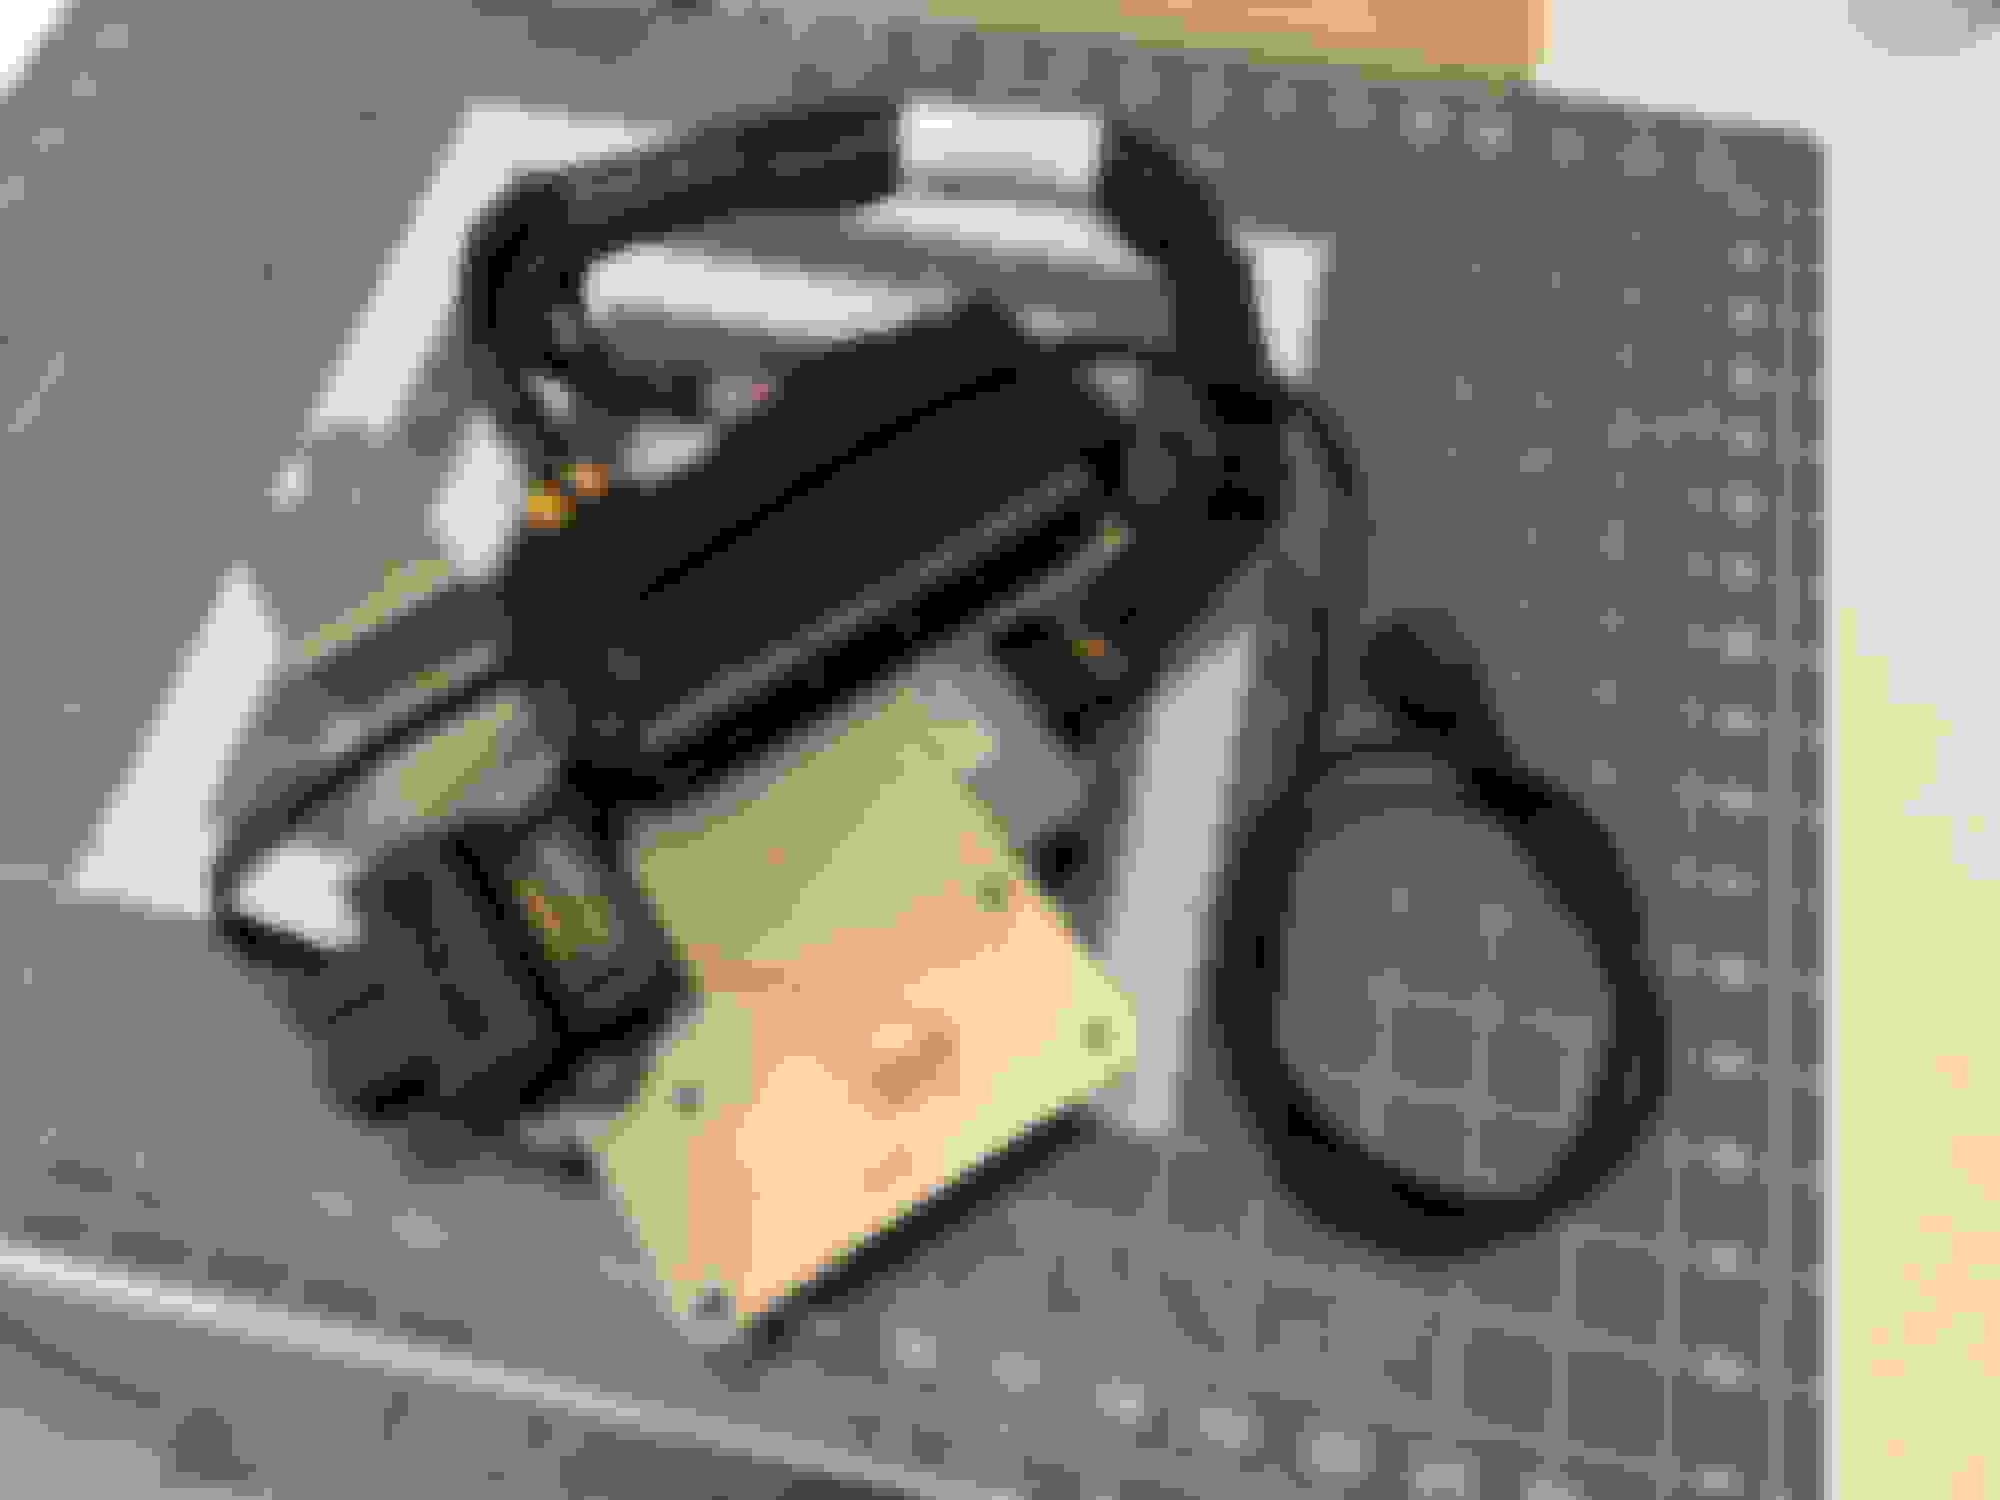
WBO3 and CAN gauge wiring for the Haltech prototype Haltech Mount
Based people interested Zprecision might start making this available if others are interested, he can comment on that status.
Last edited by quinnry2; Jan 15, 2020 at 07:56 AM.
Fixing some butchered wiring from all the taps from security, subs, gauges, radar detectors etc from the past.
jumper added to the fuel pump relay that will now be used to run the intercooler fan connected to the Haltech.
De-pin and re-pin of the new SBG harness for the IGN coils Tucking wires and much as possible Eliminated fuel pump resister, removed old ignitor connector and MAP sensor connector. Re-used one of the map sensor wires as the new coil wire. Added interconnect between front harness and the engine harness for easy future engine removal. Coils in the final resting place.
CAN gauge Drakes center speaker mount for CAN gauge
Very clean build man. Sorry if I missed it, but have you owned a FD before? It took me a few passes refinishing to them to end up where I'd have pretty much taken the exact same route and skipped all the other headache.
Love how well this car is coming along. Very well thought out and inspiring. I think you could sell some of those mounts that are being made.
AZieger might be doing just that on his Zprecision site!
Originally Posted by ZE Power MX6
Love all the custom pieces, especially the fuse box mount. The battery relocation is also very clean
I agree, loving how it is coming together.
Originally Posted by Skeese
Very clean build man. Sorry if I missed it, but have you owned a FD before? It took me a few passes refinishing to them to end up where I'd have pretty much taken the exact same route and skipped all the other headache.
Skeese
I have not but Andrew did complete a FD LS Swap last year so he has proven to give some solid insight. The other great thing about an RX7 build is that it takes so long you have plenty of time to plan things out LOL.
After doing the calculations on the fuel required for E85 and the desire to produce around 475whp I decided to swap out the 1700cc ID injectors for the new ID2600 units.
I will be posting up the 1700�s for sale.
At this point on the fueling side of the house we have 1300cc Primary, 2600cc secondary, hellcat fuel pump (525LPH), -8 fuel lines, fuel slosh cover and CJM fuel system.
That is the plan. With the size of injectors available, I didn�t see a huge reason to go with a new LIM to add two additional....unless I am missing something?
Can you or someone else help me understand the benefits? I see the claims of ~14% better flow. Anyone done back to back testing?
I don't know how much different it truly makes as I overhauled alot of stuff at the time I swapped from the stock LIM to the xcessive, but in theory it would help keep the flow balance and fuel distribution even between the two separate rotors since the distance from the secondary injectors to the ports would now be the same for both rotor 1 and 2. Even flow distribution between runners will help ensure the actual AFR running on each rotor is the same. With a wideband in the downpipe, you're technically measuring the average AFR of the combustion exhaust from both rotor 1 and 2, but you could be running lean on one and not know. Having an EGT thermocouple in each runner is the best indicator as to if one is running leaner/richer than the other. You can technically reference that data and add a fuel trim to the independent rotors to balance the EGT and in turn combustion AFR between the two, however I'd think best practice would be to just utilize an equal length runner lower.
Again, I don't have data for a side by side comparison but the theory makes sense to me and given you only have to run lean on 1 rotor to blow out a seals and need a complete engine rebuild it is worth considering.
I actually noticed something very interesting swapping from the stock twins to a single turbo set up. I haven't changed the OEM manifold and utilized EGT bungs on both turbo manifolds equidistant from the exhaust ports and have noticed that with the twins, my front rotor would always run roughly 150 degrees hotter under idle and WOT. With the new set up utilizing a long runner 2 inch pipe set up, the EGTs have actually balanced out and the only difference that I've noticed is when the manifold itself soaks up heat on the front rotor from the downpipe and turbo being closer, the differential is about 100 degrees. This is from watching my Pineapple racing gauge so you'll have to take it with a grain of salt as I can't show datalogs with the set up, but that is just what I've noticed between the two.
I don't know how much different it truly makes as I overhauled alot of stuff at the time I swapped from the stock LIM to the xcessive, but in theory it would help keep the flow balance and fuel distribution even between the two separate rotors since the distance from the secondary injectors to the ports would now be the same for both rotor 1 and 2. Even flow distribution between runners will help ensure the actual AFR running on each rotor is the same. With a wideband in the downpipe, you're technically measuring the average AFR of the combustion exhaust from both rotor 1 and 2, but you could be running lean on one and not know. Having an EGT thermocouple in each runner is the best indicator as to if one is running leaner/richer than the other. You can technically reference that data and add a fuel trim to the independent rotors to balance the EGT and in turn combustion AFR between the two, however I'd think best practice would be to just utilize an equal length runner lower.
Again, I don't have data for a side by side comparison but the theory makes sense to me and given you only have to run lean on 1 rotor to blow out a seals and need a complete engine rebuild it is worth considering.
Skeese
Really appreciate the info and now I am very strongly leaning towards swapping out the LIM for both the performance and safety of something that flows evenly.
Originally Posted by newtgomez
I actually noticed something very interesting swapping from the stock twins to a single turbo set up. I haven't changed the OEM manifold and utilized EGT bungs on both turbo manifolds equidistant from the exhaust ports and have noticed that with the twins, my front rotor would always run roughly 150 degrees hotter under idle and WOT. With the new set up utilizing a long runner 2 inch pipe set up, the EGTs have actually balanced out and the only difference that I've noticed is when the manifold itself soaks up heat on the front rotor from the downpipe and turbo being closer, the differential is about 100 degrees. This is from watching my Pineapple racing gauge so you'll have to take it with a grain of salt as I can't show datalogs with the set up, but that is just what I've noticed between the two.
hmmm that is interesting, might be likely based on where the twins sit in the engine and the heat coming off them now that you switched to the single setup. It still doesn't help the possibility of going lean on one of the rotors as pointed out above.
Originally Posted by ItalynStylion
Sent you a PM...
Thank you. Upgraded LIMs seems to show some significant improvements over OEM.
Originally Posted by marksae
Awesome build! I noticed your downpipe has a flex section in it. Is that downpipe from the Turblown kit? Or has it been modified?
Yep, it is the Turblown upgraded 3.5in DP.
Last edited by quinnry2; Jan 23, 2020 at 08:15 AM.
Just wanted to put this in here so others see where my math came from on the need to upgrade the injector size - Using an old post from Howard as a reference:
The EFR 8374 turbo is rated at 79lbs/min and translating that to rotary terms it maxes out around 607WHP. Assuming an AFR of 10 and 85% duty cycle we get a gross need of 10.6808 pounds of fuel. Gas weighs 6.35lbs so 10.6808/6.35 = 1.682 gallons per min or 6367CCs needed to hit 607WHP on pump.
pump gas = 116,090 BTUs of power per gallon. E85 has 82,300 BTUs of power per gallon.
116,090/82,300 = 1.41
6367CC*1.41 = 8977CC to reach the same 607WHP on E85.
If you upgrade the LIM, you can use 6 injectors instead of 4 to get more fuel. That way you won't have to plug the extra port, but you will have to get new secondary rail.
Have only gone through your build a few times, but I really like it. Like others have said the battery relocation is extremely well done and I really like the fuse box holder. I have always liked the Cobra Misano's and those Nogaros really work well. This is going to be a really great car. Great job.