When you click on links to various merchants on this site and make a purchase, this can result in this site earning a commission. Affiliate programs and affiliations include, but are not limited to, the eBay Partner Network.
If you upgrade the LIM, you can use 6 injectors instead of 4 to get more fuel. That way you won't have to plug the extra port, but you will have to get new secondary rail.
Id just go ahead and get the 4 port lim and 4 port rail then block it off for now, it just makes it easy to grow the system later if you need to. Its easier to add injectors later than mod the LIM or sell one and buy the other. Ive had to re-upgrade alot of stuff as my aspirations for the car grew that would have been alot easier and cheaper if I'd planned for things a bit more
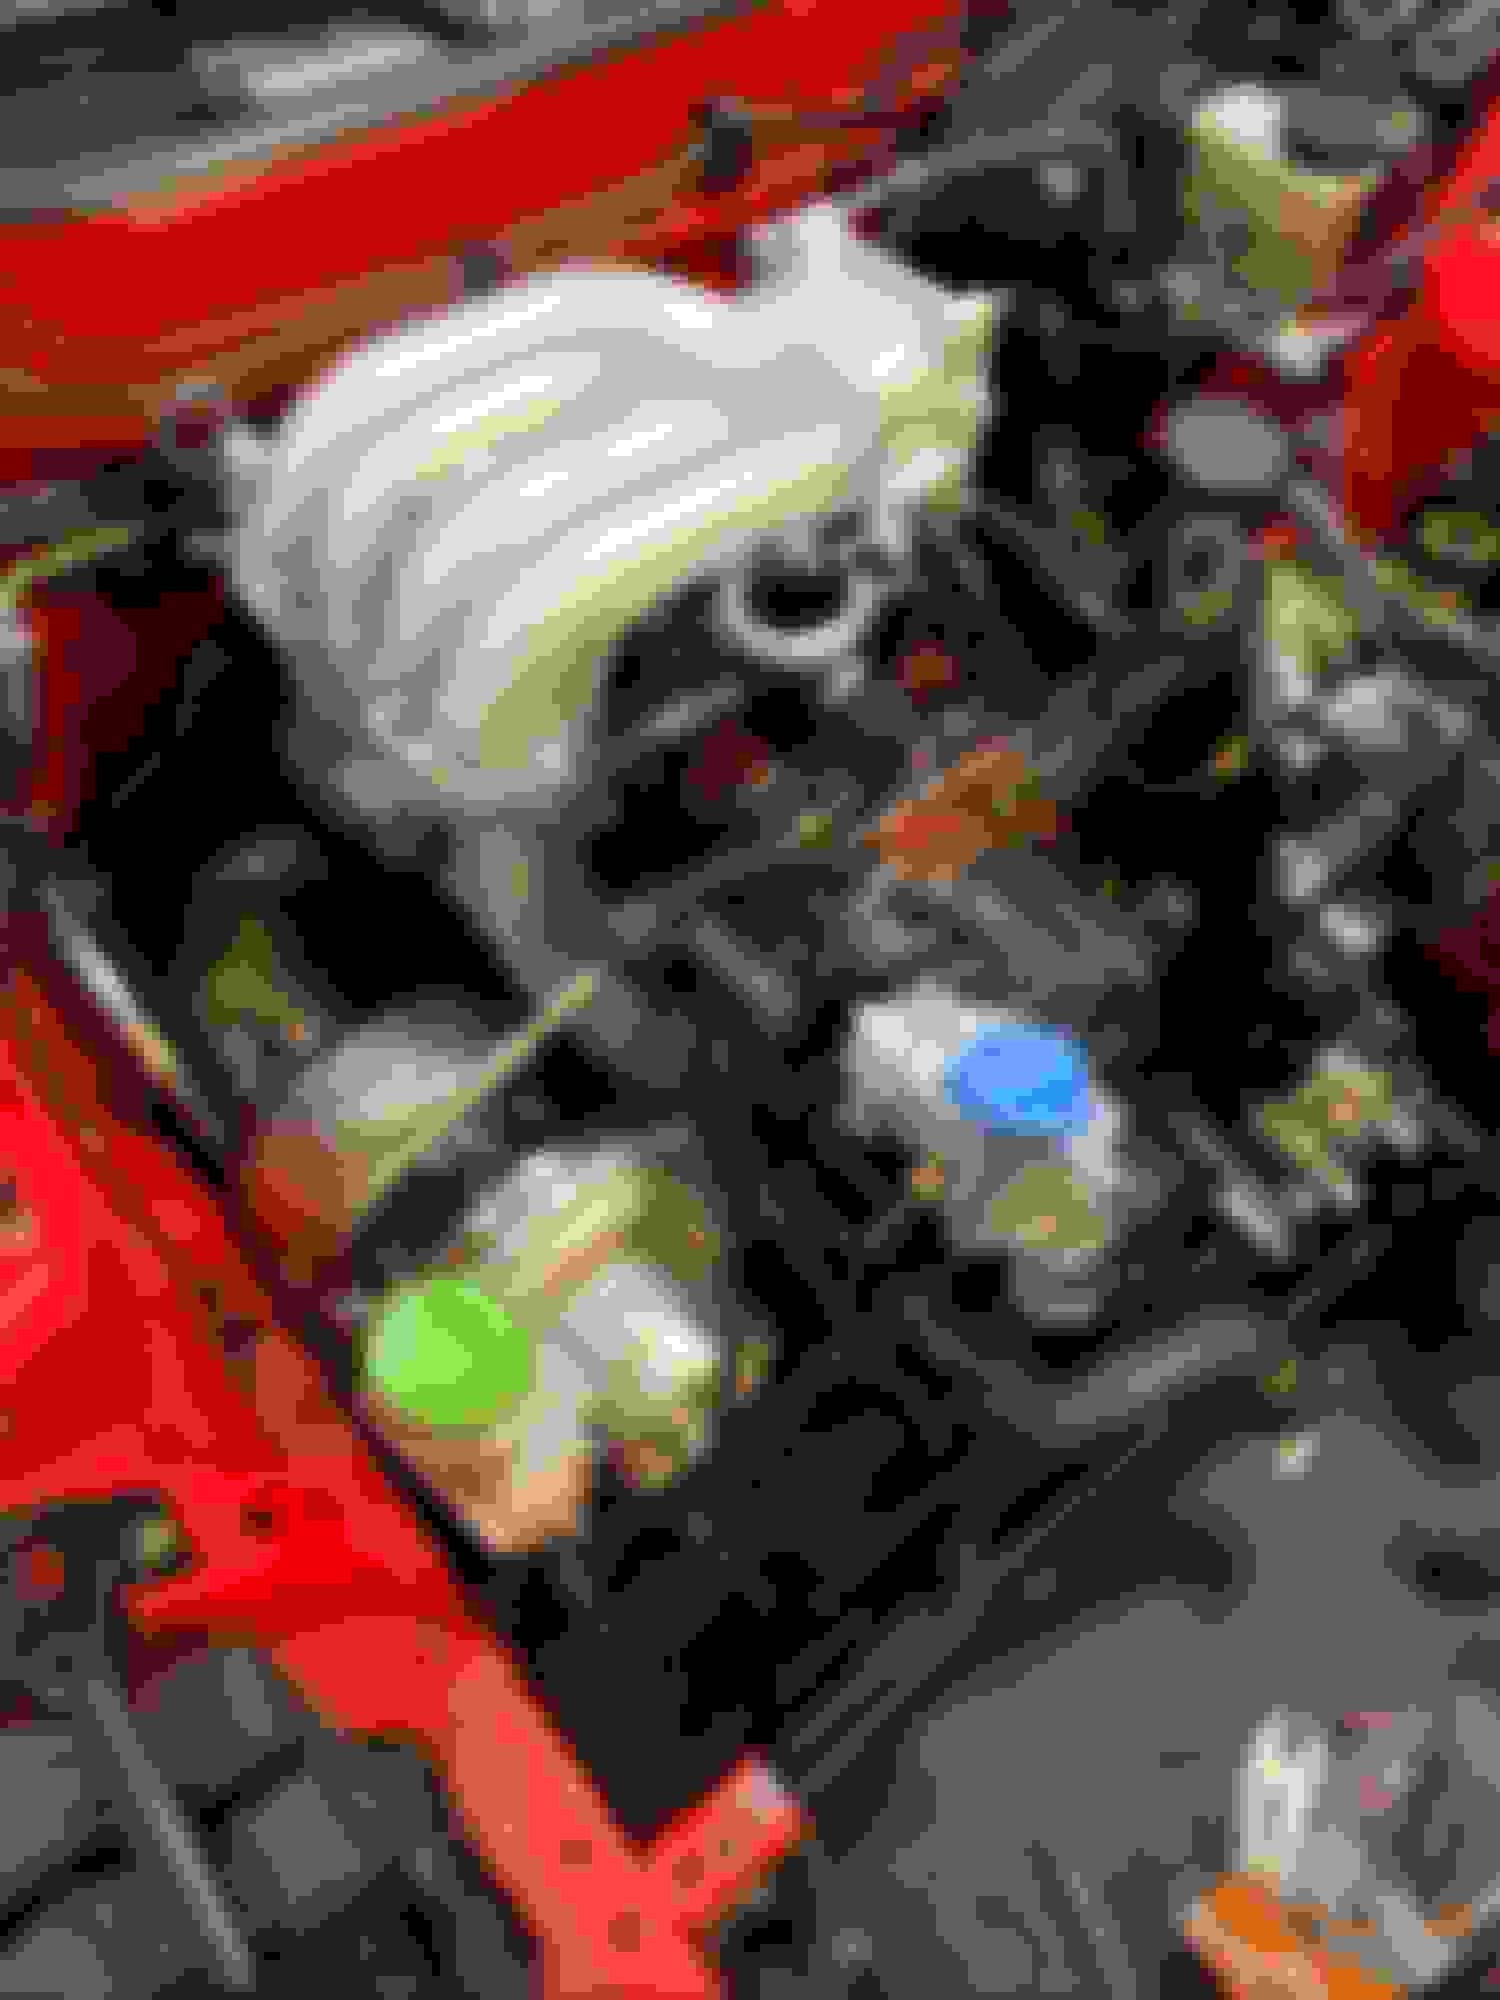
So things are getting buttoned up and the Haltech should be good to roll. I decided against the new LIM for now but can add that in the future. We had some questions around Coil Dwell settings and injector latency that Elliot was able to help with for the Haltech.
The heater core lines were crushed and the lines needed to be replaced. The old heater core firewall grommets had seen better days. New OEM lines and grommets installed. RyWire Harness all hooked up and routed. based on some advice on here it seems like most people map dwell against MAP so going with the 8K numbers because they are the shortest/worst case scenario.
To clear your factory rad hose and be able to use the big K&N you need something like my setup. Modified 4" s pipe from cxracing I think, and an HPS offset 4" coupler. Works perfect. If you are still a tad shy on room, silicone hps rad hoses are slightly smaller diameter and will buy you a touch more room. I have the 8374/cc3 also.
In the same boat with my cc3 duct and Fluidyne rad. Inconsistencies in the duct. I had one cc3 duct that wouldn't even fit through the opening in the radiator support.
both of the sway bar mounts had been impacted and bent. As these also act as the lower radiator mounts, nothing fit right. We ended up buying a new mount for the left side and I was able to �massage� the other one back into position. We also had to cut off the tabs that help guide the lower mounts into position, and shave a little bit of sheet metal off the upper chassis mounts to make clearance for the bolt heads that hold the little L brackets to the Koyo. All pretty typical stuff when modifying a car, at least in my experience.
So things are getting buttoned up and the Haltech should be good to roll. I decided against the new LIM for now but can add that in the future. We had some questions around Coil Dwell settings and injector latency that Elliot was able to help with for the Haltech.
based on some advice on here it seems like most people map dwell against MAP so going with the 8K numbers because they are the shortest/worst case scenario.
Ahh, I see you found my thread on the IGN-1A dwell times. You'd be fine with running those in RPM X Voltage as shown in the table from that post as people have been using that setup for years without issue. That being said, I did move to MAP based dwell on when using the IGN-1A coils. I don't have any technical data to back it up, but the map based dwell theory originated when I was talking with @Monsterbox on how it was counter productive to be reducing the dwell at high RPM to help prevent the coils from overheating from extended use at high duty cycle. While you DO have to ensure that the coil dwell stays within the allowable time for the combustion cycle window, ideally you want to ramp up dwell as as you move into higher RPM that is when you actually need more dwell and more output spark to light a high pressure mixuture of E85 or 93+W/M.
The data sheet for the coils specifies:
Max Continuous Dwell: 9 mS but don�t exceed 40% duty cycle
Max Intermittent Dwell: 80% duty cycle, 5 seconds maximum
The max intermittent dwell of 80% duty for 5 seconds maximum indicates that the coil limitations are a function of time at high duty, which I attribute to the heat load generated by the coil. The thought here being if you are riding around in cruise running 7 mS of dwell just because you can, you're un-necessarily loading those coils with heat and when you go into a high RPM pull the length of time at which they can burn at high duty without misfiring or losing output power is reduced given they were halfway heat soaked when you started the pull. By running a map based dwell like shown below you keep the duty low and the heat load on the coils when its not needed, and ramp them up hard once you hit boost and actually need the juice. I was pushing 21 lbs out of a 9180 on E85 into a semi peripheral motor making probably high 500's / low 600's and never saw any breakup on this map based setup when pushed to 9000 rpms.
I'm sure some of the 'professional' t00ners out there will disagree, but half of them are copy and paste hacks that never think beyond the surface application to understand how any of this all really works anyways.
Let me know if you have any other questions with the haltech setup or tuning stuff, I'd be glad to help out wherever I can.
The midpipe needed some slight adjustments to make sure the downpipe was clocked to give the most ground clearance. about .5in taken out and welded back together. Now it all fits perfect. Intake material Intake on... Coolant hard pipe fab work by Andrew... Bead rolling each side.
SUPER excited to receive the OEM plastics back from getting refurbished...Opened the box... and this is what we pull out...
So after all that waiting and back and forth, decided to just go with the carbonmiata interior pieces. You know it’s legit when it has 100 shipping stickers. The Carbon Miata pieces are not an OEM finish out for the box. Andrew can comment on this more as he’s is deep into it but they seem to need a lot of modifying to fit correctly. The matte Carbon looks really nice in person.
 01-23-20, 06:41 PM