When you click on links to various merchants on this site and make a purchase, this can result in this site earning a commission. Affiliate programs and affiliations include, but are not limited to, the eBay Partner Network.
Welcome everyone to the slow progress build! If you're looking for a first post with mega pics and mega progress, you won't find it here. Instead, I intend to use this thread as a log of all of my work and progress as I slowly but surely build the car up to what I want it to be. I also want this thread to serve as my official introduction. If this sort of thing interests you, please read further.
Background
Where to start? I've been a member on these boards since I was 17 years old. I've wanted an FD since my parent's decided to own and operate an automotive repair facility, specializing in Mazda, back in 1994.
Our long-time mechanic, employee, and friend Phil, is a member on these boards (aicrotary2) and has had an FD ever since I've known him, way back when. Going with Phil to pick up parts for a car, being around the shop as he modified his RX-7, blew motors and rebuilt them, always put the FD some place special in my heart. I knew that one day, I just had to own one.
Twenty some odd years later, the dream has finally come true. In December of last year, I became the proud owner of a 1993 Brilliant Black Base model RX-7. Incredible. The feeling of pride in owning this car is immense. It's difficult to put it into words really and something I've literally dreamt about and lost sleep over, for years.
Despite the car being a base, it's far from basic. The prior owner, Mike Adee, another member on these boards, had owned the car since new practically and was the second owner on CarFax. He had the car for 20 years, buying it off a dentist originally. As it sits in the pictures below, it has just over 48k miles on it and the following mods:
Engine
- Street ported 13-B built by Kilo Racing
- Microtech LT-9c with X4 igniter box tuned by Kilo Racing
- A-Spec GT40R Kit (52 trim/.95 AR)
- A-Spec Tubular turbo manifold
- Turbosmart Powergate 50 wastegate
- 3" down-pipe
- Resonated mid-pipe
- PFS cat-back
- Custom SMIC
- Greddy Type-S BOV
- Greddy elbow
- 3 BAR map sensor
- KG Parts fuel rail and injectors
- 550cc primaries/1680 secondaries
- Aeromotive FPR
- Koyo radiator
- Flex-A-Lite fans
- OBX silicone radiator hoses
- Ignition coil relocation kit
- Unorthodox underdrive pulleys
Transmission
- B&M short shifter
- ACT S/S clutch
- Racing Beat 11 lb. flywheel
My intention when purchasing an RX-7 was always to modify it. My goal in modifying the car, similarly to Greg Monsen's views, was to make a better version of the car than Mazda did. To incorporate an OEM feel to many of the upgrades and have it look clean and mean. Having said that, I want to build this car in the model of a Porsche GT3 RS. A GT3 RS is obviously a production vehicle, but it has a huge amount of flair and racing, purpose-built components as well.
The Porsche GT3 RS is a fantastic car. It's a lightened, more basic version of the 911, but it's emphasis is squarely on producing more power, while also reducing curb weight for better results at the track. To accomplish this, the GT3 RS has to sacrifice some amenities, there's no question. It does so willingly and unapologetically. It's not for the guy who's going to the country club to show off his new wheels. The RS is for the guy who's serious about his driving and wants the purest driving experience he can muster. That's what I hope to achieve with my 7.
Plan
The plan will consist of several phases. Each phase will move me closer and closer to my end goal. Accounting for budget and time constraints, these phases will more than likely occur over the span of several years.
Phase One - Shake Down
Currently the goal is to improve upon what's good and do away with what isn't so good. In the car's current state, it has a mixed bag. For example, the engine has less than 3k miles on it's fresh rebuild from Kilo. It's street-ported and properly tuned on his specialty -- a Microtech. It also has a dual ball-bearing Garrett GT40 turbo, a nice big wastegate and all of the supporting mods to go with it. But, it also has a Cry02 carbon dioxide system which sprays the intercooler and chills the fuel. That's fine and well but it utilizes a tank that weighs about 45 pounds empty! And, you've got carbon dioxide floating around in the engine bay to get sucked up by the turbo...not great.
I've come to realize that despite the great overall condition of the car, it still needs my touch in about a thousand places. During this first phase, I will be going through the car slowly and making those small changes. I've also found several instances of sloppy workmanship, such as the fuel pump wiring with the 12v relay. I will be tackling these small projects during this phase.
Phase Two - Engine Mods
This next phase will bring the car's performance in-line with what my expectations are of a GT3 RS inspired RX-7. Because the car is so clean and is, in my opinion so tastefully modified on the exterior, I will leave that as-is for the time being.
The first order of business is to eliminate the custom SMIC, which in my opinion is an eye sore in the engine bay. Kilo and I are already discussing a v-mount solution which will be custom built by Gato.
After the v-mount is complete, I'd like to tackle the ignition, upgrade to Mercury dumb coils and then on to the fuel, to make sure I've got enough 93 octane to get to the higher power levels. Currently the car has 550cc primaries, so I've got to address that sooner or later. In addition to the added fuel, the car will be tuned on meth/water injection, keeping with the current trend on these boards.
During this phase, I may also opt for a long-runner manifold and new turbo setup which will be less laggy and produce better mid-range, than the current setup. If I do, I will also incorporate a 4" downpipe and 3.5" piping from the DP, back.
Phase Three - Interior Makeover
Now that the car has been thoroughly gone thru, made right and then brought up in performance level, it's time to address the (tan) interior. No one likes tan, and I'm no different. I want an all-black interior. But, rather than paying out the wazoo for 20 year old interior plastics, I plan to commission an upholstery shop locally to completely re-do the interior. The cost will most likely be a bit higher, but purchasing a complete black interior in decent condition is difficult in of itself, nevermind what you actually have to pay to get a clean black interior. I'd just as soon do it custom and have total control over the way it comes out.
The materials will be mostly dark in color, incorporating a mainly black on black theme. Doors and most panels will be wrapped in an ultra suede material, dash wrapped in leather. I would like to run Status Ring GTX seats, with Status harnesses. These seats are FIA approved and should fit my 6'2", 34 waist body. Plus, they're made in the USA. I've already got my wheel picked out and I've got some very special ideas for my roll cage. It's going to be very unique and I think, very very cool.
As part of the interior phase, I plan to also upgrade my audio. To use a sub or not to use a sub...what a dilemma I've had here! A good sub will weigh 30lbs-40lbs, and that's precious weight to a purpose-built car. But SQ is something I've always desired in my vehicles...decisions, decisions...TBD.
Phase Four - Exterior Remodeling
I don't need to tell you guys that third gen RX-7 is one of the most beautiful cars ever created. Despite it's timeless beauty, my goal is to give this beautiful babe wide hips and have her sit low to the ground. Eventually, the car will incorporate a wide body kit, with oversize front and rear fenders. I've always liked the Shine kit, but who knows what will be available when I get to doing the exterior? During this phase, I will also tackle exterior lighting. It's my view that a refreshed exterior should incorporate LED DRL's, LED tail lights and HID headlamps. It just makes sense...
I would like to have my CCW Classics re-barreled as well, to incorporate a wider rim. From what I understand my backspacing is good where it is. By changing the outer barrels, with a wide body kit, I could probably get a 4.5" or 5" lip. Perhaps by this stage however, I will have gone in a different direction with the wheel setup. This is certainly open to change...
To be continued...
Thank you for stopping by and checking out my thread. I'll leave you with just a few more pics of the car and I will update the thread as often as I can with the progress to show where this build is headed!
Nick
Last edited by Brilliant7-LFC; Feb 3, 2016 at 12:59 PM.
I realize my first post was probably too long, hence the zero replies lol
I'll keep this one shorter...
UPDATE:
So,I've tossed out all that planning from the first post. I'm doing things as they come up.
I'm working on my audio setup, here's what I've done this far:
Started with a set of JL Audio C5-650 component speakers. Obviously, they don't fit, so I bought 6.5" speaker adapters from car-speaker-adapters.com -- they still don't fit. So, I had to trim them down.
These adapters are good but not great. The good thing is, the material is soft, so it's easily trimmed down with a knife, like I did.
After I trimmed them down and got the woofers in, I got to mounting them. I used V-MAX sound deadening (similar to Dynamat), using the template that comes with them to cut out a ring. The idea here is to decouple the speaker from the bracket and reduce vibration.
Next, I noticed that all the holes in the adapter would not help the sound quality one bit, so I sealed them up using VB-2 sound barrier, again from Cascade Audio Engineering.
The material is very flexible and when heated can form to any crevice or shape. Next, I sealed them up:
Now they're sealed and will provide much better response and a tight punchy mid-bass.
Next I mounted up the crossover and tweeters.
I added V-MAX to the adapters all over to help reduce vibration as much as possible.
Now, due to the small/odd size of the speaker openings, I felt I needed to modify the speaker grilles in order to allow the tweeters to have a clear path into the cabin.
I used the Dremel to carve the out and smooth them. Then I used 320 grit sand paper and painted them black. As well as stripped the grilles and painted them black as well.
I'll be cleaning up the drivers door and repainting the black plastics soon. For now, that'll do.
Used the V-MAX to deaden the inside of the outer door skin on the drivers side.
Don't really have any pictures of it but real simple to do -- you stick it on.
The idea is to absorb vibration and not necessarily block out all the noise completely so I didn't do the whole skin. Besides, you can't even get to the portion in the top right of the door.
Also cleaned up the door panels using a magic eraser. I'm really surprised at how well they cleaned up. They look very good.
Before:
And after:
I'm really pleased with them, but I'm contemplating dyeing the entire interior. We'll see about that.
Now, for not so good results, I repainted the black interior plastics to match the speaker grilles.
WORD OF ADVICE: Do not try to repaint the '93 interior plastics until you've sanded off EVERY LAST BIT of the material that's on there. It ruins your paint job.
There are several smooth spots which look quite nice but there's also some bad blotchy areas. Unfortunately, I'll have to redo them.
A wise man told me once: "Lazy people work twice as hard."
You have a great clean car as a base. I'm looking forward to see what you do. Are you gonna get rid of the wing?
Hey, thanks bro! It will take time, but I've got some big ideas.
As for the wing, I kinda like it! I won't be switching it any time soon. The car has a stock/modified look now which I'm fine with and the spoiler really fits that overall look. Down the road, if I can afford to go wide body, it will be swapped for something else, for sure.
I've really been neglecting my thread as of late...
So about six months ago I re-wired my fuel pump after discovering that everything was done the cheap and cheerful way...
Before:
After:
So, I found virtually all the wiring to be sub-par. I completely re-wired the entire setup, everything except the relay itself has been changed. I re-located the fuse as well to the bin to the left in the rear hatch along with all the grounds. I just don't like the idea of having a fuse so far away from the battery and inside the tank's compartment.
I had to figure out another issue as well. The car wasn't starting and I didn't have any fuel pressure, so I had to get to the bottom of it. Turns out, it was the bulkhead connector which burned out. It's a fairly common issue and I used a Racetronic universal style bulkhead connector to replace it. It was a pain in the *** but it did the trick!
I also upgraded to 10 gauge wiring for the 12v and 14 gauge for the signal wires.
I couldn't stand the look of the bulkhead - it had gotten old and tired. I redid it with truck bed liner and I'm really happy with how it came out. I also lined the cover with closed cell neoprene foam to avoid any vibration from the metal on metal contact.
This was a project that really needed to be done as I'd gotten stuck once before at a Best Buy.
All in all, it was a laborious process but well worth it to know that I'm wired correctly and have vastly improved the performance and reliability of my fuel system.
This week, I focused a lot on maintenance. I did an oil change with Castrol GTX 20w50. I ordered in a fuel filter and am hoping to get my hands on some Idemitsu 75w90 for the transmission and rear end this week coming.
Unfortunately, I used a Fram oil filter that my friend had lying around. I began to research the best filters to use after the fact and discovered that there's a lot of horror stories about Fram filters.
So, I ordered in Mazda filters and will be replacing my crap Fram filter tomorrow at work.
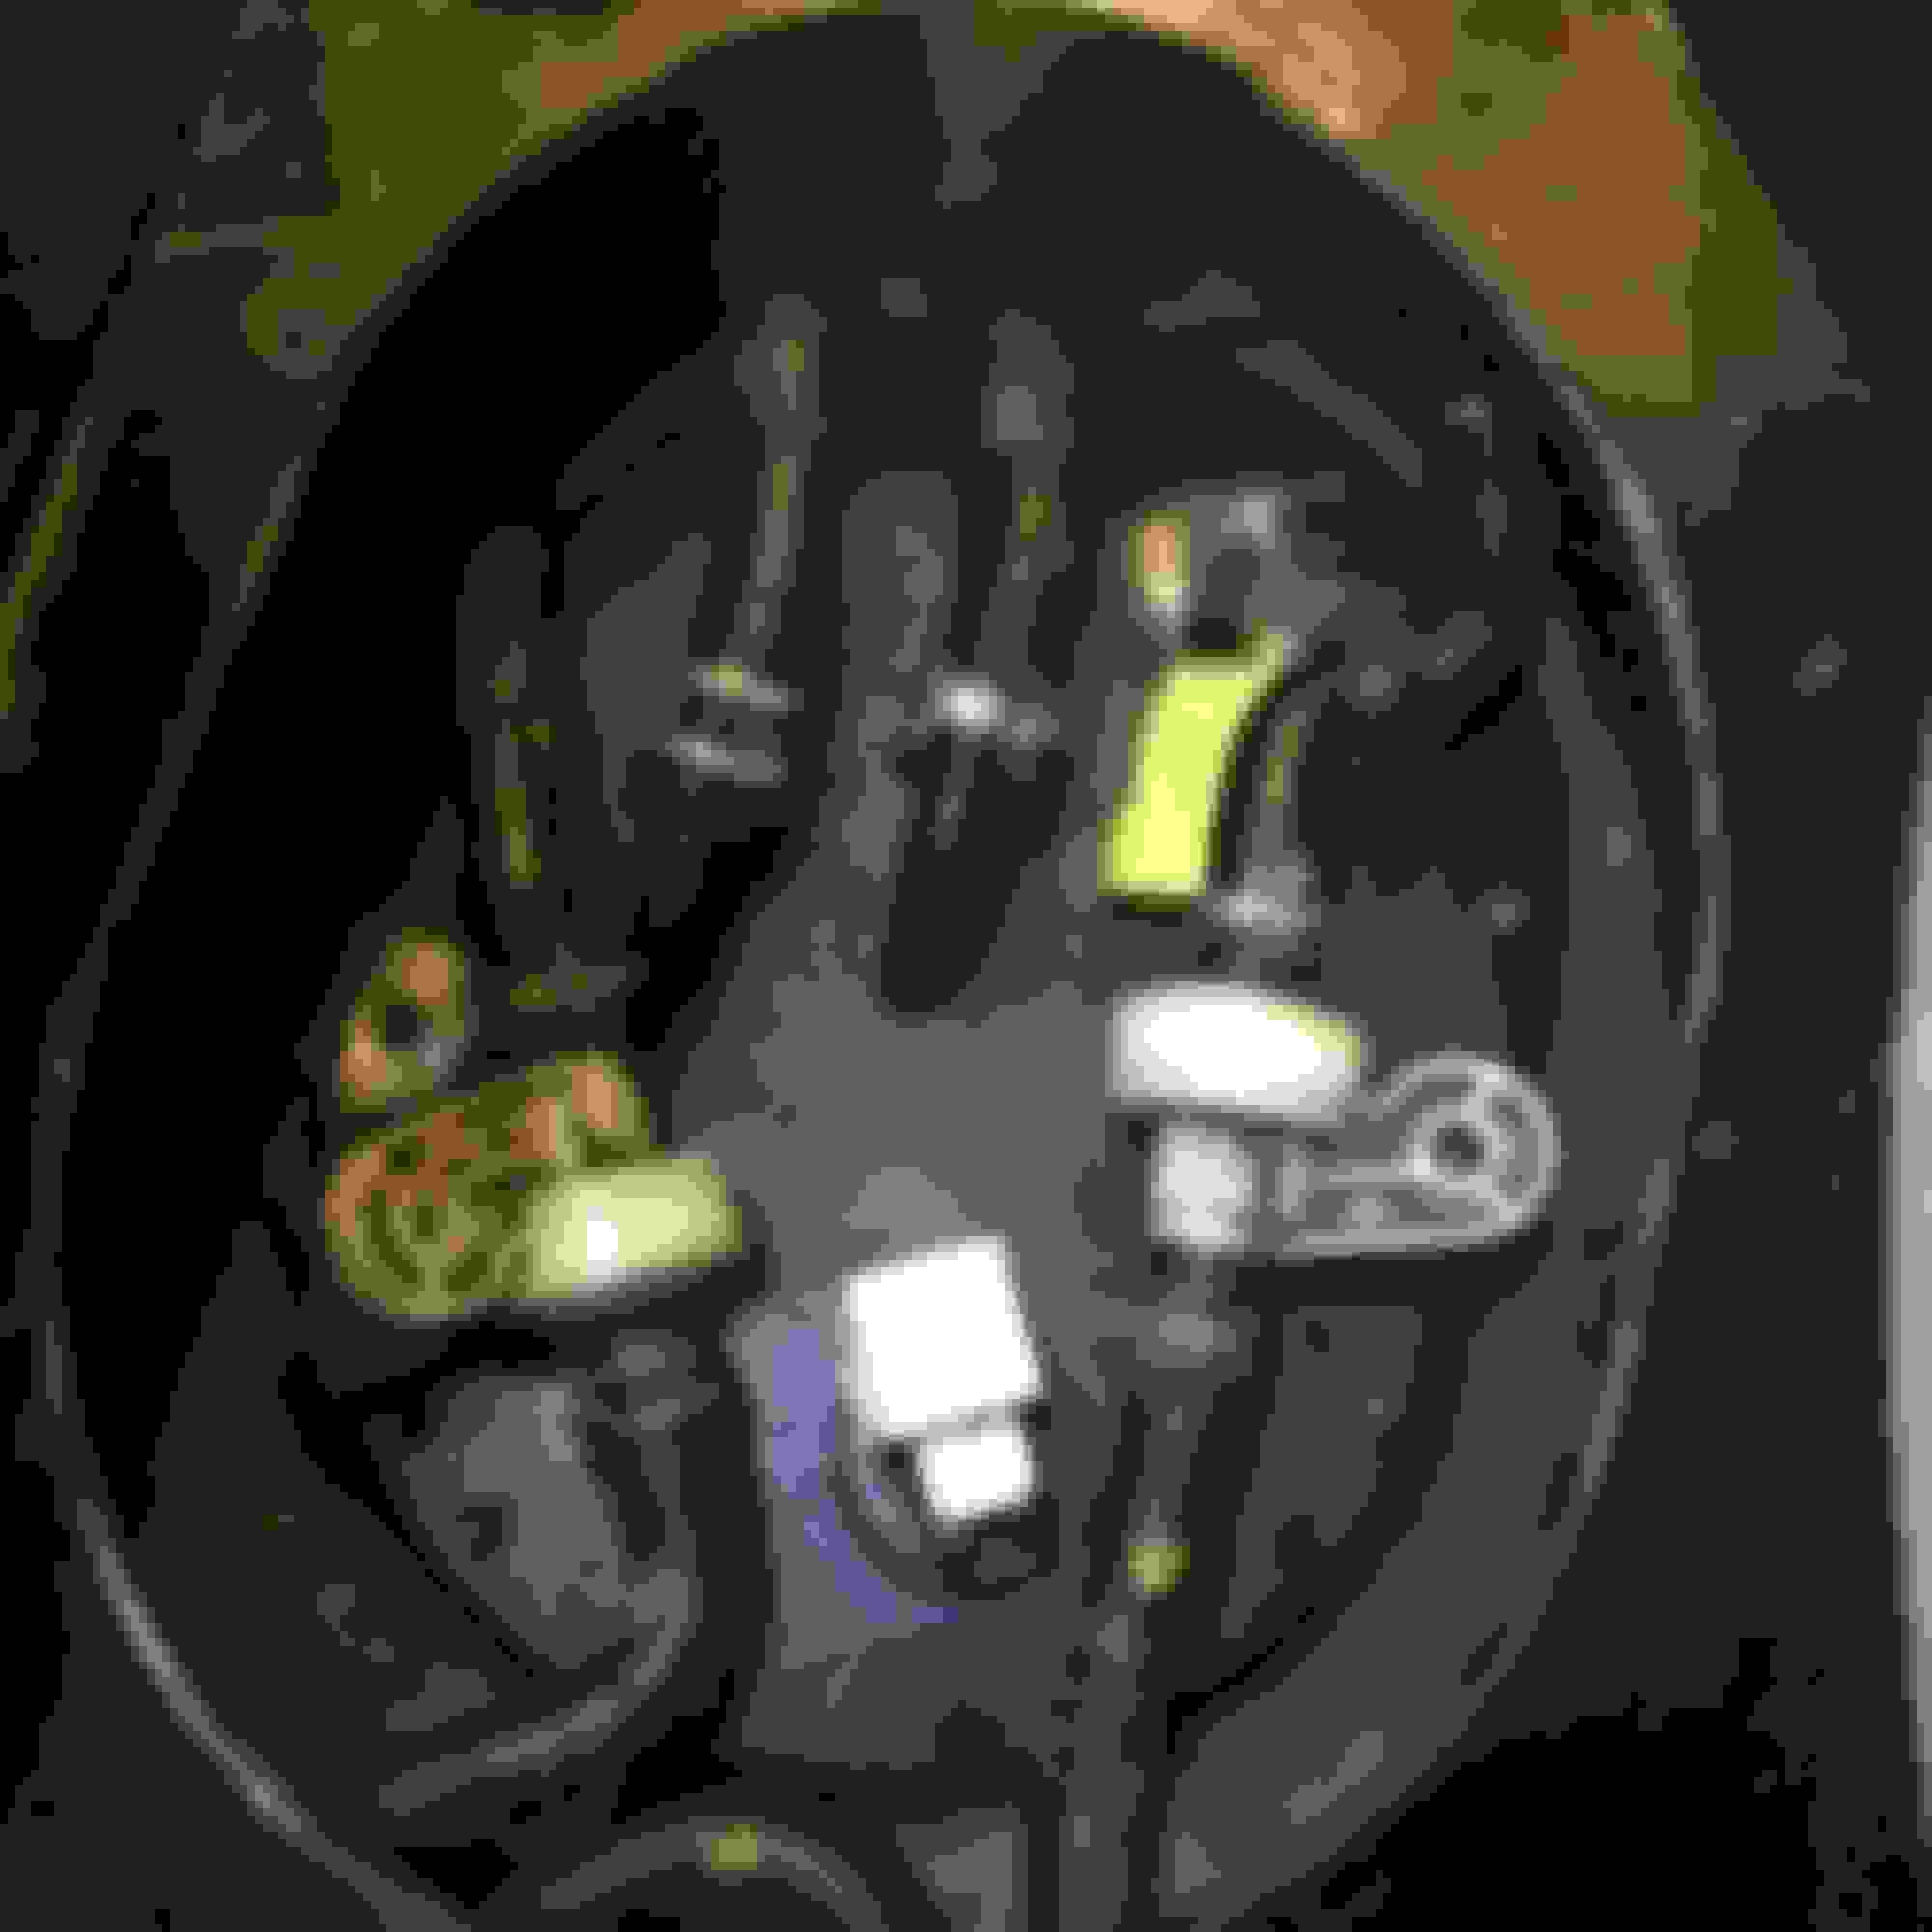
I also began to tidy up the engine bay - painting a few items to clean up the engine bay and eliminate some of the bling, which I'm not in to. While doing so, I discovered my clutch master cylinder was rusted and fugly looking:
Luckily, I was able to get a great deal from WorldPac (I own a mechanic shop) on a brand new Seiken master cylinder. It's something that you wouldn't even see, but that's the type of build I want to strive for.
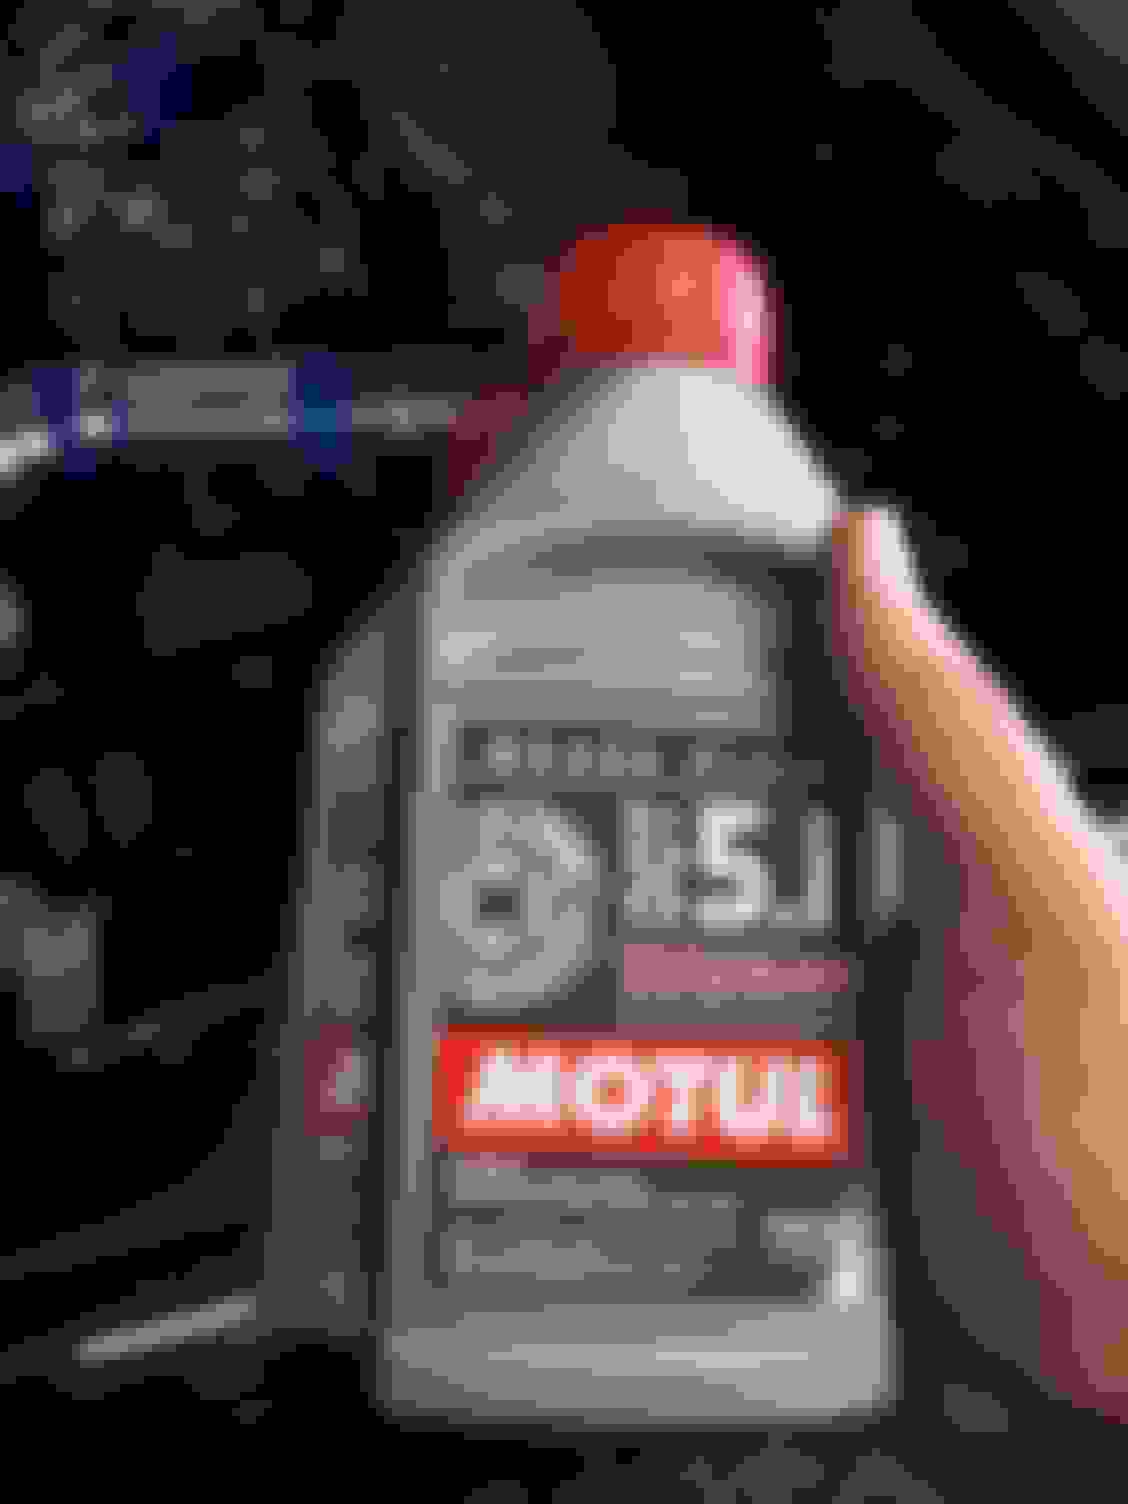
After doing some research, I decided to upgrade my brake fluid as well. It turns out, Motul makes a great product which is DOT 5.1 which apparently is specially designed for ABS systems. After speaking with them on the phone, they explained that it's kind of a "slippery" brake fluid which would enable the fluid to pass thru the "micro valves" inside an ABS pump, for example.
I will take some pics of my re-done ignition coil relocation bracket and post them up tomorrow.
Nick
Last edited by Brilliant7-LFC; Nov 20, 2016 at 10:10 PM.
Great looking car, it looks like it's in amazing shape. Glad to see it went to someone that is going to take care of it.
Good call with the oil filter. Factory filters are the only way to go. Oiling is way to important to cheap out on or use questionable parts. I have plenty of horror stories myself from Customer cars using Fram filters.
How are you replacing your brake fluid, gravity bleed or do you have a power bleeder?
Thanks man, she is in good shape and I intend to keep it that way! A lot of the modifications I want to do are on hold unfortunately because I recently took over this business from my family and it requires a lot from an investment perspective.
I have a power bleeder but only use it to empty the reservoir to lessen the mess, or when gravity isn't doing the trick. In this instance, I did have to start the process with the power bleeder off the slave, as it wasn't flowing at first.
The previous owner looks to have to have neglected the braking system a bit. The clutch master itself was rusted and the slave bleed screw was rusted on the inside. I had to lightly polish it on the wire wheel to clean it up and the ball bearing type stopper inside was also frozen.
Note to to anyone who is doing this to their car, make sure you don't lose that little ball inside the slave or you'll leak out the whole system and won't be able to stop it.
One final note: I now work with Phil who I referenced earlier in this thread. He's been a loyal employee for my family for over 20 years and it continues still. Often times when I say "I", it's truly a "we" and sometimes even a "him". He's an immense help to me, cause he knows these cars inside-out. He can tell you the size of virtually every nut and bolt from memory. He is a huge asset and will be a big reason why this car is maintained properly and modified safely.
Thank you Phil!
Nick
Last edited by Brilliant7-LFC; Nov 21, 2016 at 11:27 AM.
For anyone following my build thread; thank you and I hope you enjoy it. I also intend to use this thread as a log for myself too. Not all the posts are sexy, but it allows me to keep track of the work I've done and when I've done it.
Today, I replaced my fuel filter, removed the charcoal canister and replaced my noisy ball joint with a good, used upper control arm.
Old vs. new:
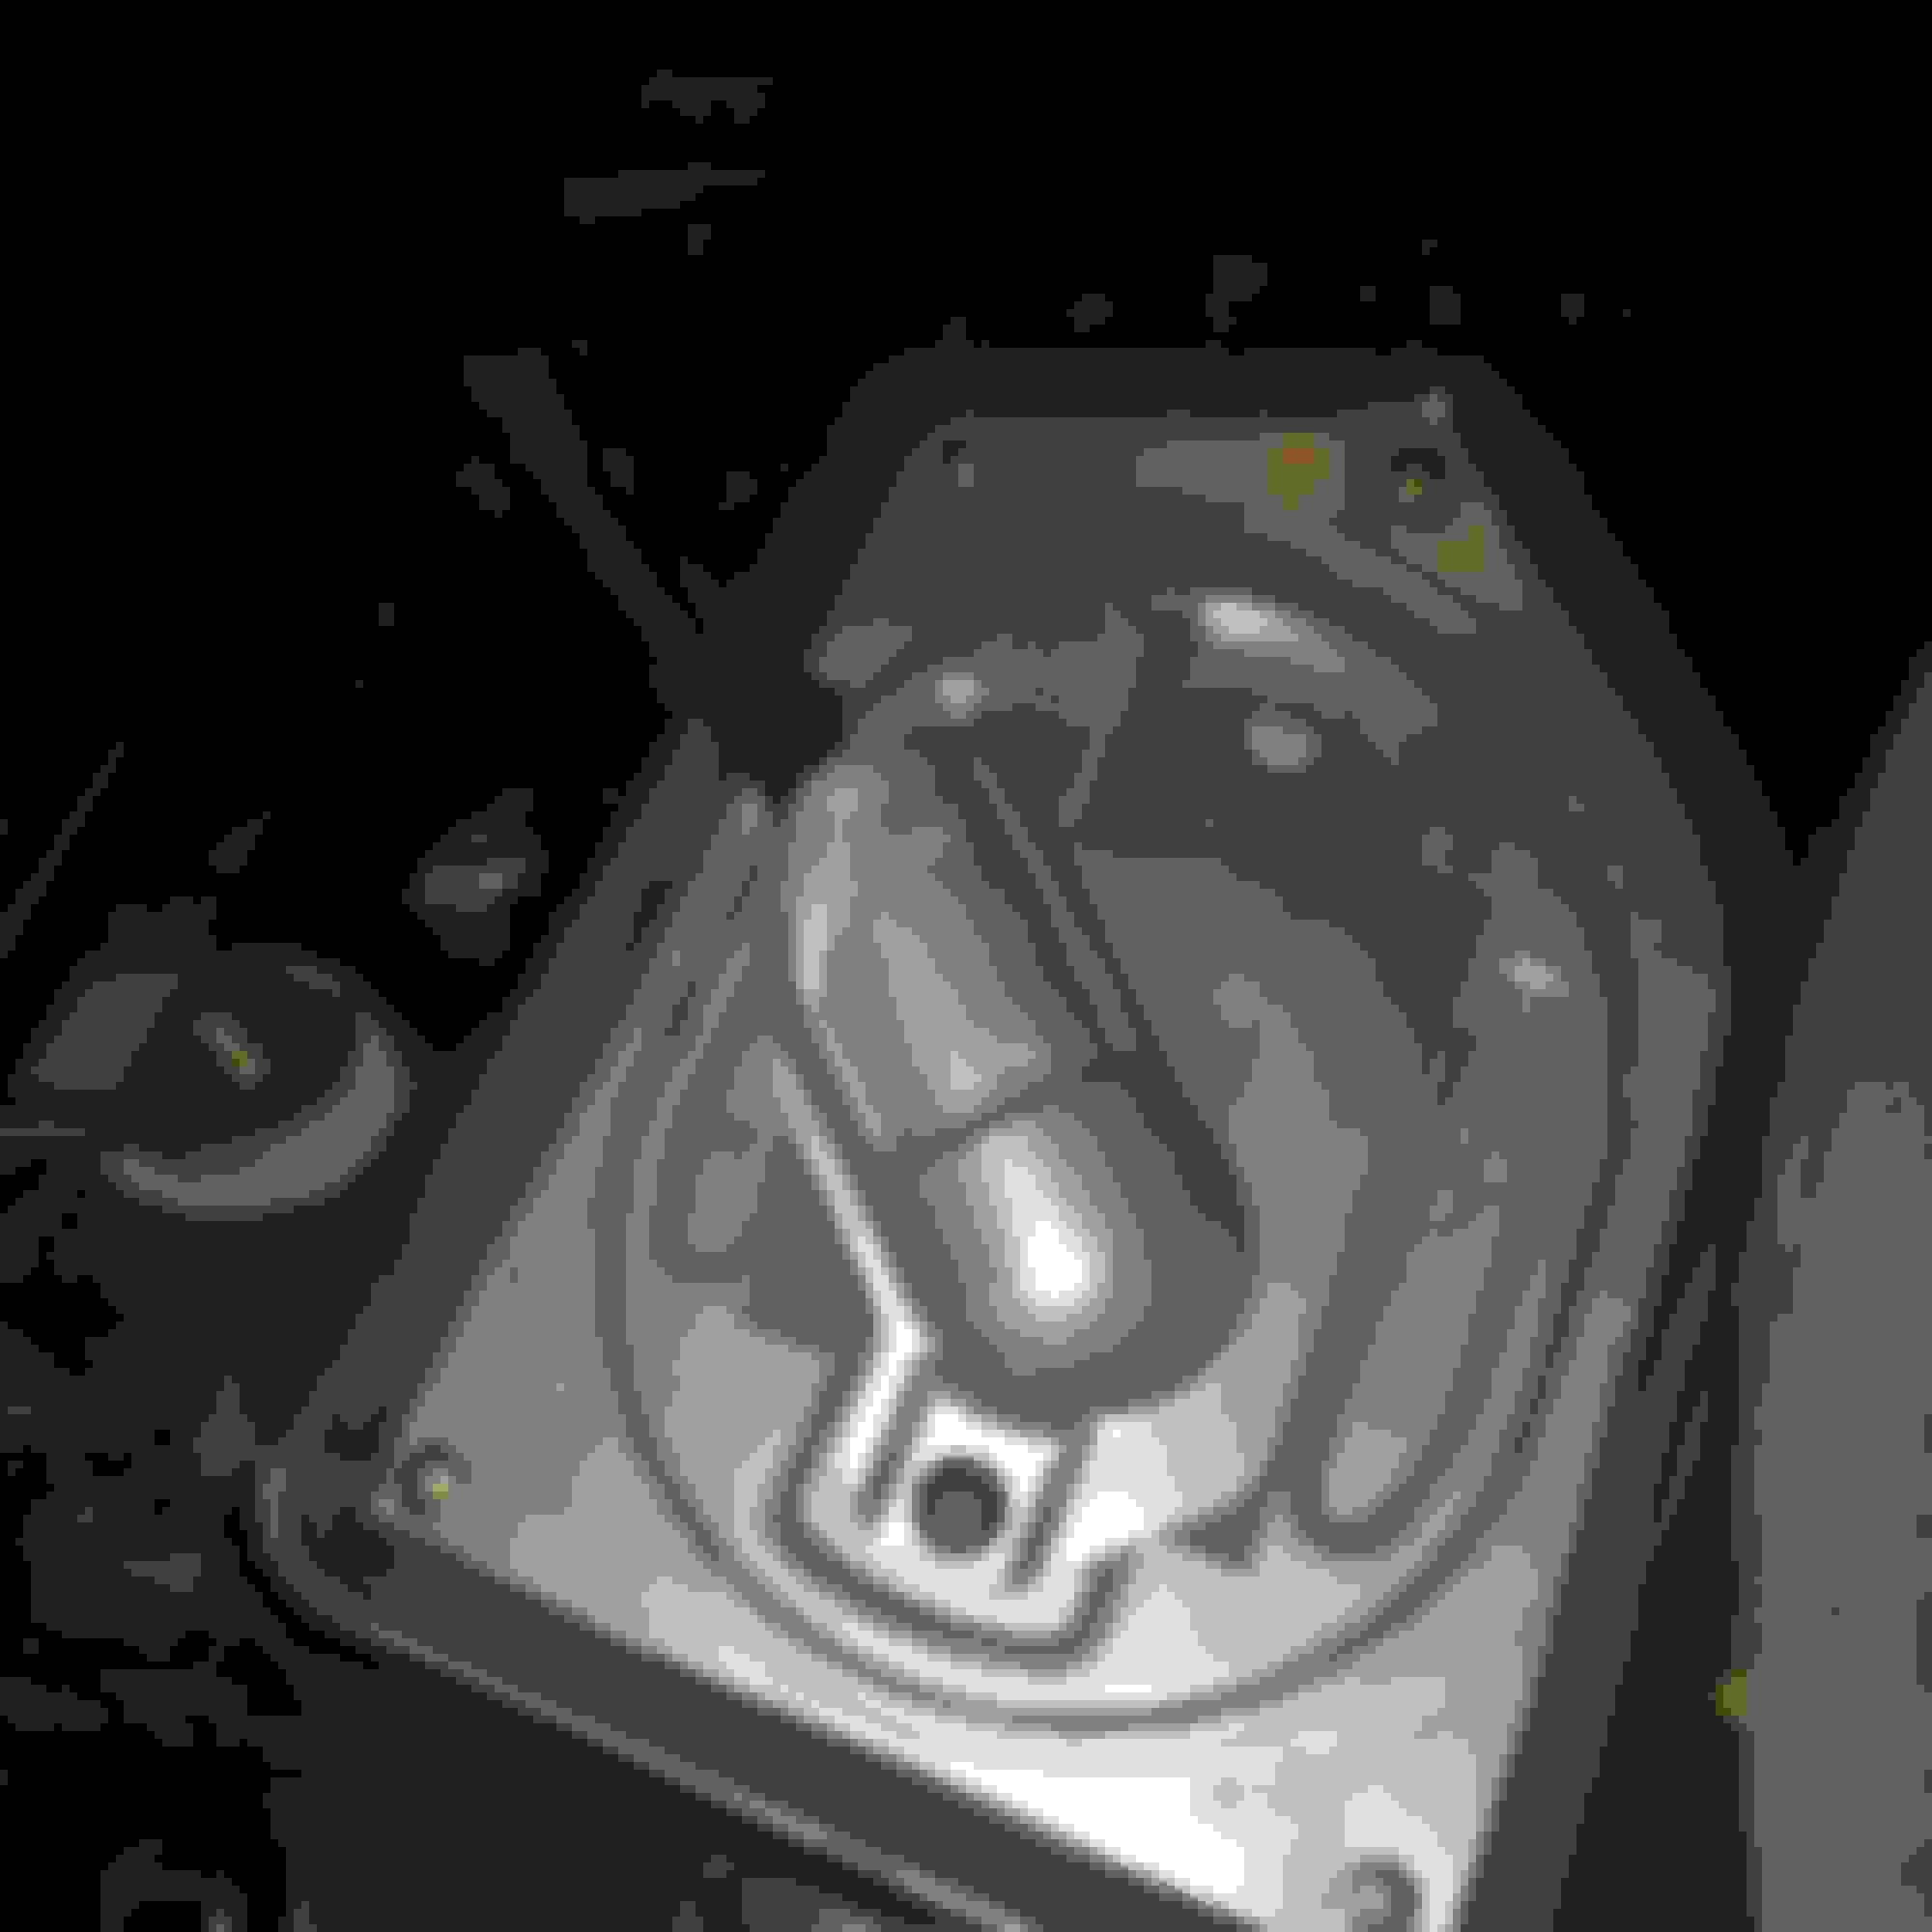
I never knew there was a Mazda logo on the control arm. Nice touch Mazda...
FYI, a cheap soda blaster works wonders and saves a lot of elbow grease. Only thing is after some miles they get all crappy again so it's probably not worth the effort even with a soda blaster
Also, I would just replace the master/slave cylinders if they are crappy. They aren't that expensive.
Finally, if it was me, i'd leave the charcoal canister. I'm not sure there are any benefits in removing it.
Tom, I agree with most everything you've commented on. I replaced the master with a very high quality Seiken. The slave looks OK, so I'm leaving it be.
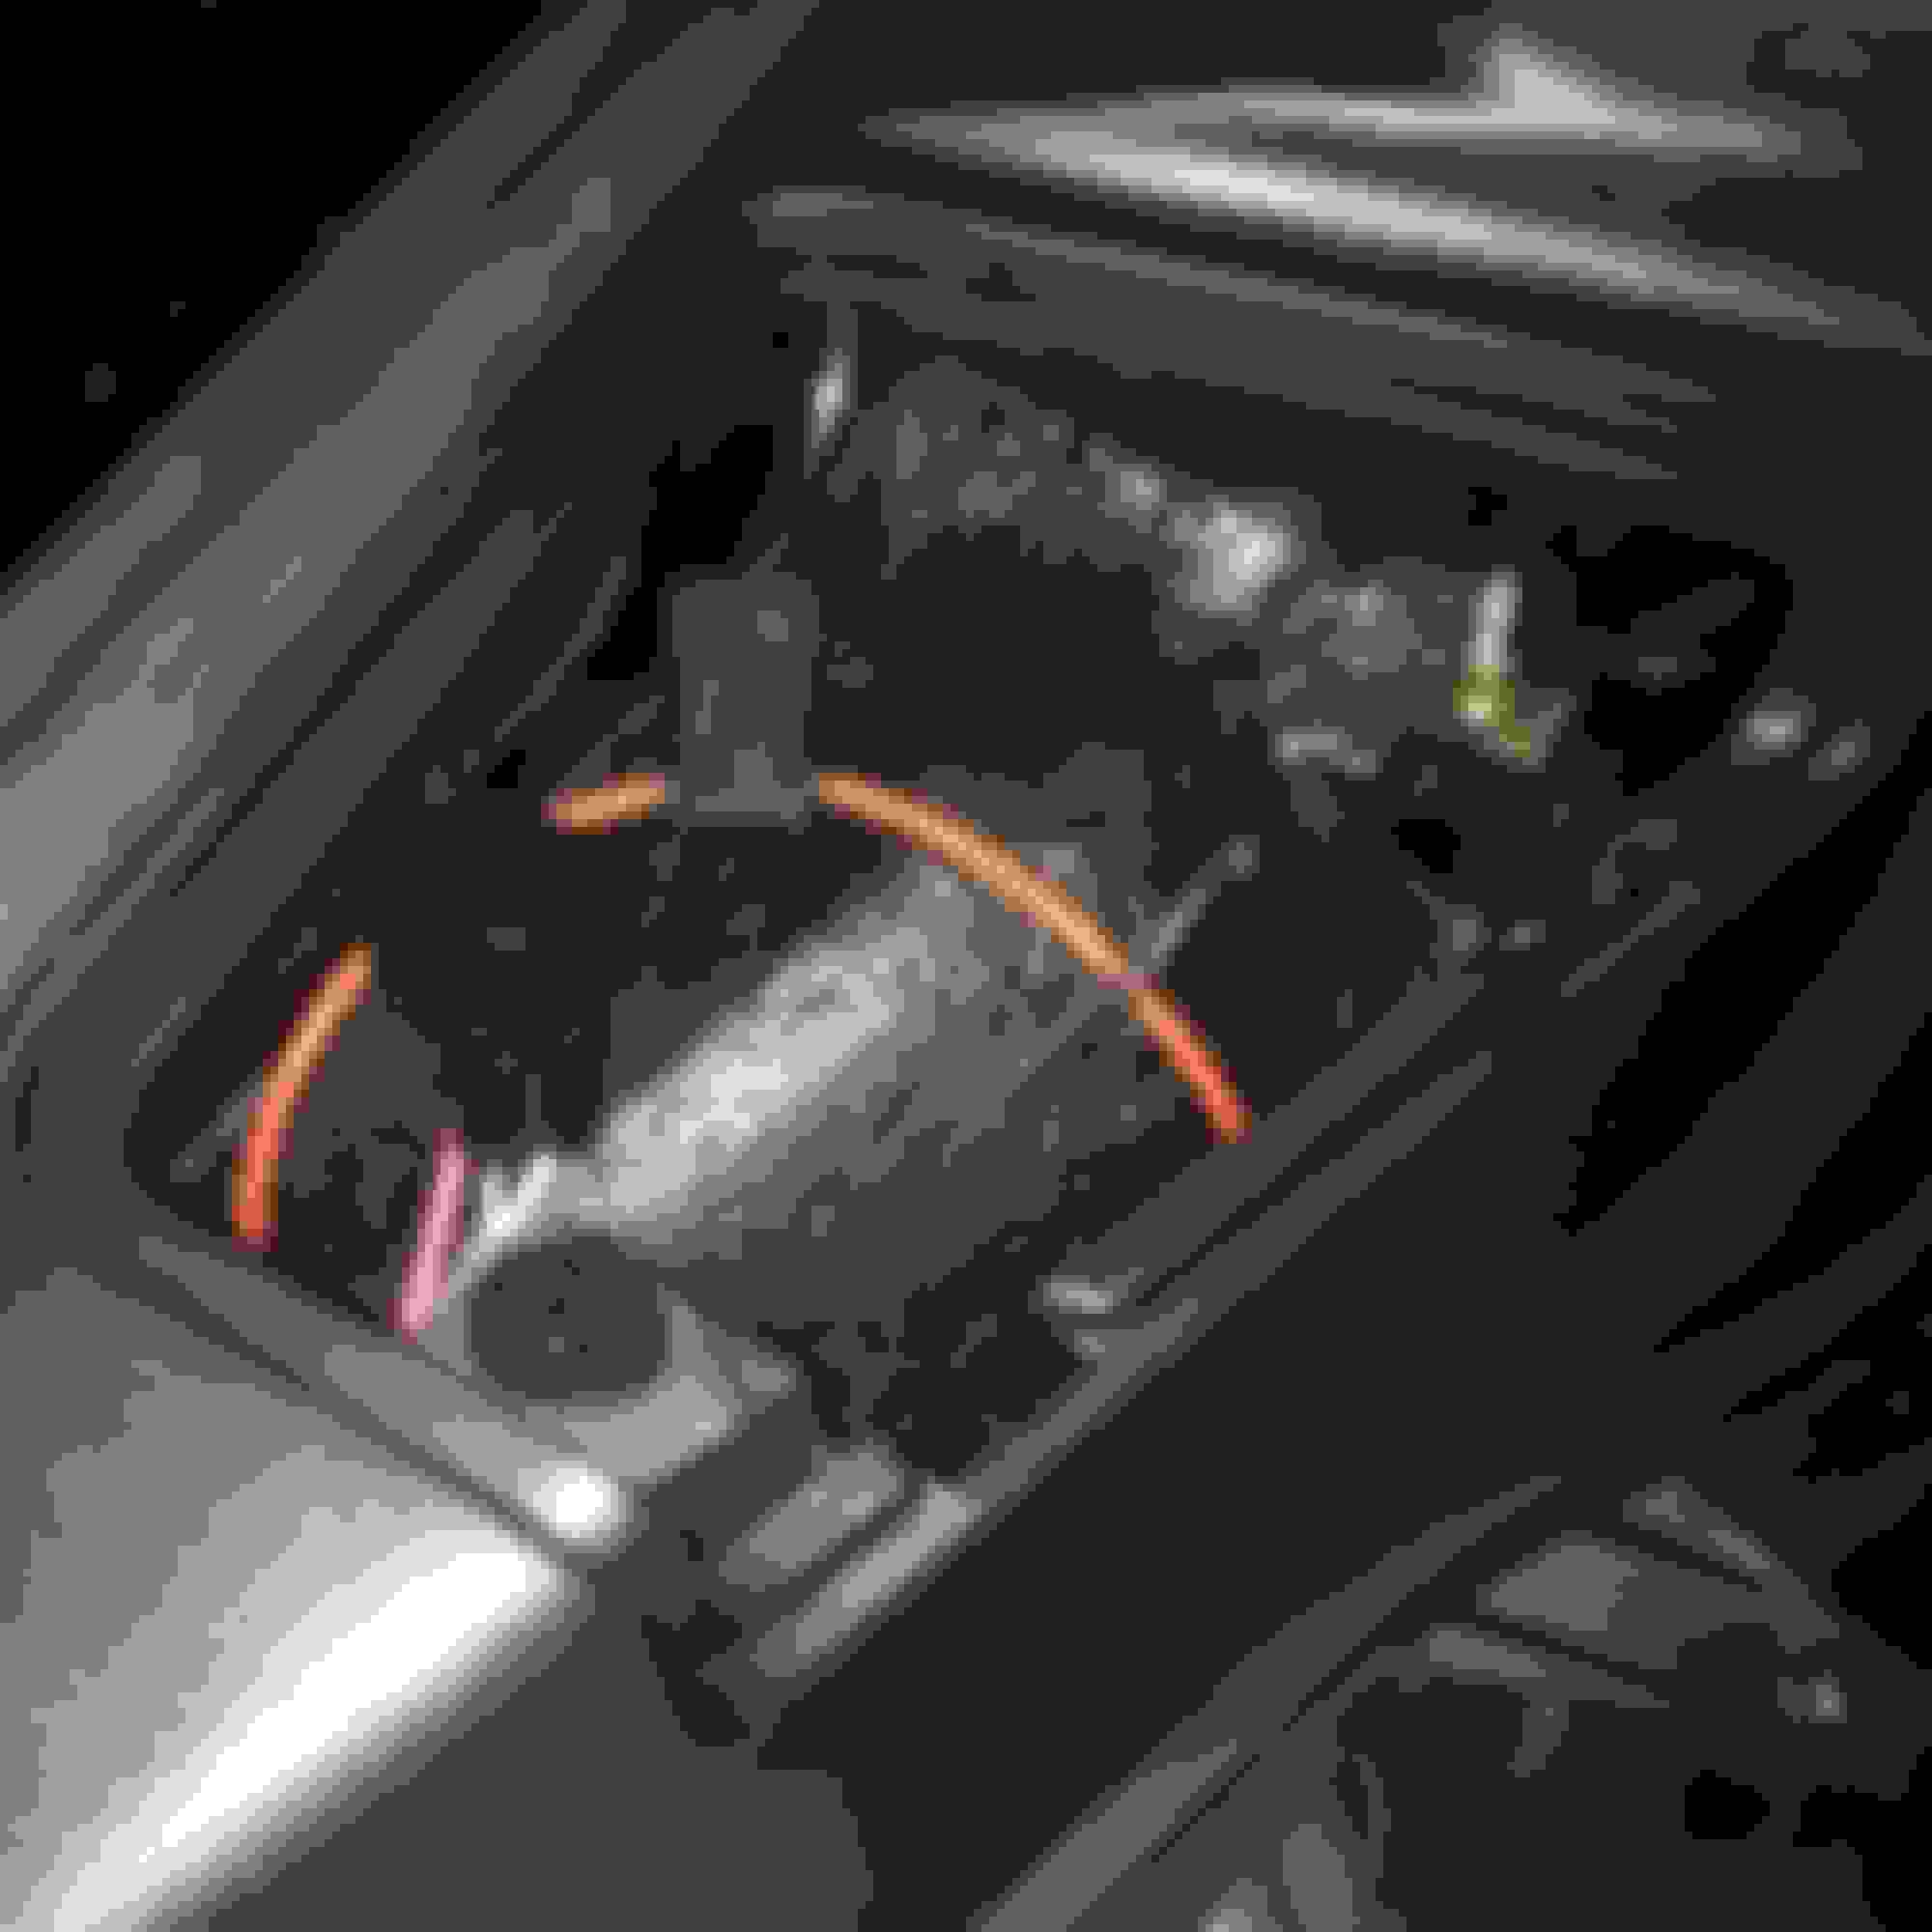
I removed the charcoal canister for two reasons: no emissions in Florida and weight reduction. It only weighs about five pounds but it all adds up. The previous owner had the charcoal canister's line still terminating in the engine bay with a small blue filter. I hated how it looked and I didn't think it was the best idea to have fuel vapors venting into the engine bay either.
So, I removed the canister and capped off the hard line at either end to prevent moisture or debris getting inside and ruining them. It's simpler and achieves what I set out to do.
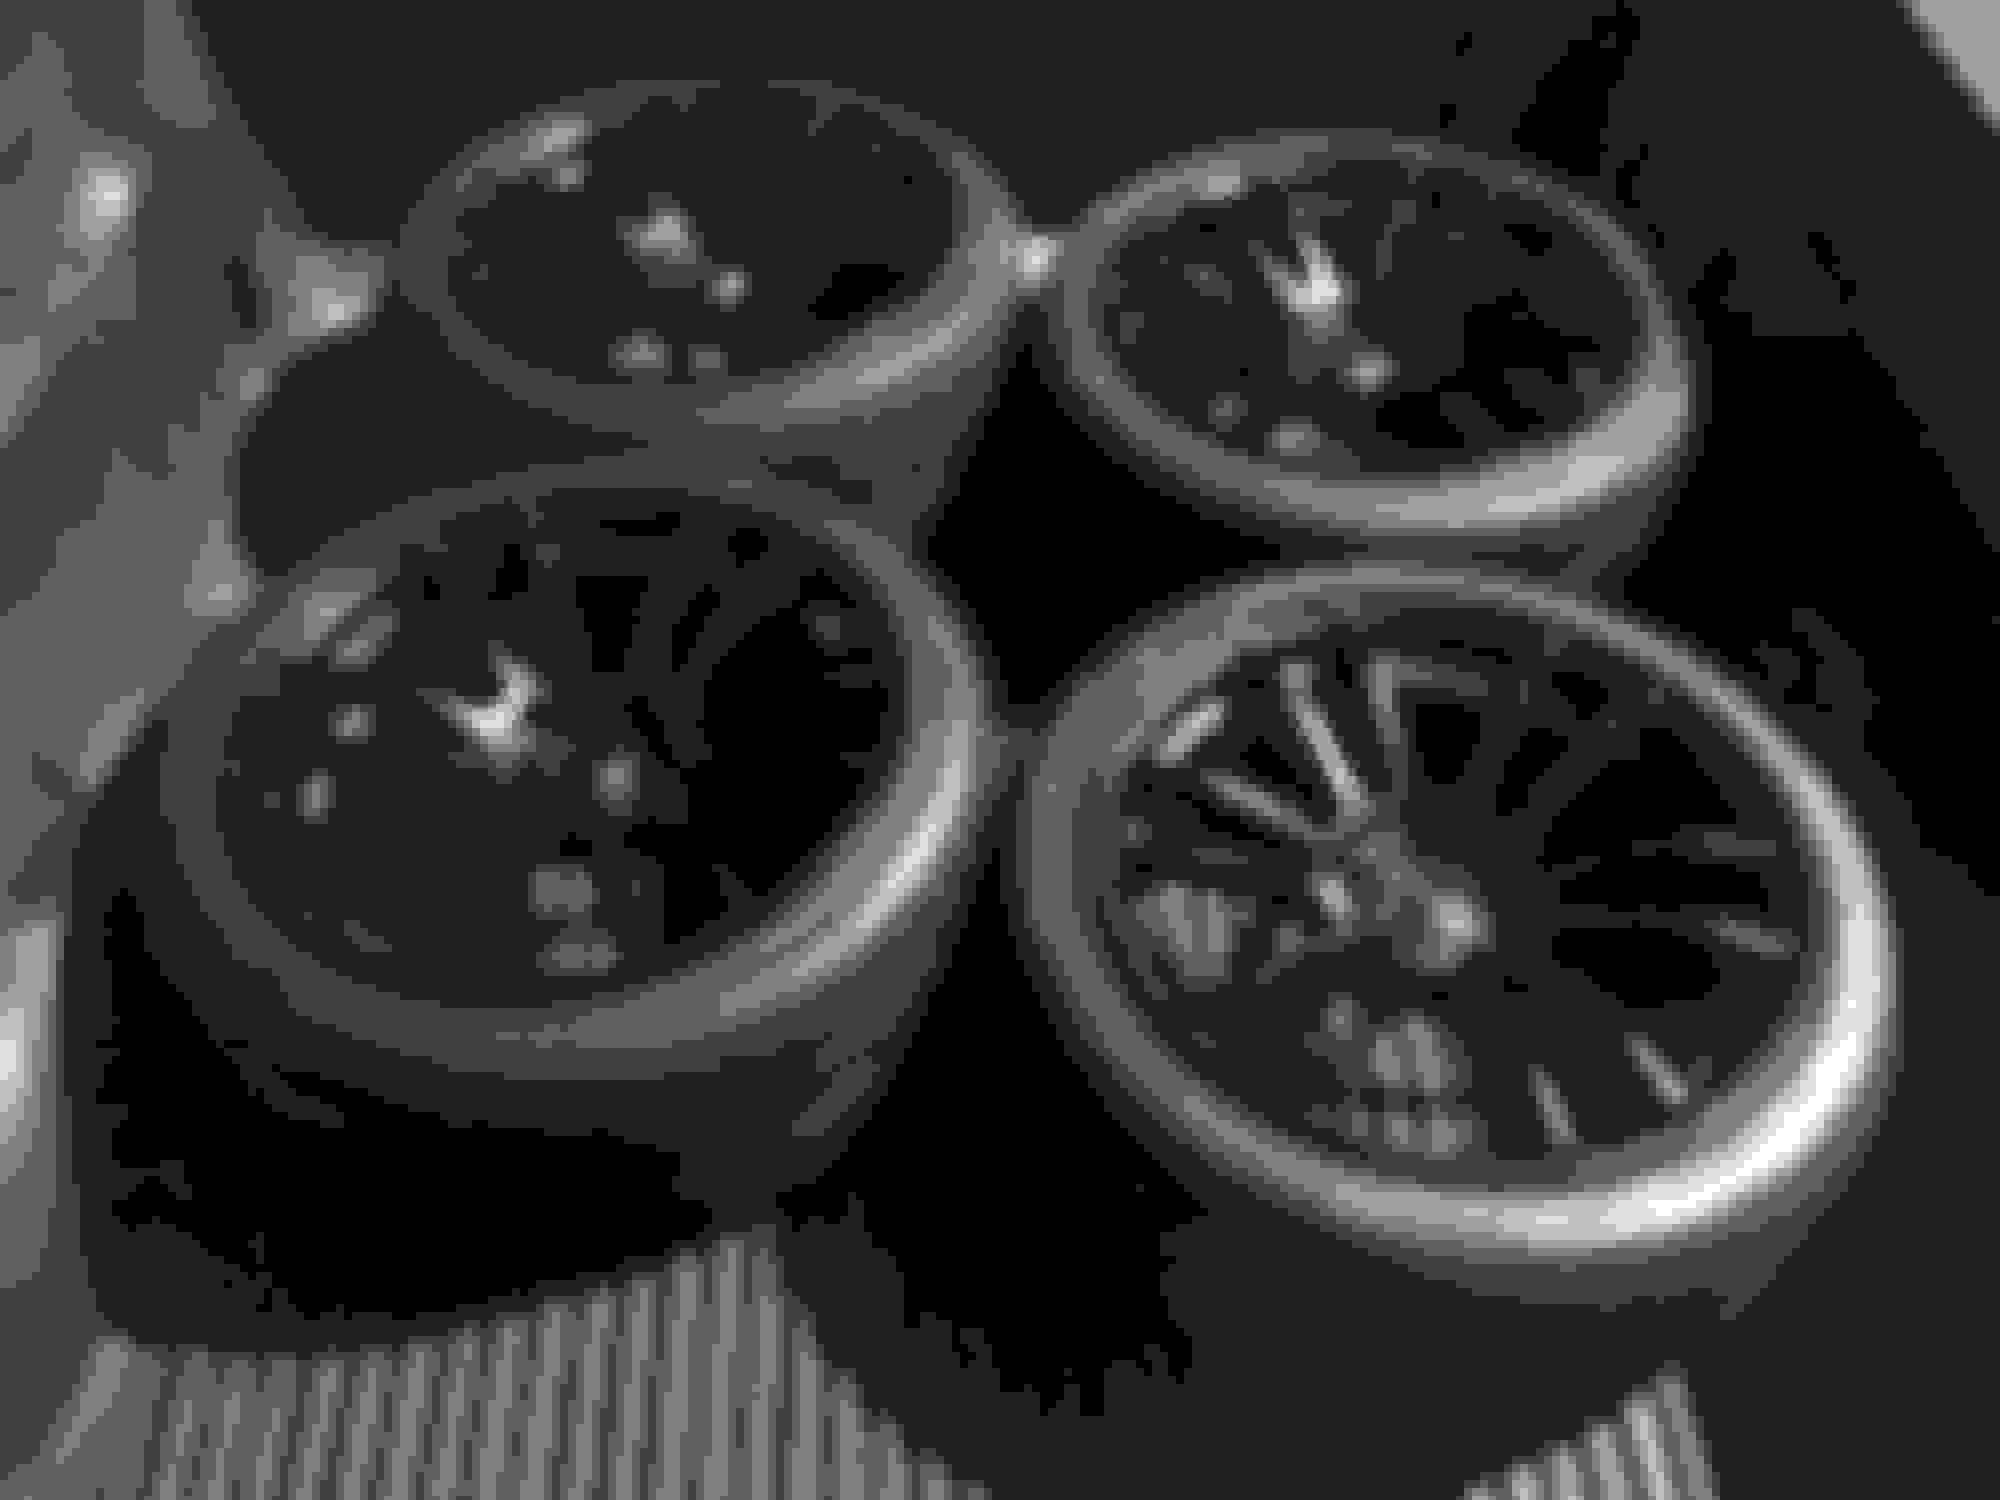
Thanks for the love on the wheels too I forgot to mention their specs:
Rays Gram Lights 57Xtreme
18x9.5 +38 all around - 265/35-18 Bridgestone RE760
I wanted this square setup for the street so I can rotate and get more life out of my tires. Very pleased overall with the grip and steadiness at highway speeds. The 265's up front have robbed the car of its immediate steering response, but it still feels good.
Tom, I agree with most everything you've commented on. I replaced the master with a very high quality Seiken. The slave looks OK, so I'm leaving it be.
I removed the charcoal canister for two reasons: no emissions in Florida and weight reduction. It only weighs about five pounds but it all adds up. The previous owner had the charcoal canister's line still terminating in the engine bay with a small blue filter. I hated how it looked and I didn't think it was the best idea to have fuel vapors venting into the engine bay either.
So, I removed the canister and capped off the hard line at either end to prevent moisture or debris getting inside and ruining them. It's simpler and achieves what I set out to do.
Thanks for the love on the wheels too I forgot to mention their specs:
Rays Gram Lights 57Xtreme
18x9.5 +38 all around - 265/35-18 Bridgestone RE760
I wanted this square setup for the street so I can rotate and get more life out of my tires. Very pleased overall with the grip and steadiness at highway speeds. The 265's up front have robbed the car of its immediate steering response, but it still feels good.
Nick
Subscribed ! I was gonna say about 265 in front .
I like where your going with this.
interesting thread , how do you like the Microtech ECU on your single setup ?
interesting thread , how do you like the Microtech ECU on your single setup ?
Thanks man, appreciate the kind words.
The Microtech has its pros and cons. The tune isn't perfect and it has difficulty compensating for changes in temperature. In cooler weather I had some detonation last year. Since then, I re-wired the fuel pump like I showed here, so perhaps it was leaning out. We'll see.
My setup needs a little tweaking. I've got 550cc primaries and 2,000cc secondaries, so it's very difficult to tune it correctly due to the huge discrepancy and stage the injectors properly.
I bought a USB dongle and will try to make some adjustments cause it's rich as hell right now. My wideband reads 10.0-10.5 all the way to redline so I'm leaving some horsepower on the table but it's safe.
I already bought a set of 1,000cc ID injectors so I need a new primary rail. I want the CJM primary and secondary but have other priorities right now. I'm only boosting about 14 pounds and it feels nice and strong so I'm not in a huge hurry.
One day, I'd love to get a Haltech Elite 1500 to improve the driveability as the Microtech doesn't really lend itself to fine tuning and is more of a race computer which works really well at WOT, but not so good cruising around.
Haha, yeah I love those CCW's. I still have them...
I am considering looking for someone to trade my 18" Classic's for a set of 17's and make them dedicated drag wheels. Kind of depends if I get into drag racing or not. In my area I don't think there's a whole lot in the way of road racing available, but there is a drag strip and soon to have a second one.
So how does that front speaker setup perform? Are you using a separate amp to drive them or just the headunit?
I'm embarrassed to say, I haven't gotten the sound system up and running yet. I just took over my family's business and it needs a lot of attention and financial investment. This, I haven't had the time or money to finish it.
Having said that, the front speakers will be powered by a 4 channel amplifier, bridged to two channels. I have a spare Infinity amp that I'll use in the interim until I have the money to buy what I want: JL HD 600.4 and a JL 10w7v3. I have an HD 750.1 already for the sub, just need the sub.
Lastly, I plan to run a second set of tweeters which I will integrate into the A pillars - "imaging tweeters" from what I've been told. They'll be the same C5 tweeters that came with the 650's.
So, the next step really is to drill holes in the door jams so I can run the wires and buy the tweeters. I've also already got my head unit, a Pioneer DEH80-PRS with burr brown processors. It's bad *** and I can't wait to hear the system!
Please post how you like the 650' I also have them but never installed them , I always wonder if they'll make that much of a difference
me too I'm too lazy ,to installed them
To tell you the truth, this happens with a lot of my projects. I buy what I need, I have a clear vision of what I want to do, and then I hit some kind of road block and it dies out for a while.
The problem here lies with the speaker wire. I decided I'd replace all the wiring and use high quality, 12 awg for the woofers and crossover and 16 awg for the tweeters. I discovered in my research (after beginning the project) that passing the wires through the factory wire harness is a minor miracle. So, I've been looking for an alternative.
Luckily, my co-worker and friend, Phil says he's done it before and could help me pass the wires, no problem. So, in the coming weeks I'll be going full speed ahead with this.
Ever since I got into cars and found out what JL Audio was, I've wanted to do an all JL build. To me, JL Audio is synonymous with quality, and exclusivity. In the end, I plan to have JL components in the front sound stage, JL amps and a JL sub.
As for how how much of a difference they will make, the speakers are less important than the environment and amplification in my personal view. Virtually any speaker in the proper environment with ample power, will sound "good". Different speakers will no doubt have different characteristics; some will be bright and very clear as compared to a different set, for example.
With my daily, I deadened the doors and replaced the vapor shield with a sound barrier (the same one I used to seal my speaker adapters in this thread) to create a type of enclosure in the door. I then added a 45 watt/channel Alpine amplifier behind the head unit and wow, what a difference. I have the basic stereo but with the treatment to the environment and the increase in power, I have no audible distortion up to the highest volume I can tolerate. Lows are much deeper and midbass is much tighter as well. That's the key.
Nick
Last edited by Brilliant7-LFC; Dec 1, 2016 at 07:41 PM.


 I forgot to mention their specs:

