
Shunters Project FD


Thread Starter
Junior Member
Joined: Dec 2011
Posts: 26
Likes: 0
From: Worcs, U.K.
Shunters Project FD
Hi all thought I best get aroundto starting up a project thread on here. I'll copy it over from the beginning up until now, it's only a few months progress since I got the shell in December but has progressed well.
So here's how it all began:
I put a deposit down on the car after only seeing pictures of it on Pistonheads which indeed was a bit risky but it was only a �50 deposit and for this car I was happy to take the gamble.
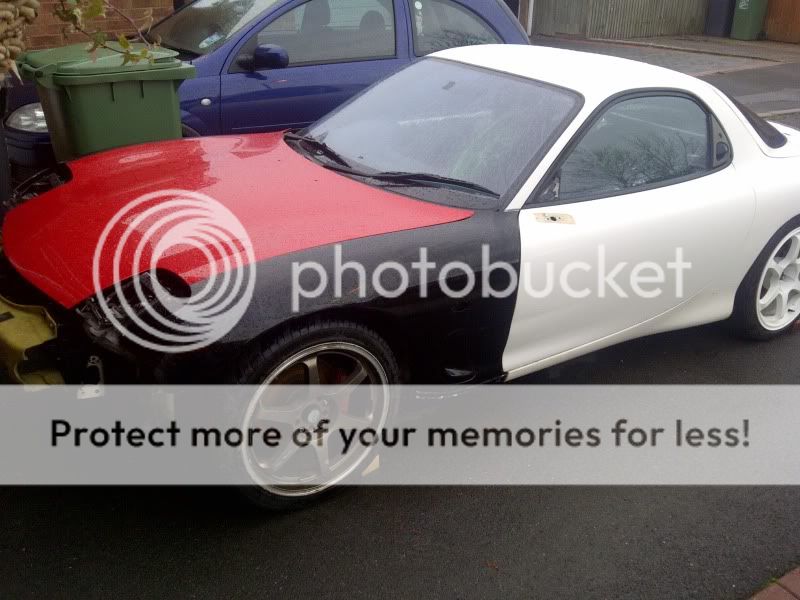
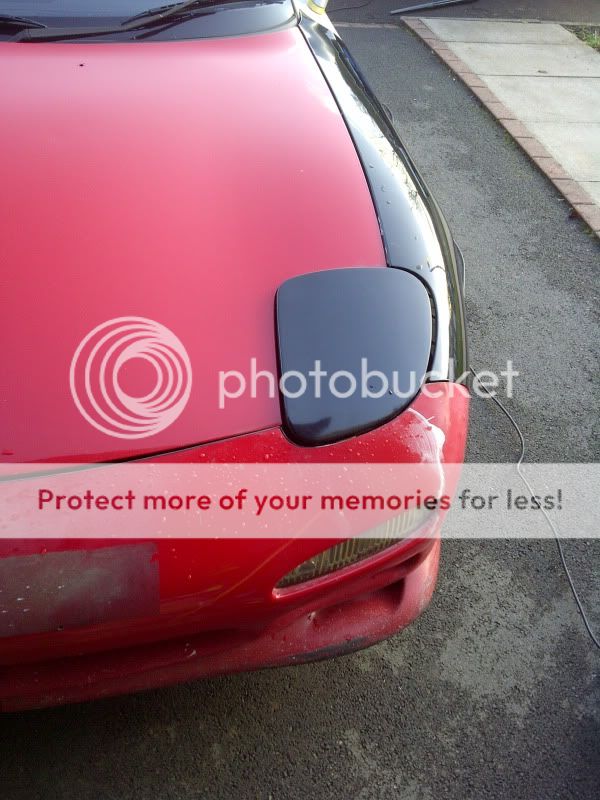
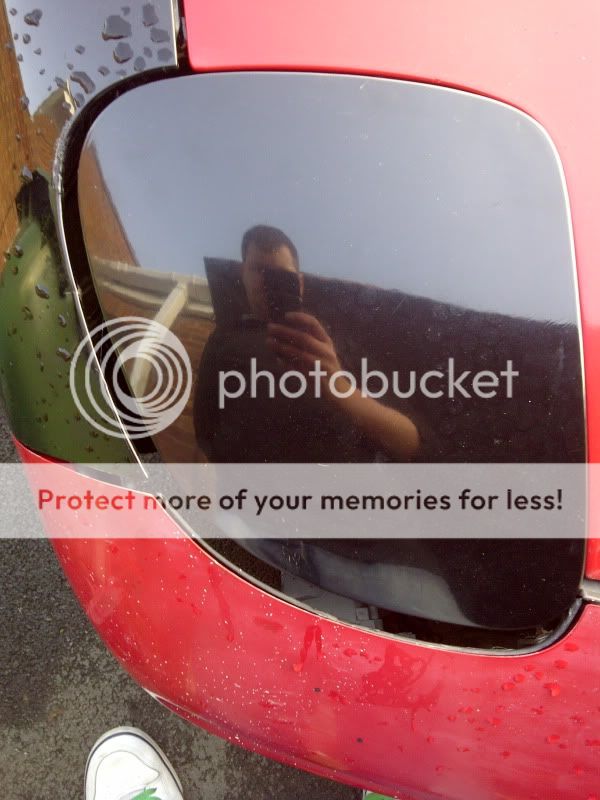
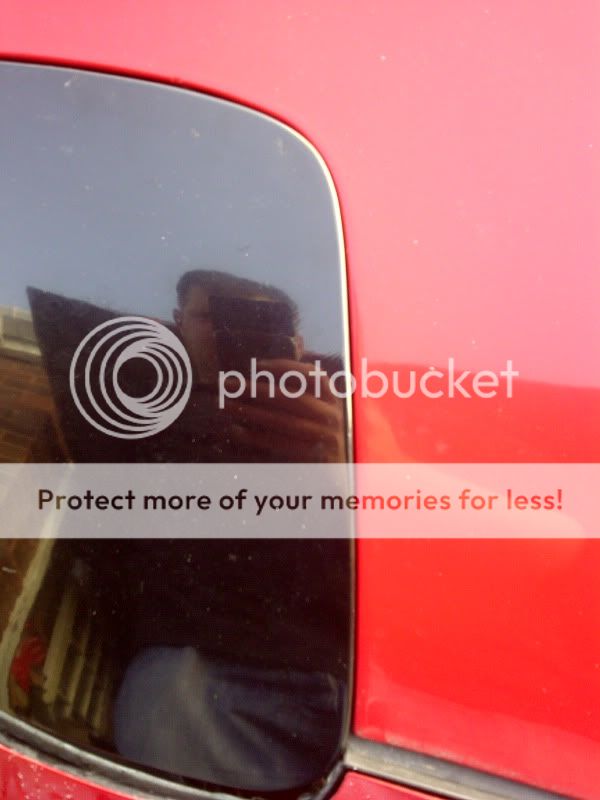
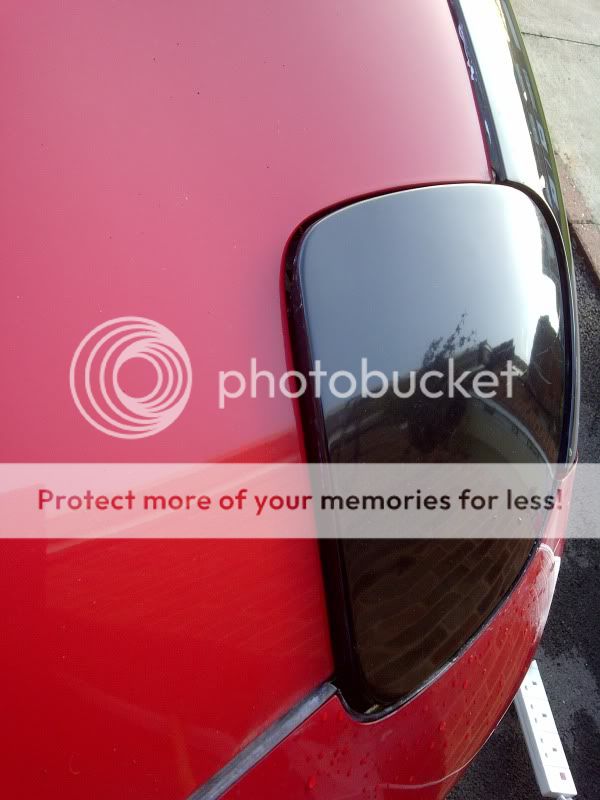
Anyway here she is, I did plan on giving her a quick clean but sadly it's still raining so thought it would be wasted effort so just took the pics:
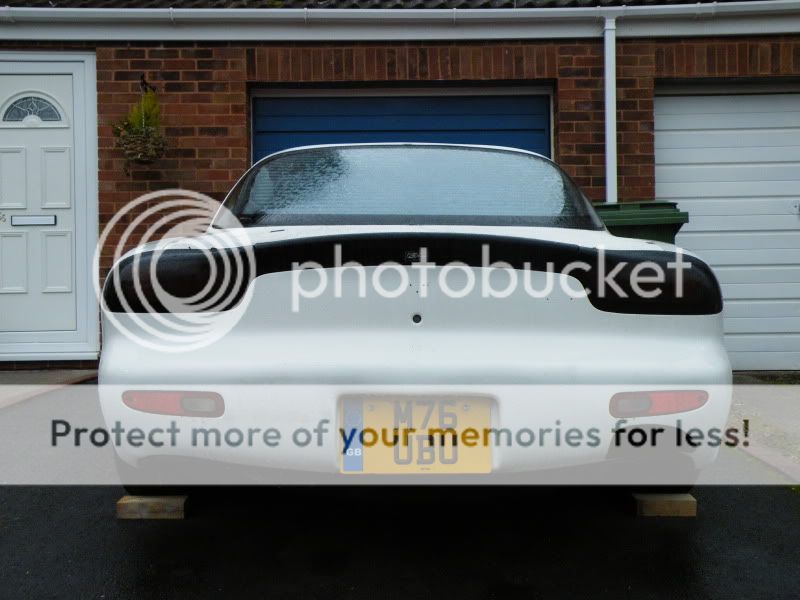
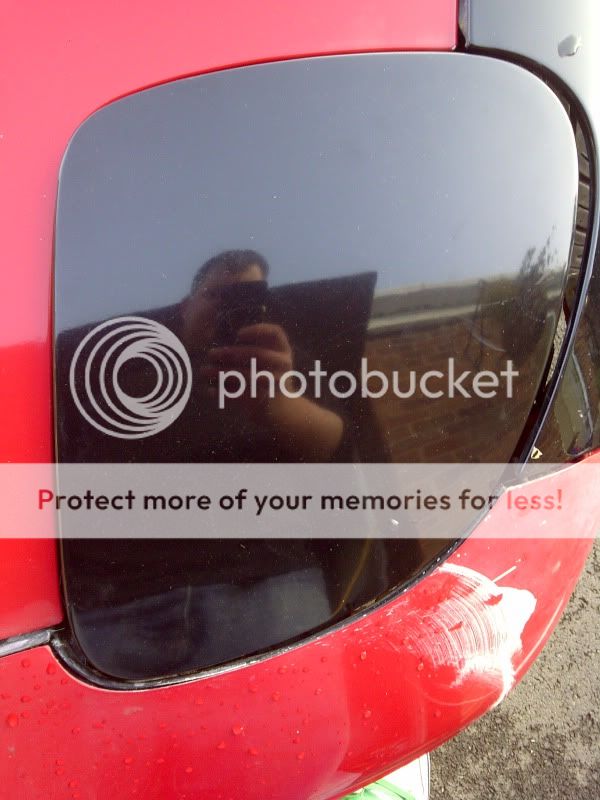
A 1995 Mazda RX7 FD3S
I've wanted one of these ever since I could drive, probably even before that.
As you can see she is a project car.
She came with plenty of spare parts, a freshly painted engine bay, all the brakes, prop, diff, a lot of the interior and the main bargain that swung it was she's on Tein Control Master Type Flex coilovers. The shell is really well looked after too, nice and straight, looks like it has been recently undersealed too and any rust on the arches has been tended to.
She is in need of a fair few parts, but thankfully most are things we'd replace anyway as she's becoming a drifter. Those bits are:
Drivers Seat
Steering Wheel
Engine
Gearbox
Front Bumper
Front Wings
Those are the major parts, of course more will add up along the way
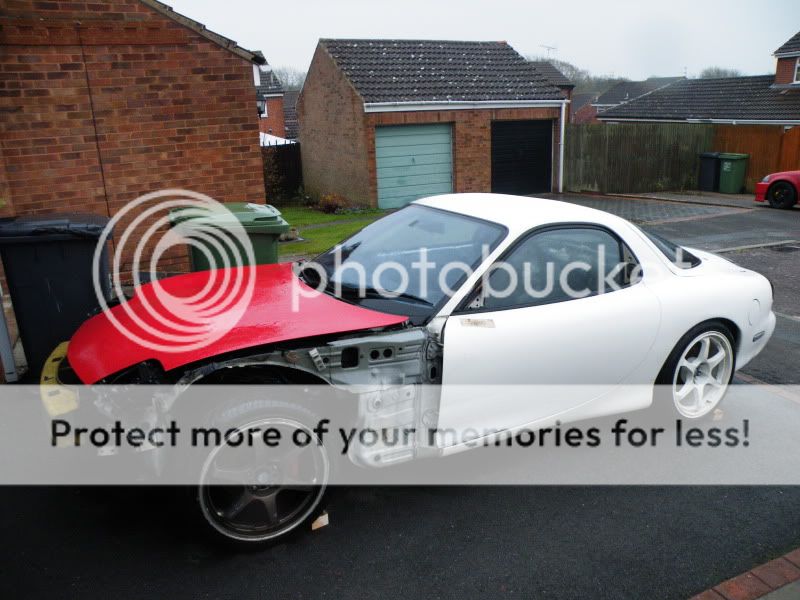
The next update was some bodywork:
Brief update, the car now has front wings
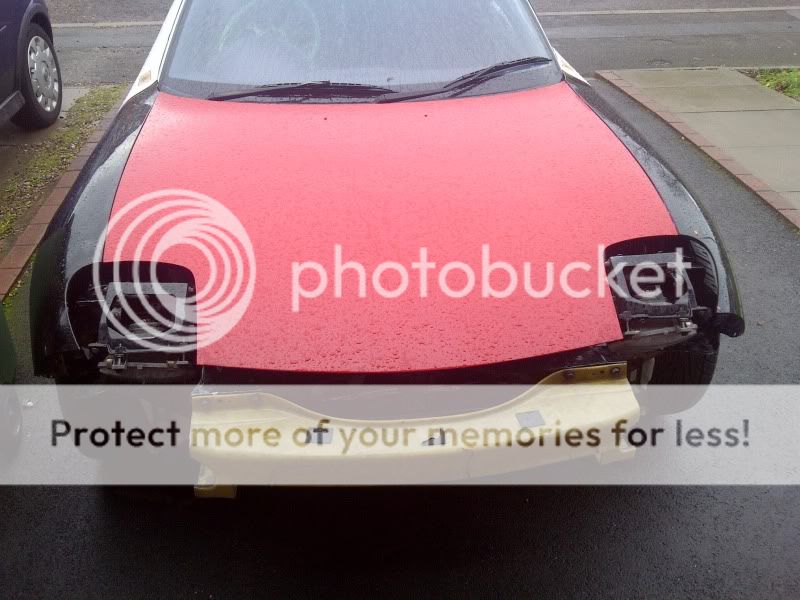
We've already got some white vinyl wrap so when we get a weekend with some decent weather then the front wings and bonnet will get wrapped
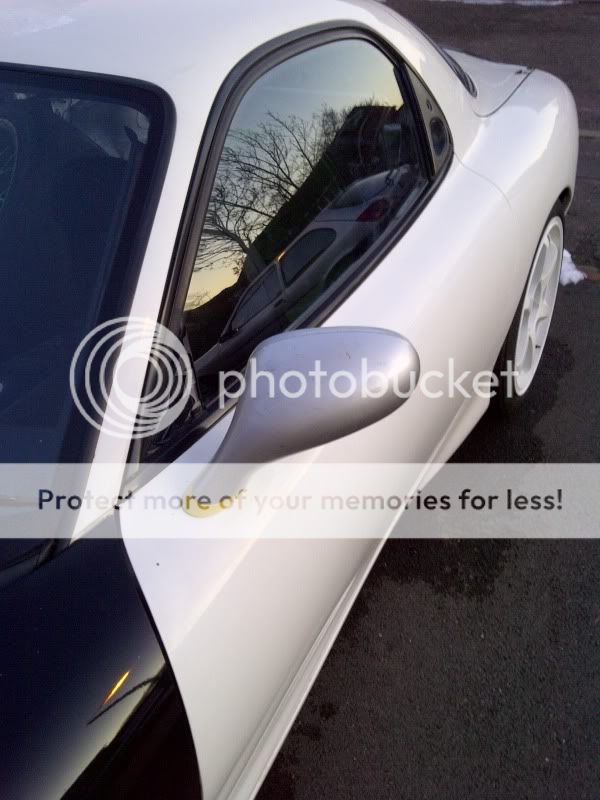
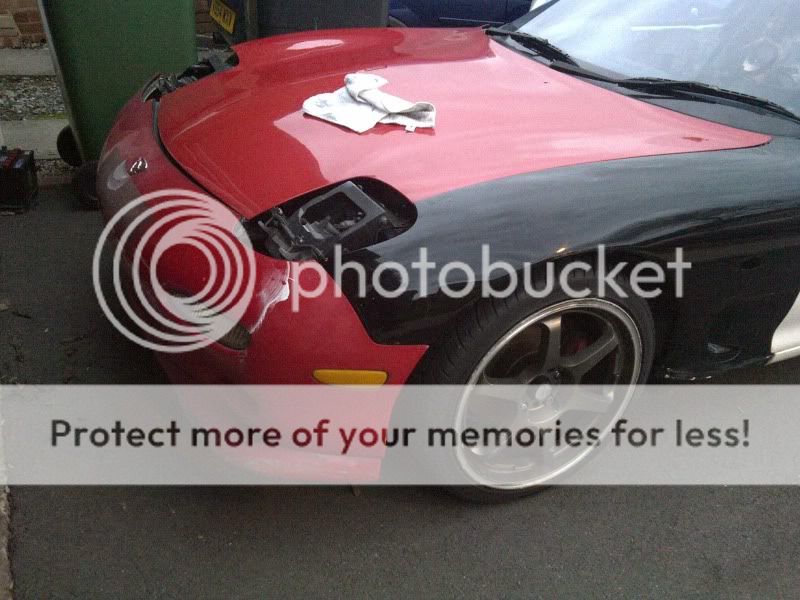
Well with the Civic now gone I got cracking with a few simple things on the Rex. First area I attacked was the wing mirrors, after getting the base plates needed to fit them I then found the holes had been drilled out and were no longer threaded to accept the screws as originally designed.
So off to B&Q to grab some nuts and bolts then a bit of tinkering later this was the result:

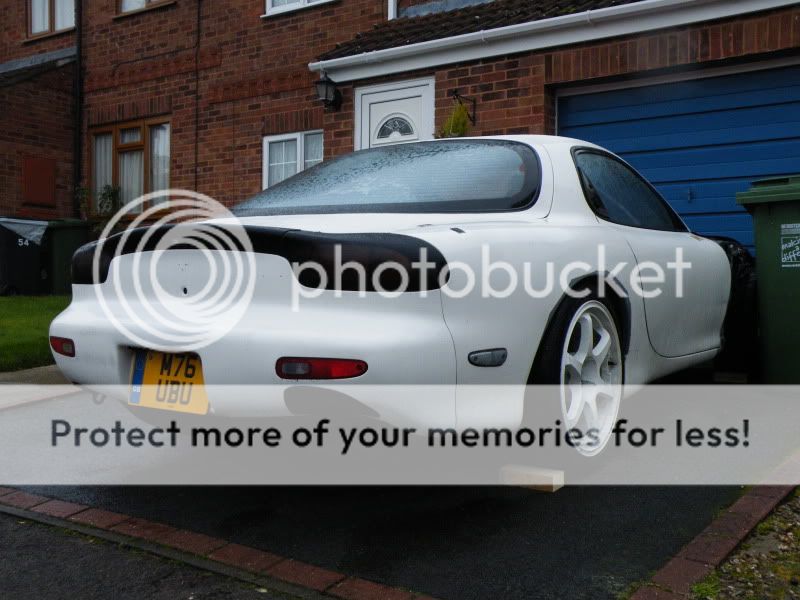
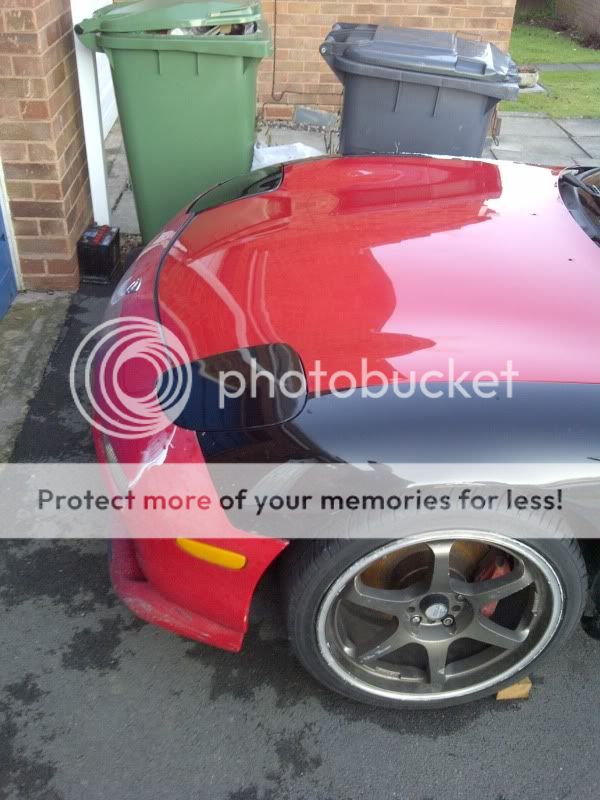
Next on the list was to swap the rear wheels. I got a pair of 17" Green Wheels from a friend to borrow as I can use them indefinitely and so means my friend can have the 5Zigens, that were currently on the car, back ready to compete on in this years BDC rounds.
So with the Zigens off and the greens on this is how they sit on the Rex:
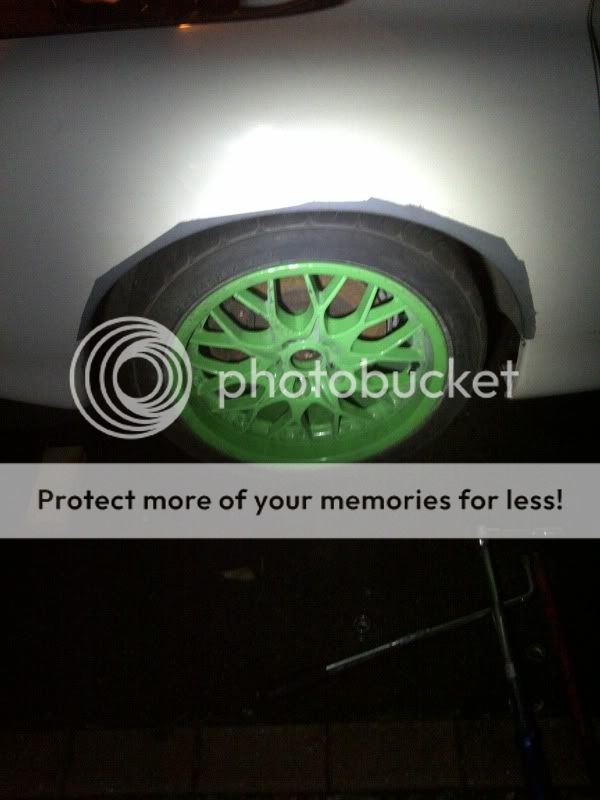
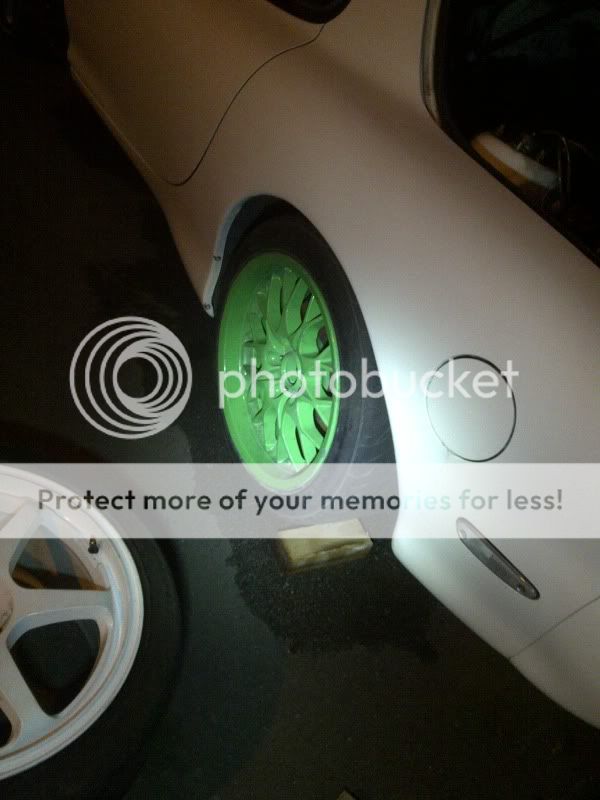
Just need 2 tyres to go on a pair of my Buddy Clubs for the front and then I can give my friend the front 2 Zigens back aswell.
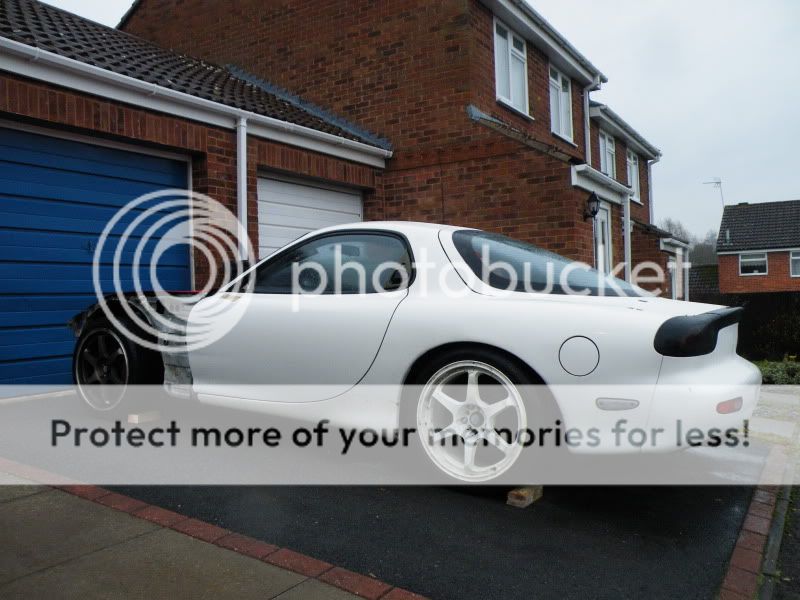
Managed to grab a couple of photos earlier before it got too dull. This is pretty much how the car stands at the minute, although the drivers side front wing is on now too and the bumper sits a little better too as I was itching to do more on the car so carried on working using the torch
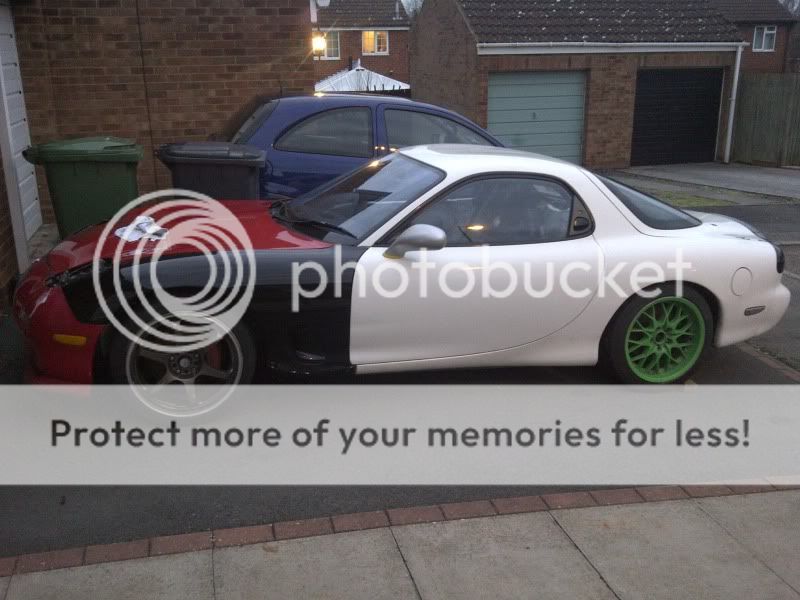
The white mark on the bumper is excess polish where a friend tested his new polisher whilst the bumper was sat in his garage
So here's how it all began:
I put a deposit down on the car after only seeing pictures of it on Pistonheads which indeed was a bit risky but it was only a �50 deposit and for this car I was happy to take the gamble.
Anyway here she is, I did plan on giving her a quick clean but sadly it's still raining so thought it would be wasted effort so just took the pics:
A 1995 Mazda RX7 FD3S
I've wanted one of these ever since I could drive, probably even before that.
As you can see she is a project car.
She came with plenty of spare parts, a freshly painted engine bay, all the brakes, prop, diff, a lot of the interior and the main bargain that swung it was she's on Tein Control Master Type Flex coilovers. The shell is really well looked after too, nice and straight, looks like it has been recently undersealed too and any rust on the arches has been tended to.
She is in need of a fair few parts, but thankfully most are things we'd replace anyway as she's becoming a drifter. Those bits are:
Drivers Seat
Steering Wheel
Engine
Gearbox
Front Bumper
Front Wings
Those are the major parts, of course more will add up along the way
The next update was some bodywork:
Brief update, the car now has front wings
We've already got some white vinyl wrap so when we get a weekend with some decent weather then the front wings and bonnet will get wrapped
Well with the Civic now gone I got cracking with a few simple things on the Rex. First area I attacked was the wing mirrors, after getting the base plates needed to fit them I then found the holes had been drilled out and were no longer threaded to accept the screws as originally designed.
So off to B&Q to grab some nuts and bolts then a bit of tinkering later this was the result:
Next on the list was to swap the rear wheels. I got a pair of 17" Green Wheels from a friend to borrow as I can use them indefinitely and so means my friend can have the 5Zigens, that were currently on the car, back ready to compete on in this years BDC rounds.
So with the Zigens off and the greens on this is how they sit on the Rex:
Just need 2 tyres to go on a pair of my Buddy Clubs for the front and then I can give my friend the front 2 Zigens back aswell.
Managed to grab a couple of photos earlier before it got too dull. This is pretty much how the car stands at the minute, although the drivers side front wing is on now too and the bumper sits a little better too as I was itching to do more on the car so carried on working using the torch
The white mark on the bumper is excess polish where a friend tested his new polisher whilst the bumper was sat in his garage
Thread Starter
Junior Member
Joined: Dec 2011
Posts: 26
Likes: 0
From: Worcs, U.K.
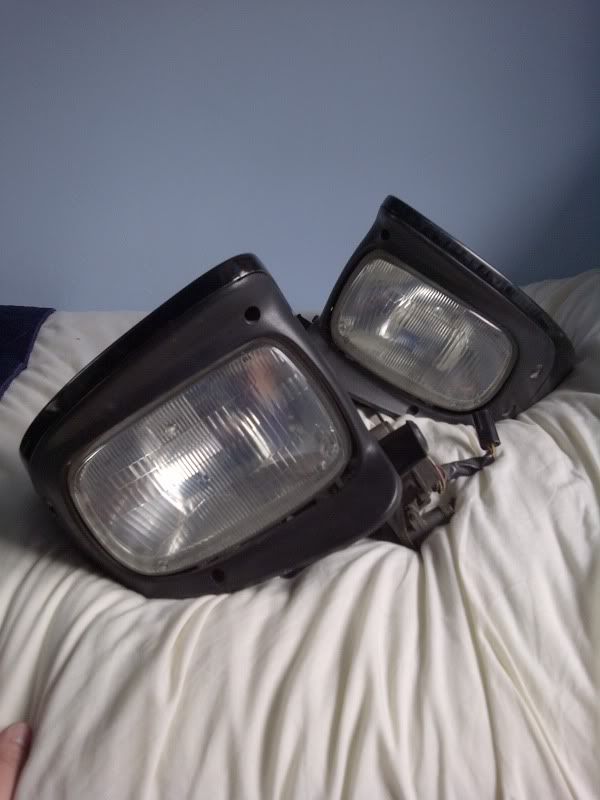
The latest parts haul has arrived, to my surprise as well as I put them down to be delivered to my work so there'd be someone there to sign for them. So I ended up leaving work sadened yesterday when they hadn't arrived. However, they've arrived at my house this morning
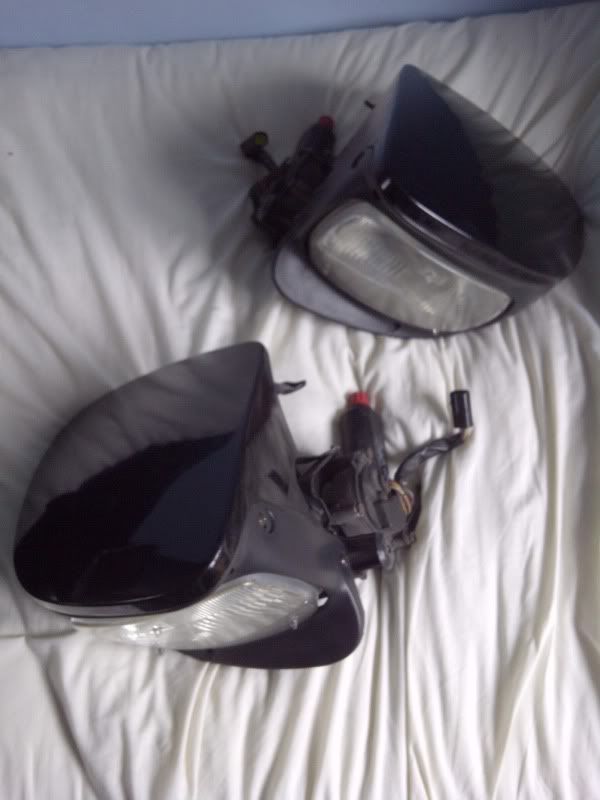
One pair of standard headlights including surrounds and covers in black:
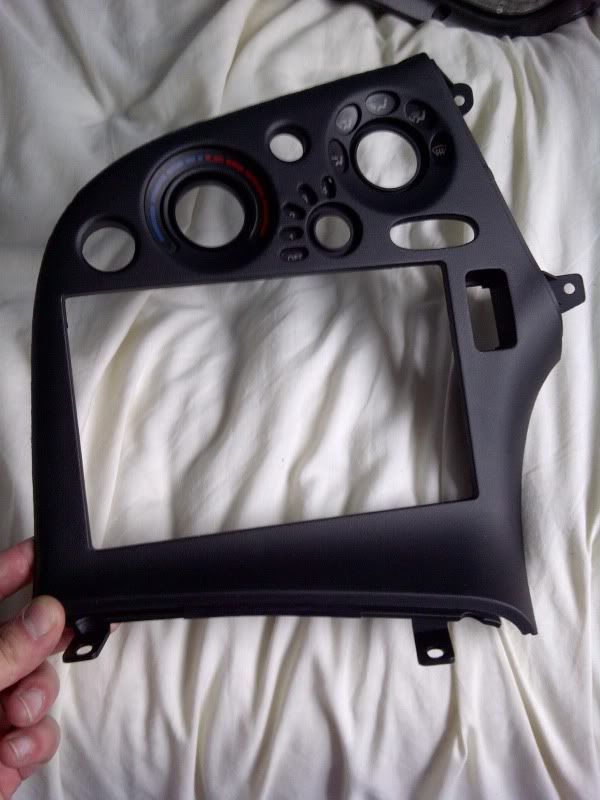
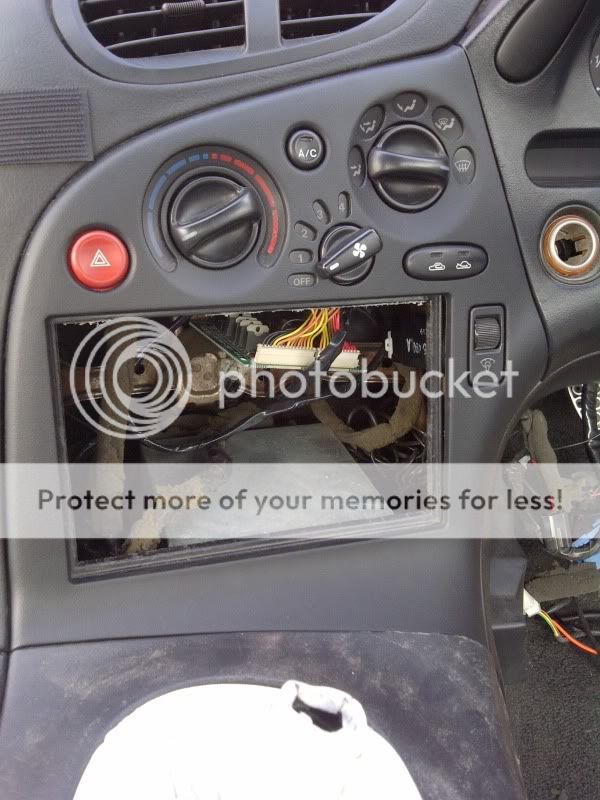
And also one centre console stereo/heater controls surround:
The rain stopped, so I began:
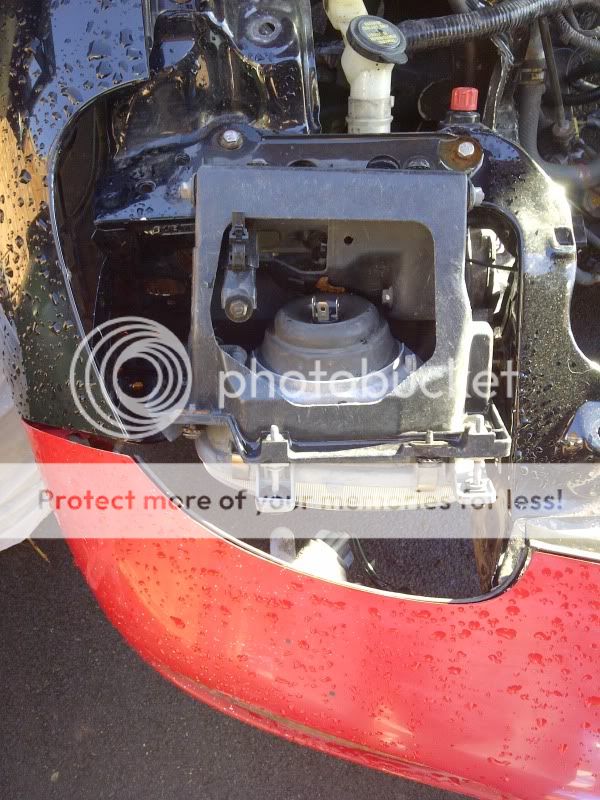
First off was the headlights, this is how they were before (sorry forgot to take a picture of both sides):
Fitted (sort of, still needs some tweeks to all the front end panels to get them all to sit right and get the right panel gaps):
This was as good as I could get the panel gaps before I lost my patience and gave up for today:
One pair of standard headlights including surrounds and covers in black:
And also one centre console stereo/heater controls surround:
The rain stopped, so I began:
First off was the headlights, this is how they were before (sorry forgot to take a picture of both sides):
Fitted (sort of, still needs some tweeks to all the front end panels to get them all to sit right and get the right panel gaps):
This was as good as I could get the panel gaps before I lost my patience and gave up for today:
Thread Starter
Junior Member
Joined: Dec 2011
Posts: 26
Likes: 0
From: Worcs, U.K.
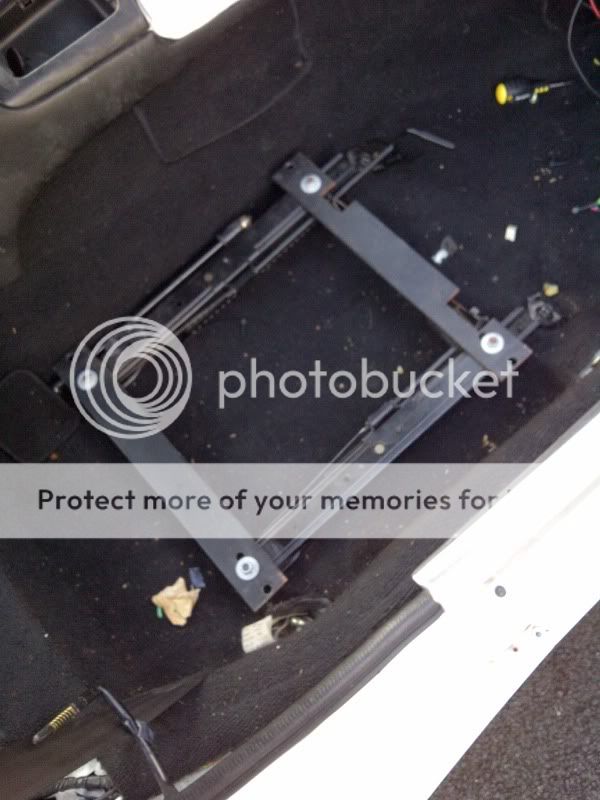
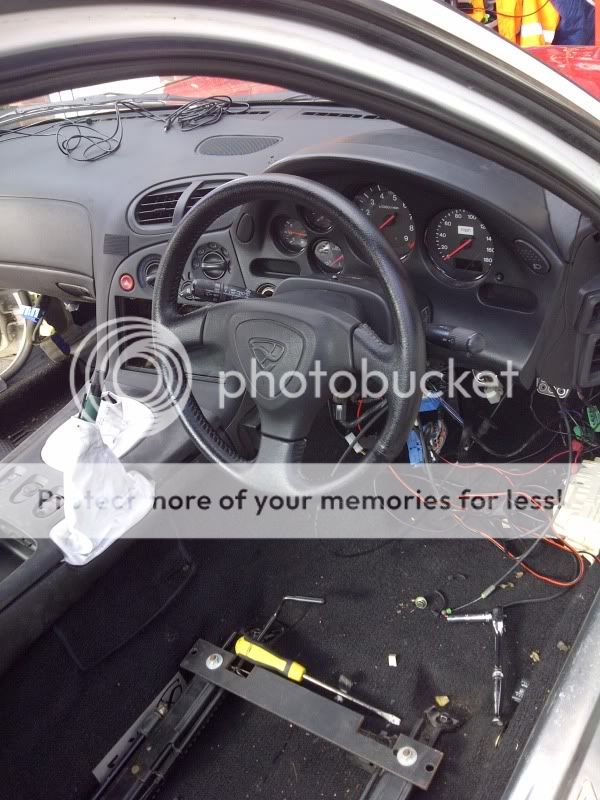
Next I attacked the interior. Here's the mess it was in before:
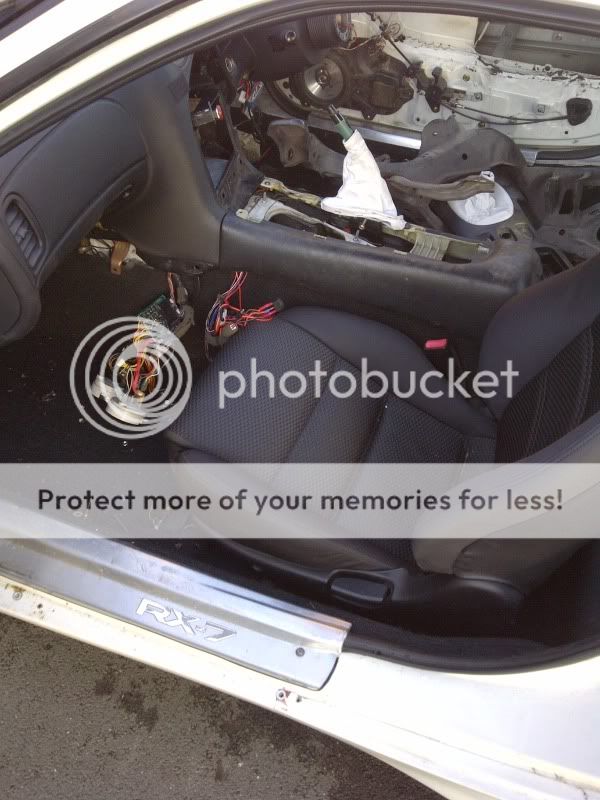
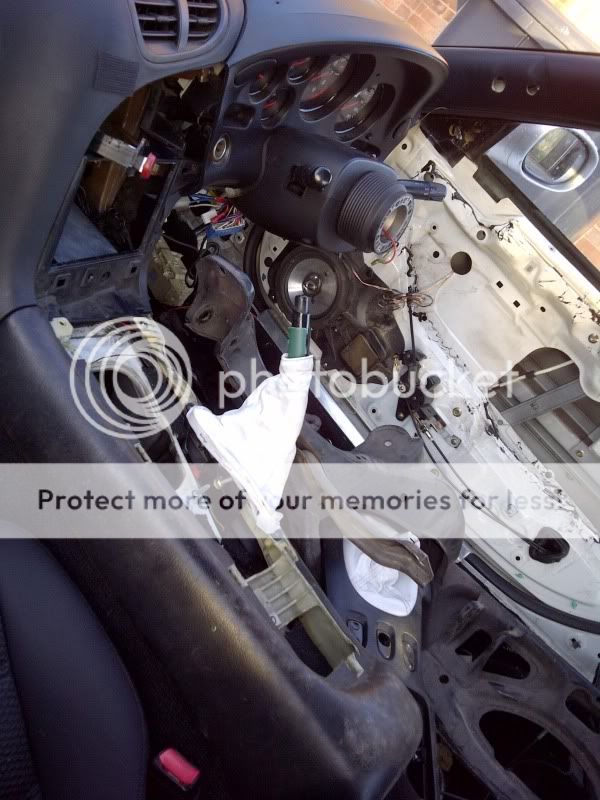
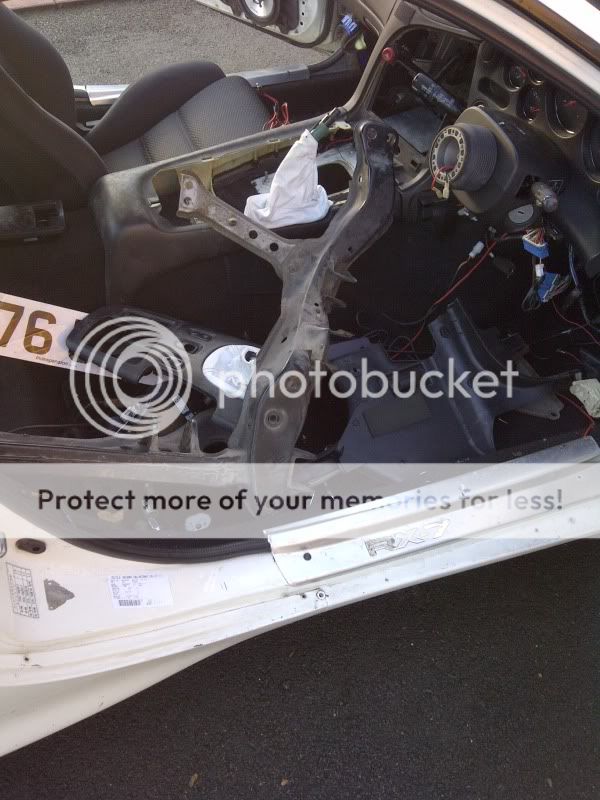
That's a spare rear subframe currently sat in the car
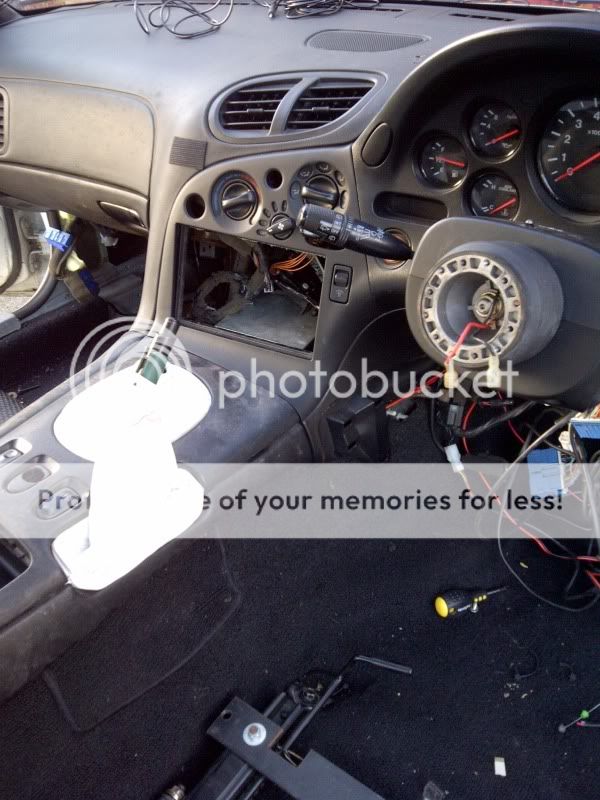
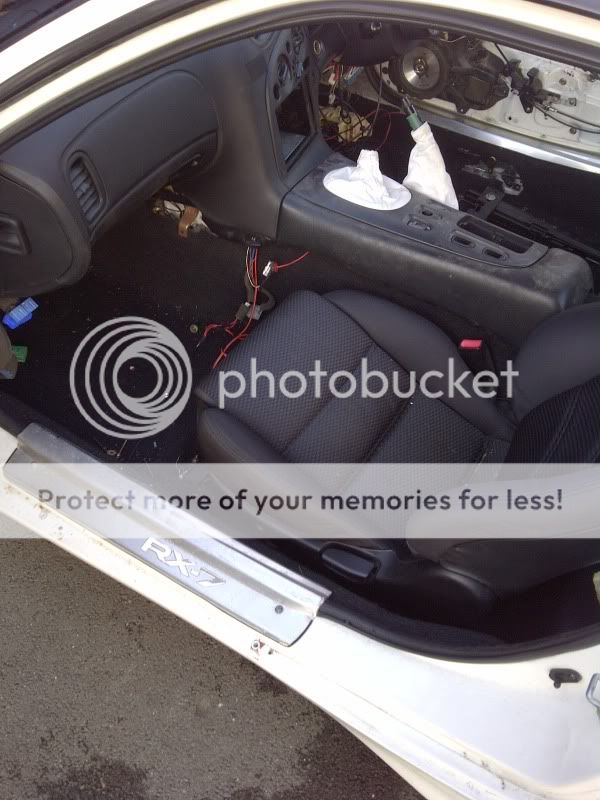
This is how I left it, got the new centre console piece in place although I need to get some tiny self tappers to fix the controls and buttons to the fascia piece so at the moment it's just placed in.
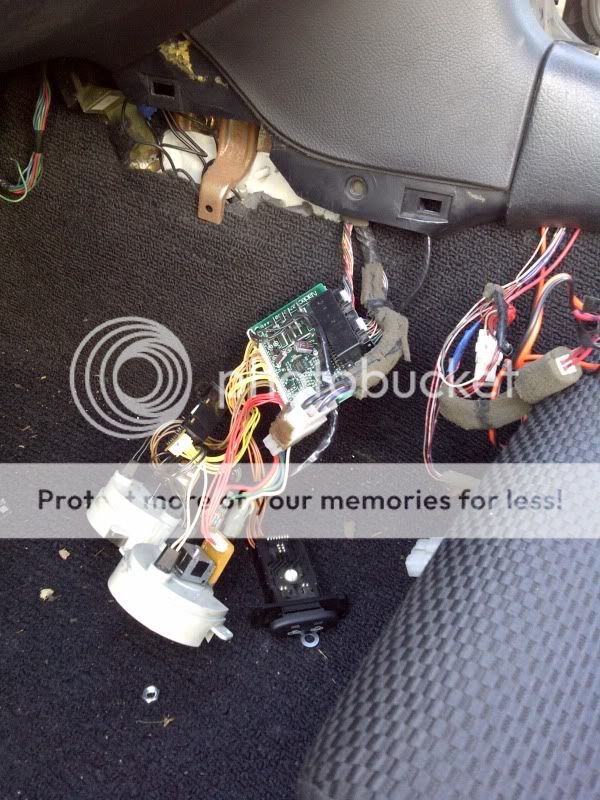
Which meant the passenger footwell was clear of some wiring:
Also with the subframe out of the way I got the drivers seat rail bolted in place to notice that it has plates on it already that should mean I can bolt the seat side mounts to it. Fingers crossed it won't sit the seat too high.
That's a spare rear subframe currently sat in the car
This is how I left it, got the new centre console piece in place although I need to get some tiny self tappers to fix the controls and buttons to the fascia piece so at the moment it's just placed in.
Which meant the passenger footwell was clear of some wiring:
Also with the subframe out of the way I got the drivers seat rail bolted in place to notice that it has plates on it already that should mean I can bolt the seat side mounts to it. Fingers crossed it won't sit the seat too high.
Thread Starter
Junior Member
Joined: Dec 2011
Posts: 26
Likes: 0
From: Worcs, U.K.
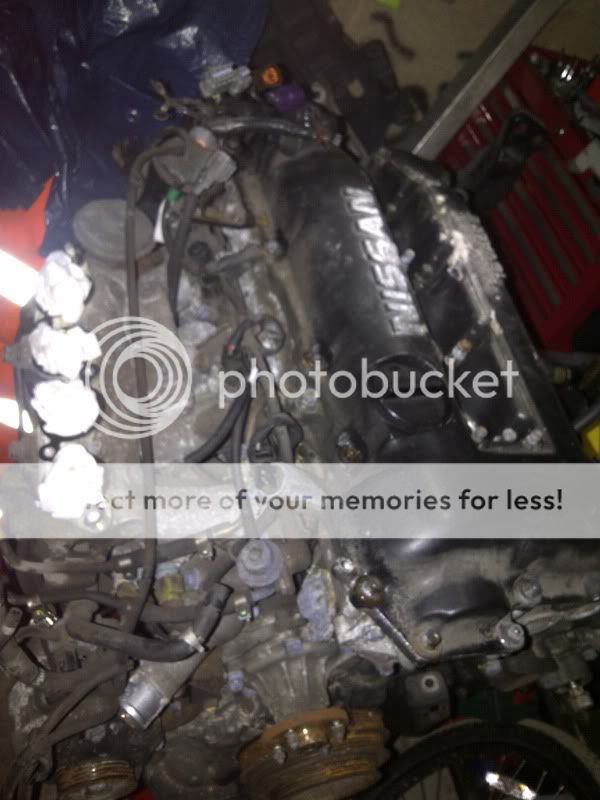
Well I now have an engine, here are a few brief pics of the engine on the stand, haven't been brave enough to remove the wiring off it yet until I get chance to label up the plugs up so I know how they go back together.
Anyway, to the pictures:
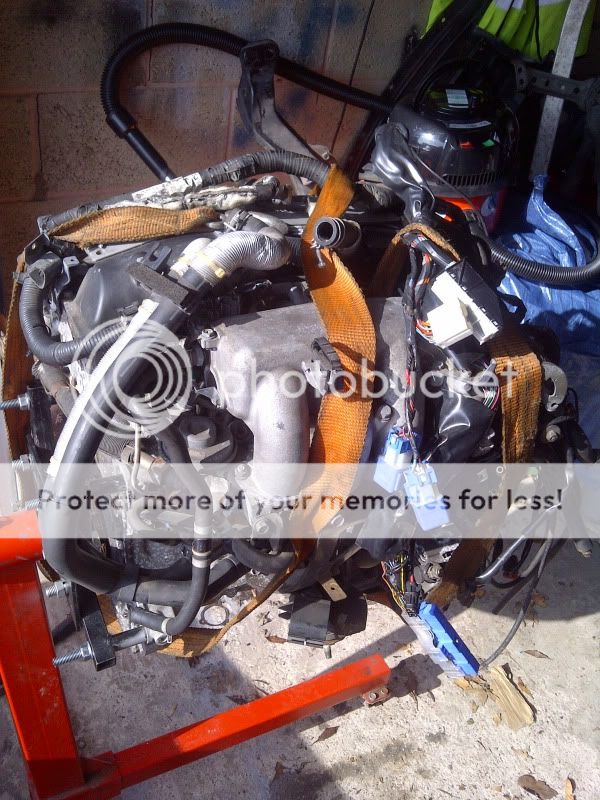
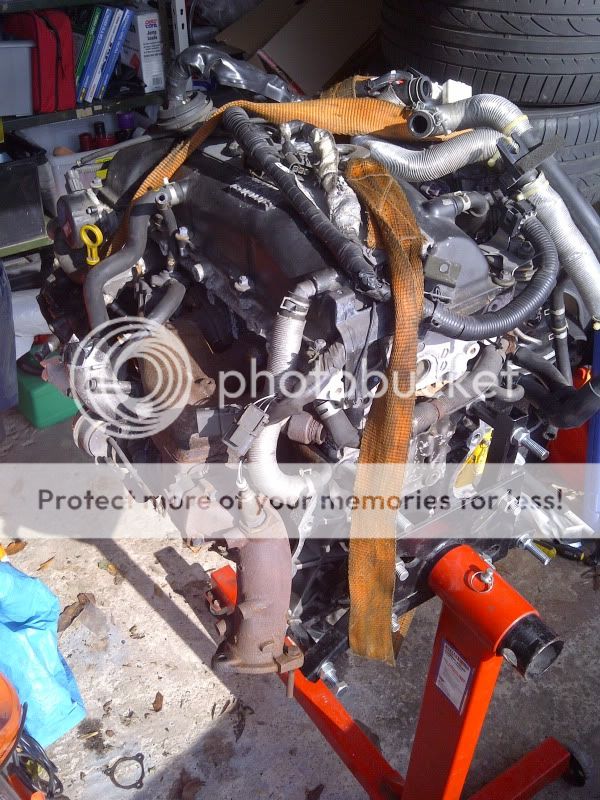
Sadly the package was minus the gearbox as it had already sold before I had spotted the for sale thread, so that's next on the to buy list then we can begin craning it in to start measuring and mocking up for any fabrication to the shell/subframe etc so we can make the mounts.
Also whilst it's a nice day today I managed to get a few small bits done on the car in between a round trip to Cheshire this morning and watching the rugby this afternoon:
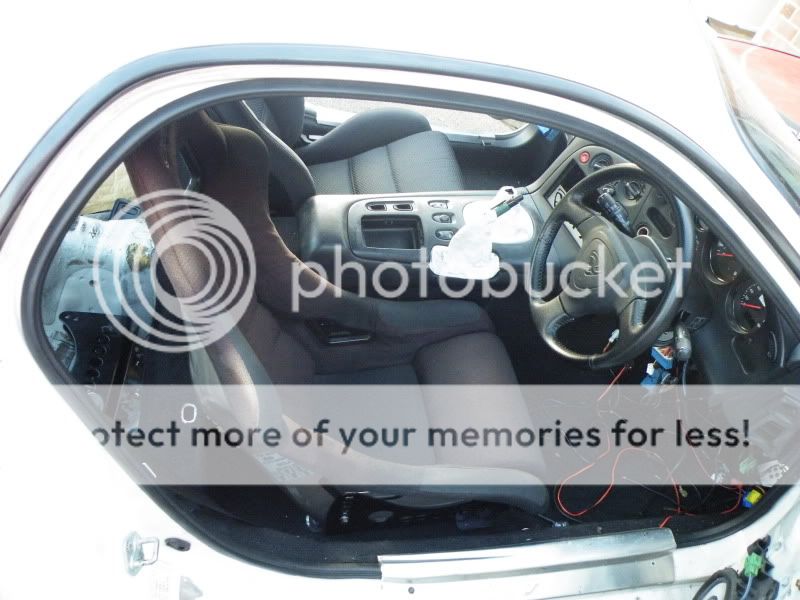
Firstly, now that I had some small self tapping screws I fixed all the heater controls to the centre console:
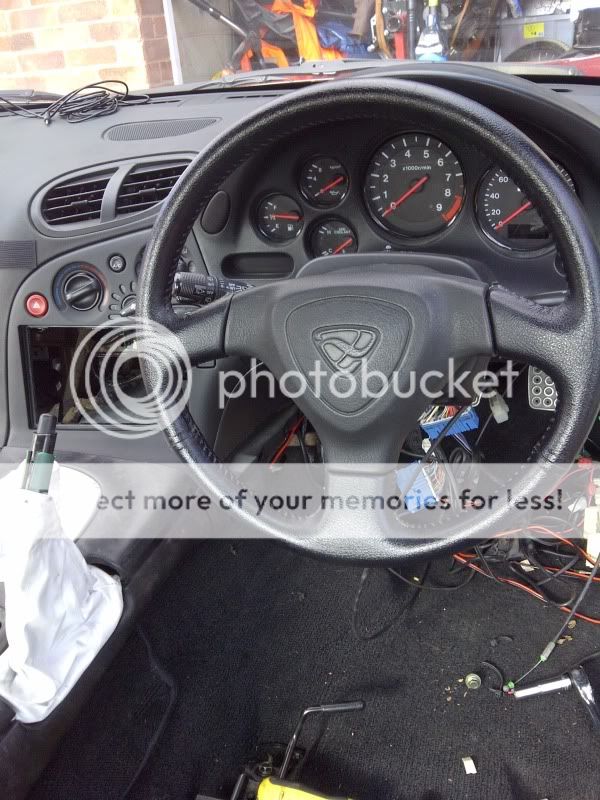
Then I fitted the steering wheel:
So again looking a bit more like a car inside. Just about to order the seat side mounts now so hopefully they'll be here within the week and I can get the seats mounted
Anyway, to the pictures:
Sadly the package was minus the gearbox as it had already sold before I had spotted the for sale thread, so that's next on the to buy list then we can begin craning it in to start measuring and mocking up for any fabrication to the shell/subframe etc so we can make the mounts.
Also whilst it's a nice day today I managed to get a few small bits done on the car in between a round trip to Cheshire this morning and watching the rugby this afternoon:
Firstly, now that I had some small self tapping screws I fixed all the heater controls to the centre console:
Then I fitted the steering wheel:
So again looking a bit more like a car inside. Just about to order the seat side mounts now so hopefully they'll be here within the week and I can get the seats mounted
Thread Starter
Junior Member
Joined: Dec 2011
Posts: 26
Likes: 0
From: Worcs, U.K.
Right, some more progress on the car, not much, but slowly plodding on until more funds become available at the end of the month.
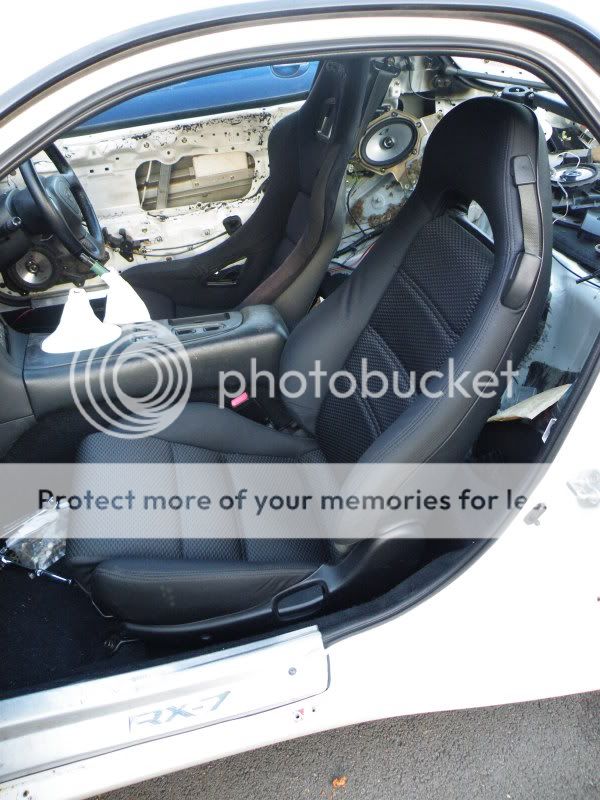
The plan had always been to fit the blue, unbranded seat into the passenger side so that I could keep the Cobra Imola as the drivers seat. However, after a lot of faffing around and cursing I got the blue seat into place loosely between the brackets as close to the transmission tunnel as I could, only to find the shoulders of the seat fouled the door and would not allow it to close
So onto plan b, I got the Cobra seat down to test fit that and thankfully it fits in place, at the moment it sits very close to the door, but does allow it to close with a gap between it and the seat. Although, I do have about 10-15mm spare on the inside of the car now with it being a narrower seat so I can move it closer to the transmission tunnel if needs be.
So now the plan is to get another Cobra Imola for the drivers side, now that I know the passenger side fits.
Anyway onto the pics:

Clearance between the seat and the door:


So now the search begins for another Cobra Imola....
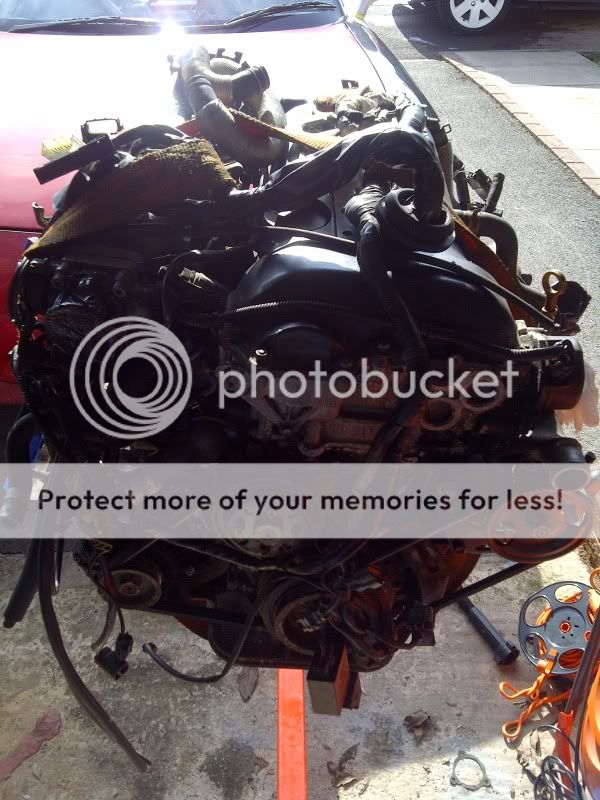
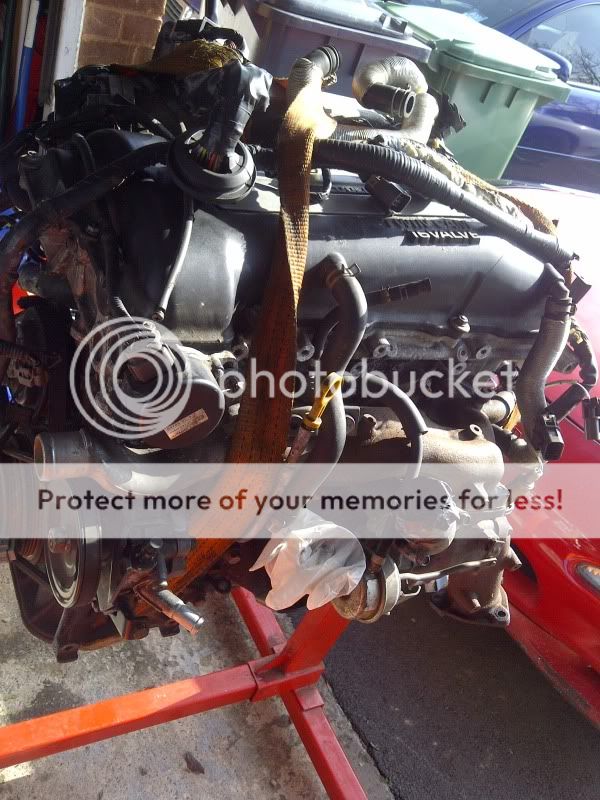
Then tonight I got started on stripping the engine apart after work. I'm keeping the block and head closed together but mainly sorting a few cosmetic bits out before fitting the engine in the bay. I got the power steering pump pulley and also the water pump pulley off ready to paint up in heatproof black. I also plan on painting the crank pulley and alternator pulley too but those may well be done whilst still fixed in place.
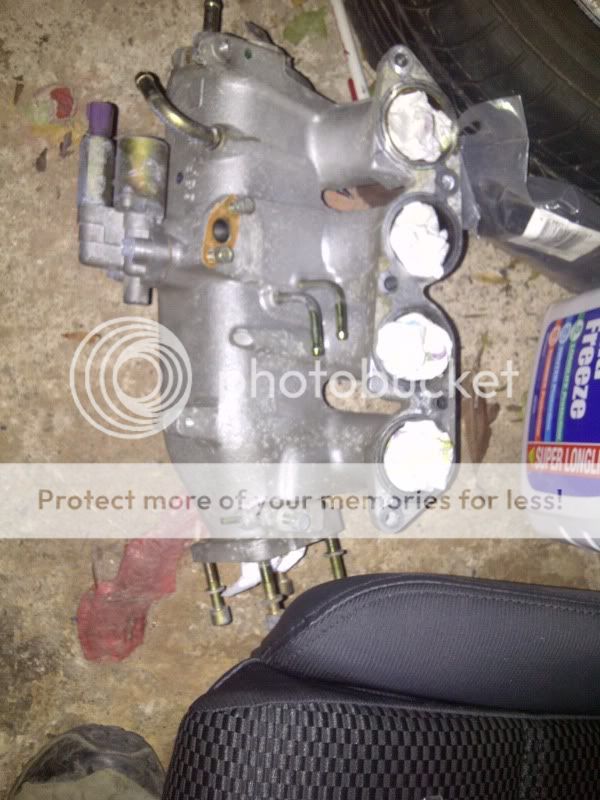
Next on my to do list was dismantle the inlet manifold as I'll be spraying that up in heatproof silver to refresh it. So far I've just got the top half off to work with and tried to leave as much of the rest of the engine together for now.
I also removed the coilpack cover and coilpacks and wiring ready to remove the rocker cover for painting, but I've had to leave that for tonight so that some WD40 can soak into the threads as rather than the nuts undoing, it's undoing the studs from the head.
How the engine stands now:

And the top half of the inlet manifold almost stripped bare ready for prep and paint:
P.S. sorry for the poor quality phone pics.
The plan had always been to fit the blue, unbranded seat into the passenger side so that I could keep the Cobra Imola as the drivers seat. However, after a lot of faffing around and cursing I got the blue seat into place loosely between the brackets as close to the transmission tunnel as I could, only to find the shoulders of the seat fouled the door and would not allow it to close
So onto plan b, I got the Cobra seat down to test fit that and thankfully it fits in place, at the moment it sits very close to the door, but does allow it to close with a gap between it and the seat. Although, I do have about 10-15mm spare on the inside of the car now with it being a narrower seat so I can move it closer to the transmission tunnel if needs be.
So now the plan is to get another Cobra Imola for the drivers side, now that I know the passenger side fits.
Anyway onto the pics:
Clearance between the seat and the door:
So now the search begins for another Cobra Imola....
Then tonight I got started on stripping the engine apart after work. I'm keeping the block and head closed together but mainly sorting a few cosmetic bits out before fitting the engine in the bay. I got the power steering pump pulley and also the water pump pulley off ready to paint up in heatproof black. I also plan on painting the crank pulley and alternator pulley too but those may well be done whilst still fixed in place.
Next on my to do list was dismantle the inlet manifold as I'll be spraying that up in heatproof silver to refresh it. So far I've just got the top half off to work with and tried to leave as much of the rest of the engine together for now.
I also removed the coilpack cover and coilpacks and wiring ready to remove the rocker cover for painting, but I've had to leave that for tonight so that some WD40 can soak into the threads as rather than the nuts undoing, it's undoing the studs from the head.
How the engine stands now:
And the top half of the inlet manifold almost stripped bare ready for prep and paint:
P.S. sorry for the poor quality phone pics.
Thread Starter
Junior Member
Joined: Dec 2011
Posts: 26
Likes: 0
From: Worcs, U.K.
And so that's how the car stands at the moment, already have more parts arranged to buy at the end of the month when payday comes around again so will be able to update in a couple of weeks with new parts.
In between now and then I'll be getting a few small bits done aesthetically on the engine to tidy it up before it goes into the bay.
In between now and then I'll be getting a few small bits done aesthetically on the engine to tidy it up before it goes into the bay.
Trending Topics
Thread Starter
Junior Member
Joined: Dec 2011
Posts: 26
Likes: 0
From: Worcs, U.K.
The car didn't come with a rotary to start with as I got it as a rolling shell. However, I've always like the shape of the FD but in all honesty the rotary engine scares me, especially for this cars intended use so I'm sticking with an engine that my friends and I know as maintenance and repairs will be easier to do and complete due to the wealth of knowledge between friends on the SR engines.
I had planned on buying a Nissan 200SX S14 to begin with but they're very common over here and I've always loved FDs so thought I'd combine my favourite bits of both.
I had planned on buying a Nissan 200SX S14 to begin with but they're very common over here and I've always loved FDs so thought I'd combine my favourite bits of both.
Thread Starter
Junior Member
Joined: Dec 2011
Posts: 26
Likes: 0
From: Worcs, U.K.
Well after getting a text off one of my mates who used to have 2 200SXs on Wednesday to say he was clearing out his shed and had 3 SR parts for me I've actually managed to come home with:
Spare rocker cover
Spare standard cast exhaust manifold
H-Dev Stainless exhaust manifold
Front half of a 200SX propshaft
Spare full wiring loom
Numerous spare electrical plugs
Heatwrapped intercooler hot pipe
Numerous silicone connectors and reducers
Numerous breather and coolant pipes
Turbo to air filter bolt on pipe
Standard exhaust side turbo elbow with Lambda sensor
2x standard viscous fans
And that's as much as I can remember off the top of my head
Also got to pop back as he has a spare 200SX exhaust system I might be able to make use of and his brother has another exhaust system he's going to dismantle for me to have too to make use of.
Not a bad parts haul. Ironic too seeing as since I bought the shell back in December I've been asking if he has any SR bits lay around and he told me he'd sold them all long ago!
Thread Starter
Junior Member
Joined: Dec 2011
Posts: 26
Likes: 0
From: Worcs, U.K.
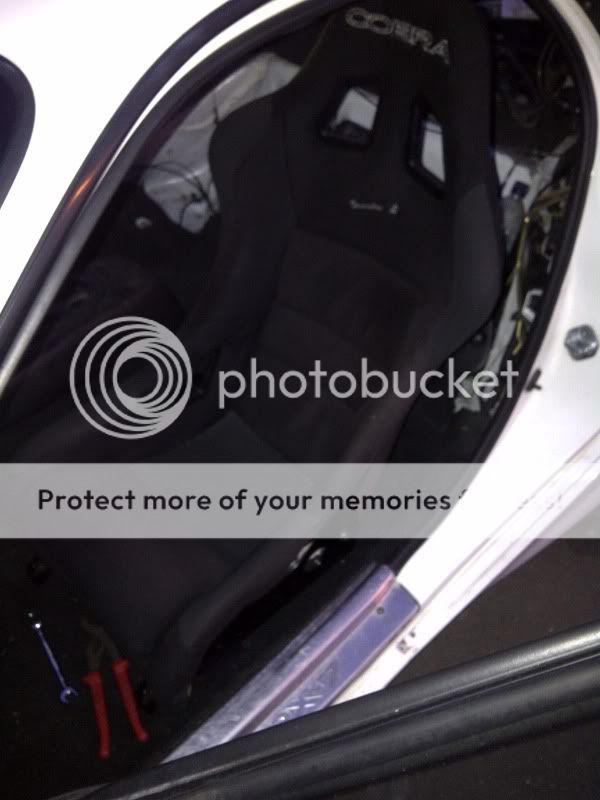
Well whilst waiting for a mate to drop off a 30mm socket for me to get the rear brake drums off the daily driver tonight I decided to do a bit on the Rex.
After having a browse around and not having much luck finding another Cobra seat for a good price and also being sick of moving the standard Rex passenger seat in and out of the garage when working on the engine I decided to swap them over.
I've moved the Cobra over to the drivers side so it's where I originally planned for it and put the standard seat back in the passenger side so now it looks even more like a car inside, and now I can sit in it and pretend to drive it too!
And then I couldn't resist placing the harness in to make it look even more realistic:
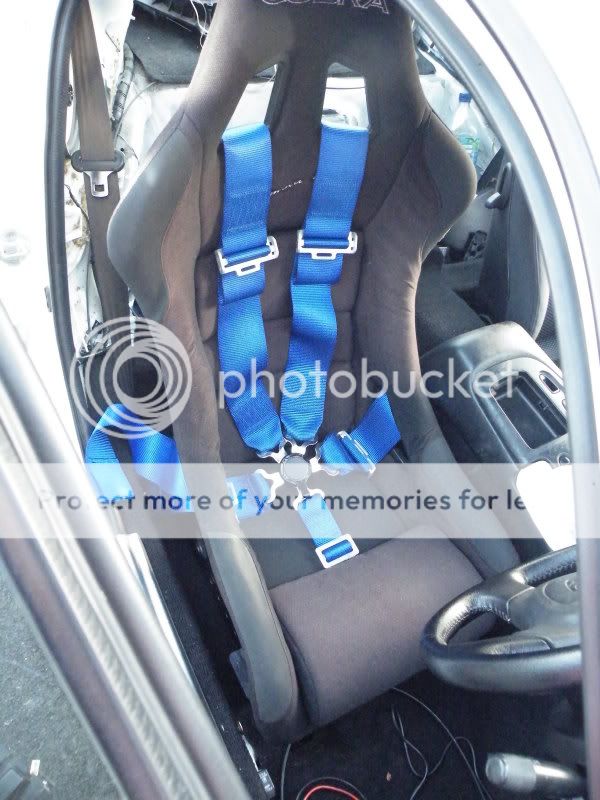
Need to get a harness bar before I can fit the harness properly though so it's back out for now.
Also I need to adjust the seat postion and move it back on the base brackets about 2 inches so that I don't knee the back of the steering wheel while operating the clutch.
After having a browse around and not having much luck finding another Cobra seat for a good price and also being sick of moving the standard Rex passenger seat in and out of the garage when working on the engine I decided to swap them over.
I've moved the Cobra over to the drivers side so it's where I originally planned for it and put the standard seat back in the passenger side so now it looks even more like a car inside, and now I can sit in it and pretend to drive it too!
And then I couldn't resist placing the harness in to make it look even more realistic:
Need to get a harness bar before I can fit the harness properly though so it's back out for now.
Also I need to adjust the seat postion and move it back on the base brackets about 2 inches so that I don't knee the back of the steering wheel while operating the clutch.
