"Rx7 from hell" socal
 03-20-16, 10:21 PM
#201

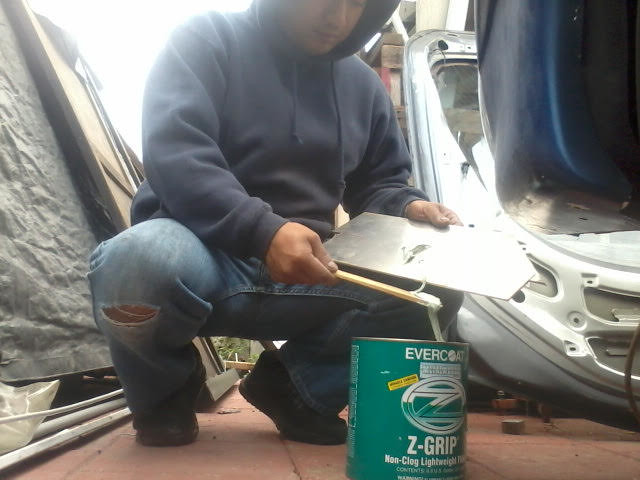
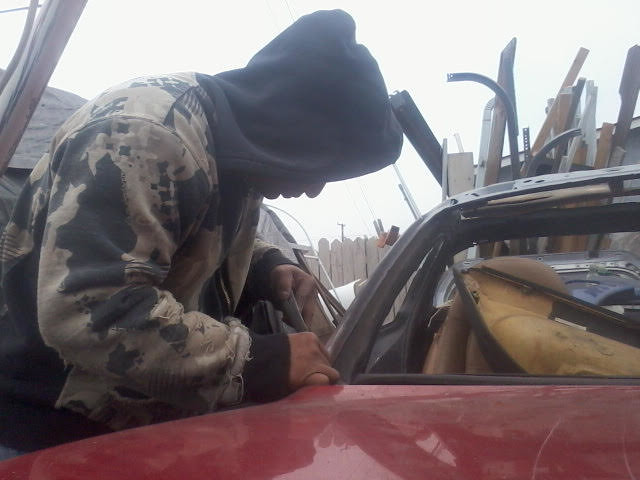
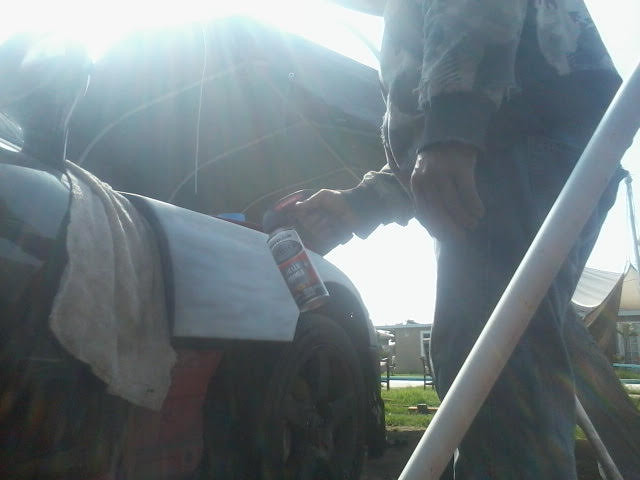
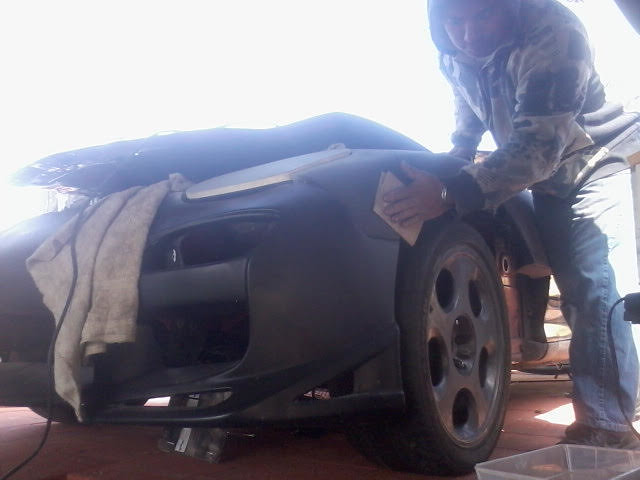
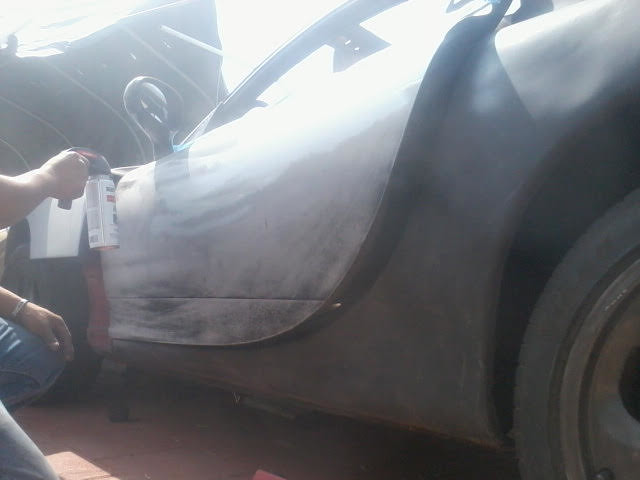
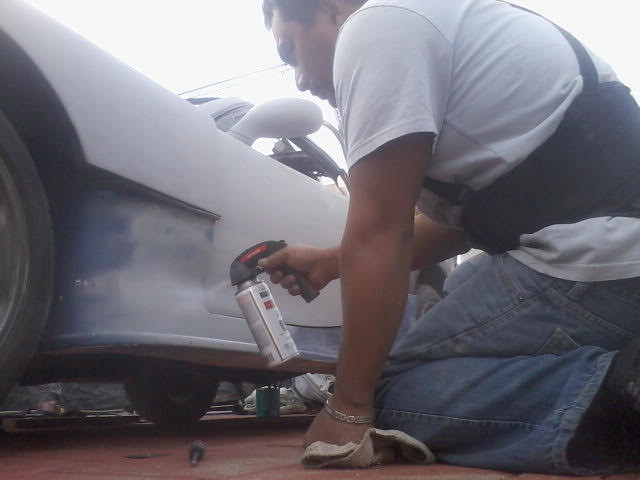
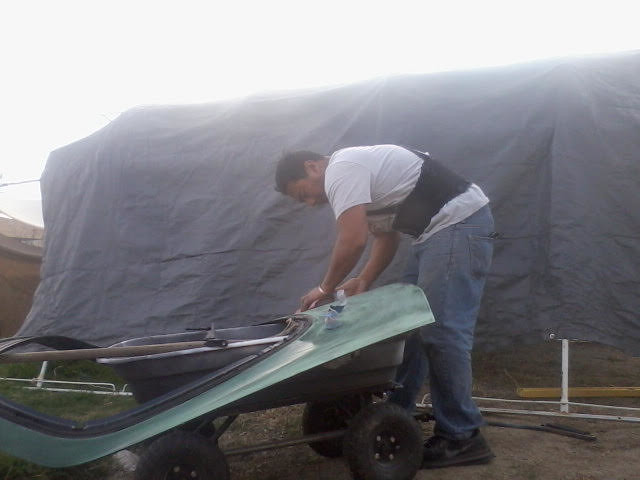
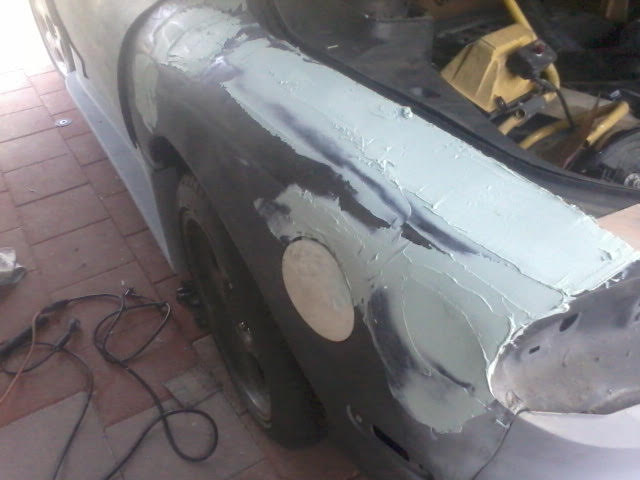
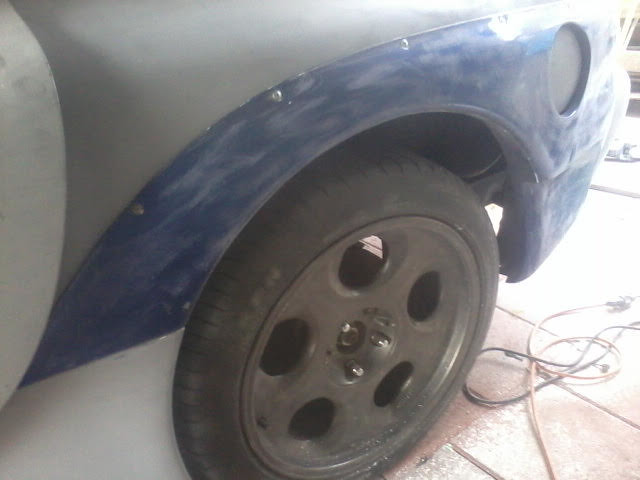
so sunday morning started to do some body work on the car
 23 by nakahachi, on Flickr
found some low spots
 25 by nakahachi, on Flickr
 26 by nakahachi, on Flickr
 27 by nakahachi, on Flickr
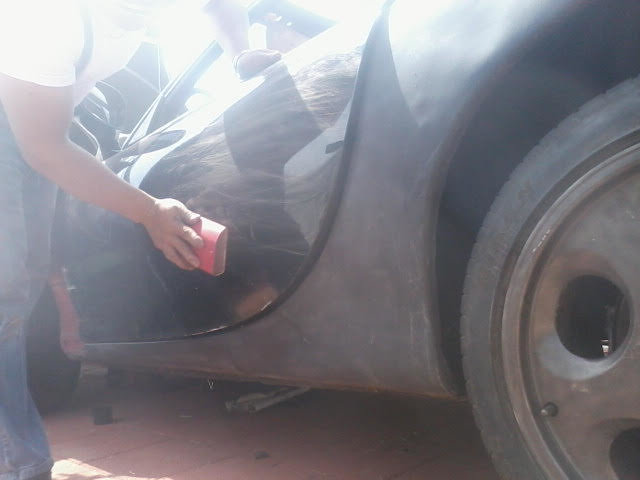
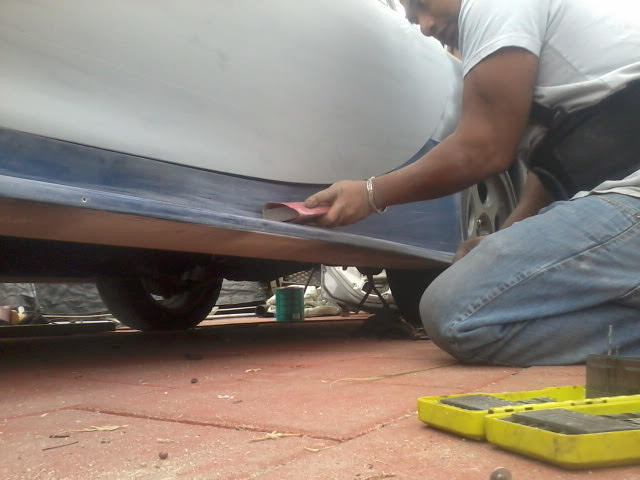
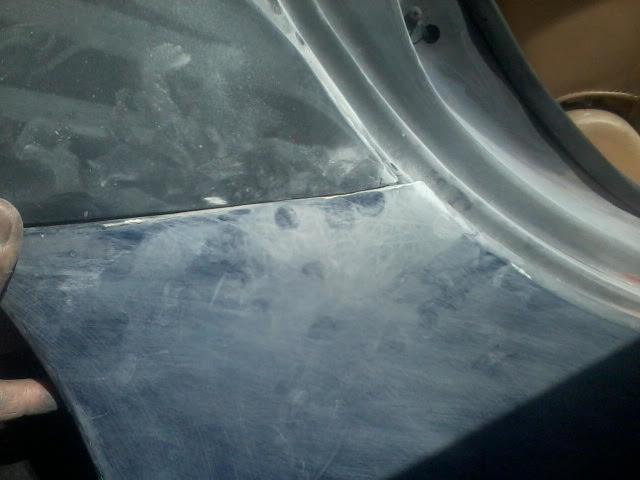
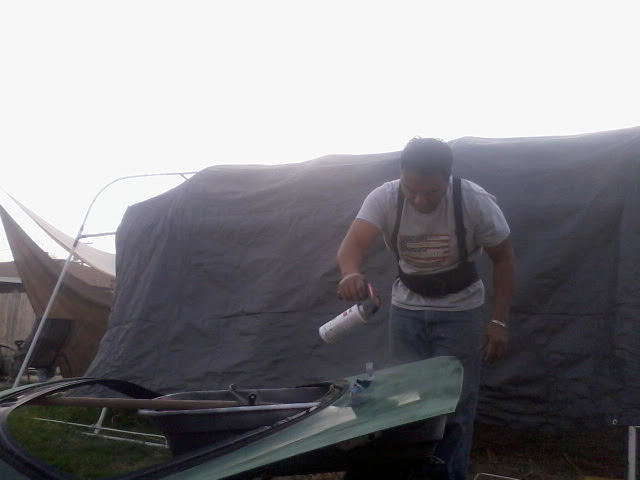
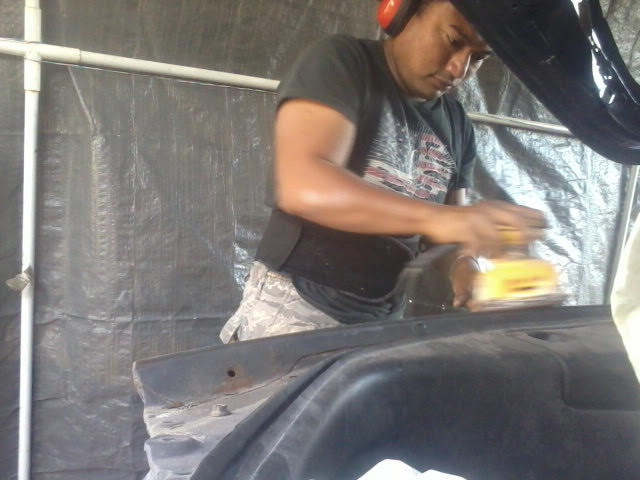
sanding
 58 by nakahachi, on Flickr
 57 by nakahachi, on Flickr
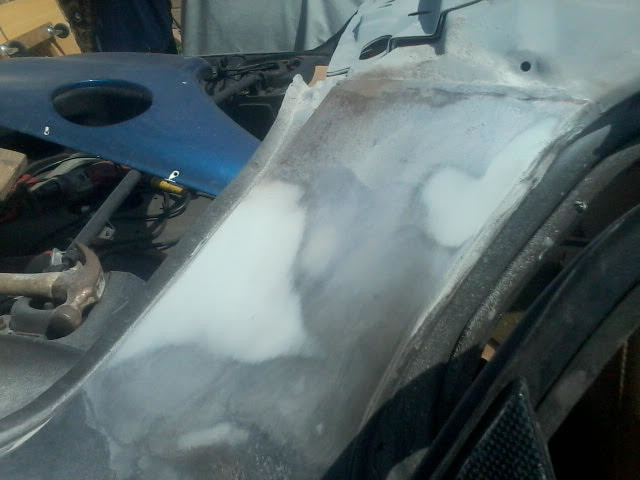
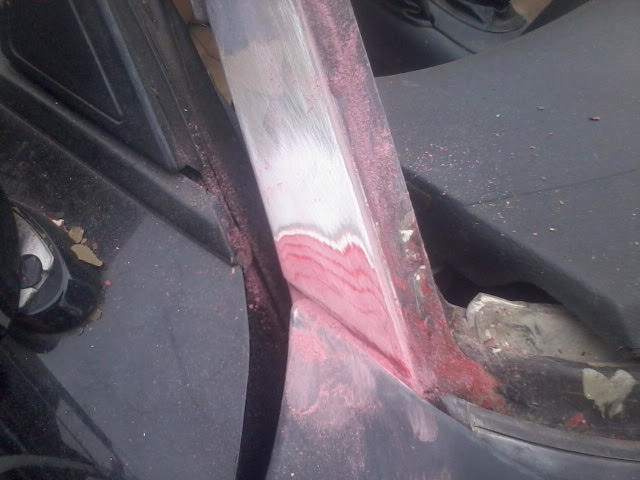
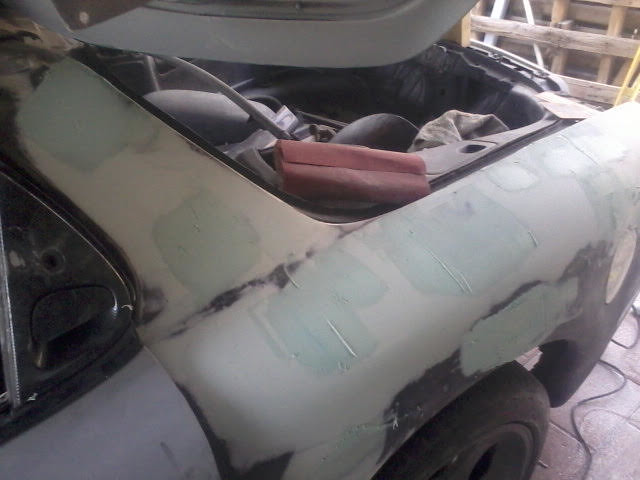
still had some low spots still
 56 by nakahachi, on Flickr
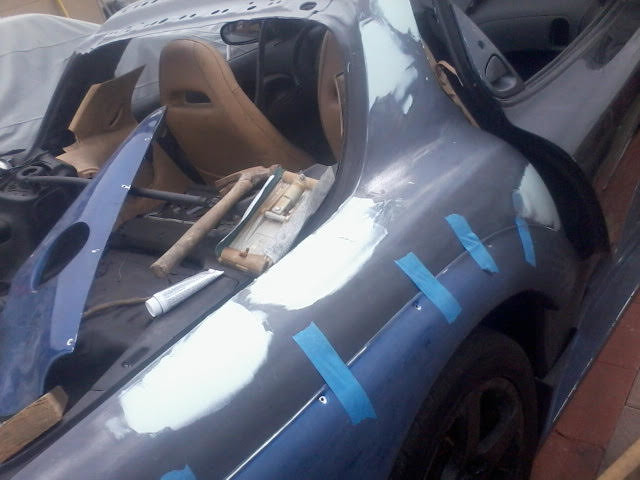
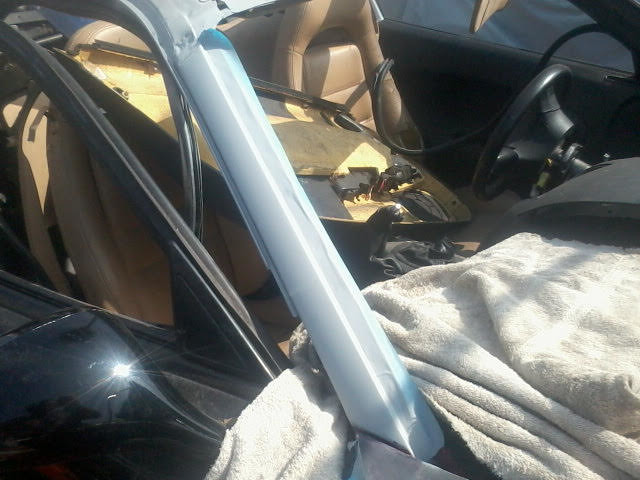
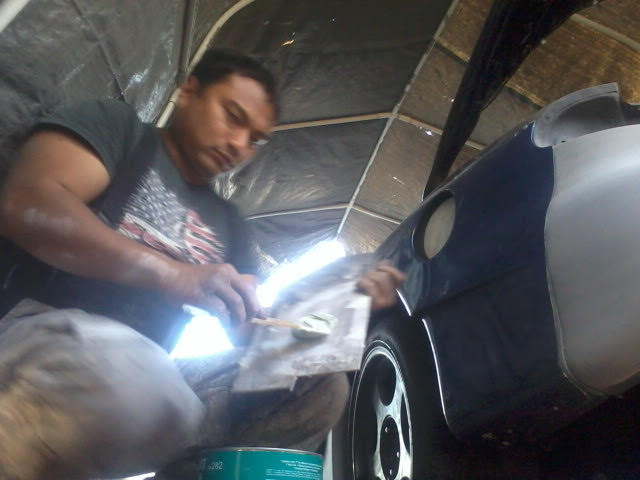
next is the pillar
 28 by nakahachi, on Flickr
 29 by nakahachi, on Flickr
 30 by nakahachi, on Flickr
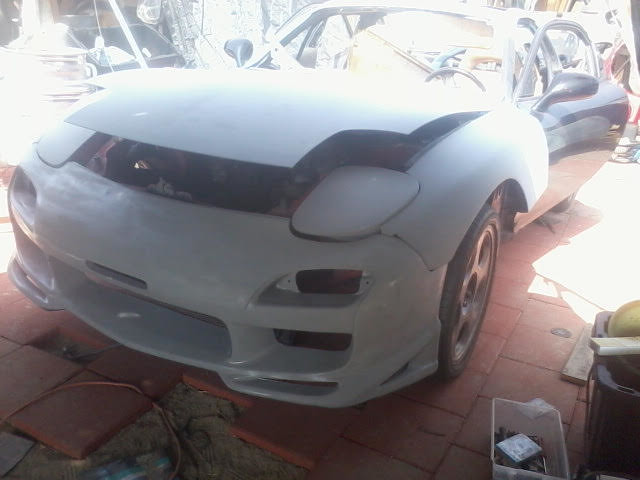
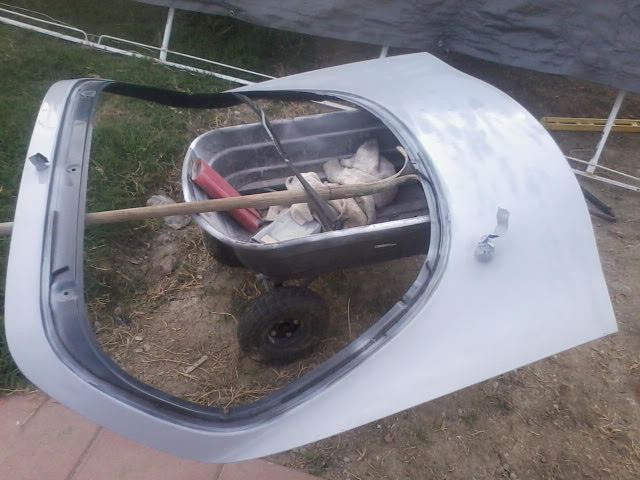
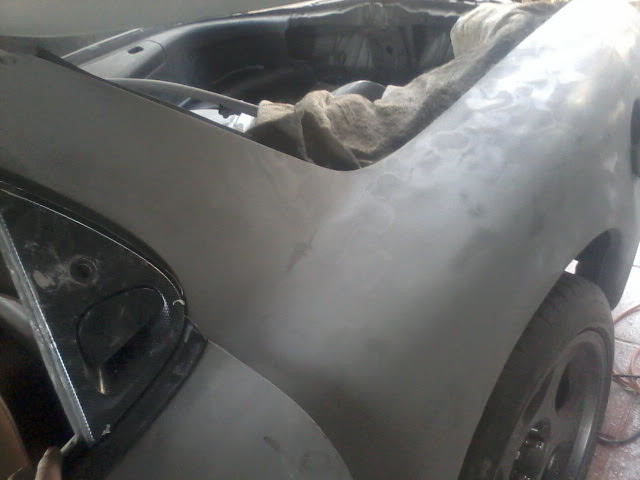
done
 33 by nakahachi, on Flickr
23 by nakahachi, on Flickrfound some low spots
25 by nakahachi, on Flickr26 by nakahachi, on Flickr27 by nakahachi, on Flickrsanding
58 by nakahachi, on Flickr57 by nakahachi, on Flickrstill had some low spots still
56 by nakahachi, on Flickrnext is the pillar
28 by nakahachi, on Flickr29 by nakahachi, on Flickr30 by nakahachi, on Flickrdone
33 by nakahachi, on Flickr
Last edited by bzebern; 03-20-16 at 10:29 PM.

 03-20-16, 10:29 PM
#203
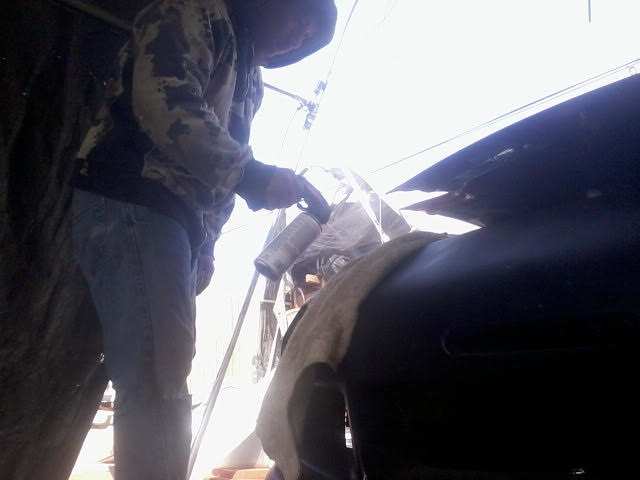
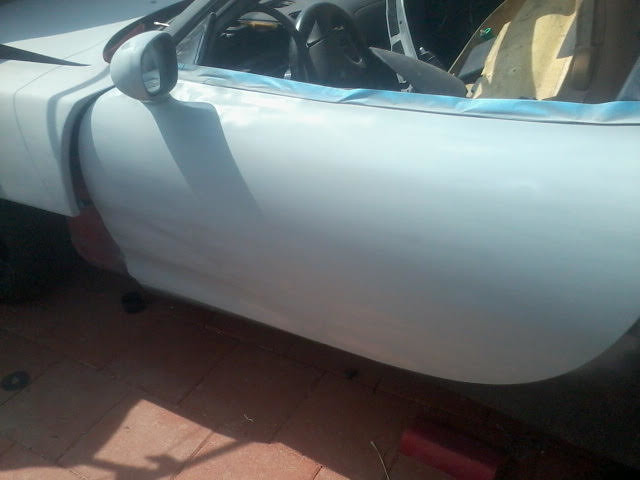
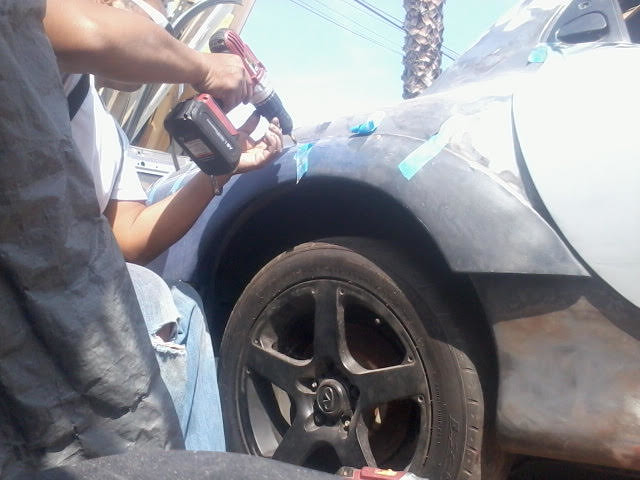
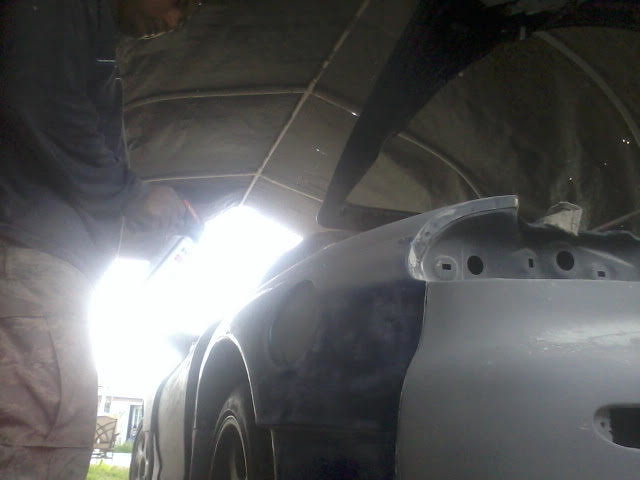
doing the fender
 34 by nakahachi, on Flickr
 35 by nakahachi, on Flickr
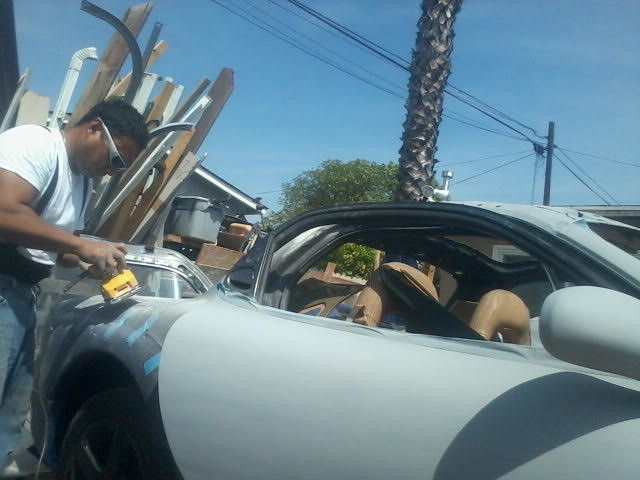
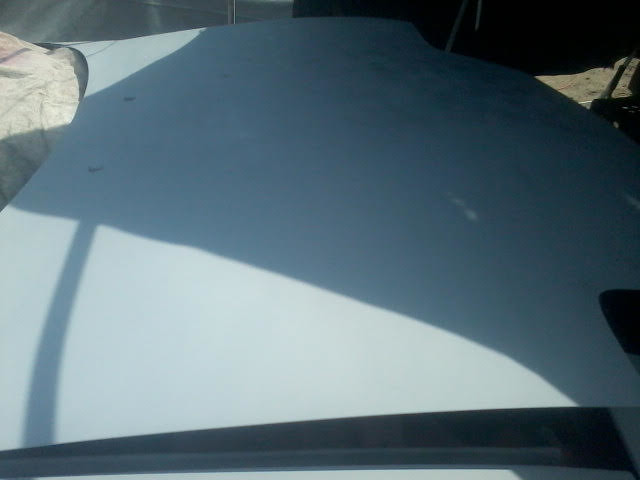
sanding the hood now
 39 by nakahachi, on Flickr
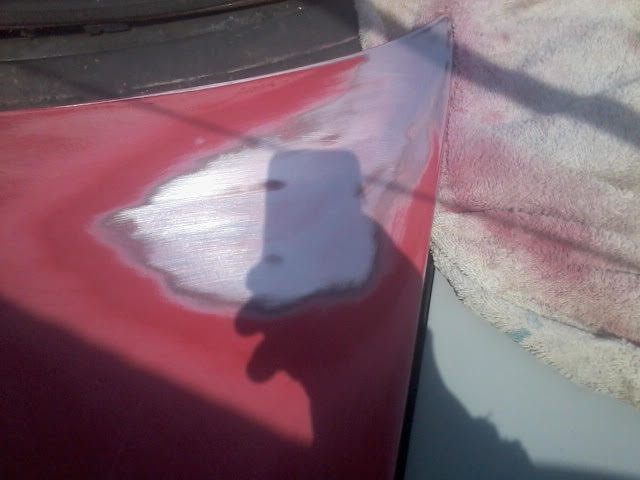
it was flaking at the corner so I have to sand it bare metal
 40 by nakahachi, on Flickr
 41 by nakahachi, on Flickr
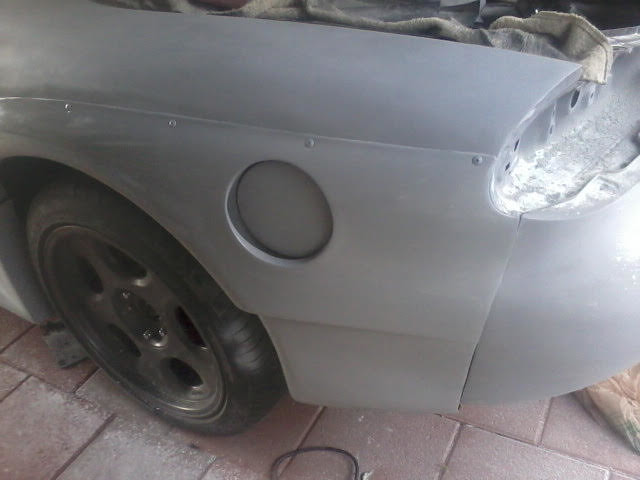
done
 42 by nakahachi, on Flickr
34 by nakahachi, on Flickr35 by nakahachi, on Flickrsanding the hood now
39 by nakahachi, on Flickrit was flaking at the corner so I have to sand it bare metal
40 by nakahachi, on Flickr41 by nakahachi, on Flickrdone
42 by nakahachi, on Flickr
Last edited by bzebern; 03-20-16 at 10:56 PM.


 . I'm sure you save a lot of money doing it all!
03-20-16, 11:24 PM
. I'm sure you save a lot of money doing it all!
03-20-16, 11:24 PM
#207
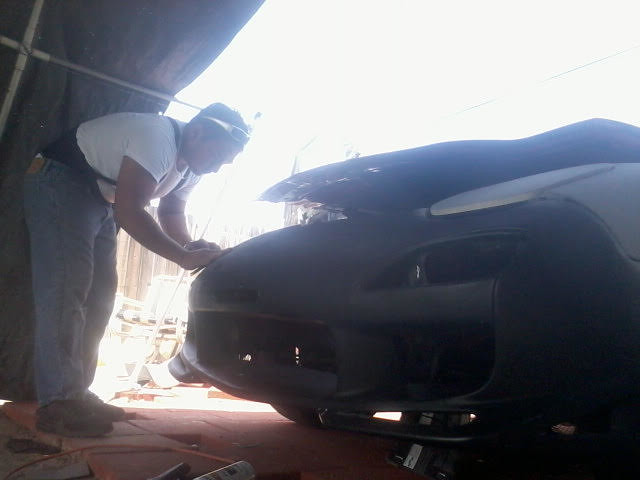
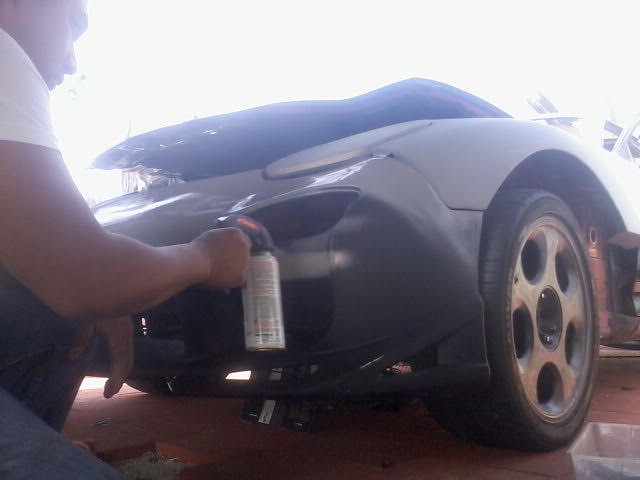
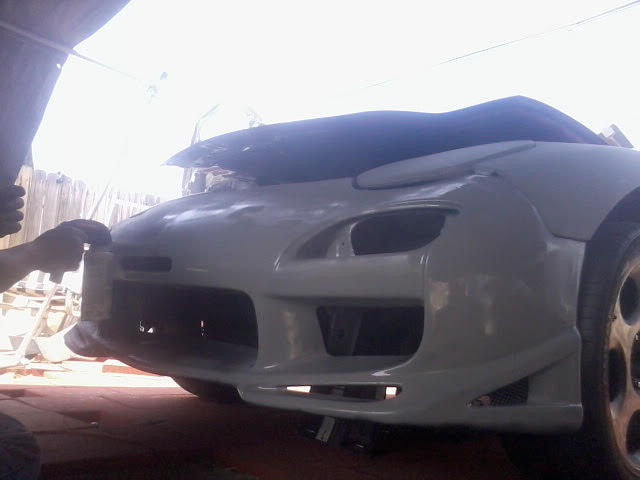
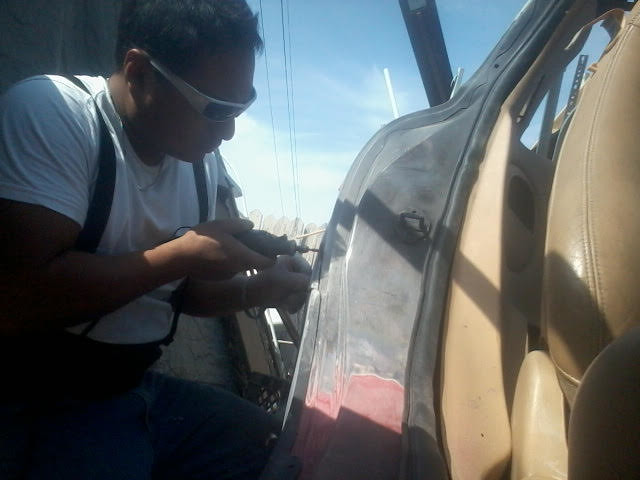
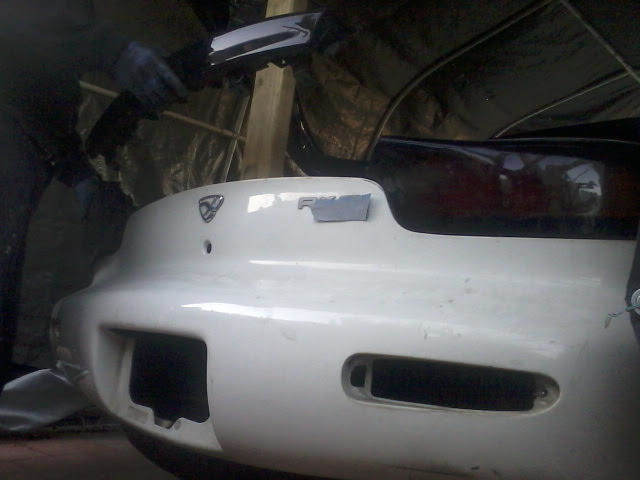
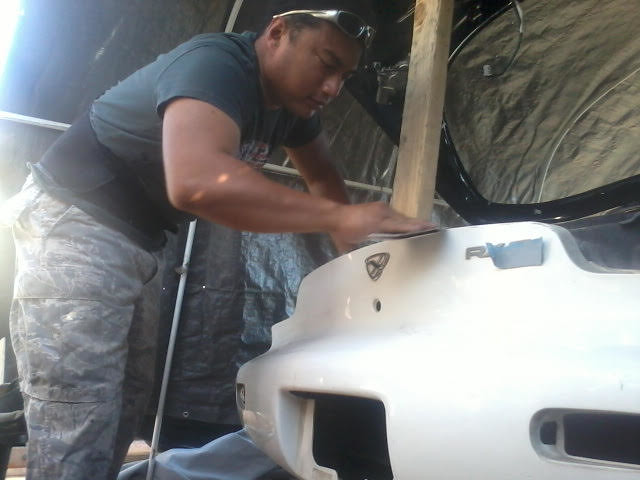
installing the sideskirts
 3 by nakahachi, on Flickr
 6 by nakahachi, on Flickr
 7 by nakahachi, on Flickr
 5 by nakahachi, on Flickr
 8 by nakahachi, on Flickr
 9 by nakahachi, on Flickr
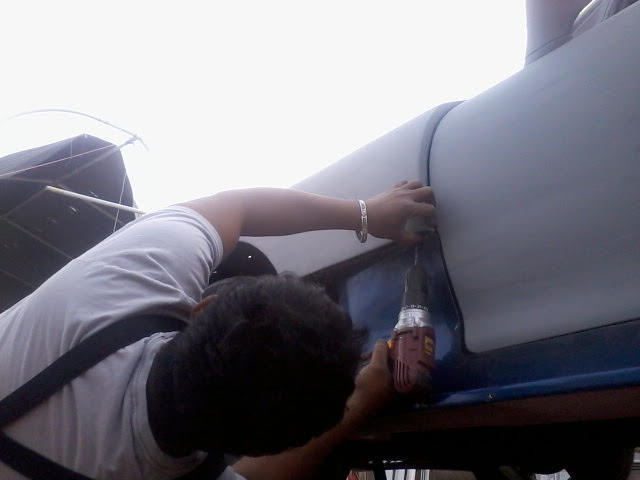
drilling the screws in
 61 by nakahachi, on Flickr
trimming the edge where it connects
 62 by nakahachi, on Flickr
 63 by nakahachi, on Flickr
 65 by nakahachi, on Flickr
3 by nakahachi, on Flickr6 by nakahachi, on Flickr7 by nakahachi, on Flickr5 by nakahachi, on Flickr8 by nakahachi, on Flickr9 by nakahachi, on Flickrdrilling the screws in
61 by nakahachi, on Flickrtrimming the edge where it connects
62 by nakahachi, on Flickr63 by nakahachi, on Flickr65 by nakahachi, on Flickr


 03-21-16, 09:27 PM
#211

I would advise removing as much stuff as you can before spraying anything. I'm sure you will re-upholster the seats, but aren't you getting overspray all over your dashboard and interior plastics? I wouldn't think scrubbing overspray off of all that stuff would be a good time. Your show though, brother. I'm just enjoying the ride.
Keep up the good progress. I come to the builds daily for this thread. Not the flashiest, but I bet I'll learn a trick or two.
Keep up the good progress. I come to the builds daily for this thread. Not the flashiest, but I bet I'll learn a trick or two.
The following users liked this post:
y0ungjoker (05-08-19)
03-22-16, 09:03 AM
#212
no overspray on the dash I cover it with a towel I know how hard it is to remove it takes more time removing it than covering it
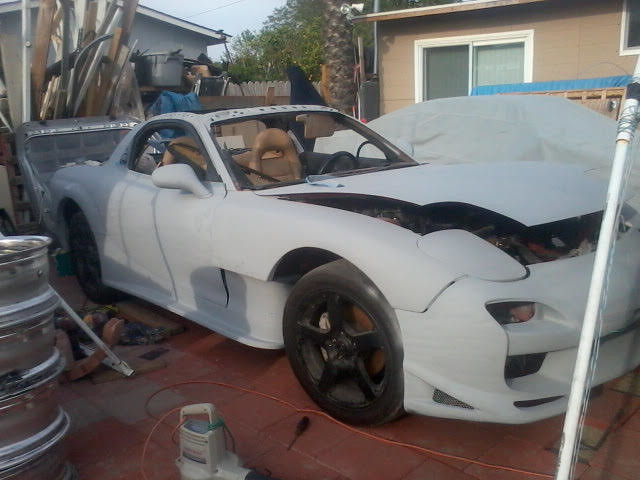
This is not the final stage im just tired of looking at it in different colors black white red blue this is still gonna sit for a while parts are scattered everywhere if its not in the car I already got a plan going on but I just dont have the money to to do it once I get the coilovers wheels tand ires then im gonna hit the engine bay
This is not the final stage im just tired of looking at it in different colors black white red blue this is still gonna sit for a while parts are scattered everywhere if its not in the car I already got a plan going on but I just dont have the money to to do it once I get the coilovers wheels tand ires then im gonna hit the engine bay
I would advise removing as much stuff as you can before spraying anything. I'm sure you will re-upholster the seats, but aren't you getting overspray all over your dashboard and interior plastics? I wouldn't think scrubbing overspray off of all that stuff would be a good time. Your show though, brother. I'm just enjoying the ride.
Keep up the good progress. I come to the builds daily for this thread. Not the flashiest, but I bet I'll learn a trick or two.
Keep up the good progress. I come to the builds daily for this thread. Not the flashiest, but I bet I'll learn a trick or two.
 03-24-16, 01:19 AM
#214
 67 by nakahachi, on Flickr
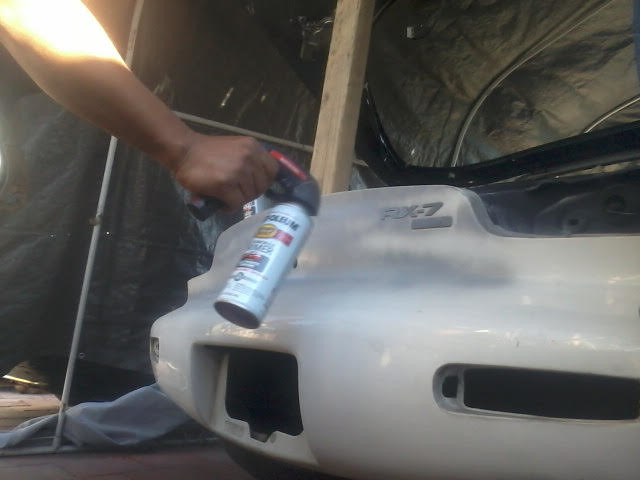 68 by nakahachi, on Flickr
trimming the corner
 69 by nakahachi, on Flickr
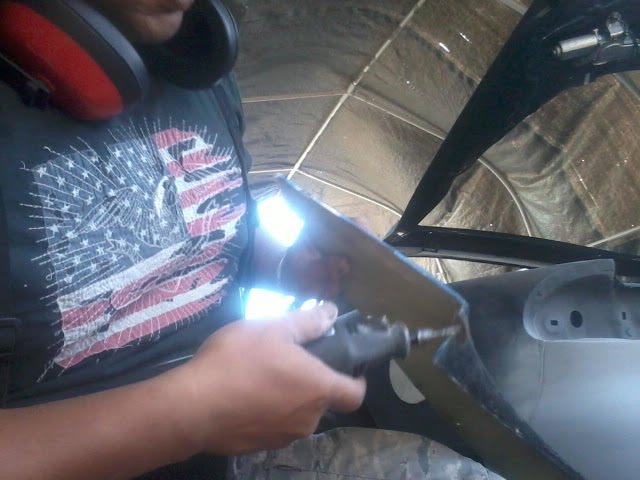 71 by nakahachi, on Flickr
better
 79 by nakahachi, on Flickr
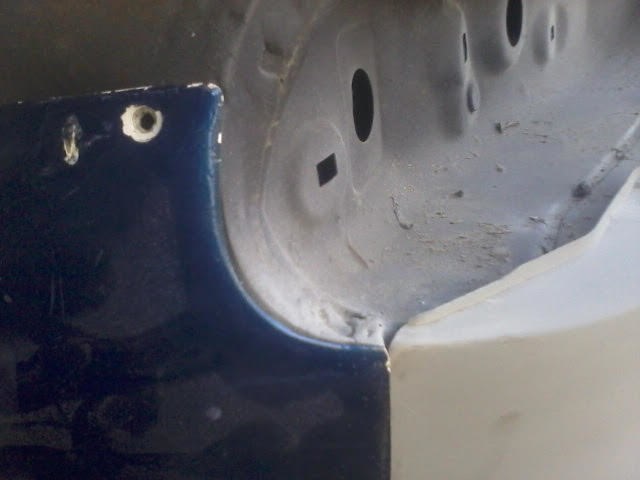 72 by nakahachi, on Flickr
 74 by nakahachi, on Flickr
have to hammer a little bit
 75 by nakahachi, on Flickr
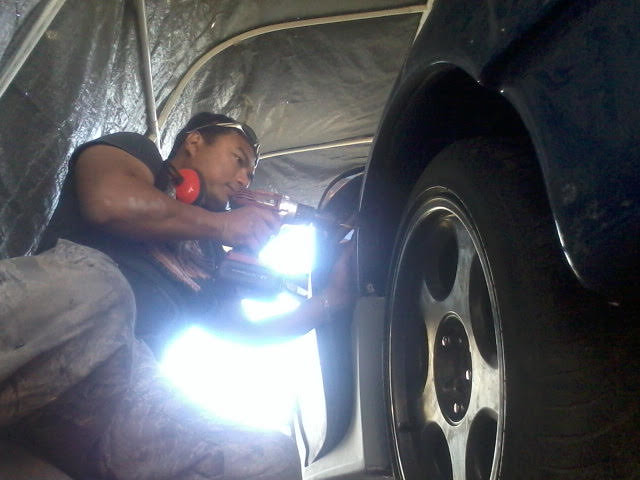 76 by nakahachi, on Flickr
done
 77 by nakahachi, on Flickr

 03-28-16, 09:07 AM
#216
after 1 week of doing this side im freaking tired of working on this side
so today im gonna finish it
sanding and more sanding till it straightens out
 85 by nakahachi, on Flickr
low spots more sanding lol
 86 by nakahachi, on Flickr
 89 by nakahachi, on Flickr
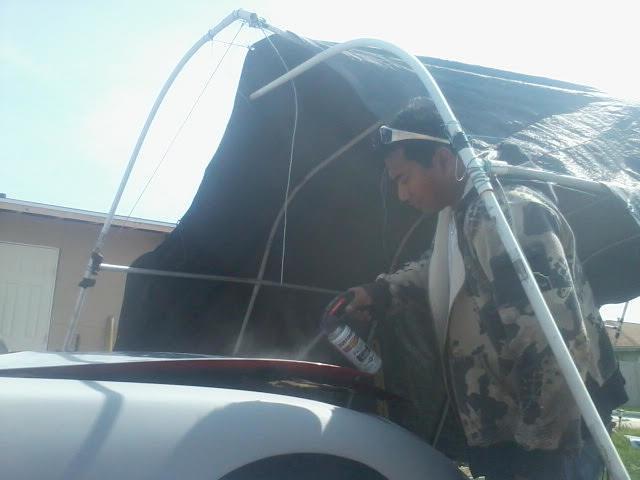
its only a spray can so it off course it will still show filler marks but once the actual sealer is sprayed on 3 times it wouldn't show anymore
 93 by nakahachi, on Flickr
now for the flare more sanding
 92 by nakahachi, on Flickr
 95 by nakahachi, on Flickr
 96 by nakahachi, on Flickr
 97 by nakahachi, on Flickr
finally
 99 by nakahachi, on Flickr
 98 by nakahachi, on Flickr
my roof came in at the dealer but they wouldn't allow pick up since its an internet order
still waiting for the roof support so they can ship it all at once
next time will be the roof and the door jams
so today im gonna finish it
sanding and more sanding till it straightens out
85 by nakahachi, on Flickrlow spots more sanding lol
86 by nakahachi, on Flickr89 by nakahachi, on Flickrits only a spray can so it off course it will still show filler marks but once the actual sealer is sprayed on 3 times it wouldn't show anymore
93 by nakahachi, on Flickrnow for the flare more sanding
92 by nakahachi, on Flickr95 by nakahachi, on Flickr96 by nakahachi, on Flickr97 by nakahachi, on Flickrfinally
99 by nakahachi, on Flickr98 by nakahachi, on Flickrmy roof came in at the dealer but they wouldn't allow pick up since its an internet order
still waiting for the roof support so they can ship it all at once
next time will be the roof and the door jams
03-29-16, 10:36 AM
#217
so the roof came in last night with the bracket
 100 by nakahachi, on Flickr
 105 by nakahachi, on Flickr
picked up some descent coils drove to Ontario
Thanks Jeremy for the coils worked out a deal with me
 104 by nakahachi, on Flickr
took it apart to check how the dampening is and also if its shot
but its good
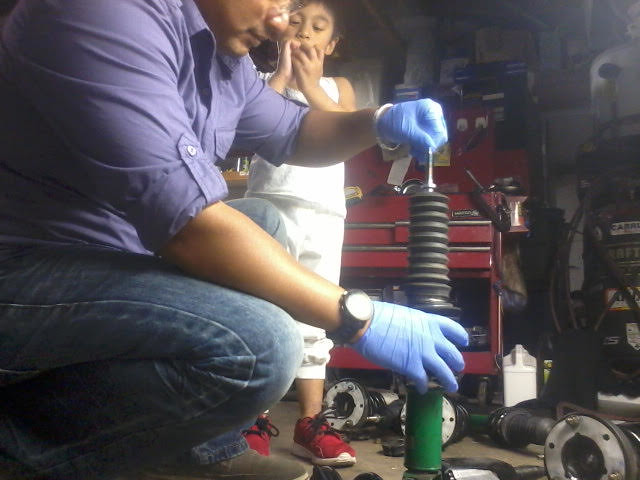 103 by nakahachi, on Flickr
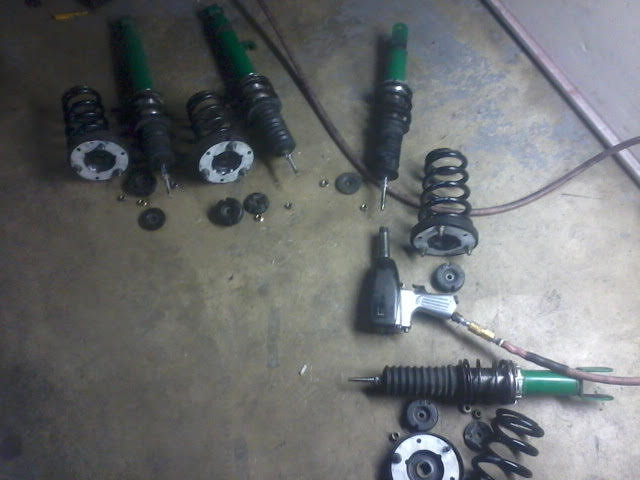 101 by nakahachi, on Flickr
Im not gonna install the coilovers cause car will be hard to move when working on the engine
so it has to wait till later once I got the car on jackstands
 102 by nakahachi, on Flickr
100 by nakahachi, on Flickr105 by nakahachi, on Flickrpicked up some descent coils drove to Ontario
Thanks Jeremy for the coils worked out a deal with me
104 by nakahachi, on Flickrtook it apart to check how the dampening is and also if its shot
but its good
103 by nakahachi, on Flickr101 by nakahachi, on FlickrIm not gonna install the coilovers cause car will be hard to move when working on the engine
so it has to wait till later once I got the car on jackstands
102 by nakahachi, on Flickr


The following users liked this post:
y0ungjoker (05-08-19)
03-29-16, 03:51 PM
#220
I probably have the worst fd out there i had found some descent ones after i bought mine and im still finding some more. But im already hooked on this one so keep moving forward. Some people strip a perfectly running car for no reason lol
I hope i could encourage all people to finish there car thats been sitting for a while
Just compare what i have to your car which is way easier to work with
I hope i could encourage all people to finish there car thats been sitting for a while
Just compare what i have to your car which is way easier to work with
 03-30-16, 01:15 PM
#224
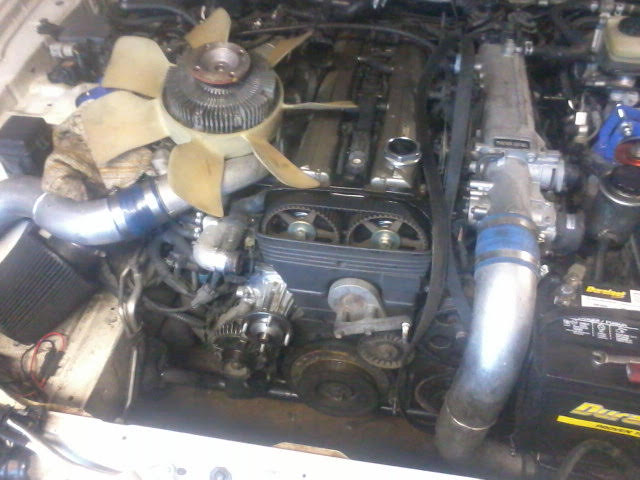
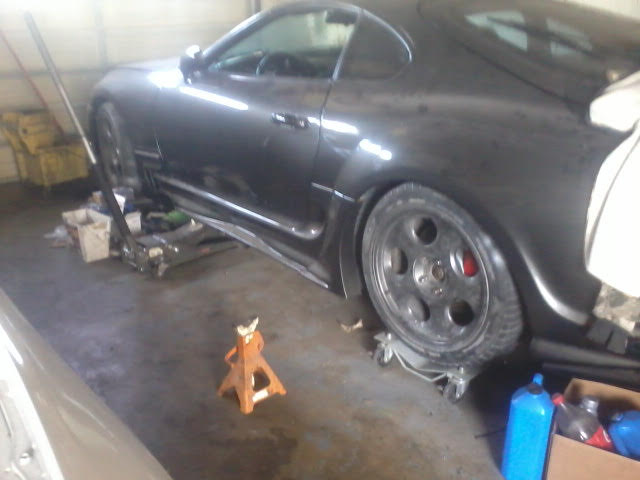
so i was working on the sup last night and darn stubborn crank bolt pulley is stuck
so it made me think what if i slap on the volks for now on the fd!!!!!
 2 by nakahachi, on Flickr
i didnt want to force it and break my tools or breaker bar so will be back tonight for some more tricks i tried heating it up but i ran out of propane
 1 by nakahachi, on Flickr
so this morning was hype out feeling better cause of allergies been sneezing a lot
 3 by nakahachi, on Flickr
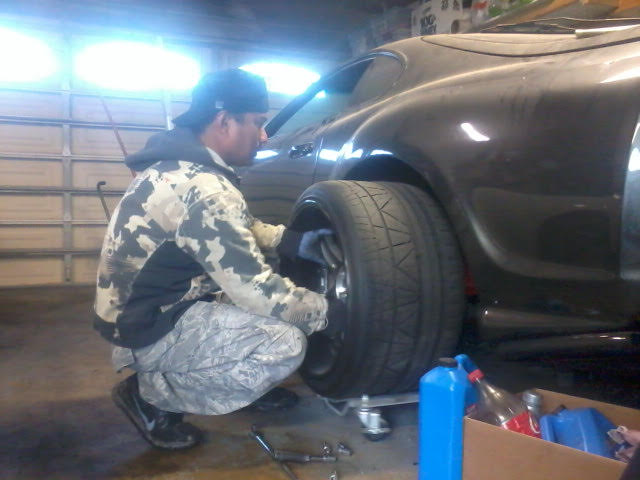
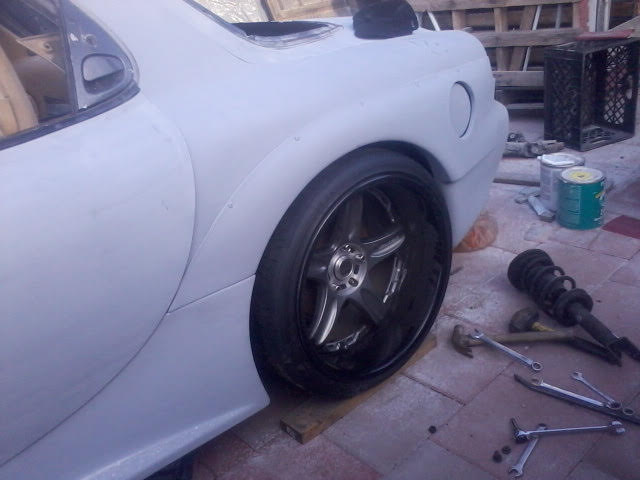
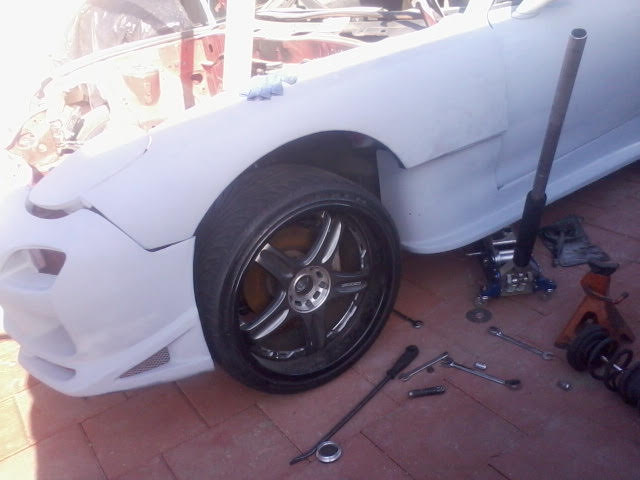
19x12 1/2 with 315 25 19
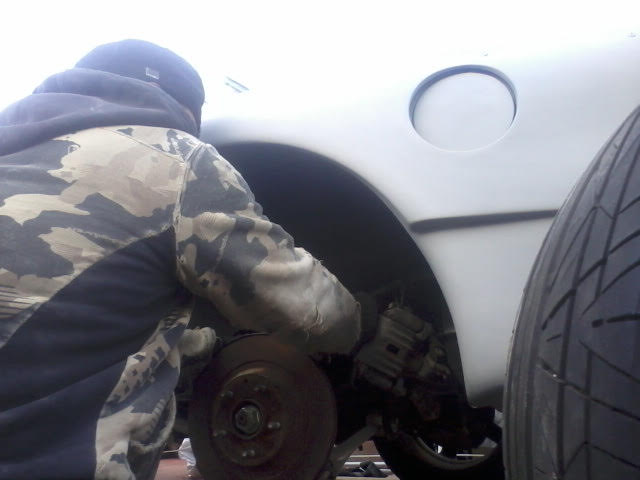
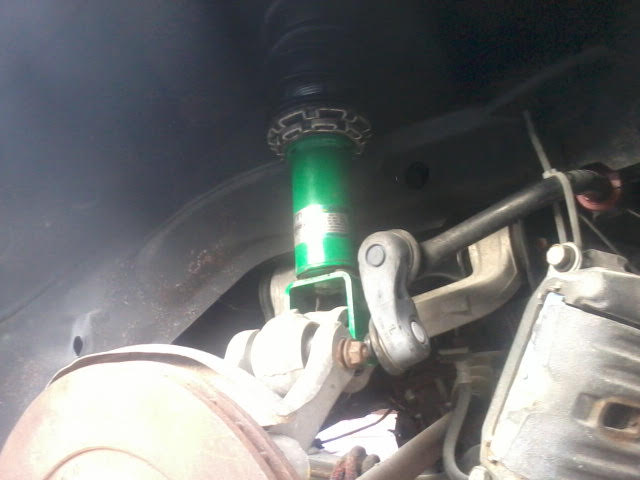
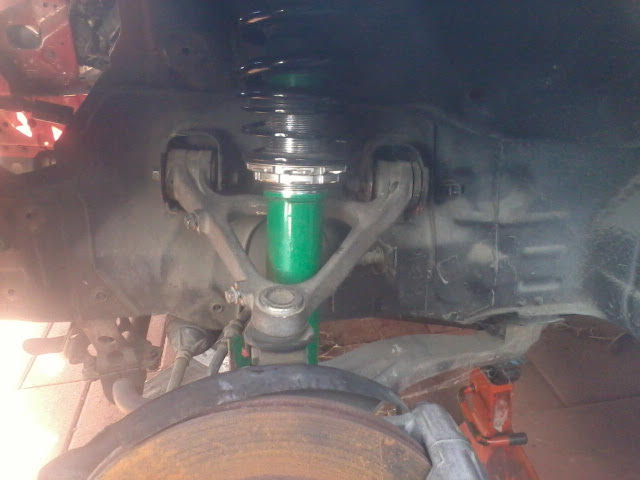
while at it i removed the old shocks and slapped on the teins
i got 45 mins to do this got to drop off my son in school
 8 by nakahachi, on Flickr
 9 by nakahachi, on Flickr
 10 by nakahachi, on Flickr
freaking nice
 11 by nakahachi, on Flickr
 12 by nakahachi, on Flickr
so it made me think what if i slap on the volks for now on the fd!!!!!
2 by nakahachi, on Flickri didnt want to force it and break my tools or breaker bar so will be back tonight for some more tricks i tried heating it up but i ran out of propane
1 by nakahachi, on Flickrso this morning was hype out feeling better cause of allergies been sneezing a lot
3 by nakahachi, on Flickr19x12 1/2 with 315 25 19
while at it i removed the old shocks and slapped on the teins
i got 45 mins to do this got to drop off my son in school
8 by nakahachi, on Flickr9 by nakahachi, on Flickr10 by nakahachi, on Flickrfreaking nice
11 by nakahachi, on Flickr12 by nakahachi, on Flickr
03-30-16, 01:15 PM
#225
and the fronts 19x10 1/2 265 30 19
 13 by nakahachi, on Flickr
 14 by nakahachi, on Flickr
 17 by nakahachi, on Flickr
and i ran into an issue
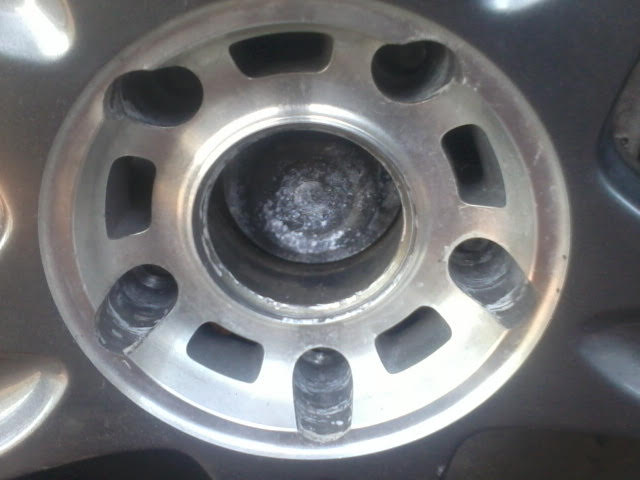
studs are short !!!! bummer now i have to replace it but if i use my 18 volks gtu i wont need it
 16 by nakahachi, on Flickr
 15 by nakahachi, on Flickr
heres the sup lol!!!
 18 by nakahachi, on Flickr
13 by nakahachi, on Flickr14 by nakahachi, on Flickr17 by nakahachi, on Flickrand i ran into an issue
studs are short !!!! bummer now i have to replace it but if i use my 18 volks gtu i wont need it
16 by nakahachi, on Flickr15 by nakahachi, on Flickrheres the sup lol!!!
18 by nakahachi, on Flickr