"Rx7 from hell" socal


 04-01-16, 12:58 AM
#229
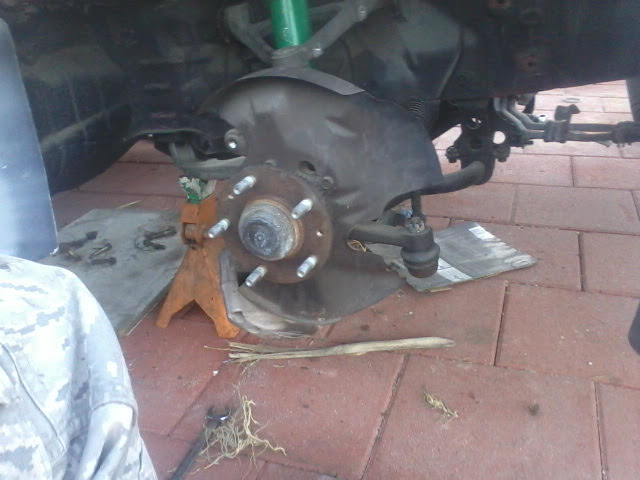
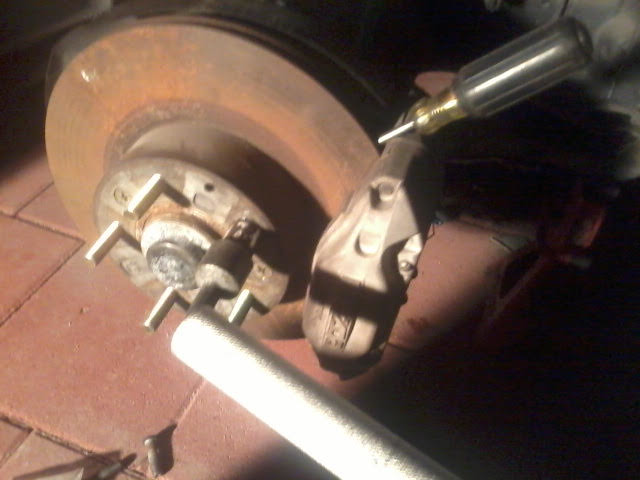
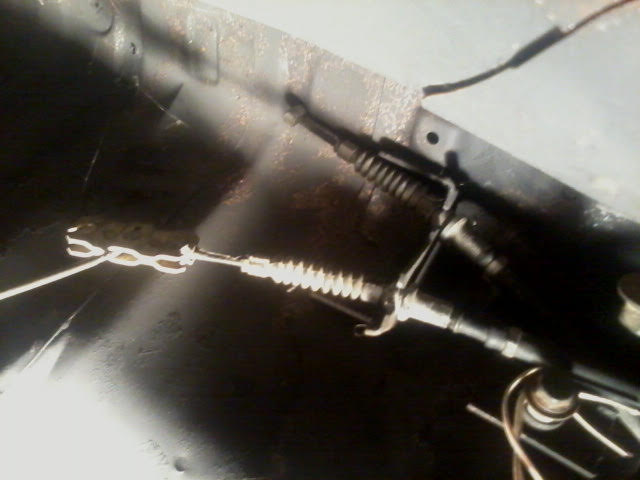
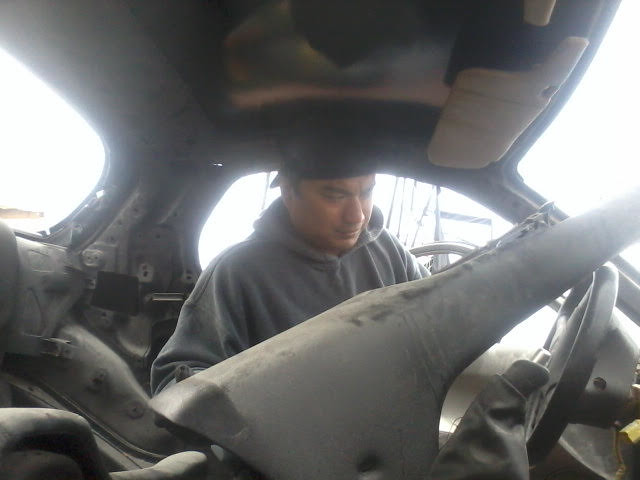
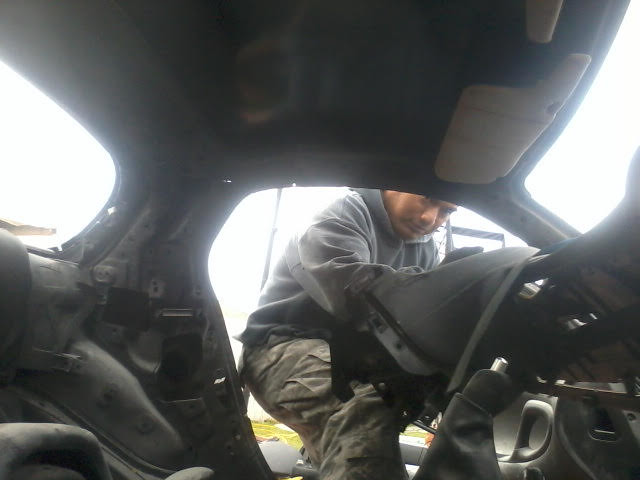
so today I bought some extended studs locally
store is from ebay but talked to them I could just pick it up and they said yes yes cool
 38 by nakahachi, on Flickr
started to take out the rotors
 31 by nakahachi, on Flickr
 32 by nakahachi, on Flickr
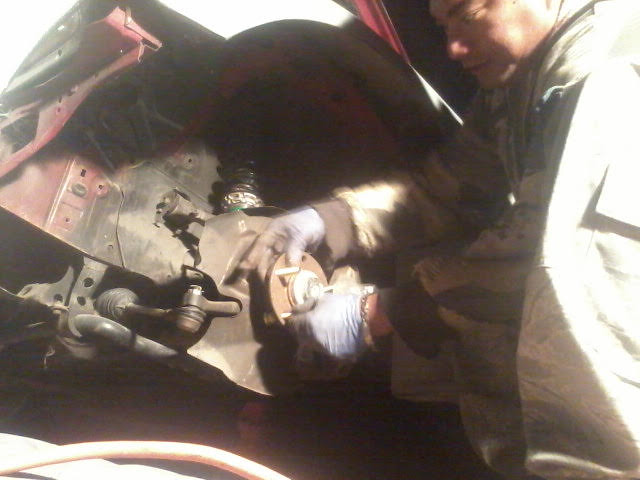
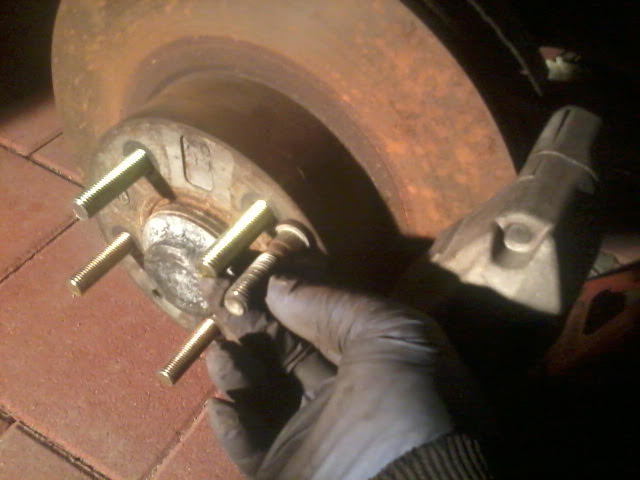
don't need to take this get pressed
you can used a vise grip open nut a long washer and a little bit of muscle
 46 by nakahachi, on Flickr
my technique you have to install the brakes so the vise grip would have some leverage
when tightening the nut until it goes halfway
 45 by nakahachi, on Flickr
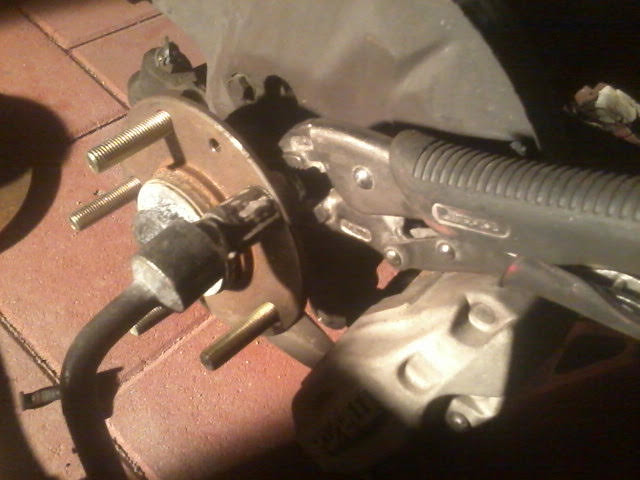
after you do all of them install the rotors
 44 by nakahachi, on Flickr
then jam a screwdriver when tightening
you will be able to tell if its tight enough cause you can turn it anymore
 43 by nakahachi, on Flickr
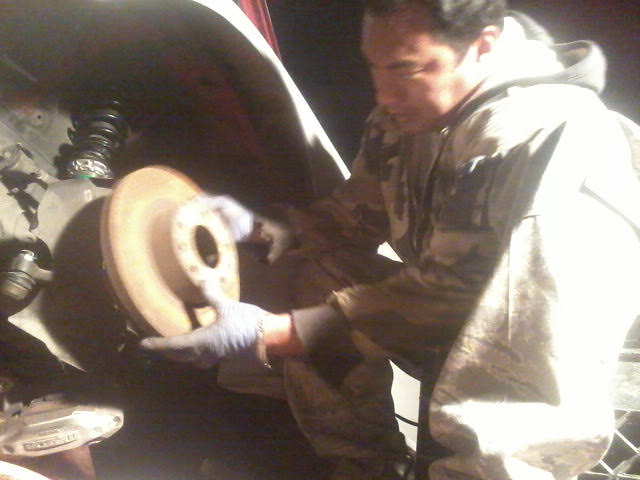
and there you go this is 50mm by the way
 42 by nakahachi, on Flickr
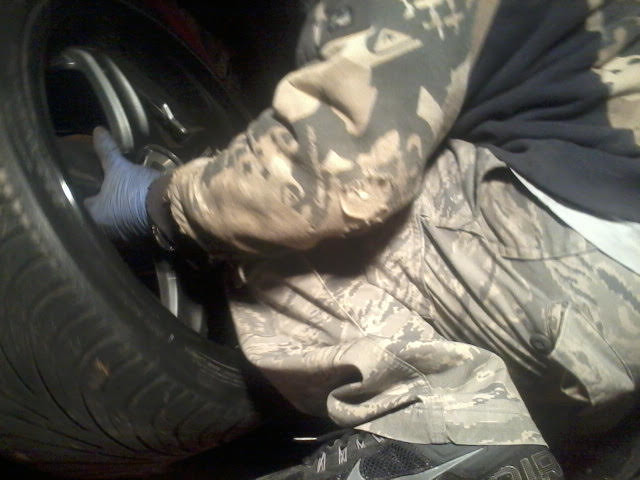
installing the tires back
 41 by nakahachi, on Flickr
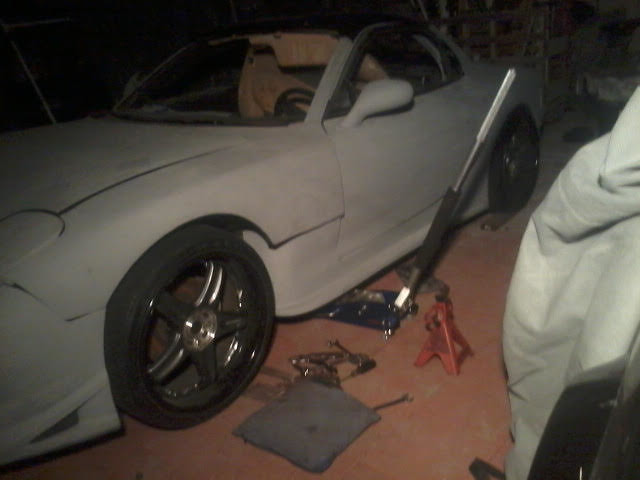
its dark and a little bit high cause there is no engine
 39 by nakahachi, on Flickr
store is from ebay but talked to them I could just pick it up and they said yes yes cool
38 by nakahachi, on Flickrstarted to take out the rotors
31 by nakahachi, on Flickr32 by nakahachi, on Flickrdon't need to take this get pressed
you can used a vise grip open nut a long washer and a little bit of muscle
46 by nakahachi, on Flickrmy technique you have to install the brakes so the vise grip would have some leverage
when tightening the nut until it goes halfway
45 by nakahachi, on Flickrafter you do all of them install the rotors
44 by nakahachi, on Flickrthen jam a screwdriver when tightening
you will be able to tell if its tight enough cause you can turn it anymore
43 by nakahachi, on Flickrand there you go this is 50mm by the way
42 by nakahachi, on Flickrinstalling the tires back
41 by nakahachi, on Flickrits dark and a little bit high cause there is no engine
39 by nakahachi, on Flickr

 04-01-16, 10:56 AM
#231
so i borrowed my wifes dslr camera and just playing at 4 corners
 r1 by nakahachi, on Flickr
 r25 by nakahachi, on Flickr
 r28 by nakahachi, on Flickr
and reborn
 IMG_2733 by nakahachi, on Flickr
 IMG_2734 by nakahachi, on Flickr
 IMG_2735 by nakahachi, on Flickr
 IMG_2736 by nakahachi, on Flickr
r1 by nakahachi, on Flickrr25 by nakahachi, on Flickrr28 by nakahachi, on Flickrand reborn
IMG_2733 by nakahachi, on FlickrIMG_2734 by nakahachi, on FlickrIMG_2735 by nakahachi, on FlickrIMG_2736 by nakahachi, on Flickr
Last edited by bzebern; 04-01-16 at 11:01 AM.
04-03-16, 06:44 PM
#232
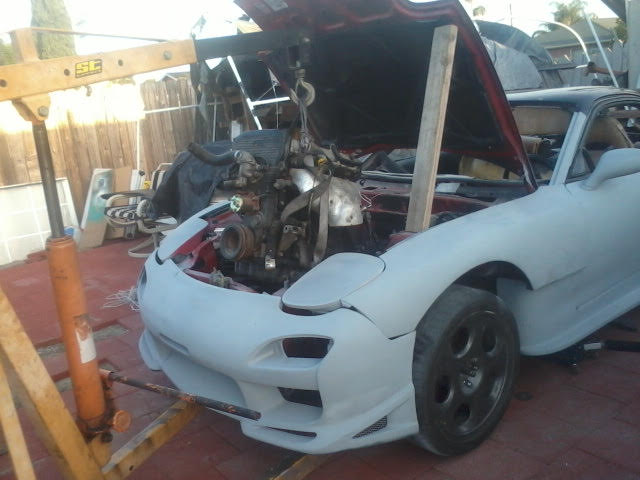
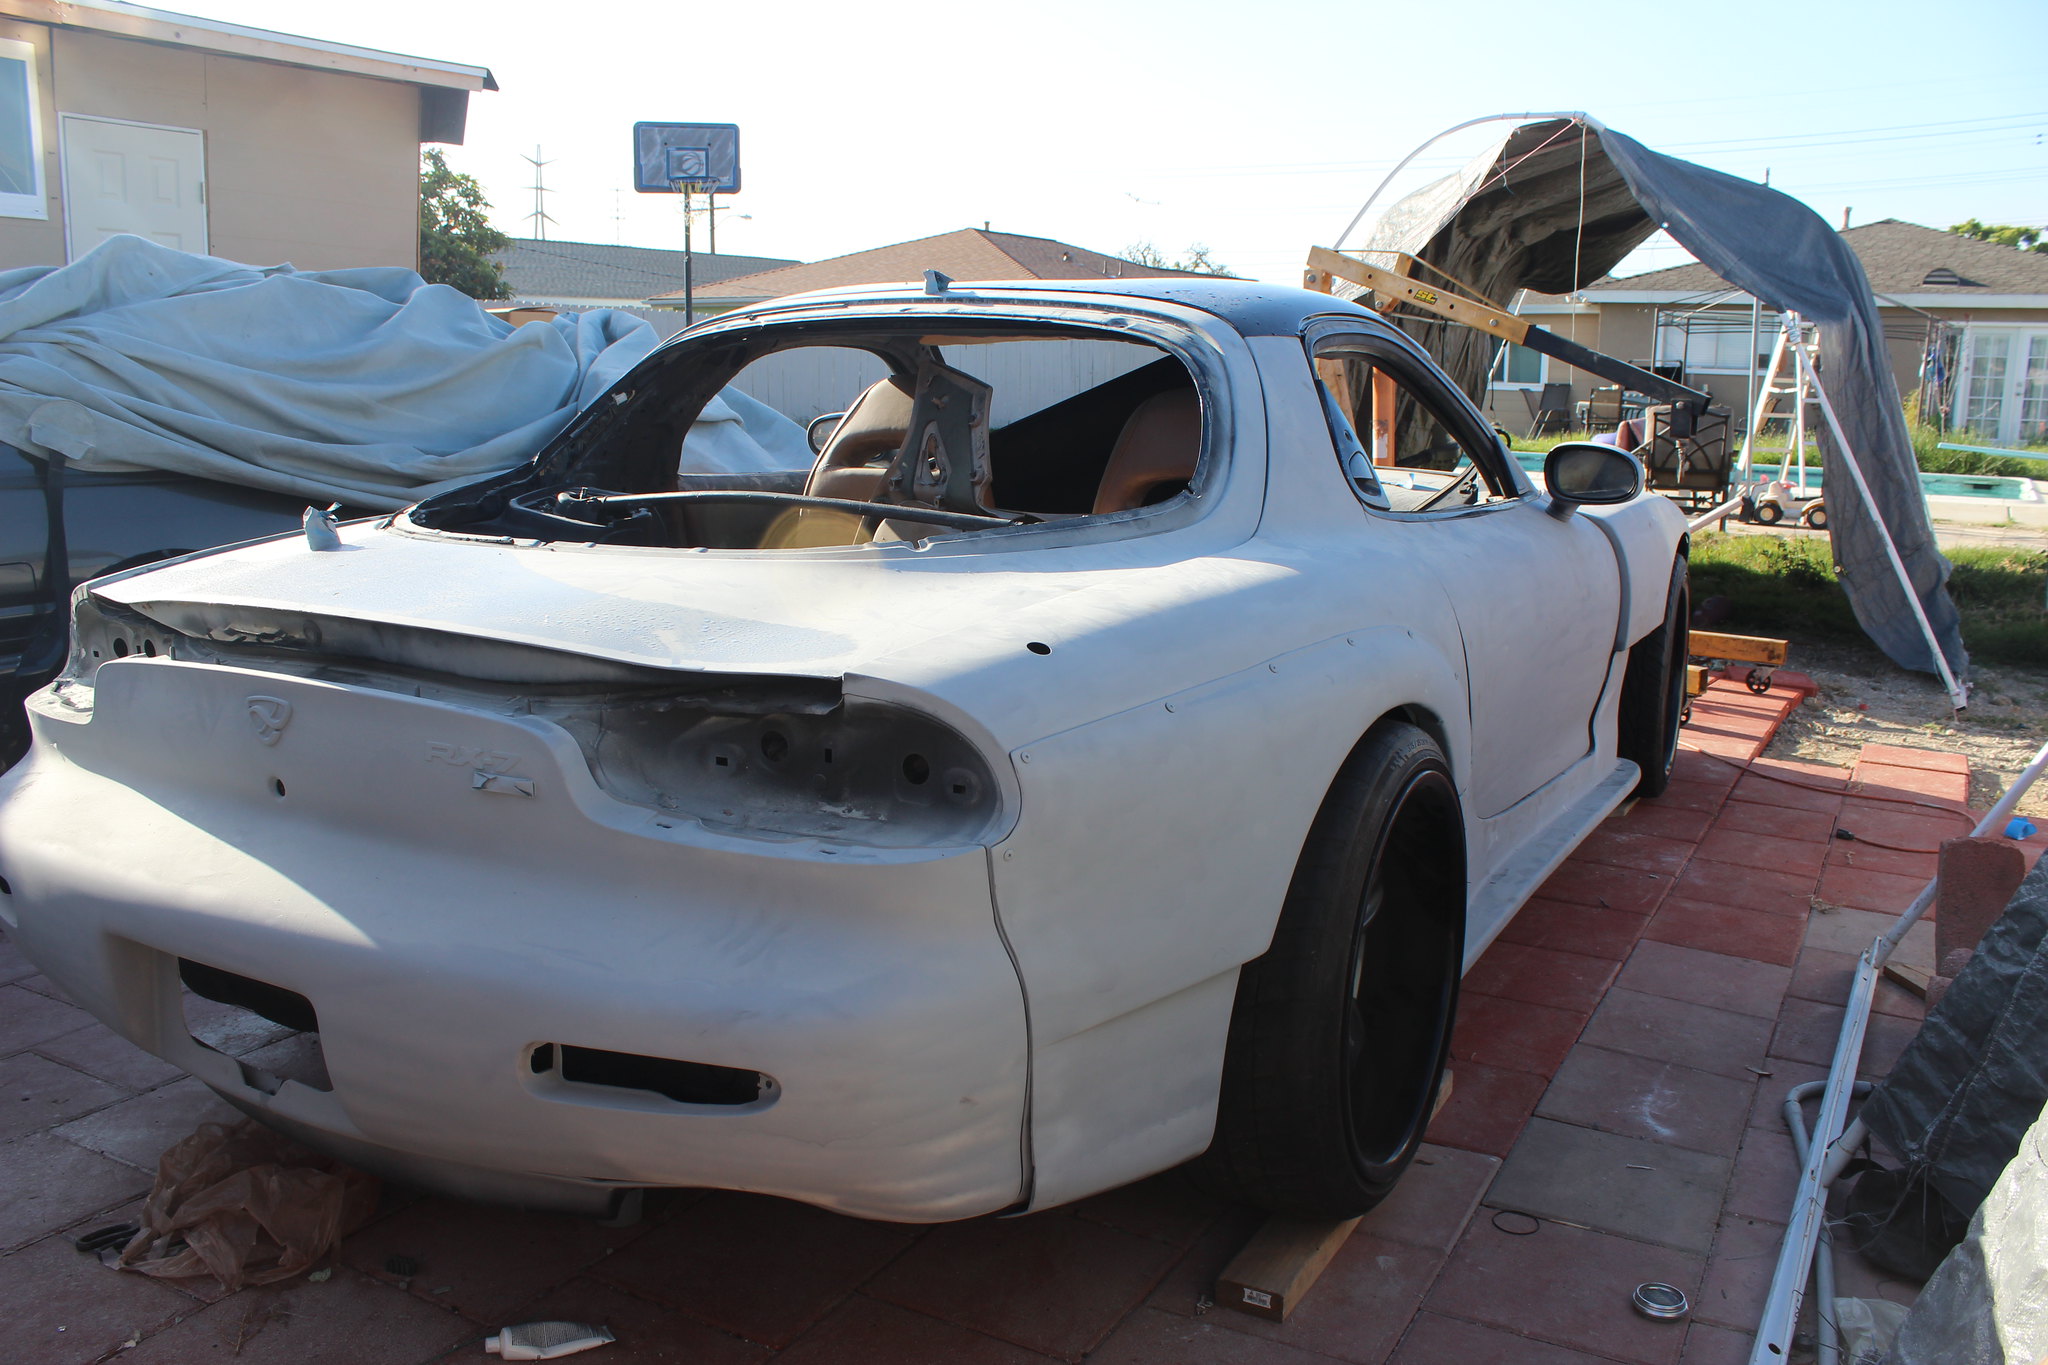
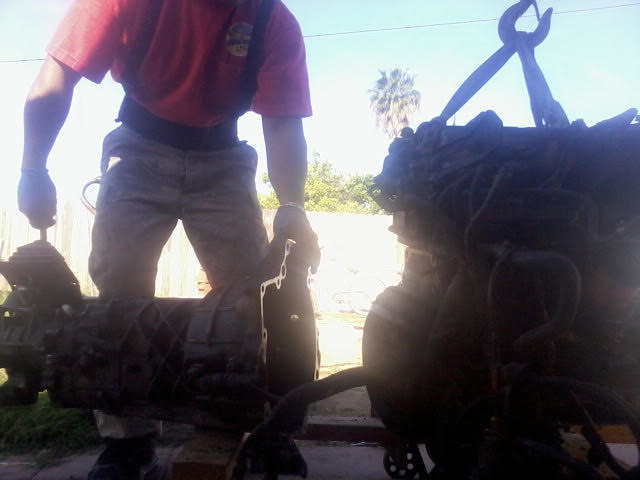
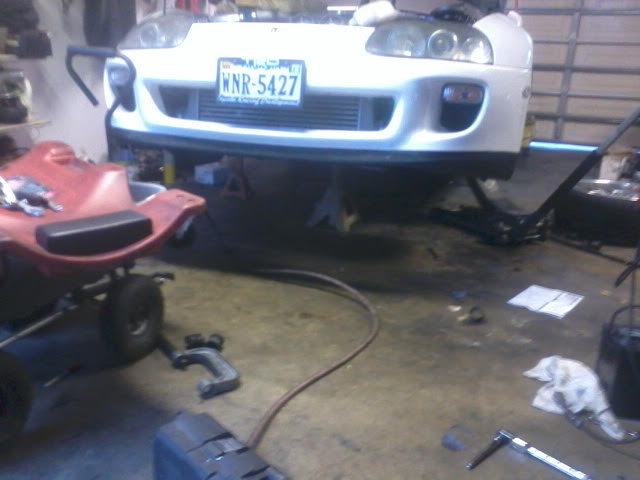
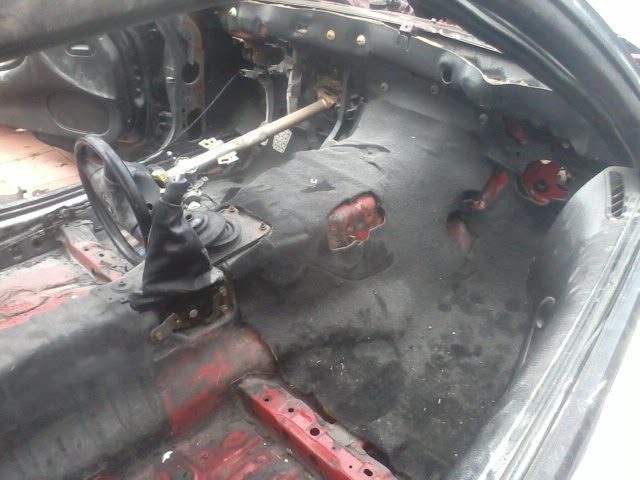
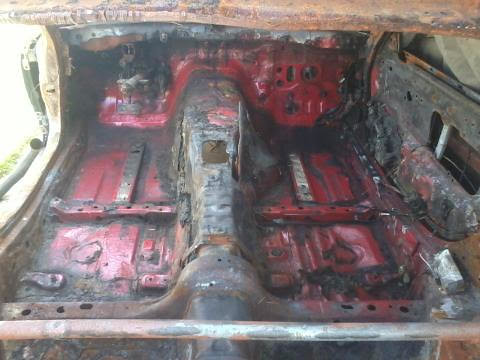
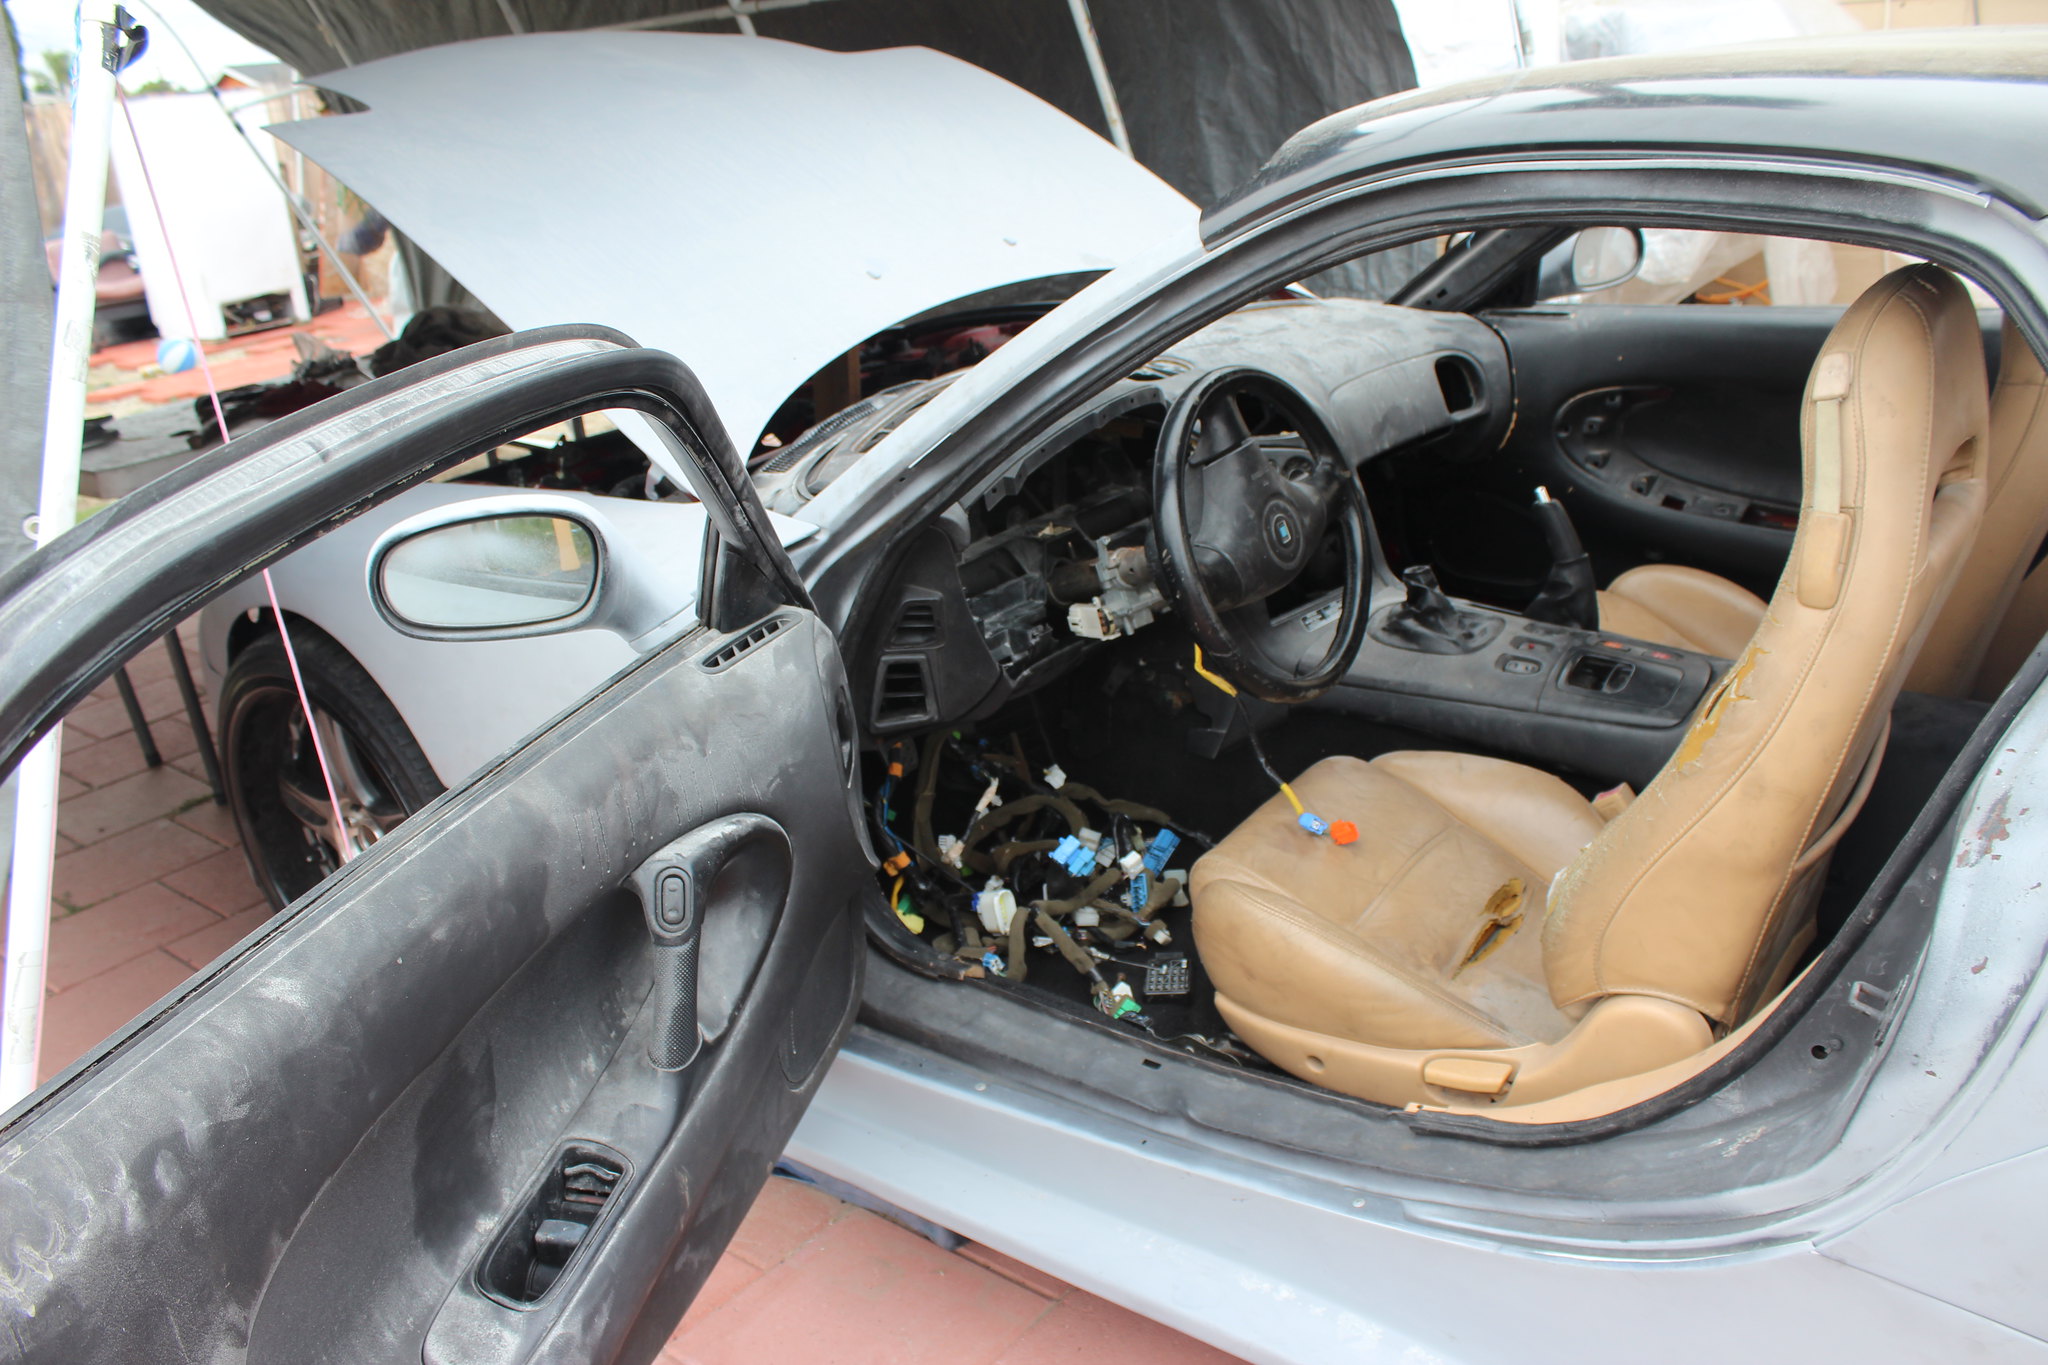
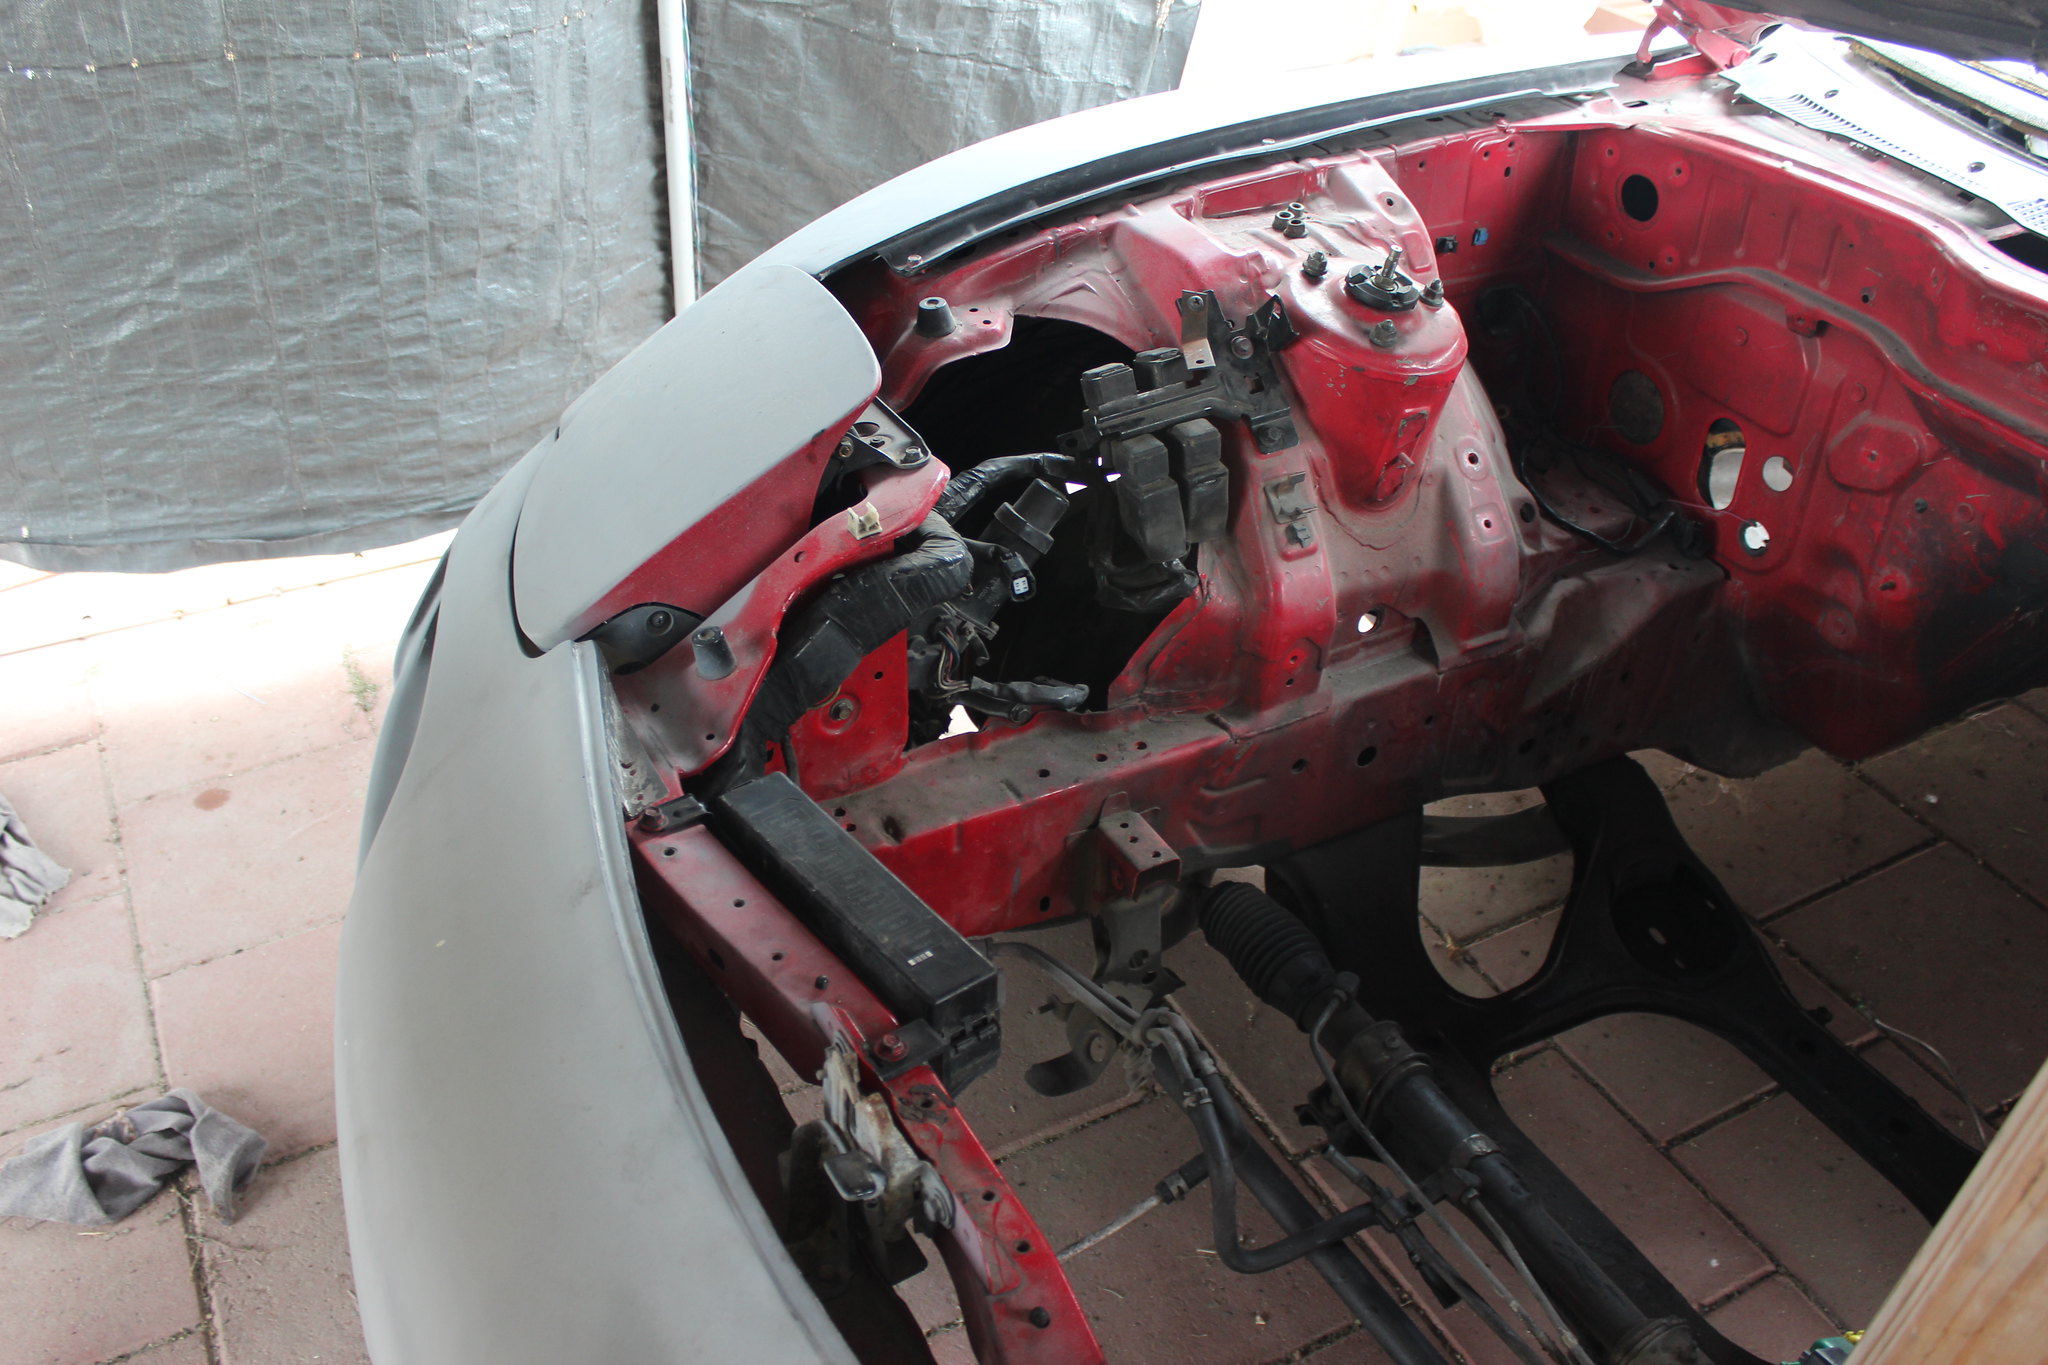
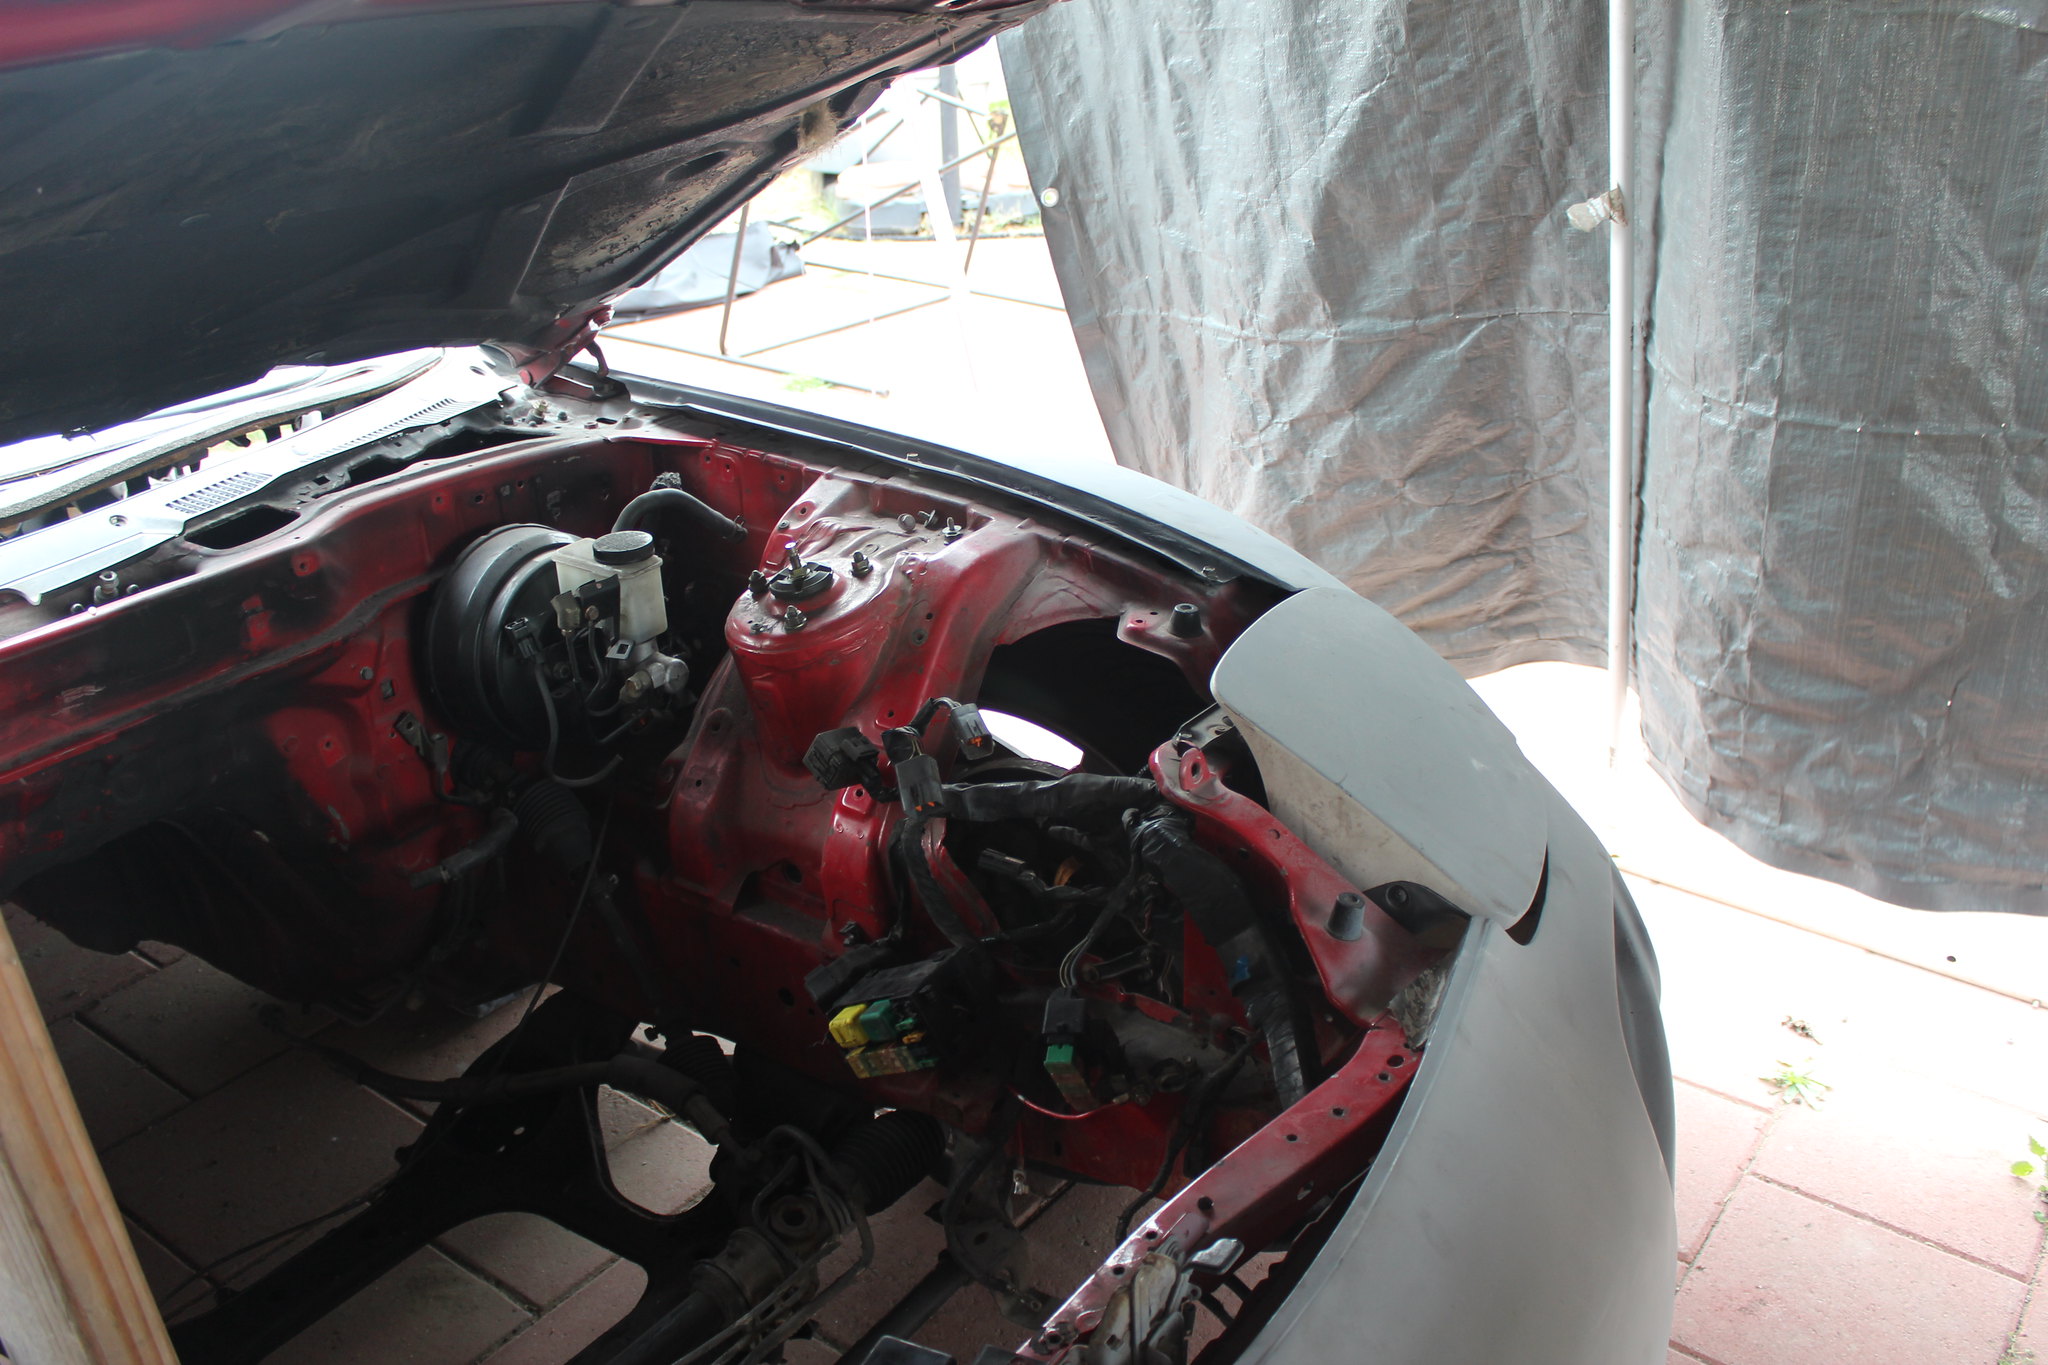
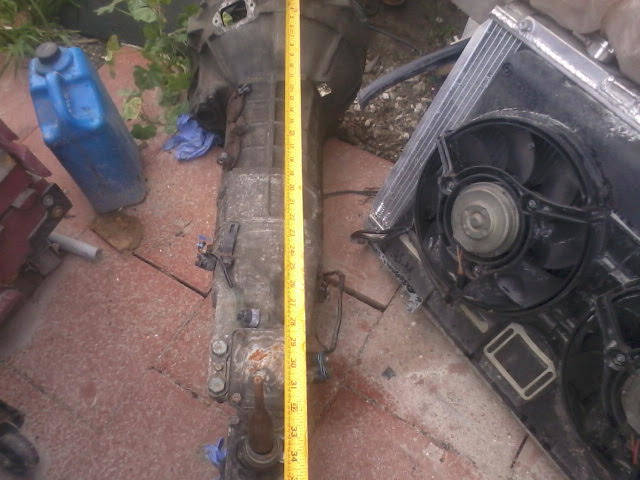
so I moved the car to the other side just to get a clearer mind
too much sh!@#$ next to it
 1 by nakahachi, on Flickr
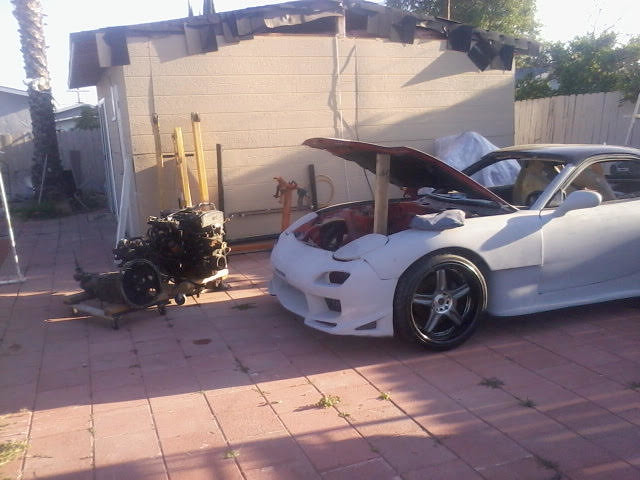
have to start on the engine im cool with the body for now
fd trans on the right still debating if im gonna use this cause theres a lot of mod involve
specially the trigger sensor wheel is on the flywheel this is the killer here aside from the fd is a pull type
I couldn't find a bellhousing for the 2200 also so theres a lot of factors to consider
I don't want get a standalone maybe later want to get it running on stock ecu and just throw in a piggyback for tuning cause I m gonna go boosted on this
compared to the existing transmission all I got to do is extend the shifter custom driveshaft and
trans mount
 2 by nakahachi, on Flickr
checked the spark plugs still good
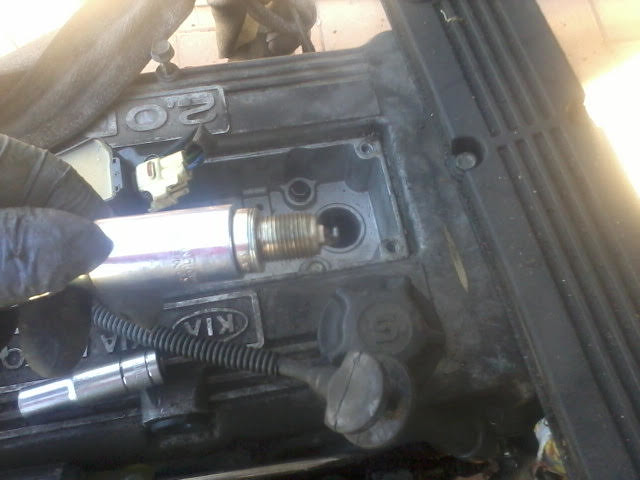 6 by nakahachi, on Flickr
did a compression test but my battery is dead so I just did a leakdown
all cylinders are good
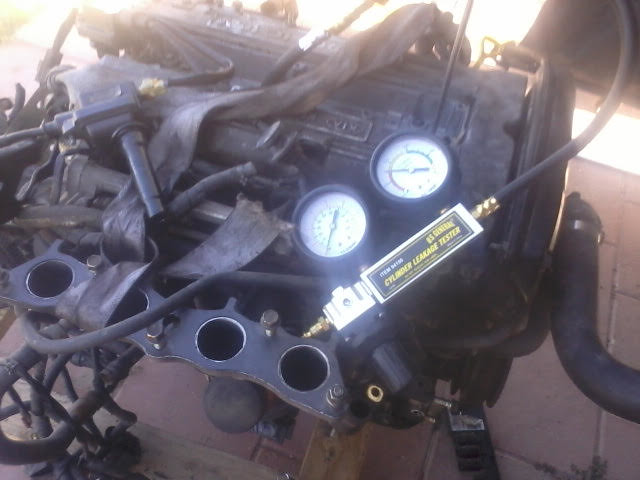 7 by nakahachi, on Flickr
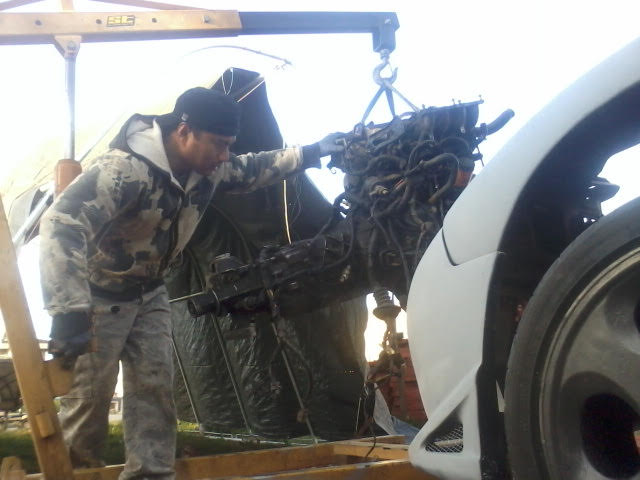
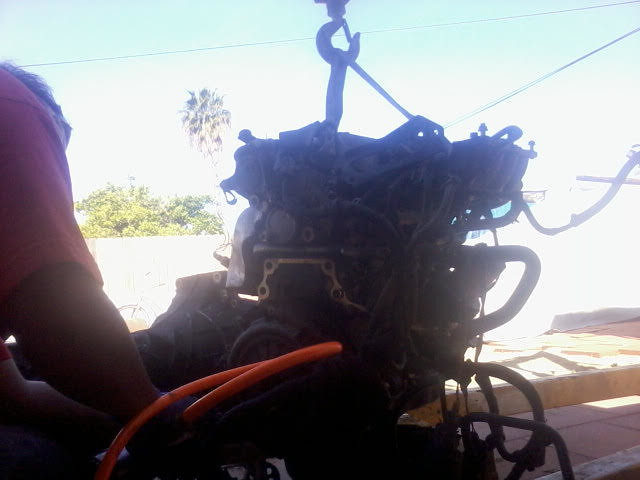
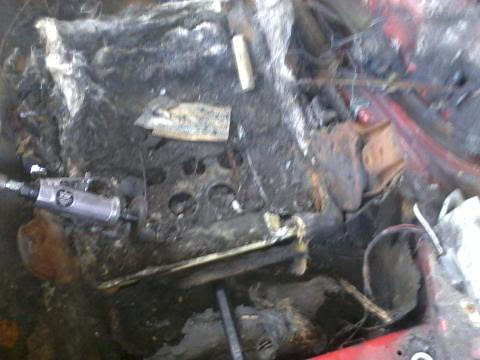
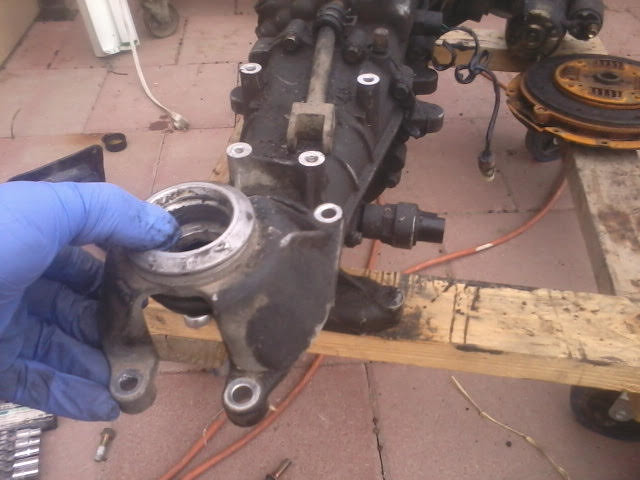
started taking it apart
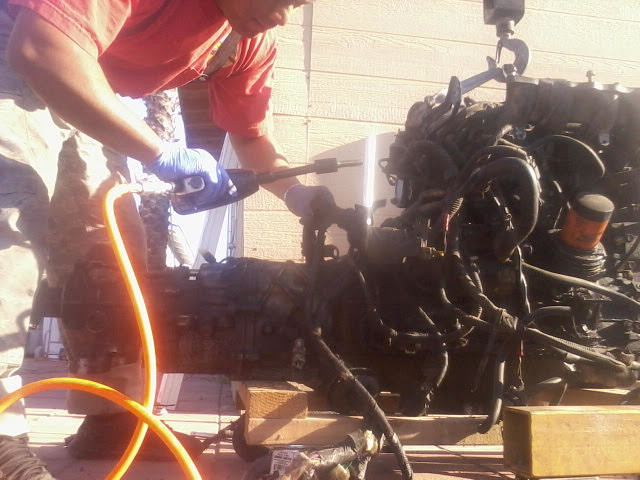 4 by nakahachi, on Flickr
 3 by nakahachi, on Flickr
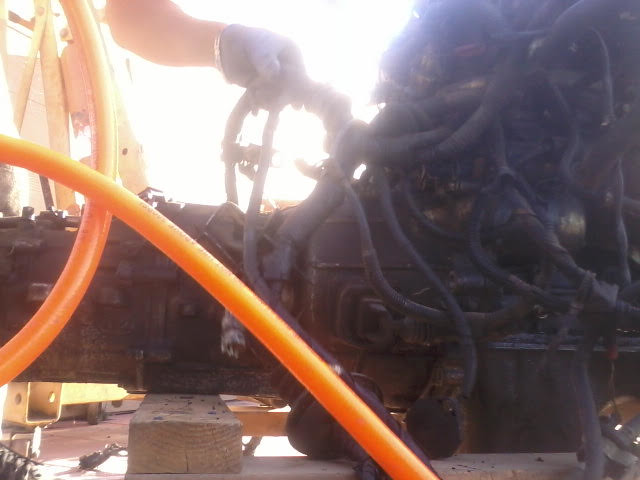
this is where the trigger sensor on the bellhousing connected to the flywheel
this is weird how they designed it
 5 by nakahachi, on Flickr
 9 by nakahachi, on Flickr
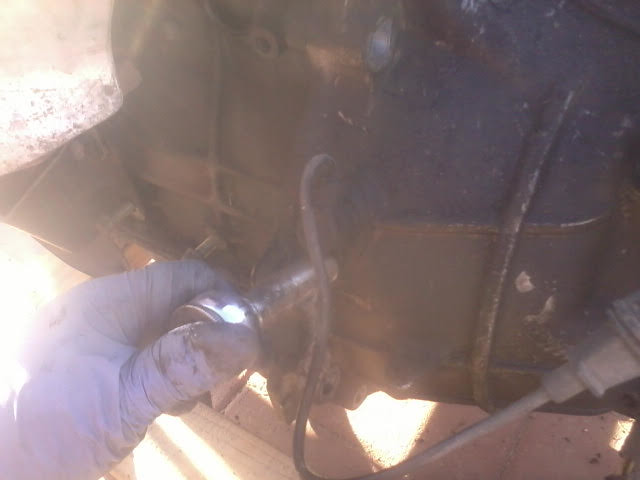
clutch is shot of course
 8 by nakahachi, on Flickr
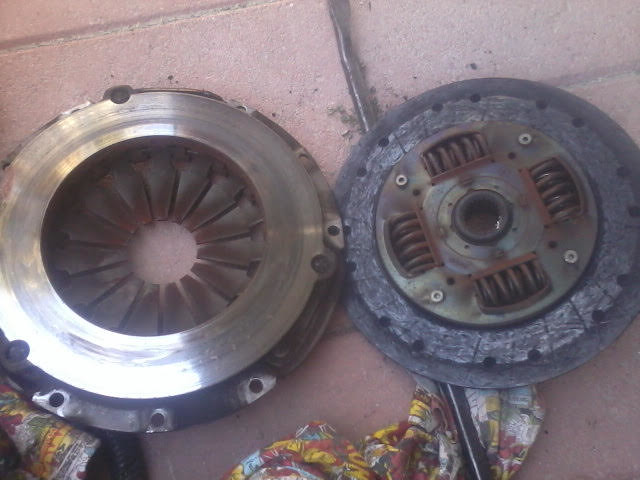 10 by nakahachi, on Flickr
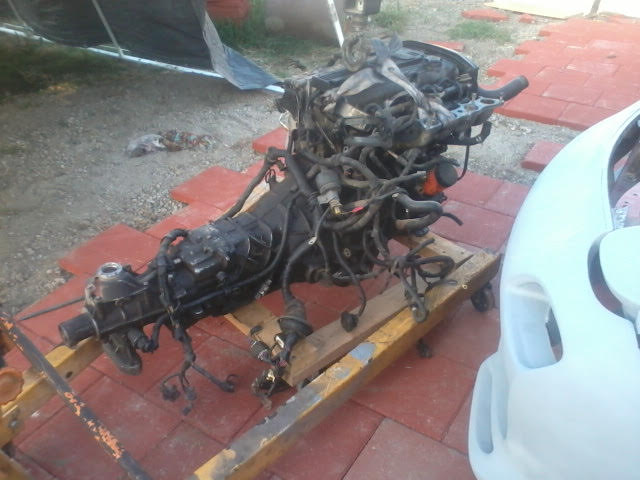
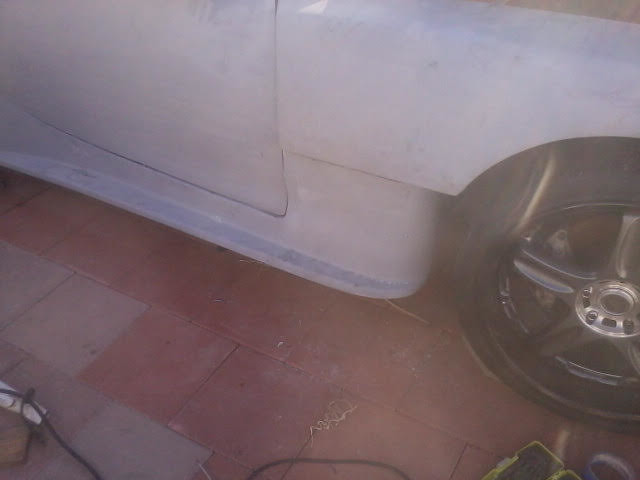
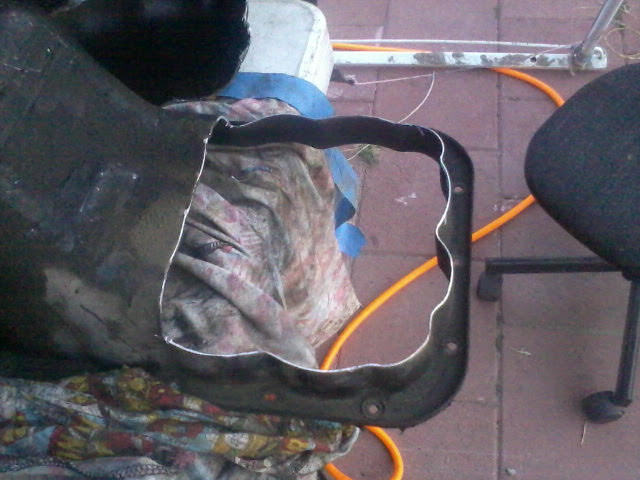
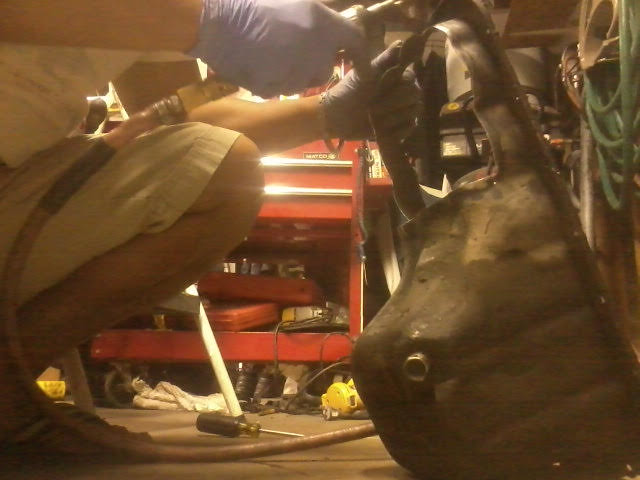
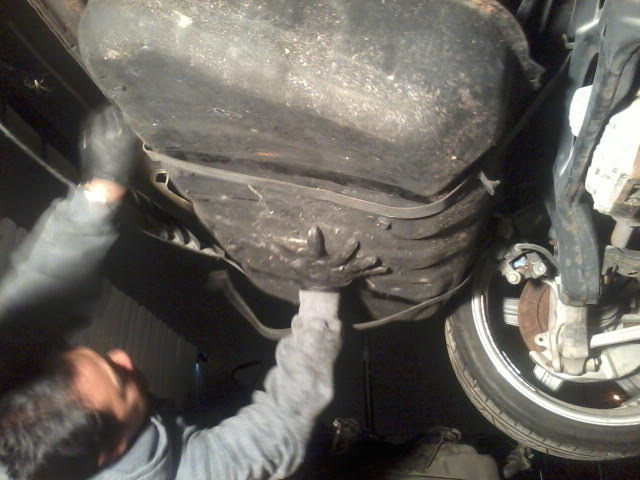
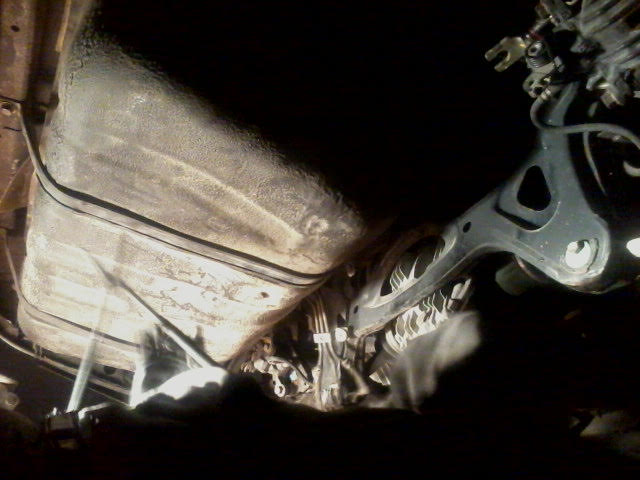
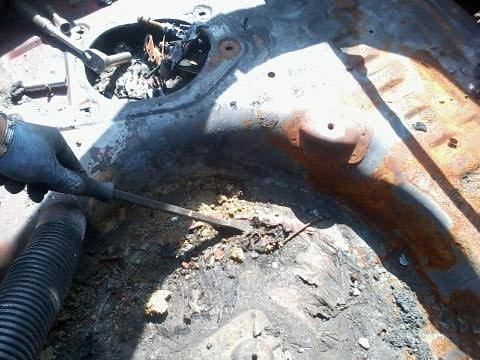
took the oilpan out
 11 by nakahachi, on Flickr
so I can measure how much I need to cut it
around 2 1/2 front and 2 3/4 rear oil pick is slanting gowing down
 12 by nakahachi, on Flickr
too much sh!@#$ next to it
1 by nakahachi, on Flickrhave to start on the engine im cool with the body for now
fd trans on the right still debating if im gonna use this cause theres a lot of mod involve
specially the trigger sensor wheel is on the flywheel this is the killer here aside from the fd is a pull type
I couldn't find a bellhousing for the 2200 also so theres a lot of factors to consider
I don't want get a standalone maybe later want to get it running on stock ecu and just throw in a piggyback for tuning cause I m gonna go boosted on this
compared to the existing transmission all I got to do is extend the shifter custom driveshaft and
trans mount
2 by nakahachi, on Flickrchecked the spark plugs still good
6 by nakahachi, on Flickrdid a compression test but my battery is dead so I just did a leakdown
all cylinders are good
7 by nakahachi, on Flickrstarted taking it apart
4 by nakahachi, on Flickr3 by nakahachi, on Flickrthis is where the trigger sensor on the bellhousing connected to the flywheel
this is weird how they designed it
5 by nakahachi, on Flickr9 by nakahachi, on Flickrclutch is shot of course
8 by nakahachi, on Flickr10 by nakahachi, on Flickrtook the oilpan out
11 by nakahachi, on Flickrso I can measure how much I need to cut it
around 2 1/2 front and 2 3/4 rear oil pick is slanting gowing down
12 by nakahachi, on Flickr
Last edited by bzebern; 04-03-16 at 06:47 PM.
04-03-16, 11:39 PM
#233
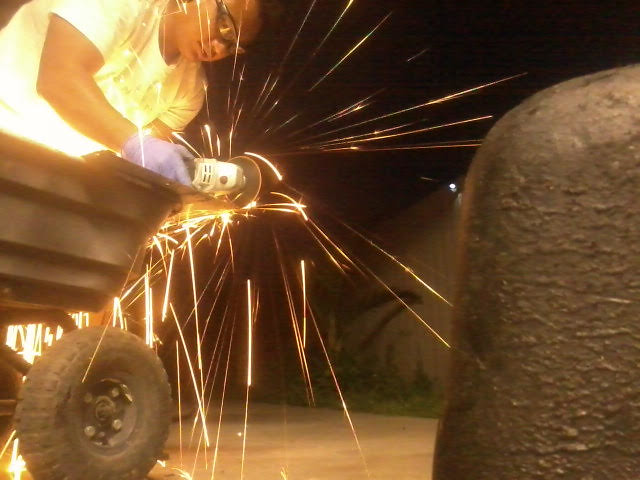
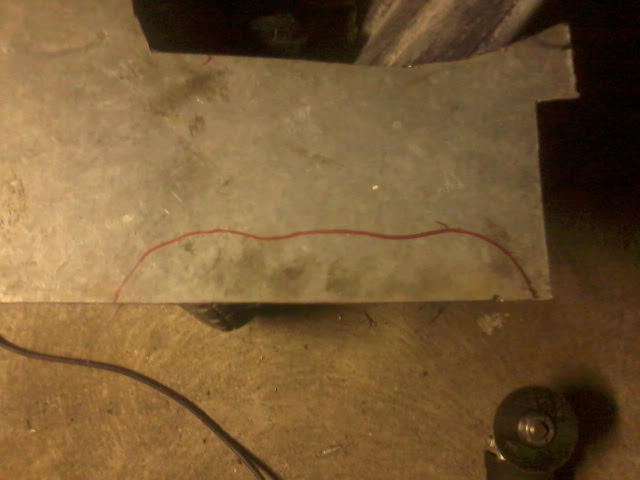
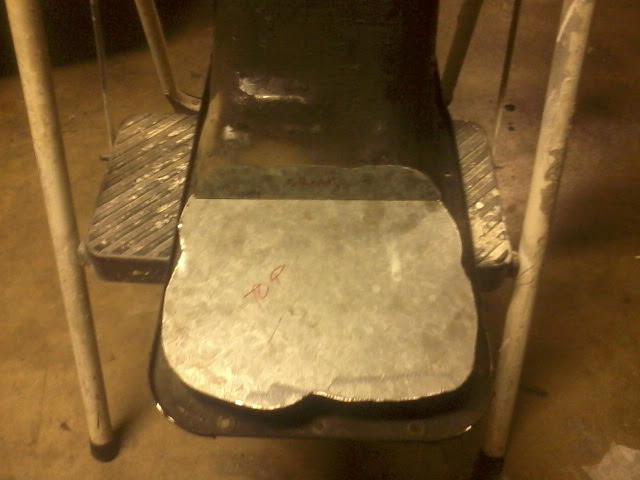
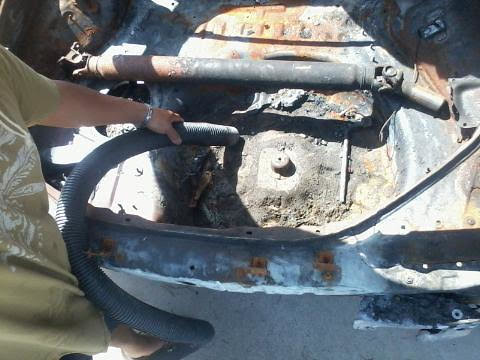
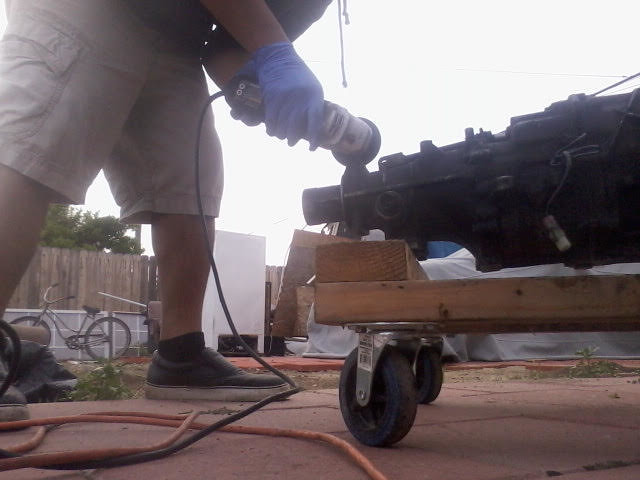
so I couldn't wait till tomorrow so i decided to cut the oil pan tonight
 14 by nakahachi, on Flickr
 16 by nakahachi, on Flickr
 18 by nakahachi, on Flickr
 17 by nakahachi, on Flickr
cutting and a lot of cutting
 19 by nakahachi, on Flickr
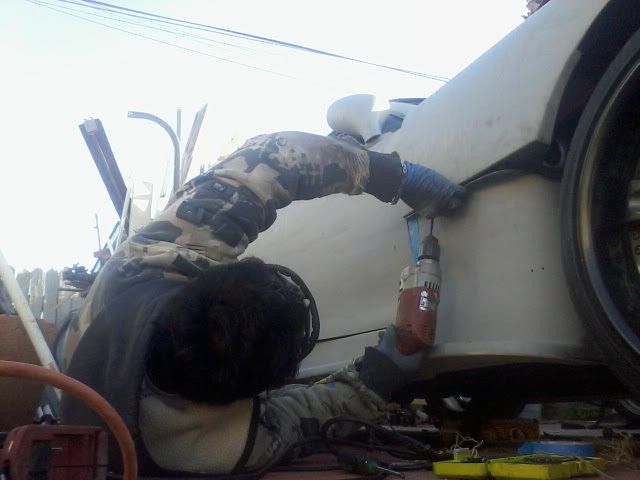
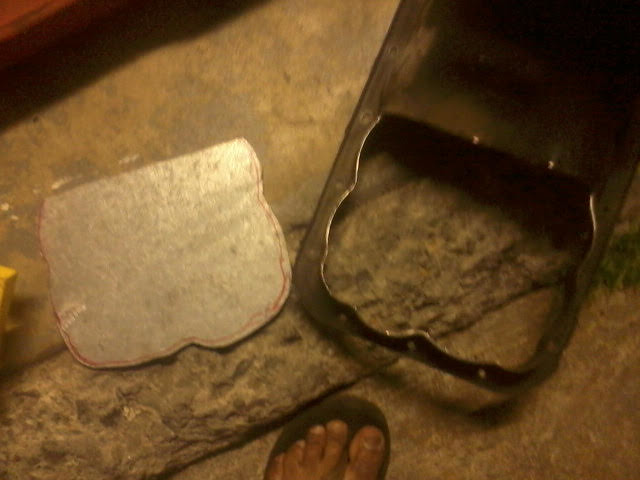
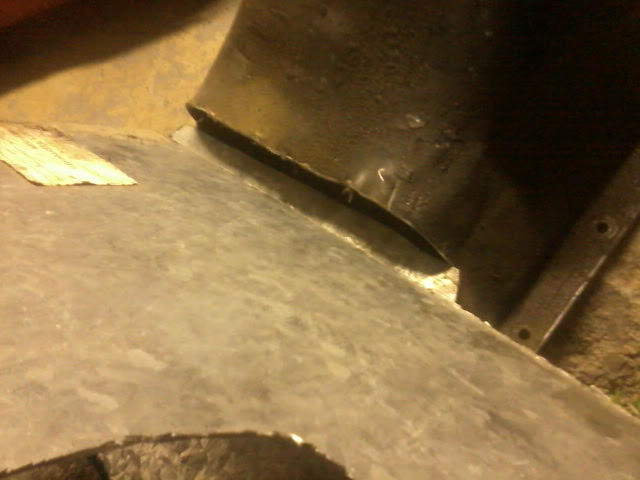
grinding the pan for welding cause cant weld it with paint and oil on it
 23 by nakahachi, on Flickr
i gave it an extra so will just trim it when welded
 22 by nakahachi, on Flickr
i cant make an engine mount not unless i get this oil pan done
14 by nakahachi, on Flickr16 by nakahachi, on Flickr18 by nakahachi, on Flickr17 by nakahachi, on Flickrcutting and a lot of cutting
19 by nakahachi, on Flickrgrinding the pan for welding cause cant weld it with paint and oil on it
23 by nakahachi, on Flickri gave it an extra so will just trim it when welded
22 by nakahachi, on Flickri cant make an engine mount not unless i get this oil pan done
Last edited by bzebern; 04-03-16 at 11:41 PM.
 04-06-16, 02:37 PM
#236
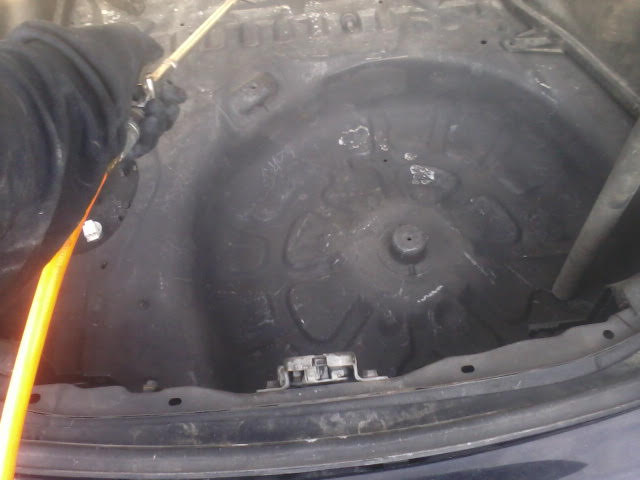
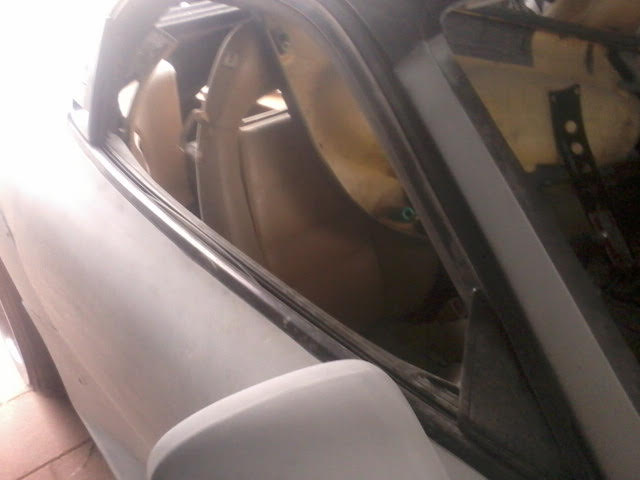
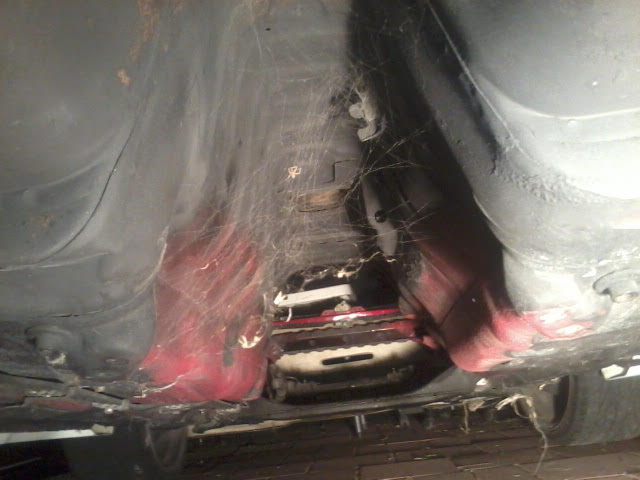
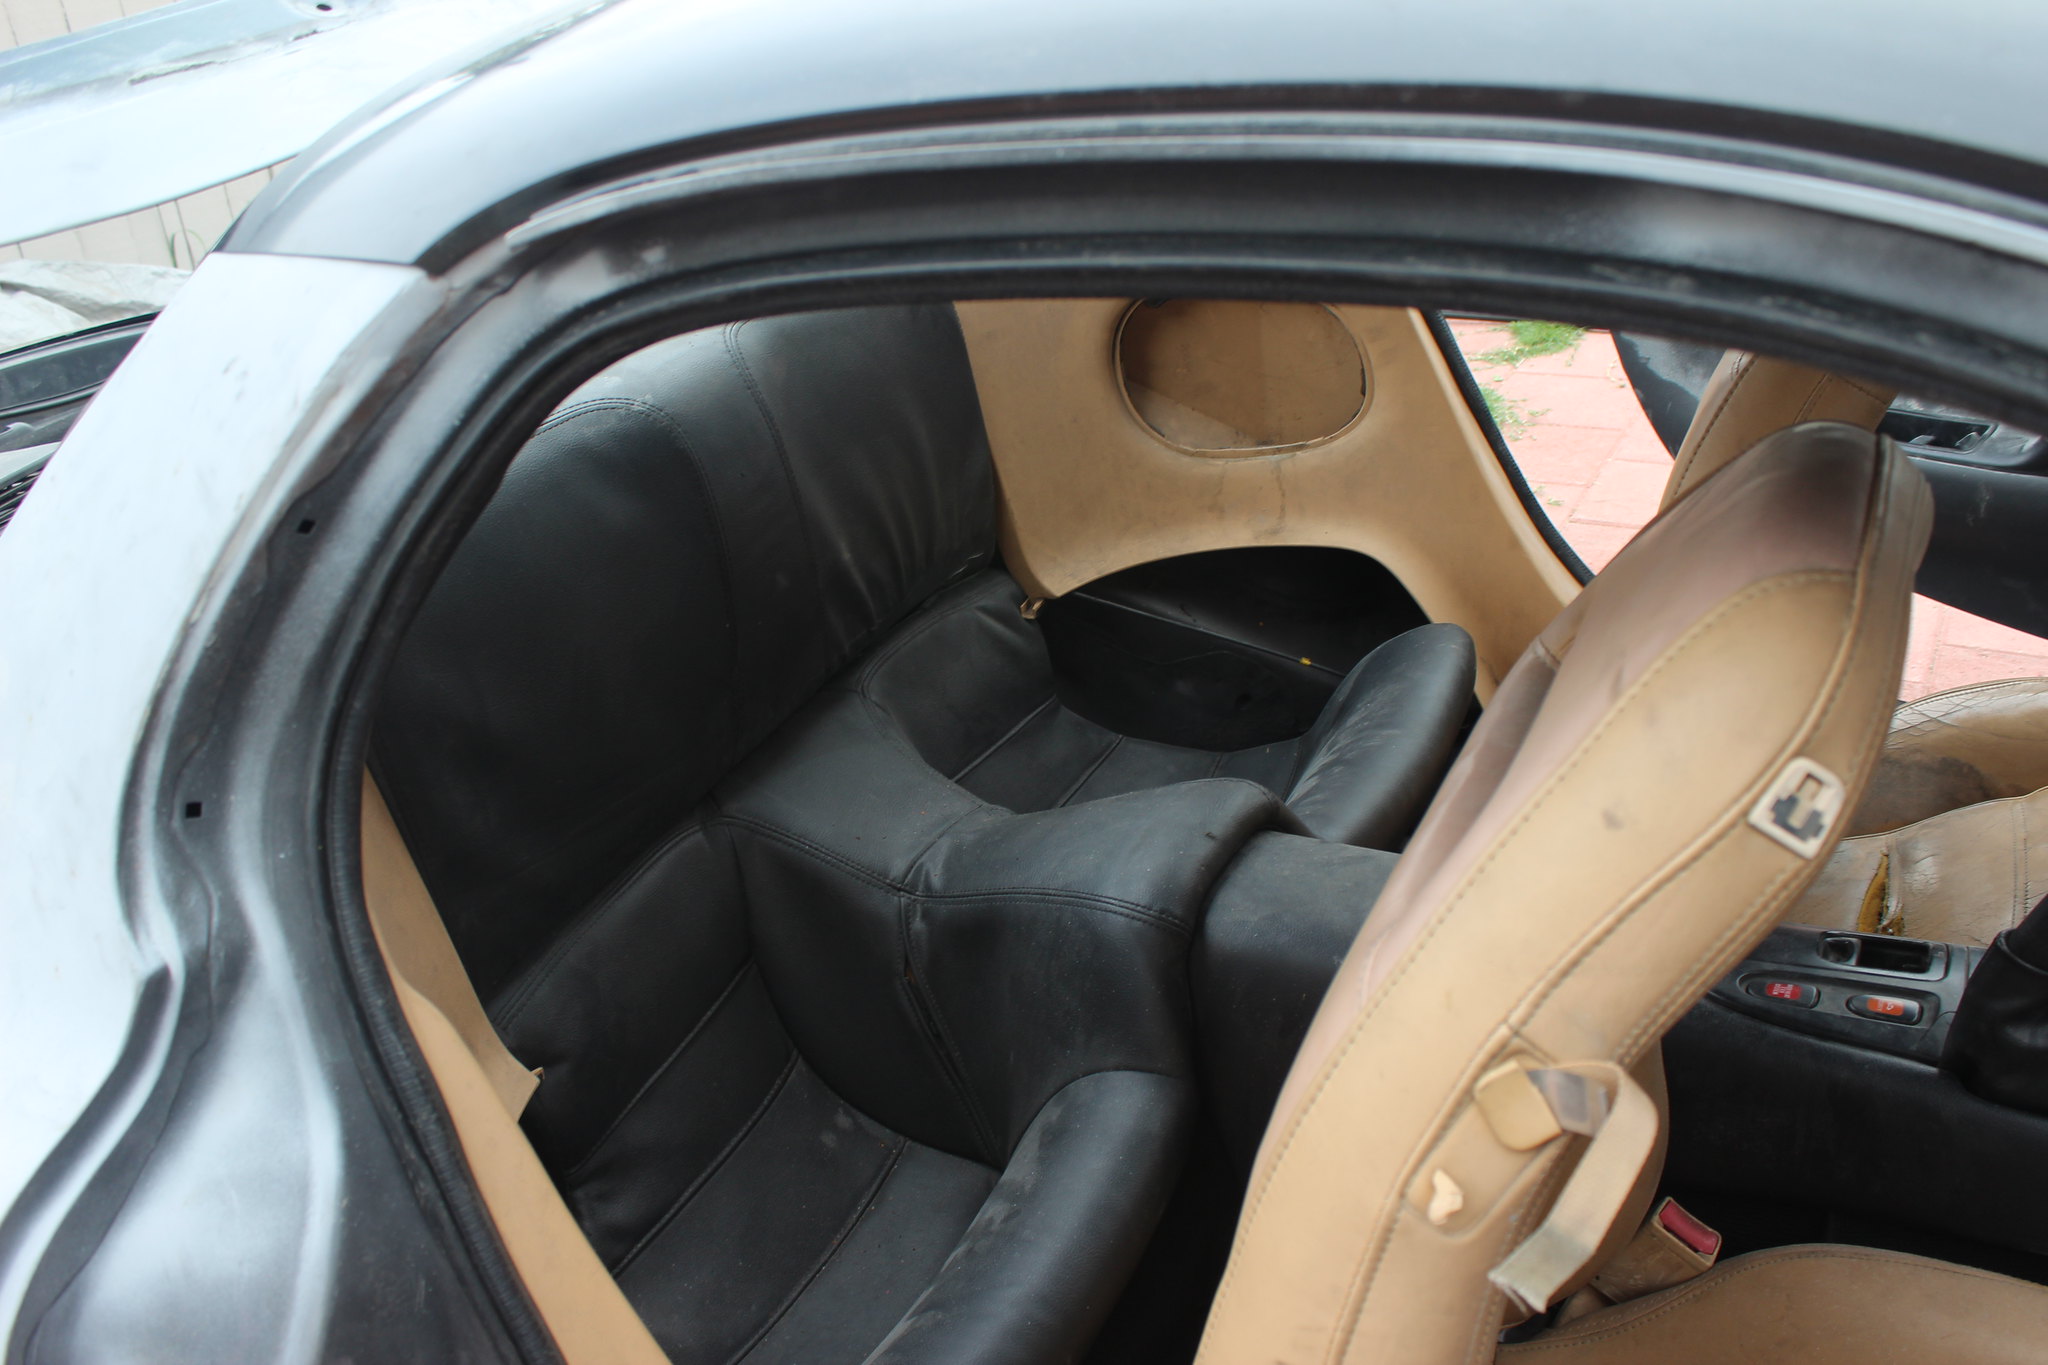
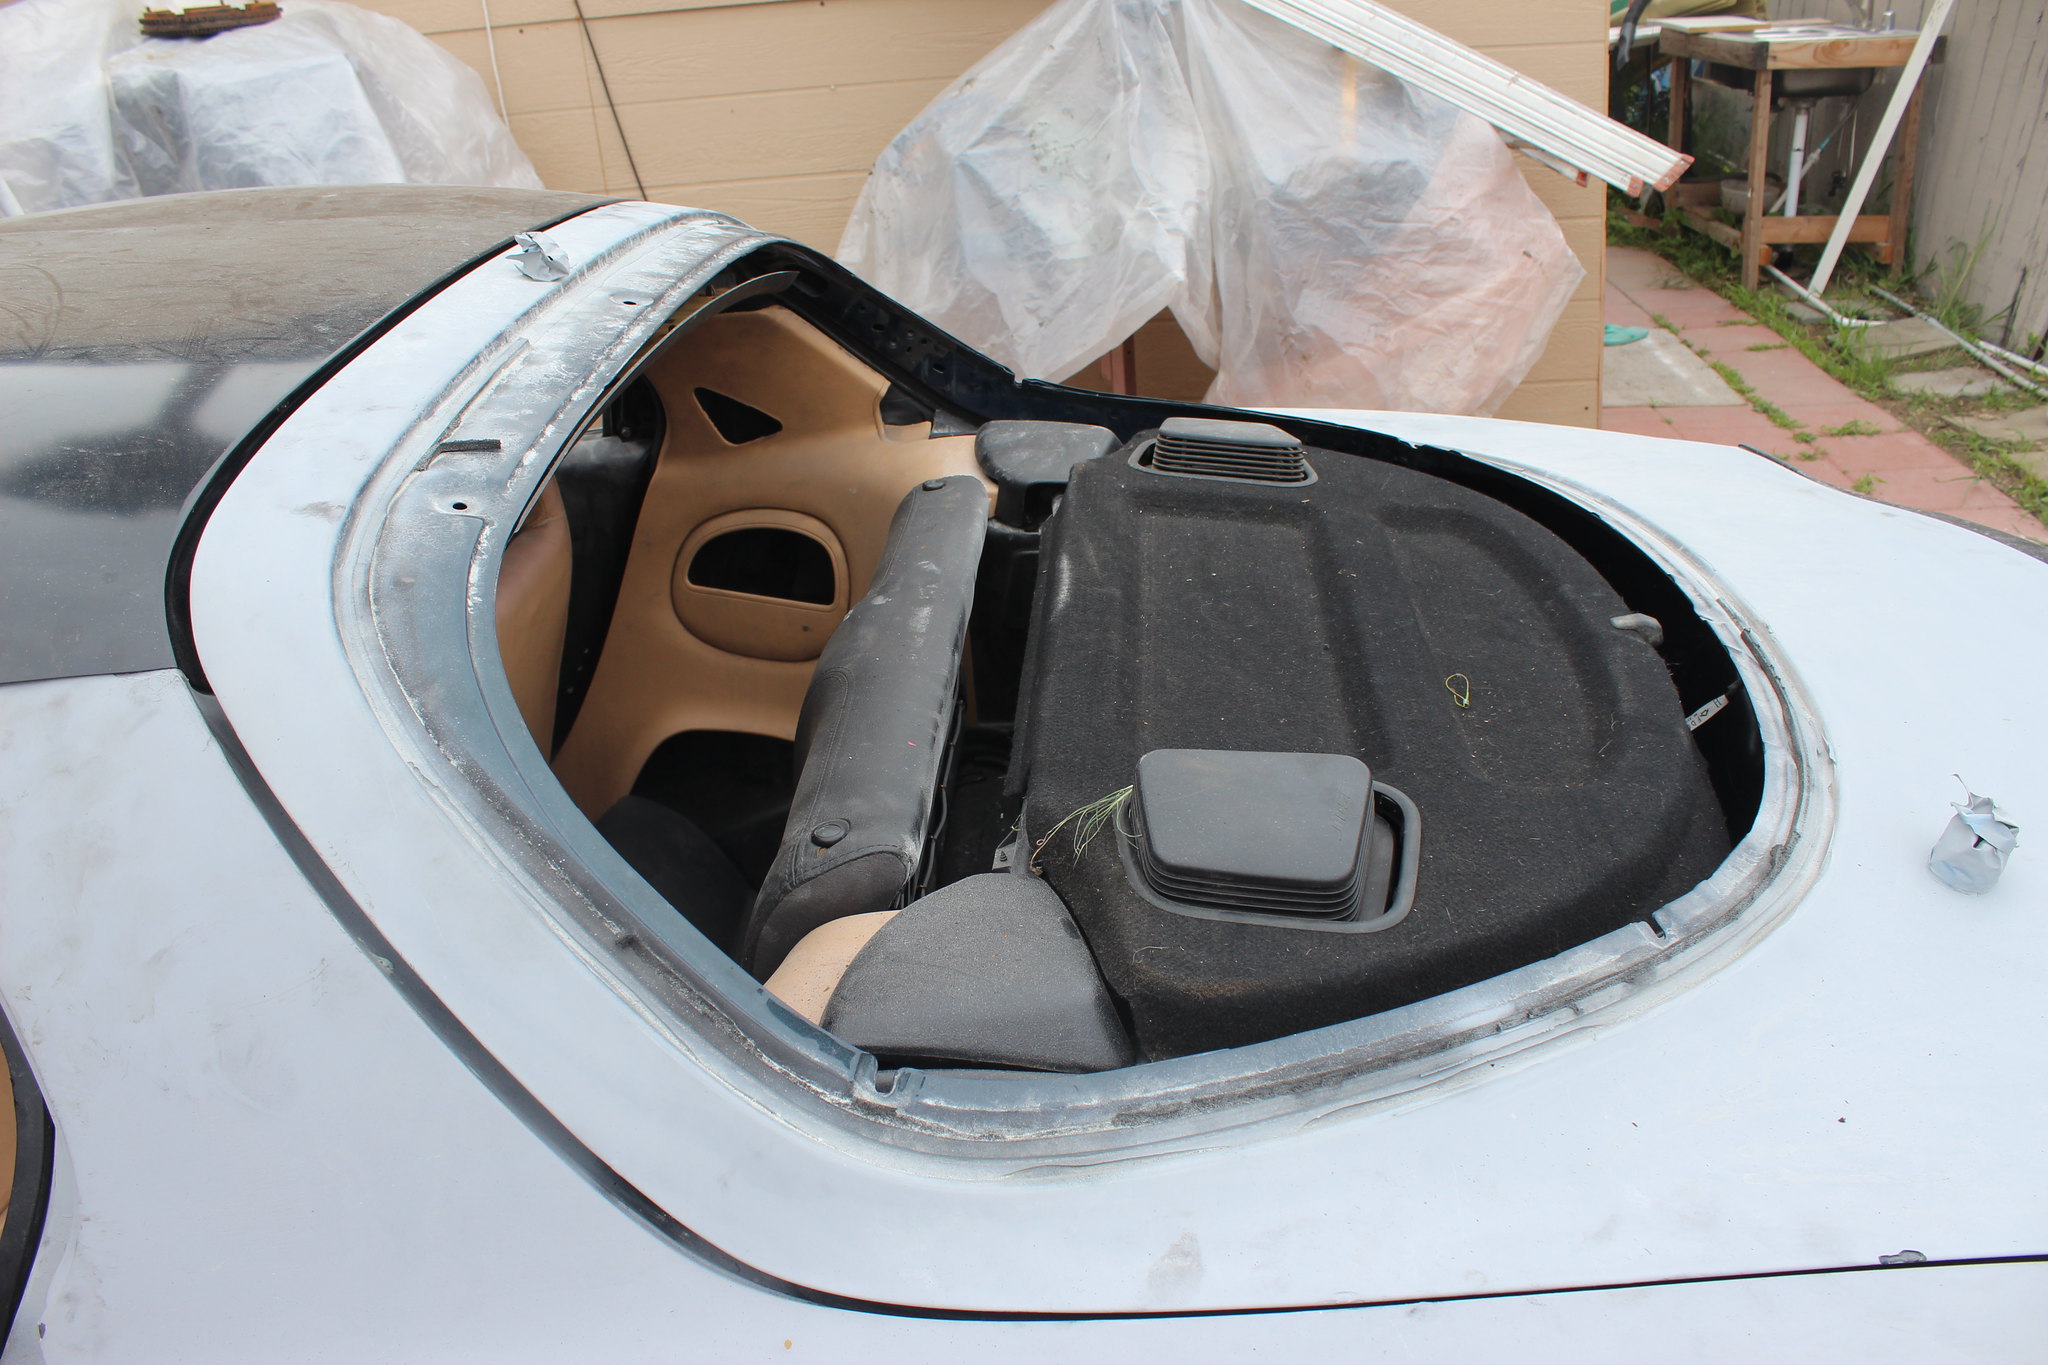
still stuck from working on the supra bushings darn...
well just cleaning up the hatch area got some parts from a guy parting out in downtown
 1 by nakahachi, on Flickr
dust out
 4 by nakahachi, on Flickr
 2 by nakahachi, on Flickr
 3 by nakahachi, on Flickr
 5 by nakahachi, on Flickr
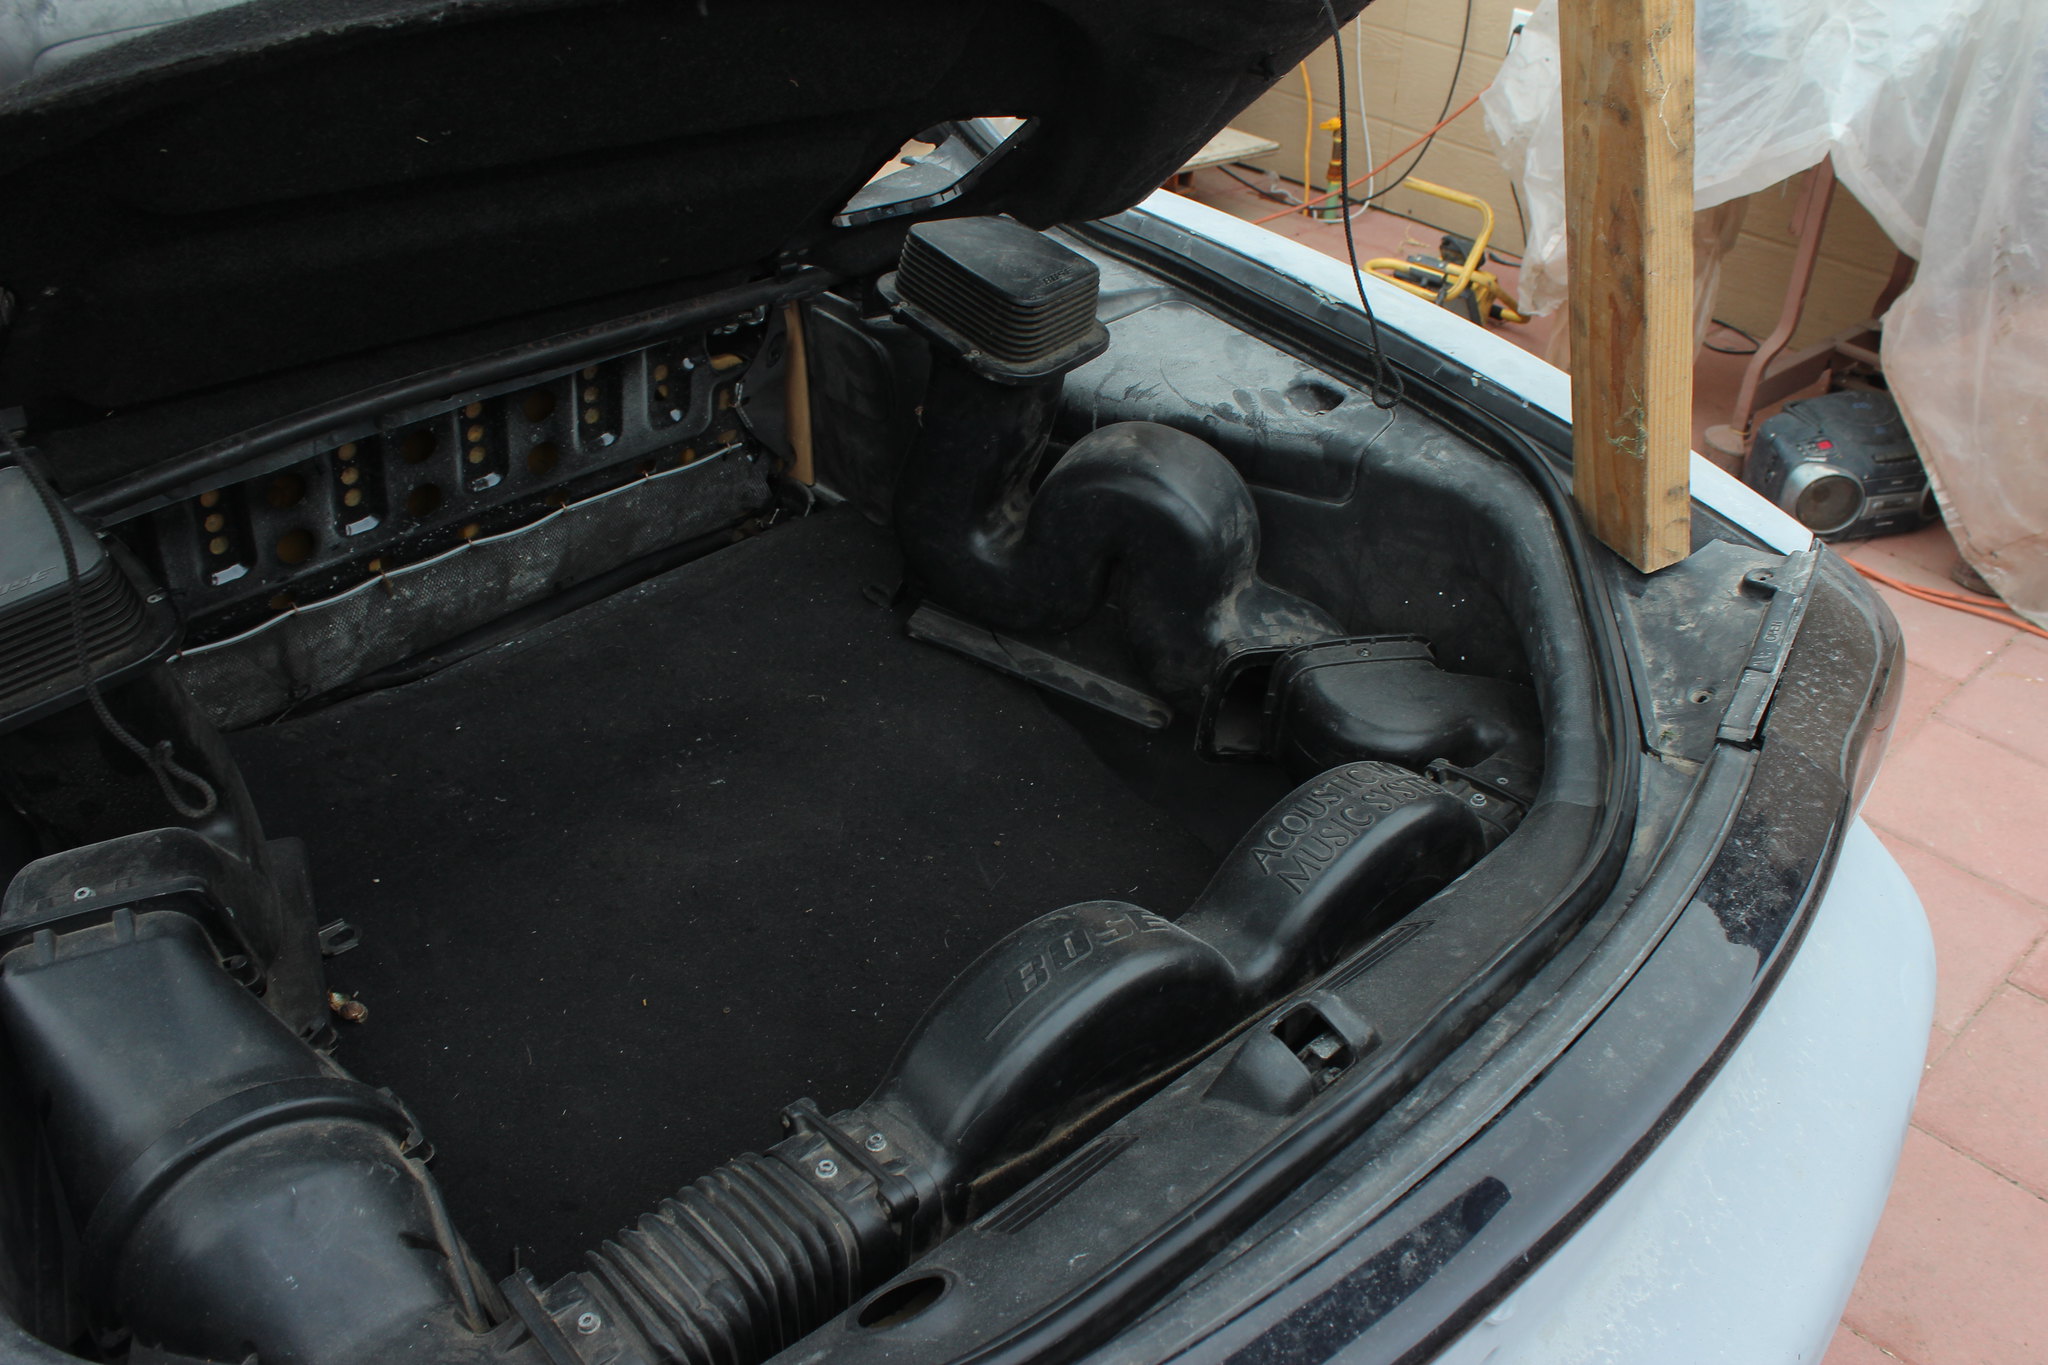
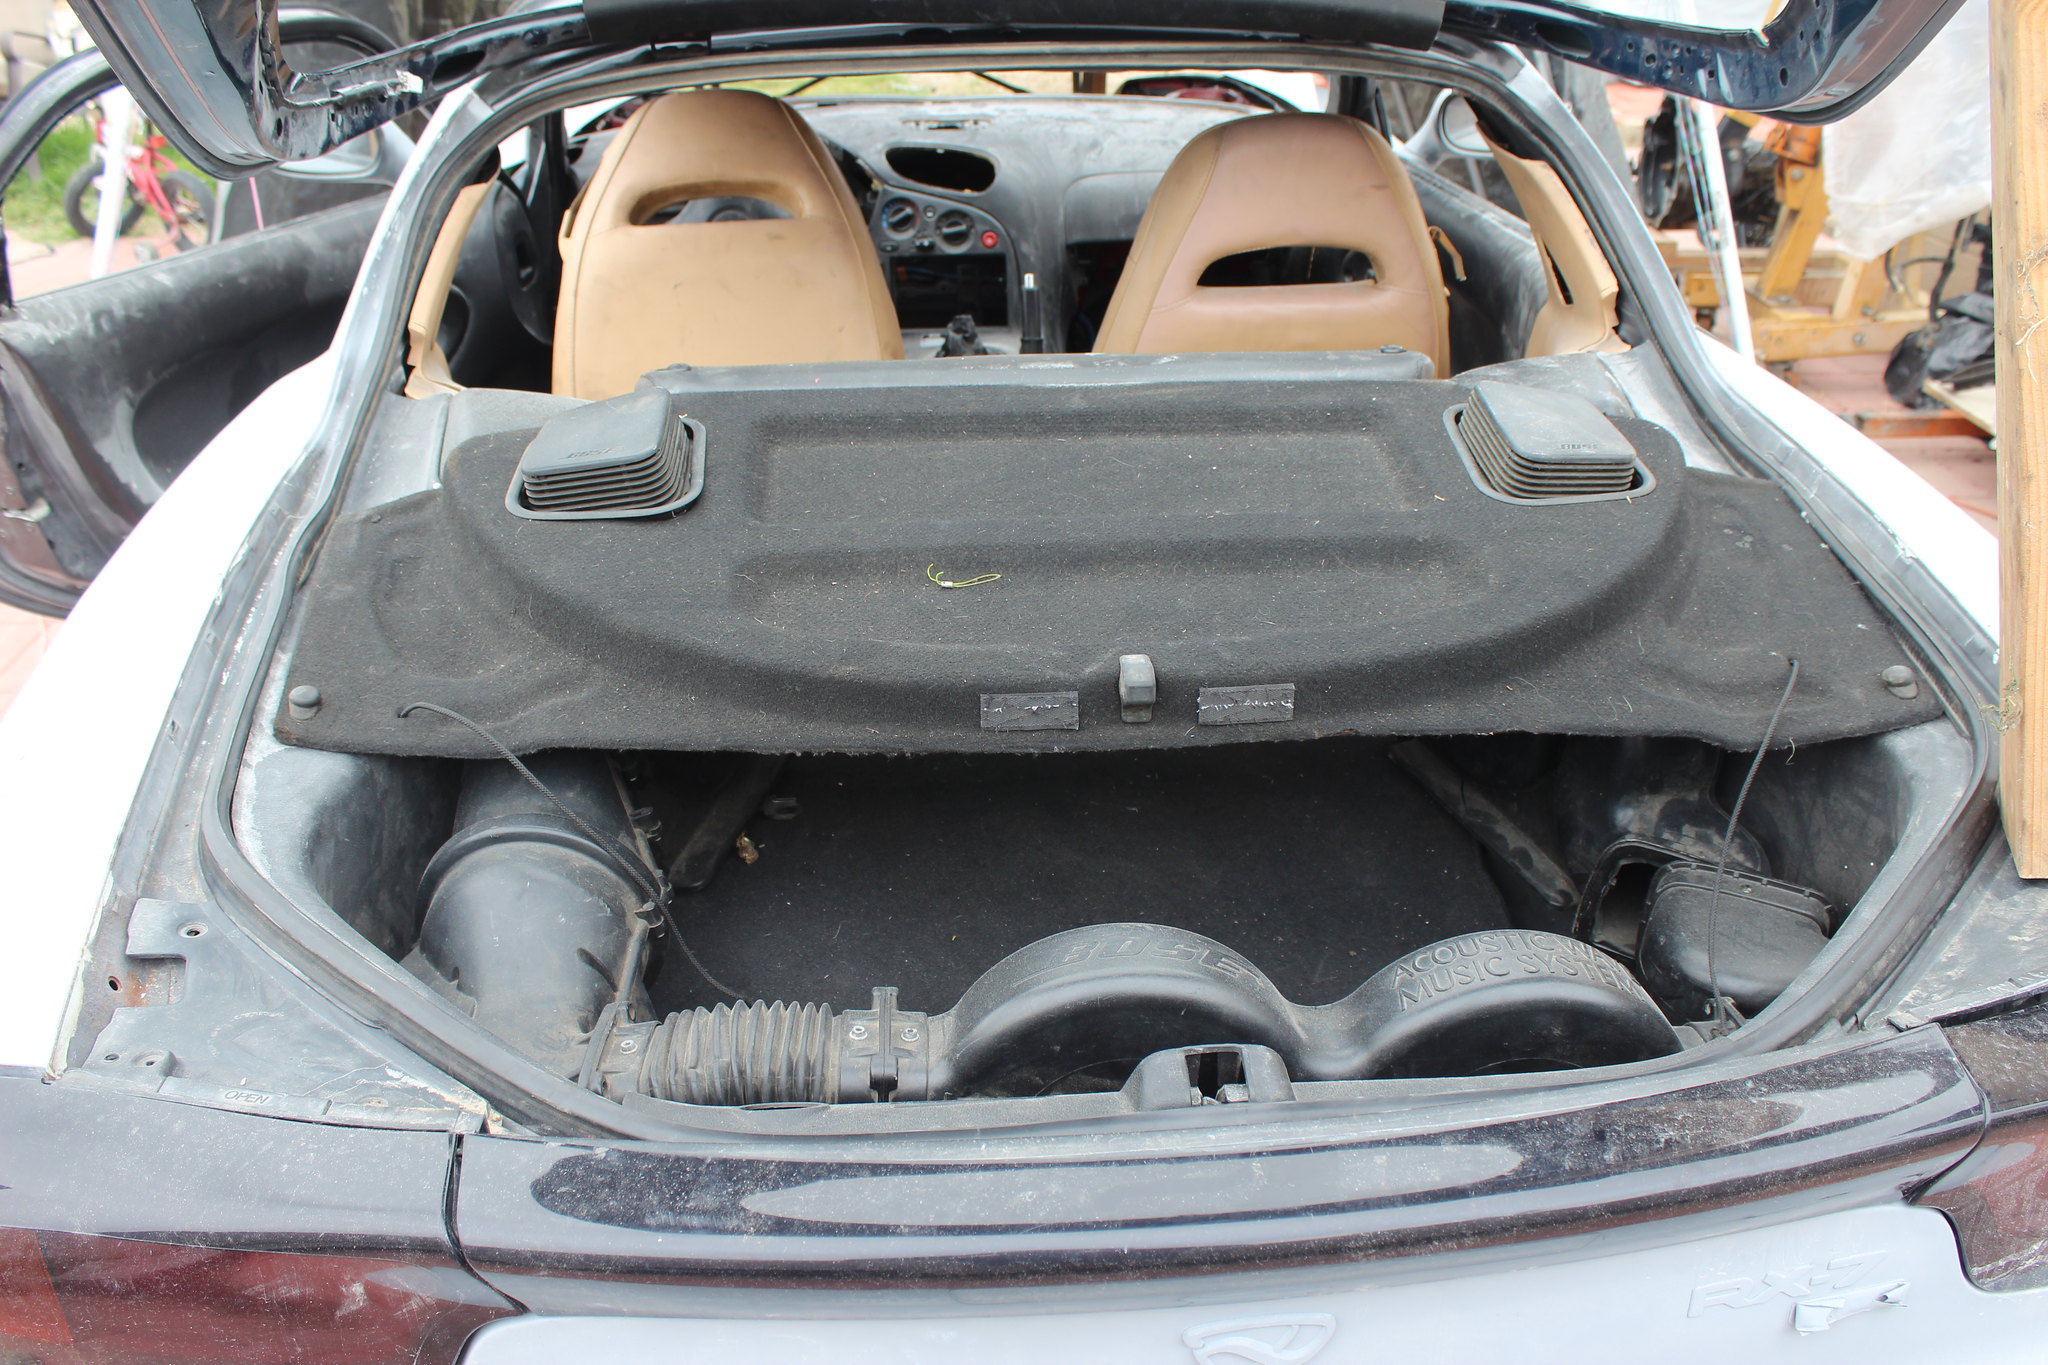
installed the tail lights too
 7 by nakahachi, on Flickr
well just cleaning up the hatch area got some parts from a guy parting out in downtown
1 by nakahachi, on Flickrdust out
4 by nakahachi, on Flickr2 by nakahachi, on Flickr3 by nakahachi, on Flickr5 by nakahachi, on Flickrinstalled the tail lights too
7 by nakahachi, on Flickr
 04-07-16, 02:20 PM
#238
so last night i grab some more parts
people here in LA are like vultures car is almost stripped
if i only had the money i could have completed my interior but unfortunately its a first come first serve basis but will just have to wait again i got the engine to occupy my time while waiting
some hatch seal trunk cover bose and door trim and knee plastic
 24 by nakahachi, on Flickr
 12 by nakahachi, on Flickr
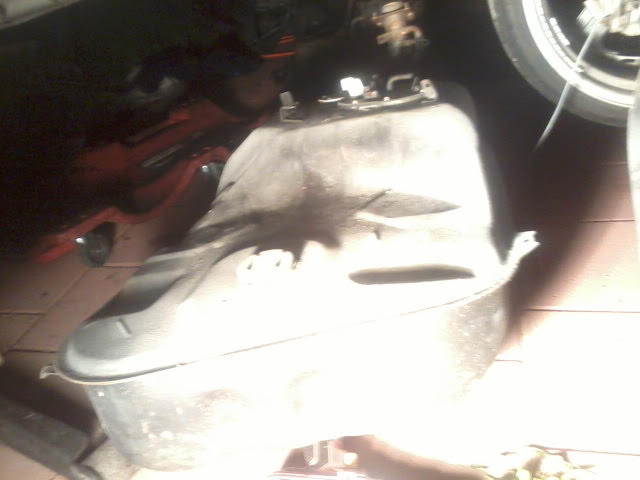
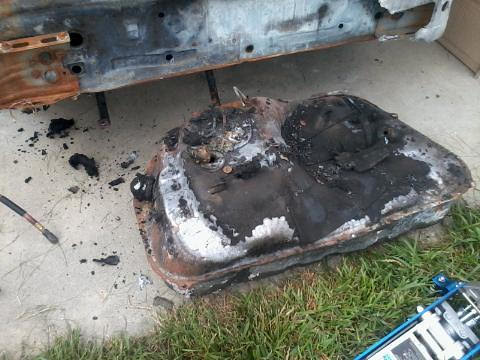
and a gas complete gas tank ( really needed but i just grab it )
 13 by nakahachi, on Flickr
so i installed the bose system
 14 by nakahachi, on Flickr
 15 by nakahachi, on Flickr
installed the hatch seal
 16 by nakahachi, on Flickr
knee cover
 18 by nakahachi, on Flickr
 19 by nakahachi, on Flickr
and the passenger door trim
 8 by nakahachi, on Flickr
 9 by nakahachi, on Flickr
 10 by nakahachi, on Flickr
small things really does make a difference
 11 by nakahachi, on Flickr
people here in LA are like vultures car is almost stripped
if i only had the money i could have completed my interior but unfortunately its a first come first serve basis but will just have to wait again i got the engine to occupy my time while waiting
some hatch seal trunk cover bose and door trim and knee plastic
24 by nakahachi, on Flickr12 by nakahachi, on Flickrand a gas complete gas tank ( really needed but i just grab it )
13 by nakahachi, on Flickrso i installed the bose system
14 by nakahachi, on Flickr15 by nakahachi, on Flickrinstalled the hatch seal
16 by nakahachi, on Flickrknee cover
18 by nakahachi, on Flickr19 by nakahachi, on Flickrand the passenger door trim
8 by nakahachi, on Flickr9 by nakahachi, on Flickr10 by nakahachi, on Flickrsmall things really does make a difference
11 by nakahachi, on Flickr
04-07-16, 02:24 PM
#239
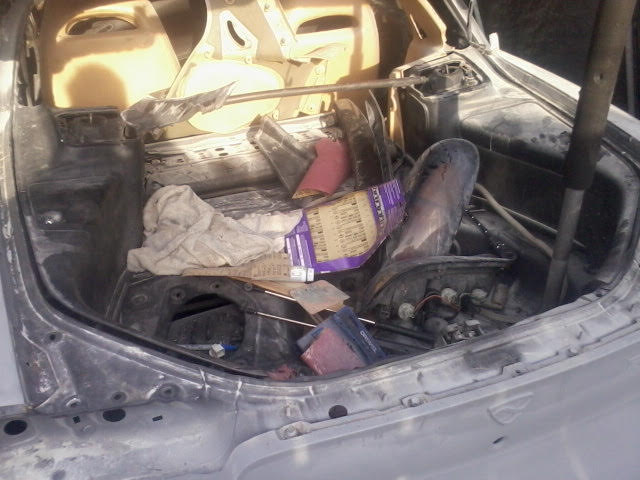
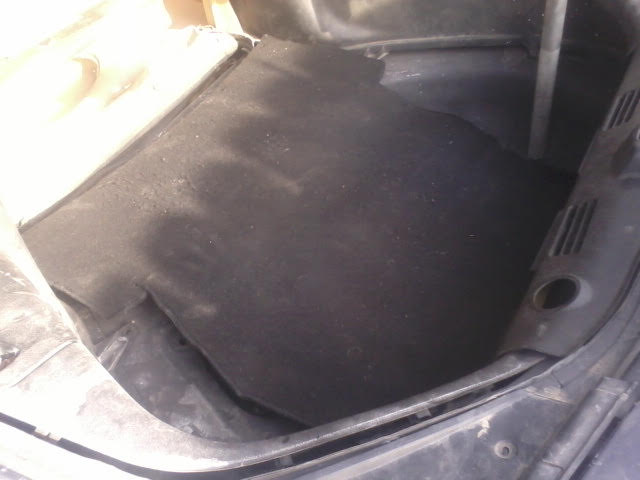
and here it is a little bit complete
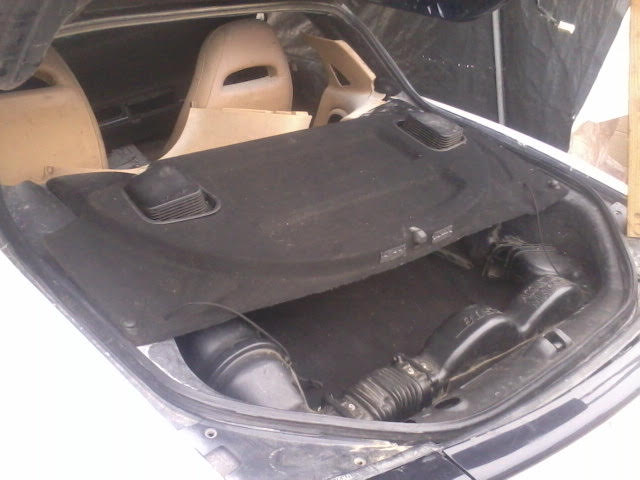 20 by nakahachi, on Flickr
will install the gas tank sat and hand brake cables
 21 by nakahachi, on Flickr
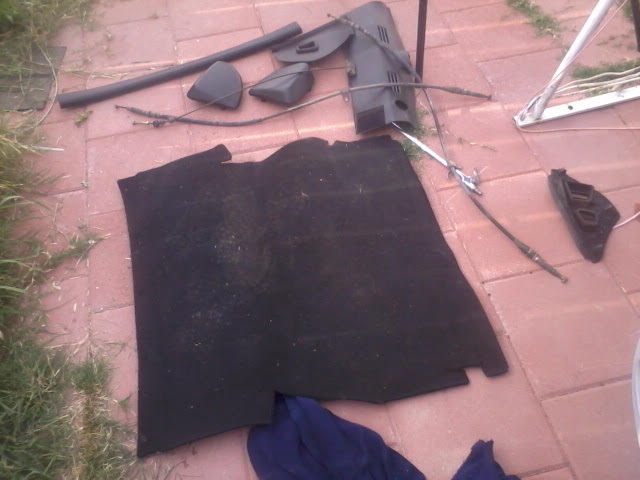
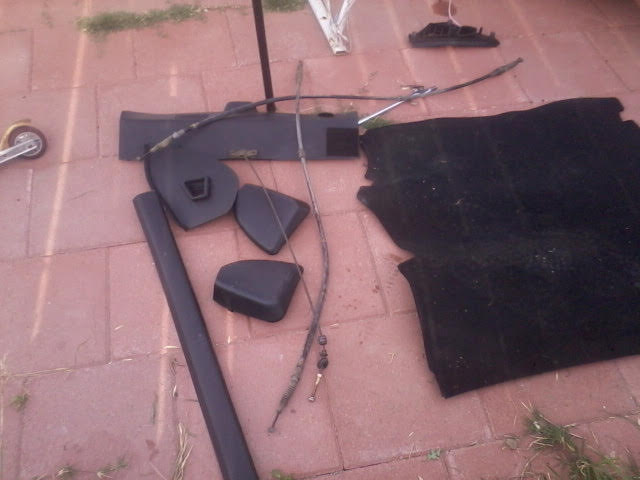
13 by nakahachi, on Flickr
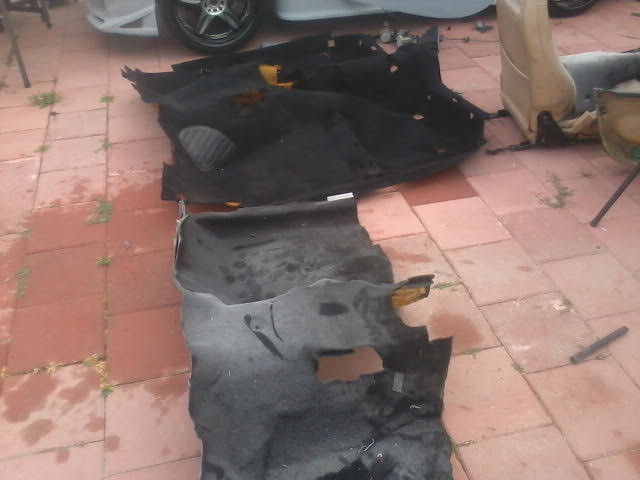
i got this carpet from dean two weeks ago havent installed it yet cause i have to take everything out again thanks brother!!!
he bought the passenger side front clip
 17 by nakahachi, on Flickr
20 by nakahachi, on Flickrwill install the gas tank sat and hand brake cables
21 by nakahachi, on Flickr13 by nakahachi, on Flickri got this carpet from dean two weeks ago havent installed it yet cause i have to take everything out again thanks brother!!!
he bought the passenger side front clip
17 by nakahachi, on Flickr
04-08-16, 01:21 PM
#240
so i finished the bushing last night on the supra but still have to do the timing belt
 121 by nakahachi, on Flickr
i was itching to install the gas tank so i work on it last night
drop the tank
 123 by nakahachi, on Flickr
 122 by nakahachi, on Flickr
installed the new kinda hard cause this still has gas on it
was going out of balance from the floor jack
 125 by nakahachi, on Flickr
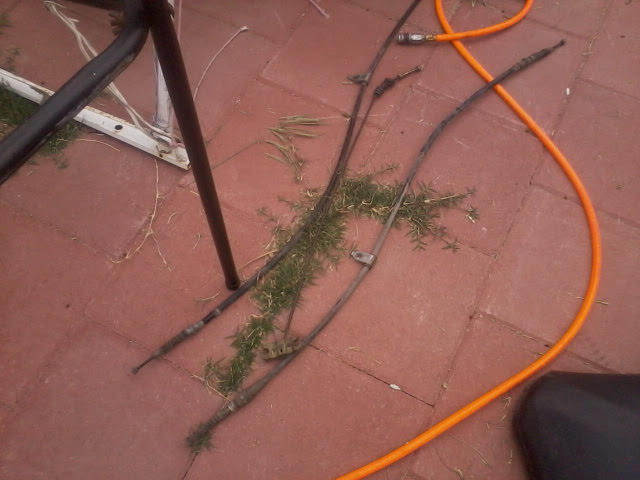
also installed the brake lines at the same time
 124 by nakahachi, on Flickr
got to wake up the spiders
 72 by nakahachi, on Flickr
121 by nakahachi, on Flickri was itching to install the gas tank so i work on it last night
drop the tank
123 by nakahachi, on Flickr122 by nakahachi, on Flickrinstalled the new kinda hard cause this still has gas on it
was going out of balance from the floor jack
125 by nakahachi, on Flickralso installed the brake lines at the same time
124 by nakahachi, on Flickrgot to wake up the spiders
72 by nakahachi, on Flickr

 04-09-16, 05:22 PM
#243
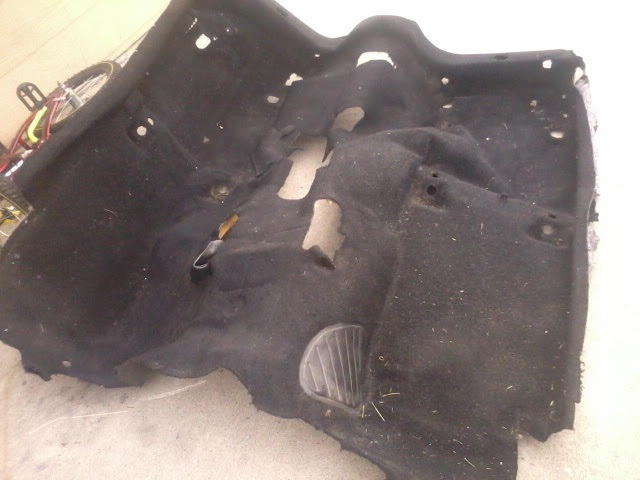
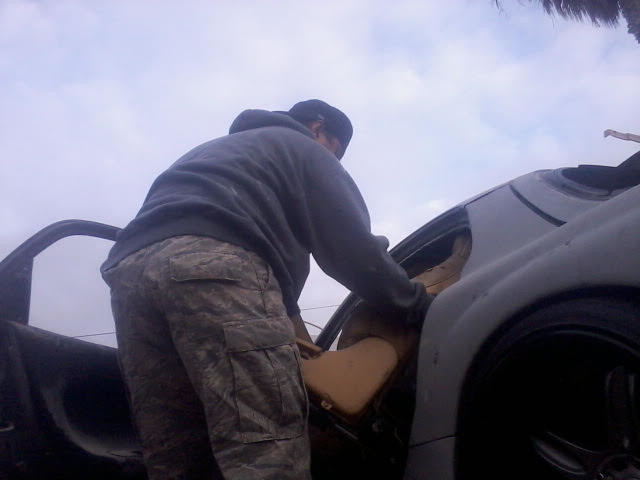
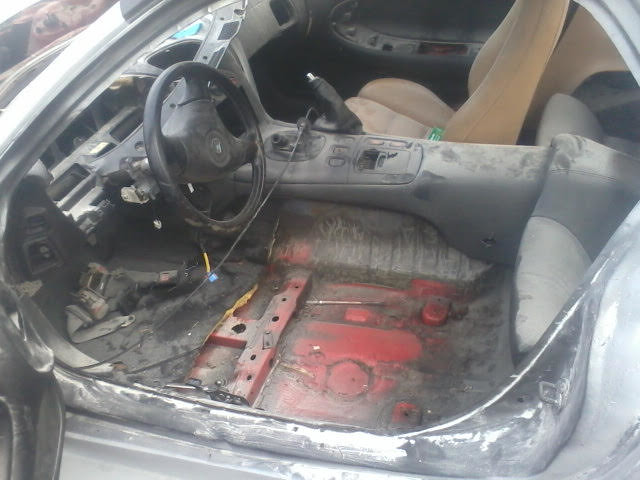
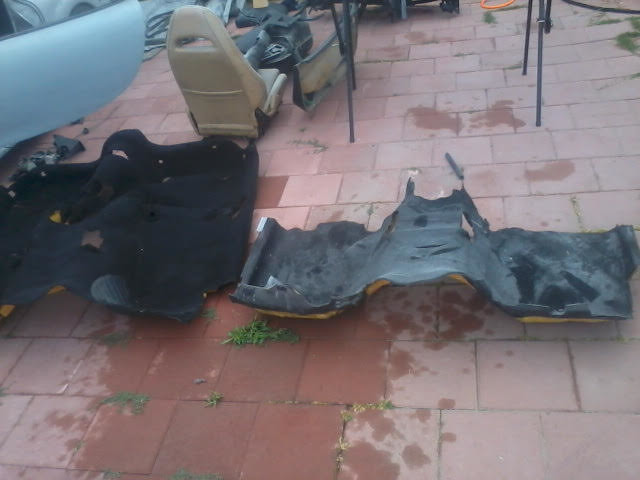
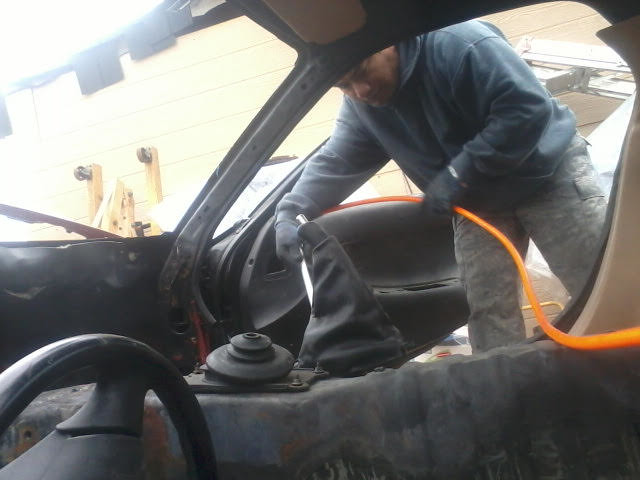
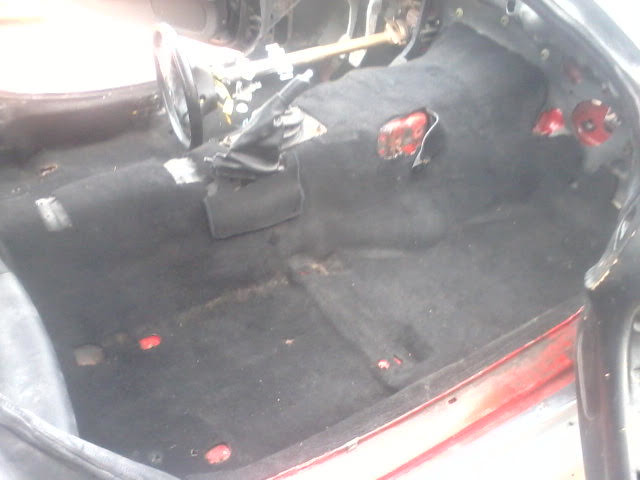
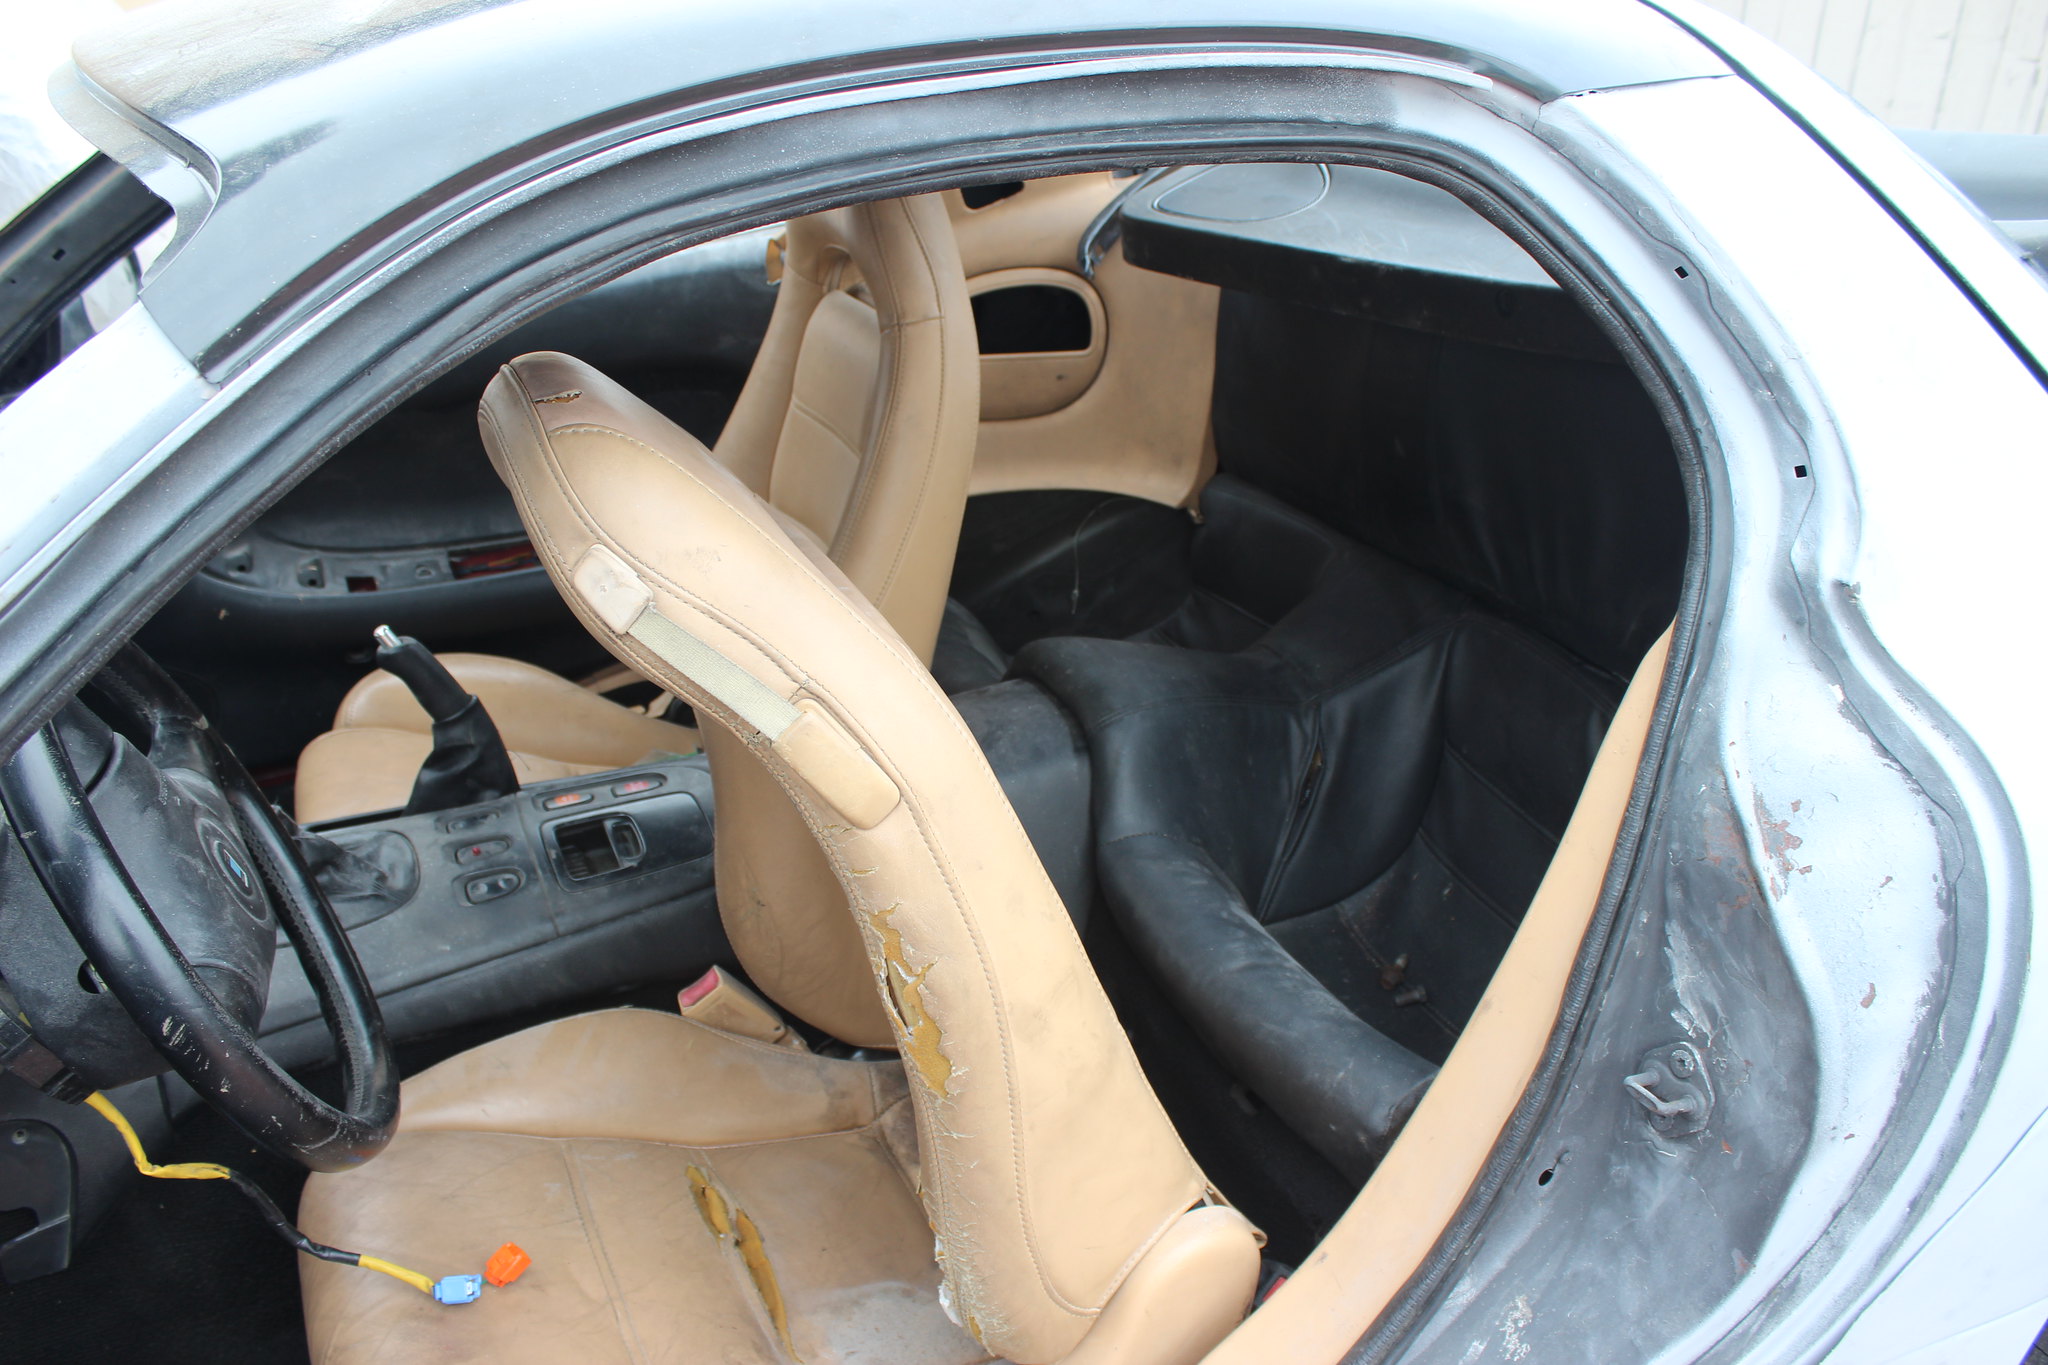
so this morning cleaned up the carpet
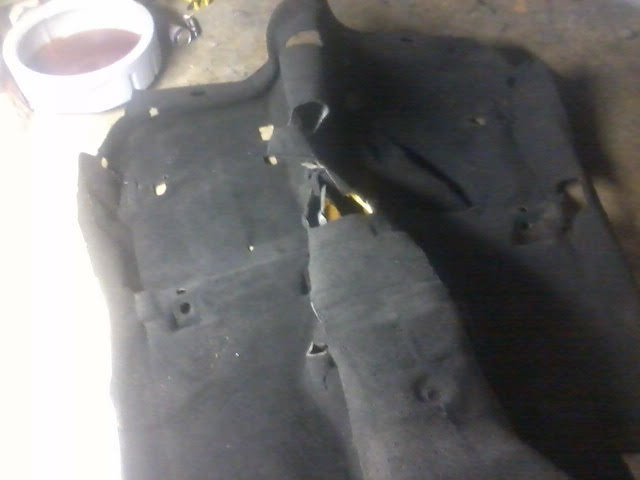 1 by nakahachi, on Flickr
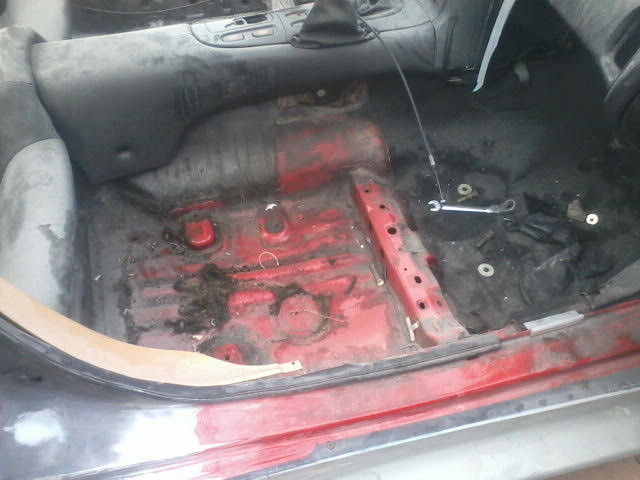
so this is what im dealing right now bondo dust
 2 by nakahachi, on Flickr
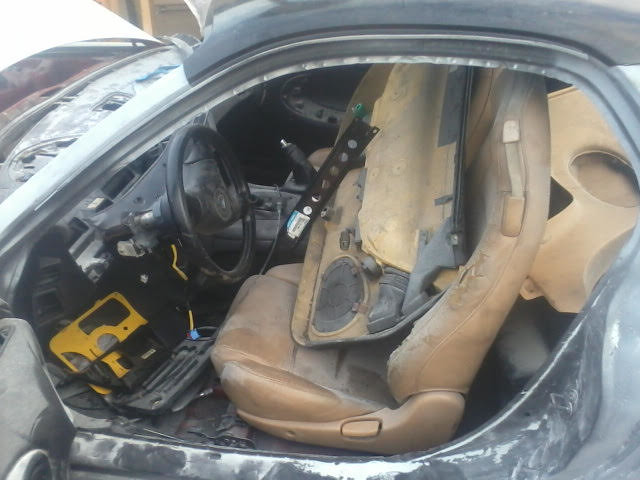
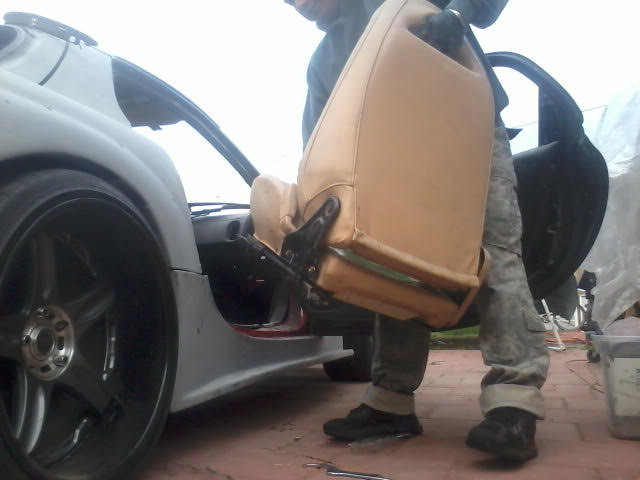
started removing the seat
 3 by nakahachi, on Flickr
 4 by nakahachi, on Flickr
 5 by nakahachi, on Flickr
 6 by nakahachi, on Flickr
removing the armrest
 7 by nakahachi, on Flickr
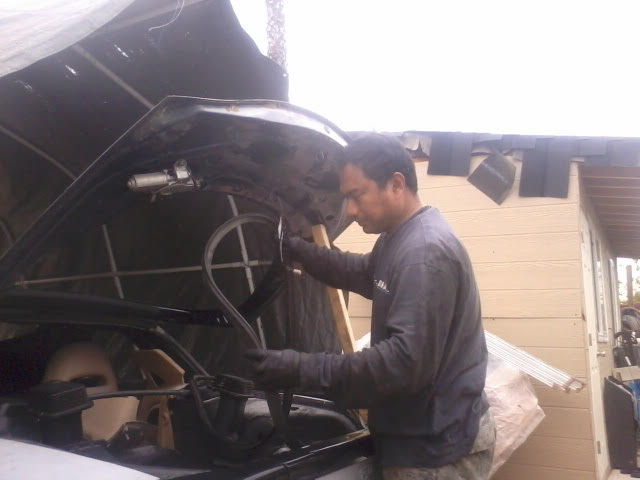
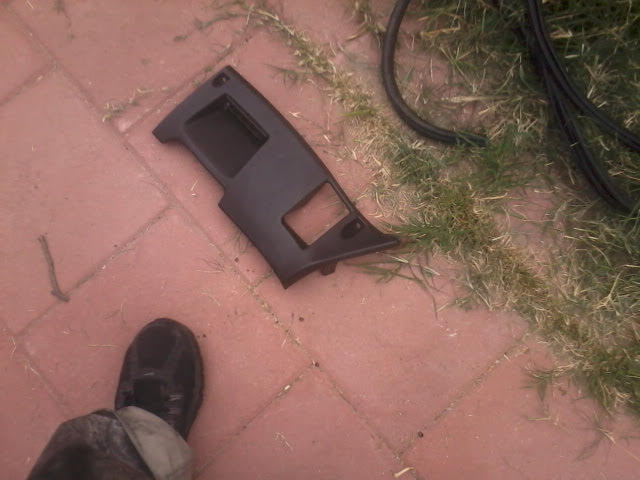
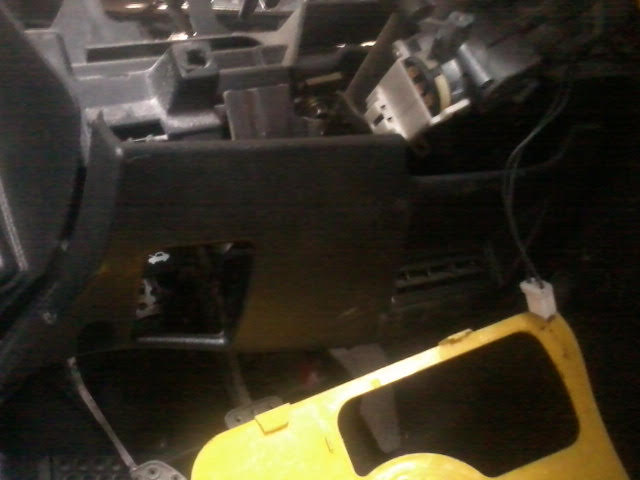
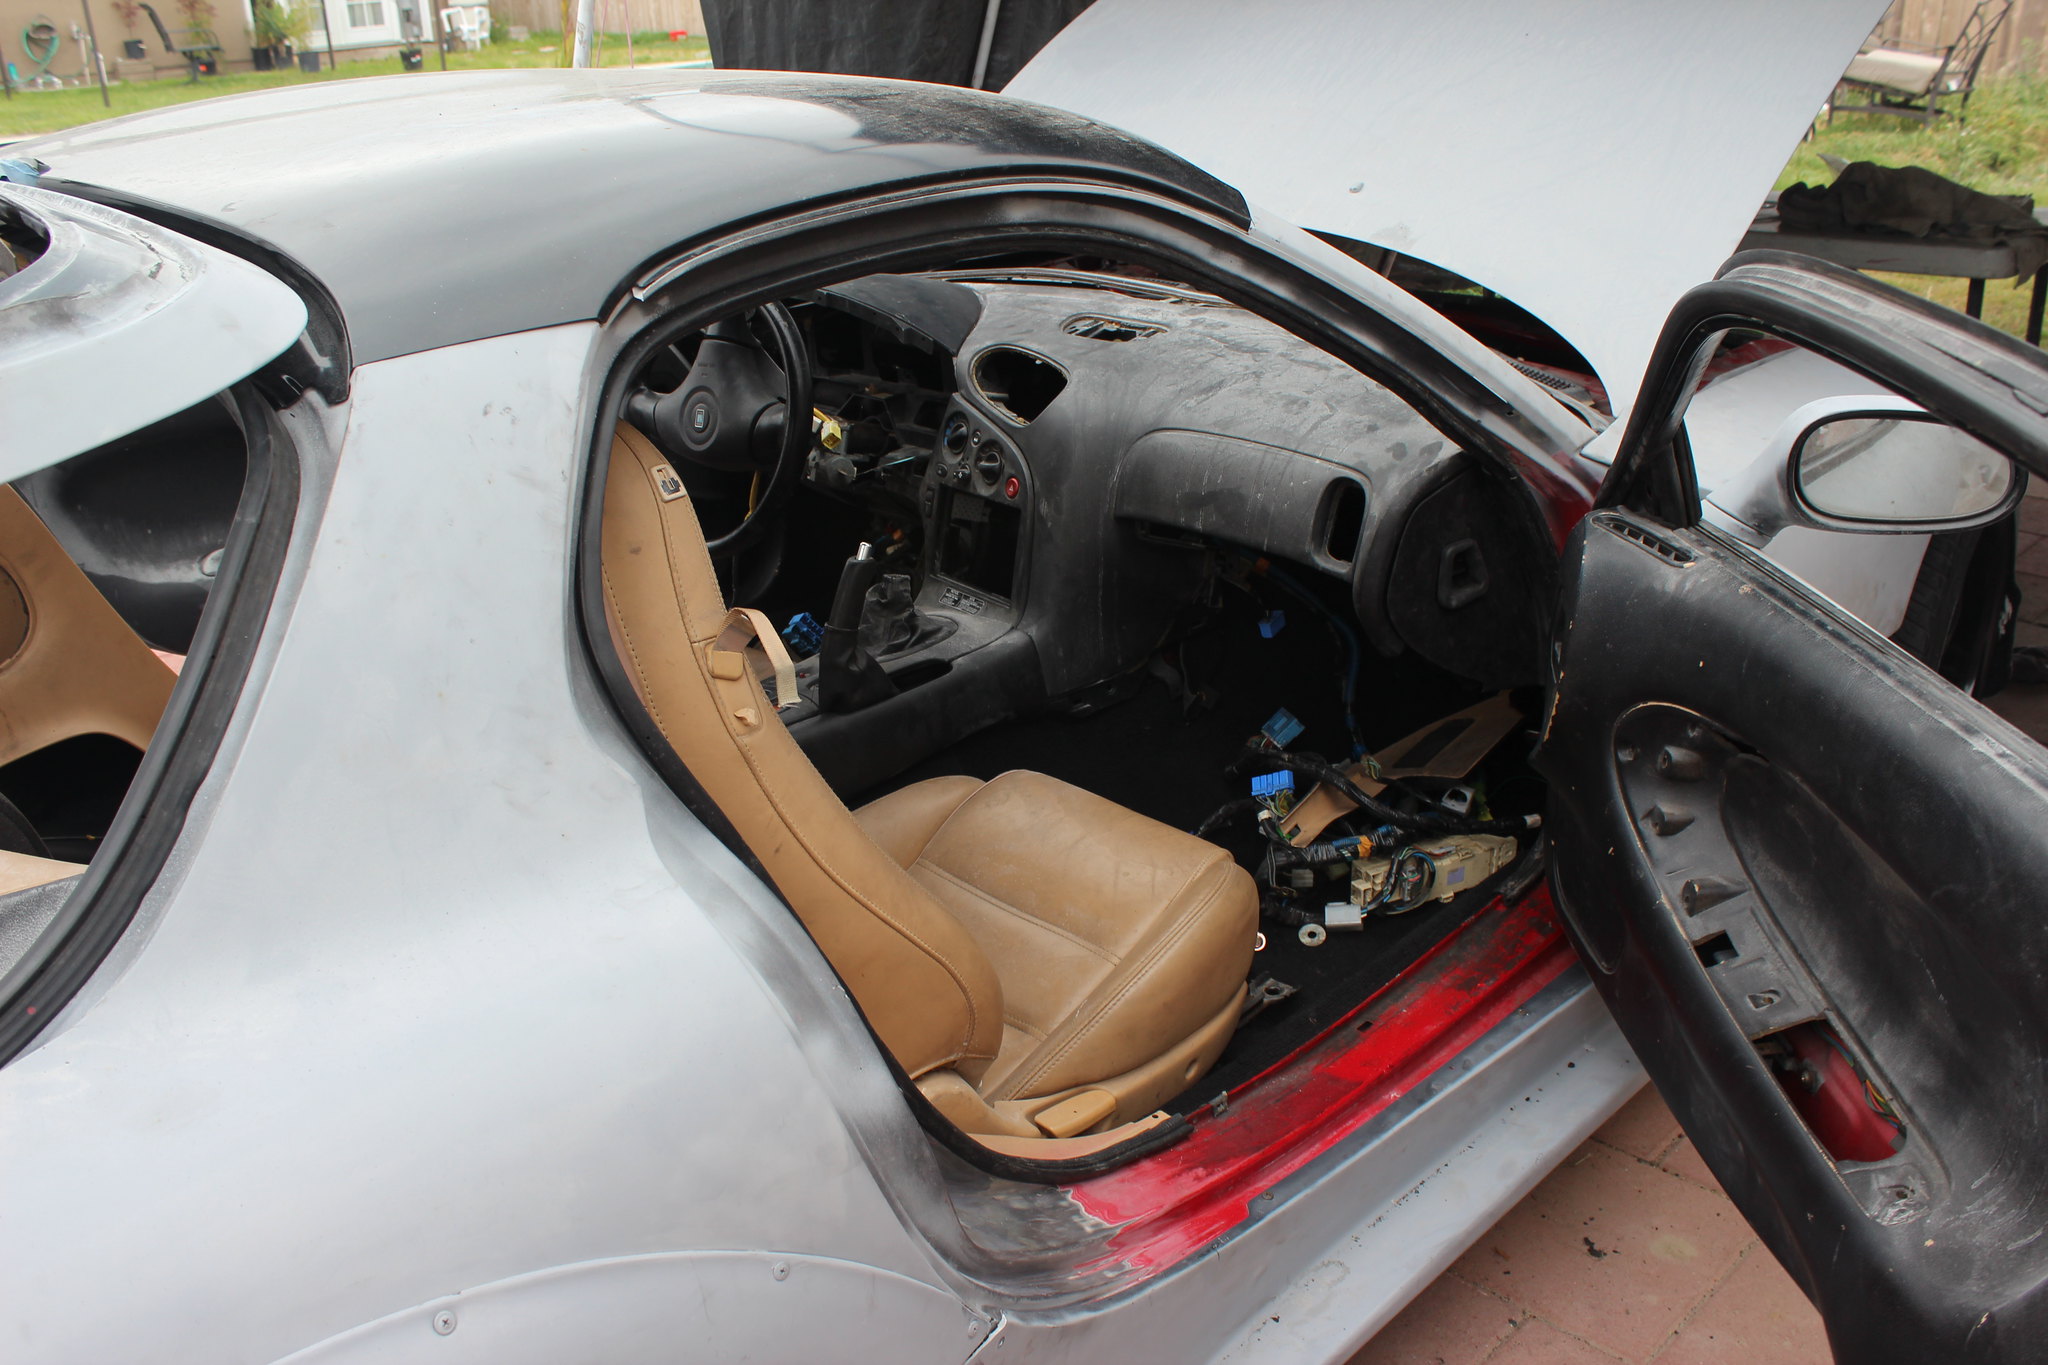
removing the dashboard
 8 by nakahachi, on Flickr
so here is the half *** carpet I have from the front clip
 9 by nakahachi, on Flickr
1 by nakahachi, on Flickrso this is what im dealing right now bondo dust
2 by nakahachi, on Flickrstarted removing the seat
3 by nakahachi, on Flickr4 by nakahachi, on Flickr5 by nakahachi, on Flickr6 by nakahachi, on Flickrremoving the armrest
7 by nakahachi, on Flickrremoving the dashboard
8 by nakahachi, on Flickrso here is the half *** carpet I have from the front clip
9 by nakahachi, on Flickr
04-09-16, 05:26 PM
#244
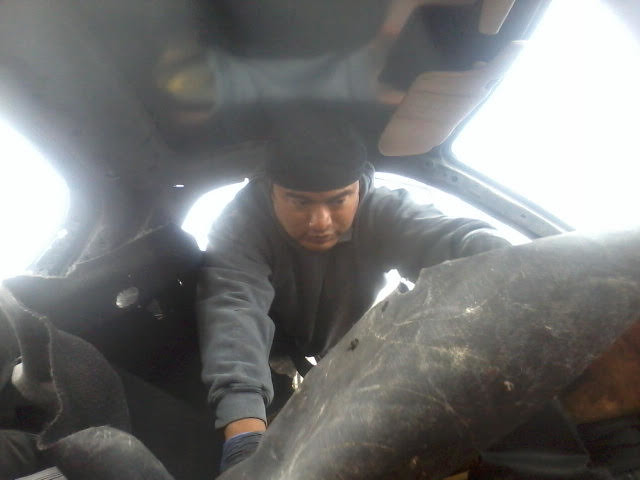
the jdm carpet is much more finer than the us
 10 by nakahachi, on Flickr
 11 by nakahachi, on Flickr
clean up
 12 by nakahachi, on Flickr
installing the new carpet
 15 by nakahachi, on Flickr
 17 by nakahachi, on Flickr
 16 by nakahachi, on Flickr
I realize since the dash is out might as well grab the dash harness at the same time
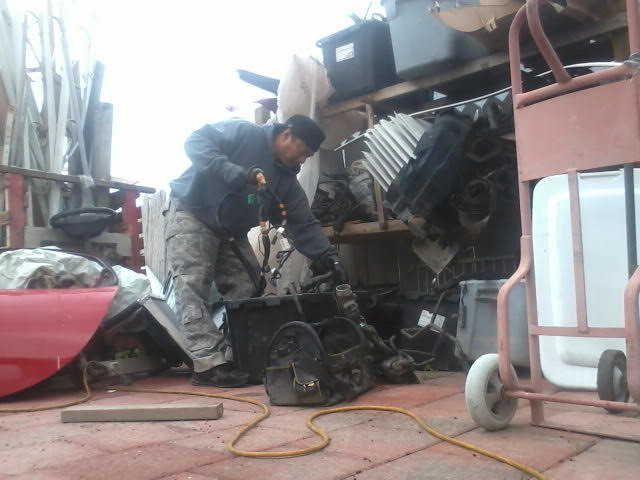 14 by nakahachi, on Flickr
 13 by nakahachi, on Flickr
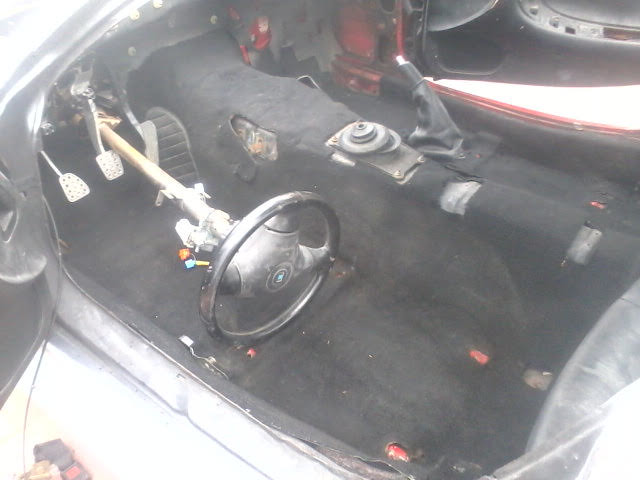
so I hang it for now I forgot how this was installed lol
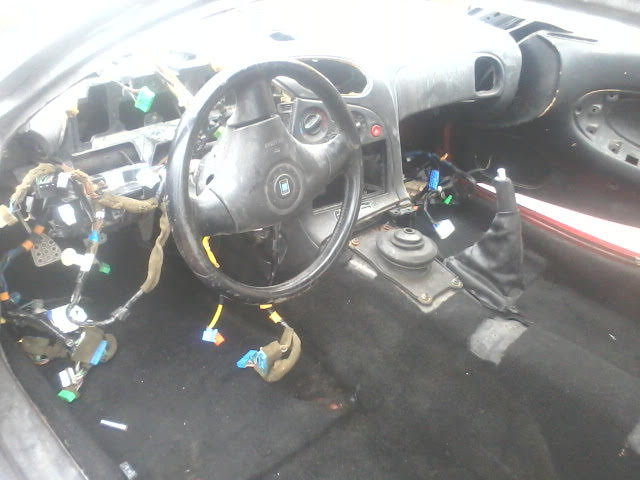 18 by nakahachi, on Flickr
10 by nakahachi, on Flickr11 by nakahachi, on Flickrclean up
12 by nakahachi, on Flickrinstalling the new carpet
15 by nakahachi, on Flickr17 by nakahachi, on Flickr16 by nakahachi, on FlickrI realize since the dash is out might as well grab the dash harness at the same time
14 by nakahachi, on Flickr13 by nakahachi, on Flickrso I hang it for now I forgot how this was installed lol
18 by nakahachi, on Flickr
Last edited by bzebern; 04-09-16 at 05:41 PM.
04-09-16, 05:41 PM
#245
my son Gabriel went to say good morning to me love him so much and cant wait to take this for a spin with him
he's my inspiration...
 19 by nakahachi, on Flickr
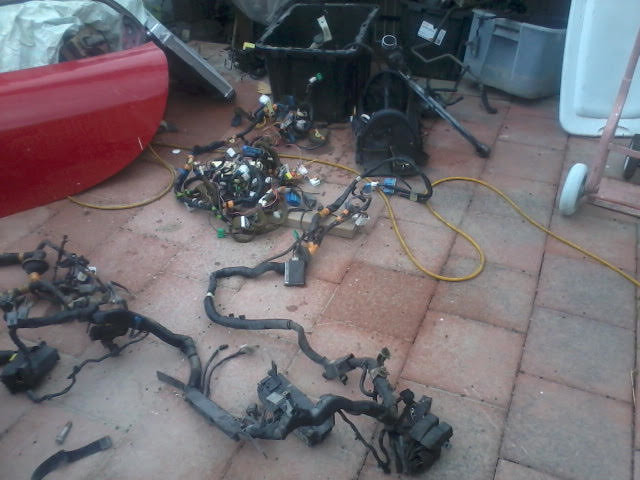
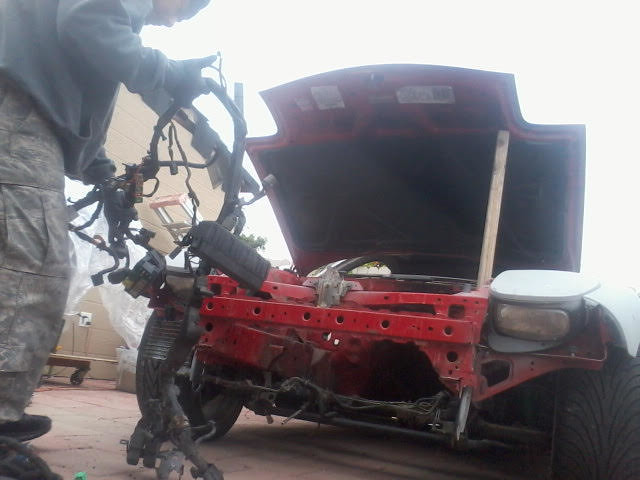
this wasn't in the plan today but I installed the jdm harness I have so at least
I have something to tap with going inside with the right measurement for now
one on the left the harness that came with the car it was cut at the ecu area
so I still have a spare I need to use the headlight and fuse box so I don't have to make one
anymore and just eliminate the once I don't need
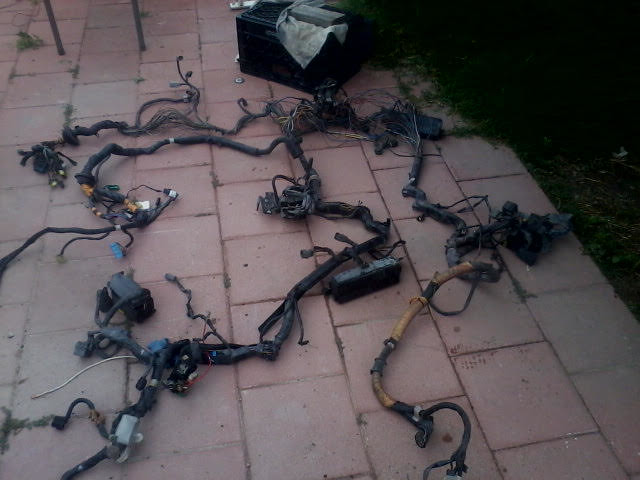 25 by nakahachi, on Flickr
 26 by nakahachi, on Flickr
passenger side first going to the firewall
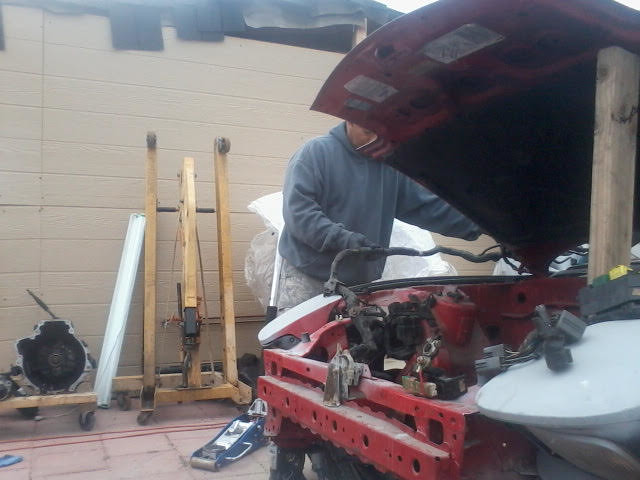 27 by nakahachi, on Flickr
then driver side
 28 by nakahachi, on Flickr
finished
 29 by nakahachi, on Flickr
 30 by nakahachi, on Flickr
with all this work im doing to the car all is just to mock it up
there is nothing solid yet i always think that if i didn't do it, its not gonna get done
Im not lazy and theres is on one to help me i have to keep going one step at a time
but im happy with the outcome for now
he's my inspiration...
19 by nakahachi, on Flickrthis wasn't in the plan today but I installed the jdm harness I have so at least
I have something to tap with going inside with the right measurement for now
one on the left the harness that came with the car it was cut at the ecu area
so I still have a spare I need to use the headlight and fuse box so I don't have to make one
anymore and just eliminate the once I don't need
25 by nakahachi, on Flickr26 by nakahachi, on Flickrpassenger side first going to the firewall
27 by nakahachi, on Flickrthen driver side
28 by nakahachi, on Flickrfinished
29 by nakahachi, on Flickr30 by nakahachi, on Flickrwith all this work im doing to the car all is just to mock it up
there is nothing solid yet i always think that if i didn't do it, its not gonna get done
Im not lazy and theres is on one to help me i have to keep going one step at a time
but im happy with the outcome for now

 04-09-16, 06:15 PM
#247
and now
 IMG_2738 by nakahachi, on Flickr
 IMG_2739 by nakahachi, on Flickr
 IMG_2744 by nakahachi, on Flickr
 IMG_2745 by nakahachi, on Flickr
 IMG_2740 by nakahachi, on Flickr
 IMG_2743 by nakahachi, on Flickr
 IMG_2742 by nakahachi, on Flickr
 IMG_2747 by nakahachi, on Flickr
 IMG_2746 by nakahachi, on Flickr
Im happy!!!
IMG_2738 by nakahachi, on FlickrIMG_2739 by nakahachi, on FlickrIMG_2744 by nakahachi, on FlickrIMG_2745 by nakahachi, on FlickrIMG_2740 by nakahachi, on FlickrIMG_2743 by nakahachi, on FlickrIMG_2742 by nakahachi, on FlickrIMG_2747 by nakahachi, on FlickrIMG_2746 by nakahachi, on FlickrIm happy!!!
 04-10-16, 12:48 AM
#250
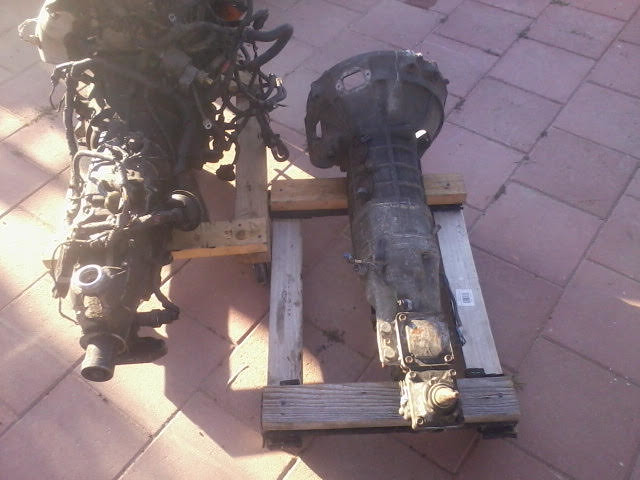
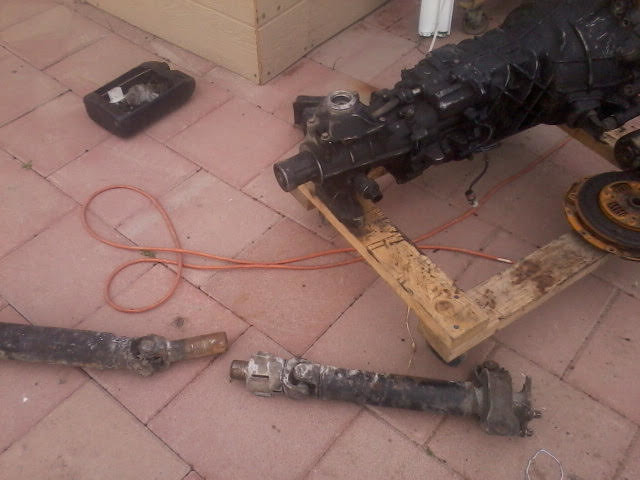
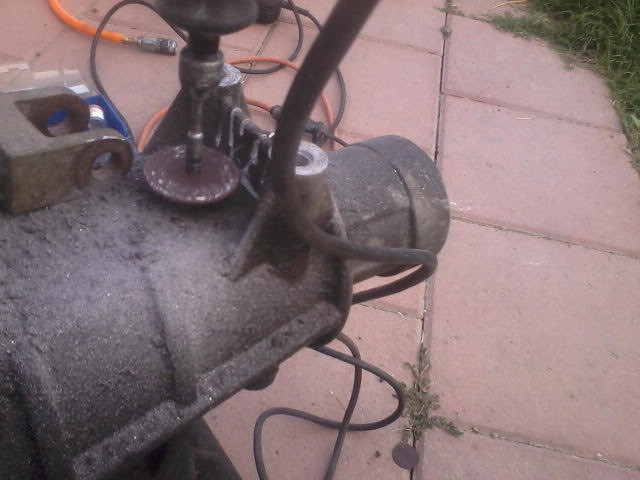
so theres still light outside at 4 pm so i worked on the transmssion a little bit
testing the fd driveshaft if its gonna fit the getrag one from the kia
 15 by nakahachi, on Flickr
fd on the right too big wont fit
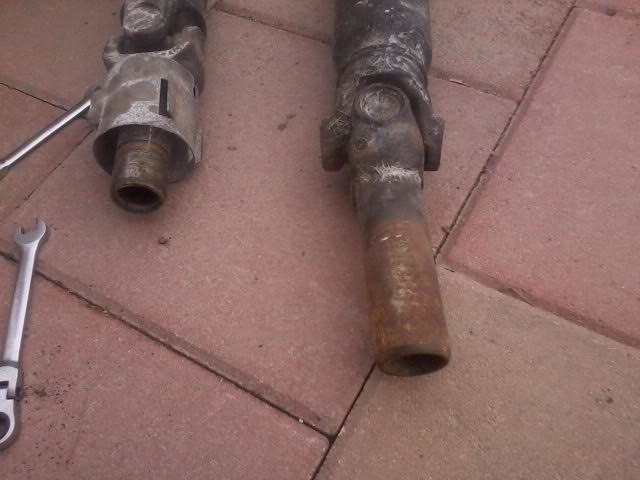 16 by nakahachi, on Flickr
then i measured the fd transmission
 3 by nakahachi, on Flickr
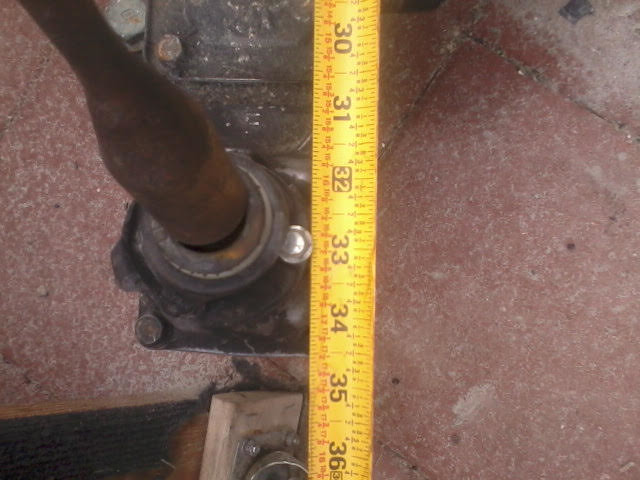 4 by nakahachi, on Flickr
kia transmission is 6 inches shorter
 2 by nakahachi, on Flickr
trimming the ends of the trans cause i have to extend the shifter rod
 5 by nakahachi, on Flickr
 6 by nakahachi, on Flickr
hopefully this gap is good enough but will find out later
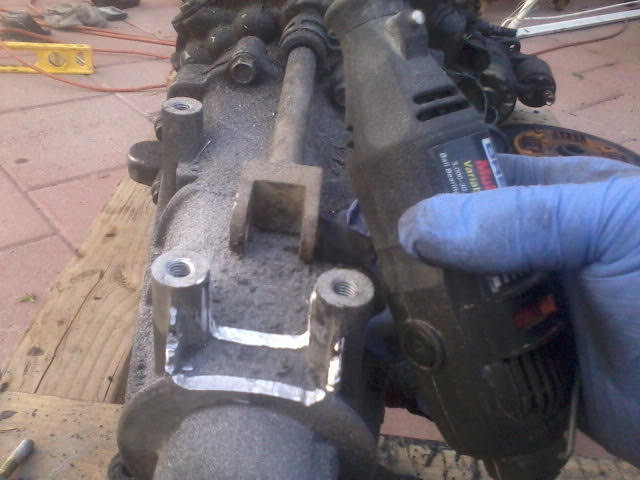 7 by nakahachi, on Flickr
i found a sheet of metal that i didnt use i ran out of aluminum so this will do
 9 by nakahachi, on Flickr
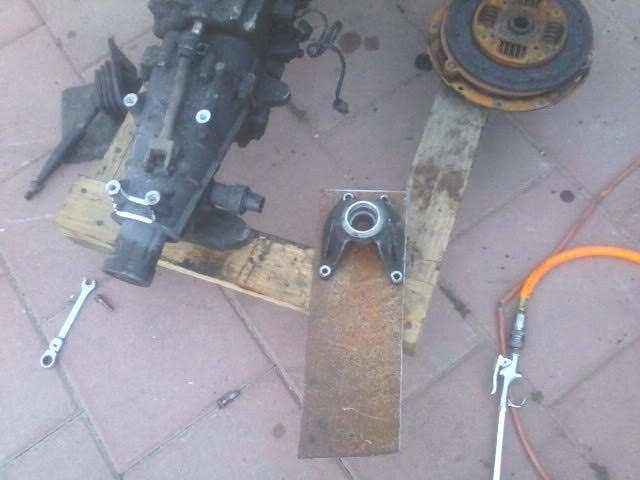 10 by nakahachi, on Flickr
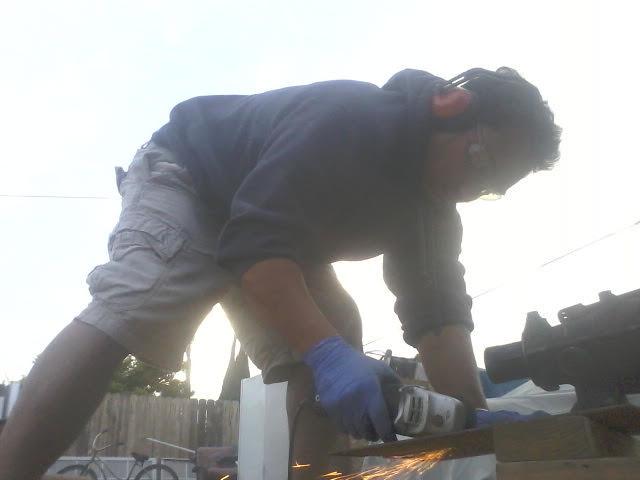
drilling holes for it
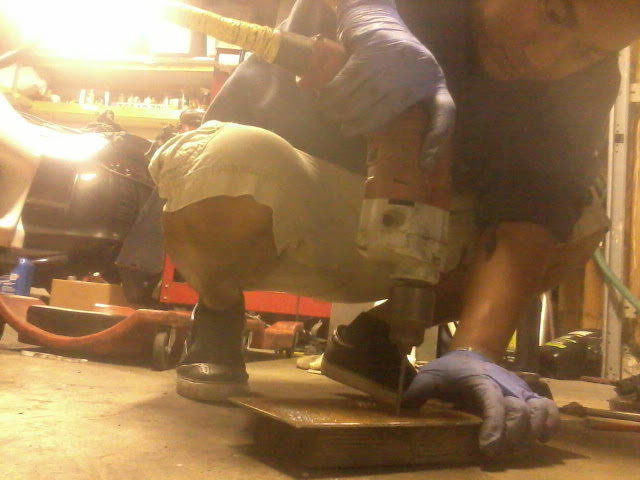 11 by nakahachi, on Flickr
perfect holes
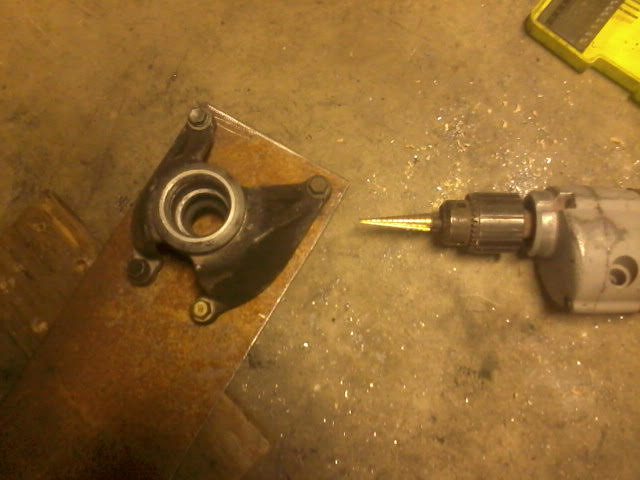 12 by nakahachi, on Flickr
testing the fd driveshaft if its gonna fit the getrag one from the kia
15 by nakahachi, on Flickrfd on the right too big wont fit
16 by nakahachi, on Flickrthen i measured the fd transmission
3 by nakahachi, on Flickr4 by nakahachi, on Flickrkia transmission is 6 inches shorter
2 by nakahachi, on Flickrtrimming the ends of the trans cause i have to extend the shifter rod
5 by nakahachi, on Flickr6 by nakahachi, on Flickrhopefully this gap is good enough but will find out later
7 by nakahachi, on Flickri found a sheet of metal that i didnt use i ran out of aluminum so this will do
9 by nakahachi, on Flickr10 by nakahachi, on Flickrdrilling holes for it
11 by nakahachi, on Flickrperfect holes
12 by nakahachi, on Flickr
Last edited by bzebern; 04-10-16 at 01:01 AM.