rebuild of a 95 fd shave, tuck and going to make a lot of power with a 13b


 12-08-13, 10:43 AM
#352
Full Member
Thread Starter

Join Date: Oct 2011
Location: maryland
Posts: 199
Likes: 0
Received 0 Likes
on
0 Posts
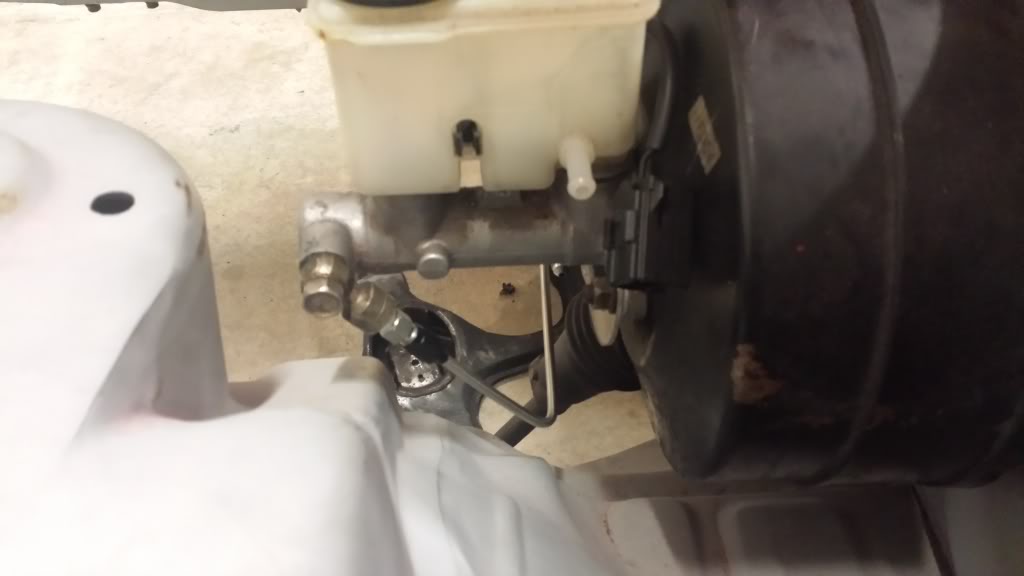
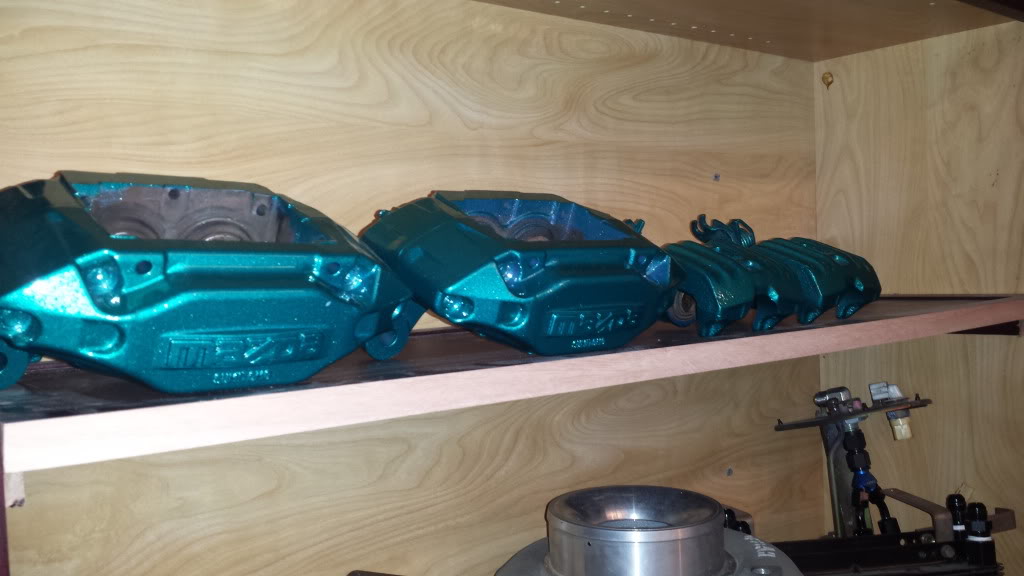
The coolant hoses are -16 and I finally got my motor and brake back from paint. Let me know wat u guys think of the color
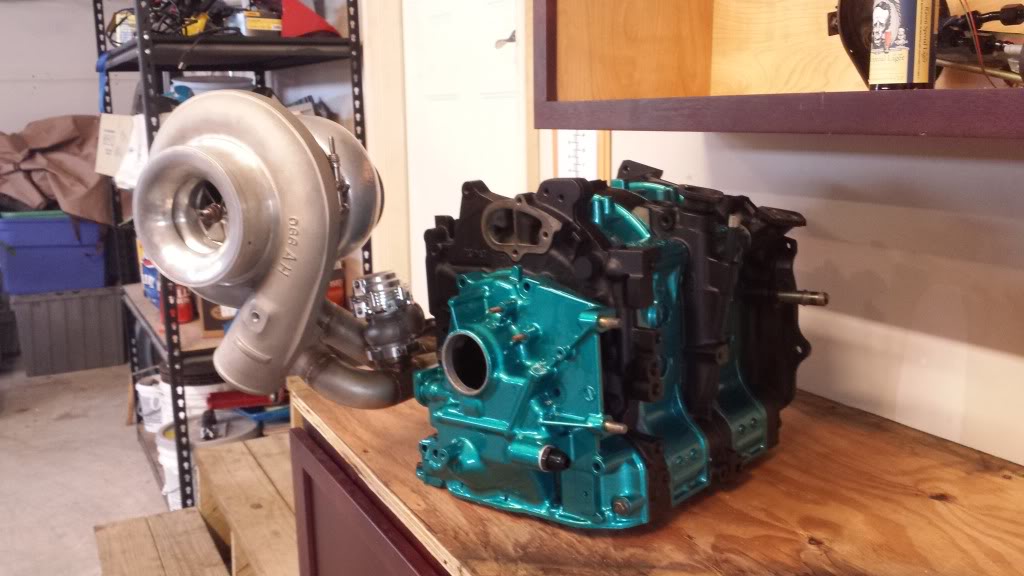
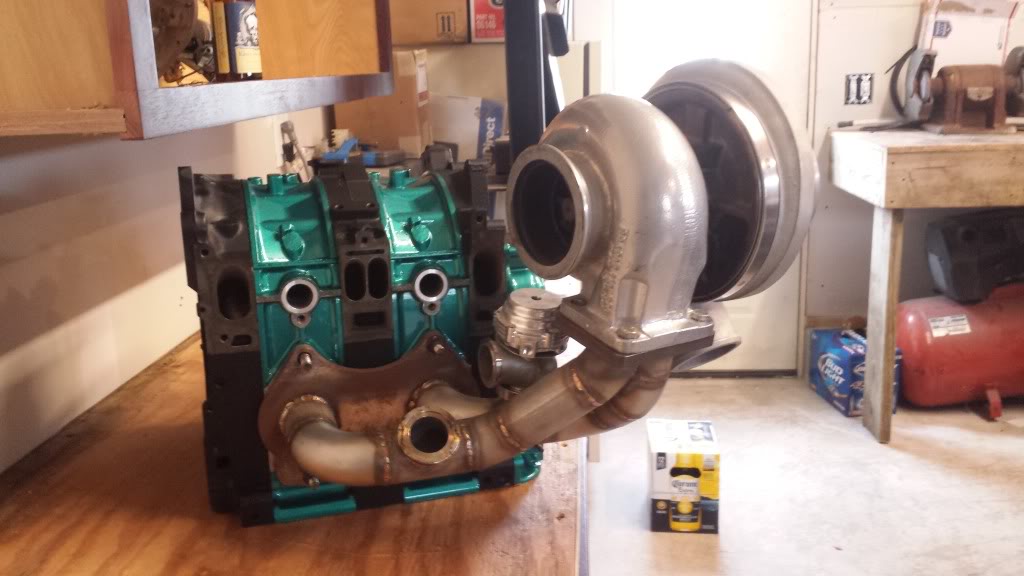
Last edited by Mr. Johnson; 12-08-13 at 10:51 AM.


 12-14-13, 12:38 PM
#368
Senior Member

Not sure if anyone mentioned it before, but I would reconsider that fan shroud if I were you.
This design works great when you stand still and the elec fan needs to do all the work, but when you're driving, the airflow wouldn't be as good true the rad compared to one without a shroud or with a shroud that has some extra openings in them. Some stock cars have extra openings with a rubber flap on them so air can pass true while driving.
Don't forget these engines get very hot.
For the rest of the build, nice work!
12-30-13, 05:08 PM
#371
Full Member
Thread Starter
Join Date: Oct 2011
Location: maryland
Posts: 199
Likes: 0
Received 0 Likes
on
0 Posts
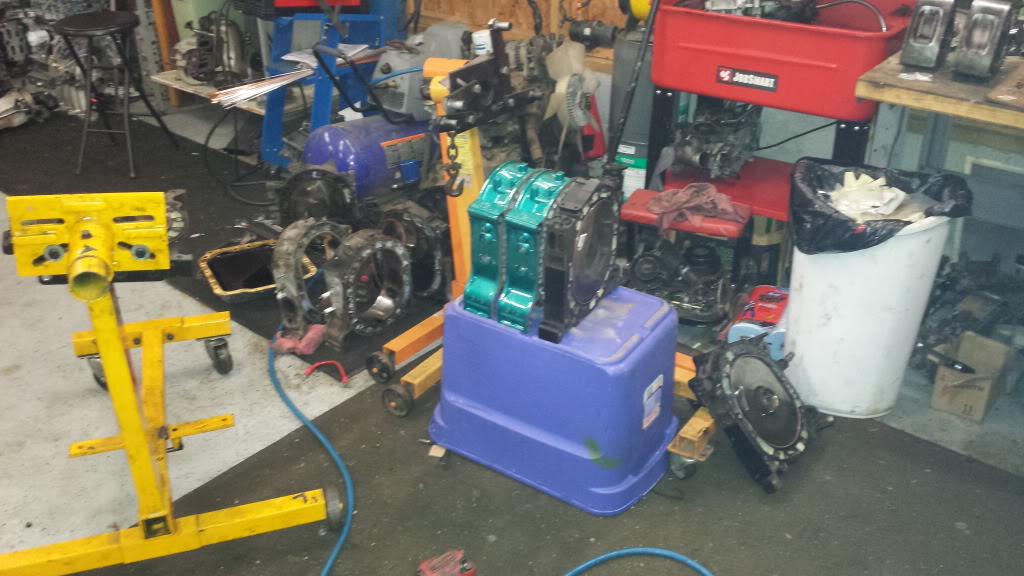
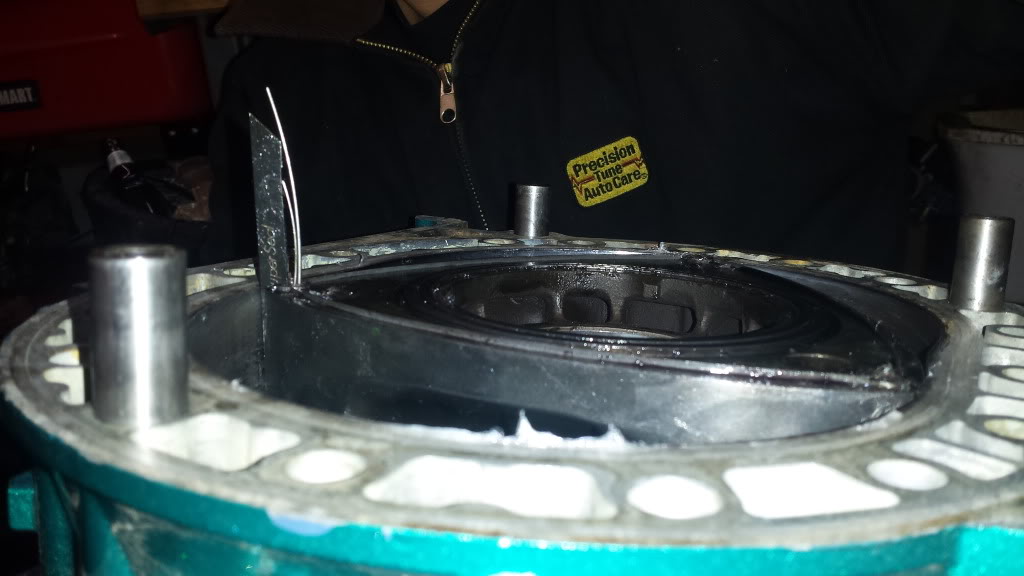
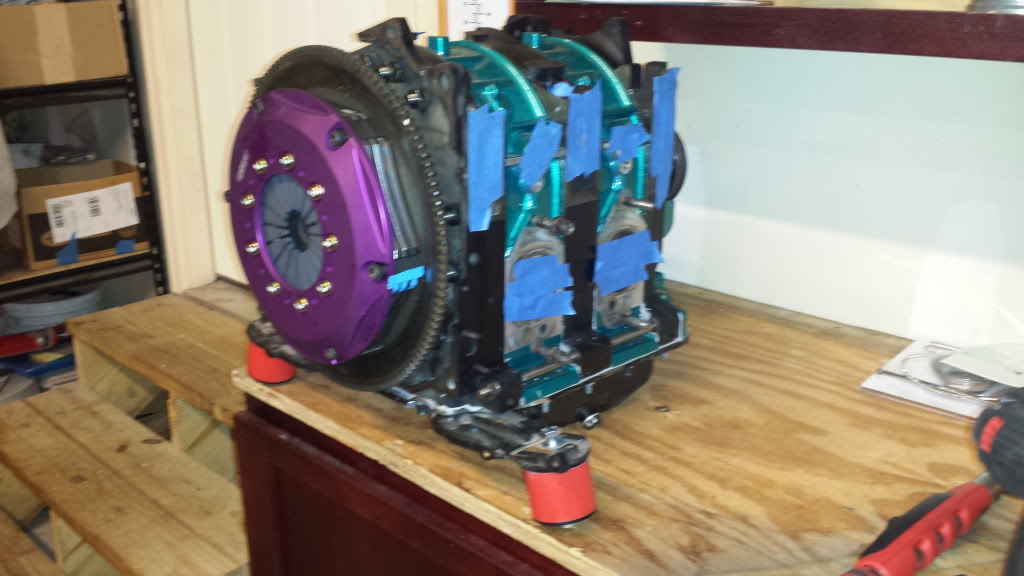
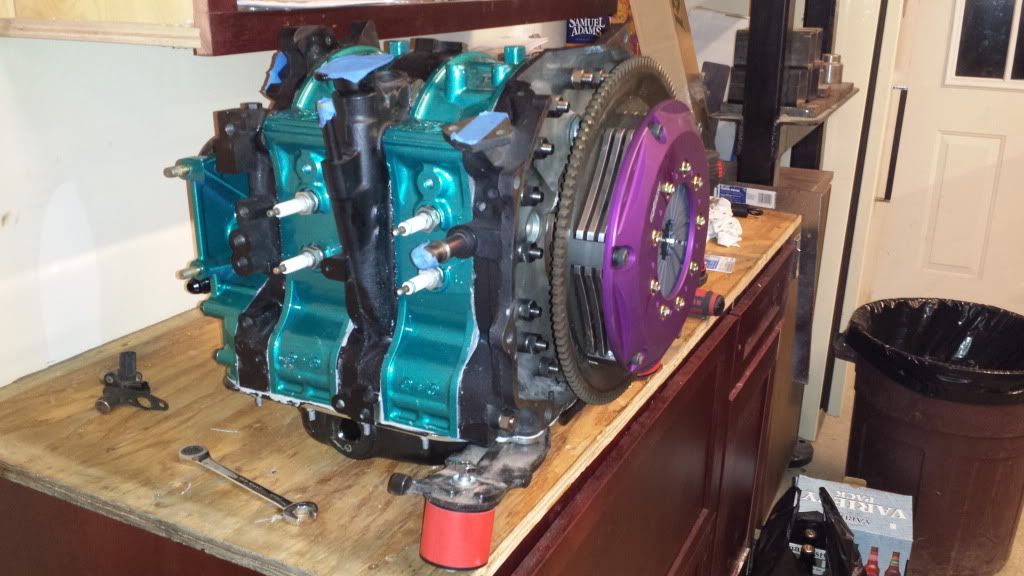
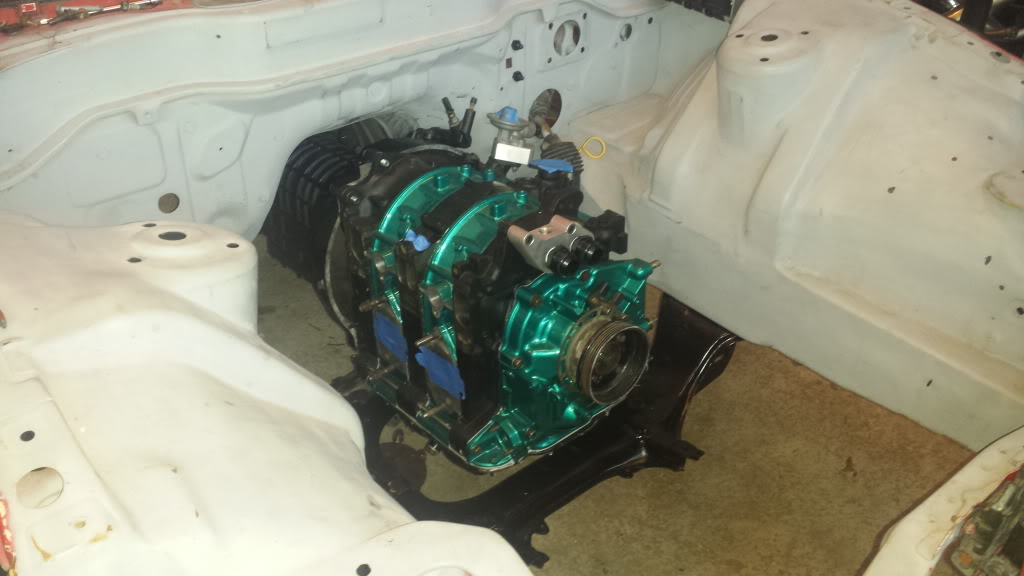
So got the motor put together this weekend. A lot Of help from mike at unique precision rotary llc. Here we had all the pieces layed out and the rotars preped.
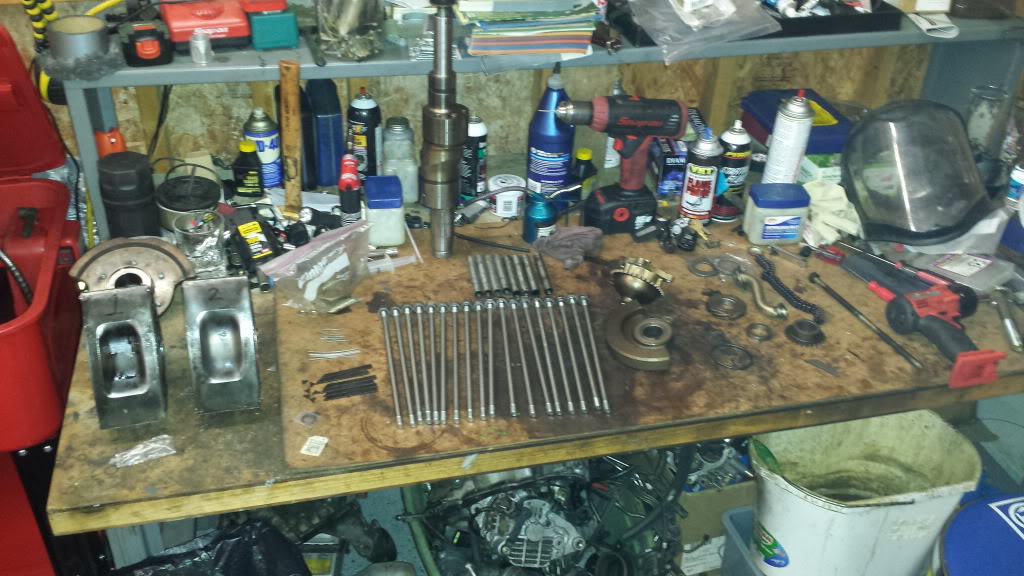
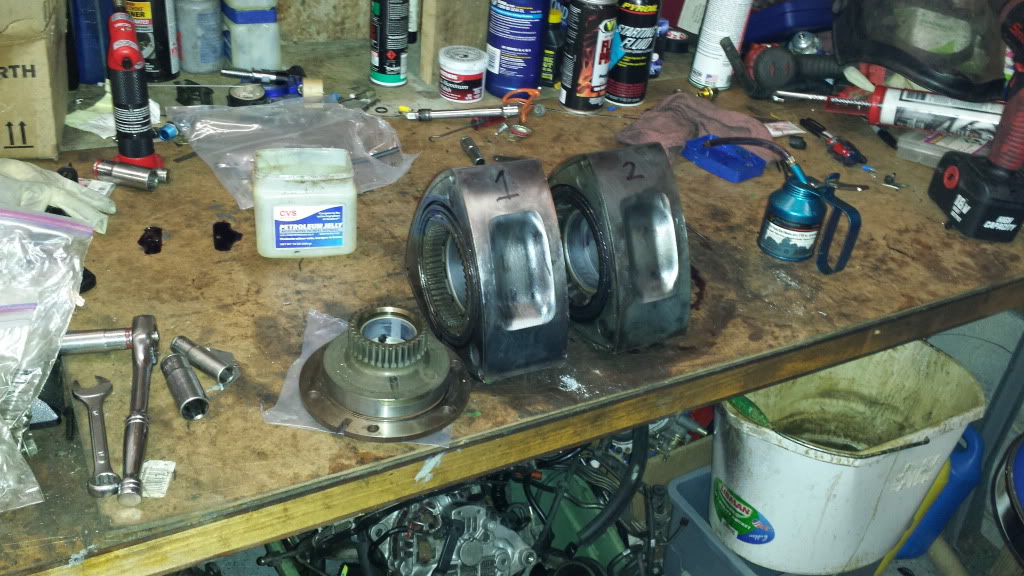
and the stacking begins
First rotor and housing installed
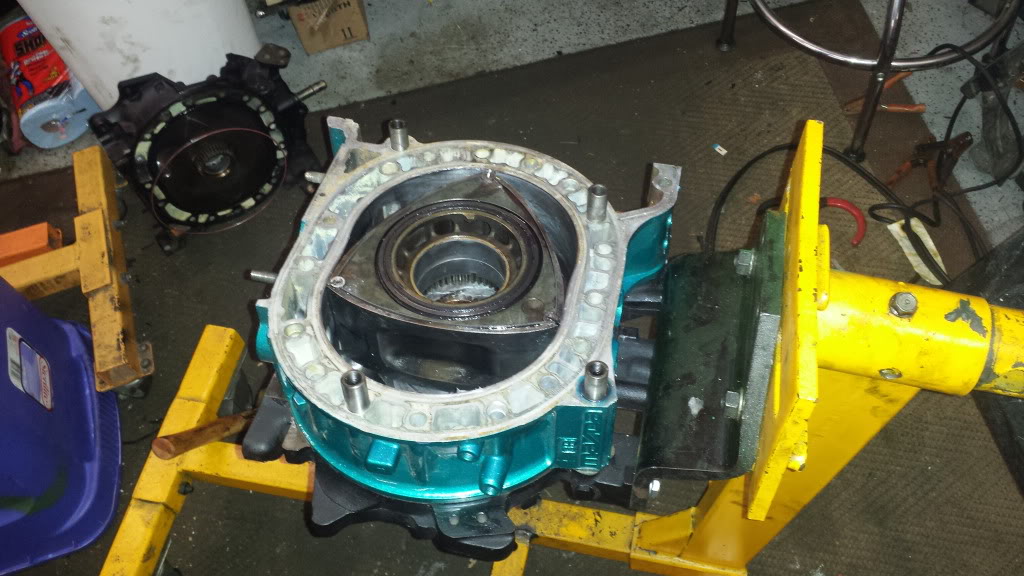
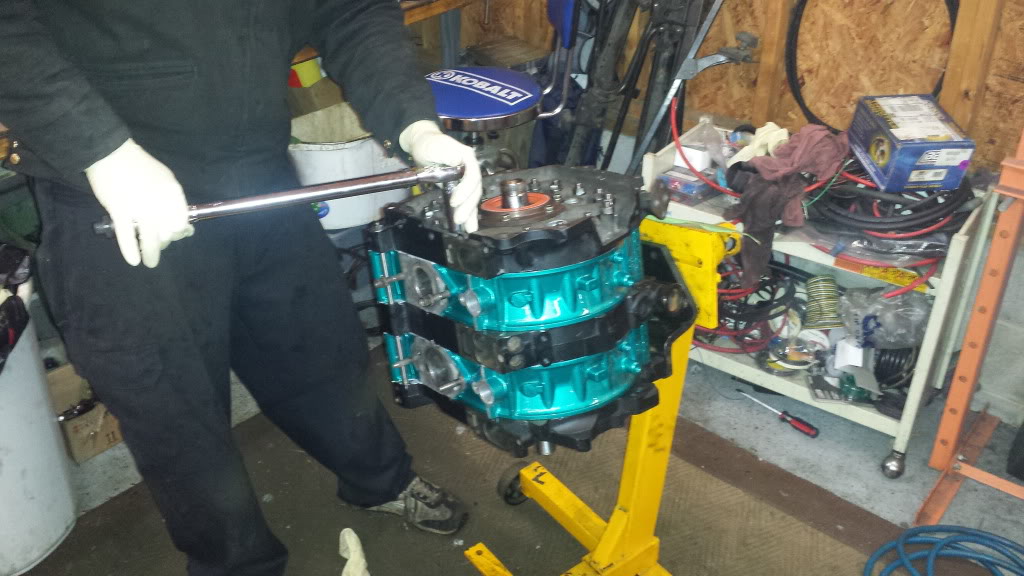
Second housing and rotor and studs in

Torquing the studs down
End played checked and everything was good.
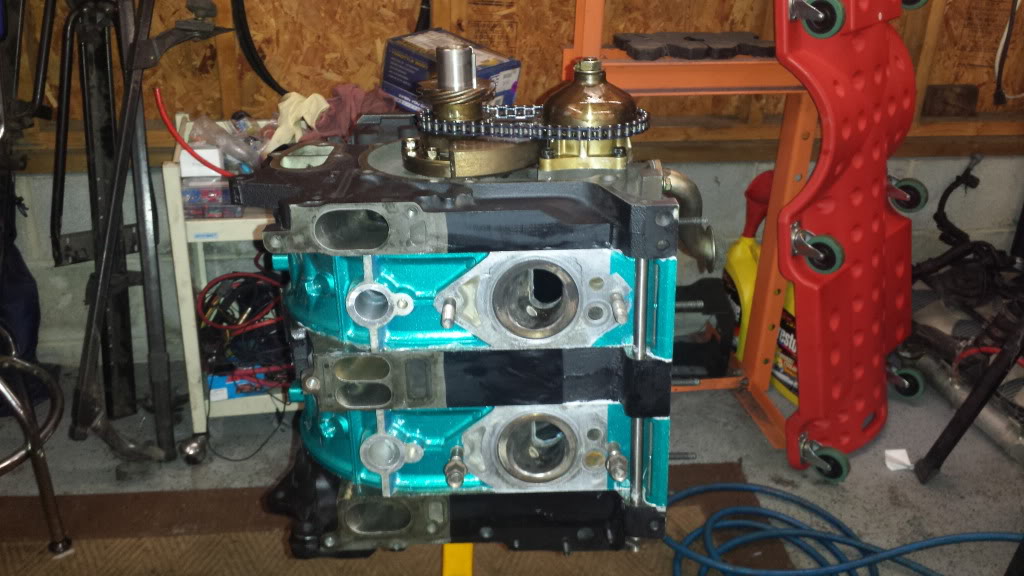
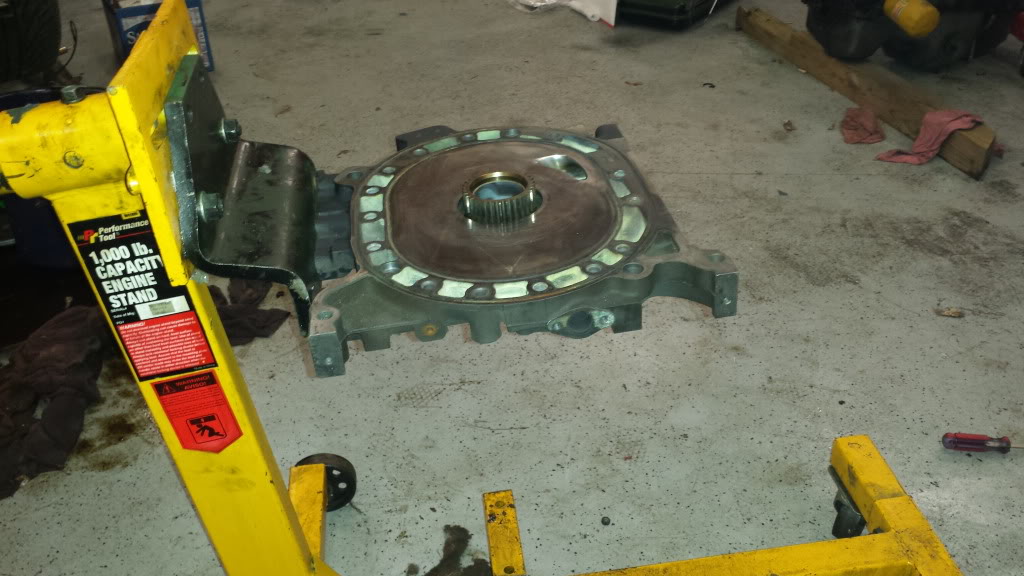
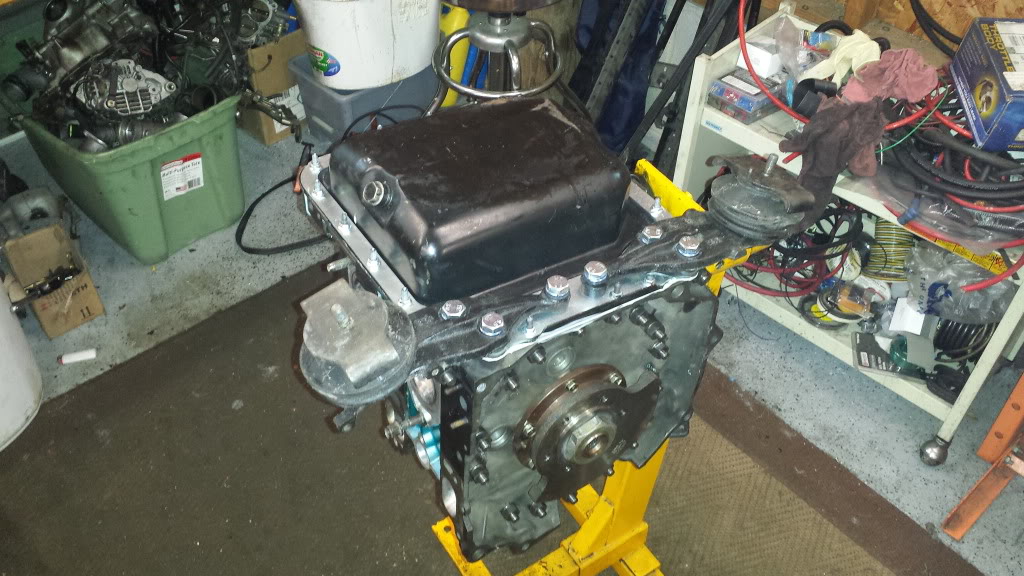
Front cover on
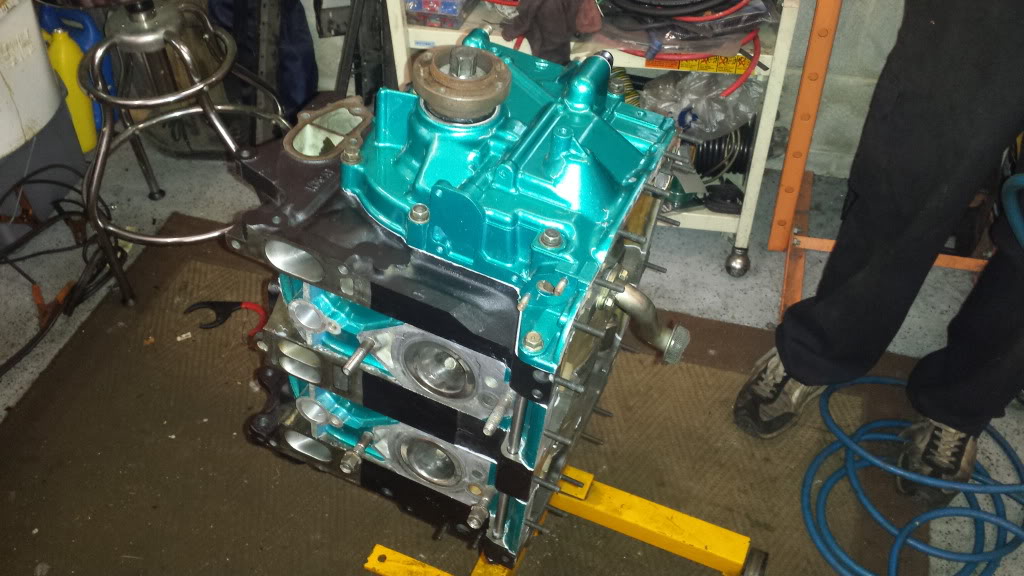
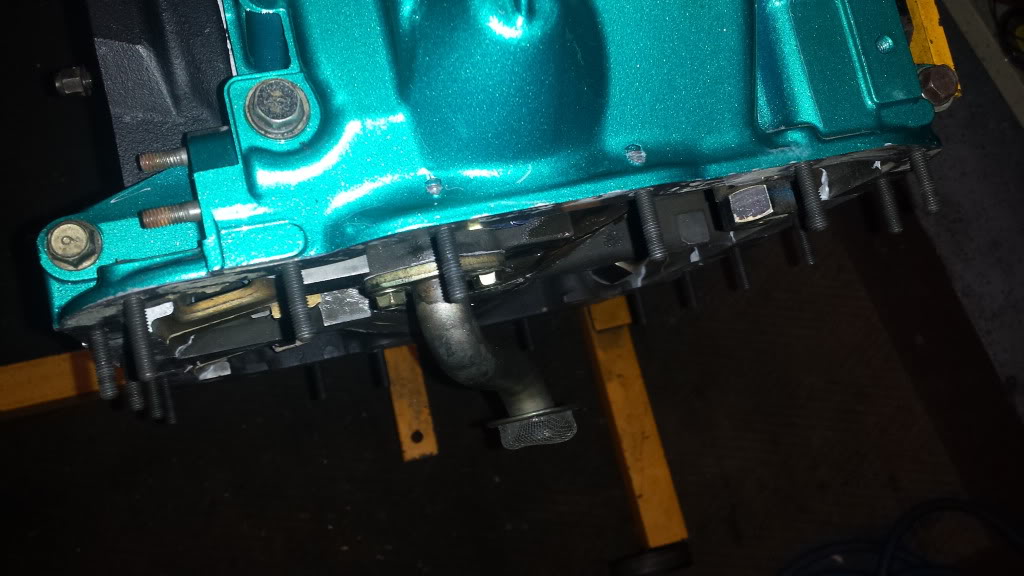
Studs in for the oil pan
and the stacking begins
First rotor and housing installed
Second housing and rotor and studs in
Torquing the studs down
End played checked and everything was good.
Front cover on
Studs in for the oil pan
12-30-13, 05:12 PM
#372
Full Member
Thread Starter
Join Date: Oct 2011
Location: maryland
Posts: 199
Likes: 0
Received 0 Likes
on
0 Posts
Motor mounts and oil pan and brace are on. Just waiting for after market mounts.
All the bushings came in today also. So the motor sould be going back un this weekend. Im thinking in bout 6 months I sould be ready to start this thing.
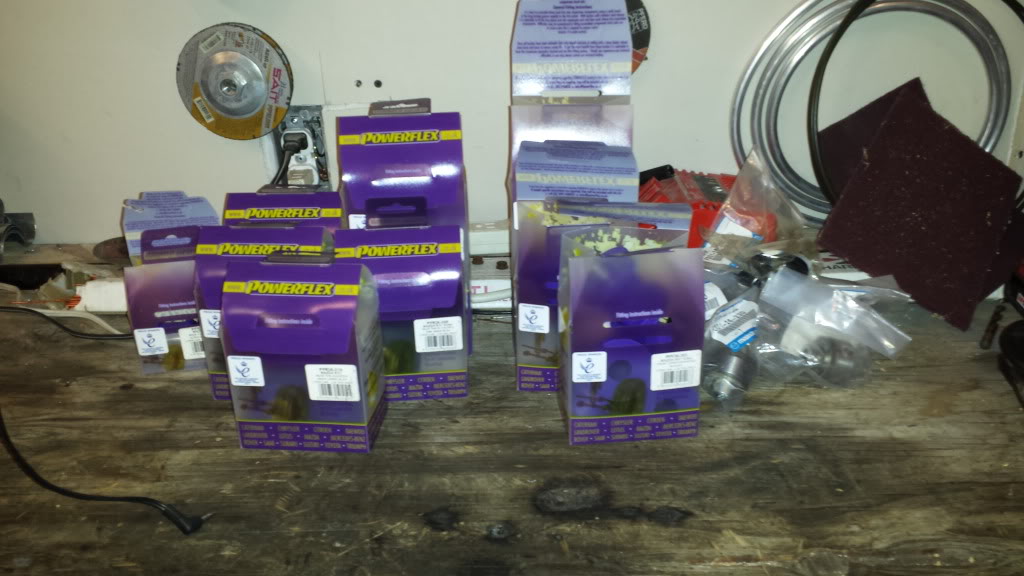
All the bushings came in today also. So the motor sould be going back un this weekend. Im thinking in bout 6 months I sould be ready to start this thing.
 01-04-14, 07:17 AM
#375
Full Member
Thread Starter
Join Date: Oct 2011
Location: maryland
Posts: 199
Likes: 0
Received 0 Likes
on
0 Posts
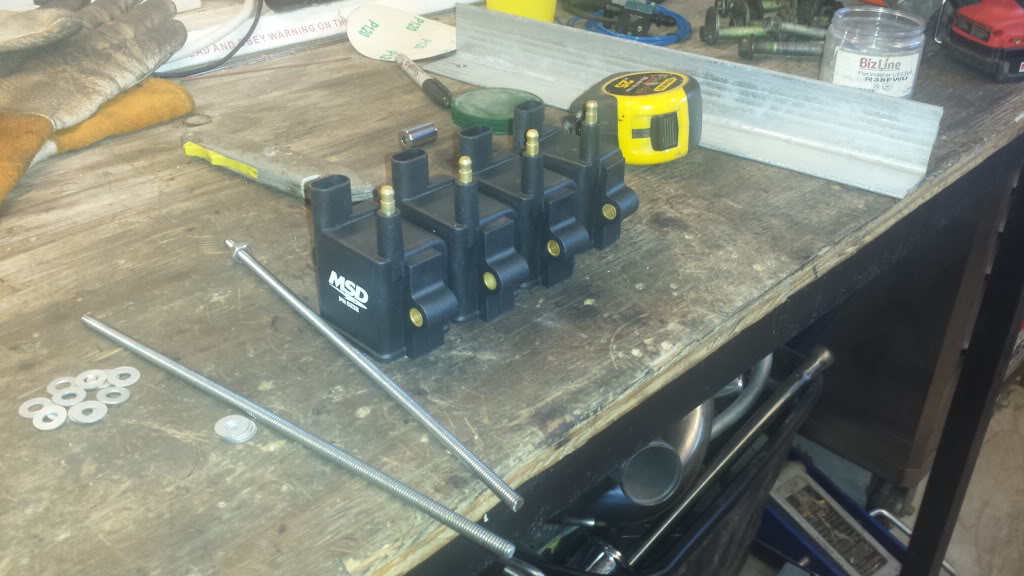
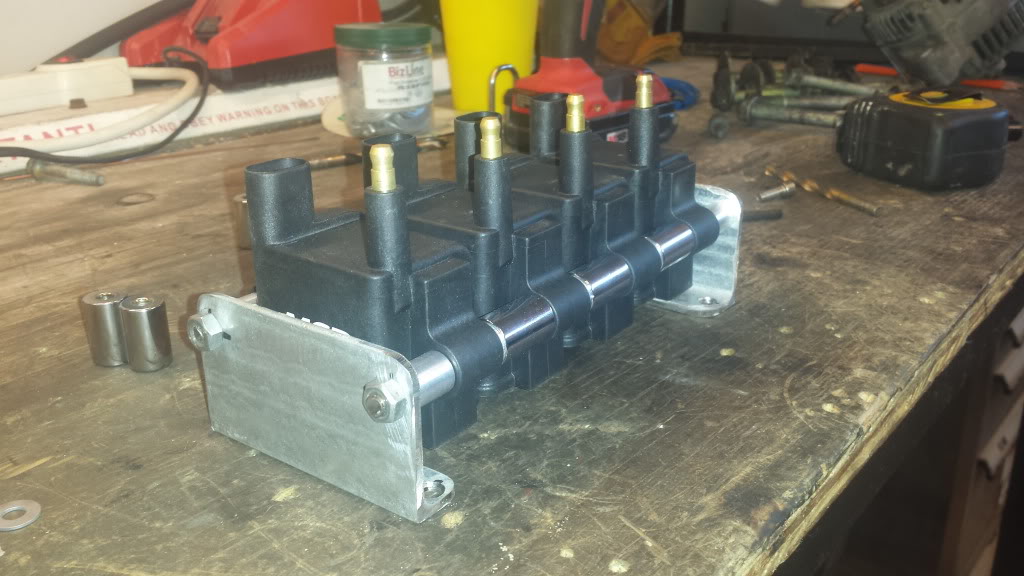
I made my mount for my coils yesterday. I think it turned out pretty good just need to get a lot of little things powder coated.
Brain storming
End result
Mounted in the car
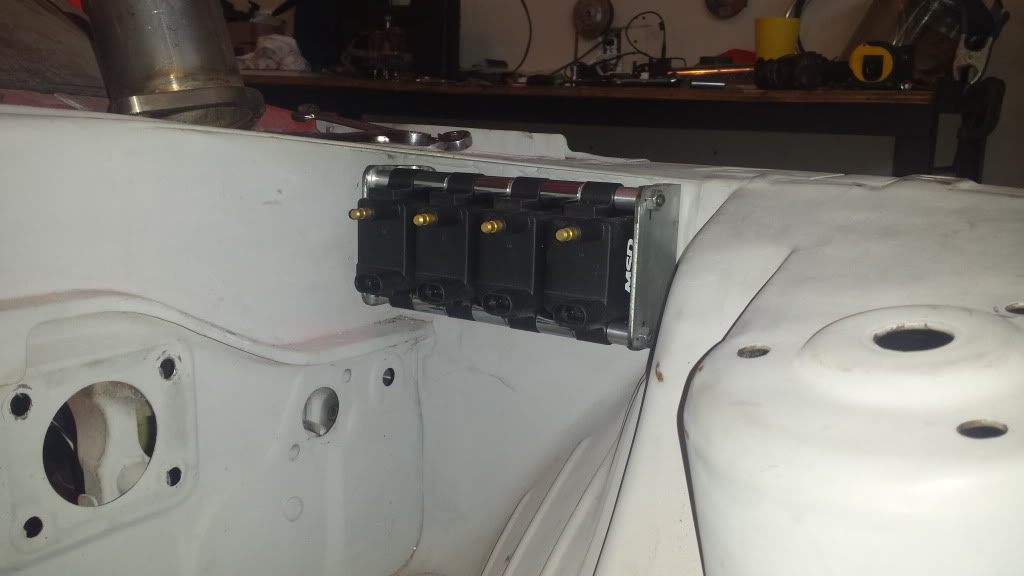
Motor and tranny are back in the car. I only need to buy a few more things and with tax time coming up think I will have it all. Im really shooting for the car to be running in about 4 months.
Brain storming
End result
Mounted in the car
Motor and tranny are back in the car. I only need to buy a few more things and with tax time coming up think I will have it all. Im really shooting for the car to be running in about 4 months.