When you click on links to various merchants on this site and make a purchase, this can result in this site earning a commission. Affiliate programs and affiliations include, but are not limited to, the eBay Partner Network.
The car is built just tuning it now and I didn't take any where near enough pictures but here it is the progress from initial purchase all the way to today hope you enjoy.
This is what it looked like when I found it, it was an estate car j found in Laramie Wy with 89k miles on it. The silver Genisis Coupe in the back ground what the car I got rid of for this beauty.
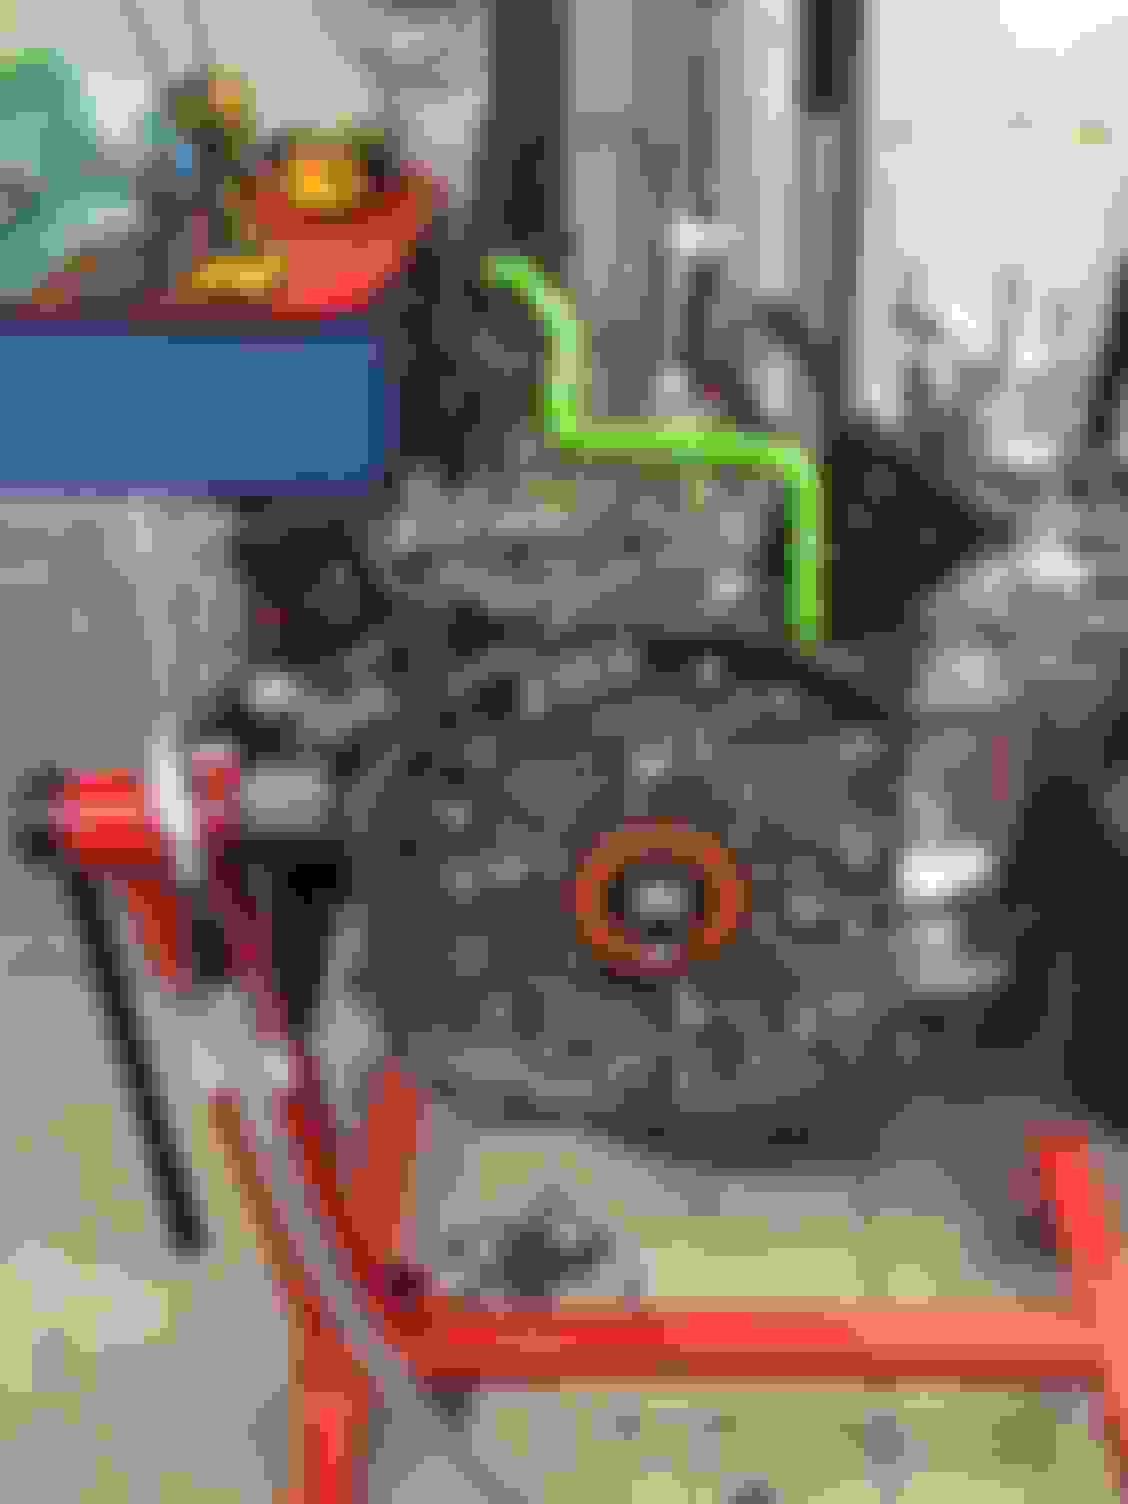
The first problem arises a cracked and leaking radiator hose replaced it with these awesome green ones.
These clamps are terrible to work with they were replaced the next time I removed them.
Then the terrible happened a blown coolent seal first was denial when I got the low coolent light, and then I started looking for a leak somewhere because there is no way it was a blown coolent seal. Nothing was found and the disassembly started.
Once I got tho this point I got a great call from my commander and was told I was starting deployment training in 3 days and I needed to come into work off of leave to start out processing. The car stayed like this for a year and a half. When I got back the real work was going to begin.
I got home in December of 15' after being gone for 18 months and was super excited to get to work. I pulled the motor and sure enough the rear rotor was toasted.
The progress my wife was so mad
Engine pulled ready to clean up the engine bay
My plans were to make a BNR sequential capable of make medium single power with an awesome power band, and being as reliable as I can make it.
This meant getting rid of everything stock that could cause problems.
The parts/mod list
New housings and irons
New bearings
New hard seals all OEM Mazda, figured the first set lasted 90000 miles they can't be that bad
Pineapple racing HD o-ring kit
Pineapple racing medium street ports with large exhaust ports.
I port matched everything including intake and exhaust manifolds
Removed the MOP so I could use full synthetic
Studded the short block with rotary works standard size studs
Lightweight flywheel
Spec Stage 2 clutch
RX7 store DP and MP
Replaced stock solenoids with AZknights
Sakebomb coil kit
Sakebomb dual 25 row oil coolers with thermostat
Mishimoto radiator
CX racing coilovers
Stop Tech brakes
Aluminum pulleys
Adaptronic ecu
Full Function Engineering fuel system with the new ID 1700s and ID 1000s
I replaced the entire fuel system with AN-6 Teflon lines
Flex fuel sensor
Supra TT fuel pump
Relocated battery 950 cranking amp odyssey battery
Pettit racing intercooler and AST
New water pump
Drilled water thermostat
And a bunch of other smaller things
The engine build I did all of this myself. I was a helicopter mechanic before my current job in the airforce and figured if I could strip one of those down to bare bones this wouldn't be a problem. I bought all new plates and housings because I didn't know the condition of the originals and had the money at the time to do so. This proved to be in necessary but I used them anyhow. The porting took the longest and was the most painful process. I took my time and dos the runners on the conservative side.
I practiced on the old ones and found I could make this look pretty decent so I dived in after doing one of each port.
The next few pics are of the process and some before and afters
I also decided to port and polish the oil pump this wasn't the completely finished product just imagine the passages a little more rounded and shinny
Last edited by David_raz89; Apr 19, 2016 at 01:51 PM.
The next step was to start assembling the short block I didn't take very many pictures of this but to anyone out there the oil rings are insanely sharp and I needed stitches after learning this. The worst part is the time consuming task of grinding the side seals to fit.
I stretched a rear gear bolt don't know how my torque wrench was set right maybe it was just it's time
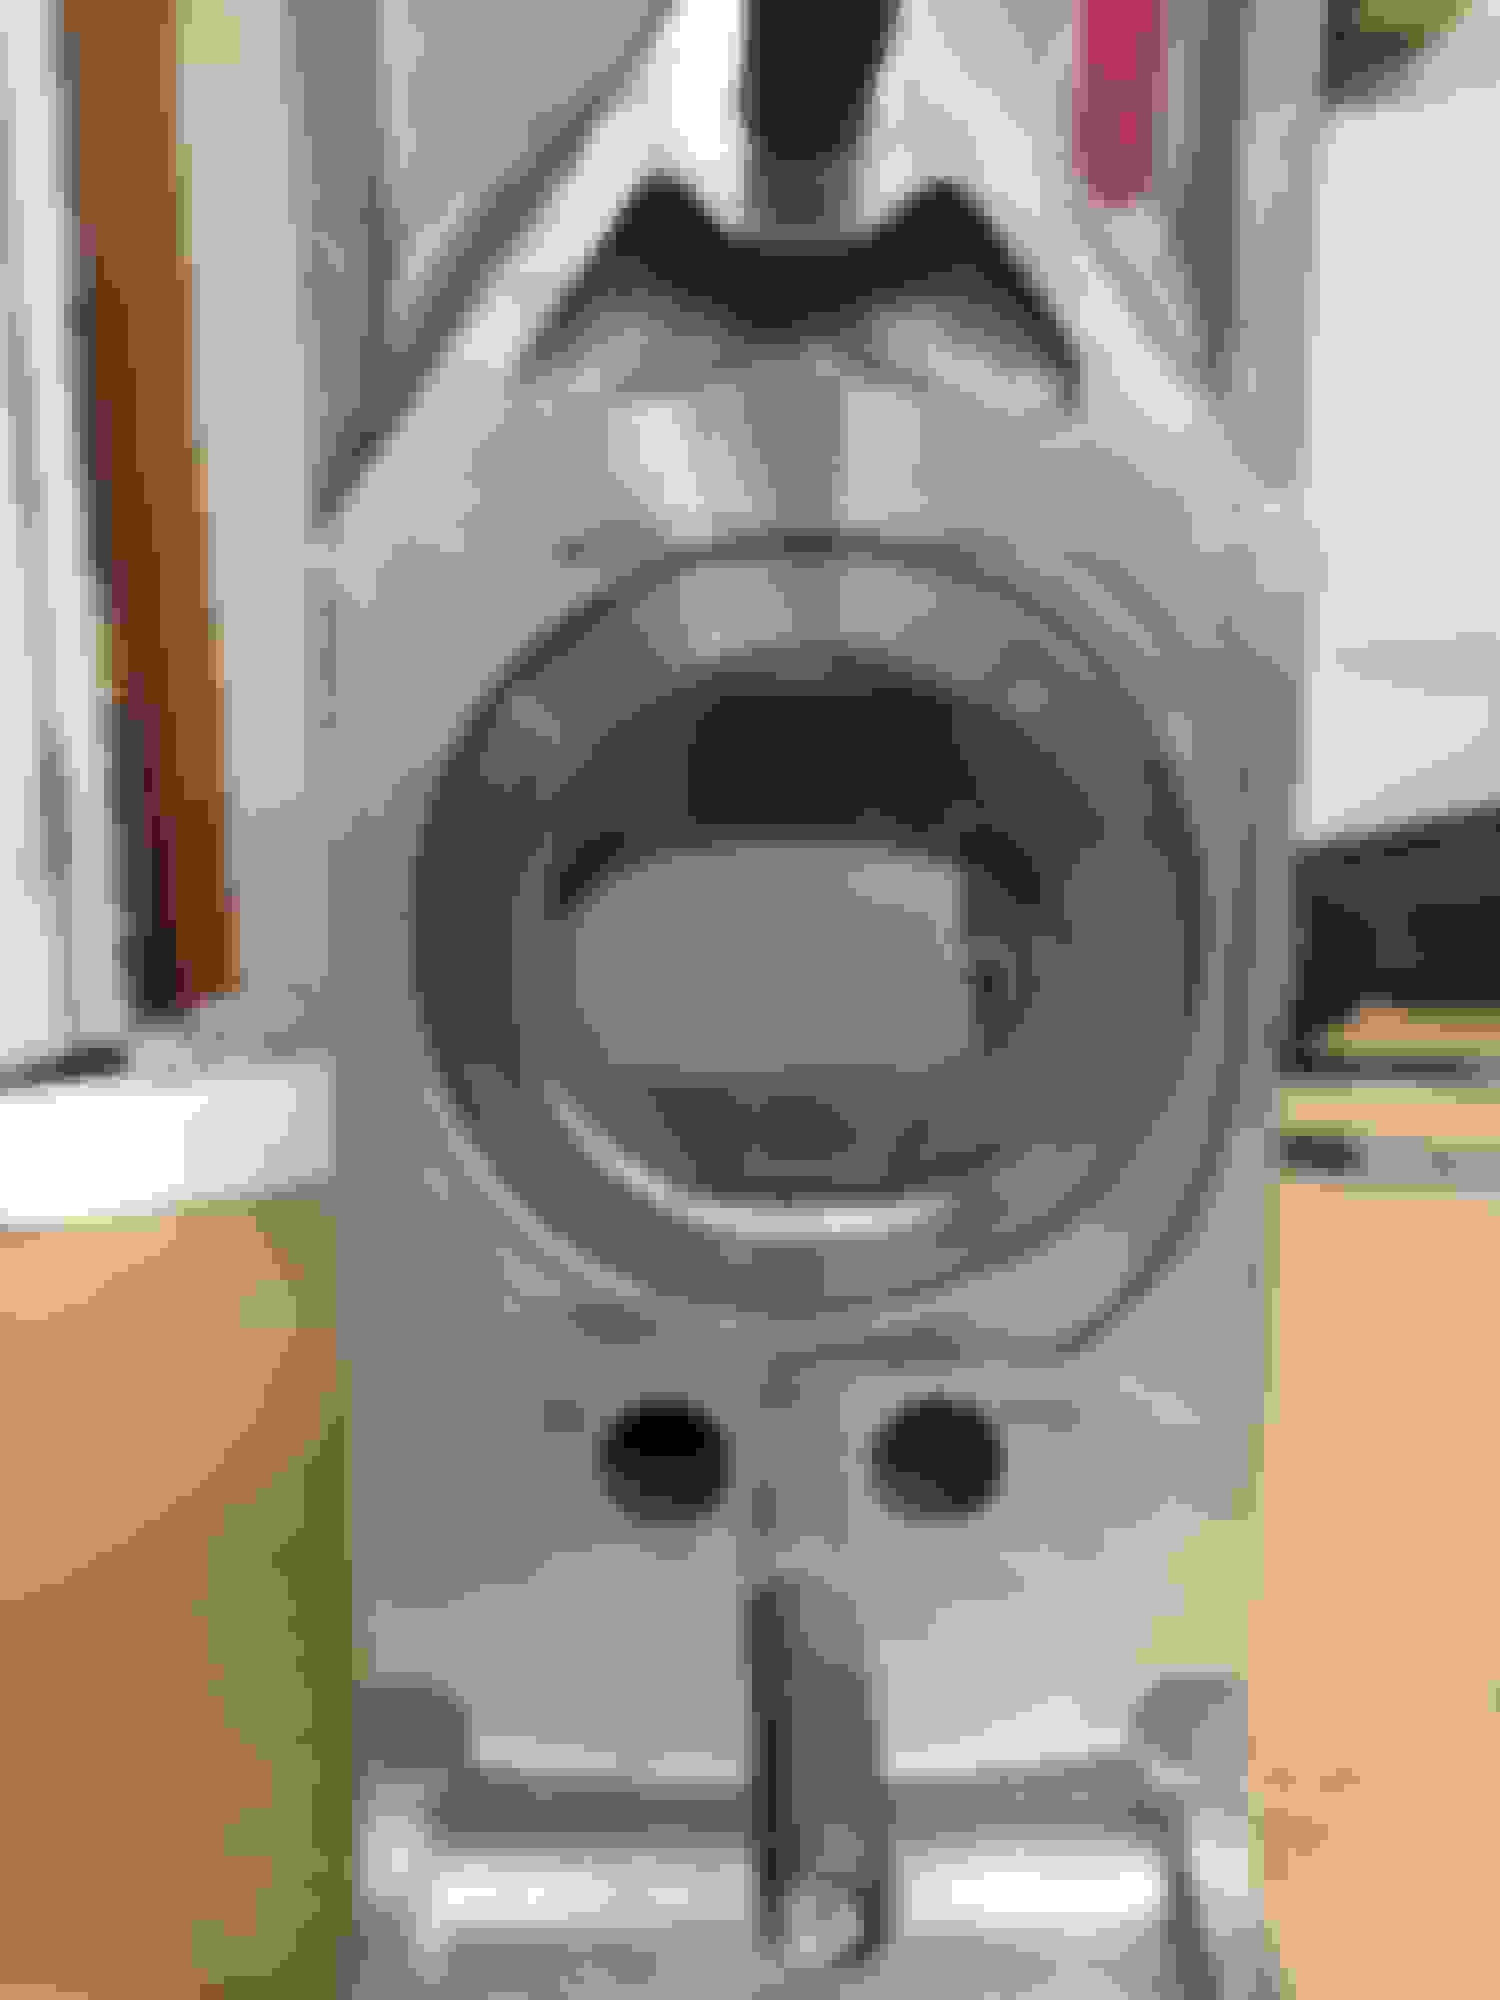
Block all bolted up I used rotary works studs the only thing I wish was that they had a hex head in the top
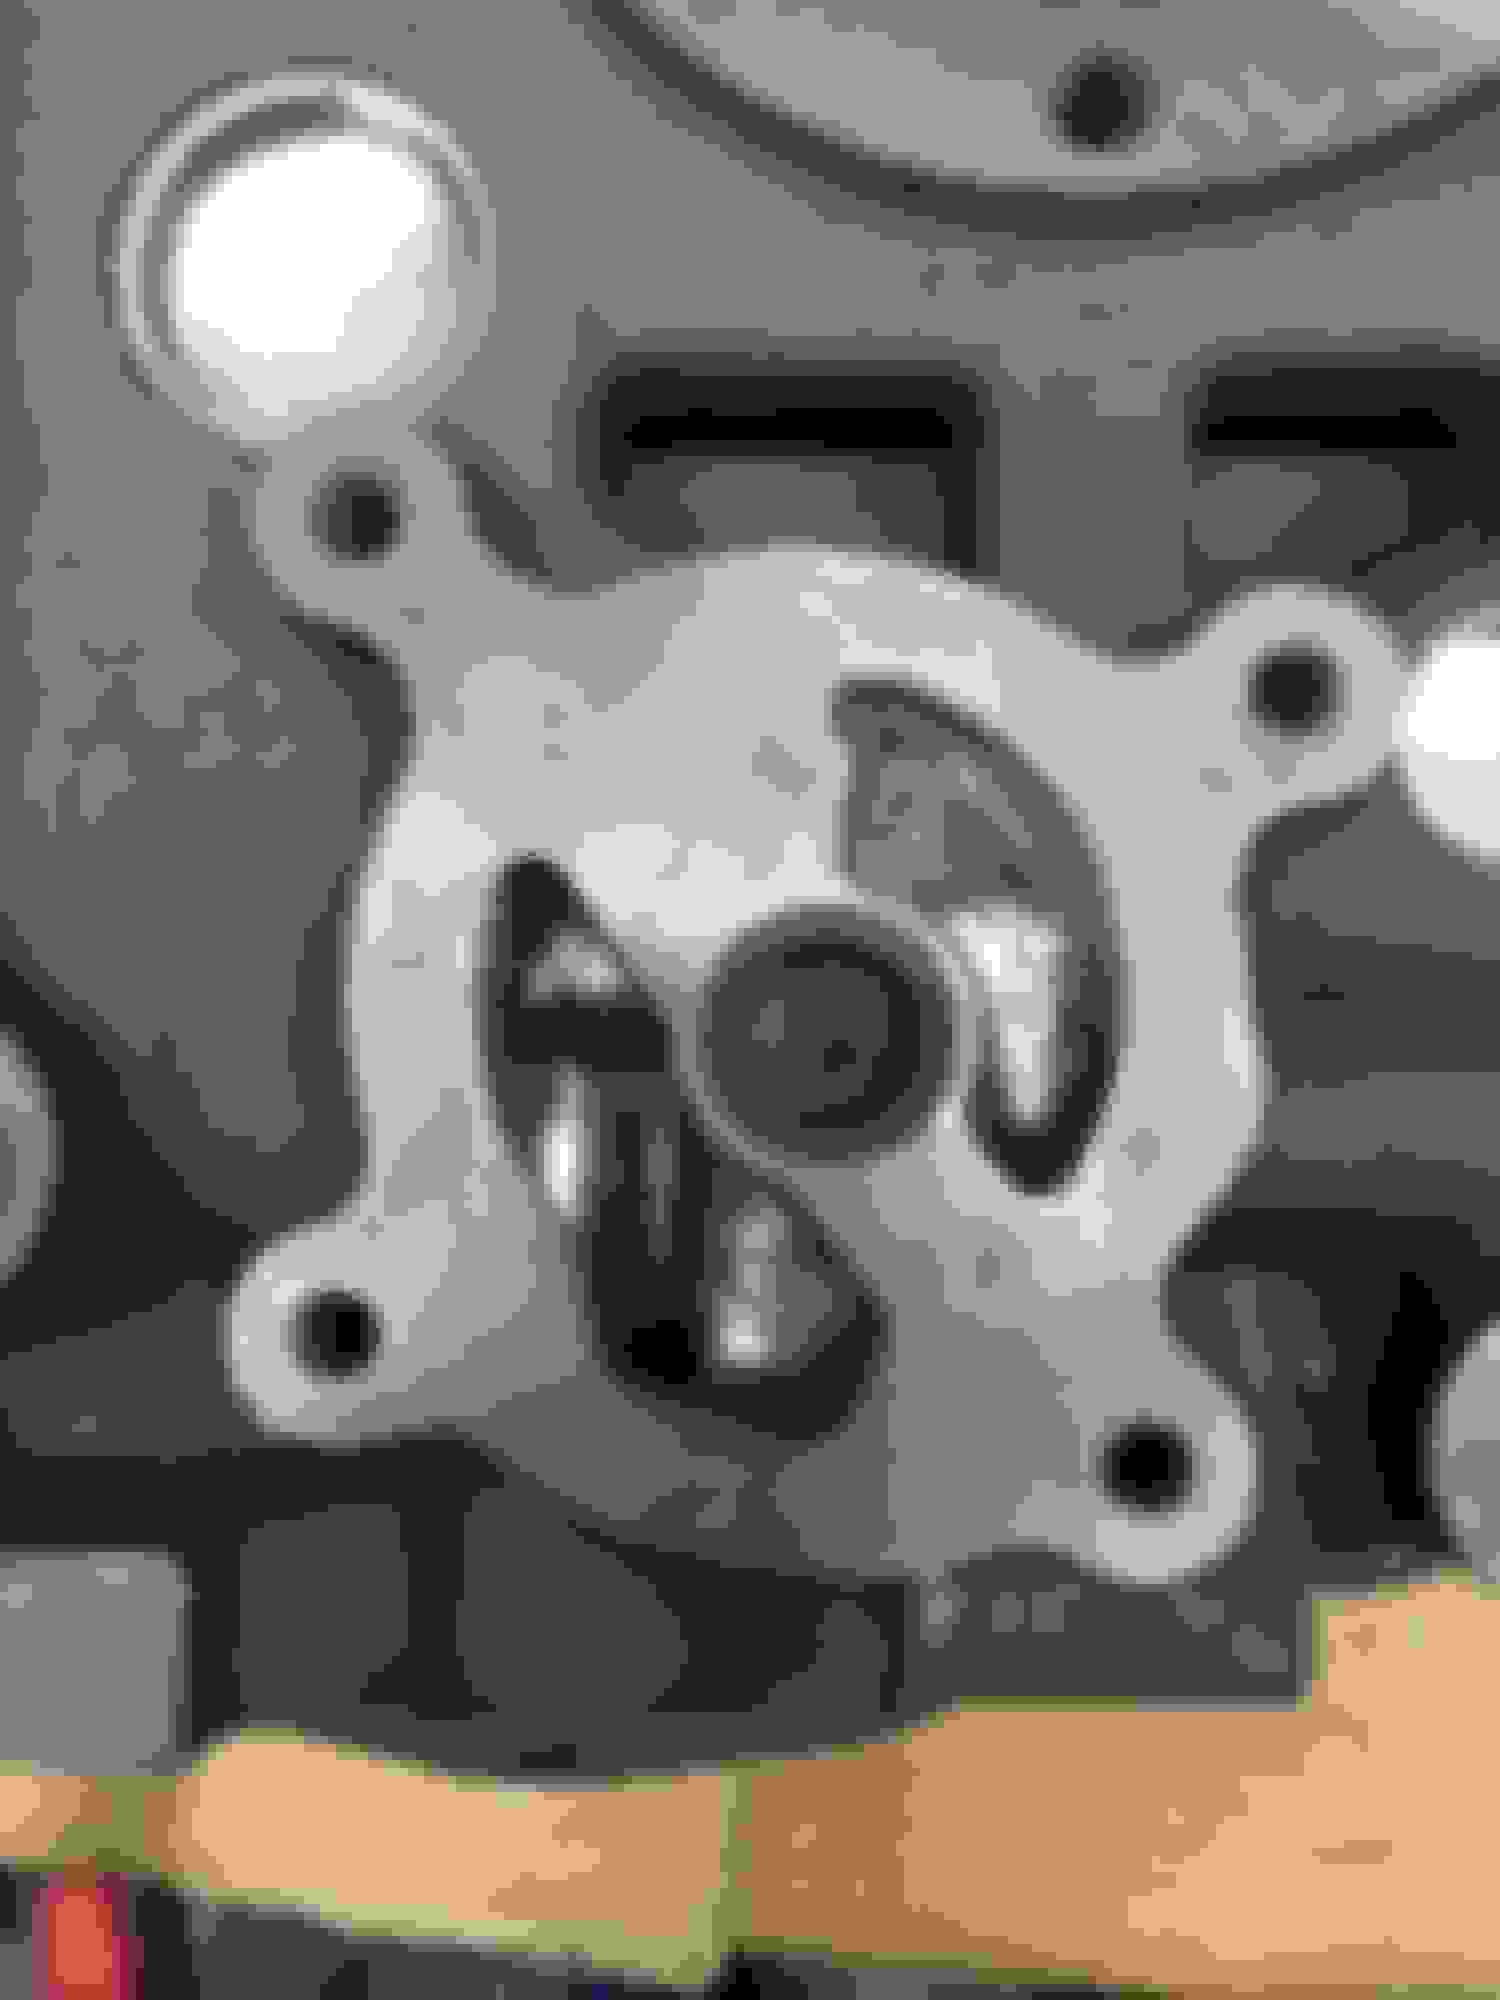
Close up the pineapple washers didn't look like they would seal great so I added some blue RTV
Finaly got my counterweight in so I could install the fly wheel and therefore the front cover and pulley. Now it is time to tackle the harness problems the engine harness was cooked with 90000 miles on it so I stripped it and re wrapped it with F4 tape and covered this with electrical tape.
Now I could start focusing on the car more.
The harness in question
Re wrapped with the F4 tape I thought the color would look okay yea no it didn't I wrapped this with black
Almost ready to install just need the clutch and turbo and uim