My Garage Built 93 :p

Mounting the Oil Coolers
Last night I also installed the two oil coolers. I was done with everything around 3 A.M.
I first started by spending the $160 for these two brackets ($10-15 worth of parts).

And then started unpacking my oil coolers

Then started installing the brackets to the oil coolers. The instructions on the website were semi-helpful.

Installed the passenger side (still need to drill two holes and mount the far side bracket)

Same on the driver side (need to drill two holes and mount the far side bracket)

Poor pic...

Better pic...

I first started by spending the $160 for these two brackets ($10-15 worth of parts).
And then started unpacking my oil coolers
Then started installing the brackets to the oil coolers. The instructions on the website were semi-helpful.
Installed the passenger side (still need to drill two holes and mount the far side bracket)
Same on the driver side (need to drill two holes and mount the far side bracket)
Poor pic...
Better pic...
I forgot to put this in my parts pics
Parts that make me feel broke :-(

6xID1000cc Injectors
20b FFE Hall Trigger kit (black)
6xAEM smart coils
Adaptronic 1280 ECU
FFE 20b fuel rail kit
Innovated LC-2 wideband kit.
I plan on getting the Dash2 for my cluster. Will be pretty cool. I also will be getting the short LIM from xcessive.
YAY for more money to spend
Nick
6xID1000cc Injectors
20b FFE Hall Trigger kit (black)
6xAEM smart coils
Adaptronic 1280 ECU
FFE 20b fuel rail kit
Innovated LC-2 wideband kit.
I plan on getting the Dash2 for my cluster. Will be pretty cool. I also will be getting the short LIM from xcessive.
YAY for more money to spend
Nick

Joined: Aug 2011
Posts: 3,078
Likes: 42
From: Cambridge, Minnesota
She's coming along nicely man, can't wait to see this thing progress.
Lol thanks. This is actually stock location of the r1 with dual coolers.but they do fill up the space well.
Another small update
So yesterday I took the time to finish installing my oil cooler brackets. I could not finish running my hose as I did not have my hose cutters, but TODAY I got the hose cutters! 
By far the fastest shipping ever! less than 24 hours it got to my house!
Ordered the cutters from Speedway motors.

Anyways, as I was saying I got the brackets installed and decided to remove more parts from the car as I will be selling them most likely and really I needed to remove them regardless since I will be respraying the bay.
I have to say I really dislike the though process Mazda had when doing the wiring harnesses on this car. I feel like ripping everything out and then just making my own (which i will probably do).

here is what was done last night!


Now does anybody have suggestions on where I should mount this? Preferably someone with a 20b that has this mounted. I feel like the ideal location would be right where that dang bracket is!

Bracket I am talking about!

I will start doing my oil cooling hoses now!
Stay tuned
-Nick
By far the fastest shipping ever! less than 24 hours it got to my house!
Ordered the cutters from Speedway motors.
Anyways, as I was saying I got the brackets installed and decided to remove more parts from the car as I will be selling them most likely and really I needed to remove them regardless since I will be respraying the bay.
I have to say I really dislike the though process Mazda had when doing the wiring harnesses on this car. I feel like ripping everything out and then just making my own (which i will probably do).
here is what was done last night!
Now does anybody have suggestions on where I should mount this? Preferably someone with a 20b that has this mounted. I feel like the ideal location would be right where that dang bracket is!
Bracket I am talking about!
I will start doing my oil cooling hoses now!
Stay tuned
-Nick
Tonights Update
So as I mentioned in my previous post, I started and now finished my oil cooler setup  .
.
I do give props for those who make a living putting together systems that use AN fittings. It is an annoying process at first. However, after doing my entire oil cooling lines I feel like a pro .
.


Some pics of the process:


Because I am going to be removing everything out again I decided just to use zip ties to hold everything in place (lines wise).


handy tool that cost $10 on eBay when I got it. Unfortunately the price increased to $20.

More pics...


I do give props for those who make a living putting together systems that use AN fittings. It is an annoying process at first. However, after doing my entire oil cooling lines I feel like a pro
.Some pics of the process:
Because I am going to be removing everything out again I decided just to use zip ties to hold everything in place (lines wise).
handy tool that cost $10 on eBay when I got it. Unfortunately the price increased to $20.
More pics...
Clearance of coolers with bumper support and bumper. I will need to shave the front bumper support slightly on each side.
Driver side

Passenger side

So after I finished the oil cooling setup I decided to take a break and plan the next attack.
I decided the best thing for me to do would be to remove the lines and then pull the motor to work on the oil pan modification.
And that is what I did...


Then after taking my time at taking pics I decided to finally put it up on the stand again.

Unfortunately I did not take pics while I was test fitting the sub frame for the oil pan. I can take pics if people are really interested, but it really isn't that fascinating.
What I did is line up the motor mounts with the spots where the mounts would fit in the sub frame. After doing that I used a marker to mark the oil pan with a straight line. Then I measured the sub frame and pretty much estimated the amount need to cut (height wise) off of the pan.
After doing that I used tape to indicate where I need to cut:

Unfortunately I could not find my cutoff wheel so I will have to actually cut the oil pan tomorrow and then weld flat pieces to the oil pan to close up that area I am cutting off. Then I will drill and tap the oil pan since the original spot for the drain plug will be no longer there.
Because of the aforementioned problem I decided to clean up the garage and bring the Ms' car into the garage (supposed to be -20/-30 below with windchill tonight ).
).

I should have the oil pan cut tomorrow. Then I will be waiting for my dad to get my bushings for the mounts and then back to test fit with the oil pan on.
ONLY 3 more days to work on my car until my "vacation" is over.
Thanks for reading/looking.
-Nick
Driver side
Passenger side
So after I finished the oil cooling setup I decided to take a break and plan the next attack.
I decided the best thing for me to do would be to remove the lines and then pull the motor to work on the oil pan modification.
And that is what I did...
Then after taking my time at taking pics I decided to finally put it up on the stand again.
Unfortunately I did not take pics while I was test fitting the sub frame for the oil pan. I can take pics if people are really interested, but it really isn't that fascinating.
What I did is line up the motor mounts with the spots where the mounts would fit in the sub frame. After doing that I used a marker to mark the oil pan with a straight line. Then I measured the sub frame and pretty much estimated the amount need to cut (height wise) off of the pan.
After doing that I used tape to indicate where I need to cut:
Unfortunately I could not find my cutoff wheel so I will have to actually cut the oil pan tomorrow and then weld flat pieces to the oil pan to close up that area I am cutting off. Then I will drill and tap the oil pan since the original spot for the drain plug will be no longer there.
Because of the aforementioned problem I decided to clean up the garage and bring the Ms' car into the garage (supposed to be -20/-30 below with windchill tonight
).I should have the oil pan cut tomorrow. Then I will be waiting for my dad to get my bushings for the mounts and then back to test fit with the oil pan on.
ONLY 3 more days to work on my car until my "vacation" is over.
Thanks for reading/looking.
-Nick
Here is the sketchy video of my oil cooler setup. I will take a better video once it gets a little warmer. I opened the garage for more light, but I was starting to get cold lol.
Oh well at least its something right?
lol
Oh well at least its something right?
lol
Hey! Thanks!
I'll be posting more updates later tonight. I'm currently working on cleaning out my garage and shelves. I have way too many 2nd gen parts from when I use to have them -_-.
I'll post updates of my oil pan and other random pics I suppose.
Thanks again for watching lol.
-Nick
I'll be posting more updates later tonight. I'm currently working on cleaning out my garage and shelves. I have way too many 2nd gen parts from when I use to have them -_-.
I'll post updates of my oil pan and other random pics I suppose.
Thanks again for watching lol.
-Nick


How do you like the ss line cutters? I've tried some and they left the wires poking out. They weren't covered in the nylon however. The original earls shop is down the street from my house and Mike there recommended cutting it with a sharp chisel and a hammer. Works great actually.
How do you like the ss line cutters? I've tried some and they left the wires poking out. They weren't covered in the nylon however. The original earls shop is down the street from my house and Mike there recommended cutting it with a sharp chisel and a hammer. Works great actually.
I paid $20 I believe for tho an hose cutter so it wasn't too bad for the cost.


Update
Hello again,
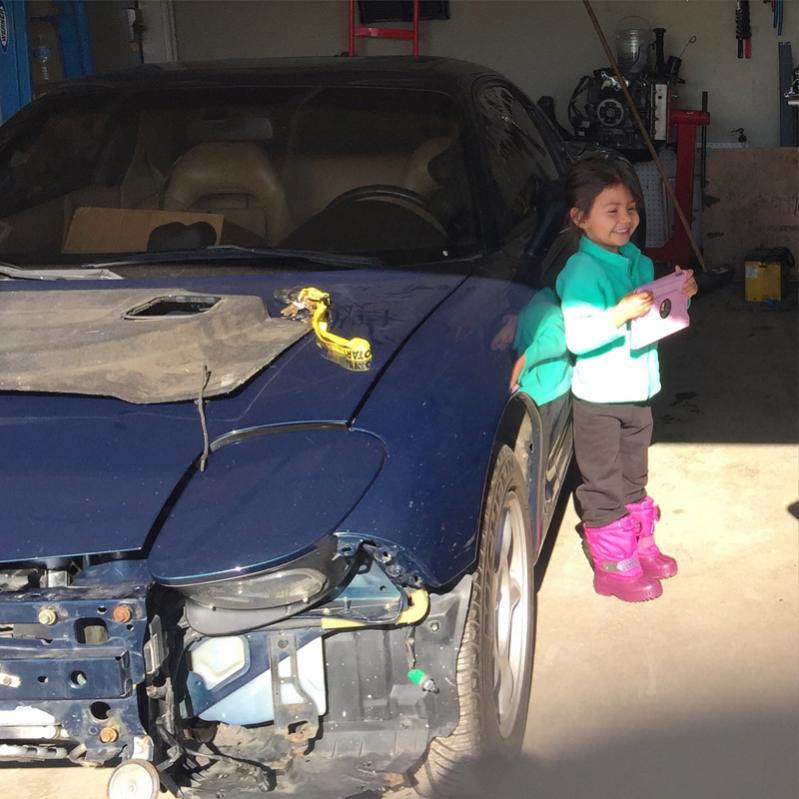
Yesterday I got a bunch of things done...I think...But first, to start the day off here is a calming picture for all to enjoy

So back on to the build.
So as you saw previously with my lovely tape job, I was able to use my cutting disc and finish cutting my oil pan.


After removing the cut piece I test fitted the sub frame on the engine w/ oil pan installed:


(disregard my half painted door. My daughter thought it would be cute...)

The test fit proved my measuring job and cutting worked! YAY. Now I will weld up the oil pan and actually install it in the bay!!!
Yesterday I got a bunch of things done...I think...But first, to start the day off here is a calming picture for all to enjoy
So back on to the build.
So as you saw previously with my lovely tape job, I was able to use my cutting disc and finish cutting my oil pan.
After removing the cut piece I test fitted the sub frame on the engine w/ oil pan installed:
(disregard my half painted door. My daughter thought it would be cute...)
The test fit proved my measuring job and cutting worked! YAY. Now I will weld up the oil pan and actually install it in the bay!!!
Now after the oil pan cutting was done, I decided to start installing some of my FFE parts.

And suspension:

I will update more pics as soon as my other FD is in the garage.
BUT FOR NOW..... NO ROTORS FOR LIFE!!!!...


Stay Tuned!!!!
-Nick
And suspension:
I will update more pics as soon as my other FD is in the garage.
BUT FOR NOW..... NO ROTORS FOR LIFE!!!!...
Stay Tuned!!!!
-Nick